ZUCCHINI HUMMUS: Another Use For Zucchini!!!

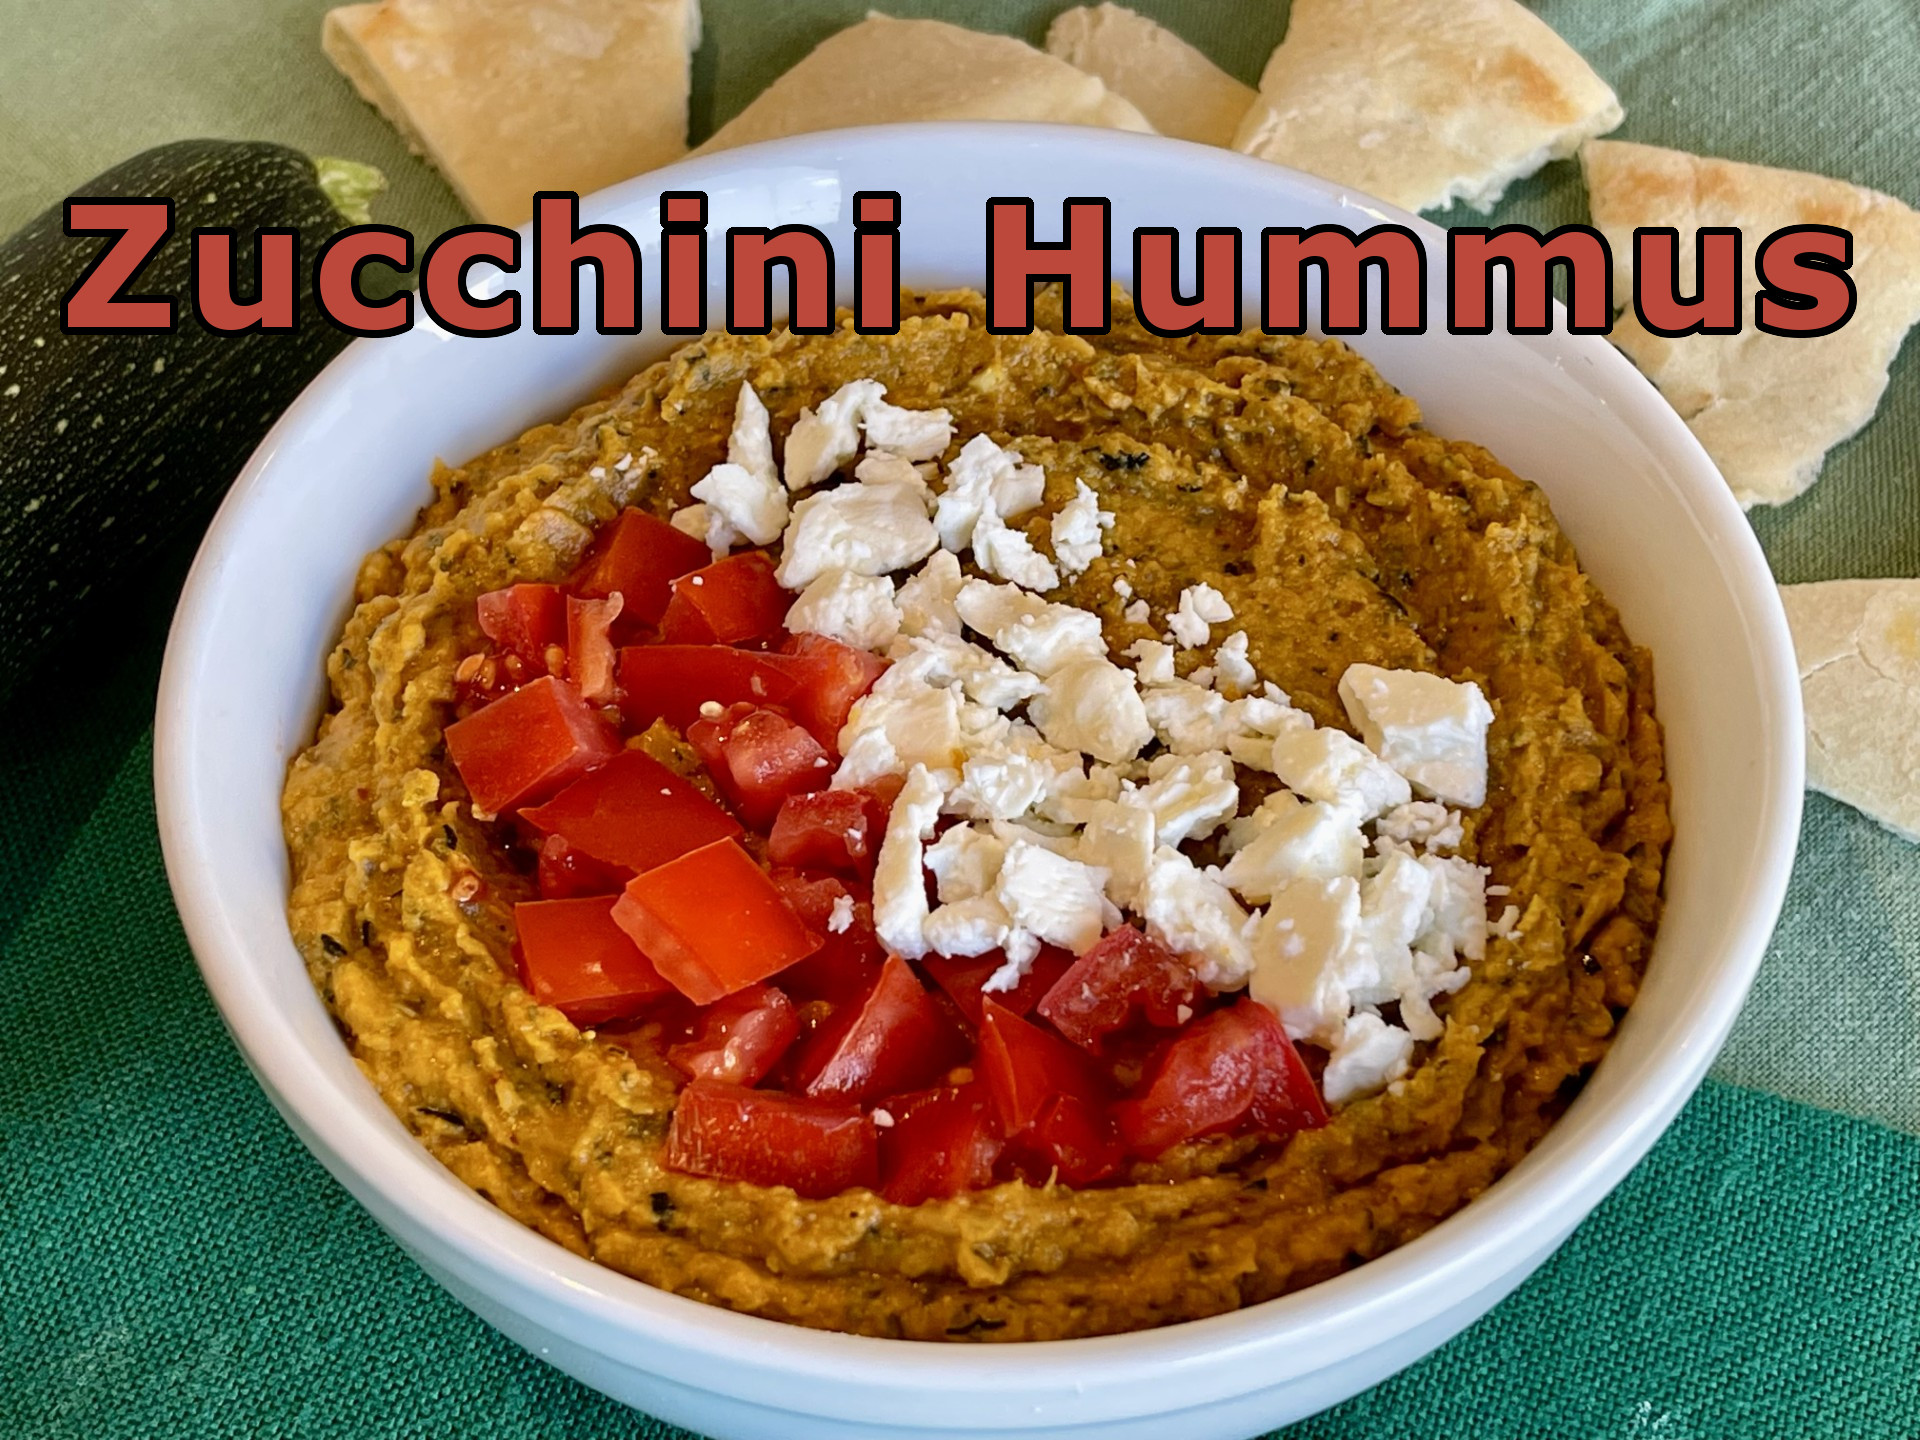
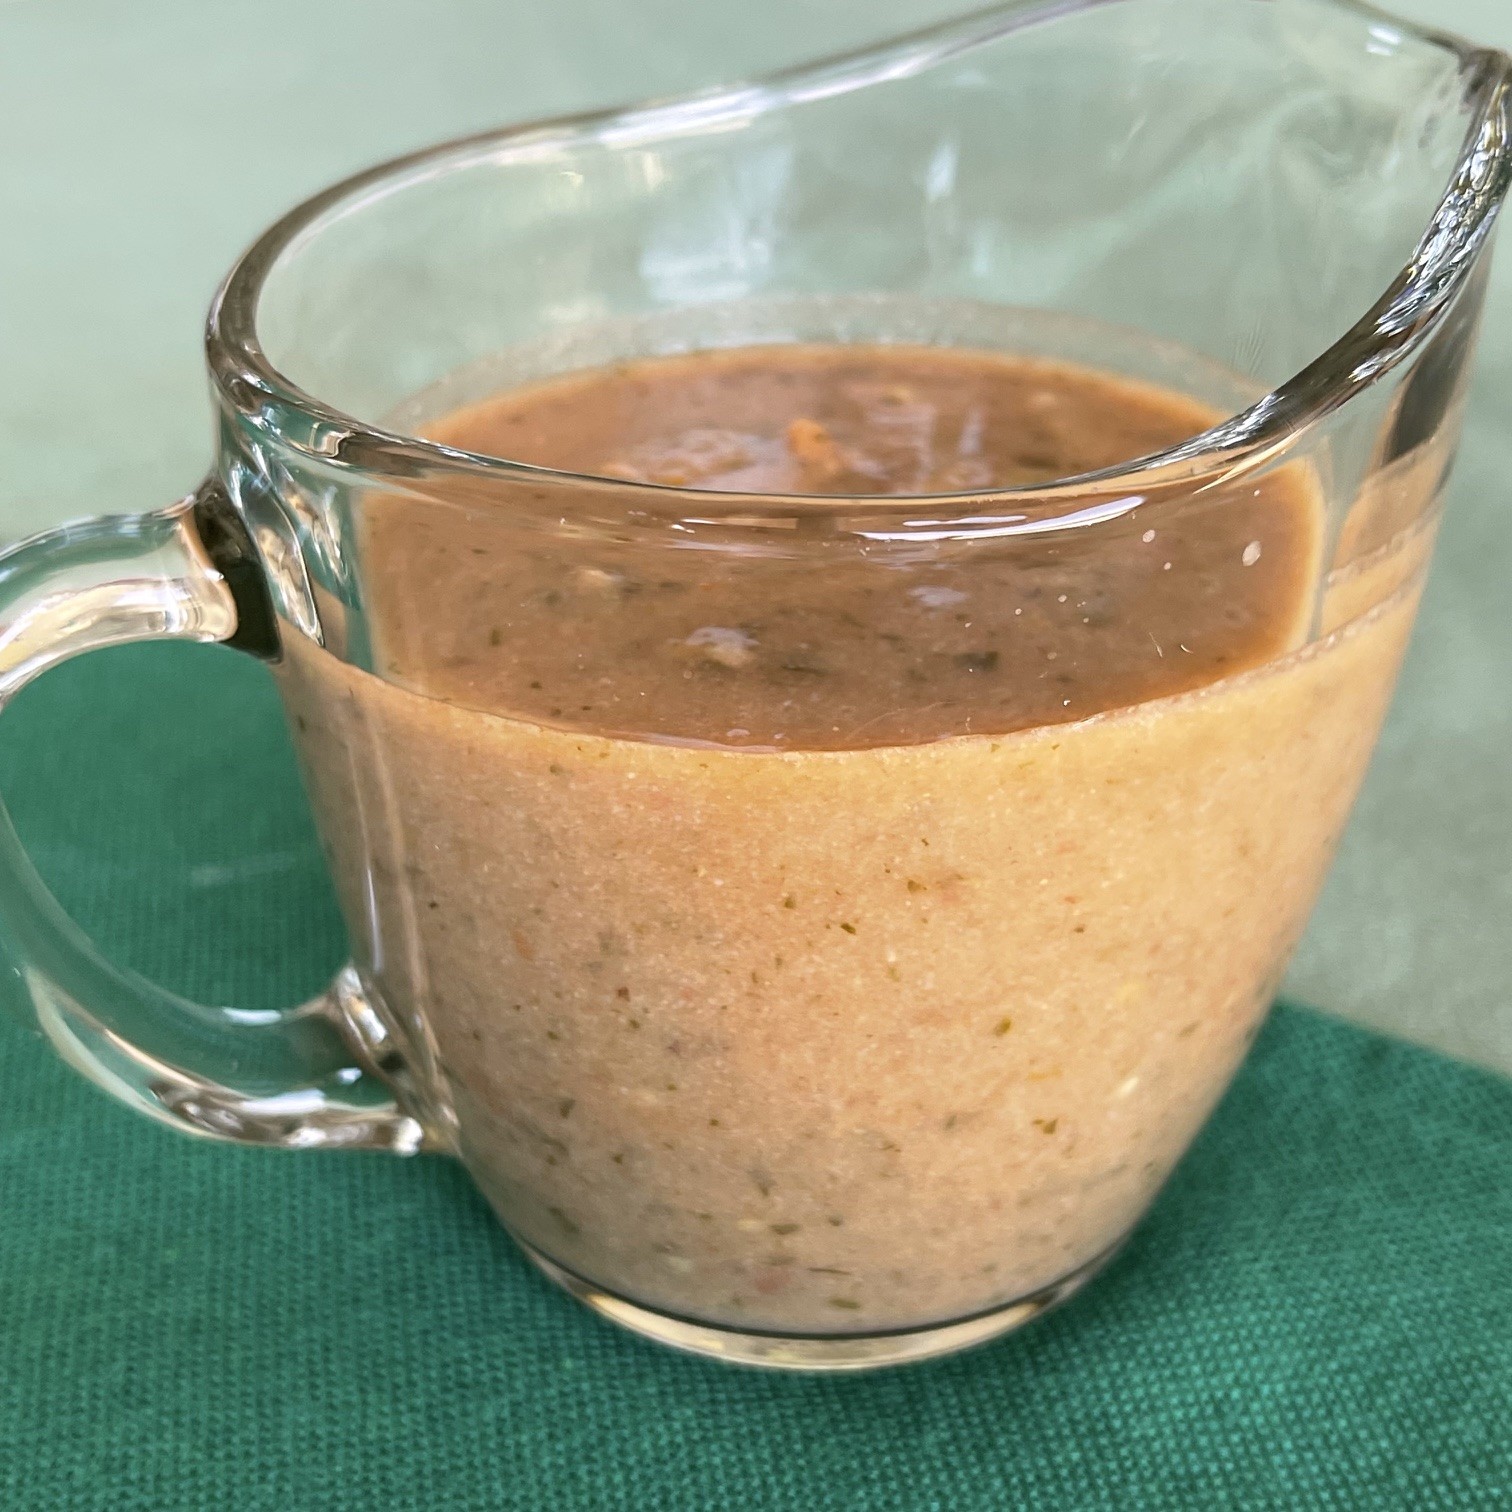
It all started with a giant zucchini I found in my garden. One of the highlights of my summer days is to check what’s ready to be picked. Somehow I neglected to notice this huge zucchini skulking at the base of the plant. As a woman who hates waste, I put on my thinking cap to come up with something to do with this monster – preferably something that can be frozen – I AM self-proclaimed Queen Of Freeze, after all. Since I had just made hummus, it occurred to me I could make a zucchini based hummus. Success!

My Zucchini Hummus can be used as a dip or spread. (It makes a delicious sandwich in pita bread with Muenster cheese, tomatoes, cucumber, and arugula.) Best of all, it freezes well!

NOTE: If you’re using this as a spread (which is thicker), decrease the amount of zucchini to about 840g (1/4 lb).

Zucchini Hummus:

  • 939g (2 lbs) zucchini, shredded
  • 150g (5 oz) onion, chopped
  • 1.5 T garlic, minced
  • 45g (1/2 cup) olive oil
  • 28g (2 T) tomato paste
  • 2 tsp table salt
  • 1 tsp dried Korean style red pepper (Gochugaru)
  • 1 tsp smoked paprika
  • 1.5 tsp paprika
  • 1/4 tsp turmeric
  • 1/2 tsp coriander
  • 1/2 tsp cumin
  • 28g (2 T) tahini
  • 252g (1 cup) hummus ( either homemade – my recipe or purchased)
  • 1 bay leaf

Preheat oven to 400°F (204°C)

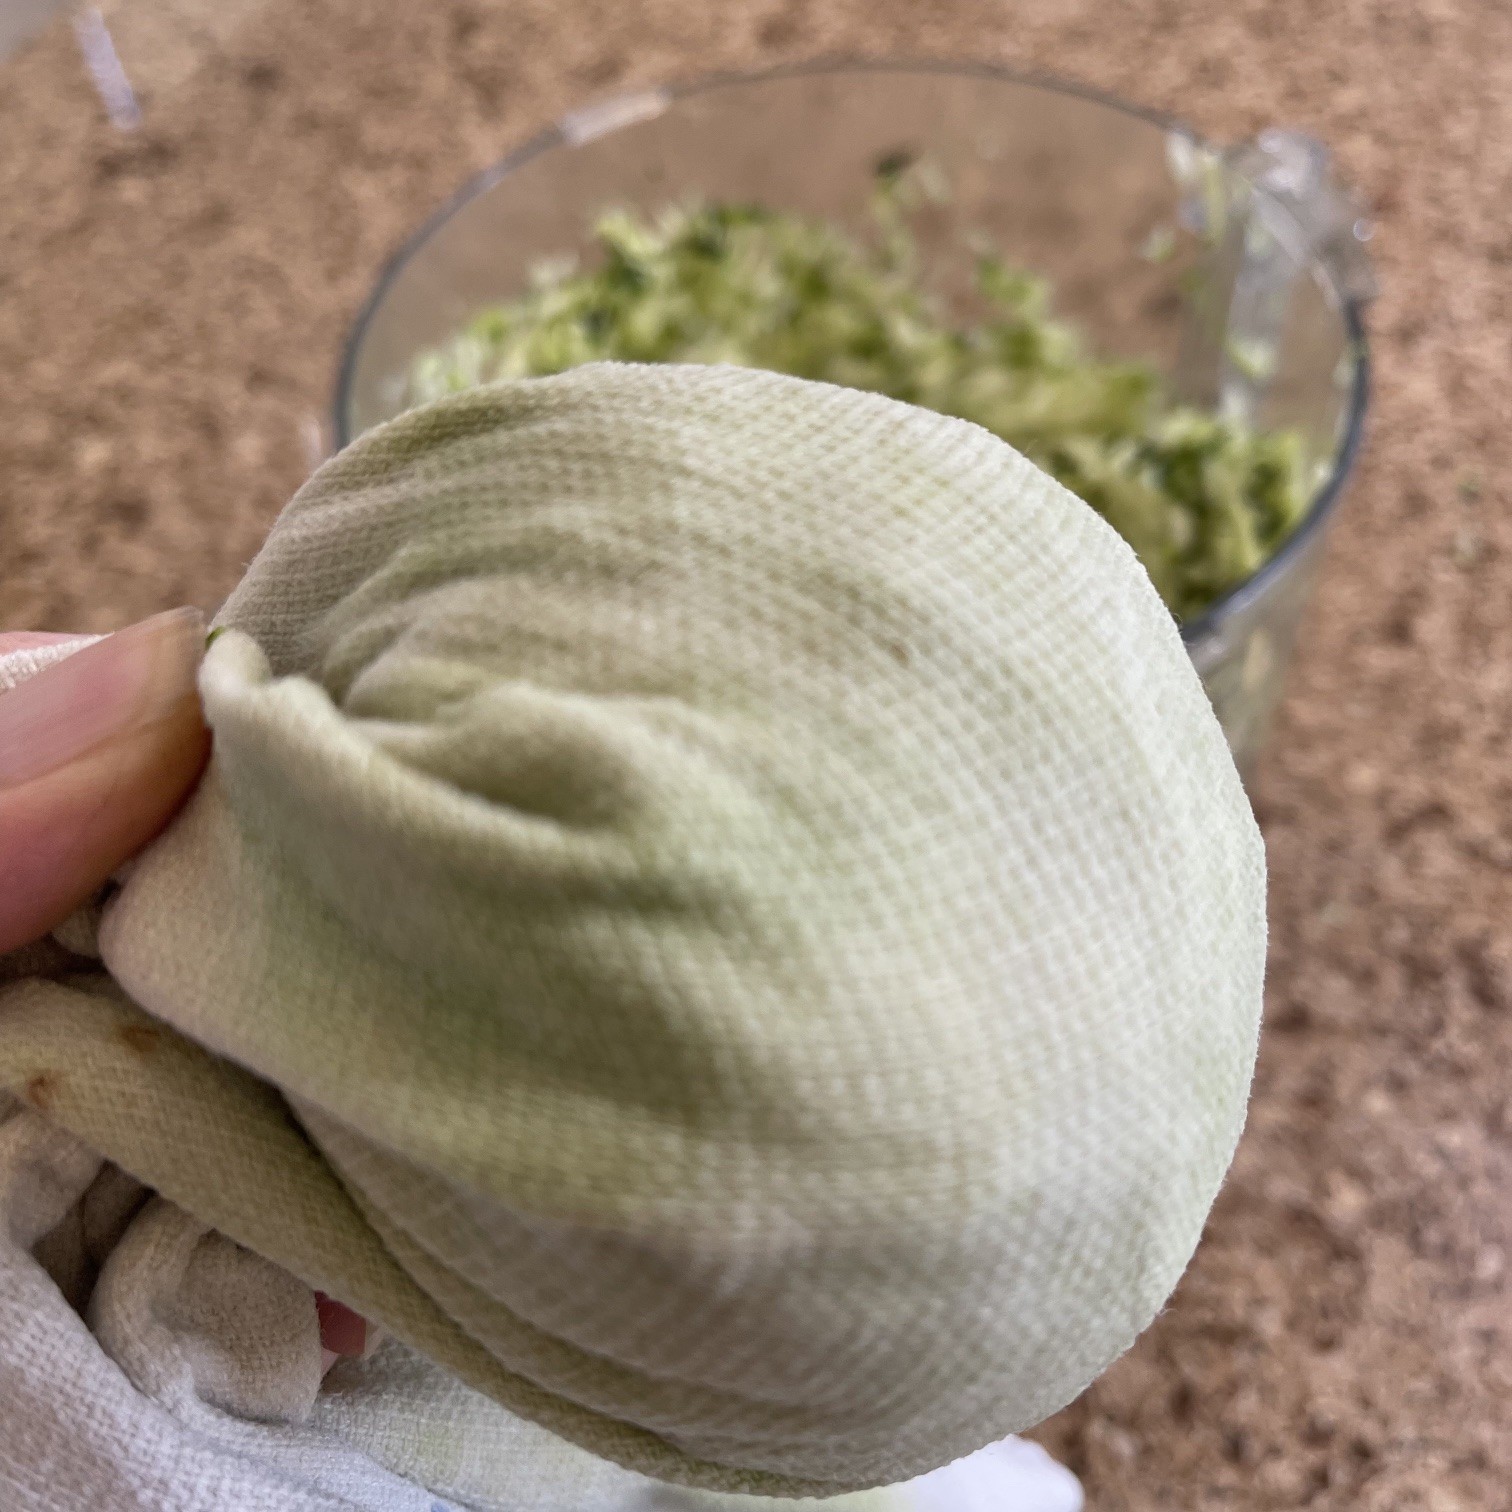
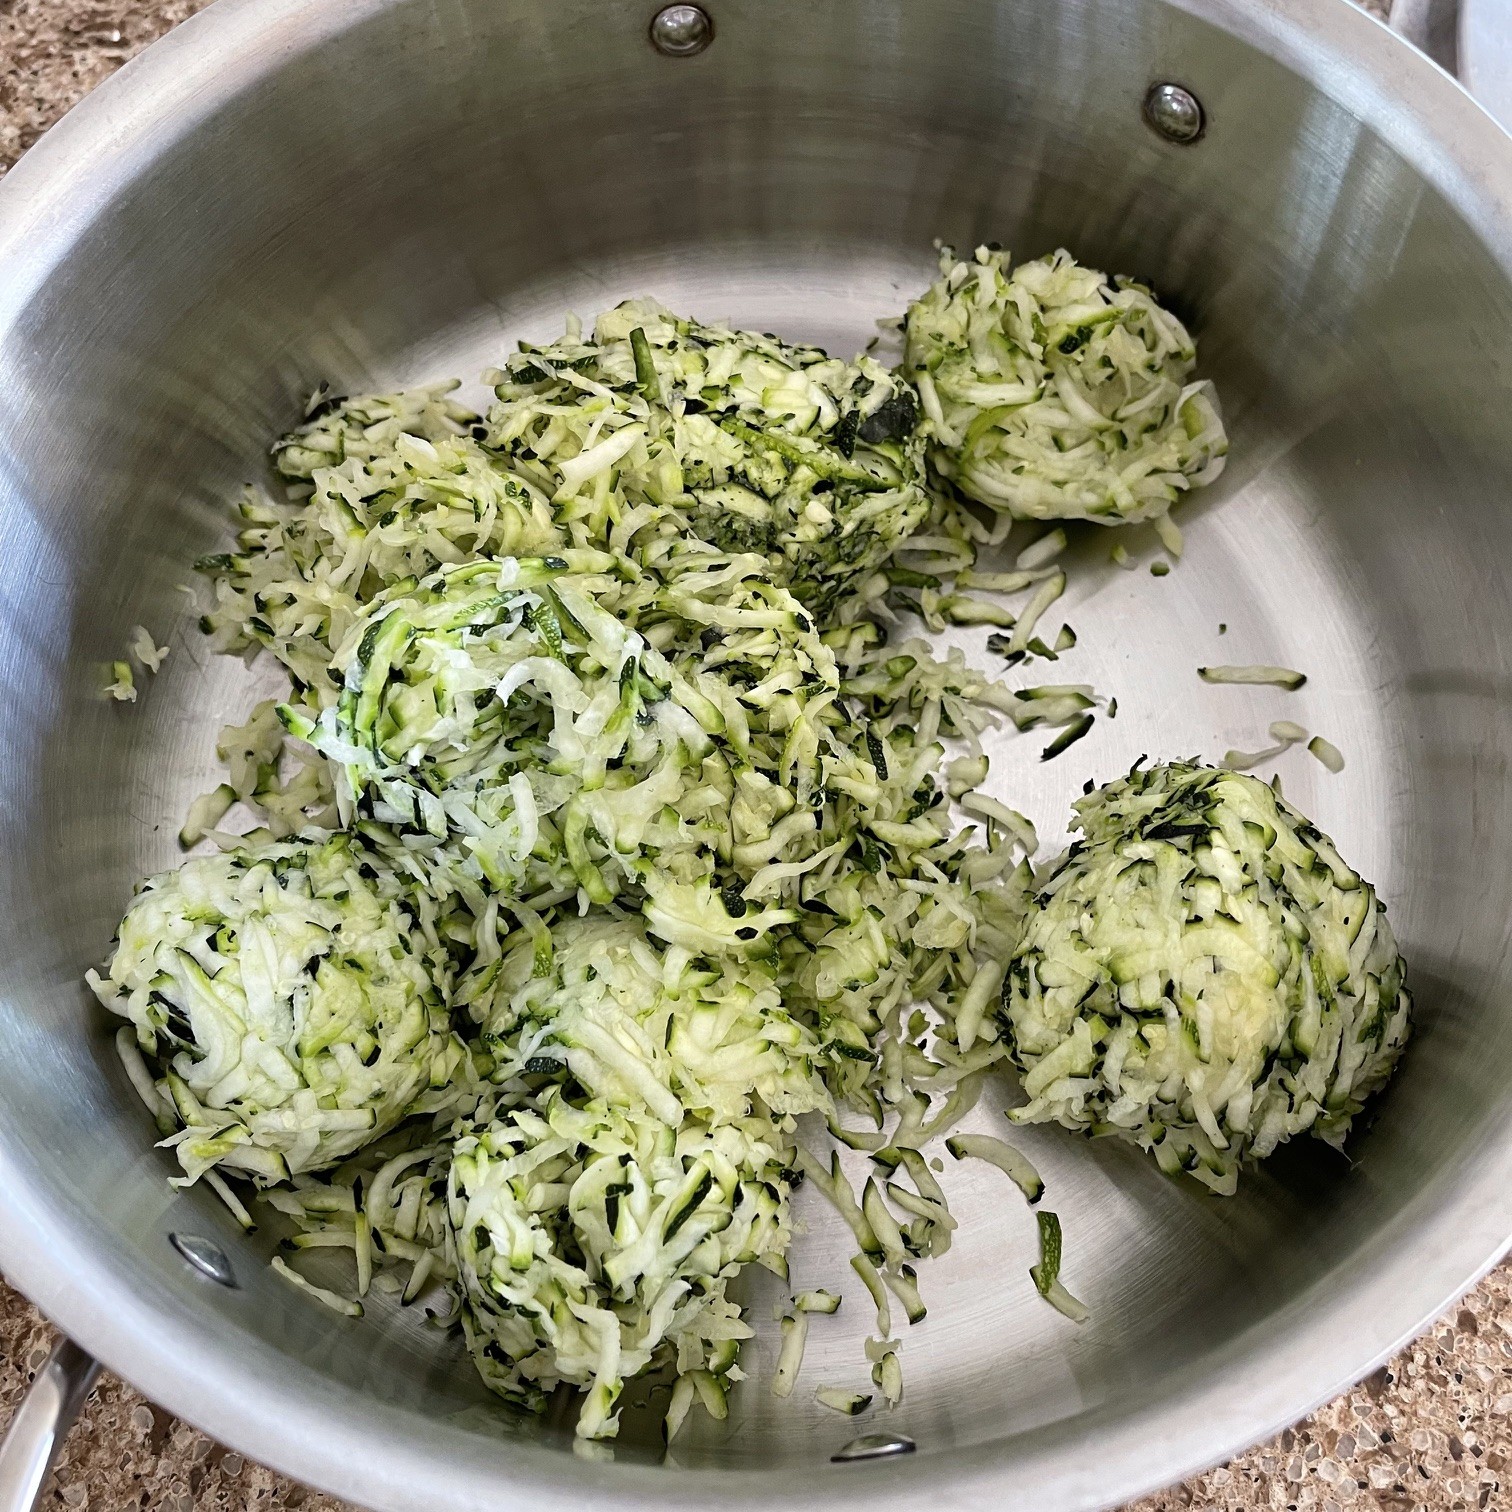
First thing to do is extract as much water from the zucchini as you can. Place a handful of shredded zucchini into the center of a tea towel. The amount of a handful is determined by the size of your hand. Don’t use more thinking you’ll get it done faster – it’s hard work for your hand. Wrap the towel around the zucchini ball, twist, and squeeze. Discard liquid. Repeat until all shredded zucchini is squeezed.

Place squeezed zucchini in a Dutch oven.

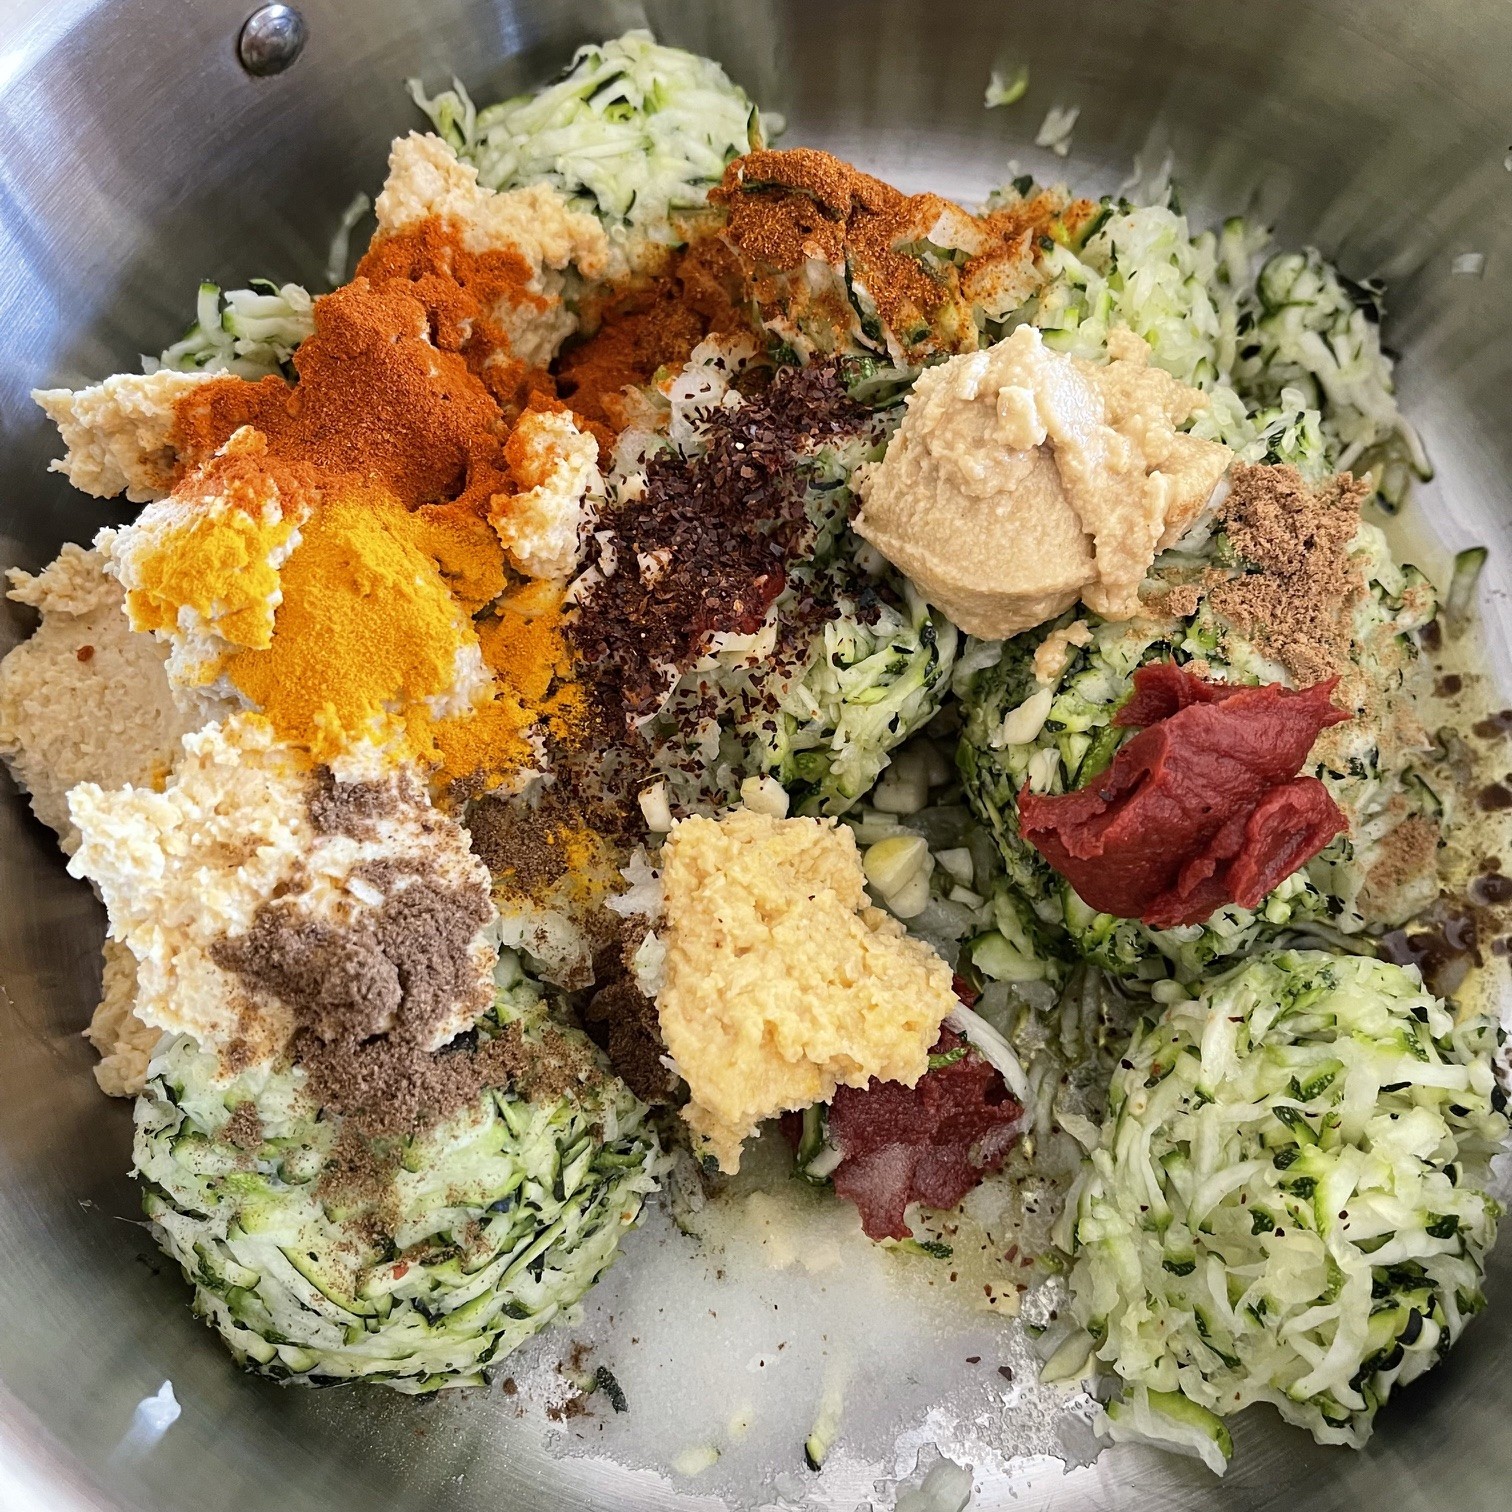
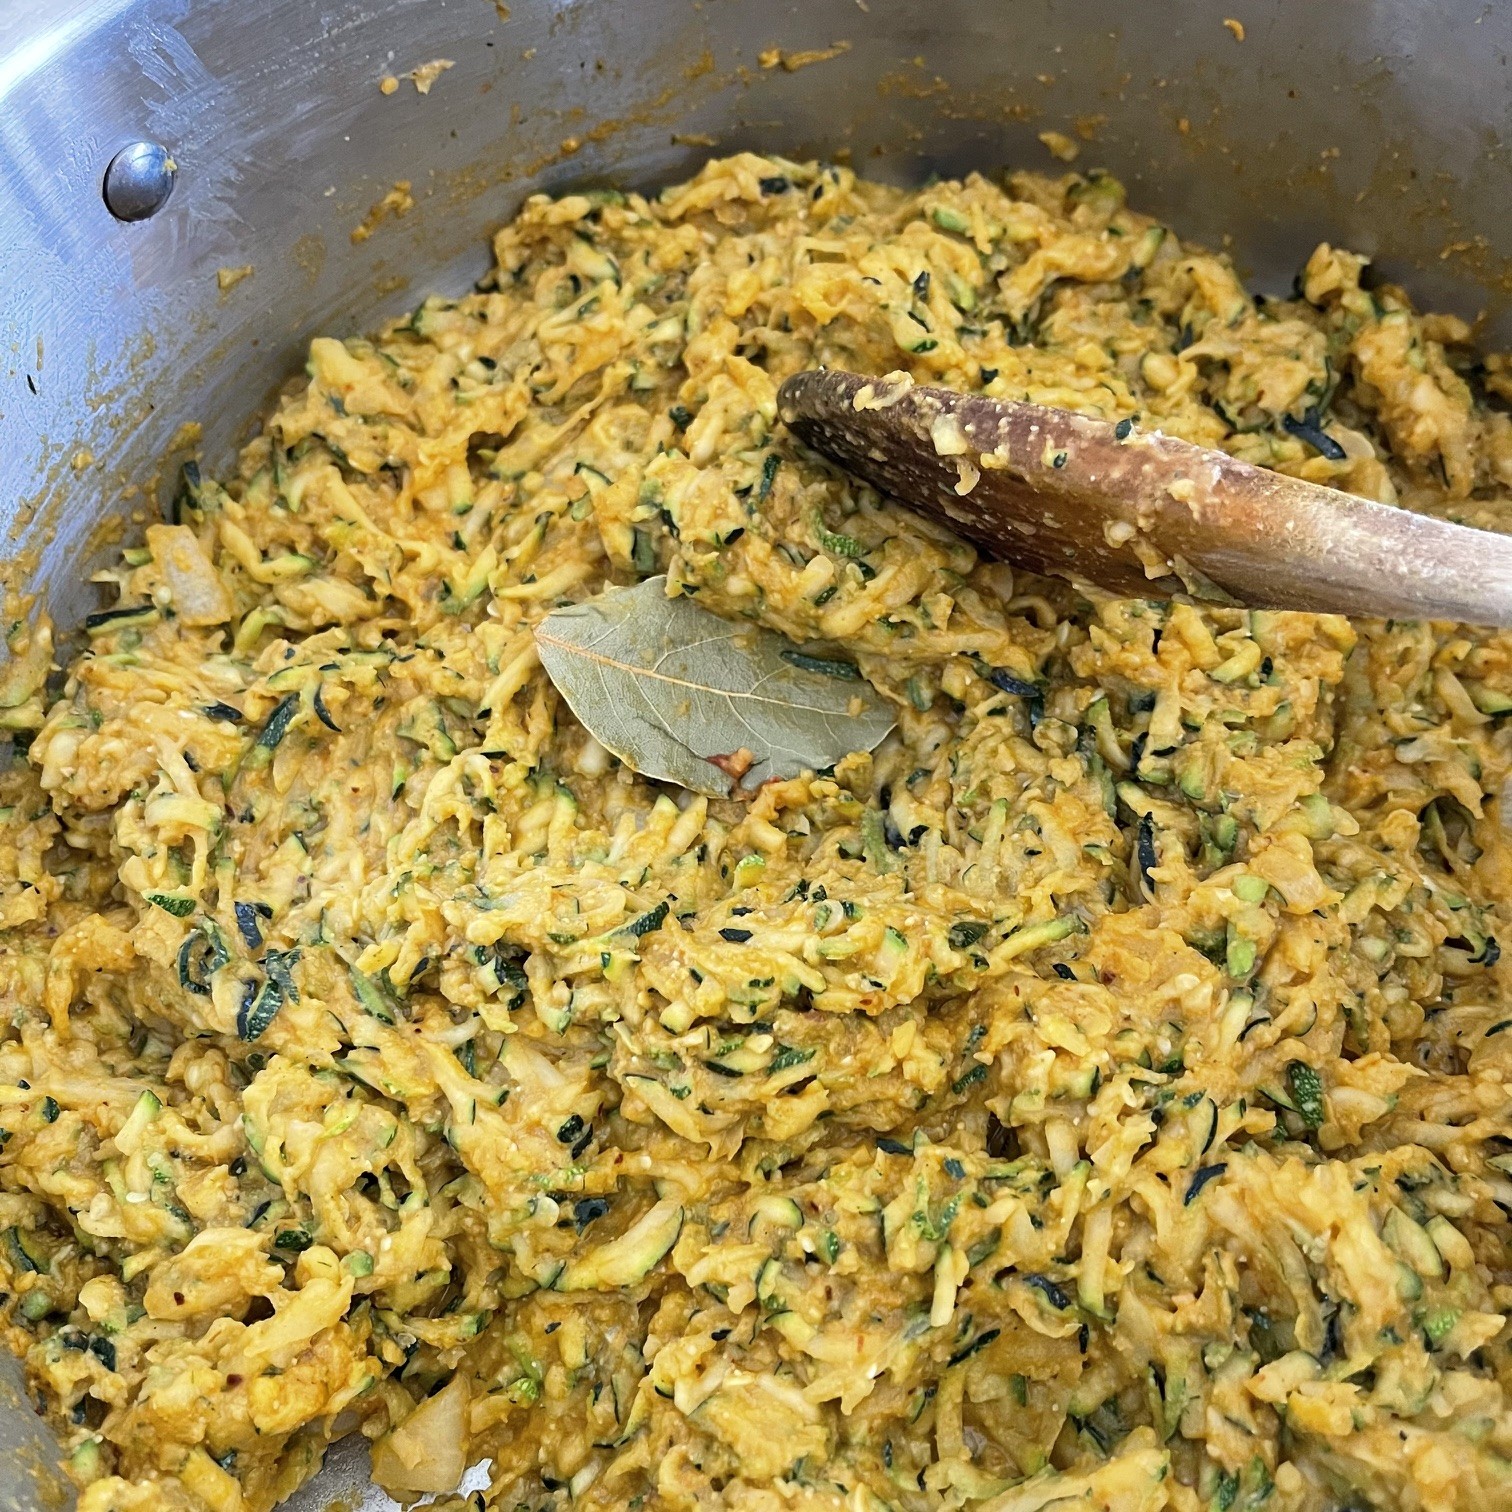
Into the Dutch oven add the onion, garlic olive oil, tomato paste, table salt, ground Korean style red pepper spice, smoked paprika, regular paprika, turmeric, coriander, cumin, tahini, and hummus.

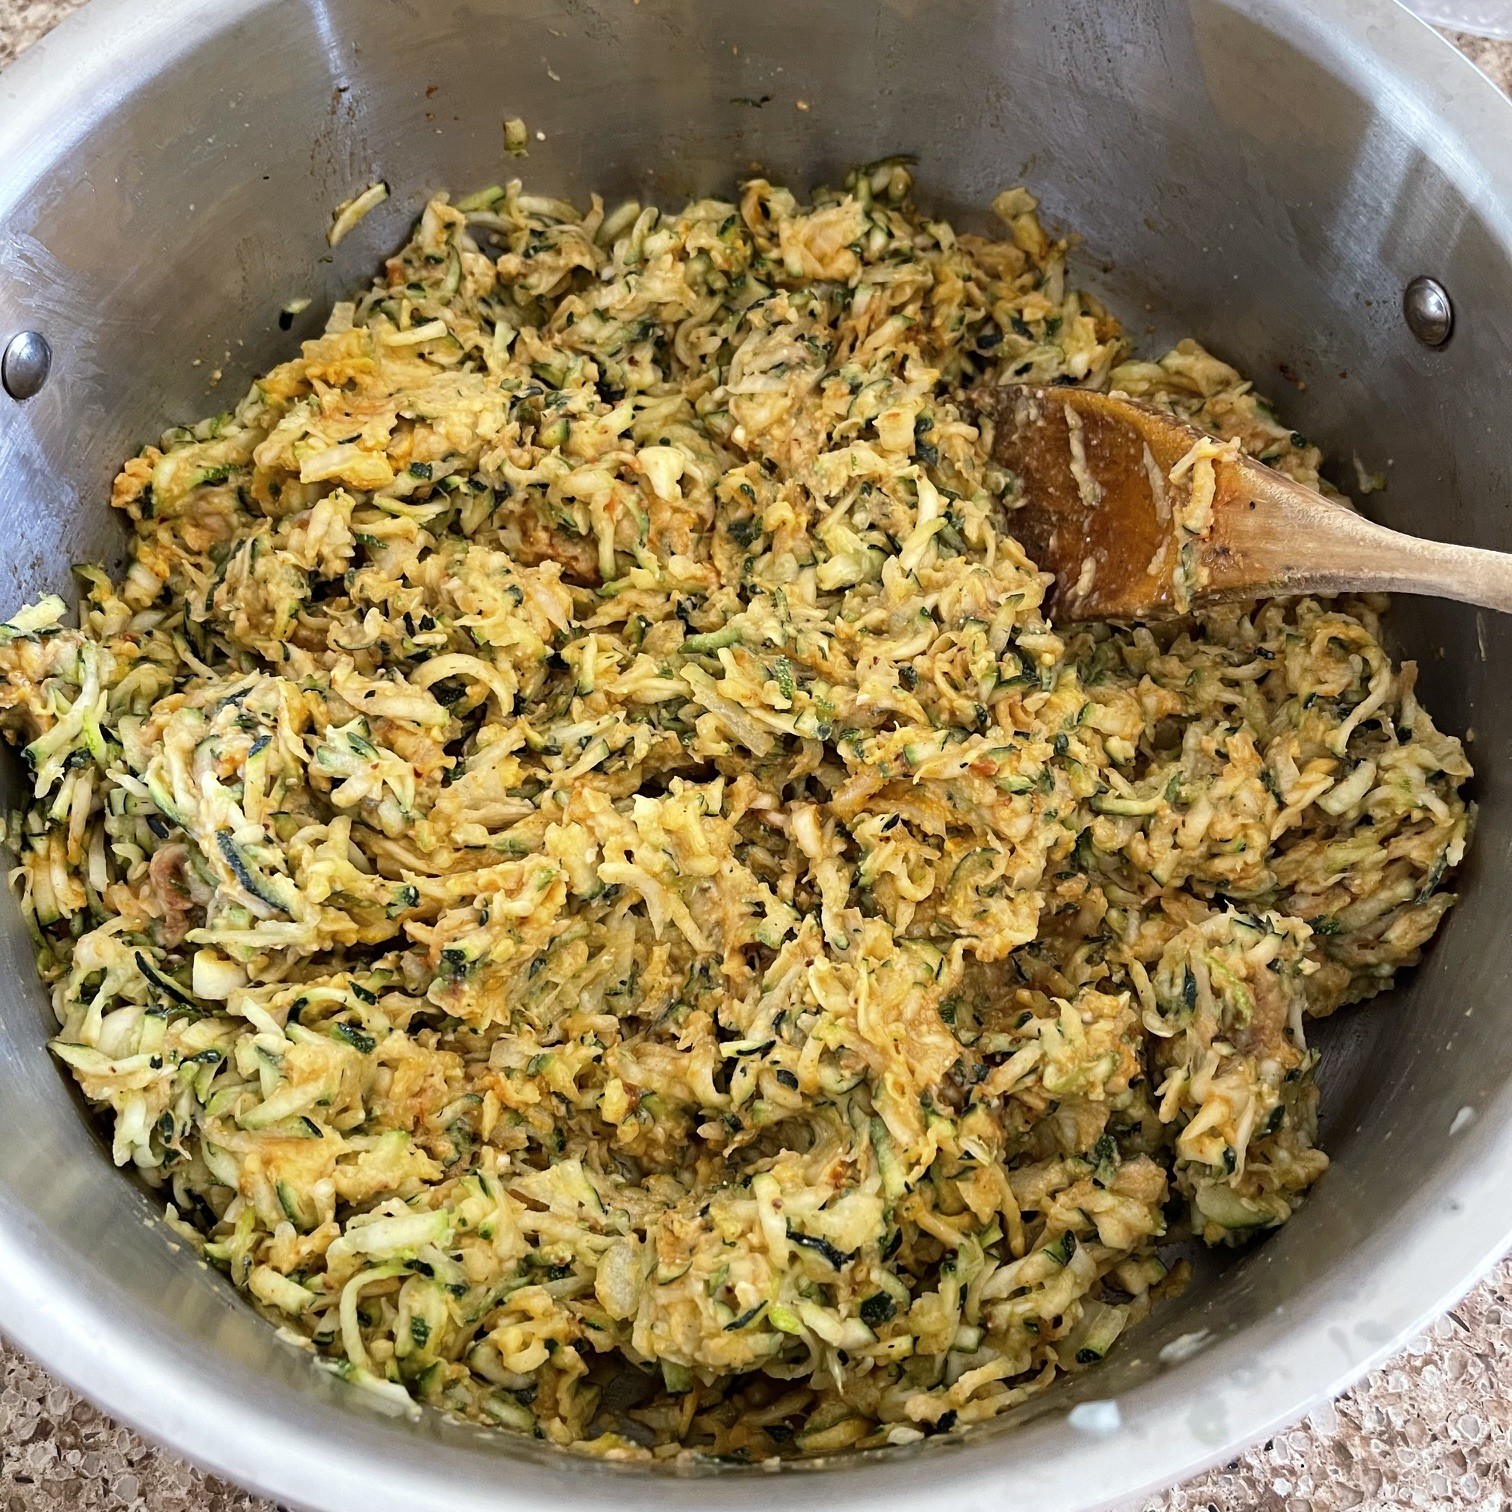
Saute 5-7 minutes on stove top over medium-high heat.

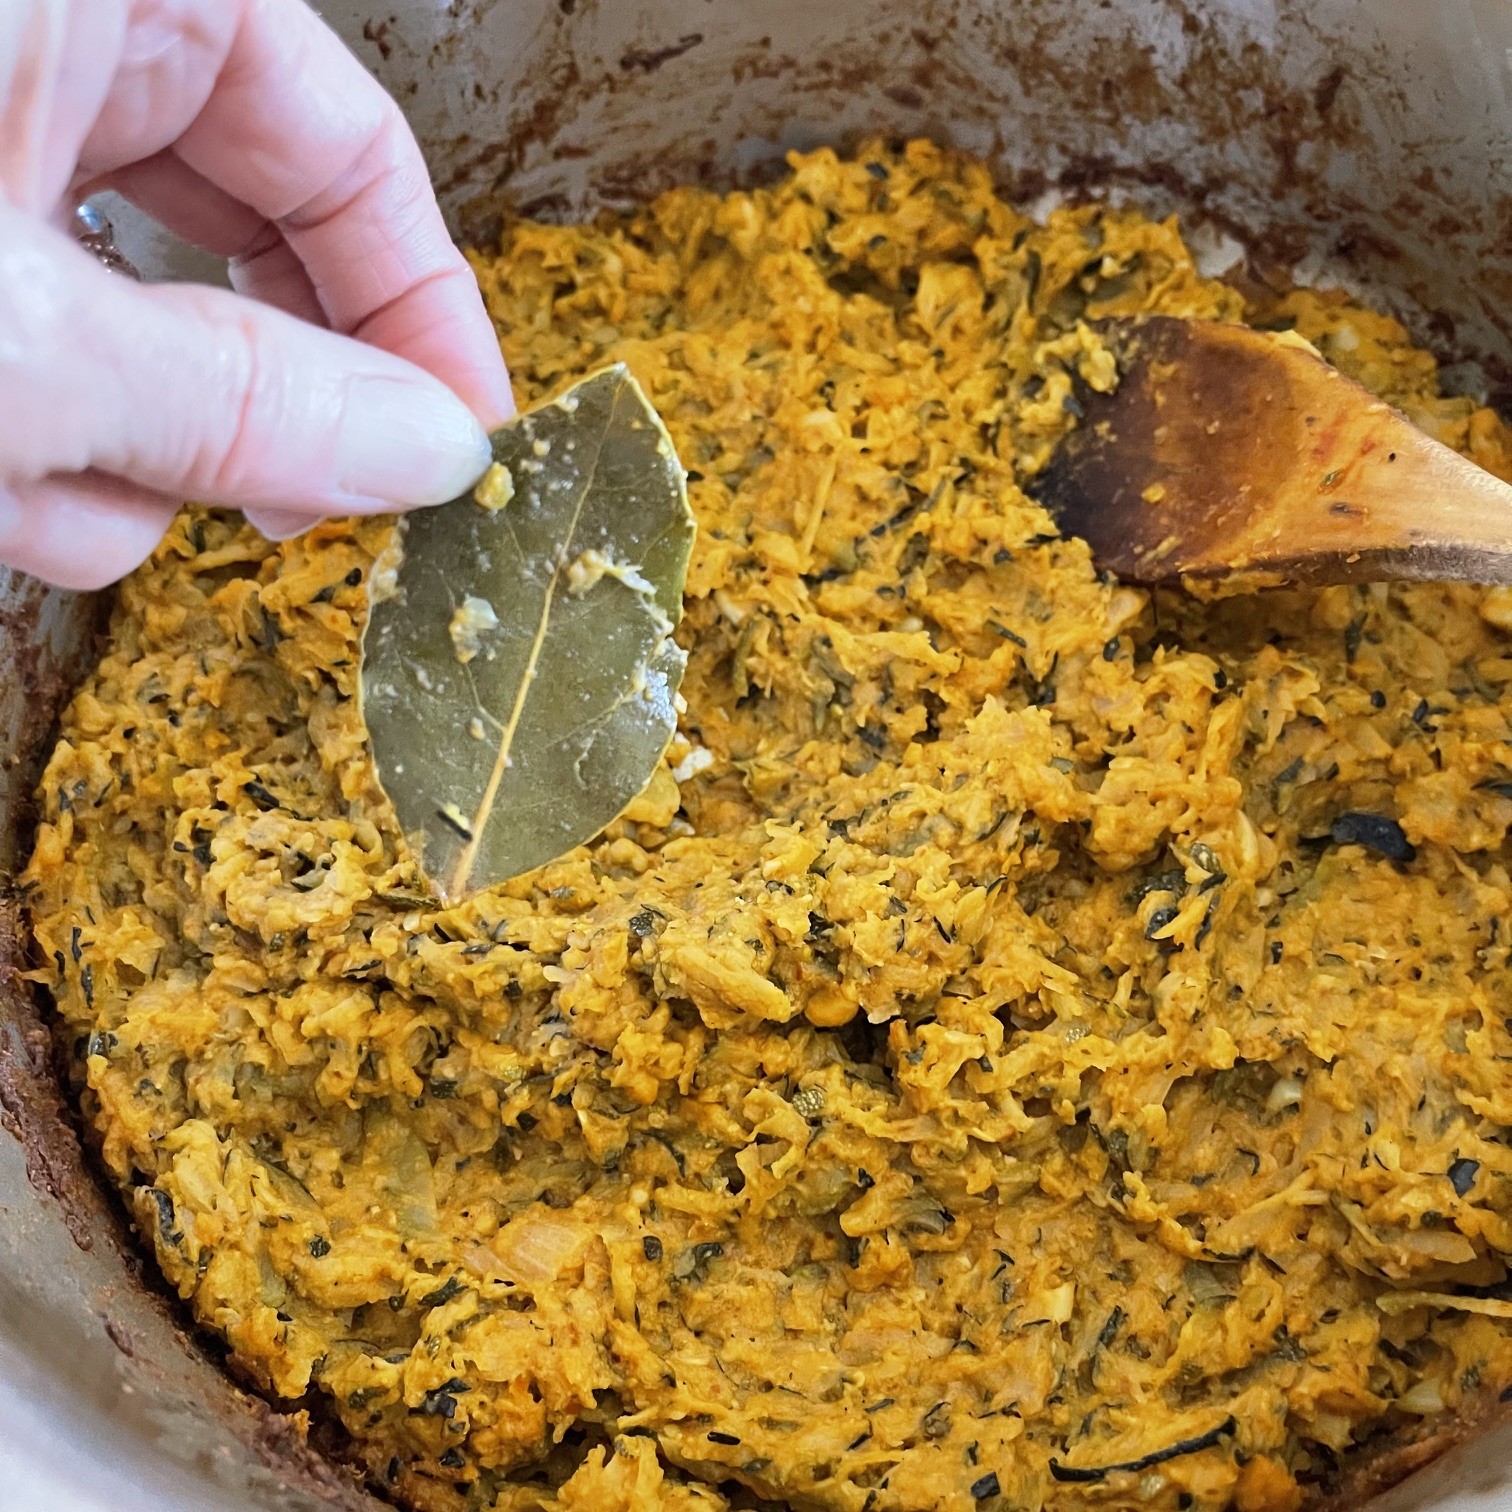
Add in bay leaf and bury it. You don’t want to stir mixture with the bay leaf in it – some bay leafs are brittle and you don’t want shards of bay leaf in your mixture. Make sure you note where you put it – you’ll need to remove it later. Cover pot and bake in preheated 400°F (204°C) for 30 minutes.

After 30 minutes, move bay leaf out of the way and stir zucchini mixture. Bury bay leaf again, cover pot, and continue to bake at 400°F (104°C) for another 45 minutes.

After 45 minutes, remove and discard bay leaf.

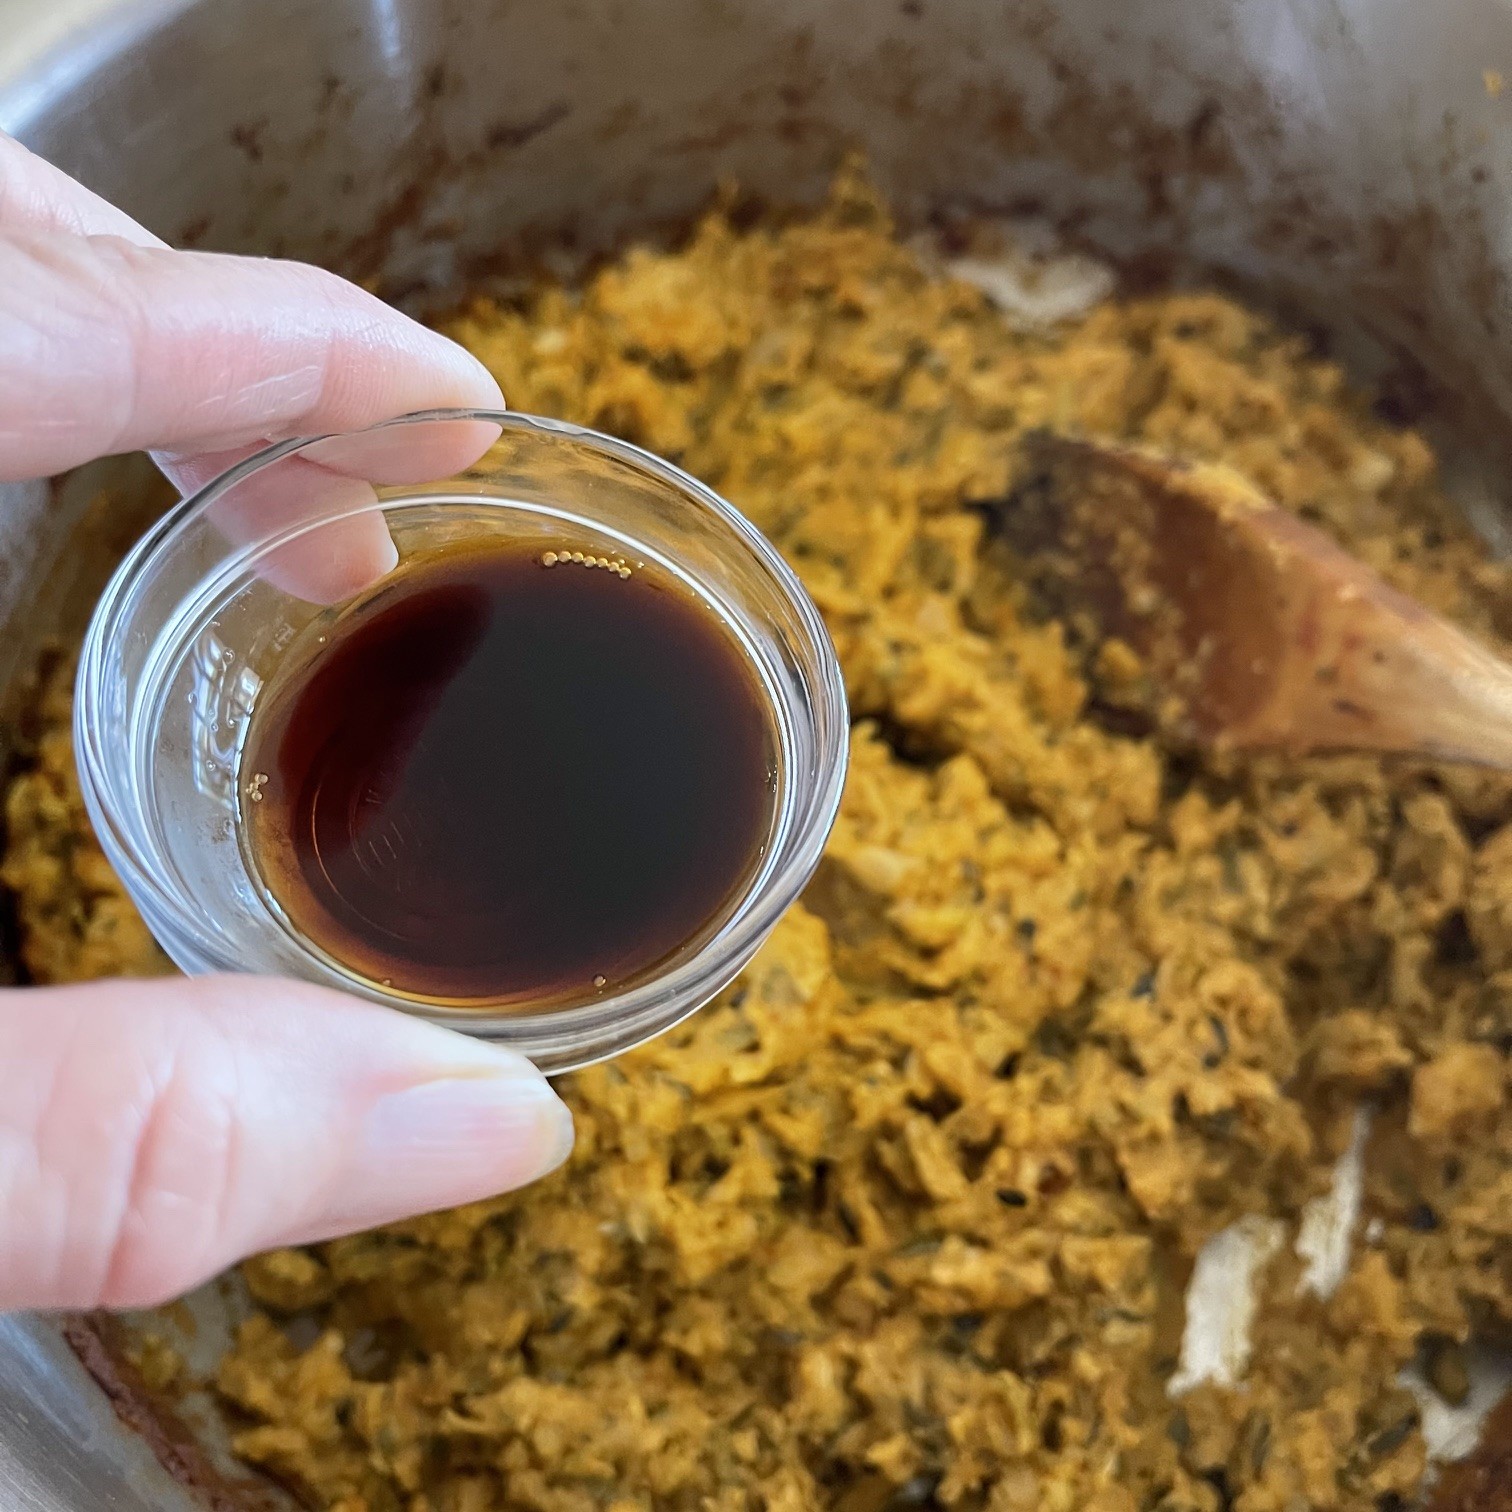
Add in soy sauce.

Cool mixture about 20 minutes, then mix in a blender, food processor, or use an immersion blender (my preference). Adjust seasoning, if needed.

Excellent as a dip or filling in pita bread.

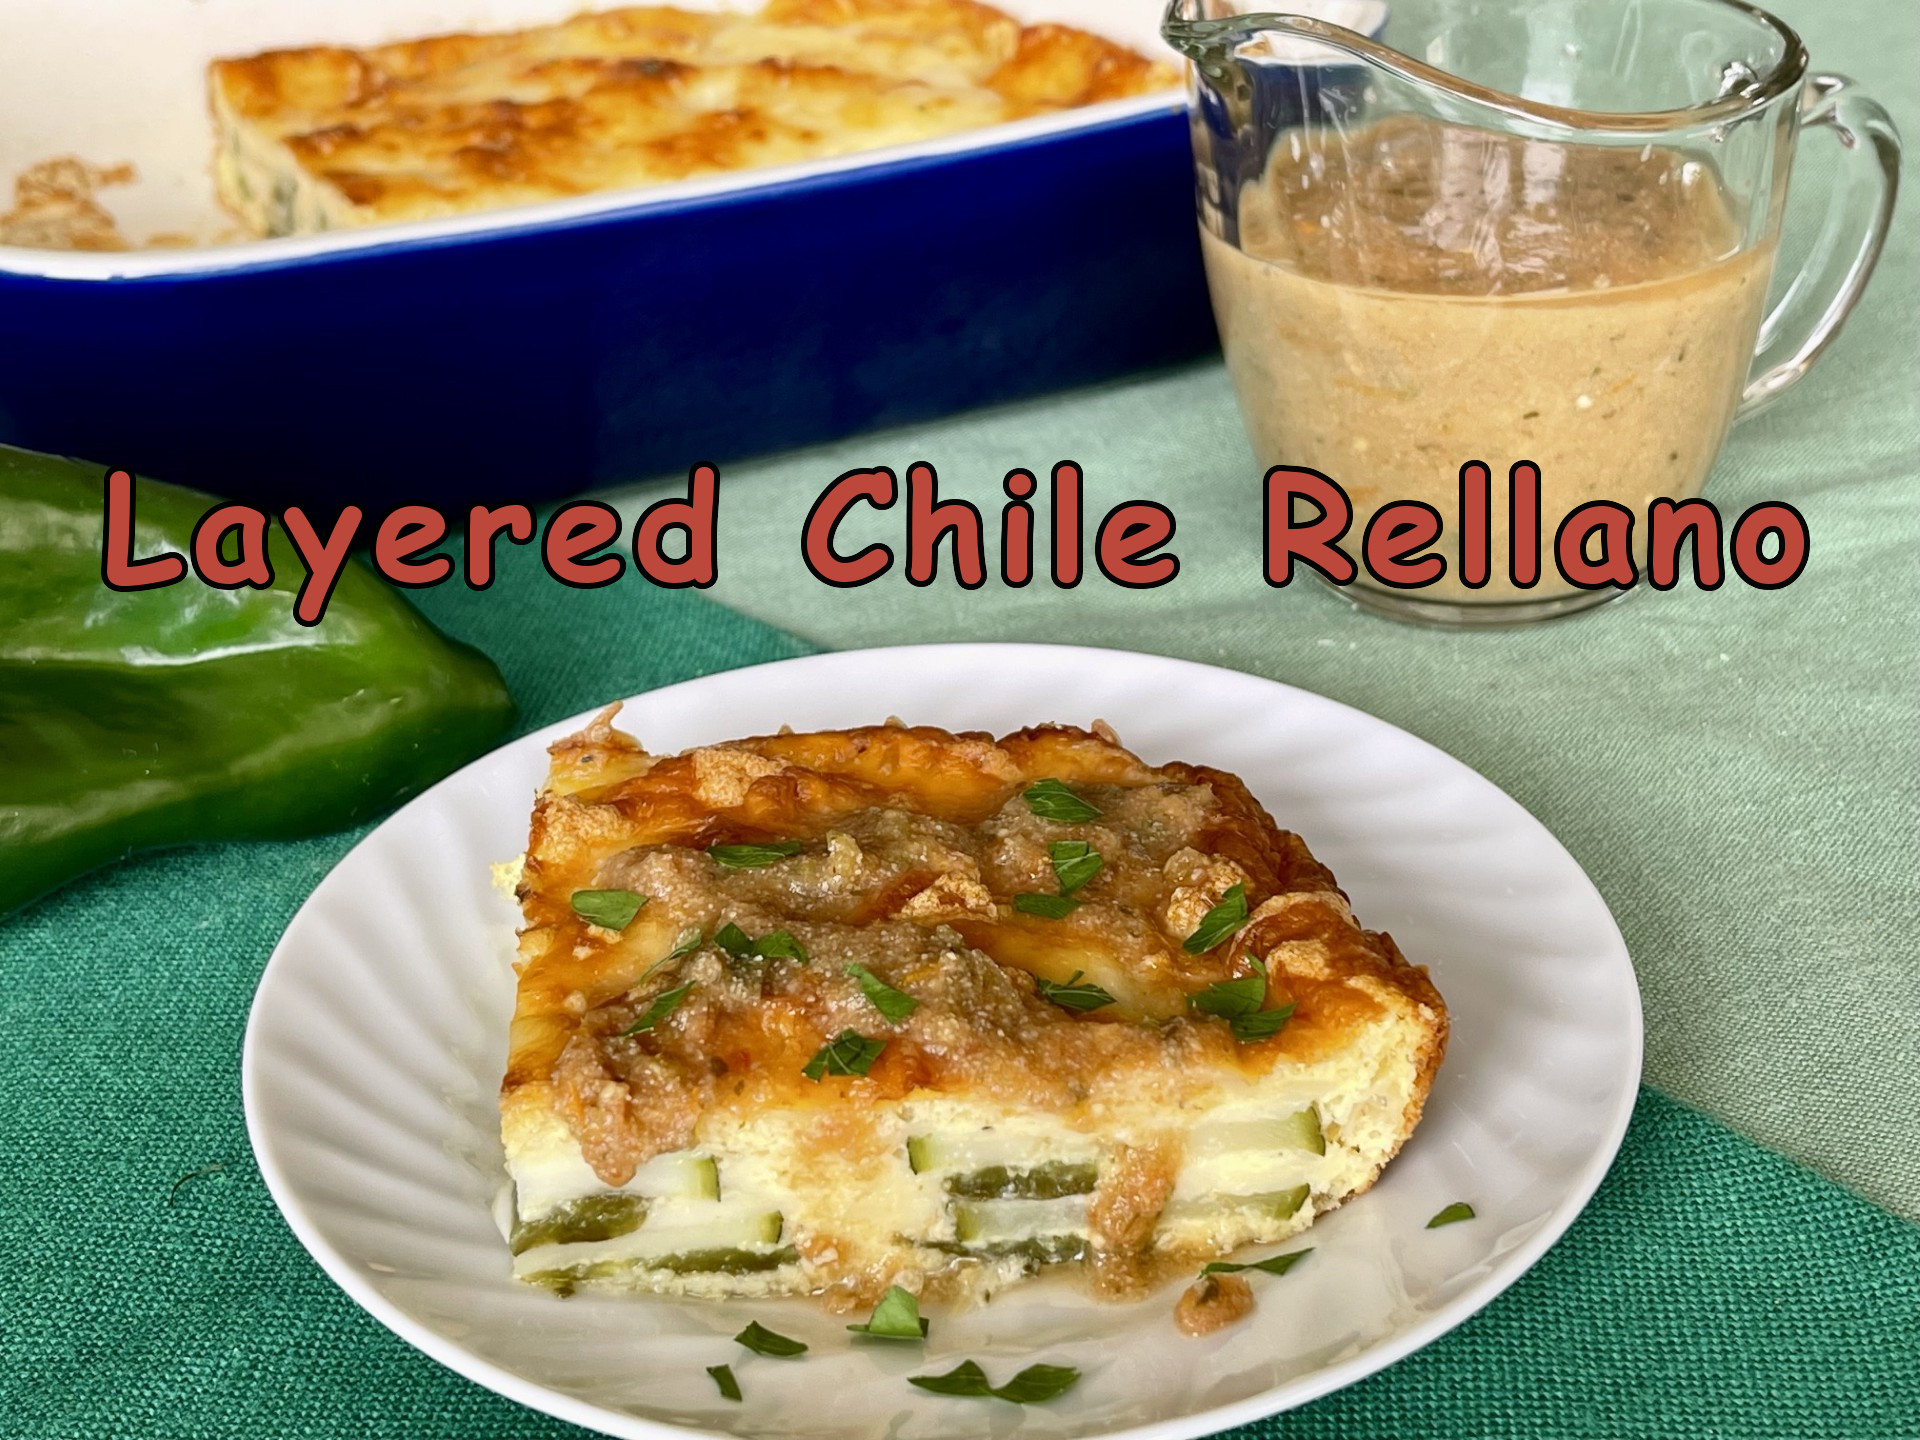
LAYERED CHILE RELLANO: Surprisingly Easy!

Give a recipe to 100 different cooks and you’ll get 100 different variations of that recipe. We substitute ingredients, we add ingredients, we leave out ingredients, we change the methodology. Sometimes the finished product bears no resemblance to the original recipe.

Such is the case with my Chile Rellano recipe. It’s zucchini season in my garden which means I’m always looking for ways to use these fast growing beauties. The plan was to make Chile Rellano for dinner when I spied a 13″ zucchini lurking at the base of the plant. Yikes! One can only serve zucchini stir-fry or zucchini bread so often. Hmmm! I wondered aloud (yes, I talk to myself). How about layering zucchini slices in the Chile Rellano I was making. I like to live on the edge (or, at least, nearby), so I gave it a try. It turned out great!

NOTE: Recipe can be doubled or more – just use a larger casserole dish.

LAYERED CHILE RELLANO – made in a casserole dish about 10″ x 8″ (25cm x 20cm)

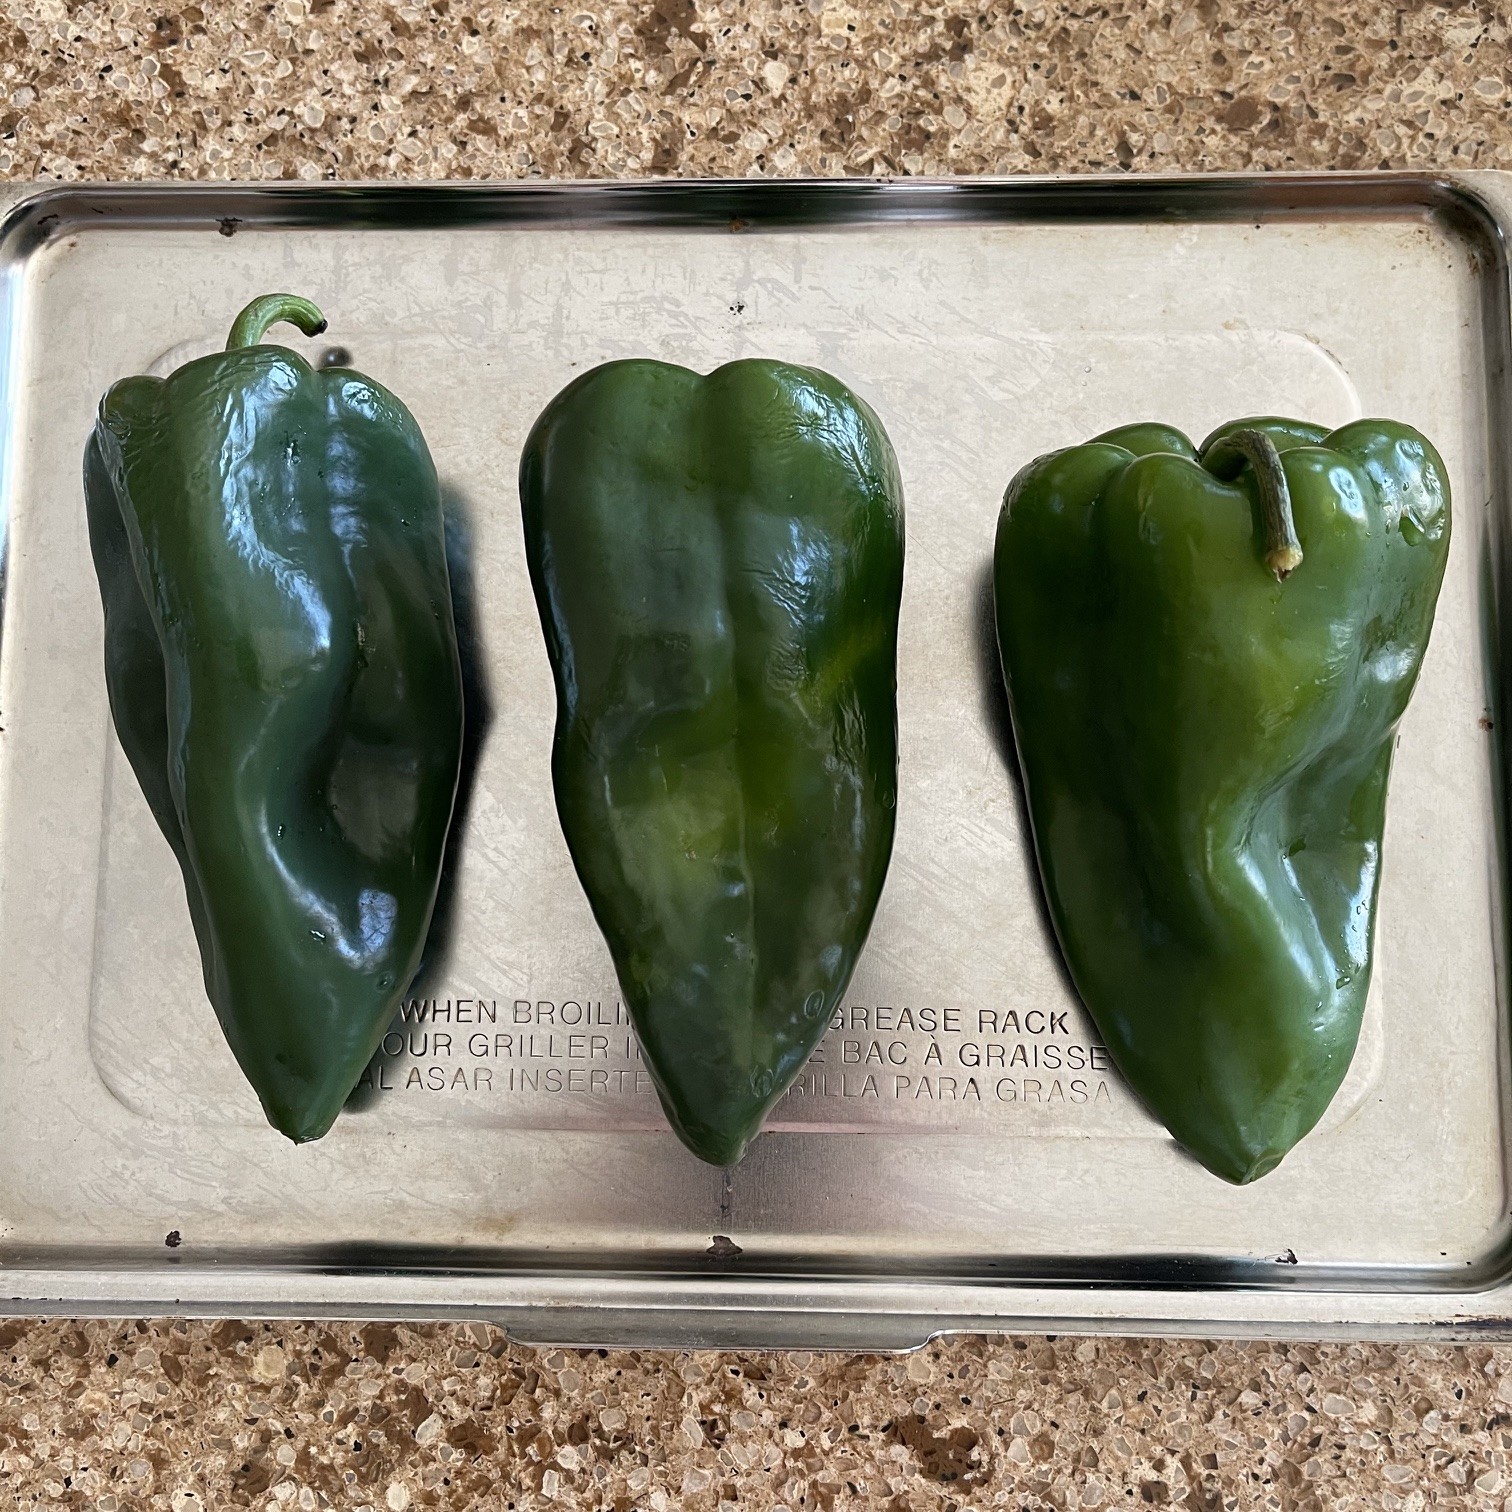
  • 3 poblano chili peppers
  • 286g (10 oz) pepper jack cheese, grated
  • 3 eggs
  • about 400g (15 oz) zucchini
  • 1/4 tsp baking powder
  • 21g (2.5 T) flour
  • 22g (2 T) milk
  • 1/2 tsp salt
  • 1/4 tsp ground black pepper

SALSA for Chile Rellano – makes about 350ml (1.5 cups)

  • 192g (1.33 cups) salsa roja – homemade or purchased
  • 1/4 tsp dried oregano
  • 12g (2T) masa harina
  • 1/4 tsp salt

NOTE: Zucchini is really optional. You can layer something else (such as eggplant) or, just leave that layer out entirely. It will be delicious either way!

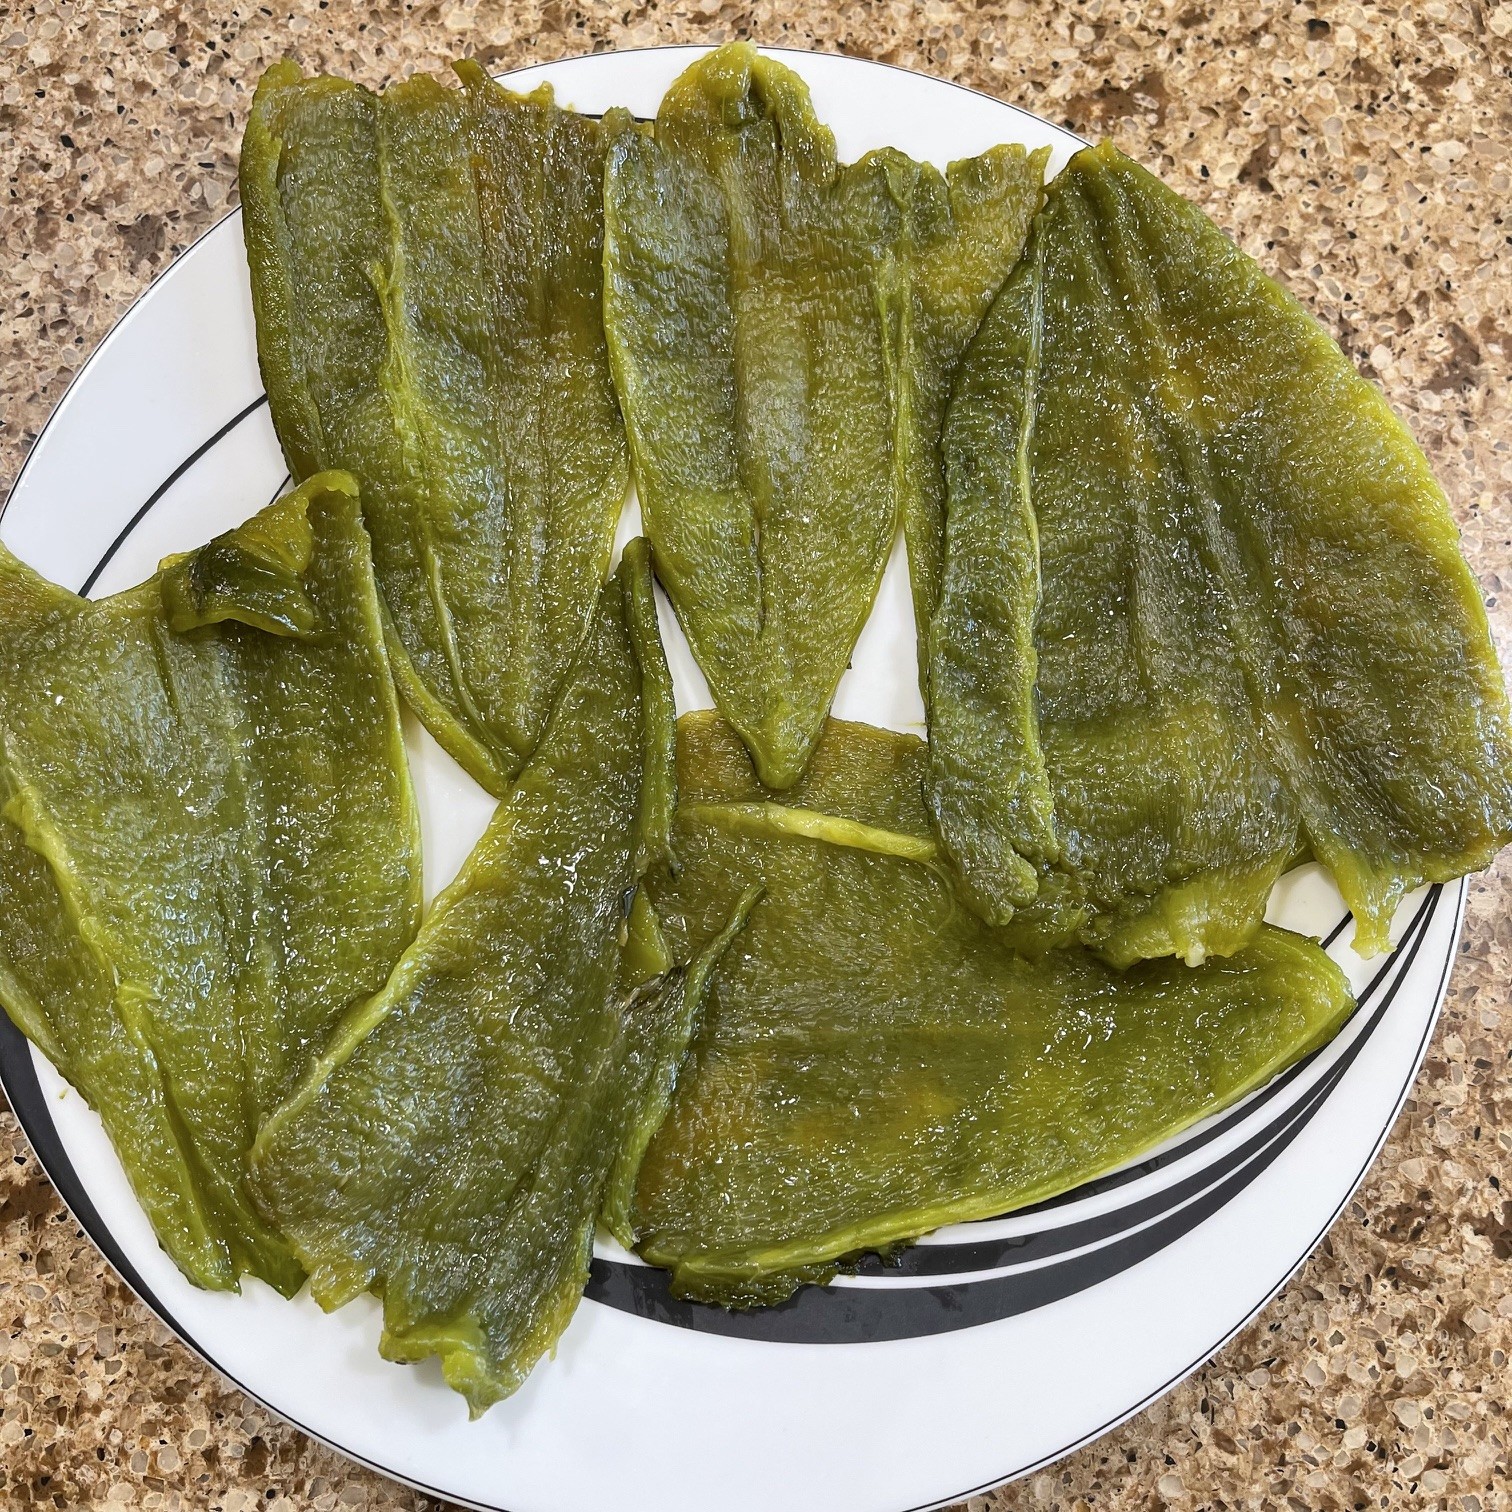
First thing to do is roast the poblanos. This is so you can remove the skin. Lay washed chili peppers on a baking sheet and place them under the broiler. Set a timer for a few minutes so you don’t forget them.

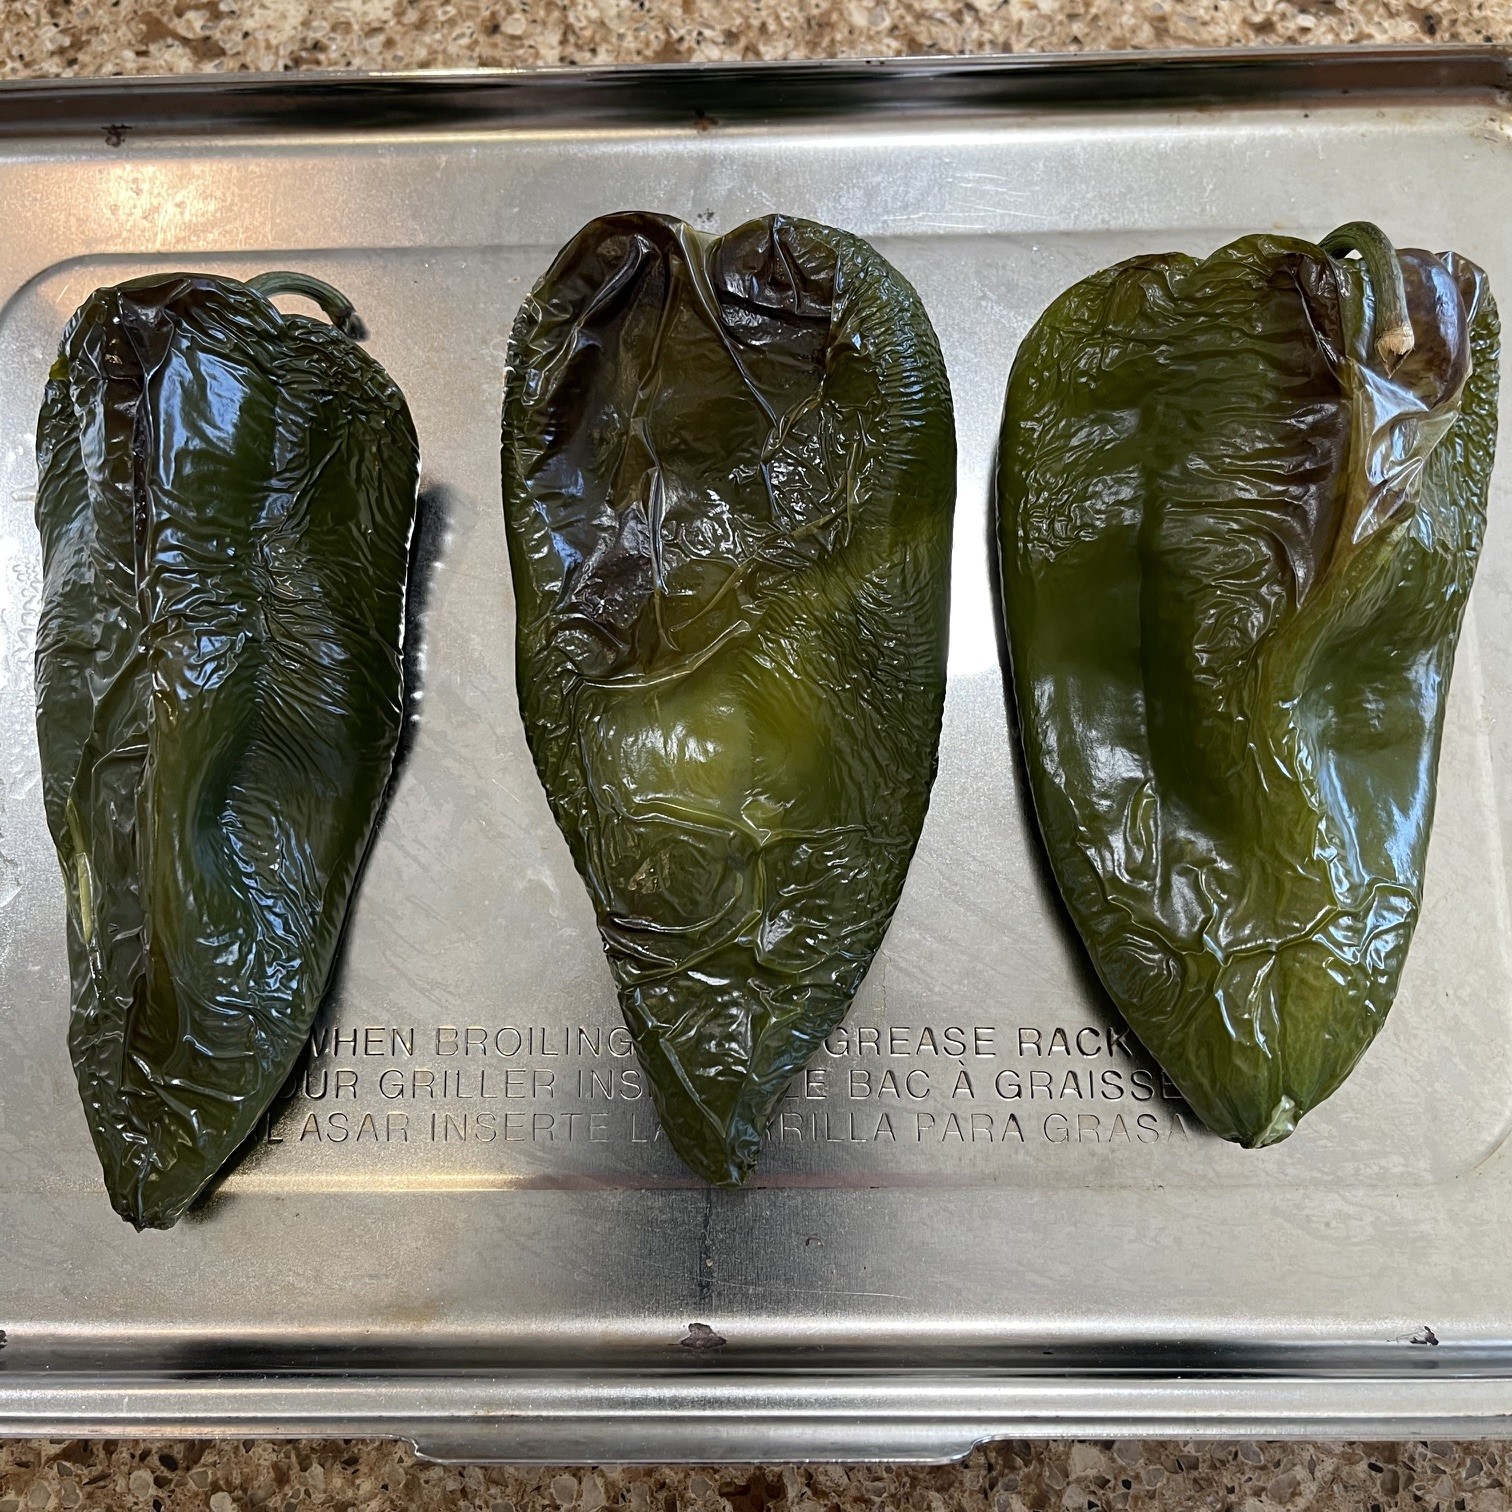
Once they begin to shrivel and blacken (after about 5 minutes) flip them and broil the other side. Remove them from the broiler and let cool a bit.

Lower oven to 350°F (180°C) to keep oven hot while you prepare the Layered Chile Rellano.

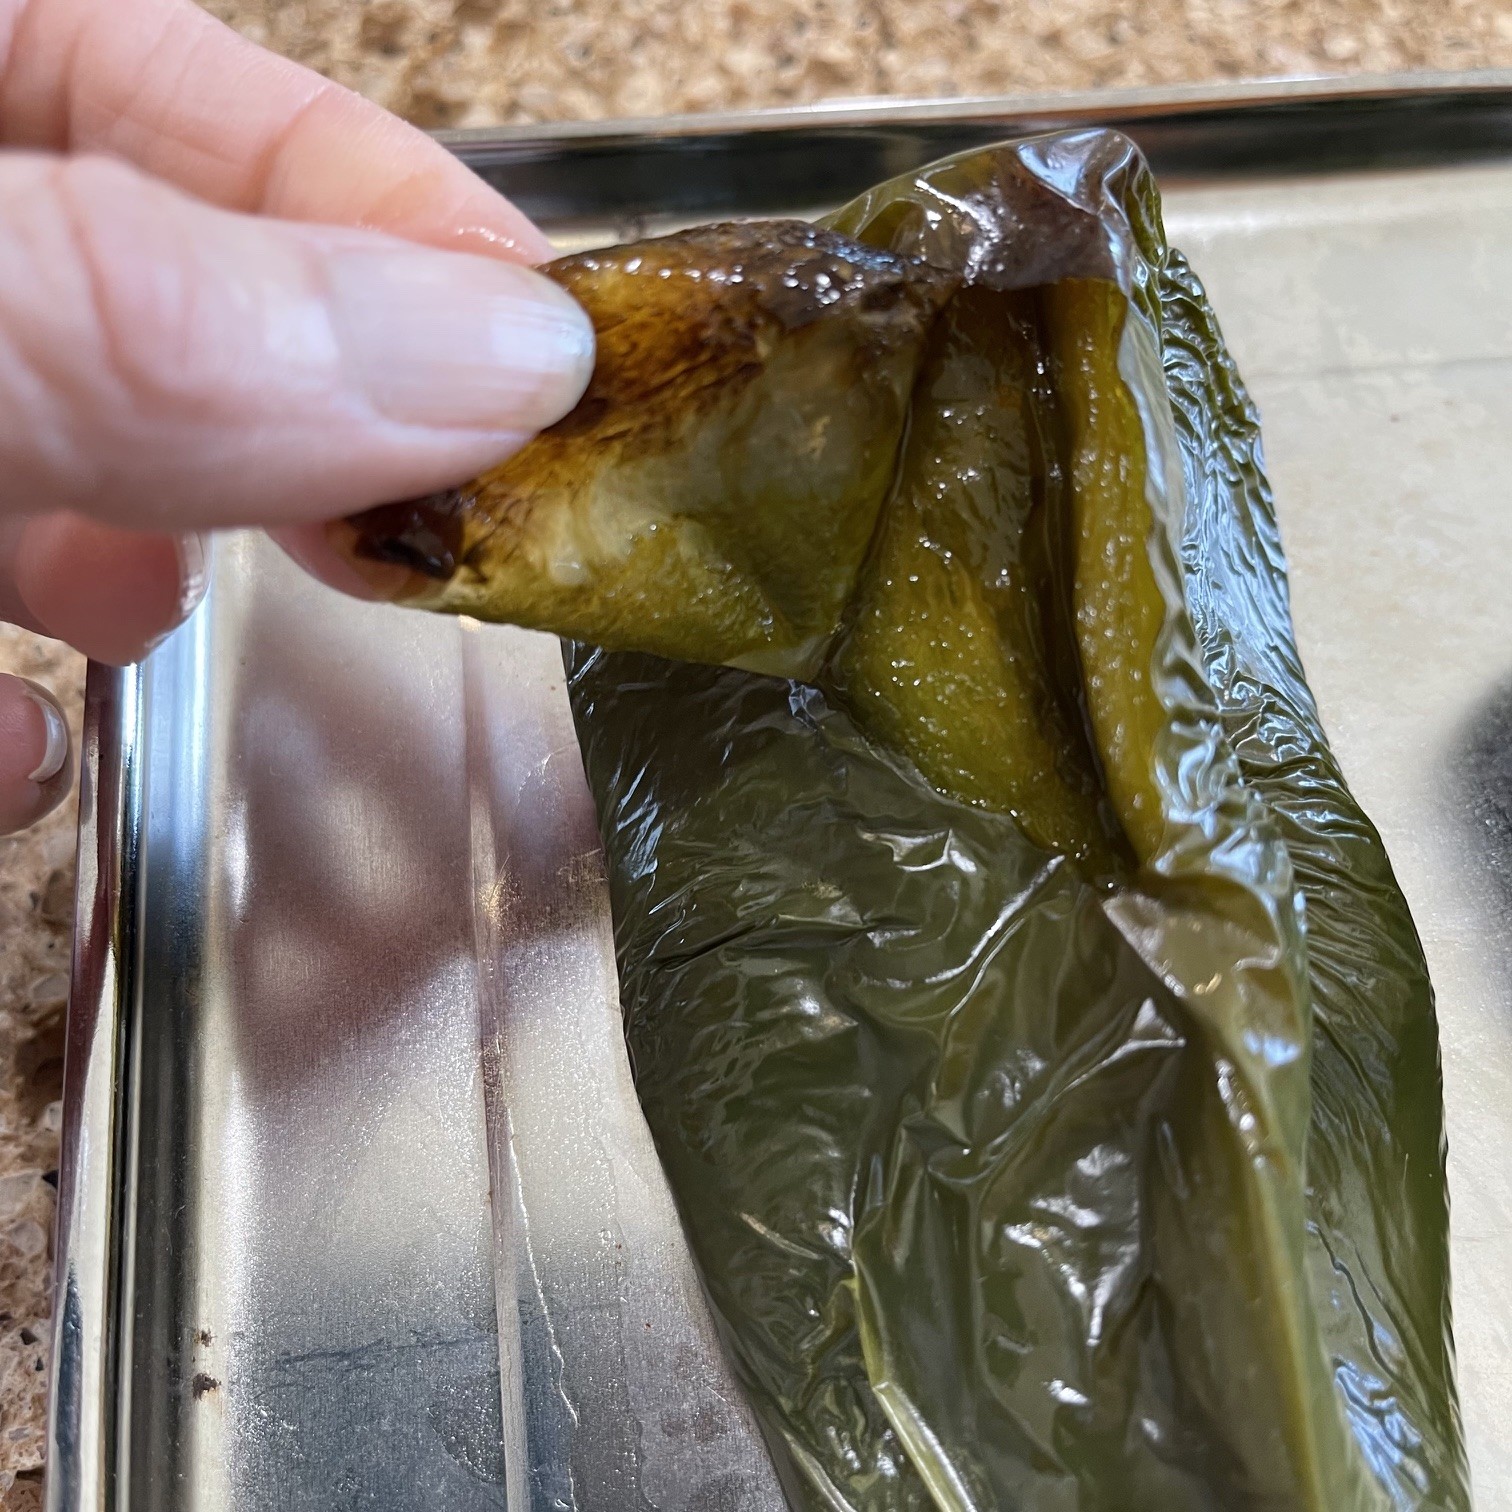
Peel away and discard the skin.

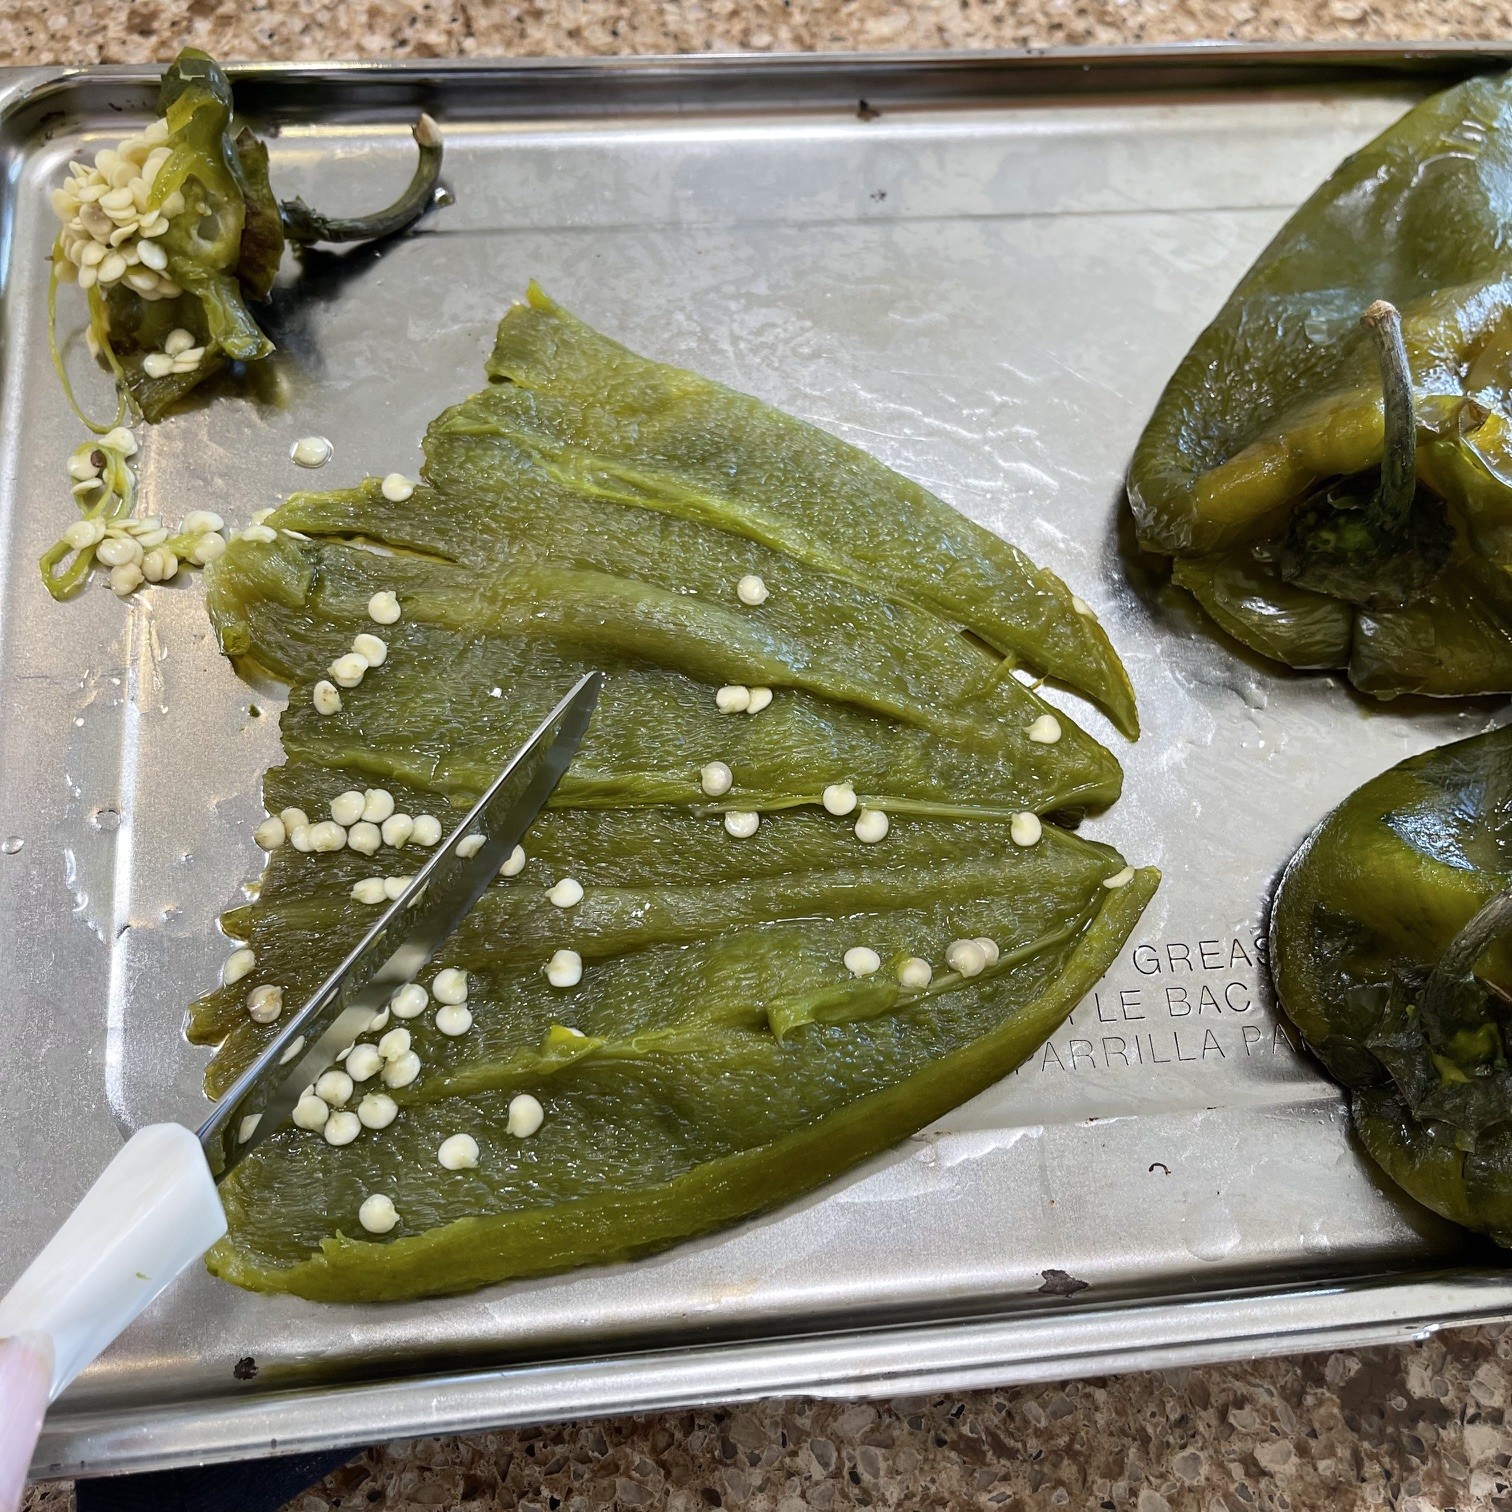
Cut peeled poblanos in half lengthwise. Remove and discard the stem end and seeds.

Tear the halves into smaller pieces so they can be fitted into the casserole dish.

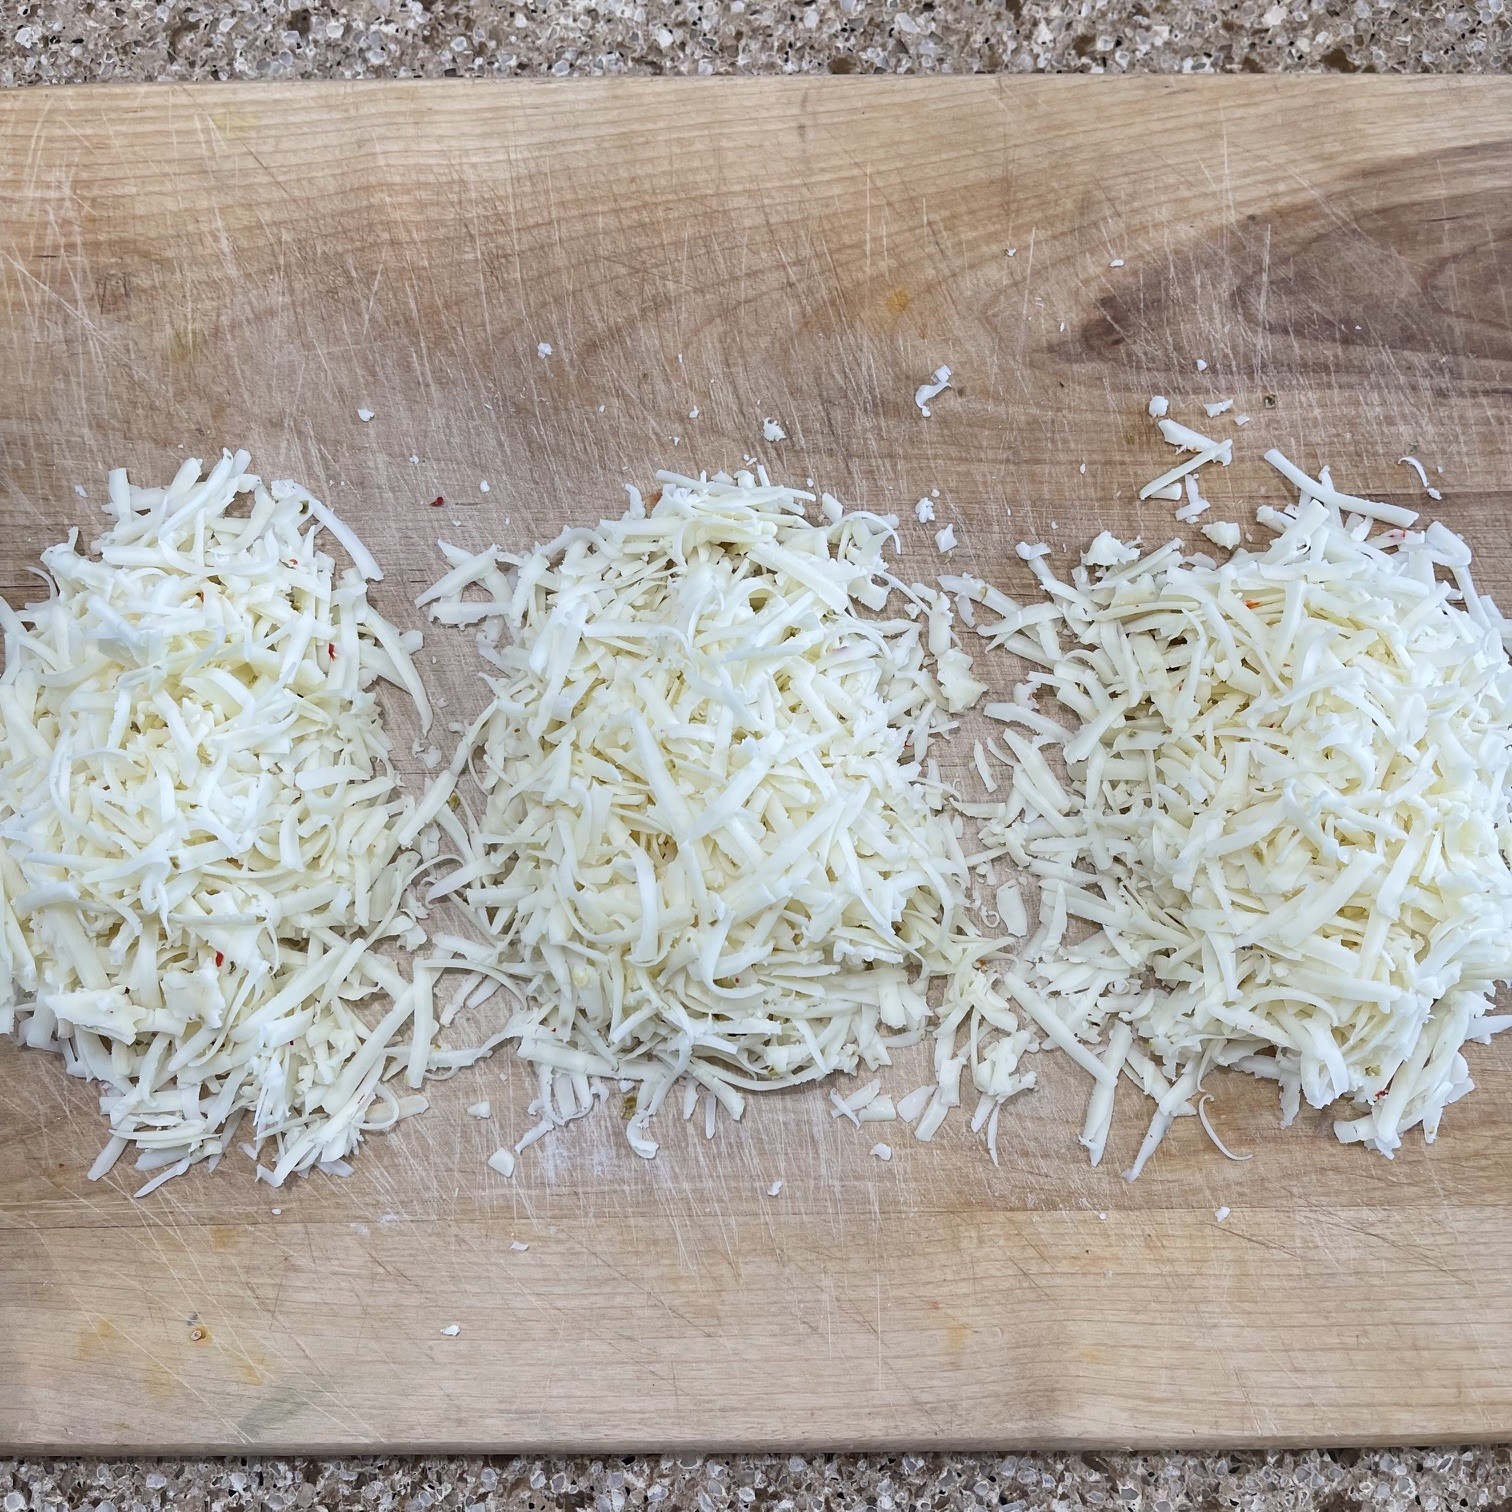
Grate the cheese and separate into 3 fairly equal piles.

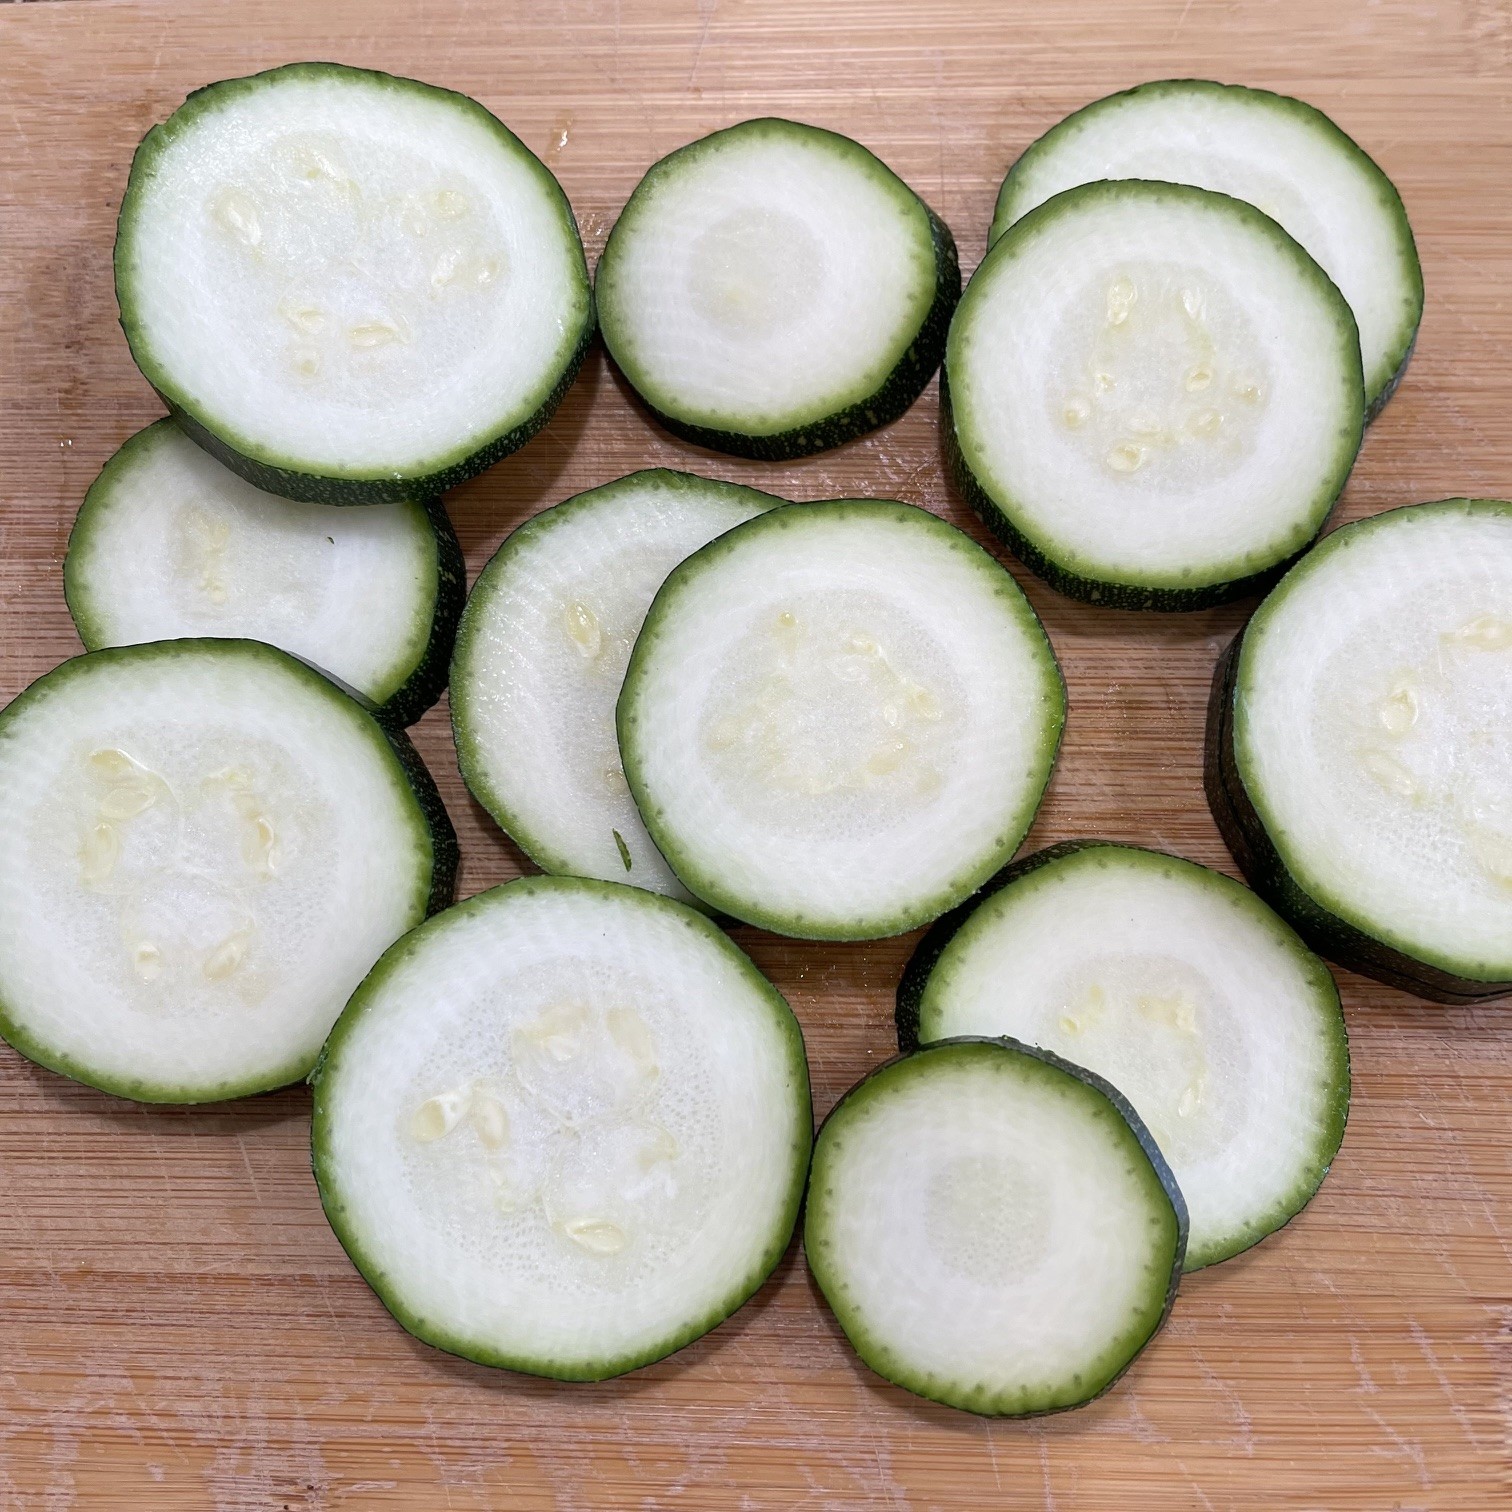
Slice the zucchini into 1/4″ (1/2cm) rounds.

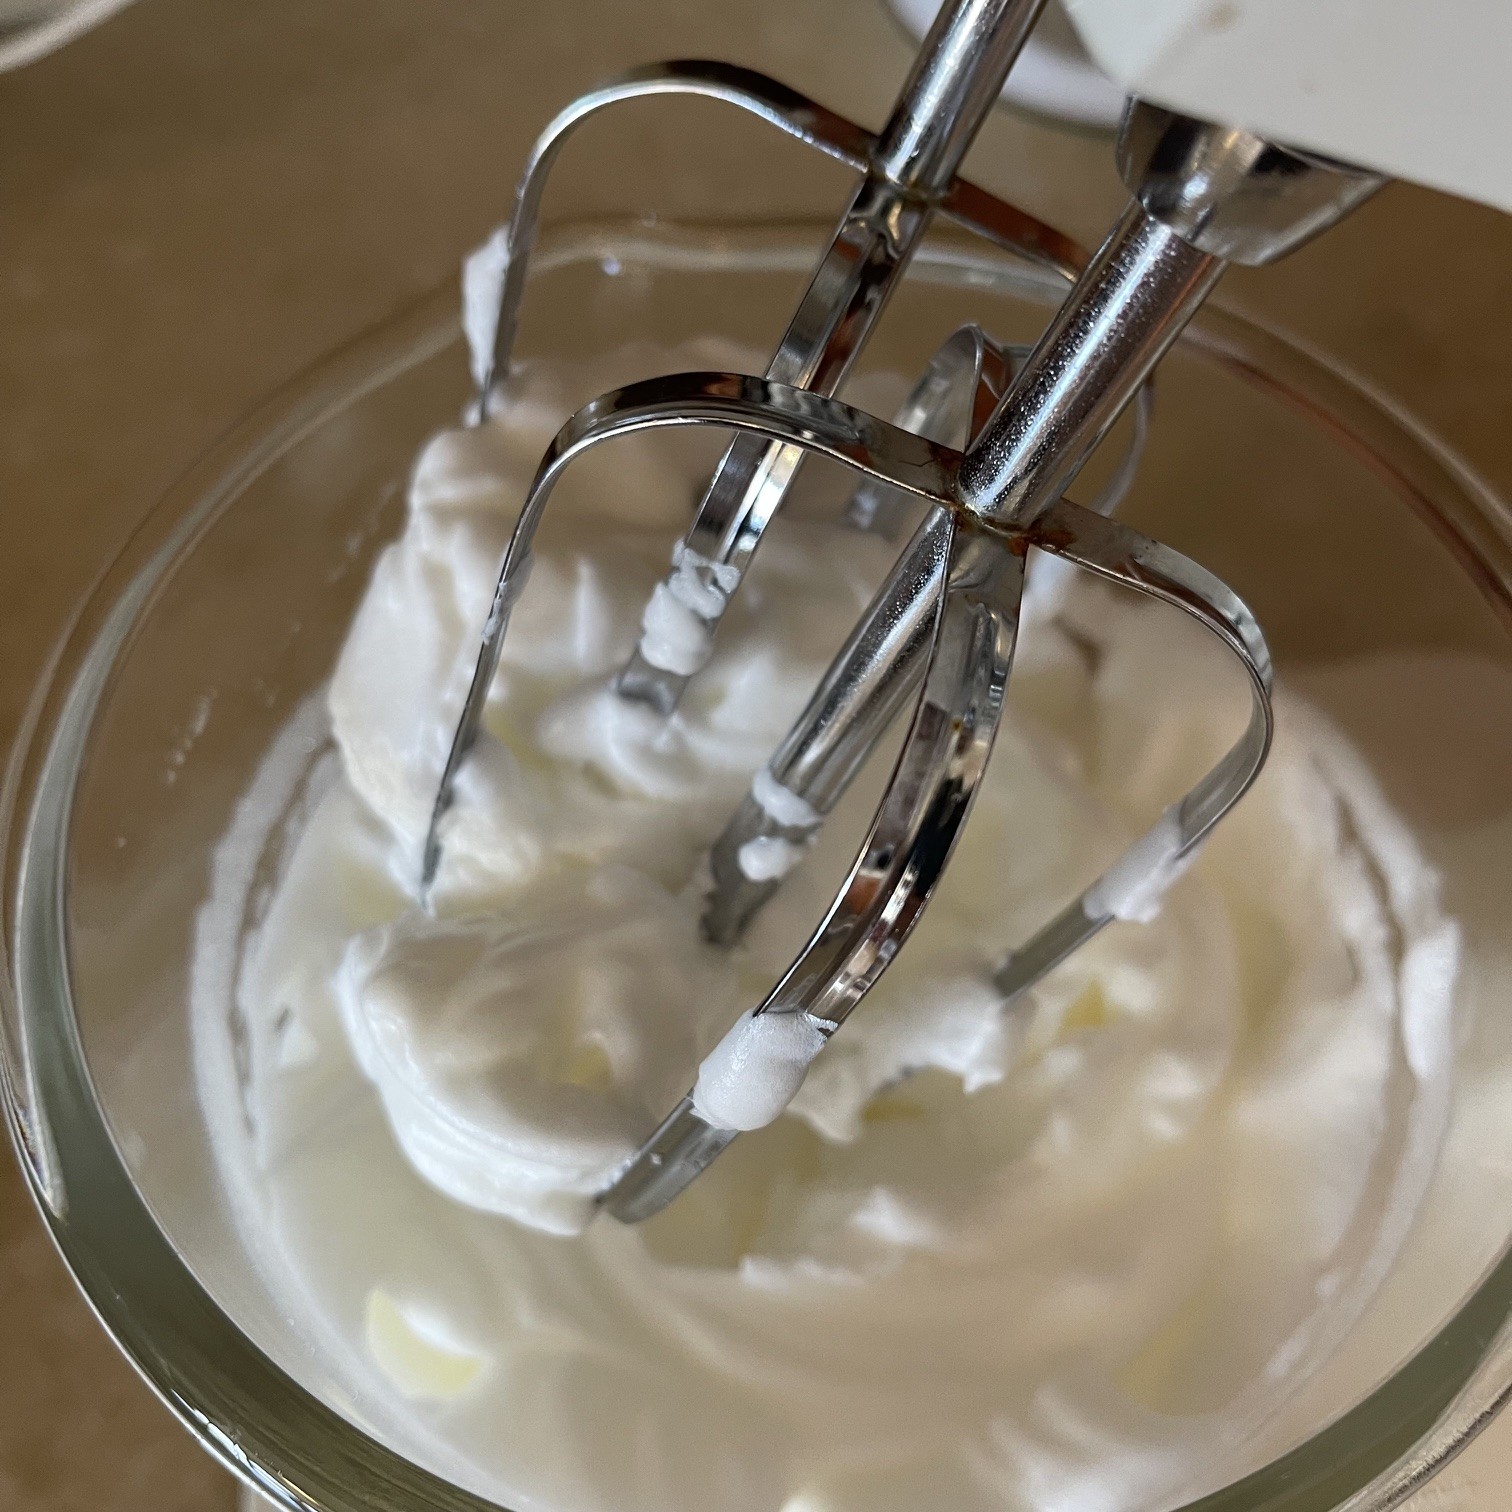
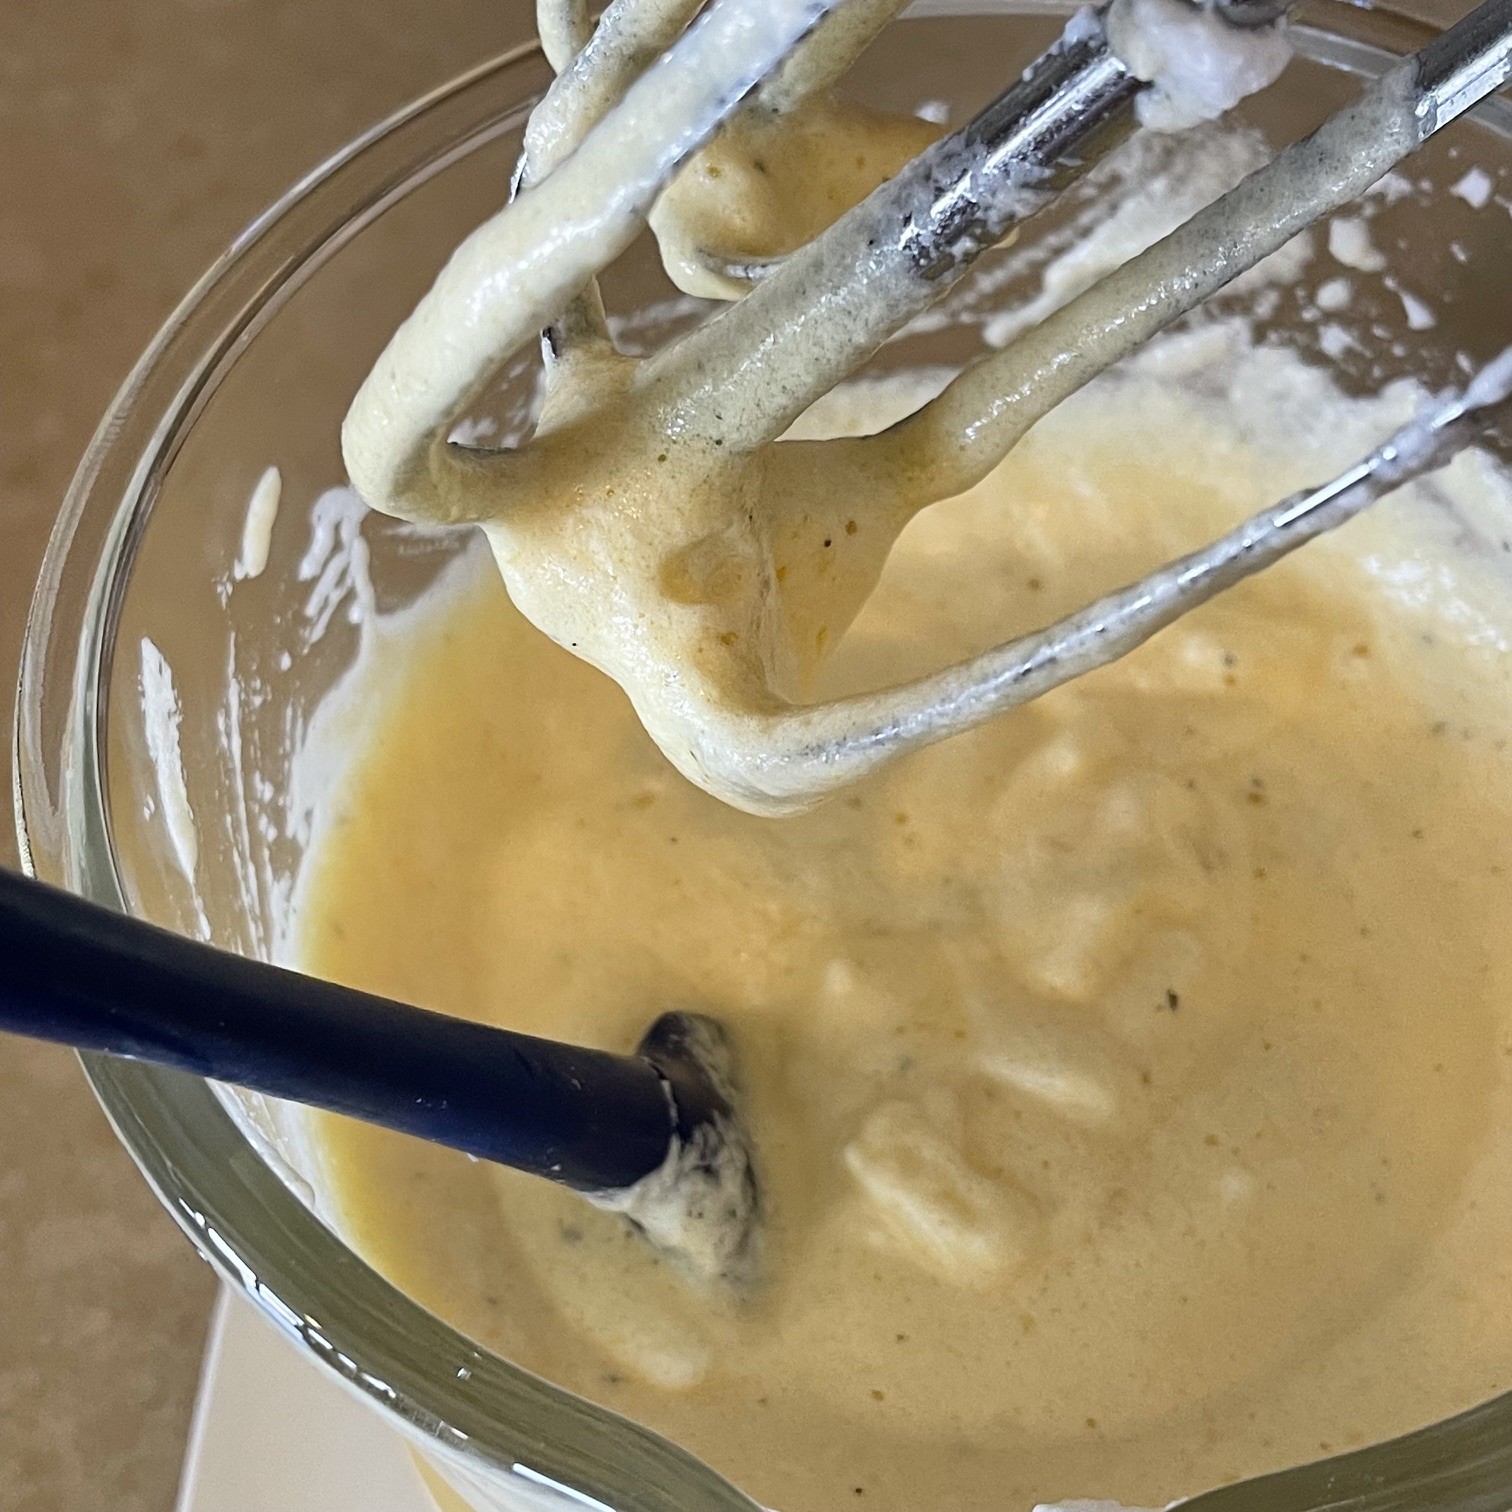
Separate eggs by placing the yolks in a small mixing bowl and set aside. Place the whites in the bowl of your electric mixer – NOT the small bowl of yolks! Beat whites on high to reach stiff peaks – about 1.5 minutes. (I you don’t have an electric mixer, beat by hand – it will take longer.)

In the small bowl of yolks, add the baking powder, flour, milk, salt, and pepper. Combine and pour into the beaten whites. On low speed (or by hand) add the yolk mixture and briefly combine. You don’t want to deflate the whites!

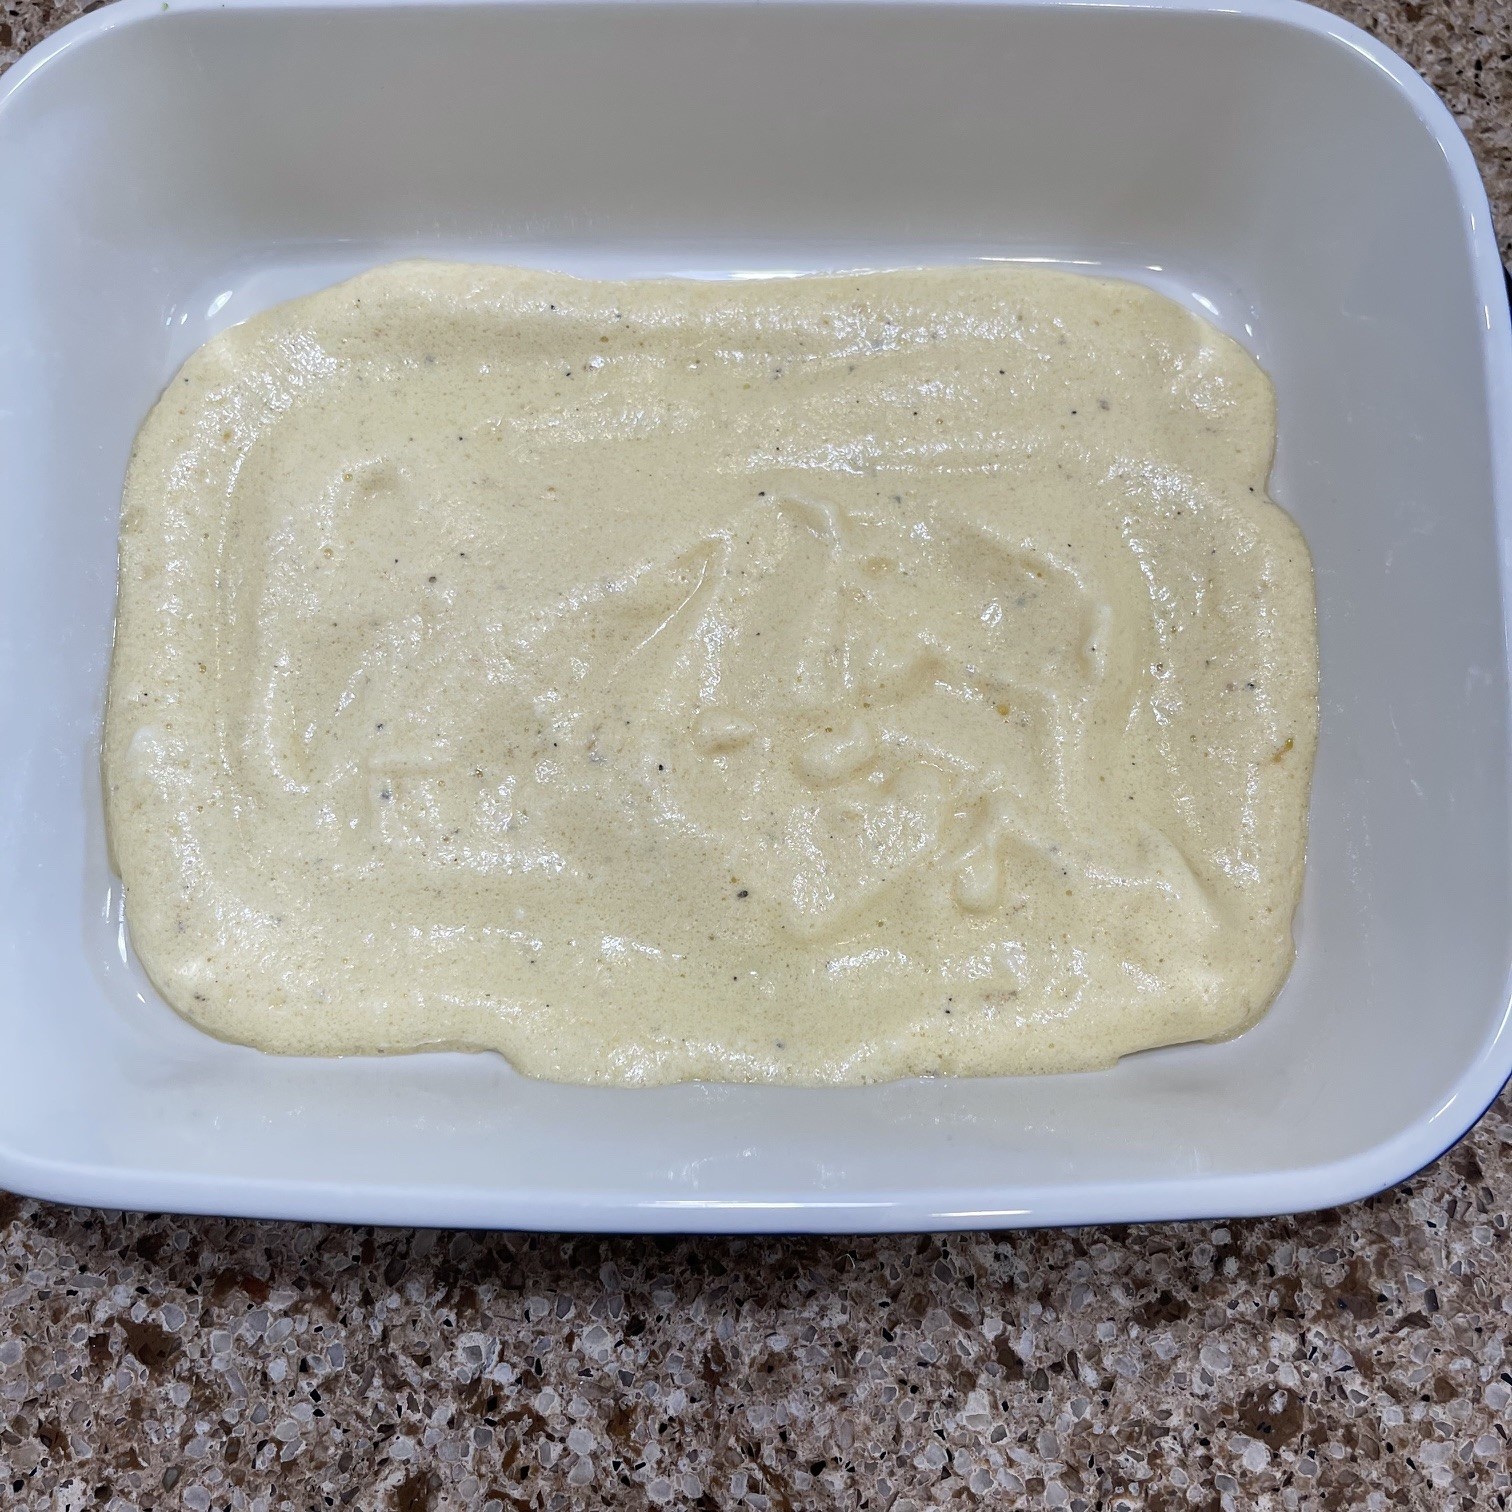
Pour approximately half of the egg mixture into the casserole dish, spreading it to evenly cover bottom.

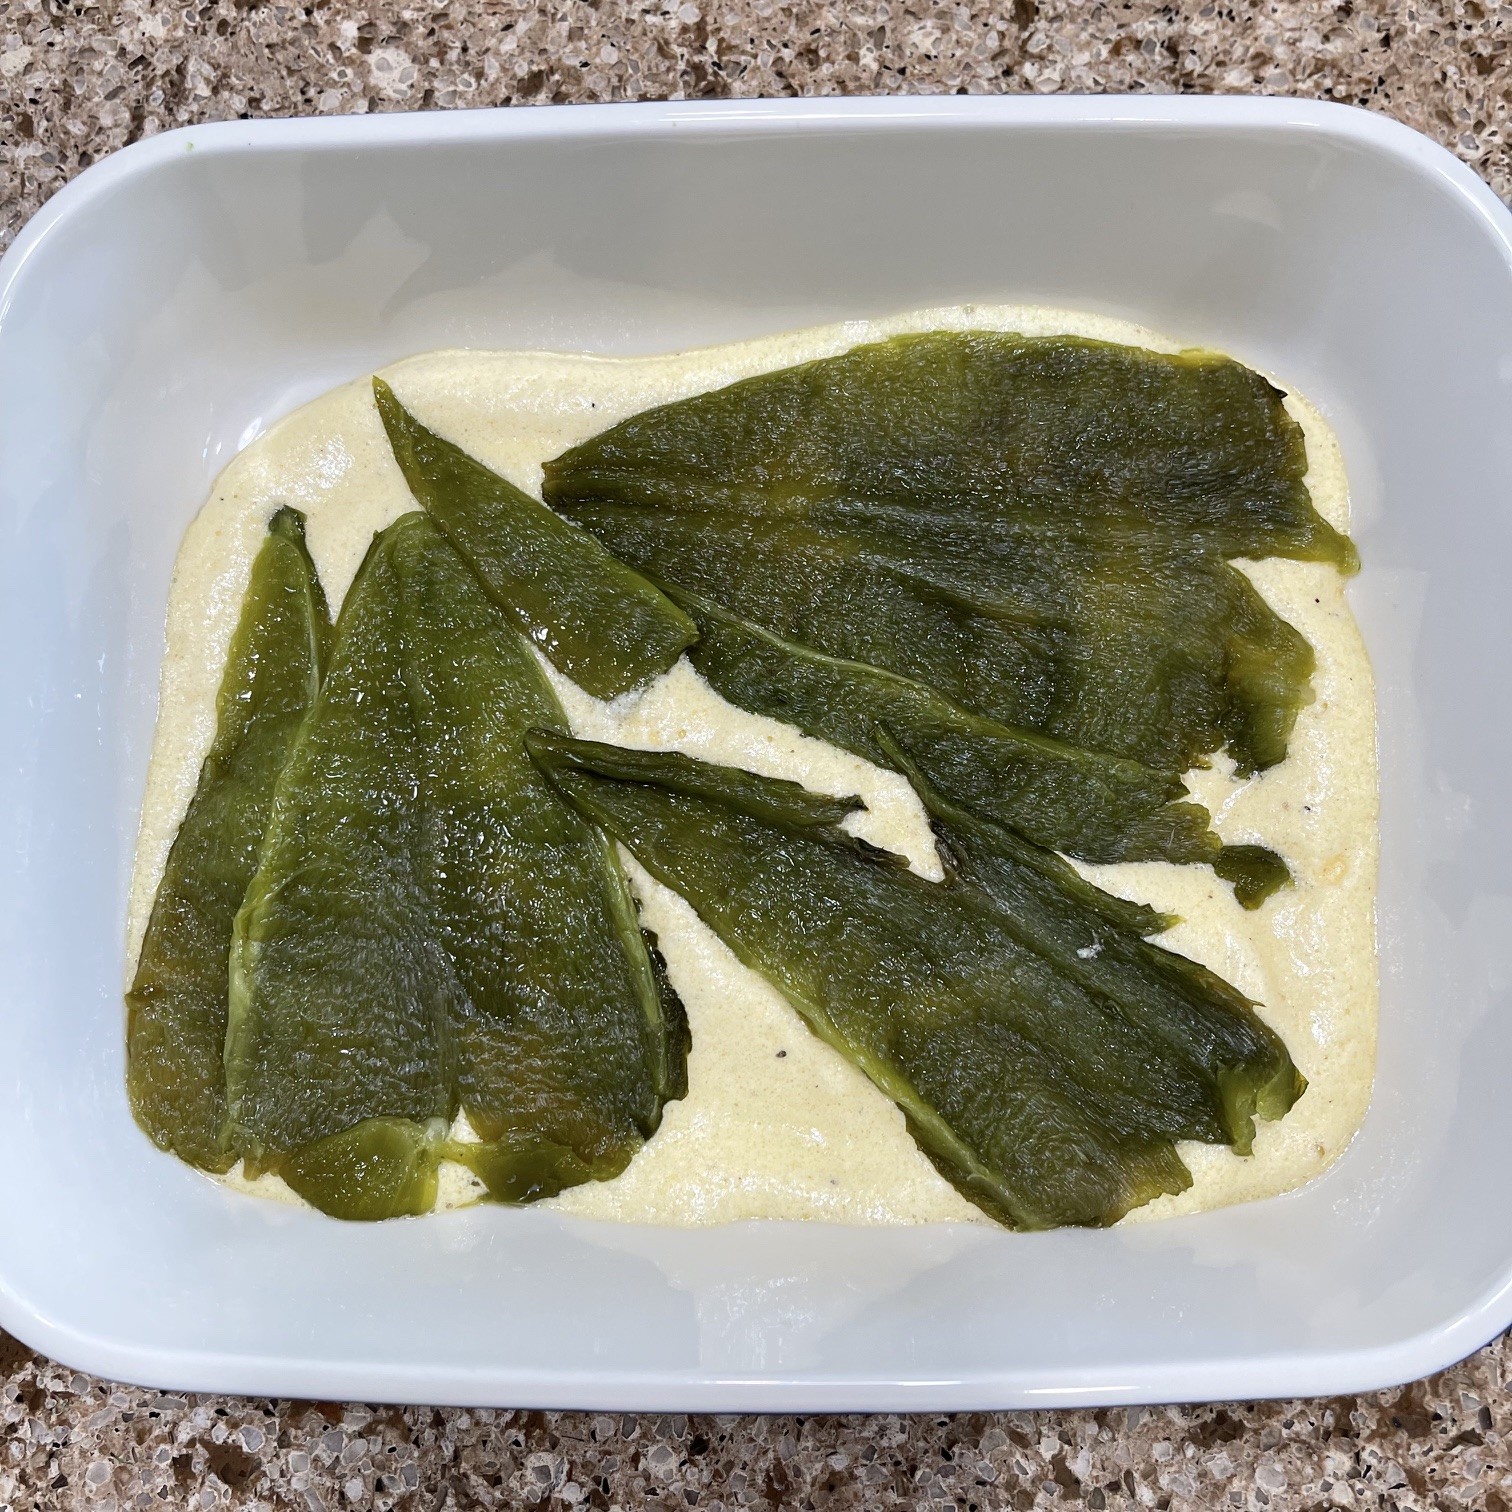
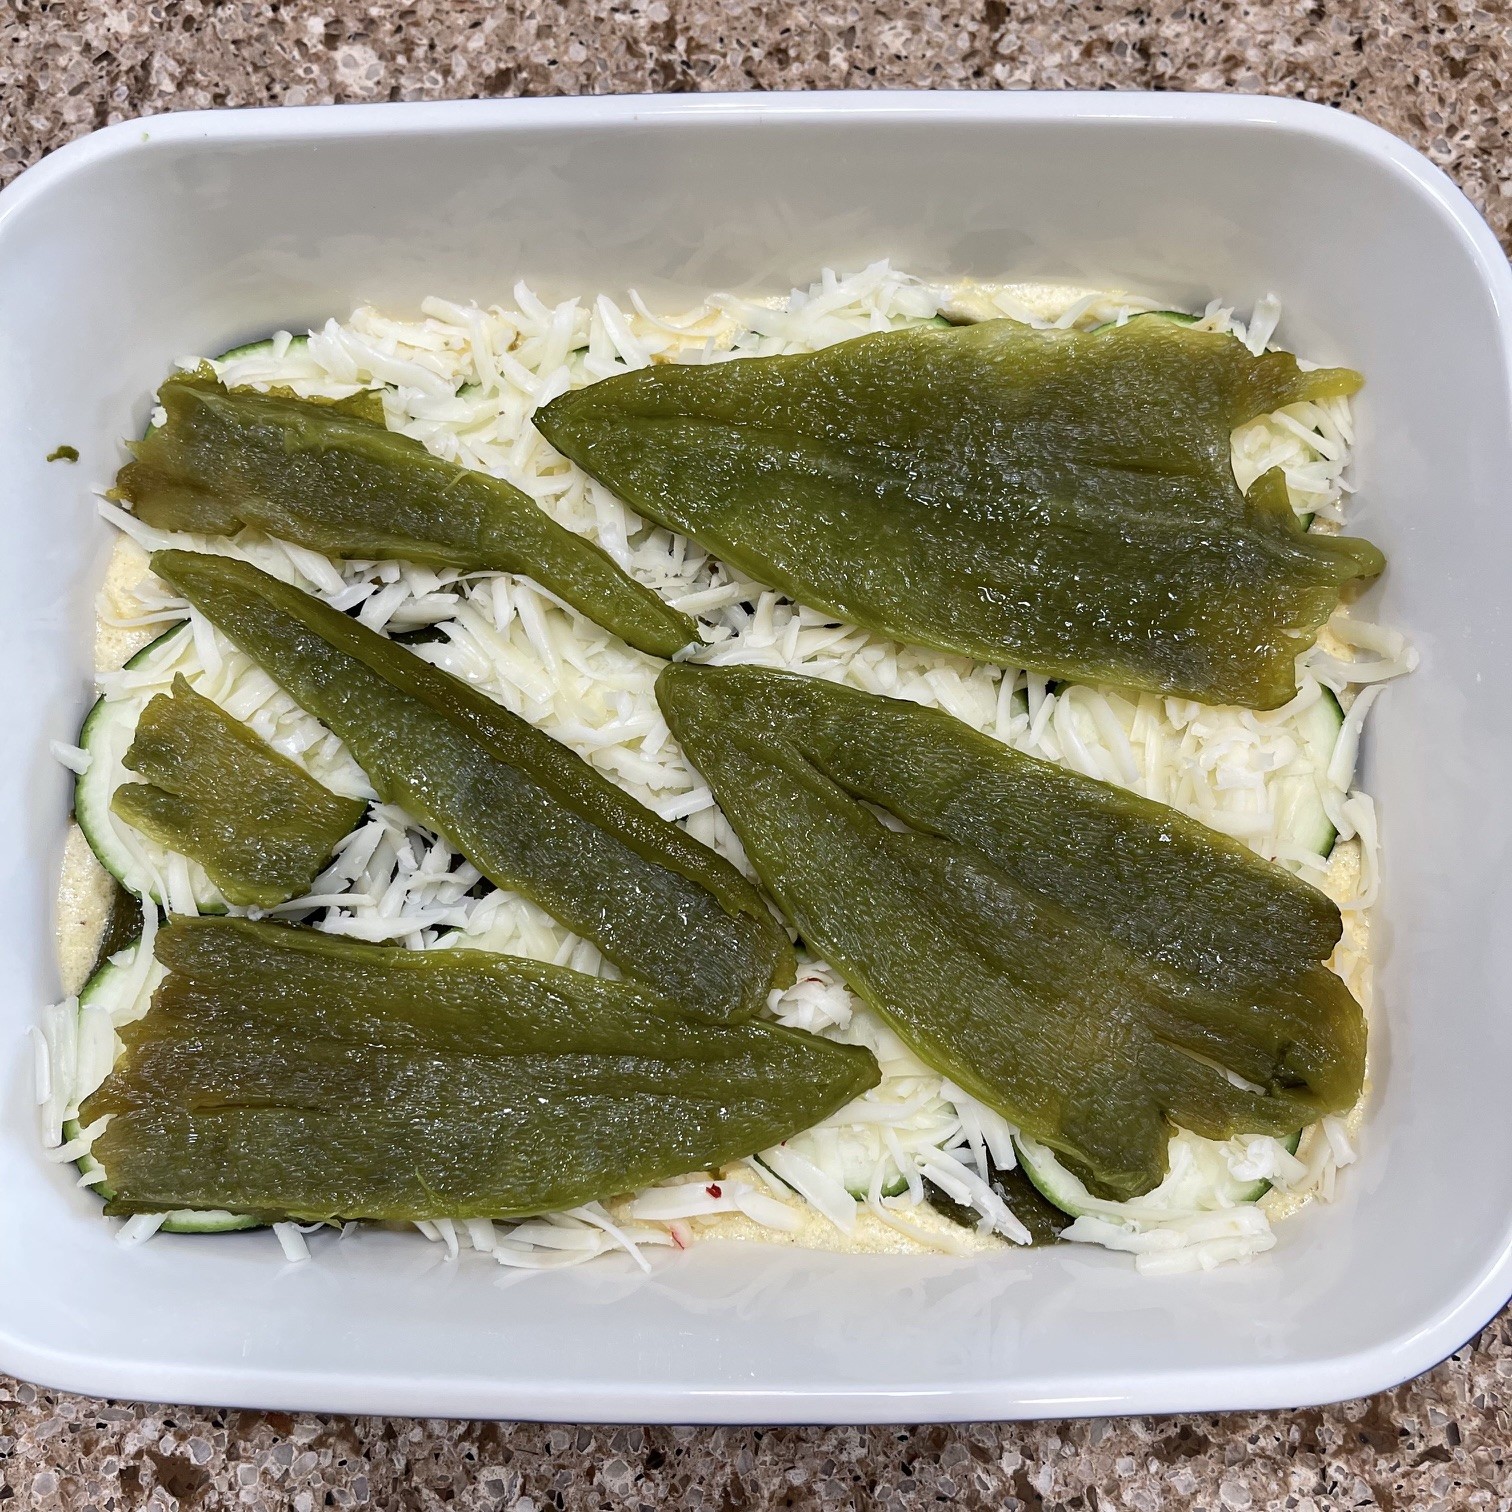
Layer on half of the poblanos.

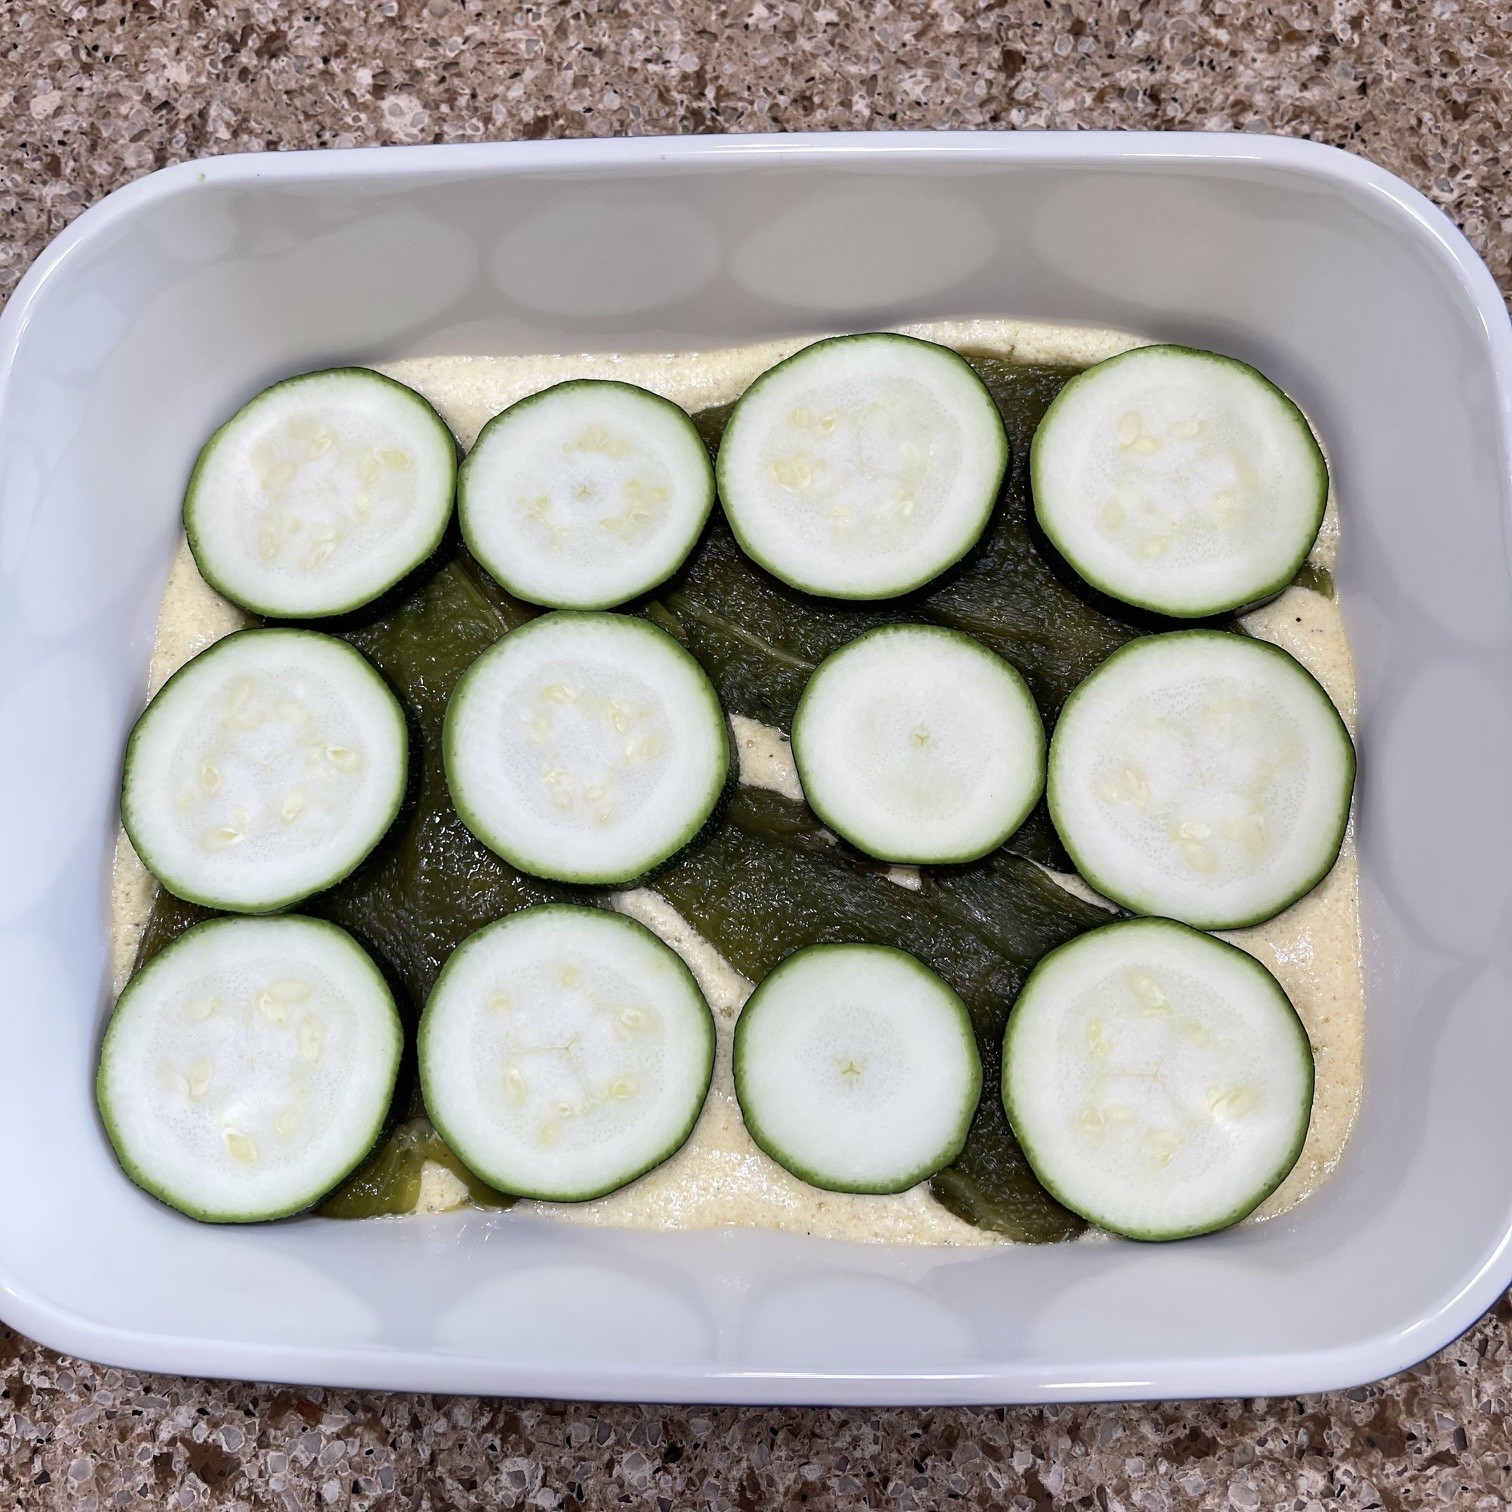
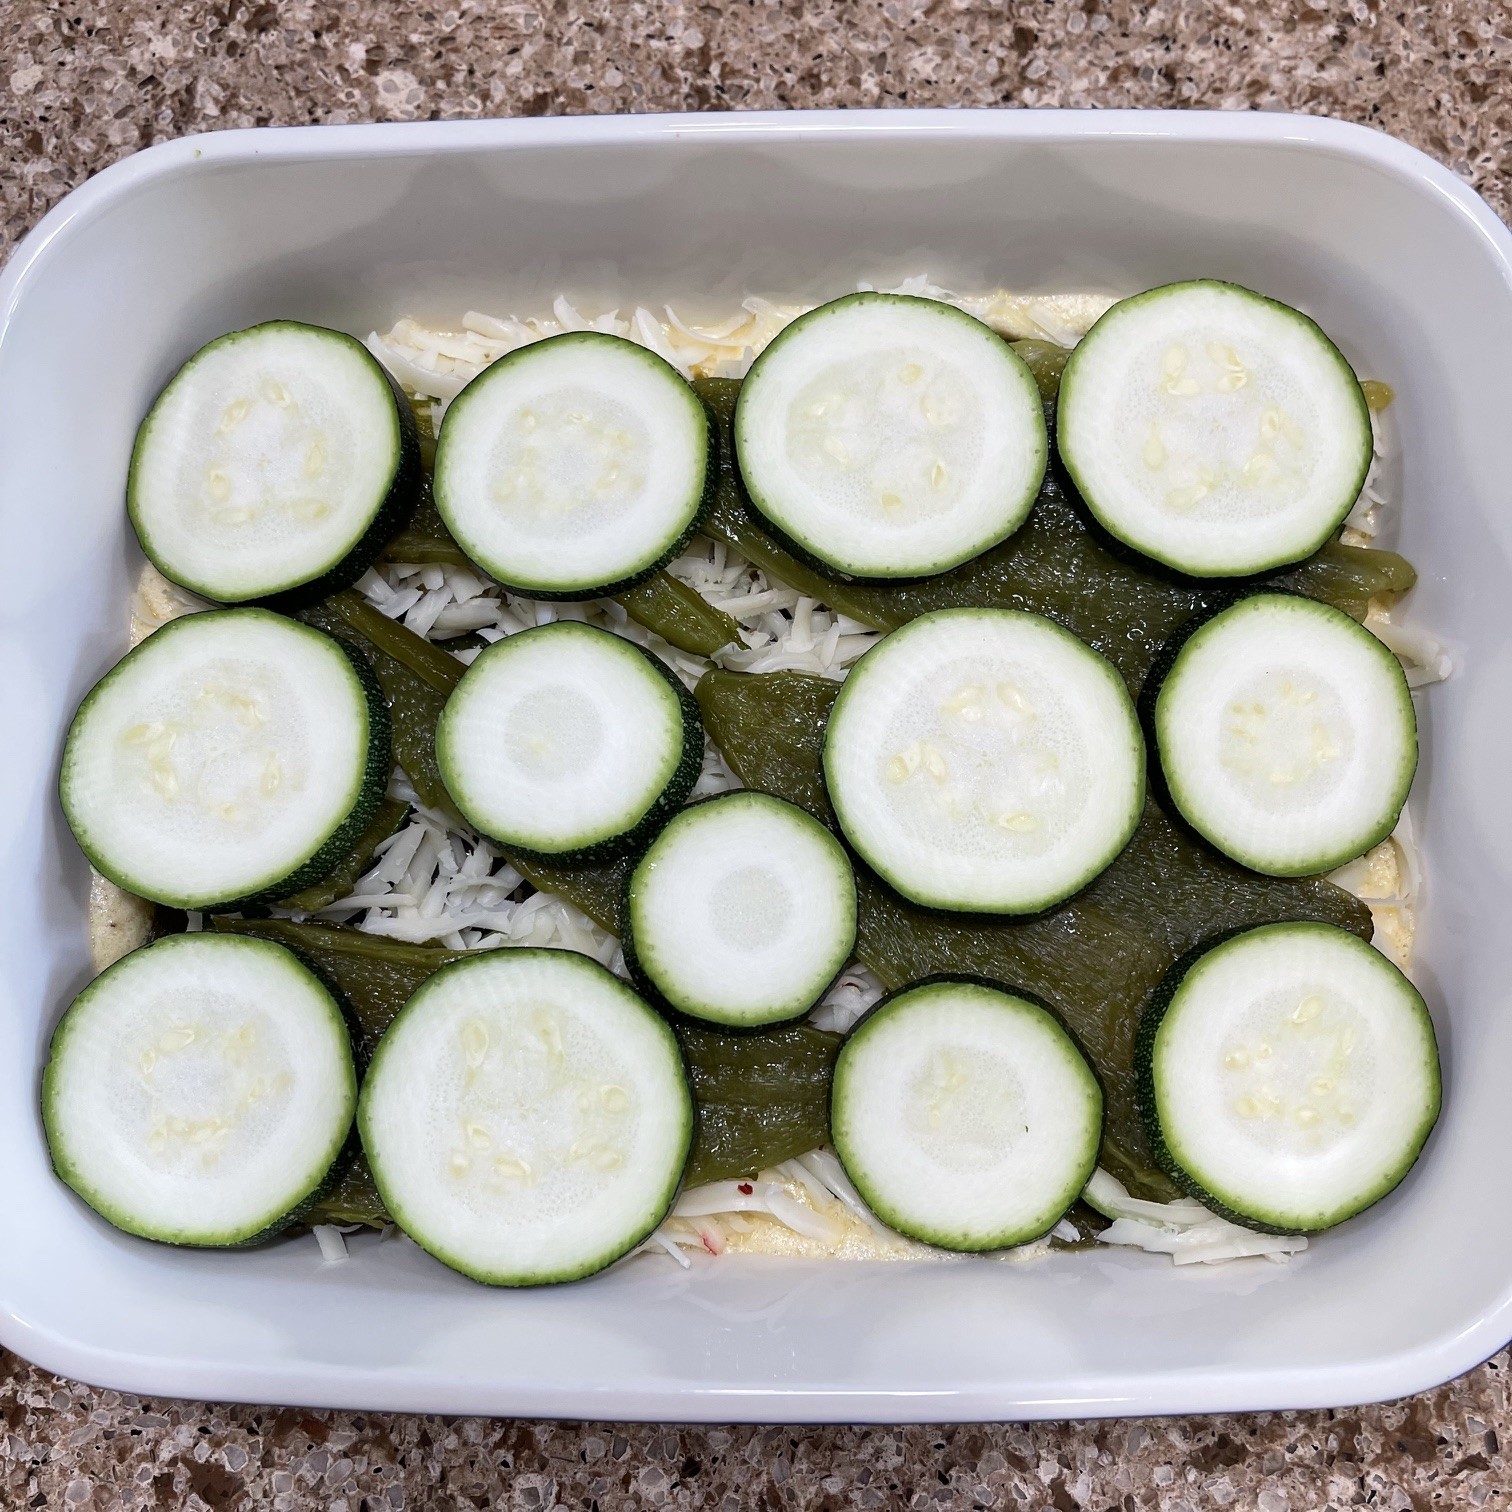
Layer half of the zucchini.

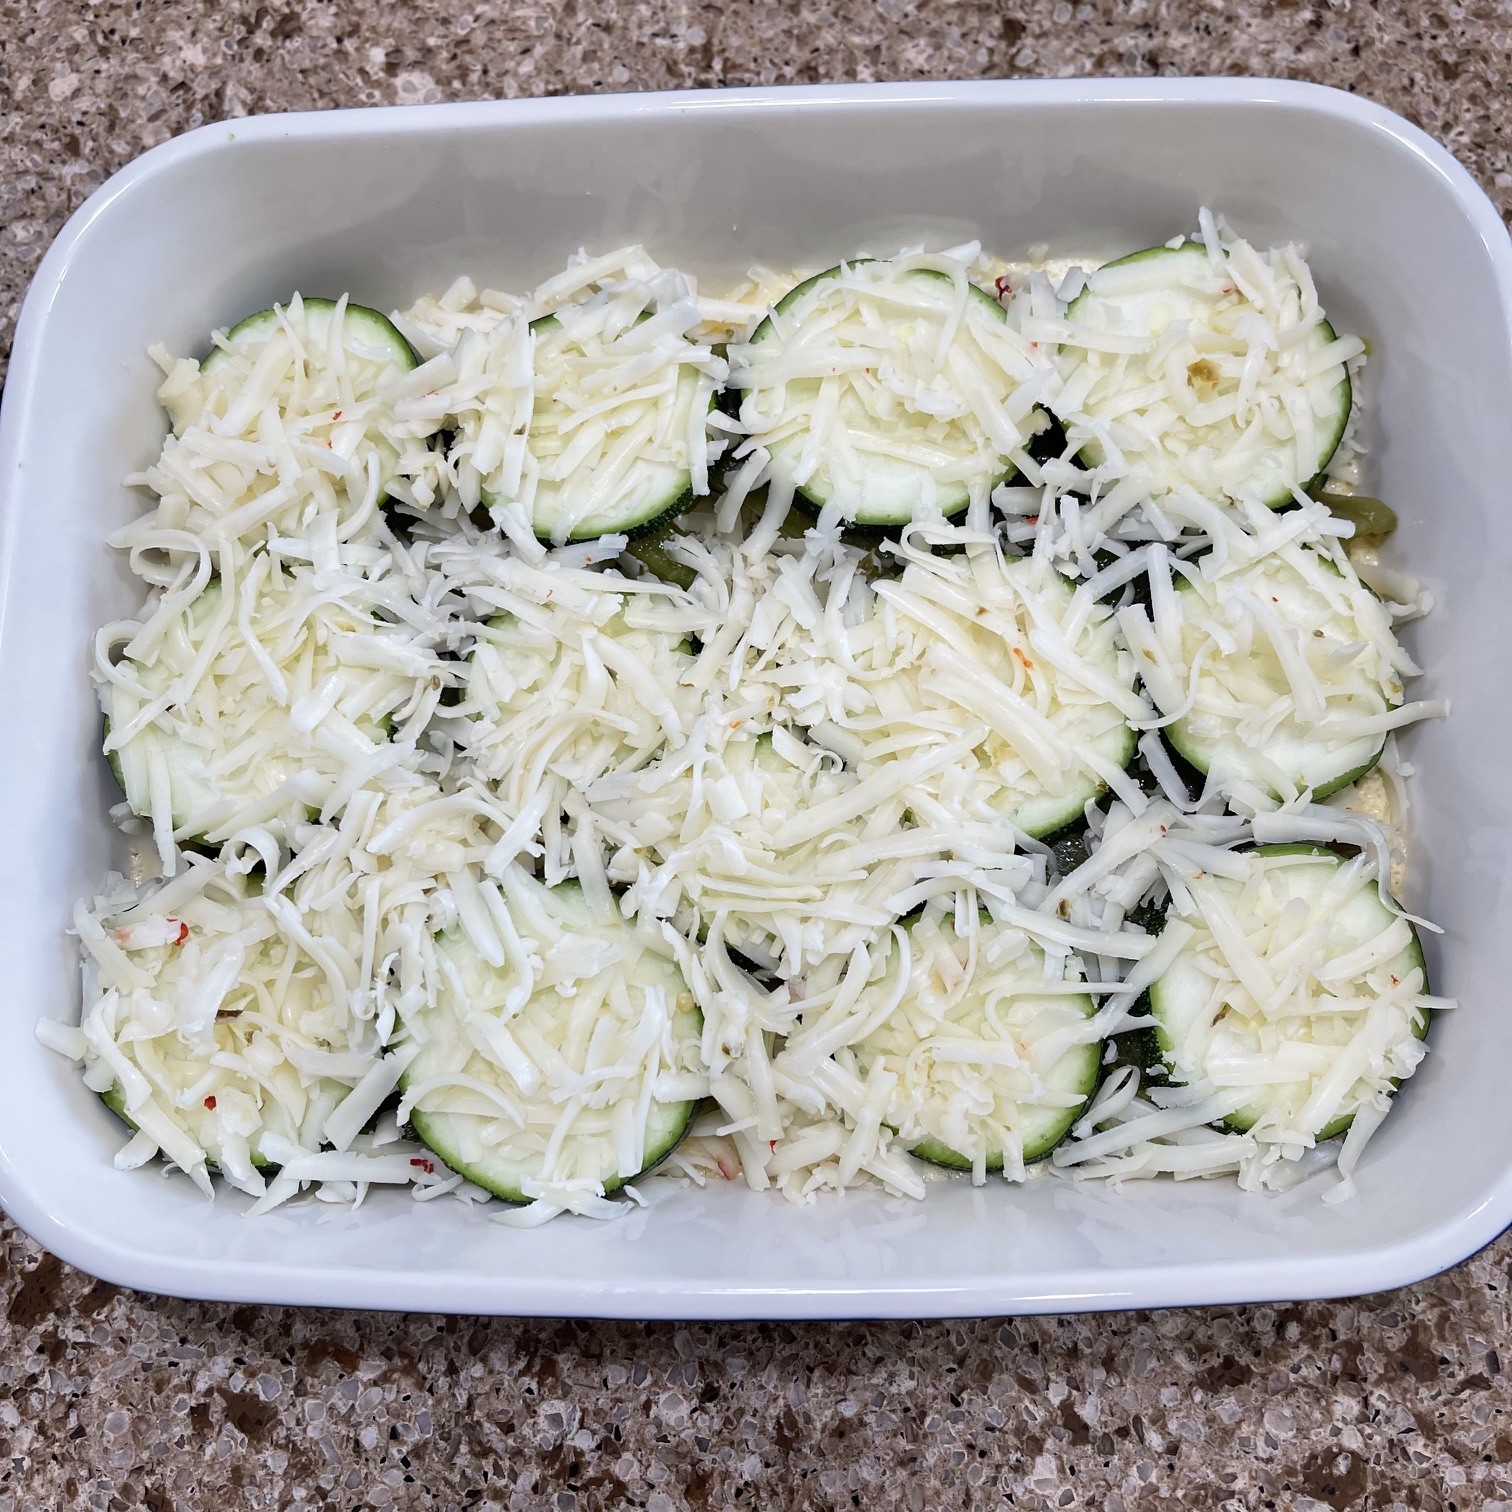
Layer 1/3 of cheese.

Layer on remaining poblano pieces.

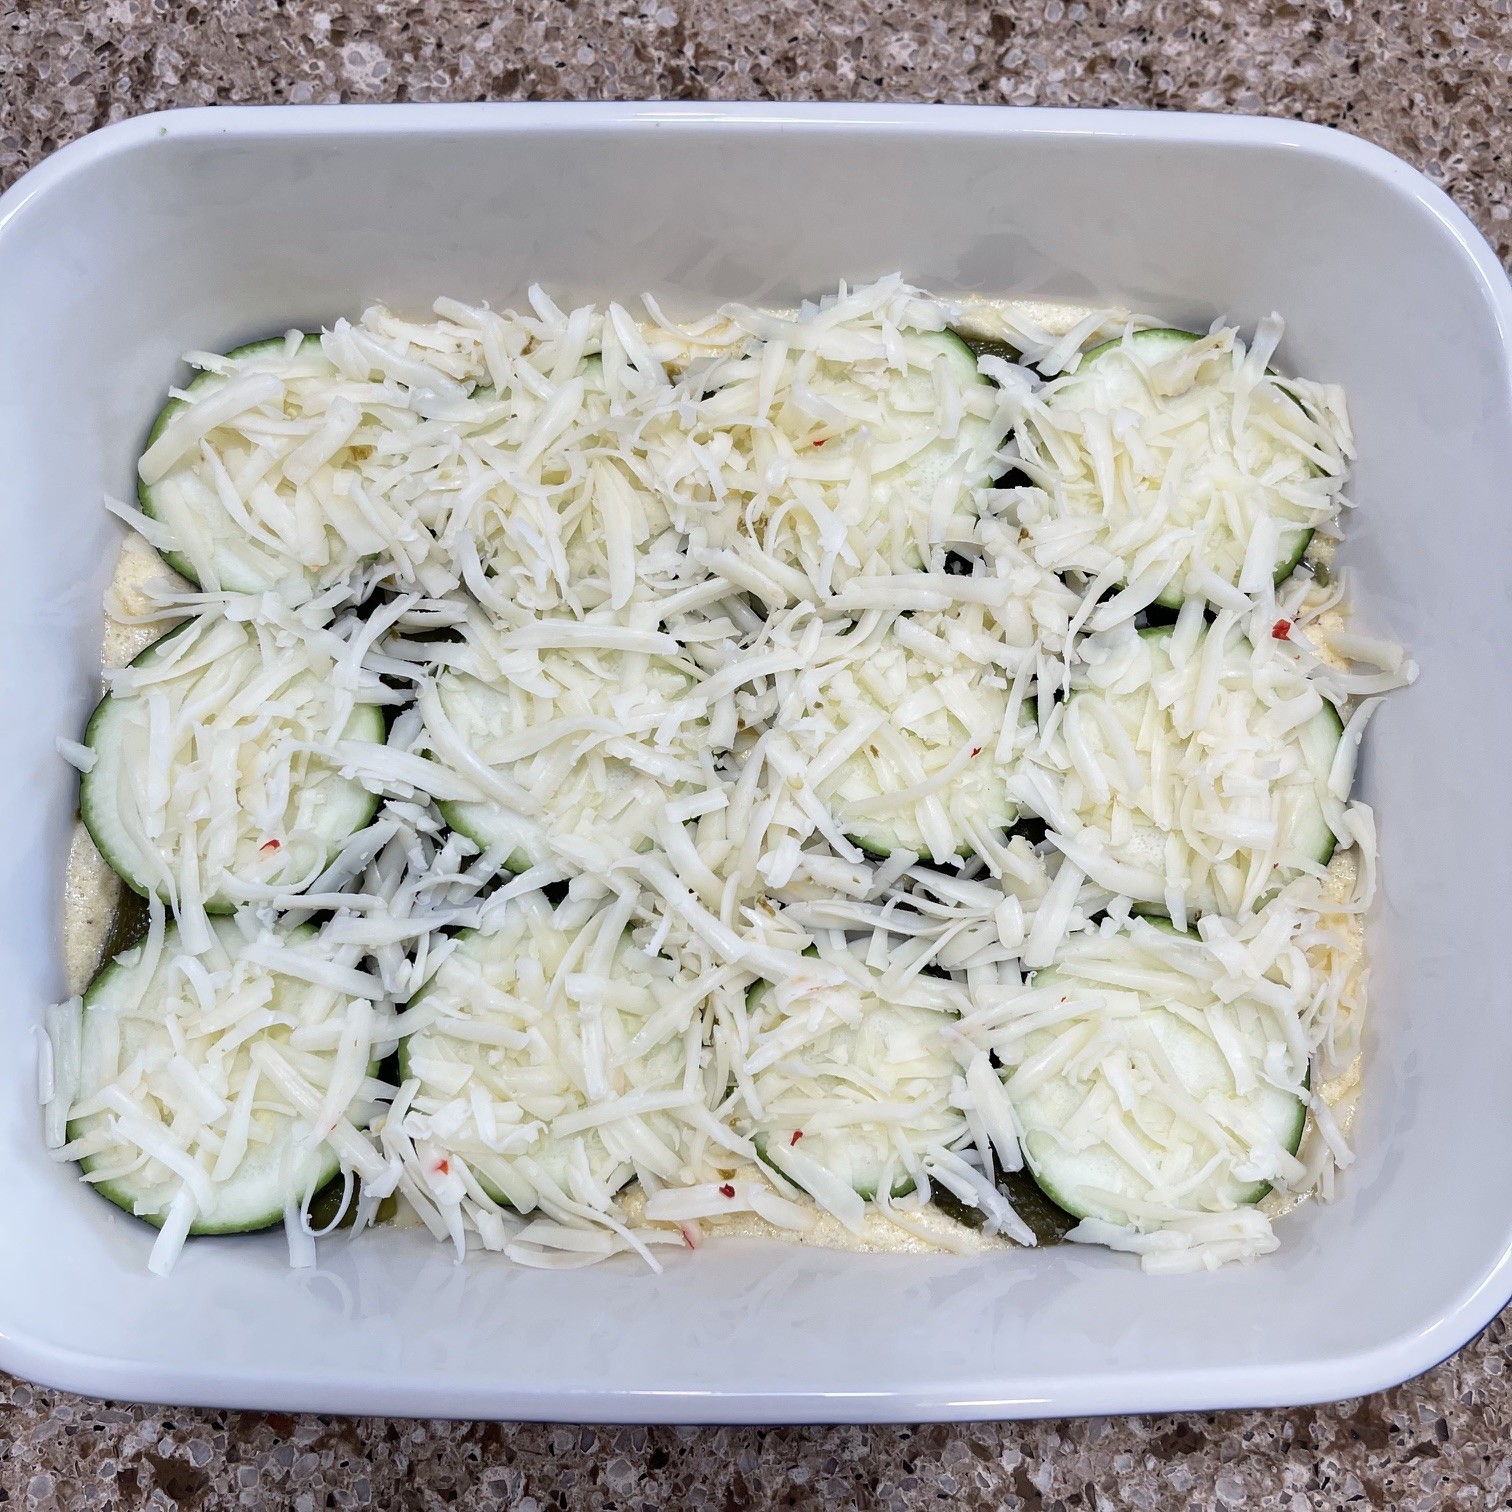
Layer remaining zucchini.

Layer half of remaining cheese (one third of total cheese).

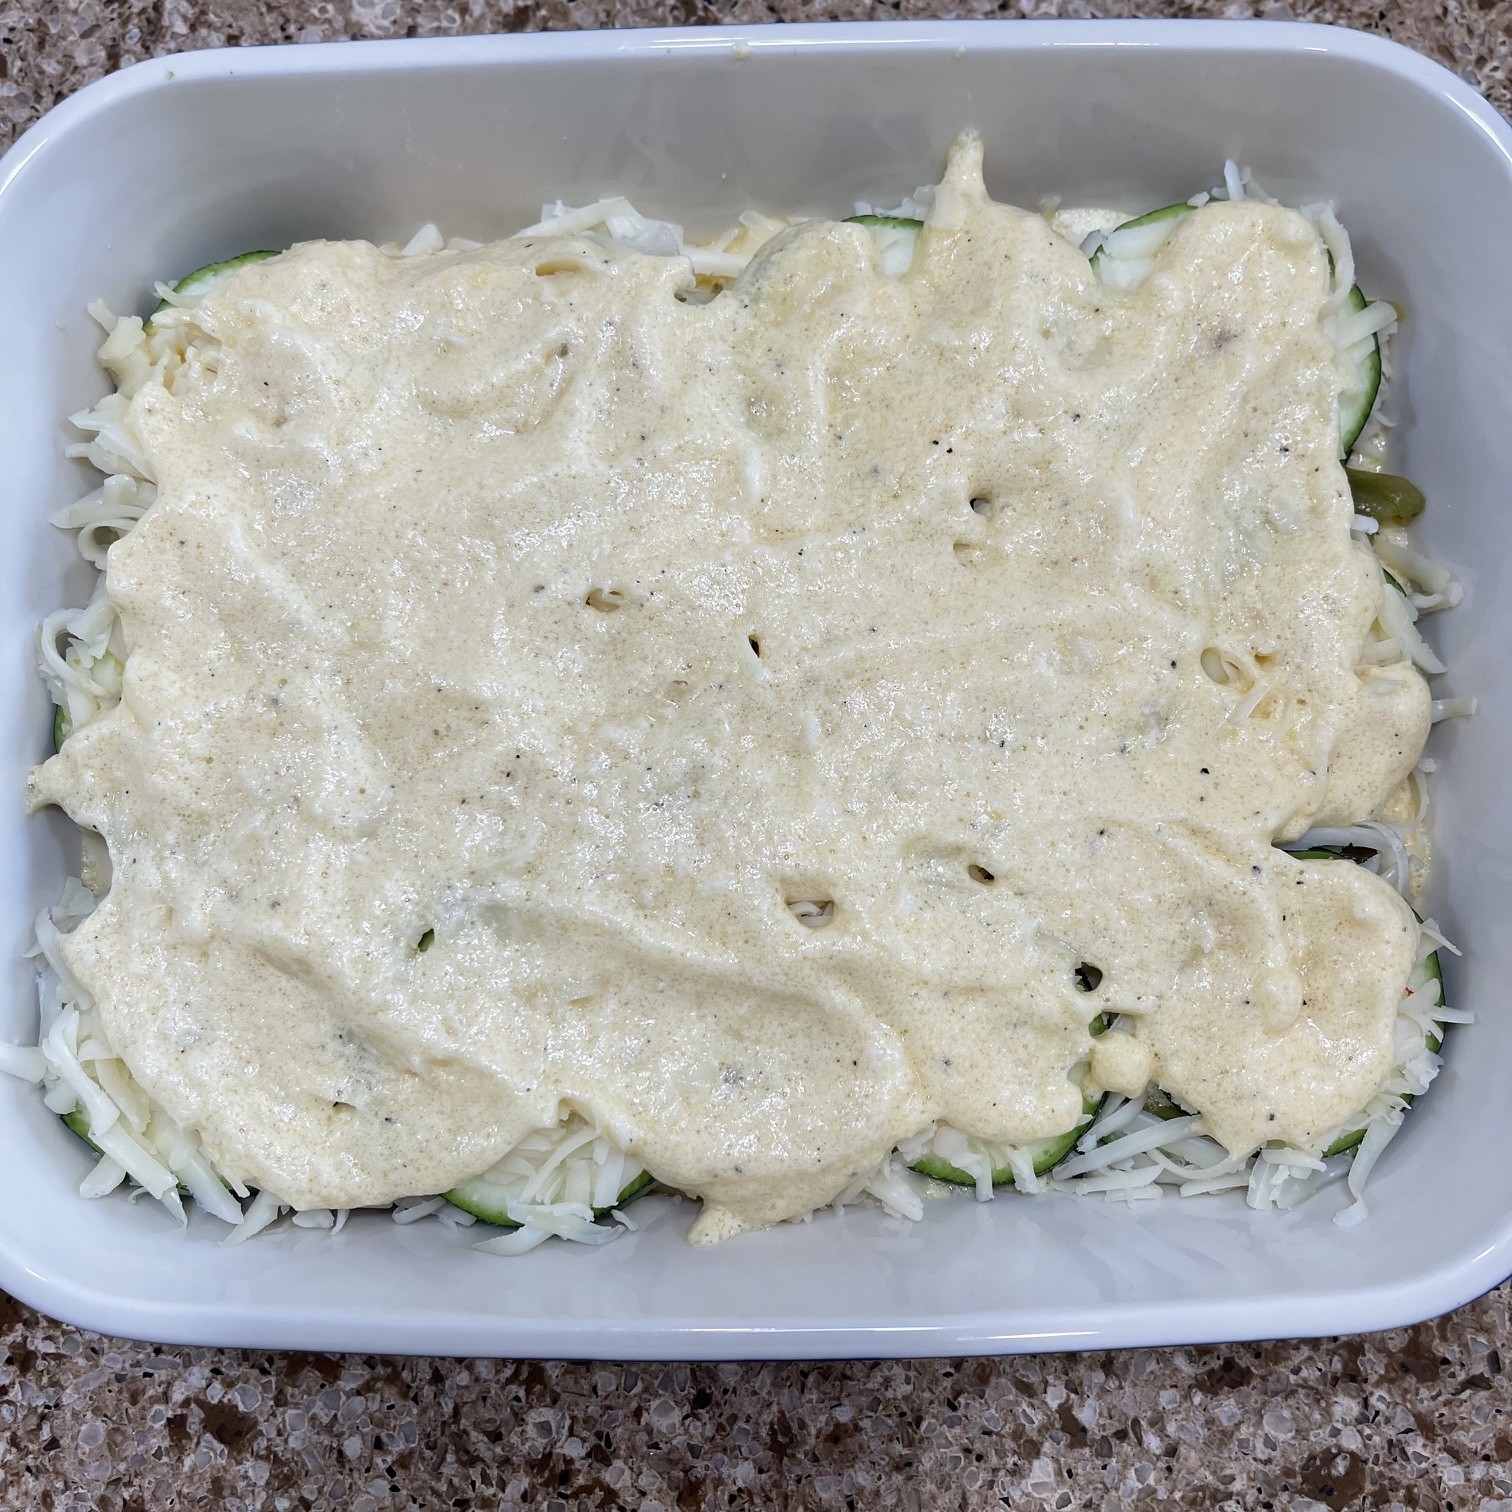
Pour on remaining egg mixture and spread to cover.

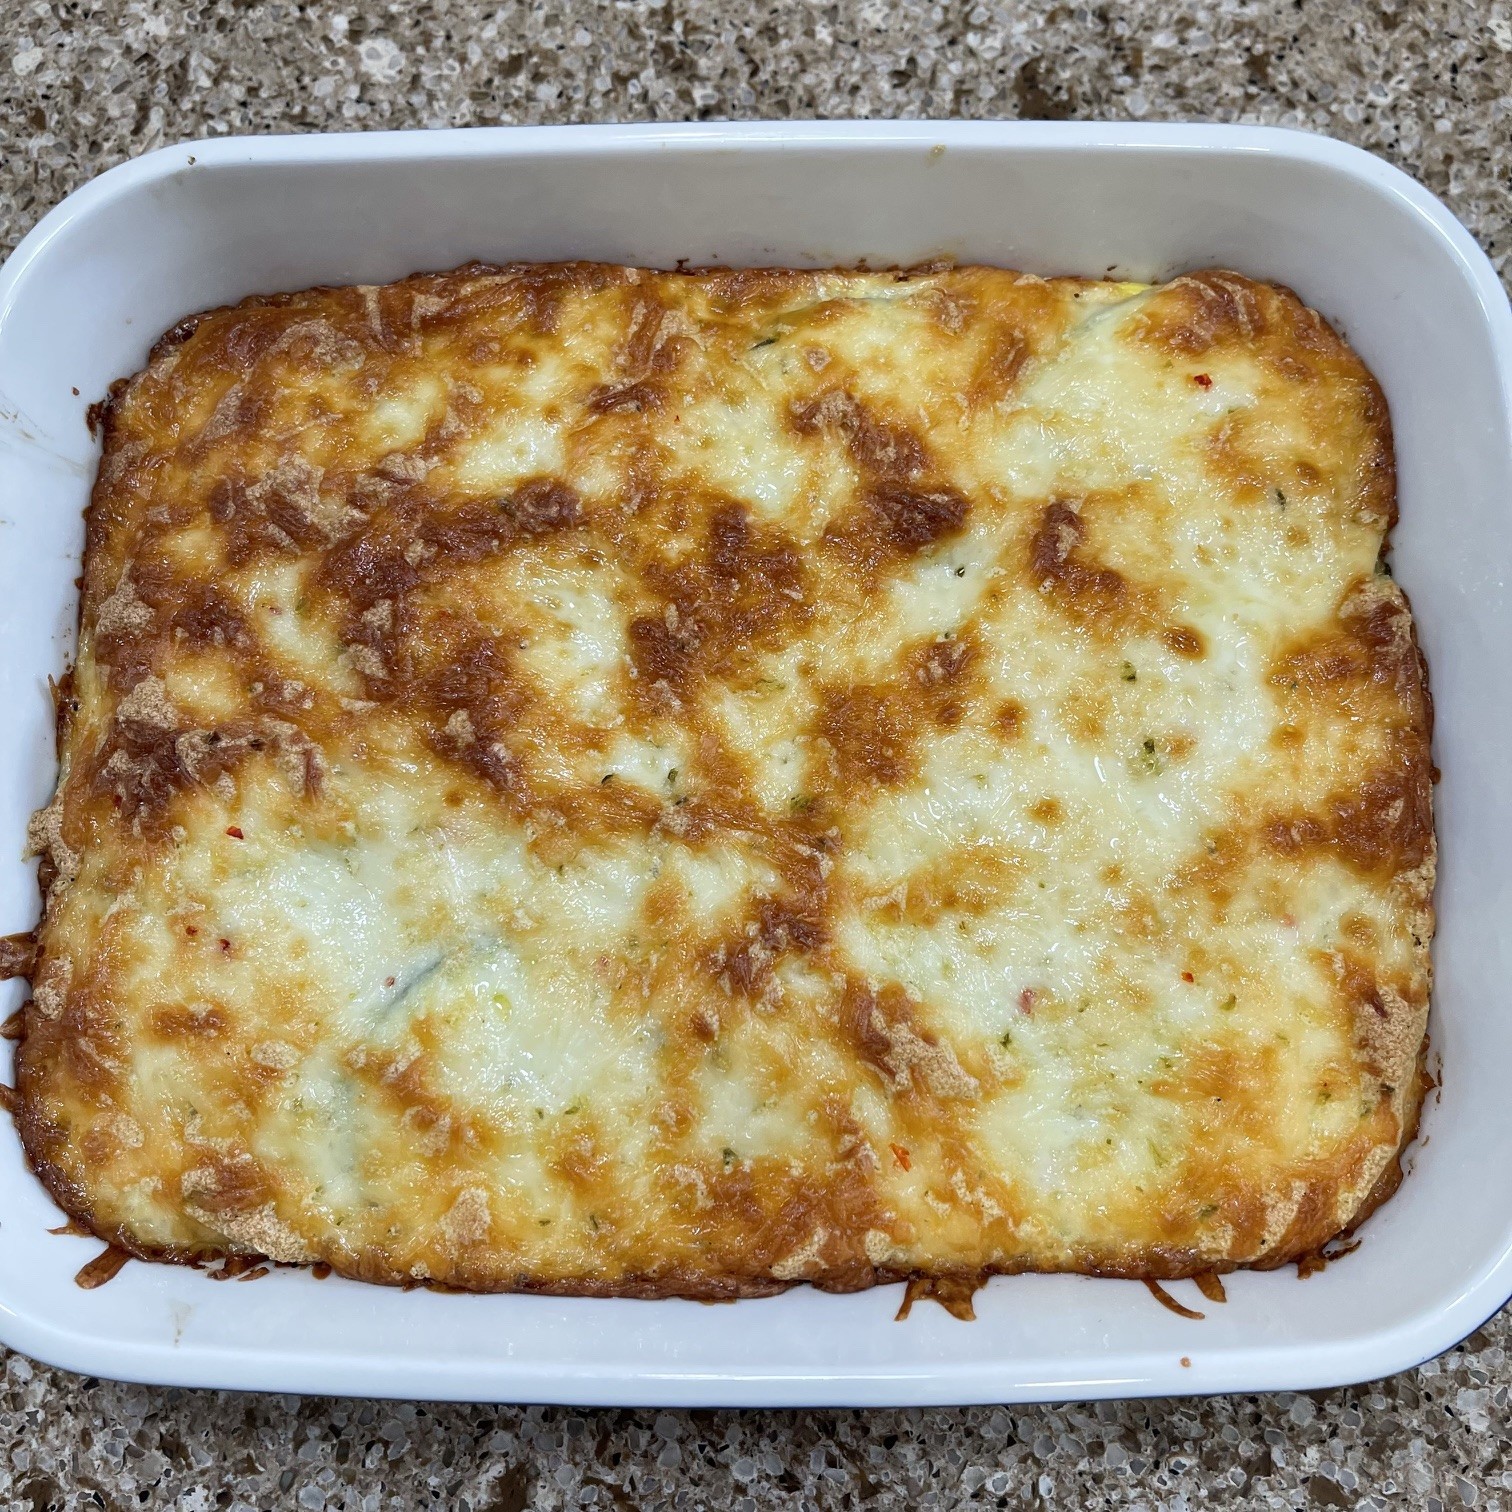
Sprinkle on remaining cheese and bake UNCOVERED at 350°F (180°C) until browned on top – about 30 minutes.

Let set about 10 minutes or so before serving.

While Chile Rellano is setting, prepare the Rellano Salsa. It just take minutes. This can be done ahead of time, also.

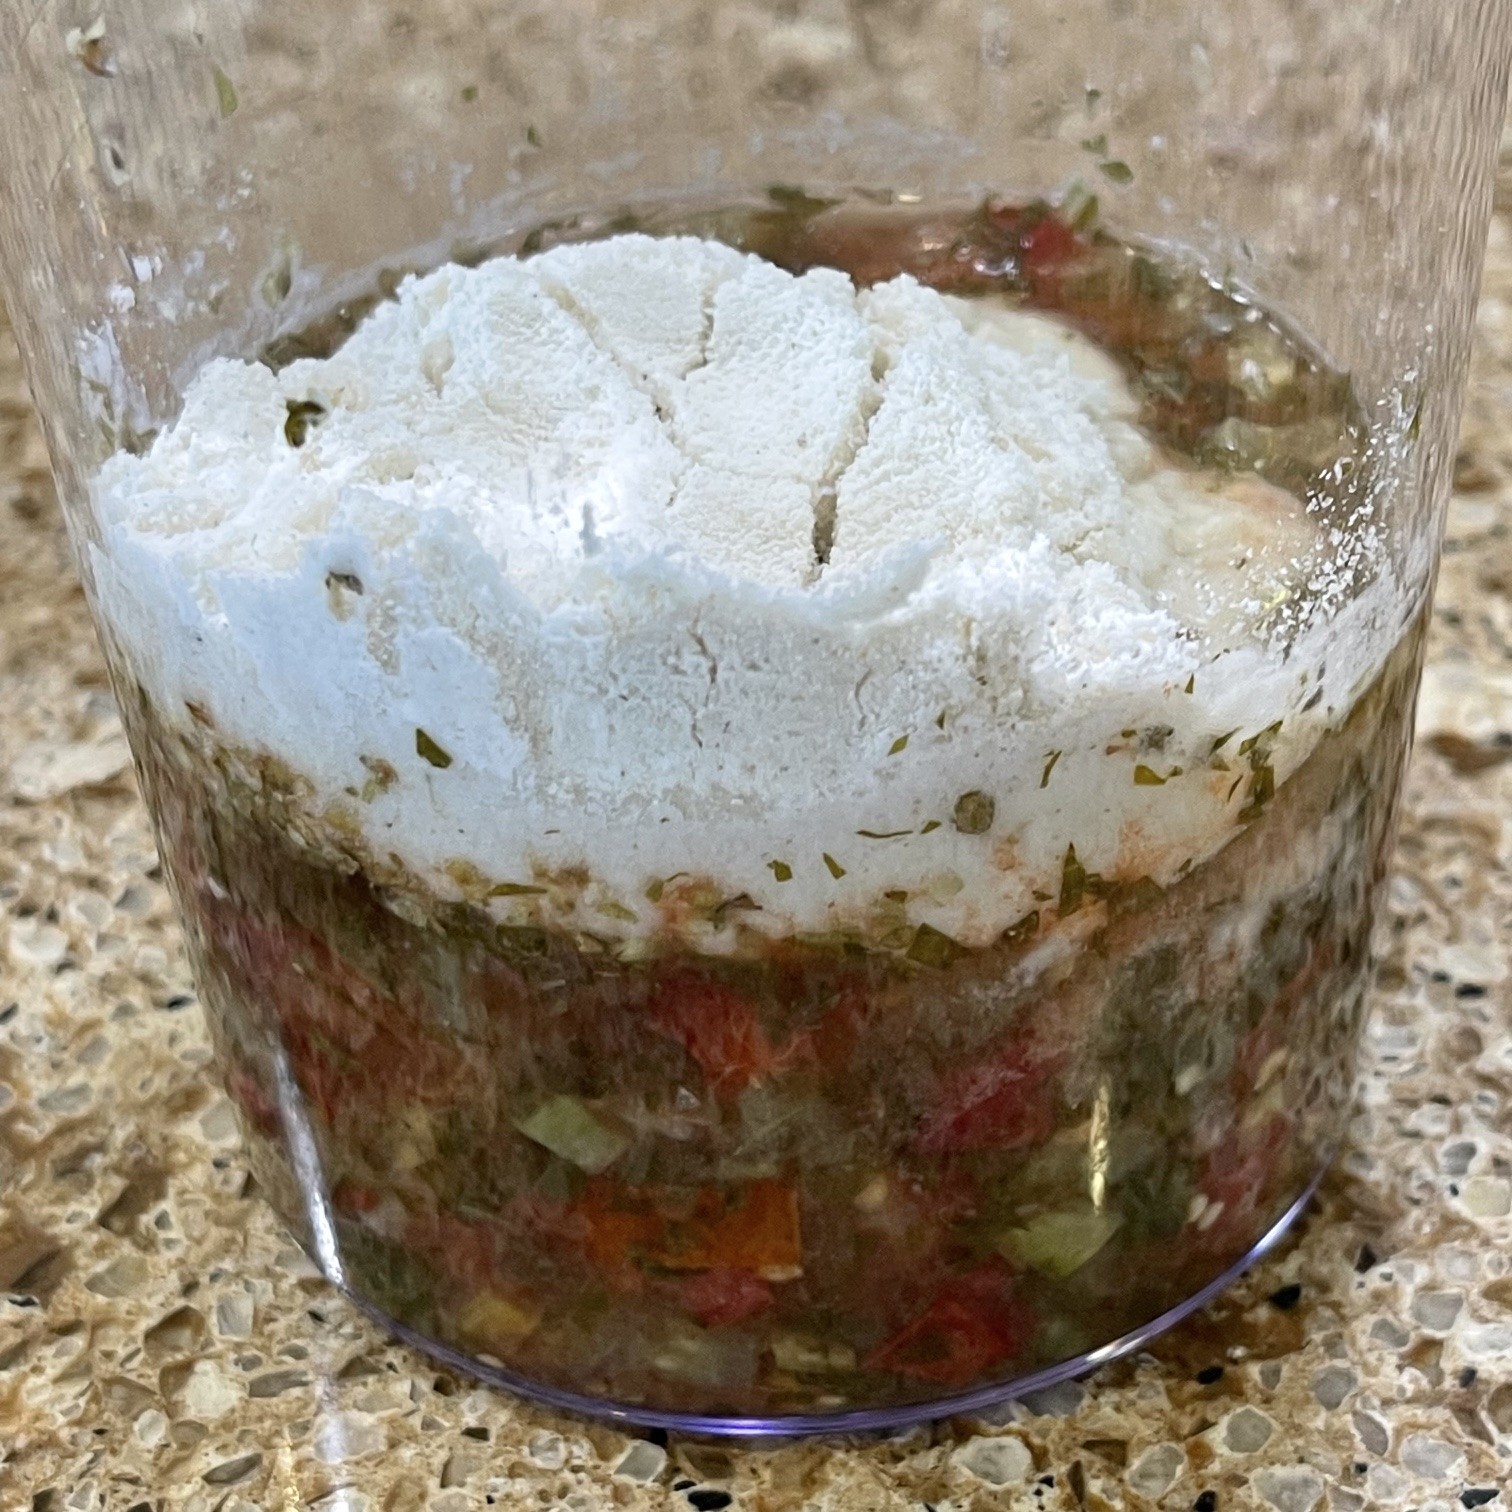
Into a food processor, immersion blender, or regular pitcher blender, add the salsa, oregano, masa harina, and salt.

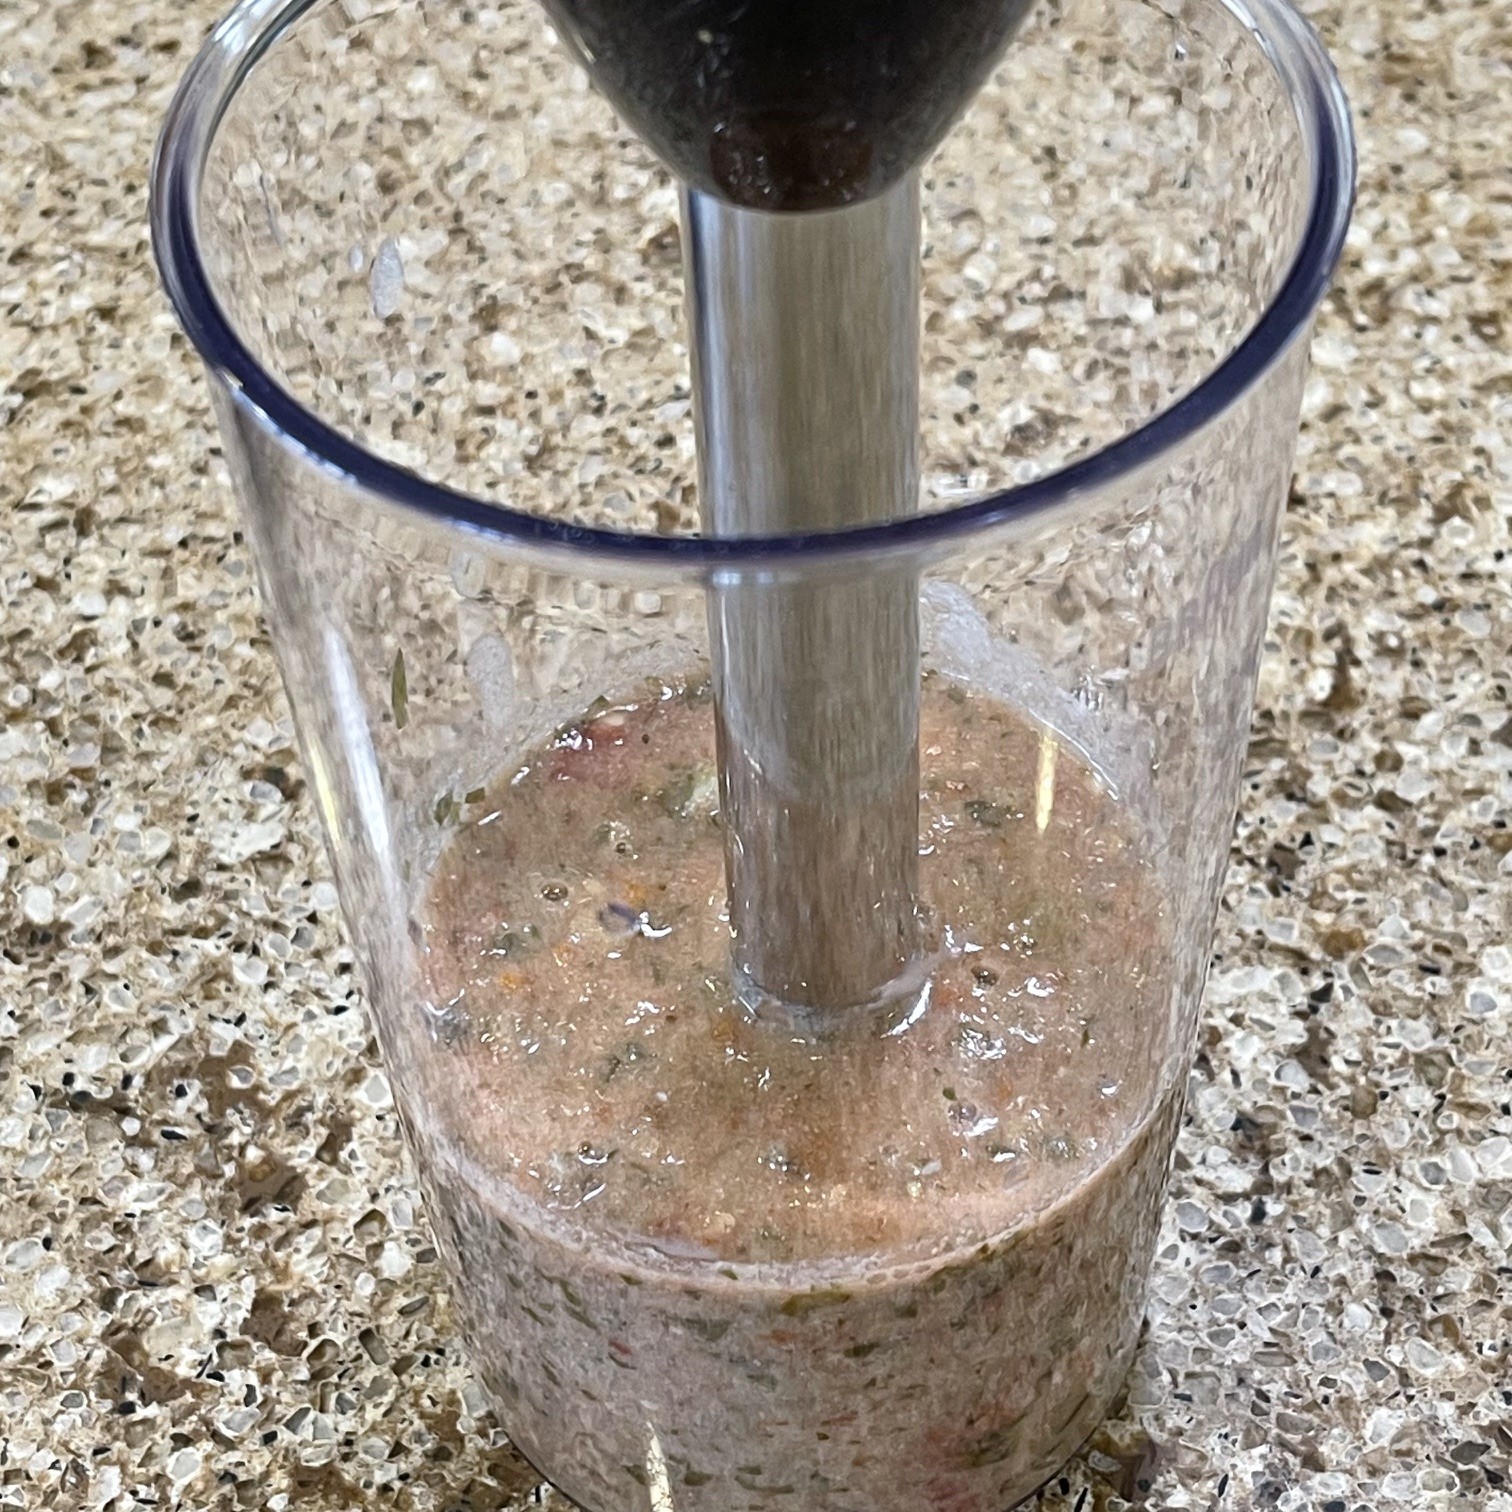
Blend – I’m using my immersion blender.

Done! As self proclaimed Queen Of Freeze I would be remiss in my duties if I didn’t let you know this salsa freezes well. If you like it (try it first), double, triple, etc the recipe and freeze in portion sized containers for future use!

APPLE BARS: A Tasty Treat!

My brother has a penchant for apple desserts. So, as a good sister, I decided to develop an apple bar recipe for him. It was to be three layers: the crust, the apple filling, and the streusel topping. What I wanted was a sturdy crust so the bar could be picked up to eat, the apple filling full of flavor, and the streusel with a tasty crunch. Each layer ended up having its own challenges but, in the end, I got there!

APPLE BARS – Makes about 9 bars, depending how you cut them

Crust

  • 112g (8 T) butter, melted
  • 147g (1.25 cups) all-purpose flour
  • 1/3 tsp salt
  • 49g (1/4 cup) granulated sugar

Apple Filling

  • 4 (1.5 lb) apples (I like Gala apples, but use what you prefer)
  • 112g (8 T) butter
  • 10g (1 T) granulated sugar
  • 1/2 tsp cinnamon
  • 1/2 tsp cardamom
  • 1/4 tsp salt
  • 13g (2 T) cornstarch

Streusel Topping

  • 94g (1/2 cup), packed dark brown sugar
  • 21g (1/4 cup) raw whole oats
  • 30g (1/4 cup ) all-purpose flour
  • 3/4 tsp cinnamon
  • 1/4 tsp cardamom
  • 1/4 tsp salt
  • 56g (4 T) butter, cold

PREHEAT OVEN TO 375°F / 190°C

Line a 7.5″ x 7.5″ (19cm x 19cm) metal (preferably) pan with baking paper. The baking paper allows for removal of the bars for clean cuts. If you prefer not to use baking paper, just lightly butter the sides and bottom of the pan.

Prepare the crust:

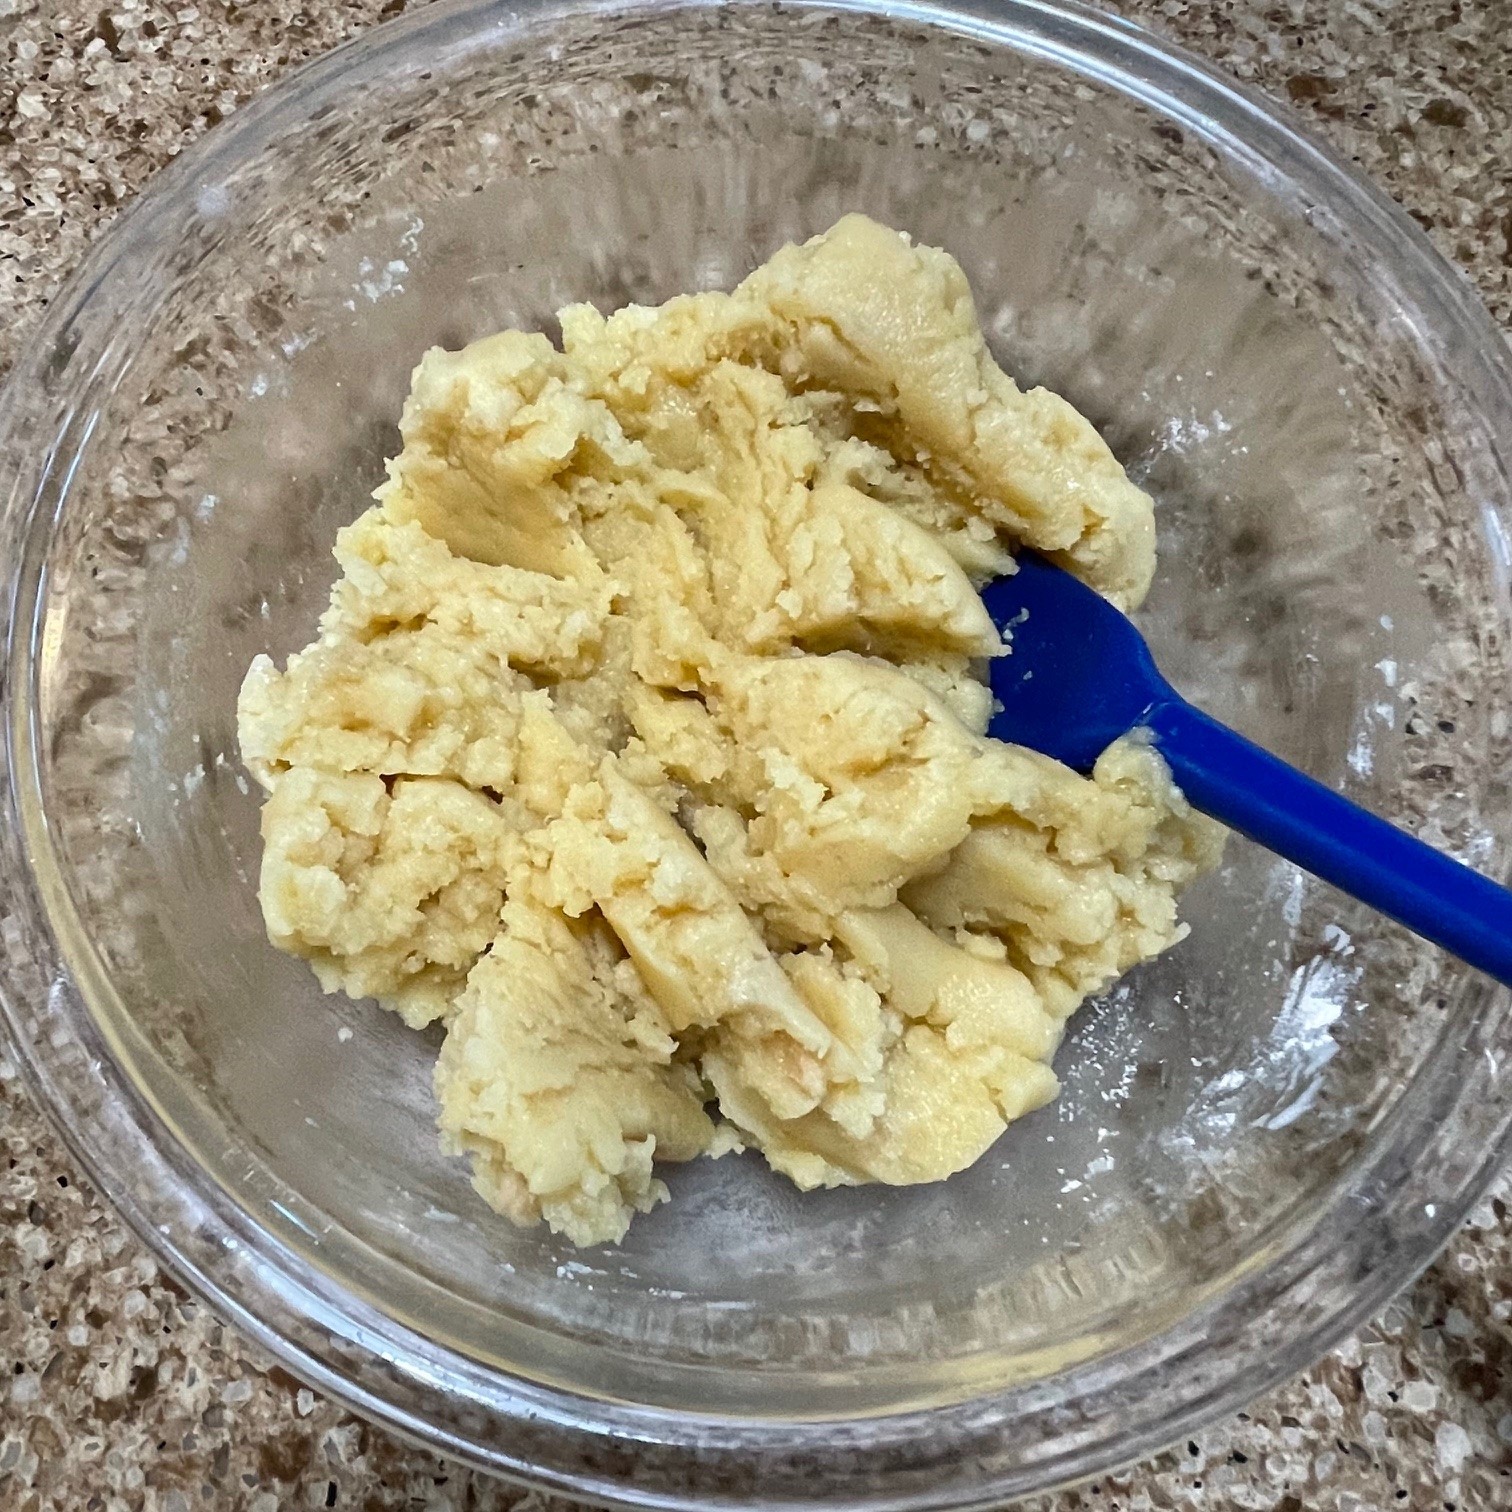
In a bowl, mix together the 147g (1.25 cups) flour, 1/3 tsp salt, and 49g (1/4 cup ) sugar. Add in the 112g (8 T) melted butter and blend with a fork or spatula.

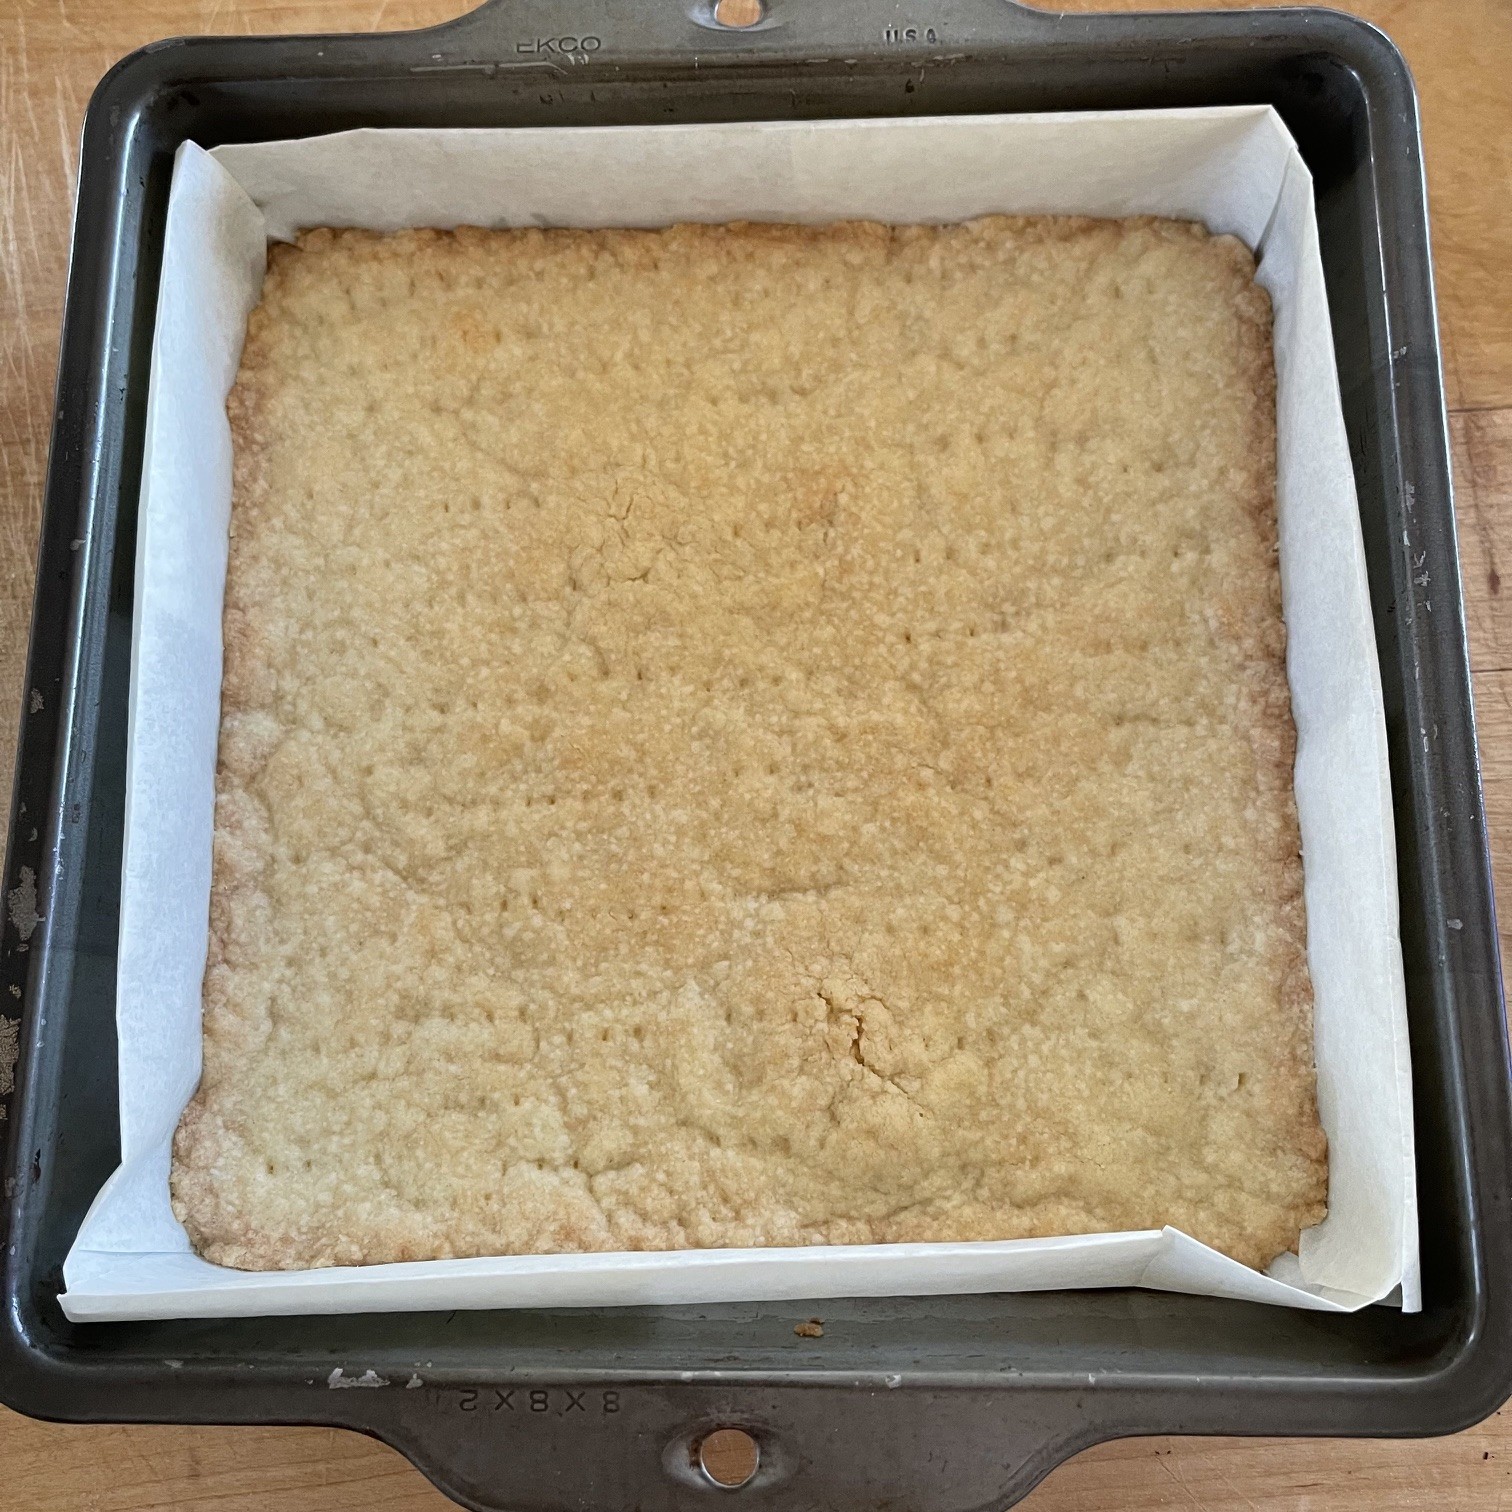
Drop clumps of dough evenly onto baking pan and press with fingers to cover bottom. Compact the dough by lightly pressing down with a spatual or the bottom of a flat cup. Dock dough with a fork and bake in preheated 375°F (190°C) oven until lightly browned – about 23 minutes. Cool in pan.

Prepare the streusel topping:

Into the workbowl of a food processor, place the 94g (1/2 cup) brown sugar, 21g (1/4 cup) oats, 30g (1/4 cup) flour, 3/4 tsp cinnamon, 1/4 tsp cardamom, and 1/4 tsp salt. Pulse about 5 times. Cut the 56g (4 T) cold butter into small pieces and add to processor. Pulse several times to blend. Set streusel topping aside. If you don’t have a food processor, blend the dry ingredients together in a bowl, then cross-cut the cold butter into the mixture.

Prepare apple filling:

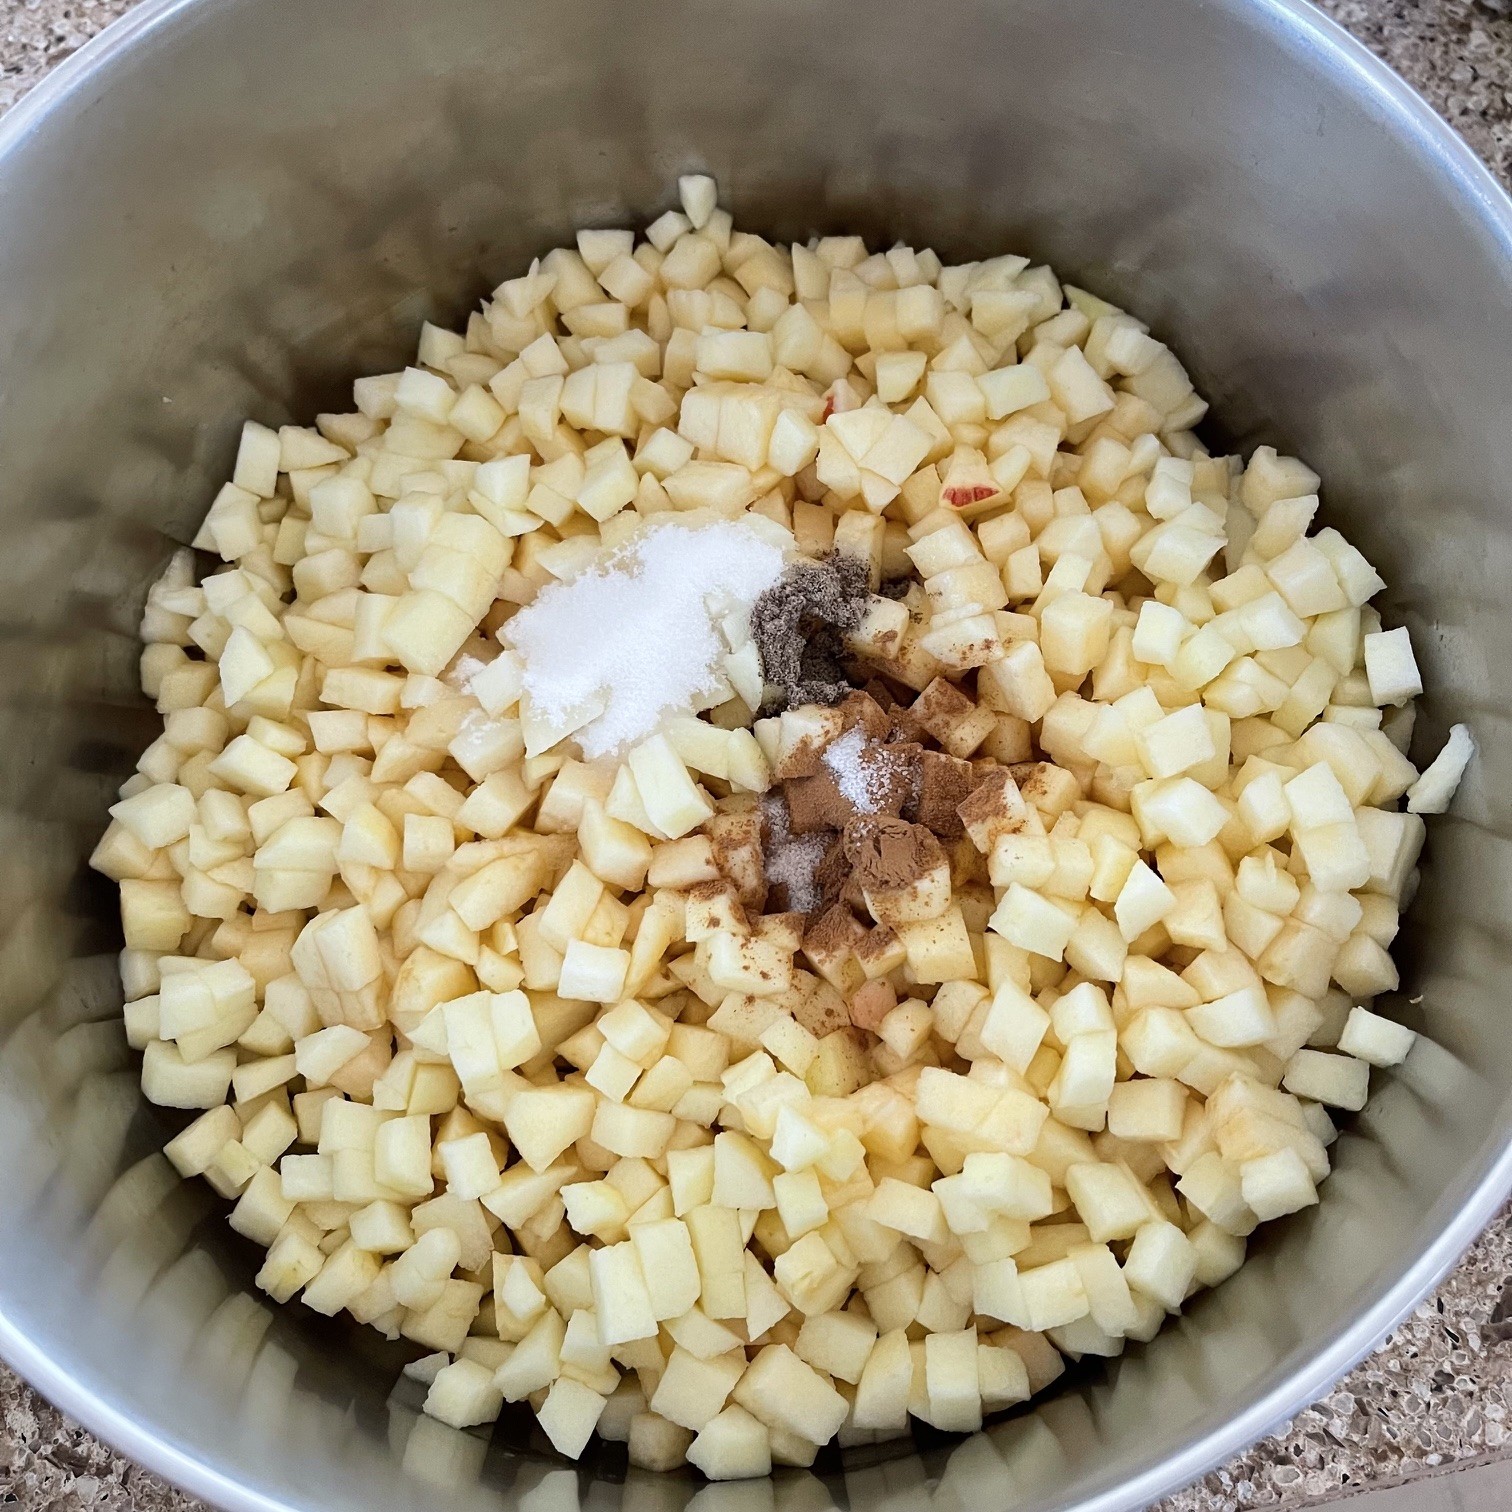
Peel, core, and cut apples into approximate 1.5cm (1/4″) pieces.

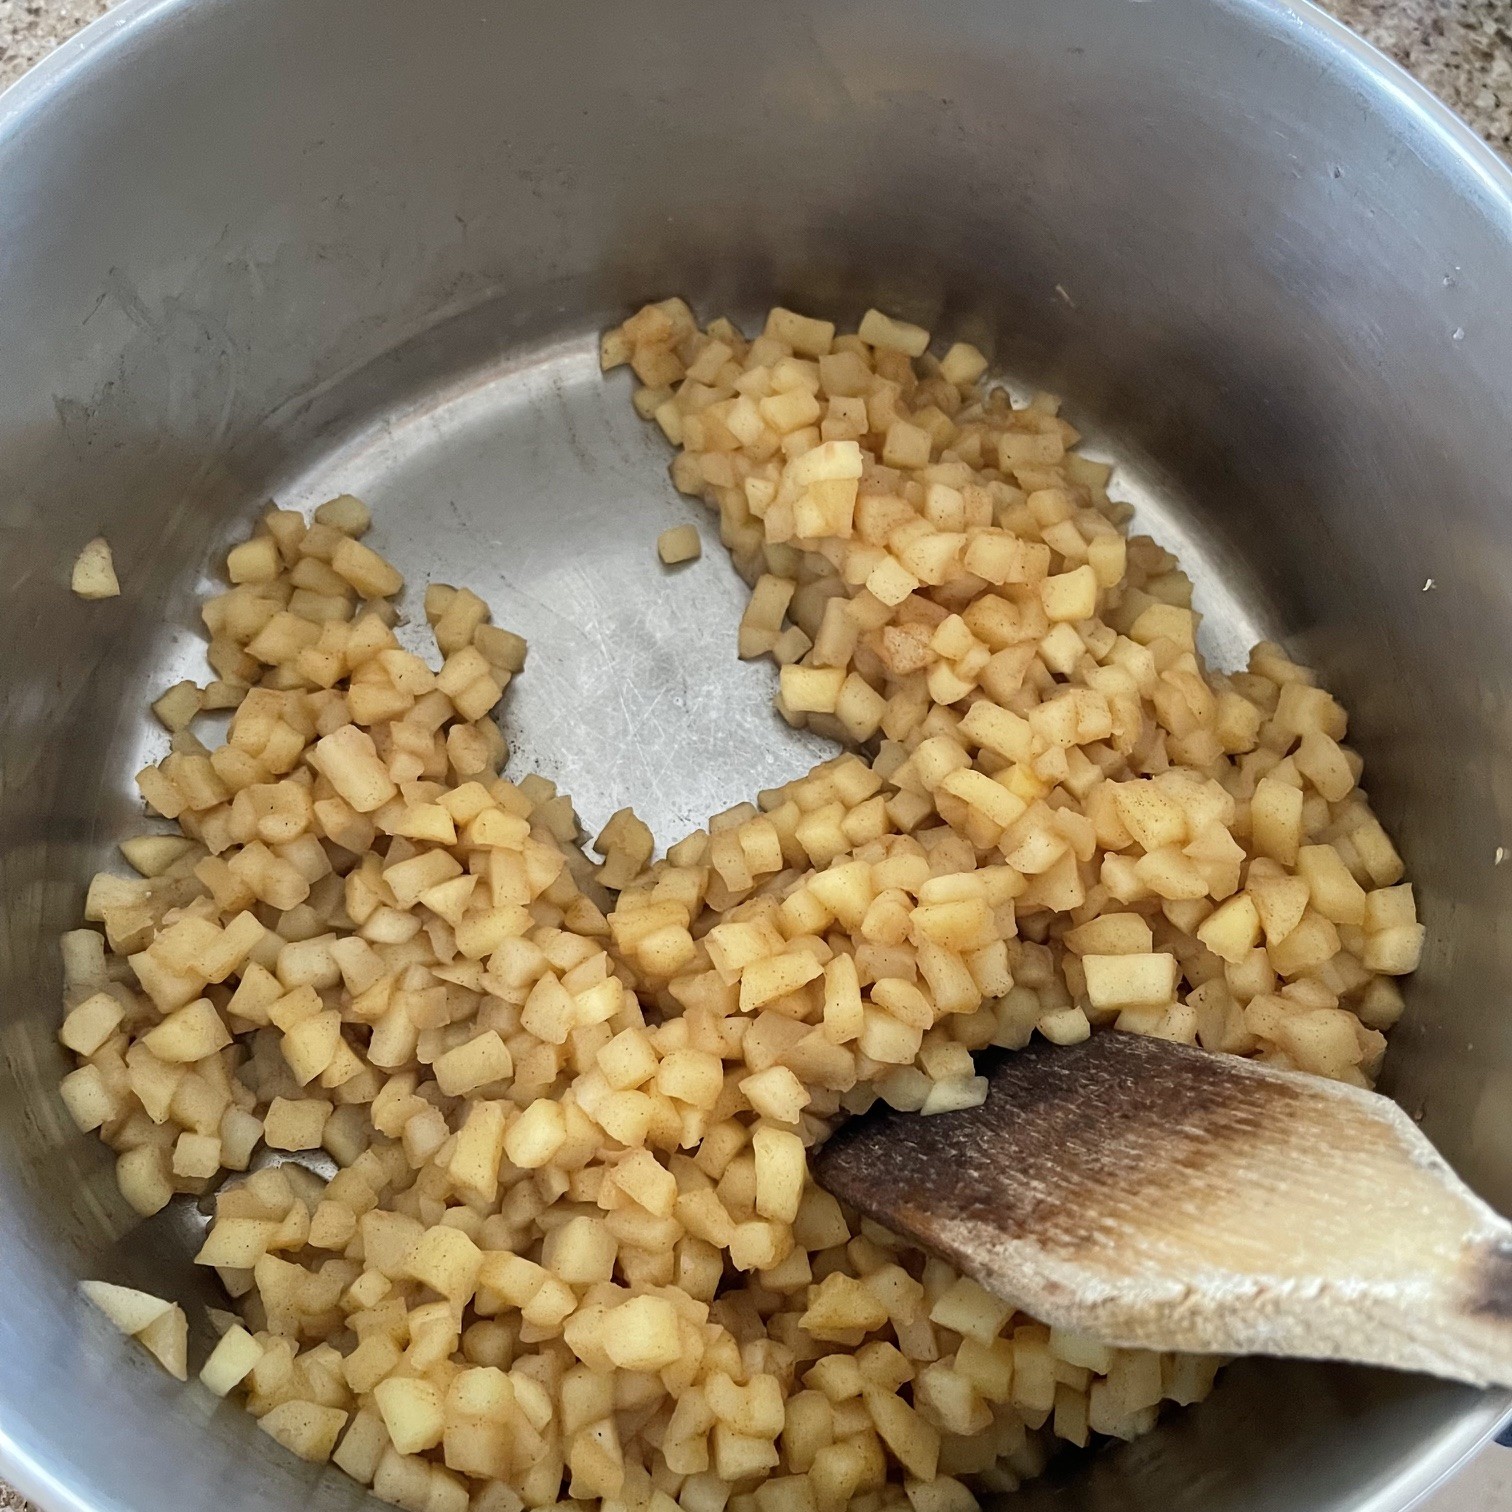
In skillet or saucepan, melt the 112g (8 /T) butter. Add in the cubed apples, 10g (1 T) granulated sugar, 1/2 tsp cinnamon, 1/2 tsp cardamom, and 1/4 tsp salt.

Over medium-high heat, cook the apple mixture until the liquid has evaporated – about 20 minutes. (If there’s still liquid remaining after 20 minutes, just pour it off and discard – you don’t want a soggy filling.)

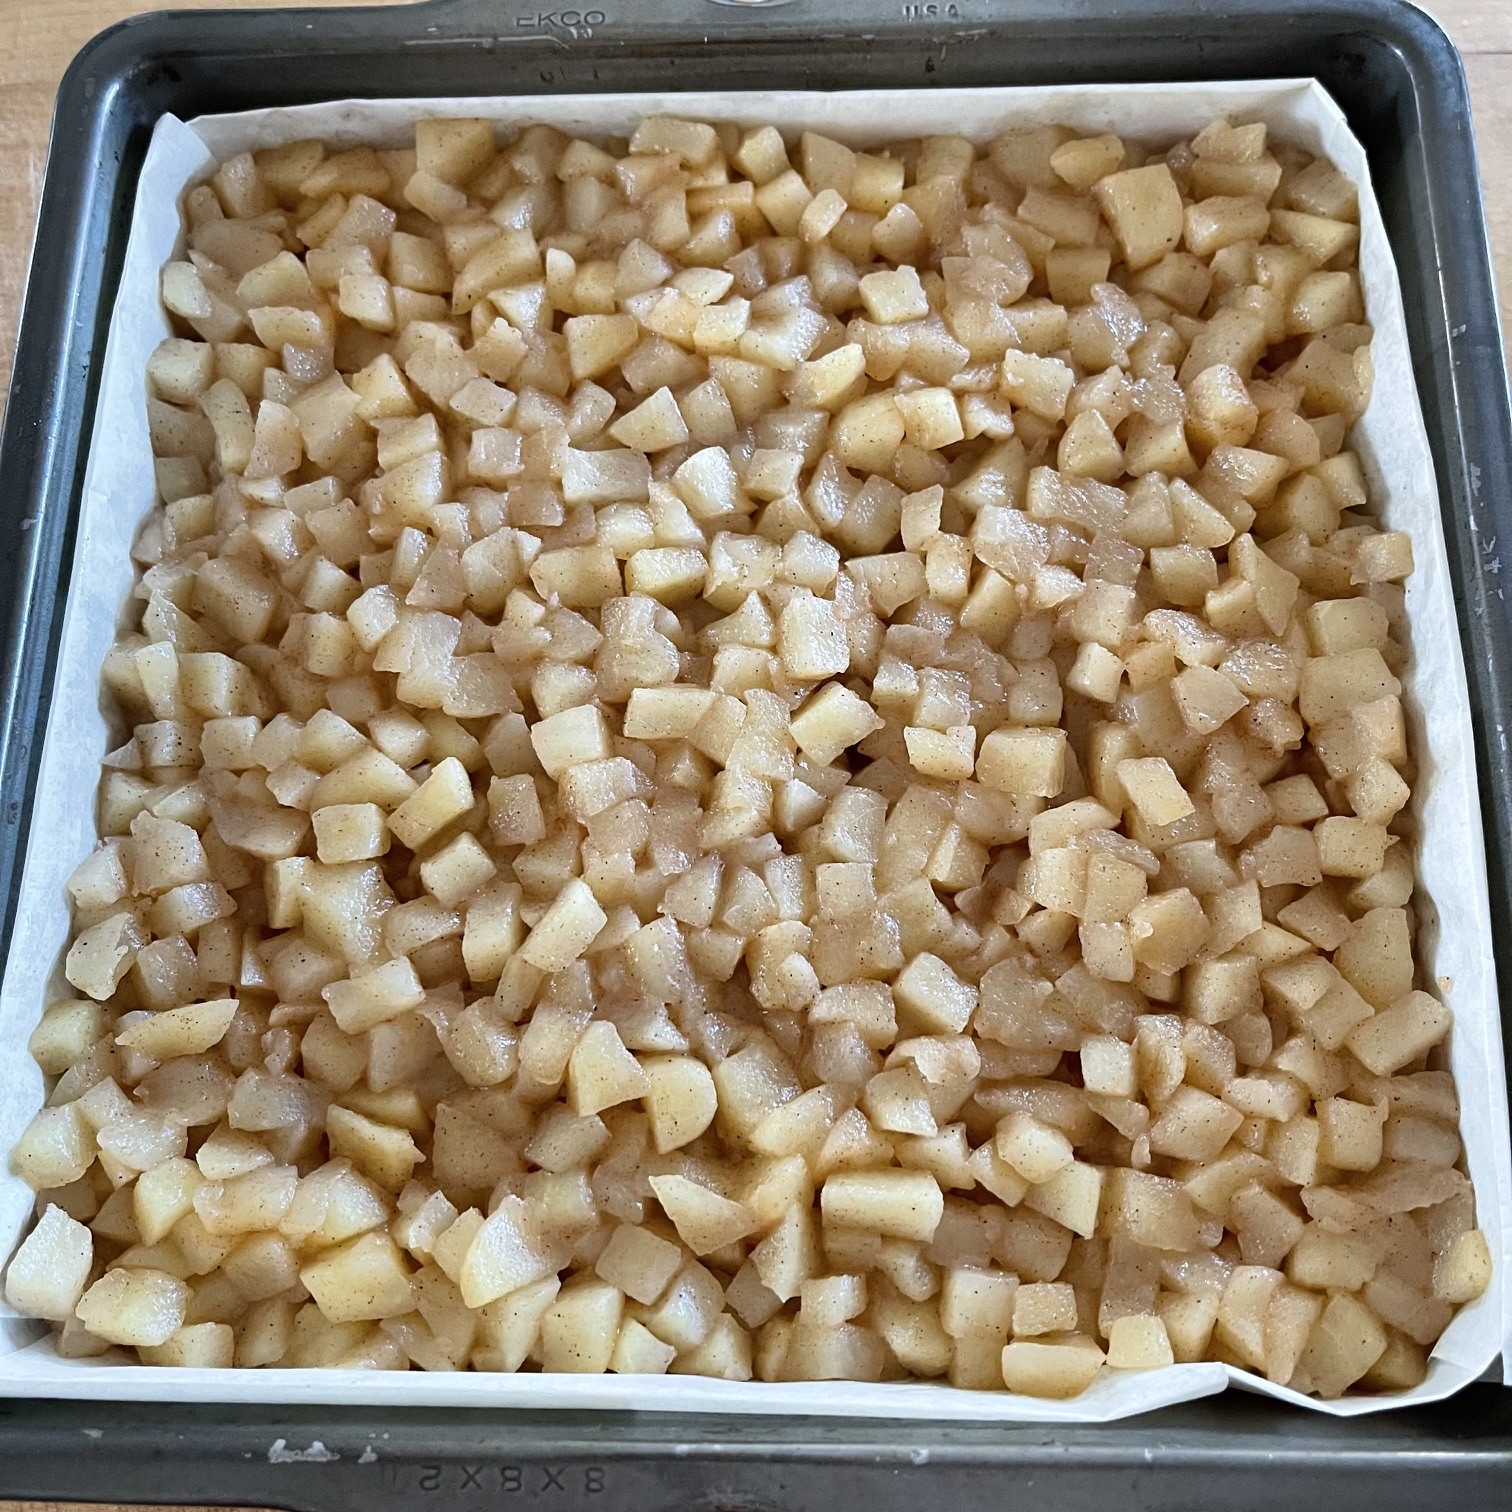
Stir the 13g (2 T) cornstarch into the apple mixture. Pour apple filling onto the cooled crust, spreading evenly. Gently tamp down filling to bind it.

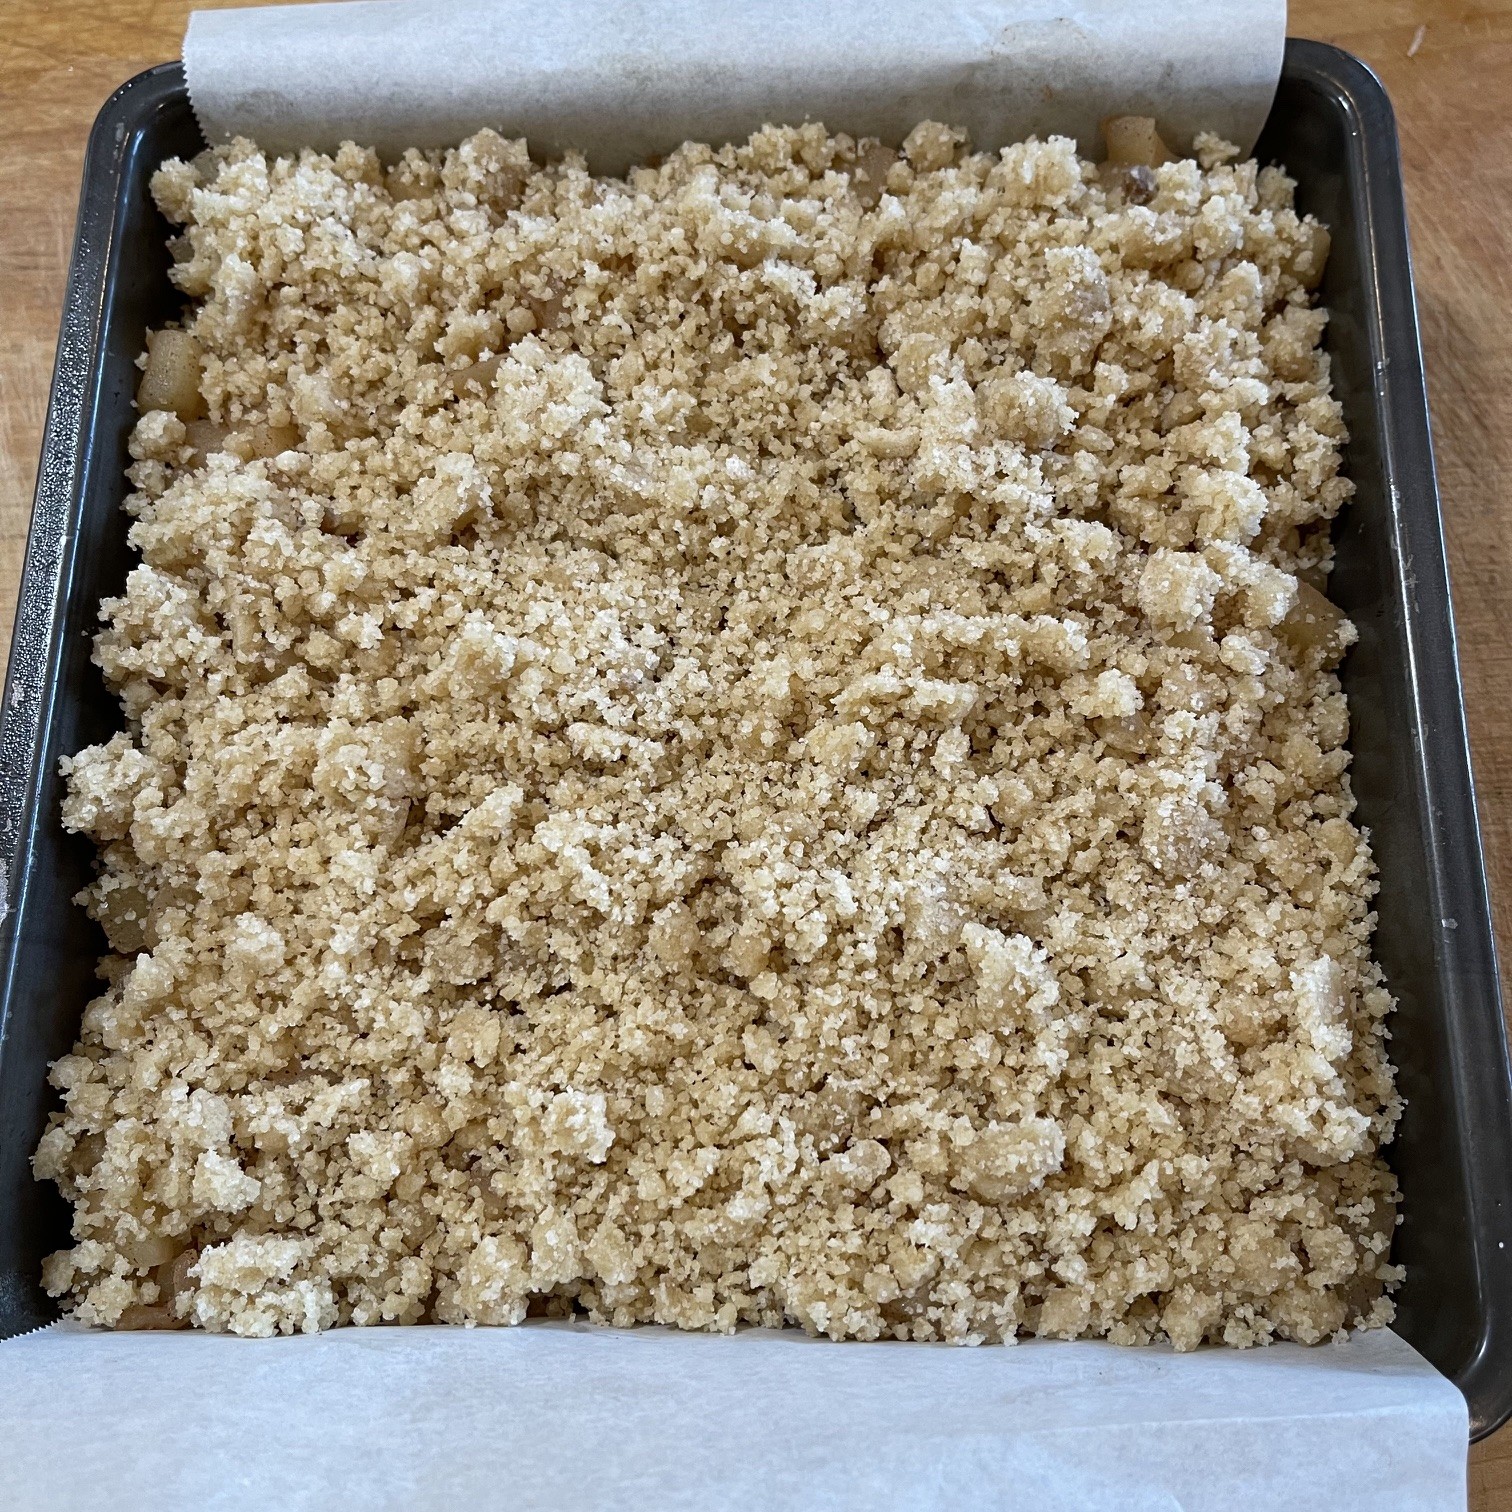
Sprinkle steusel topping over apples, and gently press it down with a fork or spatula.

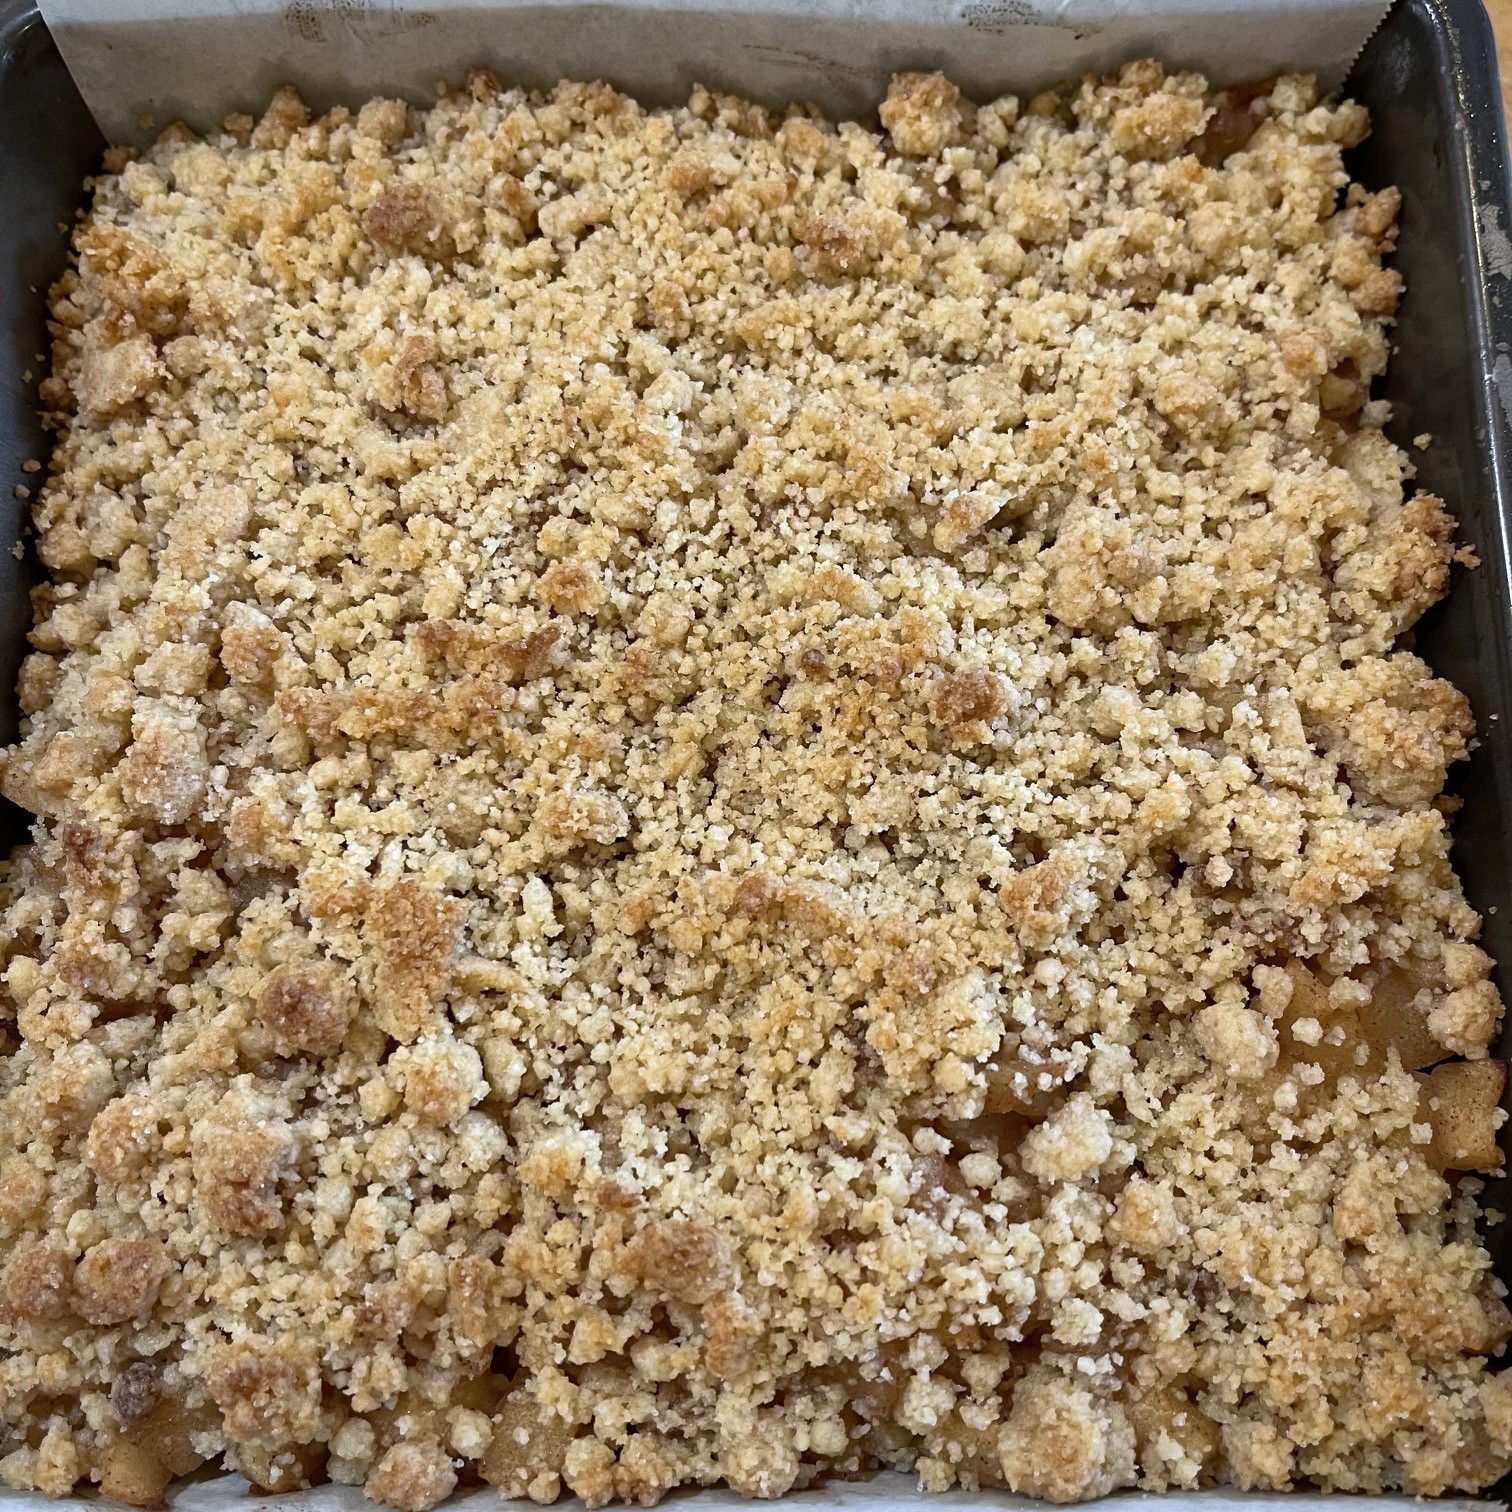
Bake in preheated 375°F (190°C) oven until lightly browned – about 37 minutes.

Remove from oven and cool. Then chill several hours to firm up Apple Bars before slicing.

Once the Apple Bars are firmed-up, remove from pan and slice. Serve as is, or top with, perhaps, ice cream or caramel sauce.

CREOLE HEARTS OF PALM: A Fast Last-Minute Meal!

Sometimes dinner time is rising fast on the horizon and I need to put food on the table soon. I like to have ingredients at the ready that can be assembled quickly and easily, thus avoiding expensive take-out foods.

Creole Hearts Of Palm is one of those quick-to-put-together meals with most ingredients you probably already have in your pantry. The exception might be the hearts of palm. I now keep several jars of them on hand.

My husband prefers spaghetti pasta as a base for the sauce, but you can choose any base you please: other types of pasta, rices, or grains are delicious possibilites as well. Whatever you prefer or have in the house will do!

CREOLE HEARTS OF PALM – serves about 4

  • 64g (4 T) olive oil
  • 226g (16 T) butter
  • 52g (4T) lemon juice
  • 12 cloves garlic
  • 28g (2 T) vegetarian Worchestershire sauce
  • 4 bay leaves
  • 2 T ground black pepper
  • 4 tsp dried oregano
  • 4 tsp dried rosemary
  • 4 tsp dried basil
  • 2 tsp dried thyme
  • 2 tsp onion powder
  • 2 tsp garlic powder
  • 1 tsp salt
  • 1/8 tsp cayenne
  • 1/8 tsp nutmeg
  • 2 tsp paprika
  • 500g (2- 8.5 oz jars) hearts of palm

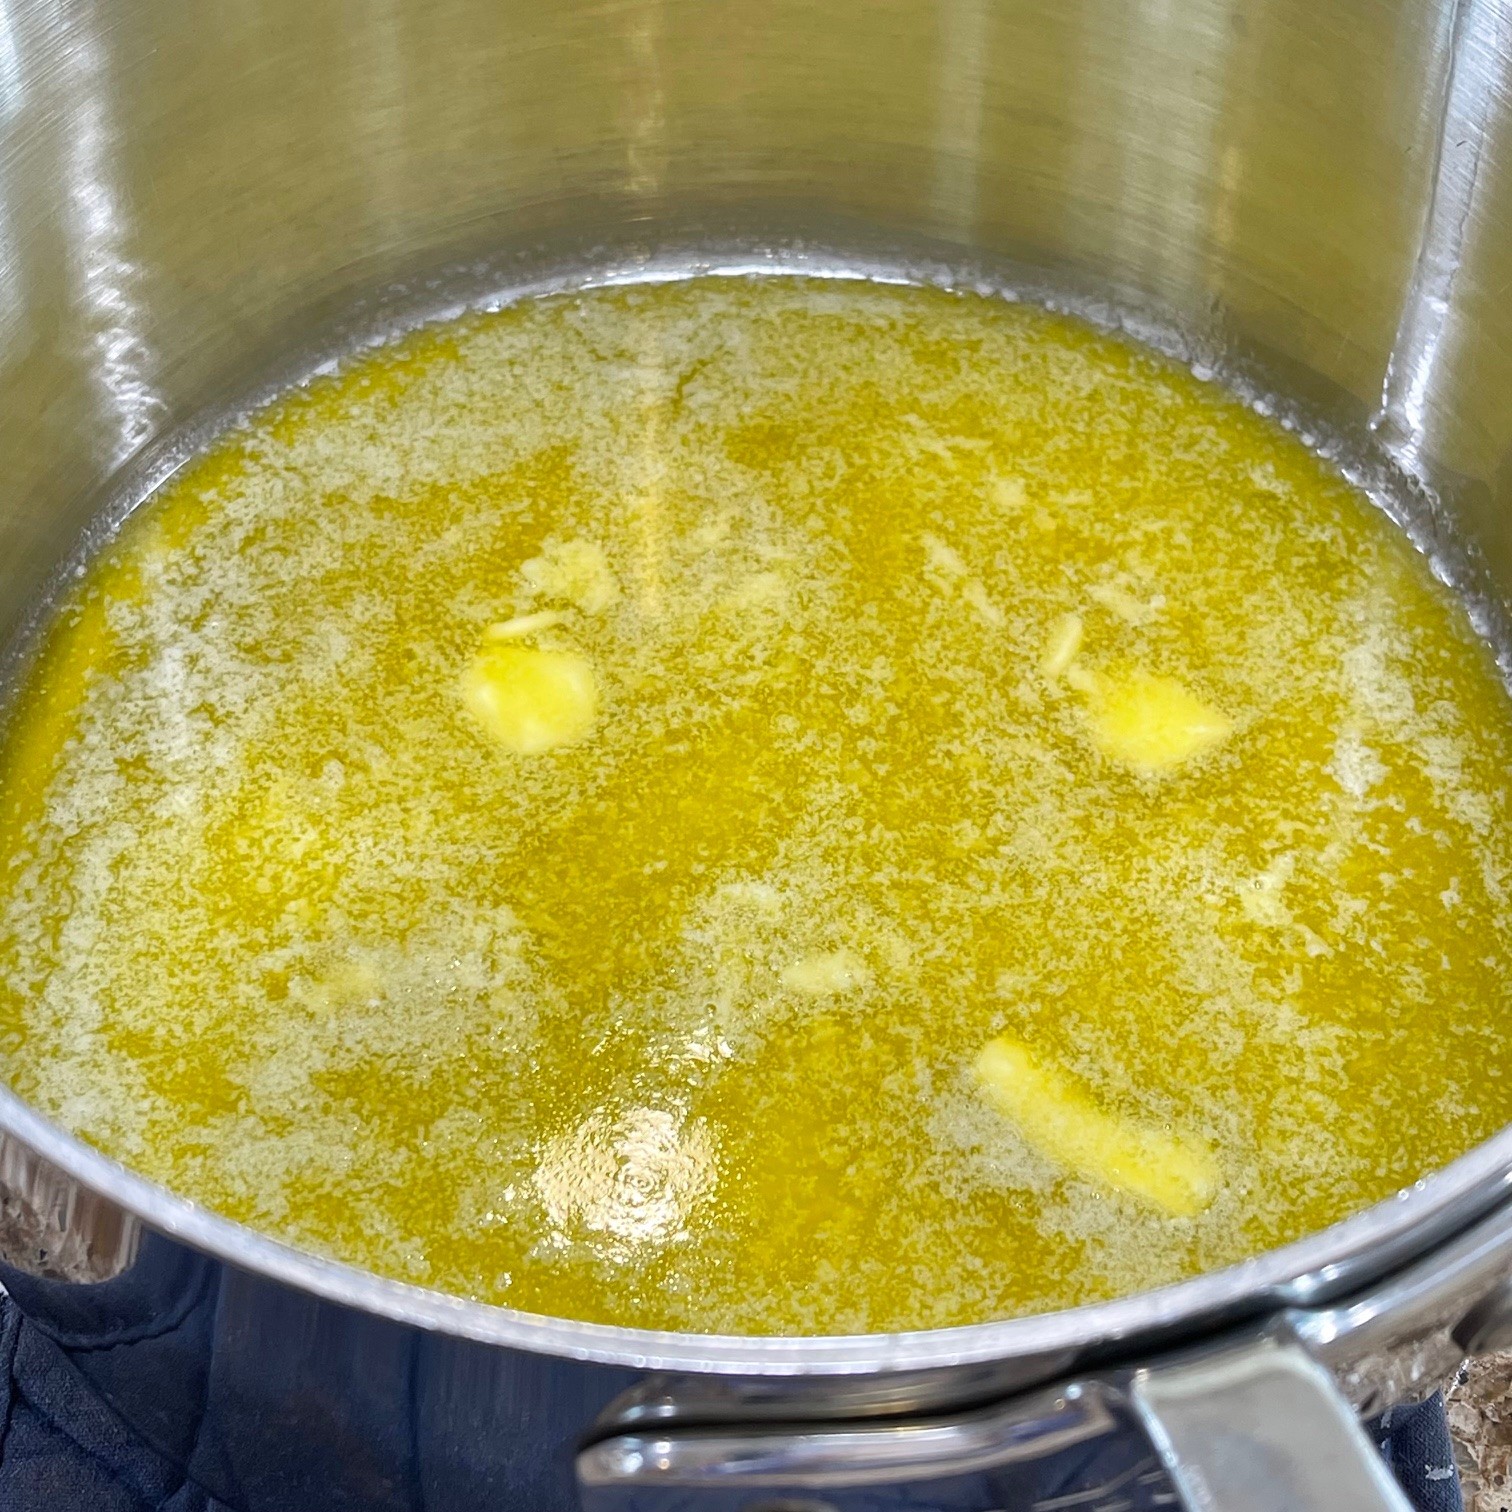
In a large saucepan, heat the olive oil and butter to melt.

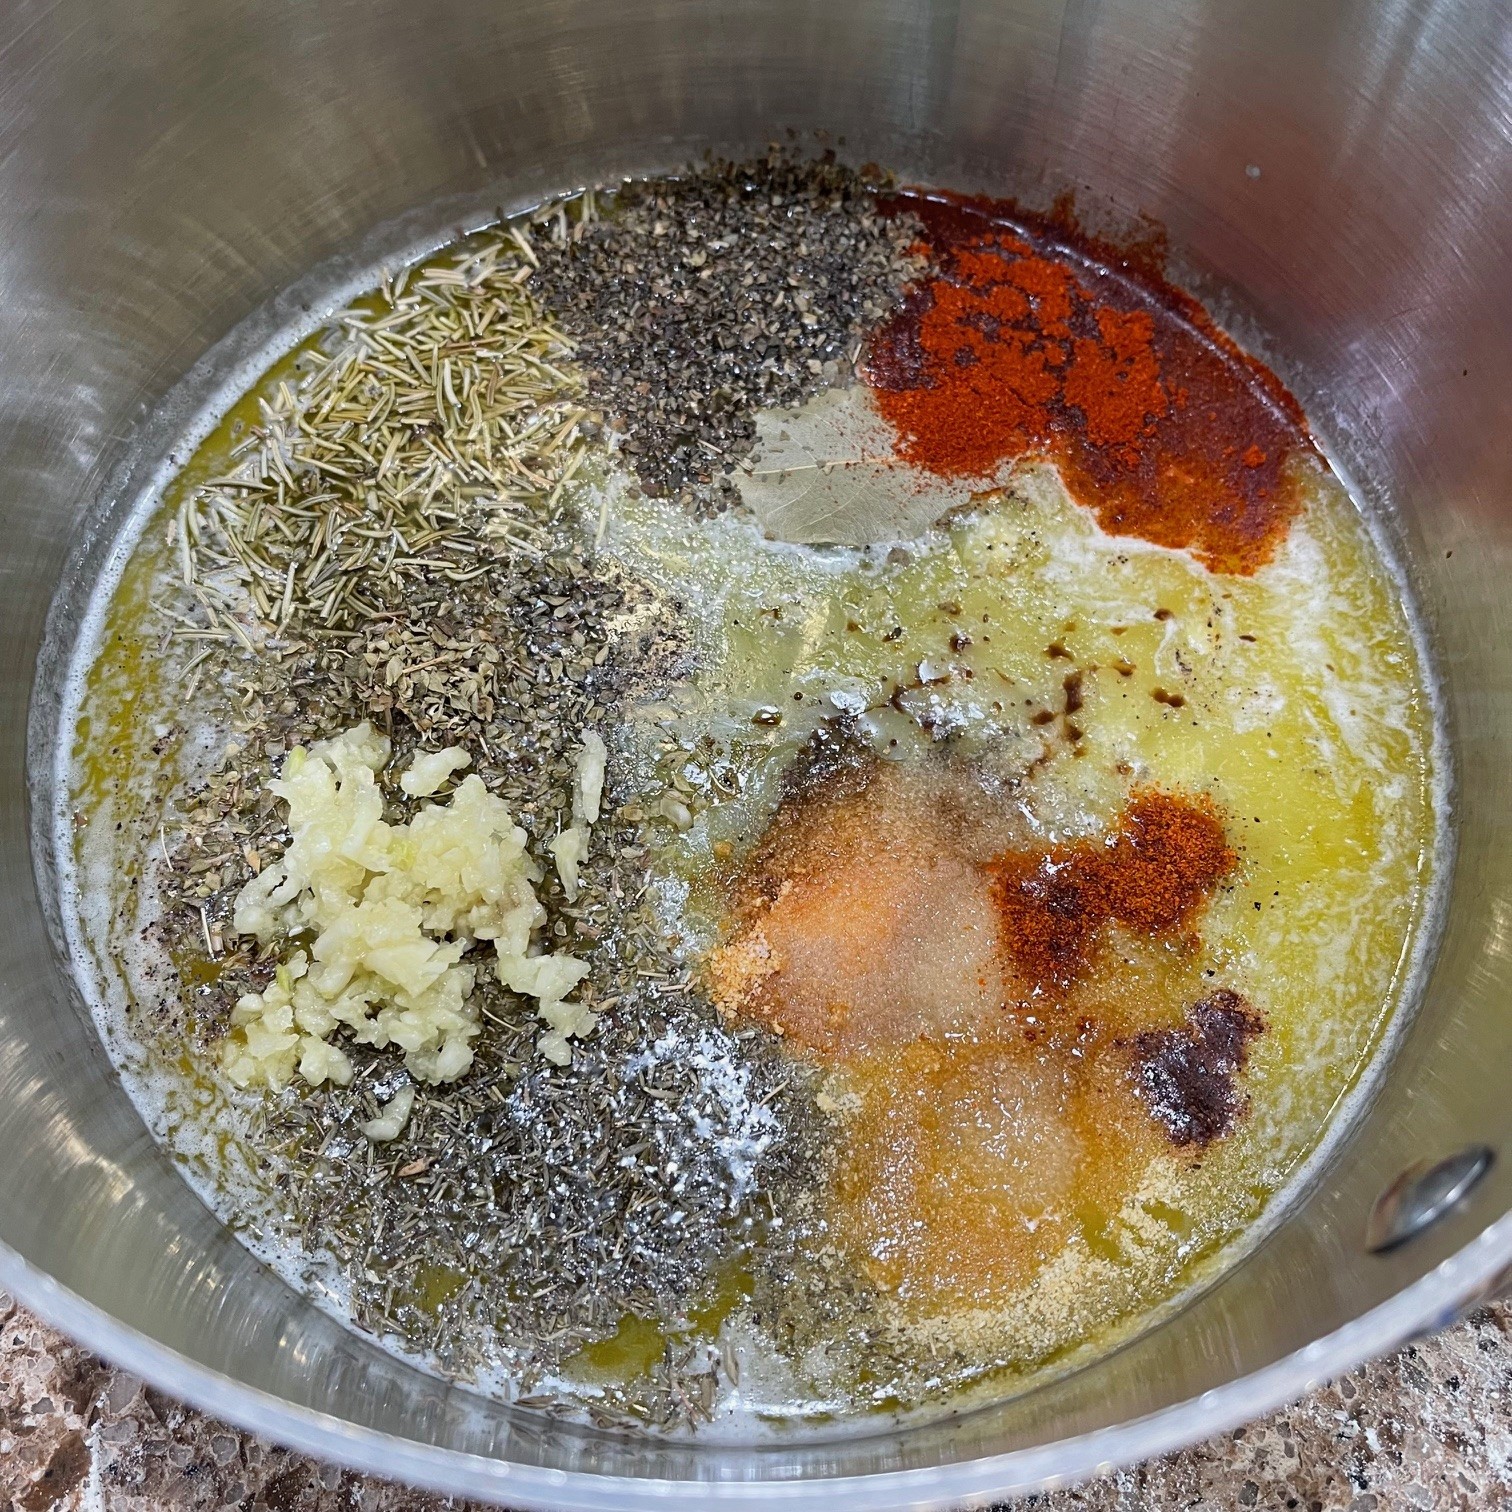
To the saucepan add all the ingredients EXCEPT the hearts of palm. Saute over medium 3 minutes to bloom the flavors, stirring often.

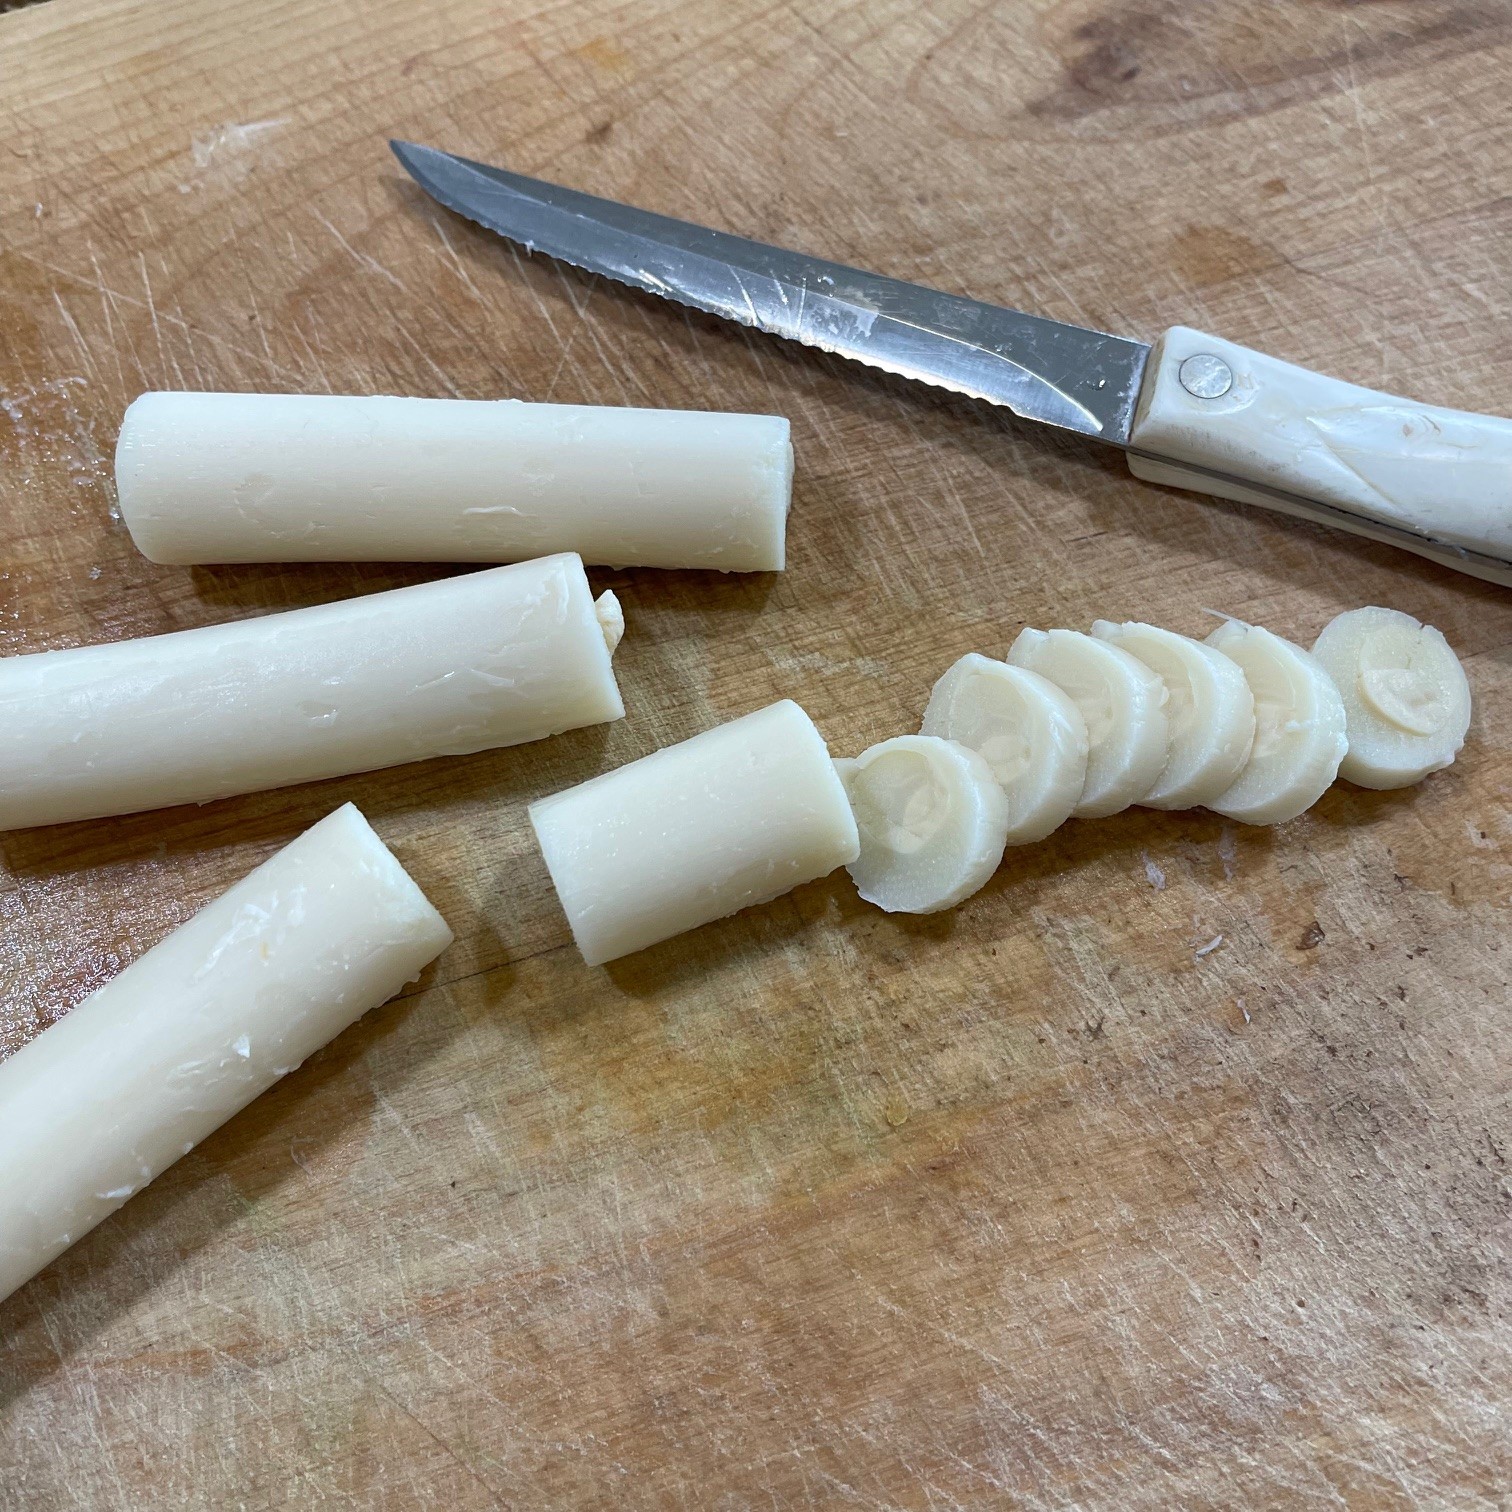
Slice hearts of palm into approximate 1/4″(1 cm) slices.

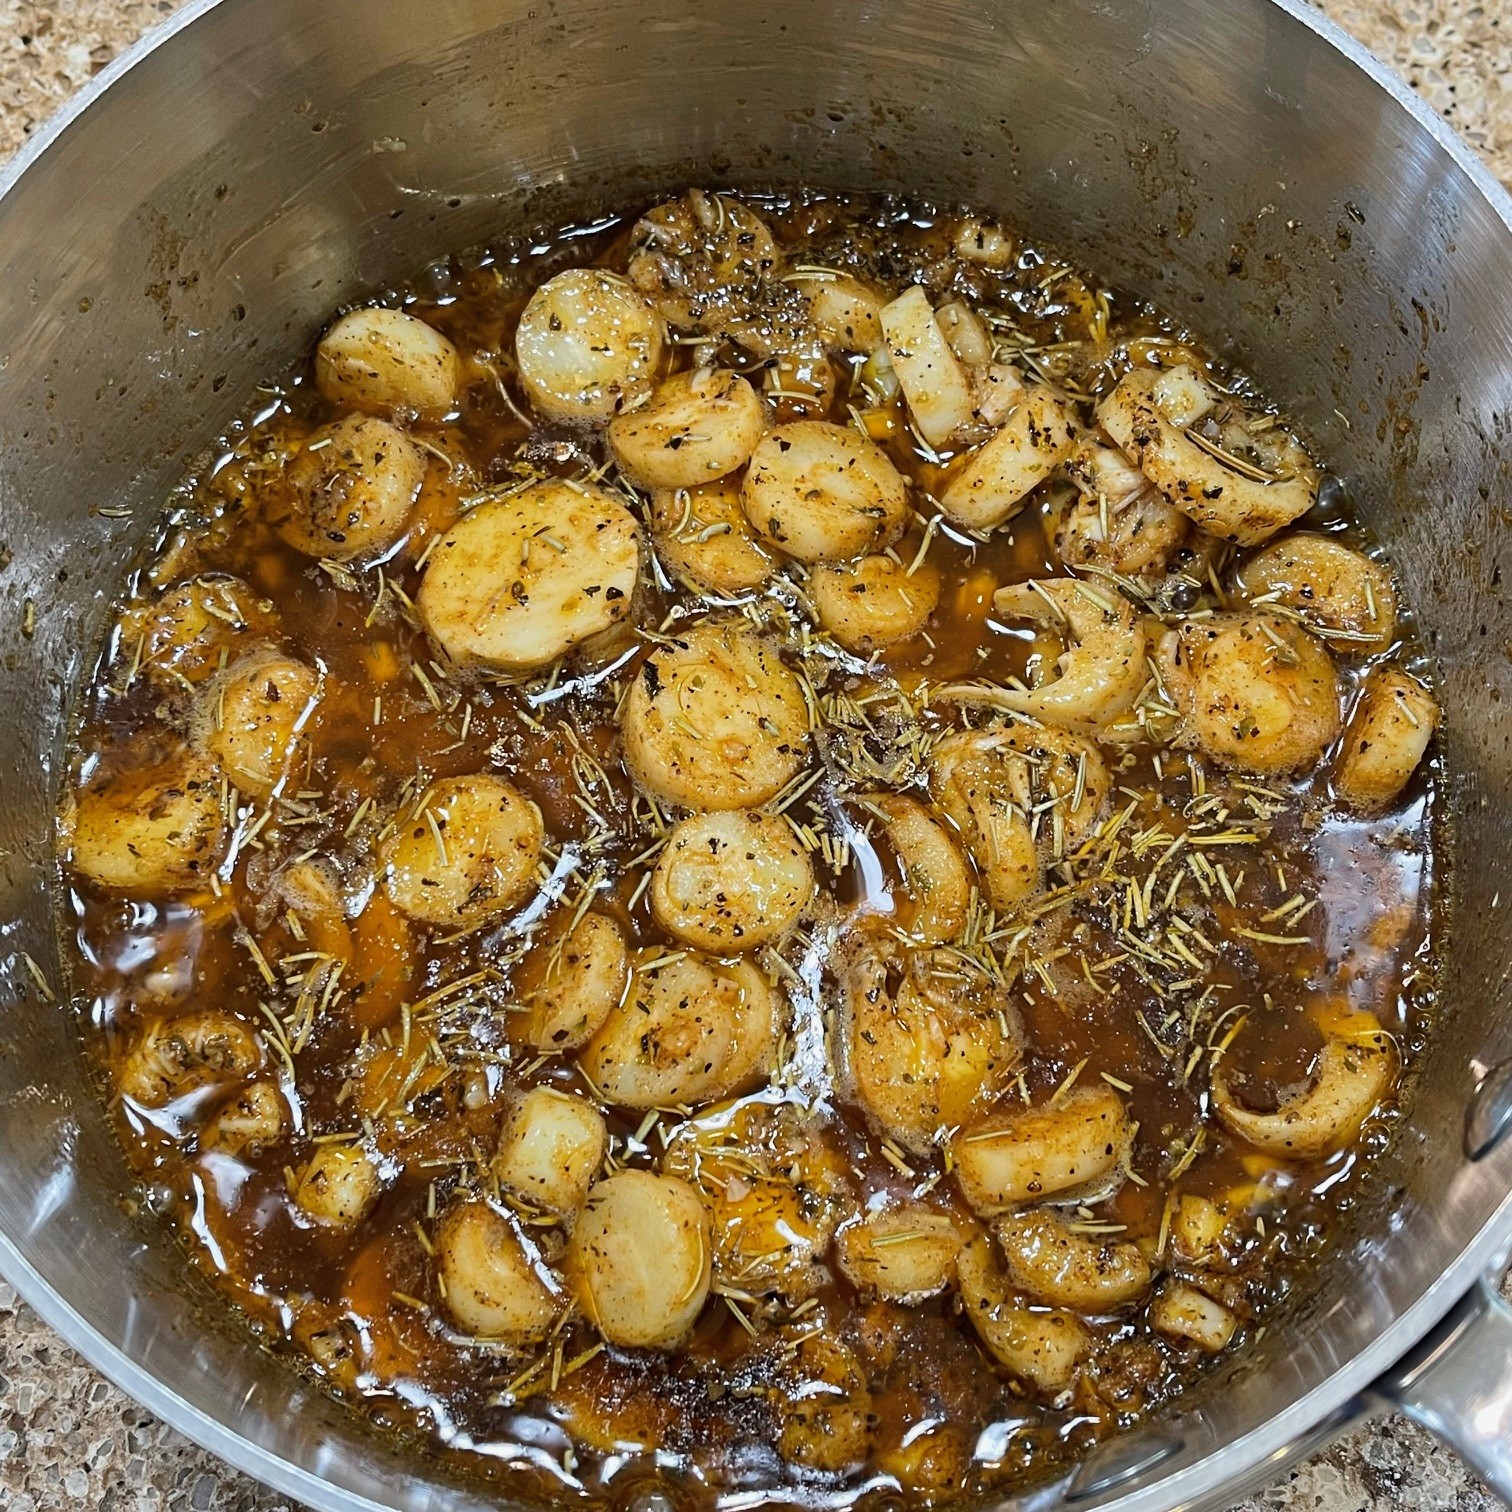
Add sliced hearts of palm to saucepan and saute 3-4 minutes over medium/high heat.

Cover pot with a lid and, over low heat, cook about 10 minutes to fuse the flavors. REMOVE AND DISCARD THE BAY LEAVES!!!

Use this time to cook the pasta (or whatever your choice of base.) Serve.

Lemon Quick Bread

While looking through my manilla file folder of recipes (yes, I still have one from days of yore), I came across a magazine clipping for lemon quick bread. Through the years I’d been tempted to try it but, as a fierce chocoholic, I’d always set it aside in favor of….well, chocolate.

Now that we live in a house with a lemon tree, I decided the time had come and made the Lemon Quick Bread. Like most quick breads, it’s fast and easy to prepare. But, more than that, it was absolutely delicious. So tender, yet firm!

NOTE: The recipe called for brushing a syrup made with a lemon juice and sugar onto the baked bread. But, for those who prefer a more powerful lemony punch, I’m adding an alternate choice of a pucker-inducing lemon icing that can be either piped or smoothed on top of the syrup.

ADDITIONAL NOTE: You can use either a glass or metal loaf pan. I’ve found the metal pan cooks the loaf faster and produces less of a crack on top.

LEMON QUICK BREAD – makes 1 standard loaf

  • 195g (1.5 cups) plain or all-purpose flour
  • 1 tsp baking powder
  • 3/4 tsp salt
  • 99g (1/2 cup) vegetable oil
  • 212g (1 cup) granulated sugar
  • 2 eggs
  • 3g (1 tbsp, packed) lemon zest
  • 125g (1/2 cup) milk (any kind – I use 2%)
  • 45g (1/2 cup) walnuts, chopped and lightly toasted
  • 36g (3 tbsp) lemon juice
  • 25g (2 tbsp) granulated sugar

Optional lemon icing:

  • 125g (1 cup) icing or powdered super – no need to sift
  • 22g (1.5 tbsp) lemon juice

Preheat oven to 180°C / 350°F

Grease sides and bottom of a standard loaf pan. Line the bottom with baking paper – this will make removal of the loaf easier. If you don’t have baking paper, make sure to grease the bottom well.

In a small bowl, mix together the flour, baking powder, and salt. Set aside.

In the bowl of an electric mixer, beat the vegetable oil and 212g (1 cup) sugar on high for 2 minutes.

Add in the eggs and lemon zest. Beat on medium speed to blend well – about a minutes or so.

Add in the flour mix and beat on low until flour is almost all incorporated. Then add in milk on low speed until milk is just incorporated – you don’t want to overmix, Finally, stir in nuts.

Pour into prepared loaf pan.

Bake at 180°C / 350°F for about 50-60 minutes. The crack along the top, which always forms on my loaves, should NOT be liquidy – bake until it firms up (54 minutes in my oven).

Prepare the syrup while loaf is baking: in a small pot, add the 36g (3 tbsp) lemon juice and 25g (2 tbsp) sugar. Over medium heat, bring to boil to melt the sugar. Remove from heat and set aside.

When loaf is done, remove from oven. Remember to touch the crack – if it’s still wet, cook a bit longer.

While still in the tin, poke the top all over with a skewer, going down about halfway. Brush on (or drizzle) the lemon syrup – use it all. Let set 10 minutes.

Run a rounded tipped (so as not to scratch your tin) knife around the edges, then flip to remove from tin. Remove the baking paper.

Set right-side up on a wire rack to cool completely.

OPTIONAL LEMON ICING

When ready to ice loaf, prepare the icing.

Into a small bowl combine the 125g (1 cup) icing (powdered) sugar and 22g (1.5 tbsp) lemon juice. Smash all the lumps from the sugar.

You can either ice the top entirely or pipe. If too thick to pipe easily, add a tiny more lemon juice, if too thin, add more sugar.

ZUCCHINI SOUP: Why, Yes! I’d Love Some Zucchini!

They’re coming – home gardeners who planted more zucchini than they need, arms laden with these beauties who just yesterday were 7″, today the size of props in a sci-fi film. Never one to turn down free food, I thank them and start planning. Of course, there’s zucchini bread, zucchini stir-fry, and spiralizing zucchini.

Then it hit me:

ZUCCHINI SOUP!

It can be a meal in itself or as a starter. Bonus: it freezes well!!!

ZUCCHINI SOUP

Note: Don’t worry about the chopped veggie sizes – everything will be blended

  • 28g / 2 T butter
  • 115g / 1 cup onions, chopped
  • 2-3 garlic cloves, minced
  • 1/4 tsp dried rosemary
  • 1/4 tsp dried thyme
  • 1/4 tsp celery salt
  • 1.75 tsp kosher salt (or 3/4 tsp table salt)
  • 1/4 tsp black ground pepper
  • 1/8 tsp cayenne pepper
  • 683g / 1.5 lbs / 5 cups zucchini, unpeeled and chopped
  • 445g / 1 lb russet potatoes, unpeeled and diced
  • 690g / 3 cups vegetarian stock – homemade (click link) or purchased
  • 17g / 1T soy sauce
  • 60g / 2 oz / 1 cup sharp Cheddar cheese, shredded
  • 82g / 1/2 cup uncooked couscous (not the Israeli pearl couscous)
  • OPTIONAL: greens, such as Swiss chard or spinach pieces
  • OPTIONAL: small pieces of bread, such as pita

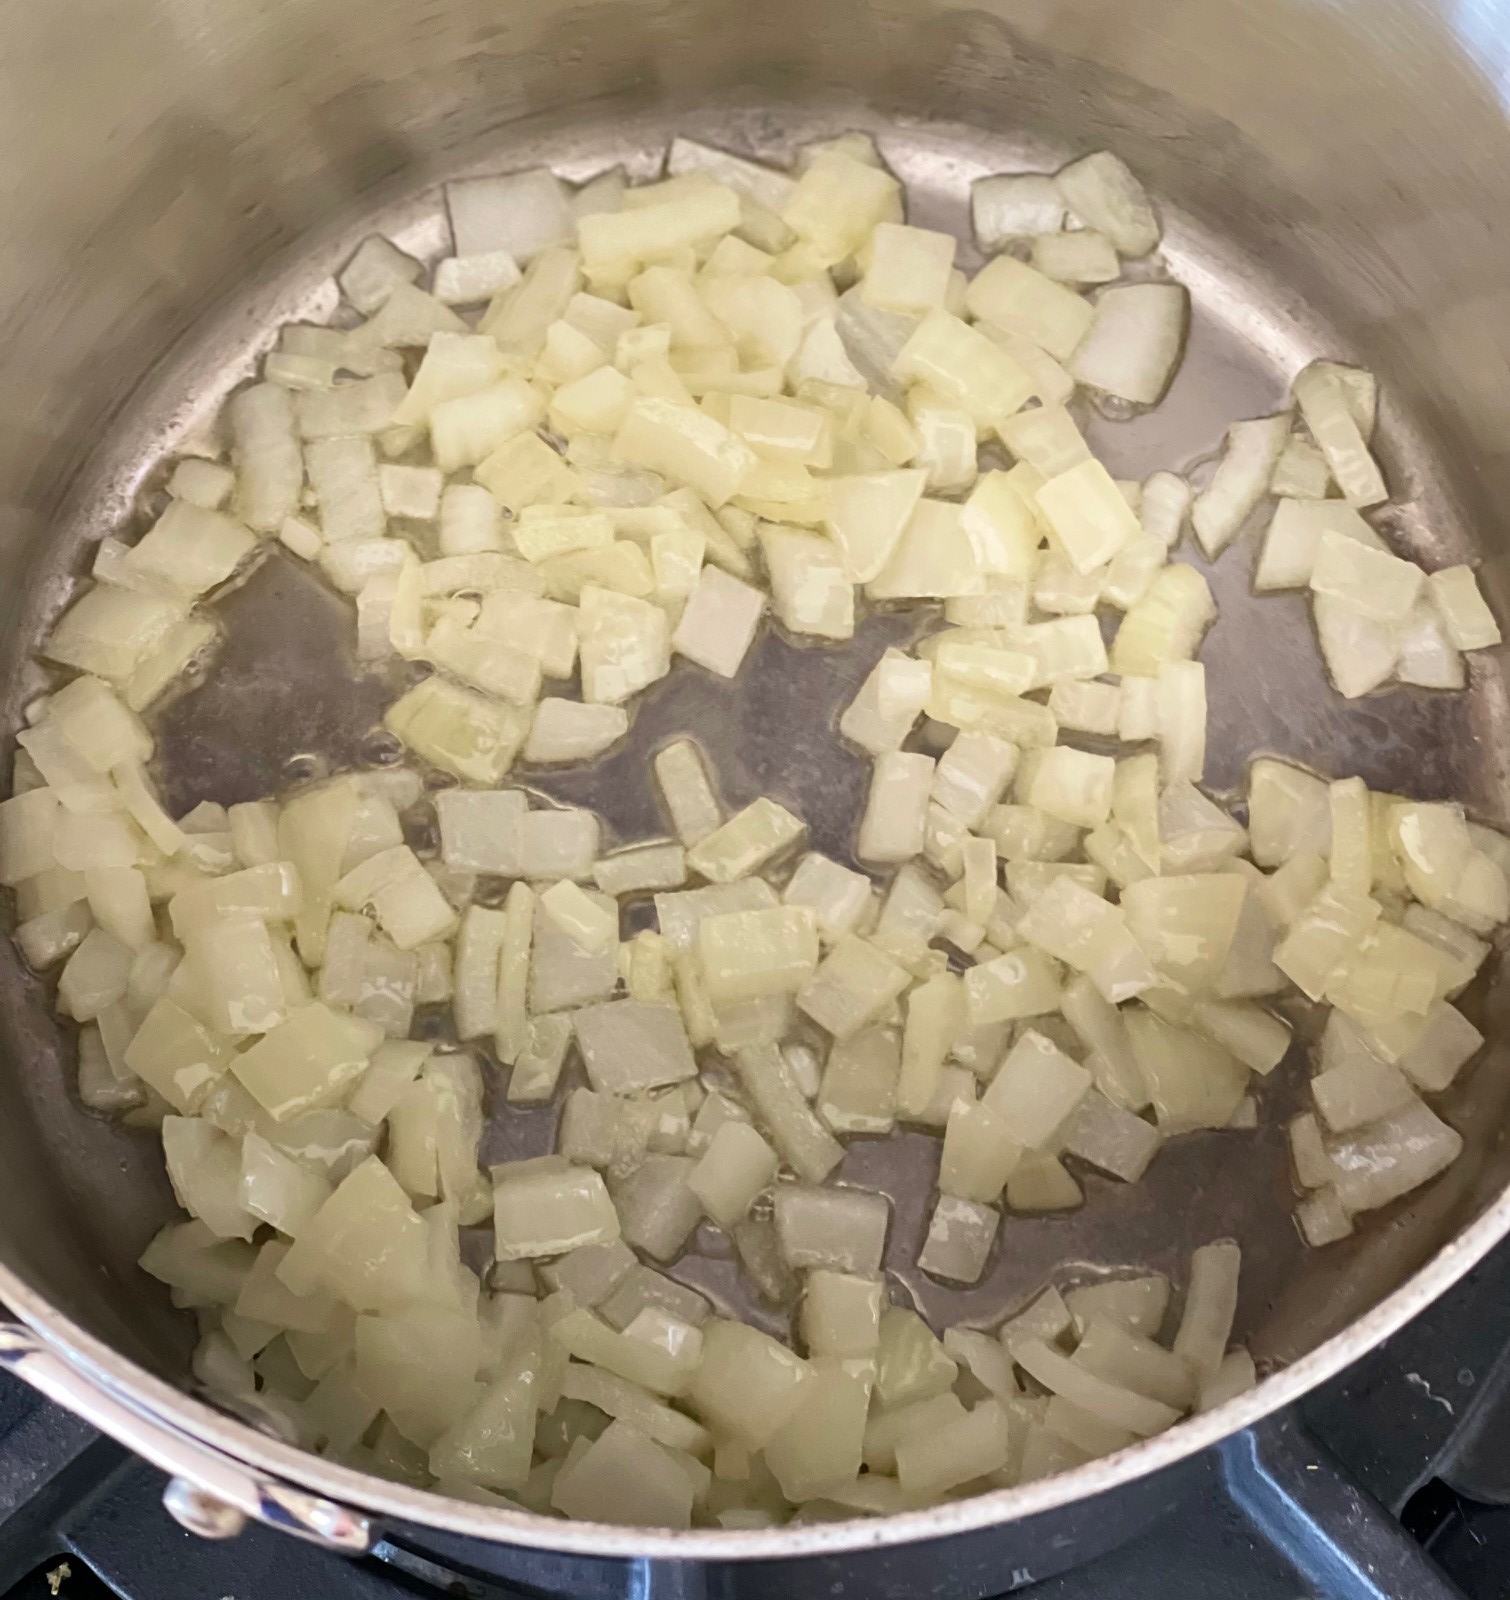
In a large saucepan (2 litres / 8 cups), melt the butter. Add onions and, over medium-high heat, saute for 5 minutes. Stir often.

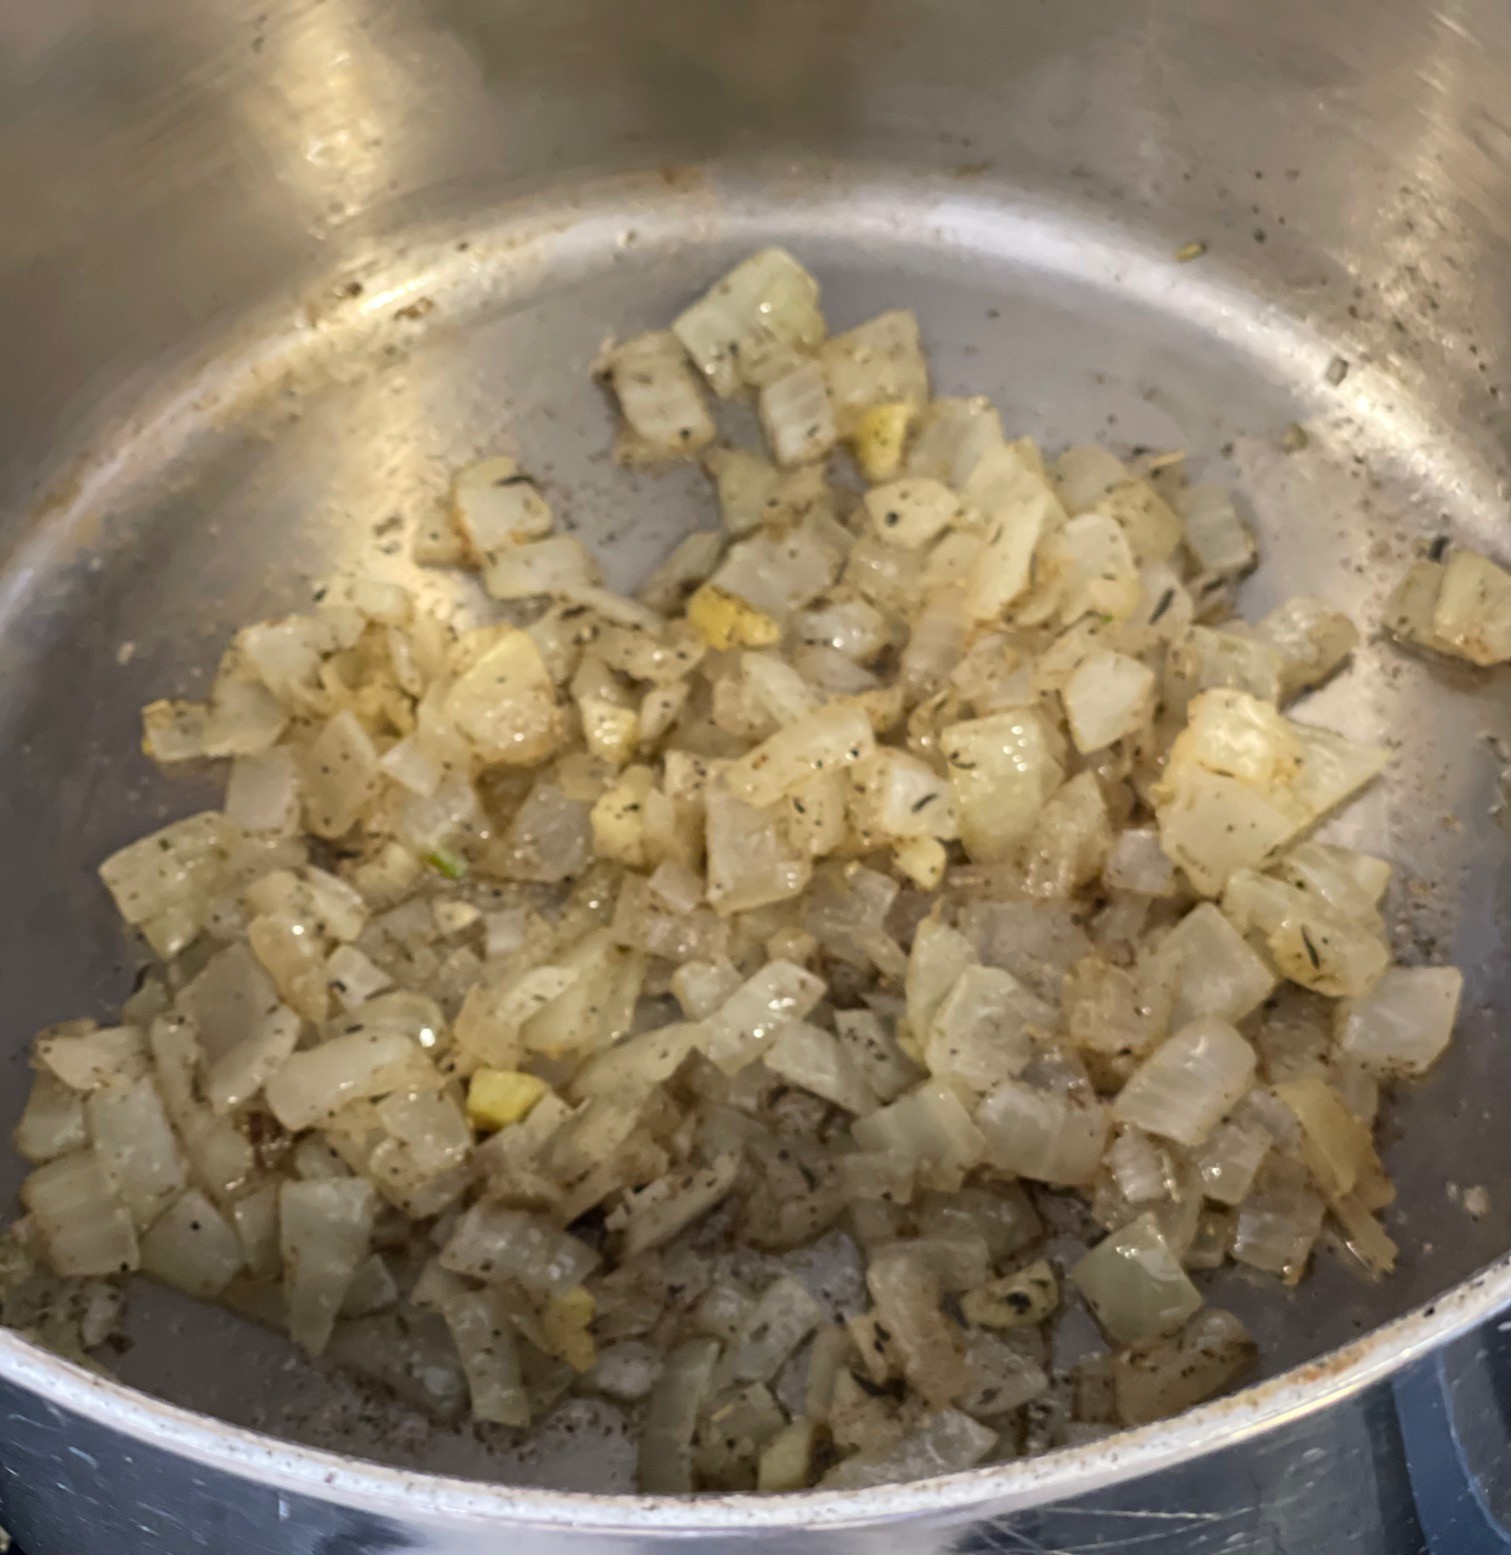
Add in garlic, rosemary, thyme, celery salt, Kosher salt, and black pepper. Over medium heat, saute about 1 minute to bloom the herbs, stirring constantly.

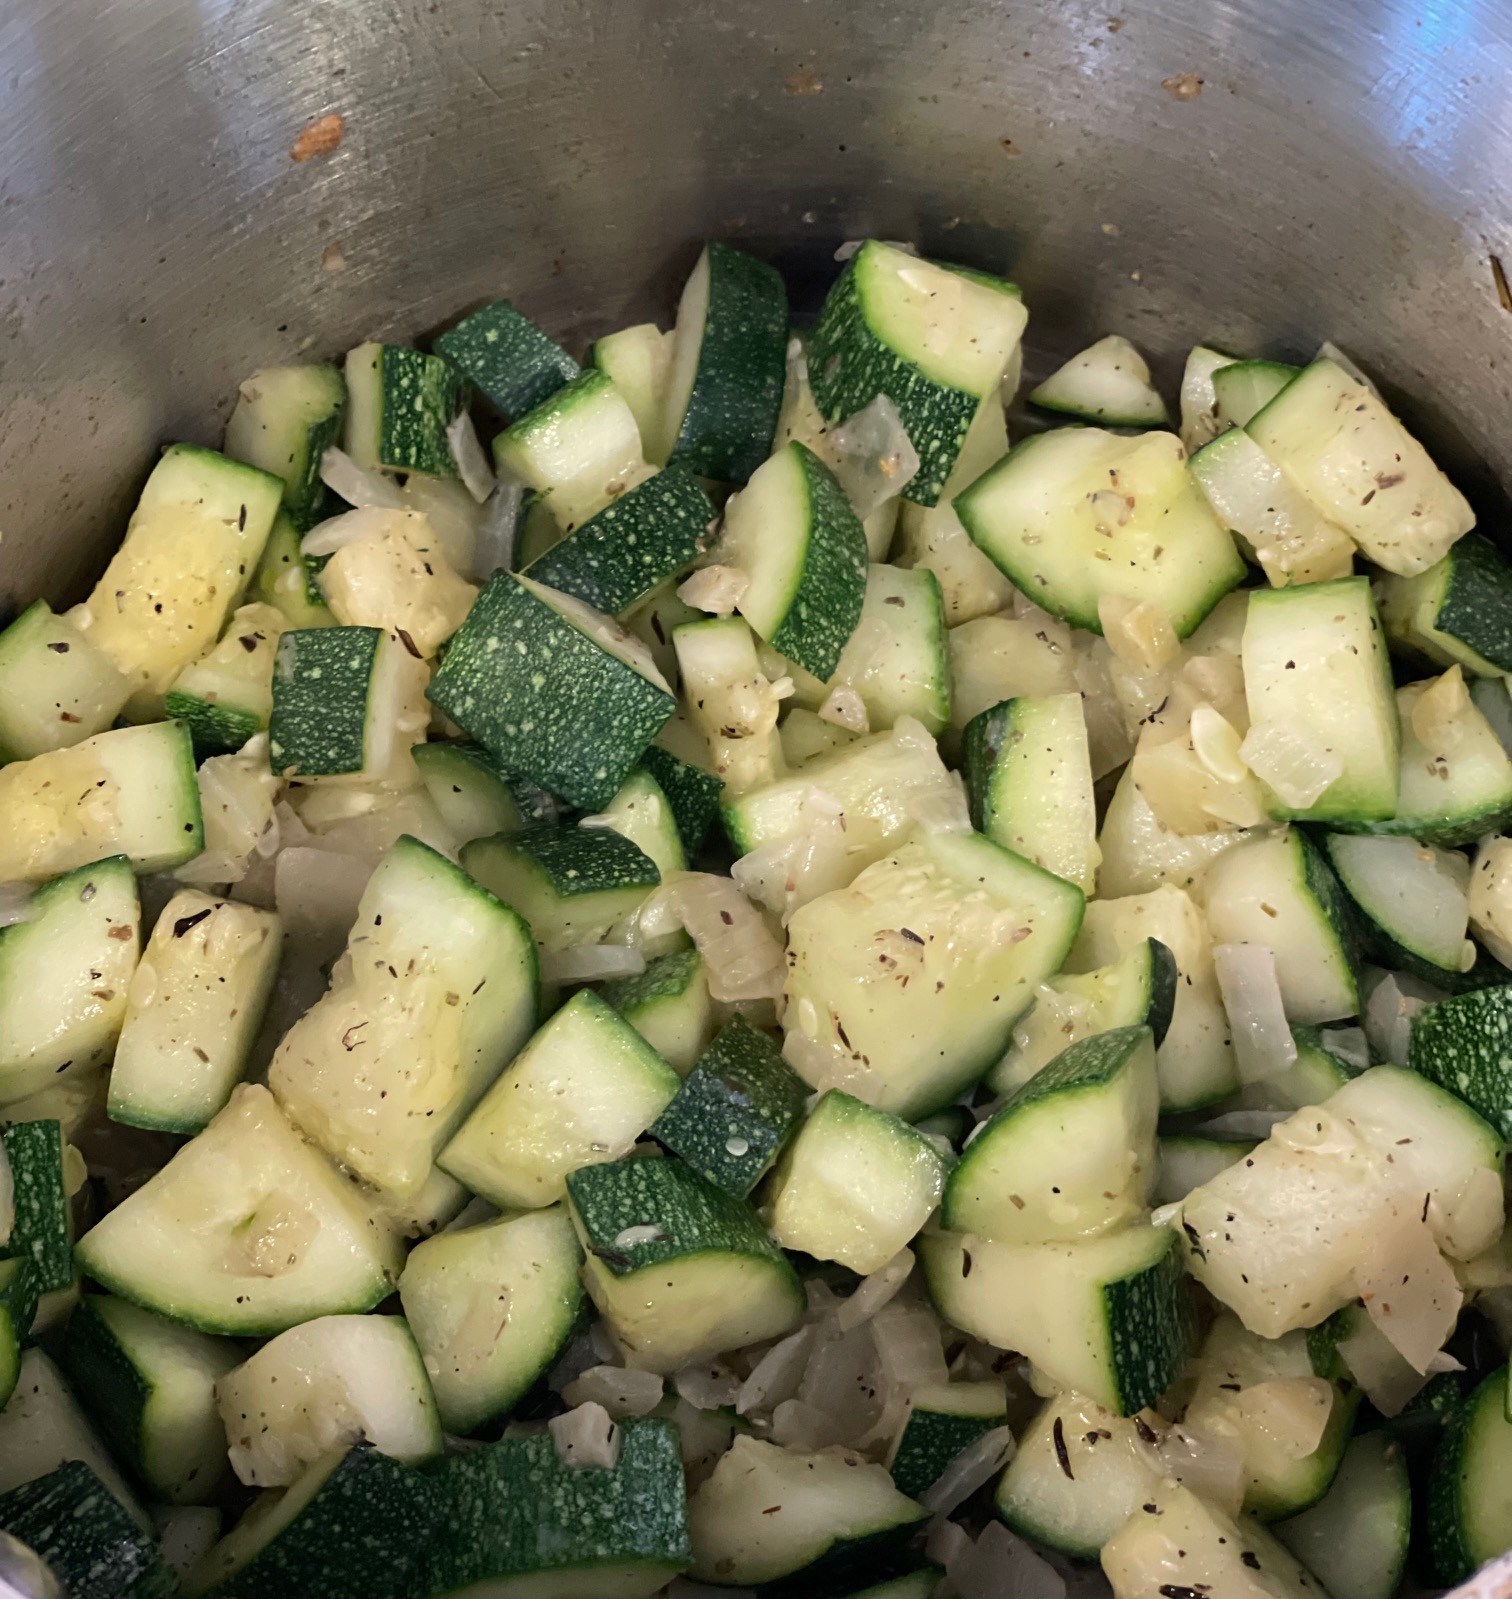
Add in zucchini and, over medium-high heat, saute 5 minutes, stirring often.

Add the potatoes, vegetable broth, soy sauce, and couscous to the pot. Bring to a boil, then decrease flame to maintain a simmer.

Cover the pot, leaving the lid slightly askew to prevent the liquid boiling over. Simmer for about 20 minutes, testing the potatoes are easily pierceable with a knife.

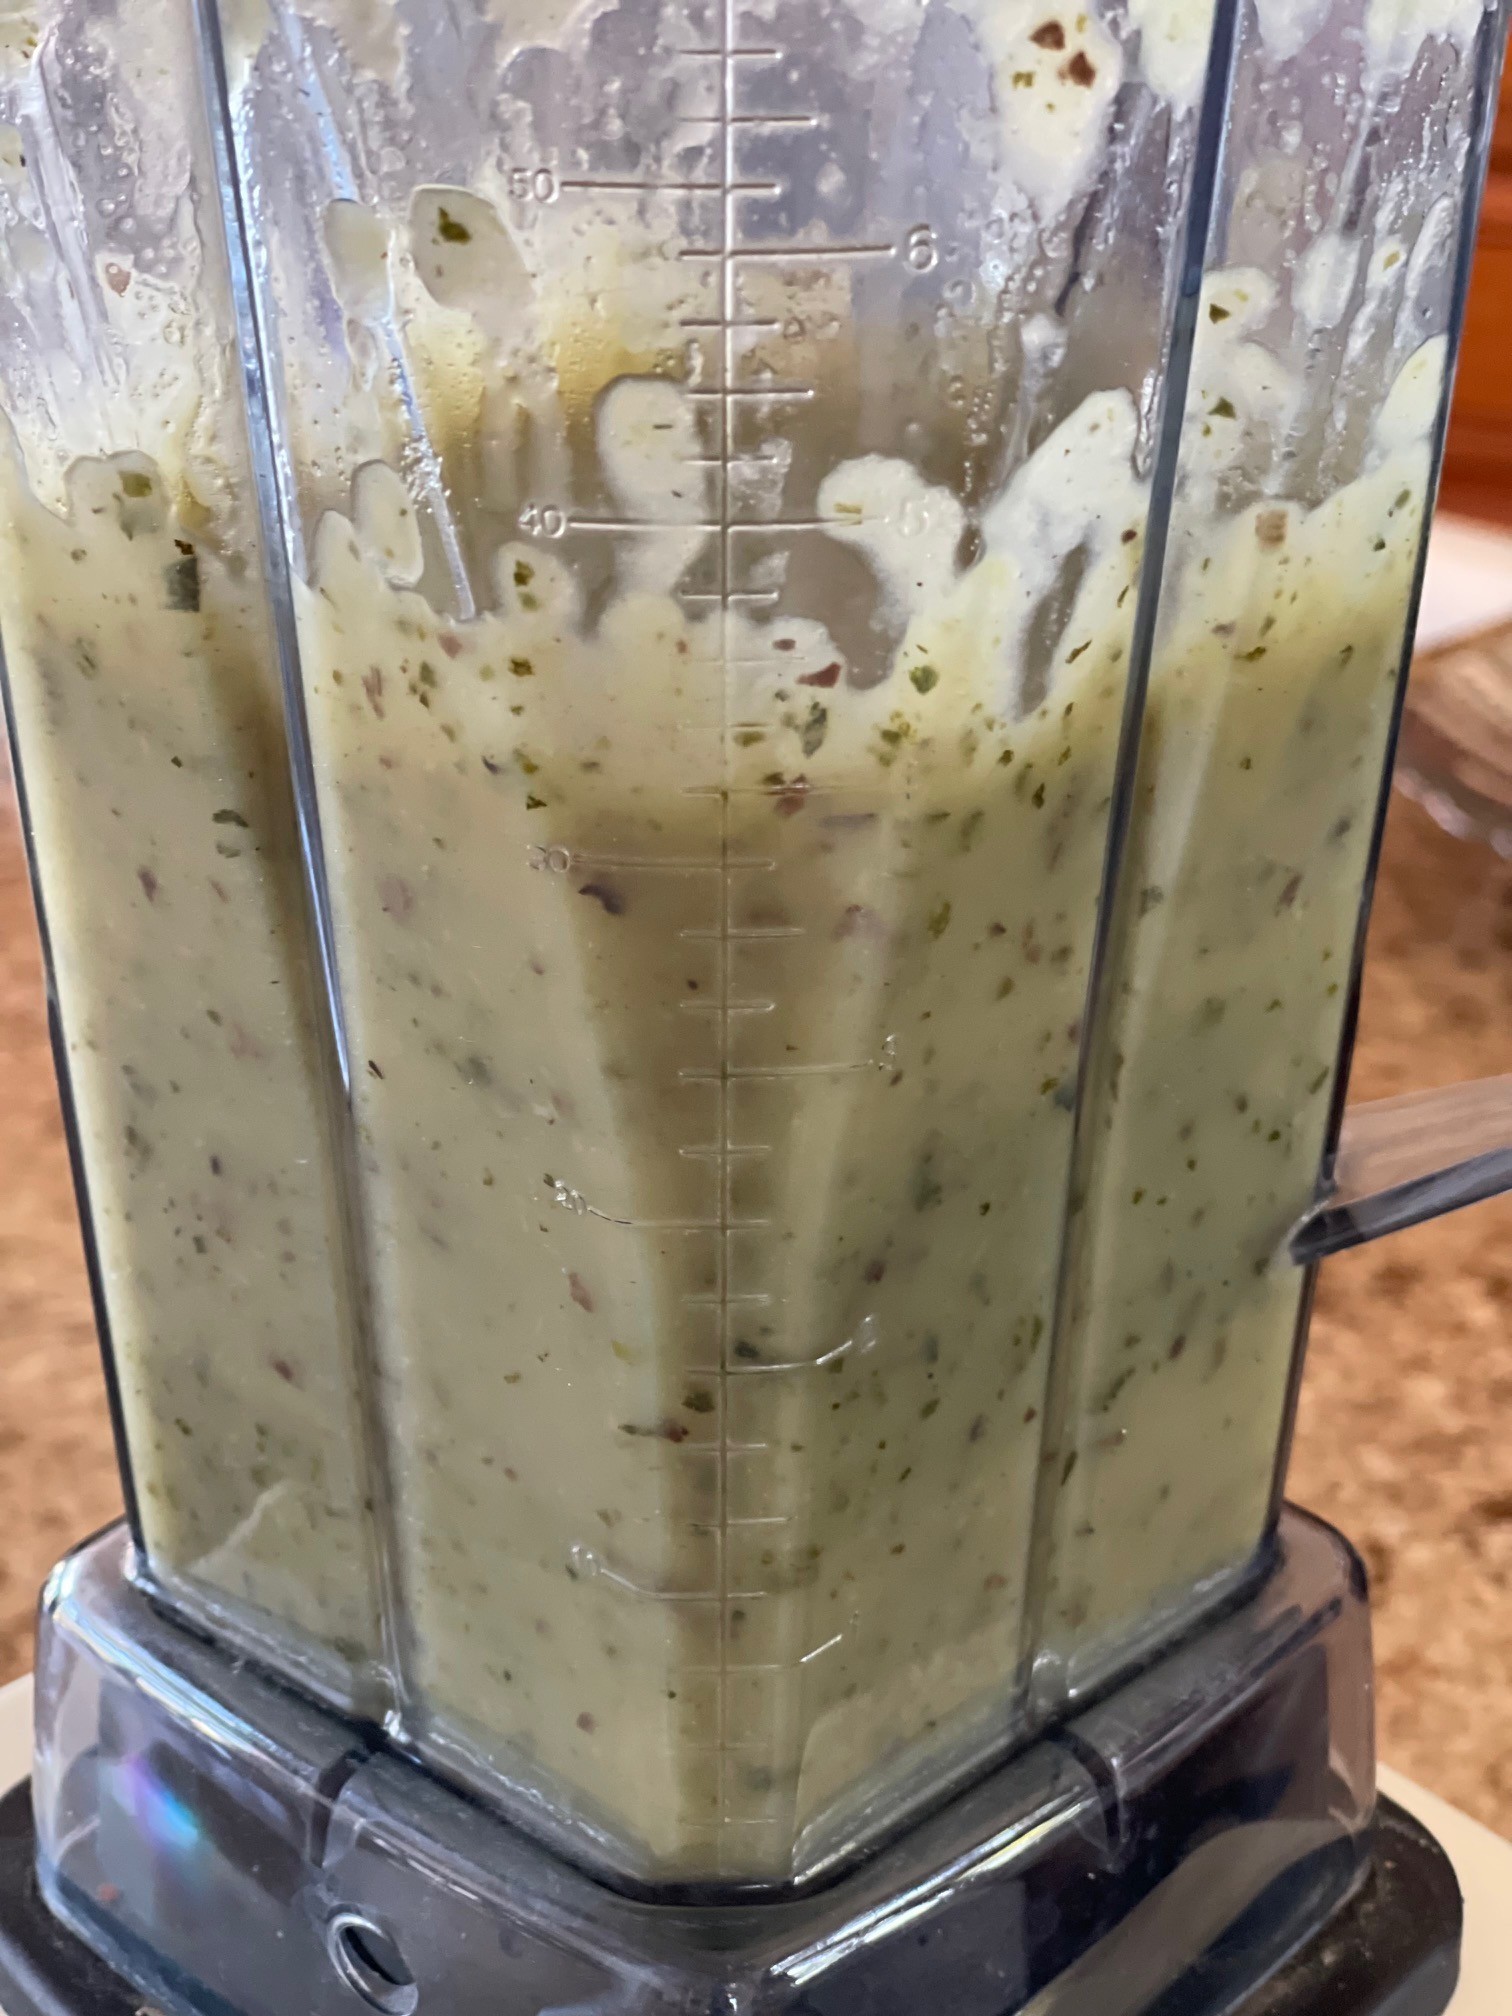
Remove lid and let soup cool about 20 minutes before blending. Then, pour cooled liquid into a blender (you may need to do this in batches) and blend until smooth.

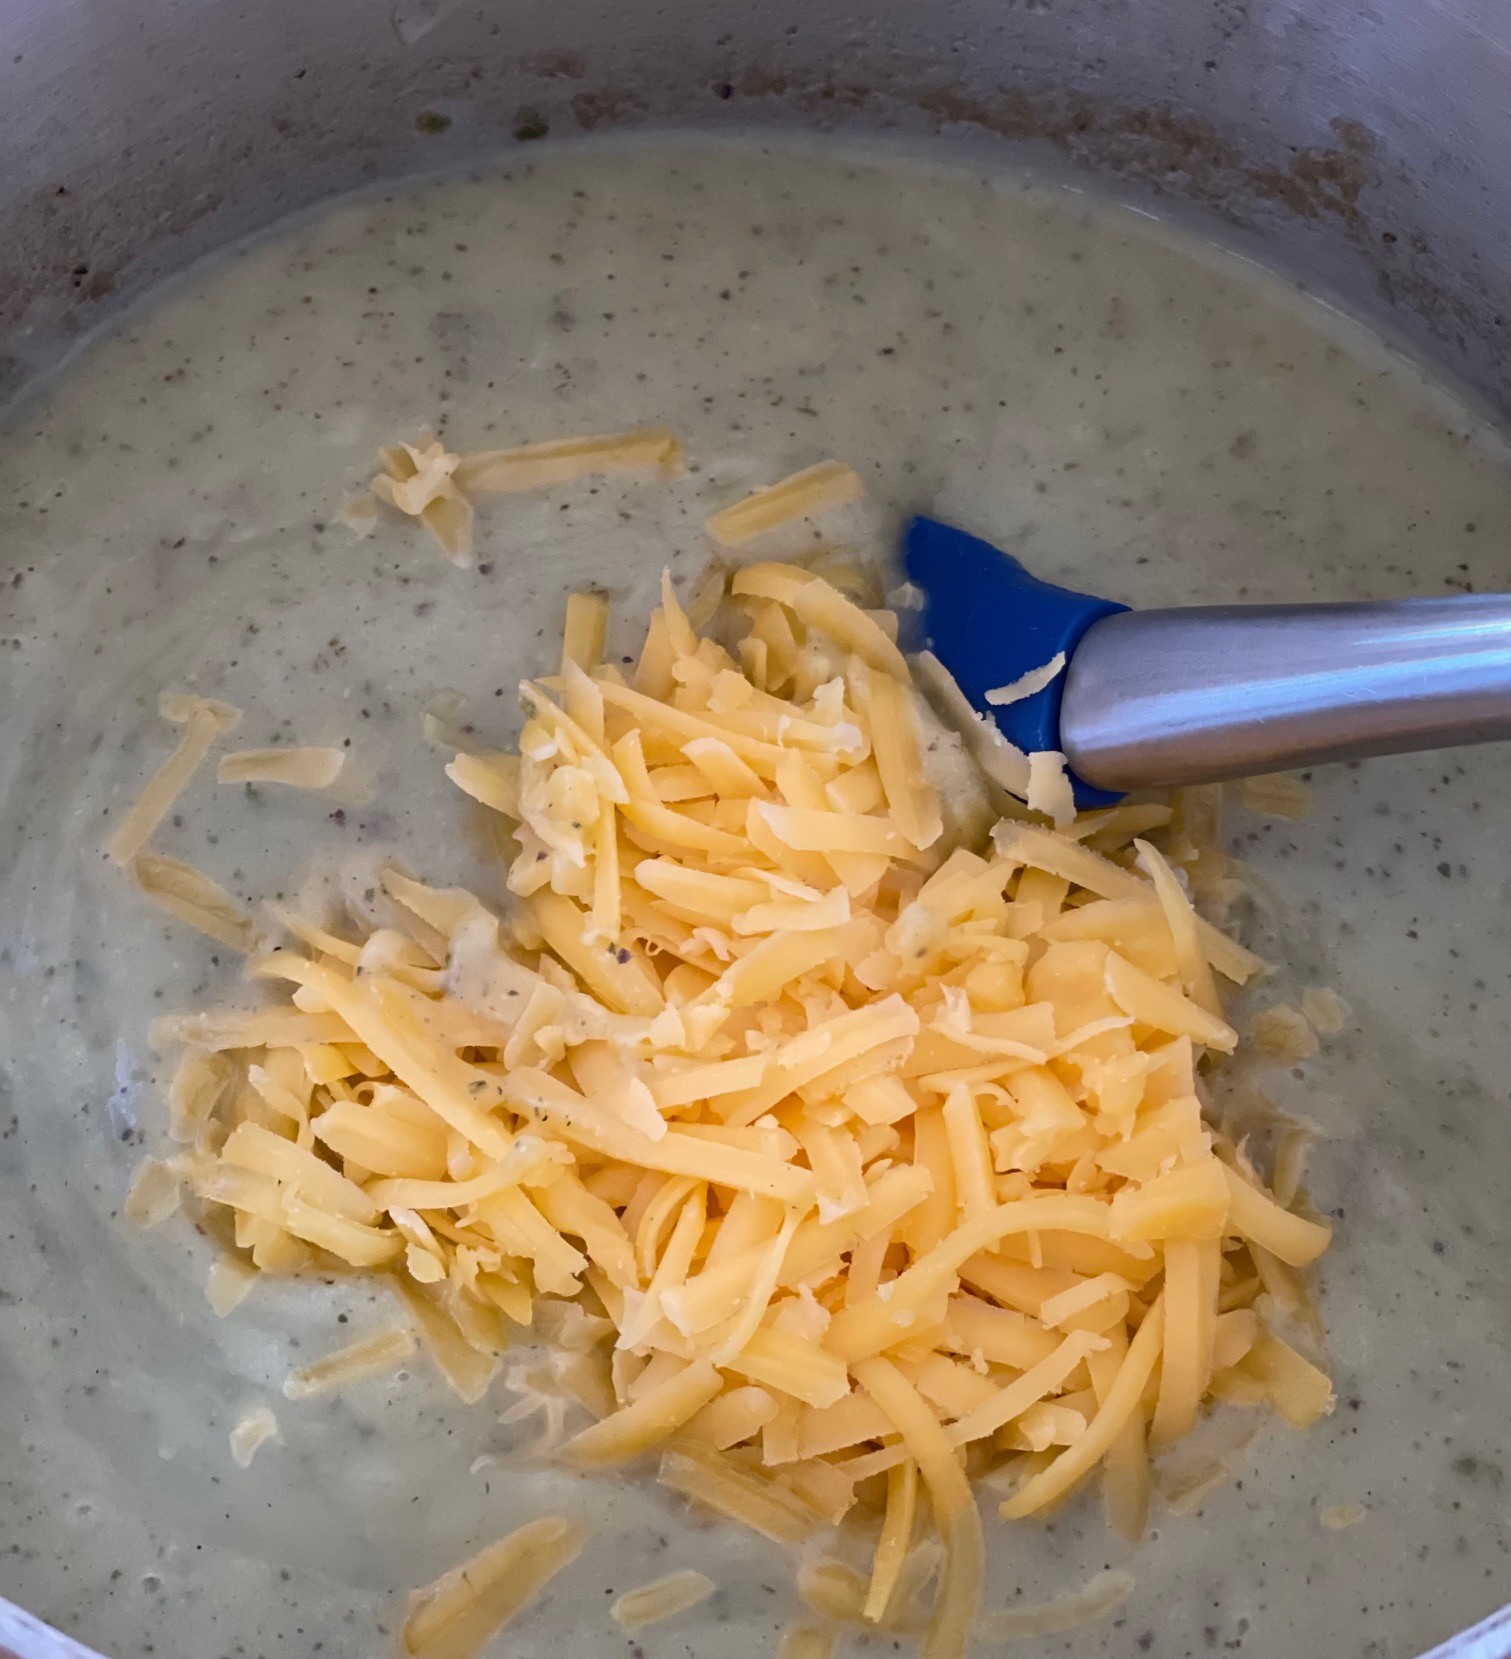
Return soup to saucepot and stir in cheese, optional greens, and optional bread pieces. Heat to melt cheese. Taste for seasoning, correcting if needed.

BARBECUE SAUCE: Fast, Easy, & Delicious!!!

This recipe is not only delicious, but cooks in 5 minutes! You just toss all ingredients in a pot and boil for 5 minutes. Done! (Don’t be daunted by the number of ingredients – half of them are spices.)

Before making a larger batch of this barbecue sauce, I recommend trying it first to be sure you like it. Then, if it pleases you, you can increase the amount. Since I don’t use barbecue sauce all that often, I quadruple the recipe and freeze it in portions.

BARBECUE SAUCE – makes about 250mls / 1 cup

  • 188g (1/2 cup + 2T) ketchup
  • 89g (1/2 cup, packed) dark brown sugar
  • 30g (2T) molasses – I use Grandma’s, unsulphured
  • 25g (2T) pineapple juice
  • 25g (2T) water
  • 8g (1/2T) vegetarian Worchestershire sauce
  • 1.25 tsp ground mustard
  • 1 tsp smoked paprika
  • 1/4 tsp garlic powder
  • 1/8 tsp cayenne powder
  • 3/4 tsp Kosher salt (or, 1/4 tsp table salt)
  • 1/4 tsp white pepper

Into a saucepan, put all the above ingredients.

Bring to a boil. Maintain a low boil, stirring often, for 5 minutes. That’s it!

TAMALE PIE: You Won’t Miss The Meat!

Tamale Pie is one of my favorite meals to prepare. Not only is it delicious, but it’s quick to assemble and bake….that is, IF you’ve already made my HOMEMADE VEGETARIAN “GROUND BEEF” or use purchased imitation ground beef (such as Impossible Burger or Morningstar Crumbles). For this reason, I always keep 1 lb (1/2 kg) portions in my freezer. In the morning, I set it out to thaw.

NOTE: As a woman who prefers to wash as few dishes as possible, I use a cast iron skillet for this recipe since it can go from stovetop to oven. You can also use a different type of skillet, as long as the handle is able to go into the oven. Alternatively, saute the onions in a small saucepan, then mix everything together in a bowl and bake in a casserole dish.

TAMALE PIE

  • 2 T vegetable oil
  • 3 T chili powder
  • 40g (1/3 cup) onions, chopped
  • 1/2 kg (1 lb) imitation ground beef
  • 425g (15 oz) canned black beans, drained and rinsed (321g drained)
  • 65g (2.25 oz) black olives, sliced
  • 1/2 cup salsa (homemade or purchased)
  • 3 T cilantro, fresh, finely chopped
  • 74g (1 cup) Cheddar cheese, grated
  • 109g (3/4 cup) cornmeal
  • 107g (3/4 cup) all-purpose flour
  • 34g (3T) sugar
  • 3/4 tsp salt
  • 3/4 tsp baking powder
  • 1/4 tsp baking soda
  • 39g (3T) butter
  • 1 egg
  • 180g (3/4 cup buttermilk)

Preheat oven to 230°C (450°F)

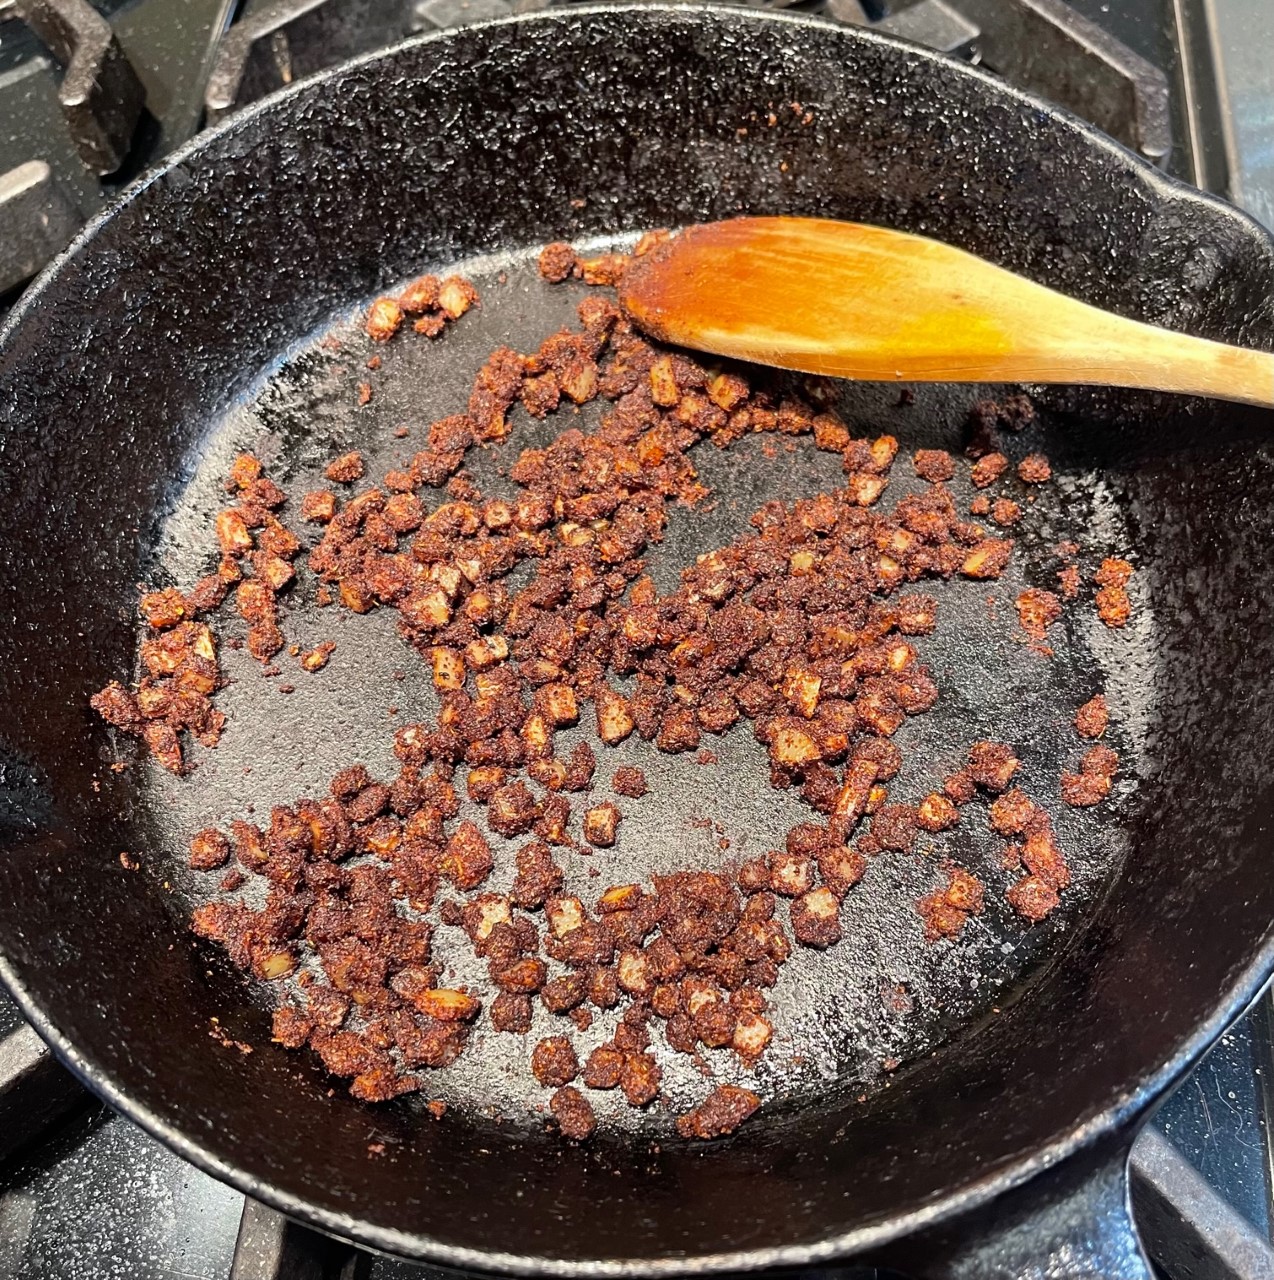
Into a skillet, combine the oil, chili powder, and onions. Saute over medium heat for 5 minutes.

Pour cooked onions into a bowl. Add in the imitation ground beef, black beans, olives, salsa, cilantro, and cheese. Mix together and pour back into skillet, smoothing top.

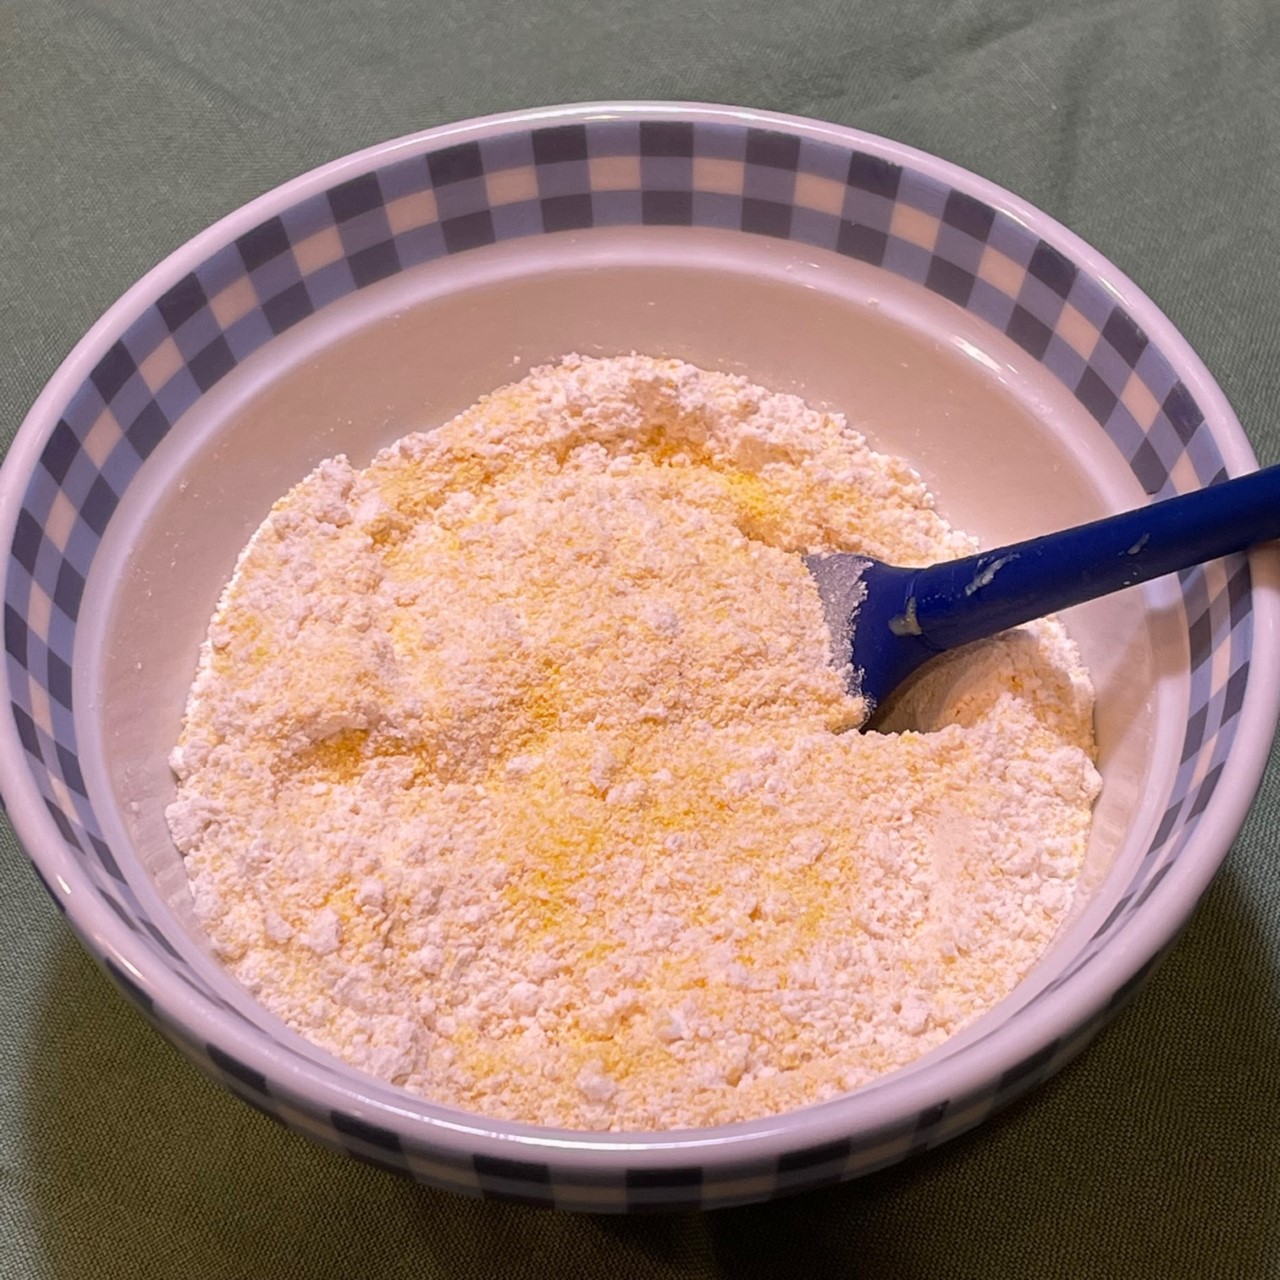
Into a bowl (it can be the same bowl you used for the filling), combine the cornmeal, flour, sugar, salt, baking powder, and baking soda.

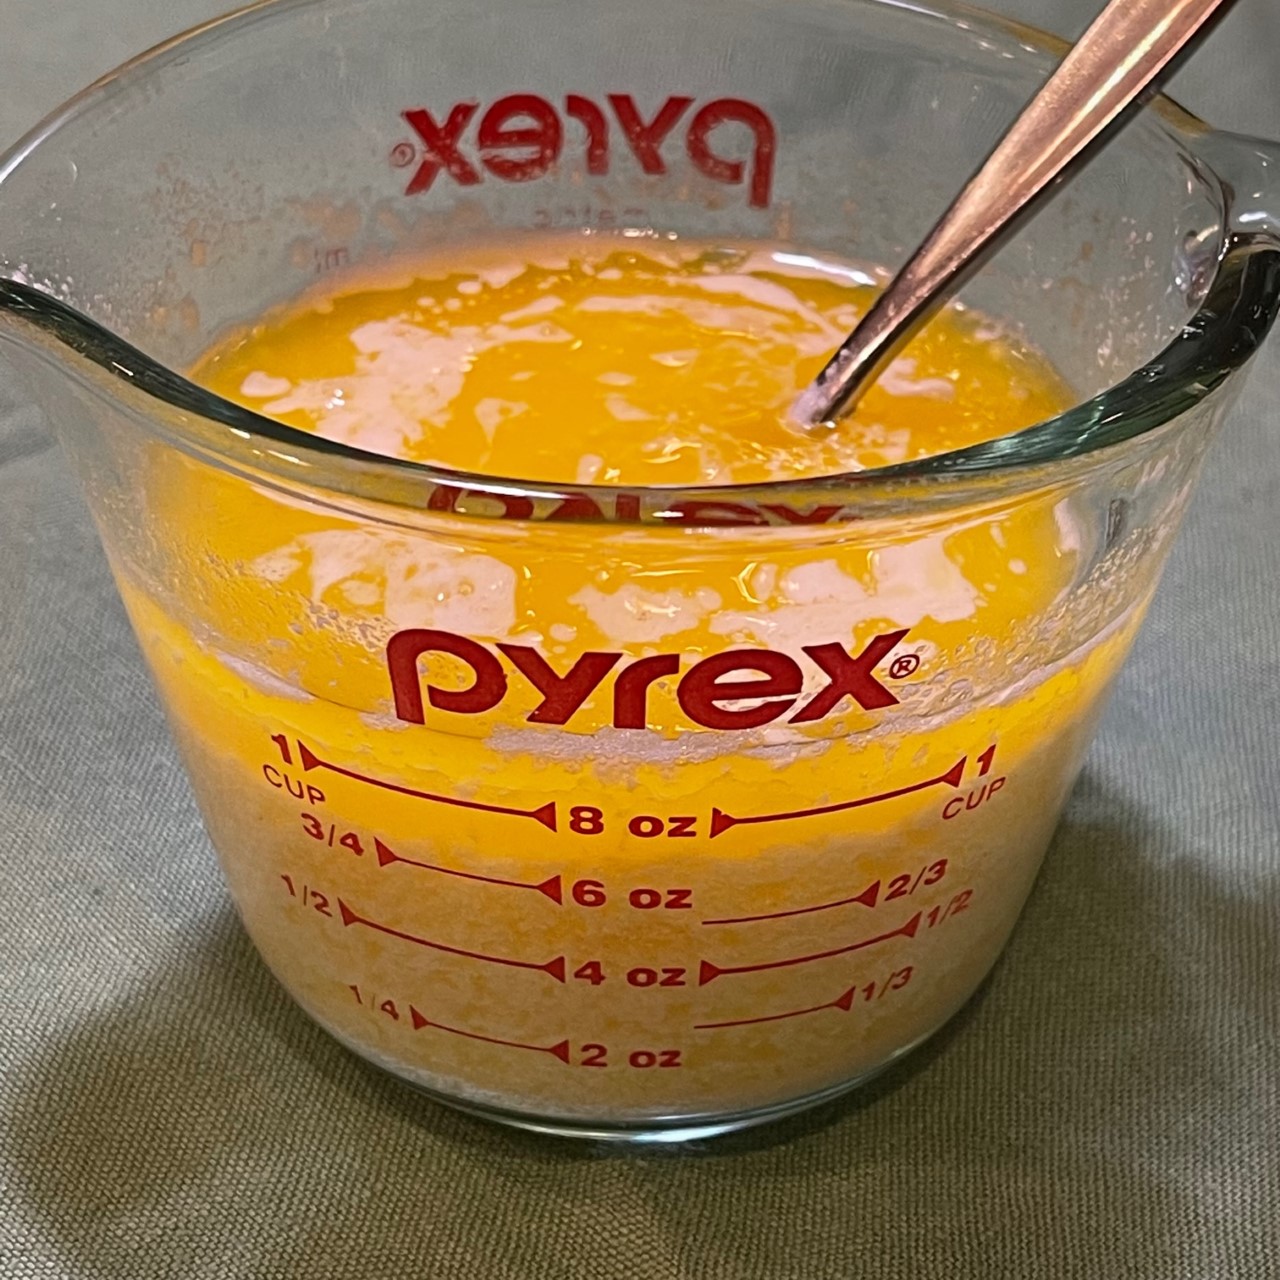
Melt butter and let cool a few minutes. Into a measuring cup or bowl, beat the egg with a fork. Then beat in the buttermilk and melted butter.
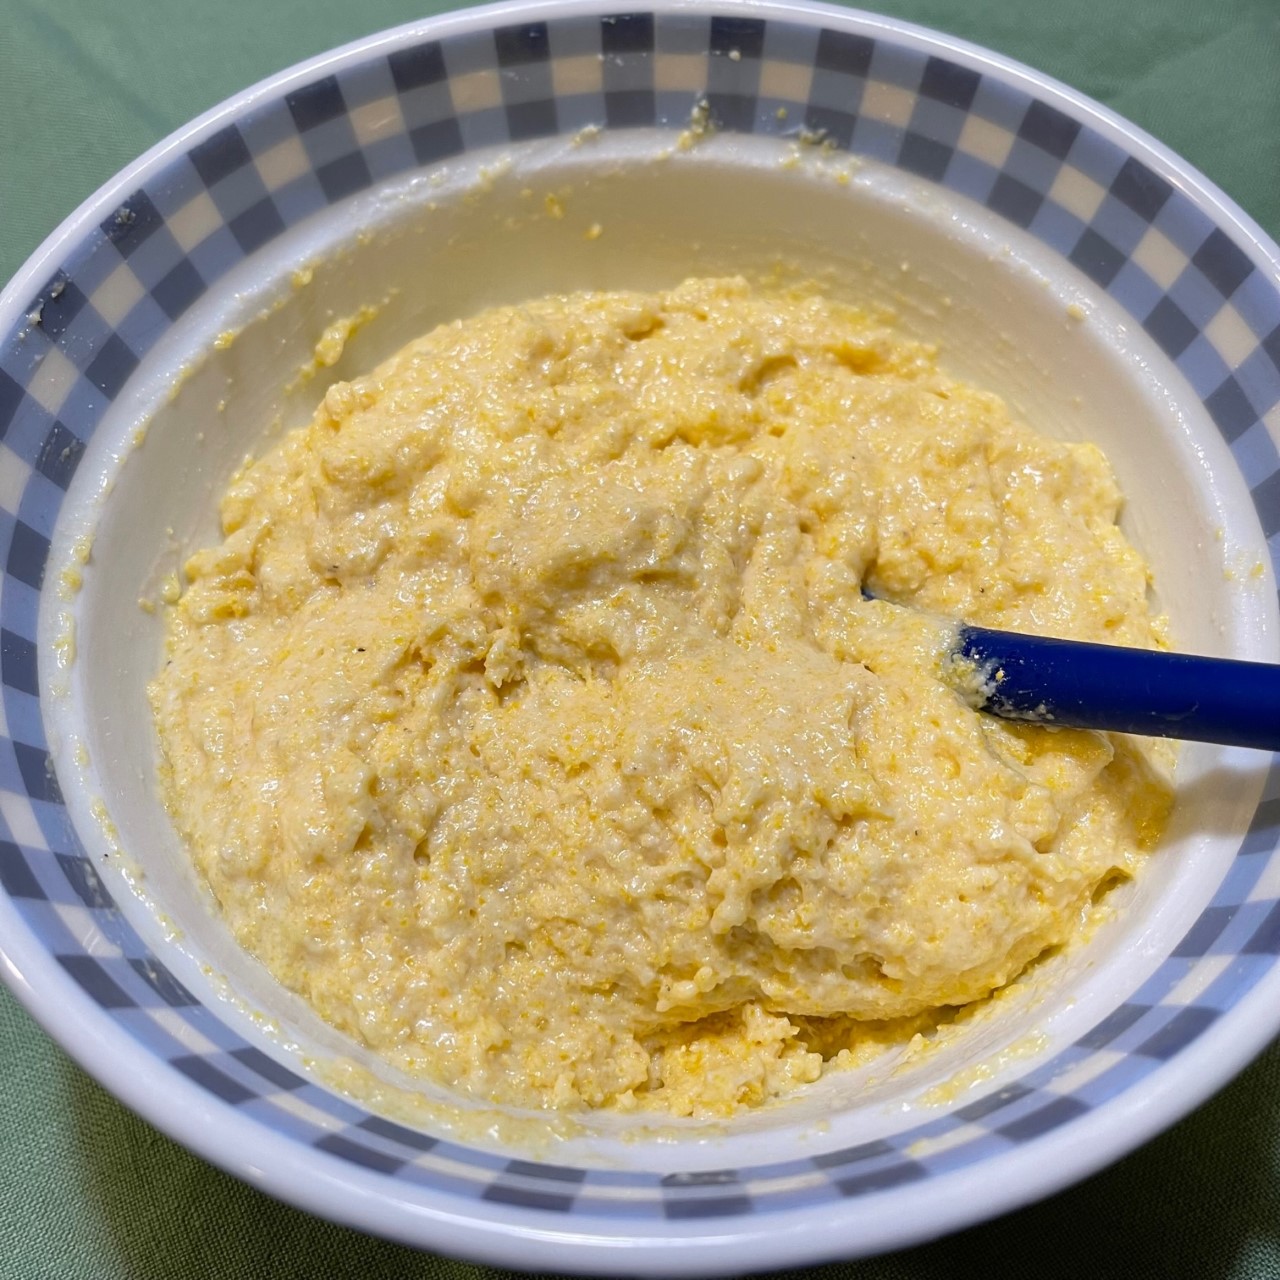
Pour the buttermilk mixture into the cornmeal mixture and combine until just blended (don’t over mix).

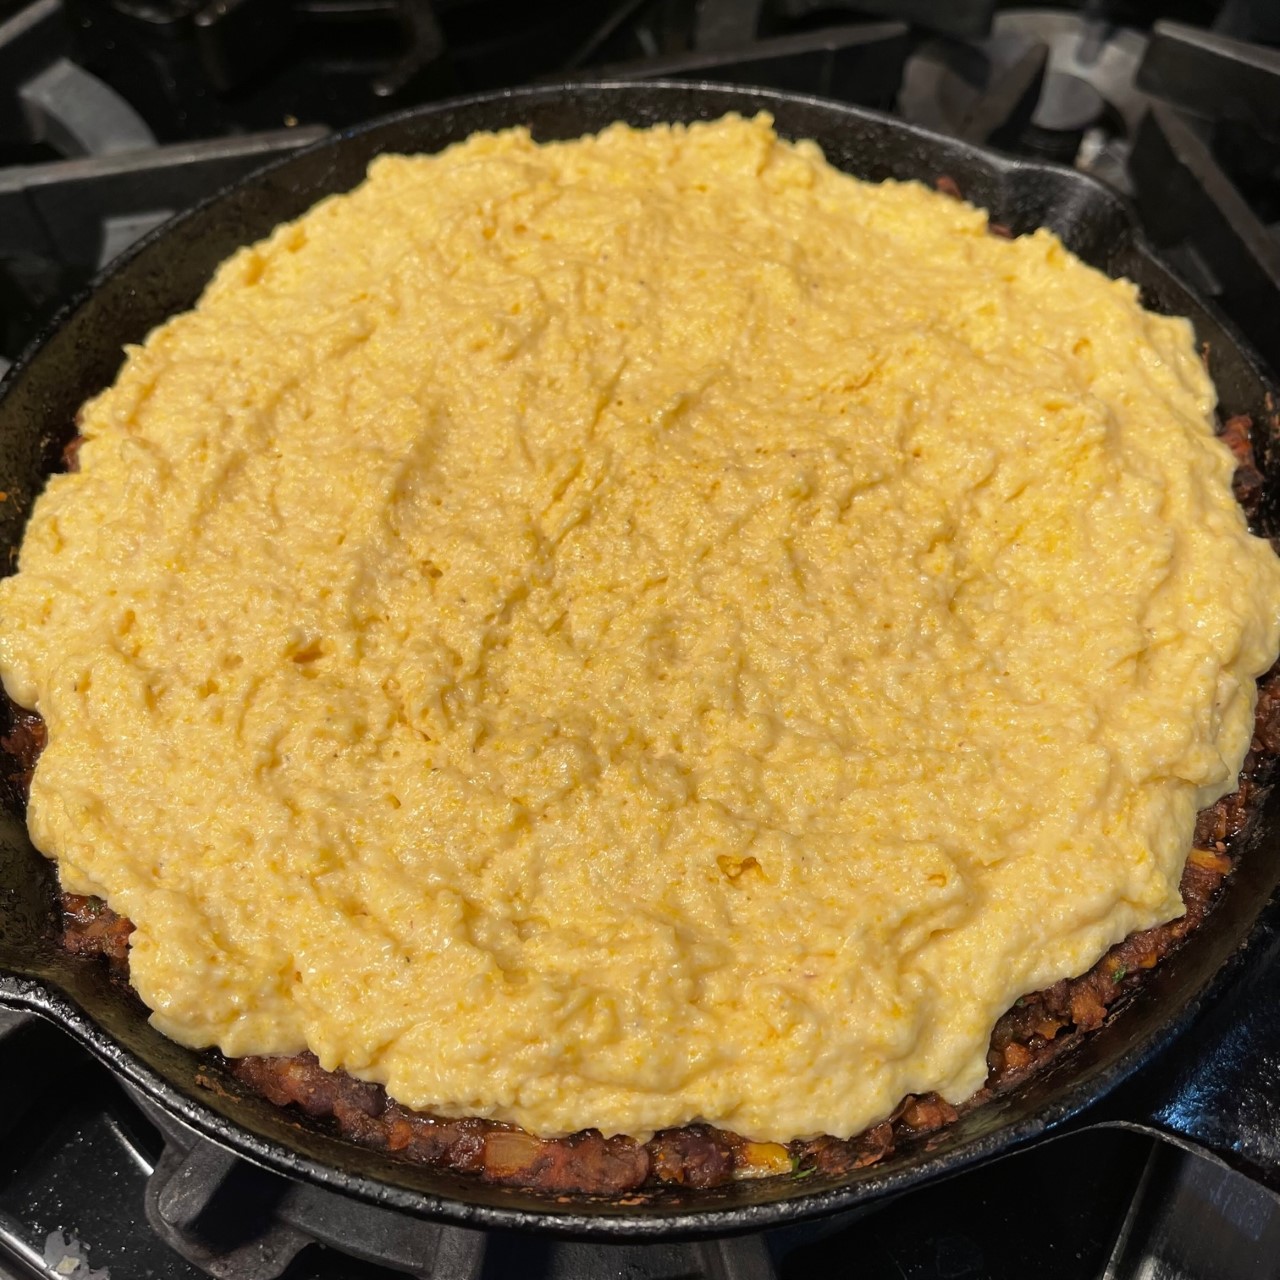
Spread cornmeal mixture on top of filling, smoothing top.

Bake at 230°C (450°F) about 15 minutes – until top begins to brown.

Let rest about 10 minutes before serving.