
LEMON CURD: Packs A Lemony Punch!

We’re lucky to have a lemon tree that provides us with delicious lemons every year. Being a gal who hates waste, I juice, zest, and freeze these beauties to last the year. While chocolate is still a priority, now and then I like to shake things up. With a new batch of fresh lemon juice and zest, something lemony it would be.

Flipping through my recipe notebooks, I came across a Lemon Curd recipe that I’d marked as “EXCELLENT”. It’s easy, it’s tangy, and it’s delicious. So, pucker-up everyone, it’s going to be a tangy ride!

NOTE: It’s best to prepare the Lemon Curd the day before using so it can fully set. Minimally, let it set at least 6 hours.

ADDITIONAL NOTE: As self-proclaimed Queen Of Freeze, I would be remiss in my duties if I didn’t mention Lemon Curd can be frozen. So, if you have leftover, freeze it for future use.

LEMON CURD – Makes 1 1/3 cup (600 ml)

  • 230g (1 cup) lemon juice
  • 8g (2 T) lemon zest, packed
  • 113g (1/2 cup) butter
  • 6 whole eggs
  • 298g (1.5 cups) granulated (caster) sugar
  • 60g (6 T) all-purpose (plain) flour

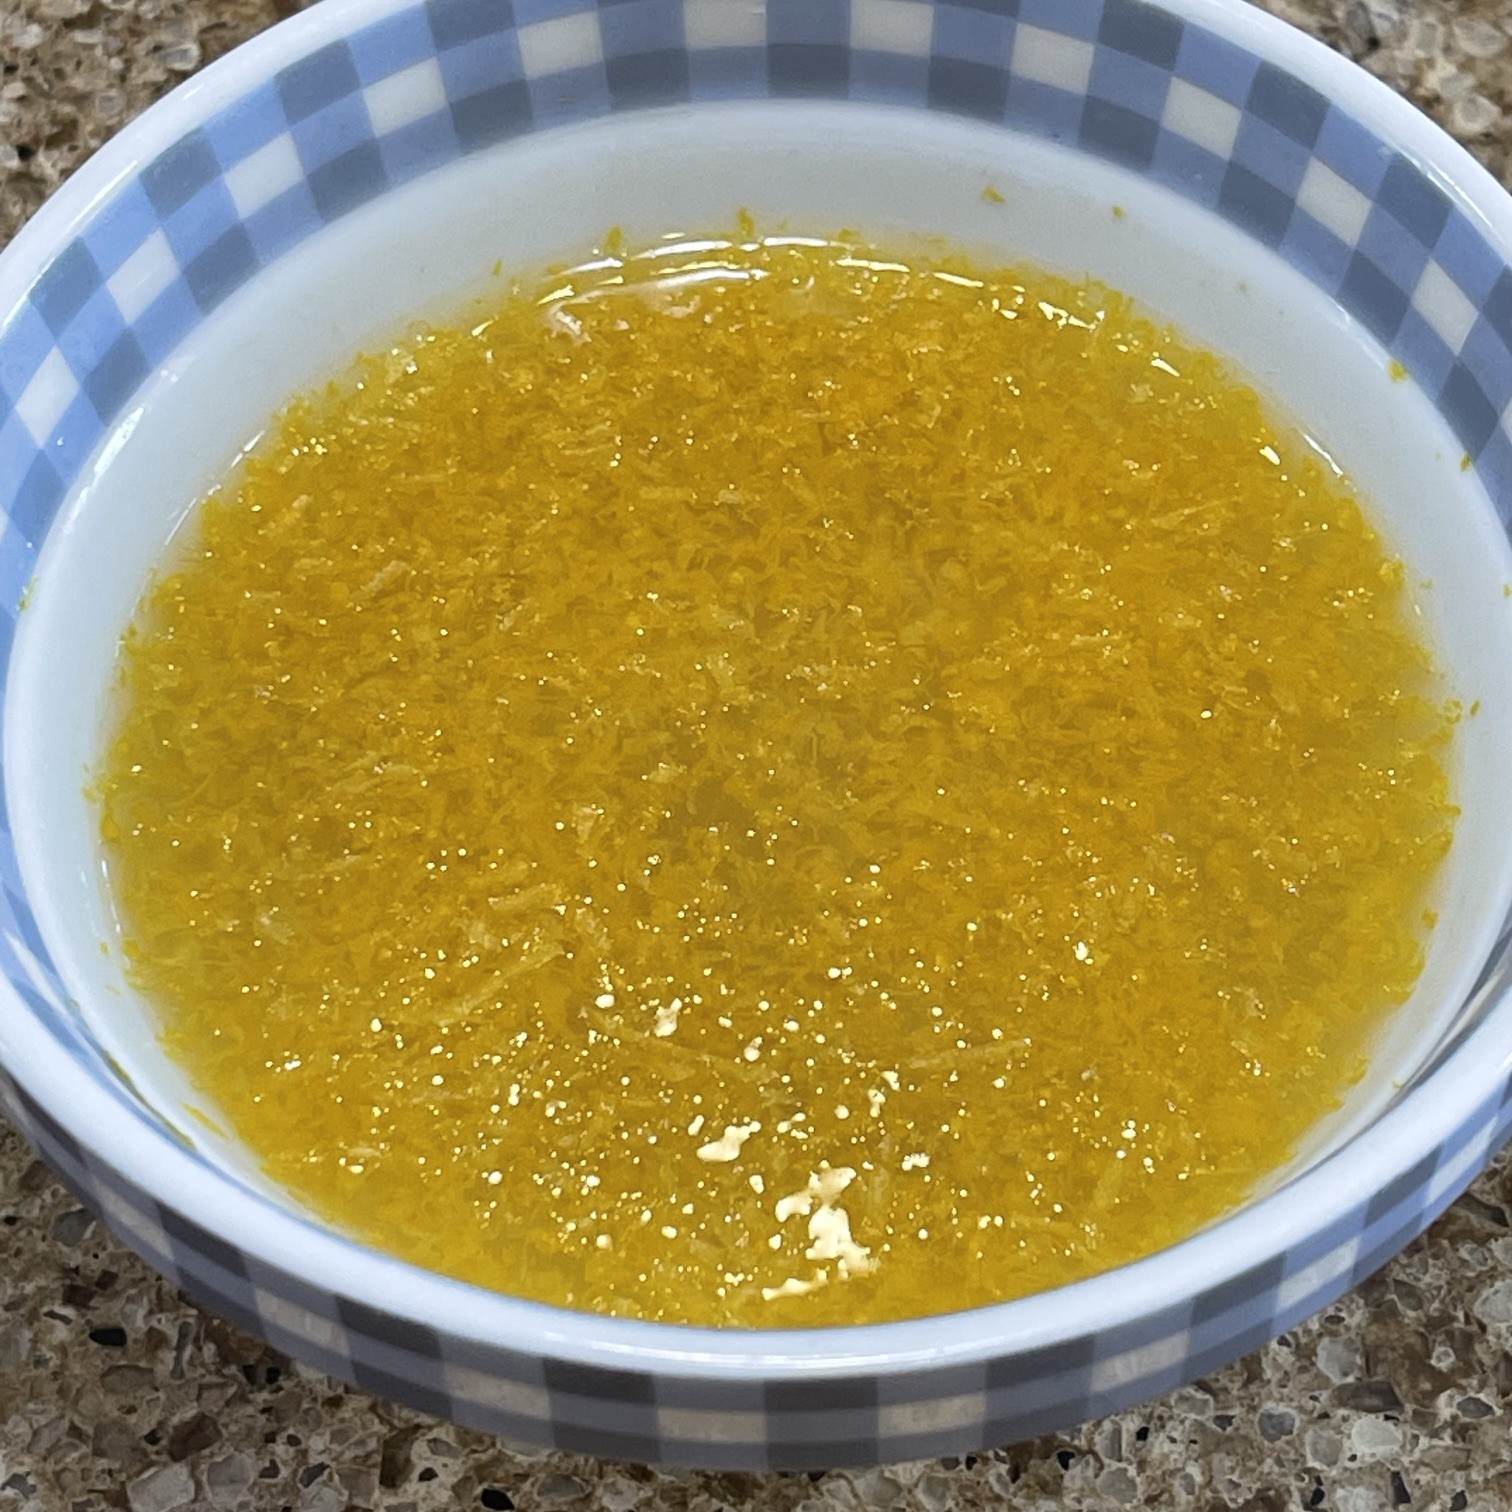
Into a small bowl, combine the lemon juice and lemon zest. Set aside to leech the flavor from the zest. You can do this ahead of time.
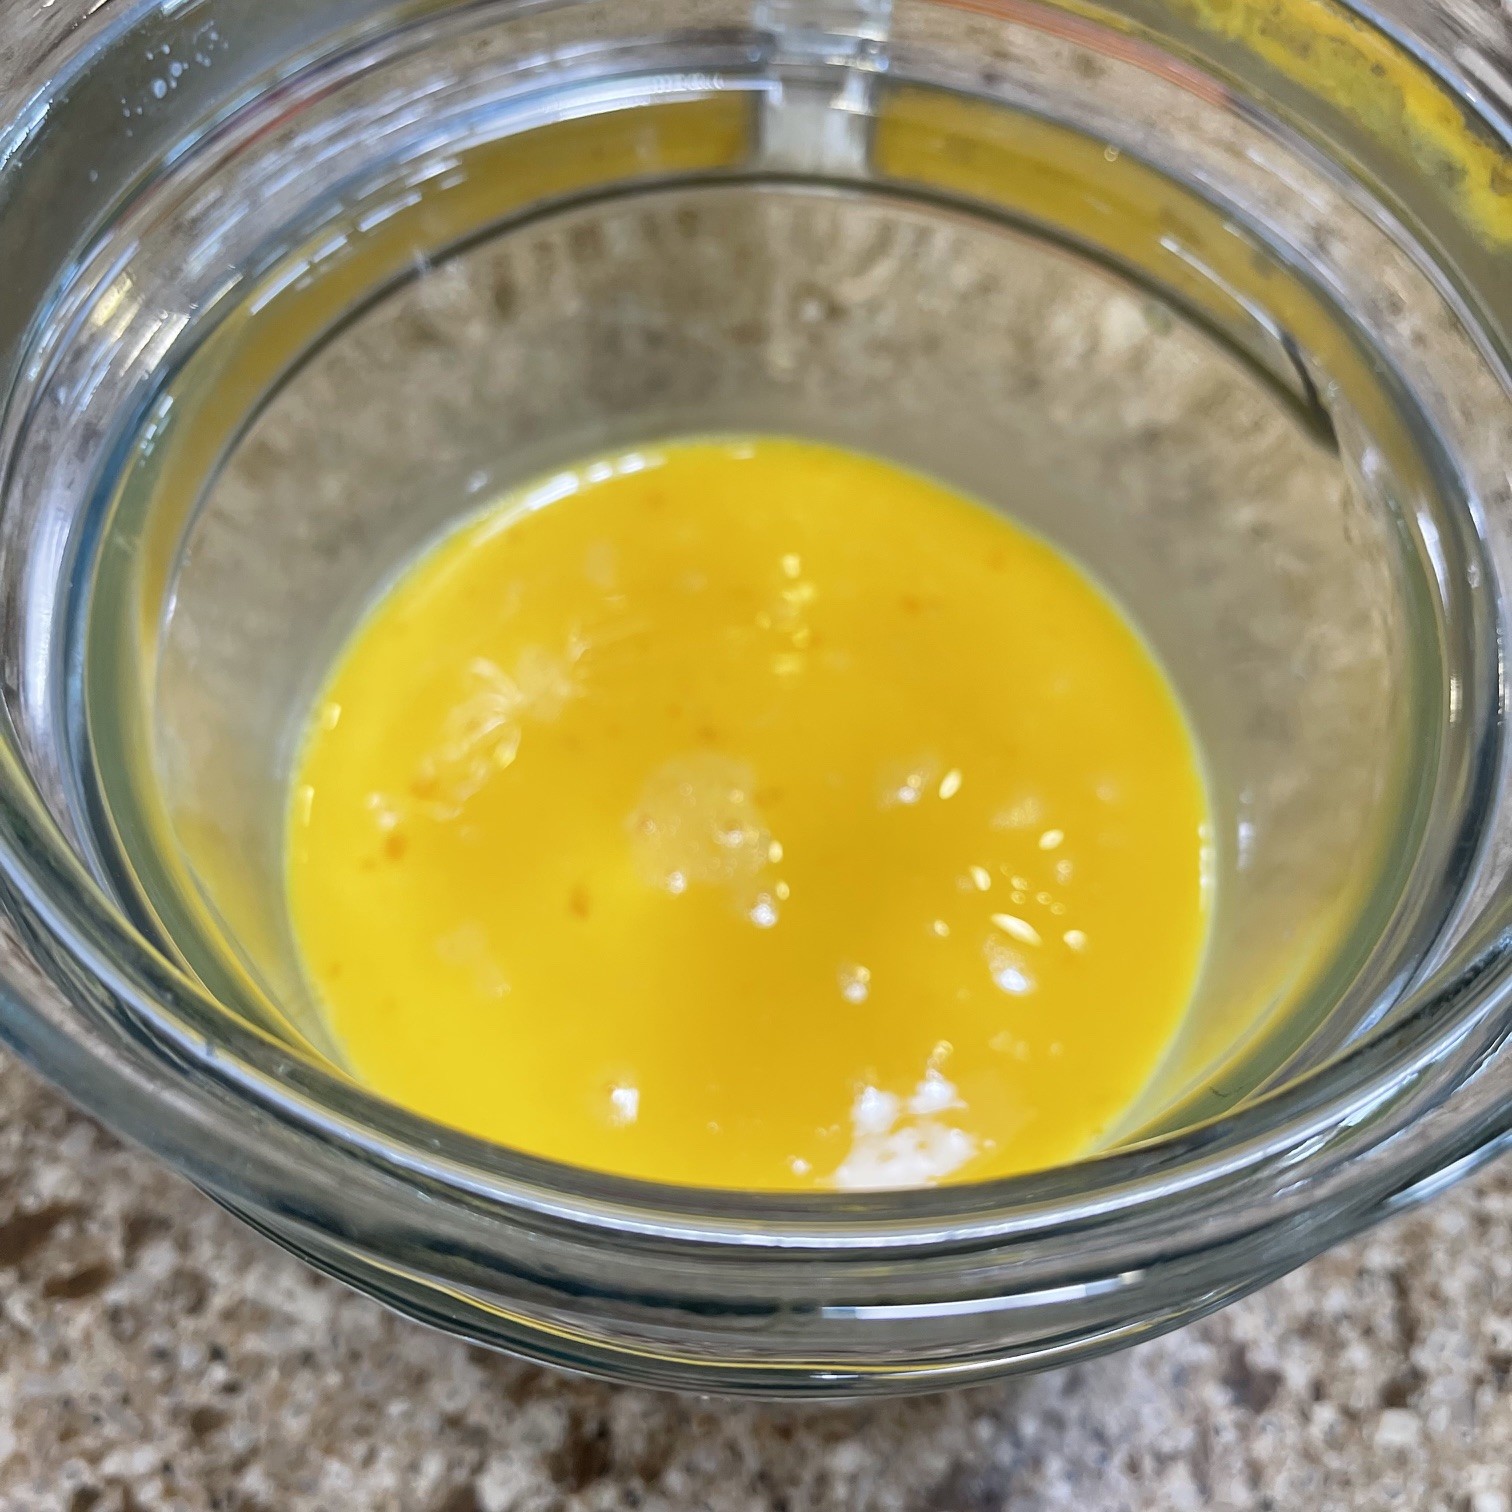
Into the top of a double boiler, beat the eggs well. MAKE SURE YOU HAVE WATER IN THE BOTTOM CONTAINER, NOT TOUCHING THE TOP CONTAINER – YOU DON’T WANT DIRECT HEAT ON THE CURD AS IT COOKS.
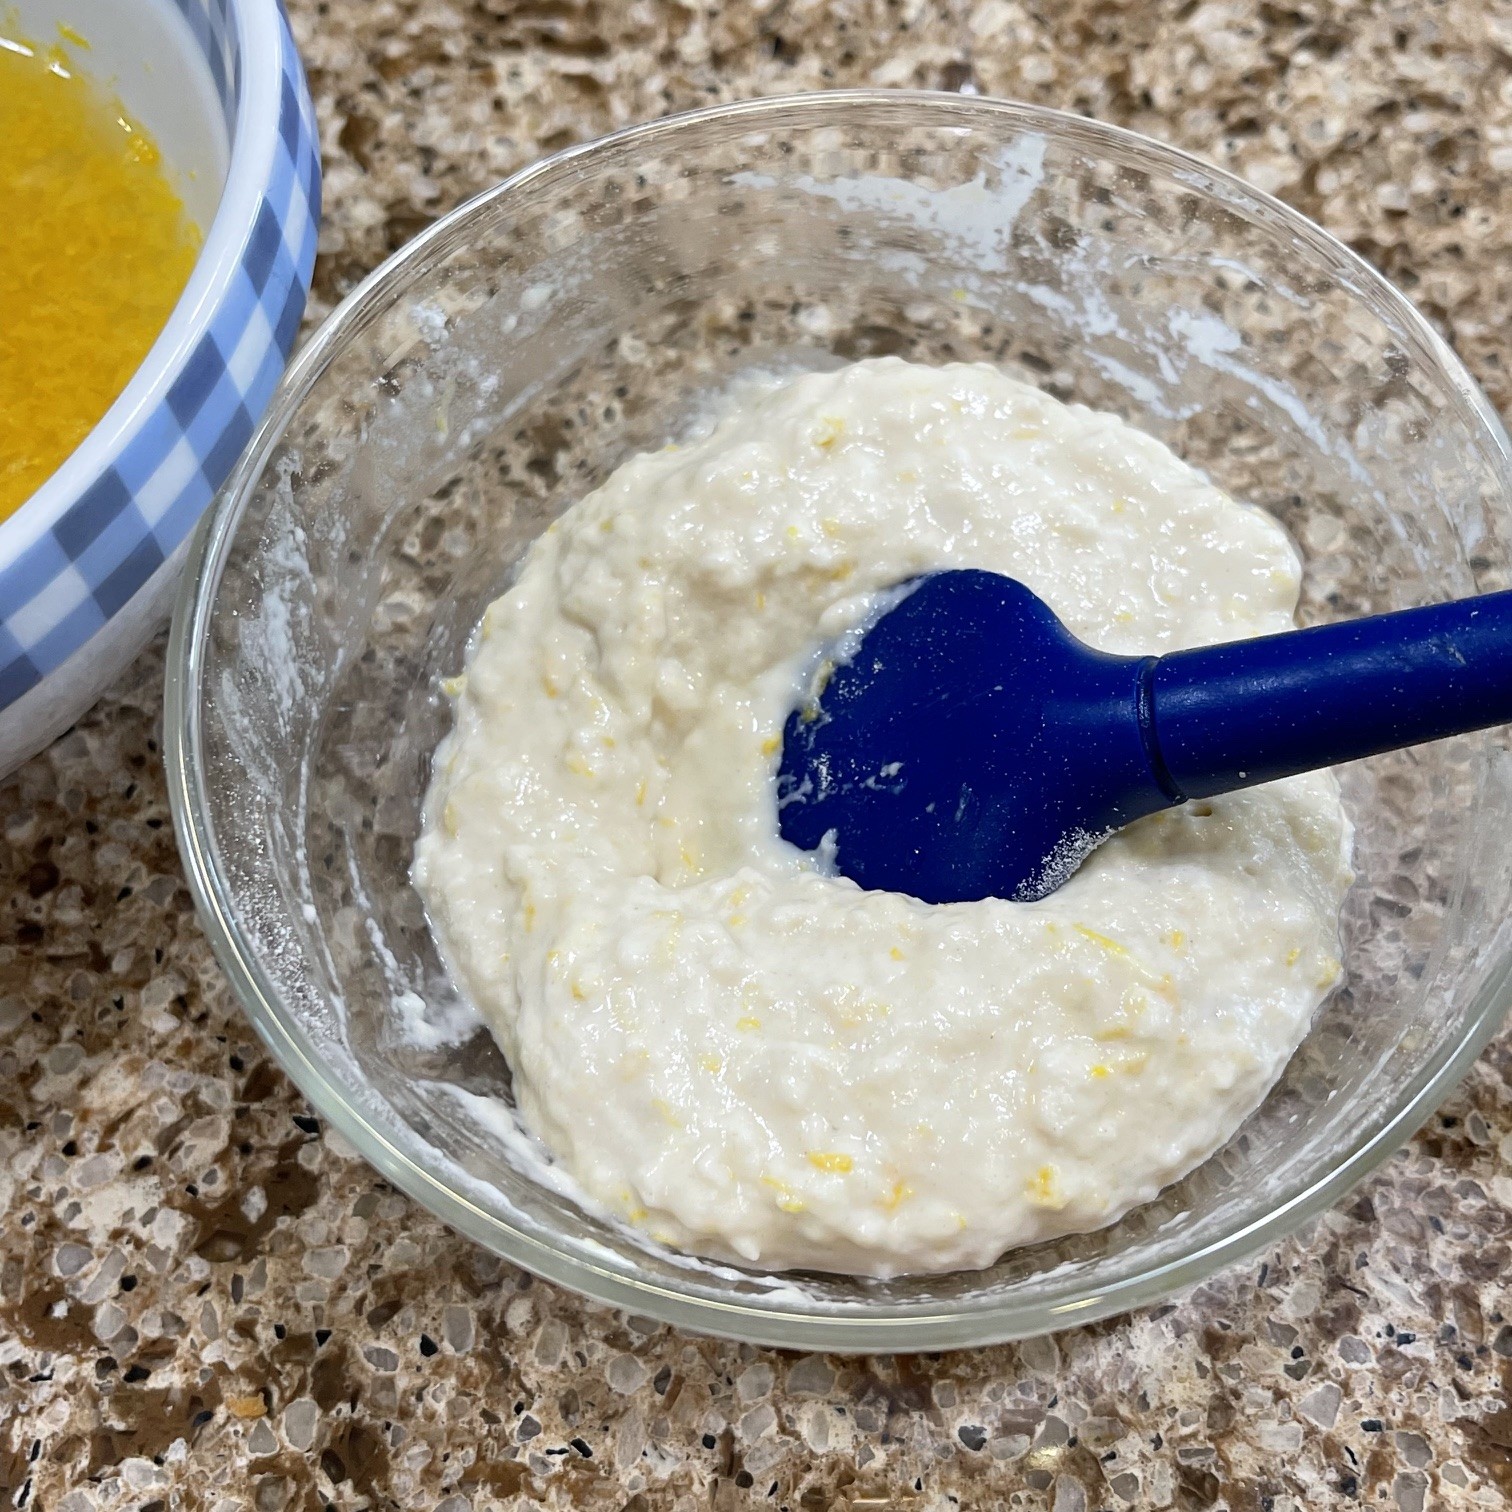
Into a bowl put the flour. Slowly stir the lemon juice/zest into the flour, smashing lumps as you go.
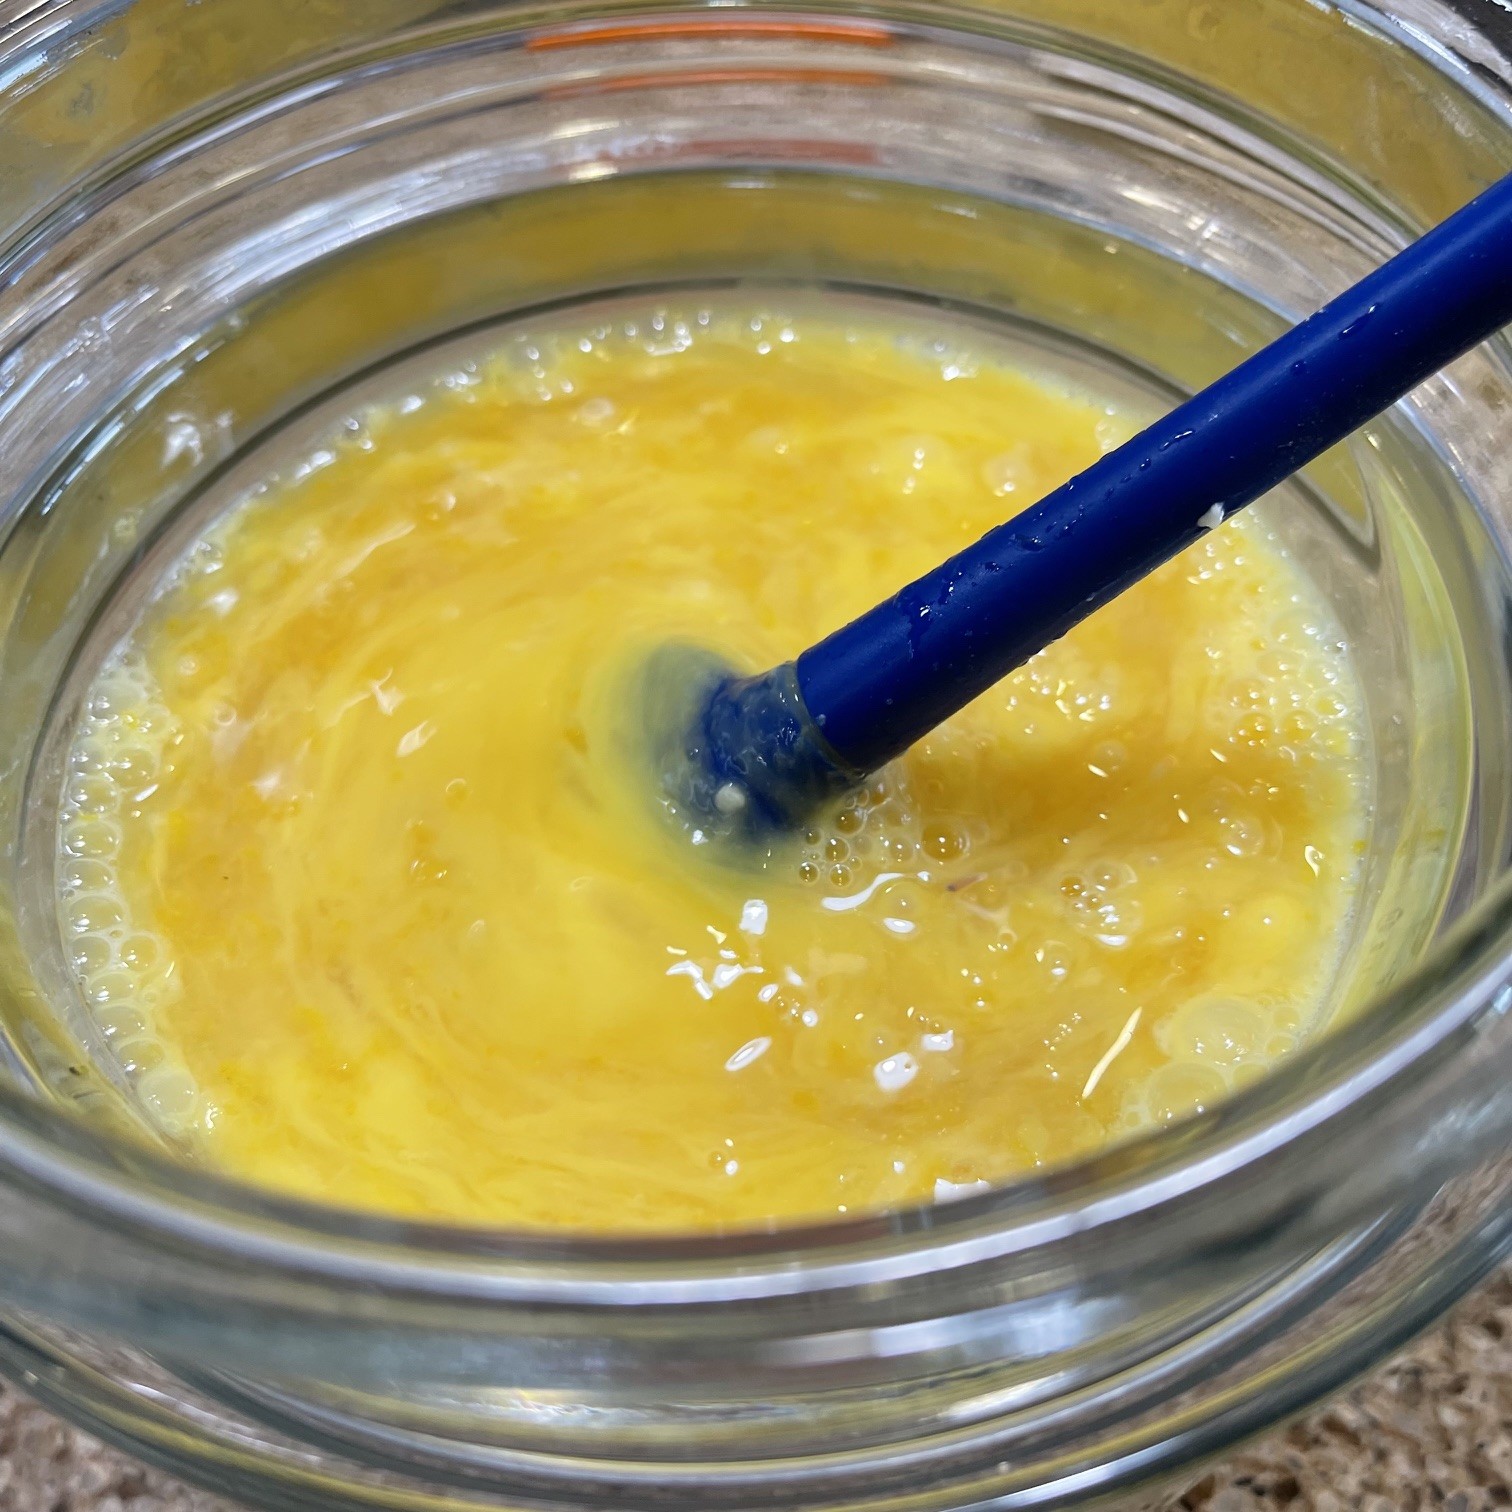
Into the double boiler containing the beaten eggs, stir in the sugar, flour/lemon mixture, and melted butter.
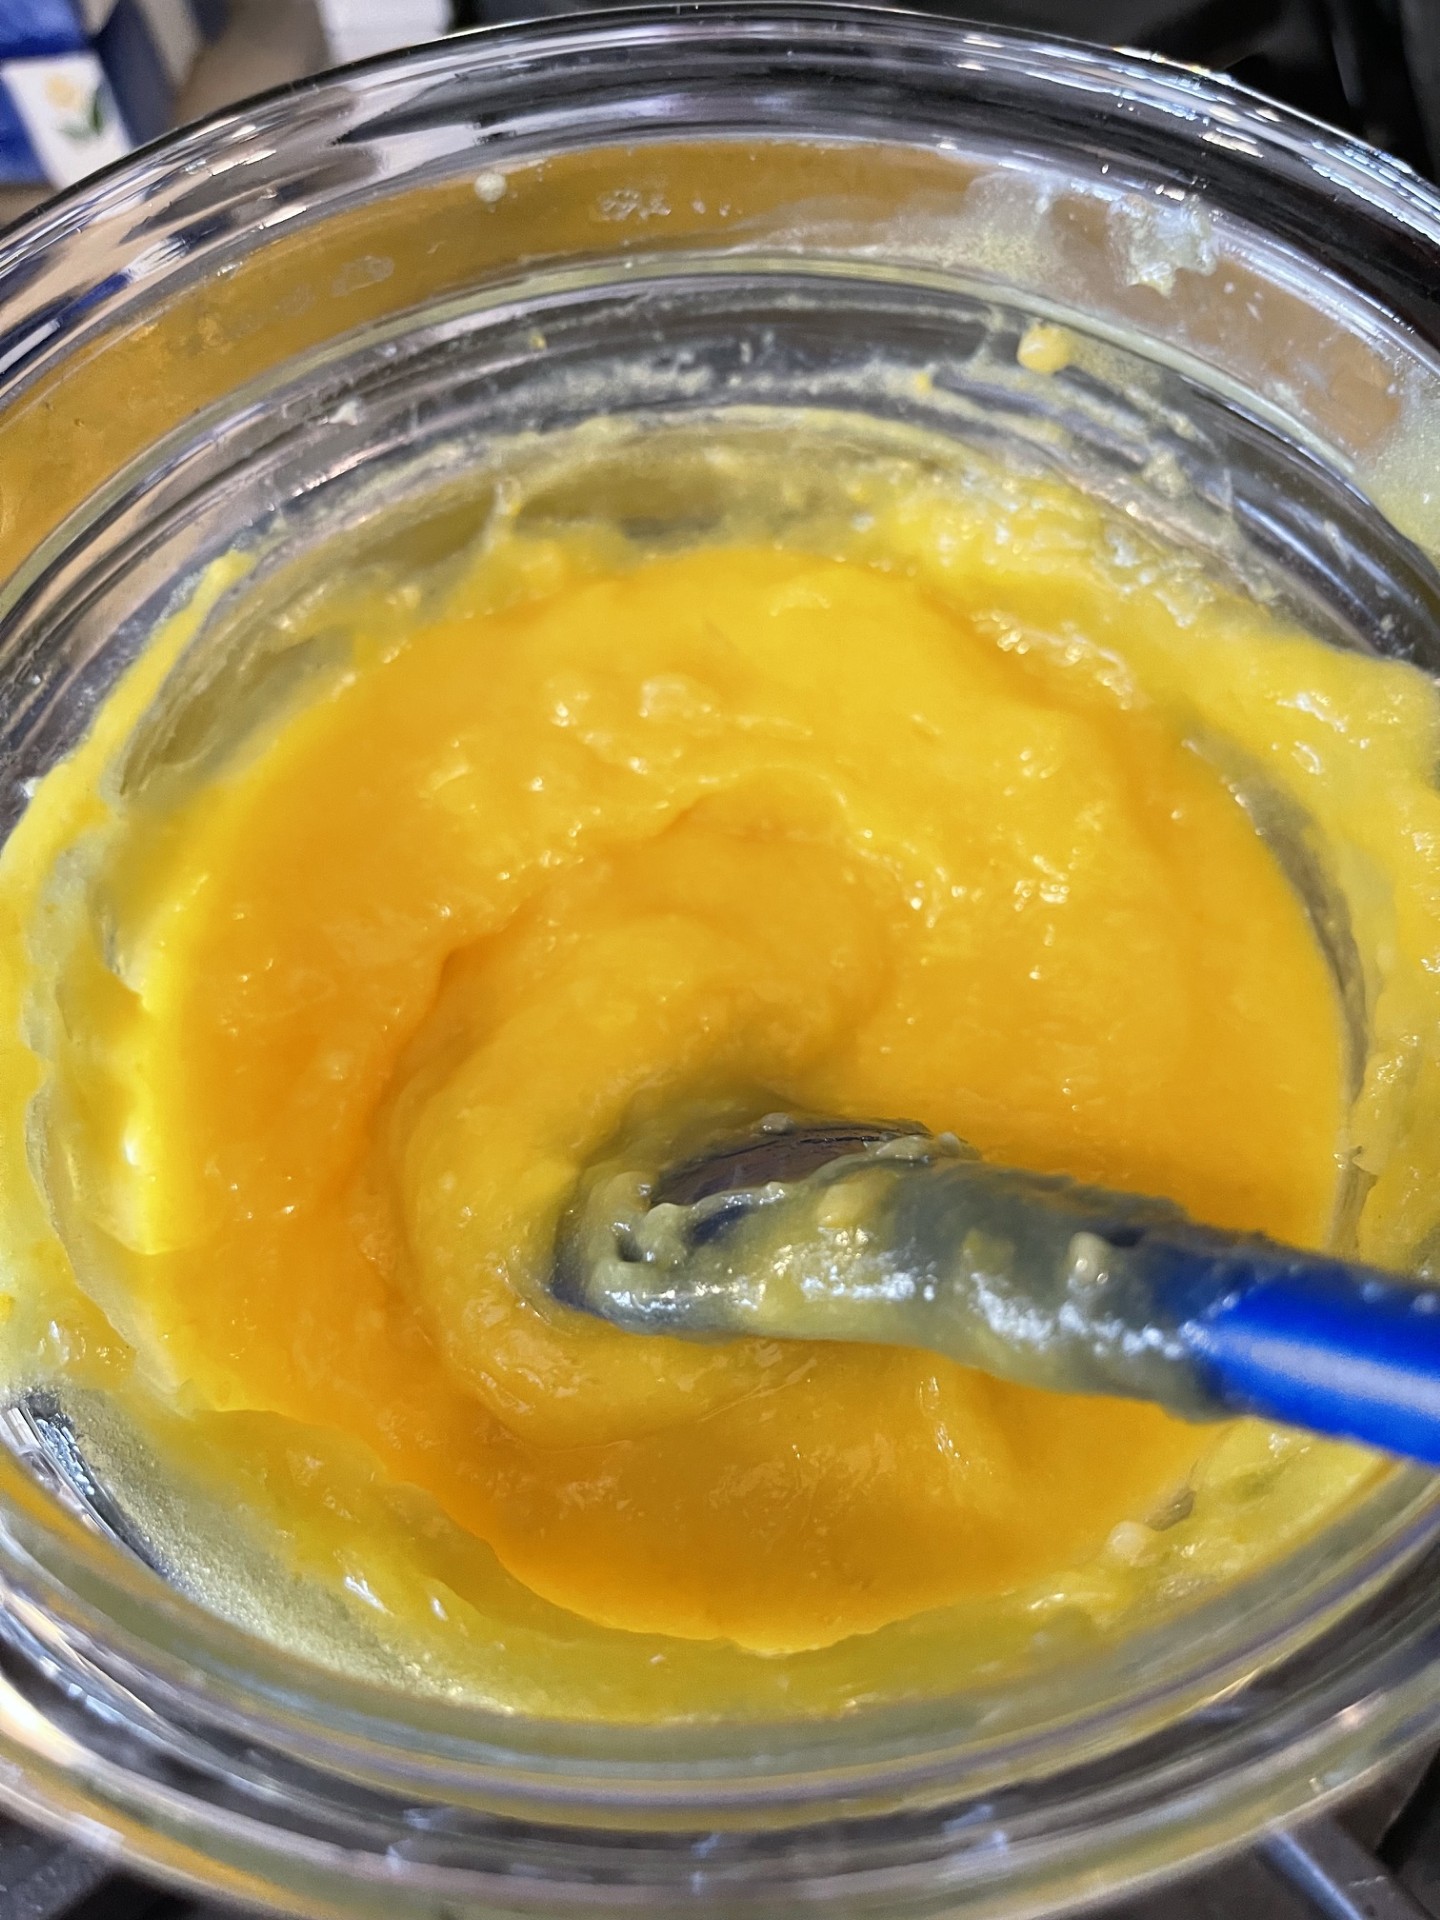
Over medium/high heat, bring water in the bottom double boiler pan to a low boil. Stirring often, mix the curd until it thickens – about 20 minutes. The temperature should be about 180°F (82°C).
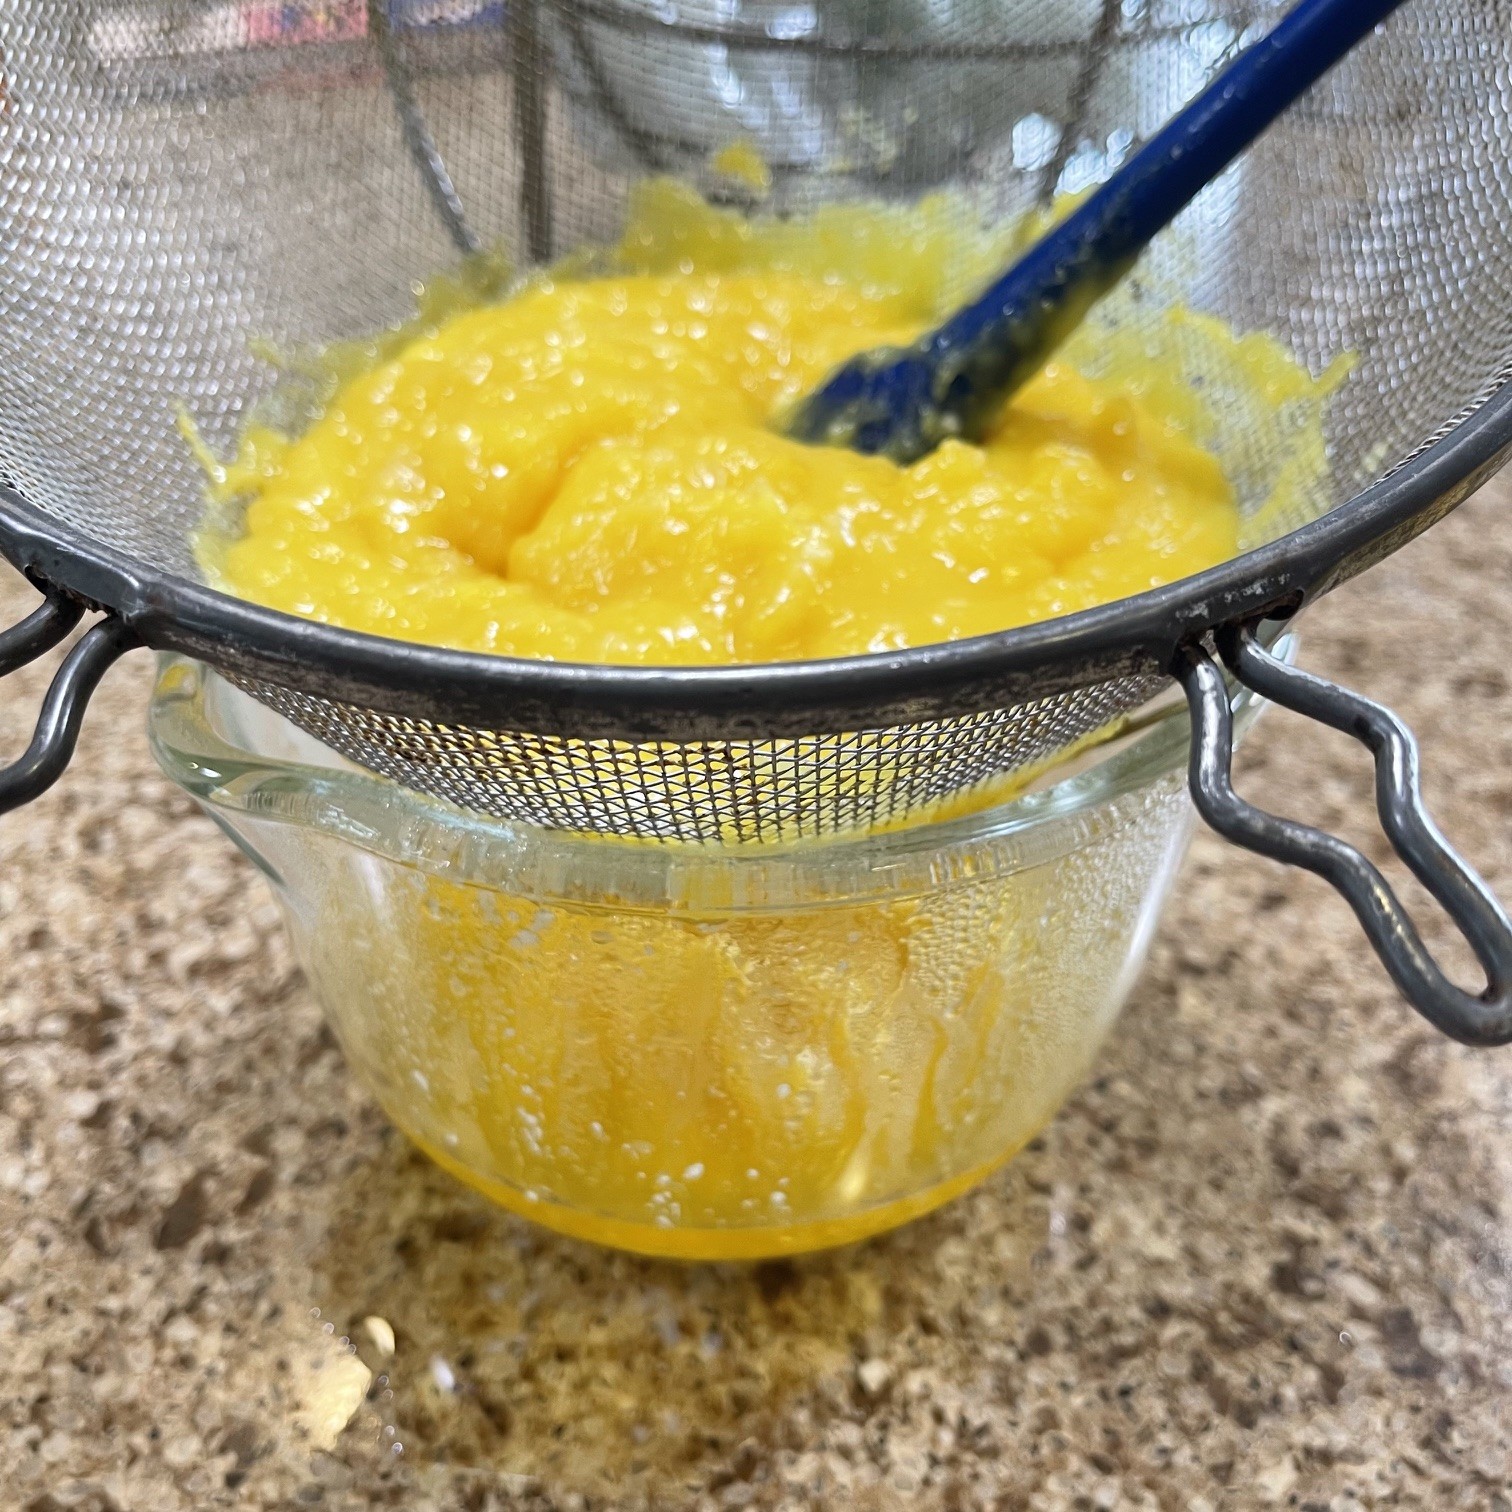
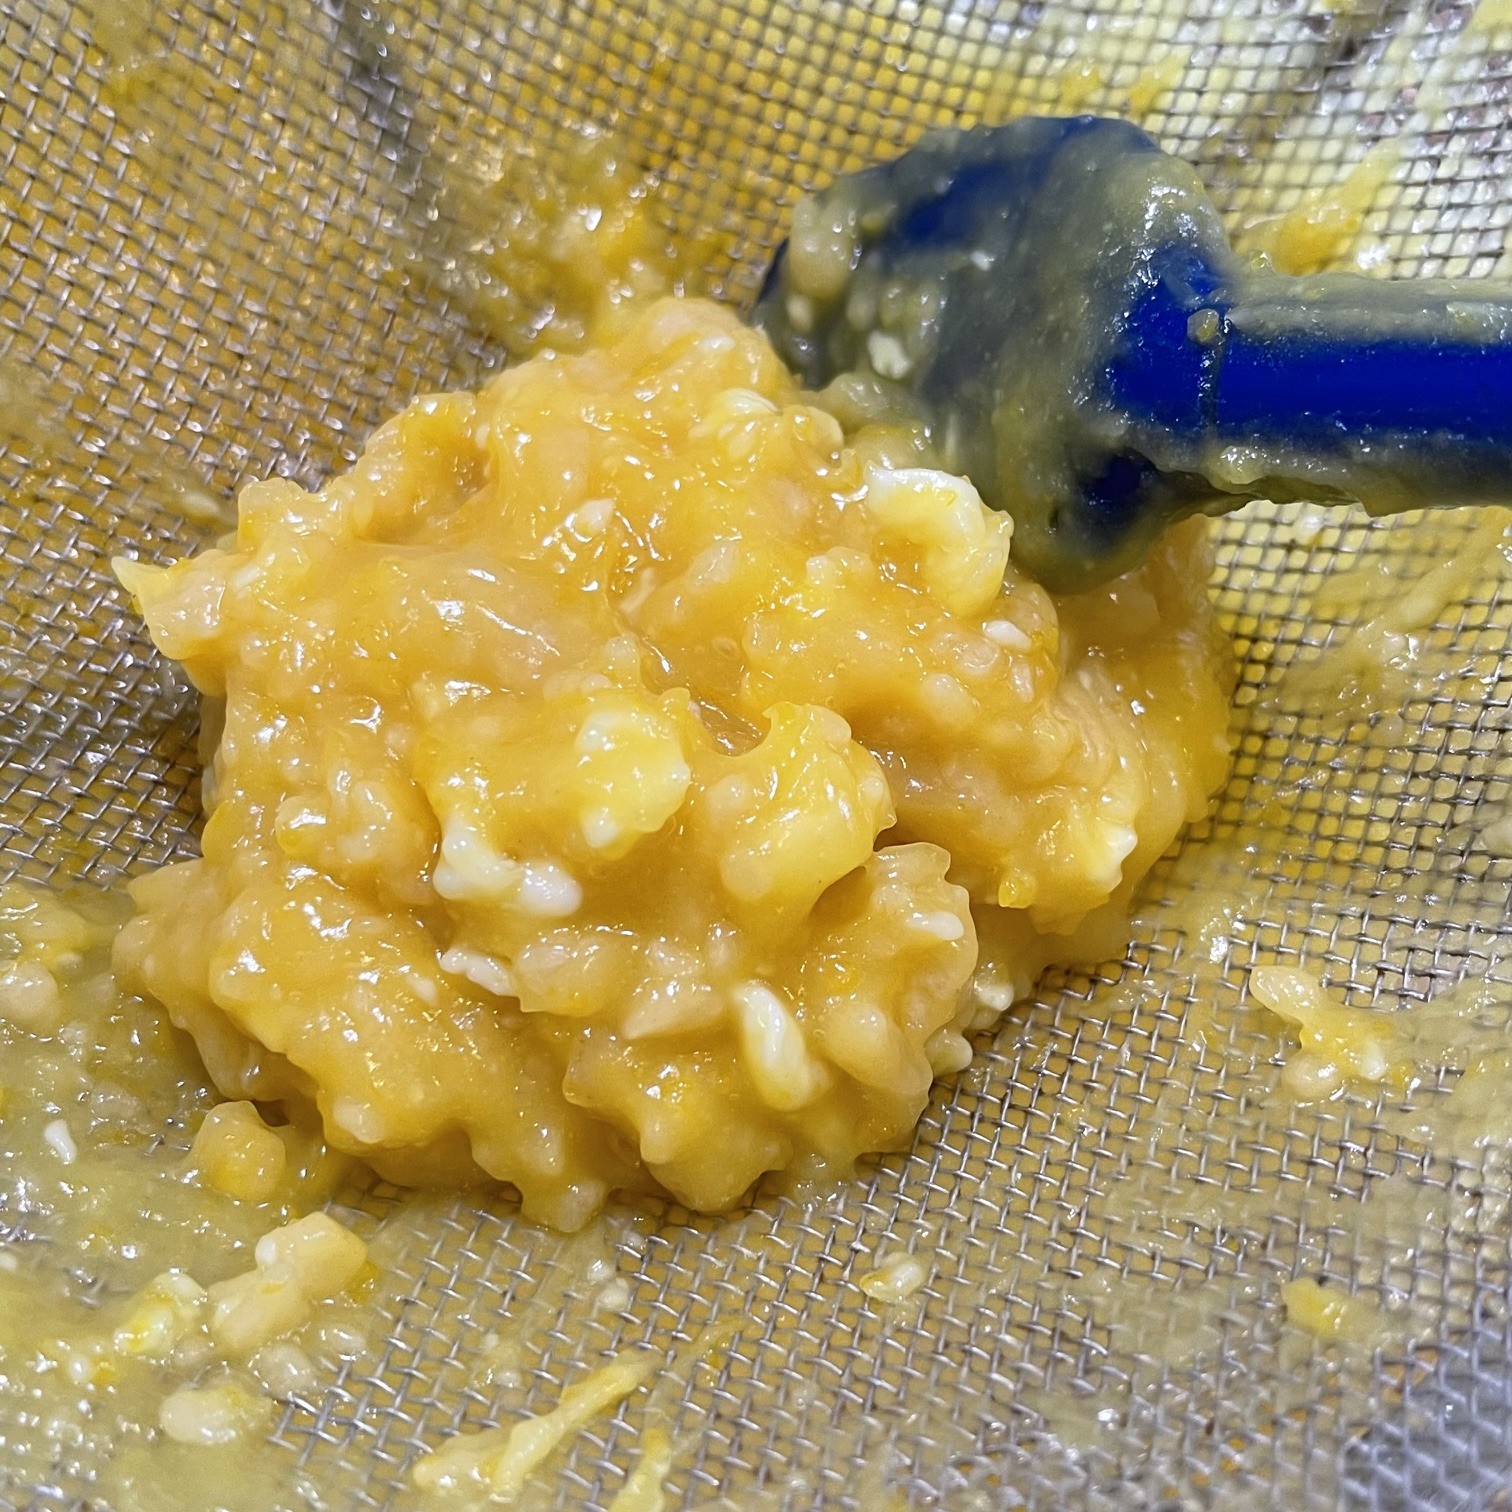
Pour curd through a large-ish holed sieve into a clean bowl. (The mesh strainers sold now make it difficult to get creme patisseries and curds throught.) Don’t forget to scrape the bottom of the sieve to get every bit! Cover and chill at least 6 hours – preferably overnight.
This is what would have been in your curd if you hadn’t strained it out. Yuck!!! Discard it.
Use the curd straight out of the fridge if you want a thicker curd (see photo below).
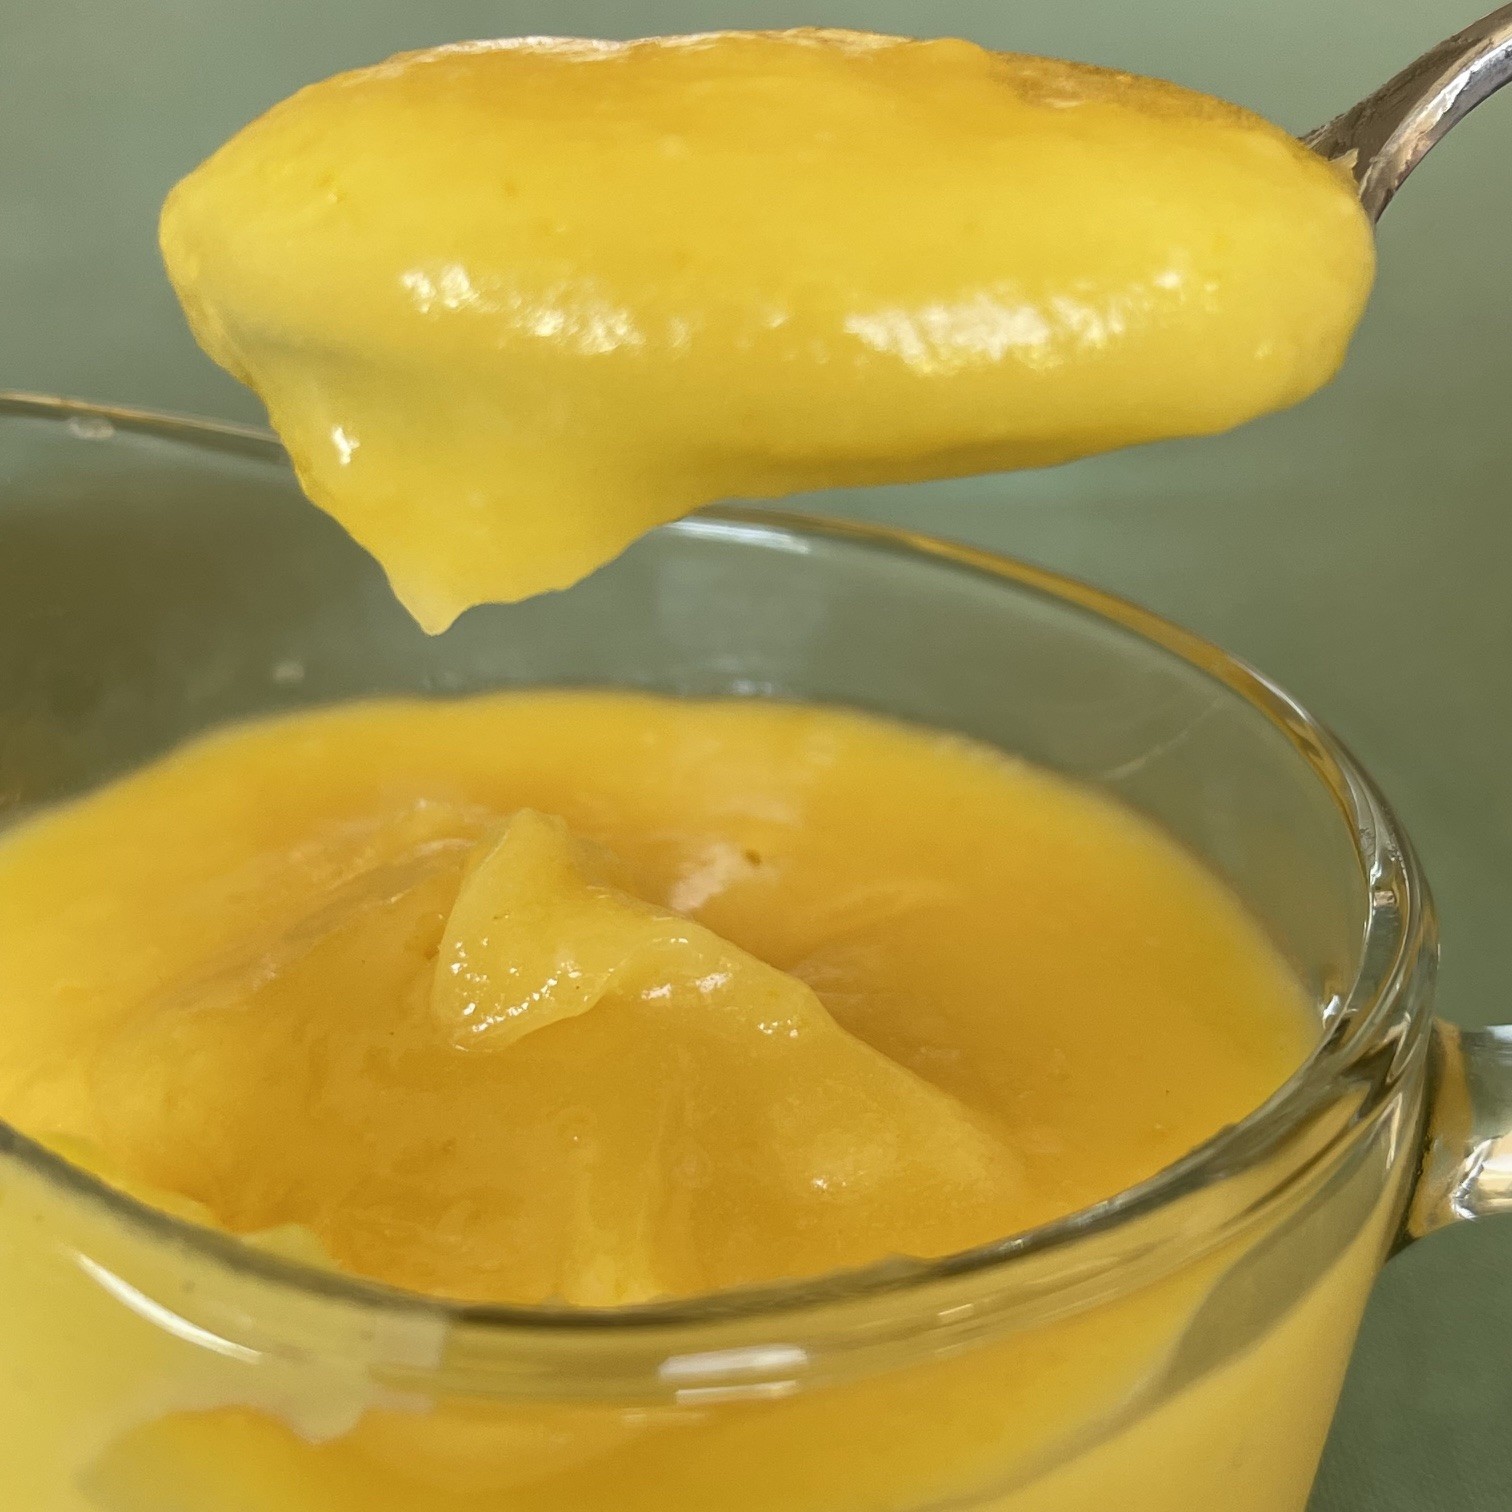
If you want the curd slightly thinner, let it sit out of the fridge for half an hour or so.
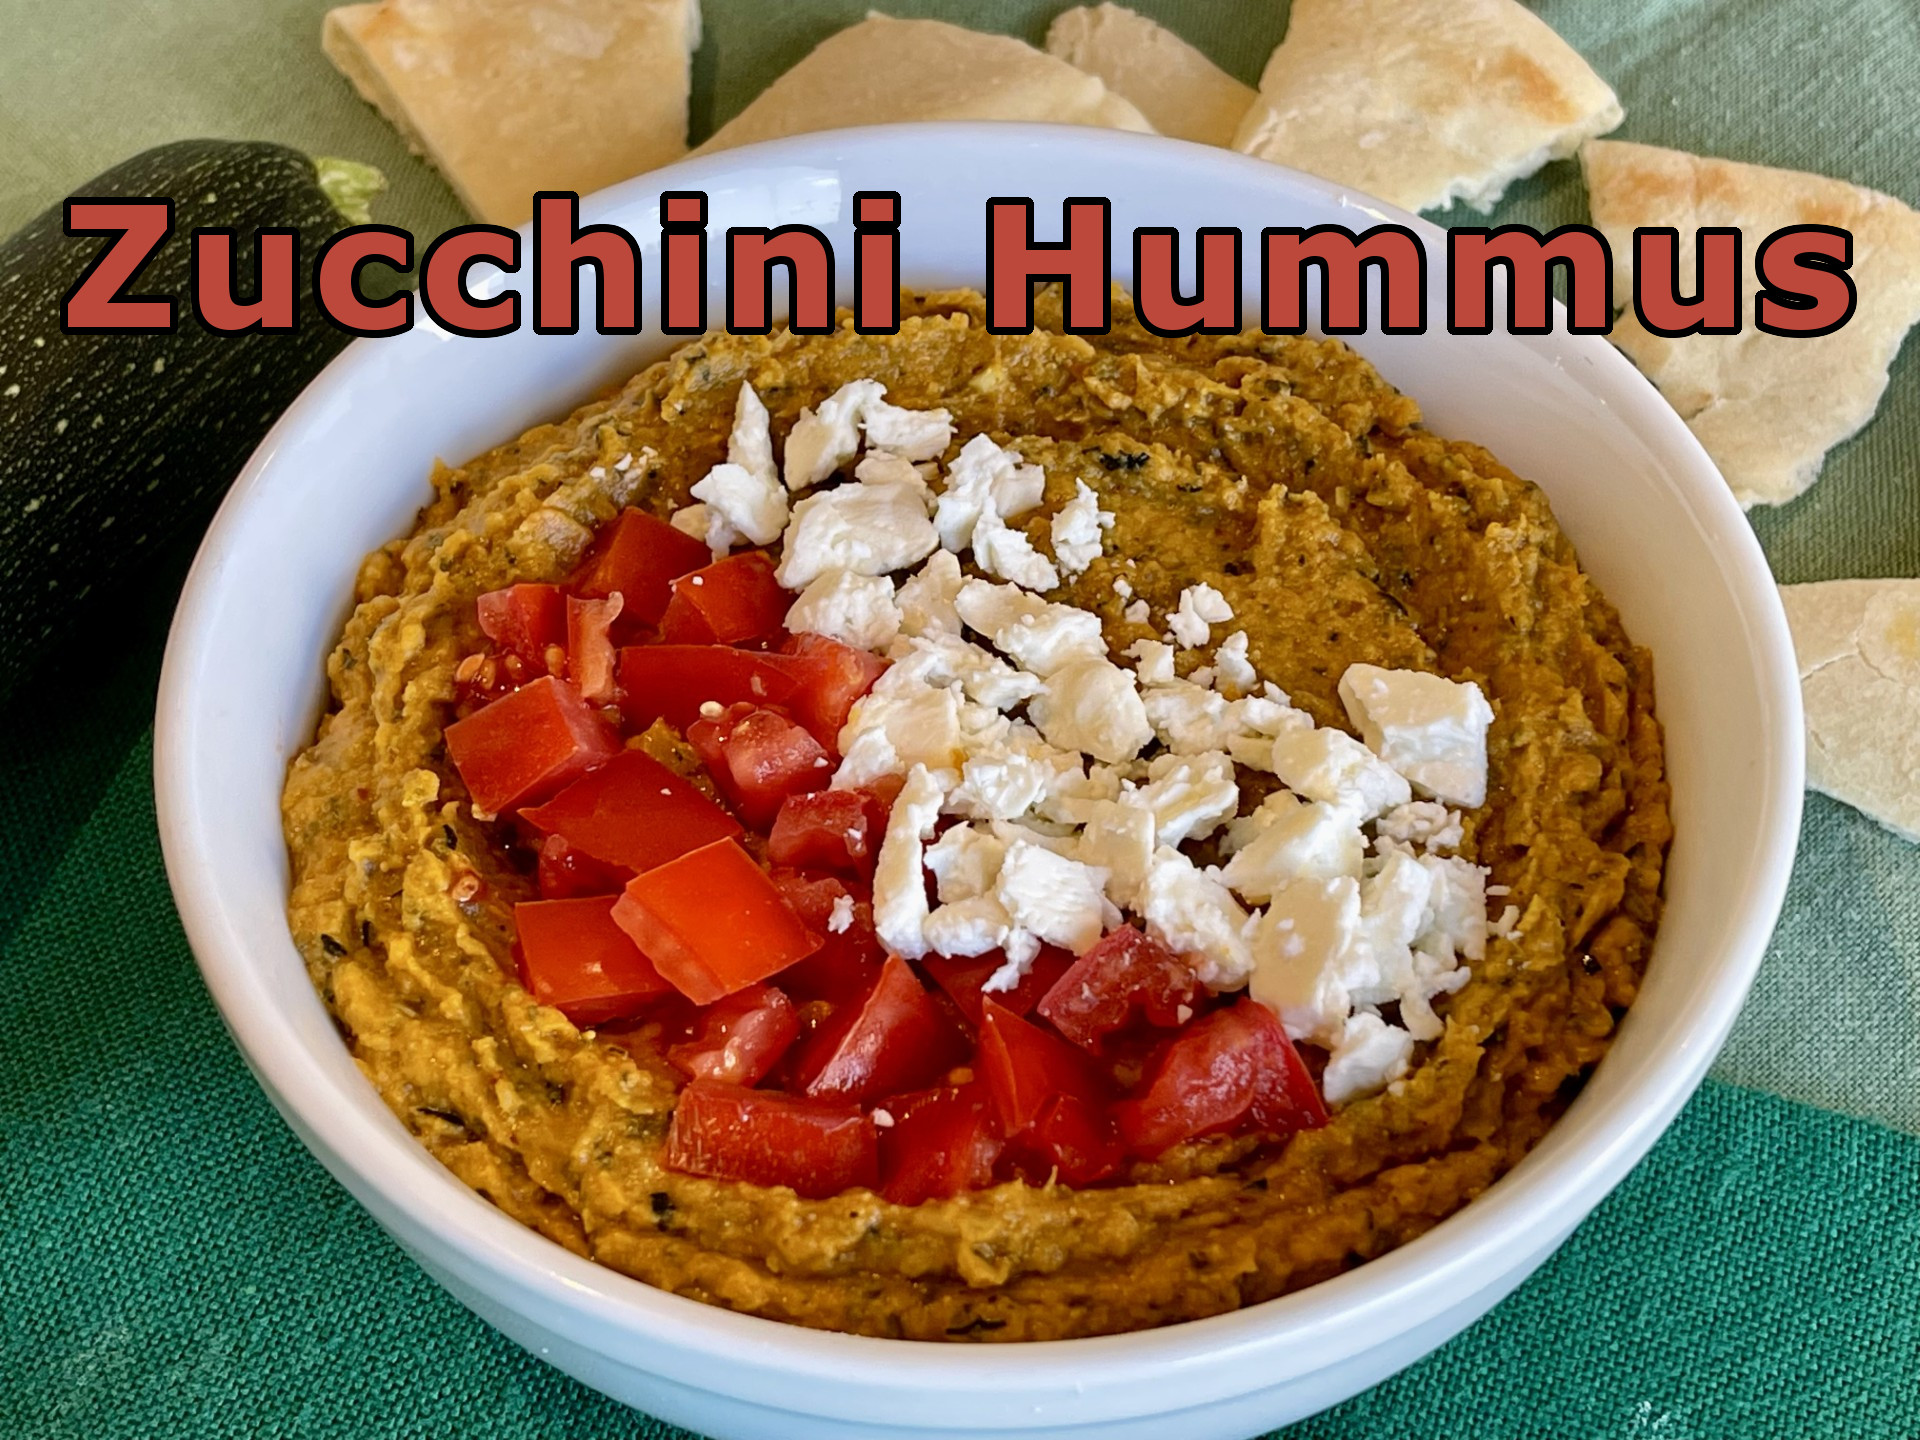
ZUCCHINI HUMMUS: Another Use For Zucchini!!!

It all started with a giant zucchini I found in my garden. One of the highlights of my summer days is to check what’s ready to be picked. Somehow I neglected to notice this huge zucchini skulking at the base of the plant. As a woman who hates waste, I put on my thinking cap to come up with something to do with this monster – preferably something that can be frozen – I AM self-proclaimed Queen Of Freeze, after all. Since I had just made hummus, it occurred to me I could make a zucchini based hummus. Success!

My Zucchini Hummus can be used as a dip or spread. (It makes a delicious sandwich in pita bread with Muenster cheese, tomatoes, cucumber, and arugula.) Best of all, it freezes well!

NOTE: If you’re using this as a spread (which is thicker), decrease the amount of zucchini to about 840g (1/4 lb).

Zucchini Hummus:

  • 939g (2 lbs) zucchini, shredded
  • 150g (5 oz) onion, chopped
  • 1.5 T garlic, minced
  • 45g (1/2 cup) olive oil
  • 28g (2 T) tomato paste
  • 2 tsp table salt
  • 1 tsp dried Korean style red pepper (Gochugaru)
  • 1 tsp smoked paprika
  • 1.5 tsp paprika
  • 1/4 tsp turmeric
  • 1/2 tsp coriander
  • 1/2 tsp cumin
  • 28g (2 T) tahini
  • 252g (1 cup) hummus ( either homemade – my recipe or purchased)
  • 1 bay leaf

Preheat oven to 400°F (204°C)

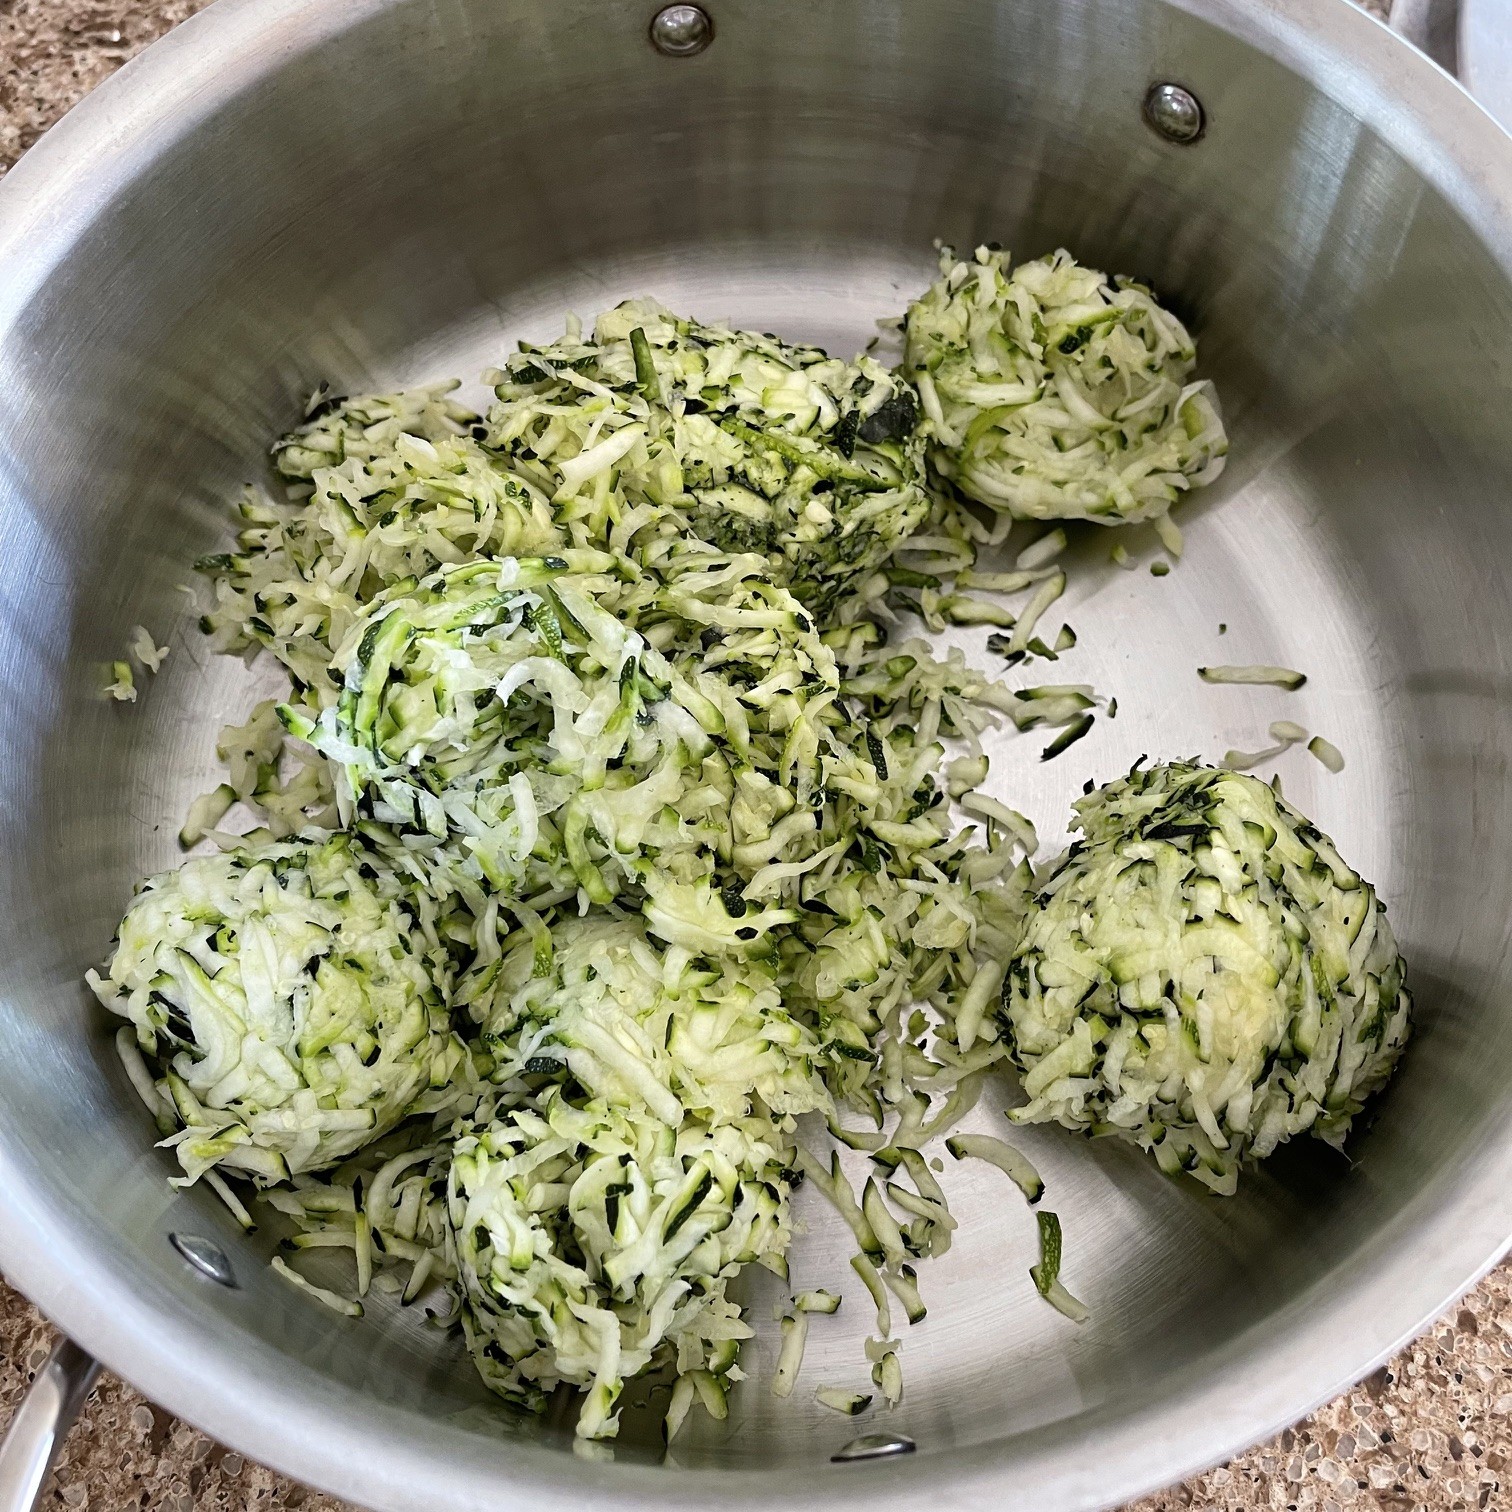
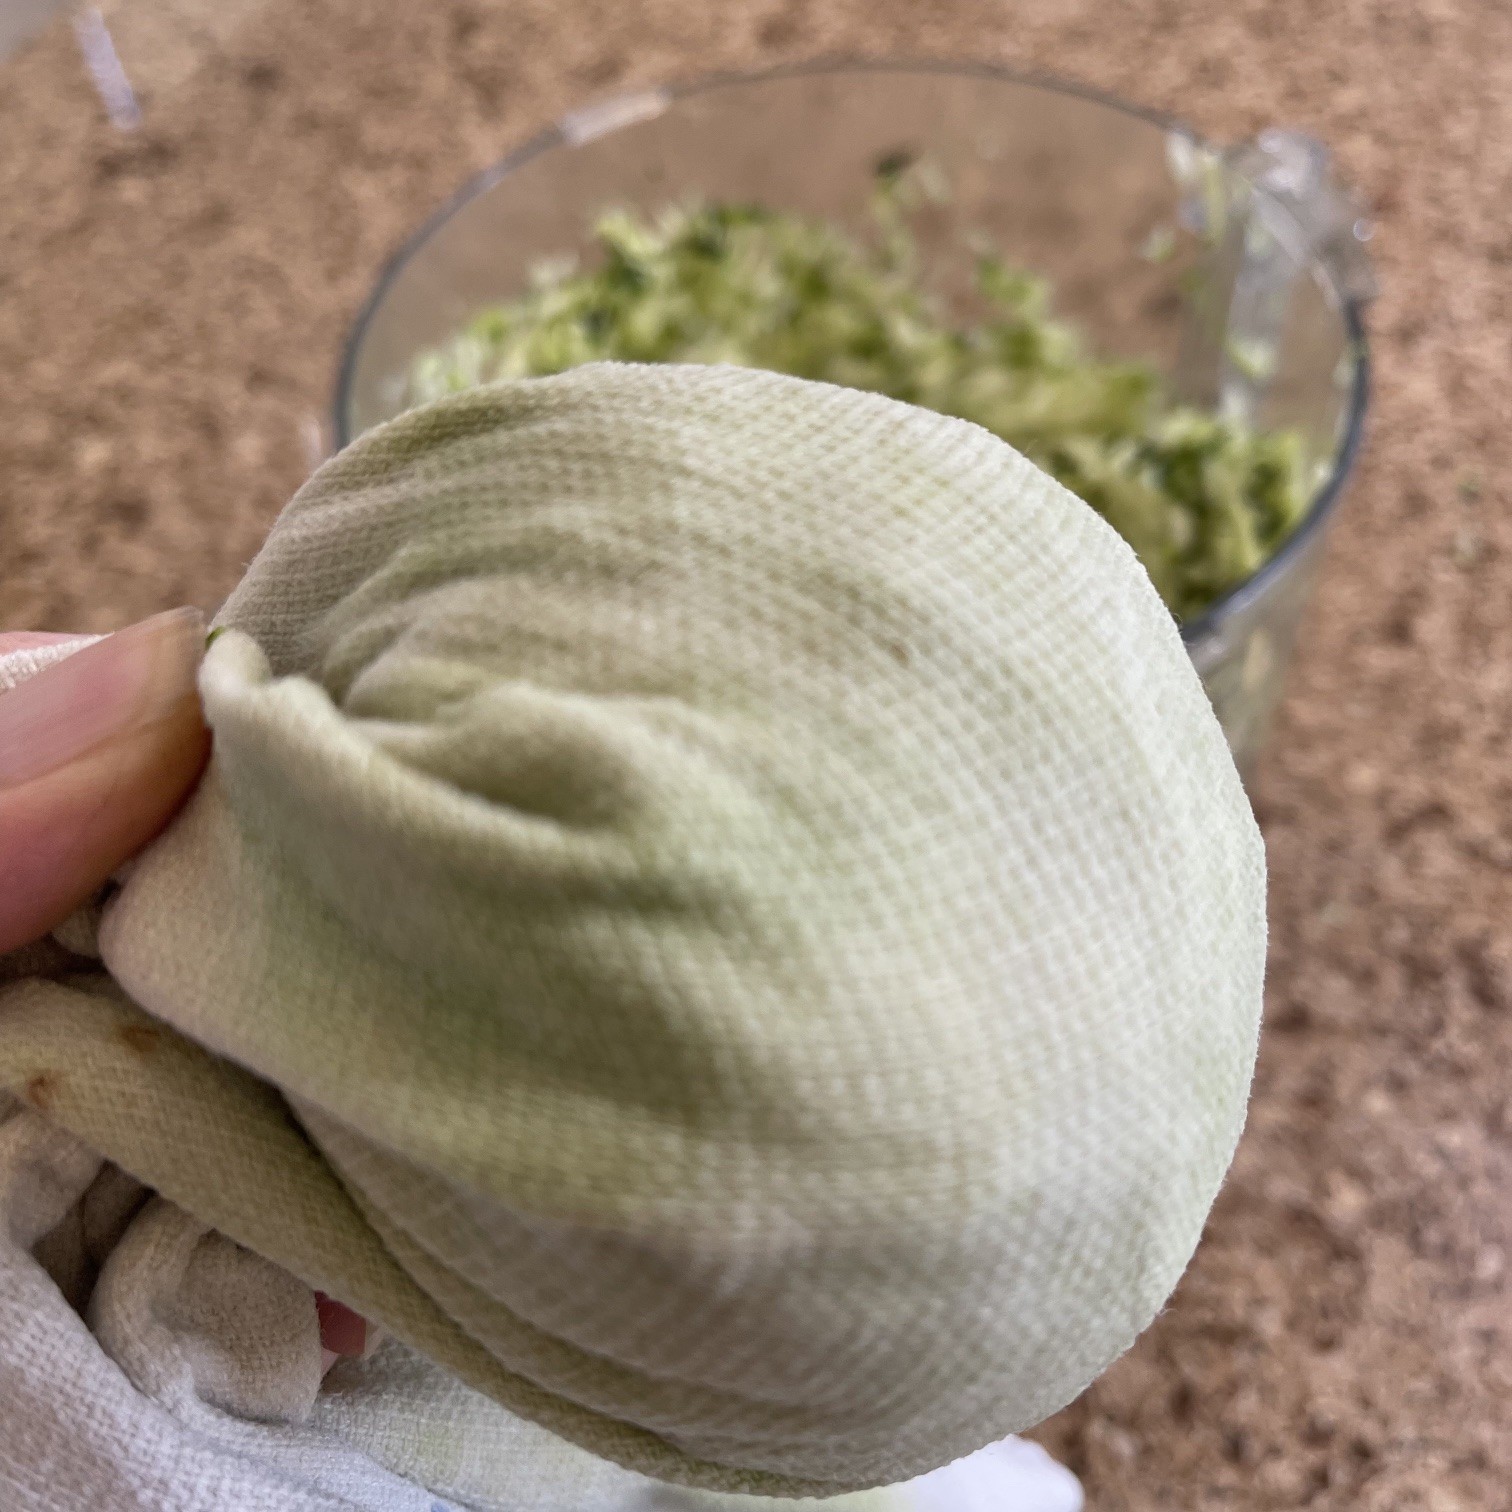
First thing to do is extract as much water from the zucchini as you can. Place a handful of shredded zucchini into the center of a tea towel. The amount of a handful is determined by the size of your hand. Don’t use more thinking you’ll get it done faster – it’s hard work for your hand. Wrap the towel around the zucchini ball, twist, and squeeze. Discard liquid. Repeat until all shredded zucchini is squeezed.

Place squeezed zucchini in a Dutch oven.

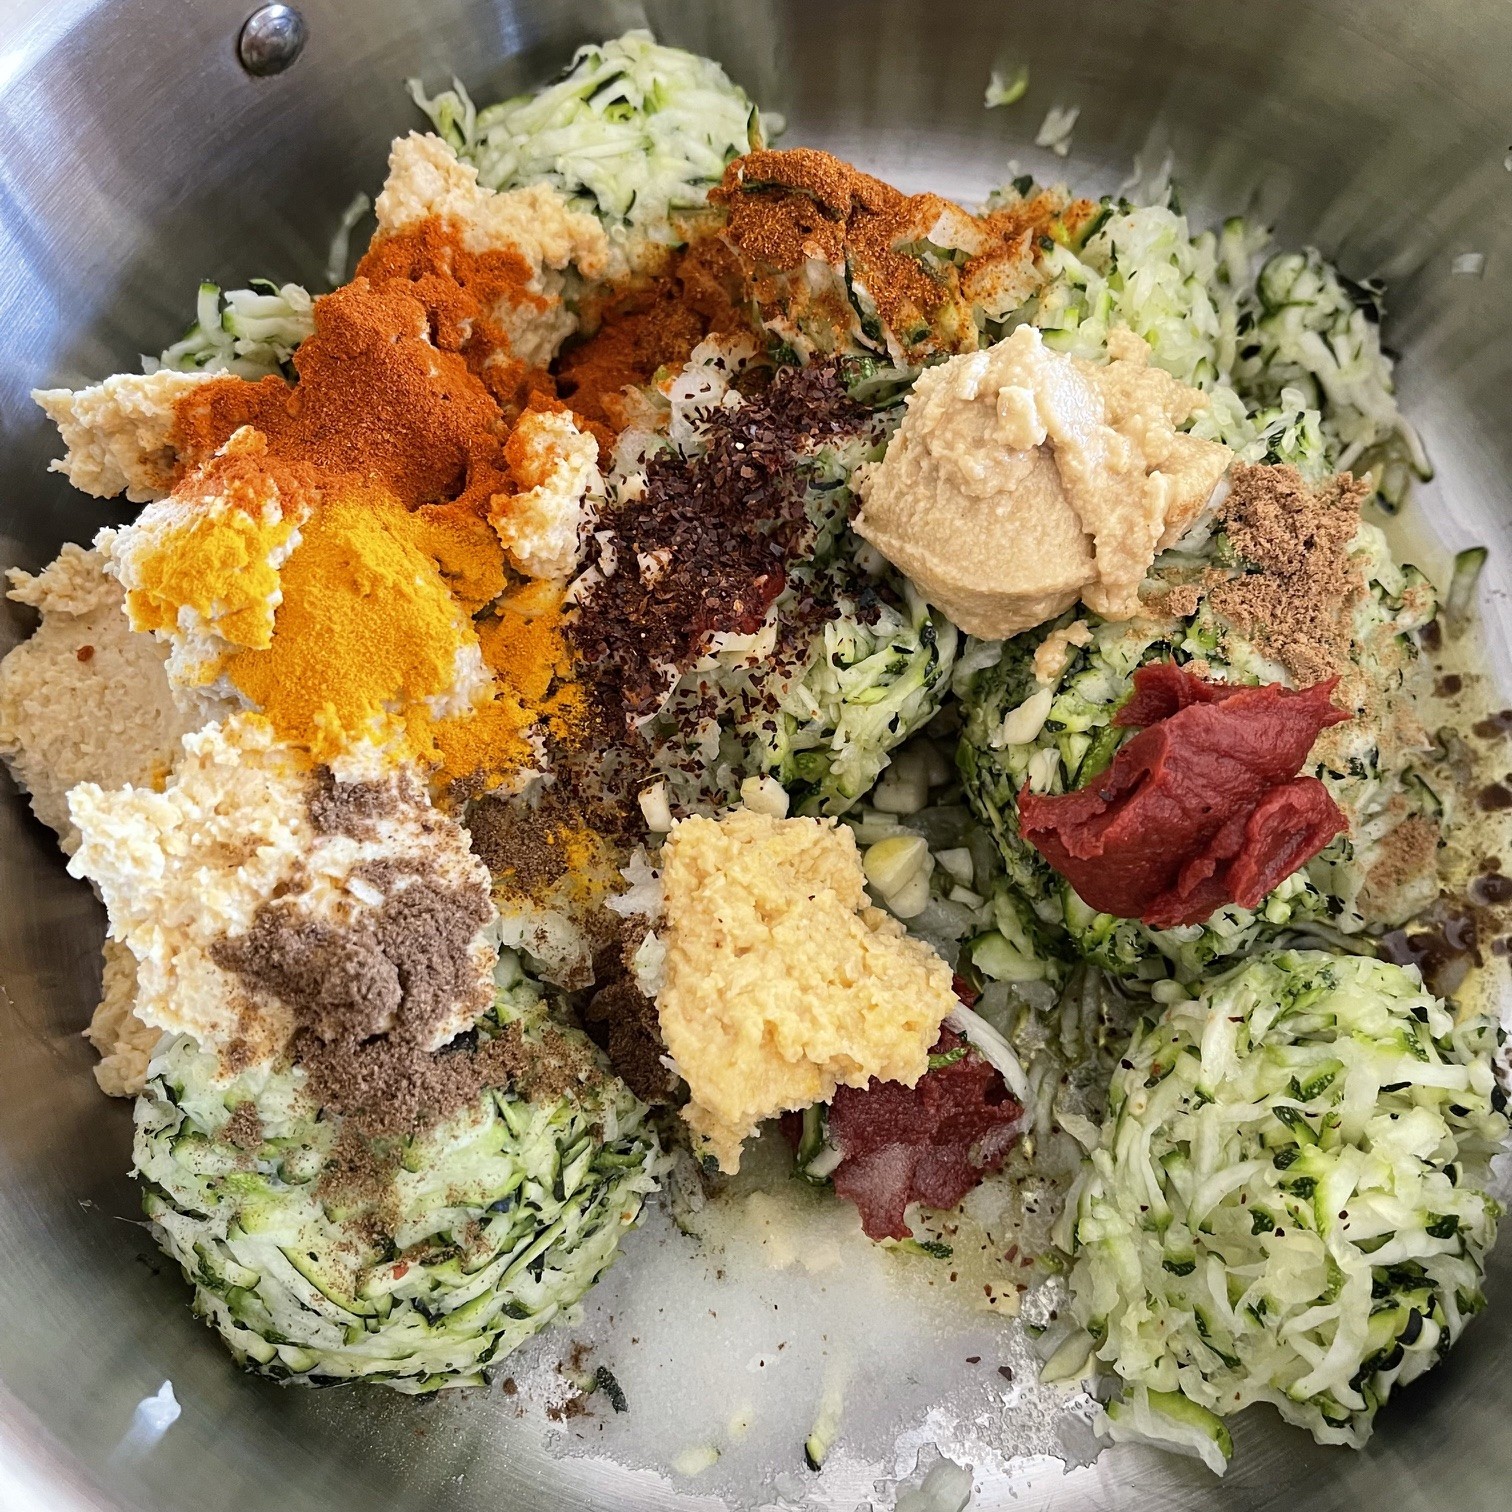
Into the Dutch oven add the onion, garlic olive oil, tomato paste, table salt, ground Korean style red pepper spice, smoked paprika, regular paprika, turmeric, coriander, cumin, tahini, and hummus.

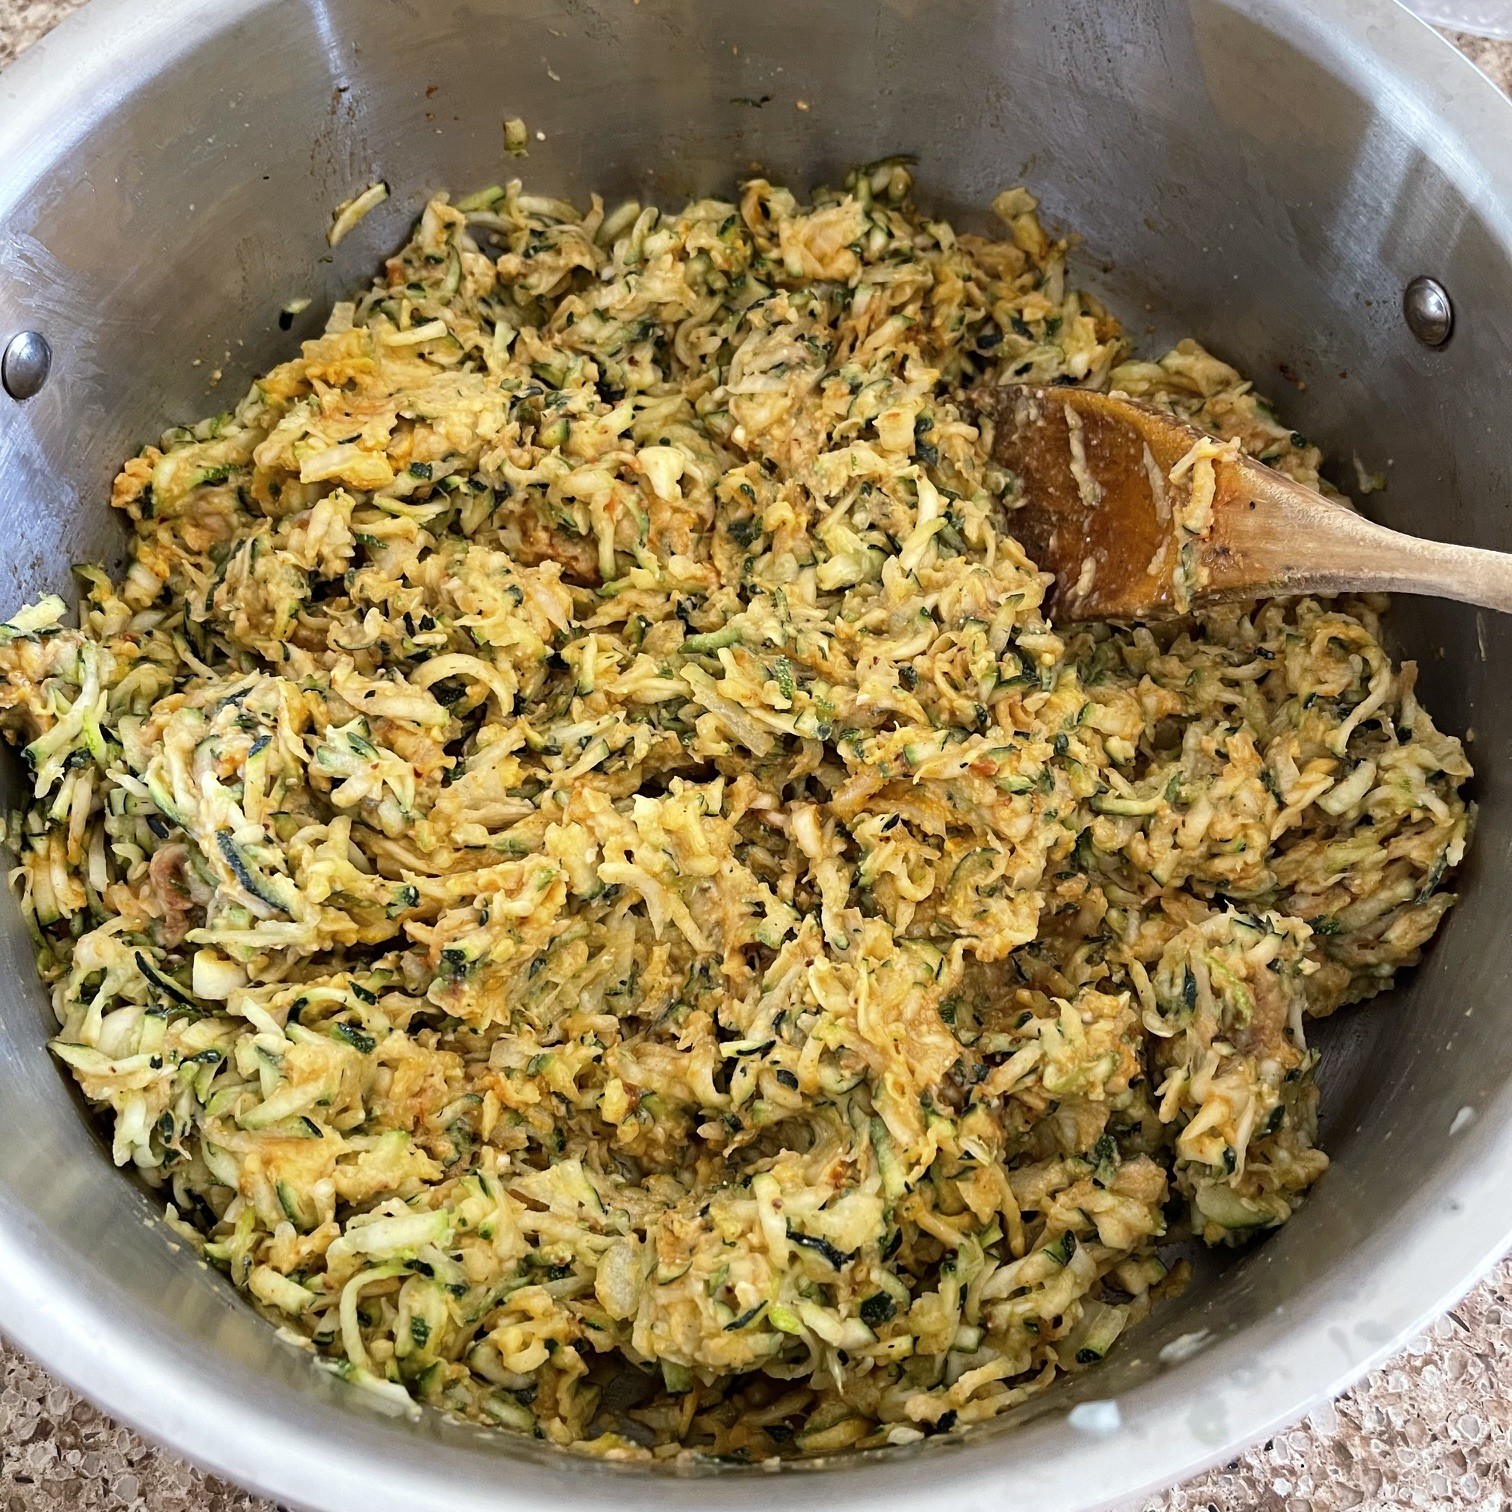
Saute 5-7 minutes on stove top over medium-high heat.

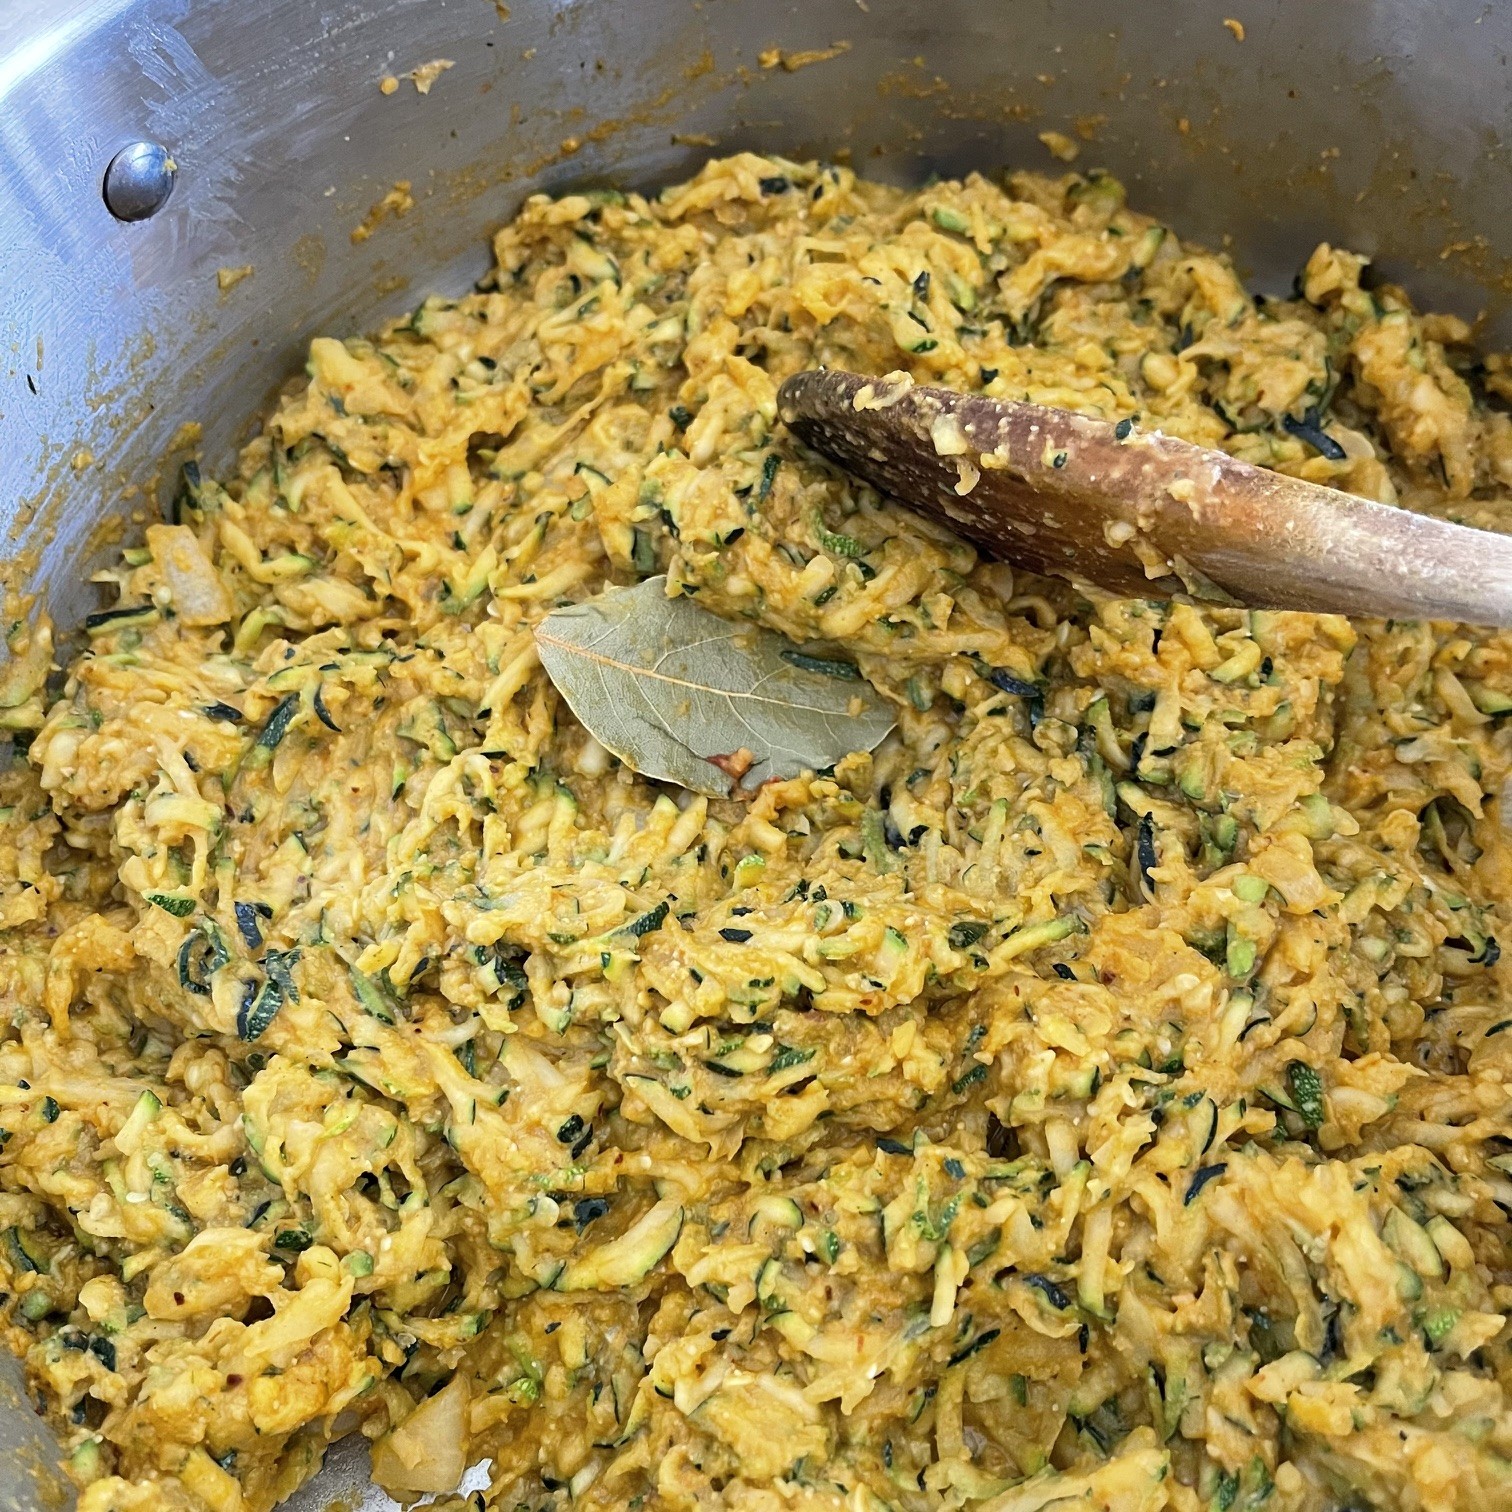
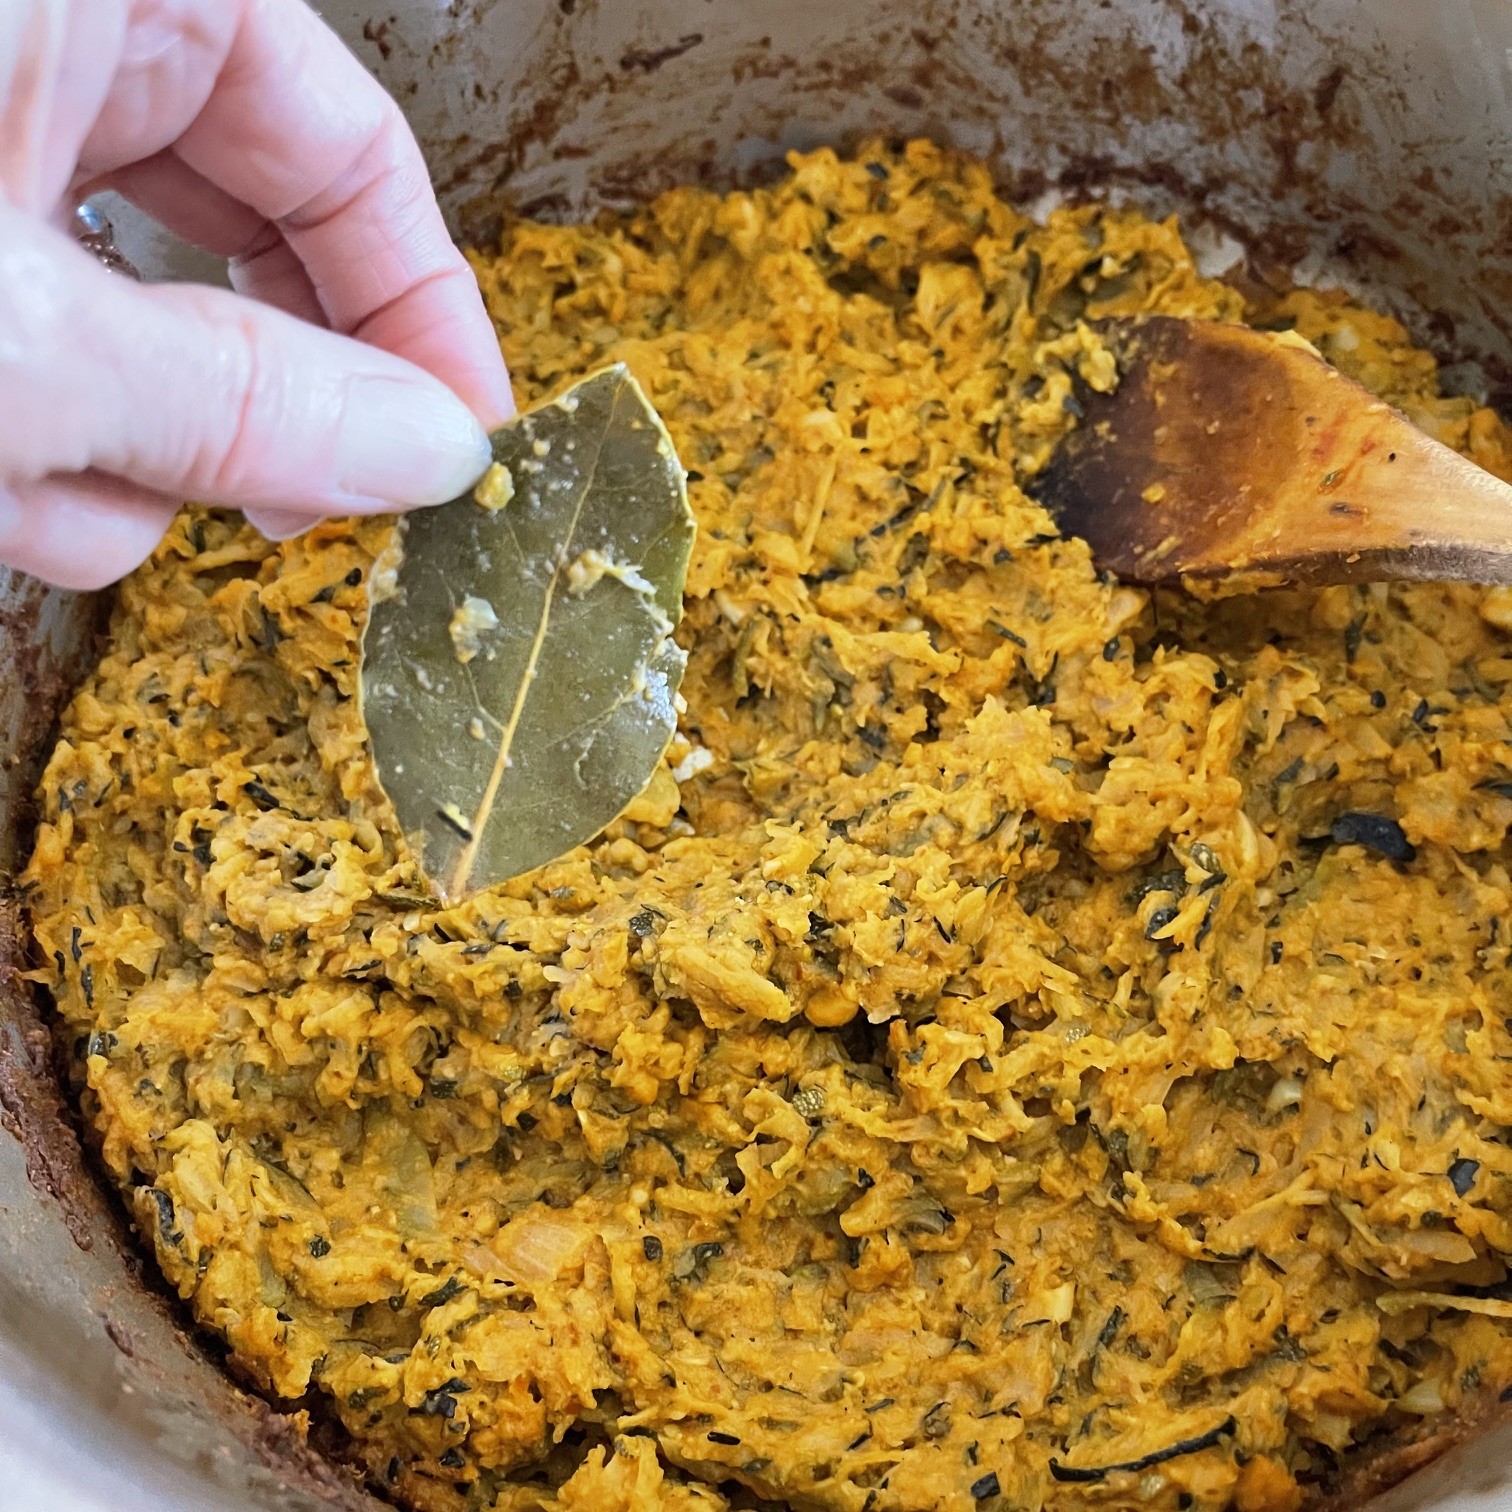
Add in bay leaf and bury it. You don’t want to stir mixture with the bay leaf in it – some bay leafs are brittle and you don’t want shards of bay leaf in your mixture. Make sure you note where you put it – you’ll need to remove it later. Cover pot and bake in preheated 400°F (204°C) for 30 minutes.

After 30 minutes, move bay leaf out of the way and stir zucchini mixture. Bury bay leaf again, cover pot, and continue to bake at 400°F (104°C) for another 45 minutes.

After 45 minutes, remove and discard bay leaf.

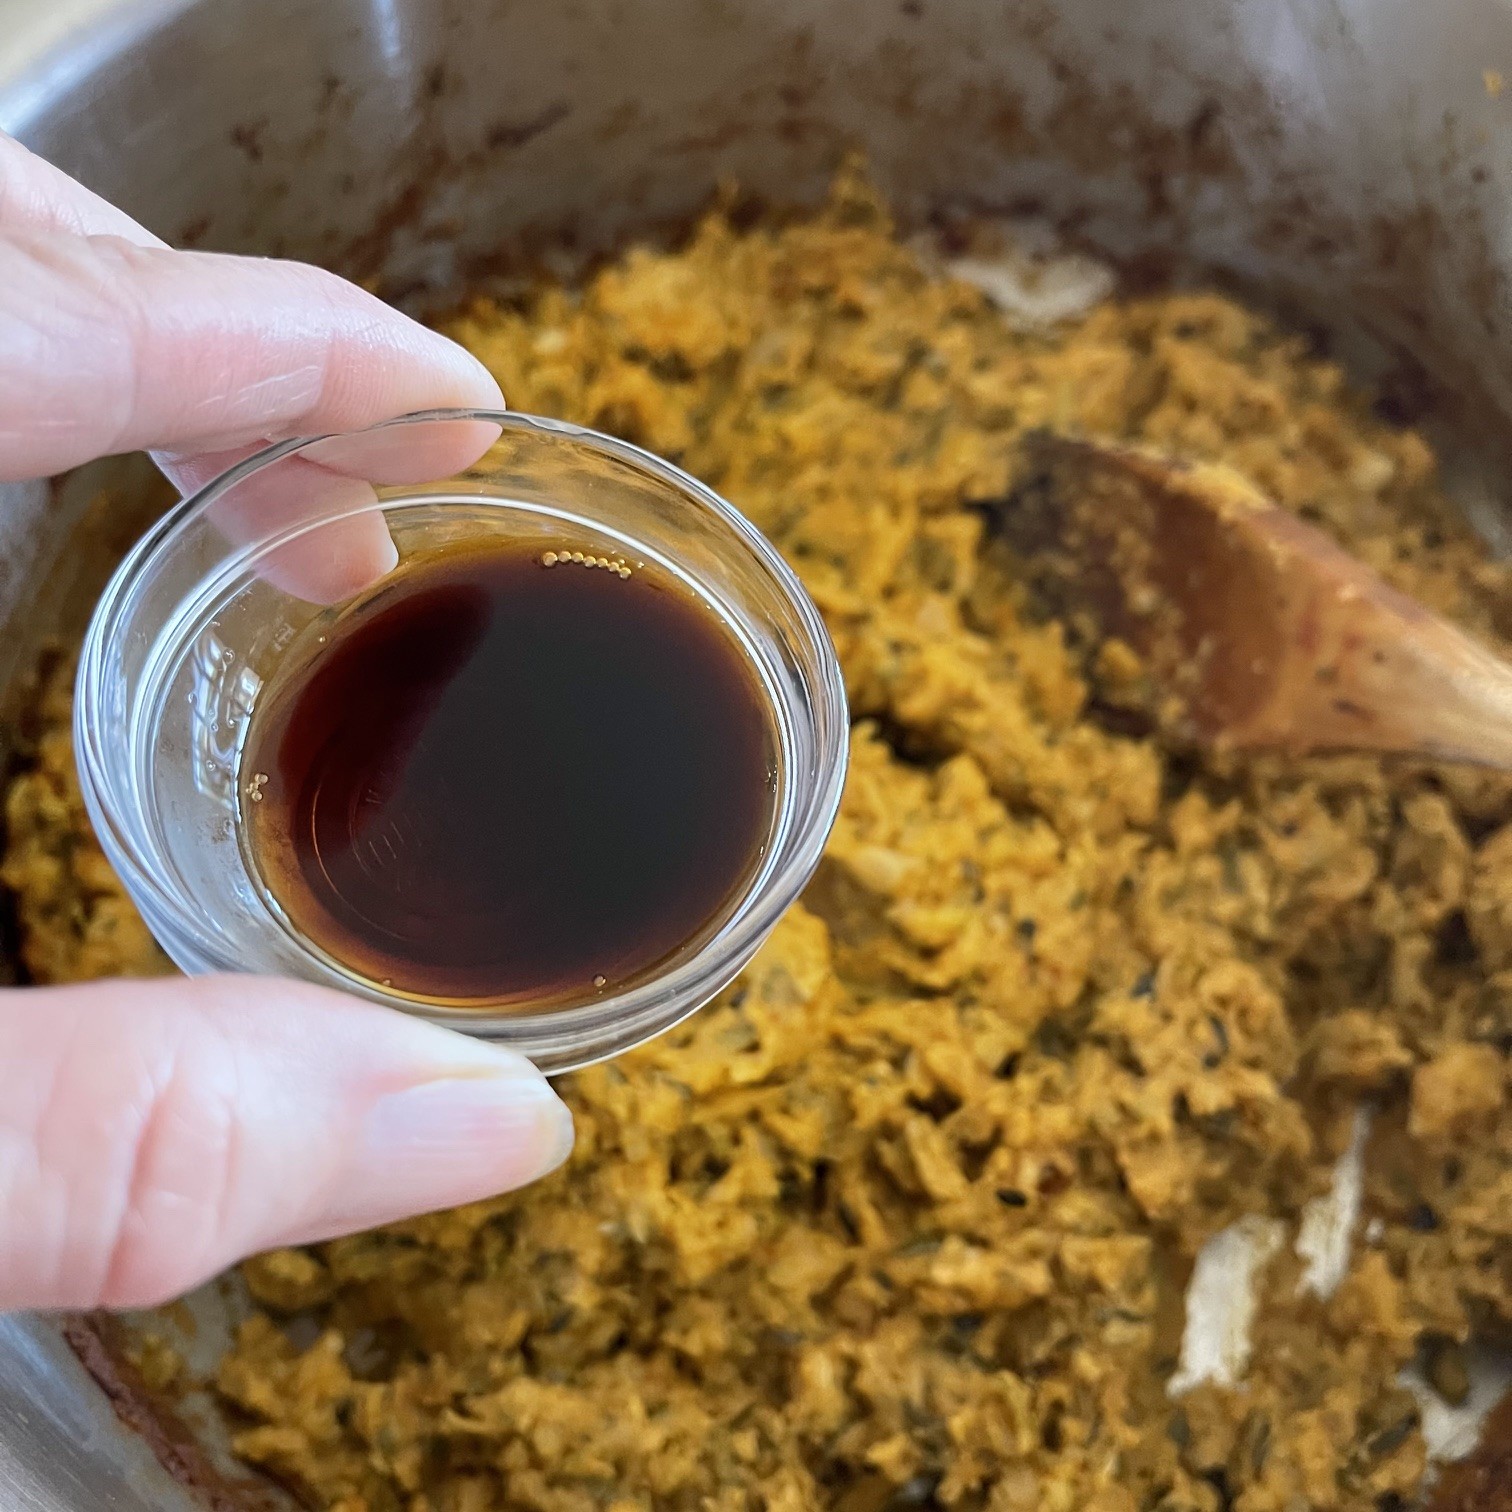
Add in soy sauce.

Cool mixture about 20 minutes, then mix in a blender, food processor, or use an immersion blender (my preference). Adjust seasoning, if needed.

Excellent as a dip or filling in pita bread.