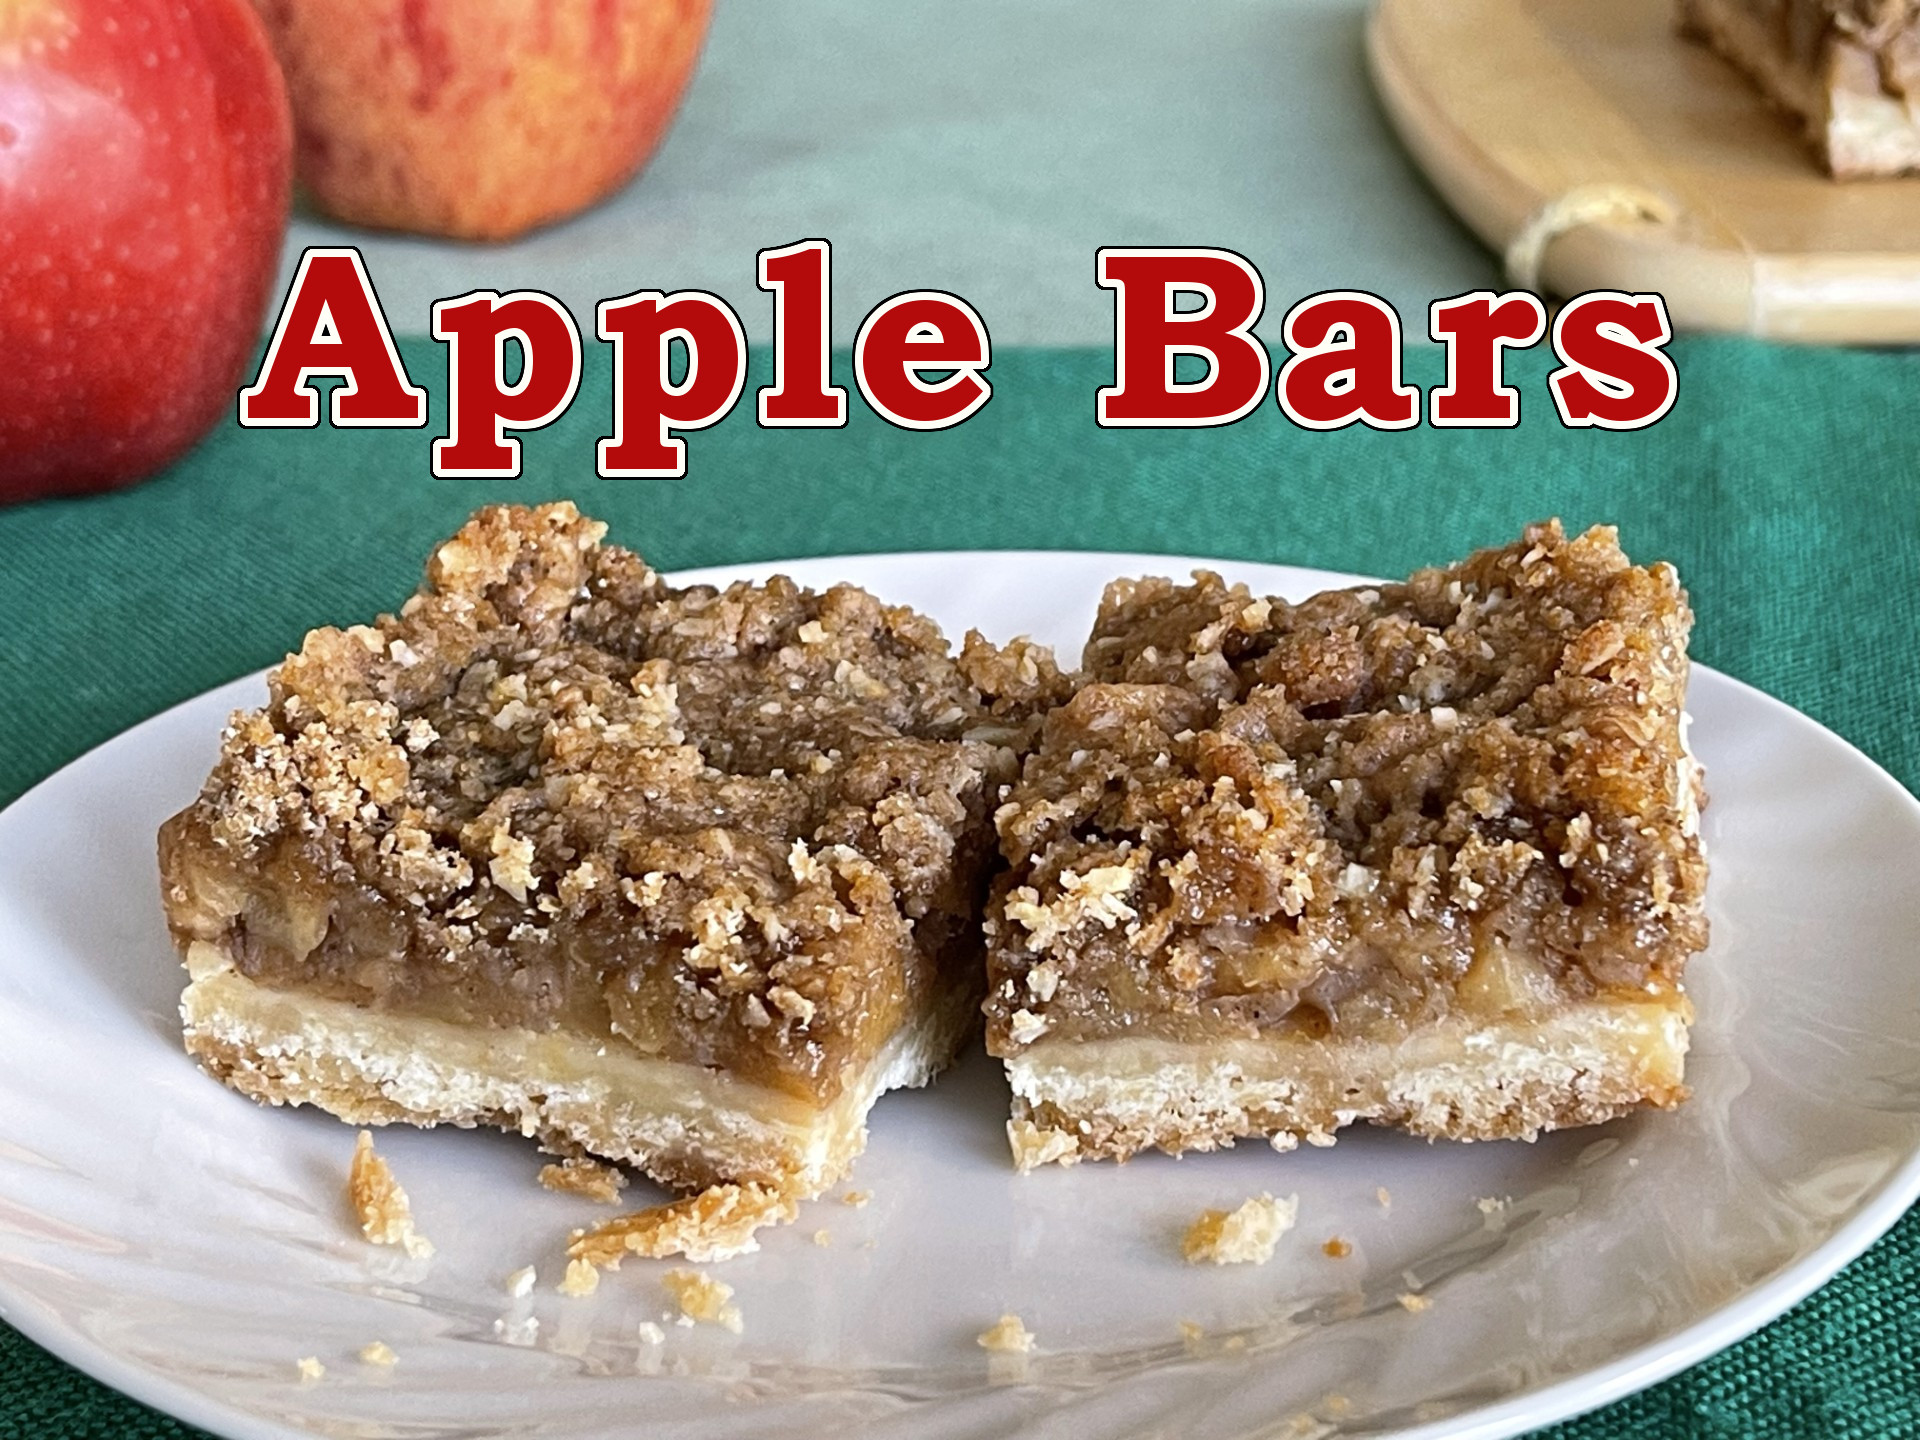
My brother has a penchant for apple desserts. So, as a good sister, I decided to develop an apple bar recipe for him. It was to be three layers: the crust, the apple filling, and the streusel topping. What I wanted was a sturdy crust so the bar could be picked up to eat, the apple filling full of flavor, and the streusel with a tasty crunch. Each layer ended up having its own challenges but, in the end, I got there!
APPLE BARS – Makes about 9 bars, depending how you cut them
Crust
- 112g (8 T) butter, melted
- 147g (1.25 cups) all-purpose flour
- 1/3 tsp salt
- 49g (1/4 cup) granulated sugar
Apple Filling
- 4 (1.5 lb) apples (I like Gala apples, but use what you prefer)
- 112g (8 T) butter
- 10g (1 T) granulated sugar
- 1/2 tsp cinnamon
- 1/2 tsp cardamom
- 1/4 tsp salt
- 13g (2 T) cornstarch
Streusel Topping
- 94g (1/2 cup), packed dark brown sugar
- 21g (1/4 cup) raw whole oats
- 30g (1/4 cup ) all-purpose flour
- 3/4 tsp cinnamon
- 1/4 tsp cardamom
- 1/4 tsp salt
- 56g (4 T) butter, cold
PREHEAT OVEN TO 375°F / 190°C
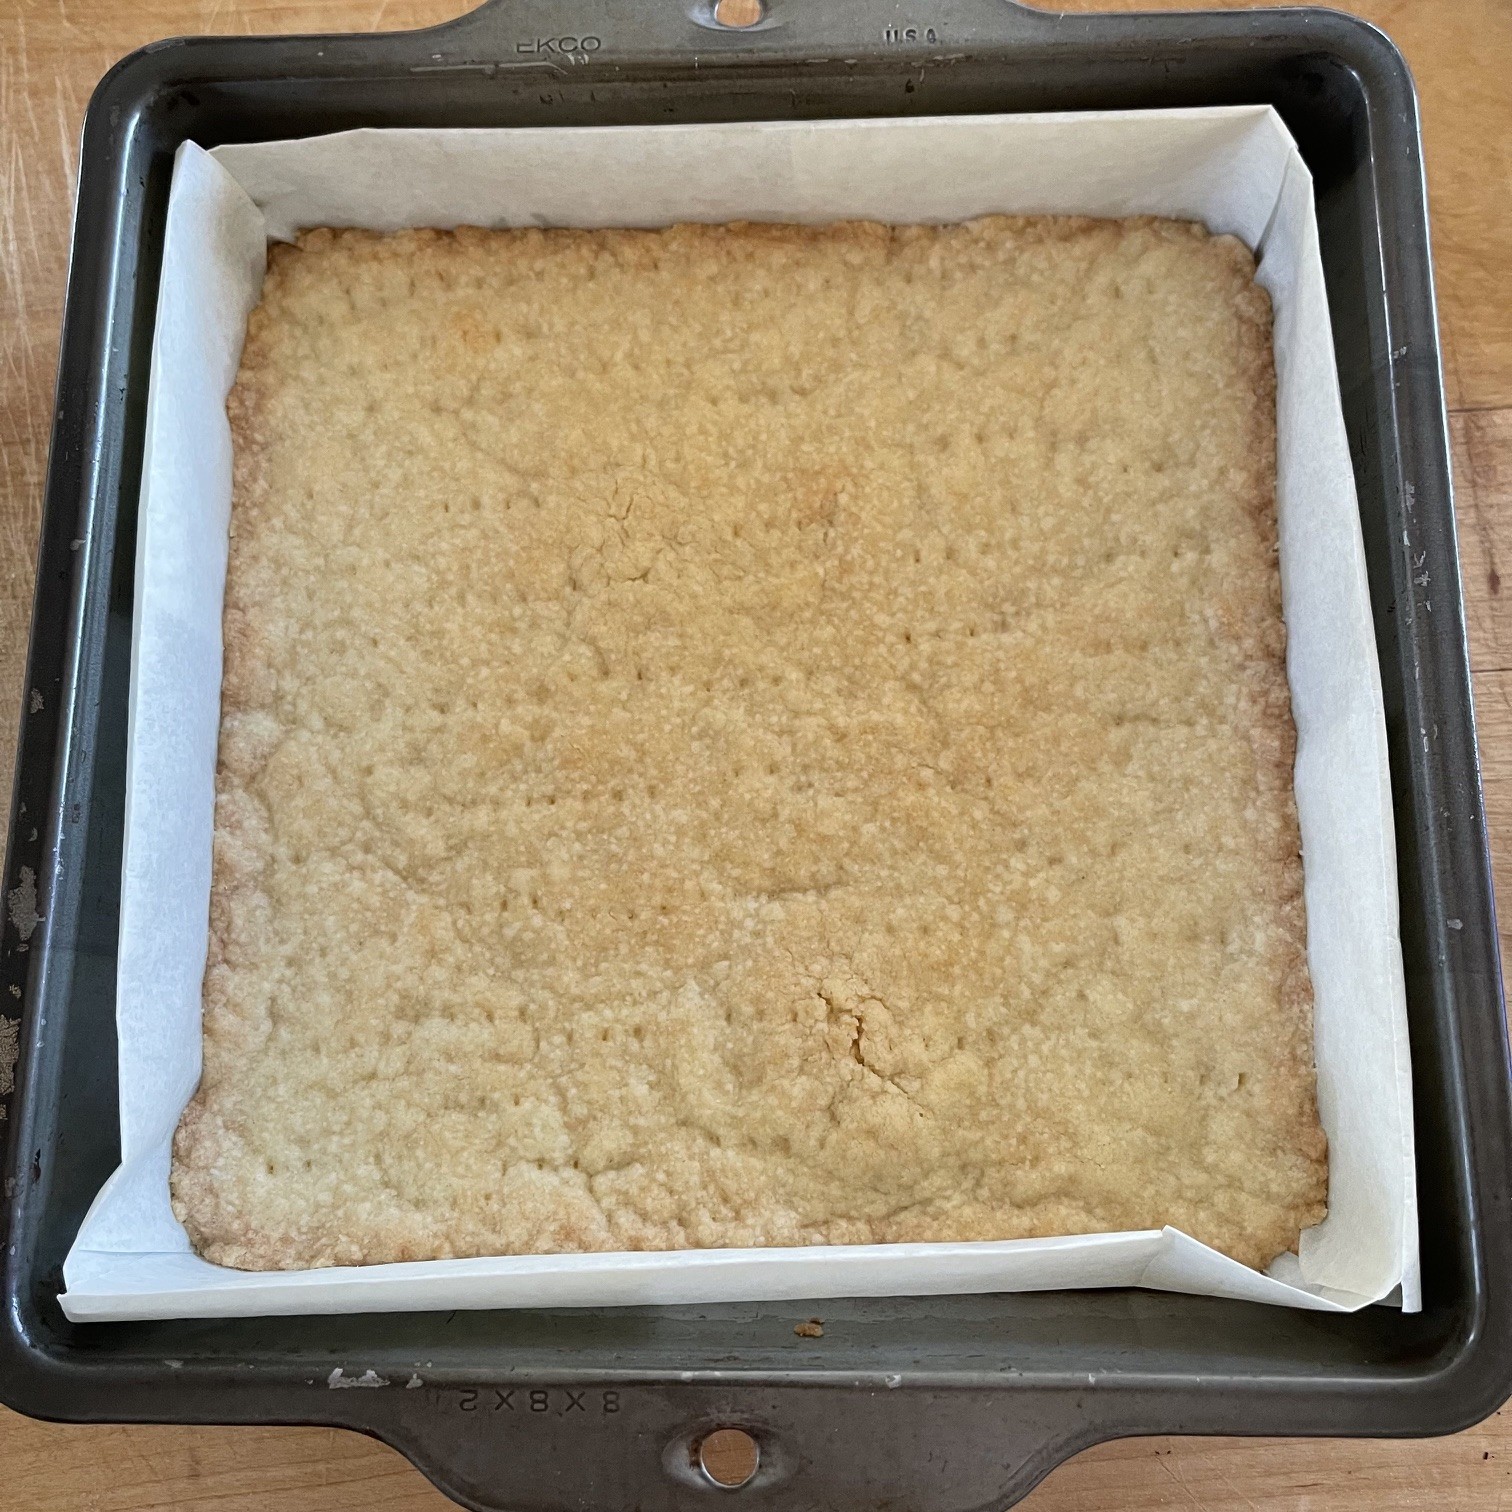
Line a 7.5″ x 7.5″ (19cm x 19cm) metal (preferably) pan with baking paper. The baking paper allows for removal of the bars for clean cuts. If you prefer not to use baking paper, just lightly butter the sides and bottom of the pan.
Prepare the crust:
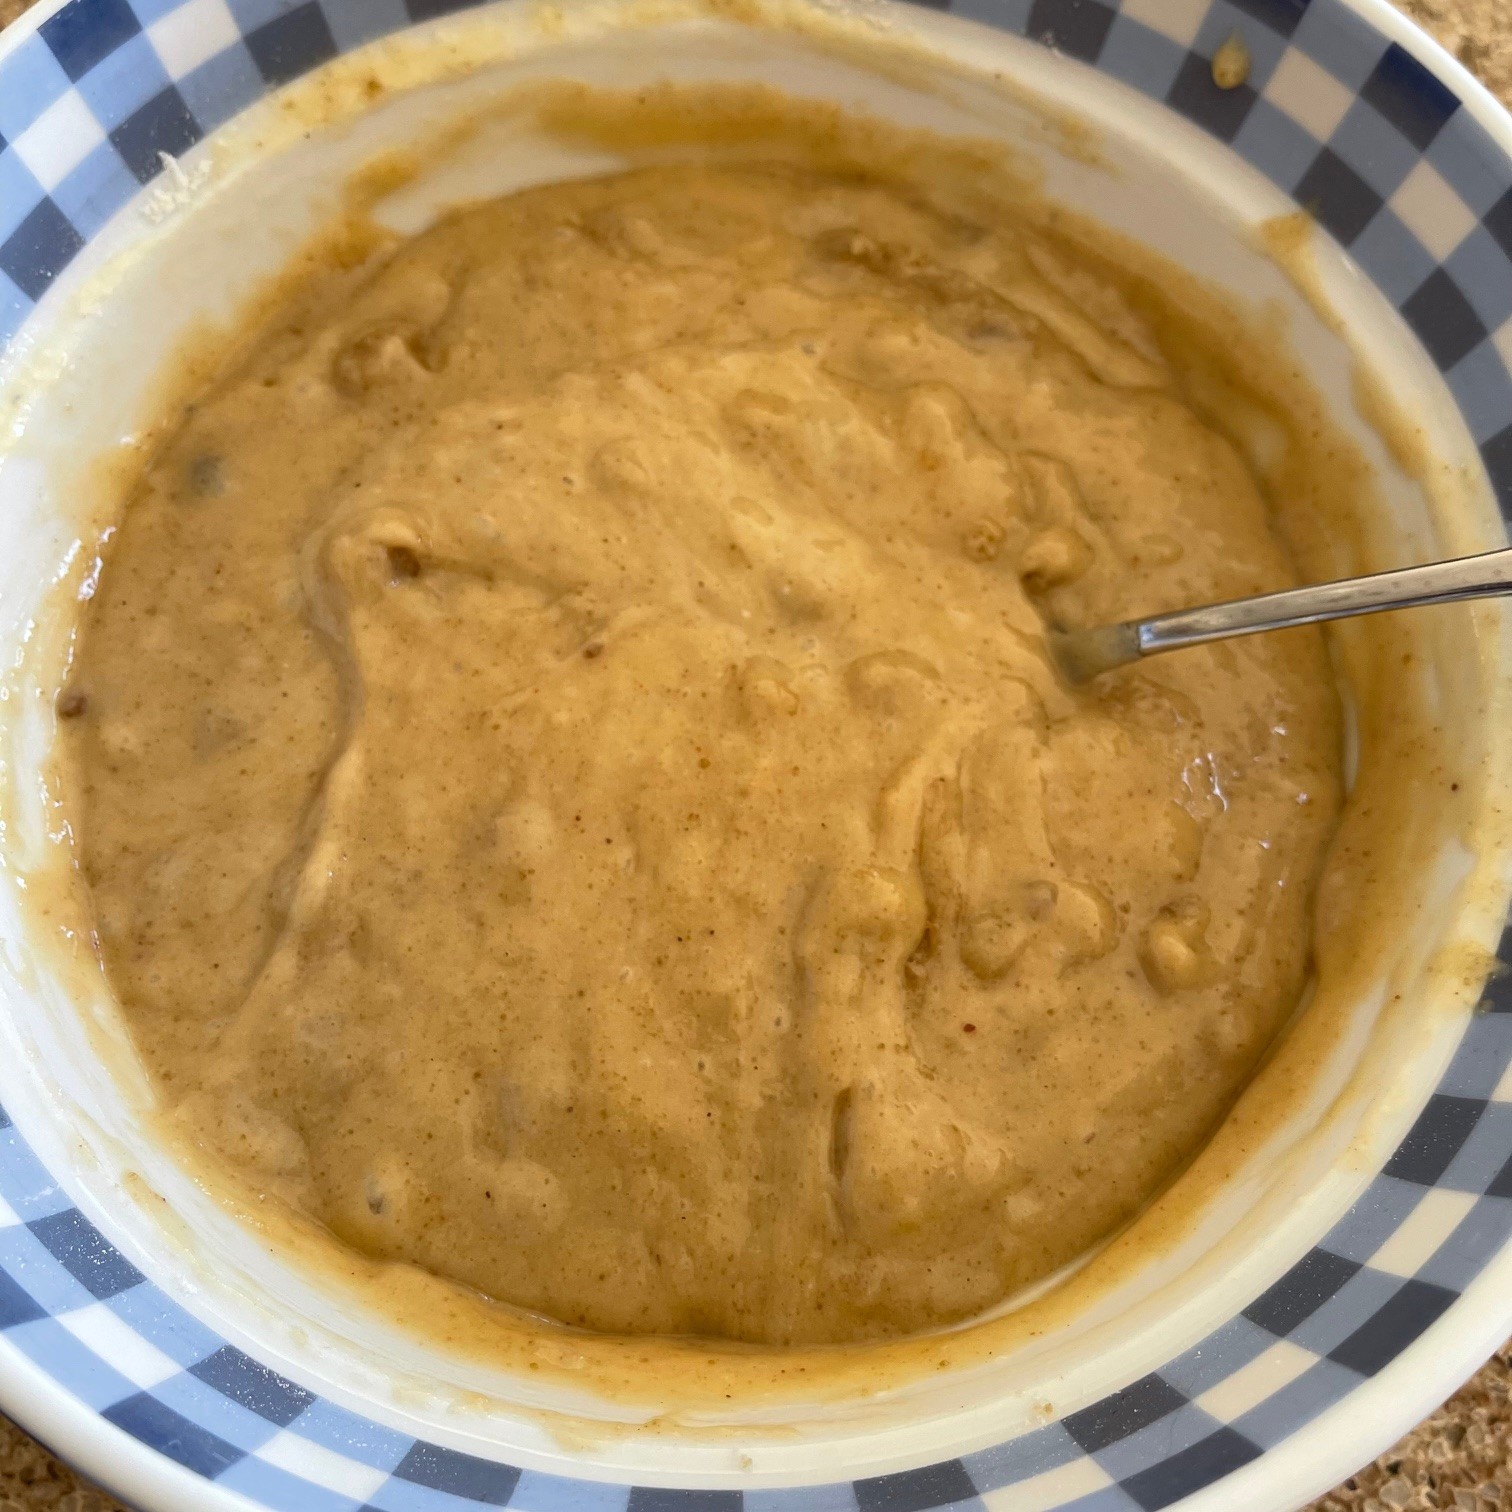
In a bowl, mix together the 147g (1.25 cups) flour, 1/3 tsp salt, and 49g (1/4 cup ) sugar. Add in the 112g (8 T) melted butter and blend with a fork or spatula.
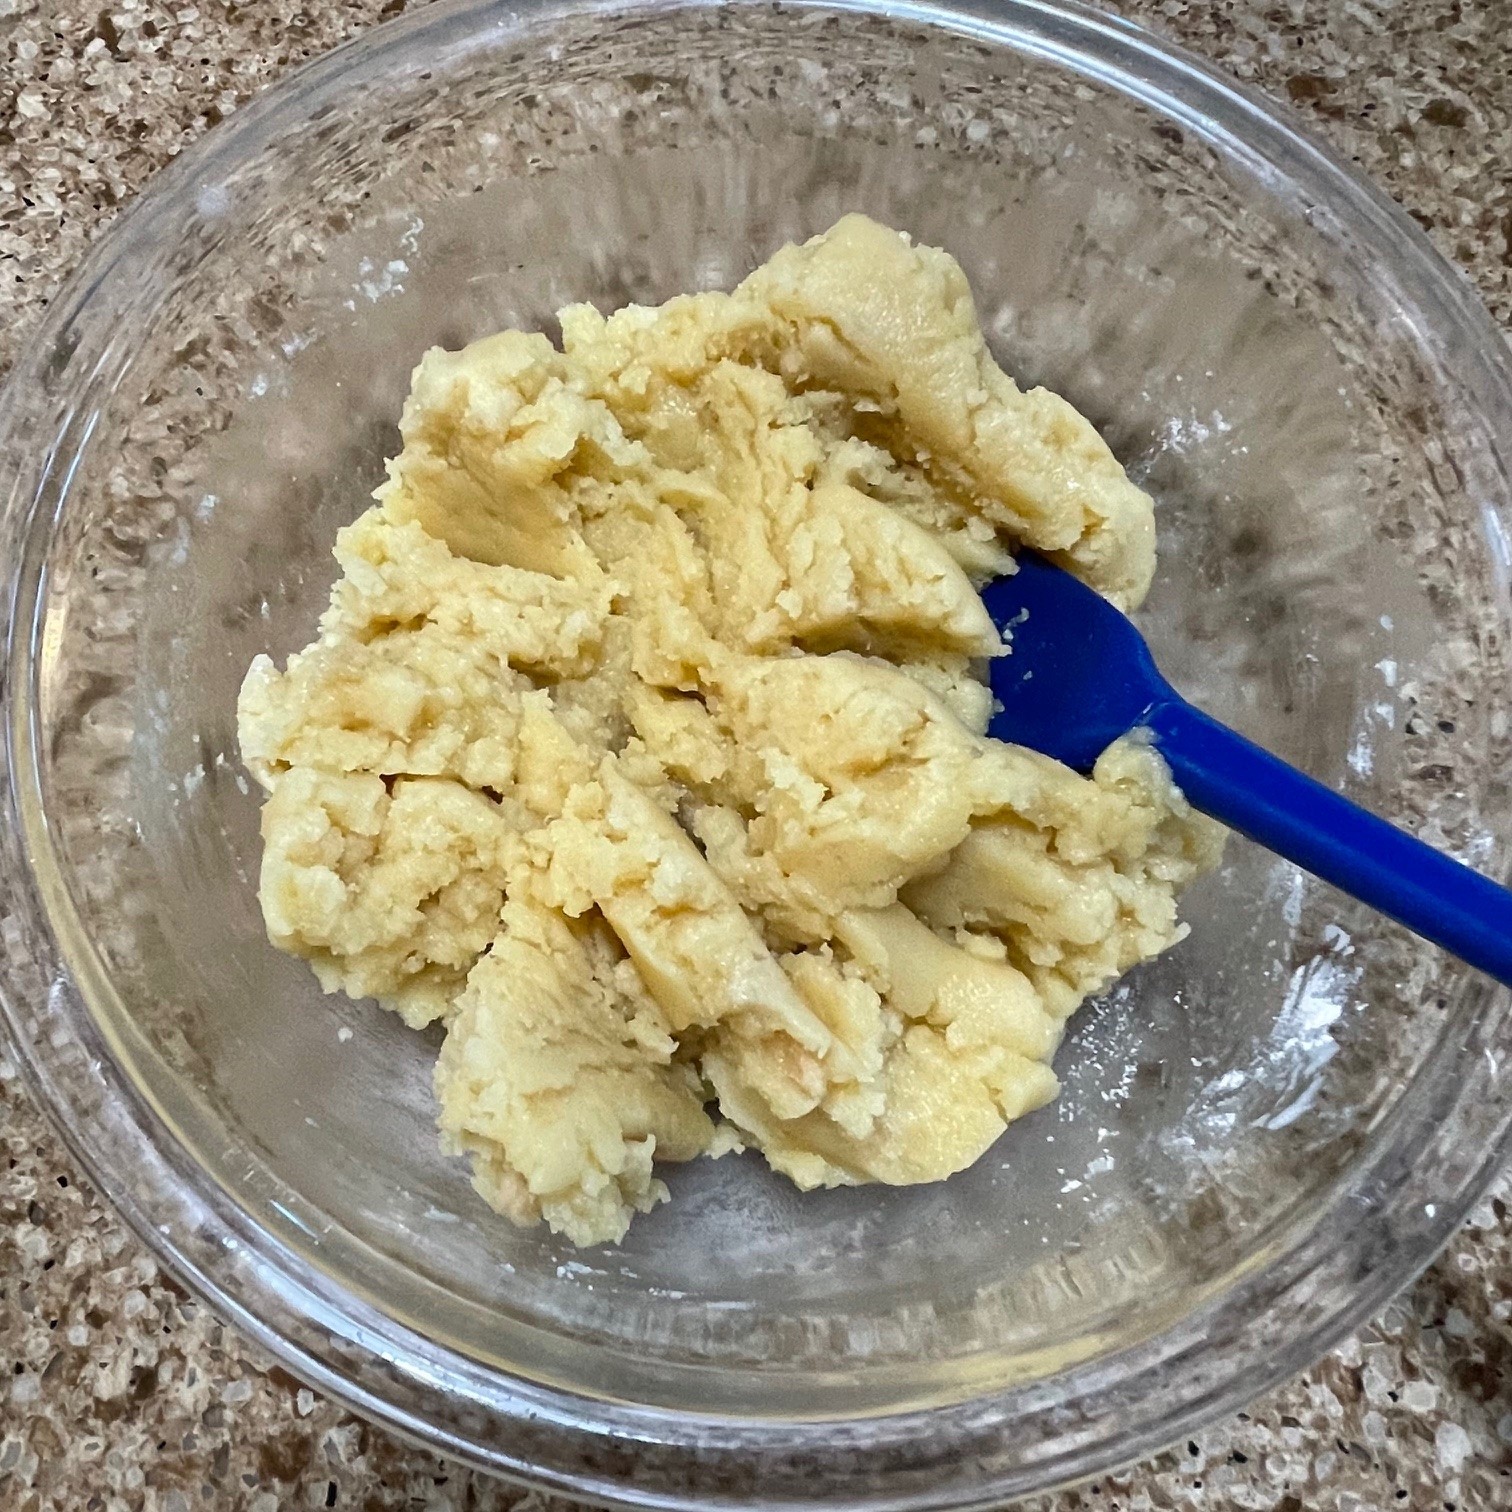
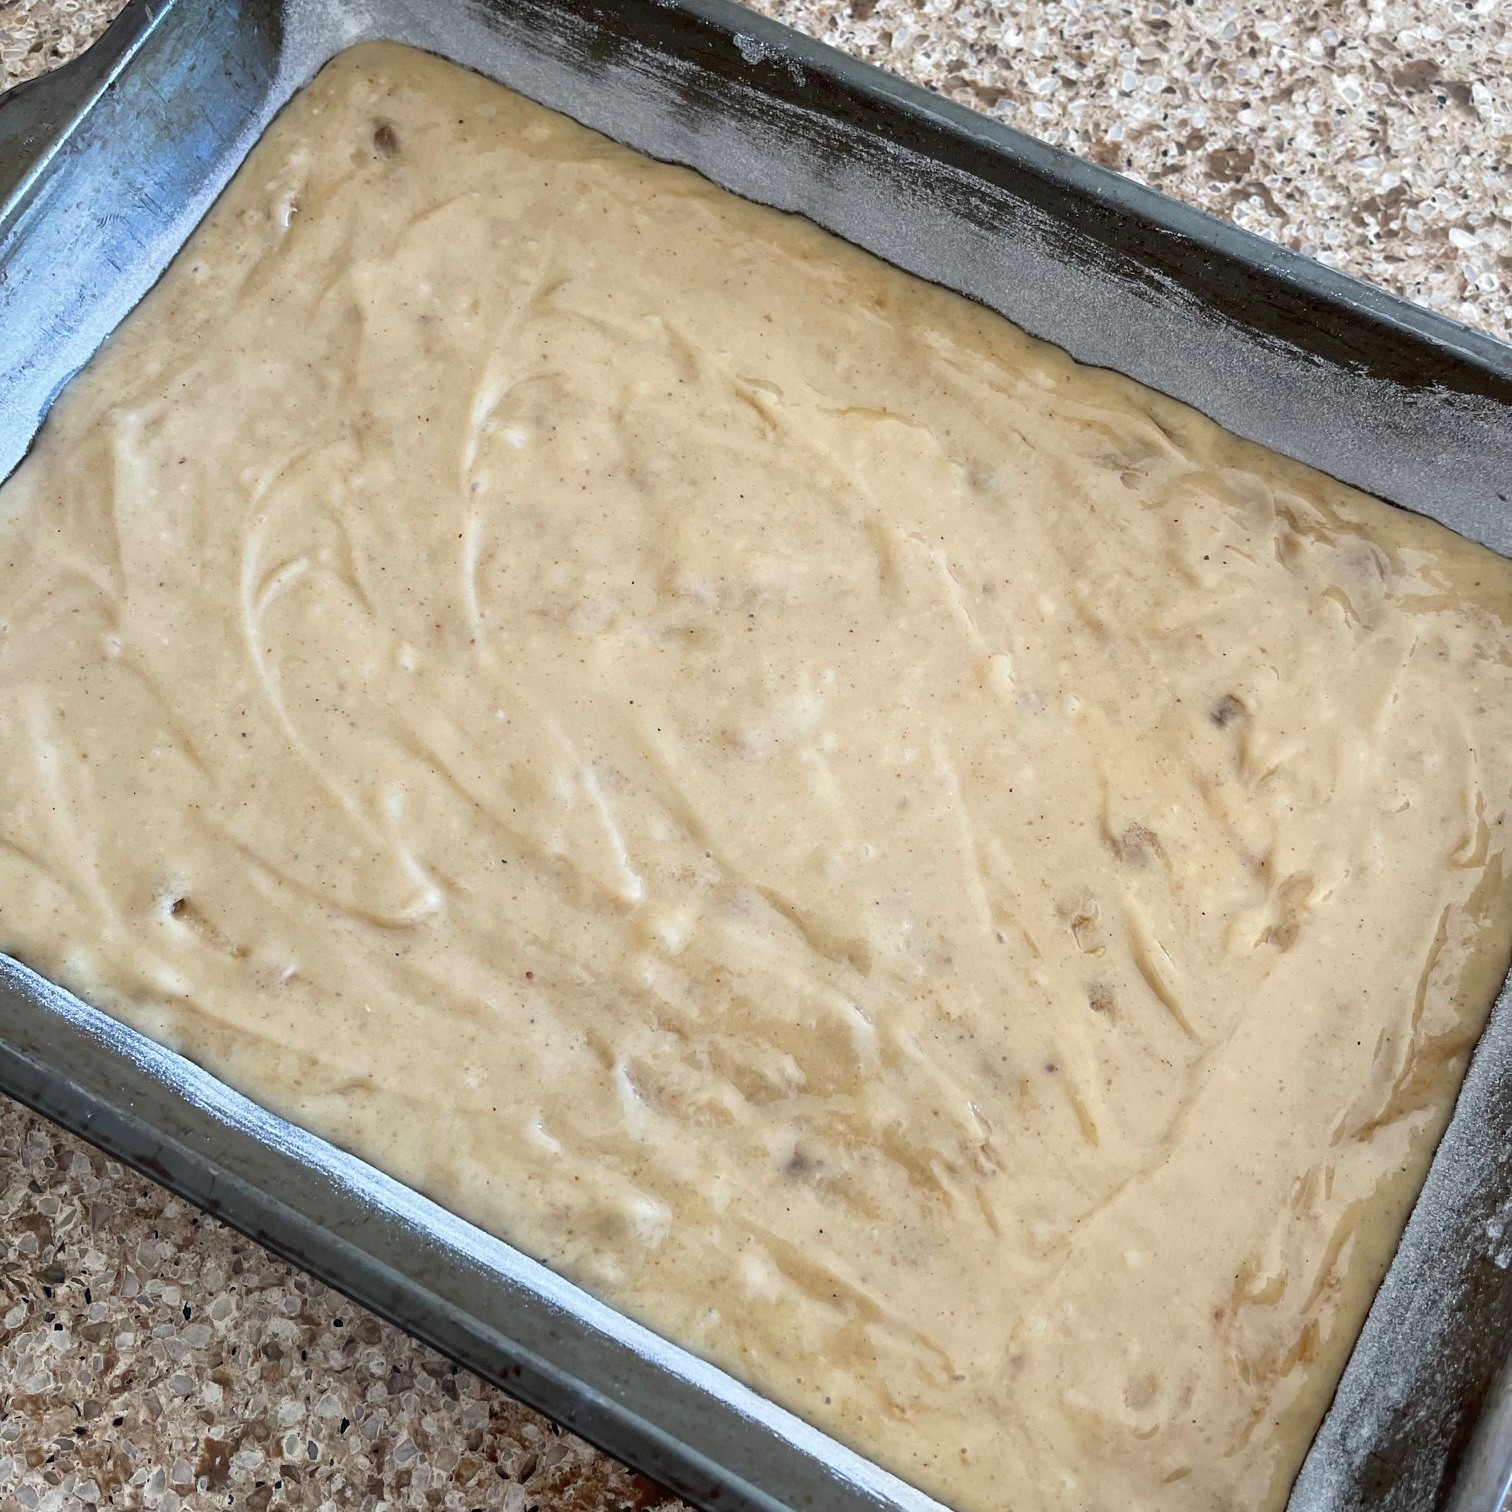
Drop clumps of dough evenly onto baking pan and press with fingers to cover bottom. Compact the dough by lightly pressing down with a spatual or the bottom of a flat cup. Dock dough with a fork and bake in preheated 375°F (190°C) oven until lightly browned – about 23 minutes. Cool in pan.
Prepare the streusel topping:
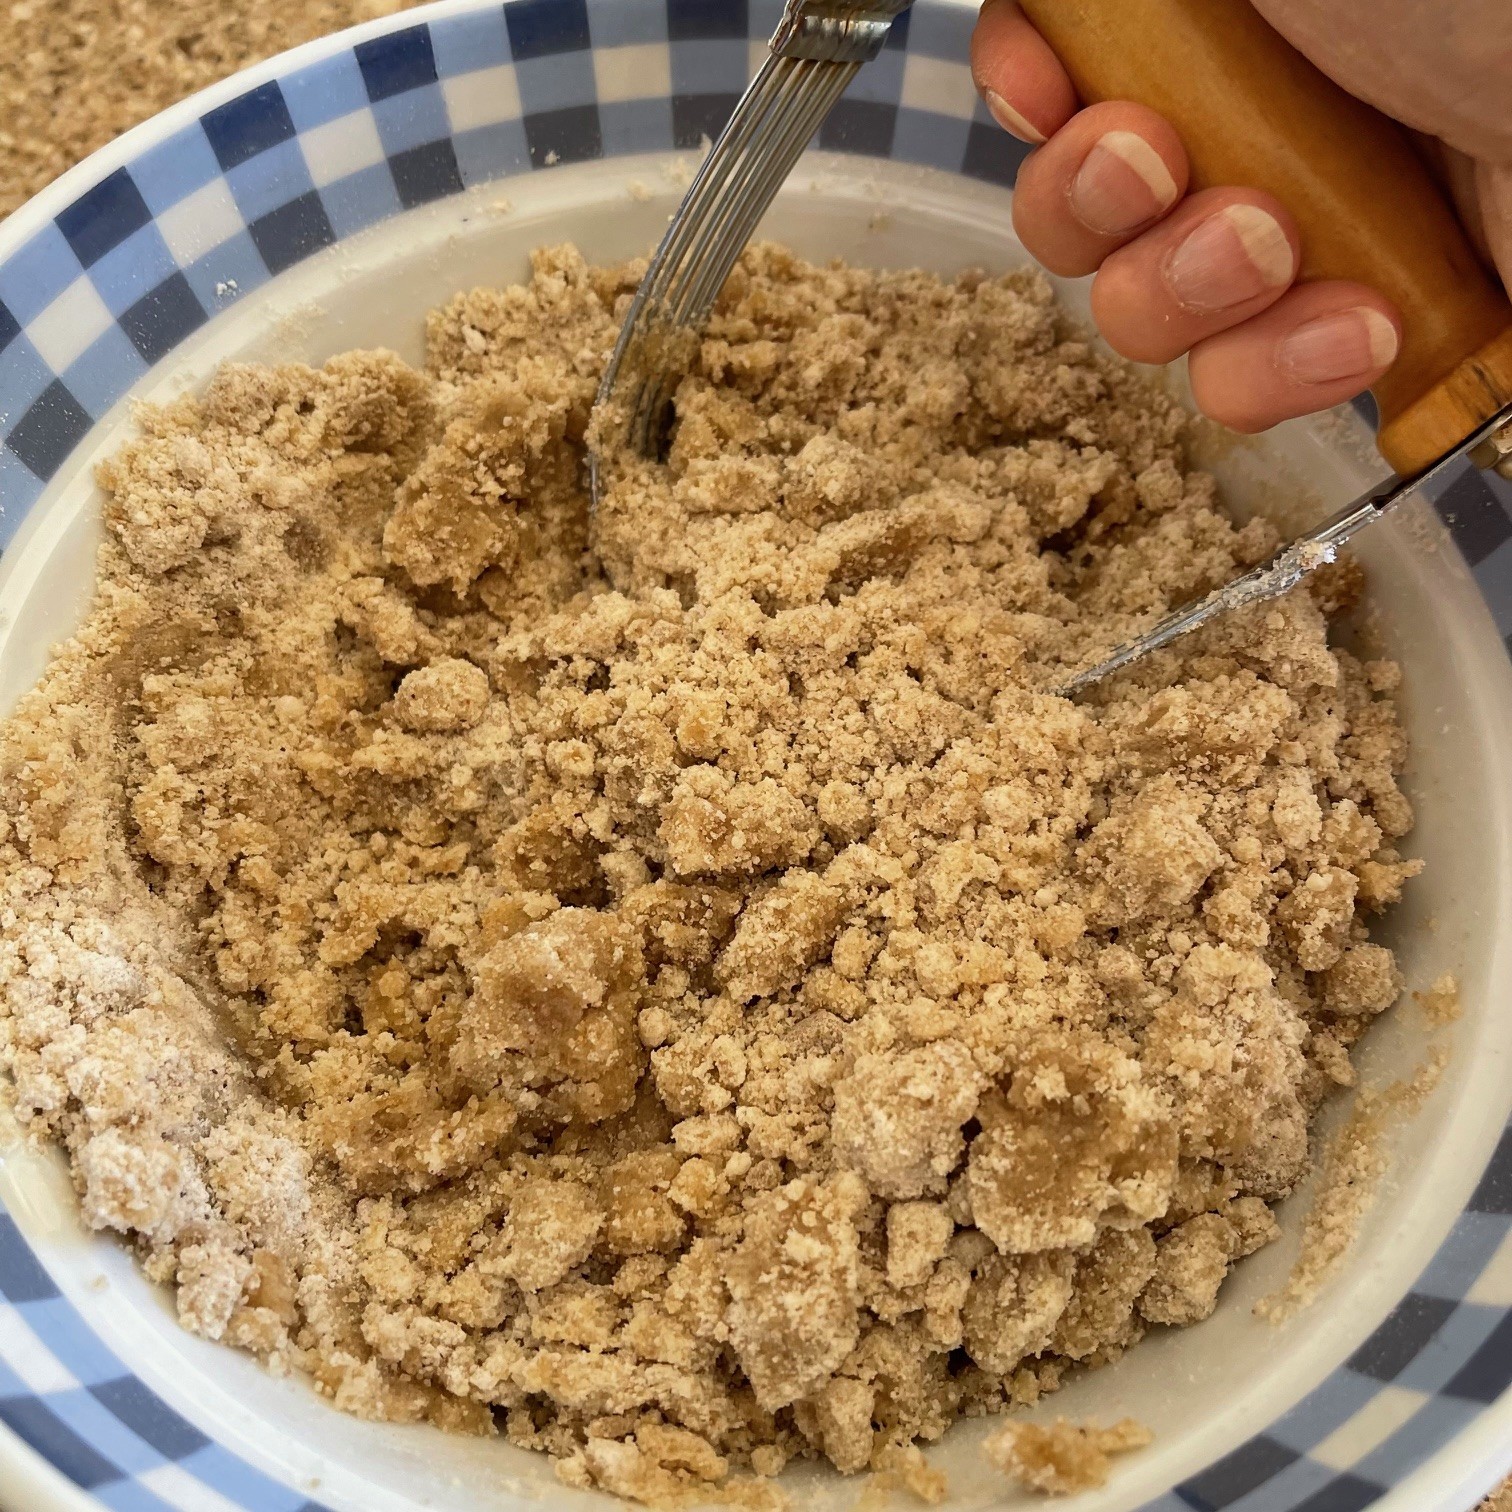
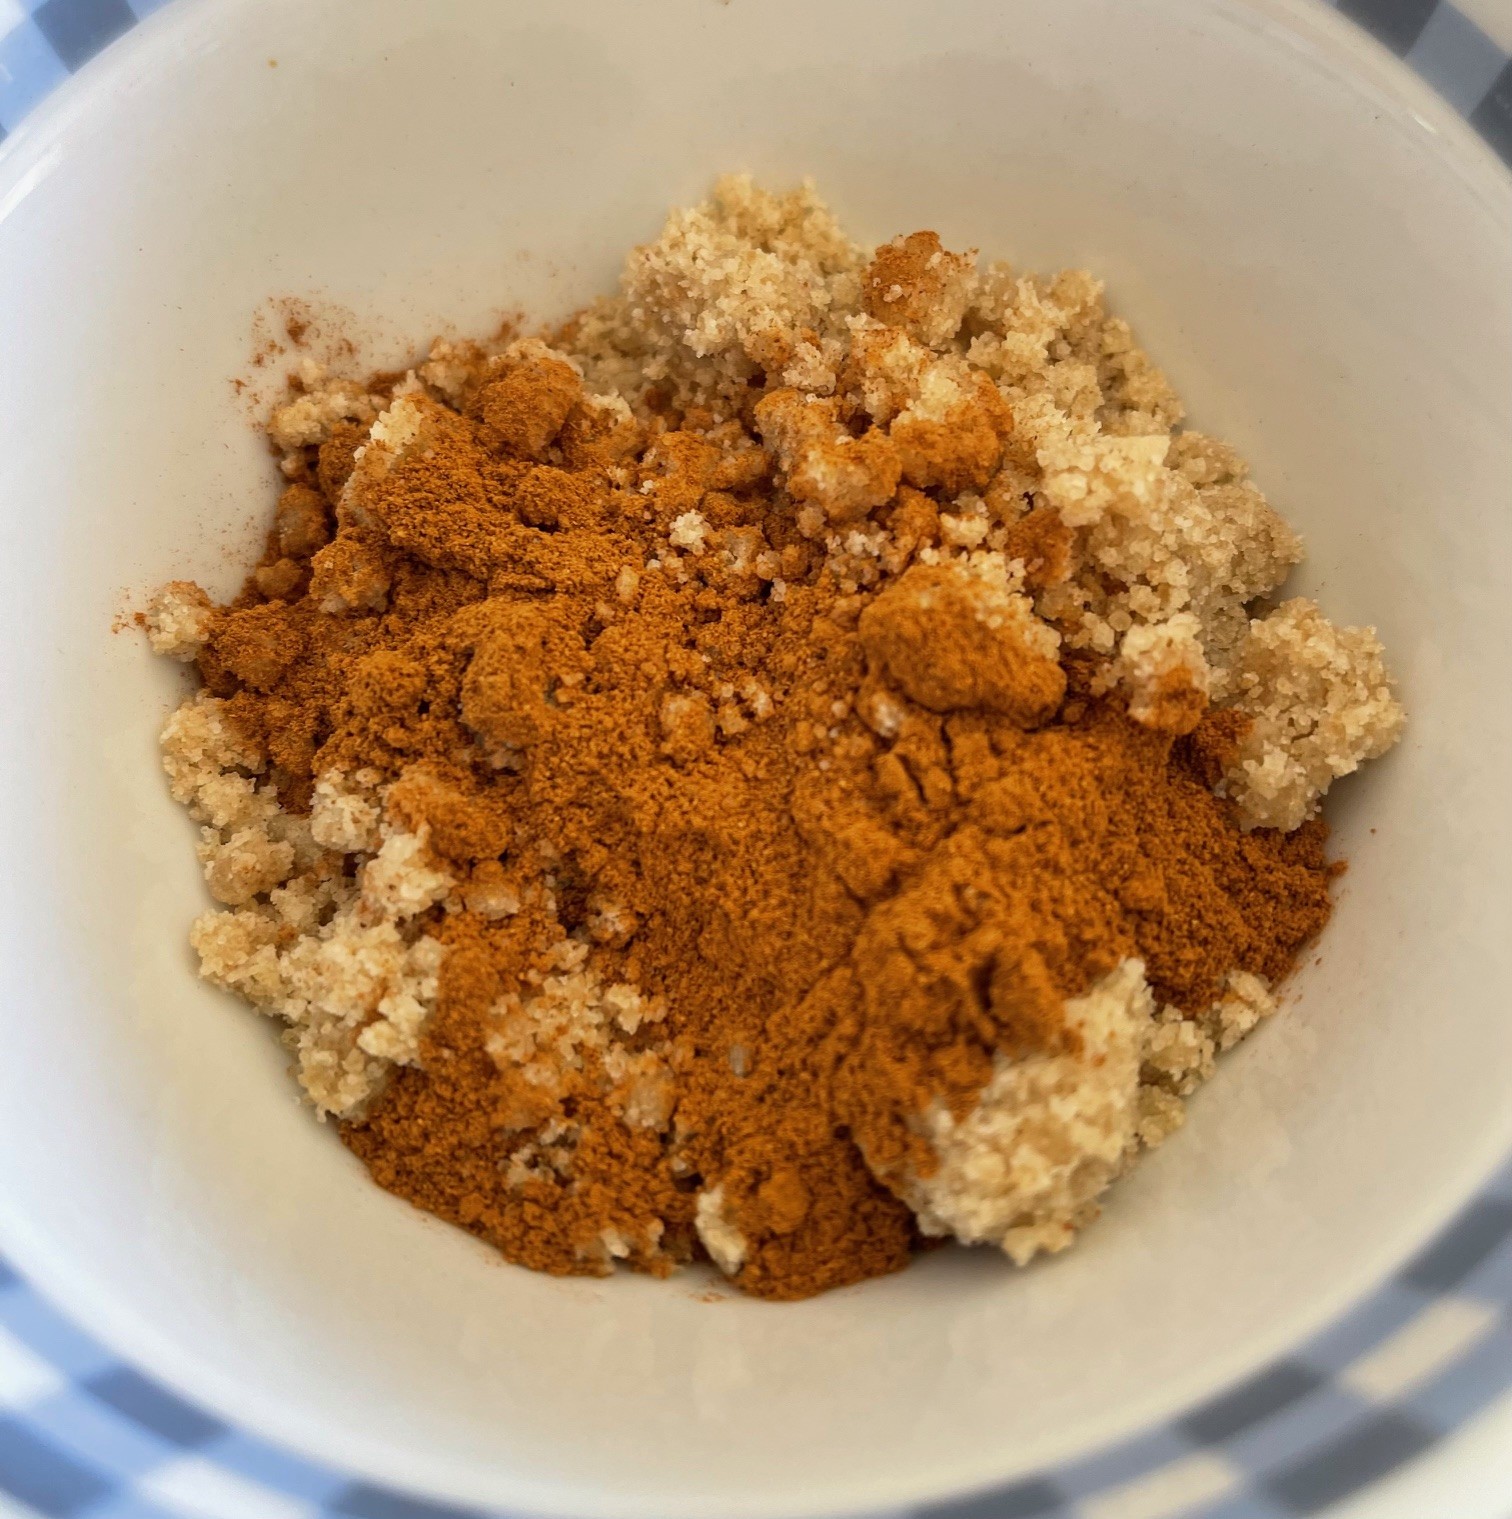
Into the workbowl of a food processor, place the 94g (1/2 cup) brown sugar, 21g (1/4 cup) oats, 30g (1/4 cup) flour, 3/4 tsp cinnamon, 1/4 tsp cardamom, and 1/4 tsp salt. Pulse about 5 times. Cut the 56g (4 T) cold butter into small pieces and add to processor. Pulse several times to blend. Set streusel topping aside. If you don’t have a food processor, blend the dry ingredients together in a bowl, then cross-cut the cold butter into the mixture.

Prepare apple filling:
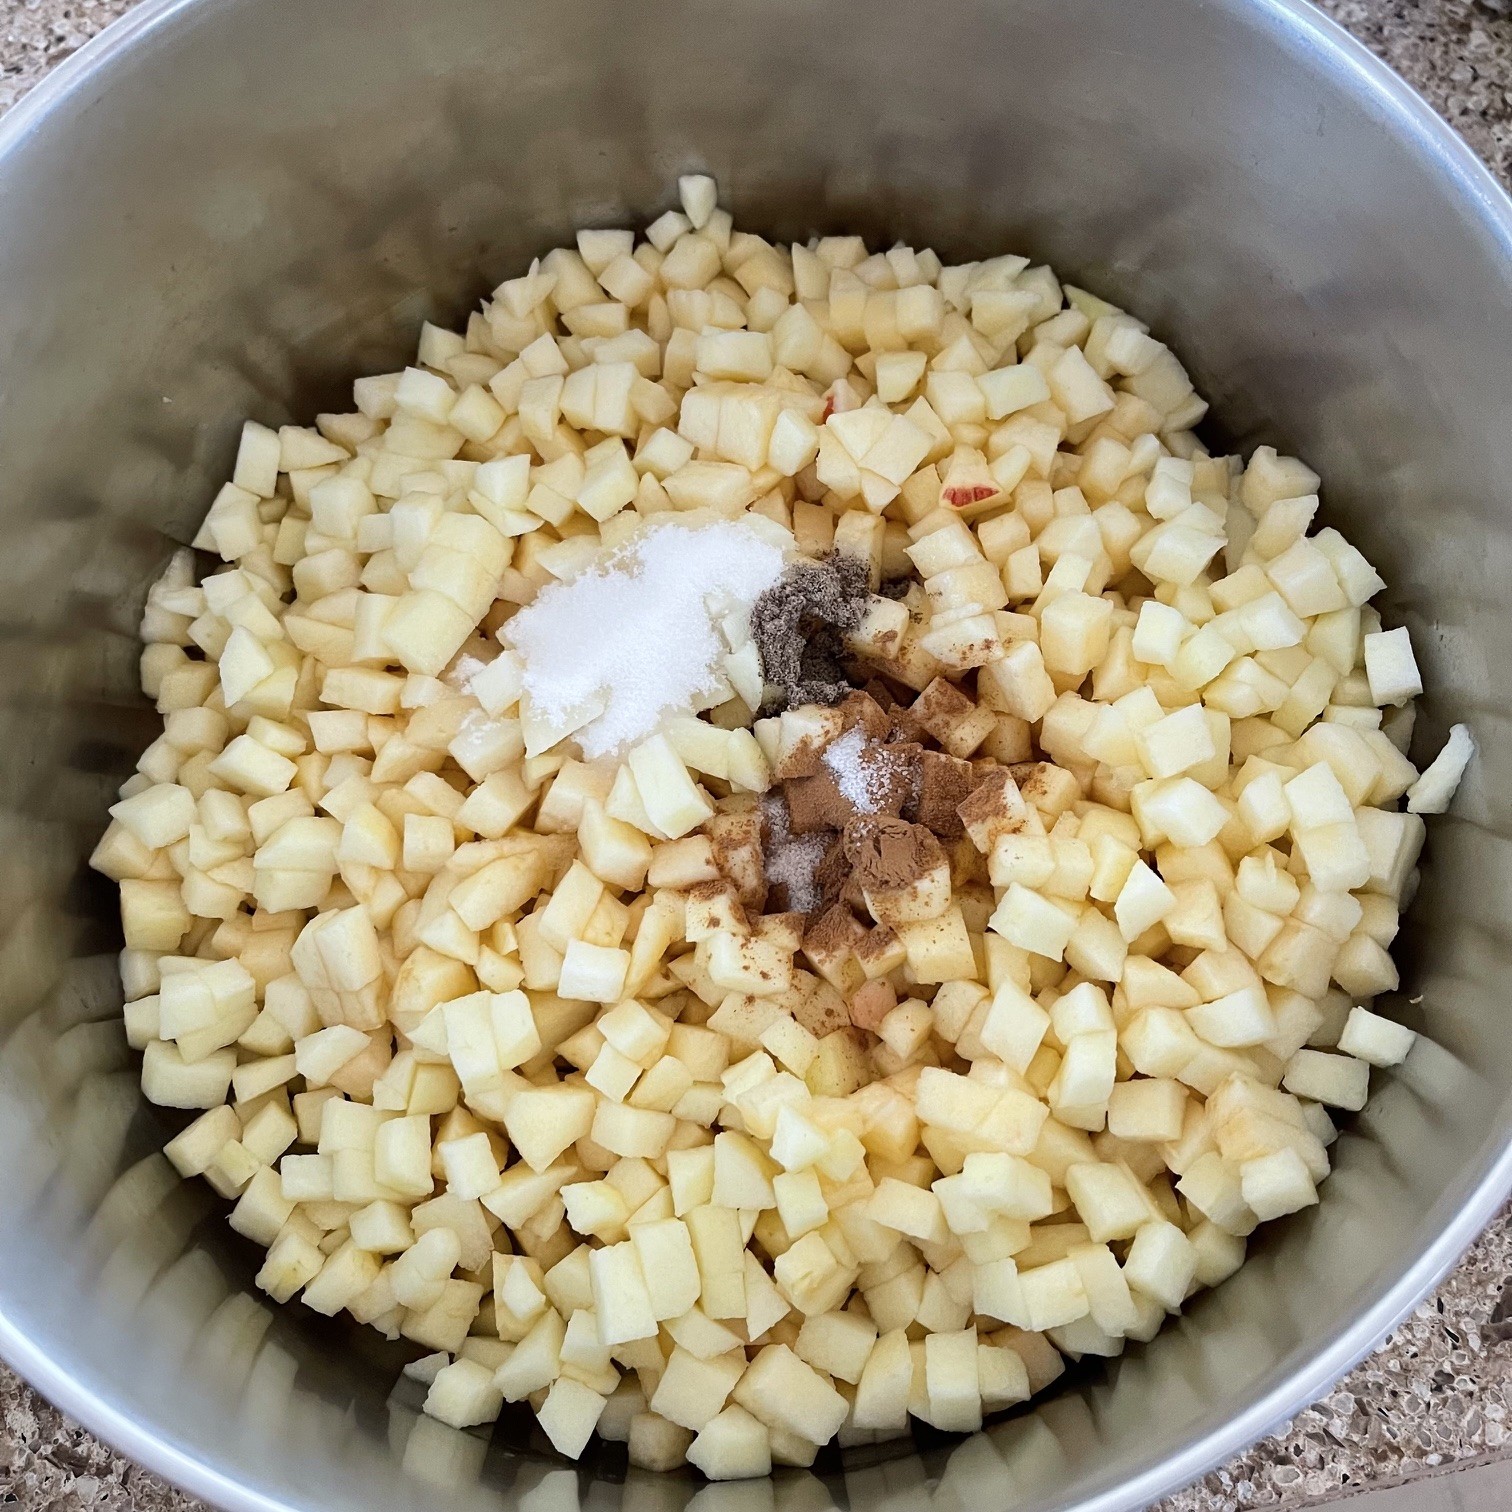
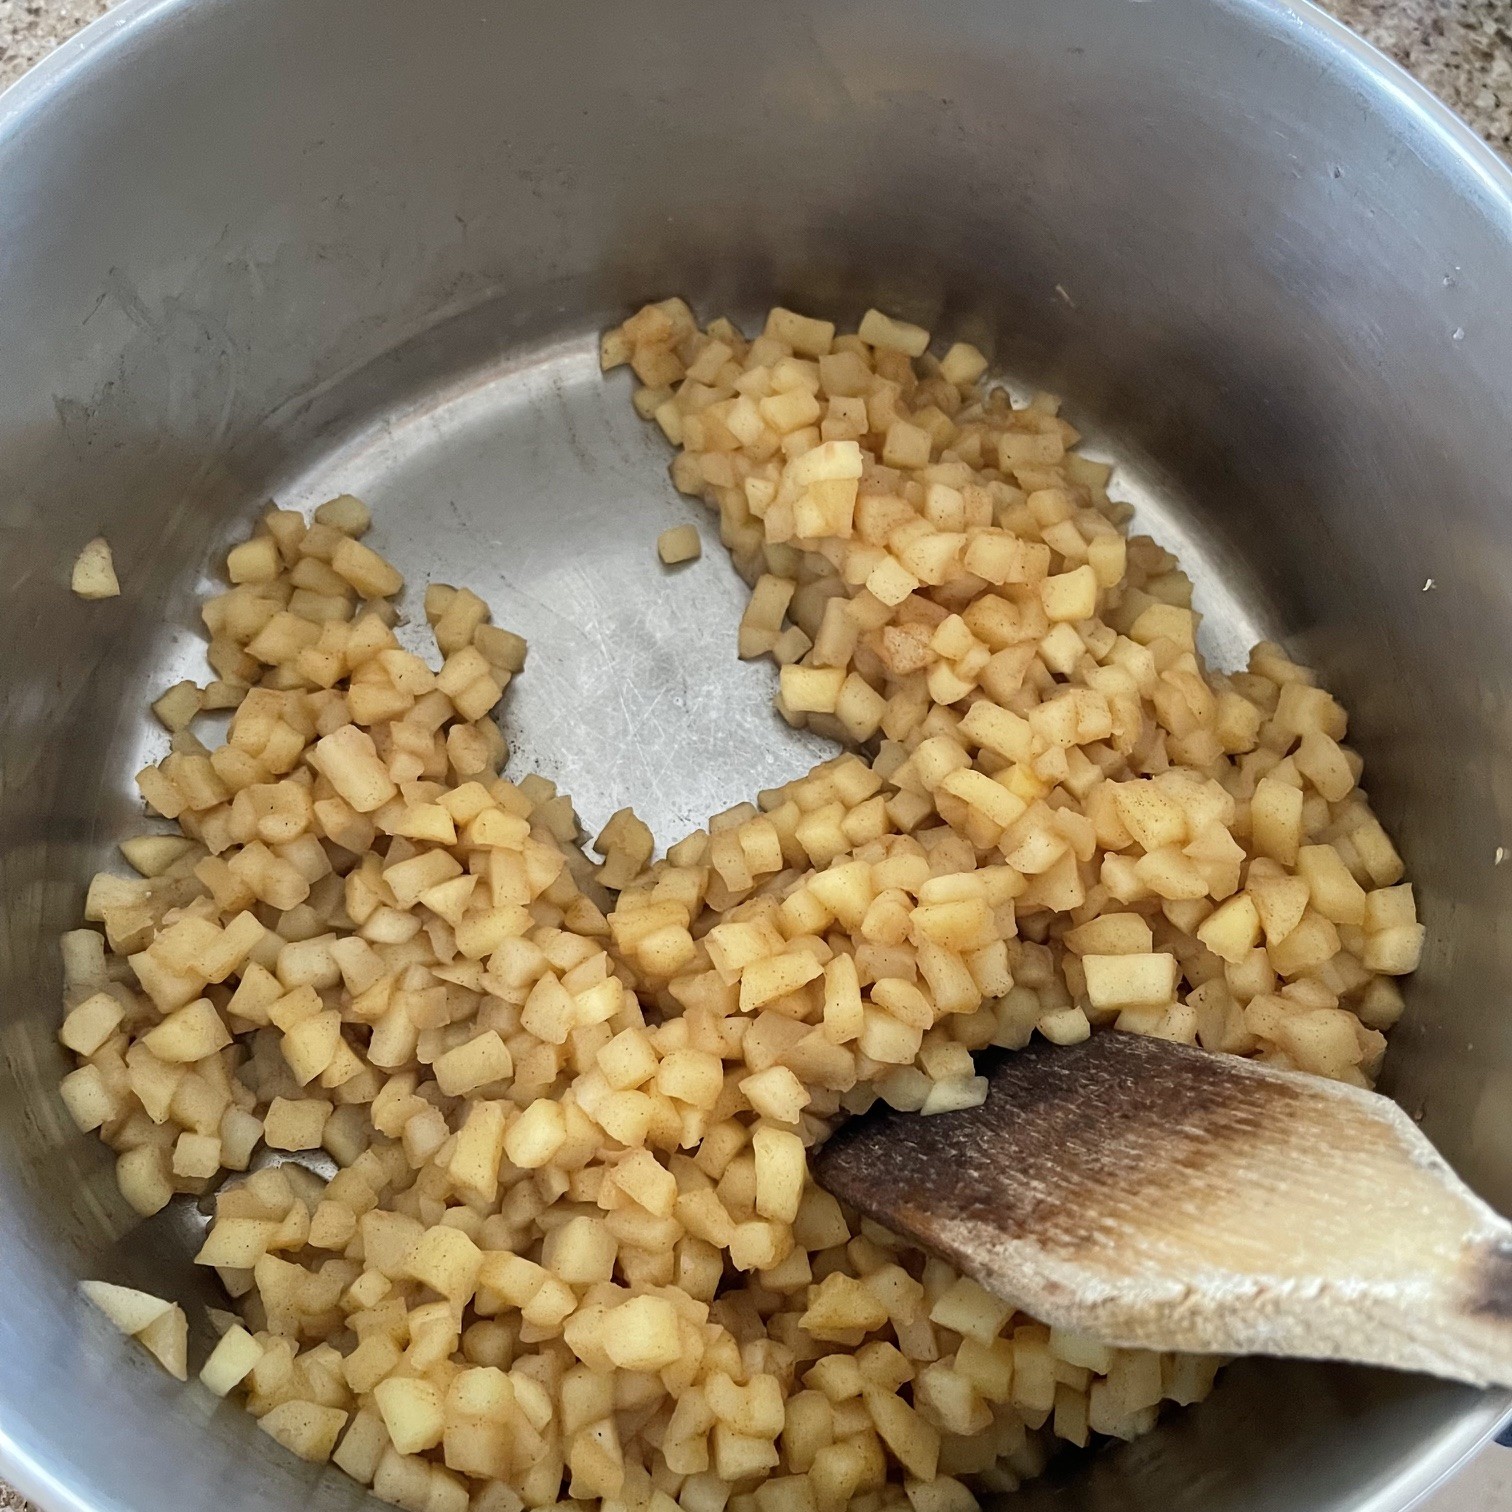
Peel, core, and cut apples into approximate 1.5cm (1/4″) pieces.

In skillet or saucepan, melt the 112g (8 /T) butter. Add in the cubed apples, 10g (1 T) granulated sugar, 1/2 tsp cinnamon, 1/2 tsp cardamom, and 1/4 tsp salt.
Over medium-high heat, cook the apple mixture until the liquid has evaporated – about 20 minutes. (If there’s still liquid remaining after 20 minutes, just pour it off and discard – you don’t want a soggy filling.)
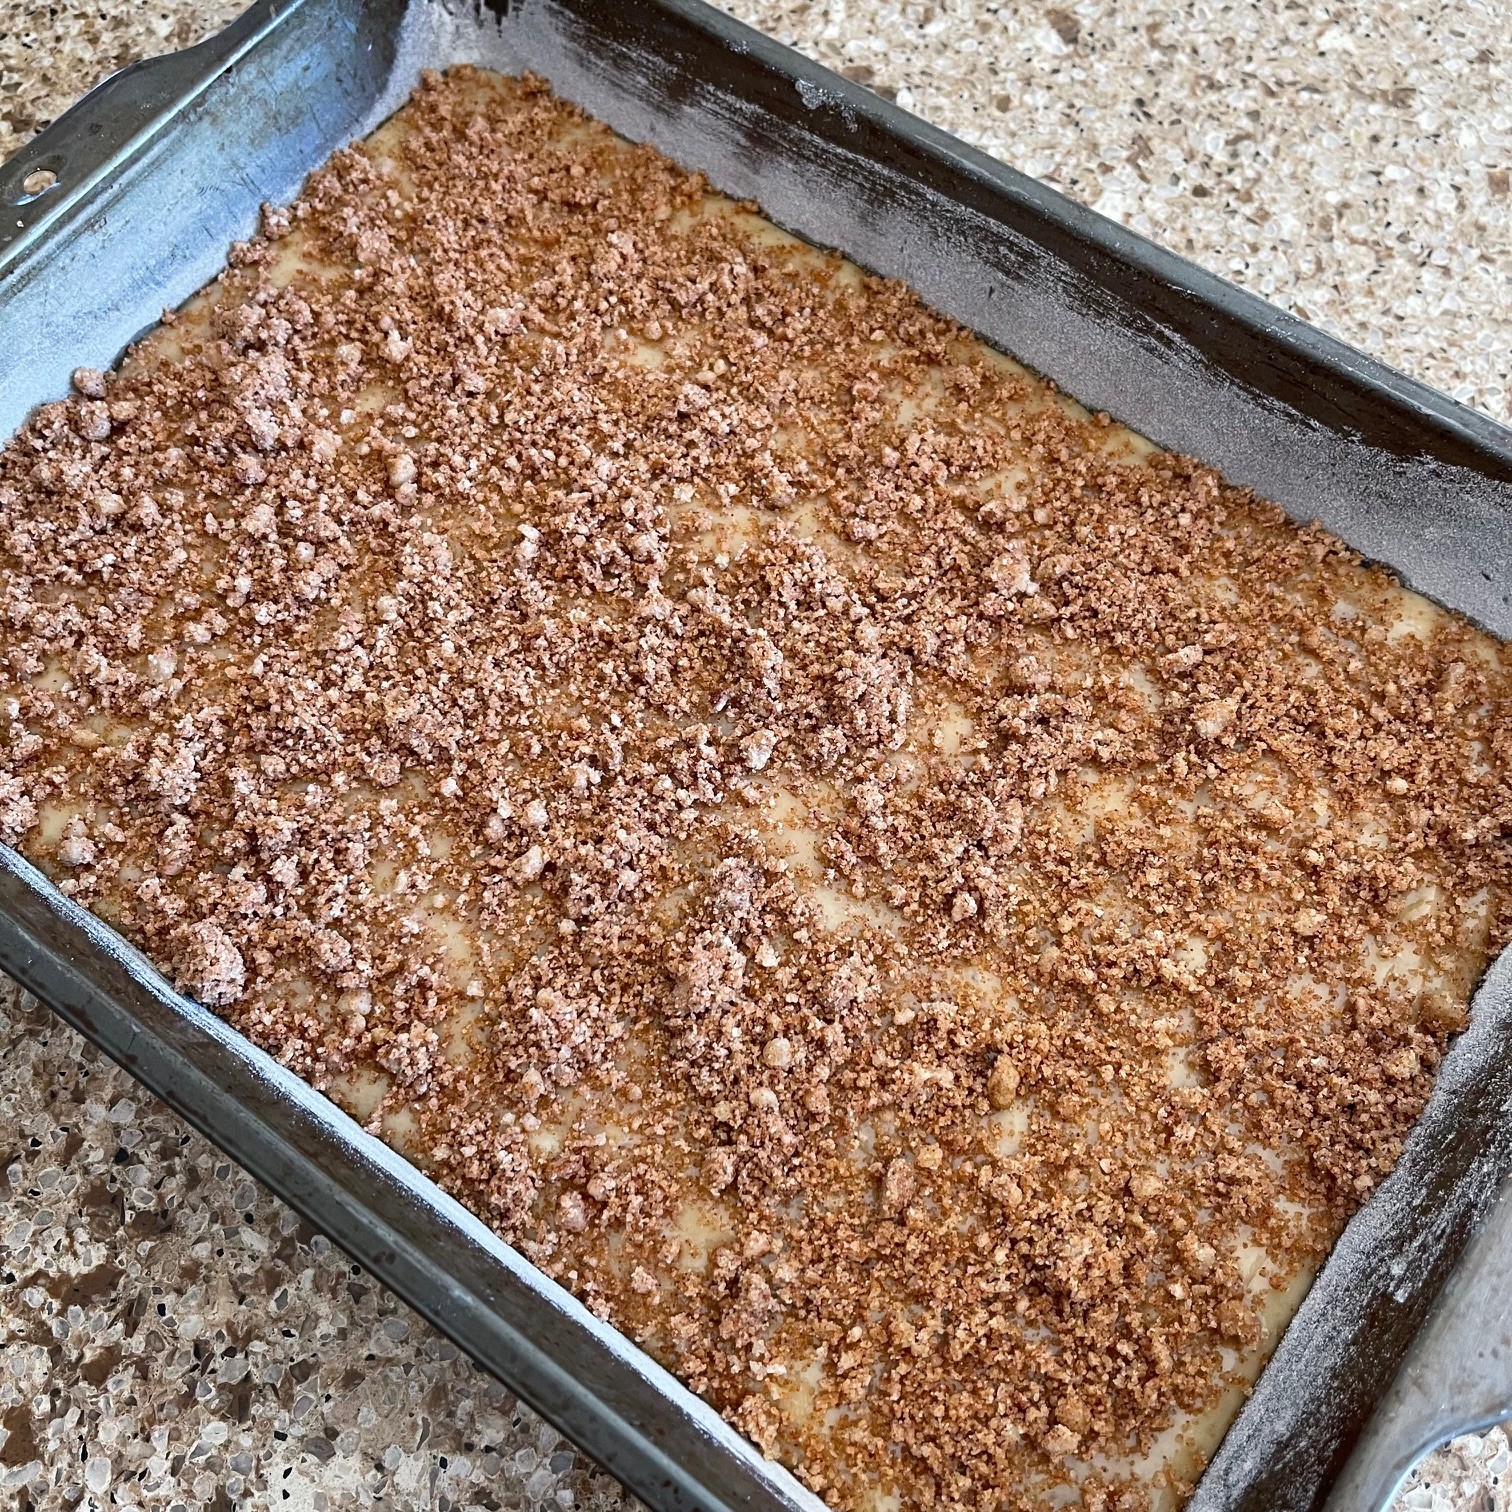
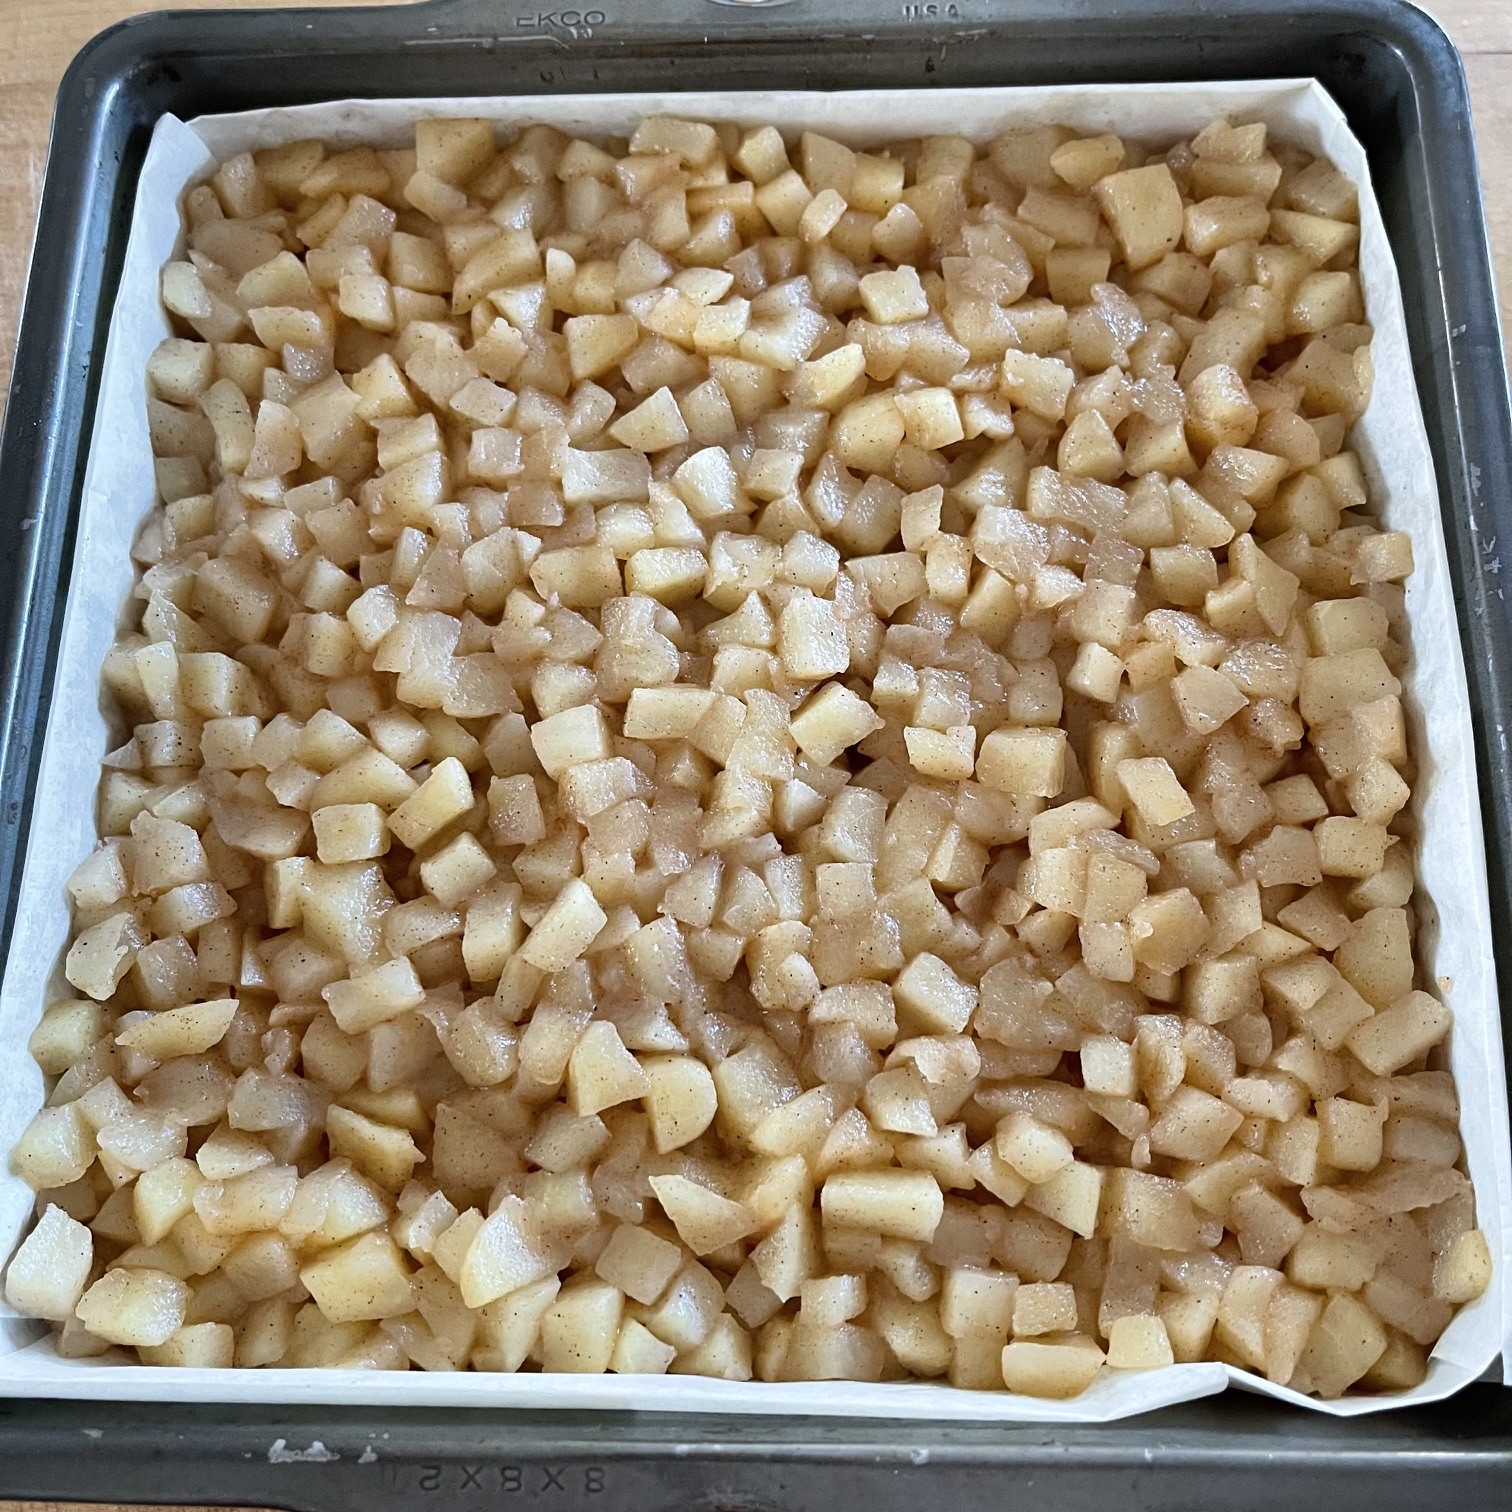
Stir the 13g (2 T) cornstarch into the apple mixture. Pour apple filling onto the cooled crust, spreading evenly. Gently tamp down filling to bind it.
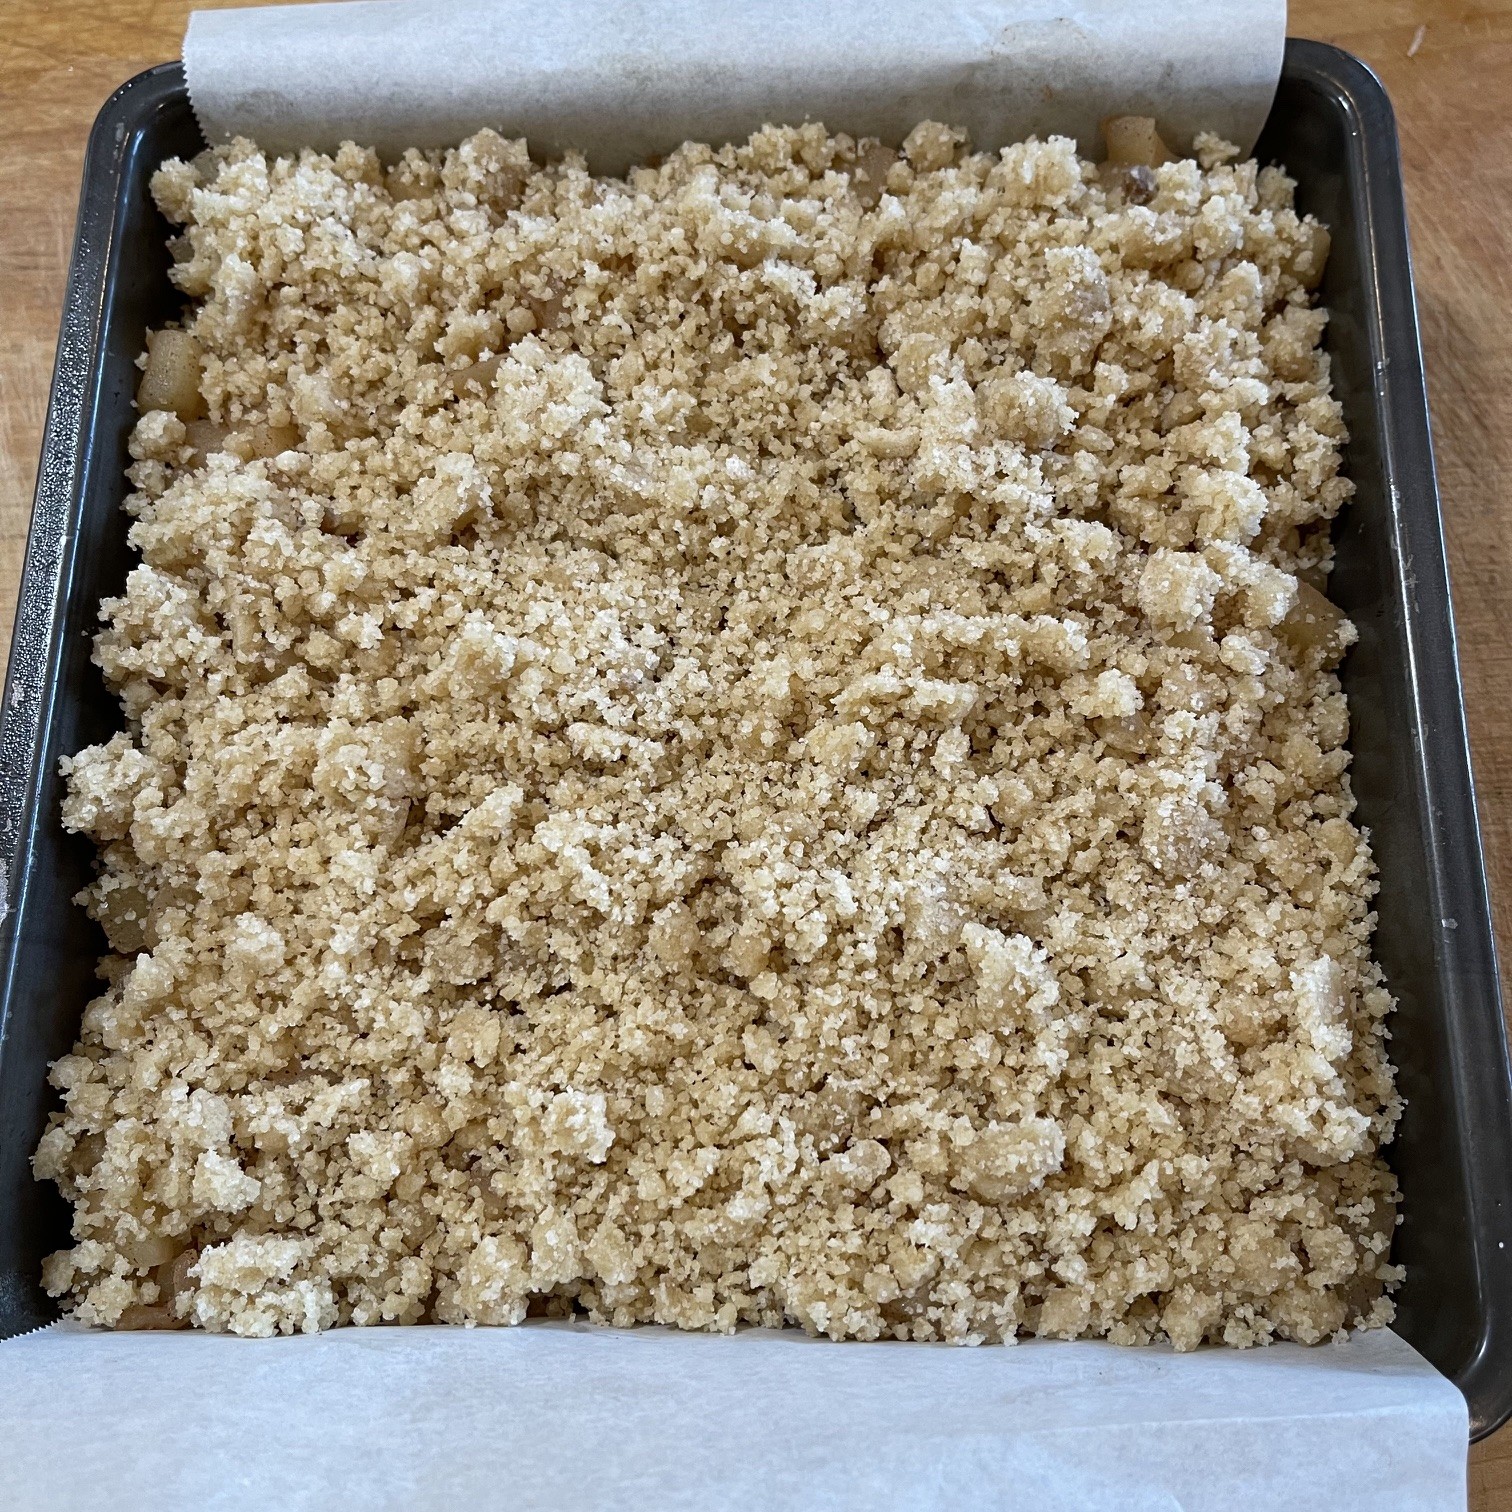
Sprinkle steusel topping over apples, and gently press it down with a fork or spatula.
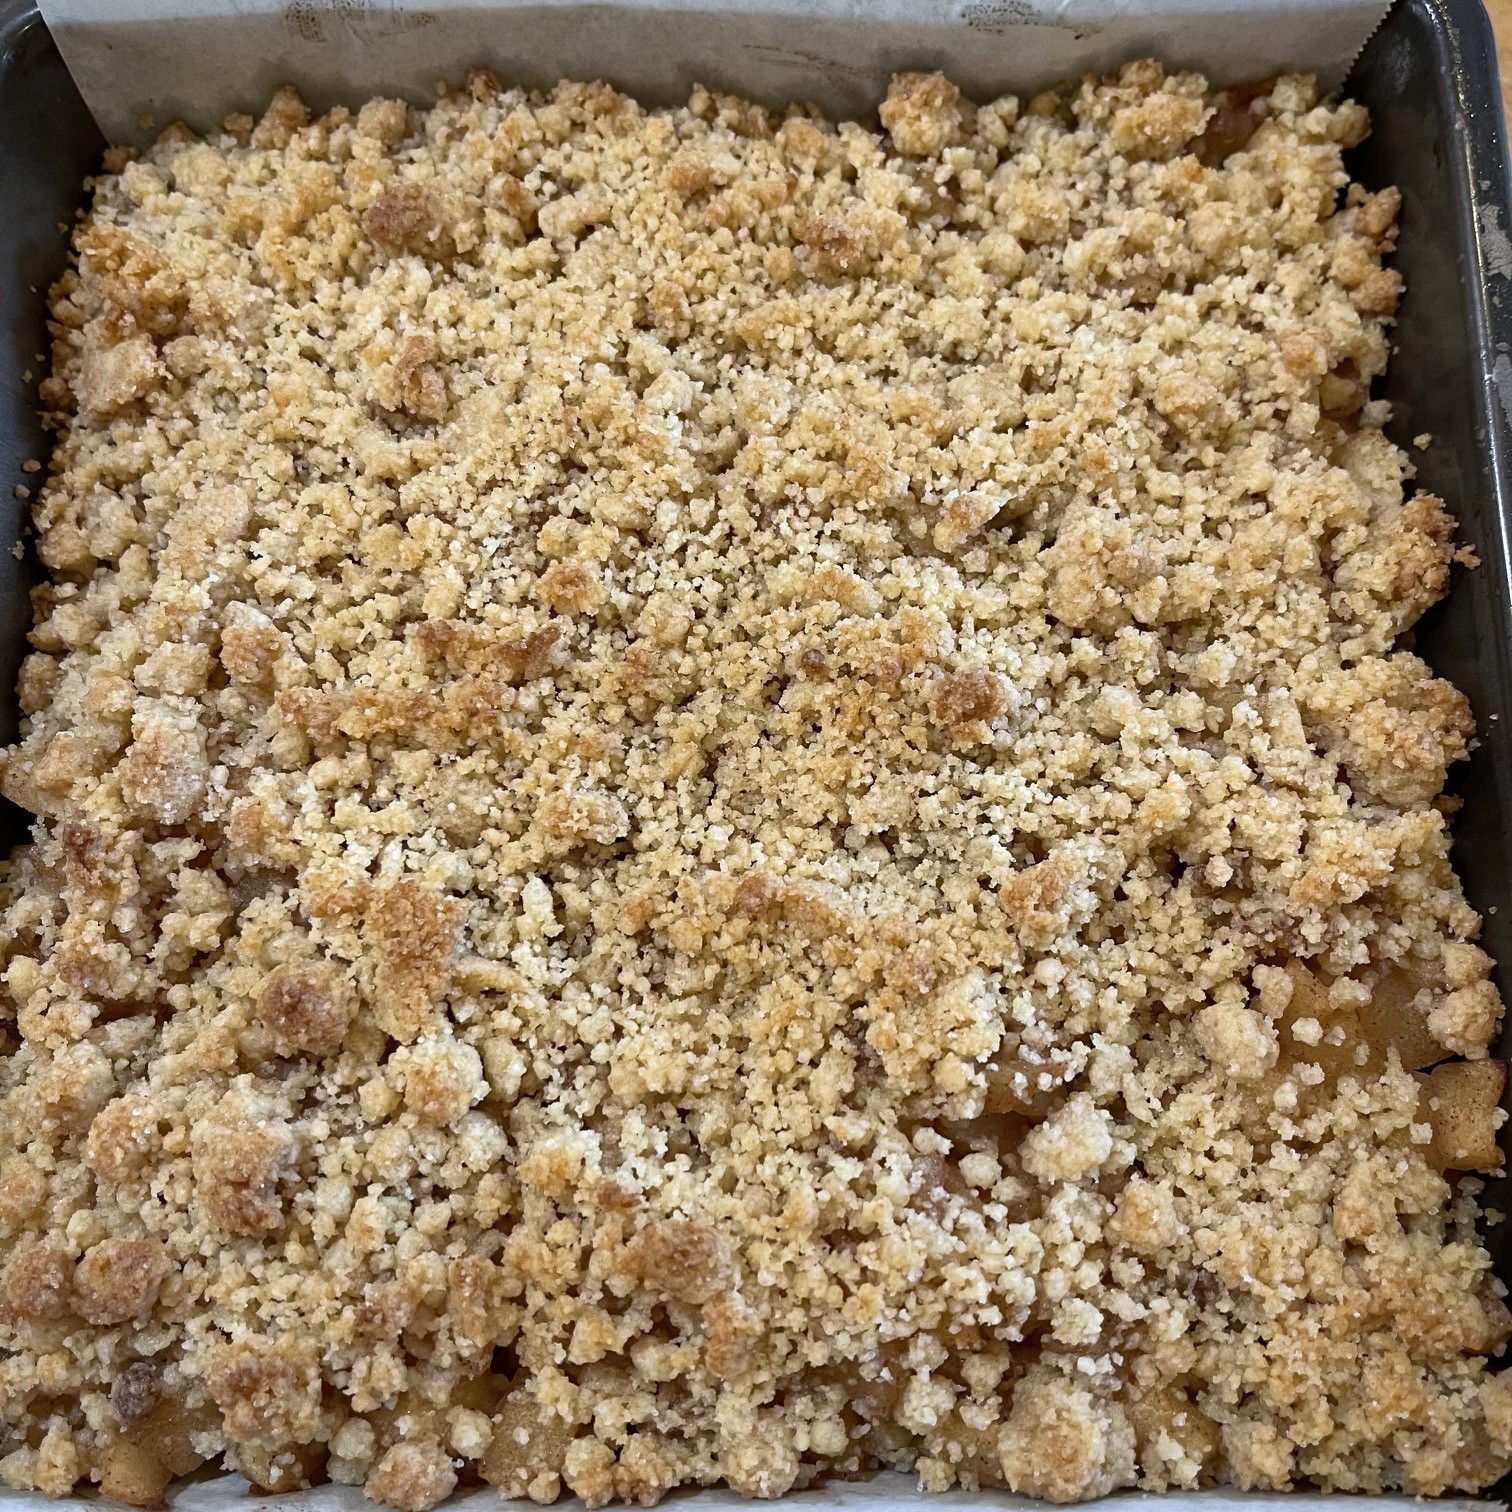
Bake in preheated 375°F (190°C) oven until lightly browned – about 37 minutes.
Remove from oven and cool. Then chill several hours to firm up Apple Bars before slicing.
Once the Apple Bars are firmed-up, remove from pan and slice. Serve as is, or top with, perhaps, ice cream or caramel sauce.