
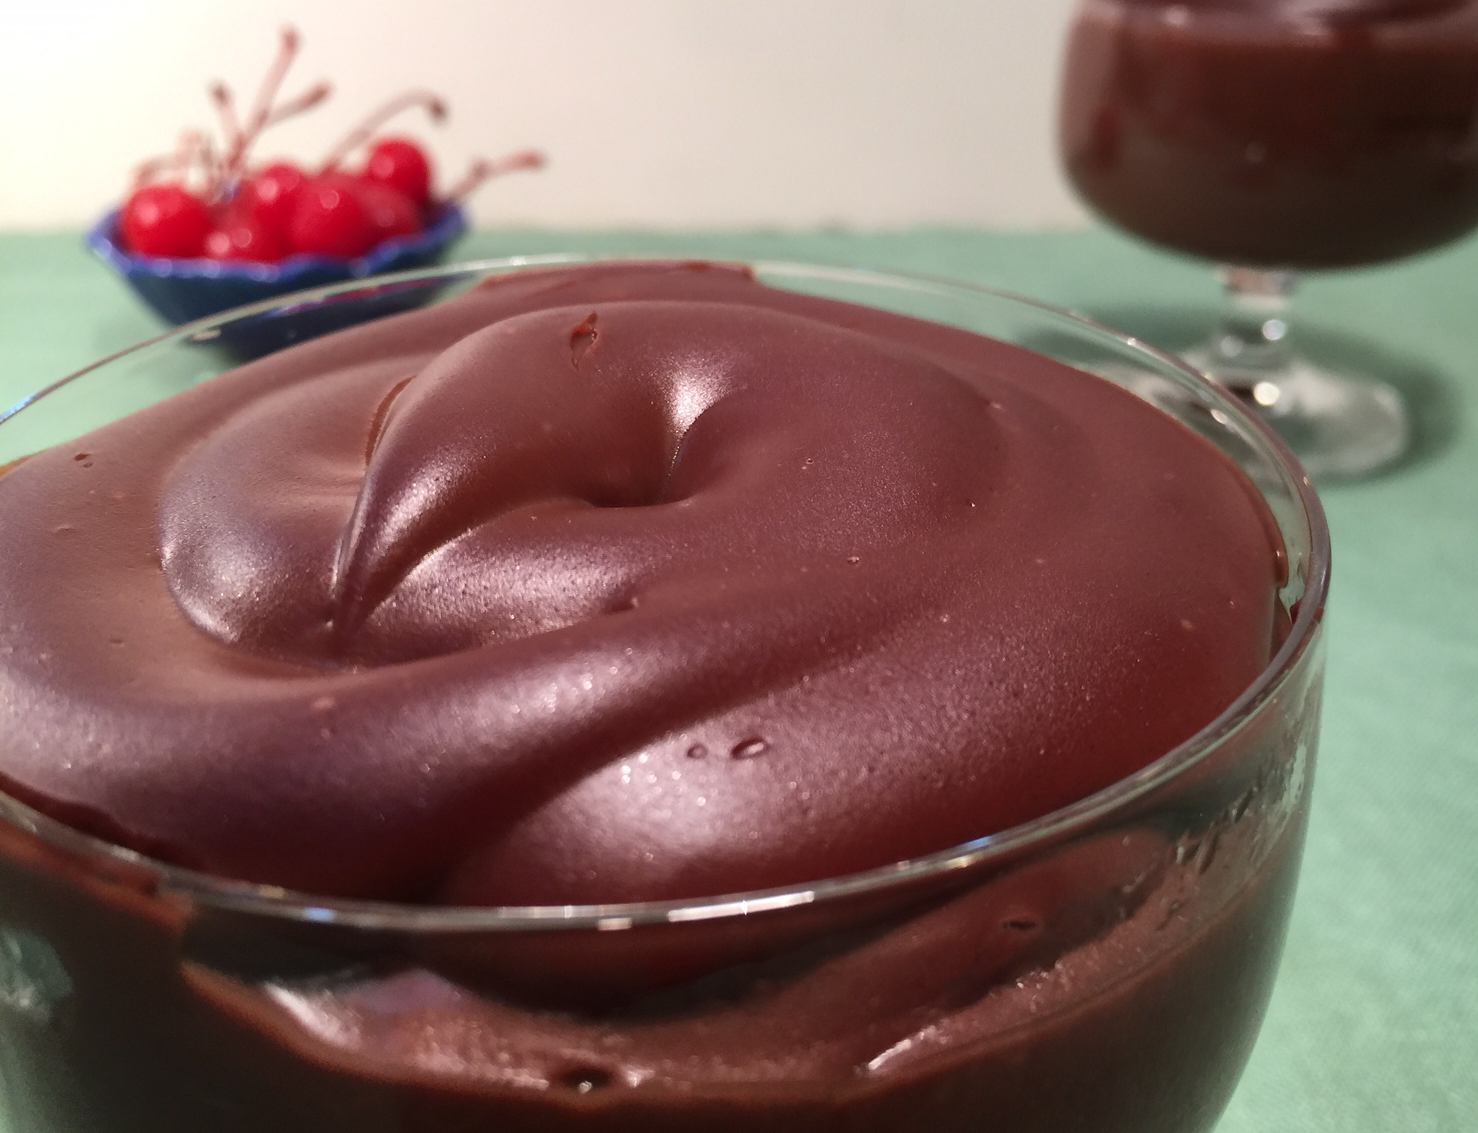
Creamy CHOCOLATE PUDDING!
Good ol’ Chocolate Pudding – the ultimate comfort food dessert. It’s chocolaty. It’s creamy. It’s a wonderful finish to a filling meal. Much as I love cakes, cookies, and pies, quite often nothing hits the spot like Chocolate Pudding.
If you like, you can even dress it up by swirling in raspberries or bananas, baking a graham cracker crust in custard cups then pouring in the cooked pudding, sprinkling on pound cake cubes, or piping on a cloud of whipped cream, topped with a cherry. Really, the possibilities are endless.
Puddings can be made with eggs, gelatin, flour, or (my preference) cornstarch. Also, they can be steamed, baked, or cooked on the stovetop (again, my preference). I’ve come up with what I believe is the perfect blend of ingredients.
Note: Take the time to smash out all the cocoa lumps by making a paste with the milk BEFORE you begin cooking. Then you’ll have a nice, smooth pudding.
CHOCOLATE PUDDING – makes 2 cups
- 1/3 cup sugar
- 1/4 cup + 2 T cocoa powder (I use Hershey’s)
- 1/4 cup cornstarch
- 1/4 tsp salt
- 2 cups milk (I use nonfat)
- 1 tsp vanilla
- 1 T butter
In a saucepan mix together the sugar, cocoa, cornstarch, and salt. Pour in about 1/4 cup of the milk (you don’t have to measure). Using a flat headed stirrer (see photo), blend the milk into the cocoa mixture, smashing out all the lumps.

Flat-headed wooden stirrer
As the mixture becomes too thick to blend, add a little more milk. You don’t want to add too much milk until all the lumps are smashed – otherwise they’ll just float on top and you’ll never get rid of them. Once all the dry ingredients are incorporated into the milk, making it a thick paste, add in the remaining milk.
Over a medium flame, cook pudding until thick, stirring frequently – about 10 minutes. At approximately 8 minutes, you’ll notice it begins to thicken. Keep going until the boiling point. Remove from heat and add in butter and vanilla.
Pour into serving containers and cover to prevent a skin from forming (unless you like skin).


