
 For some reason, Macaroni & Cheese is perceived as a bland, children’s food. (Don’t even get me started on the boxed version!)
But what about we adults? We like cheese. We like pasta. How about a grown-up version of Mac & Cheese?
Not to worry – America’s Test Kitchen has come to the rescue. The combination of cheeses blows the kid stuff out of the water – creamy with a little bite. As if that’s not enough – it’s super easy!
FOUR CHEESE MACARONI
- 4 slices good quality white sandwich bread
- 1 oz (1 cup) Parmesan cheese, grated, divided
- 2 tsp salt, divided
- 1 lb mini penne pasta (you can use full-sized, if you like)
- 1/4 tsp ground black pepper
- 2¾ oz (3/4 cup) Gorgonzola cheese, crumbled
- 4 oz Fontina cheese, shredded
- 1¼ oz (1/2 cup) Pecorino-Romano cheese, shredded
- 1 T butter
- 1 T flour
- 1½ cup cream
Preheat oven to 500º Fahrenheit.
To make breadcrumb topping, remove and discard crust from bread. Tear into 1″ pieces and place in food processor.  Pulse about 7 times to get small pieces.
 Pour into bowl and add in 1/2 oz (1/2 cup) Parmesan, 1 tsp salt, and black pepper. (It’s easiest to mix with fingers.) Set aside.
  Into a large pot, bring 4 quarts of water to a full boil. Add in 1 rounded T salt and the penne. Stir immediately to prevent sticking, then stir every now and then, until al dente. (Don’t overcook – pasta will continue to soften when the cheeses and sauce are added.)
As the pasta is cooking, prepare the cheeses and sauce. In a large bowl, put the remaining 1/2 oz (1/2 cup) Parmesan, the Gorgonzola, the Fontina, and the Pecorino-Romano. Set aside. 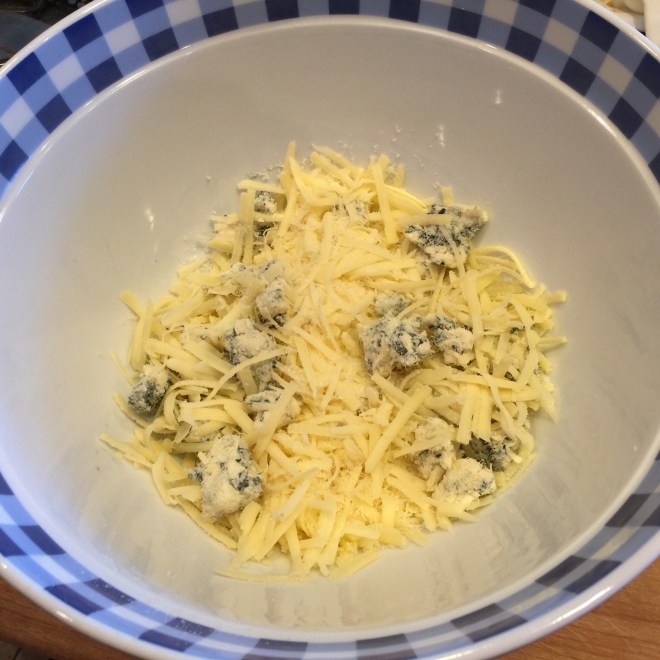 In a saucepan melt the butter over low heat. Turn off heat and mix in the flour, making sure you smoosh any lumps – this is your only chance to remove them. Cook 2 minutes over low heat, stirring continuously, to prevent that flour-y taste.
  Add in the cream and remaining 1 tsp salt. Increase the heat slightly to medium/low and stir until thickened.
 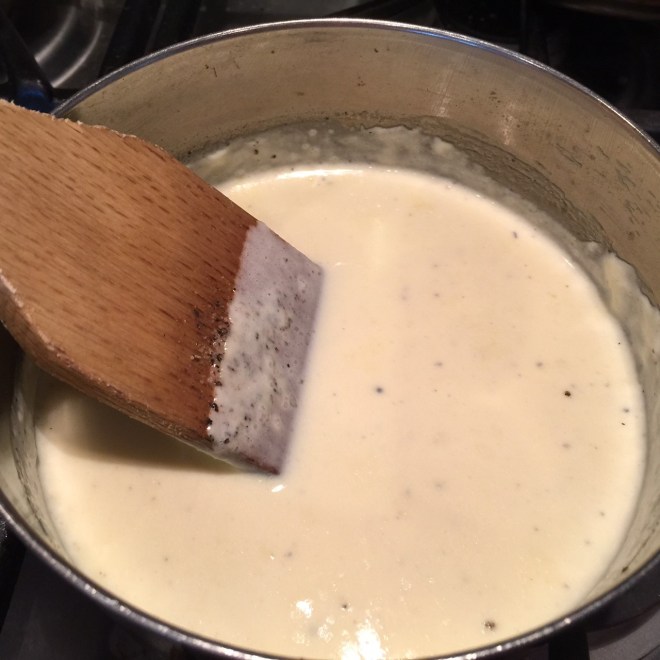 By now, the pasta should be cooked. Drain in colander, but don’t shake strainer. Immediately pour hot pasta over cheeses in bowl.
  Pour hot sauce on top. (Don’t stir yet.) Cover – I use a cookie sheet. Let set for 3 minutes to melt the cheeses. Remove cover and stir everything together.
  Pour into a casserole dish and sprinkle on breadcrumbs.
  Bake at 500º F for about 7 minutes, until breadcrumbs are browned.
  Sprinkle on a little chopped parsley, if desired. Can be served immediately.
 Cornbread often doesn’t live up to expectations. While it may look buttery-moist with it’s vibrant yellow color, one bite sends you reaching for the water glass. The other side of the coin is the cornbread you get at some restaurants, so full of sugar and fat that’s it’s really just a slice of cake.
 Melt the butter and set aside to cool a bit.
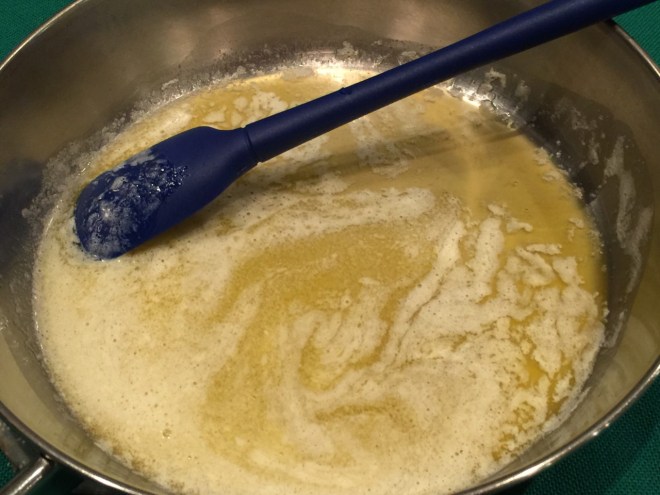 Into the workbowl of your food processor (If you don’t own one, put it on your birthday or holiday list, which is becoming longer by the minute!)), add the corn, sour cream, eggs, and hot sauce. Pulse about 6 times to break up corn.
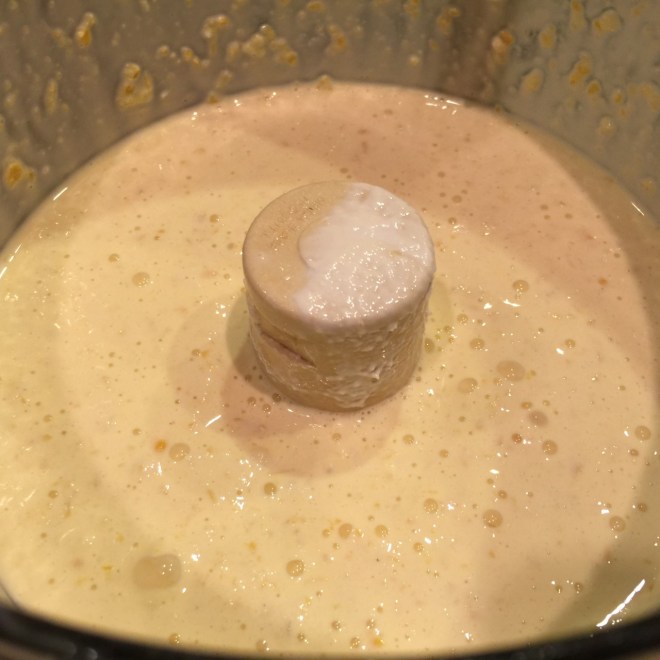 Pour the corn mixture into the cornmeal mixture and gently stir a few times. (The dry mixture will buffer the eggs so they don’t cook when the hot butter is added.) Then add in the butter and complete blending the ingredients just to the point where the flour in incorporated. Don’t over mix – overmixing a quick bread (which this is) will produce a tough bread.
 On the stovetop, heat the oil in a 10″ cast iron skillet over high heat until shimmering. Turn off heat and pour in batter (you’ll hear sizzling), spreading it out evenly and smoothing top.
 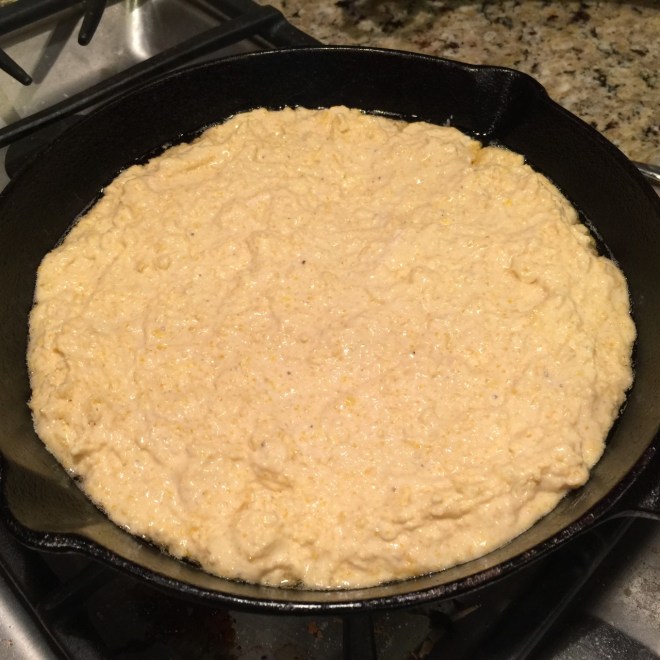 Place in hot oven and bake at 450º F for 18-25 minutes. (Set your timer for 18 minutes and test with a toothpick – when done, it should come out clean. Reset timer and cook longer, if need be.)
 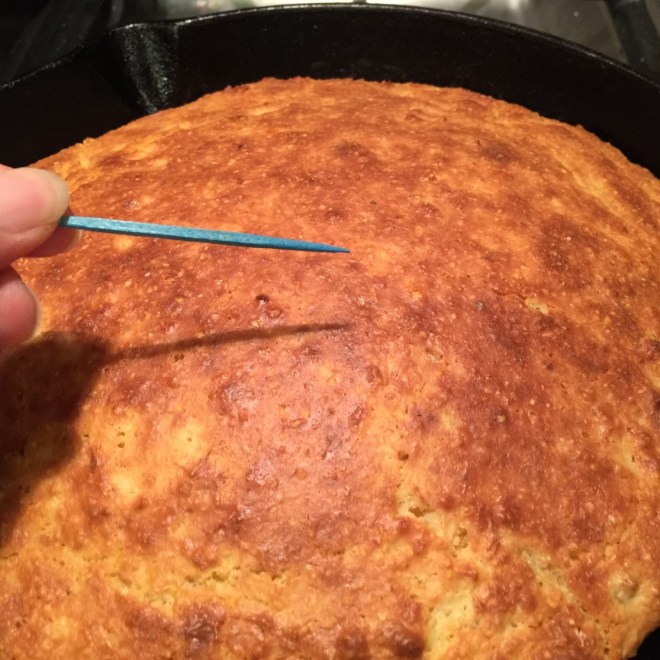 When done, remove from oven and let cornbread set in skillet at least 20 minutes before slicing.
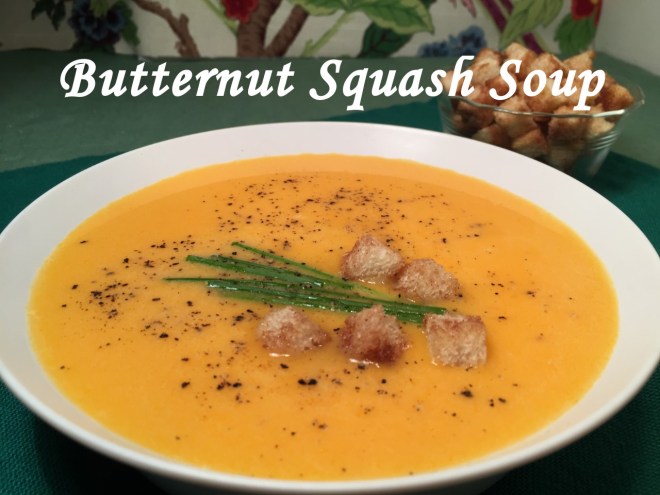 It’s autumn – that time of year when the days get shorter, the air a little brisker, and the markets display all kinds and colors of winter squash. While, of course, we appreciate them for their beauty – and sometimes cuteness – they’re actually edible, delicious, and filled with nutrients and fiber.
 Add in the seeds and fibers. Sauté another 4 minutes on medium.
  Add in the water and salt, bringing to a boil.
  While liquid is heating, slice the squash (unpeeled) into chunks. Place them cut side down on a steamer basket.
 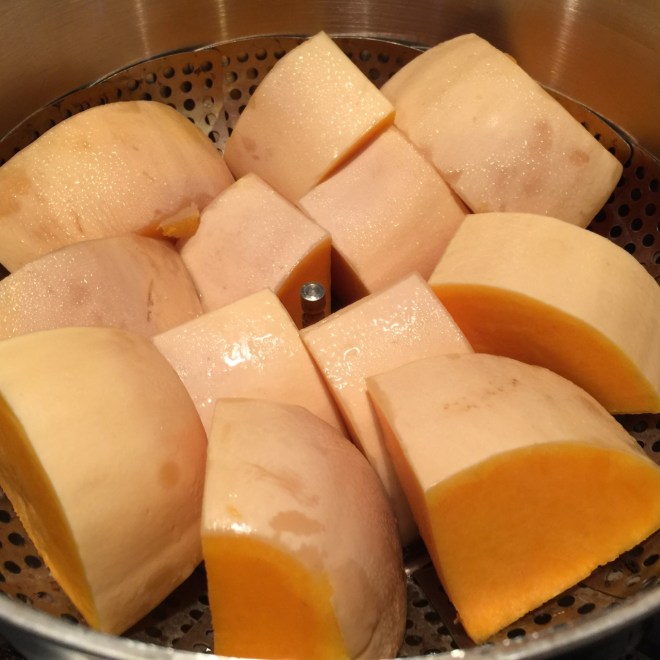 When the liquid has come to a boil, drop in the steamer basket and cover. Decrease flame to maintain a simmer. Simmer for 30 minutes. Remove basket from liquid, letting squash cool enough to handle.
 Once squash is cooled, scrap squash from its peel, discarding peel. Put squash into a blender and add enough of the liquid to purèe squash. (Depending on the size of your blender, you may have to do this in batches.)
  Empty purèe into the now-empty stockpot. Add in brown sugar and cream. Heat over medium to just before boiling. Taste for seasoning.
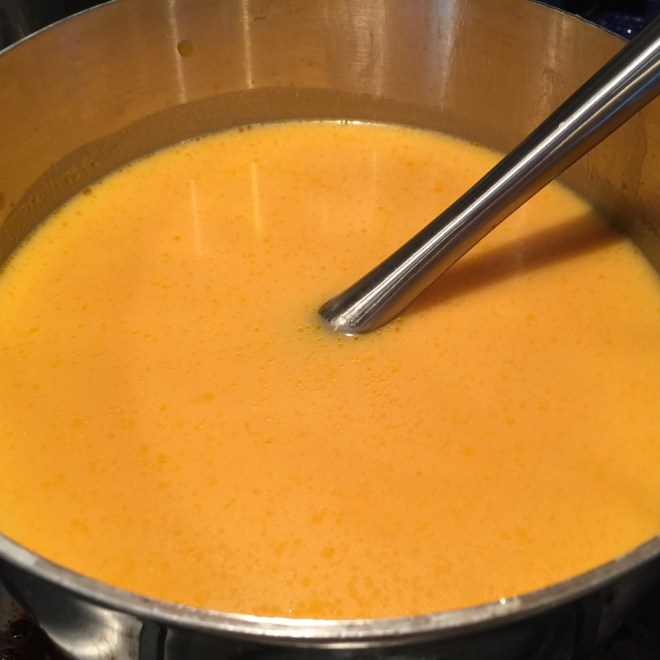

 You know that feeling at the end of a filling meal when you want just a little something sweet? TIRAMISU is the perfect solution. Although it looks rich and creamy, it’s actually very light. In fact, give me a fork and I could easily ingest the entire pan. (Thank goodness for will power.)
 In the small bowl of your electric mixer, put the egg yolks. Beat on low speed about 5 seconds, just to break them up.
  Add in the sugar and salt. Turn mixer to medium speed and beat 1 minute. The yolks will turn pale and thick.
 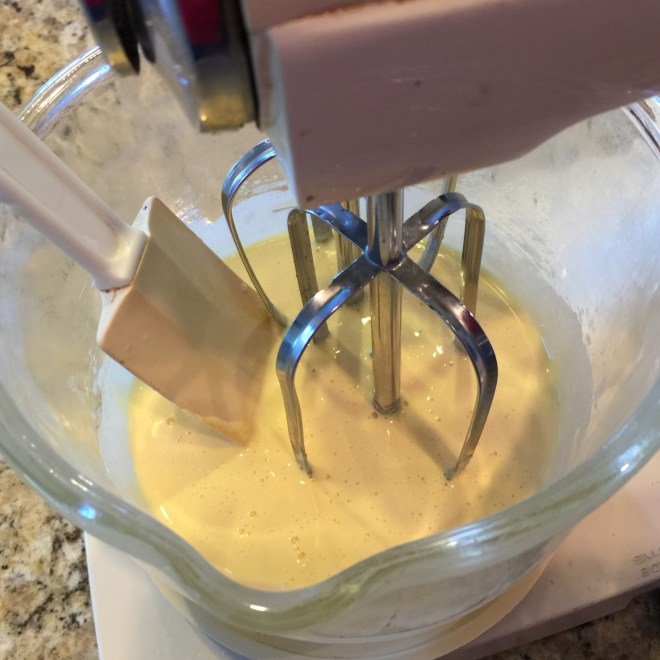 Pour in the remaining 2 T rum and beat on medium 30 seconds. Add in the cold mascarpone and beat on medium for about 30 seconds, until there are no lumps.
 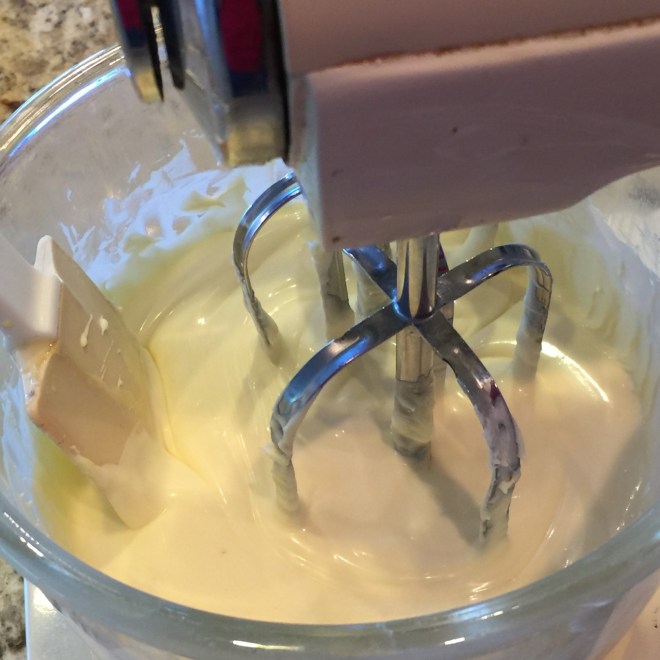 Empty mixture into a large bowl.
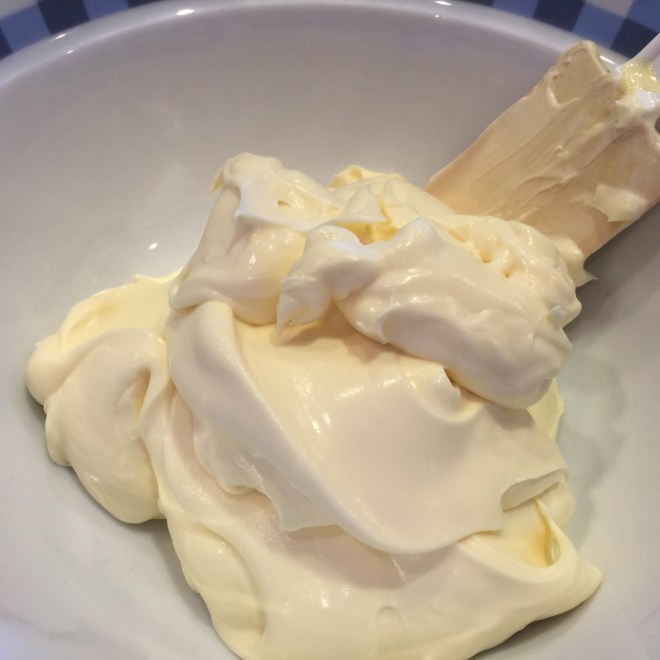 In the now-empty mixing bowl (you don’t have to clean it), pour the cream. Beat on high until soft peaks form.
  Stir 1/3 of whipped cream into mascarpone mixture to loosen texture. Fold in remaining whipped cream.
  Have ready an 8″x8″ pan (or it’s equivalent), the ladyfingers, and the coffee mixture. Holding a ladyfinger at the midsection, quickly dip one long, flat side into the coffee (submerge less than 1/4″ – don’t go midway), turn it over and dip the other side. Shake off any excess liquid. (The goal is to get just the outside portion of the cookie wet so it will remain crispy in the center – you want the coffee flavor, but not the mush.)
  Then place the dipped ladyfinger in the pan. Continue on, lining up the ladyfingers in the same direction, until the bottom is covered. By the time you get to the last one, they will have become somewhat softer. You can probably shove them together to make room for one more in each row.
  Cover ladyfingers with half of the mascarpone, smoothing evenly.
 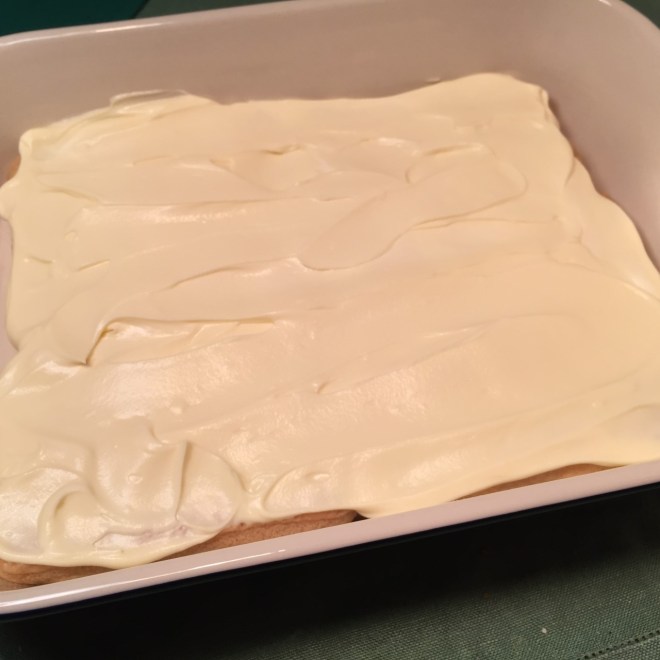 Place 1 T cocoa powder in a small sieve. Stir the cocoa with a spoon to sprinkle cocoa evenly over mascarpone. (Cocoa tends to clump – the spoon breaks them up.)
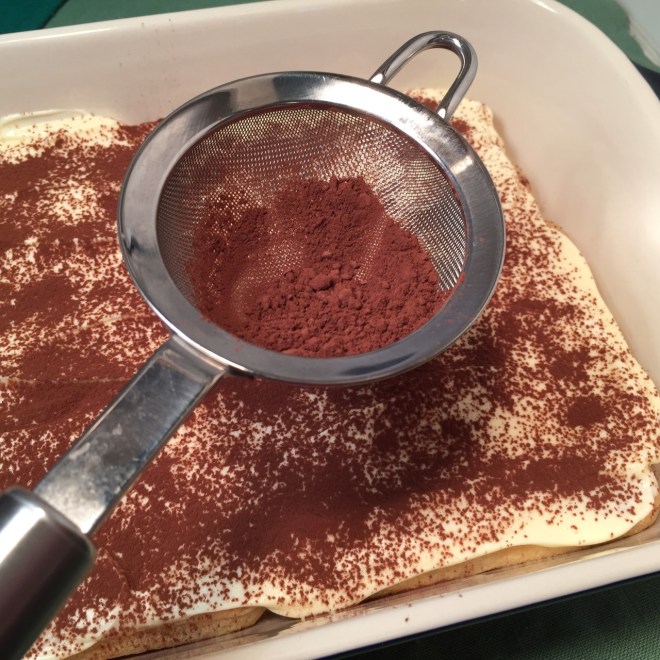 Add the second layer of ladyfingers, dipping as above, laying them in the opposite direction of the first layer. Fit as many cookies as you can, although you may not need them all. Save the undipped ones for future use.
 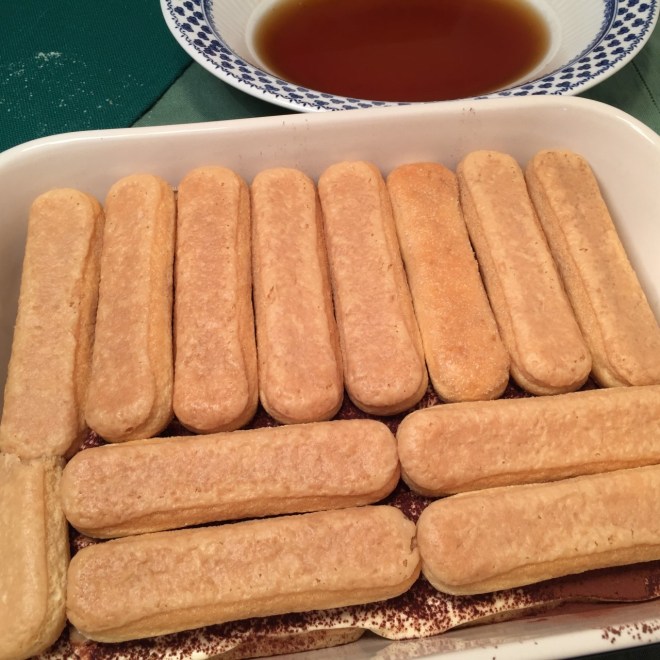 Spread on remaining mascarpone evenly, then sprinkle on the remaining 1 T cocoa.
  Cover with plastic film and refrigerate at least 6 hours. (I make it the night before.) You’ll notice the cocoa will turn a deeper chocolate color due to condensation.
 Keep TIRAMISU in refrigerator until ready to serve.