Give a recipe to 100 different cooks and you’ll get 100 different variations of that recipe. We substitute ingredients, we add ingredients, we leave out ingredients, we change the methodology. Sometimes the finished product bears no resemblance to the original recipe.
Such is the case with my Chile Rellano recipe. It’s zucchini season in my garden which means I’m always looking for ways to use these fast growing beauties. The plan was to make Chile Rellano for dinner when I spied a 13″ zucchini lurking at the base of the plant. Yikes! One can only serve zucchini stir-fry or zucchini bread so often. Hmmm! I wondered aloud (yes, I talk to myself). How about layering zucchini slices in the Chile Rellano I was making. I like to live on the edge (or, at least, nearby), so I gave it a try. It turned out great!
NOTE: Recipe can be doubled or more – just use a larger casserole dish.
LAYERED CHILE RELLANO – made in a casserole dish about 10″ x 8″ (25cm x 20cm)
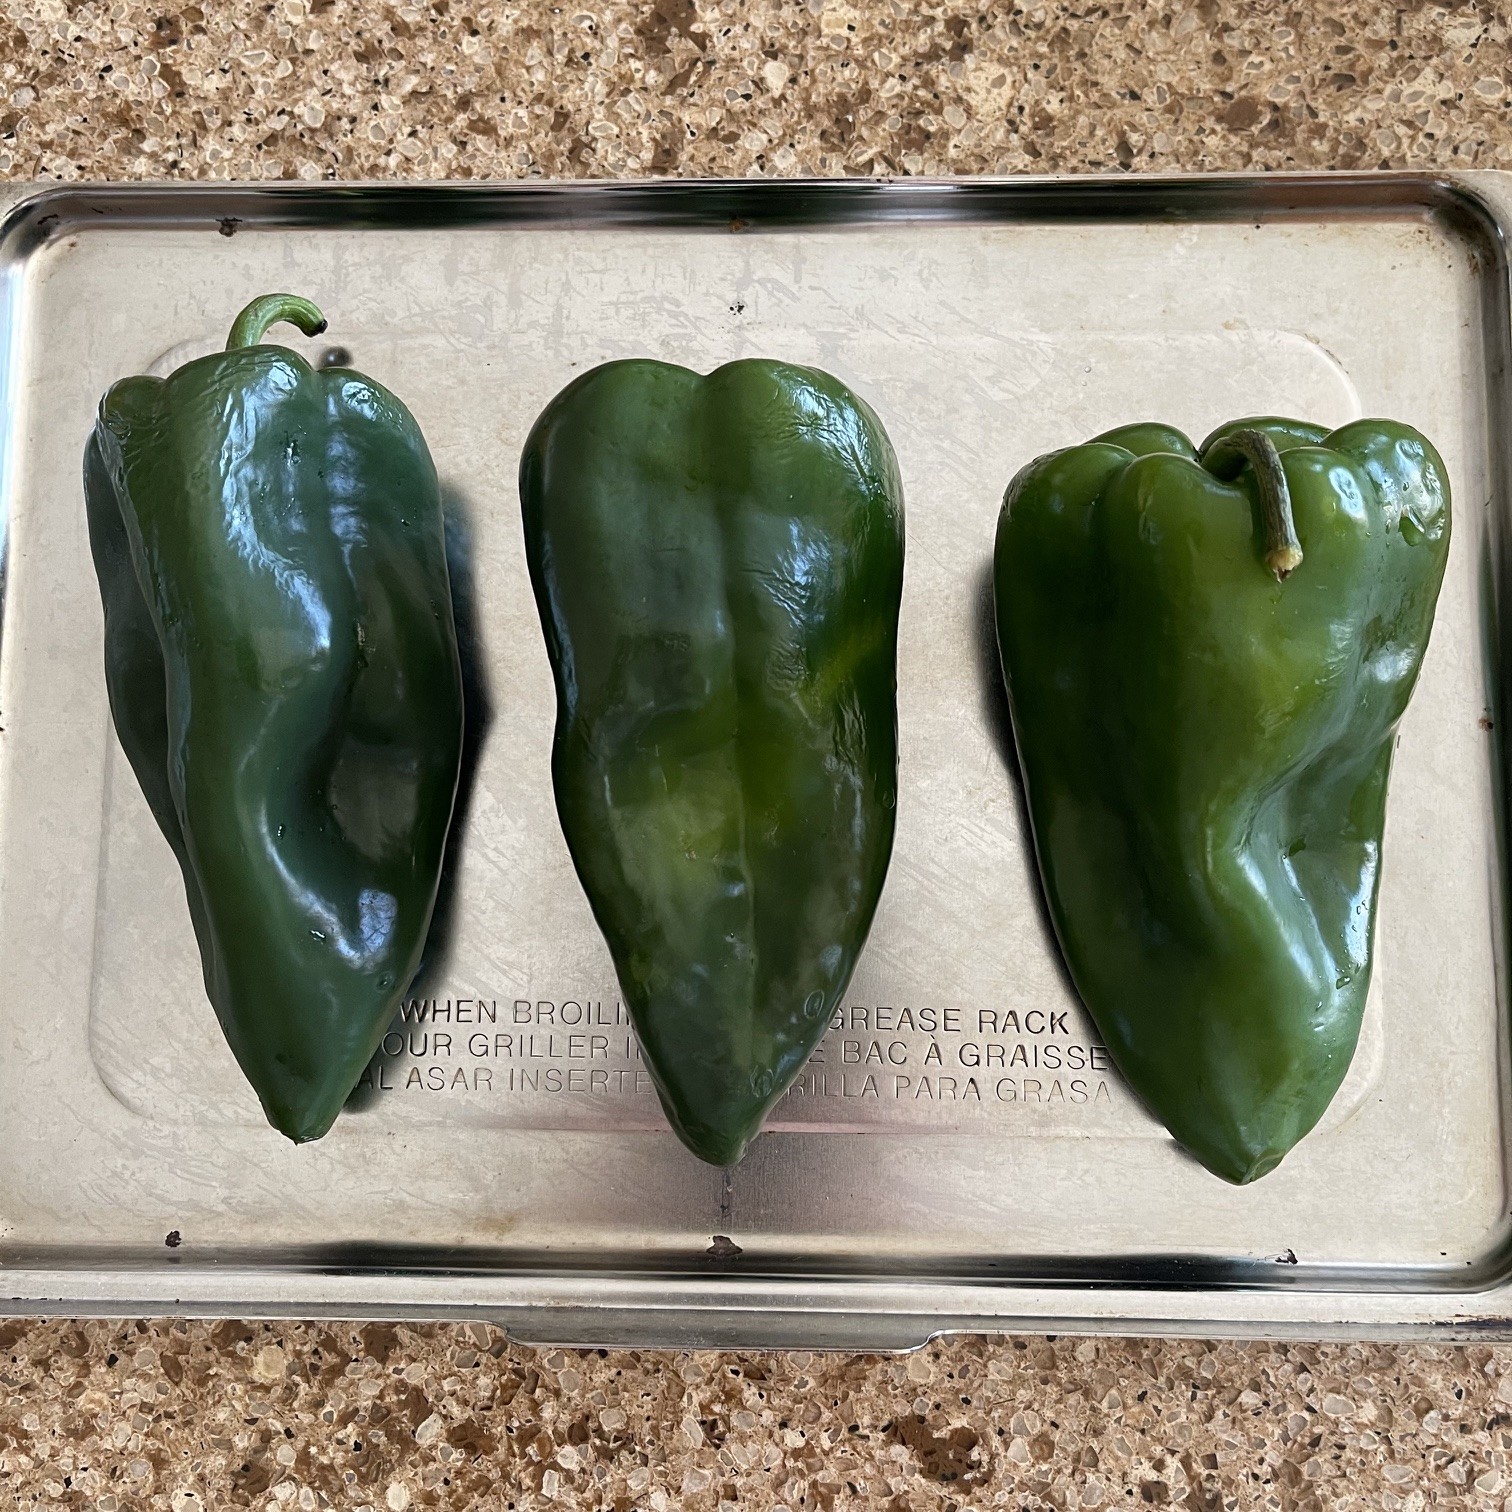
- 3 poblano chili peppers
- 286g (10 oz) pepper jack cheese, grated
- 3 eggs
- about 400g (15 oz) zucchini
- 1/4 tsp baking powder
- 21g (2.5 T) flour
- 22g (2 T) milk
- 1/2 tsp salt
- 1/4 tsp ground black pepper
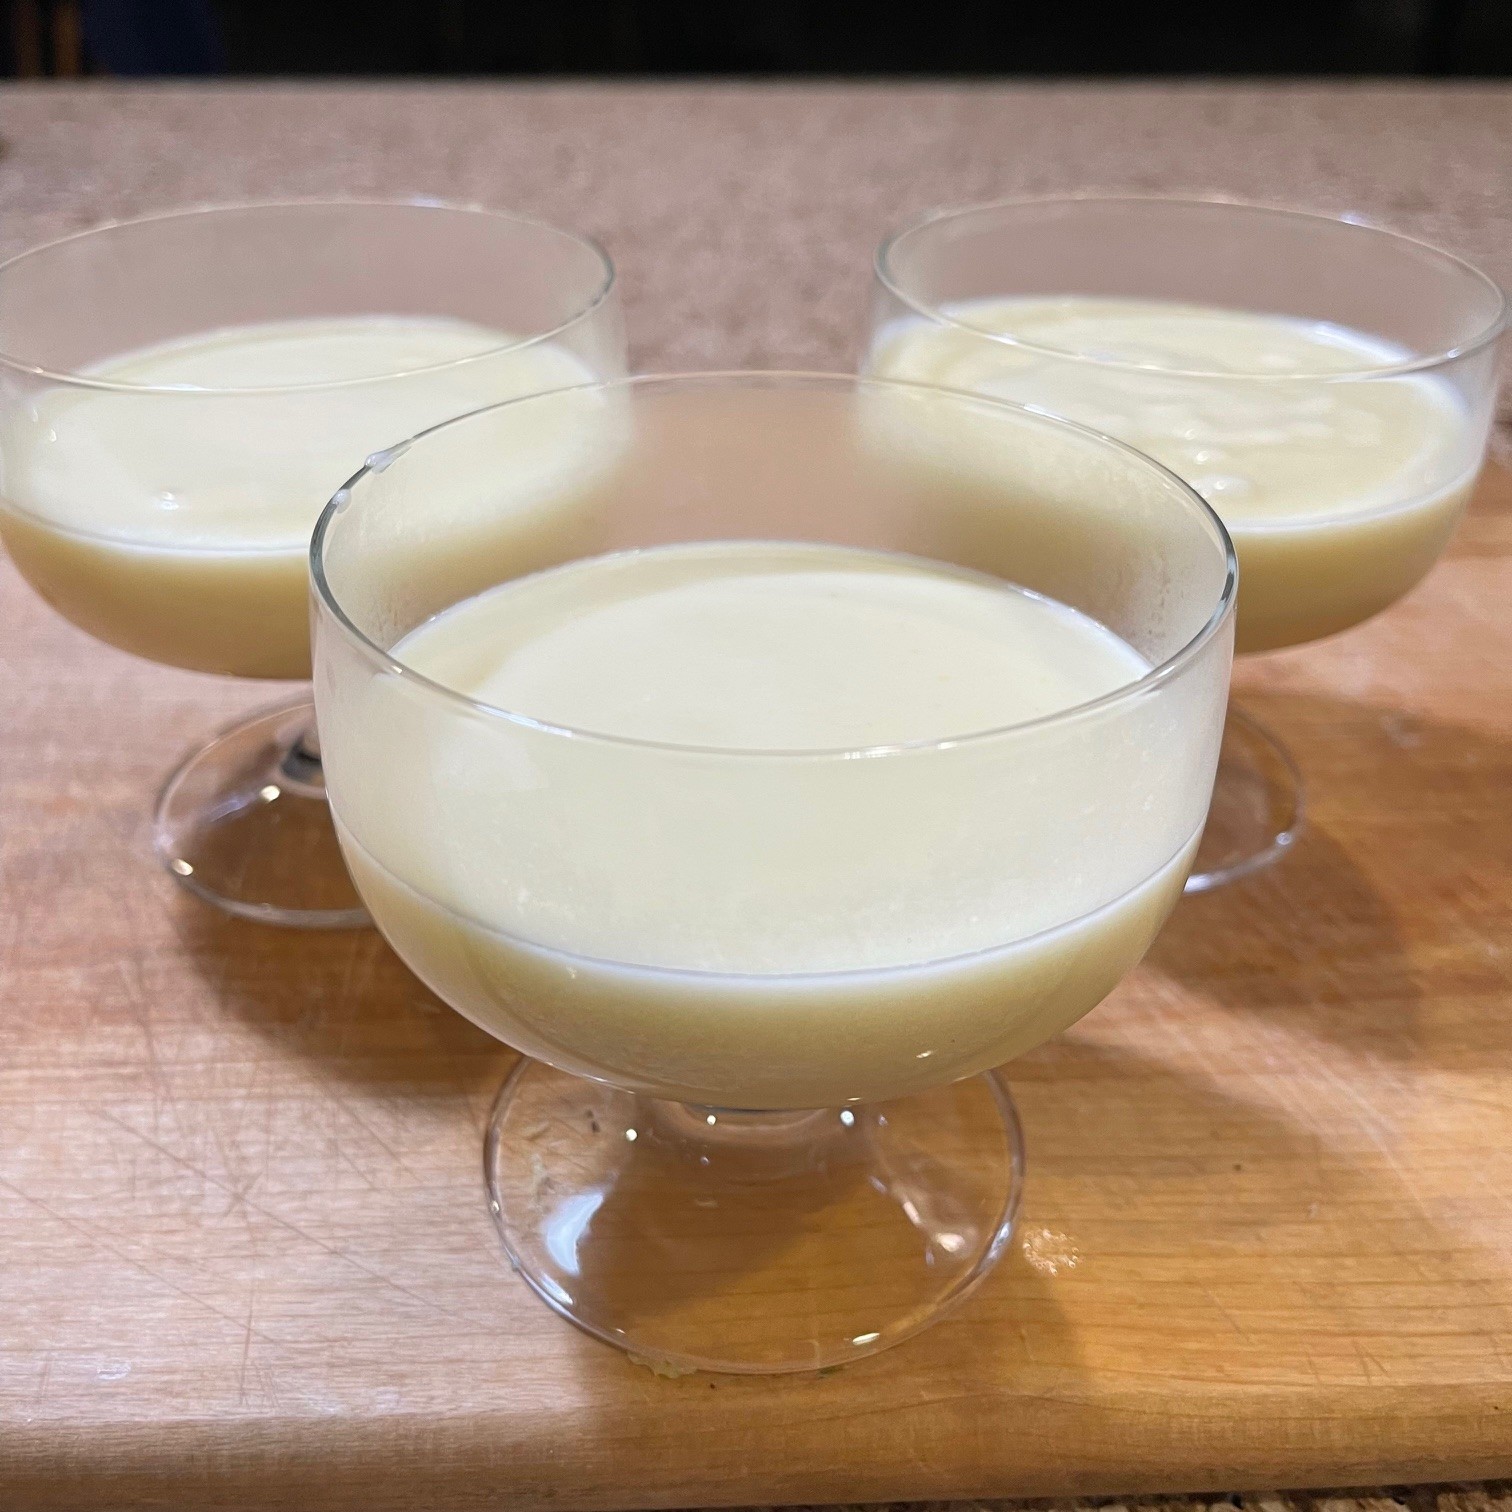
SALSA for Chile Rellano – makes about 350ml (1.5 cups)
- 192g (1.33 cups) salsa roja – homemade or purchased
- 1/4 tsp dried oregano
- 12g (2T) masa harina
- 1/4 tsp salt
NOTE: Zucchini is really optional. You can layer something else (such as eggplant) or, just leave that layer out entirely. It will be delicious either way!
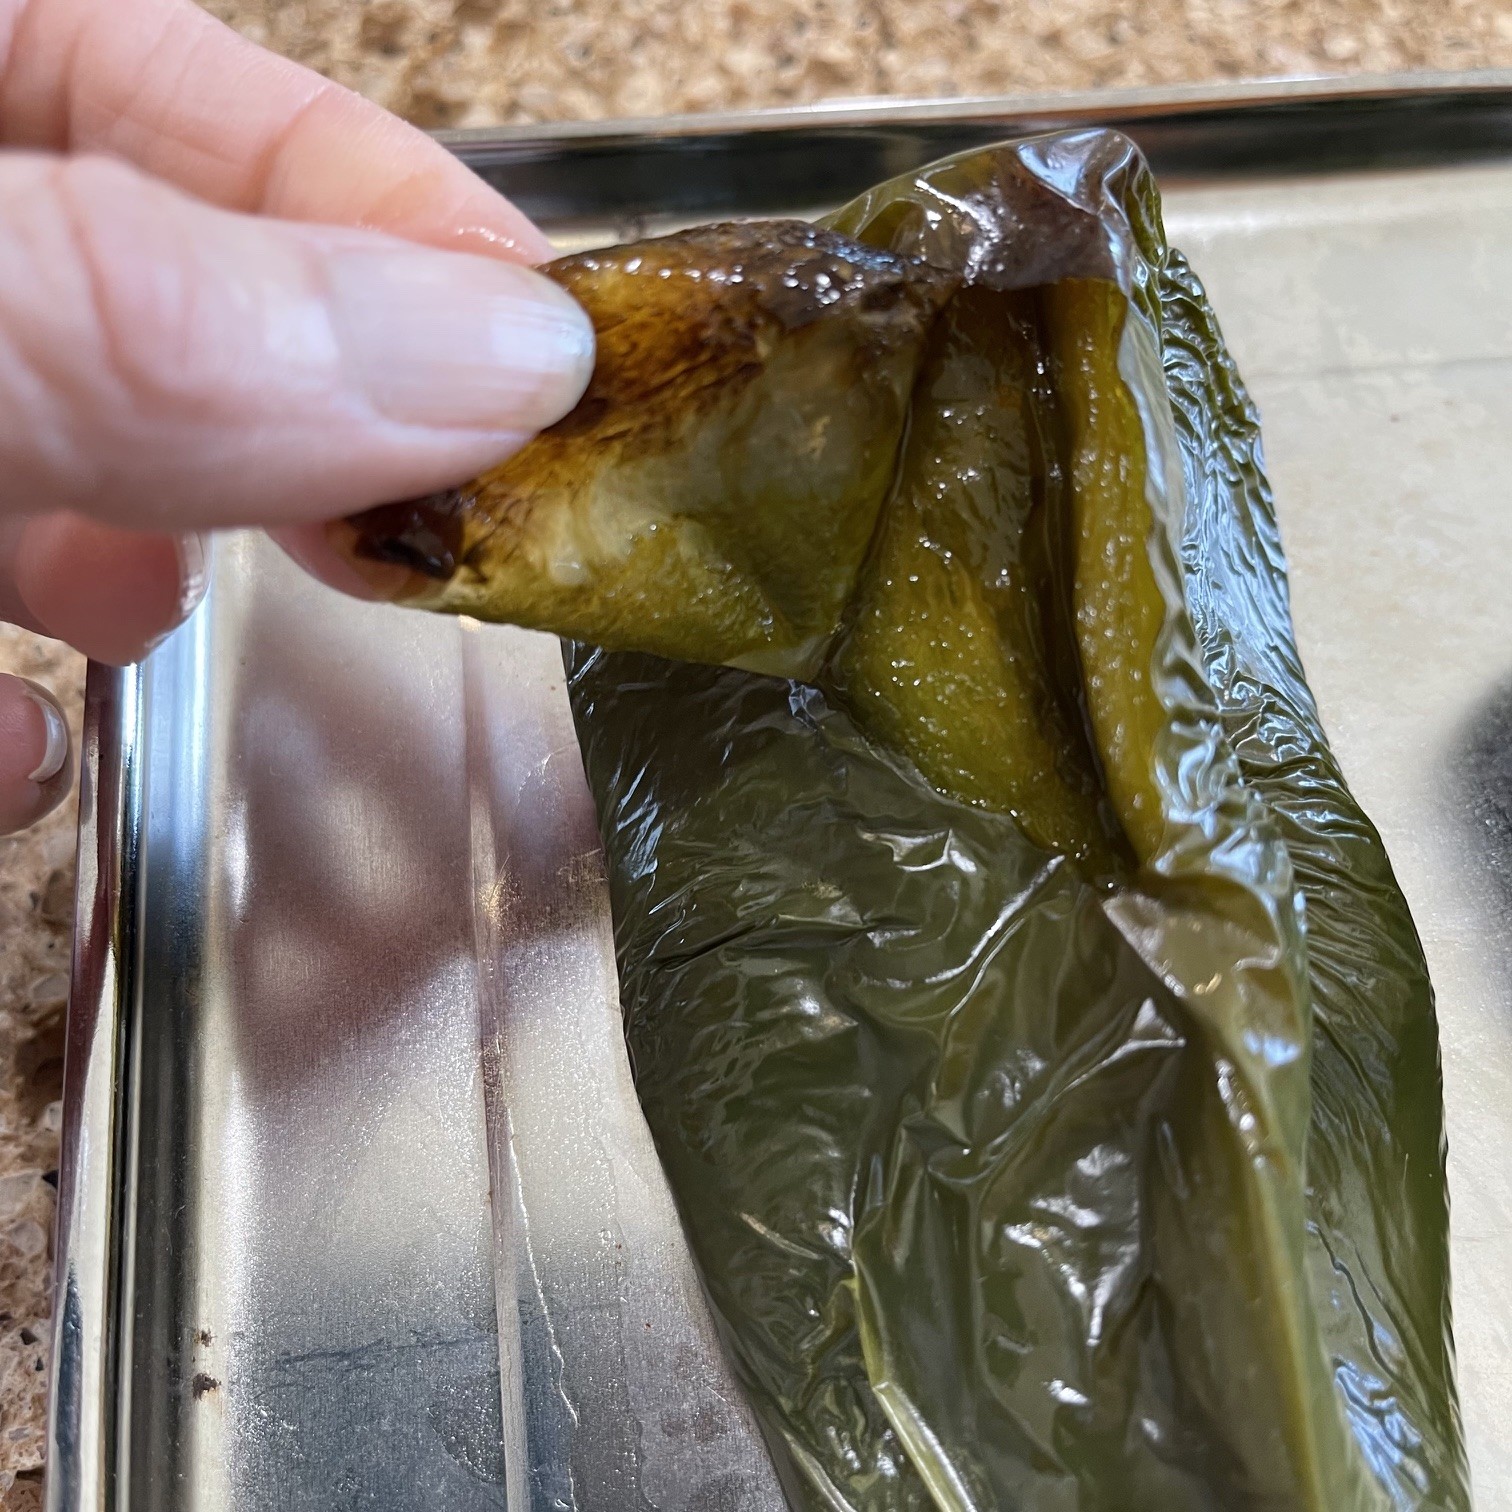
First thing to do is roast the poblanos. This is so you can remove the skin. Lay washed chili peppers on a baking sheet and place them under the broiler. Set a timer for a few minutes so you don’t forget them.
Once they begin to shrivel and blacken (after about 5 minutes) flip them and broil the other side. Remove them from the broiler and let cool a bit.
Lower oven to 350°F (180°C) to keep oven hot while you prepare the Layered Chile Rellano.
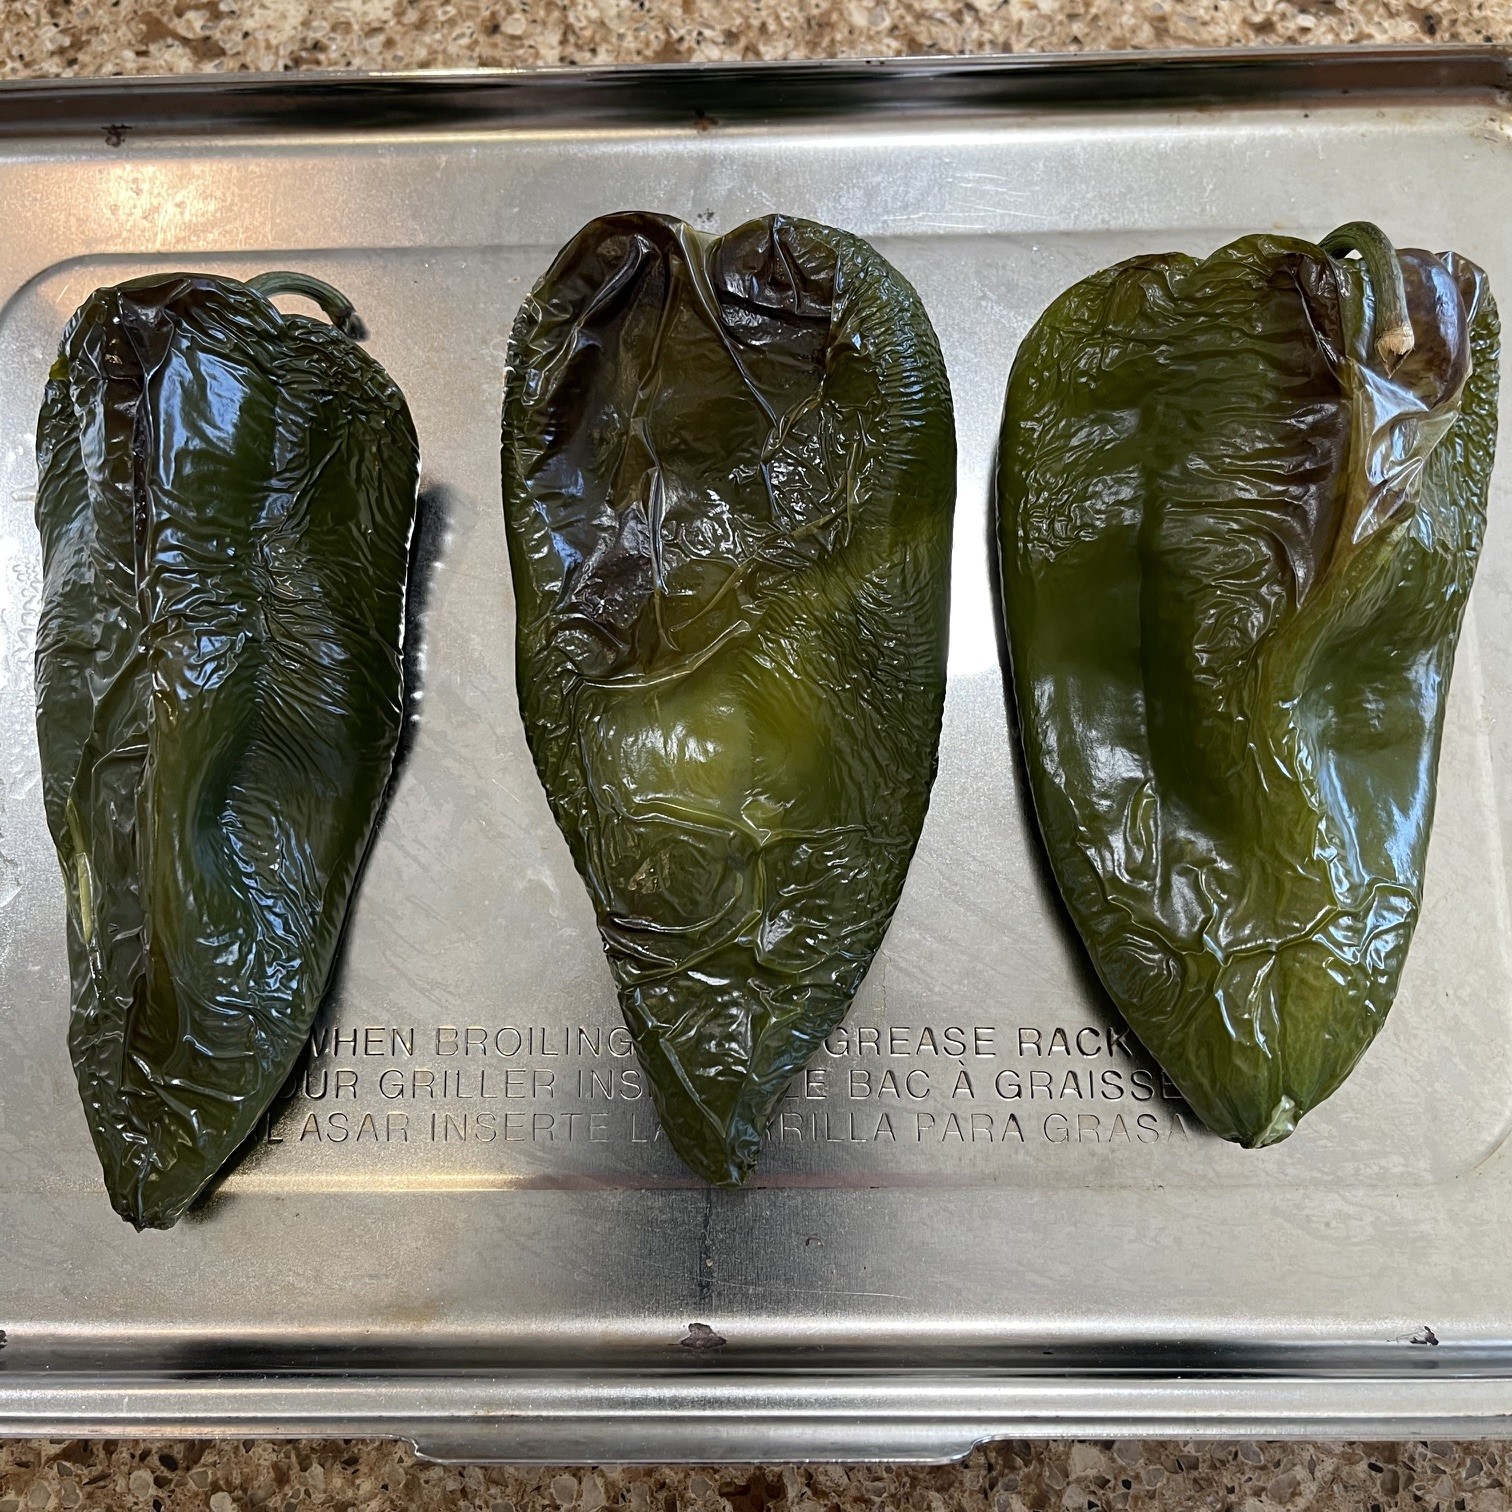
Peel away and discard the skin.
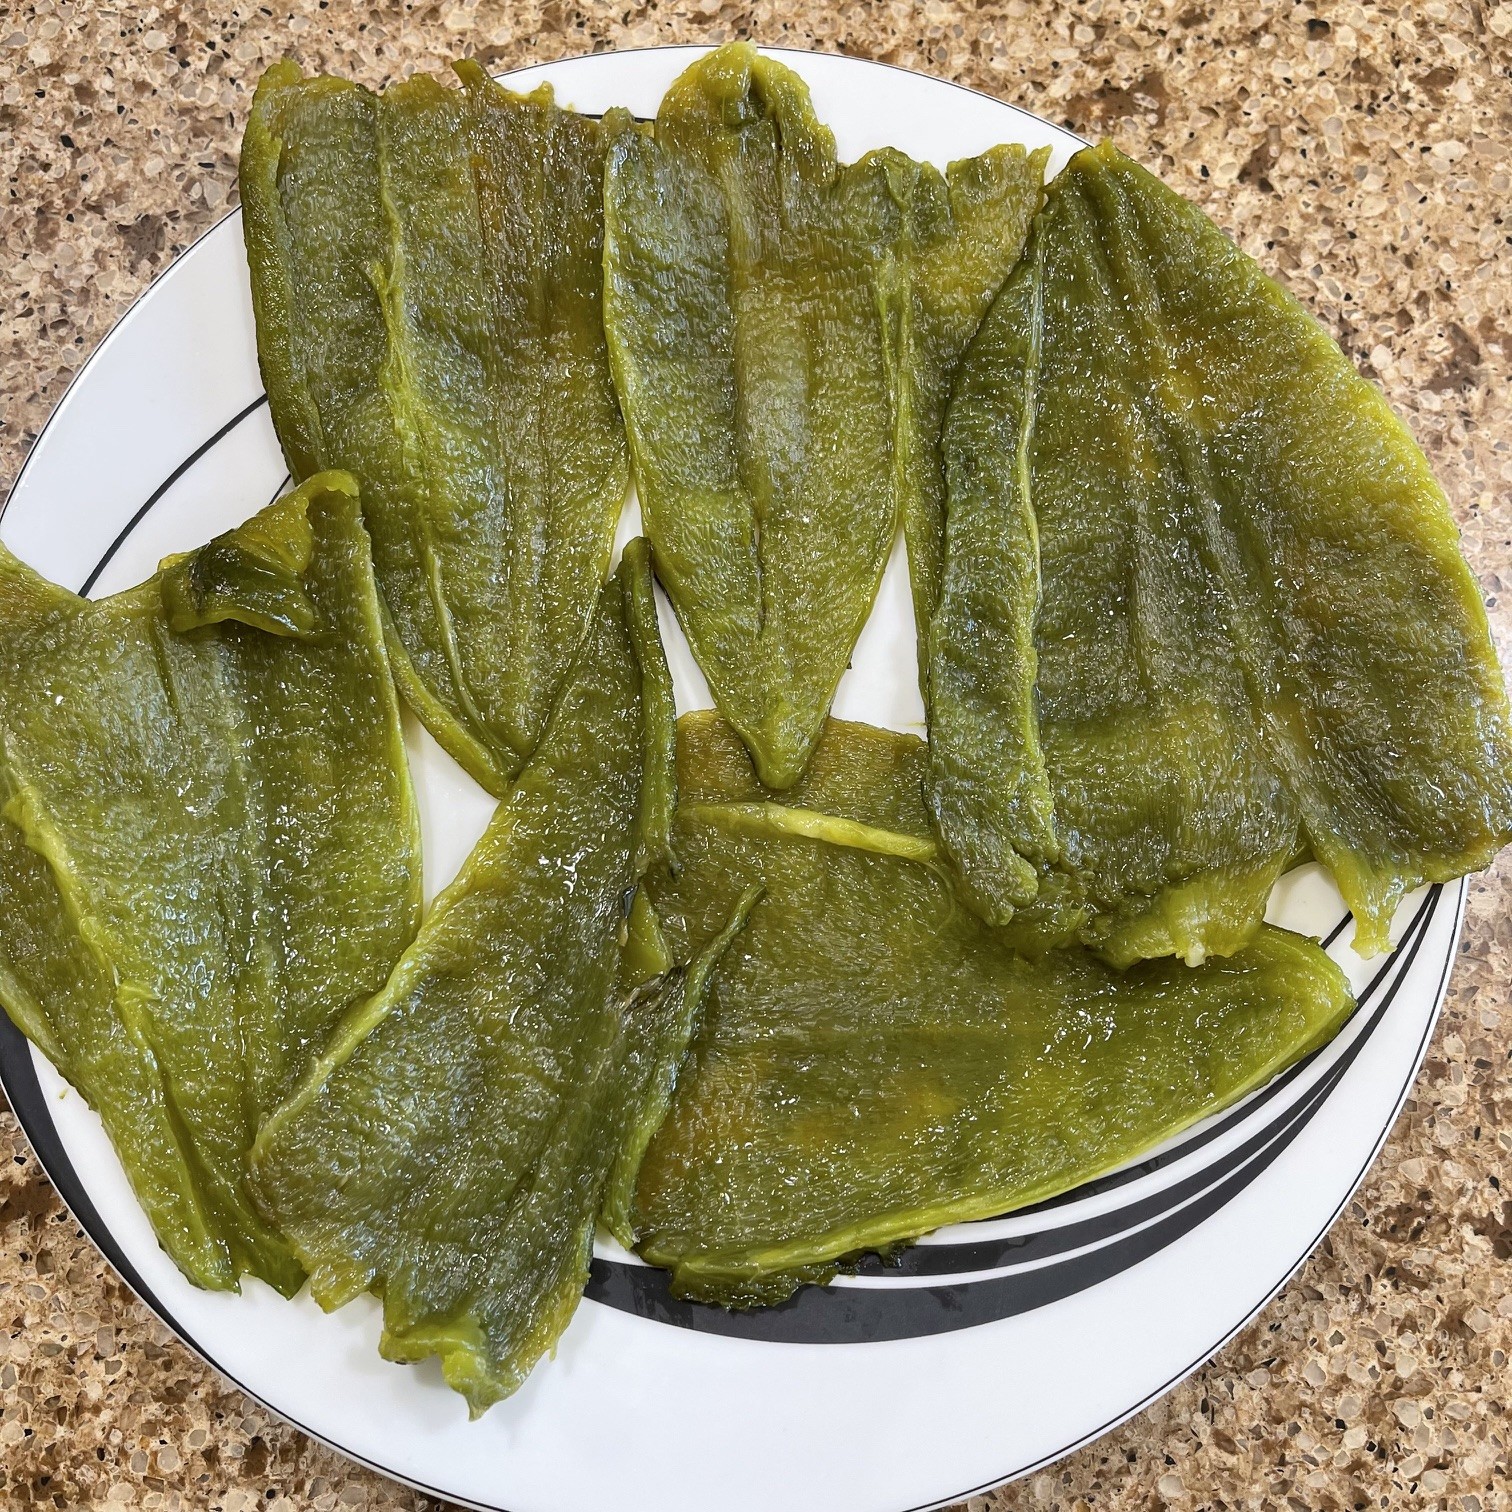
Cut peeled poblanos in half lengthwise. Remove and discard the stem end and seeds.
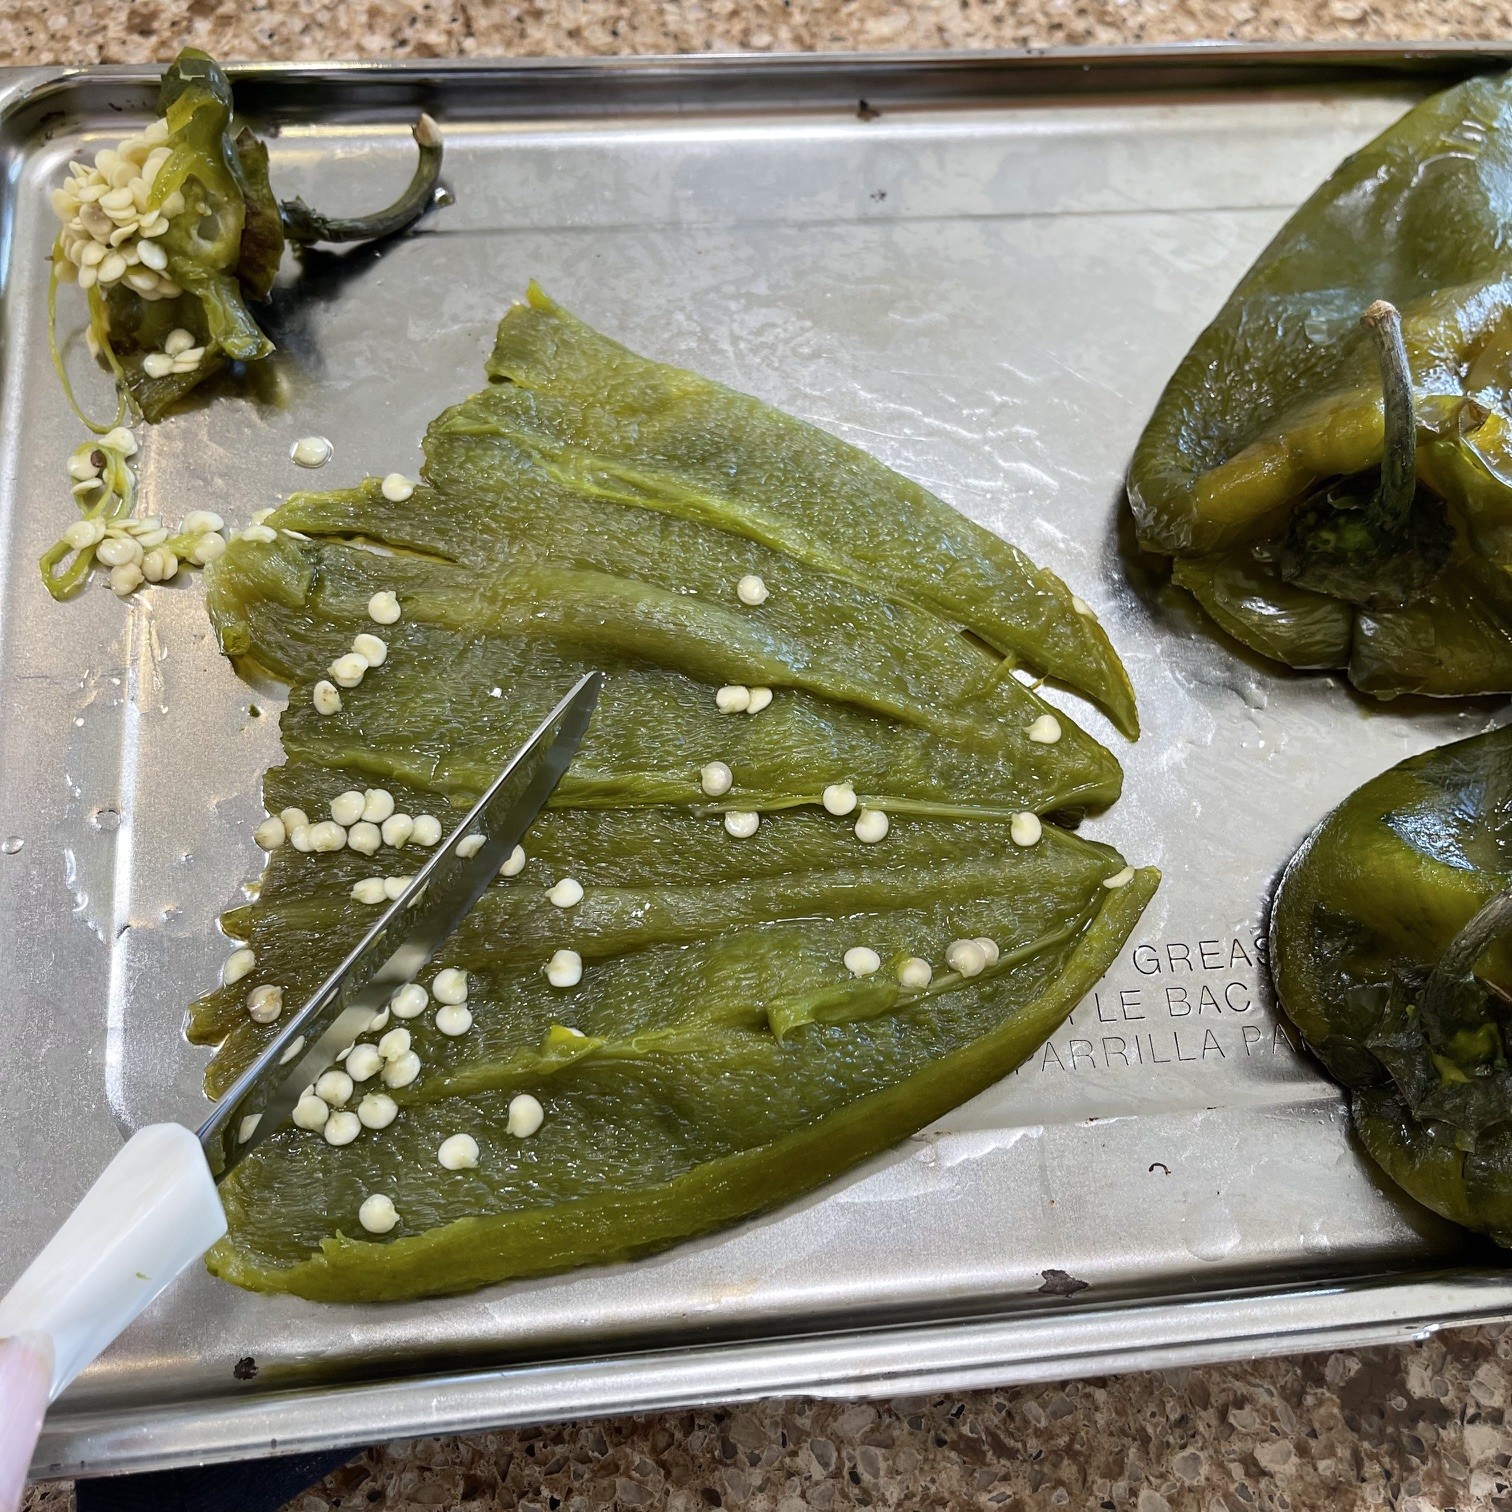
Tear the halves into smaller pieces so they can be fitted into the casserole dish.
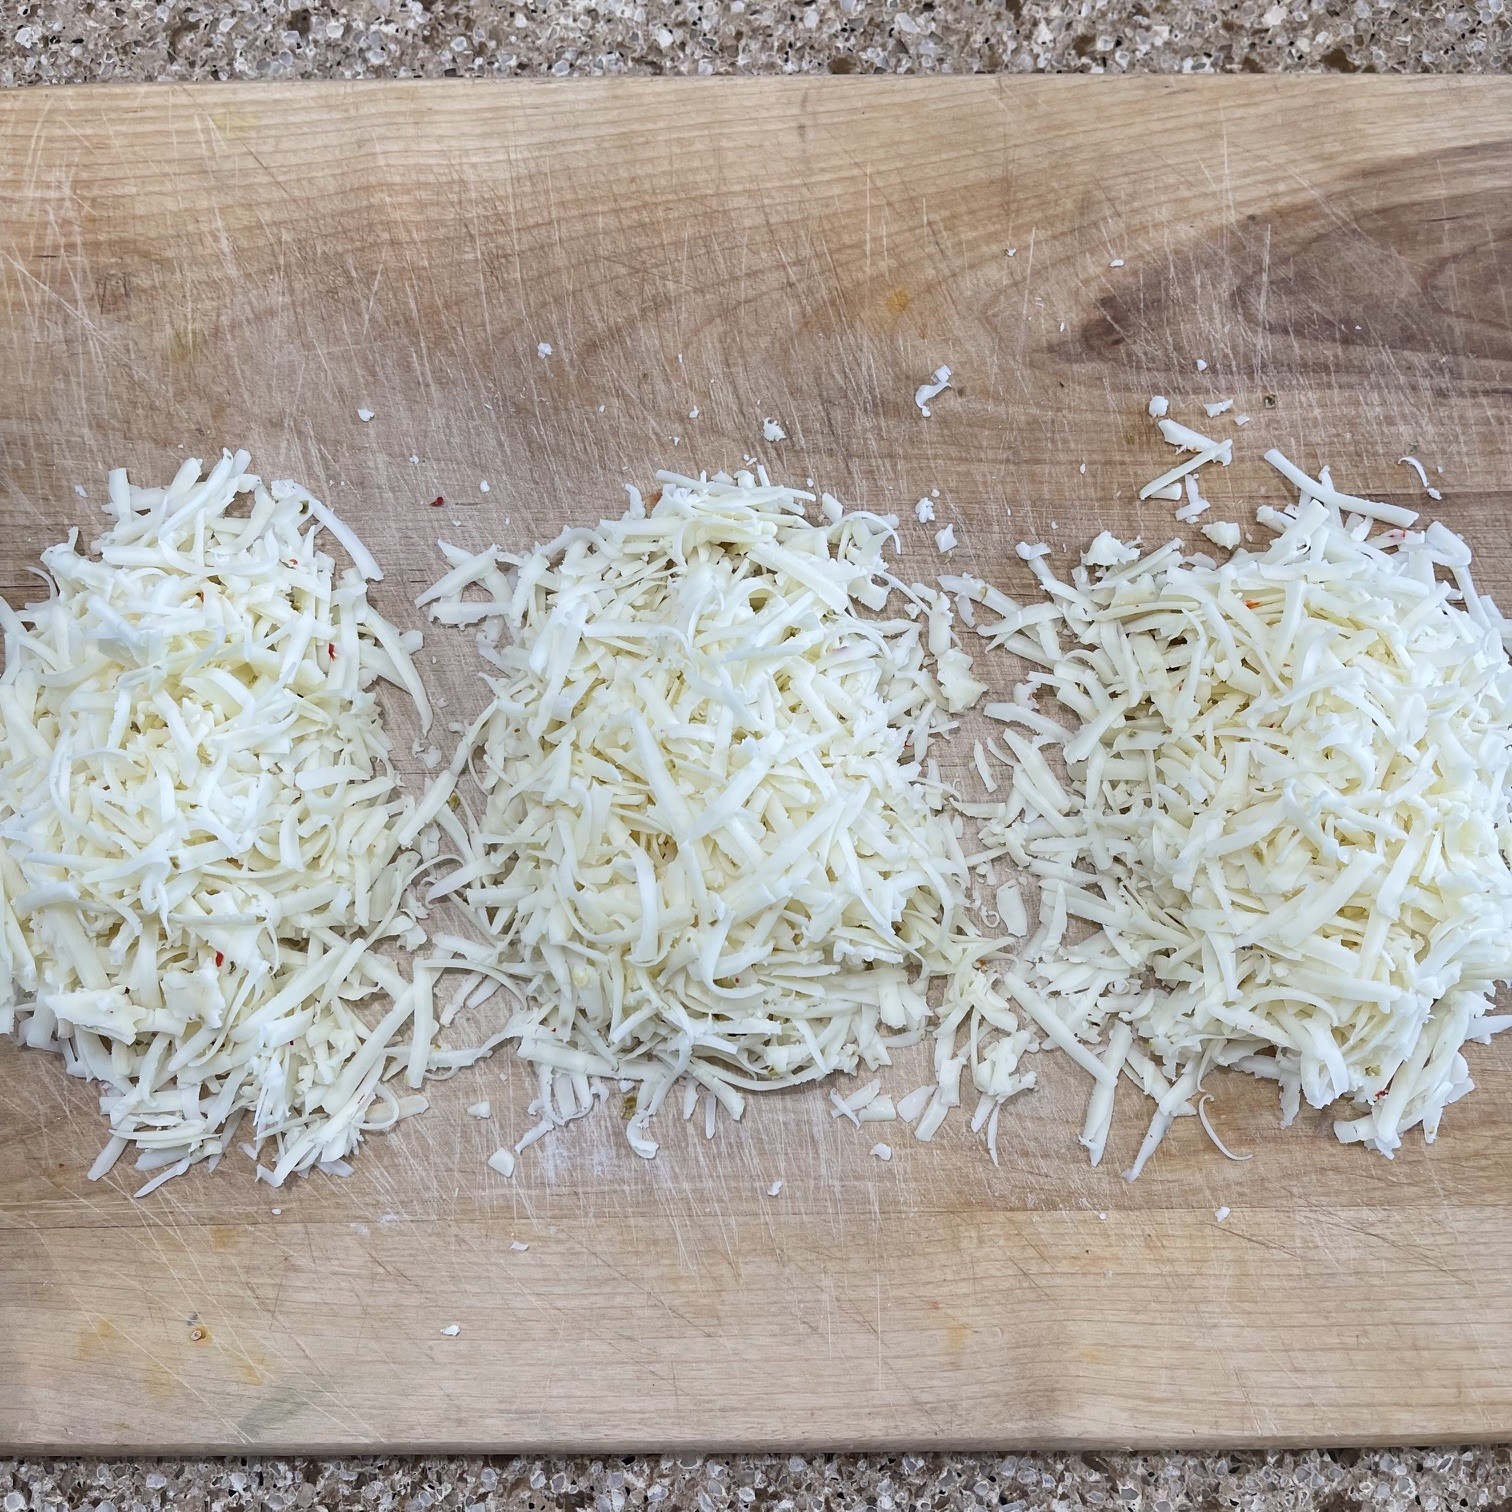
Grate the cheese and separate into 3 fairly equal piles.
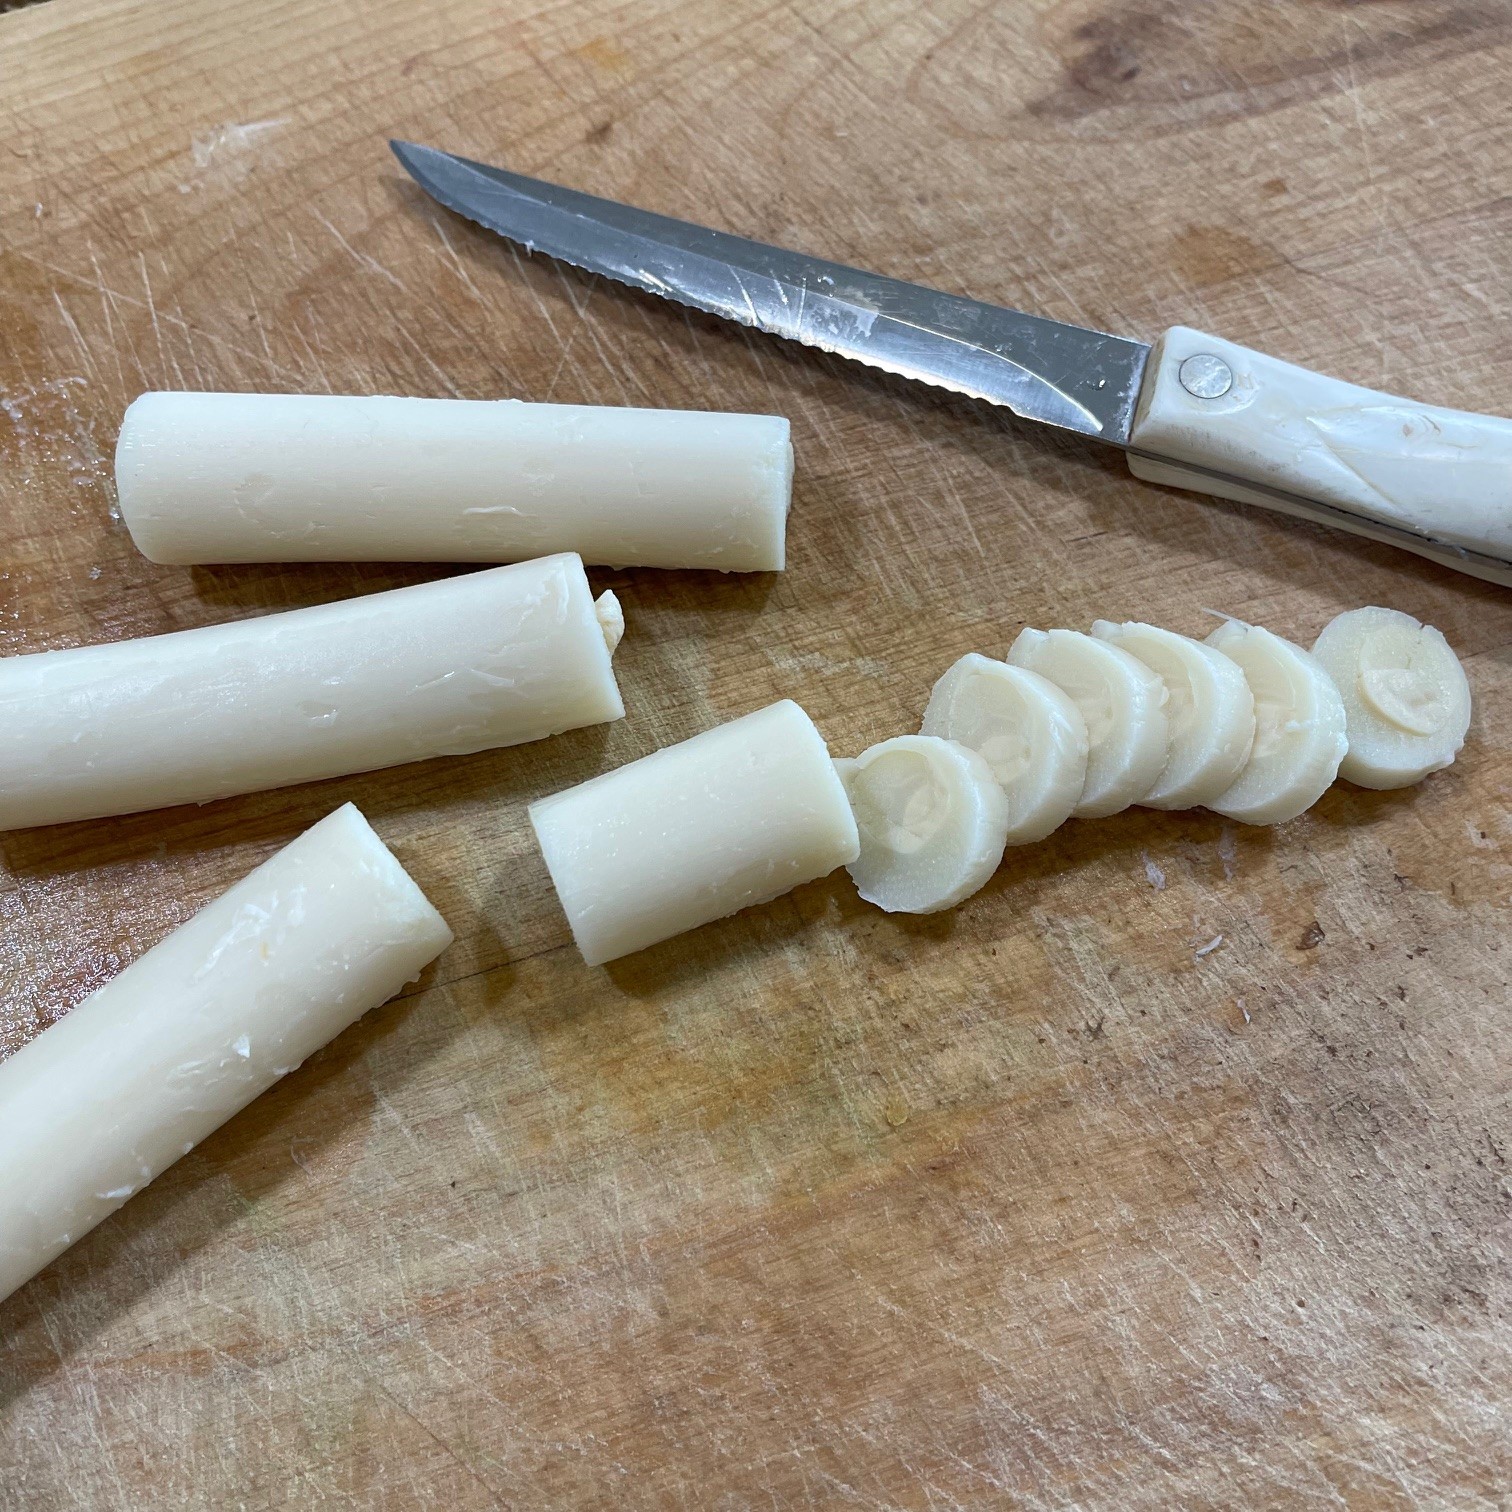
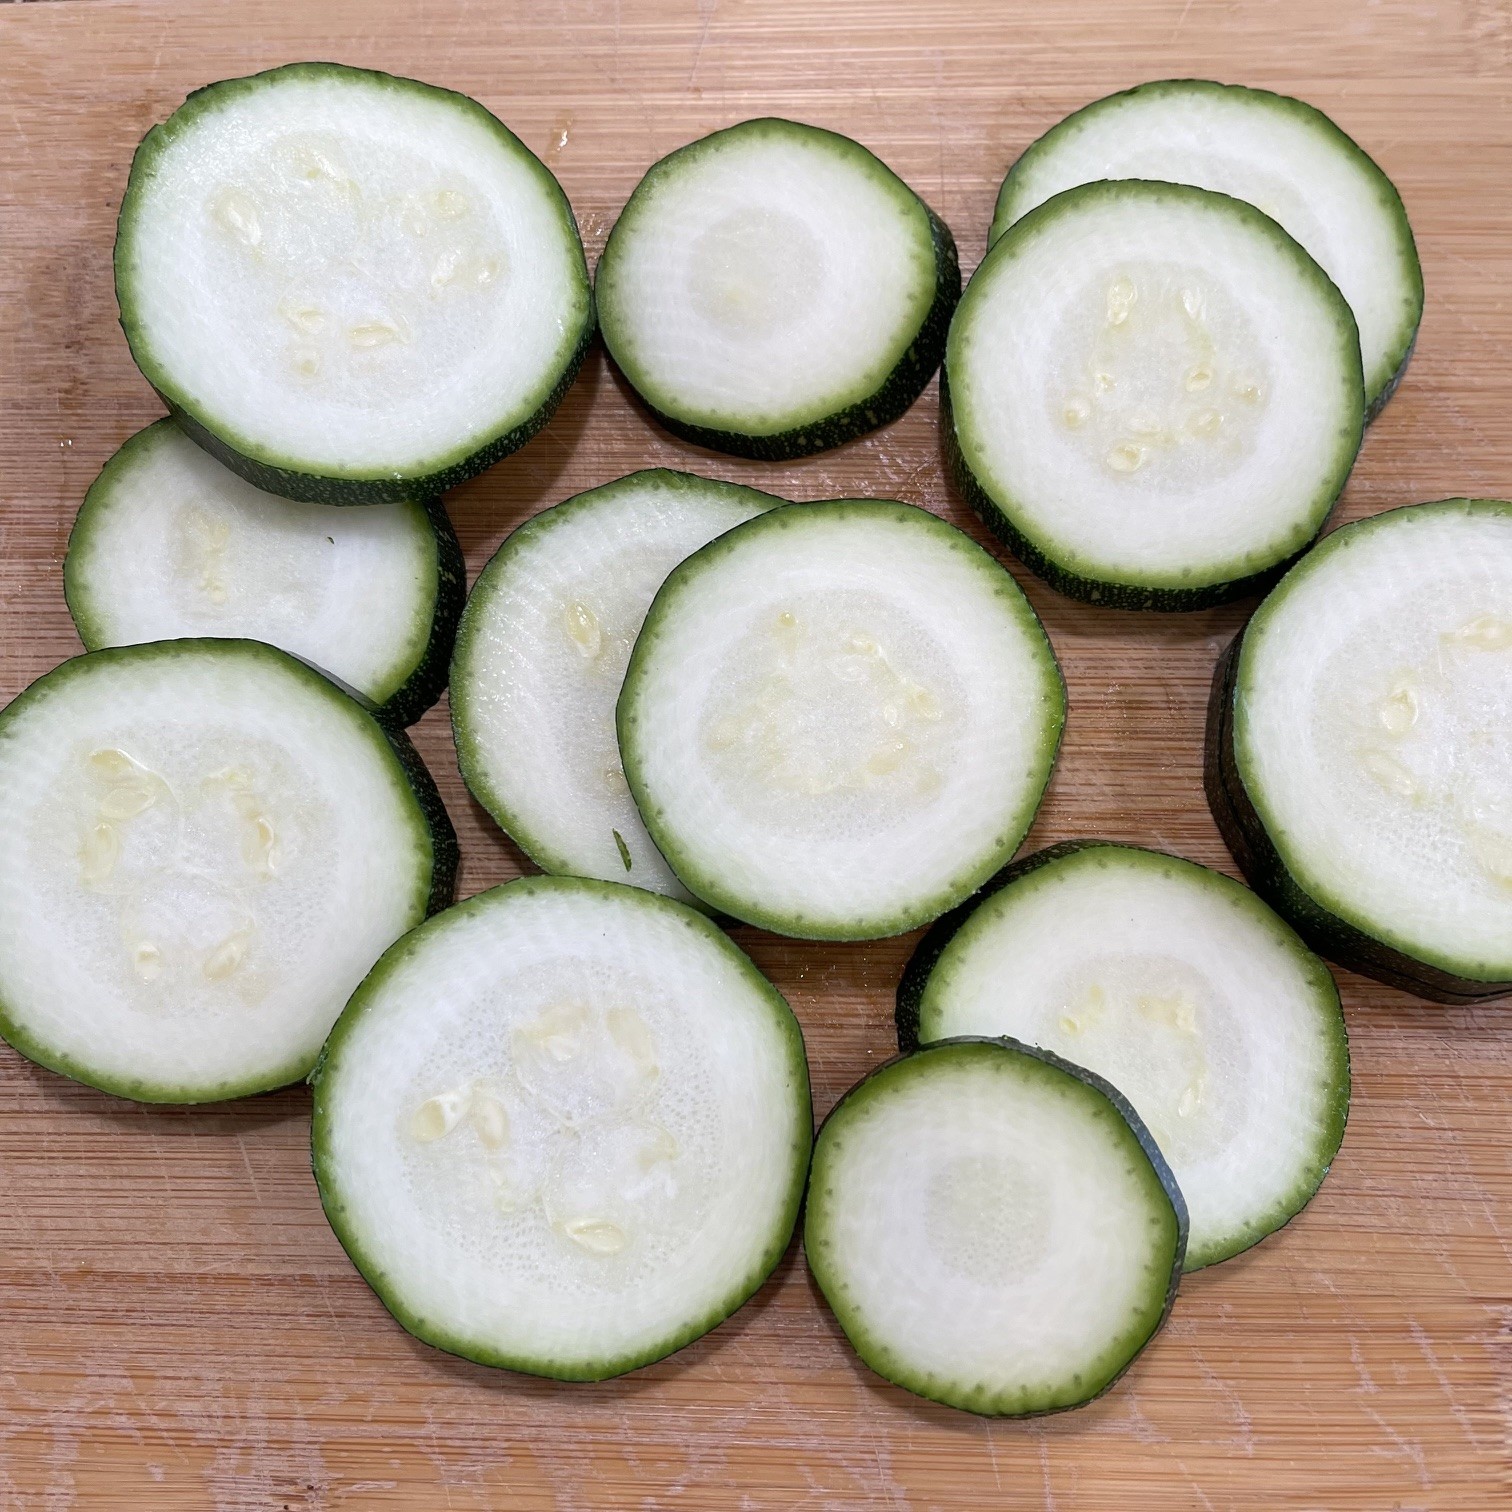
Slice the zucchini into 1/4″ (1/2cm) rounds.
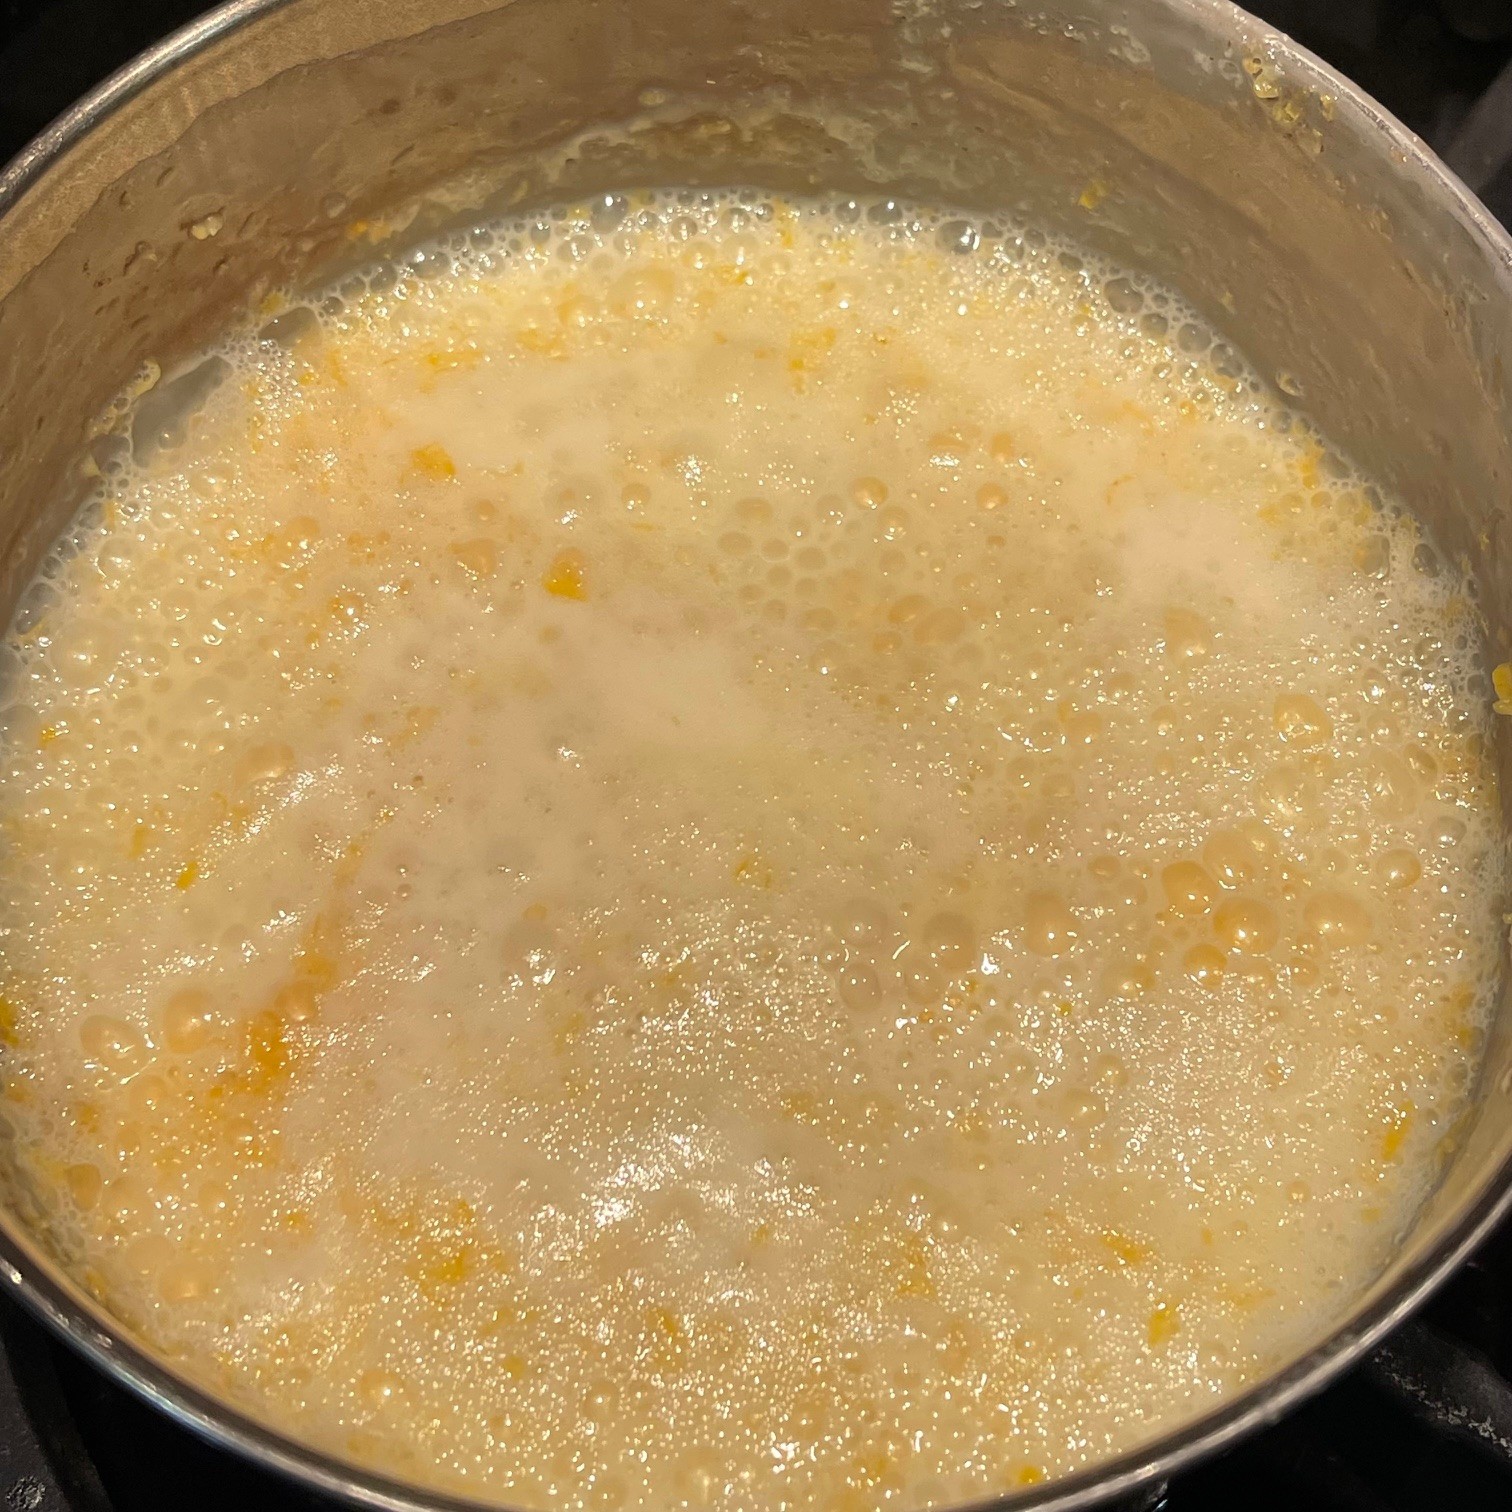
Separate eggs by placing the yolks in a small mixing bowl and set aside. Place the whites in the bowl of your electric mixer – NOT the small bowl of yolks! Beat whites on high to reach stiff peaks – about 1.5 minutes. (I you don’t have an electric mixer, beat by hand – it will take longer.)
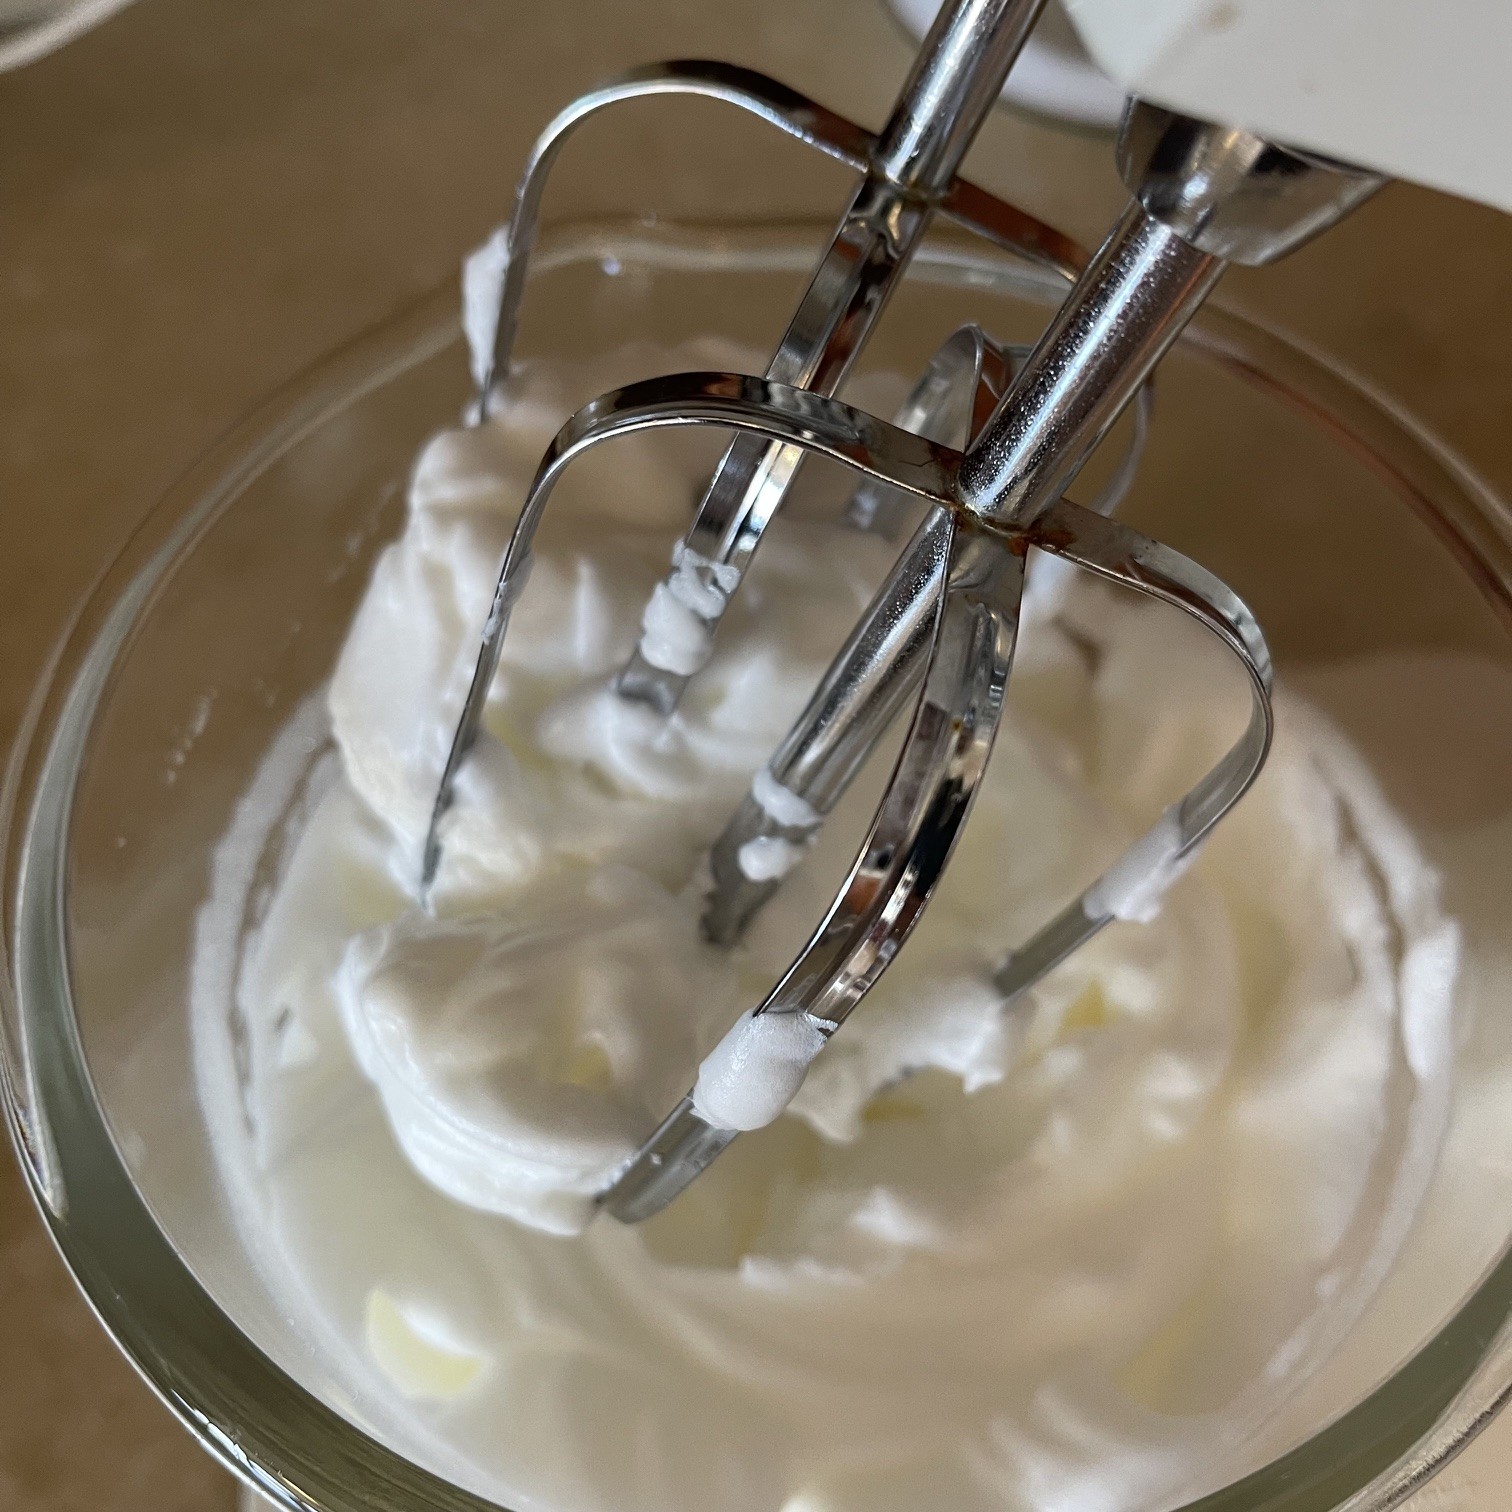
In the small bowl of yolks, add the baking powder, flour, milk, salt, and pepper. Combine and pour into the beaten whites. On low speed (or by hand) add the yolk mixture and briefly combine. You don’t want to deflate the whites!

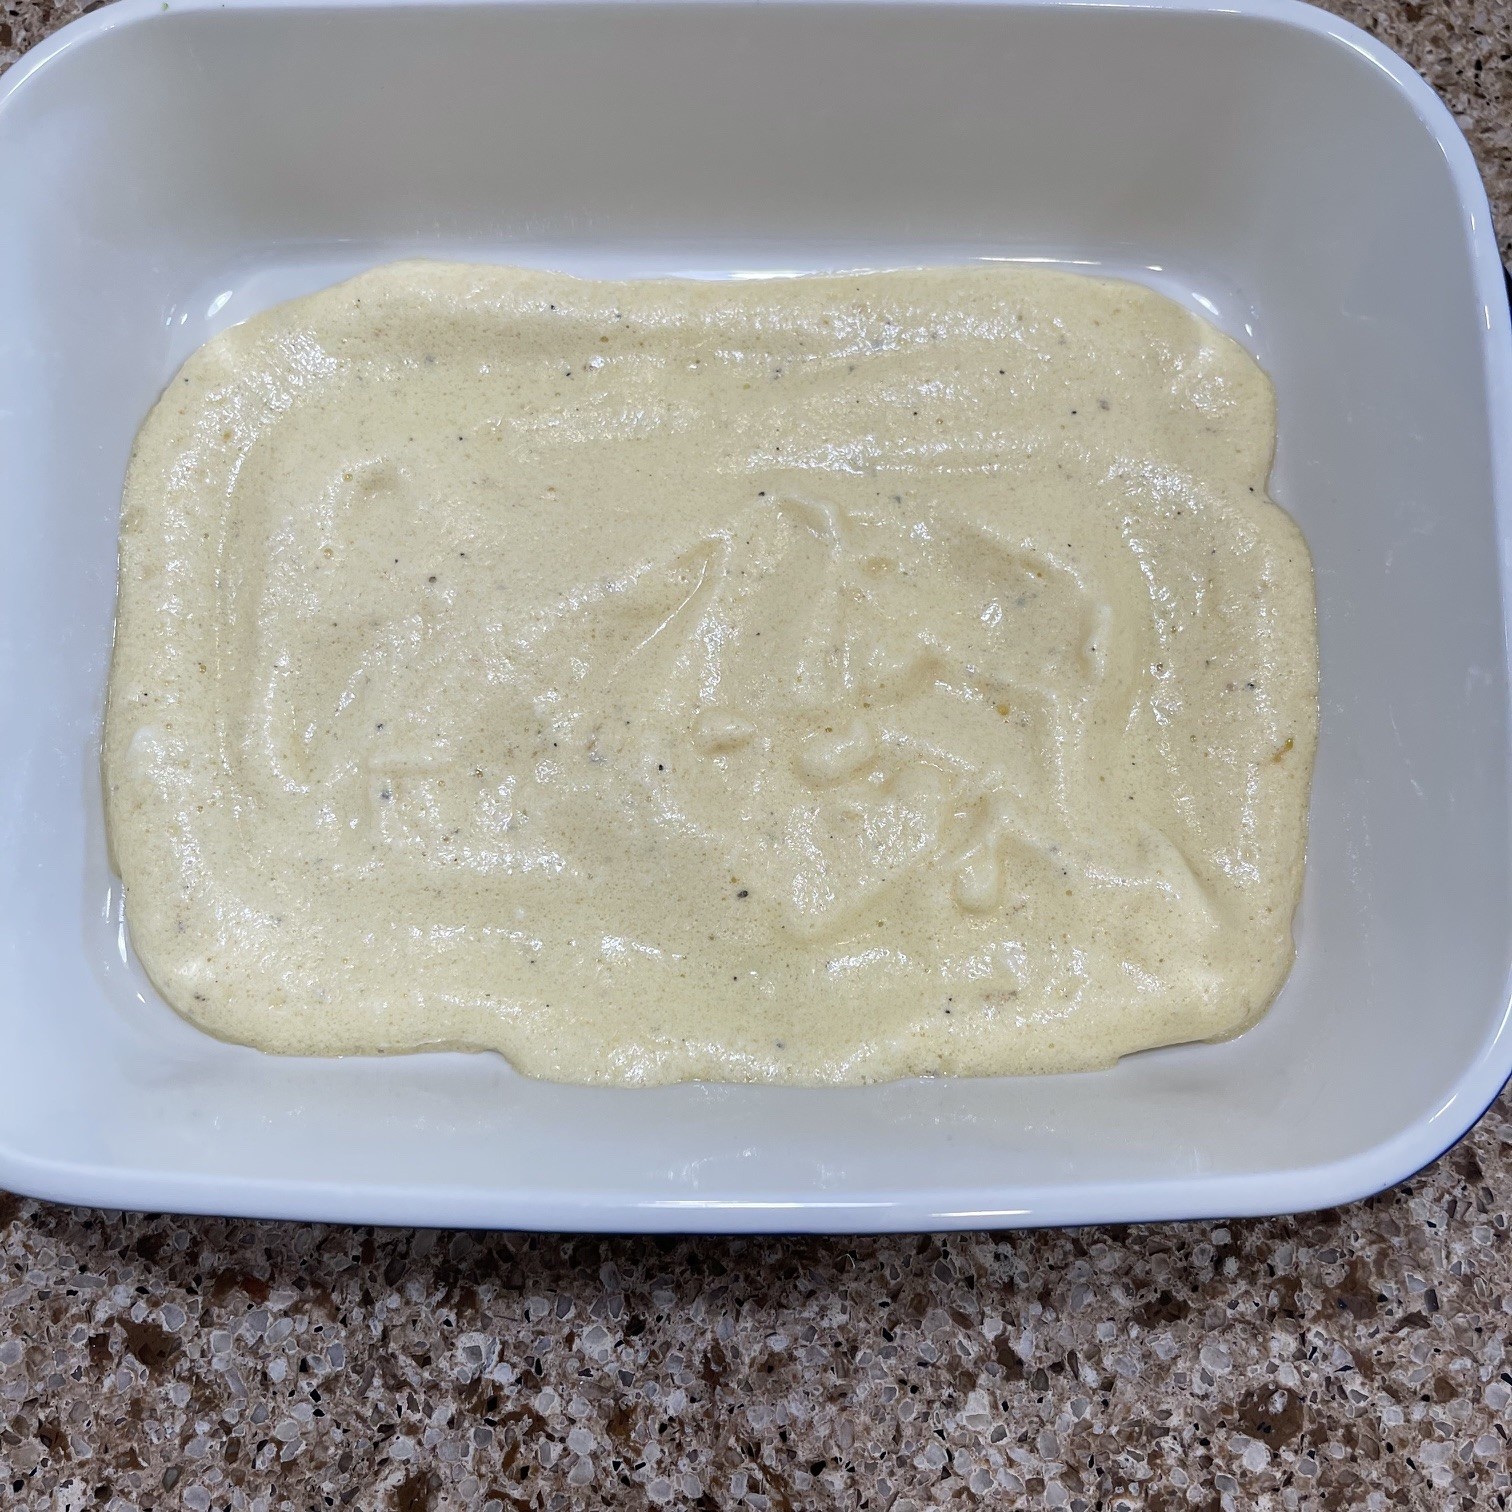
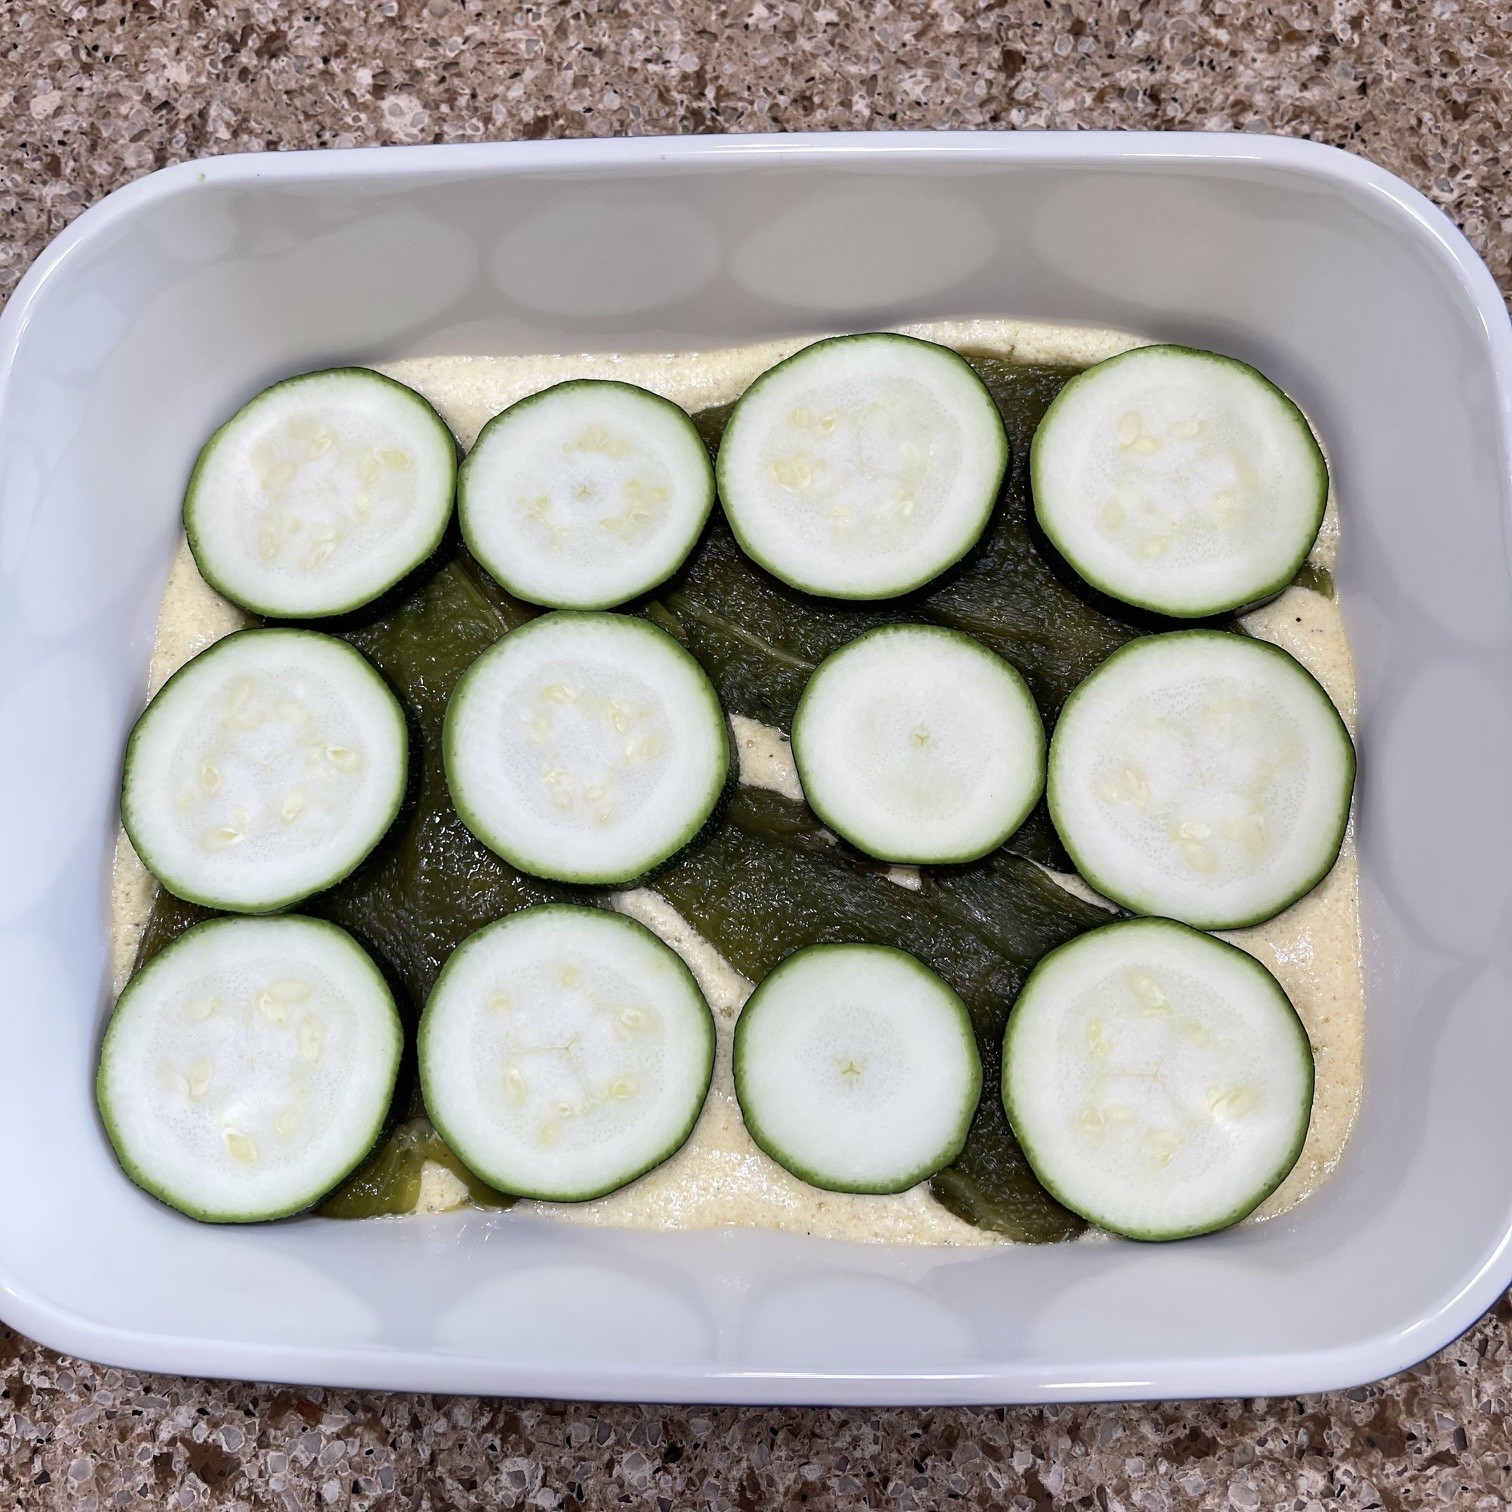
Pour approximately half of the egg mixture into the casserole dish, spreading it to evenly cover bottom.
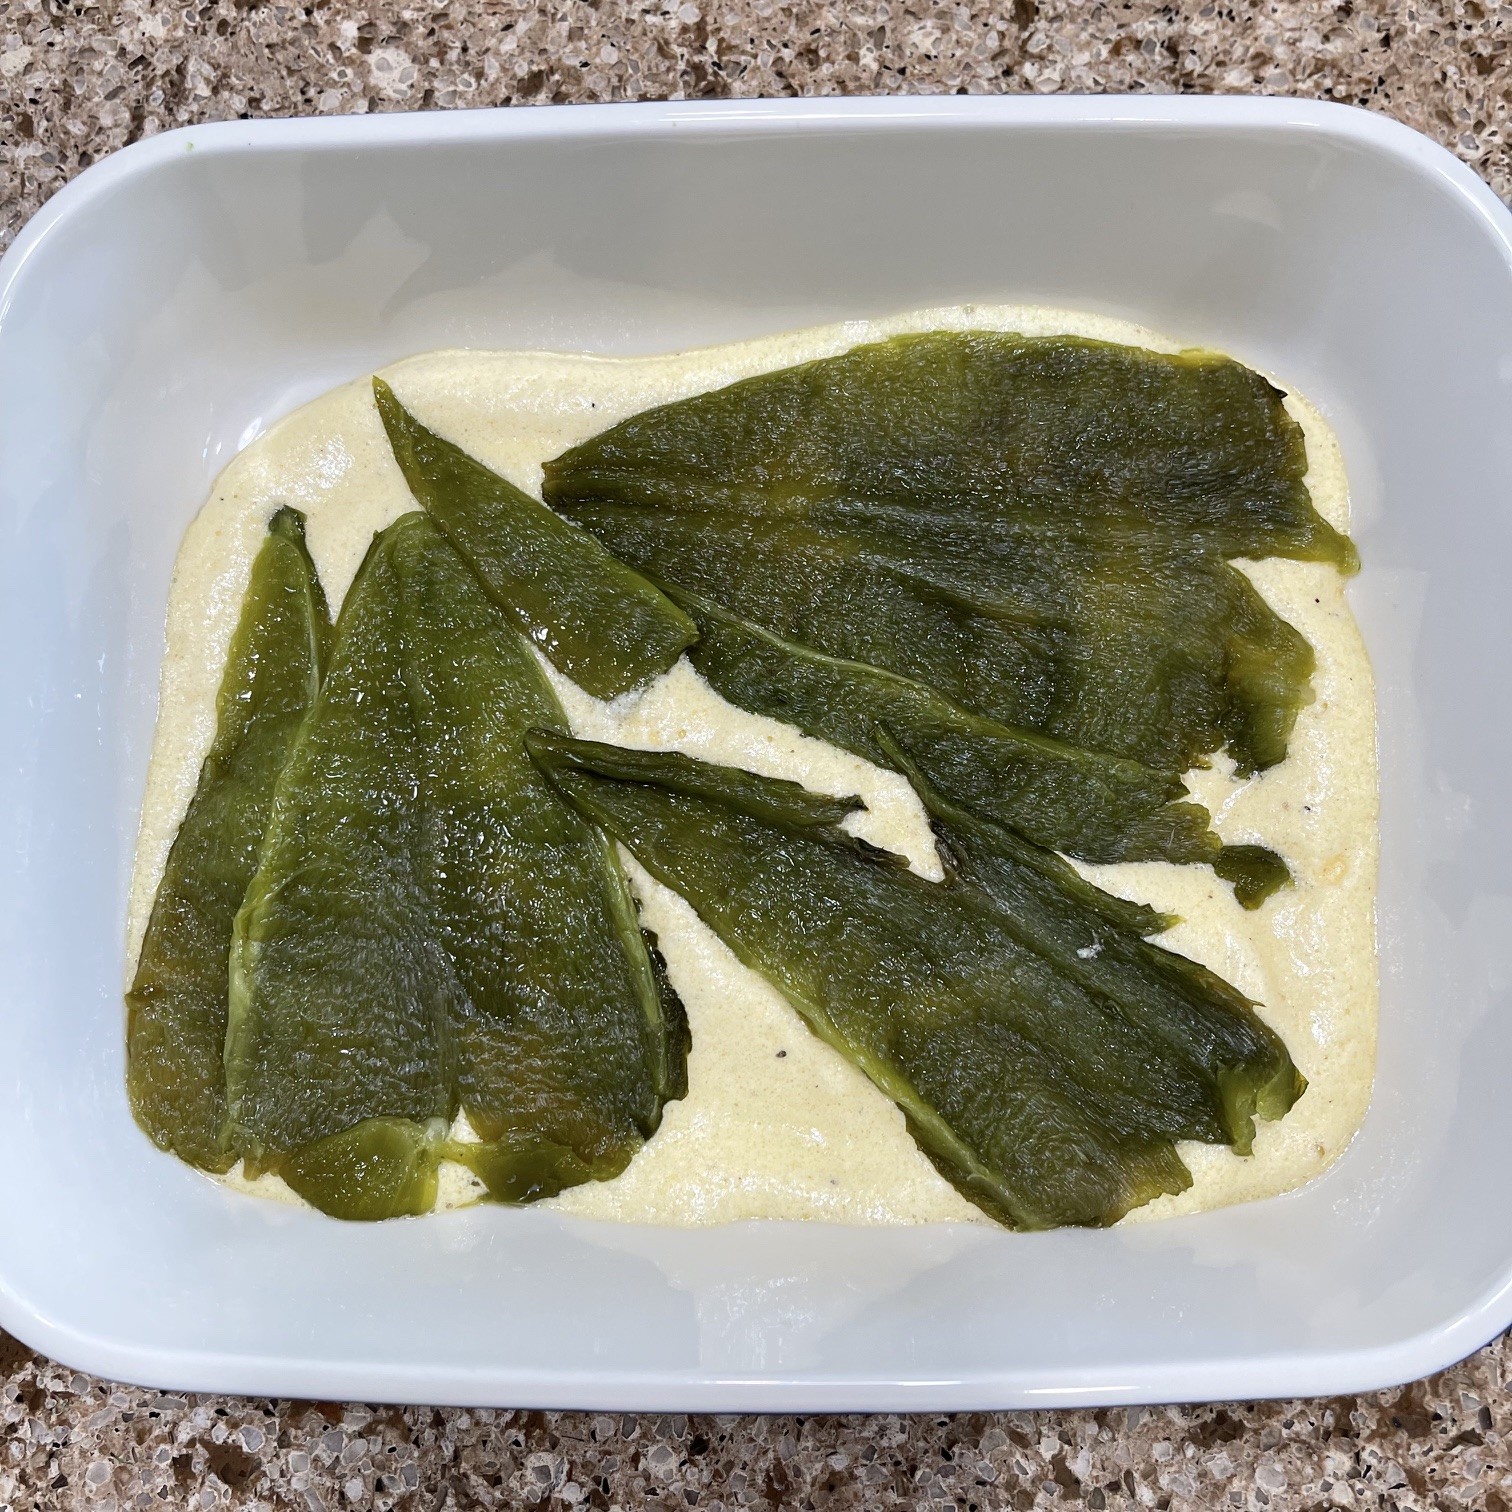
Layer on half of the poblanos.
Layer half of the zucchini.
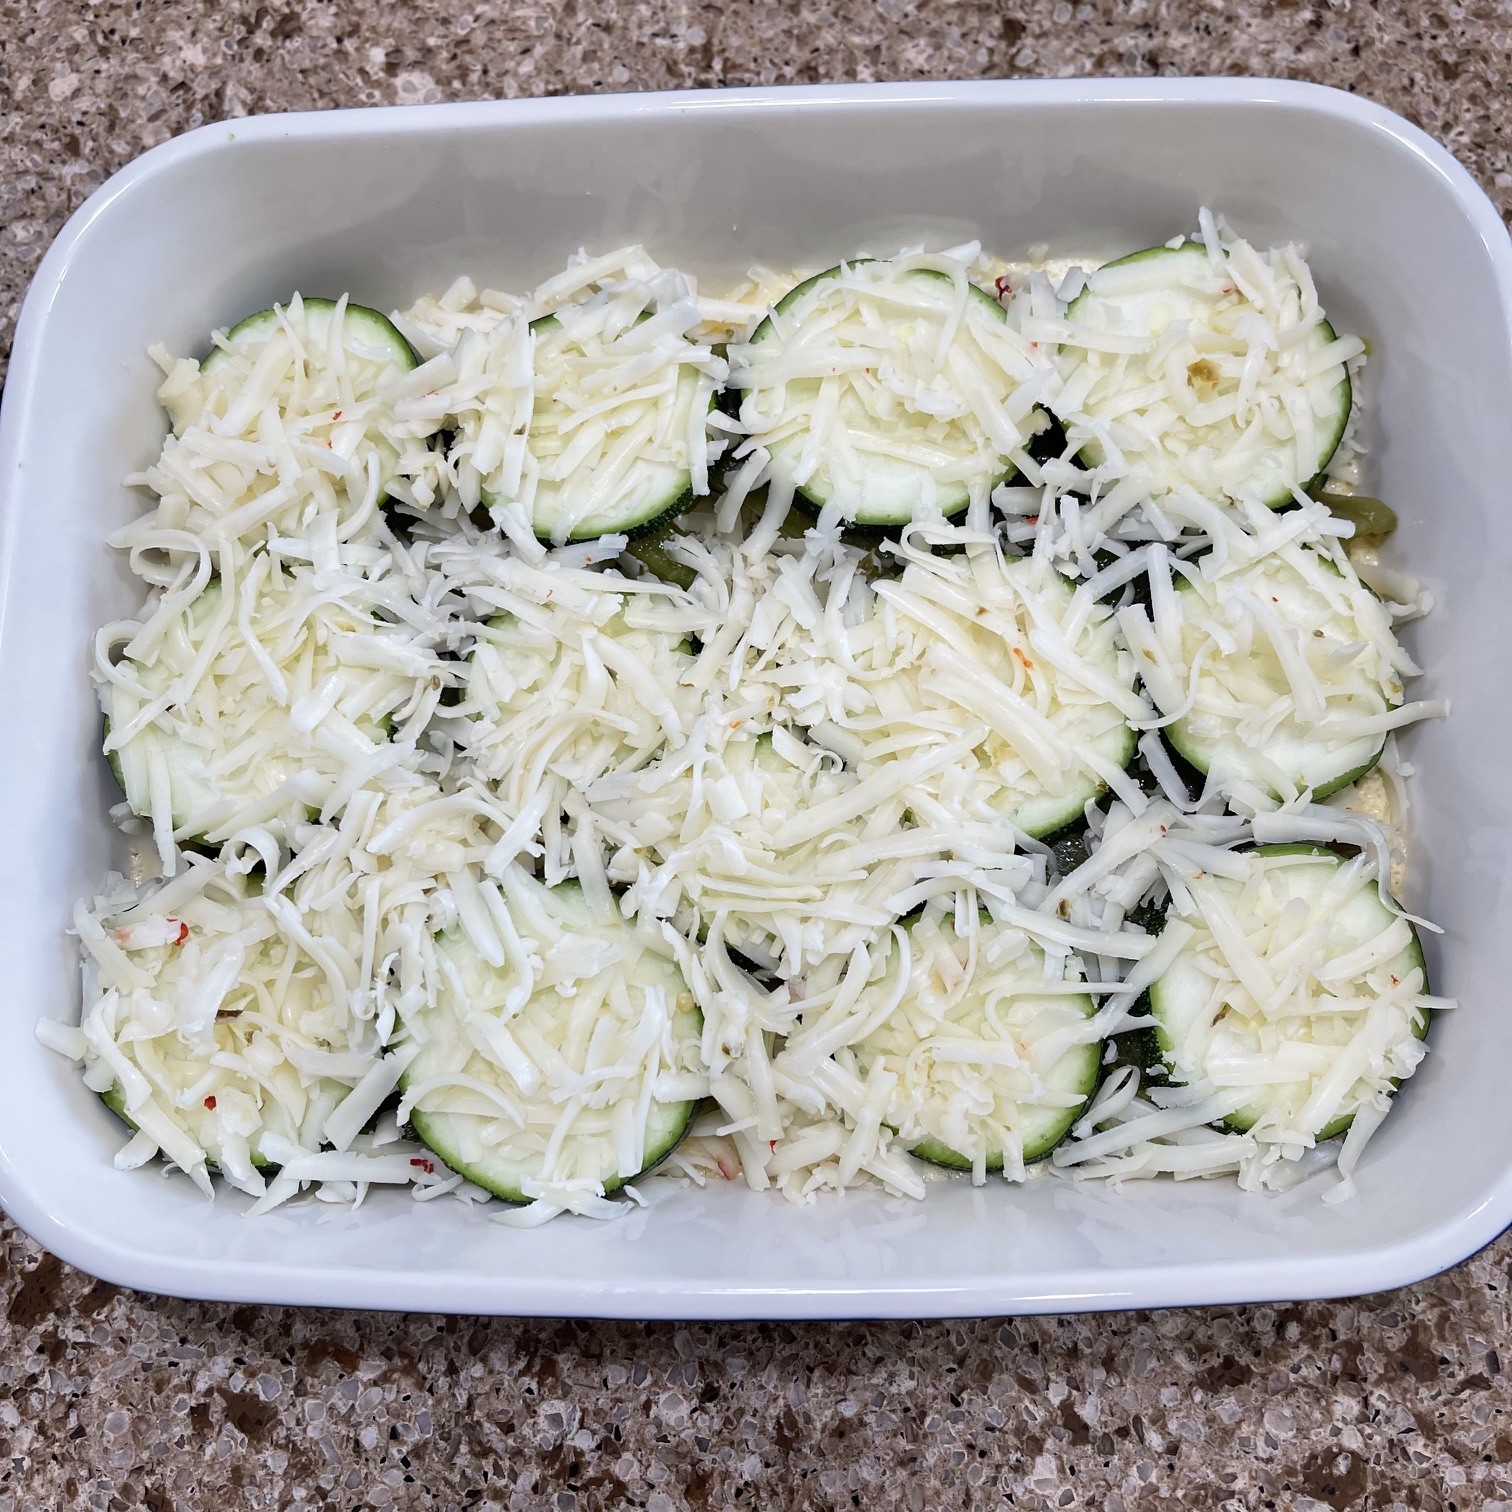
Layer 1/3 of cheese.
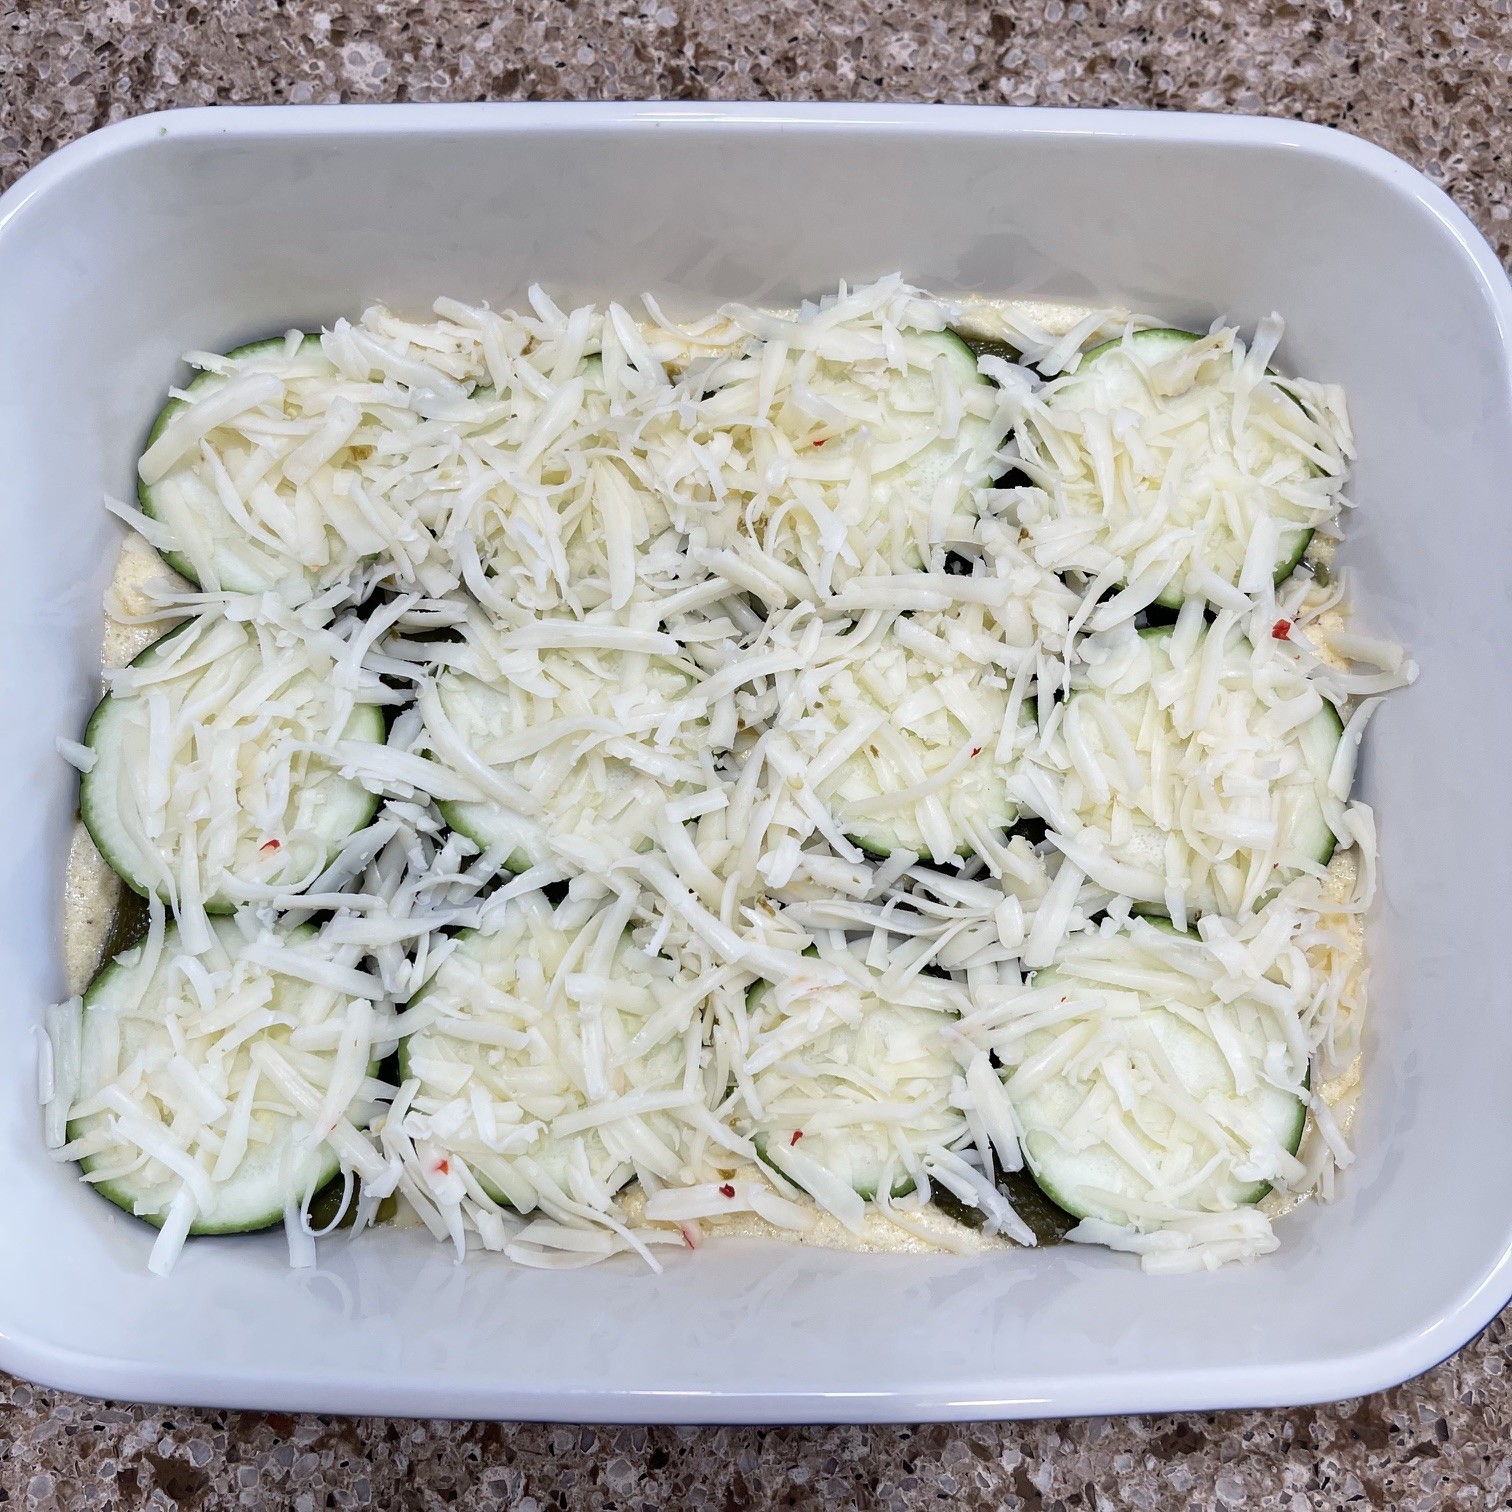
Layer on remaining poblano pieces.
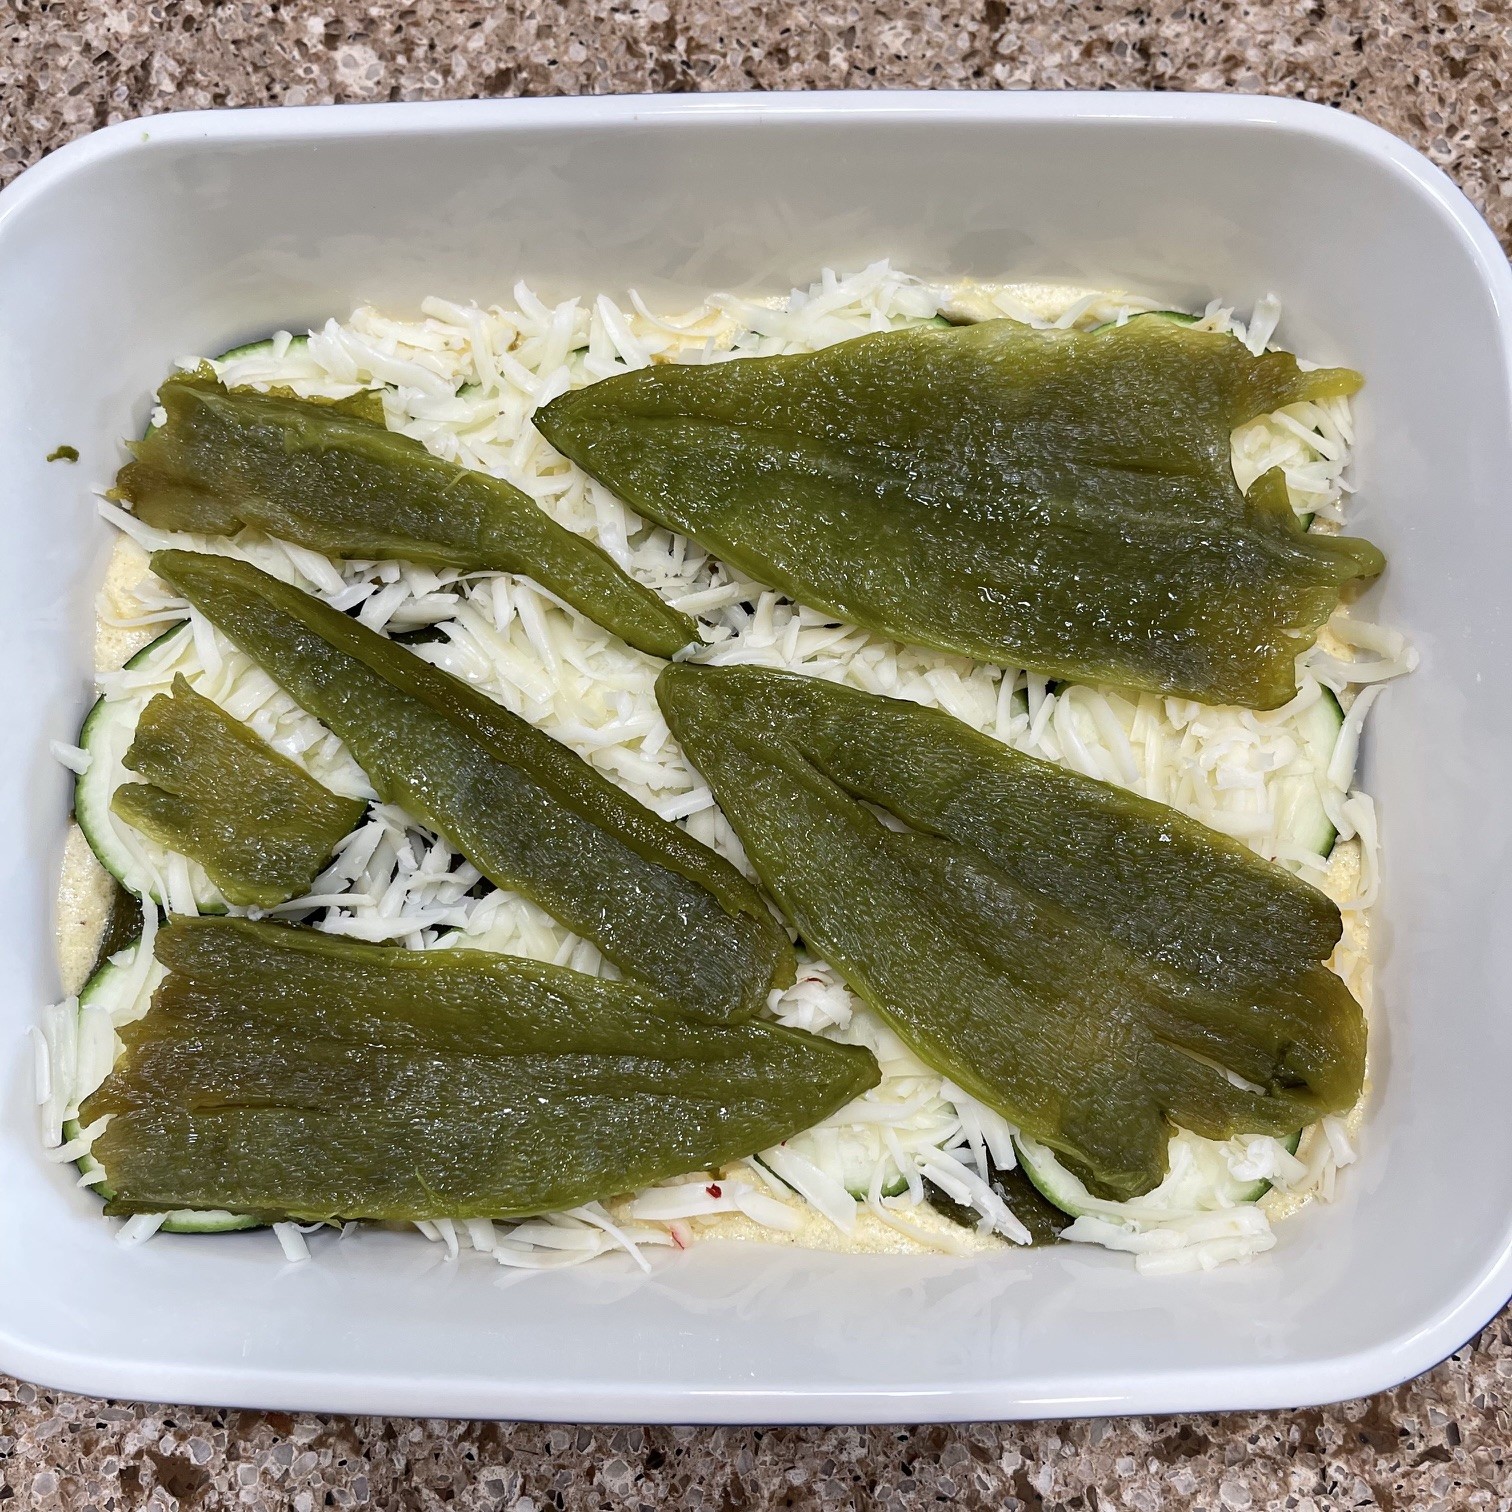
Layer remaining zucchini.
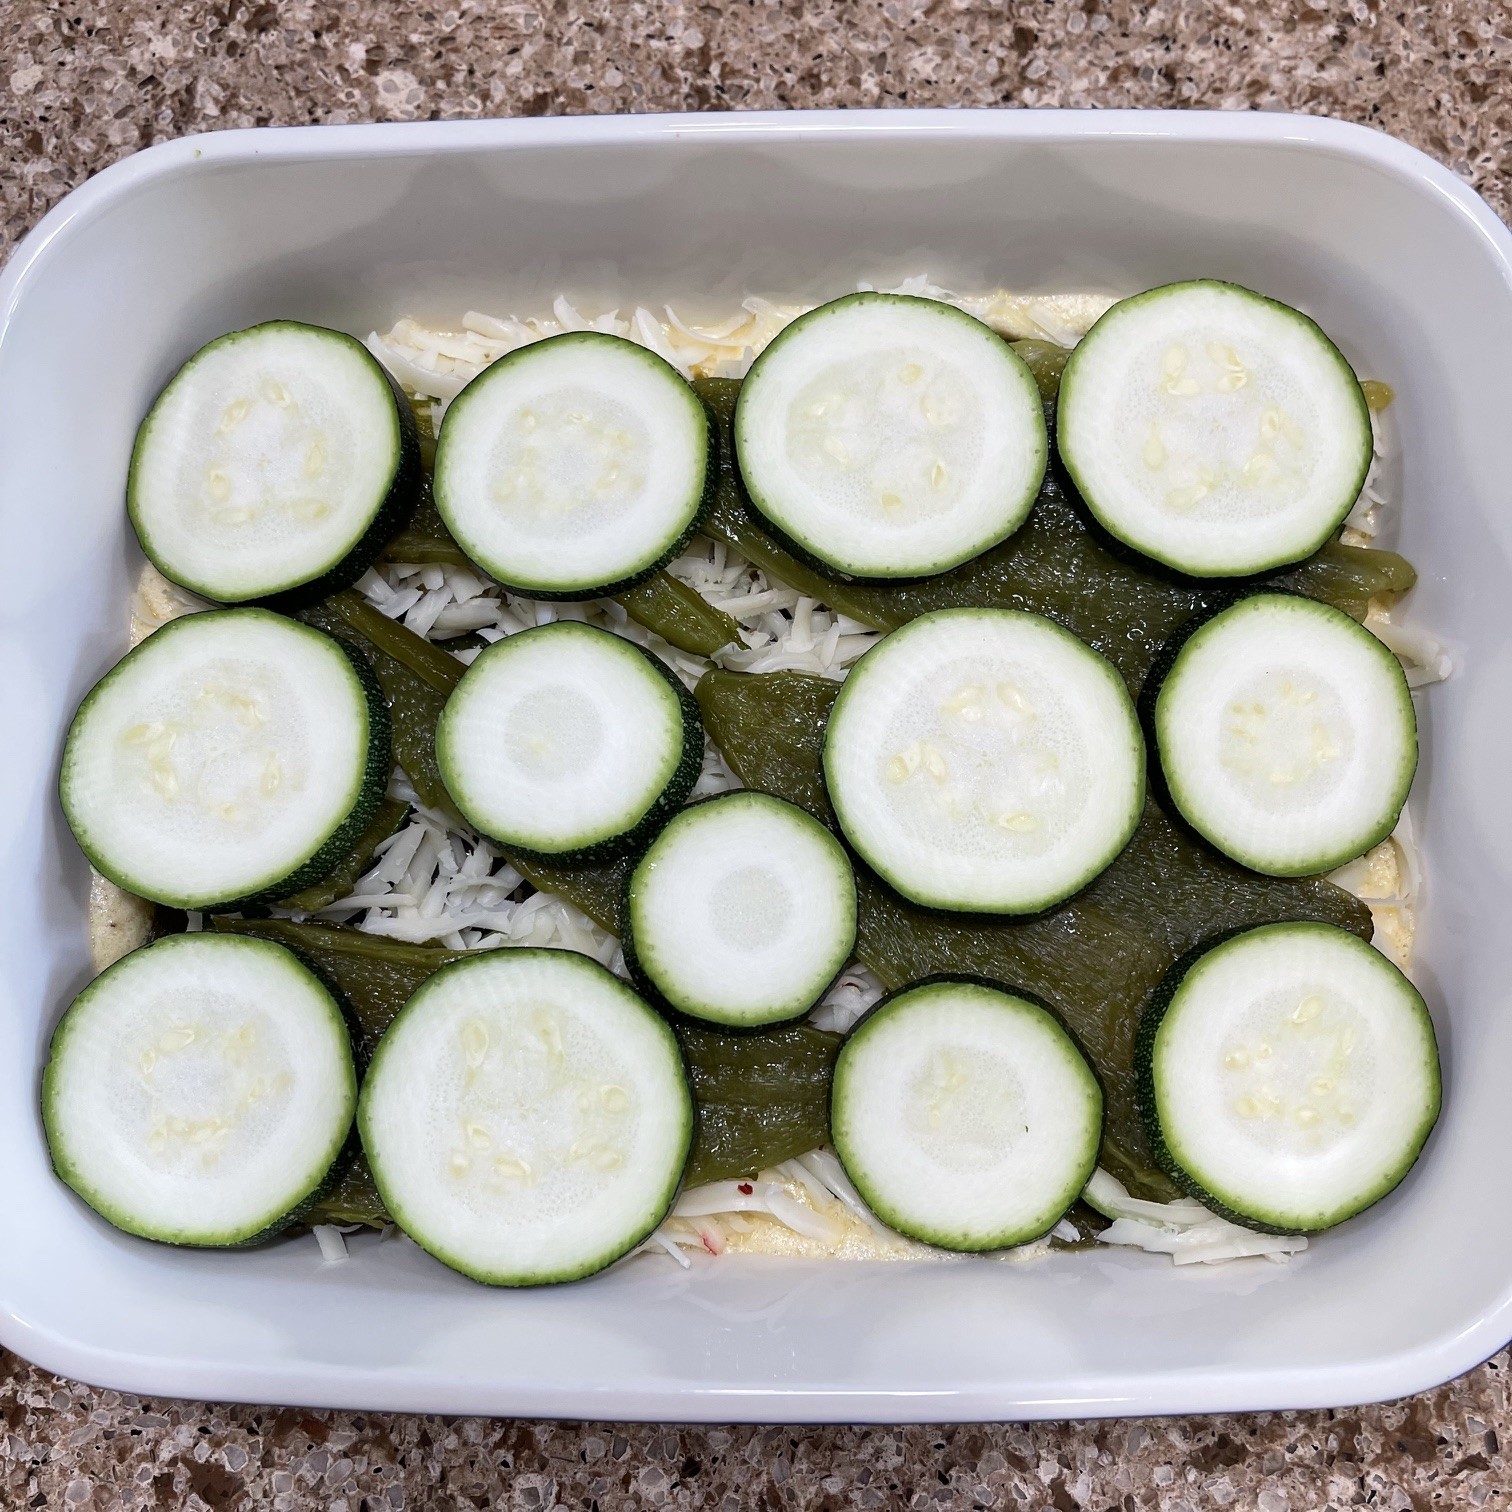
Layer half of remaining cheese (one third of total cheese).
Pour on remaining egg mixture and spread to cover.
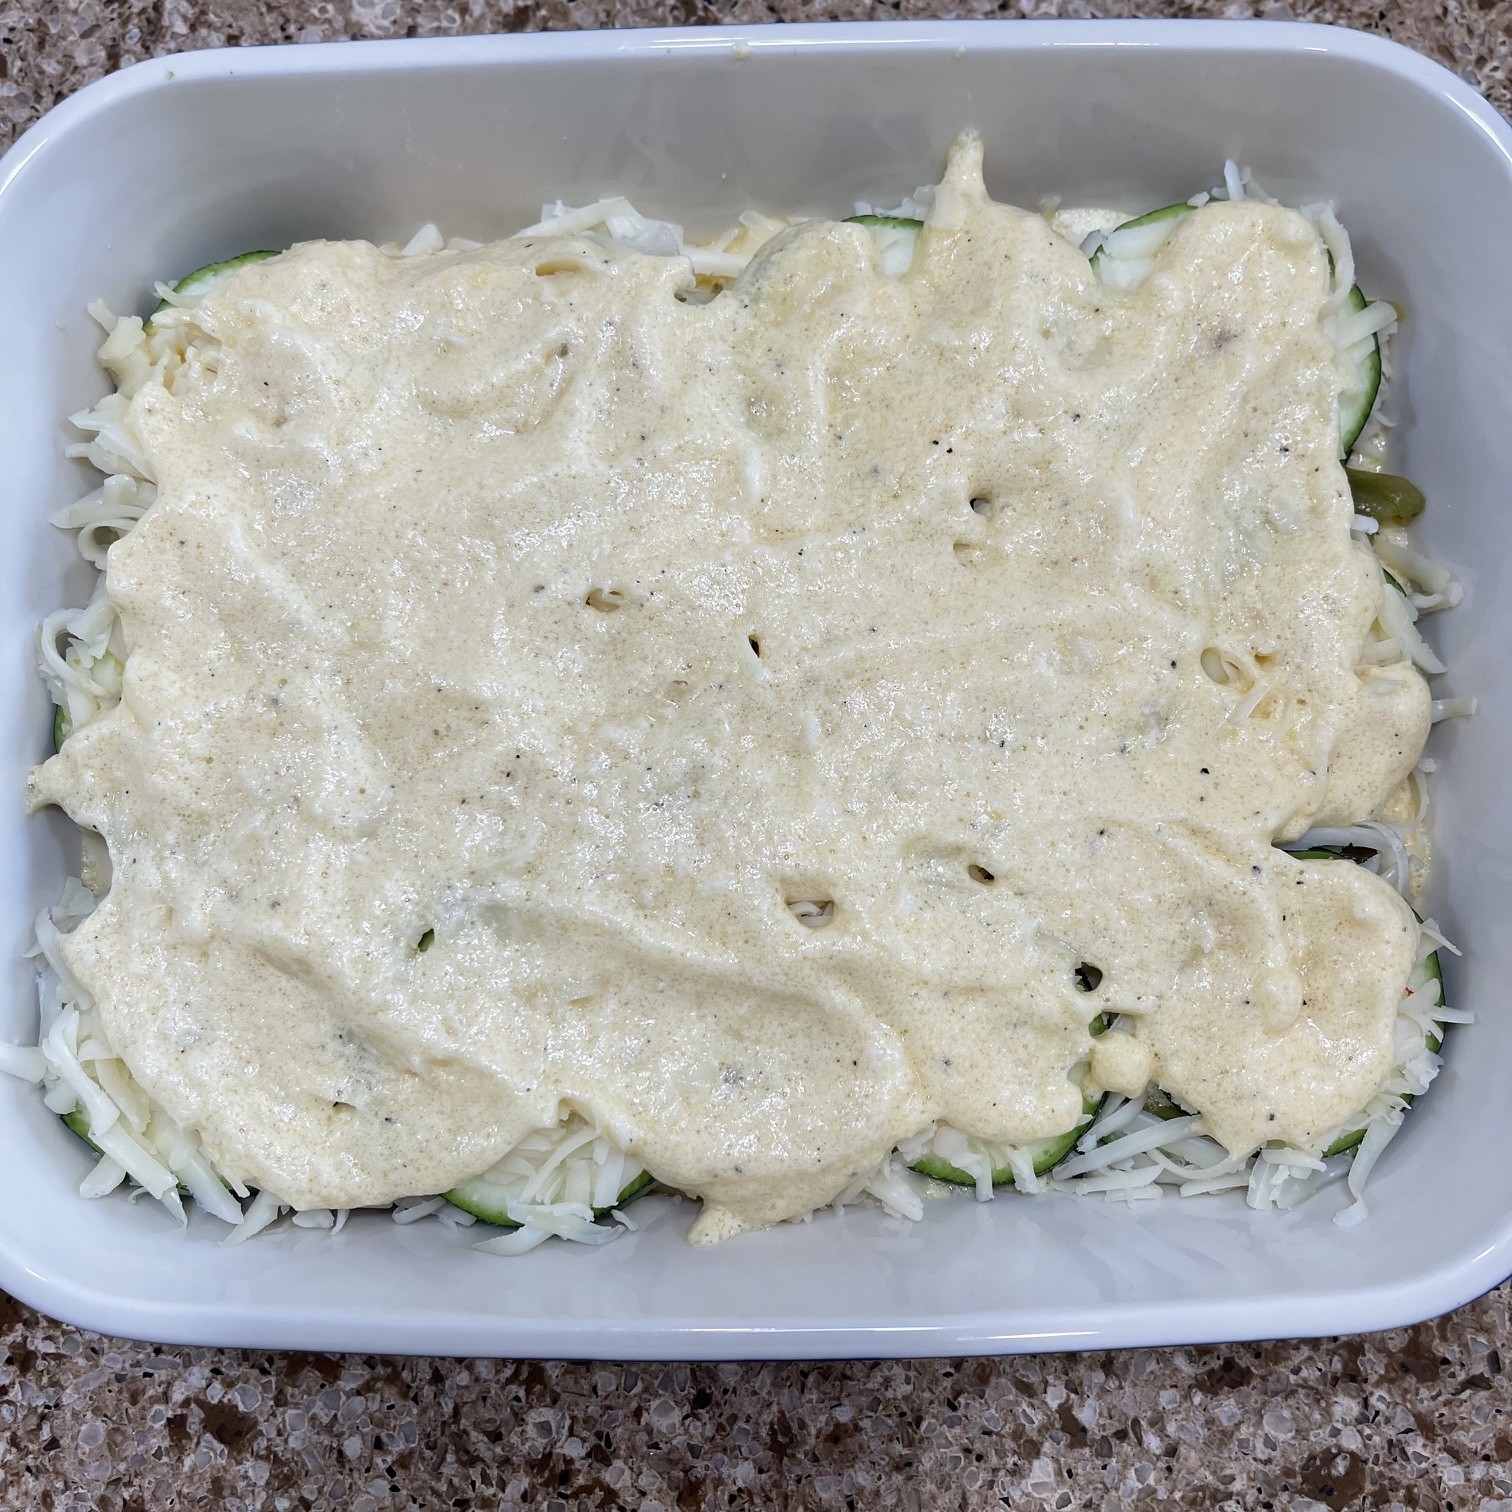
Sprinkle on remaining cheese and bake UNCOVERED at 350°F (180°C) until browned on top – about 30 minutes.
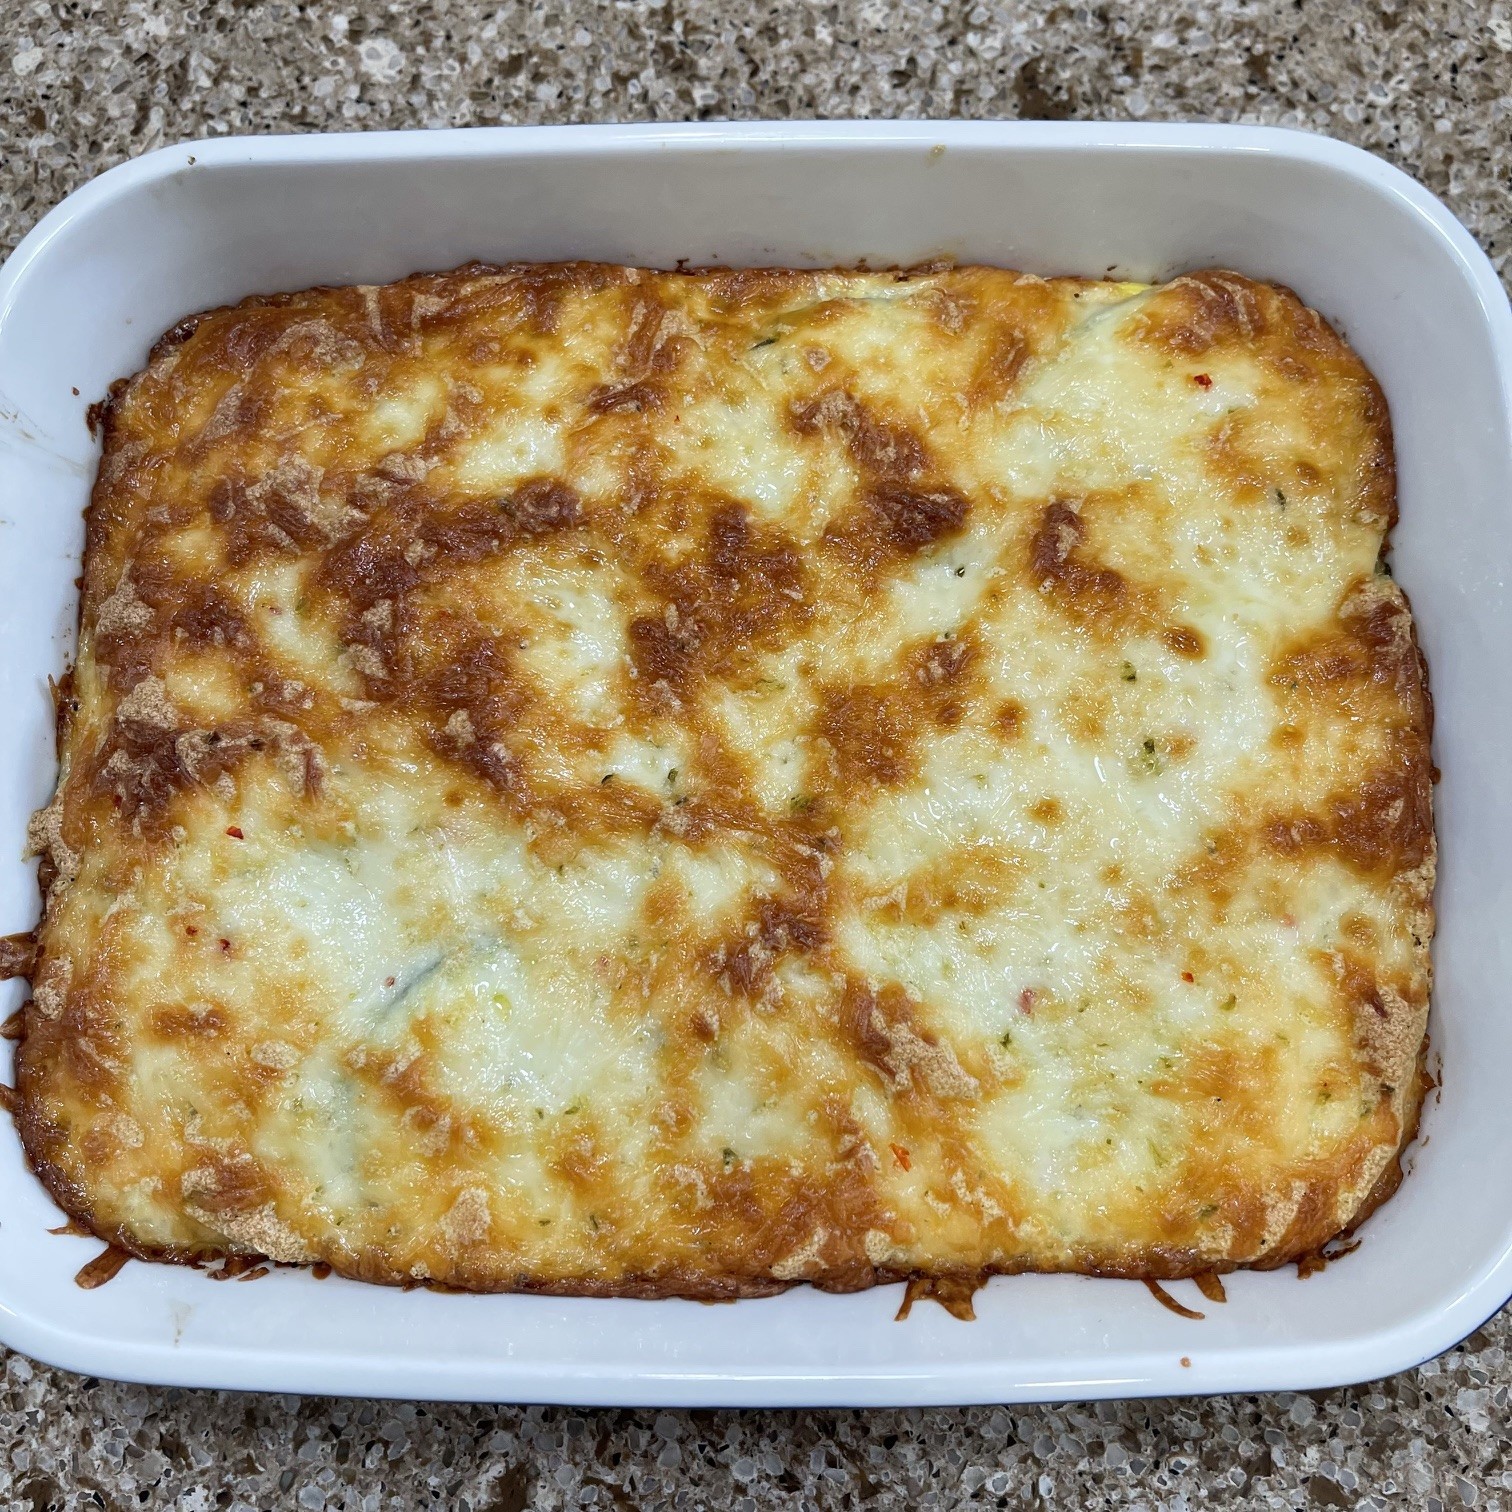
Let set about 10 minutes or so before serving.
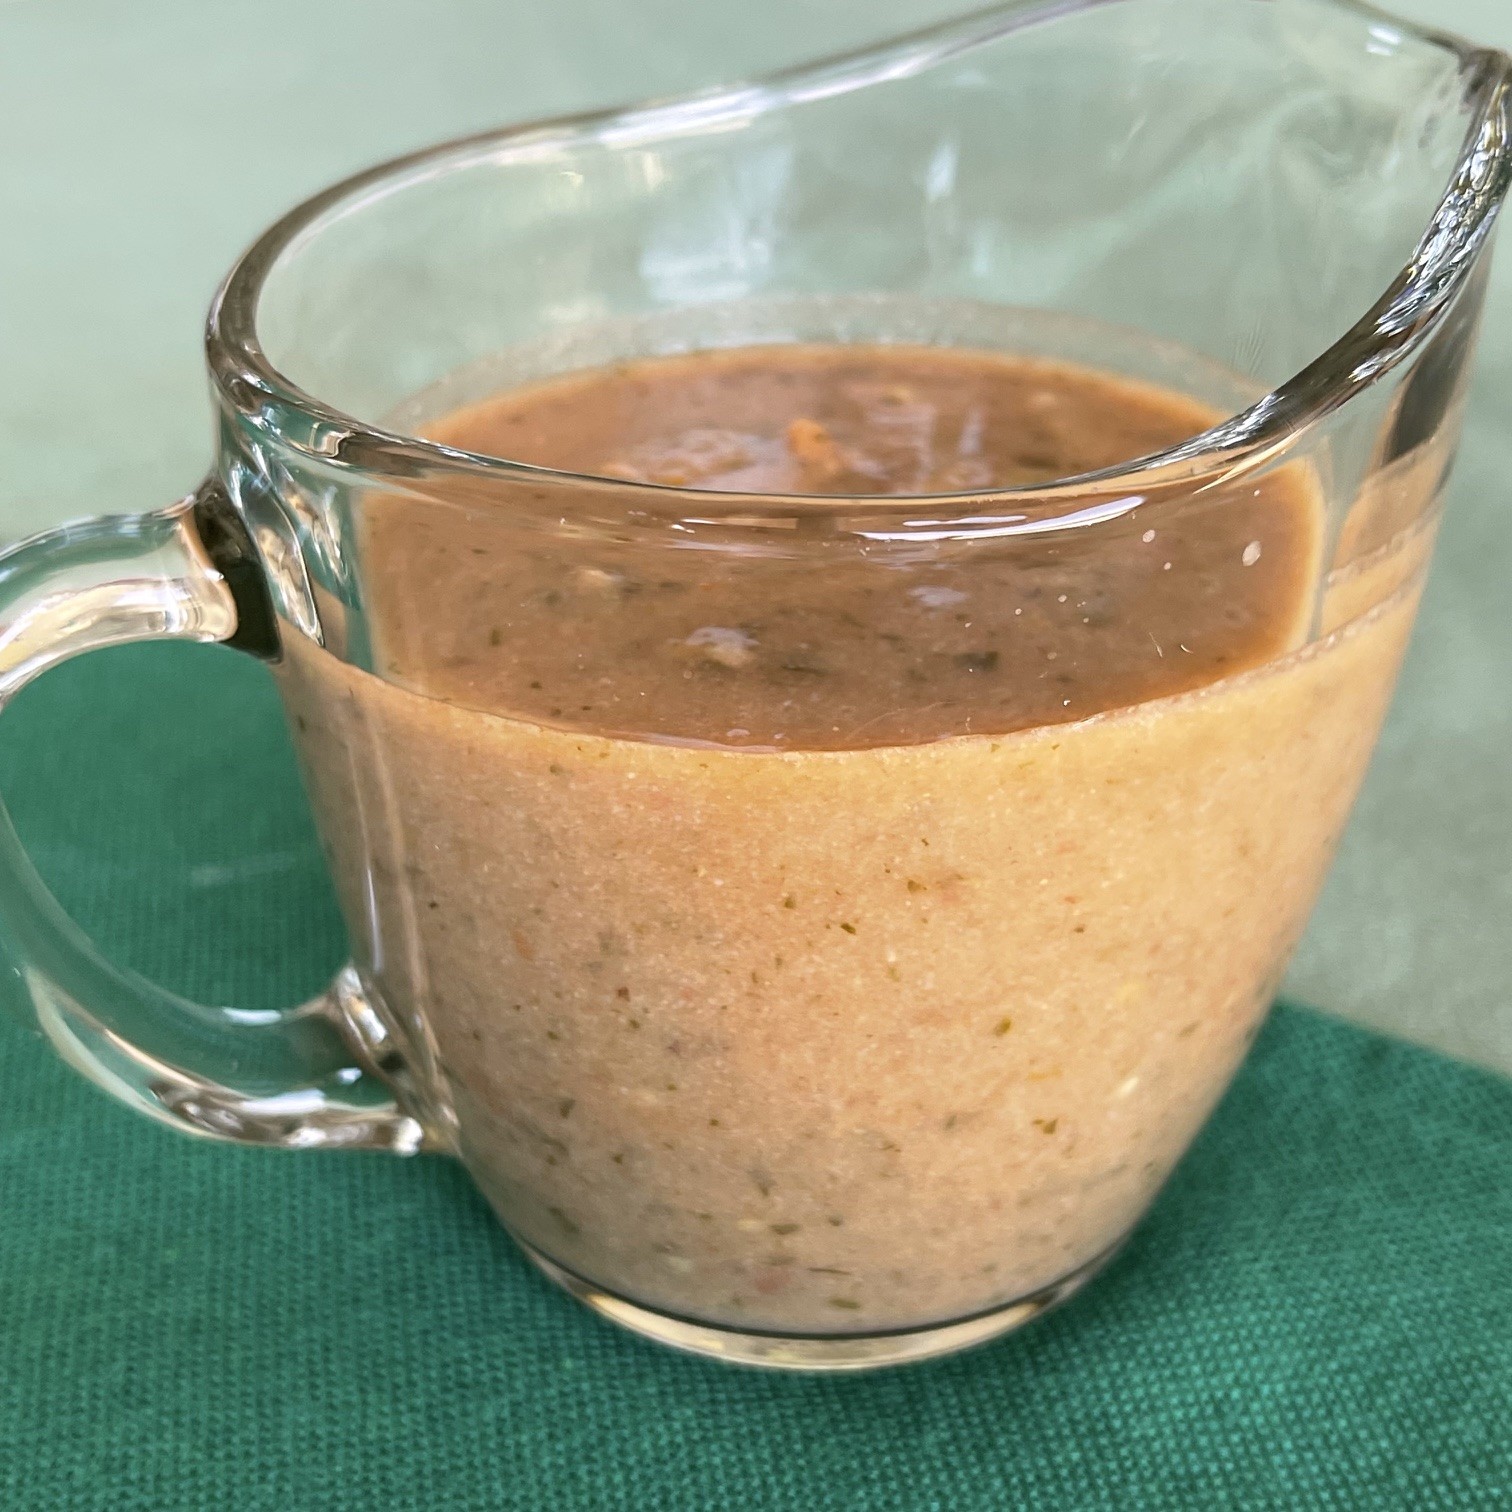
While Chile Rellano is setting, prepare the Rellano Salsa. It just take minutes. This can be done ahead of time, also.
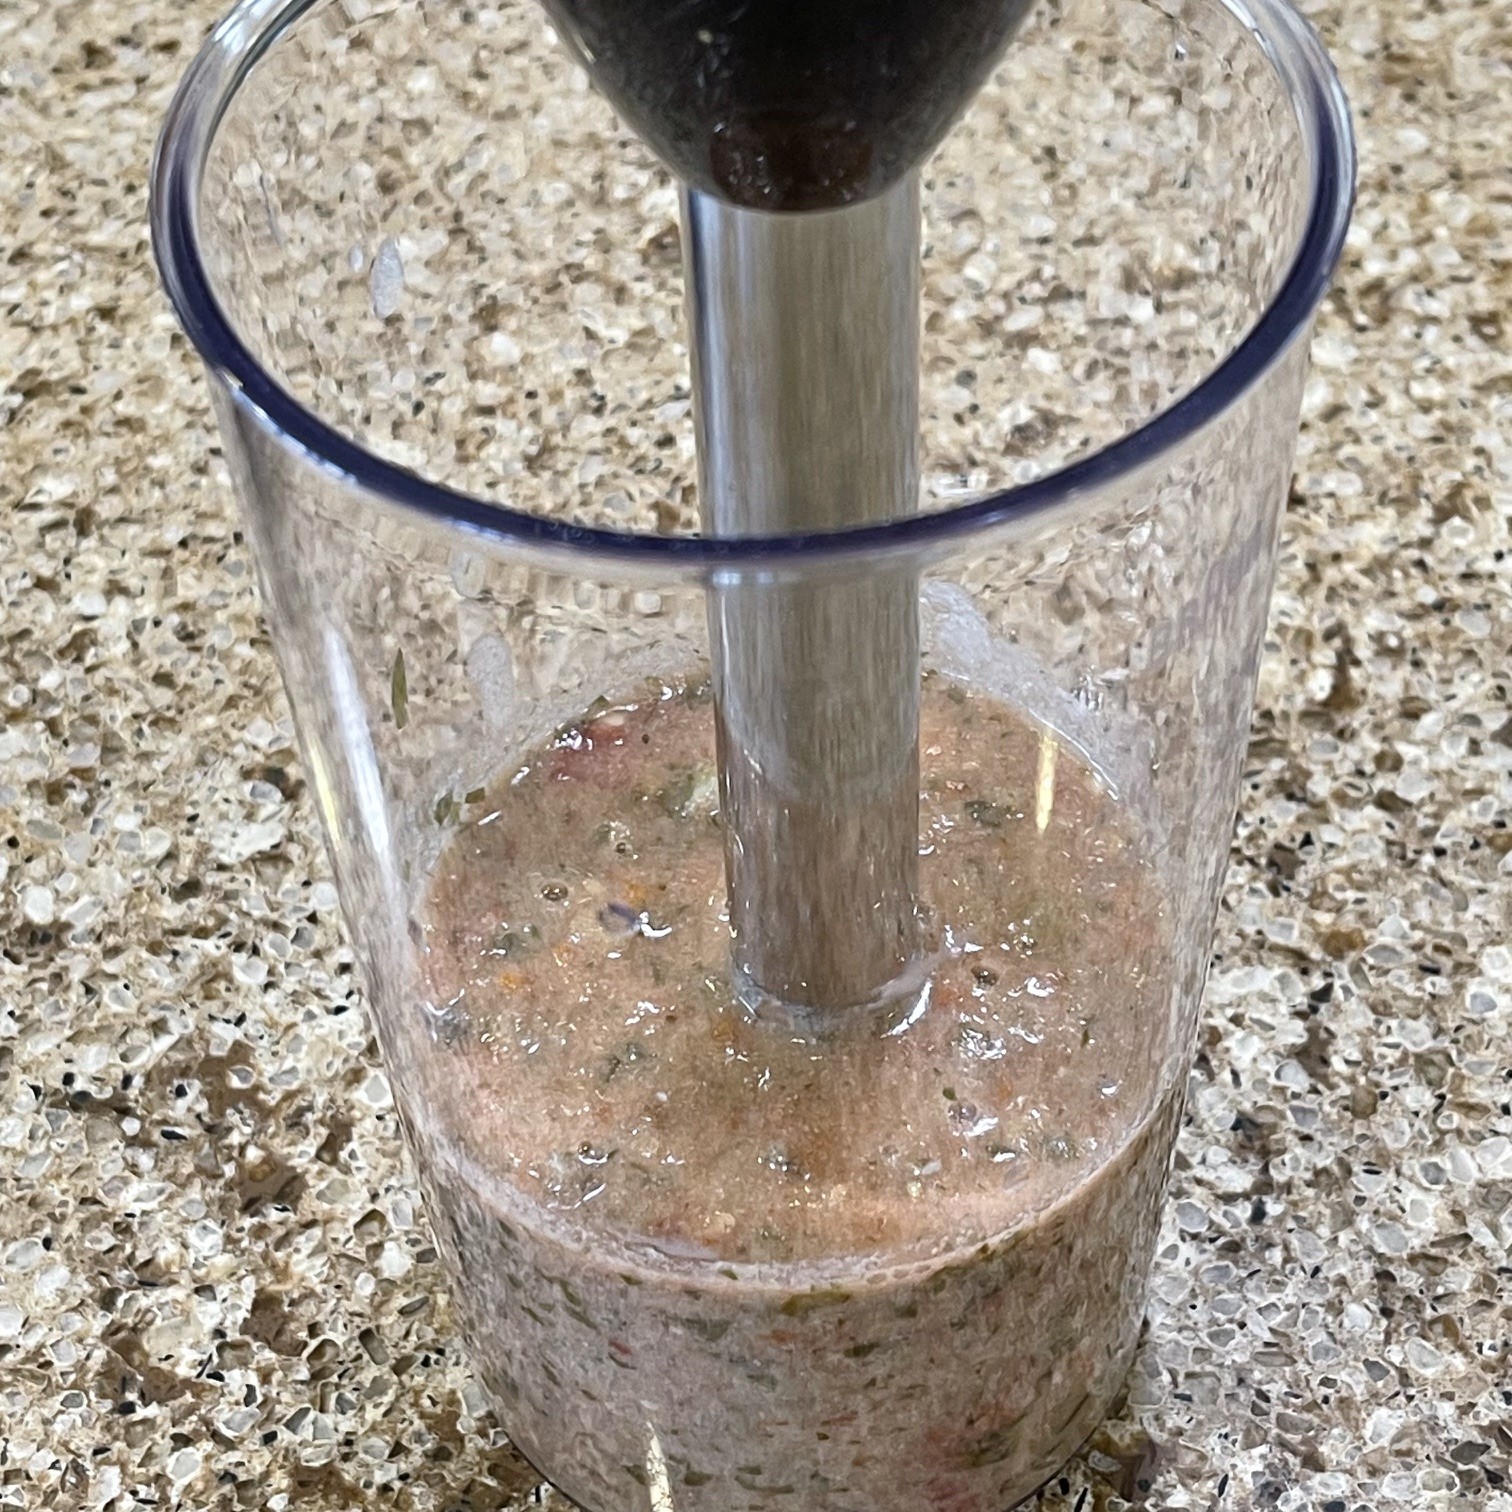
Into a food processor, immersion blender, or regular pitcher blender, add the salsa, oregano, masa harina, and salt.
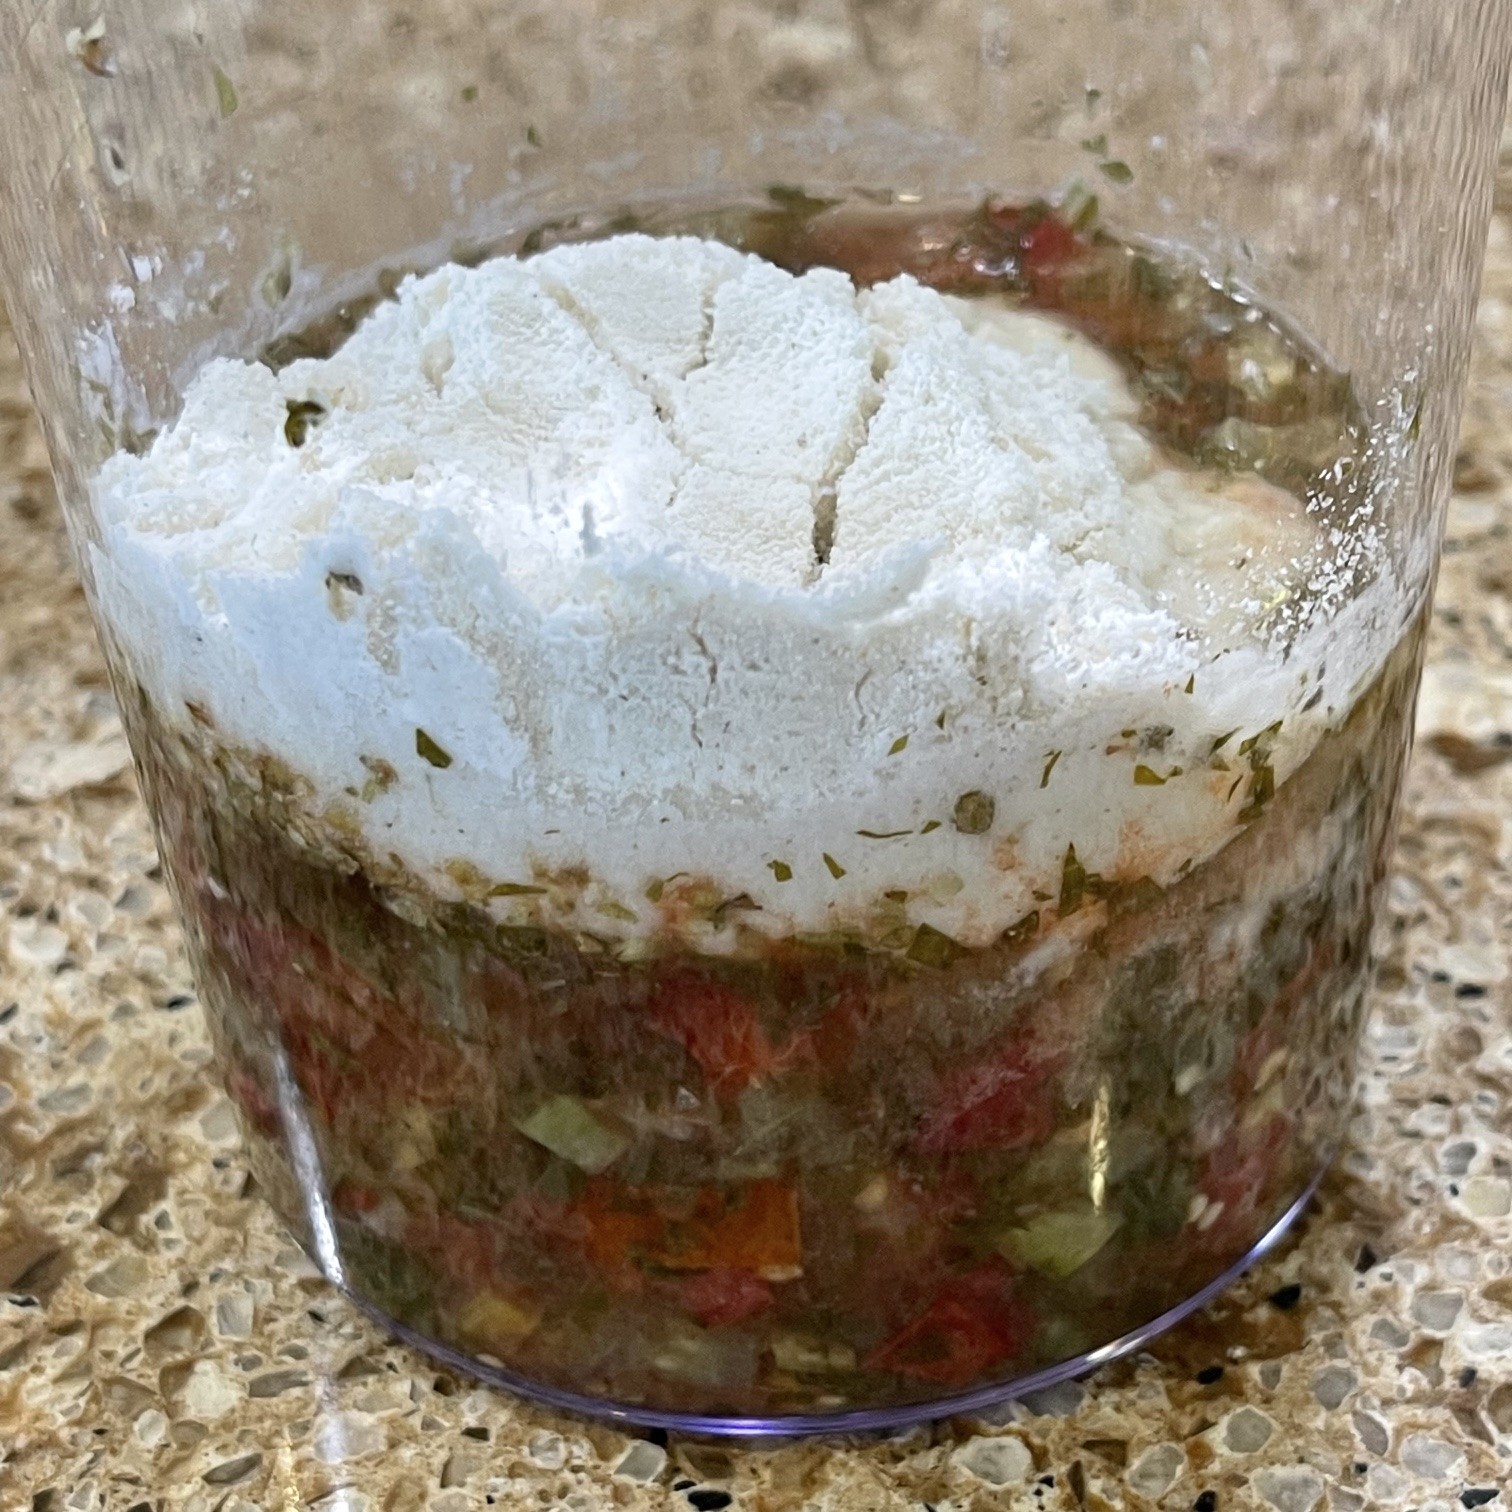
Blend – I’m using my immersion blender.
Done! As self proclaimed Queen Of Freeze I would be remiss in my duties if I didn’t let you know this salsa freezes well. If you like it (try it first), double, triple, etc the recipe and freeze in portion sized containers for future use!