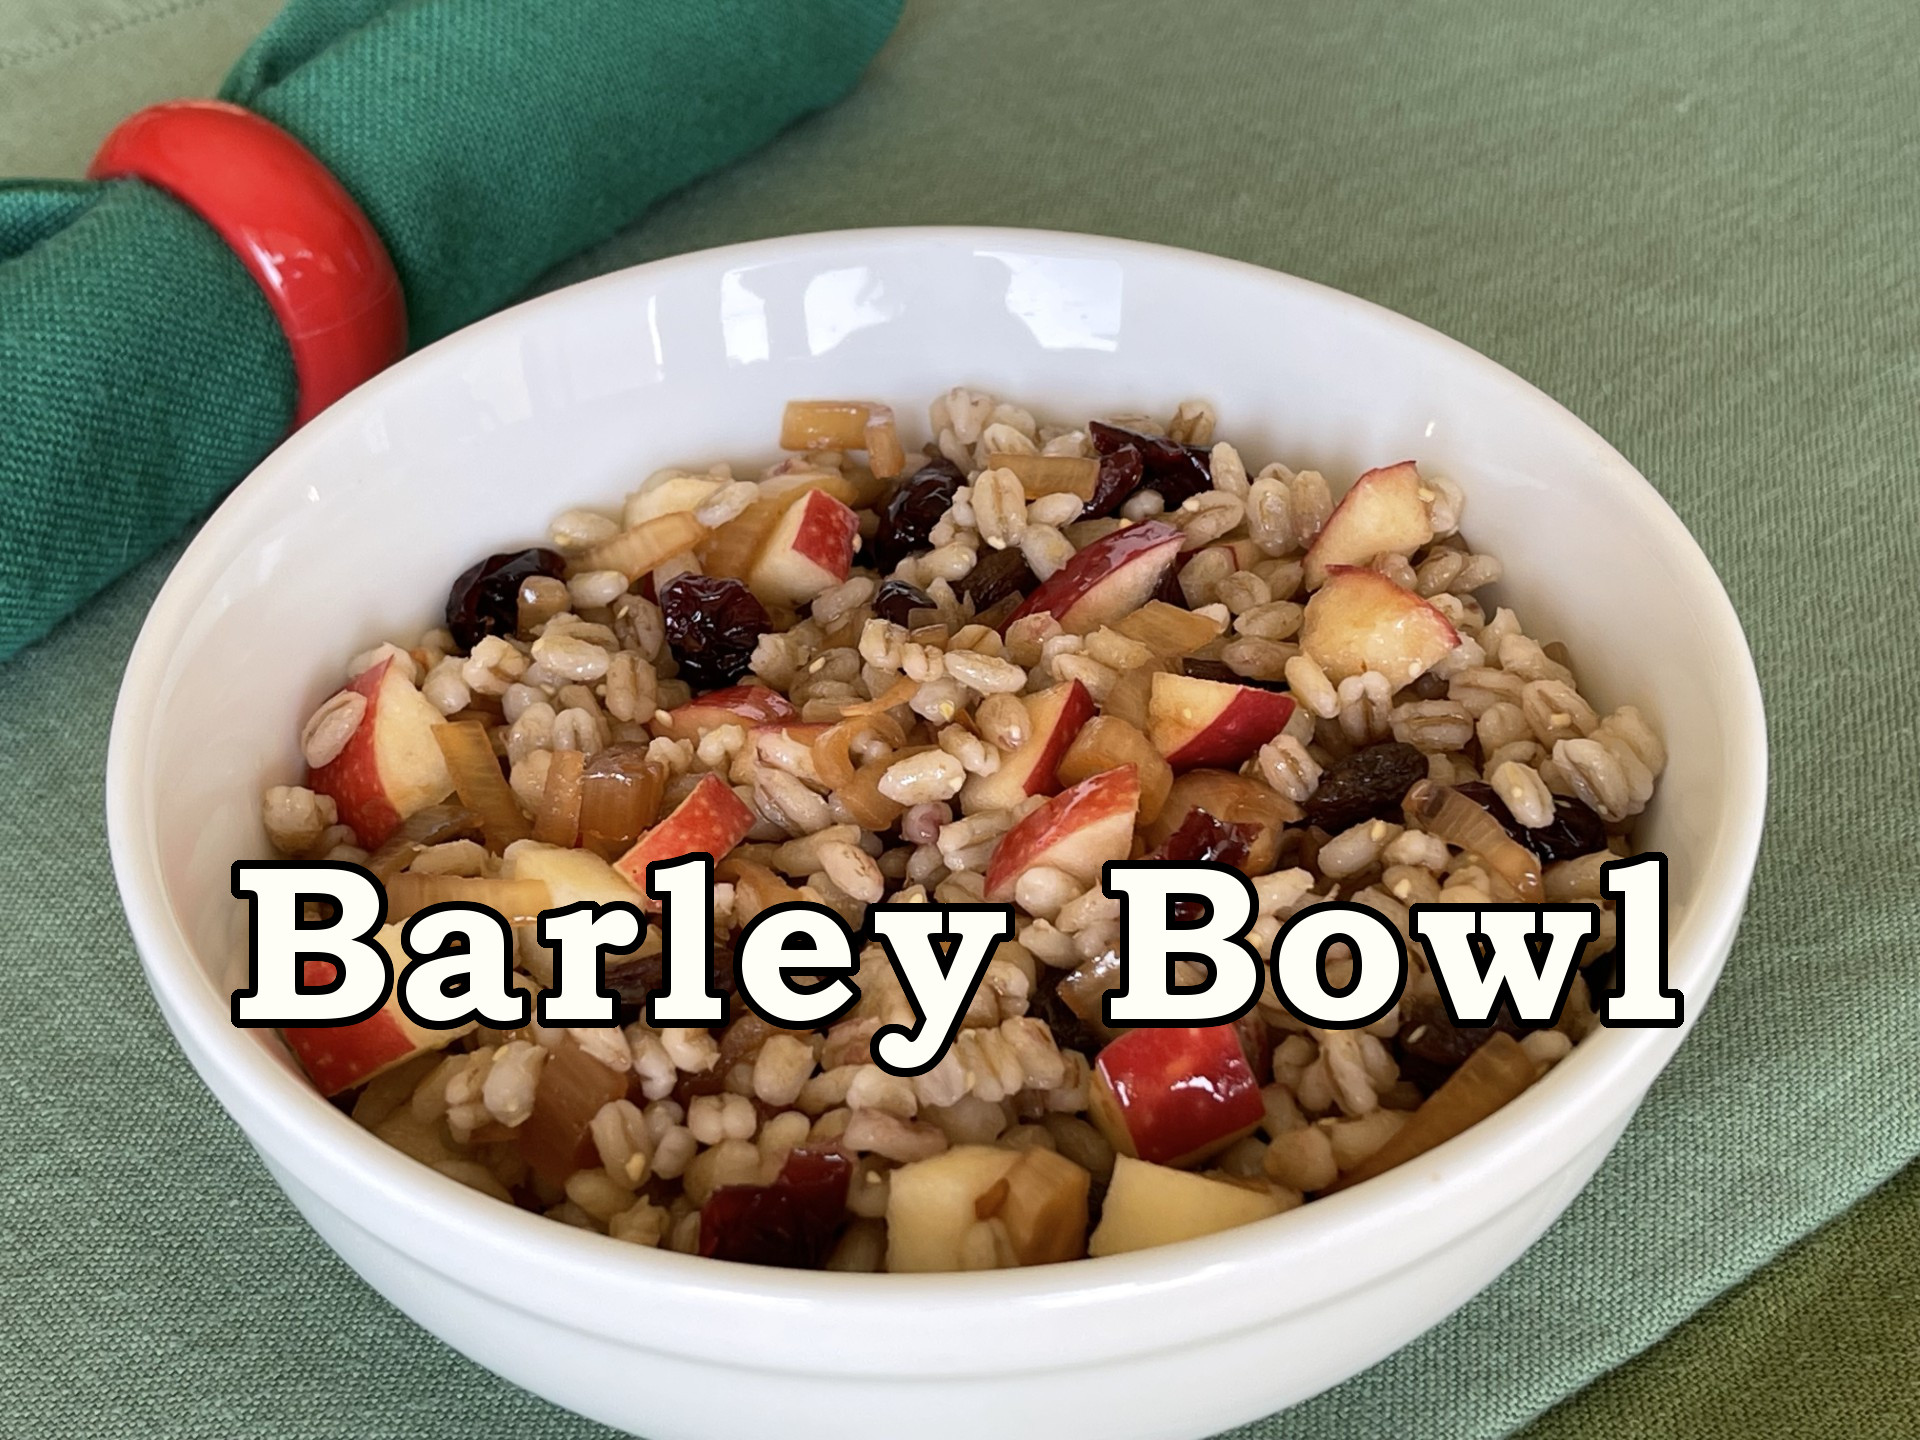
BARLEY BOWL: A Tasty Way To Increase Fibre Intake!

There’s a lot of talk these days about the importance of soluable fibre in our diets. Since my nursing school days, I’ve been a big believer in “you are what you eat”. So, I made a list of foods high in soluable fibre. My plan was to create a readily available dish to keep on hand for those moments when we feel a little peckish in between meals.

My recipe for Barley Bowl is very flexible. Even the barley can be substituted for another grain. Above all, whatever you include in your bowl, choose foods you like to ensure you’ll actually eat it.

BARLEY BOWL – makes 4 cups (1 litre)

  • 170g (1 cup) uncooked barley (I use pearled barley)
  • 1 tsp table salt, DIVIDED
  • 18g (2) shallots, chopped
  • 30g (3 T ) red wine vinegar
  • 24g (1.5 T) balsamic vinegar
  • 1/4 tsp red pepper flakes
  • 1 tsp granulated sugar
  • 3g (2 T) olive oil
  • 1 apple, chopped into bite sized pieces
  • 44g (1/3 cup) raisins
  • 44 g (1/3 cup dried cranberries

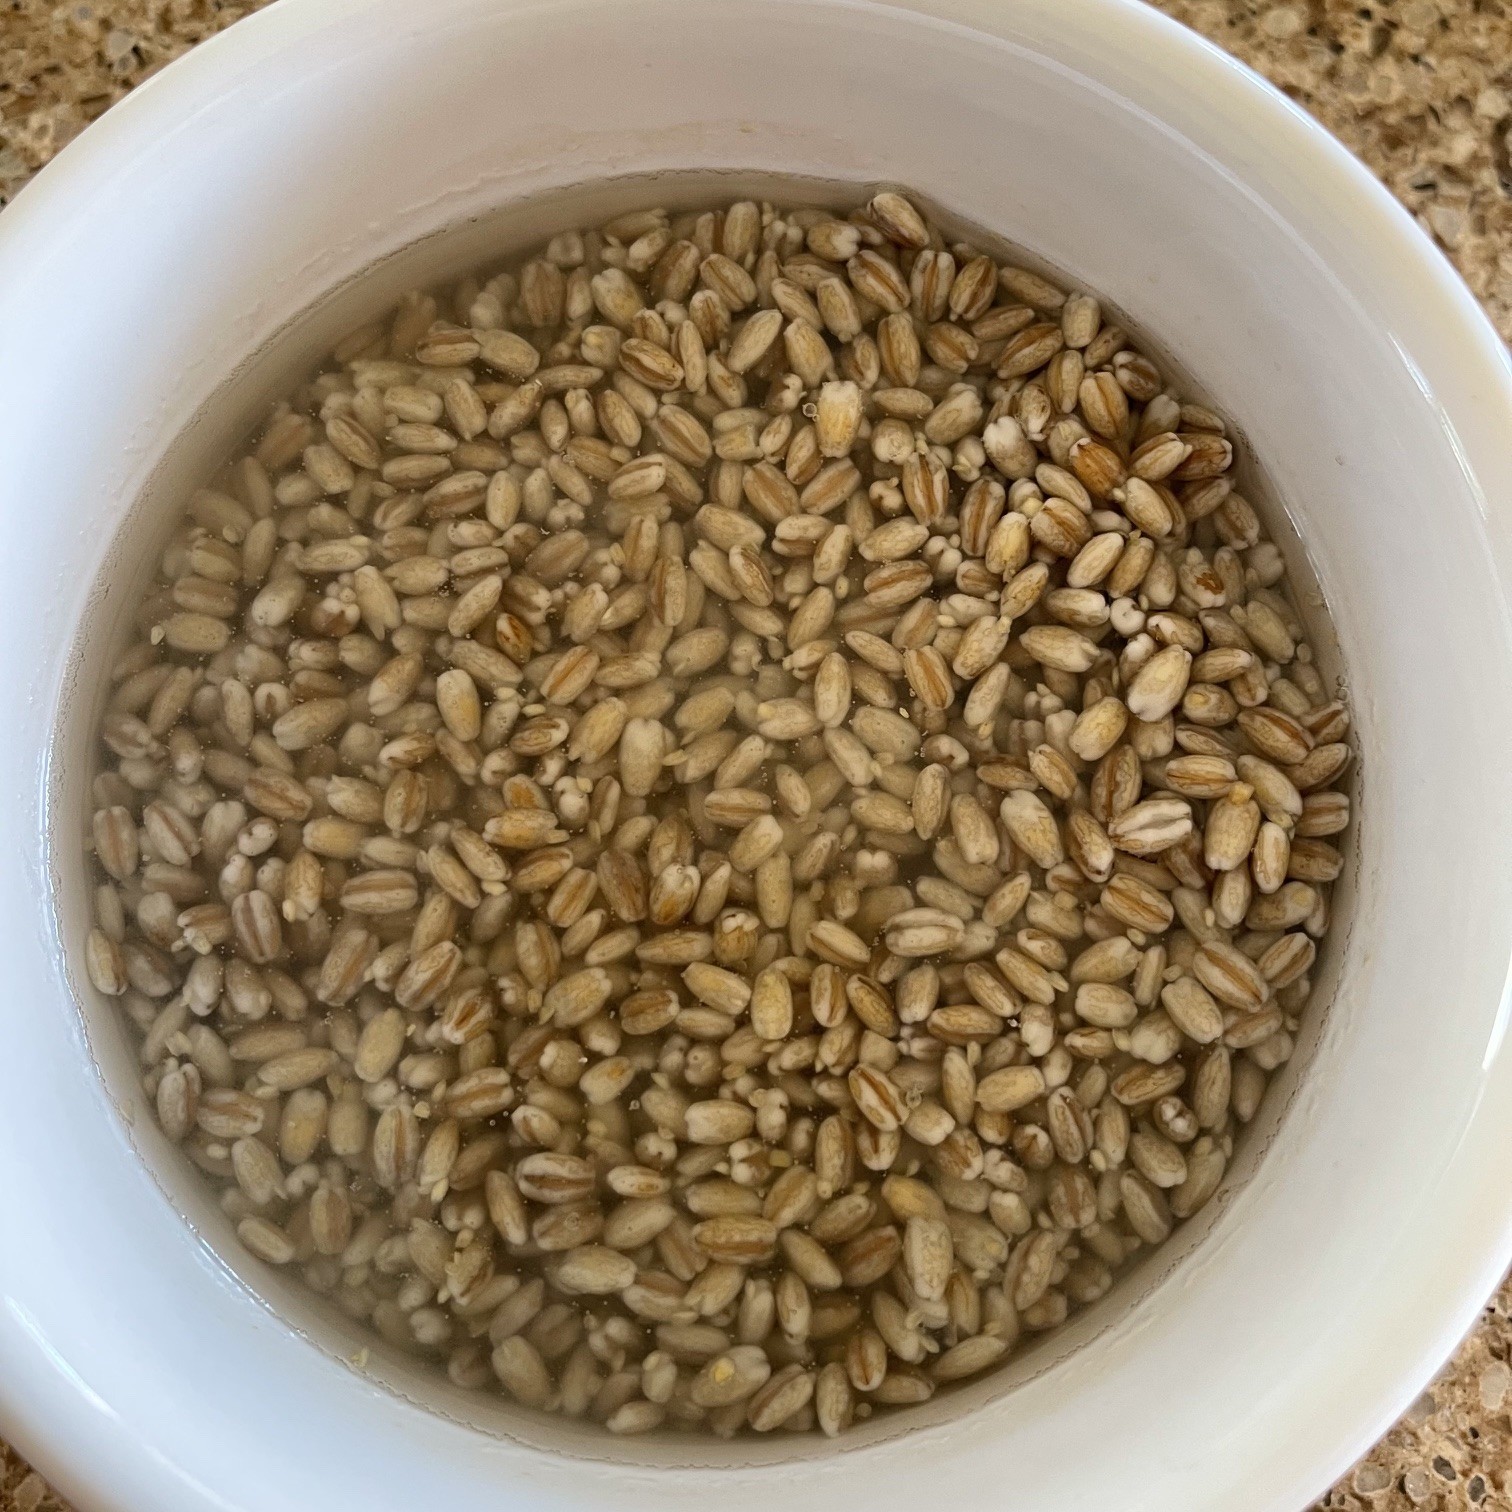
The night before (or the morning of) preparing Barley Bowl, rinse the uncooked barley in a sieve. Then tip drained barley into a bowl. Cover barley with water and let soak. This decreases cooking time.
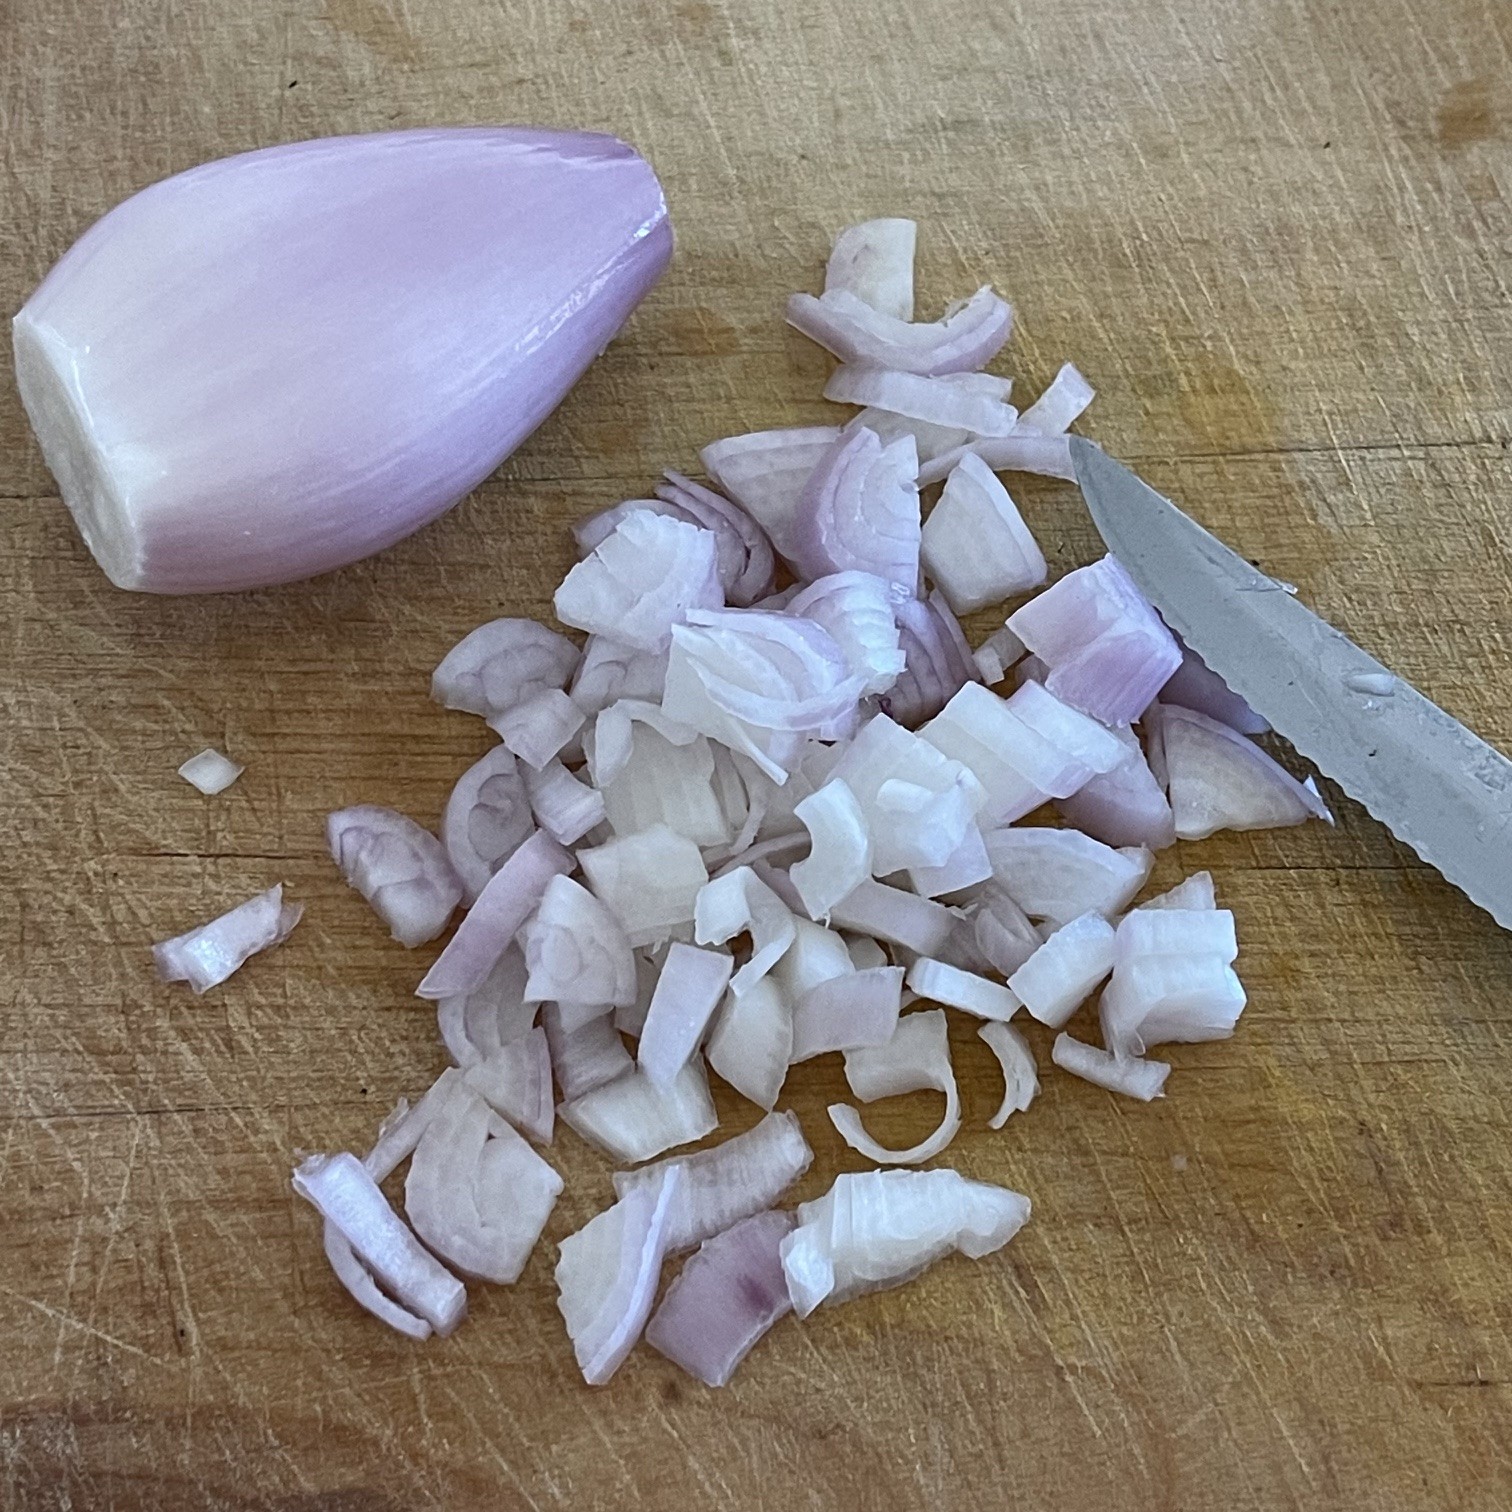
Slice shallots.
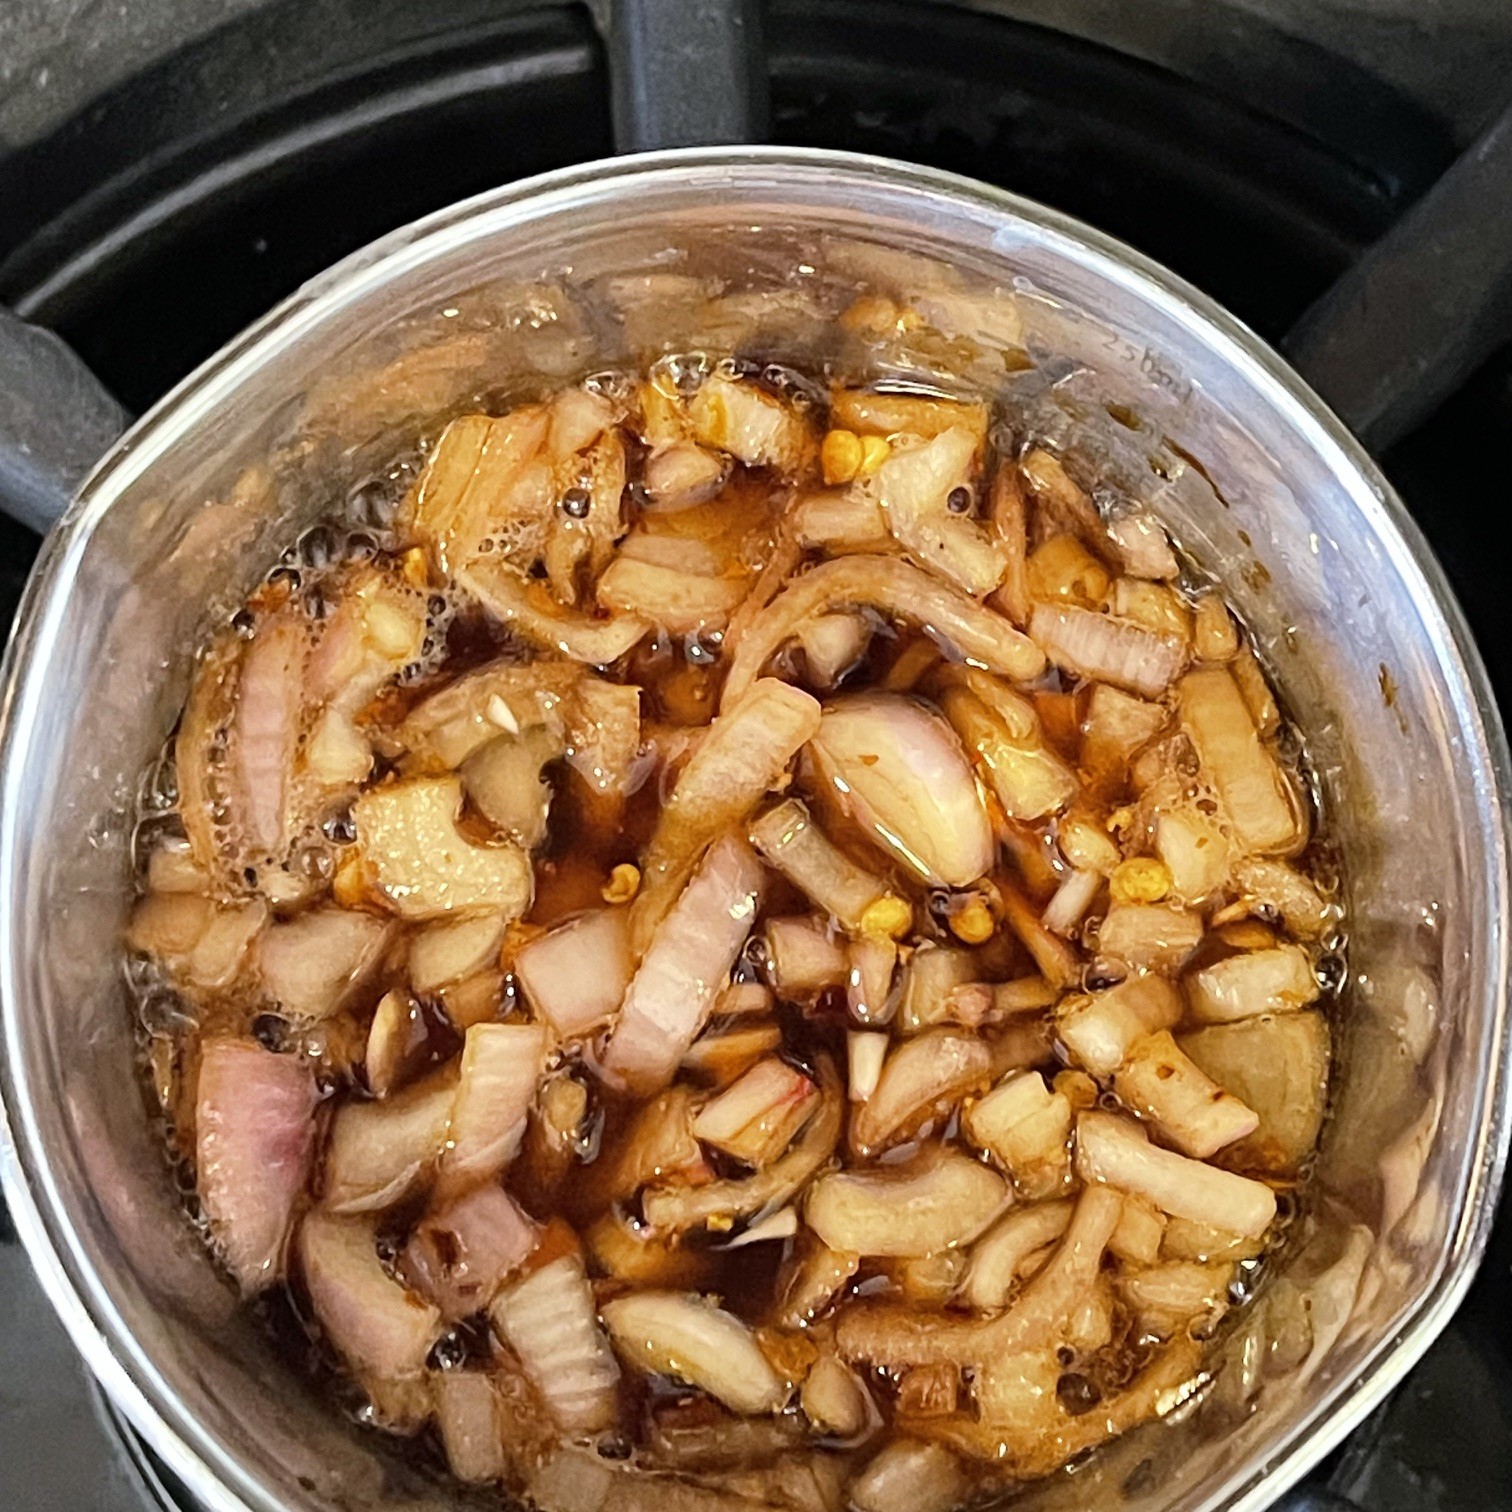
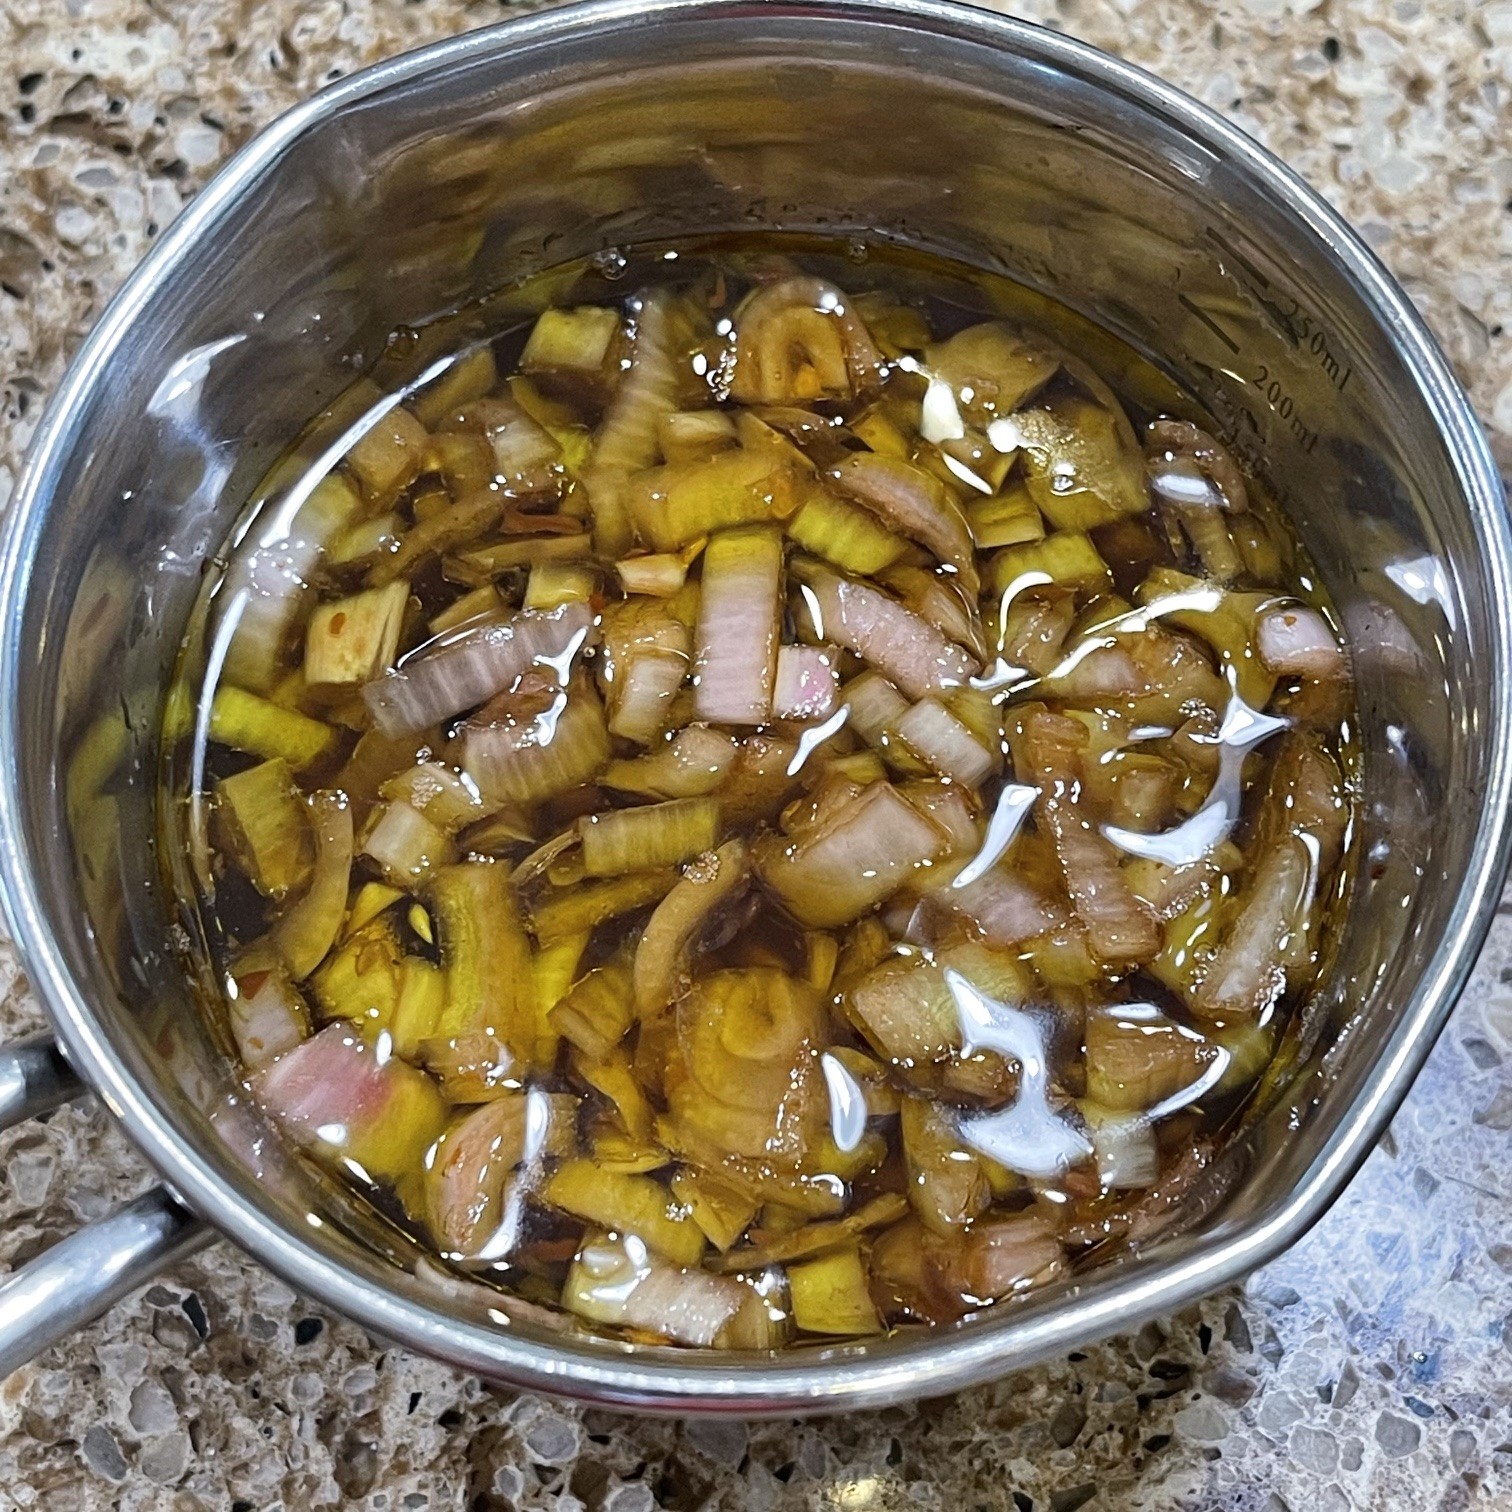
Place sliced shallots in a small saucepan. Add in red wine vinegar, 1/2 tsp salt, balsamic vinegar, red pepper flakes, and sugar. Over low/medium heat, bring to boil. Turn off heat and cover pan. Let set at least 30 minutes. (This can be done ahead of time.)
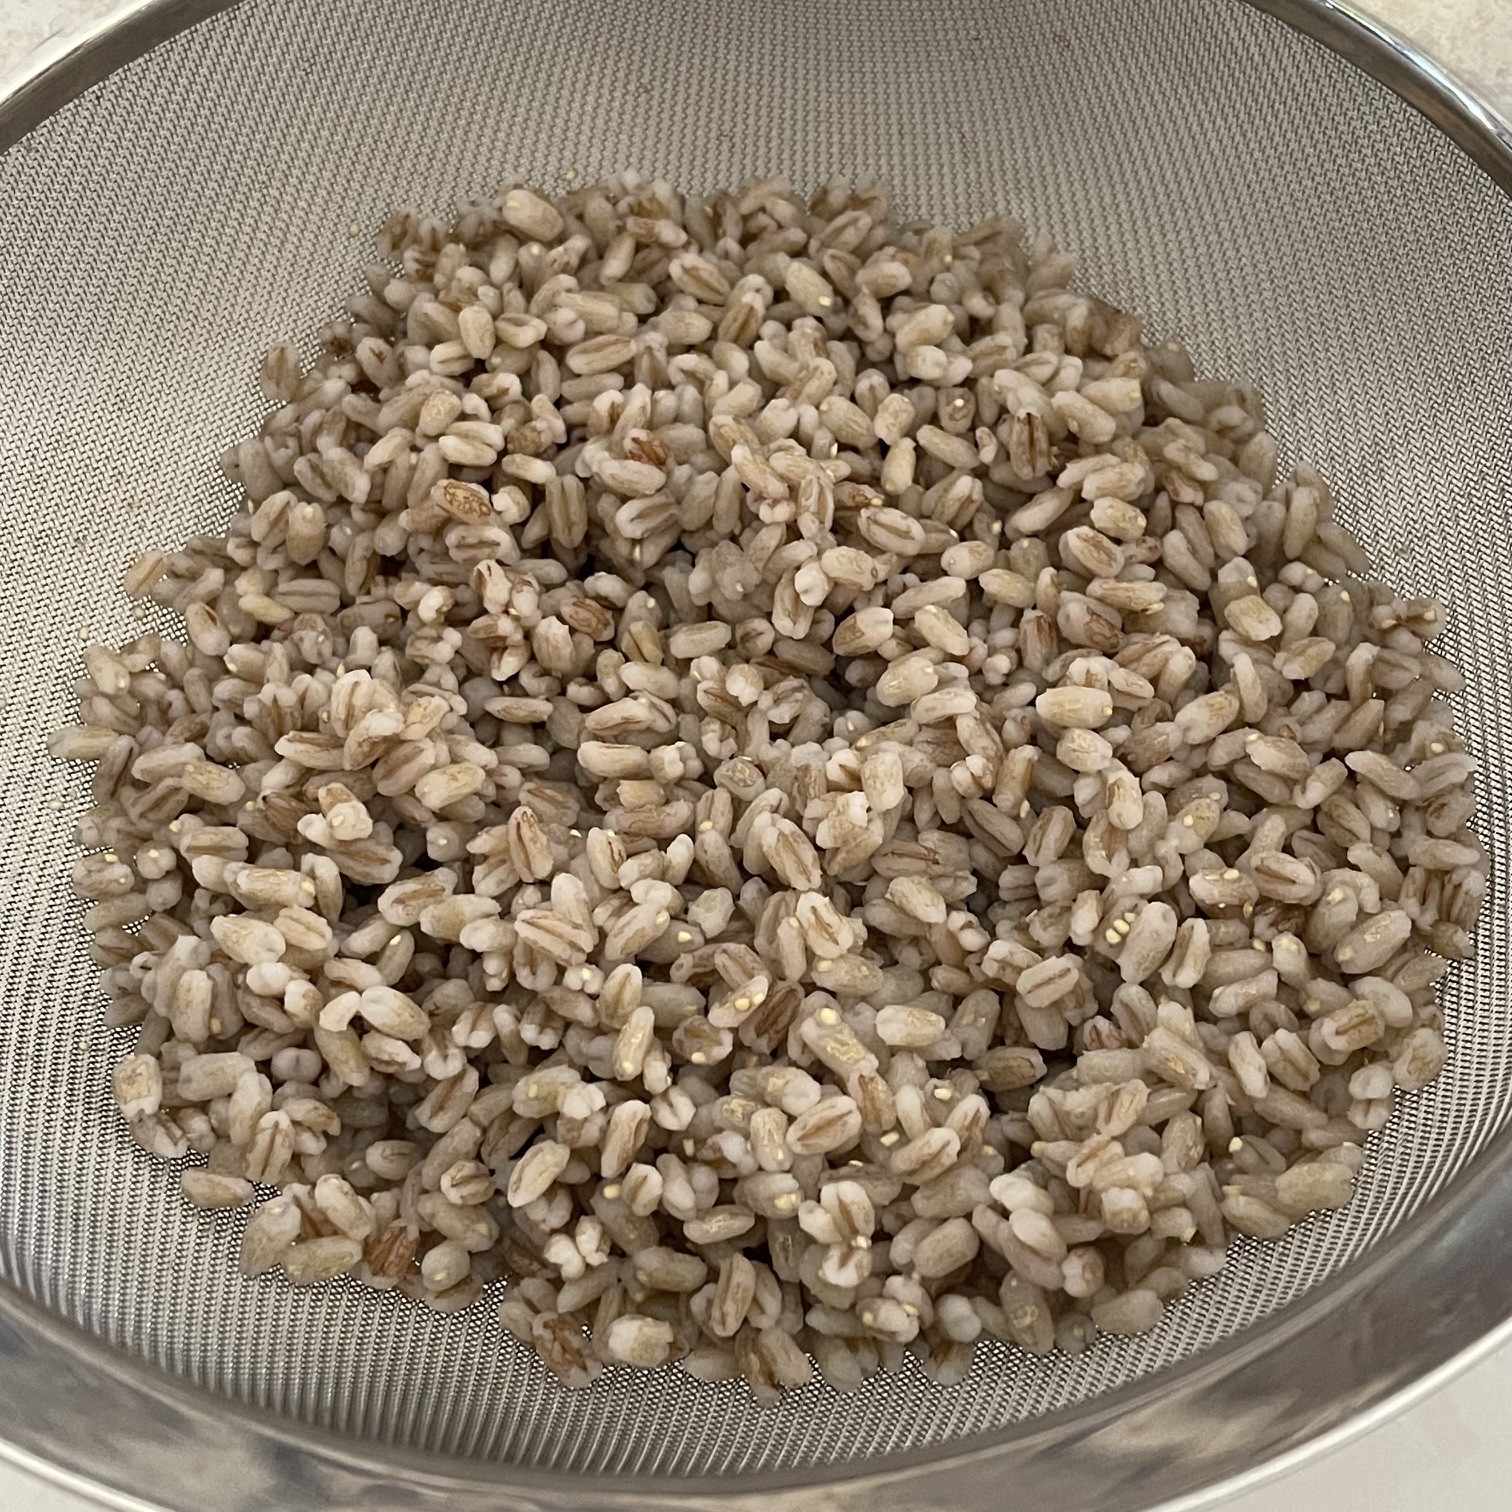
After barley has soaked overnight or at least several hours, drain and rinse well. Empty barley into a saucepan and cover with water. Add remaining 1/2 tsp salt to pot. Over medium heat, bring to a boil, then reduce heat to maintain a simmer. Cook until barley is softened – about 10-18 minutes. Drain and rinse.
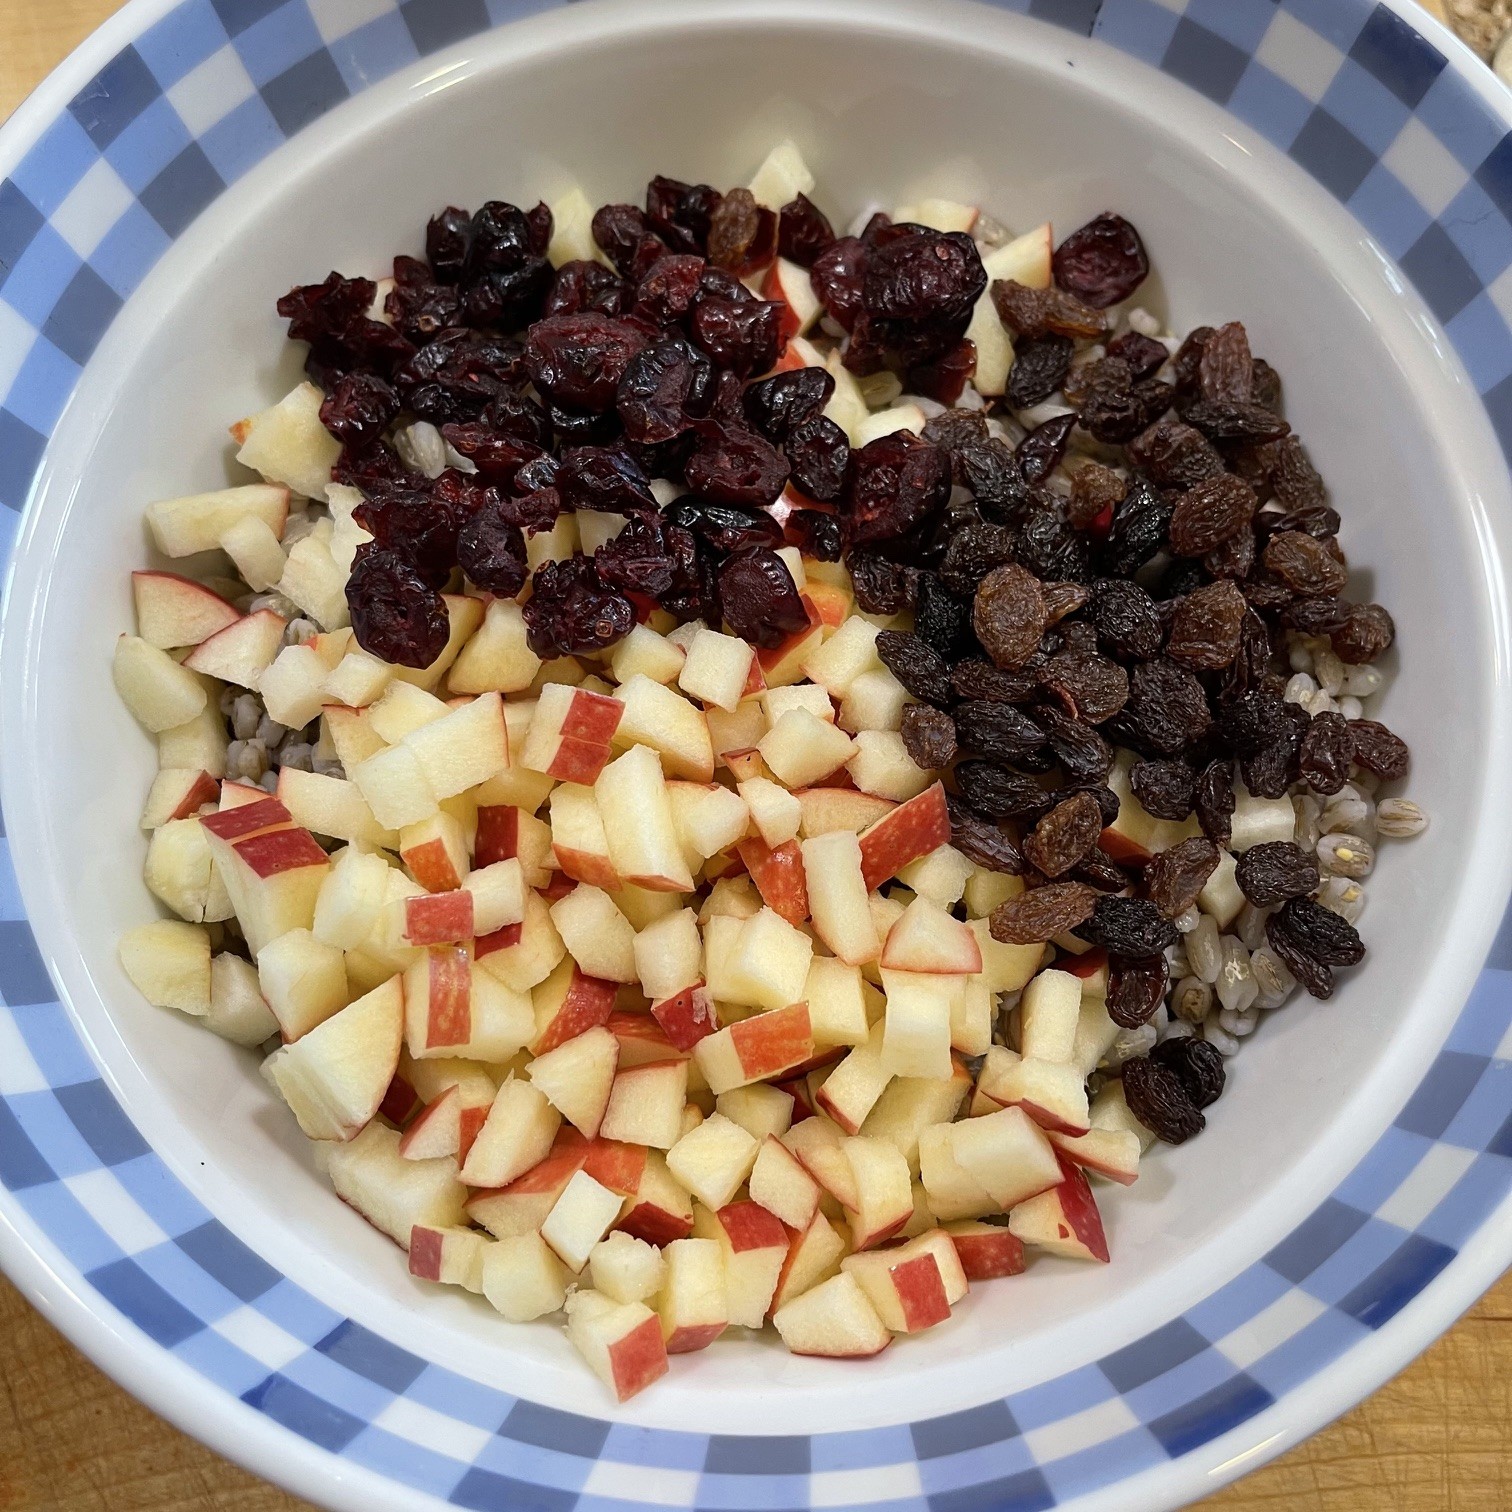
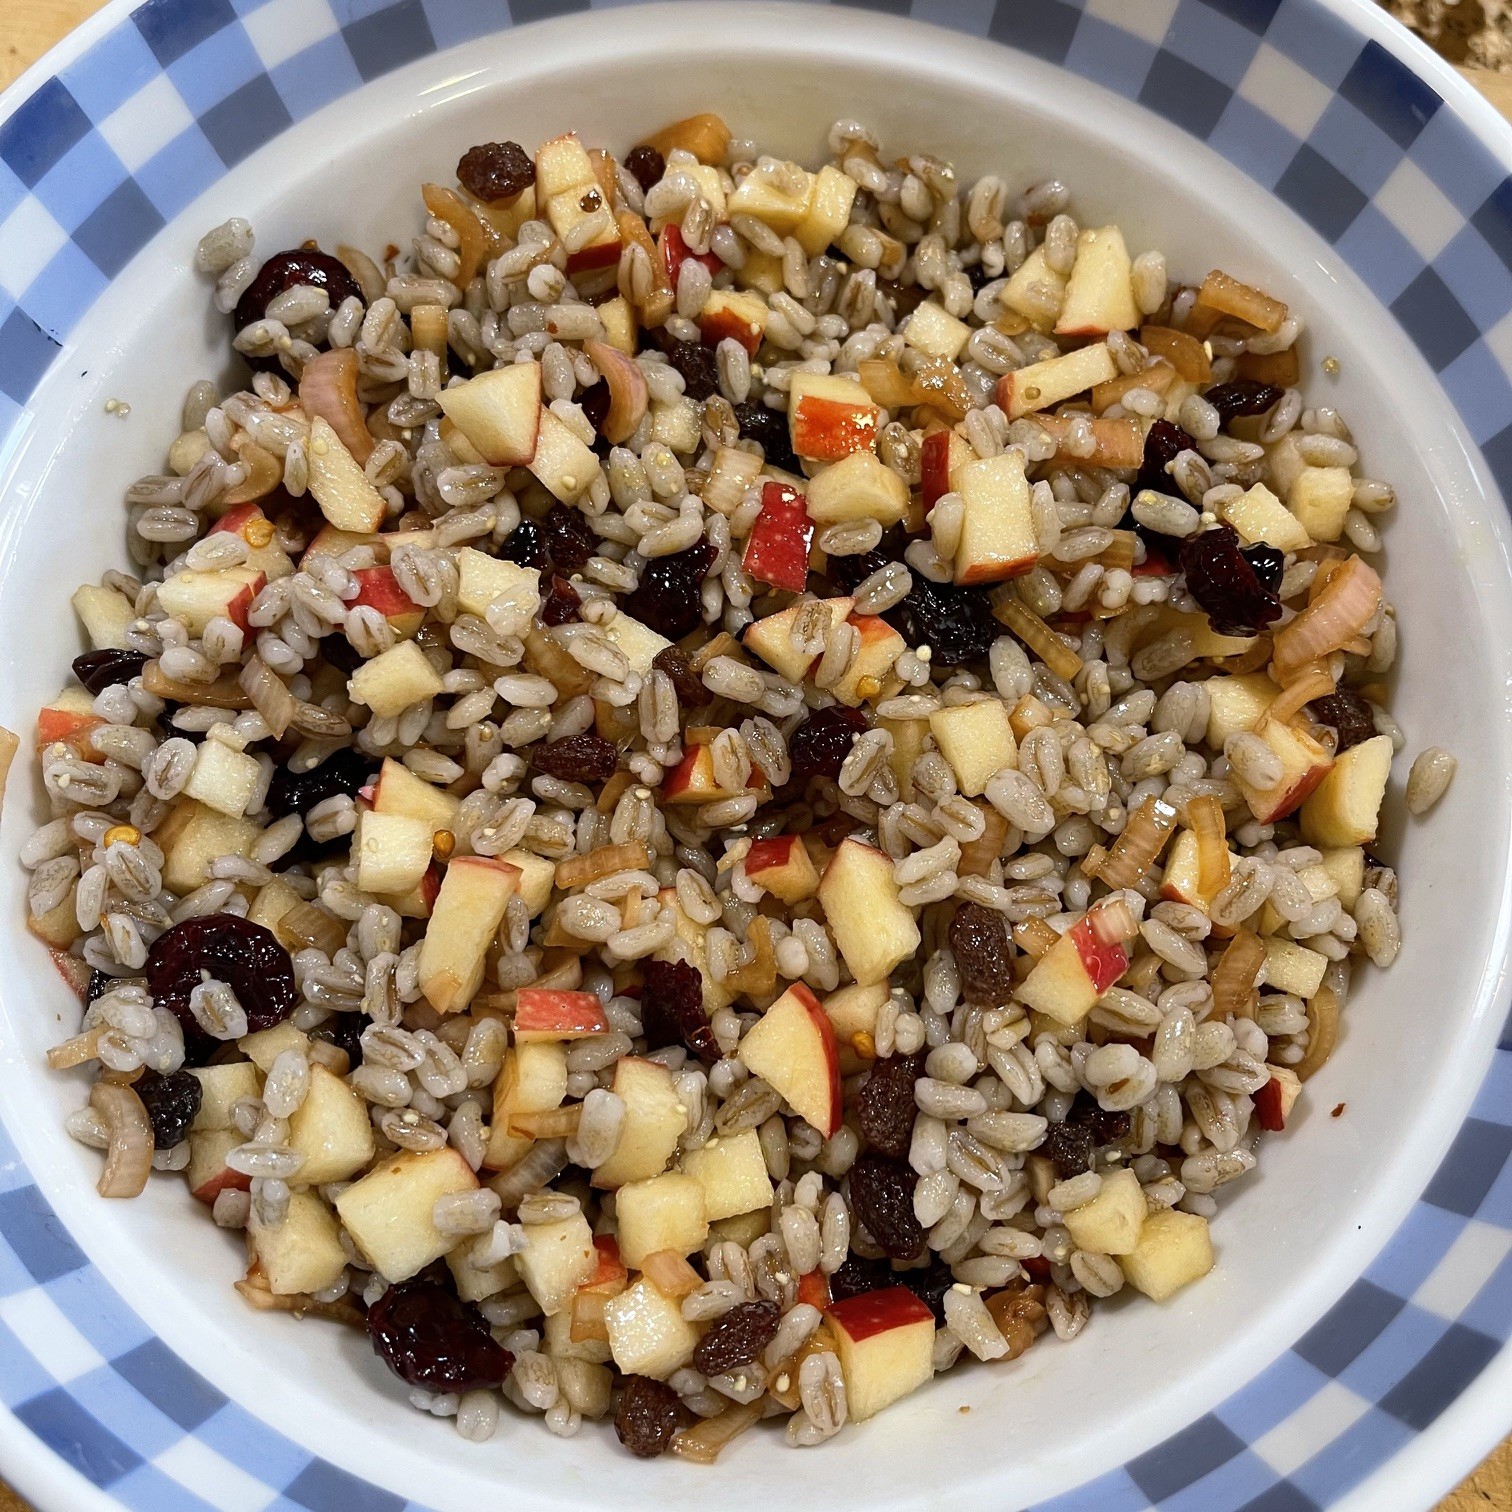
Into a medium sized serving bowl, add the drained cooked barley, chopped apple, raisins, and cranberries. (Or whatever you choose to add.)
Into the the shallot dressing, stir in the olive oil.
Pour shallot dressing into the barley mixture and blend. Chill until ready to serve as a side dish or just a quick snack.

LEMON CURD: Packs A Lemony Punch!

We’re lucky to have a lemon tree that provides us with delicious lemons every year. Being a gal who hates waste, I juice, zest, and freeze these beauties to last the year. While chocolate is still a priority, now and then I like to shake things up. With a new batch of fresh lemon juice and zest, something lemony it would be.

Flipping through my recipe notebooks, I came across a Lemon Curd recipe that I’d marked as “EXCELLENT”. It’s easy, it’s tangy, and it’s delicious. So, pucker-up everyone, it’s going to be a tangy ride!

NOTE: It’s best to prepare the Lemon Curd the day before using so it can fully set. Minimally, let it set at least 6 hours.

ADDITIONAL NOTE: As self-proclaimed Queen Of Freeze, I would be remiss in my duties if I didn’t mention Lemon Curd can be frozen. So, if you have leftover, freeze it for future use.

LEMON CURD – Makes 1 1/3 cup (600 ml)

  • 230g (1 cup) lemon juice
  • 8g (2 T) lemon zest, packed
  • 113g (1/2 cup) butter
  • 6 whole eggs
  • 298g (1.5 cups) granulated (caster) sugar
  • 60g (6 T) all-purpose (plain) flour

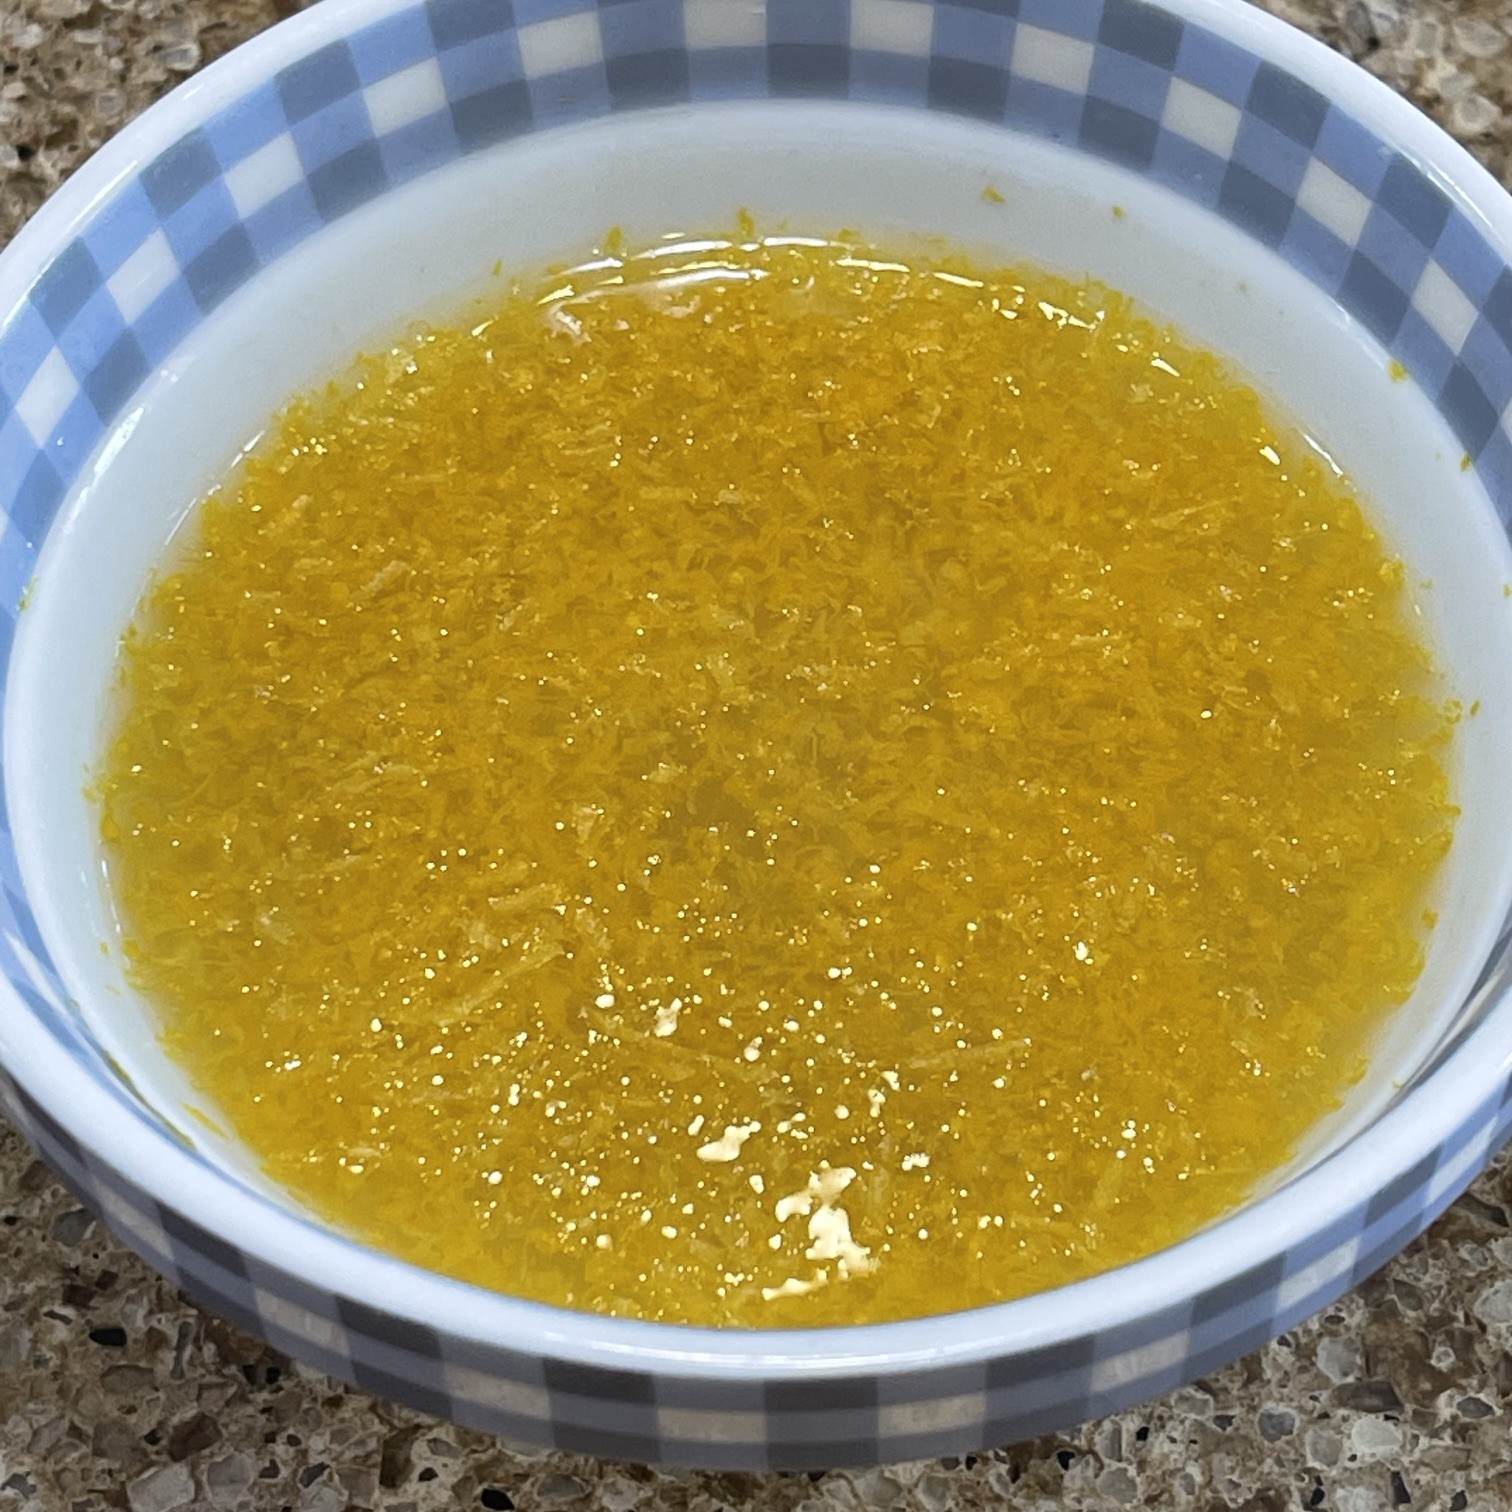
Into a small bowl, combine the lemon juice and lemon zest. Set aside to leech the flavor from the zest. You can do this ahead of time.

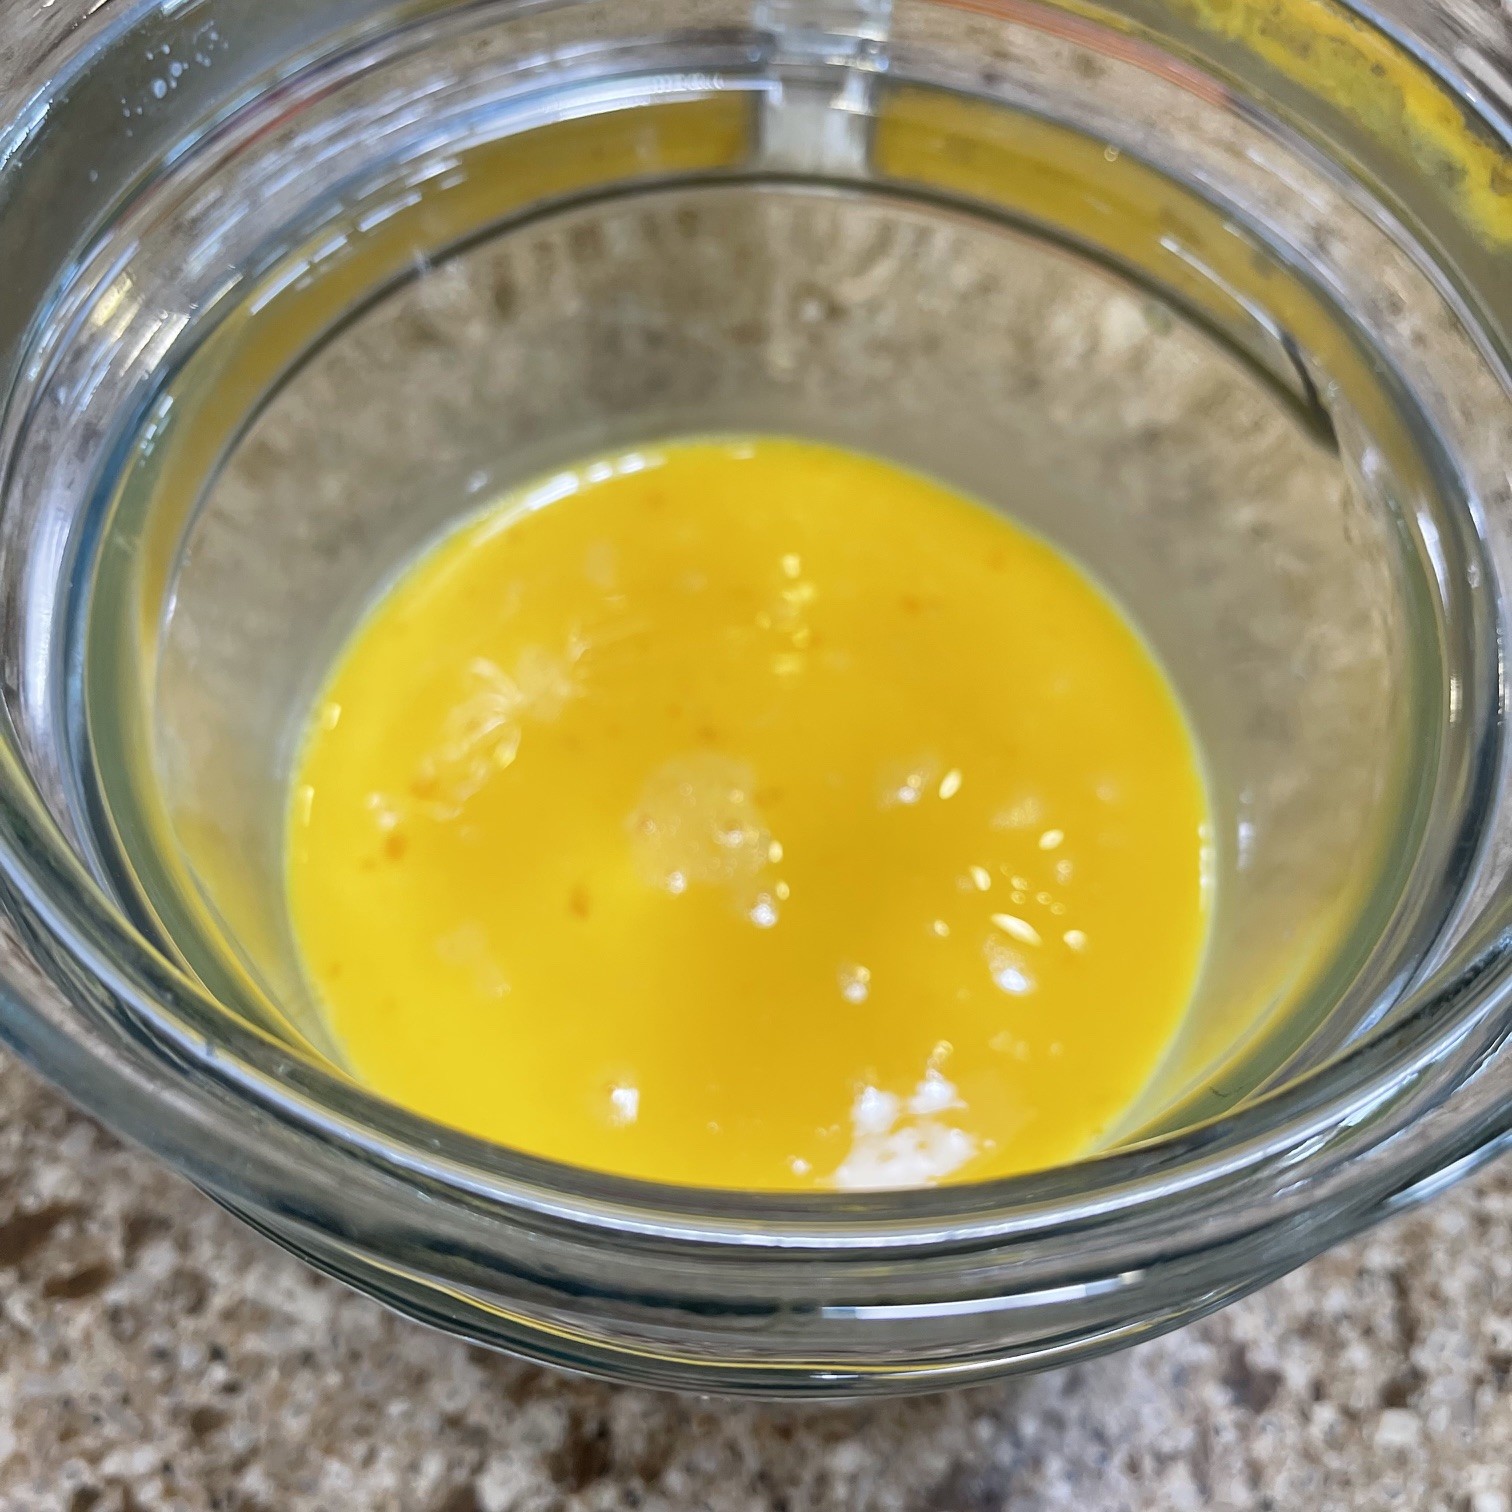
Into the top of a double boiler, beat the eggs well. MAKE SURE YOU HAVE WATER IN THE BOTTOM CONTAINER, NOT TOUCHING THE TOP CONTAINER – YOU DON’T WANT DIRECT HEAT ON THE CURD AS IT COOKS.

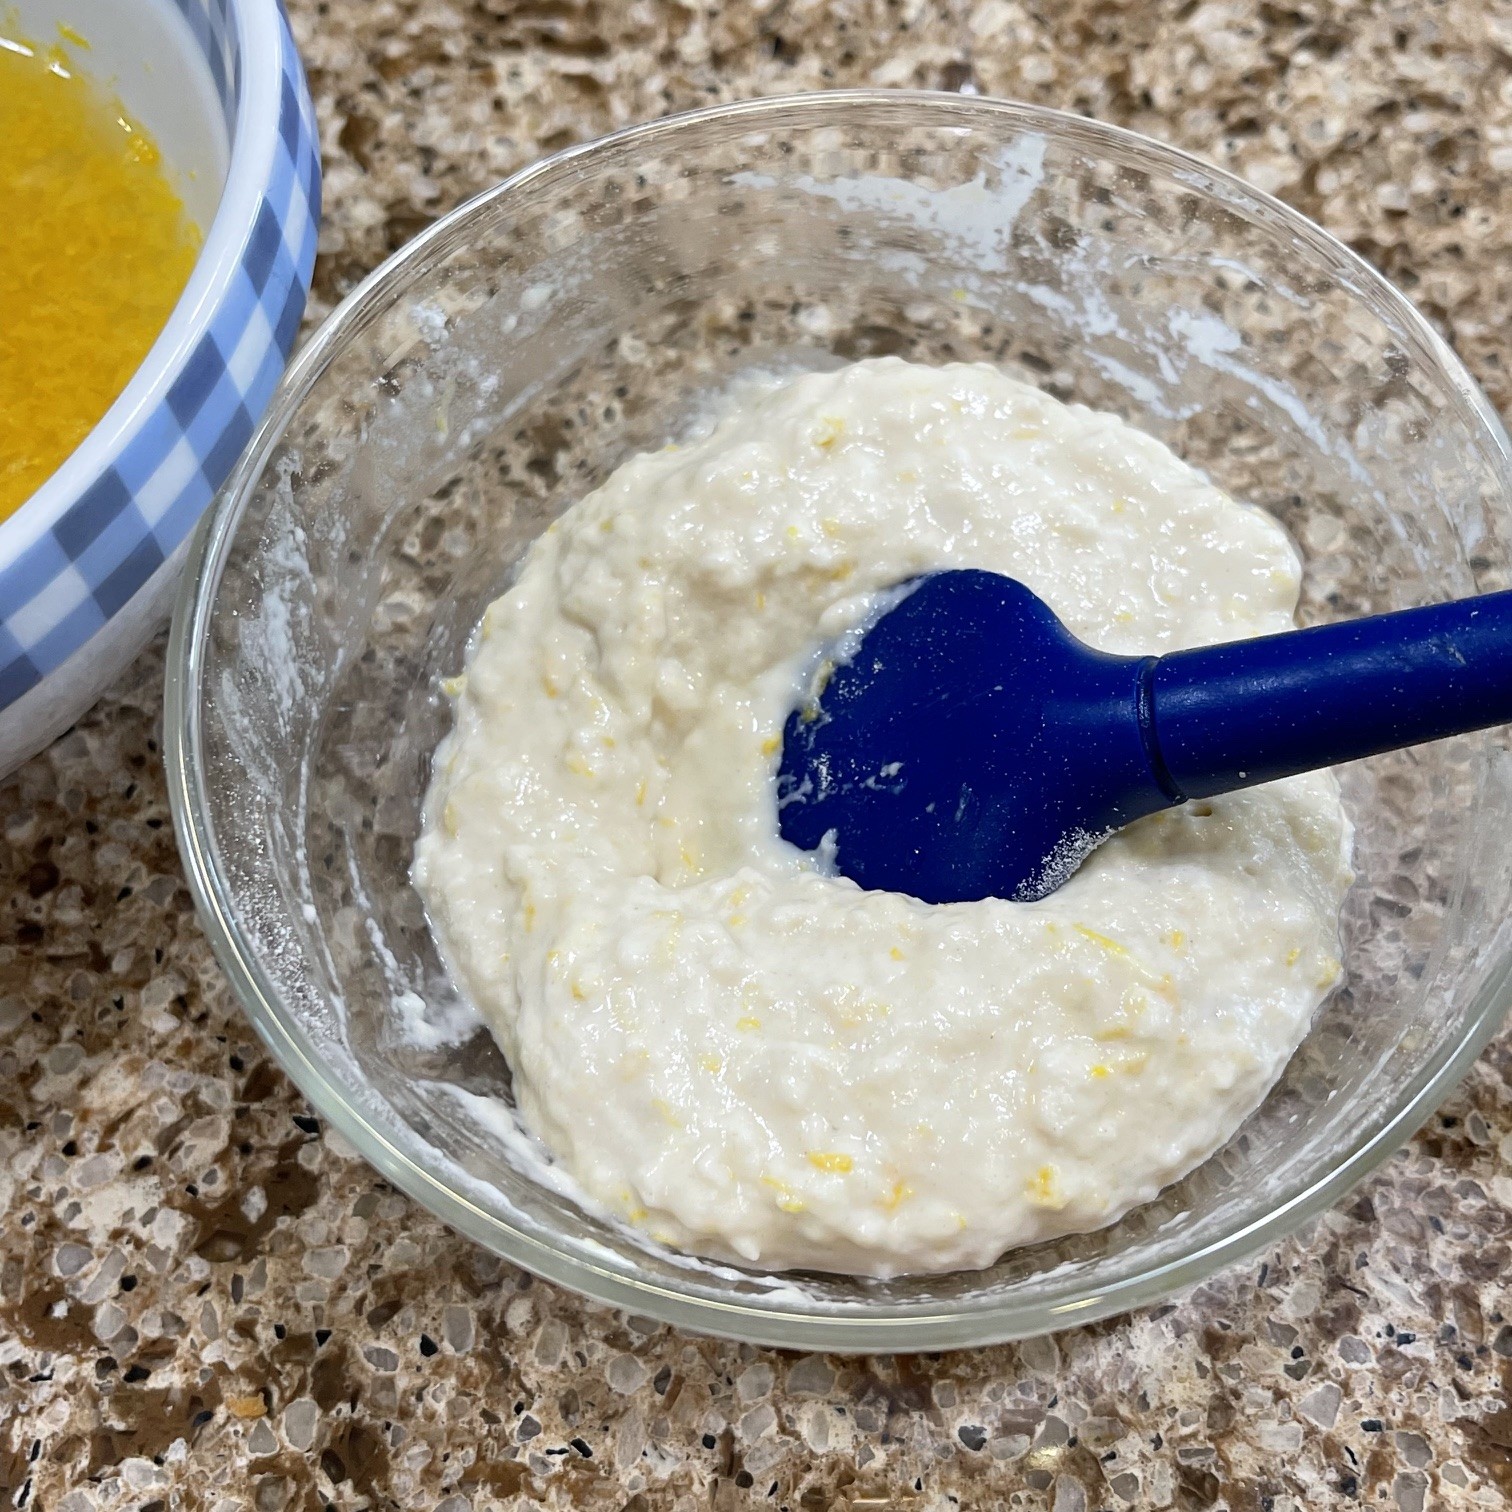
Into a bowl put the flour. Slowly stir the lemon juice/zest into the flour, smashing lumps as you go.

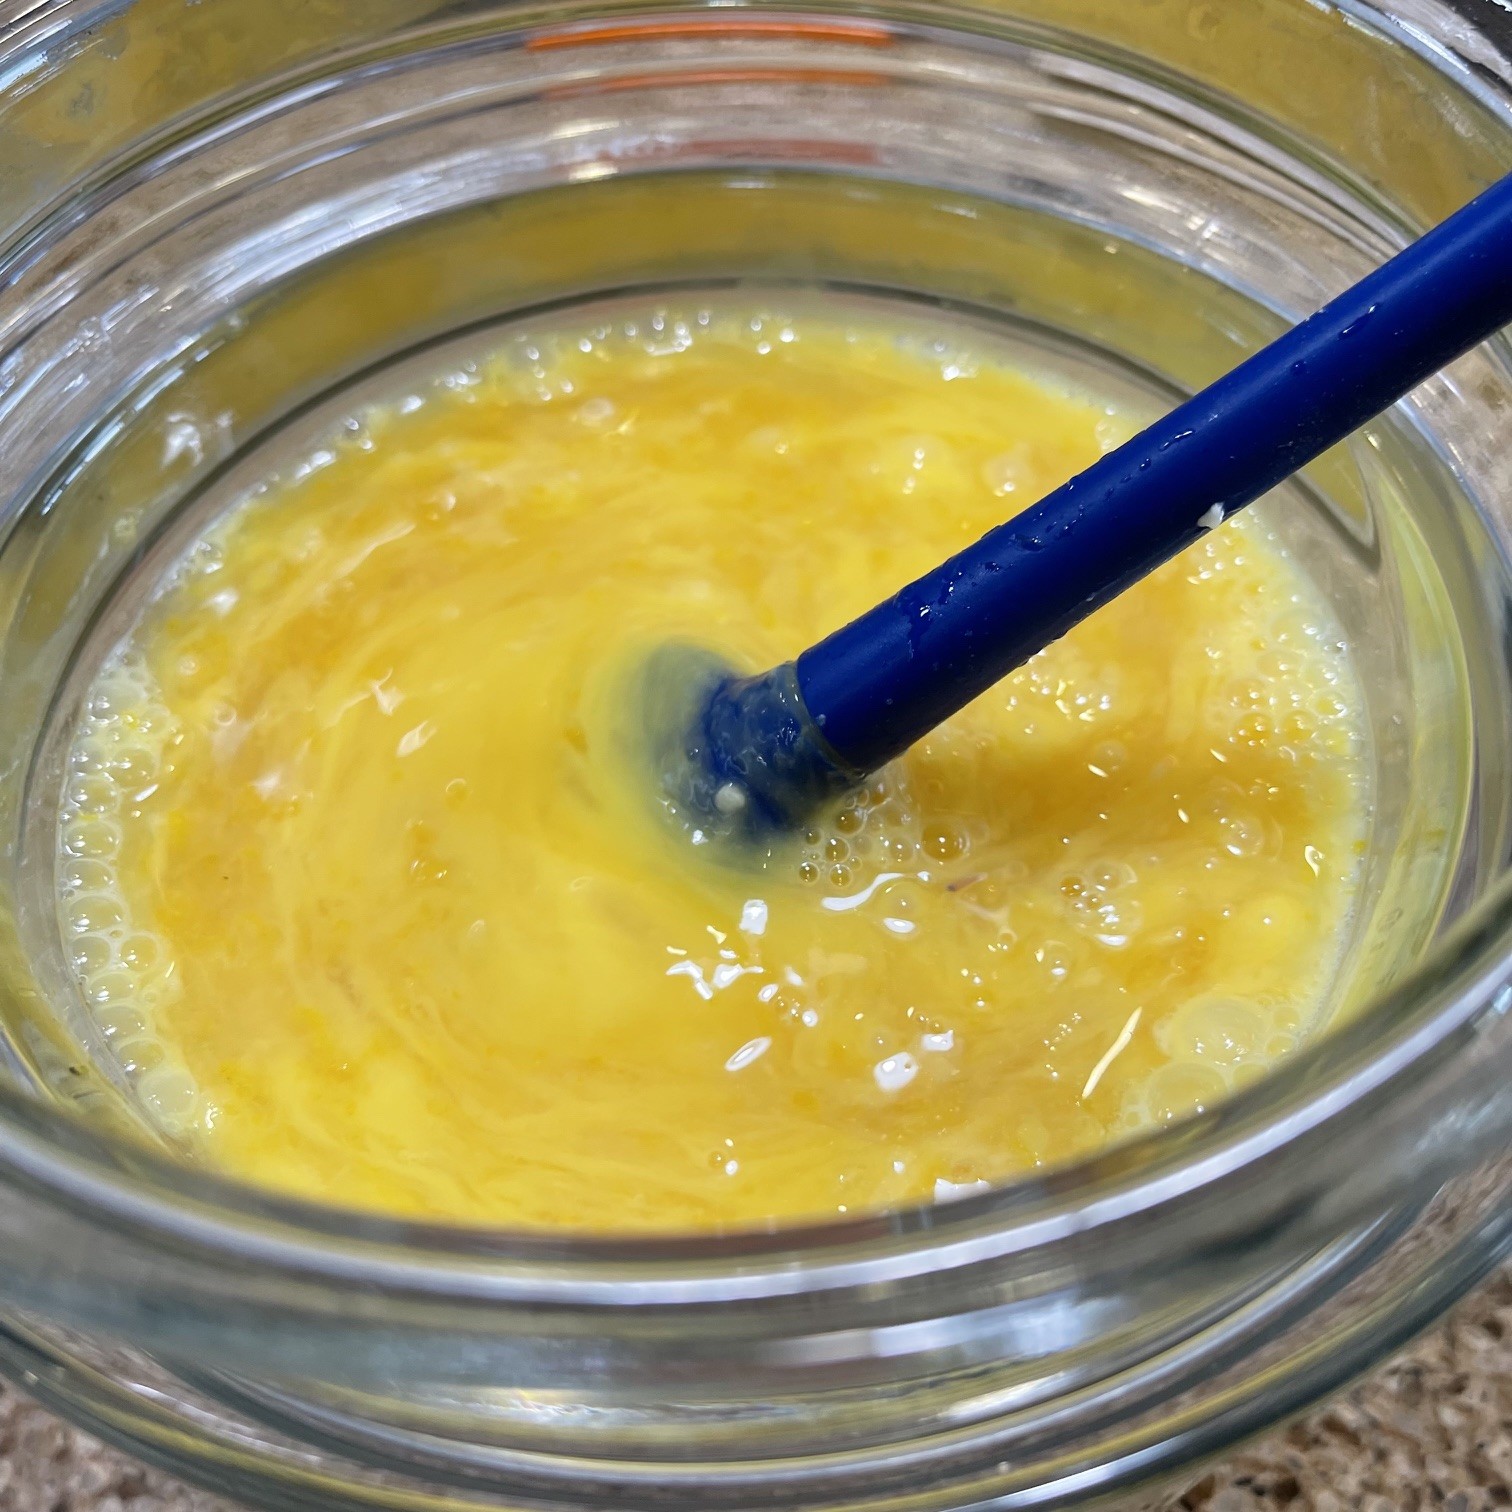
Into the double boiler containing the beaten eggs, stir in the sugar, flour/lemon mixture, and melted butter.

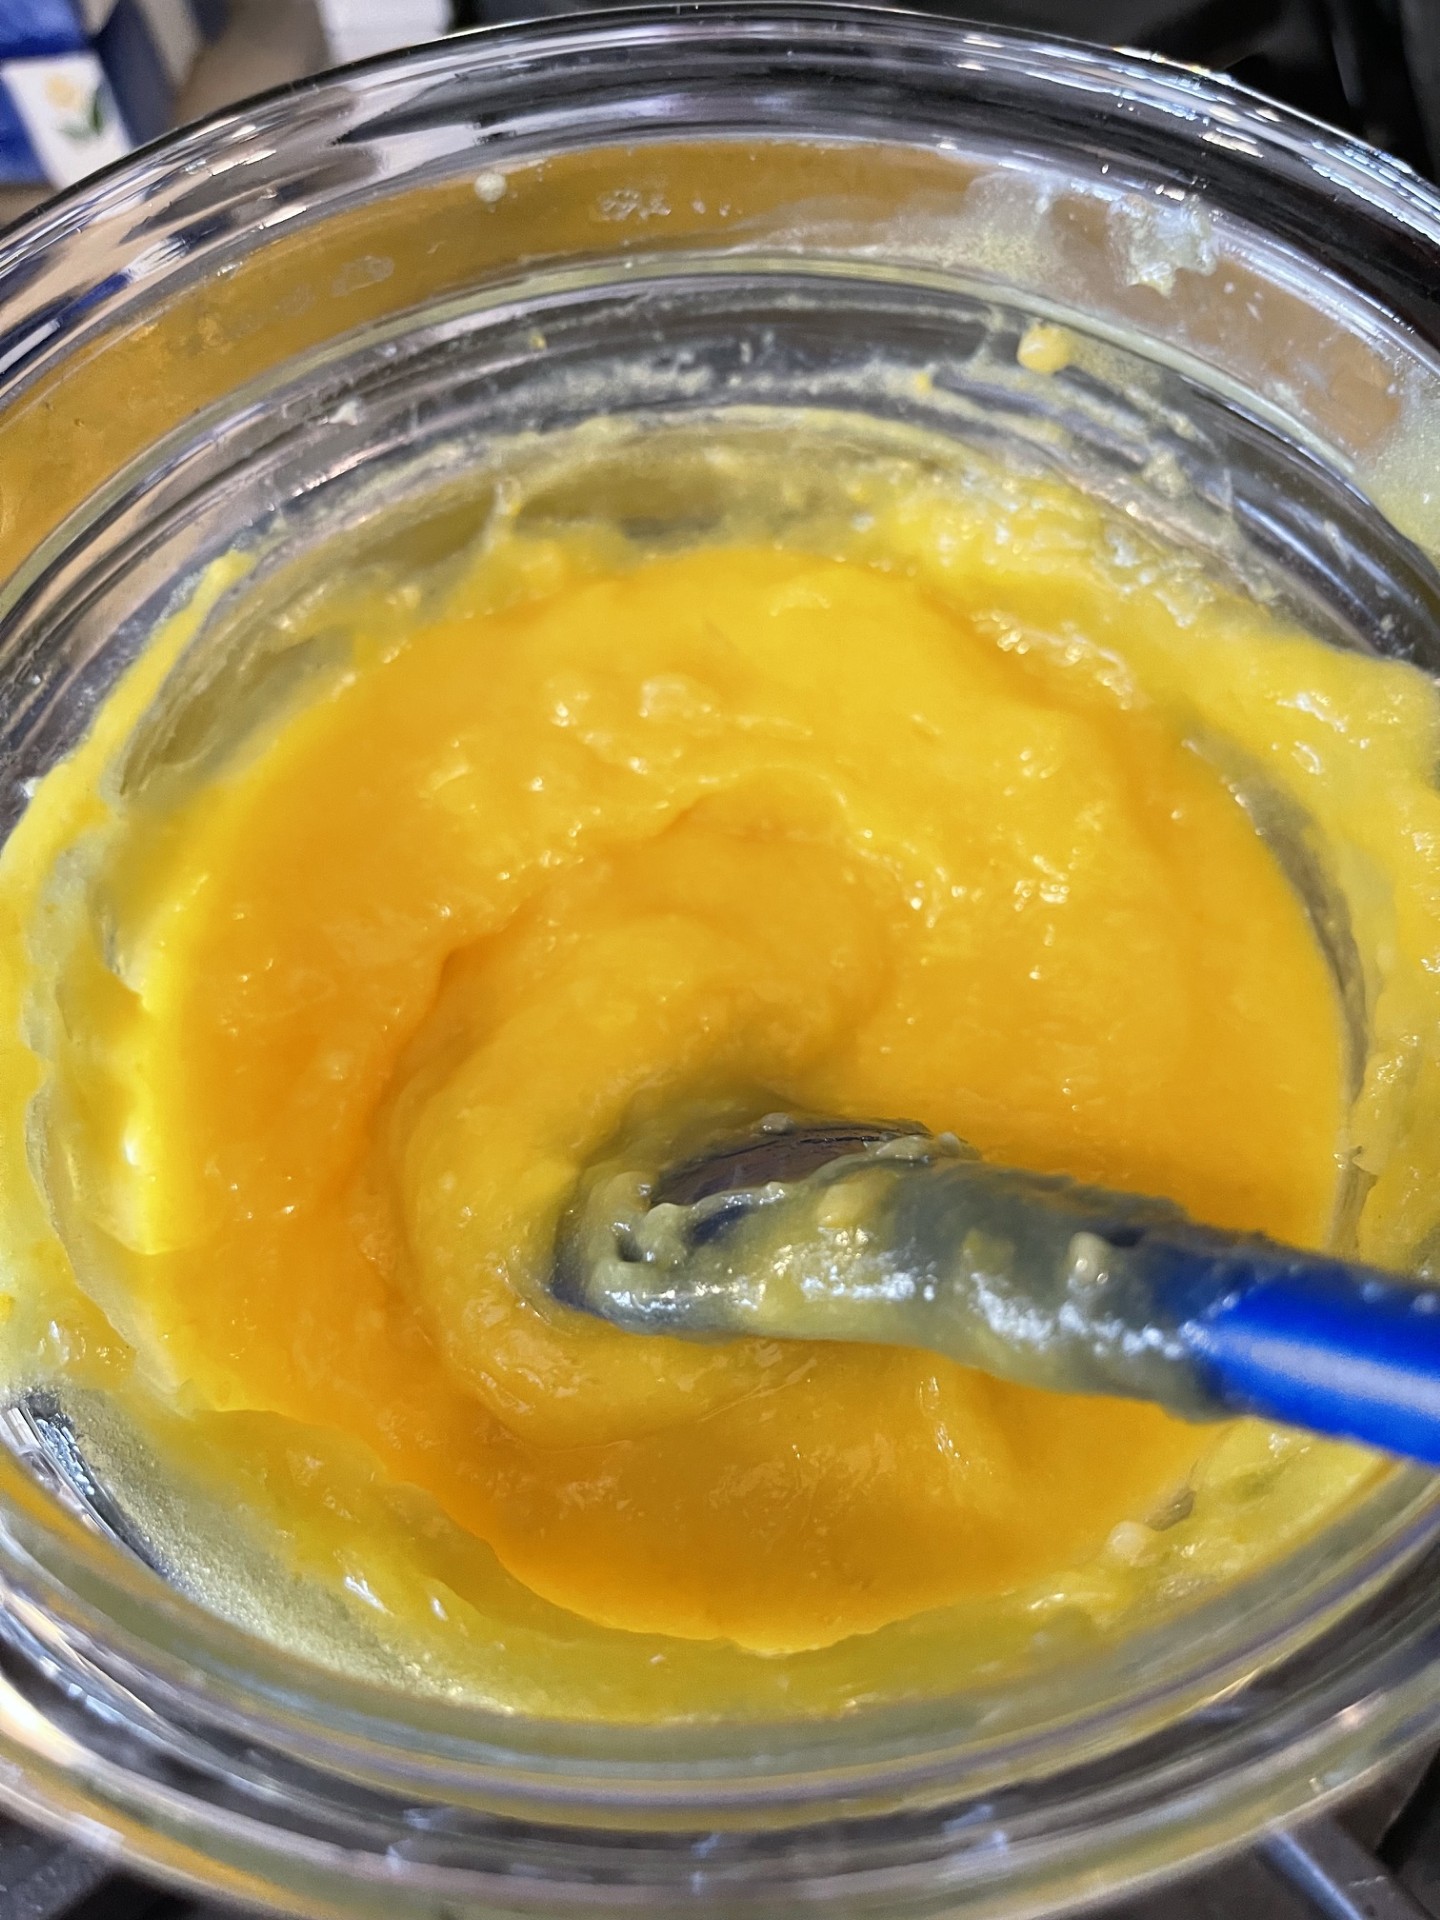
Over medium/high heat, bring water in the bottom double boiler pan to a low boil. Stirring often, mix the curd until it thickens – about 20 minutes. The temperature should be about 180°F (82°C).

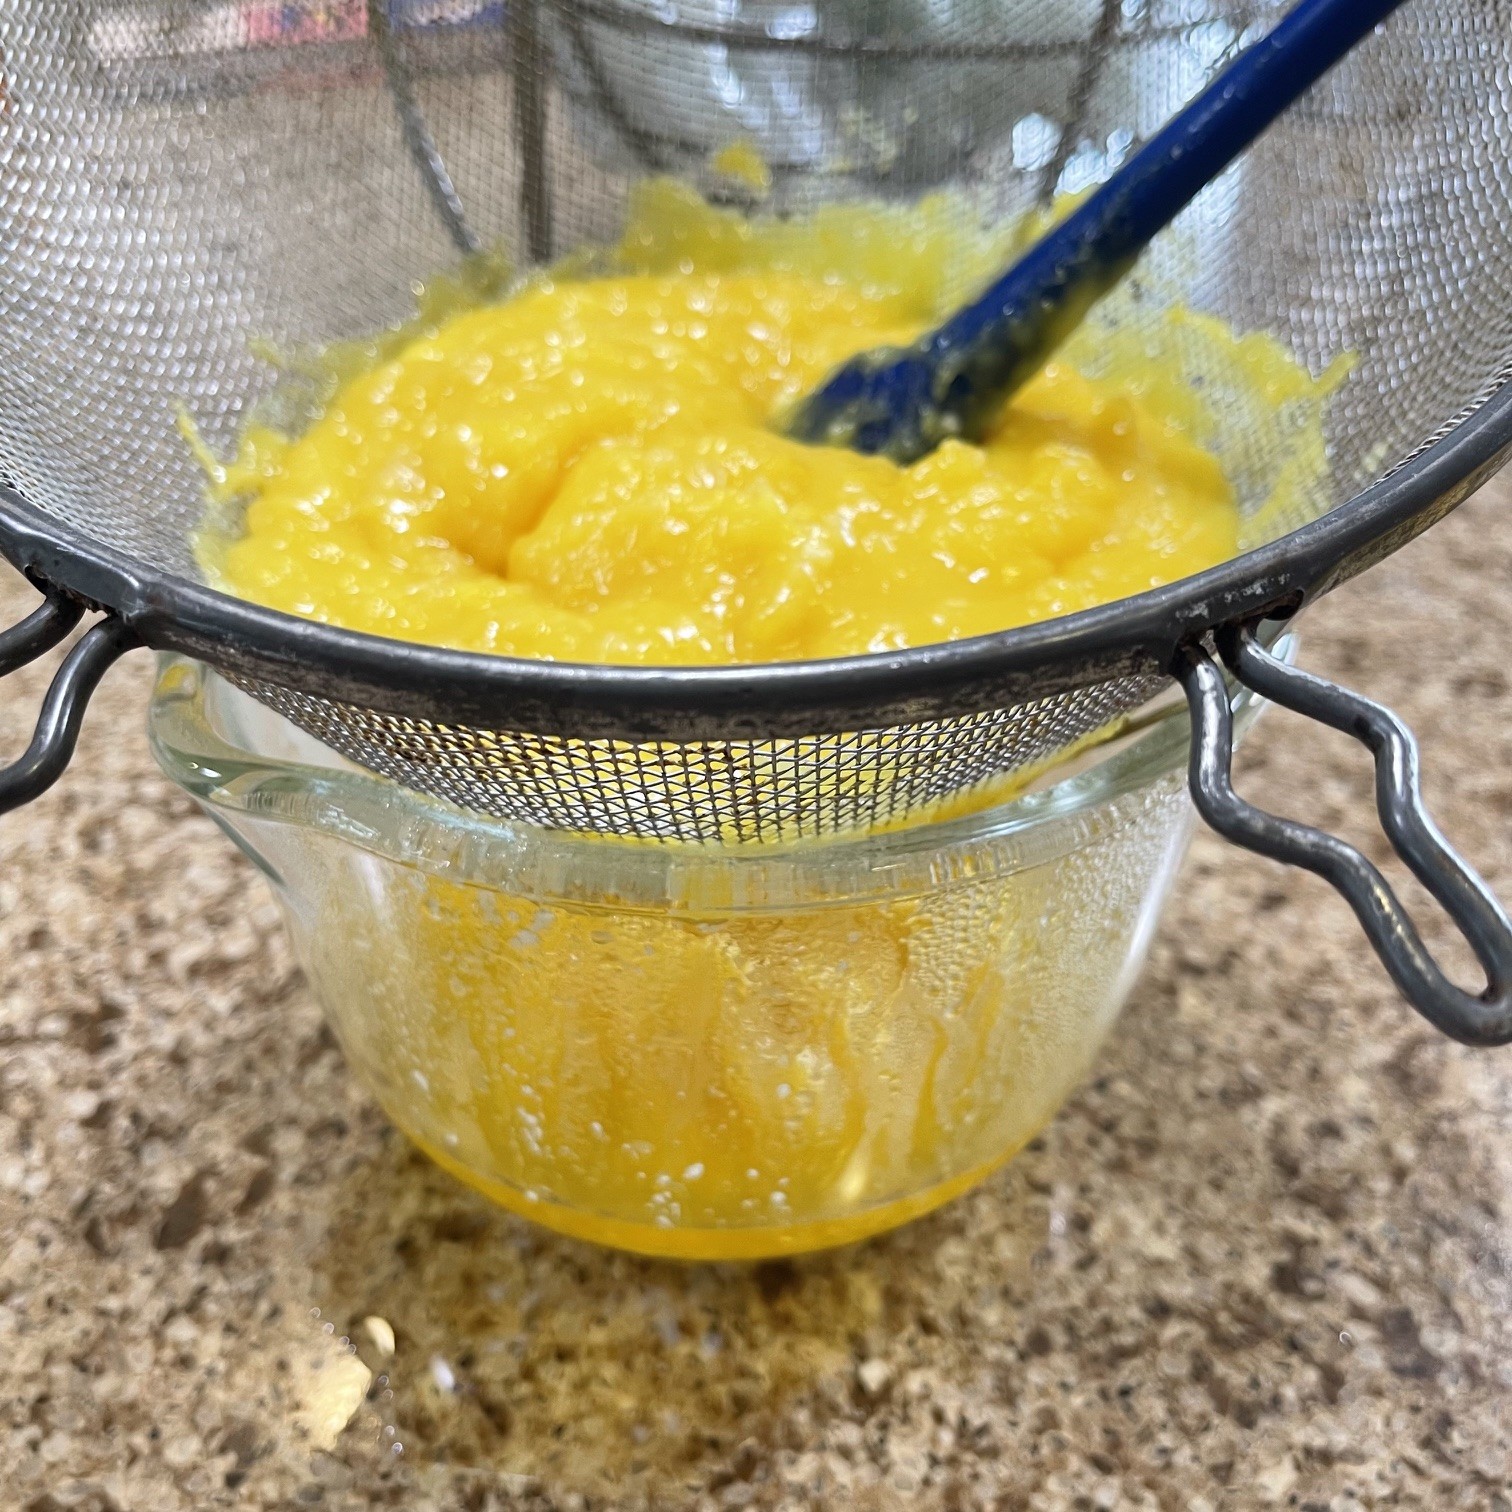
Pour curd through a large-ish holed sieve into a clean bowl. (The mesh strainers sold now make it difficult to get creme patisseries and curds throught.) Don’t forget to scrape the bottom of the sieve to get every bit! Cover and chill at least 6 hours – preferably overnight.

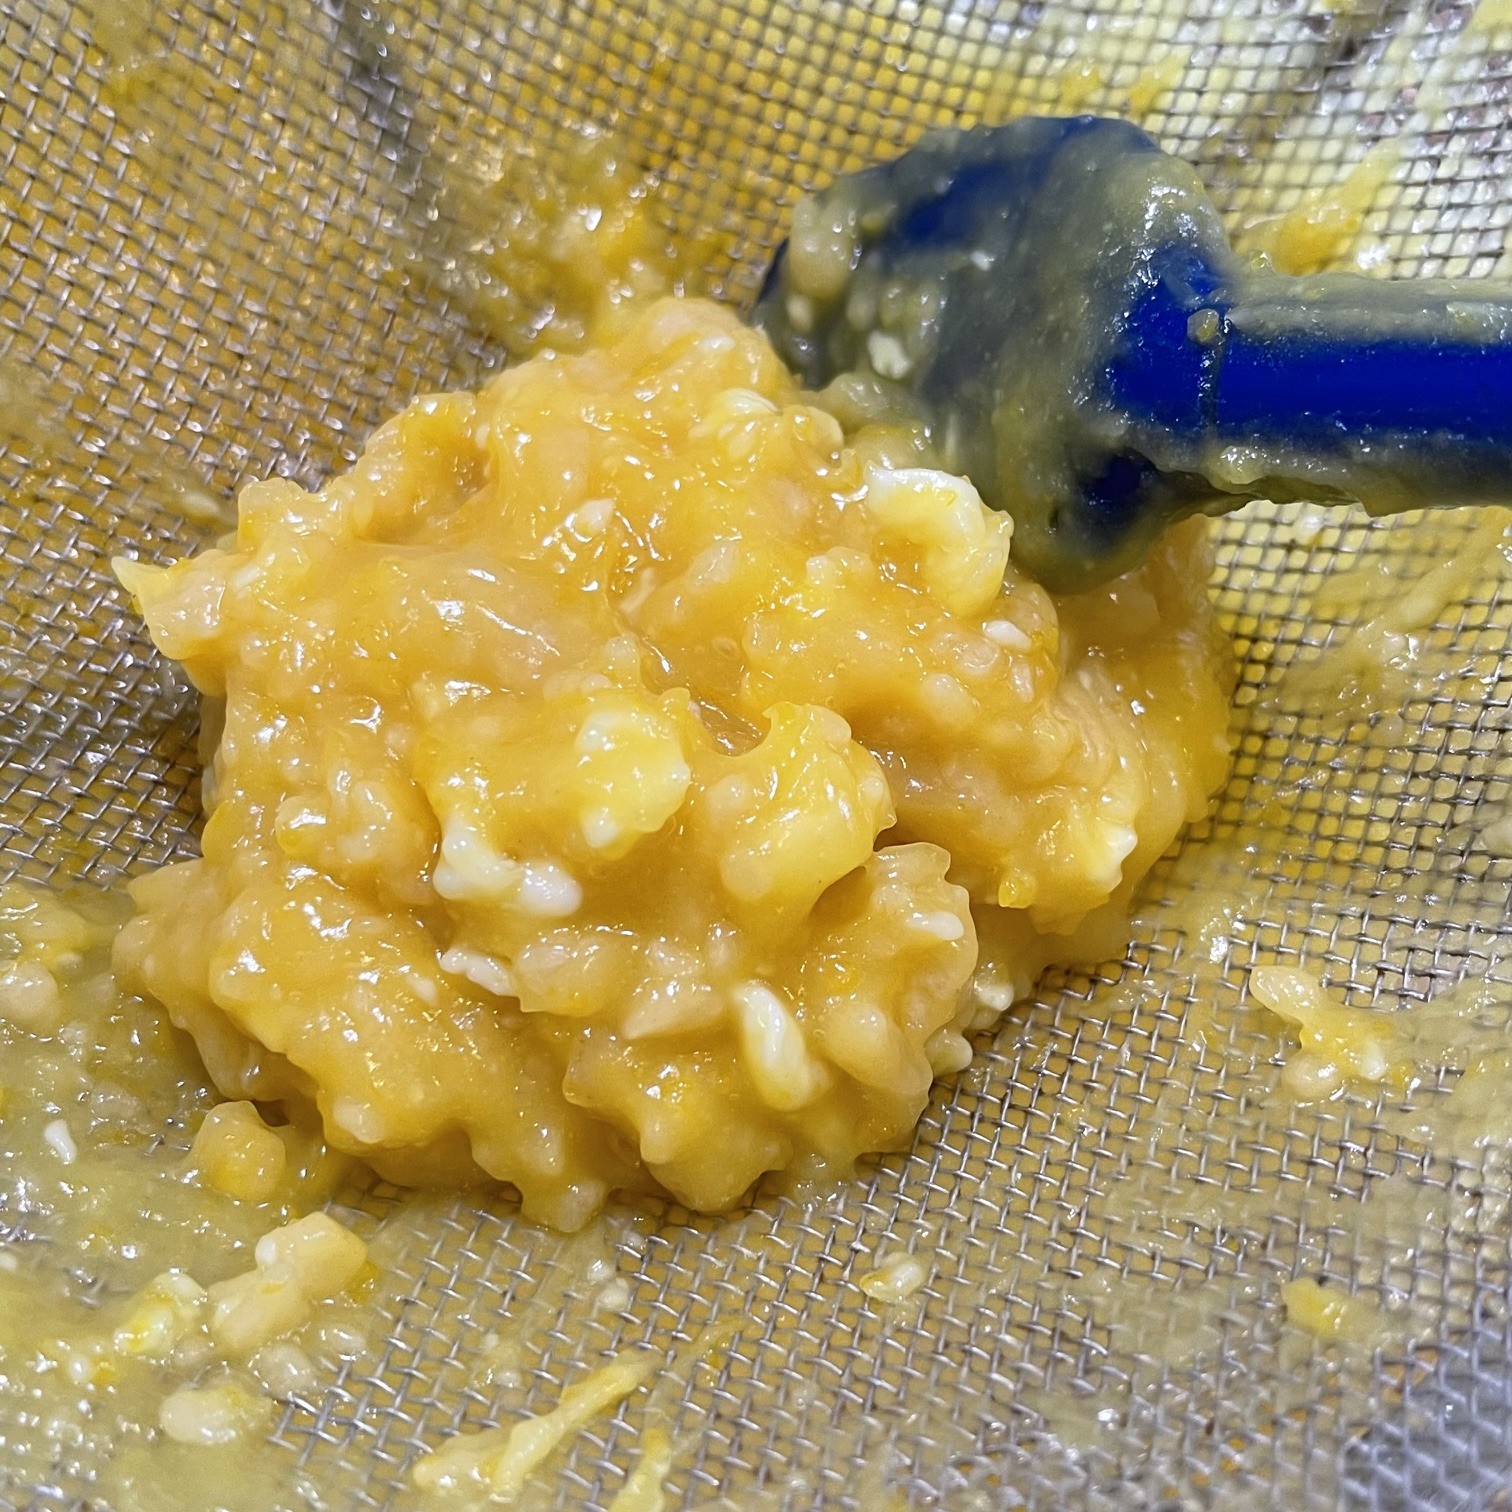
This is what would have been in your curd if you hadn’t strained it out. Yuck!!! Discard it.

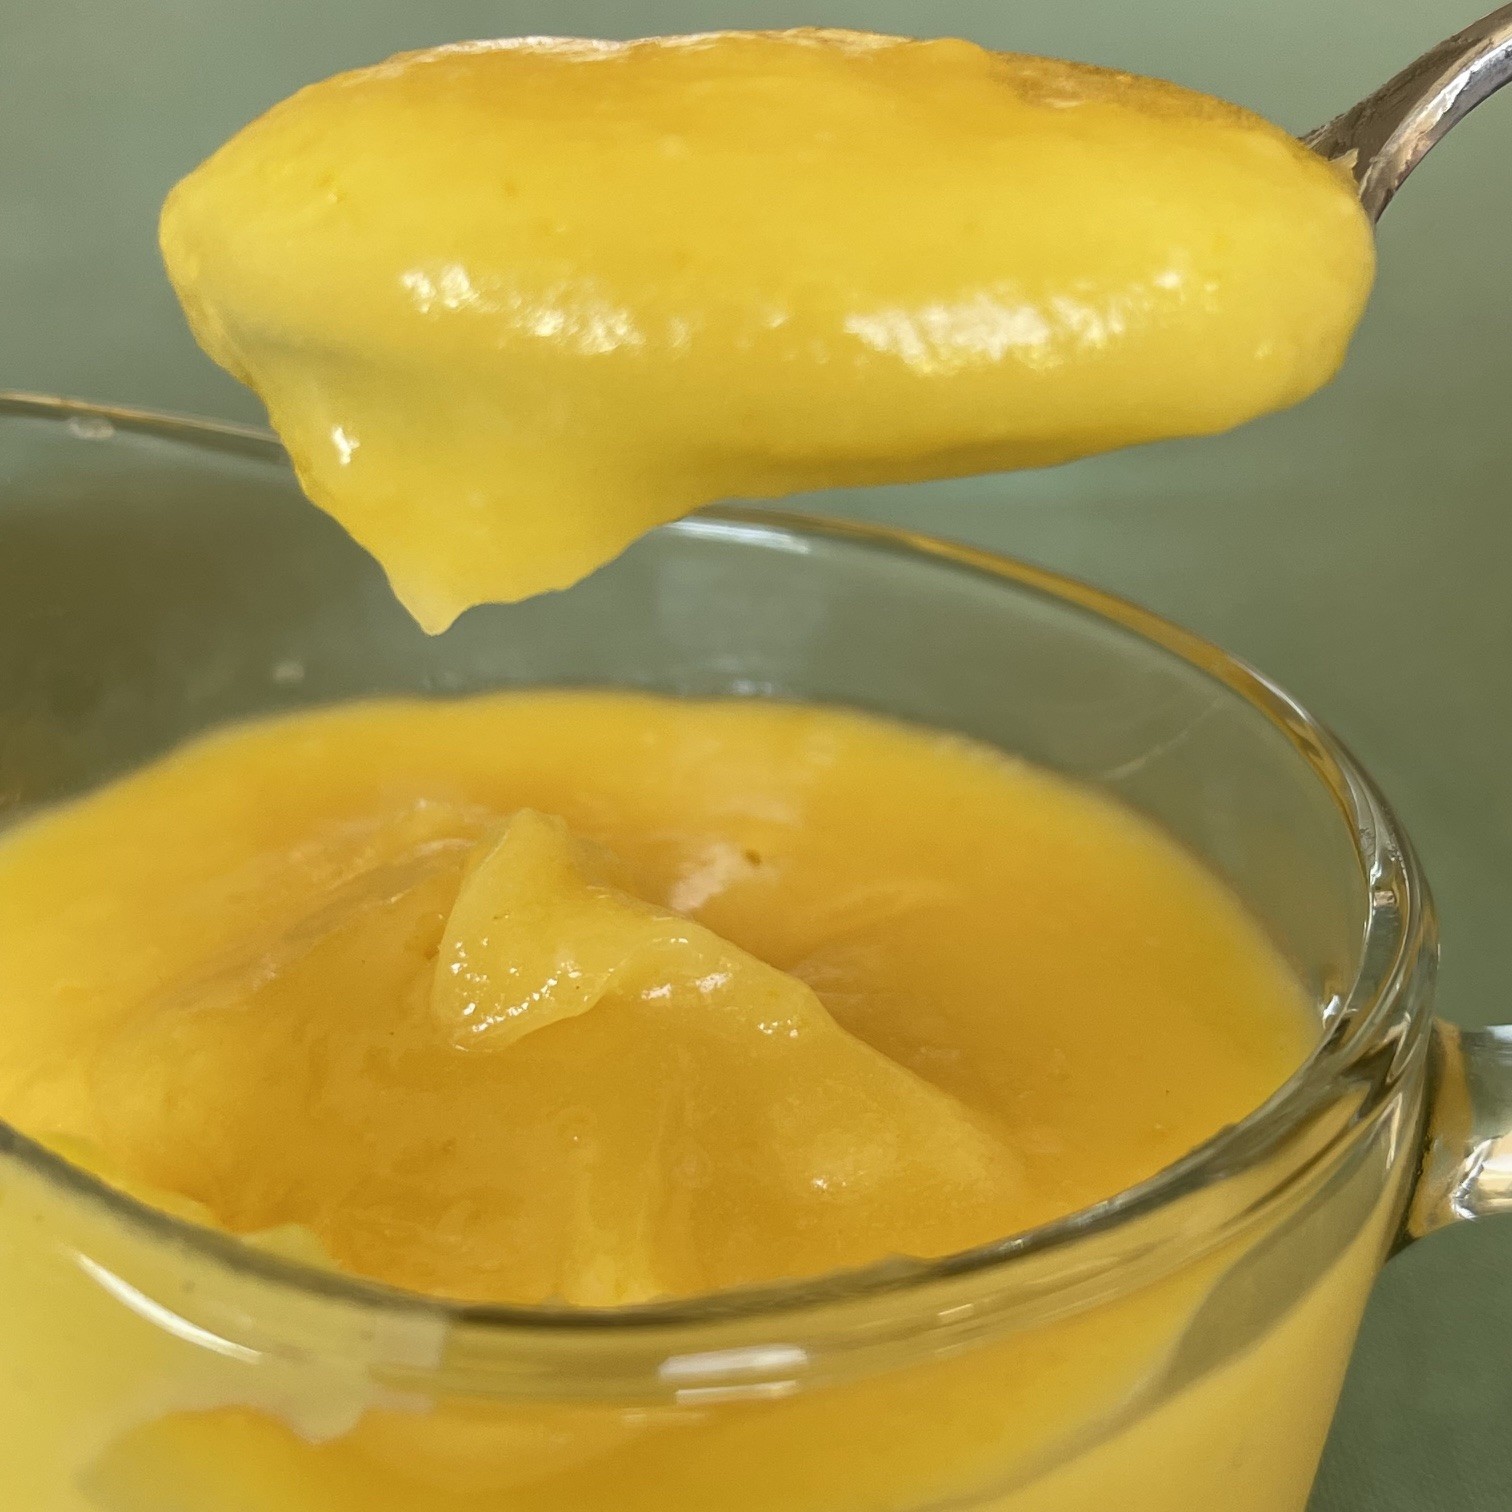
Use the curd straight out of the fridge if you want a thicker curd (see photo below).

If you want the curd slightly thinner, let it sit out of the fridge for half an hour or so.

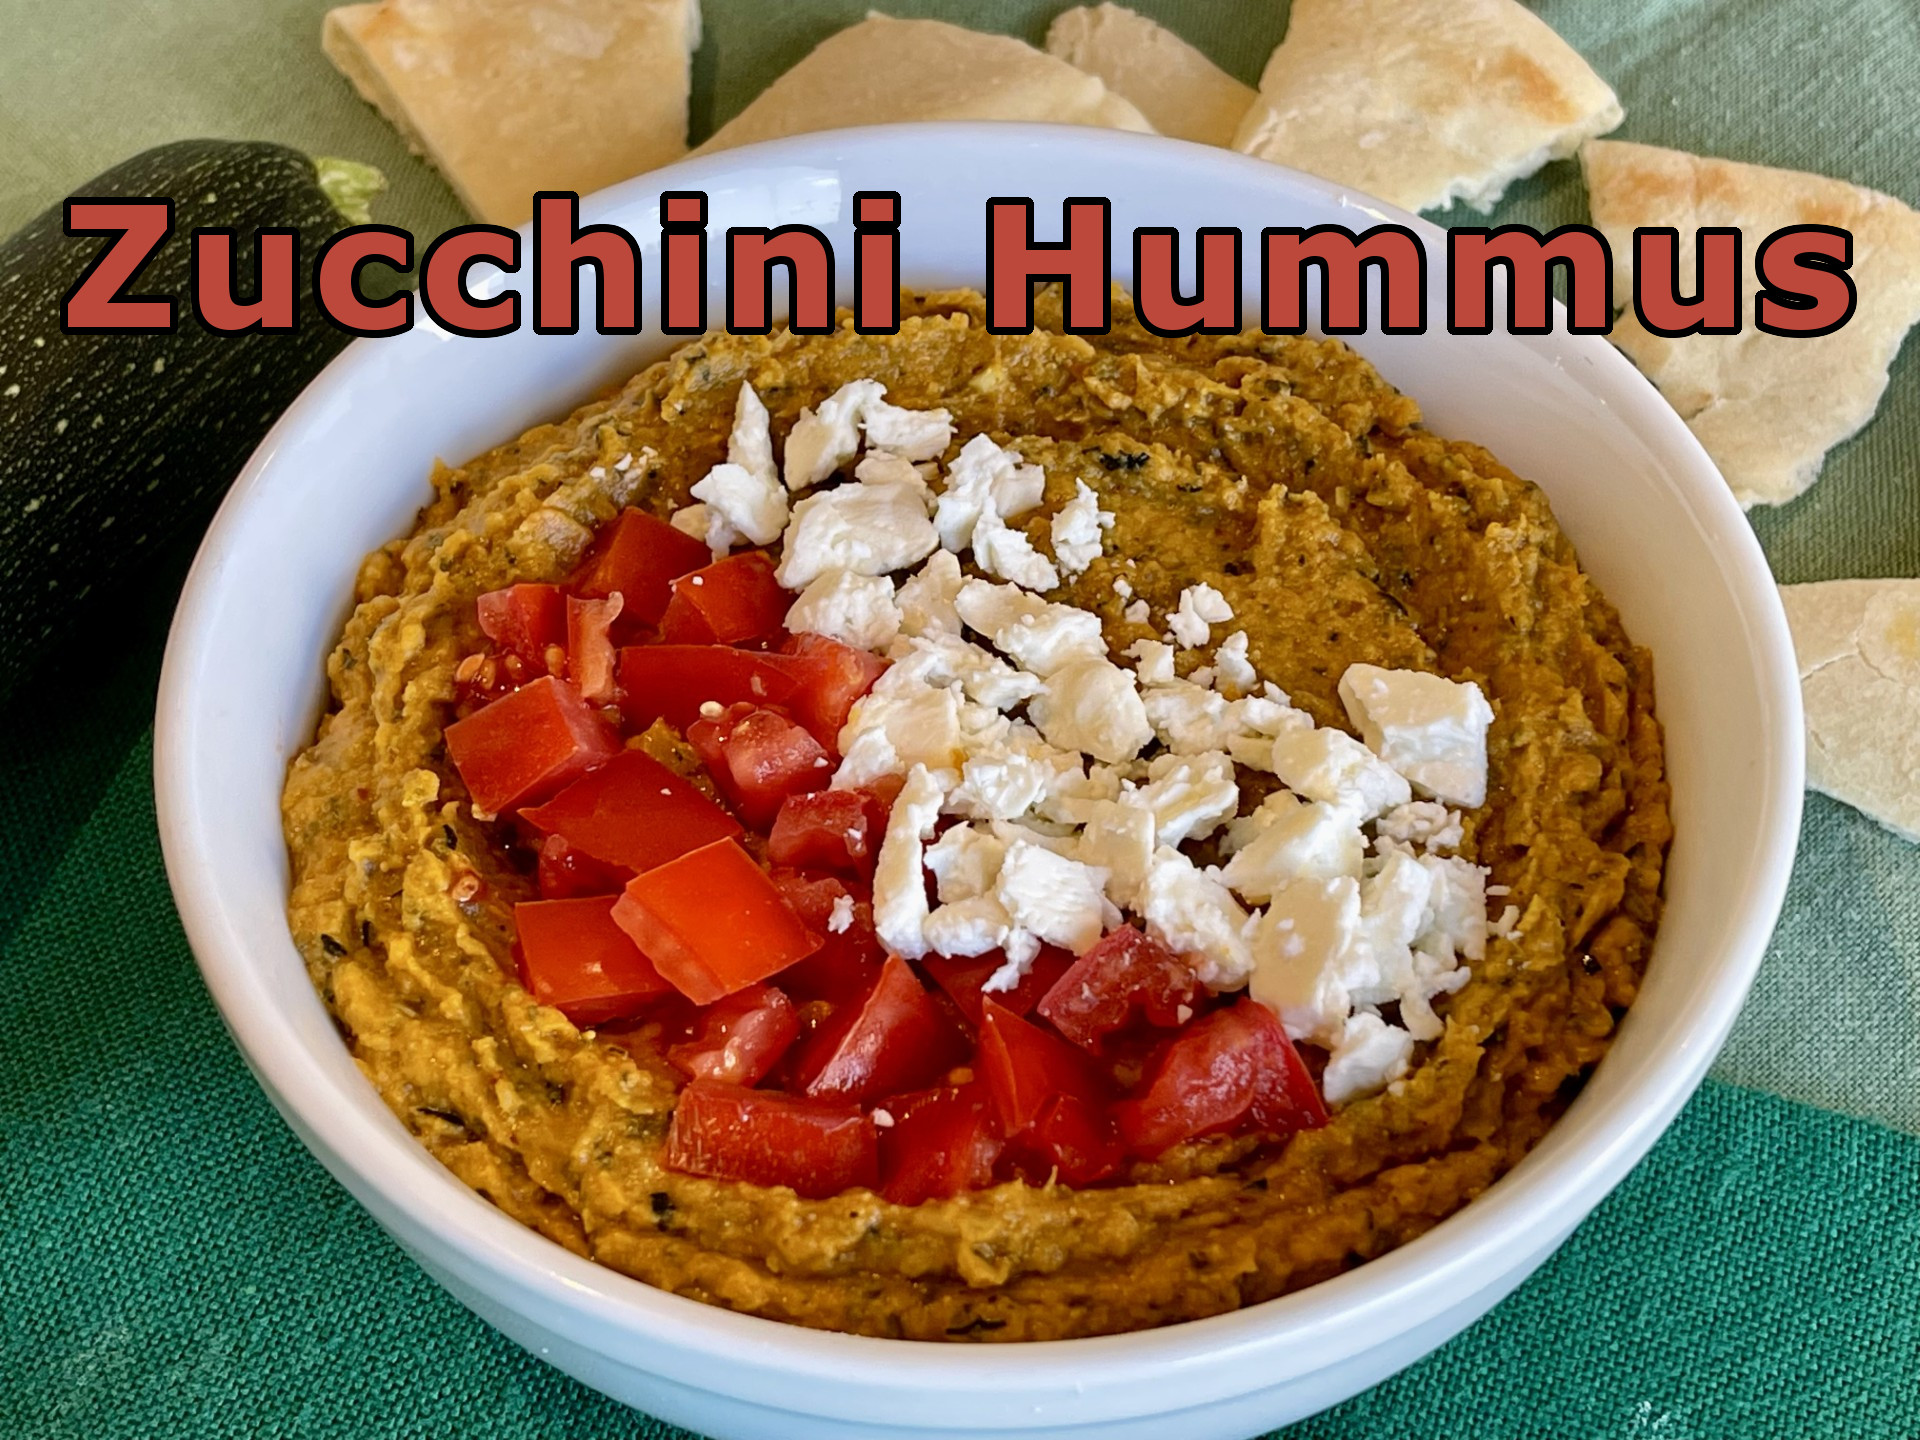
ZUCCHINI HUMMUS: Another Use For Zucchini!!!

It all started with a giant zucchini I found in my garden. One of the highlights of my summer days is to check what’s ready to be picked. Somehow I neglected to notice this huge zucchini skulking at the base of the plant. As a woman who hates waste, I put on my thinking cap to come up with something to do with this monster – preferably something that can be frozen – I AM self-proclaimed Queen Of Freeze, after all. Since I had just made hummus, it occurred to me I could make a zucchini based hummus. Success!

My Zucchini Hummus can be used as a dip or spread. (It makes a delicious sandwich in pita bread with Muenster cheese, tomatoes, cucumber, and arugula.) Best of all, it freezes well!

NOTE: If you’re using this as a spread (which is thicker), decrease the amount of zucchini to about 840g (1/4 lb).

Zucchini Hummus:

  • 939g (2 lbs) zucchini, shredded
  • 150g (5 oz) onion, chopped
  • 1.5 T garlic, minced
  • 45g (1/2 cup) olive oil
  • 28g (2 T) tomato paste
  • 2 tsp table salt
  • 1 tsp dried Korean style red pepper (Gochugaru)
  • 1 tsp smoked paprika
  • 1.5 tsp paprika
  • 1/4 tsp turmeric
  • 1/2 tsp coriander
  • 1/2 tsp cumin
  • 28g (2 T) tahini
  • 252g (1 cup) hummus ( either homemade – my recipe or purchased)
  • 1 bay leaf

Preheat oven to 400°F (204°C)

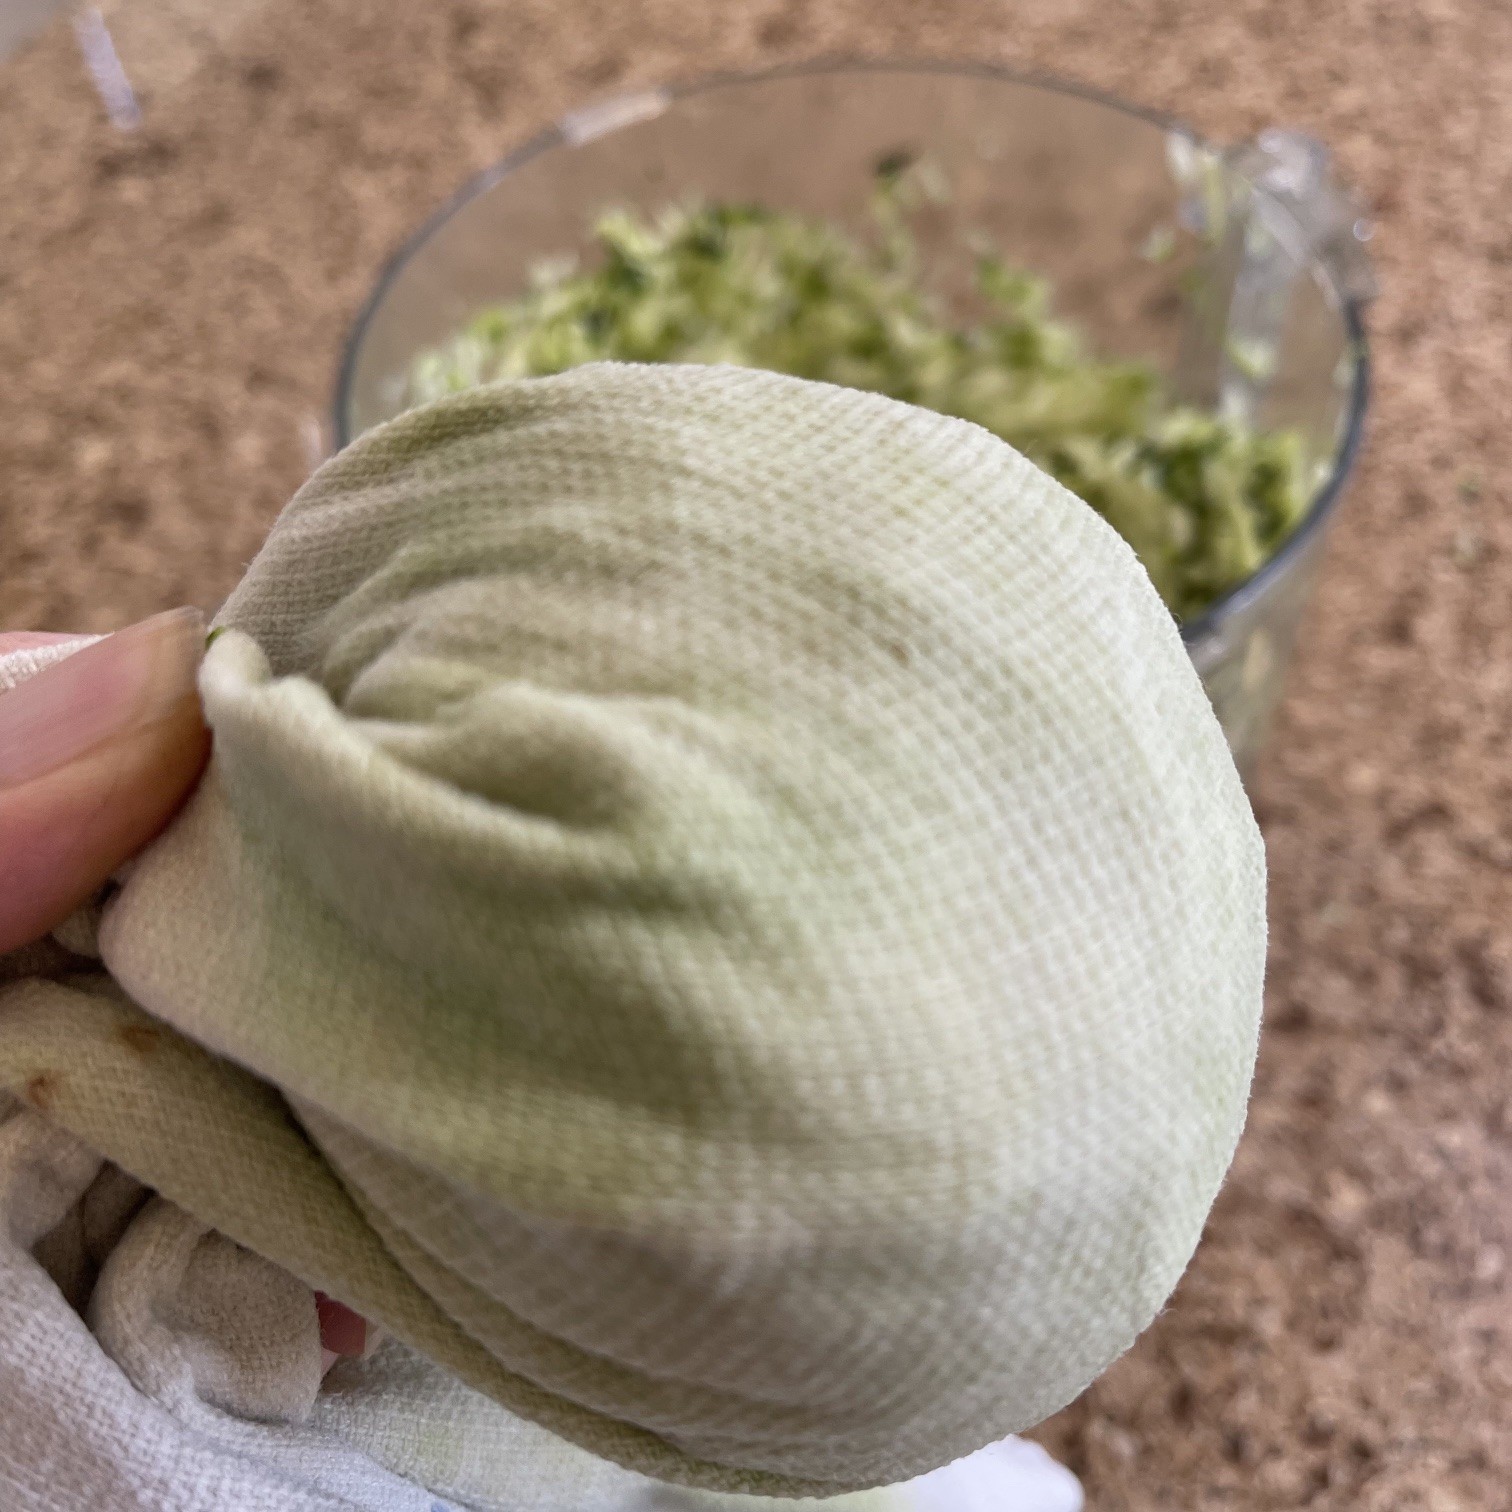
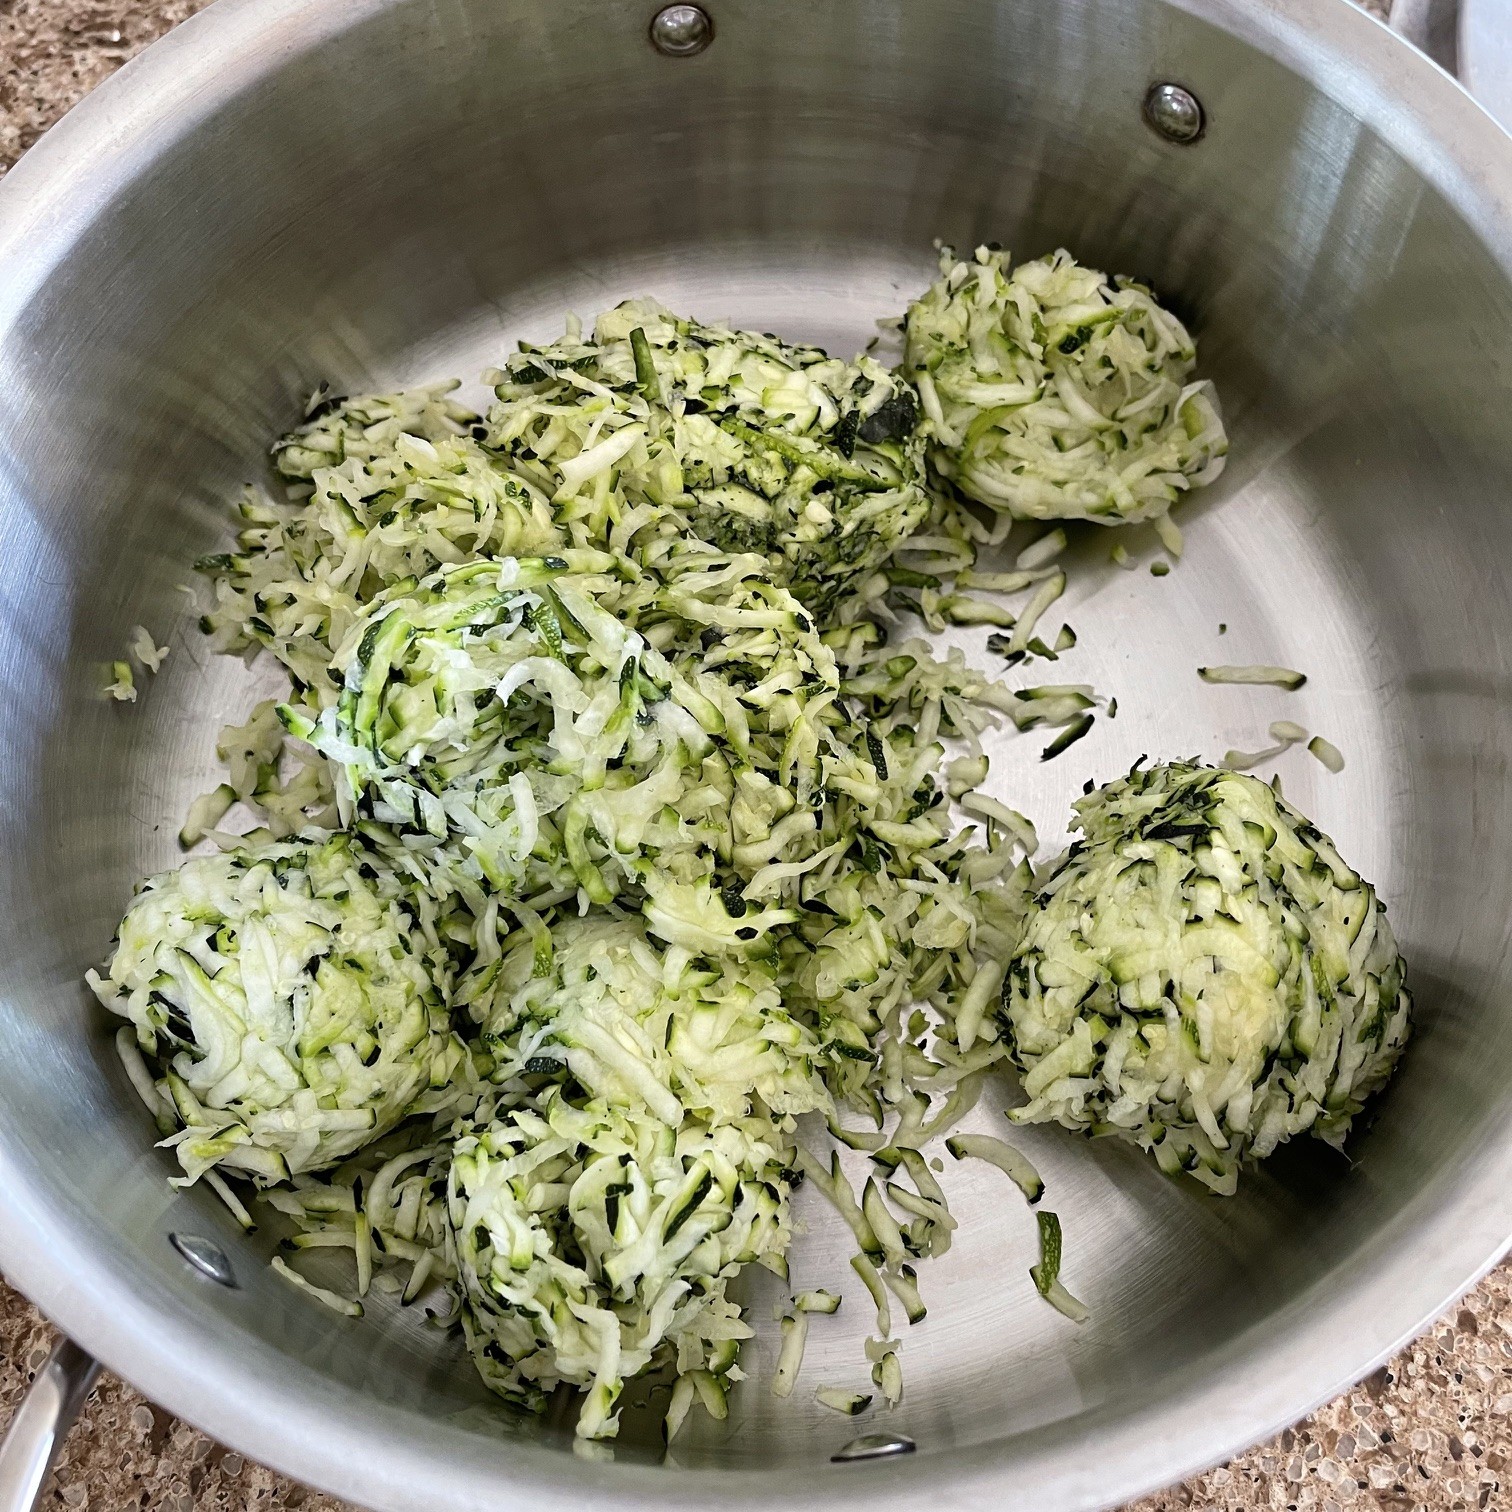
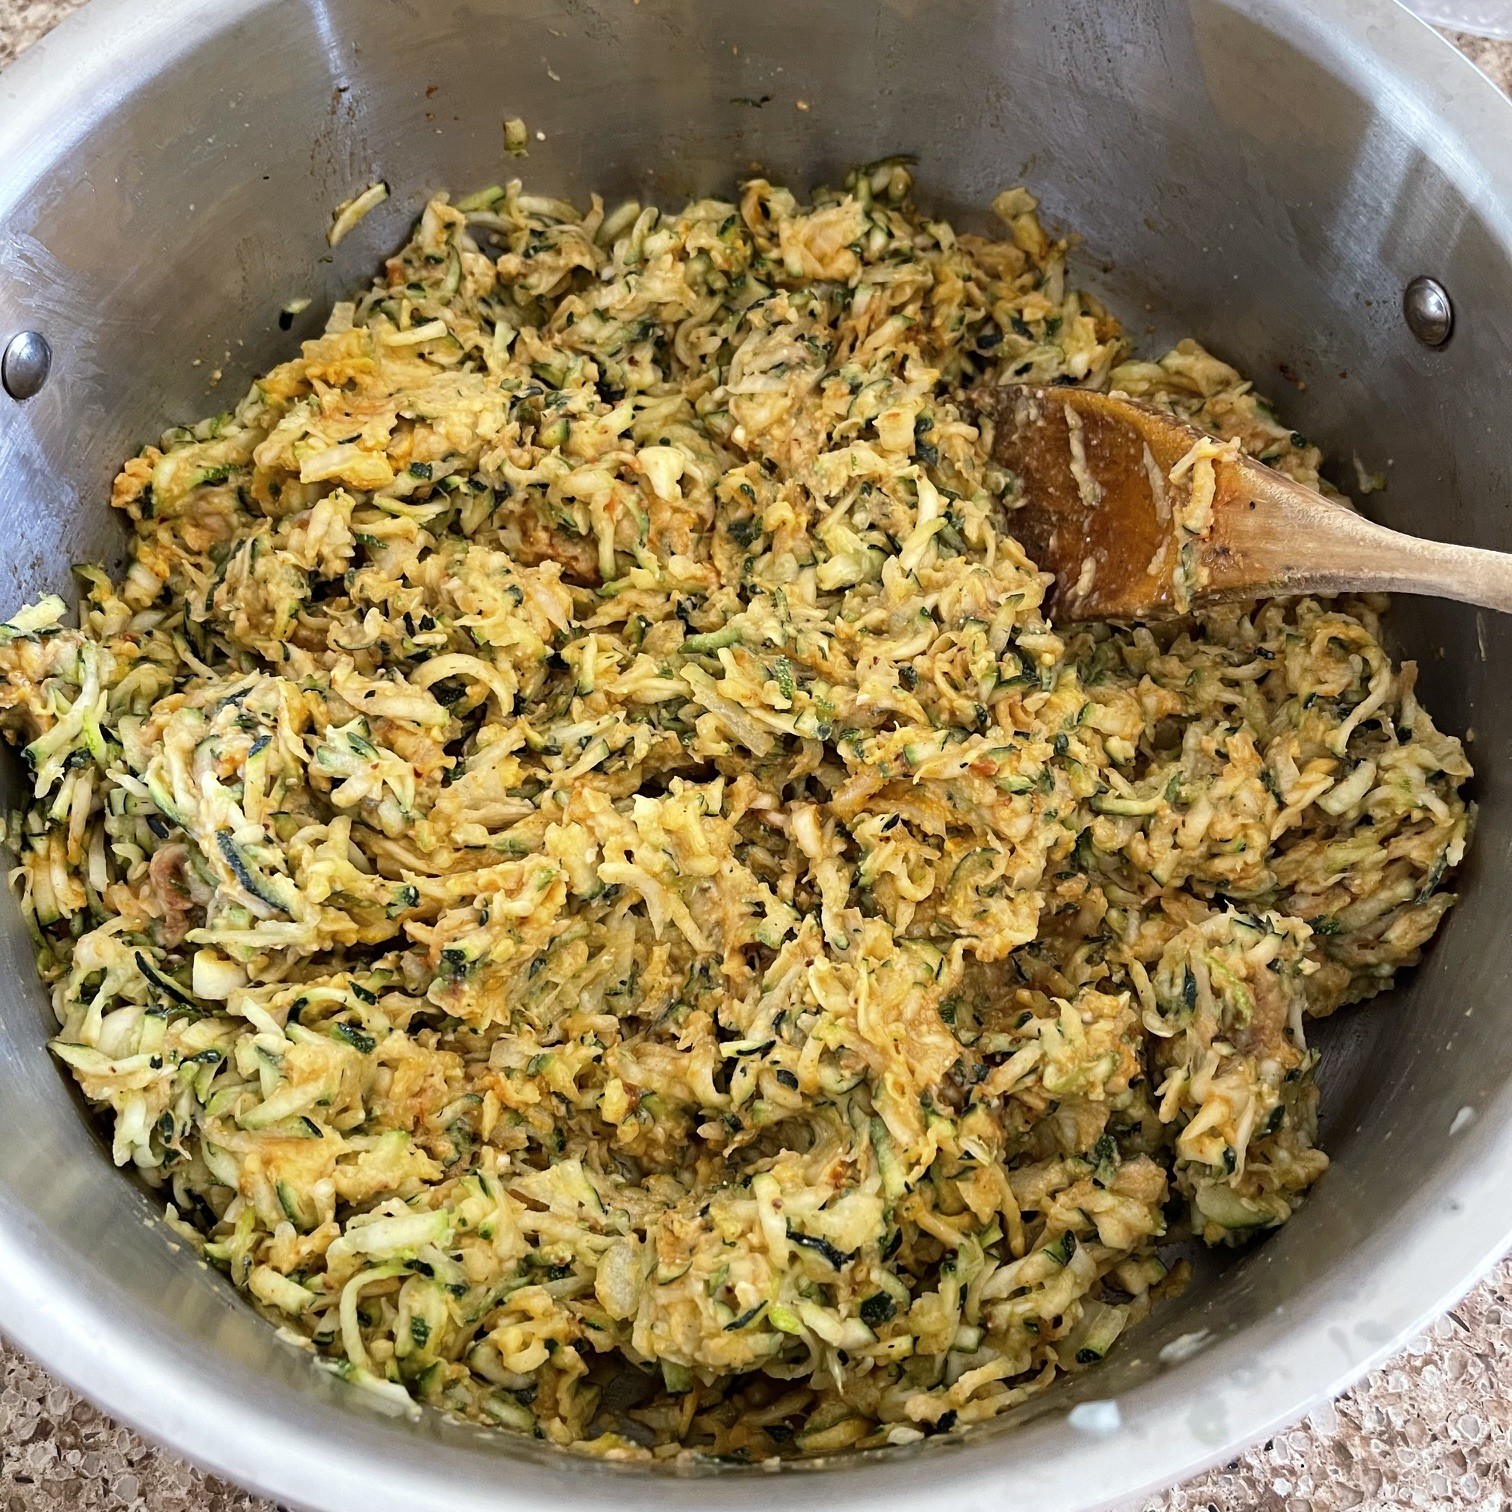
First thing to do is extract as much water from the zucchini as you can. Place a handful of shredded zucchini into the center of a tea towel. The amount of a handful is determined by the size of your hand. Don’t use more thinking you’ll get it done faster – it’s hard work for your hand. Wrap the towel around the zucchini ball, twist, and squeeze. Discard liquid. Repeat until all shredded zucchini is squeezed.

Place squeezed zucchini in a Dutch oven.

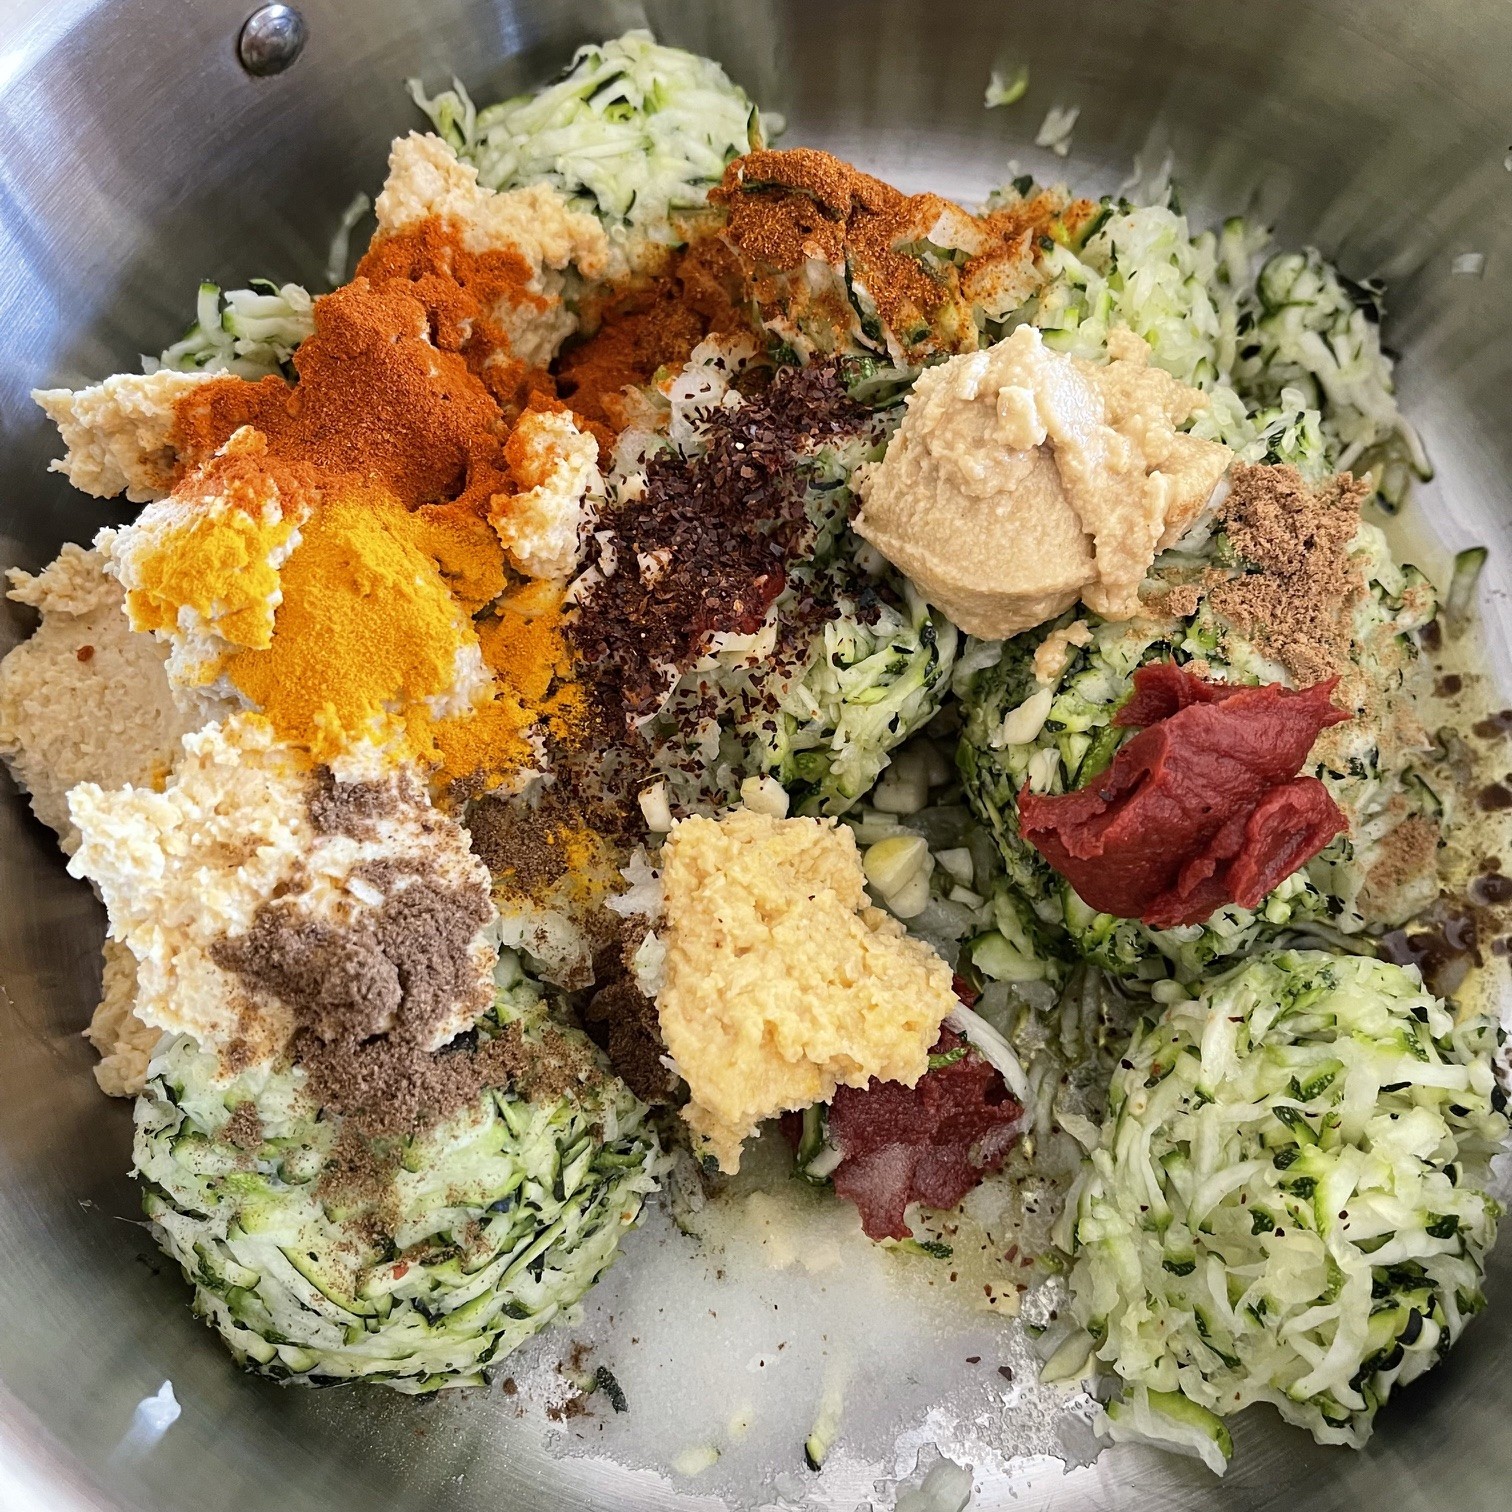
Into the Dutch oven add the onion, garlic olive oil, tomato paste, table salt, ground Korean style red pepper spice, smoked paprika, regular paprika, turmeric, coriander, cumin, tahini, and hummus.

Saute 5-7 minutes on stove top over medium-high heat.

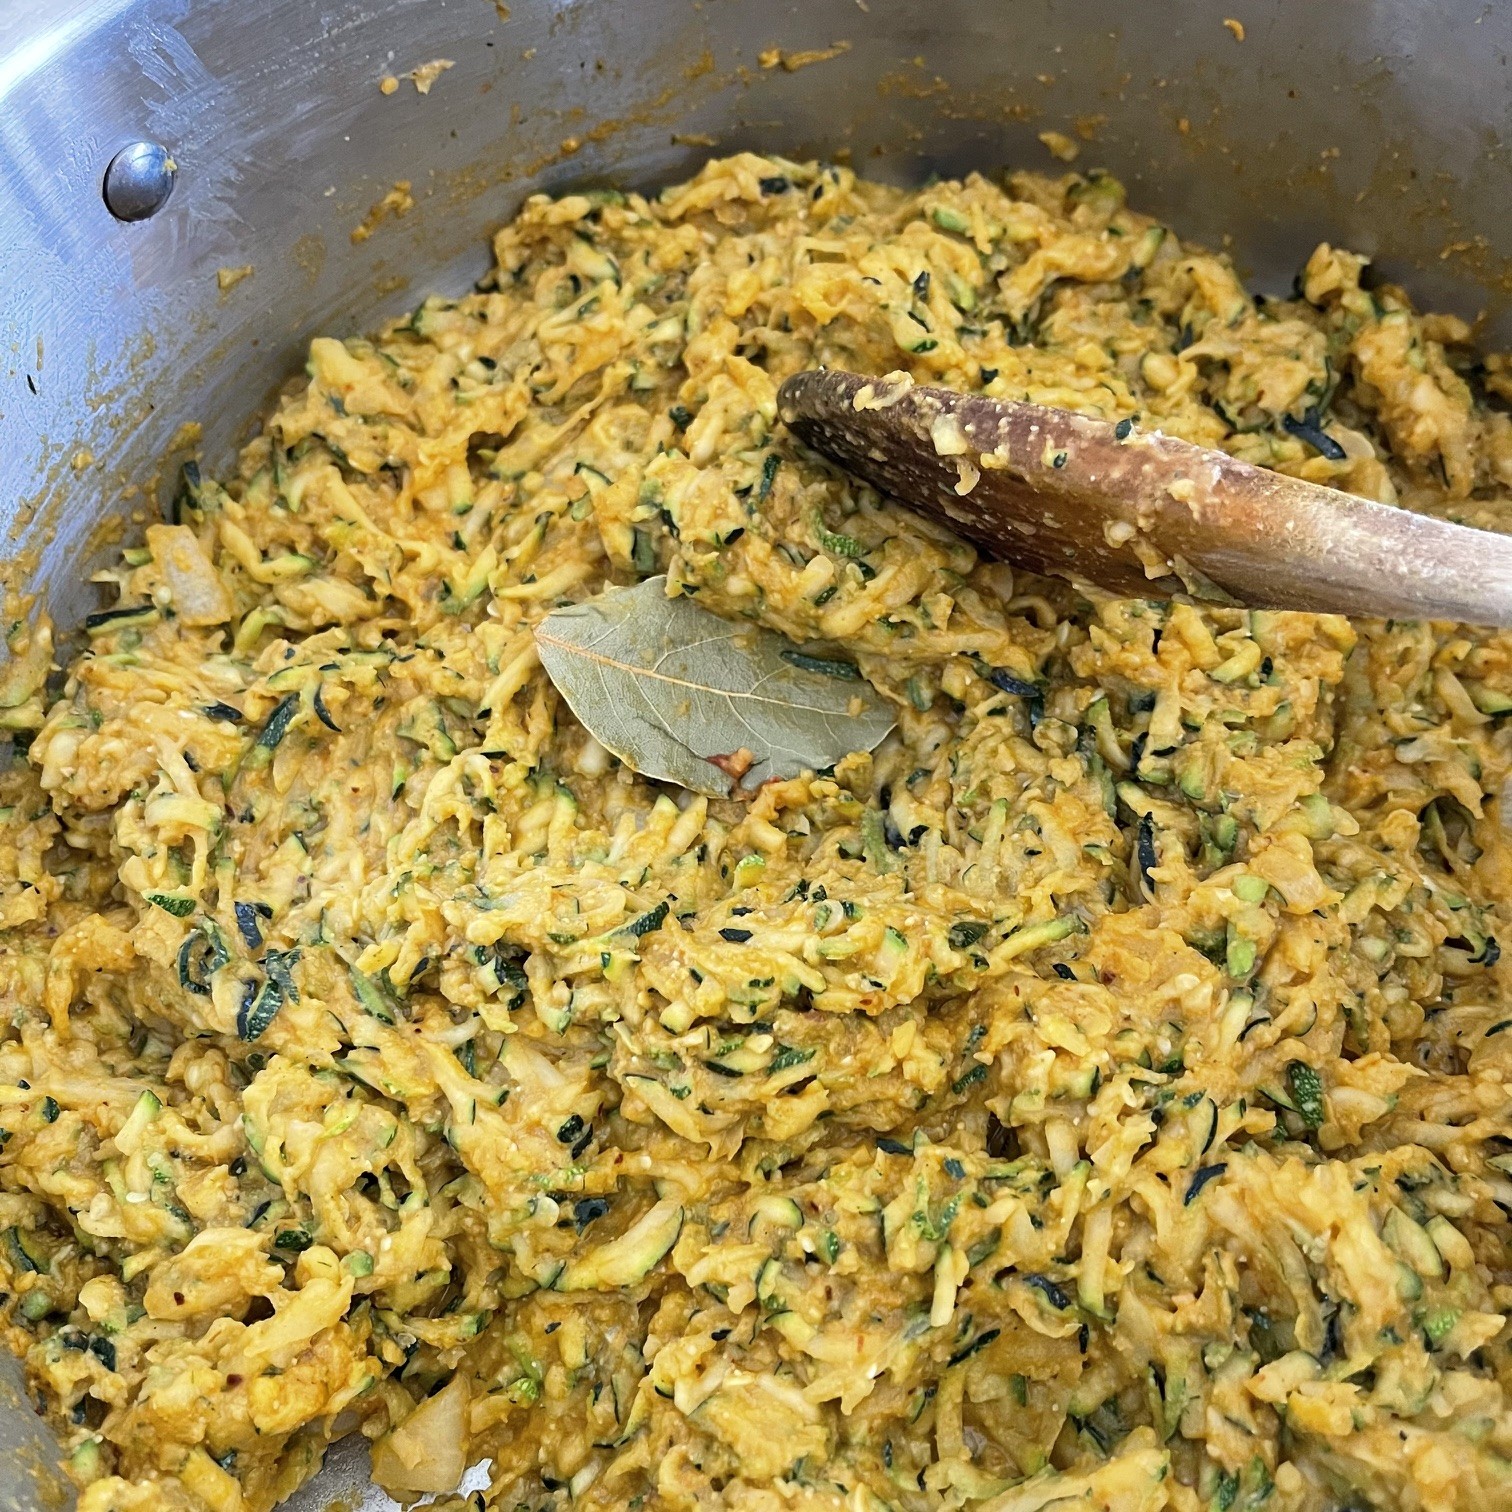
Add in bay leaf and bury it. You don’t want to stir mixture with the bay leaf in it – some bay leafs are brittle and you don’t want shards of bay leaf in your mixture. Make sure you note where you put it – you’ll need to remove it later. Cover pot and bake in preheated 400°F (204°C) for 30 minutes.

After 30 minutes, move bay leaf out of the way and stir zucchini mixture. Bury bay leaf again, cover pot, and continue to bake at 400°F (104°C) for another 45 minutes.

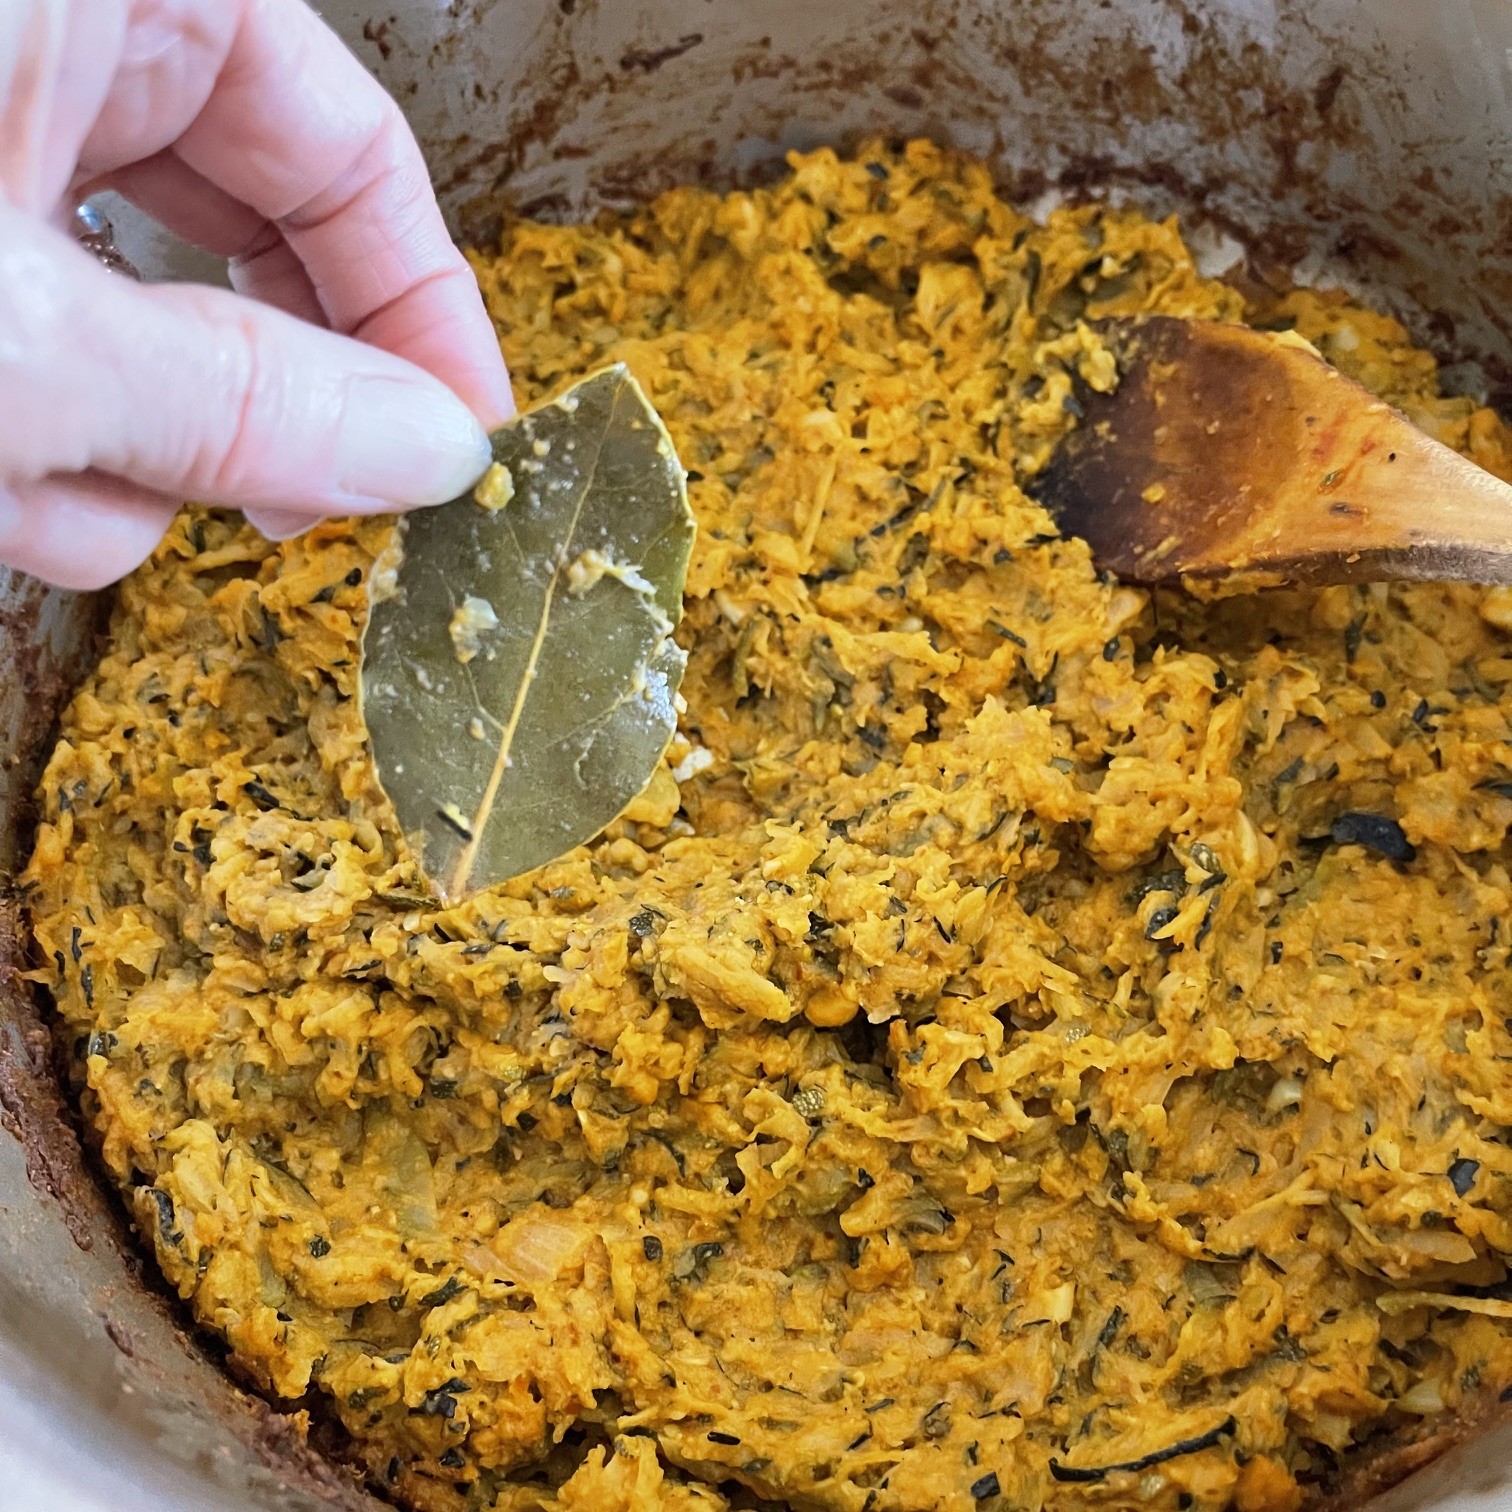
After 45 minutes, remove and discard bay leaf.

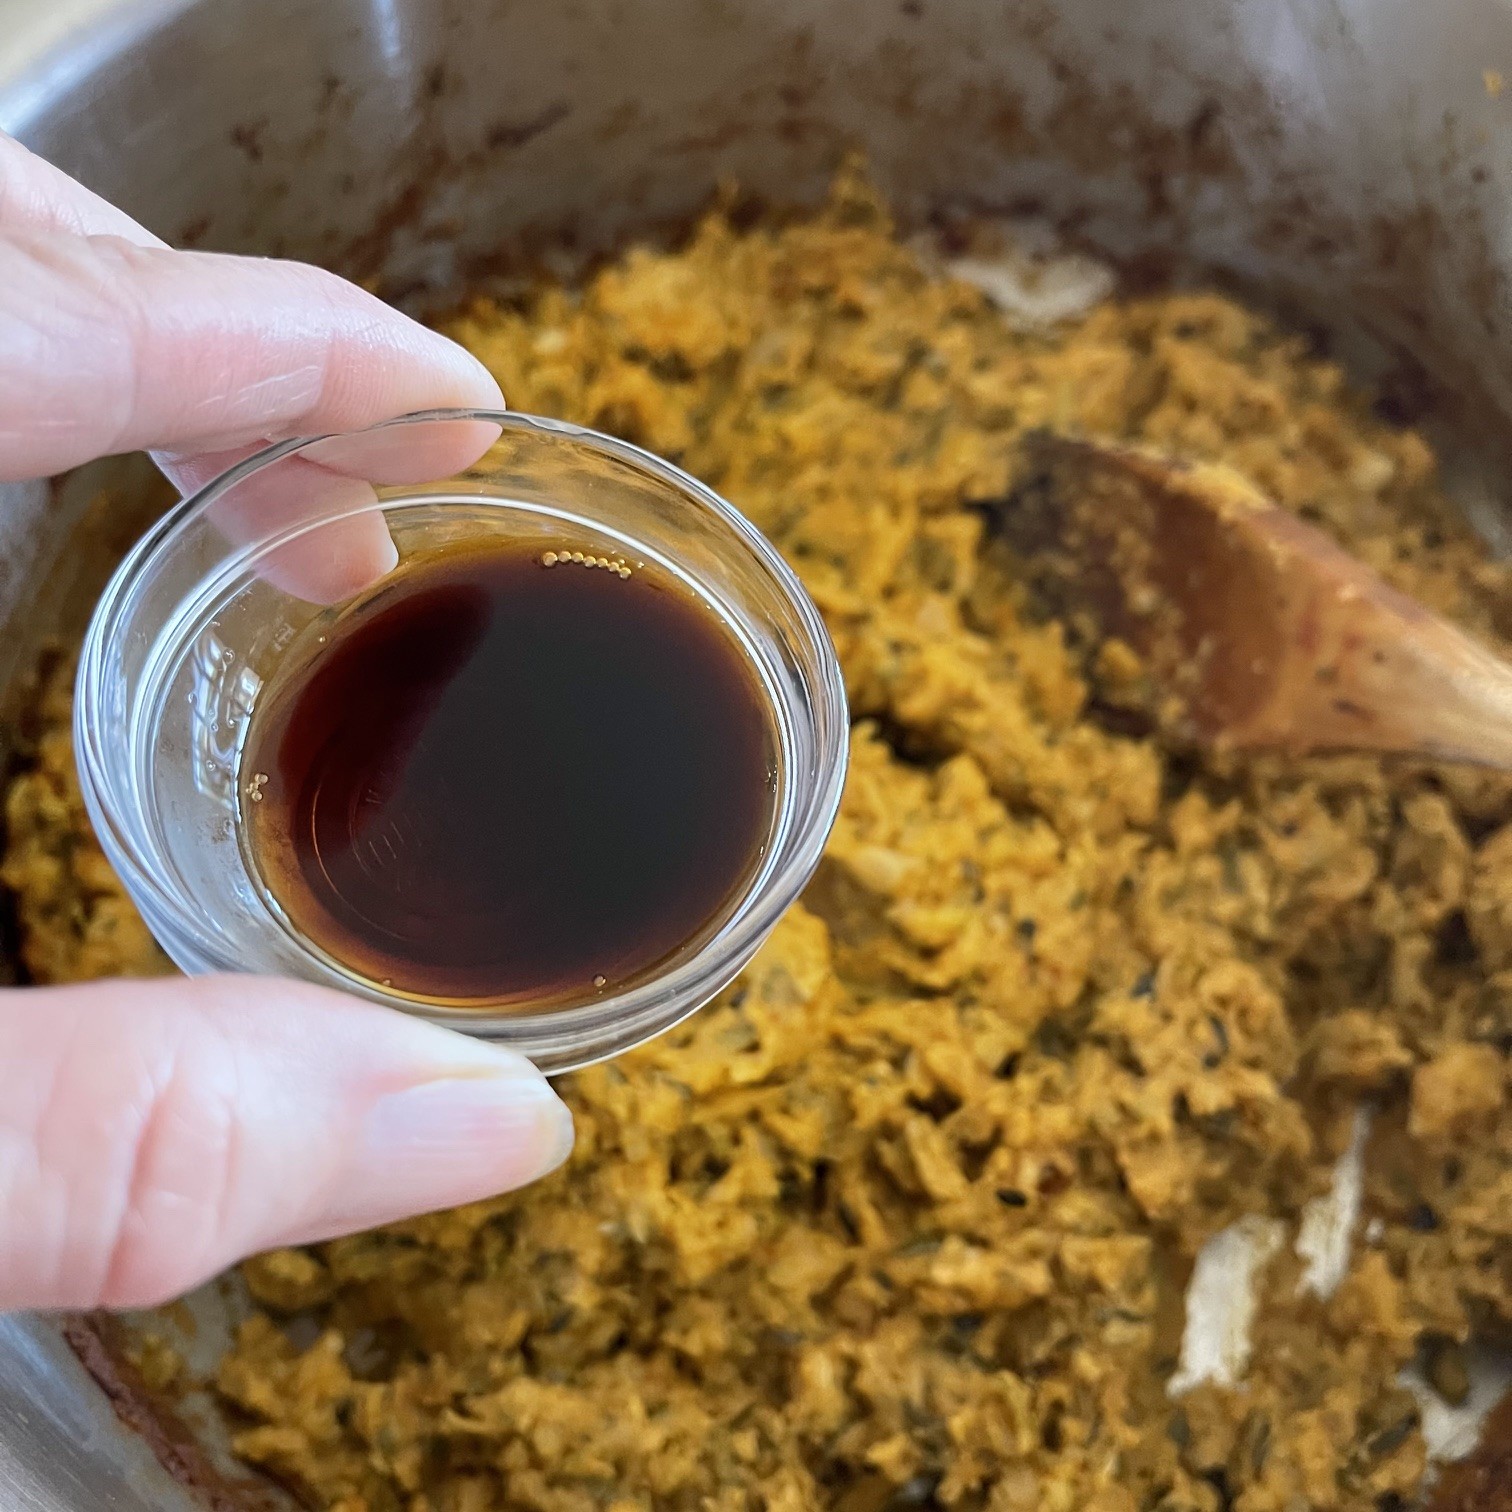
Add in soy sauce.

Cool mixture about 20 minutes, then mix in a blender, food processor, or use an immersion blender (my preference). Adjust seasoning, if needed.

Excellent as a dip or filling in pita bread.

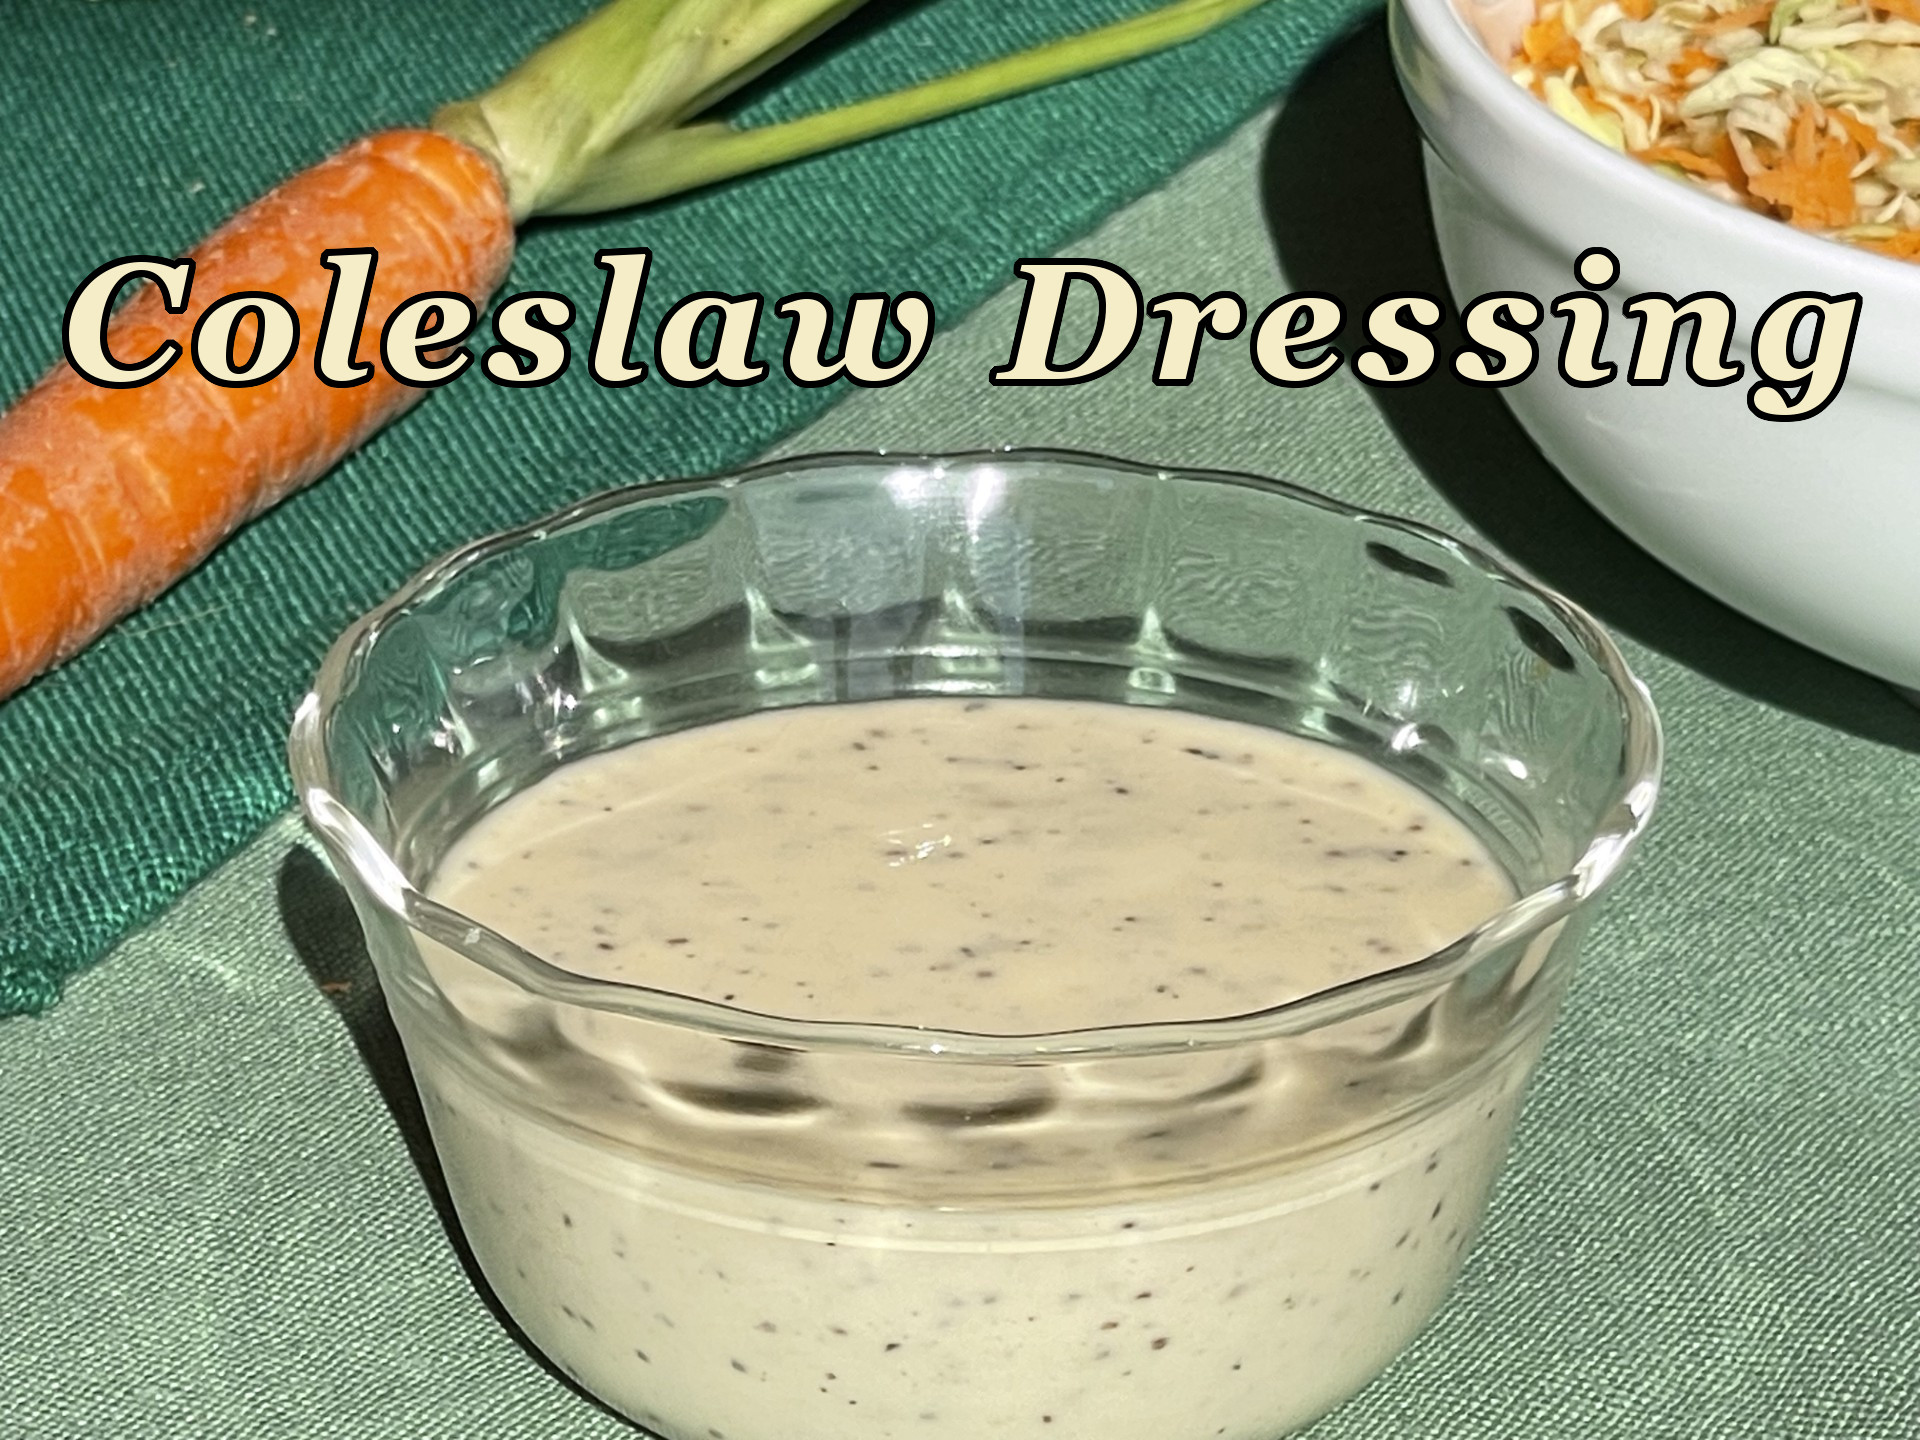
COLESLAW DRESSING: Easy Peasy!!!

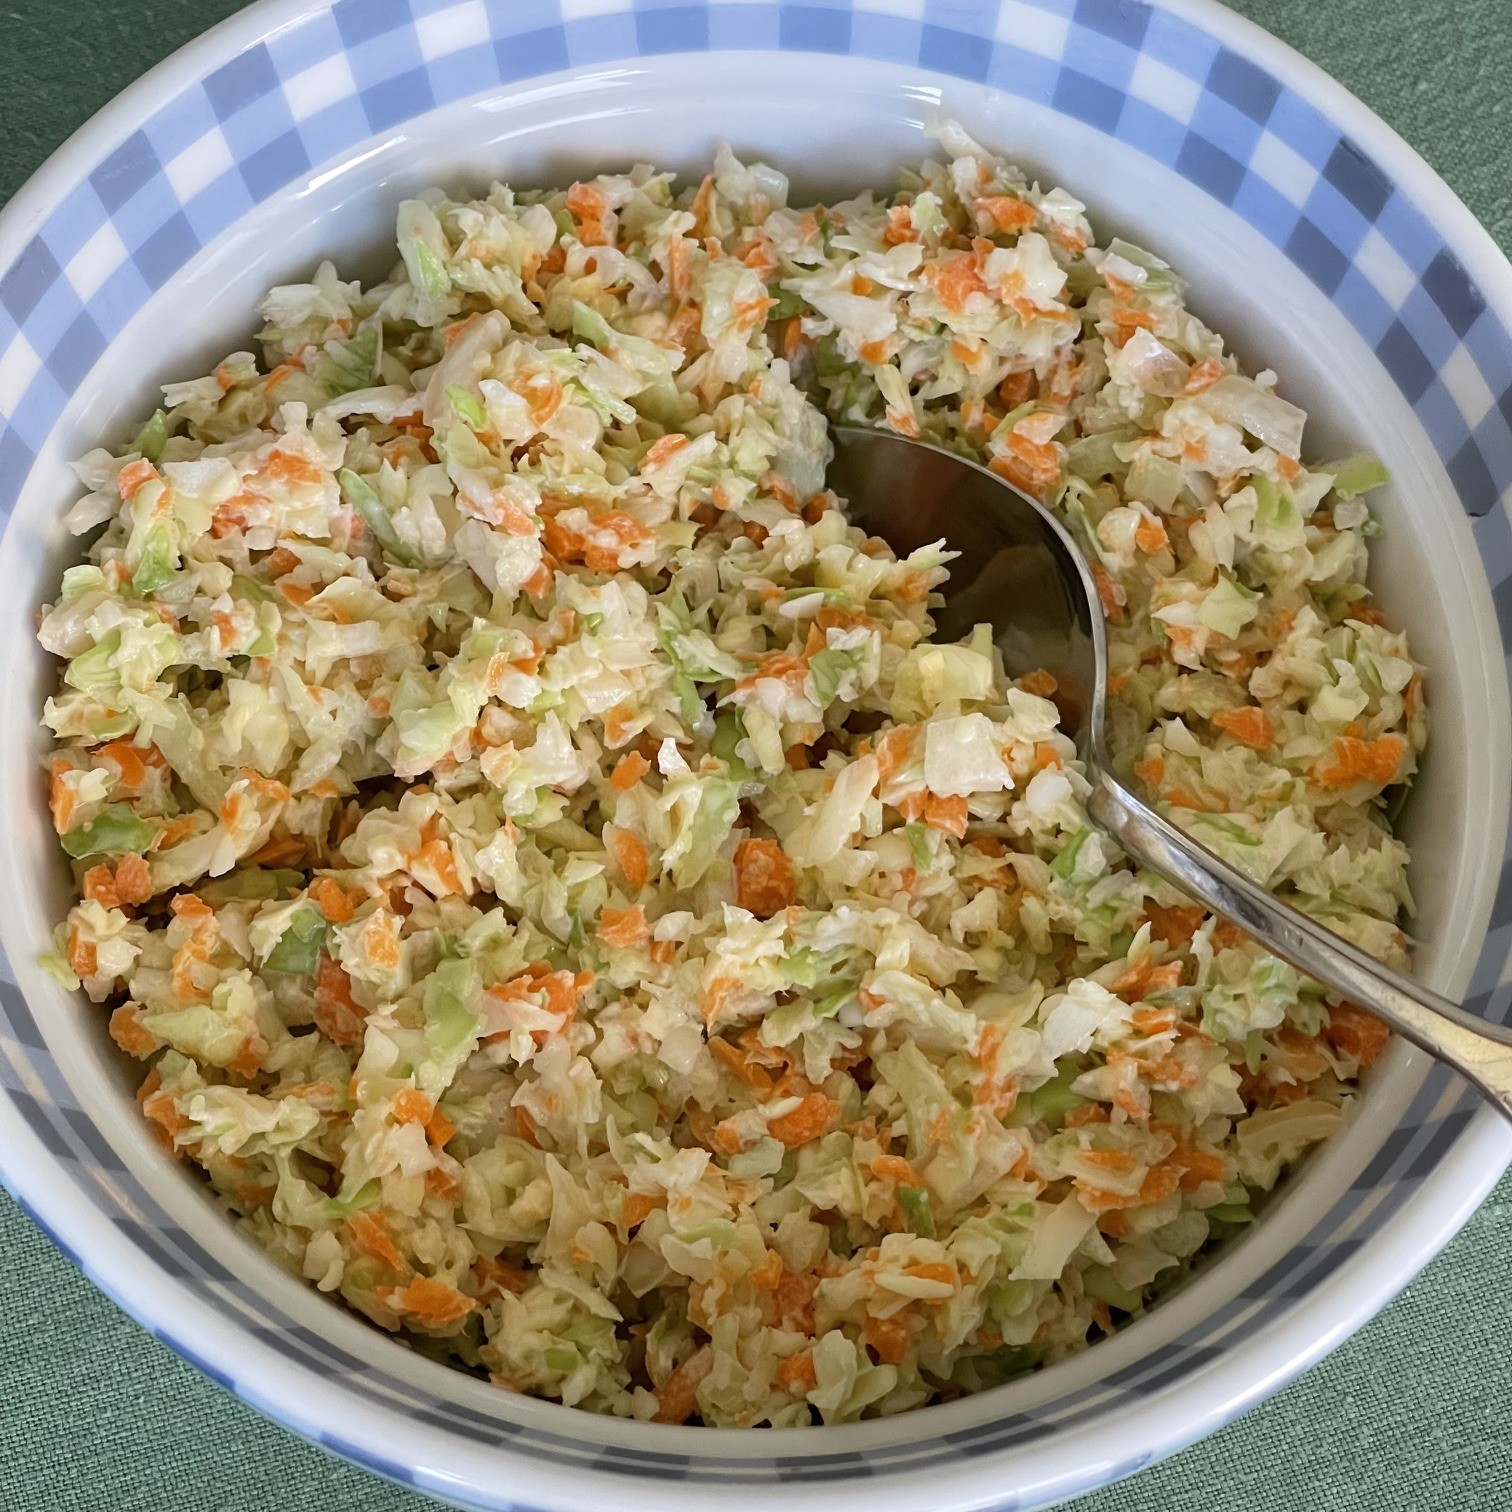
If you have a food processor, coleslaw is a snap to make. Just put in the shredder disk and in a couple of minutes you have shredded cabbage, carrots and onion. Of course, you can shred the ingredients by hand, if you don’t. Now all you need is the dressing.

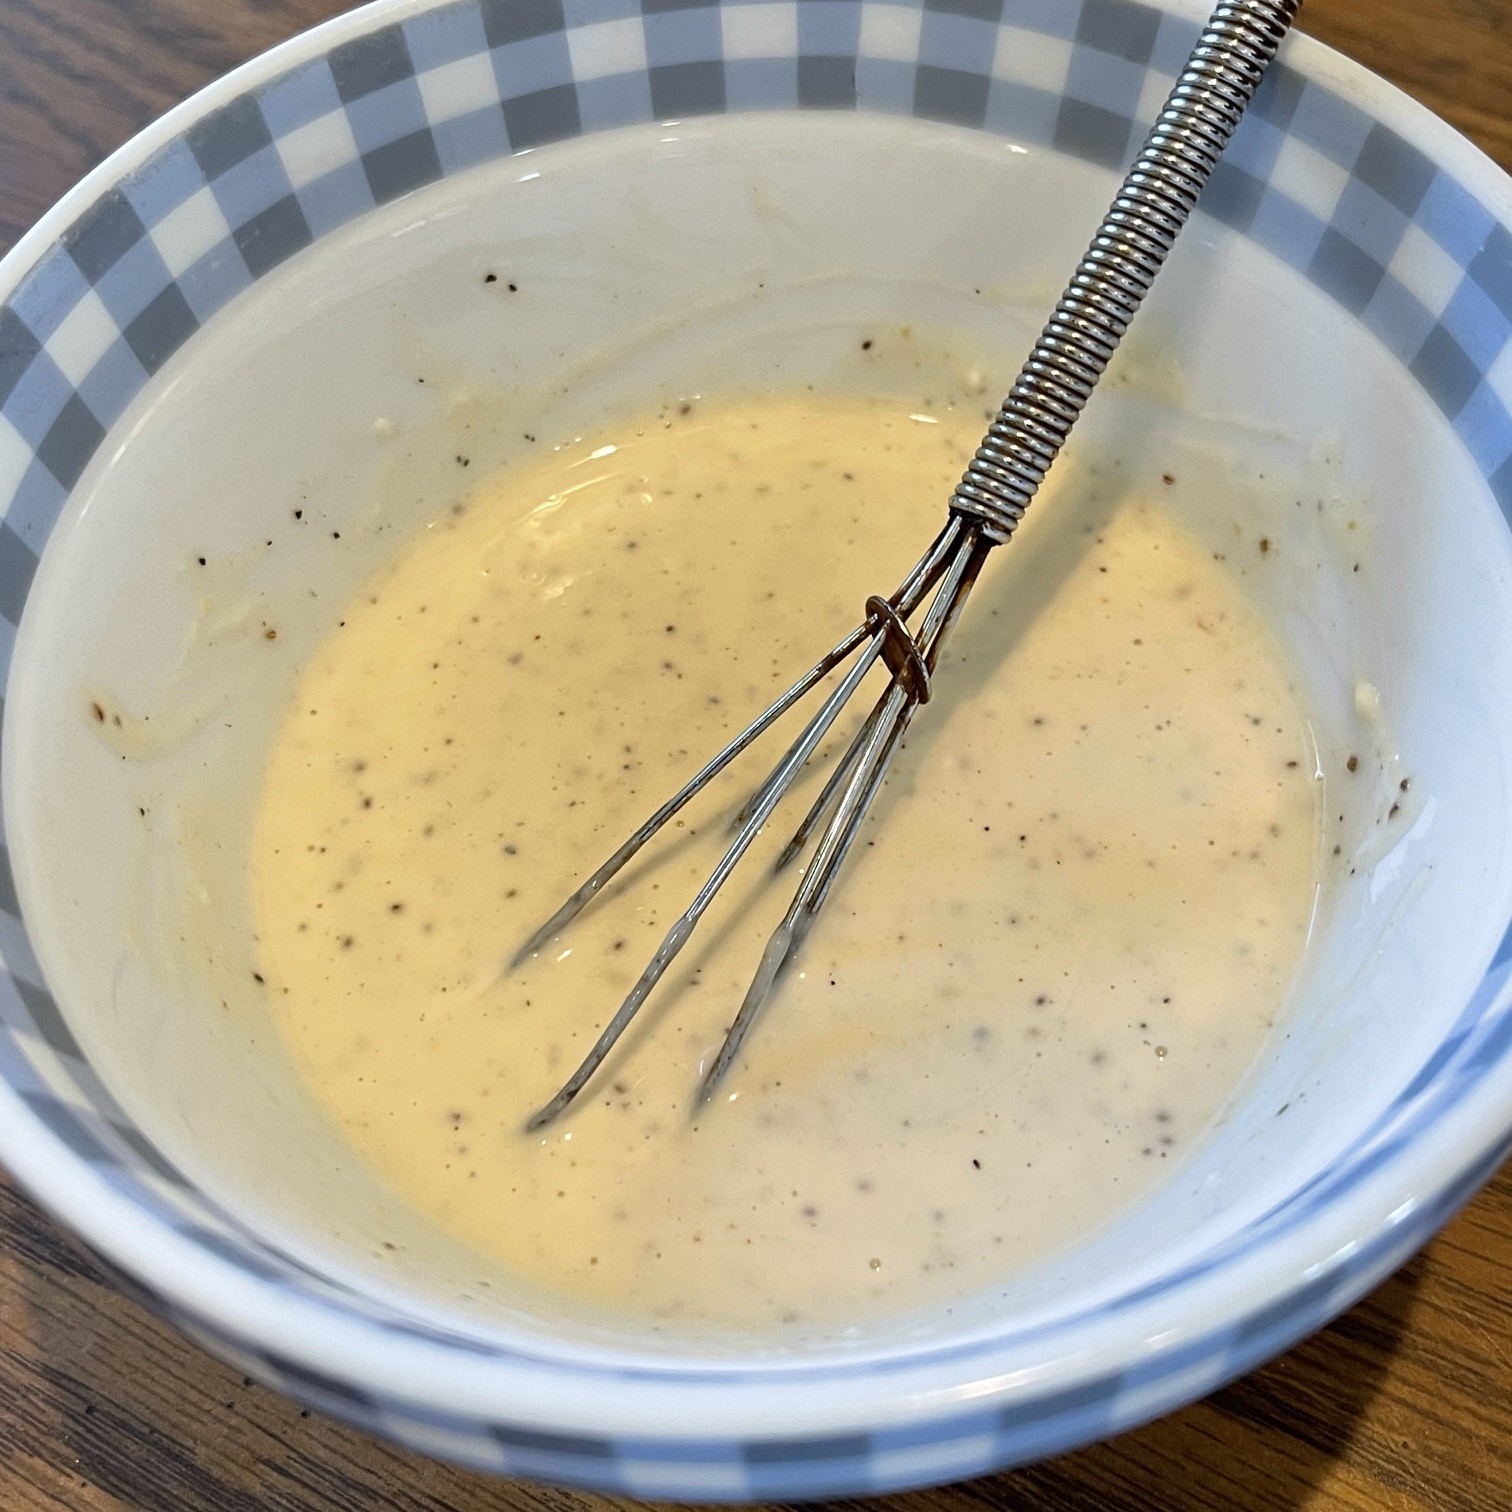
Luckily, my Coleslaw Dressing is just as fast. Basically, just combine all the ingredients and whisk.

Coleslaw Dressing – makes about 1/2 cup (enough for 4 cups of coleslaw)

  • 75g (1/3 cup) mayonnaise
  • 6g (1/2 T) apple cider vinegar
  • 3/4 tsp Dijon mustard
  • 1/3 tsp celery seeds
  • 1/4 tsp sea salt
  • 1/8 tsp black ground pepper
  • 12g (1/2 T) maple syrup

Place all ingredients in a large bowl and whisk to blend. Chill.
About an hour or so before serving, combine the coleslaw ingredients and dressing. That’s all there is to it!

ZUCCHINI PASTA SALAD: Fast & Easy!

I’m always looking for zucchini recipes ever since I’ve begun to grow them in my garden. Not only is this recipe delicious, it has the added bonus of being easy to prepare. It’s great to serve at holiday dinners, picnics, and pot-lucks.

ZUCCHINI PASTA SALAD – makes about 650g (5 cups)

  • 12g (2 T) diced shallots
  • 2 T extra-virgin olive oil, divided
  • 10g (1 T) red wine vinegar
  • 1/4 tsp salt 
  • 1/4 tsp black ground pepper
  • 114g (1/4 lb) small pasta
  • 2 cloves garlic, minced or pressed
  • 15g (1 T) ketchup
  • 170g (1-2) zucchini, chopped into half-moons
  • 46g (1/2 cup) red pepper, chopped
  • 27g (1/4 cup) small carrot, sliced thin
  • 130g (1 cup) Feta cheese, crumbled into chunks
  • 63g (1/2 cup) Kalamata olives, chopped

In a small bowl, blend together 1 T olive, the shallots, red wine vinegar, salt, and pepper. Set aside.

Bring about a quart of water to a full boil and add in the uncooked pasta. Cook for about 9 minutes, stirring now and then. Drain without shaking out the excess water in the sieve. Pour the cooked pasta into a large bowl.

Into the now empty pot, put the remaining 1 T olive oil, garlic, ketchup, zucchini, red pepper, and carrot. Over medium flame cook about 5 minutes, stirring often. You only want to par-cook the veggies so there’s still a slight bite to them, not make them soggy.

Pour the cooked veggies to the bowl of cooked pasta. Mix in the Feta, Kalamata olives, and vinegrette.

Serve at room temperature (or chilled, if you prefer).

ORZO WATERMELON SALAD: Refreshing, fast, and easy!

I’d never heard of Orzo Watermelon Salad until it was mentioned often in a novel I was reading recently. It sounded interesting, so I Googled it. Lo and behold, it was a real thing! I got the gist of what goes in it, then honed the recipe to my liking – the tangy dressing with a slight kick of red pepper flakes was the key.

This salad is very fast and easy to make but, as with most salads, they’re best mixed close to serving time. That being said, it’s still tasty the next day.

ORZO WATERMELON SALAD – makes about 5-6 cups

  • 18g / 2 T Balsamic vinegar
  • 10g / 1 T granulated sugar
  • 68g / about 2 shallots, sliced thinly
  • 18g / 2 T extra virgin olive oil
  • 27g / 3 T lime juice
  • 4g / 3/4 tsp Dijon mustard
  • 1/4 tsp red pepper flakes
  • 1/4 tsp salt
  • 120g / 3/4 cup / 4 oz uncooked orzo
  • about 250g / 8 oz seedless watermelon, cubed bite-sized
  • 114g / 4 oz Feta cheese, crumbled into bite-sized pieces
  • 50g / 1/2 cup cooked green peas (I use frozen)
  • about 65g / 1/2 cup Pistachio nuts

Slice the shallots thinly.

Into a small saucepan combine the Balsamic vinegar, sugar, and shallots. Bring to a boil, turn off burner, then cover pan. Let set, at least, 30 minutes. This can be done ahead of time.

Into a small bowl, combine the olive oil, lime juice, Dijon, red pepper flakes, and salt. Set aside until serving time. This can be done ahead of time.

In a saucepan, bring about 3 cups of water to a full boil. Add in the orzo and a tsp of salt. Stir often and cook for 8 minutes. SET THE TIMER! Drain using a sieve, then pour into a mixing bowl to cool.

As orzo is cooling, chop watermelon into bite-sized cubes. Make sure to remove any seeds – they’re not very tasty.

Into the bowl with the cooked orzo, put the cubed watermelon, Feta, and peas. Gently mix and set aside until serving time.

At serving time, stir the dressing well and pour that into the orzo. Add the shallots WITH the liquid into the bowl along with the pistachios. Mix gently. Serve.

Risotto with Gorgonzola-Pears-Walnuts

When I heard about a risotto dish featuring Gorgonzola, pears, and walnuts, I was intrigued. Salty, sweet, and crunch combined in a creamy risotto? Whoa! Four worlds colliding! (Seinfeld fans will understand my reference.) I set to work to create the recipe which, surprisingly, only took 2 tries. Delizioso!!!!

NOTE: While any type of pear will do for flavor, I suggest using a deep red pear to add color to the dish.

RISOTTO WITH GORGONZOLA-PEARS-WALNUTS – makes about 3 cups

  • 1T (14g) butter
  • 31g (1/3 cup) shallots, sliced into strips
  • 1/4 tsp salt
  • 1/8 ground black pepper
  • 1/2 tsp dried rosemary
  • 1/2 tsp cumin
  • 20g (1T) honey
  • 135g (3/4 cup) raw arborio rice
  • 57g (1/3 cup) white wine
  • 475 ml (2 cups) vegetable stock
  • 1 pear – not too hard, nor mushy, preferably red for color
  • 40g (1/2 cup) walnuts, chopped & lightly toasted
  • 100g (3.5 oz) Gorgonzola cheese, crumbled

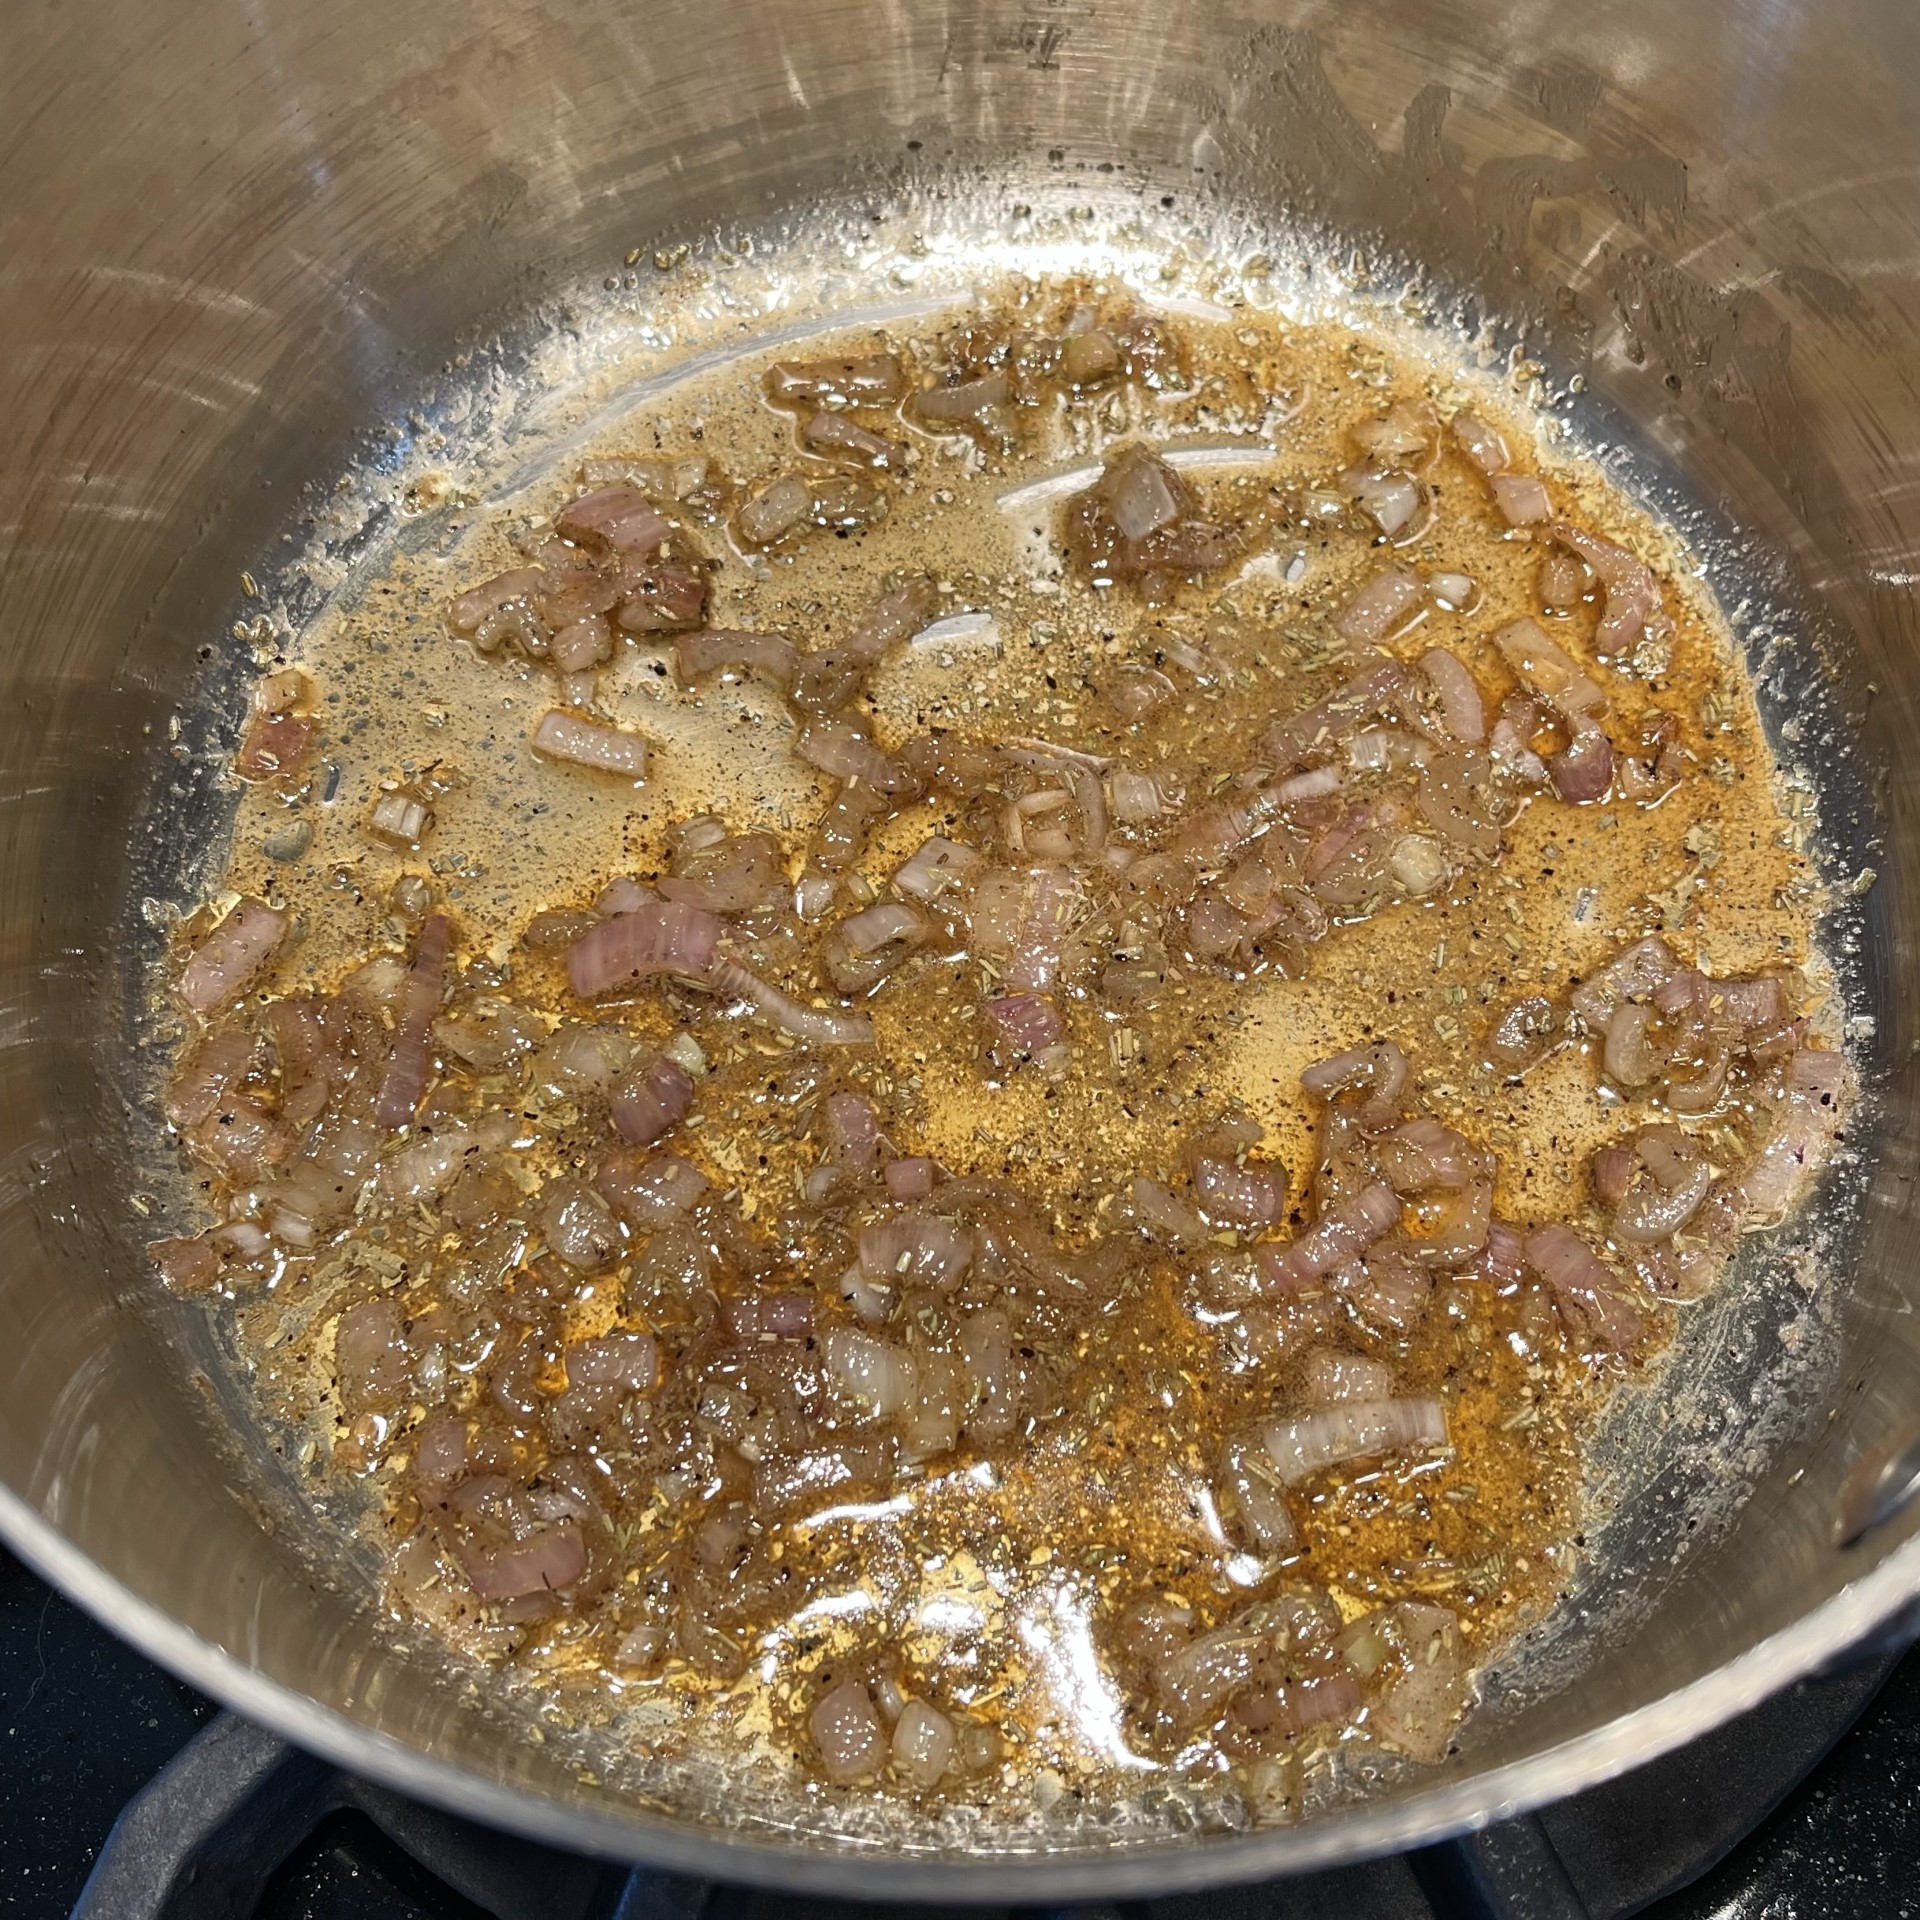
In a medium sized saucepan, melt butter. Add in shallots, salt, and pepper. Over medium flame stir to soften the shallots, but not brown them – about 4 minutes.

Add rosemary, cumin, and honey to pot. Over low heat, stir together for 30 seconds – just to bloom the spices.

Stir in the arborio rice and saute over low heat for 5 minutes.

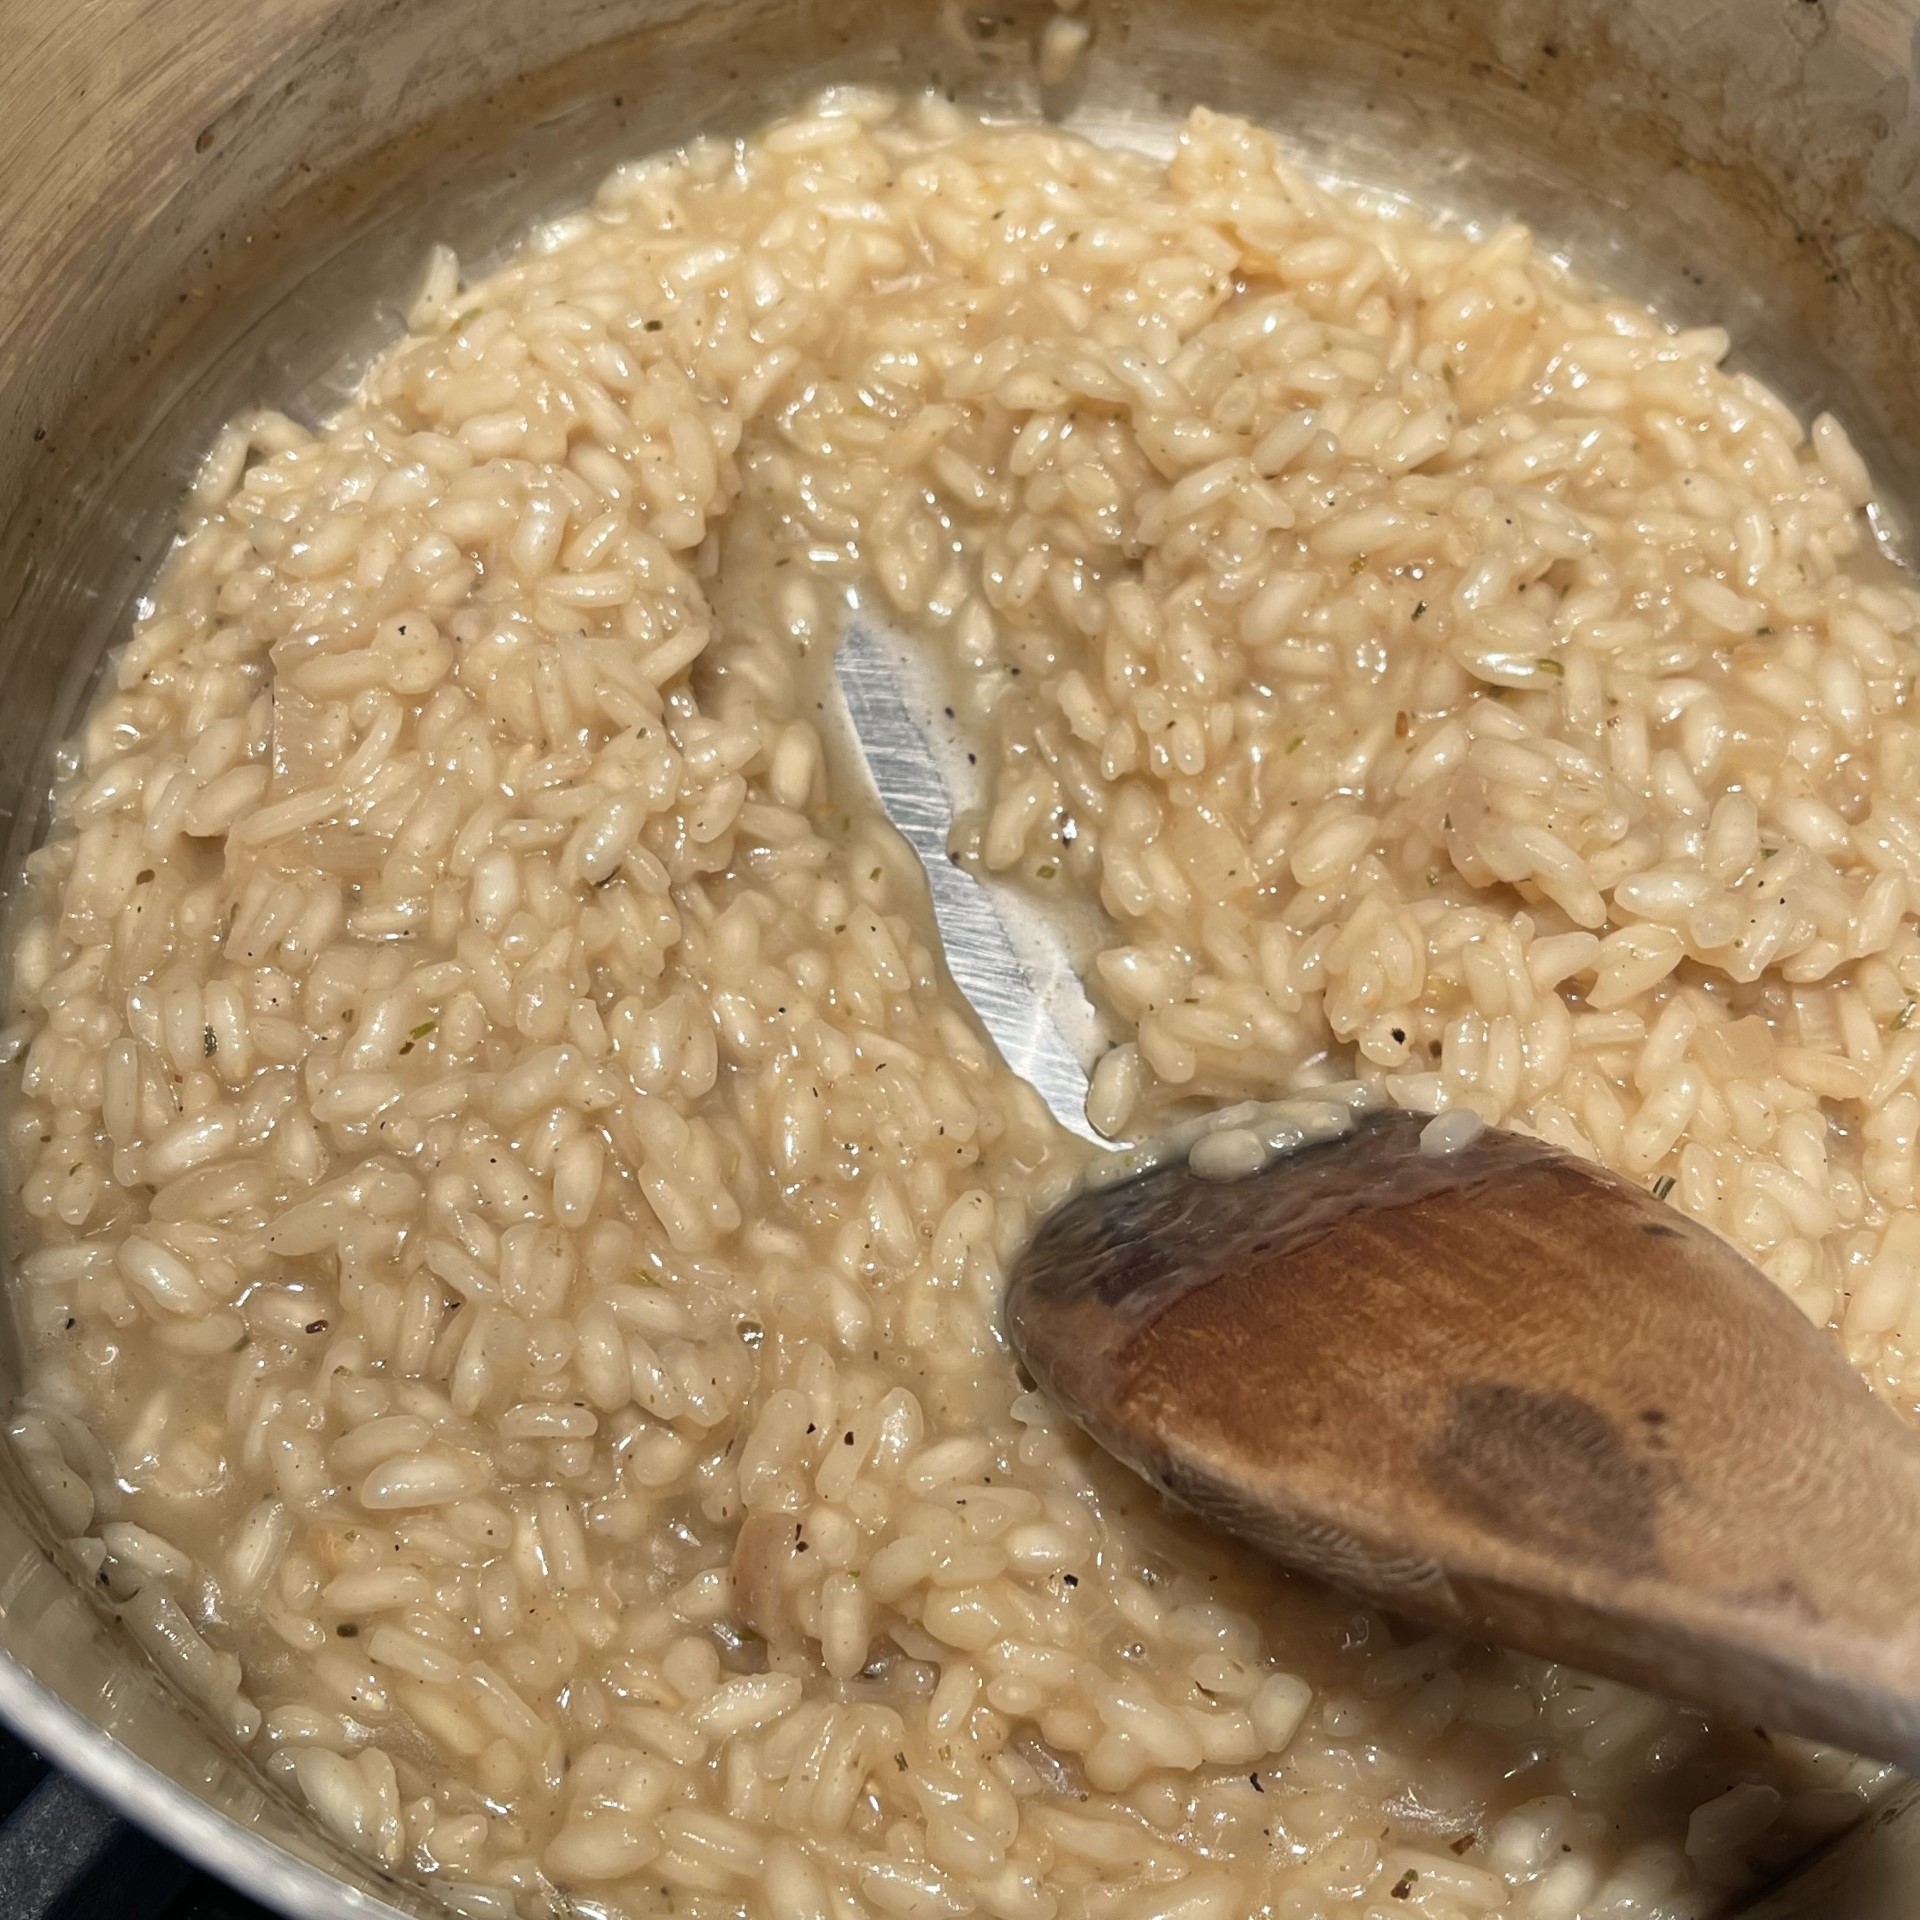
Pour in the white wine and stir over low heat until the wine has NEARLY evaporated. (This takes just a few minutes so have the vegetable stock ready to go.) Photo shows wine just being added.

Now comes the part that, while easy, takes time – please don’t rush it. Over medium flame, start adding the stock in about (you don’t have to be precise) 50 ml (1/4 cup) increments, stirring constantly. Add more when the previous amount has been absorbed. Keep going until the final addition – let it absorb somewhat, but not altogether – you want it creamy.

Remove from heat and pour into serving bowl to cool slightly.

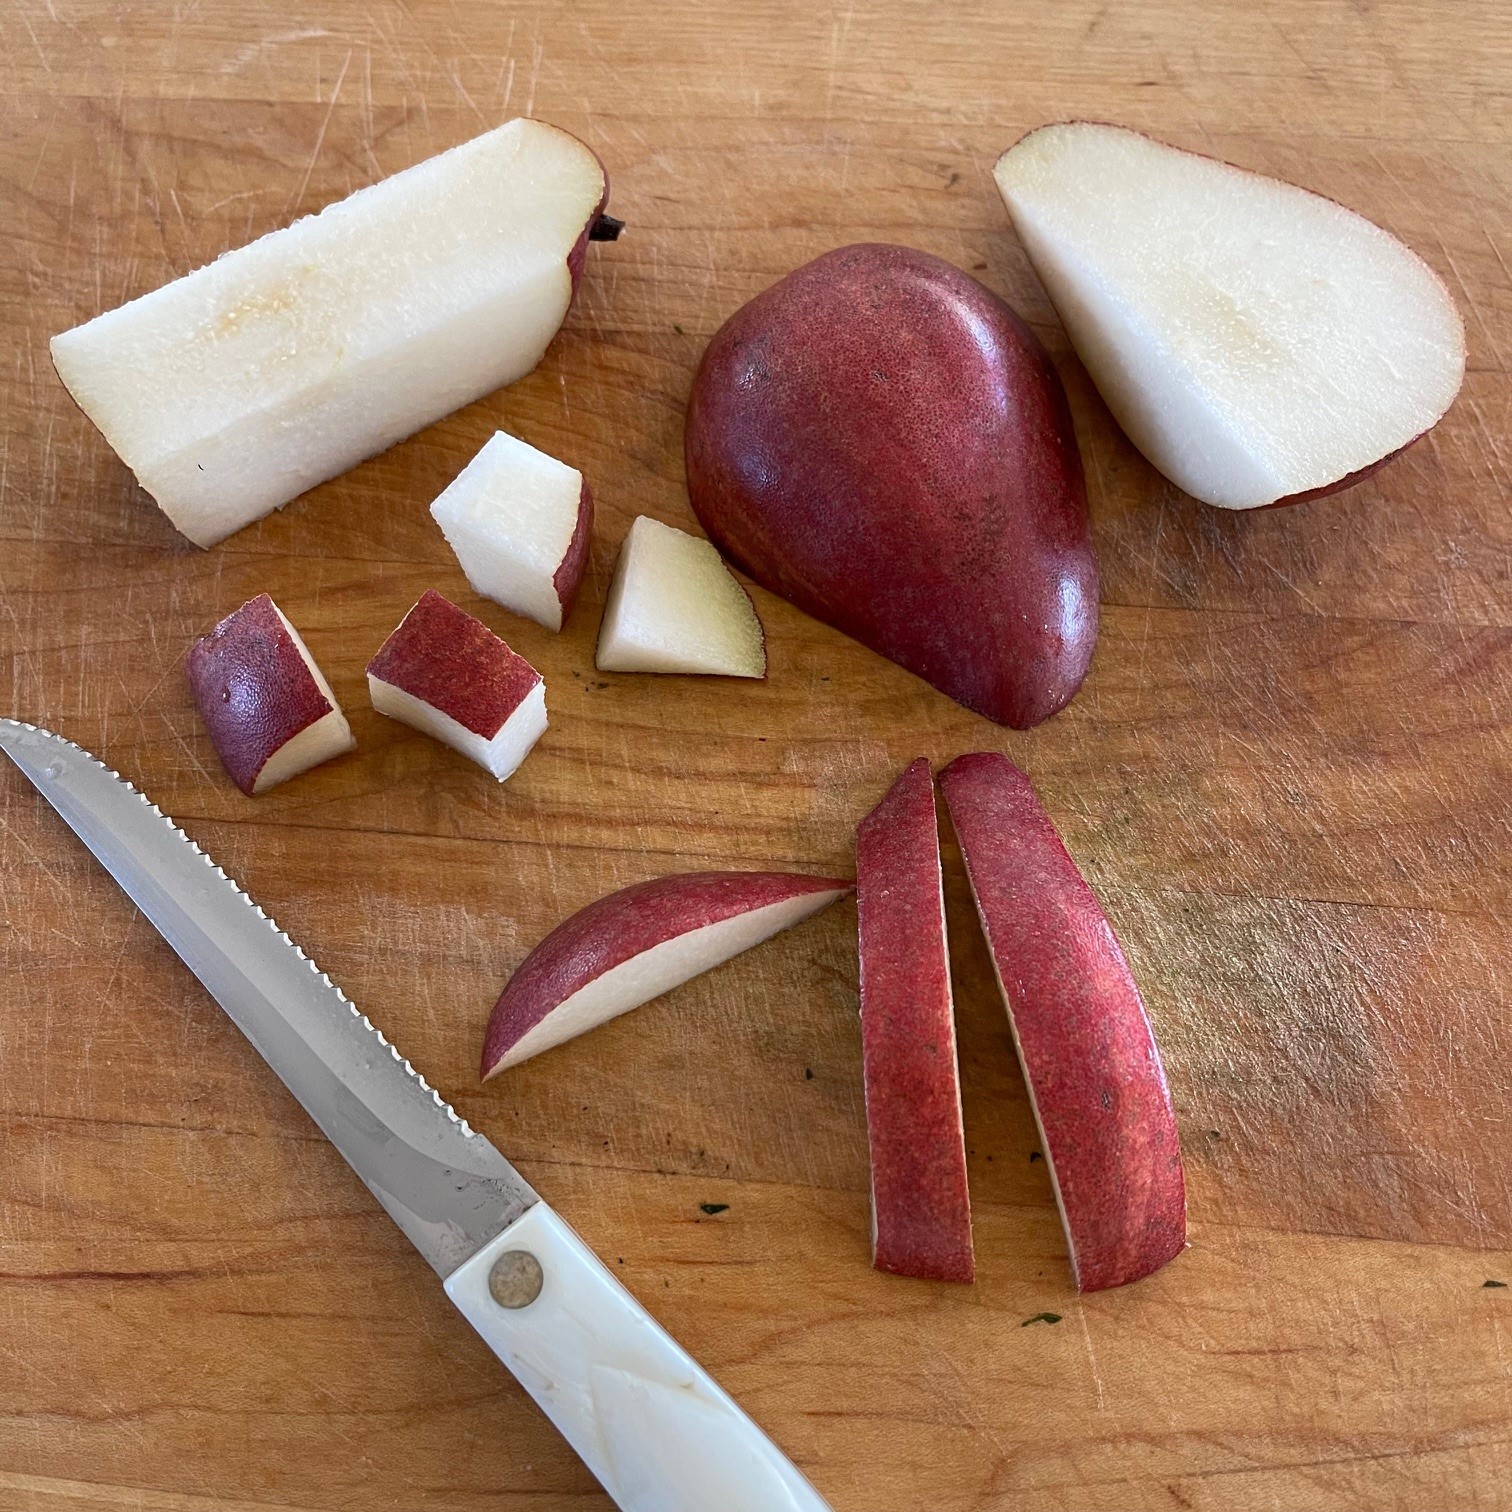
Slice pear from top to bottom around core into four slabs. Cut into 2cm (3/4″) pieces. (I prefer to slice my pear just before adding it to the risotto so it doesn’t start to brown.)

Very gently stir in the pears, Gorgonzola, and walnuts, just to blend.

Serve warm or room temperature.

SPICY CORN SALAD: A Wake-up Call To Your Mouth!

spicy corn salad2 textAh, summer! Longer days, sunny weather, and fresh produce. Besides fresh-from-the-vine tomatoes, corn on the cob ranks at the top.

Of course, delicious as eating a perfectly cooked corn on the cob is, it’s one of those foods best eaten in privacy or with close friends/family. No one looks to impress with a kernel or two stuck between their teeth.

And that’s where Spicy Corn Salad comes to the rescue! You get the mouth-pleasing crunch of fresh corn with the kick of serrano thrown in, all the while flashing those pearly whites without fear.

Spicy Corn Salad is a fast and easy side dish that can be eaten warm or cold.

SPICY CORN SALAD

  • 42g (3 T) sour cream
  • 25g (3 T) lime juice
  • 13g (1 T) mayonnaise
  • 1/4 tsp + 1/2 tsp salt, divided
  • 1-2 serrano chilis (use your own judgment – 1½ was our preference)
  • 6 ears (450g) (4.5 cups) of white corn (or yellow)
  • 2 T + 1 tsp vegetable oil, divided
  • 2 cloves garlic, pressed or minced
  • 1/2 tsp chili powder
  • 117g (1 cup) Feta cheese, crumbled
  • 3/4 cup (15g) cilantro, chopped
  • 3 scallions, white and green part, sliced

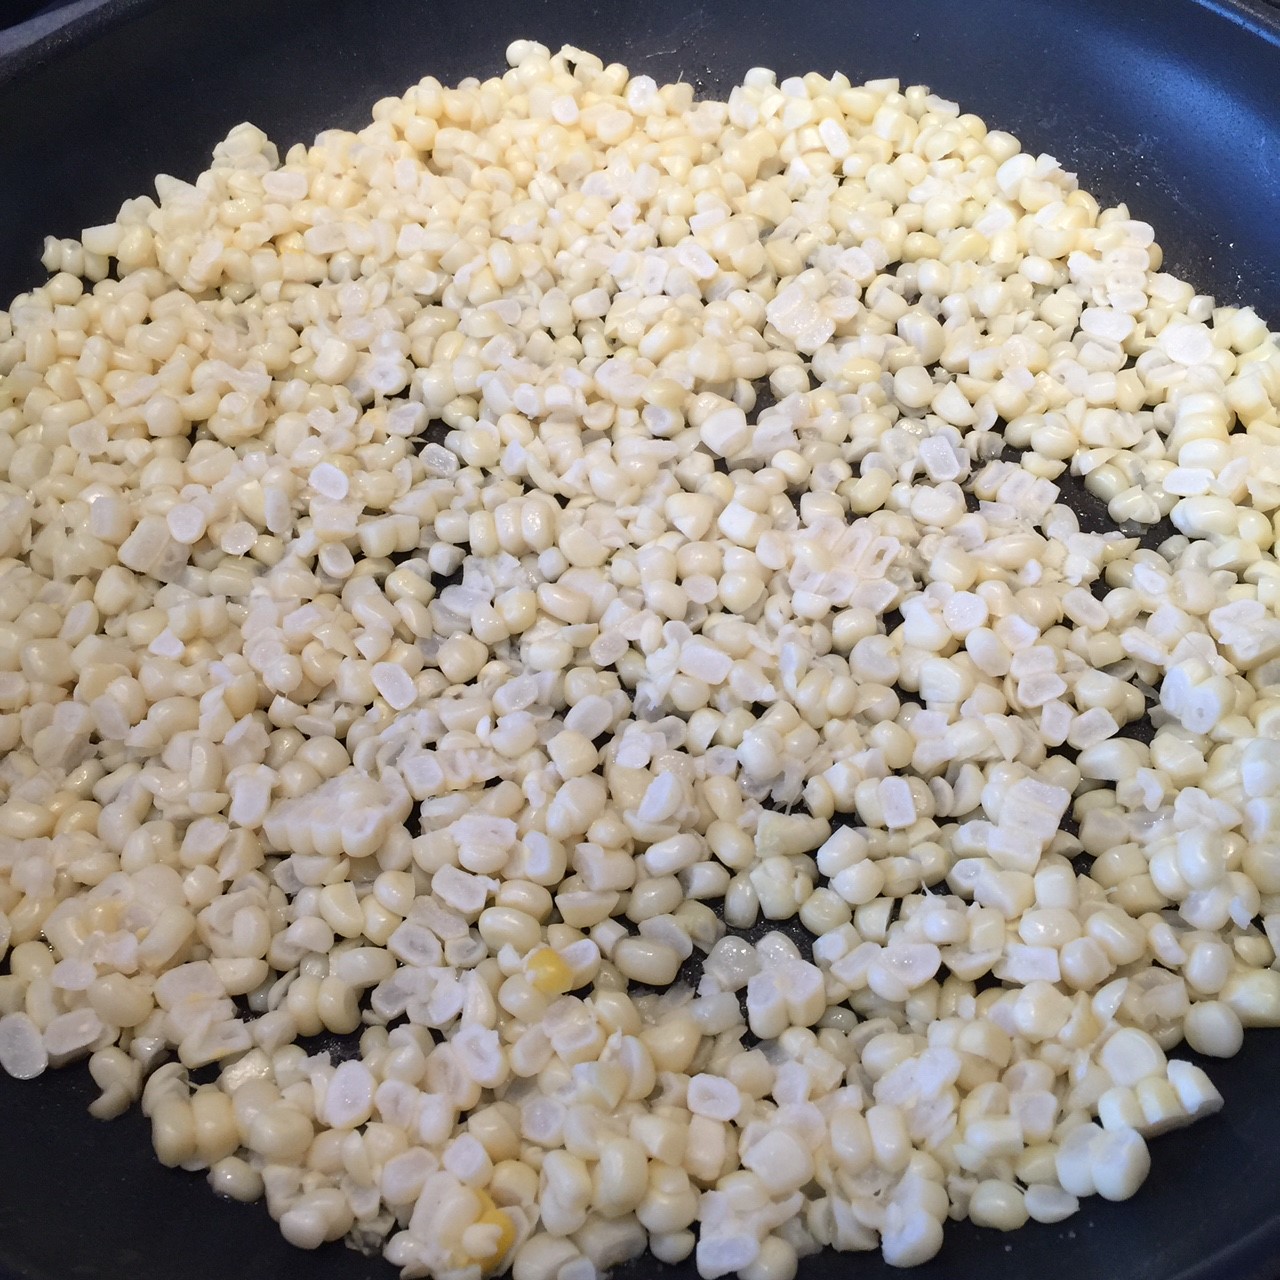
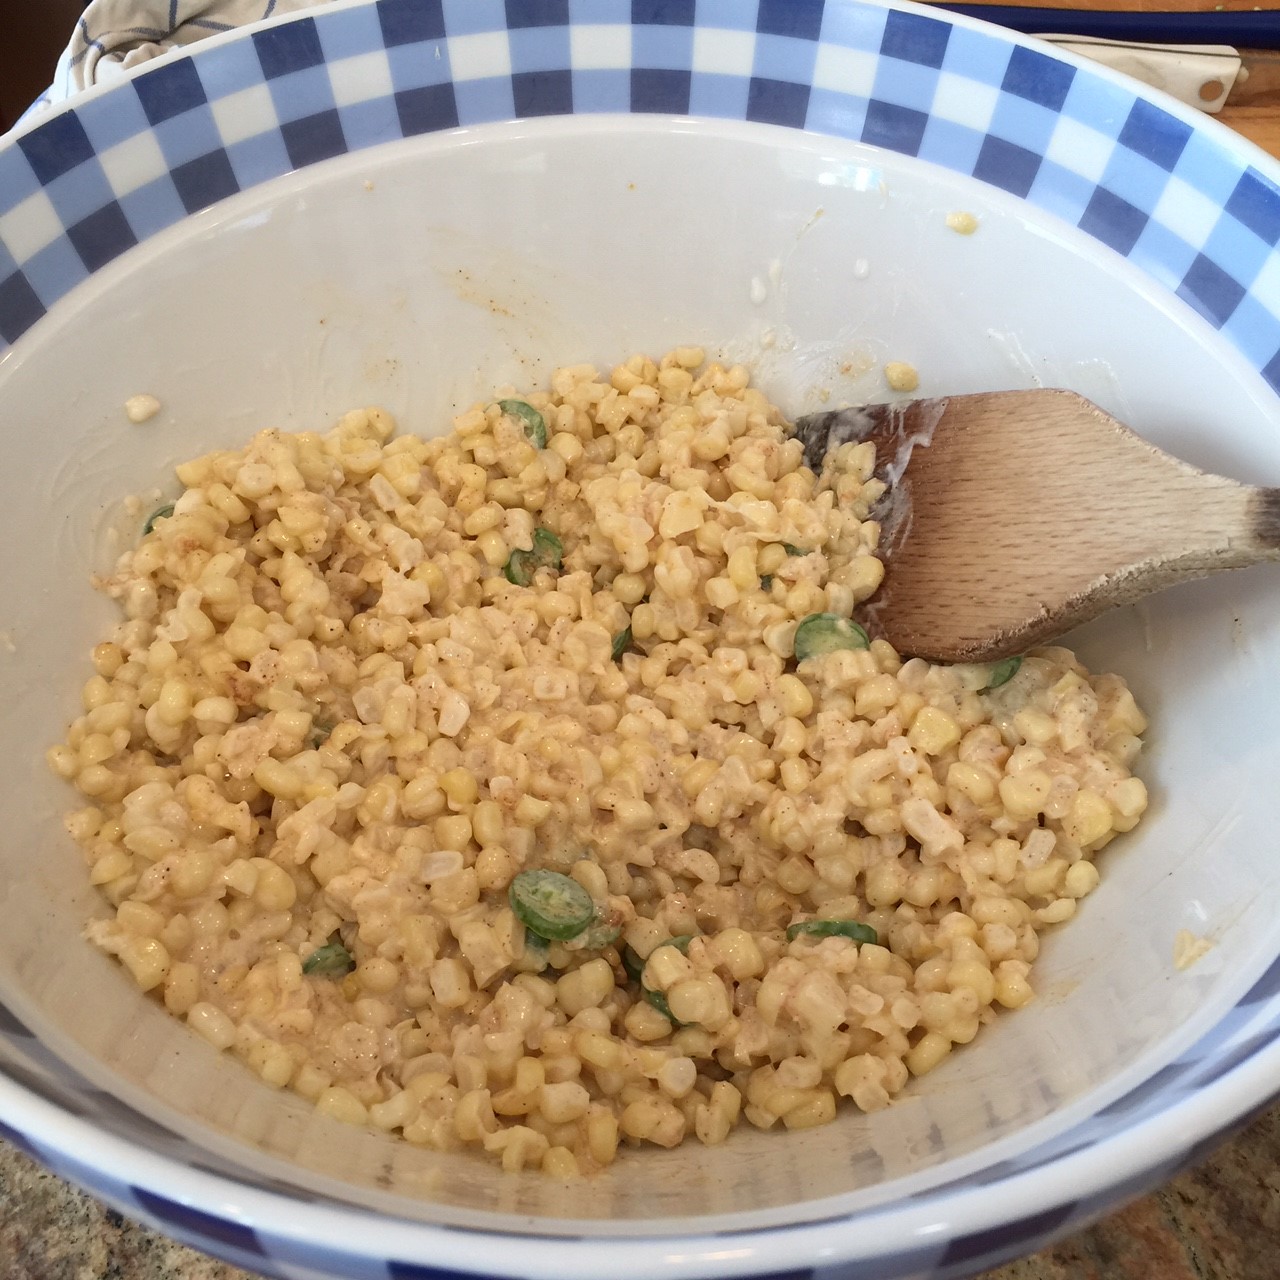
Remove and discard the ends on the serranos. Slice into thin discs, leaving the seeds and ribs intact. spicy corn salad9In a large bowl, whisk the sour cream, lime juice, mayonnaise, 1/4 tsp salt, and the sliced chilis. spicy corn salad10Remove the husk and silk from the corn cobs, then wash and dry the ears. Next (this may sound daunting, but I promise you it’s not), holding each cob at an angle, remove the kernels by running a sharp knife down the sides. It’s easiest to begin a couple of inches from the top and work downwards, away from you. Then flip the cob, and remove the bit that was at the top in the same manner. (You can help cut down on flying kernels by holding the ear in a large bowl.) You’ll get about 3/4 cup of corn from each cob – I found that amazing. spicy corn salad8In a large nonstick skillet, put 1 T of the oil, half (approximately) of the corn, and 1/4 tsp of the salt. Spread corn out evenly in the skillet. spicy corn salad7Turn heat to medium/high, cover and let cook untouched for 3 minutes – this will char the corn. Remove covered skillet from burner and let set for an additional 15 seconds to allow the corn to stop popping before removing the lid. Pour cooked corn into into the sour cream mixture. Repeat the charring process with 1 T oil, the remaining corn, and 1/4 tsp salt. Pour into bowl.spicy corn salad4 In the now empty skillet, put 1 tsp oil in the center. Top the oil with the garlic and chili powder and cook for about 30 seconds to bloom the flavors. Add to the corn mixture and stir together. spicy corn salad3Let cool for 15 minutes. Add in the Feta, cilantro, and scallions. spicy corn salad5Serve at room temperature or chilled.
ROASTED POTATO SALAD: Not My Mother’s Potato Salad!

roasted potato salad8 textSometimes you just have to shake things up a little.

Growing up, my mother had only one recipe for potato salad: russet potatoes, celery, hard boiled eggs, and mayonnaise. We loved it.

But, as an adult, I’ve since learnt there are other types of potato salads AND other types of potatoes other than russets. This last part is more important than the first – russets tend to crumble and don’t hold firm. Yukon gold or red potatoes are firmer and will hold their shape. While I may return to my mother’s recipe, I will NOT use russet potatoes in potato salad ever again.

Roasted Potato Salad has a bit of a tang due to the vinegar and Dijon. I wouldn’t say it was better nor worse than my mother’s blander potato salad – just different. And, sometimes, different is nice.

Note: If you can find them, use the tiny Yukon potatoes. This way you only have to cut them in half and can let them roast without stirring.

ROASTED POTATO SALAD

  • 2 lbs of 1″ Yukon Gold (or red potatoes)
  • 1 shallot, cut in half lengthwise
  • 4 cloves of garlic, whole
  • 2 T olive oil
  • 1/2 tsp + 3/4 tsp salt, divided
  • 1/2 tsp + 3/4 tsp ground black pepper, divided
  • 1 red bell pepper, de-seeded and chopped into 3/4″ pieces
  • 1/2 cup mayonnaise
  • 1 T white wine vinegar
  • 1 tsp Dijon mustard
  • 2 stalks celery, chopped fine
  • 1/4 cup chives, chopped

Preheat oven to 425º Fahrenheit.

Wash potatoes, leaving skin intact. If using 1″-ish sized potatoes, cut in half. If using larger sized, cut into bite-sized pieces.

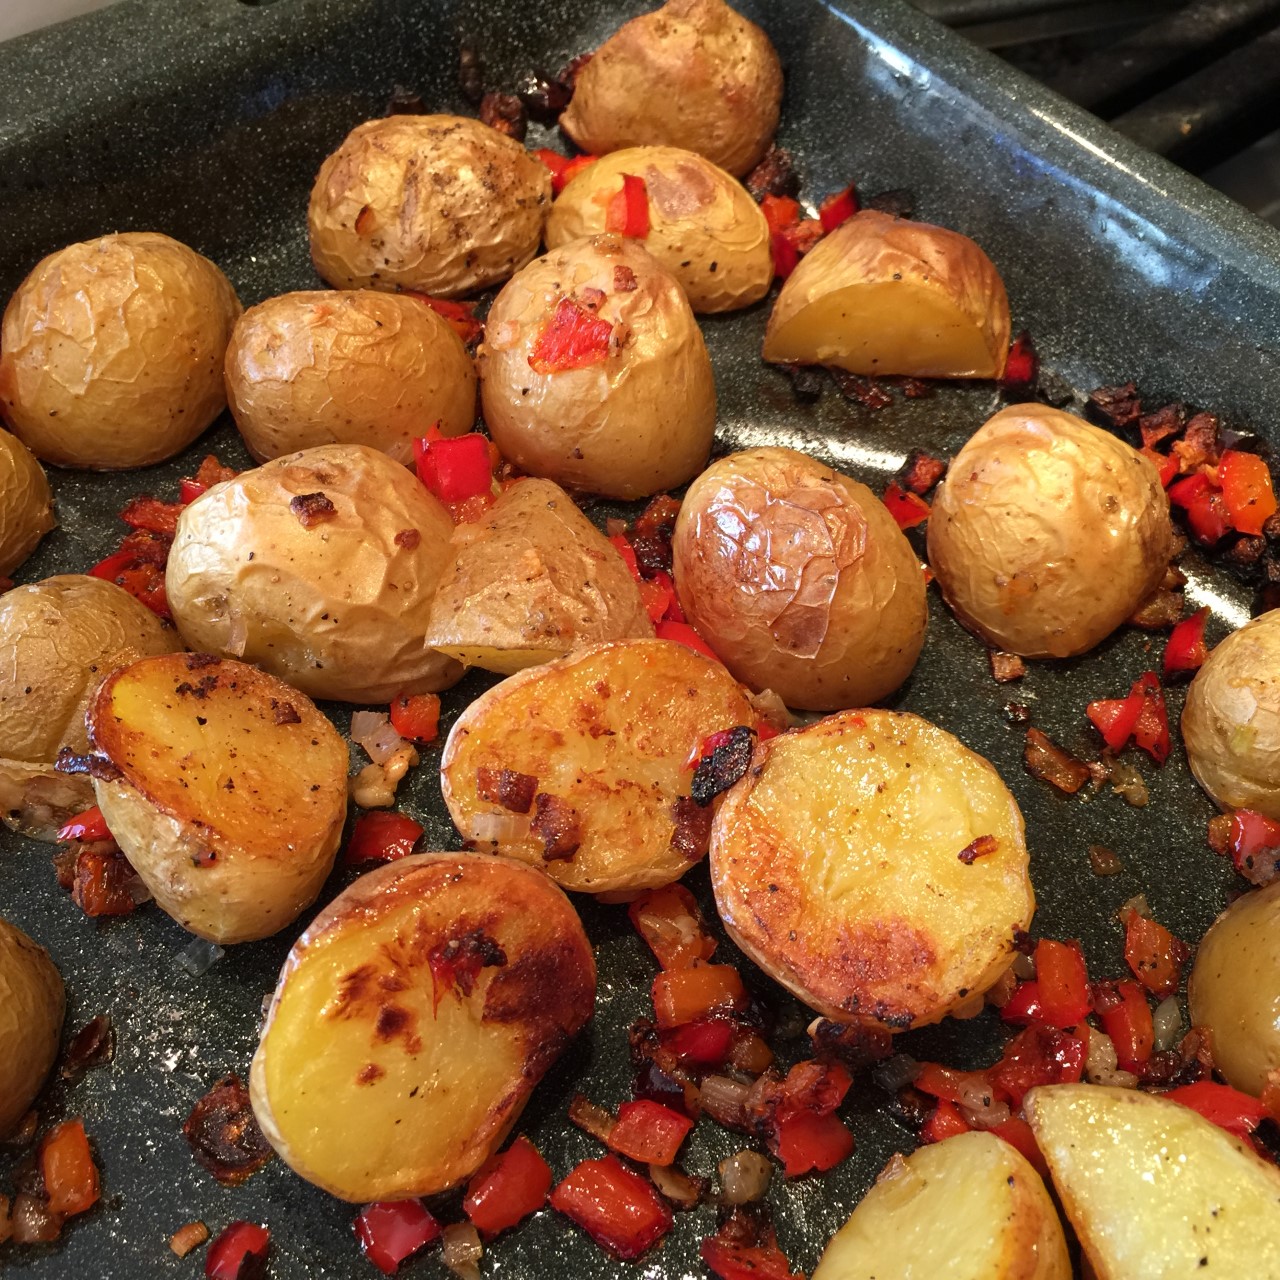
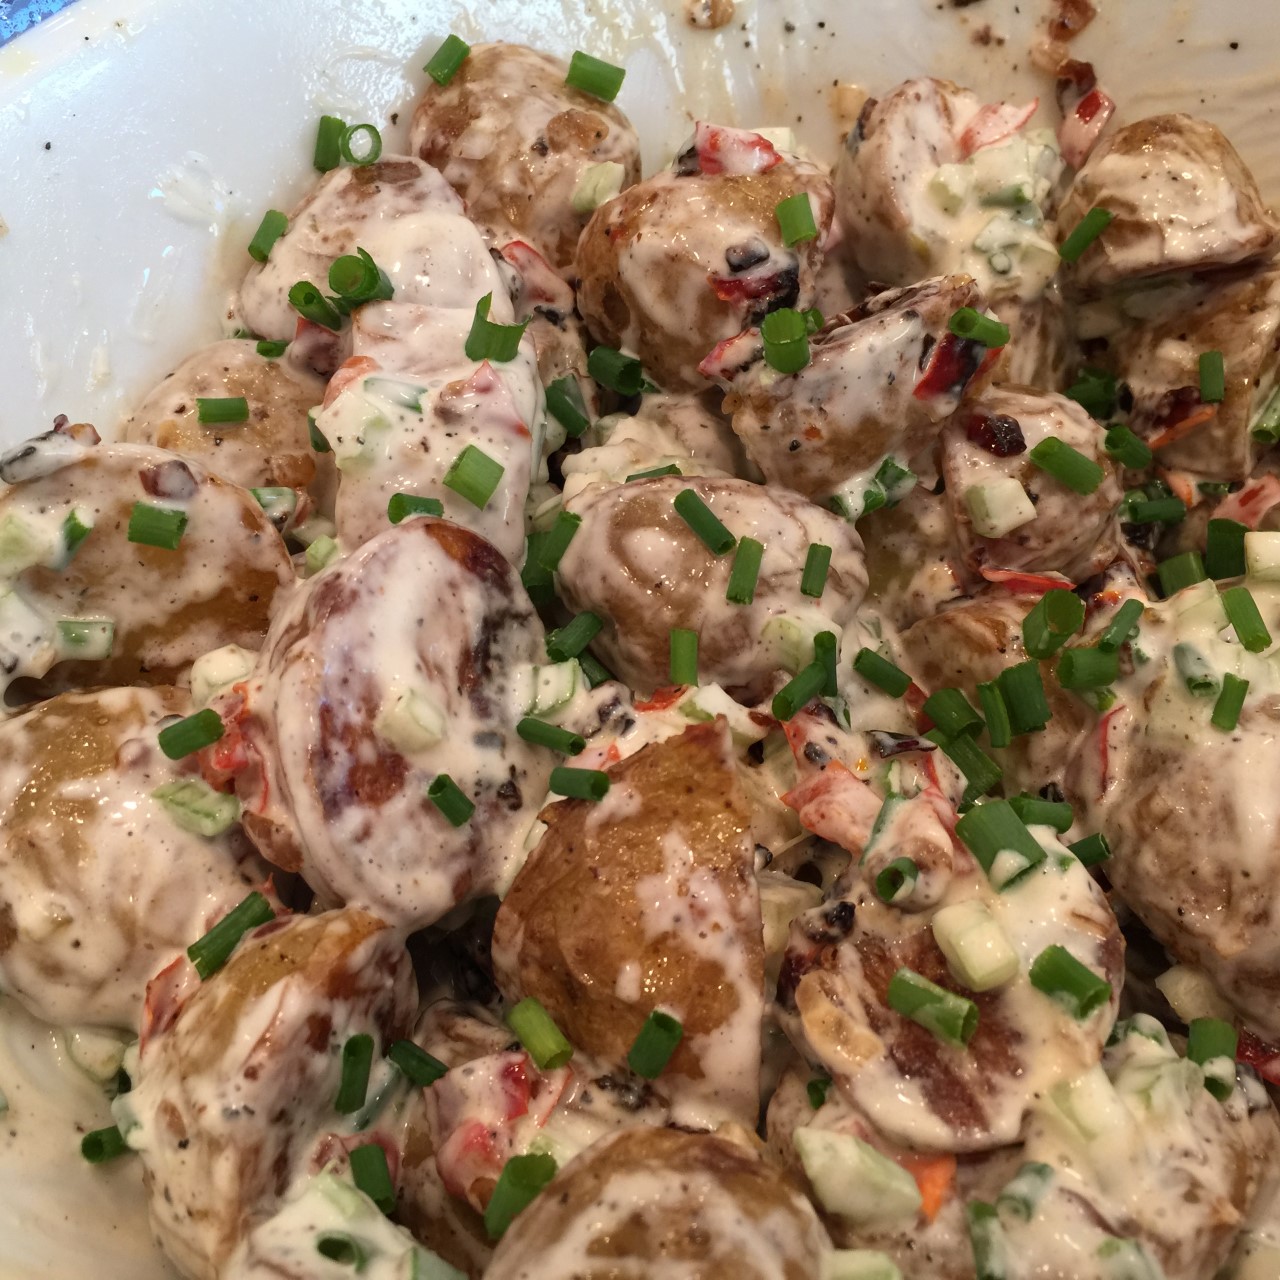
Place cut potatoes in a bowl and mix in the shallot, garlic, olive oil, 1/2 tsp salt, 1/2 tsp ground pepper, and the red pepper. roasted potato salad2Pour onto a rimmed sheet with the potatoes laying cut side down. Roast undisturbed in the preheated 425º F oven for 25 minutes. Remove from oven and let cool a little while you mix the dressing.roasted potato salad1 In the same bowl you used to mix the potatoes (you don’t have to wash it), mix together the mayonnaise, vinegar, Dijon, 3/4 tsp salt, 3/4 tsp ground pepper, and celery. When cool enough to handle, chop the roasted shallot and garlic, and add to the dressing. Mix in the potatoes. roasted potato salad5You can serve it as a warm salad or chilled – it’s up to you. Just before serving, mix in the chopped chives.
 

MASHED POTATO CAKES: Crunchy Outside, Creamy Inside!!!

mashed pot cakes textI’ve rarely met a potato dish I didn’t like. However, I was never very happy with homemade potato cakes. There’s a slight difference between potato patties, latkes, hashbrowns, and pancakes. I’ve tried making them all and never been very happy with any…until America’s Test Kitchen came to the rescue.

Their idea was to NOT use leftover mashed potatoes because the consistency will vary from batch to batch – ranging from dry to mushy.  Rather, use a recipe specifically developed for patties. Another brilliant idea was to coat the cakes with panko, which gives them a nice crunch without all the oil.

MASHED POTATO CAKES – makes 8 patties

  • 2½ lbs russet potatoes
  • 1 T + 3/4 tsp salt, divided
  • 1 oz Parmesan cheese, grated
  • 1 egg yolk, beaten
  • 1/4 cup fresh chives, chopped
  • 1/4 tsp ground black pepper
  • 1 whole egg
  • about 2 cups panko crumbs
  • about 6 T vegetable oil for frying
  • optional:  toppings such as sour cream, ketchup, aioli sauce

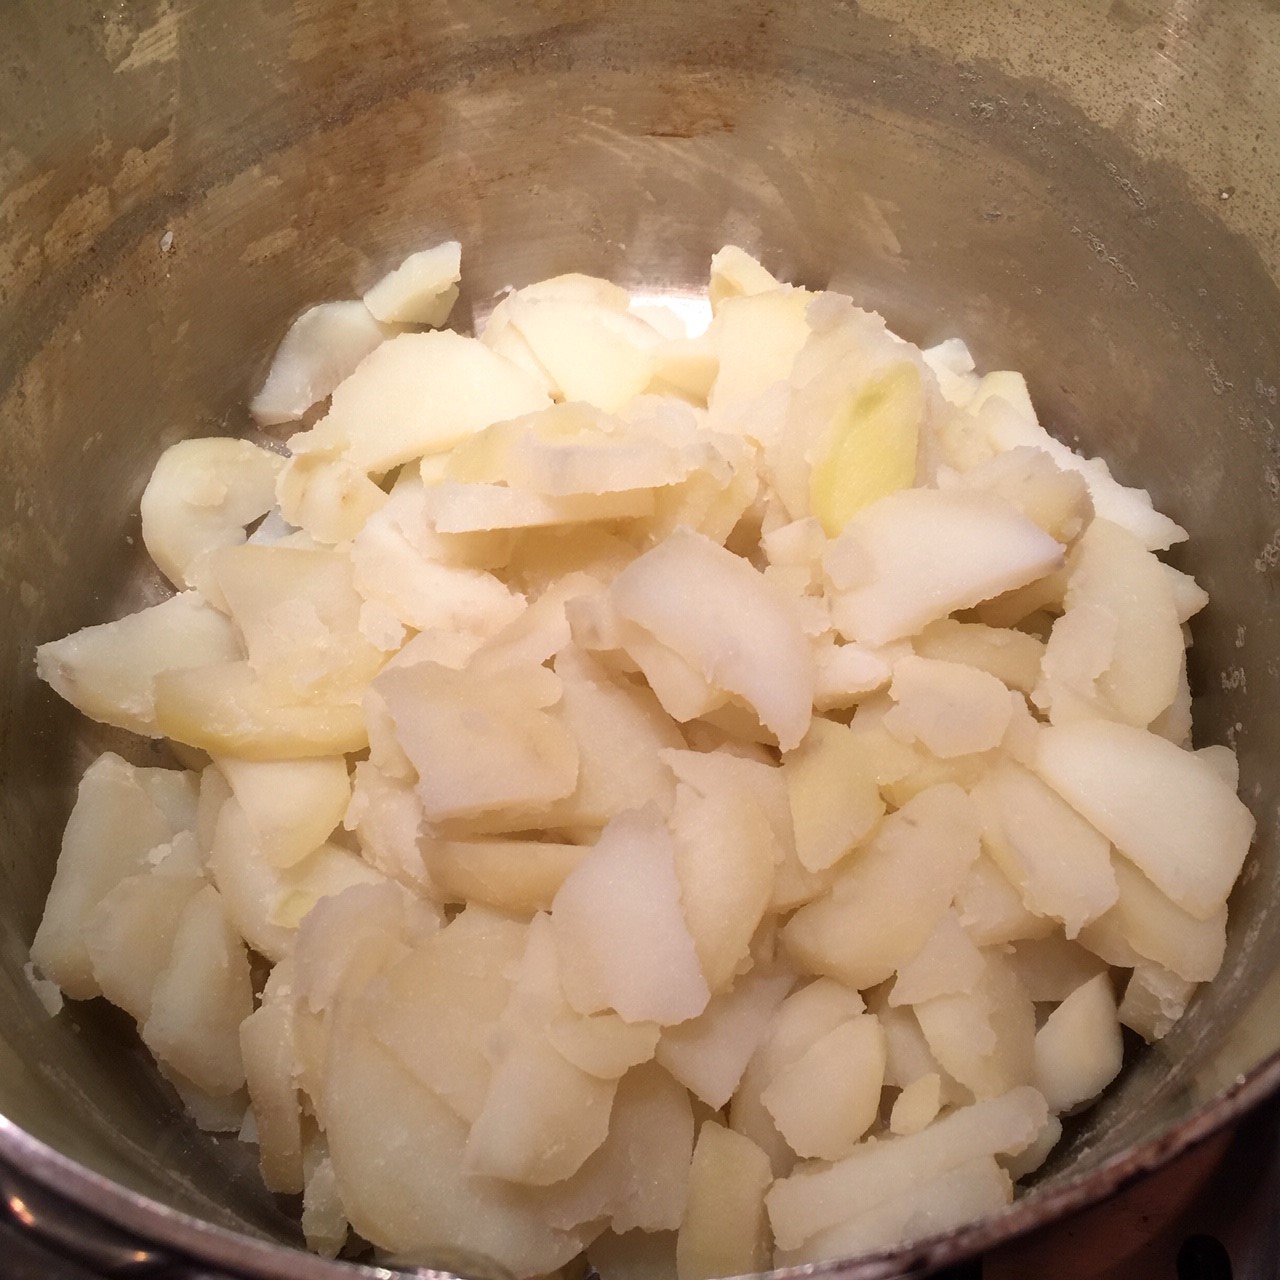
Peel potatoes and cut into 1/4″ slices. Put into pot and add enough water to cover potatoes with 1″ water. Add in the 1 T salt. Bring to boil and cook 10 minutes. mashed pot cakes6Drain, then return potatoes to pot or large bowl. mashed pot cakes7Mash potatoes until smooth and let cool about 10 minutes.
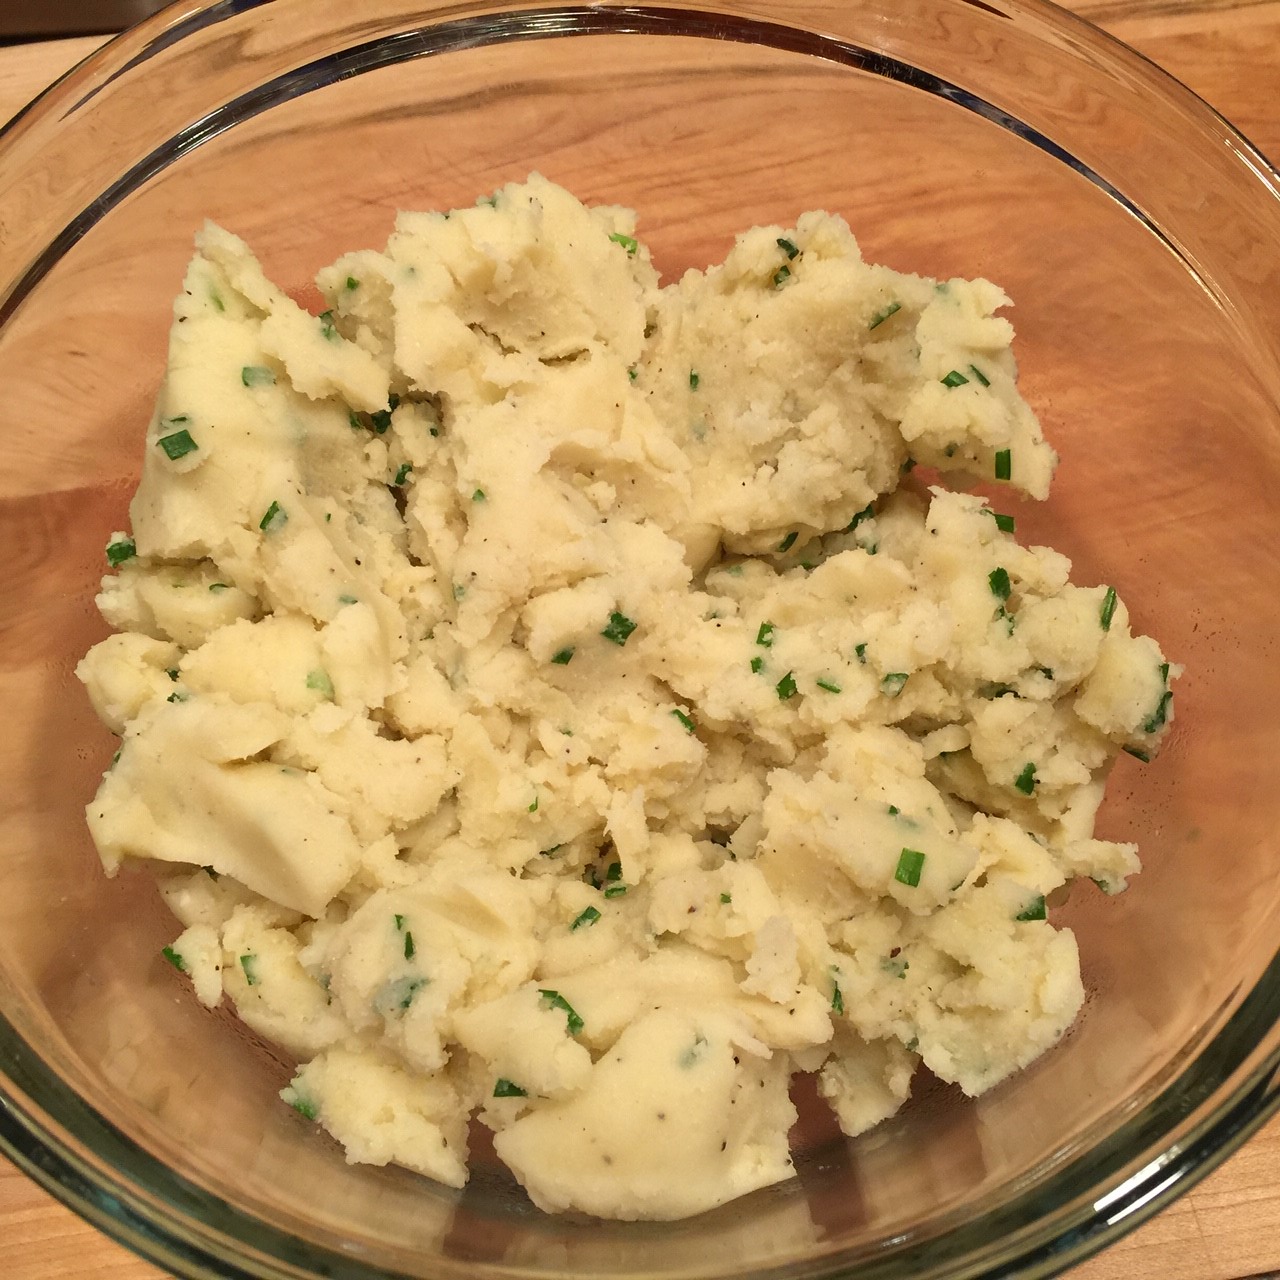
Add the Parmesan, egg yolk, chives, 3/4 tsp salt, and pepper to the pot and mash all together. Let cool 1 hour. mashed pot cakes8Form 8  3″ patties – they’ll each need about 1/2 cup’s worth of potatoes. Make sure to press the patties together firmly so they don’t fall apart. mashed pot cakes9Beat the whole egg with a fork and pour onto a plate. Pour the panko onto another plate. Dip each pattie on both sides into the egg, followed by the panko. mashed pot cakes3mashed pot cakes4Set all the patties aside for 5 minutes before frying.

Preheat oven to 200º Fahrenheit oven.

Heat 3 T oil over medium-high heat in a non-stick skillet and place 4 of the patties. Fry until bottom is golden brown (about 3 minutes), then flip and fry until golden brown. mashed pot cakes5Place on a cookie sheet and keep warm in the 200º F oven. Cook the remaining 4 patties in the same manner. Serve immediately or keep warm in the oven until ready to eat.