Wow! I’m Gonna Have A TOMATO-VEG COCKTAIL!

TOMATO VEG COCKTAIL

TOMATO VEG COCKTAIL

Late afternoon is a dangerous time. It’s been hours since lunch and stomachs start getting a little rumbly.

It’s tempting to just grab a cookie or donut (my personal favorite!) to tide us over until dinner. We even rationalize that the sugar boost will cure the lagging energy. If only!

Then I saw the commercial where the guy gets slapped in the head and says, “Wow, I coulda had a V8!”

Extra veggies (and, yes, I’m aware tomatoes are a fruit). Low cal. Delicious pick-me-up with a kick. WOW! I’m gonna have a V8…homemade, of course.

I came up with a recipe that I love, but tweak it to suit yourself. I suggest you peel the tomatoes, then shake out the seeds. These don’t purée well and you’ll get bits on your tongue. However, they are extra fibre, so if you don’t mind them, save yourself a little work.

Note: This makes a good Bloody Mary mix. Just sayin’.

TOMATO-VEG COCKTAIL – makes about 3¾ cups

  • 1½ lbs tomatoes (2 large), skinned, seeded, and chopped in large chunks
  • 1 carrot, sliced
  • 2 T red beet, skinned
  • 1/2 cup spinach, sliced
  • 2 T parsley, chopped
  • 1/2 cup red pepper, peeled & chopped
  • 3 stalks chopped celery, center strings removed
  • 1/2 cup onion, chopped
  • 1½ cups water
  • juice from 1 lime
  • 1 tsp Tabasco sauce
  • 1½ T vegetarian Worcestershire Sauce
  • 1/2 tsp sea salt

Put the tomato, carrot, beet, spinach, parsley, red pepper, celery, onion, and water into a large saucepan. Bring to boil, cover, reduce heat to simmer, and let cook for 20 minutes. Stir now and then. Turn off burner and let mixture cool with cover on.

Pour into a blender or food processor and purée. Add in lime juice, Tabasco, Worcestershire, and sea salt. Blend on low speed. Adjust seasonings, if needed.

Refrigerate until it’s super cold.


Twist & Shout With HOMEMADE PRETZELS!

Homemade pretzels

Homemade pretzels

Who doesn’t love the aroma of freshly baked bread? Even a full stomach will start growling at that intoxicating smell.

So when we’re at the mall it’s hard to resist those soft hot pretzels. If you’re only buying 1 or 2, it’s not such a big deal. But if you’ve got your whole family – look out! You’re talking real money! And if teenaged boys are involved is this group…holy moly! My sons can down a pretzel before I’ve had my first bite, and are ready for more.

I decided to try my hand at making them. All the recipes I found were pretty much the same. Most used all-purpose flour, but one called for bread flour. I wanted a pretzel that had some stretch when I broke it apart. Since bread flour has more protein which causes the stretch (please, don’t ask me the science behind this), it surprised me all-purpose flour was used so often.

I donned my lab coat (complete with goggles – just for the effect) to make a batch with all-purpose and a batch with bread flour.

I also noticed that nearly every recipe had you boiling the formed dough in baking soda and water for 1 minute before baking them. Was this really necessary, I wondered? (I’m not averse to cutting corners when I can!) So while I was in my experimental mode with the flour, I decided to test boiling versus non-boiling.

As a good scientist, I did my tests twice. The results were conclusive – bread flour was best as far as taste and stretch, while the all-purpose pretzels looked prettier and rose a bit more. But I’m a person who cares about the beer, not the bottle, so I’ll be using bread flour.

I’m sorry to report to you lazy cooks, there was actually a big difference with the water bath – whether they were made with bread flour or all-purpose, the unboiled were dryer, had no stretch, and weren’t as pretty, as you can see in the photo below:


pretzel-baked vs boiled

pret text


SOFT PRETZELS – makes 12

  • 1 cup water
  • 2¼ tsp dry active yeast (or 1 packet)
  • about 3 cups bread flour
  • 2 T butter, soft
  • 1/2 tsp salt
  • 4 tsp sugar
  • 1/3 cup baking soda
  • 1/2 tsp cornstarch

Heat the water to 100º-104º Fahrenheit. Stir in yeast and let proof for 5 minutes.

Put 2 cups of the flour, the butter, salt, and sugar into the work bowl of your food processor. When yeast is proofed, turn on machine and slowly add the water through the pour spout. Keep adding flour a few tablespoons at a time until the dough forms a ball. I use nearly all of the 3 cups of flour. If you don’t own a food processor, you’ll have to do this step by hand, kneading about 10 minutes.

Empty dough onto a floured board. Pick up from the bottom and fold in on itself, so the floured side surrounds the ball. Plop into an oiled bowl, then flip the ball and plop back upside down – now the ball is oiled on both sides. Cover with a tea towel and let rise for 1 hour.

Punch down risen dough and place it on a floured board. Cut into 12 equal pieces. Roll and stretch each piece to a length of 18″ or more. Dough is very elastic, so I’ve found it best to stretch each piece about 12″, then start again and stretch to 15″ or so, and finally do a final round to get each piece to 18″. As each piece reaches its final length, form it into pretzel shape (See photo below).

pret shape


Cover with towel and let rise 30 minutes.

In a large NON-ALUMINUM skillet, bring the baking soda and 10 cups of water to a full boil. If you don’t own a large skillet, use a smaller one and cut back on the water and baking soda.

Prepare wash by mixing cornstarch with 1/4 cup water in a small saucepan. Stir constantly while bringing to boil. Remove from heat.

Preheat oven to 450º Fahrenheit.

Carefully drop as many pretzels in boiling water as will fit. Boil 1 minute, flipping after 30 seconds. Remove to well oiled cookie sheet.

When they’re all boiled, brush on cornstarch wash. Sprinkle with coarse pretzel or sea salt. Bake at 450º Fahrenheit for 12 minutes. They’ll brown much earlier than the 12 minutes, but don’t remove from oven – they’re still not done. Transfer to wire rack.

Eat immediately for optimum taste. FYI – these pretzels are only 60 calories each! So live a little – have 2….homemade pretzels are cheap!!!


NAVAJO TACOS – Worth The Effort!

IMG_0218Navajo Tacos are one of those dishes I tend to forget about until I flip through my recipe box. (This is the device we used before the days of computers to store our recipes.) When I do make them, I chide myself for not doing so more often – they’re uber yummy…and not as time consuming as I think it will be.

If you’re unfamiliar with this dish, Navajo Tacos are fry bread topped with chili. Really, what’s not to like?!

In order for the chili and fry bread to be done at the same time, start the chili first. Then, as it’s simmering prepare the fry bread.

NOTE:  You can shorten the chili cooking time by using pre-cooked beans. Reduce the vegetable stock to 1 cup since you won’t need the extra 1/2 cup to be absorbed into the raw beans.

ADDITIONAL NOTE:  The fry bread is cooked in oil – not just a tablespoon or two, at least 2 inches. I’m all about saving money. Make sure you strain and save the oil after you use it in a plastic container you designate specifically for used cooking oil – don’t mix it back with the clean oil. Then, you can use the same oil over and over until it’s too grungy to use again. You can actually freeze it, if you like. When it’s time to dispose of it, check online for places to donate used cooking oil (they actually exist!)

NAVAJO TACOS – makes 6 servings

     Chili

  • 1/2 cup raw Great Northern beans
  • 1/2 cup onions, chopped
  • 1 tsp garlic, pressed (1 clove)
  • 1/2 T vegetable oil
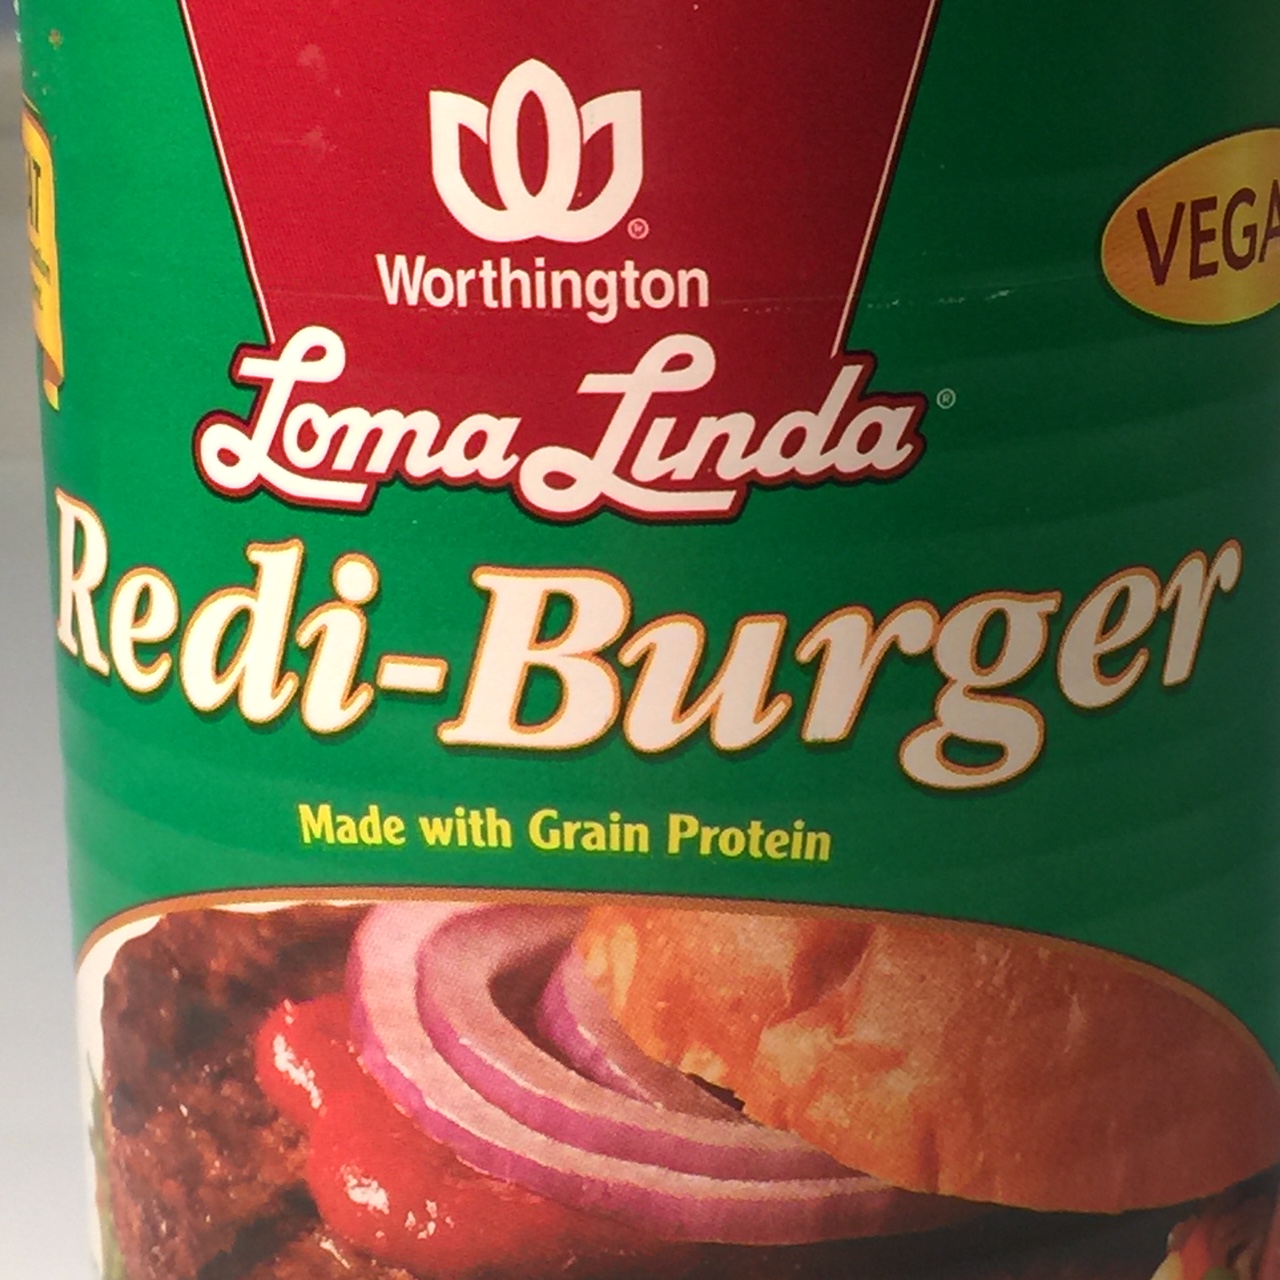
  • 1 lb fake ground beef (I use Worthington Redi-Burger – see photo below)
  • IMG_02121½ cups vegetable stock – or 1 cup if using pre-cooked beans
  • 1 T chili powder
  • 1 tsp cumin
  • 1 tsp oregano
  • 1 tsp basil
  • 1/2 tsp salt

Put beans in a saucepan and cover with an inch of water. Bring to boil, lower flame to simmer for 5 minutes. Turn off stove, cover pot, and let sit for 1 hour. Drain. You can do this step ahead of time.

Sauté onions and garlic in oil for 5 minutes. Add in fake meat, breaking it up with a flat headed stirrer, if necessary, depending on the brand (I have to do this with Redi-Burger). Add in the stock, beans, chili powder, cumin, oregano, basil, and salt.

Bring to boil, lower flame to simmer mixture, cover, and let cook for 1½ hours, until beans are done.

Chili can easily be frozen so if you like this recipe, next time double or triple the recipe and then freeze for future use. No point in cooking and cleaning more than you need to.

     Fry Bread – makes 6

  • 2 cups all-purpose flour
  • 1/2 cup instant nonfat dry milk
  • 1 T baking powder
  • 1/2 tsp salt
  • 2 T shortening (I use Crisco)
  • 3/4 cup water
  • vegetable oil for deep frying

Put flour, dry milk, baking powder, salt, and shortening into the work bowl of your food processor. If you don’t own a food processor you’ll have to do this all by hand. (During the next 15 minutes of tedious work, think about how you really need a food processor.)

Turn on machine, then slowly add in the water through the pour spout. Allow machine to run 30 seconds after dough has formed a ball. (This is how fast and easy it is to knead with a food processor!) Divide dough into 6 equal balls, then flatten with your hands as much as possible. Cover with a tea towel and let rest while oil is heating.

Heat 2 inches of oil in a wok or deep pan to 375º Fahrenheit.

On a floured board, roll out a dough piece with a rolling pin to make a 5″-6″ circle. (See photo below)

IMG_0184

Carefully pick up dough and gently pat excess flour from bottom. Drop into hot oil. Let cook for 3 minutes, then flip and fry 2 more minutes. Both sides should be golden brown. (See photos below)

fry bread frying

Remove to a large cookie sheet lined with paper towels. Keep warm by storing in an oven heated to 200º Fahrenheit.

While one dough is frying, roll out the next so it’s ready to go. Keep the uncooked dough covered with a tea towel so they don’t dry out.

Assembly

Ladle chili over fry bread. Top with tomatoes, cheese, lettuce, olives, guacamole, or whatever you like.


ASIAN CABBAGE SALAD – A Savory Delight!

Crunchy Asian Cabbage Salad

Crunchy Asian Cabbage Salad

It all started with leftover cabbage. I had half a head remaining from the Curried Lentil Stew I made two weeks ago. Cabbage has a pretty long shelf-life, but I was at the point of use it or lose it. Well, you know me – I’m not going to throw out perfectly good food if I can help it.

I decided to try my hand at an Asian Cabbage Salad. After reading several recipes, I pulled ideas,  added my own, finally creating a quick and very tasty salad.

You can use red, green, or a combination of cabbage. The red has more bang for the buck in terms of nutrients, and is a bit thicker. I tried it all three ways. It just boils down to a matter of preference and what you have in the house.

ASIAN CABBAGE SALAD – makes a little over 4 cups

  • 4 cups cabbage, shredded (any kind of cabbage will do)
  • 1/2 cup scallions, sliced
  • 8 oz can pineapple rings, drained & sliced
  • 2 T sesame seeds, toasted
  • 1 T sugar
  • 1/2 tsp salt
  • 1/3 tsp dried ginger
  • 2½ T sesame oil
  • 2½ T rice vinegar
  • 3-4 T slivered almonds, toasted

In a large bowl, combine the cabbage, scallions, pineapple, and sesame seeds.

In a small bowl mix together the sugar, salt, ginger, sesame oil, and rice vinegar. Pour over cabbage mixture.

Toss in almonds at serving time.