I’ve heard about cooks that don’t bother measuring nor weighing – they just throw in a little of this, a little of that and it turns out great. I’m NOT one of those cooks. I weigh everything, then write it down, noting if it was a good amount or how I could improve it next time.
Then I came across a youtube video from Chetna, a former contestant on The Great British Bake Off. Her video was about red lentil dal, which sounded delicious. For this recipe she gave no actual measurements – rather, just kind of described what they were: a couple of small onions, some cilantro, etc. So, I put on my big girl blouse and decided to wing it! I used her recipe as a guide, then changed things to suit what I had and what I like.
Of course, some things never change – I wrote down exact measurements of what I used and made notes of what I liked and what I’d change. All this is to say: use my recipe as a base, tweaking it as you see fit!
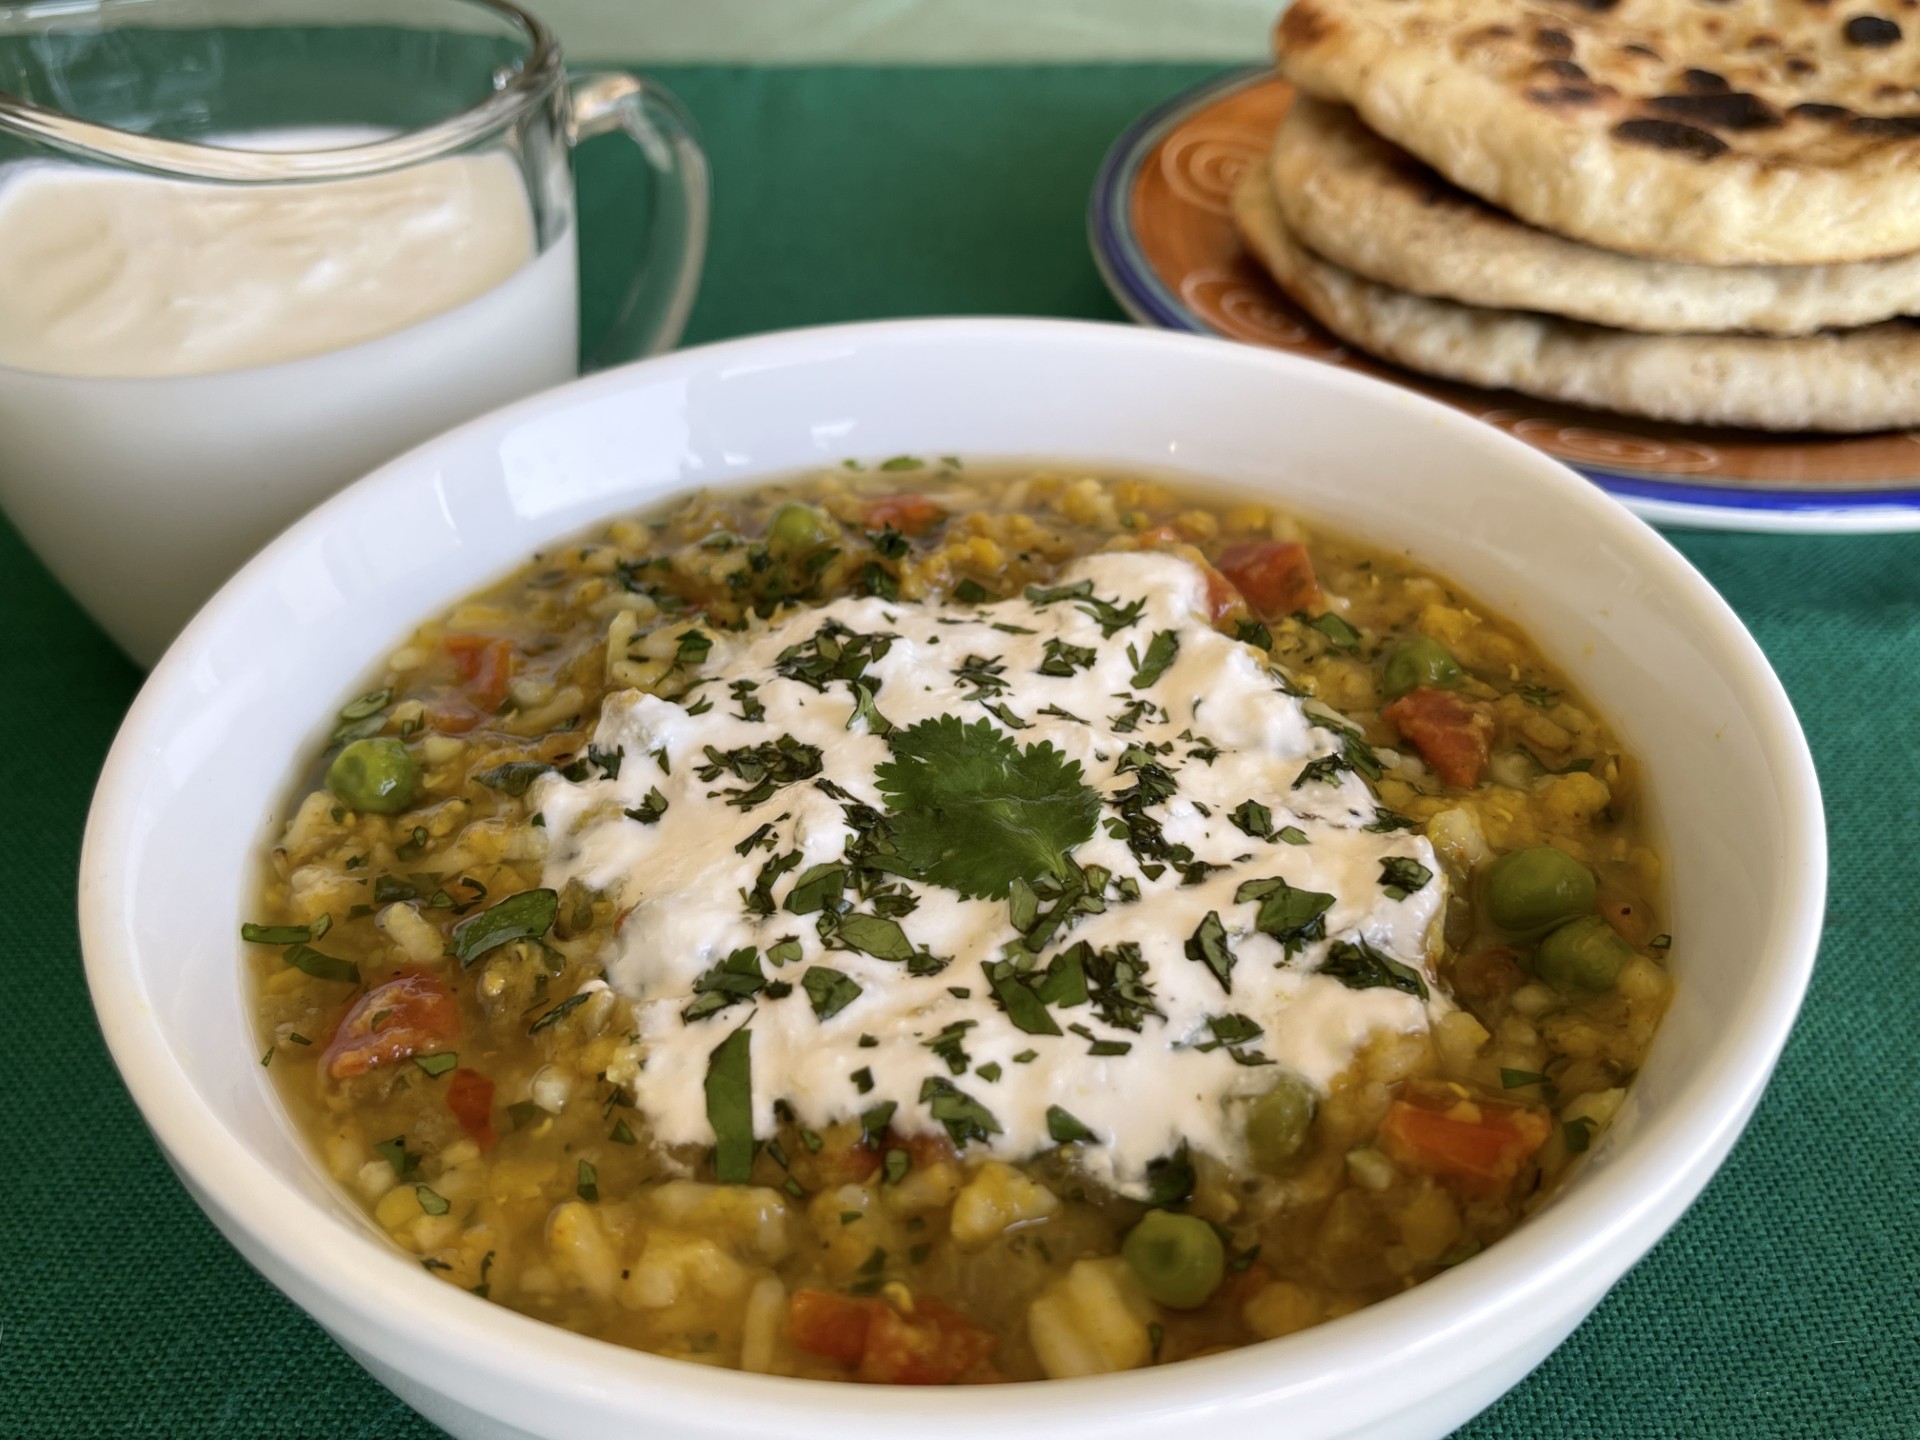
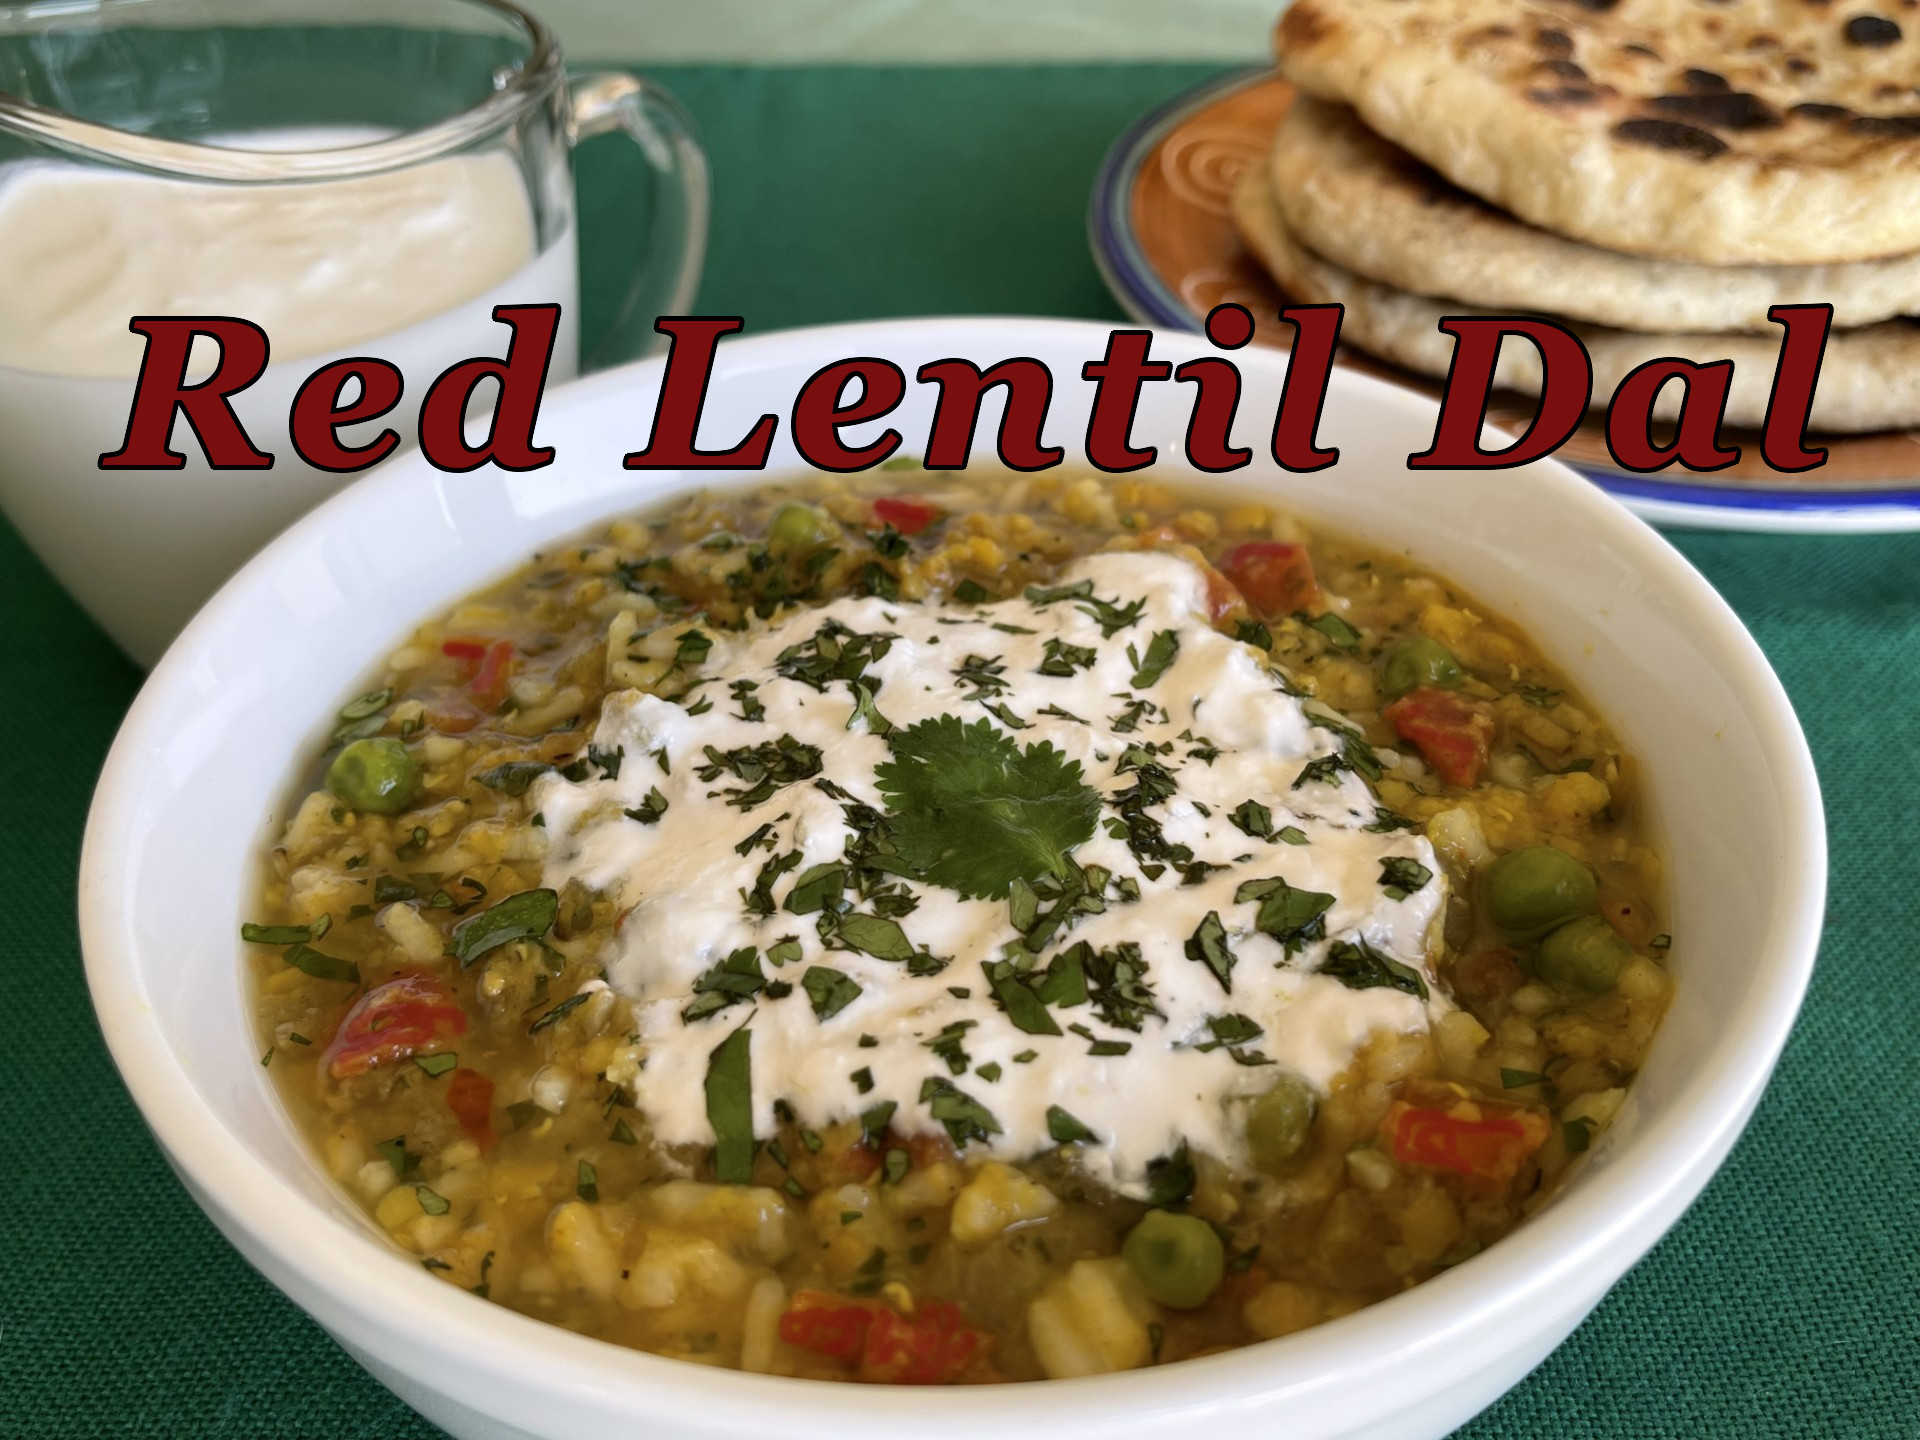
NOTE: I found plain yogurt to be a game changer for this recipe. While I liked the Red Lentil Dal that Chetna made (adding my own touches), I felt it needed something to brighten it. I topped it with yogurt and that made all the difference!
Red Lentil Dal – Makes about 4 cups / 1 litre
- 250g (1.5g) red lentils, rinsed well
- 750g ( 1.6) cups water
- 1 tsp + 1/2 tsp table salt, DIVIDED
- 1 tsp turmeric
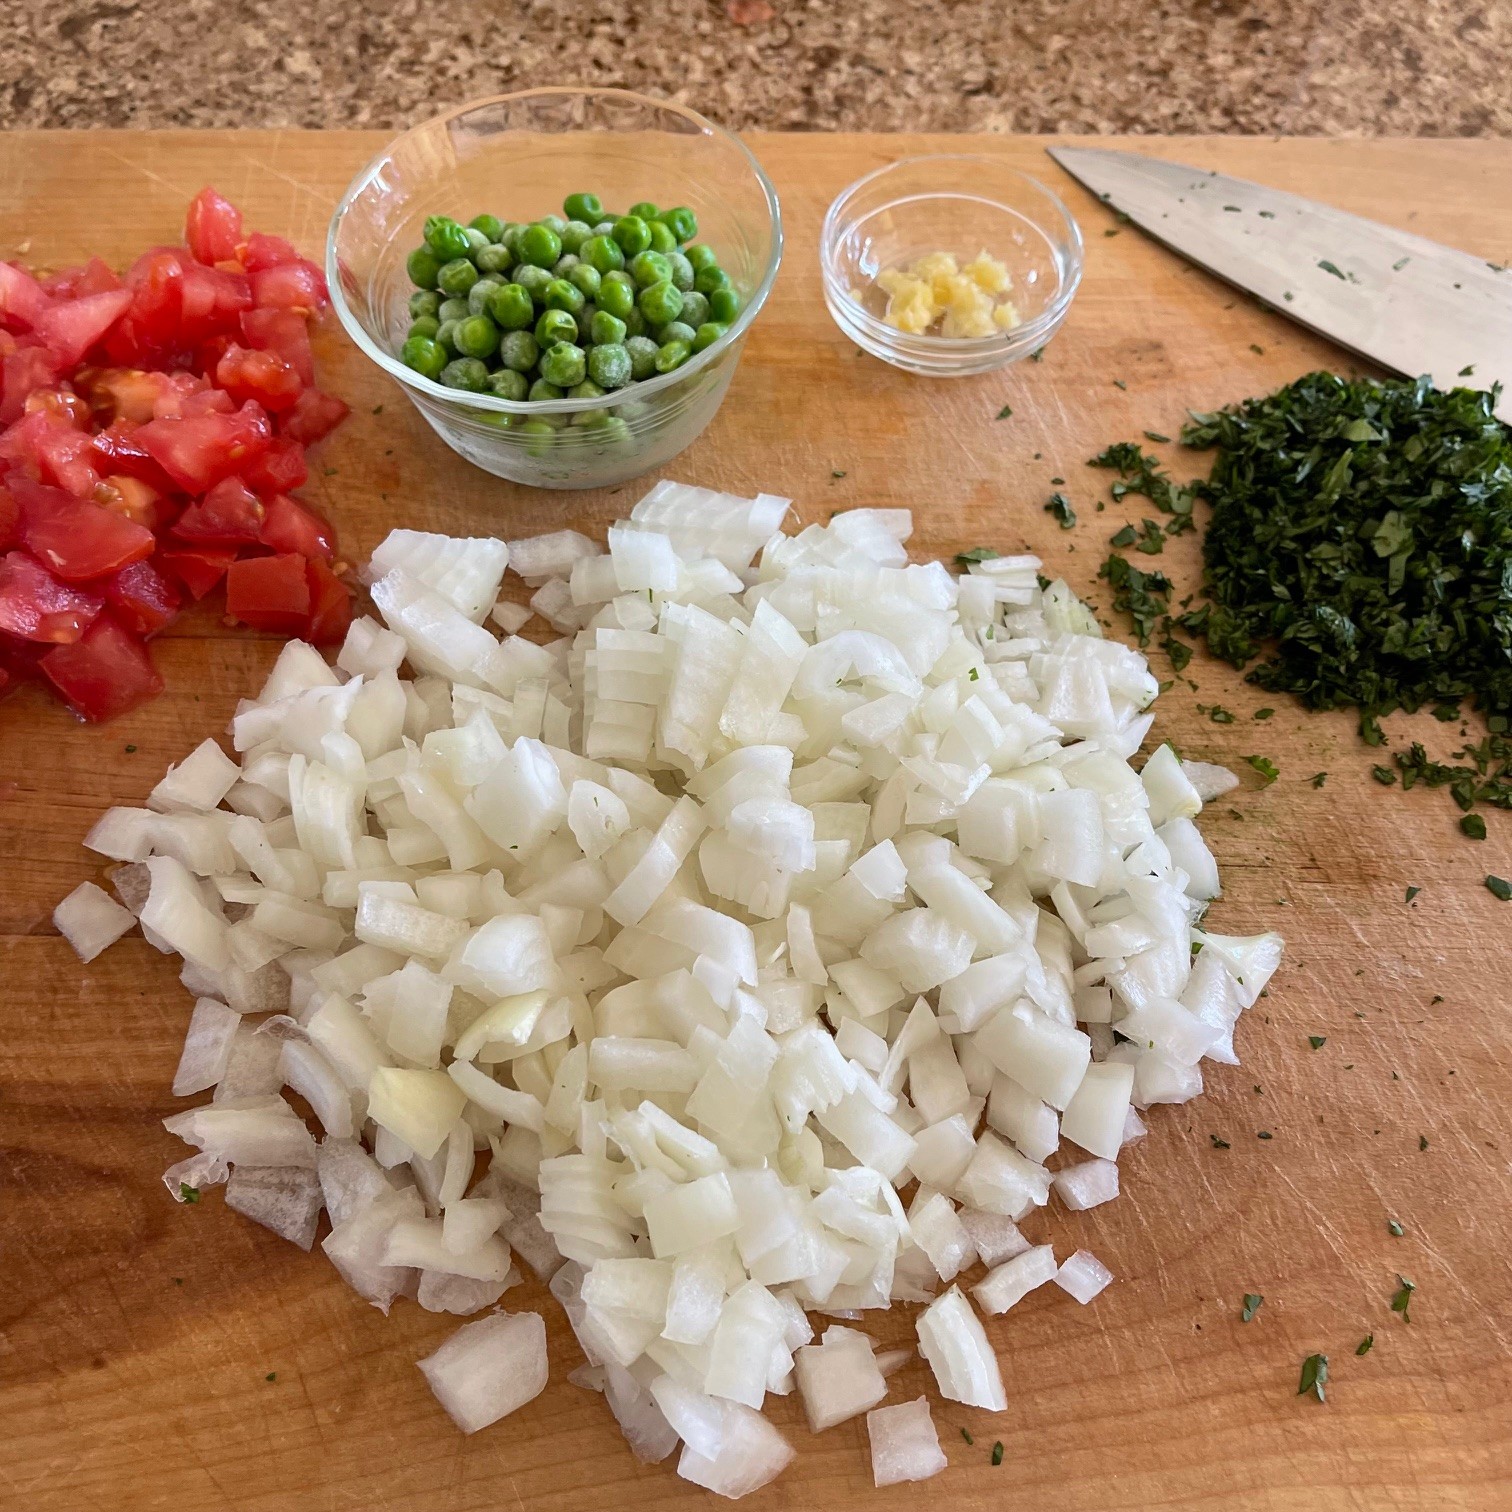
- 320g (about 2) onions, chopped
- 2 large garlic clove, pressed or minced
- 1 large tomato, chopped
- 2 T olive oil
- 2 T (26g) butter
- 1 tsp cumin powder
- 13g (2/3 cup) fresh cilantro, chopped
- 1 tsp chili-lime powder (or, chili powder)
- 1/2 tsp red pepper flakes
- 60g (1/2 cup) peas (I use frozen peas)
- 170g (1 cup) raw rice
- 400g (2 cups) water
- plain yogurt
If you’re planning on serving Red Lentil Dal over rice, prepare it before starting. I find that 170g (1 cup) raw rice cooked in 400g (2 cups) water is a good amount to serve with this recipe.
Then chop and measure out your ingredients so they’re ready to go.
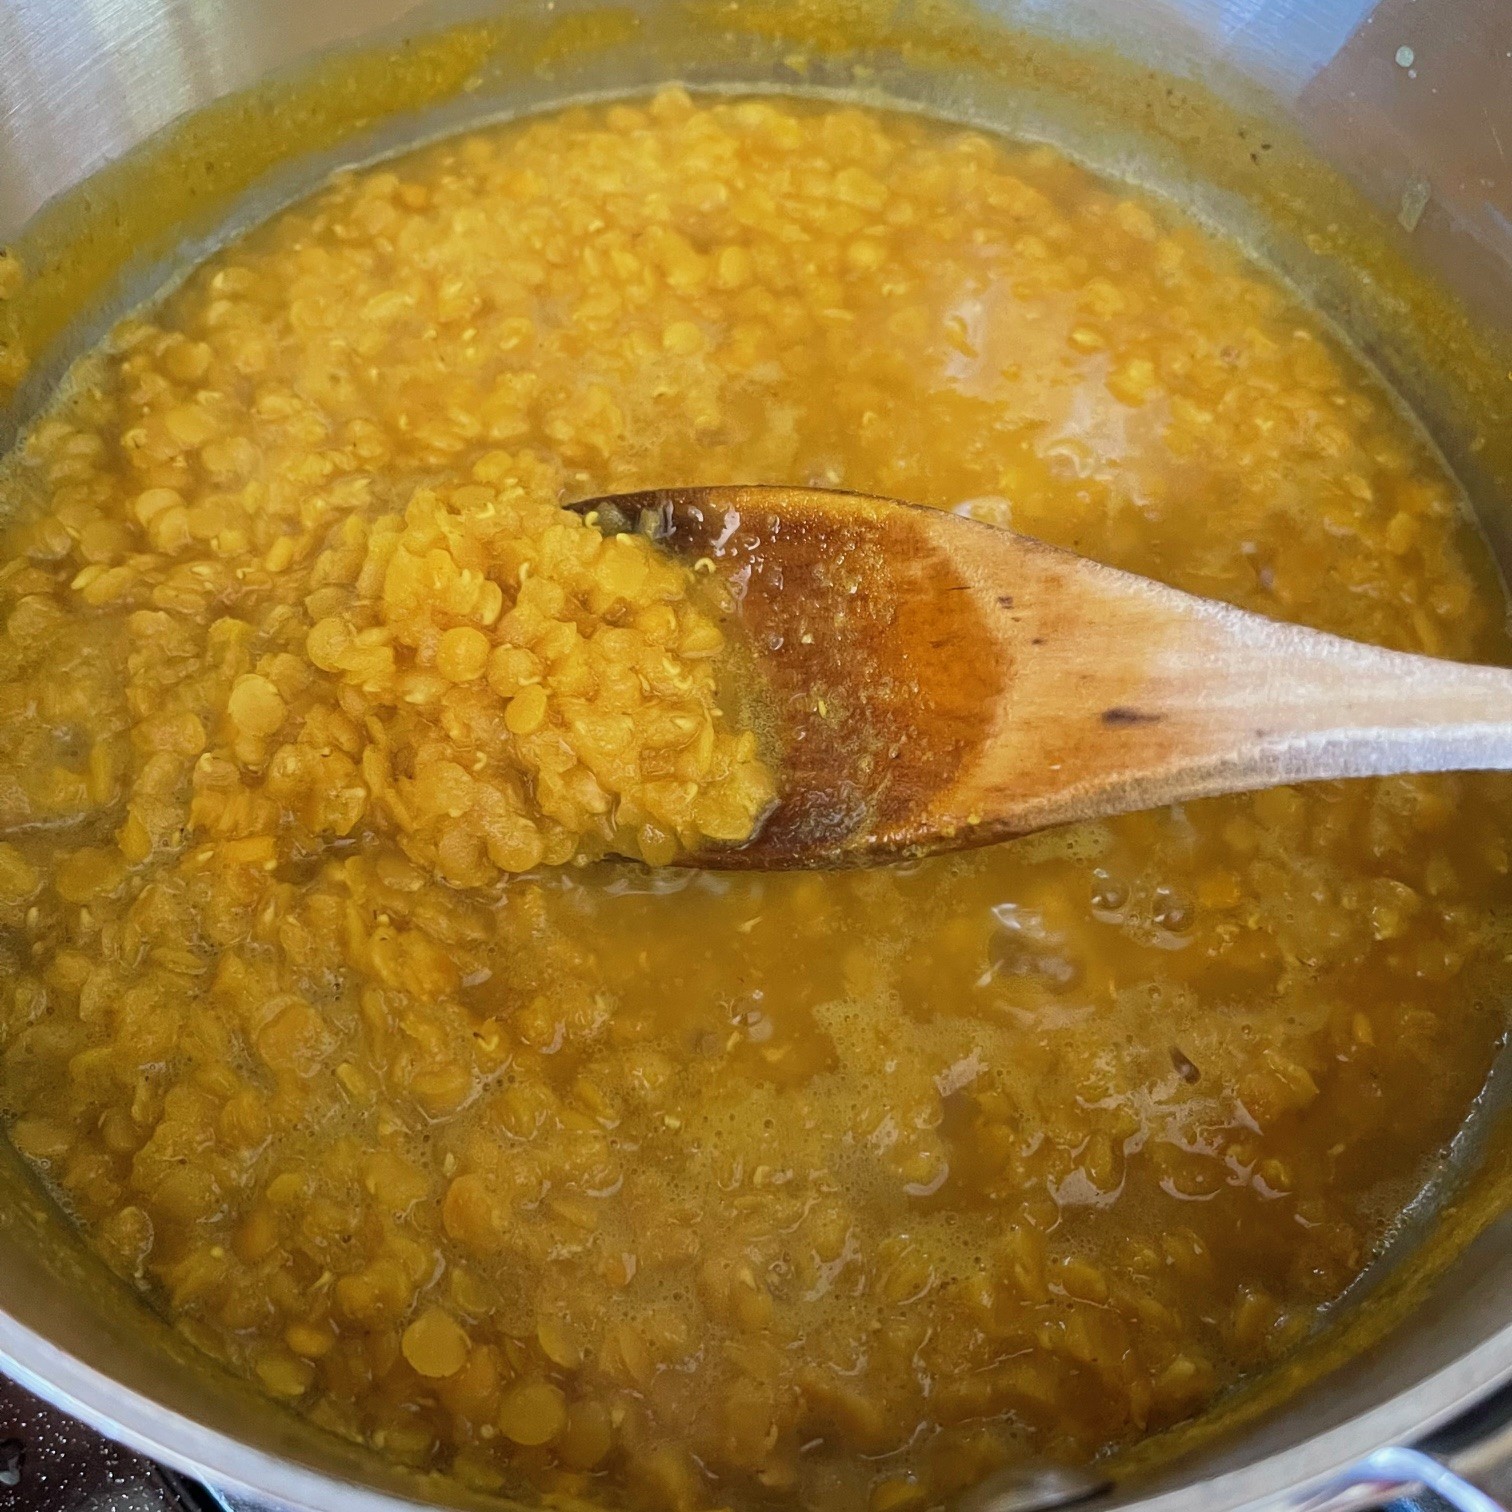
Into a saucepan combine the rinsed lentils, 750g (1.6 cups) water, 1 tsp salt, and 1 tsp turmeric. Bring to a boil, then reduce heat to maintain a simmer. Cover with lid askew so it doesn’t boil over. Cook, stiring now and then, until lentils start breaking up and are no longer crunchy – about 8 minutes.
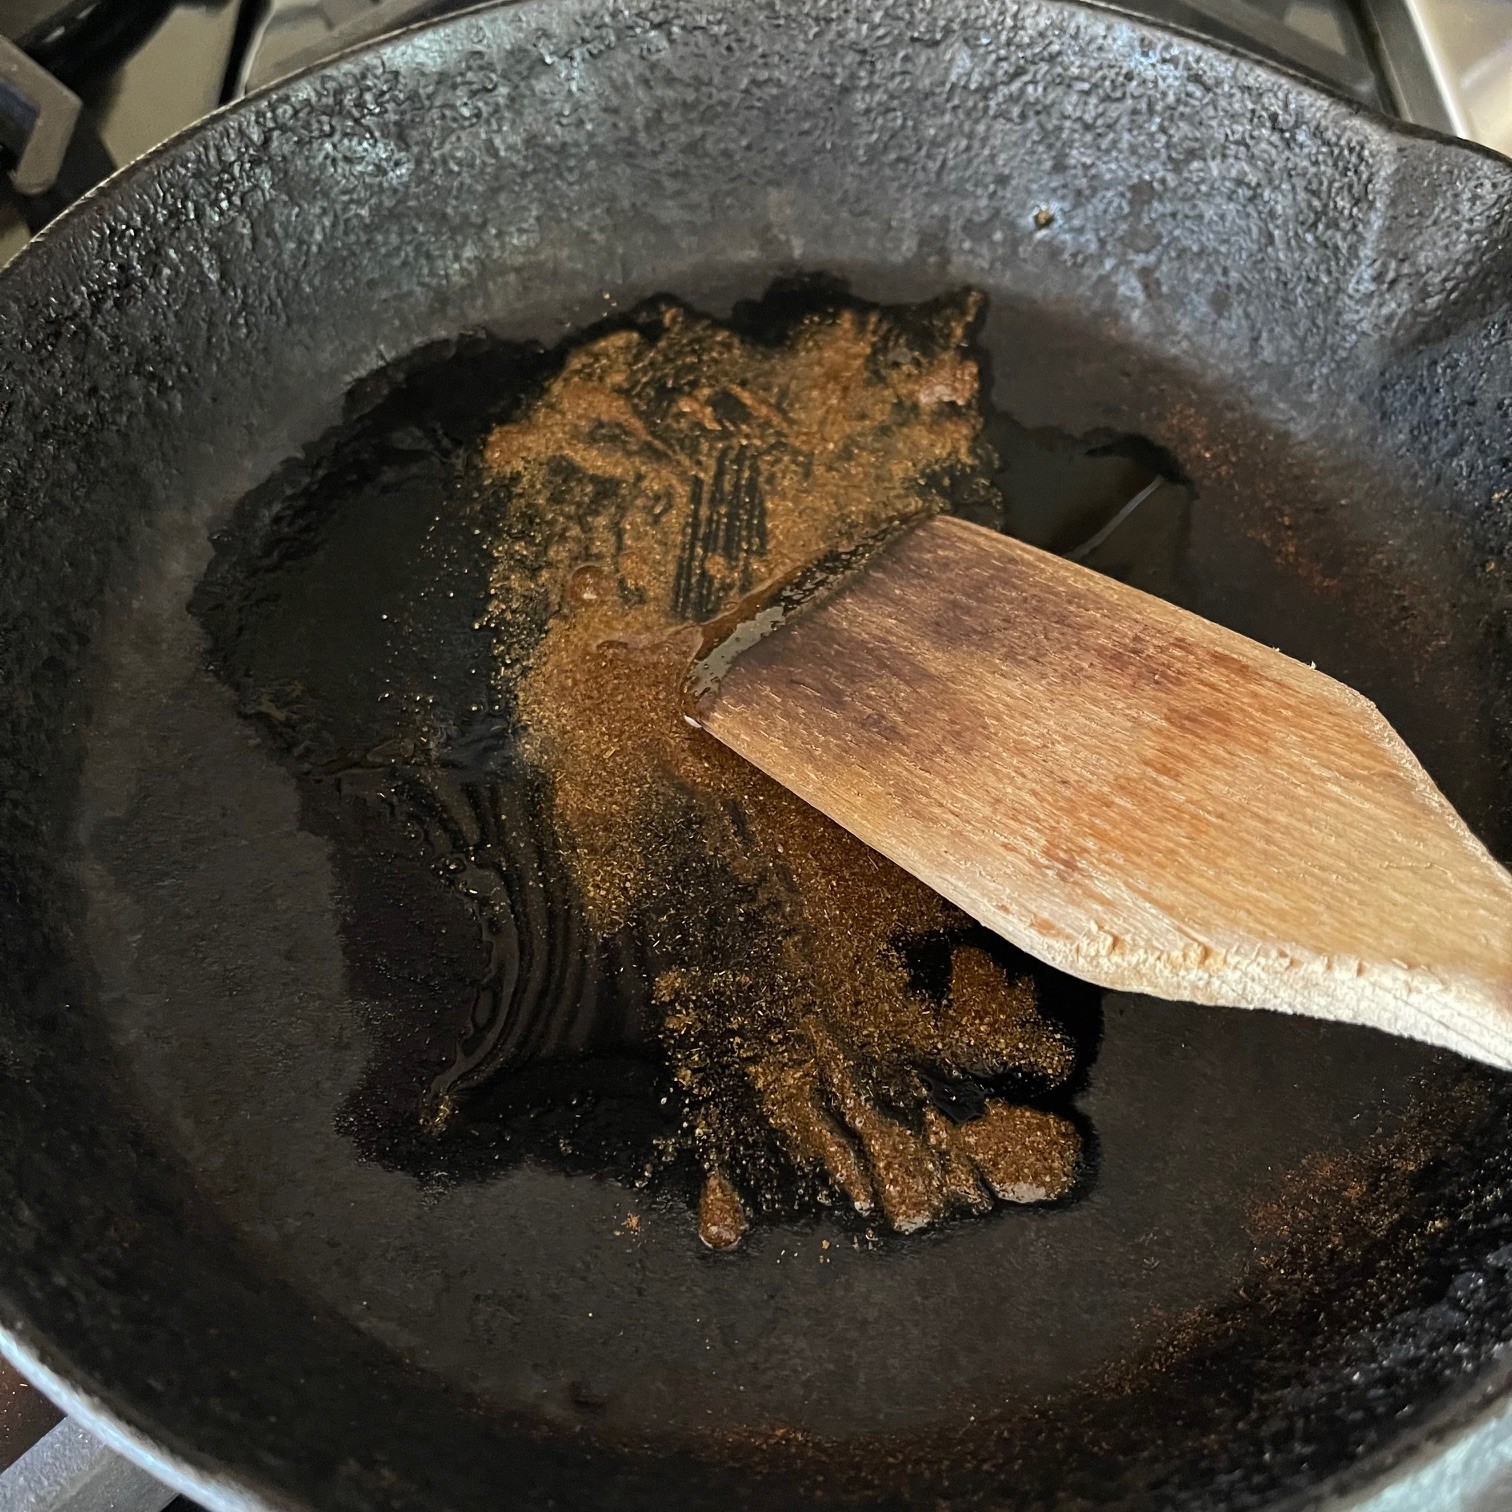
As lentils are cooking, heat the olive oil and butter together in another saucepan or skillet over medium flame. Add in cumin powder, chili-lime powder, and red pepper flakes. Stir about 1 minute to bloom the flavor.
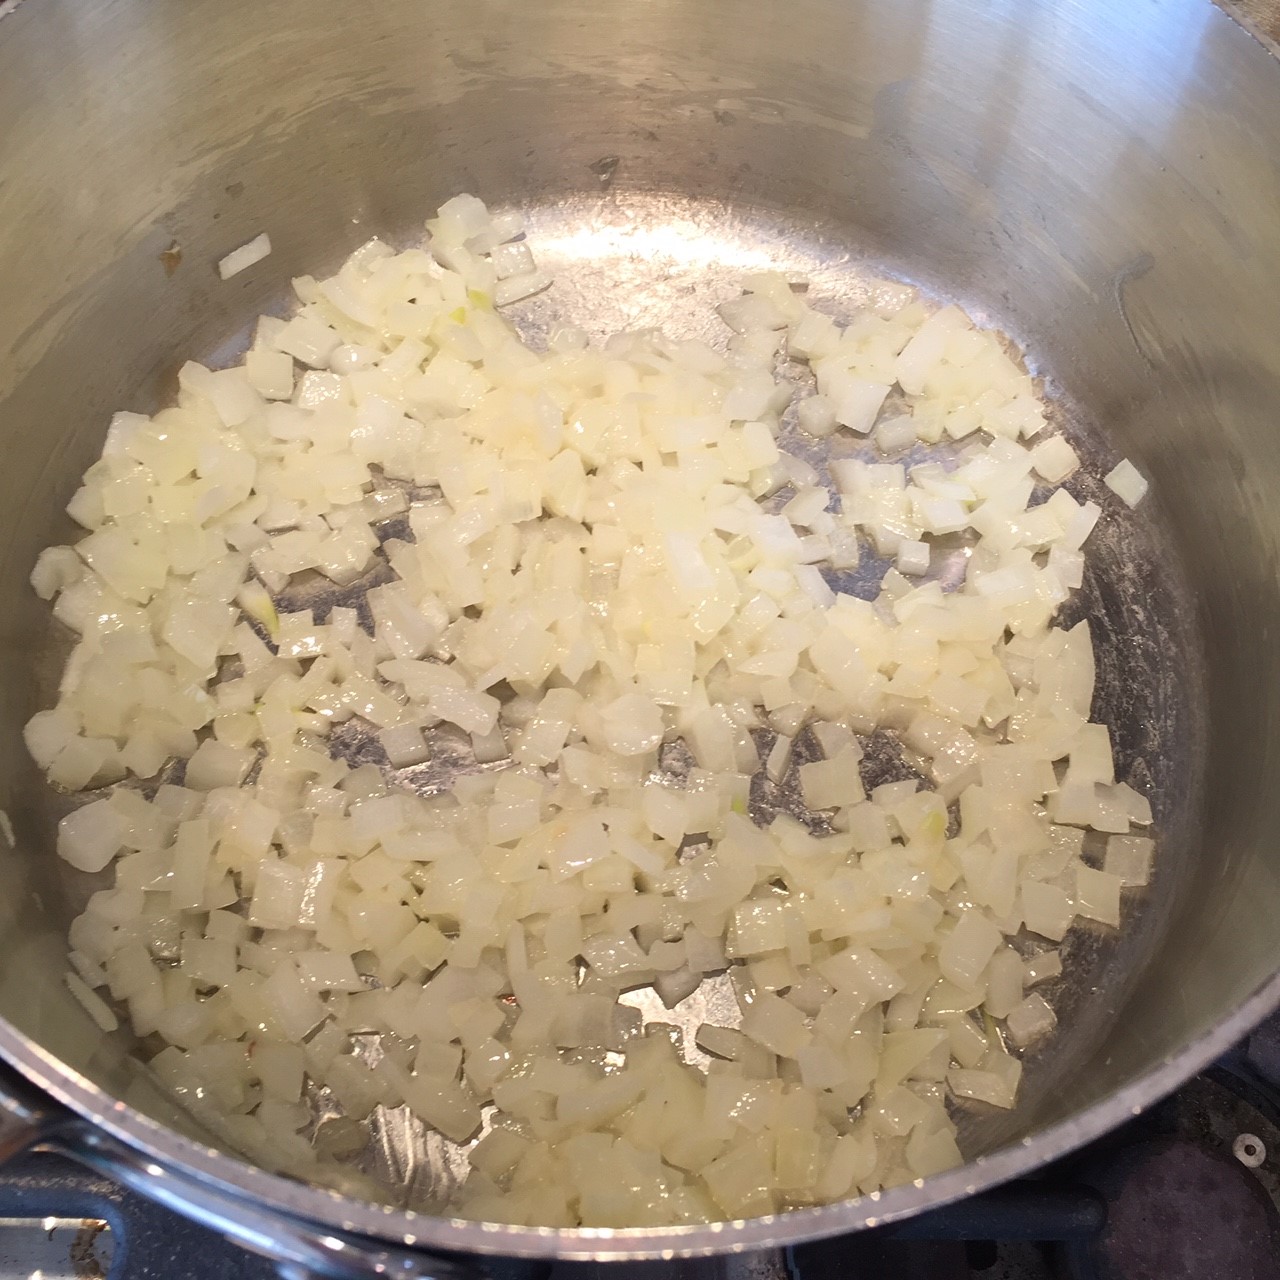
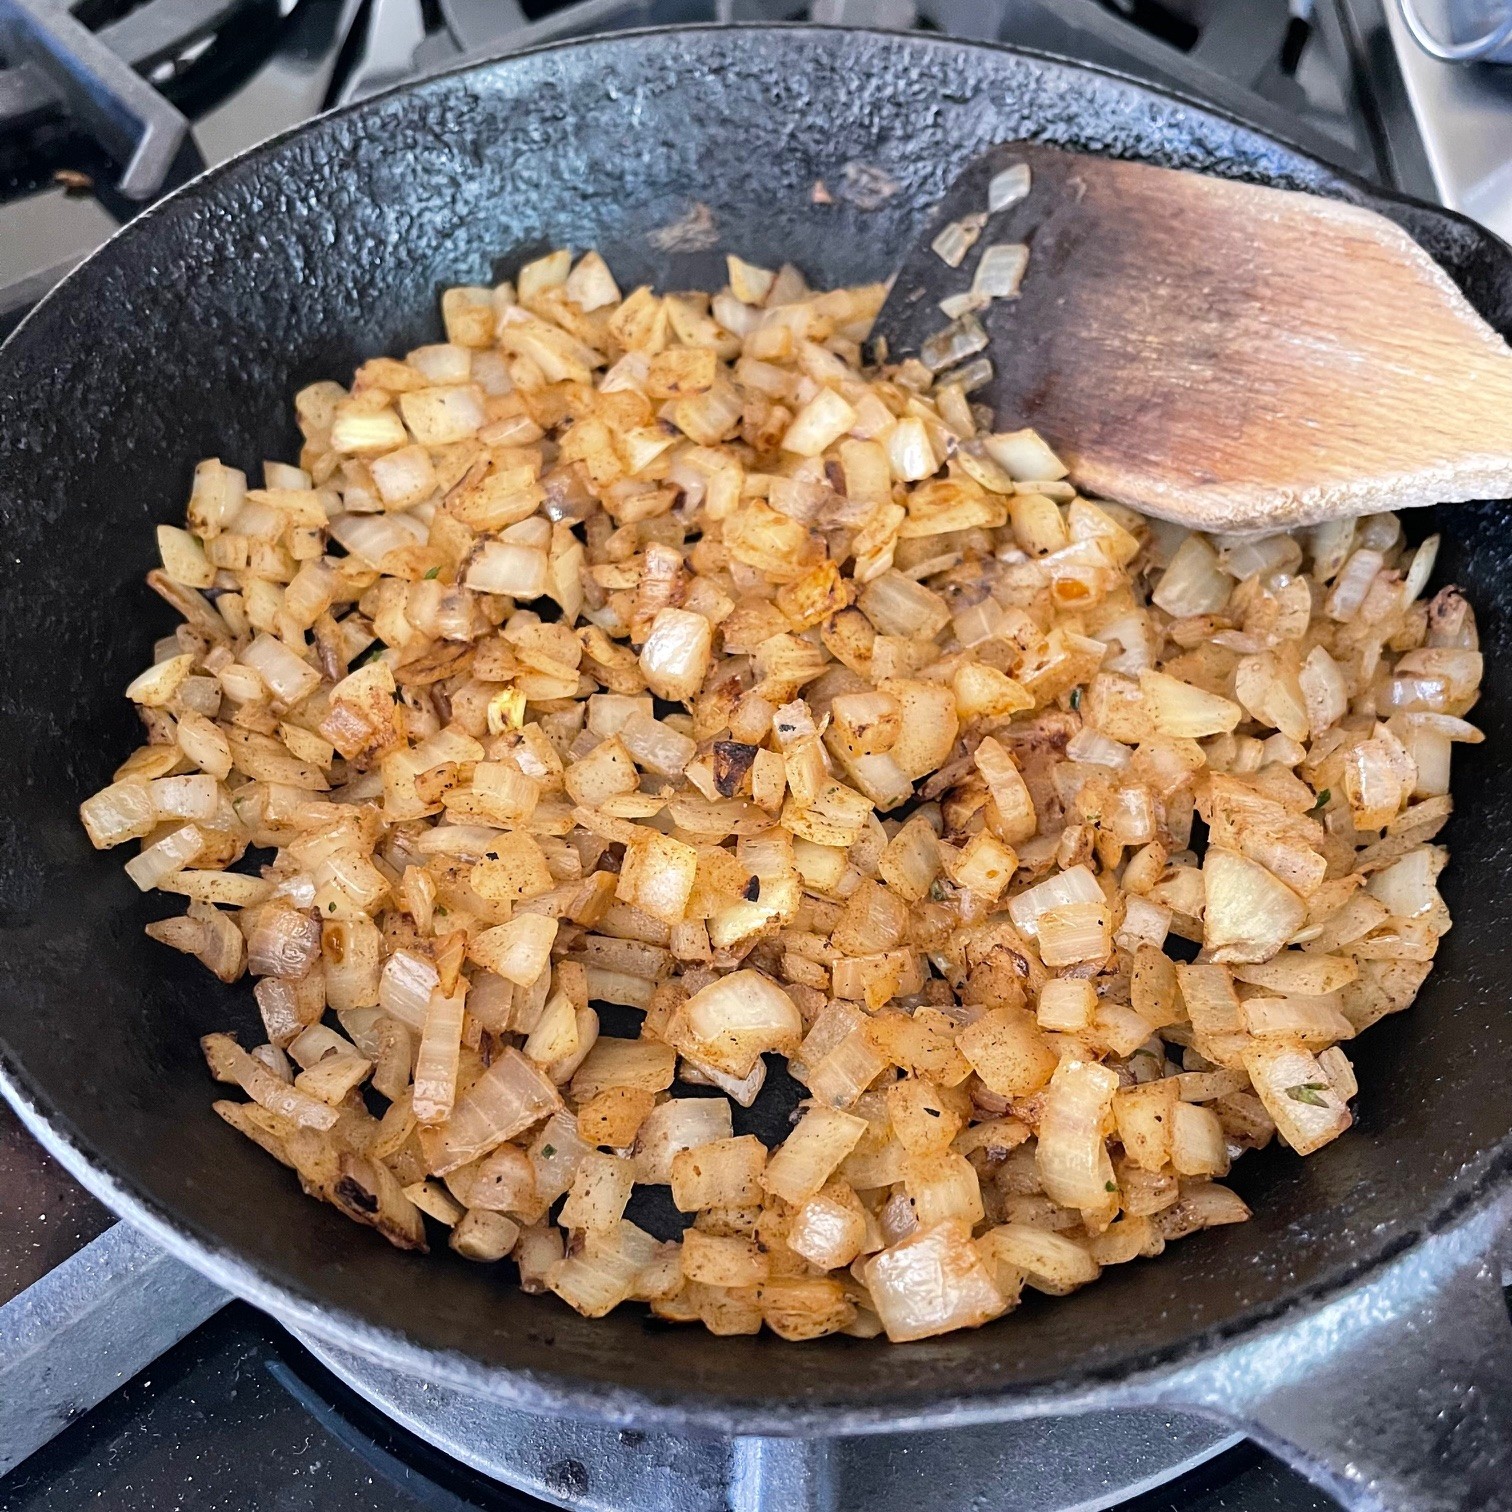
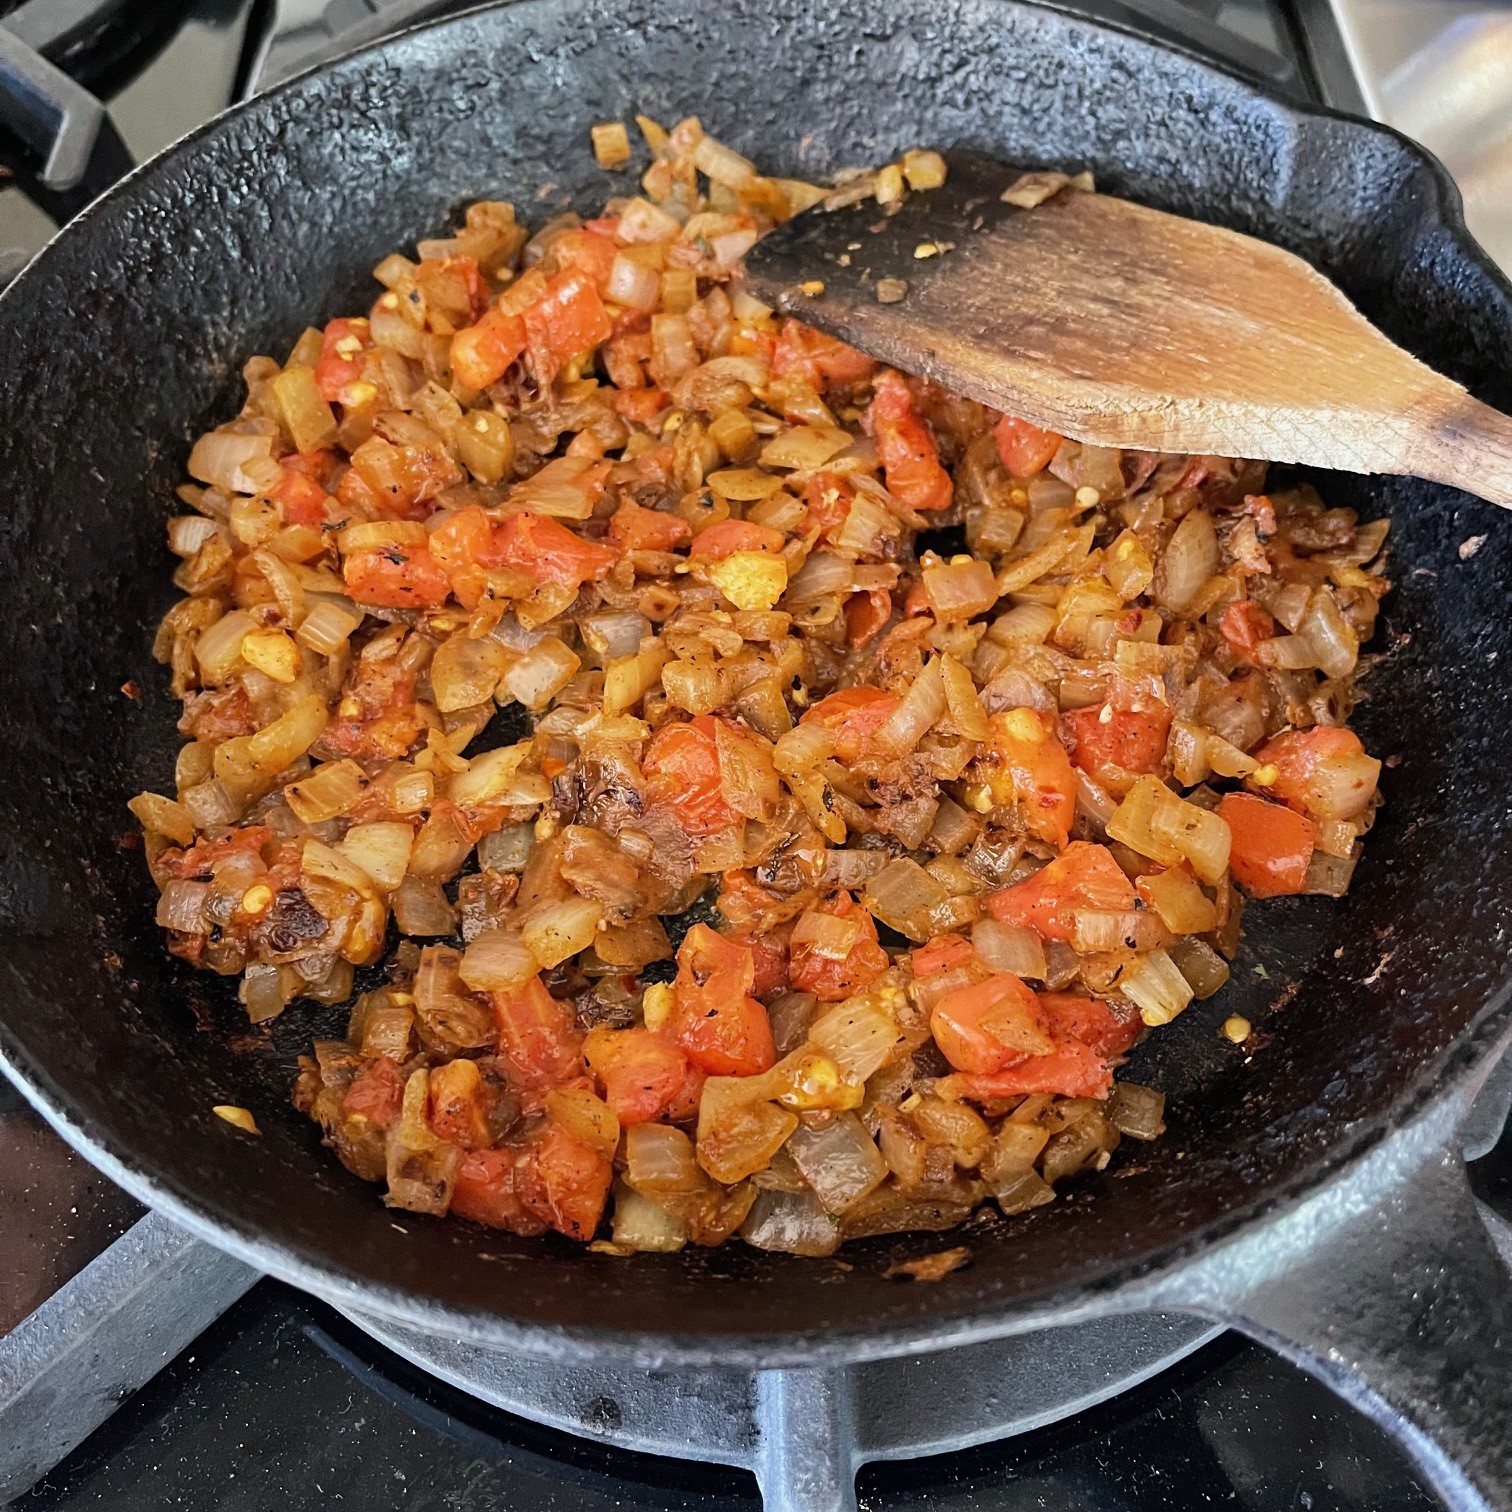
Add in onions and stir until golden.. Then add in garlic and saute another minute to bloom the garlic.
Add tomatoes and cook a few minutes to soften.
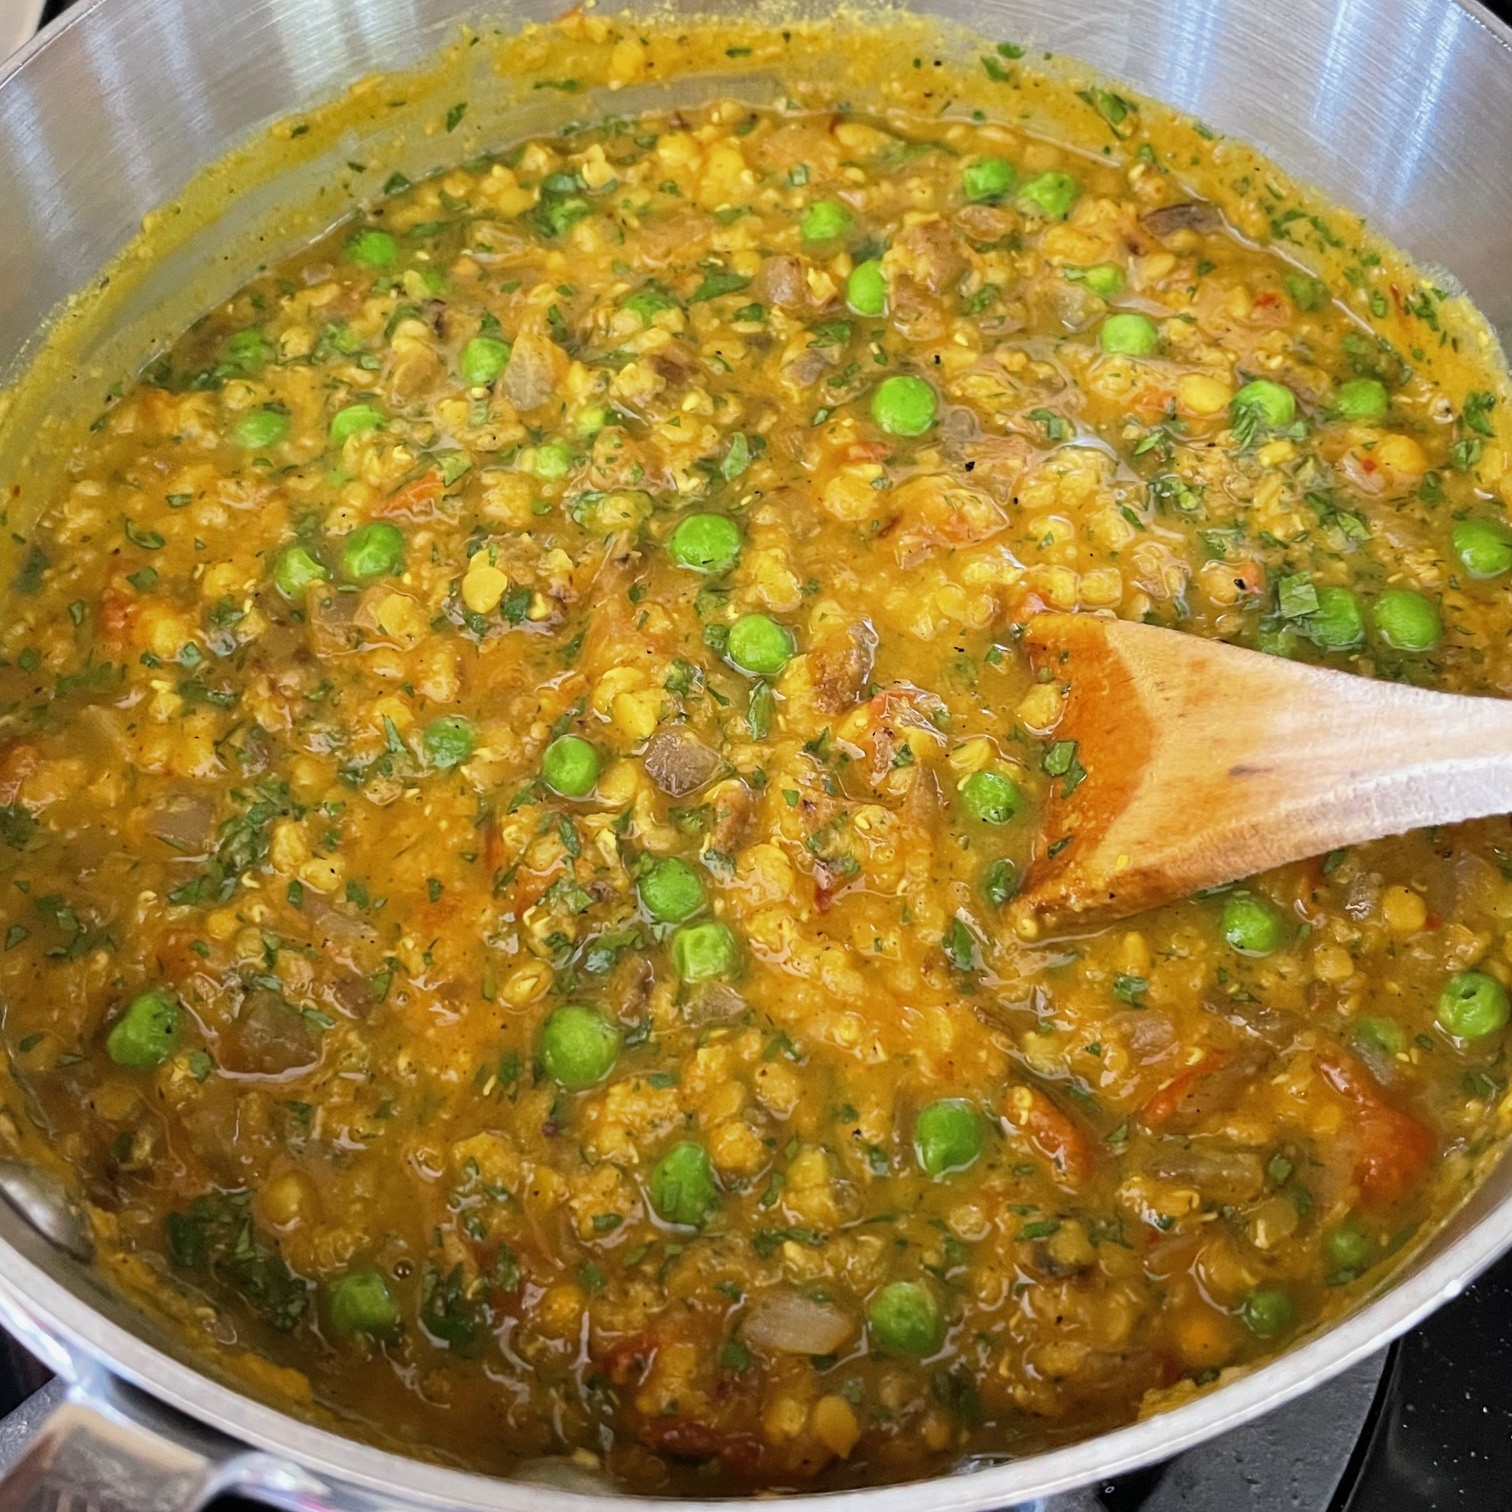
Combine the lentils and onion mixture into the bigger of the two saucepans. Add in the peas, 1/2 tsp salt, cilantro, and anything else you want to add. Heat to a simmer about 5 minutes to combine flavors. You can add some water if dal is too thick.
To serve, top rice with dal, then spoon on plain yogurt.