I’ve never met a potato I didn’t like. My weakness is crispy and salty – I just can’t stop! Which is why I avoid them as much as possible. Until now!
This Cheesy Roasted Potato recipe has been a game changer. There’s no deep frying and, in fact, there’s no oil except for the slight smear on the baking sheet to prevent sticking.
NOTE: Use a firm potato such as Yukon Gold or a red variety. Russets do NOT work well – they become too mushy.
CHEESY ROASTED POTATOES
3 lbs (1/2 kg) Yukon Gold or other firm potato
2 quarts (1 kg) water
1/2 tsp baking soda
2 T kosher salt (or 2 tsp table salt)
4 bay leafs
1 T whole black peppercorns
6 cloves garlic, slightly crushed
1/2 tsp dried thyme
42g (3 T ) butter, melted
30g (1/3 cup) (2 oz) Pecorino/Romano cheese
1 T kosher salt (OR 1 tsp table salt)
1/2 tsp black ground pepper
The first thing to do is prepare and assemble the ingredients:
Preheat oven to 400°F (204° cm), fan off; OR 450°F (230° cm), fan on.
Wash and cut potatoes into 3 cm (1.25″) wedges, leaving peel ON.
Into 1 or 2 tea ball infusers (or cheesecloth) put the bay leafs, peppercorns, garlic, and thyme.
Put the Pecorino in a small bowl.
Put the butter in a small saucepan, ready for melting.
Prepare a large, rimmed baking sheet by VERY lightly smearing it with vegetable oil.
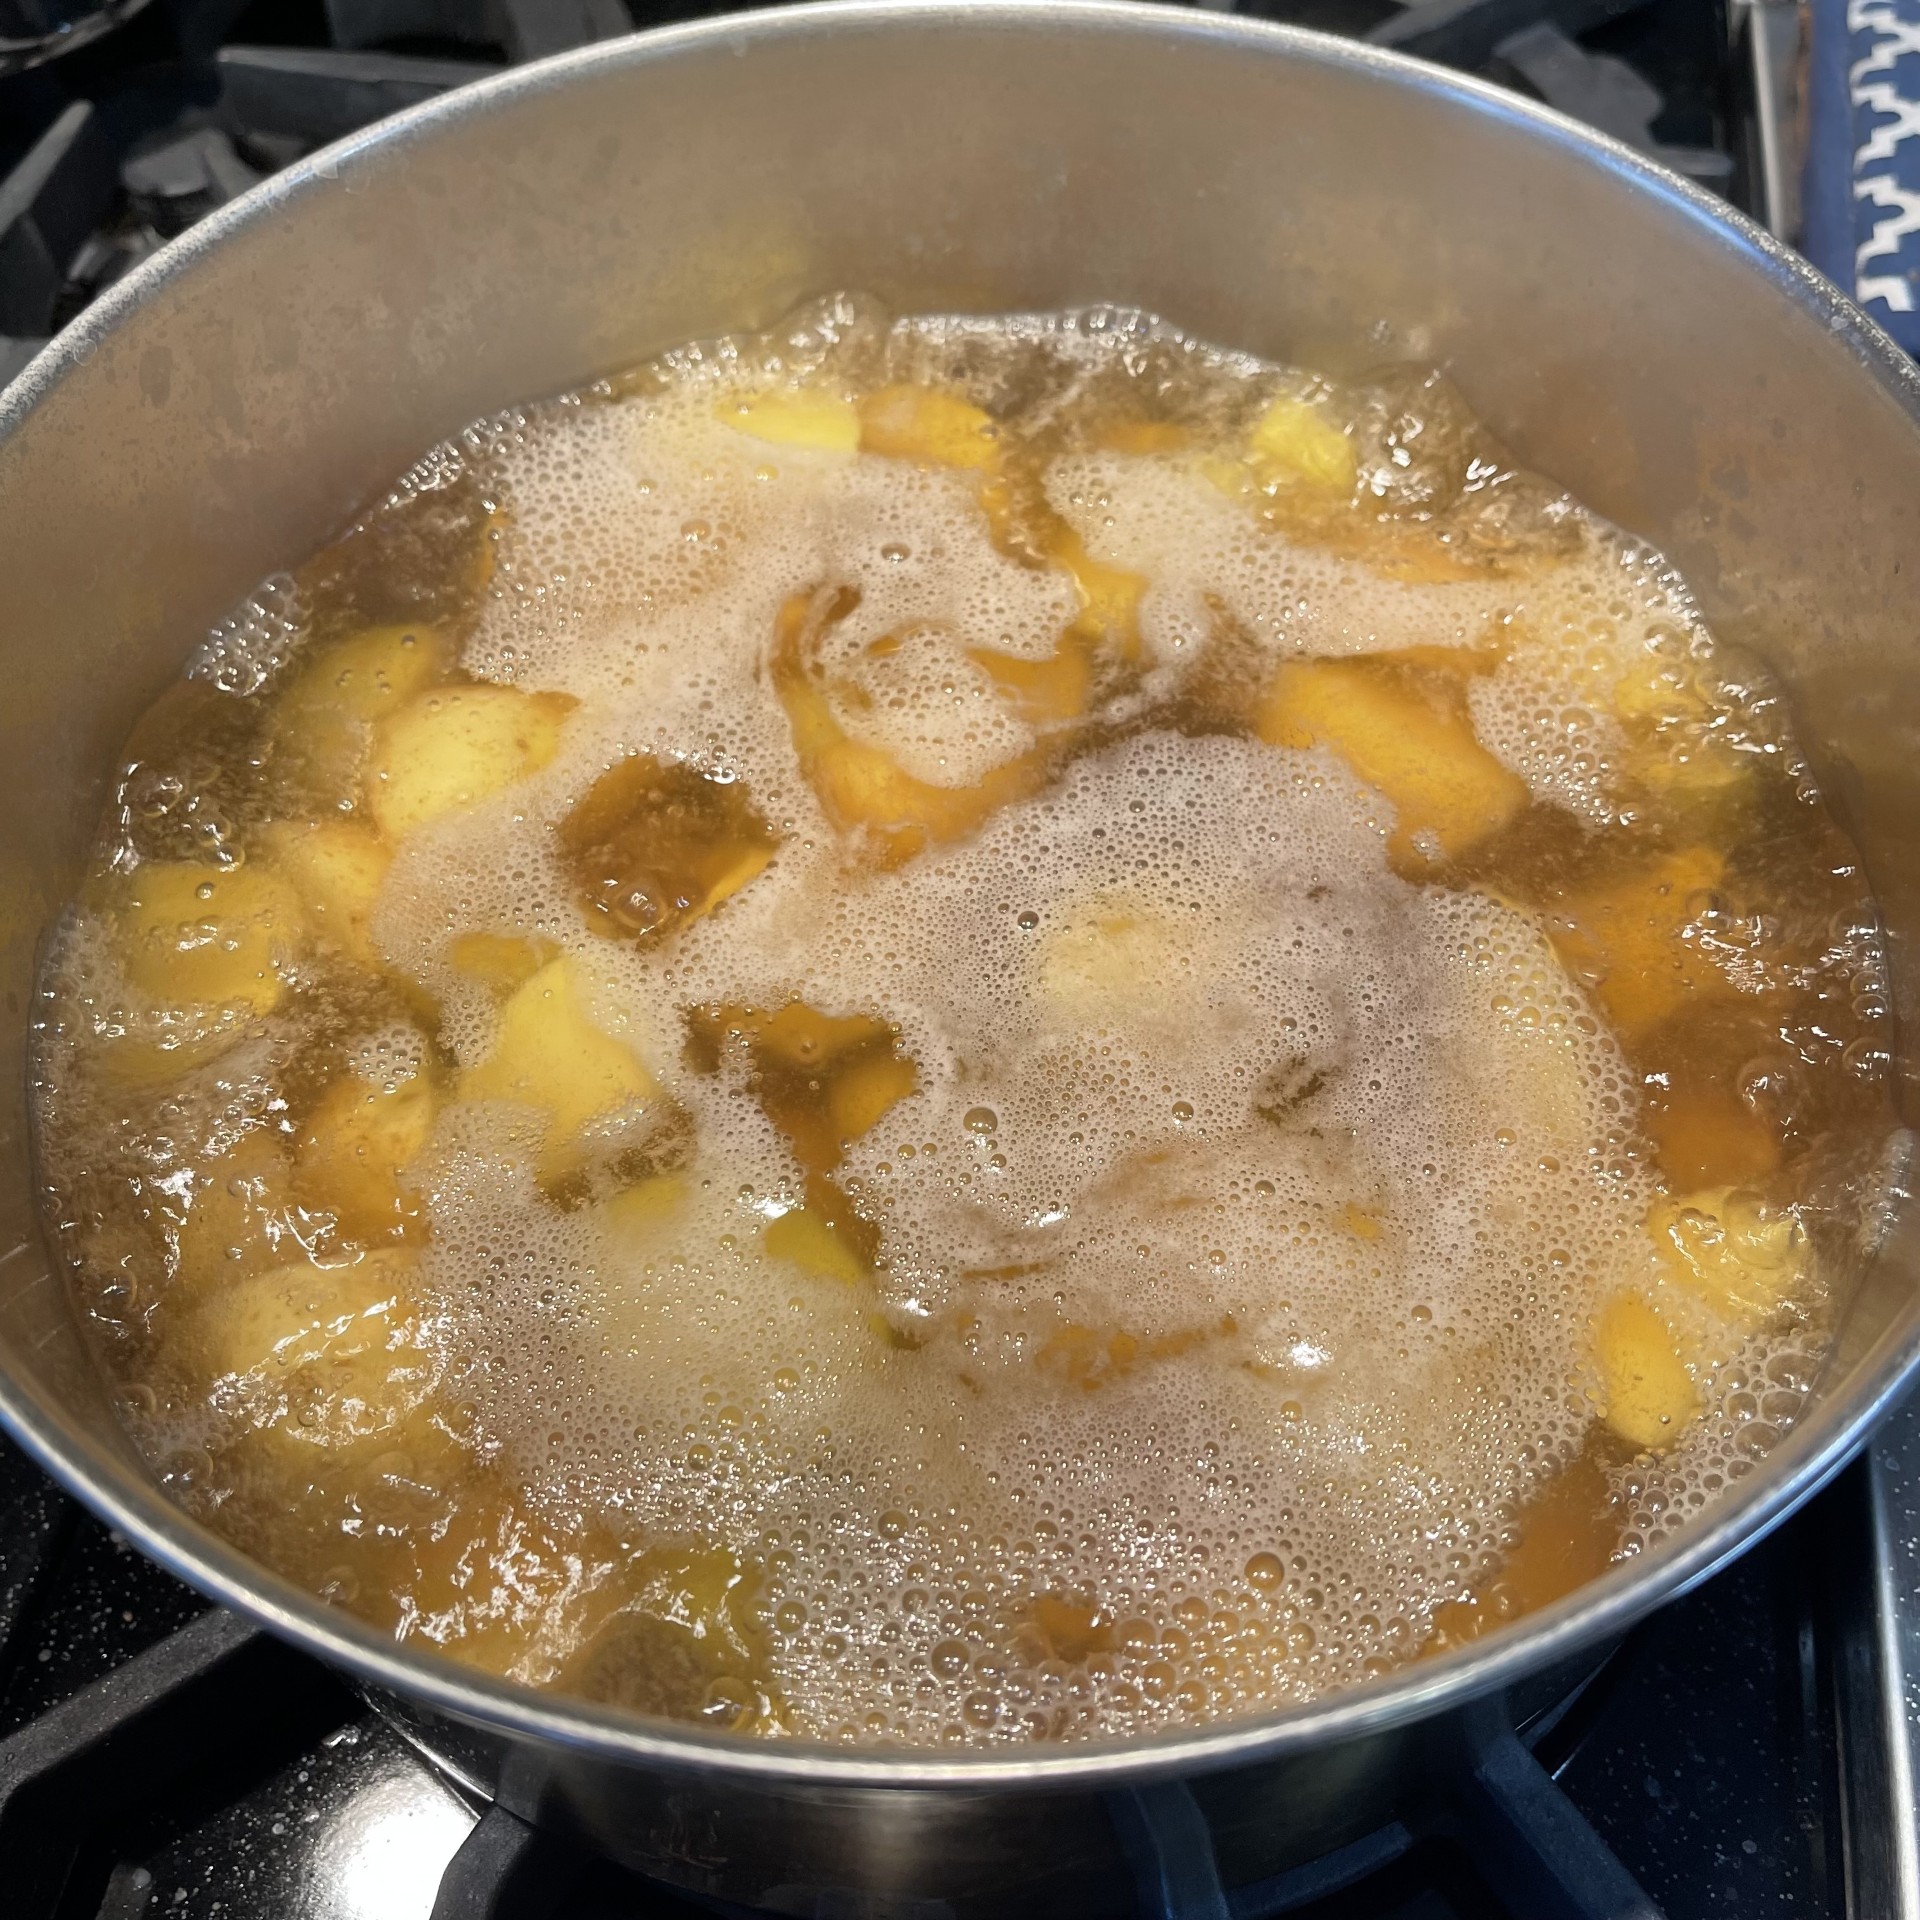
Into a large pot, put the 2 quarts (1 kg) water, the tea ball infusers, baking soda, and 2 T kosher salt.
Bring water to a full boil and drop in potato wedges. Cook until potatoes can be easily pierced with a knife – about 10 minutes.
Drain potatoes in a strainer and discard the contents from the tea ball infuser.
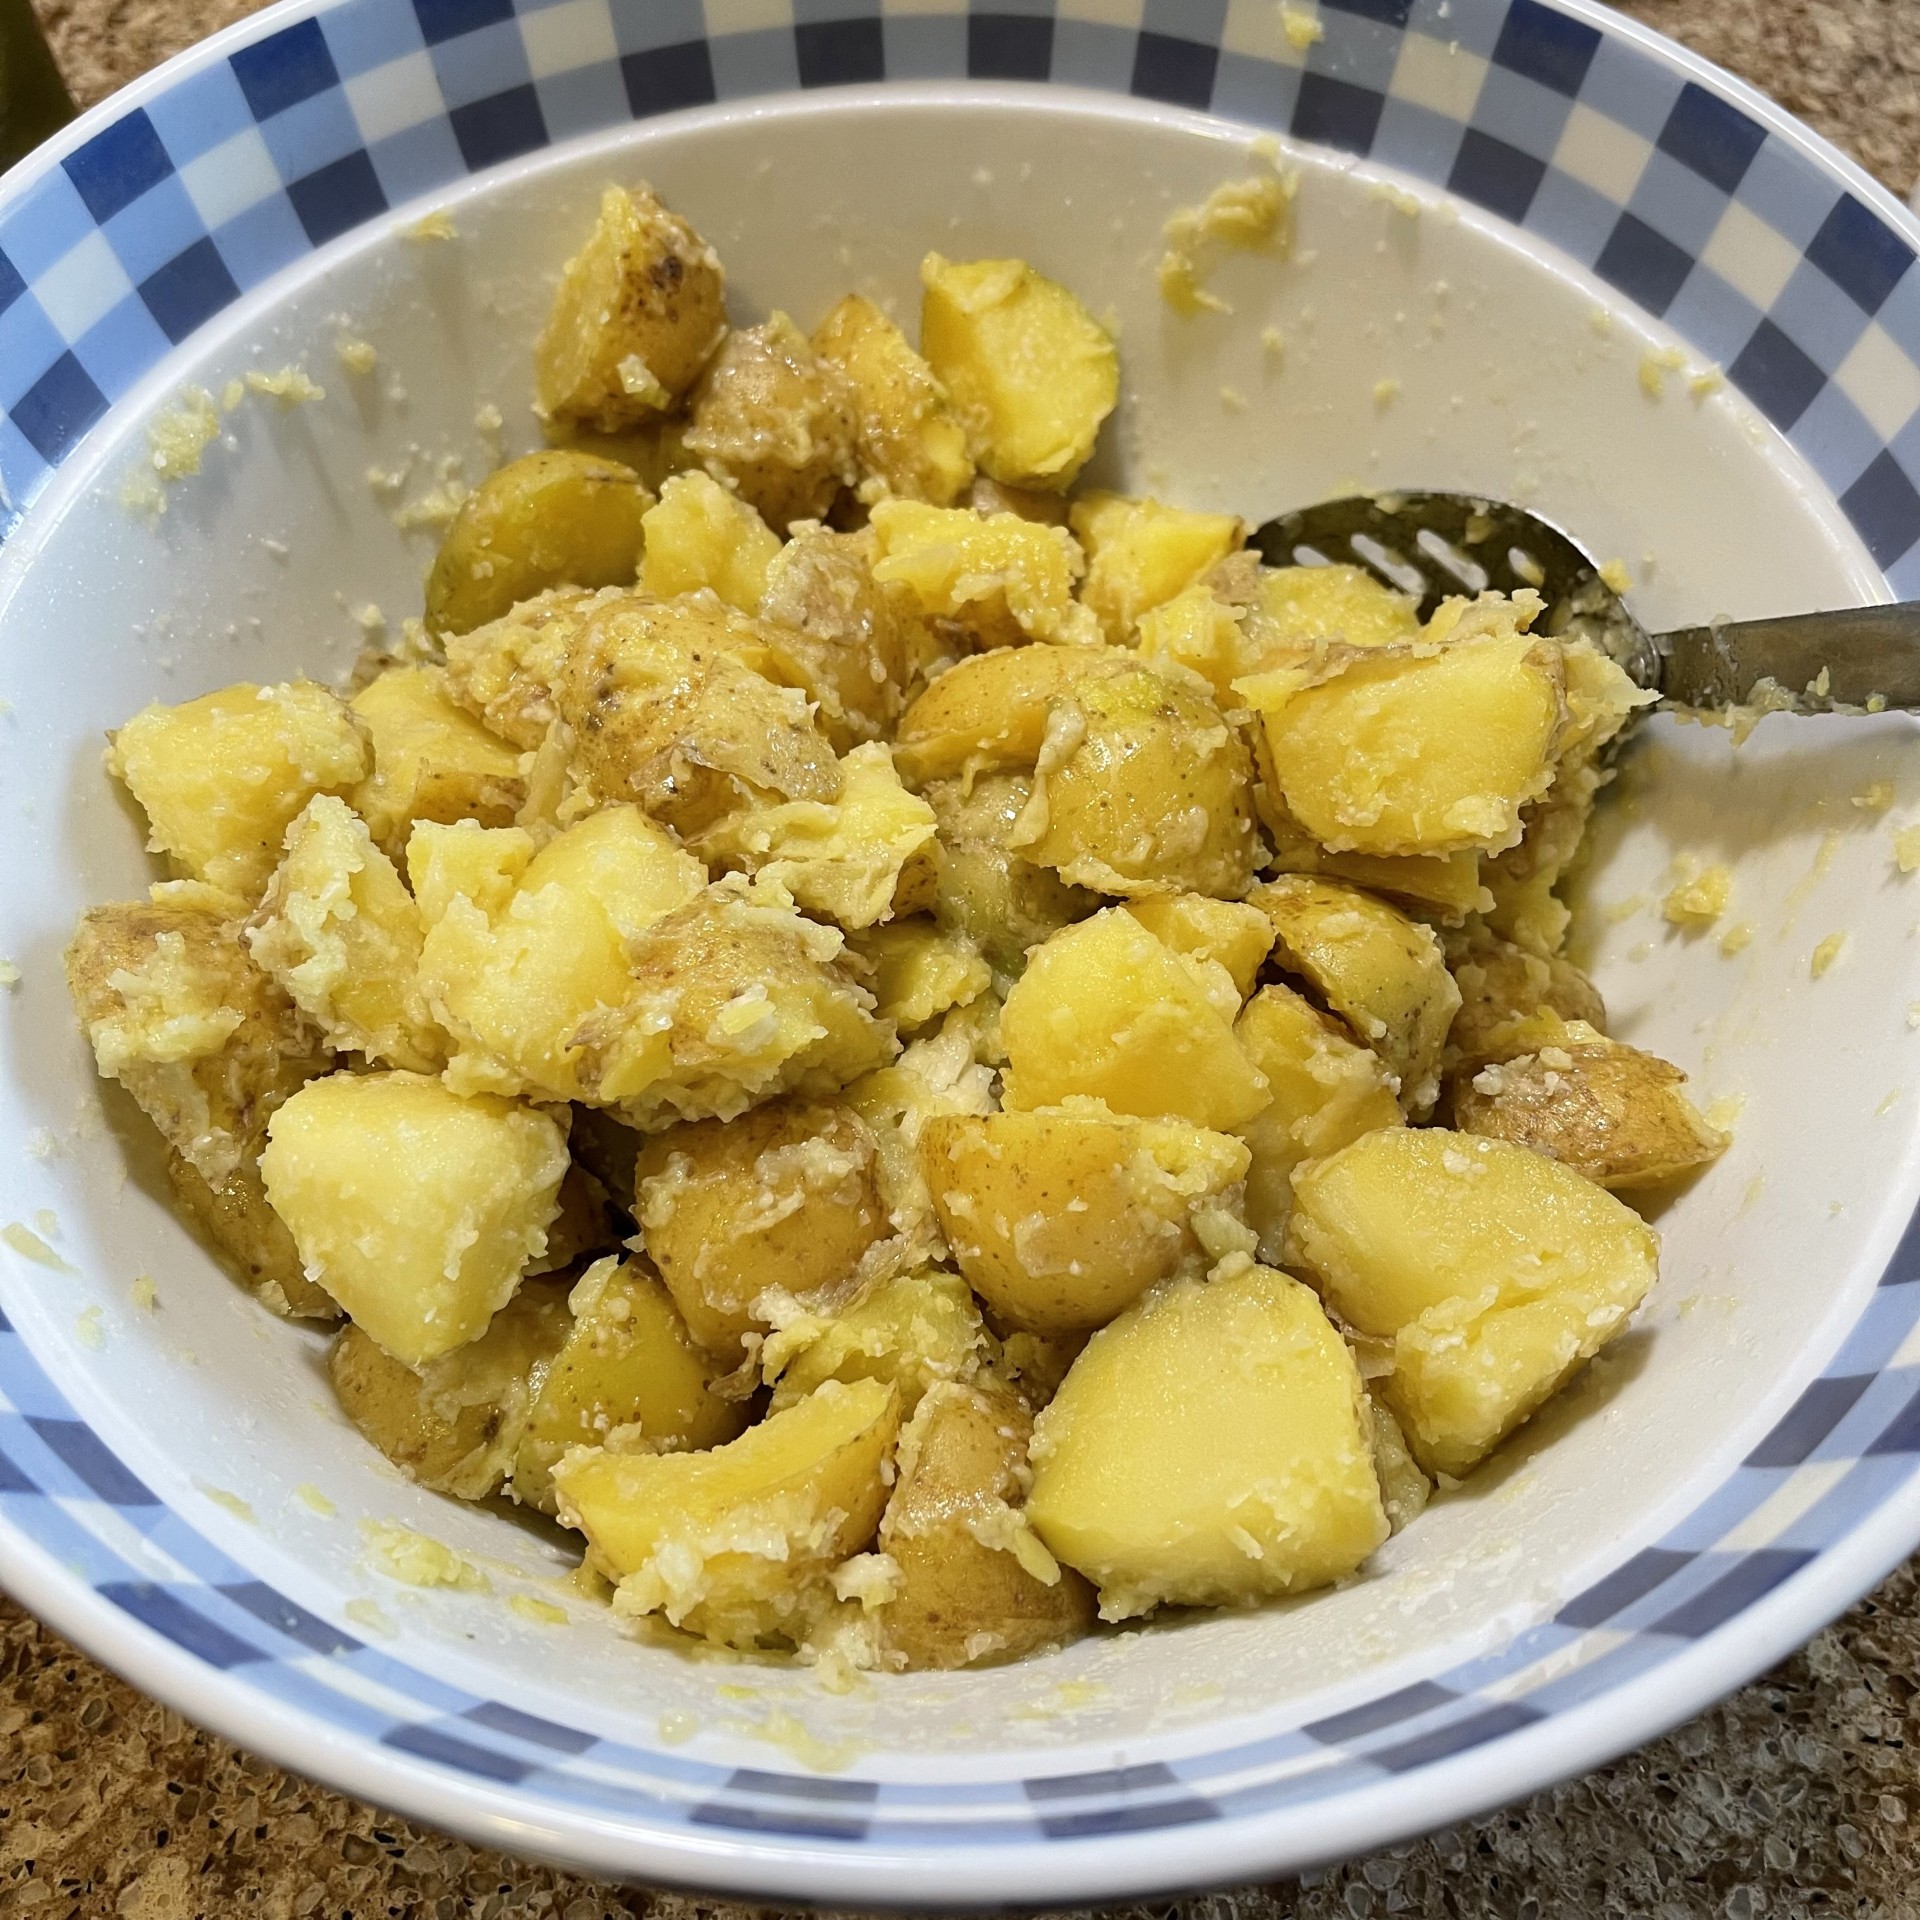
Empty potatoes into a large bowl. Melt the butter. Pour the butter, Pecorino, salt, and ground pepper into the potatoes. With a large spoon, vigorously stir all for 30 seconds. The idea is to slightly break down the potatoes but not mash them – we still want the wedges whole.
Tip potatoes onto a large, rimmed, very lightly oiled baking sheet. Spread potatoes out evenly, avoiding overlap.
Bake at 400°F with fan or 204° C without fan for 20 minutes. (I prefer using the fan.)
After 20 minutes, flip them to brown both sides. Cook for another 20 minutes, until golden brown. Remove from oven and let potatoes sit on baking sheet for 5 minutes before transferring to a serving bowl.
Serve immediately. Leftovers can be reheated and recrisped at 350°F (180°C) for 5-10 minutes.
A crostata (also known as a galette in French) is a stand-alone, open topped pie. They can be savory or sweet. There’s a rustic look to them as they are formed by rolling out a large circle of pie dough, then placing ingredients on top, leaving a wide border around the perimeter. This border is then folded in a ruffled manner, pinching the dough to keep it in place, then baked.
My Mushroom-Onion Crostata is a delicious blend of caramelized onions, sauteed mushrooms and leeks, topped with Gruyere cheese, encased in an easy-to-prepare hot water crust. The onions and mushrooms can be cooked ahead of time, making the final assembly that much faster on busy nights.
NOTE: As self-proclaimed Queen Of Freeze, I would be remiss in my duties if I didn’t mention freezing leftover eggwash in a small container for future use!
MUSHROOM-ONION CROSTATA
Preheat oven to 425°F (218°C)
Filling:
Note for fillingingredients: amounts for the filling ingredients are approximate – don’t stress
2 T + 1 t olive oil, DIVIDED
about 454g (1 lb) baby bella mushrooms, chopped into chunks
1 large leek, white & light green part, chopped
1/2 tsp + 1/4 tsp table salt, DIVIDED
2 garlic cloves, pressed or minced
1 tsp rosemary, fresh, chopped fine
1 large onion, about 270g (2 cups), chopped
131g (4.5 oz) Gruyere cheese, shredded
1 T chives, finely chopped
Dough:
Note regarding eggwash: Save leftover eggwash in a small container and freeze for future use.
200g (1+ 2/3 cups) bread flour
1/2 tsp salt
77g (5.5 T) butter, cold, cut into small pieces
76g (1/3 cup) hot water (NOT boiling)
Egg wash – 1 egg mixed with1 T water.
Clean the mushrooms and leek well. Chop into chunks. Place into a large pot with the 2 T olive oil and 1/2 tsp salt. Cook over medium/high heat for about 10 minutes, stirring often.
Add the garlic and rosemary to the mushrooms. Continue cooking over medium/high until liquid is gone. Set aside to cool. (This step can be done ahead of time.)
Into a skillet put the 1 T olive oil, onions, and 1/4 tsp salt. Cook over medium/high heat until the onions are golden brown. Add the caramelized onions to the mushrooms. Let cool. This step can be done ahead of time.
Add in the chives and stir together.
Once the mushroom mixture has cooled (so it doesn’t melt the crust), make the dough. If you have a food processor, I highly recommend using it. Otherwise, you’ll have to mix by hand.
Into the work bowl of your processor (or mixing bowl, if doing this by hand), put the flour and 1/2 tsp salt. Pulse a couple of times to blend, then drop in the chunks of the cold butter and PULSE 6 times.
Pour in the hot water and PROCESS until dough comes together and you can form a ball with it.
Pour the dough onto a very lightly floured surface and knead about 6 time to bring together. Onto a piece of baking paper place the dough and roll out to a circle about 14″ (36 cm) in diameter.
Roll the dough thinner along the 2″ (5 cm) so that when you crimp the dough later it’s not so thick.
Place half the cheese in the center of the dough, leaving about a 2″ (5 cm) border.
Top the cheese with the mushroom mixture.
Sprinkle on remaining half of cheese.
Encase the filling by placing your fingers about 2″ (5 cm) apart and overlapping the dough, pinching each ruffle together as you go. Do this around the entire perimeter.
Paint an eggwash around the border.
Bake in preheated 425°F (218°C) border turns golden brown – about 25-35 minutes. Cool about 10 minutes before serving to firm up a bit.
We’re big pesto fans in our house, so I make sure we always have it on hand. Our favorite uses are mixed with fettuccine and on top of pizza with Feta cheese and Kalamata olives.
TIP: As self-proclaimed Queen Of Freeze, when I make pesto, I make plenty and freeze it in 1 cup batches.
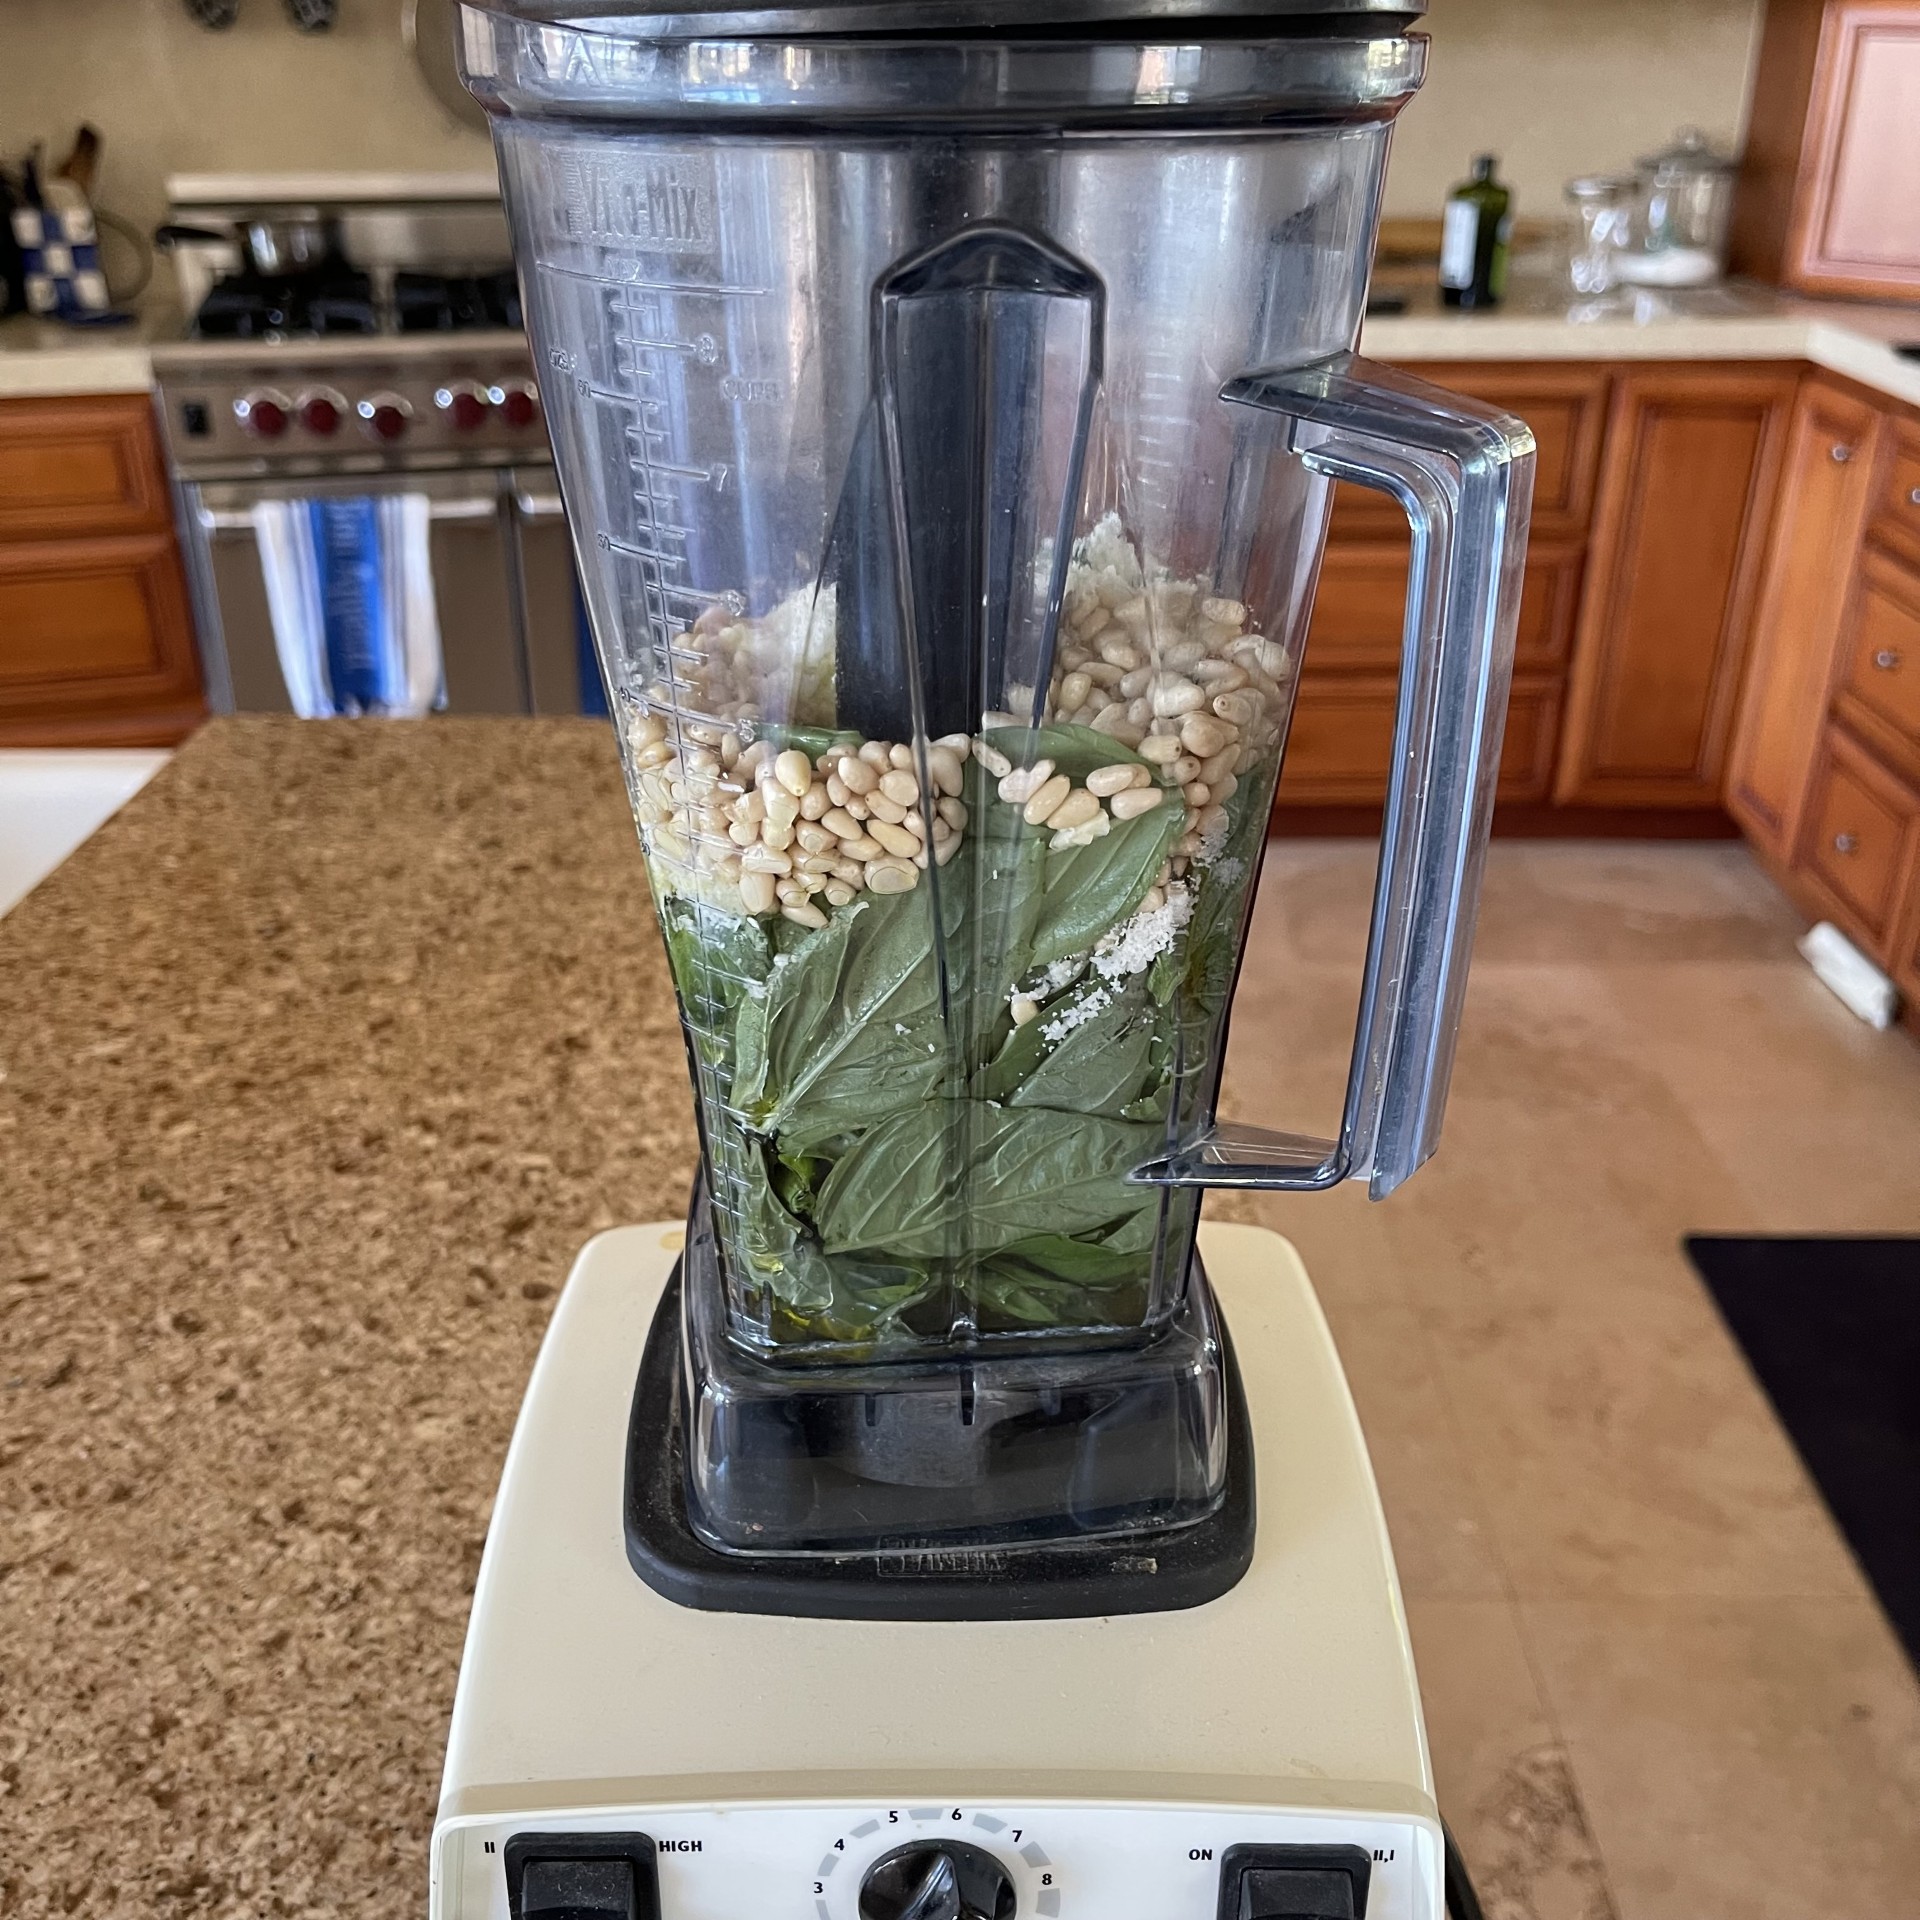
The longest step in making this recipe is cleaning the basil – I wash each leaf separately so there are no bits of debris lingering in the crevises. Other than that, it’s just throwing all the ingredients into a blender and pushing the on button.
NOTE: I’ve not tried blending the ingredients in my food processor since I like using the vortex action of a blender. But it would probably be fine to use a food processor.
PESTO – makes 2 cups
170g (6 oz) (4 cups) fresh basil leafs
8 cloves garlic, chopped – use less if you’re not a big garlic lover
42g (3 T) lemon juice
88g (1 cup) Pecorino Romano (or any hard cheese of your choice, such as Parmesan)
44g (1/2 cup) pine nuts
114g (2/3 cup) extra virgin olive oil
1 tsp table salt
Place all ingredients in a blender.
IMPORTANT NOTE: Don’t have the blender running when you’re scraping down the ingredients. I’ve done that with a wooden spoon. More than once I’ve had the spoon get pushed down to the blades, yielding wood chips into my pesto which, of course, I had to throw out. So please take my advice – just turn the machine off each time you smoosh down! Throwing out food is heart breaking….and a waste of time and money.
Pulse several times to get desired consistency scraping down sides as needed.
If your machine doesn’t have a pulse button, turn the machine on a low speed. Turn it off and smoosh the ingredients around. Turn it on again for a few seconds, then stop. Smoosh it around again. Keep doing this until it finally starts cycling on it’s own.
My Butterscotch-Ganache Pie has become the most requested item when friends and family come to our house for dinner. It took a few years to finally perfect it (in my opinion) so the layers were the right height, the ganache was the right consistency, the butterscotch pudding was the right texture, and the crust was not too crumbly nor too hard. The decorative top is optional.
NOTE:This pie should be made the day before it’s first served, so you need to plan ahead!
There are 4 parts to this pie: the crust, chocolate ganache, the butterscotch pudding, and the whipped cream. All of these should be made the day before serving so the pie has settled and is cold. This is a good thing – one less thing to do on company coming day!
BUTTERSCOTCH-GANACHE PIE
Butterscotch Pudding
169g (12 T) butter
90g (1/2 cup) granulated sugar
87g (1/2 cup) dark brown sugar, packed
56g (4 T) water
3/4 tsp table salt
1 tsp lemon juice
30g (2 T) Lyle’s Golden Syrup or corn syrup
118g (1/2 cup) heavy cream, DIVIDED
500g (2 cups) milk – any fat level will do
4 yolks
36g (1/4 cup) (1.25 oz) cornstarch
1 T vanilla extract
Graham Cracker Crust
163g (1.5 cups) graham crackers (I use Honey Maid
30g (3 T) granulated sugar
77g (5.5 T) butter, melted
Ganache
58g (2 oz) 60% cacao chocolate bar
58g (2 oz) 72% cacao chocolate bar
114g (4 oz) heavy cream
Whipped Cream
205g (3/4 cup) heavy cream, cold
14g (3/8 oz) confectioners (icing) sugar
It’s best to begin preparing this pie by making the butterscotch pudding since it needs to cool several hours before pouring it into the crust.
First, measure out the ingredients so everything is ready to go. Yes, I know this is a lot of bowls to wash, but having everything ready makes life easier in this recipe.
1 – Into a large saucepan (at least 3 quarts), place the butter, granulated sugar, brown sugar, water, salt, lemon juice, and Lyle’s Golden syrup (or corn syrup).
2 – Into a small saucepan, pour 59g (1/4 cup) heavy cream. (This will be simmered later.)
3 – Into a small bowl, pour 59g (1/4 cup) heavy cream.
4 – Into a small bowl, place the 4 yolks.
5 – Into a small bowl, place the 36g (1/4 cup) (1.25 oz) cornstarch.
6 – Either have ready the vanilla bottle with a tablespoon or measure out the 1 T into a tiny bowl.
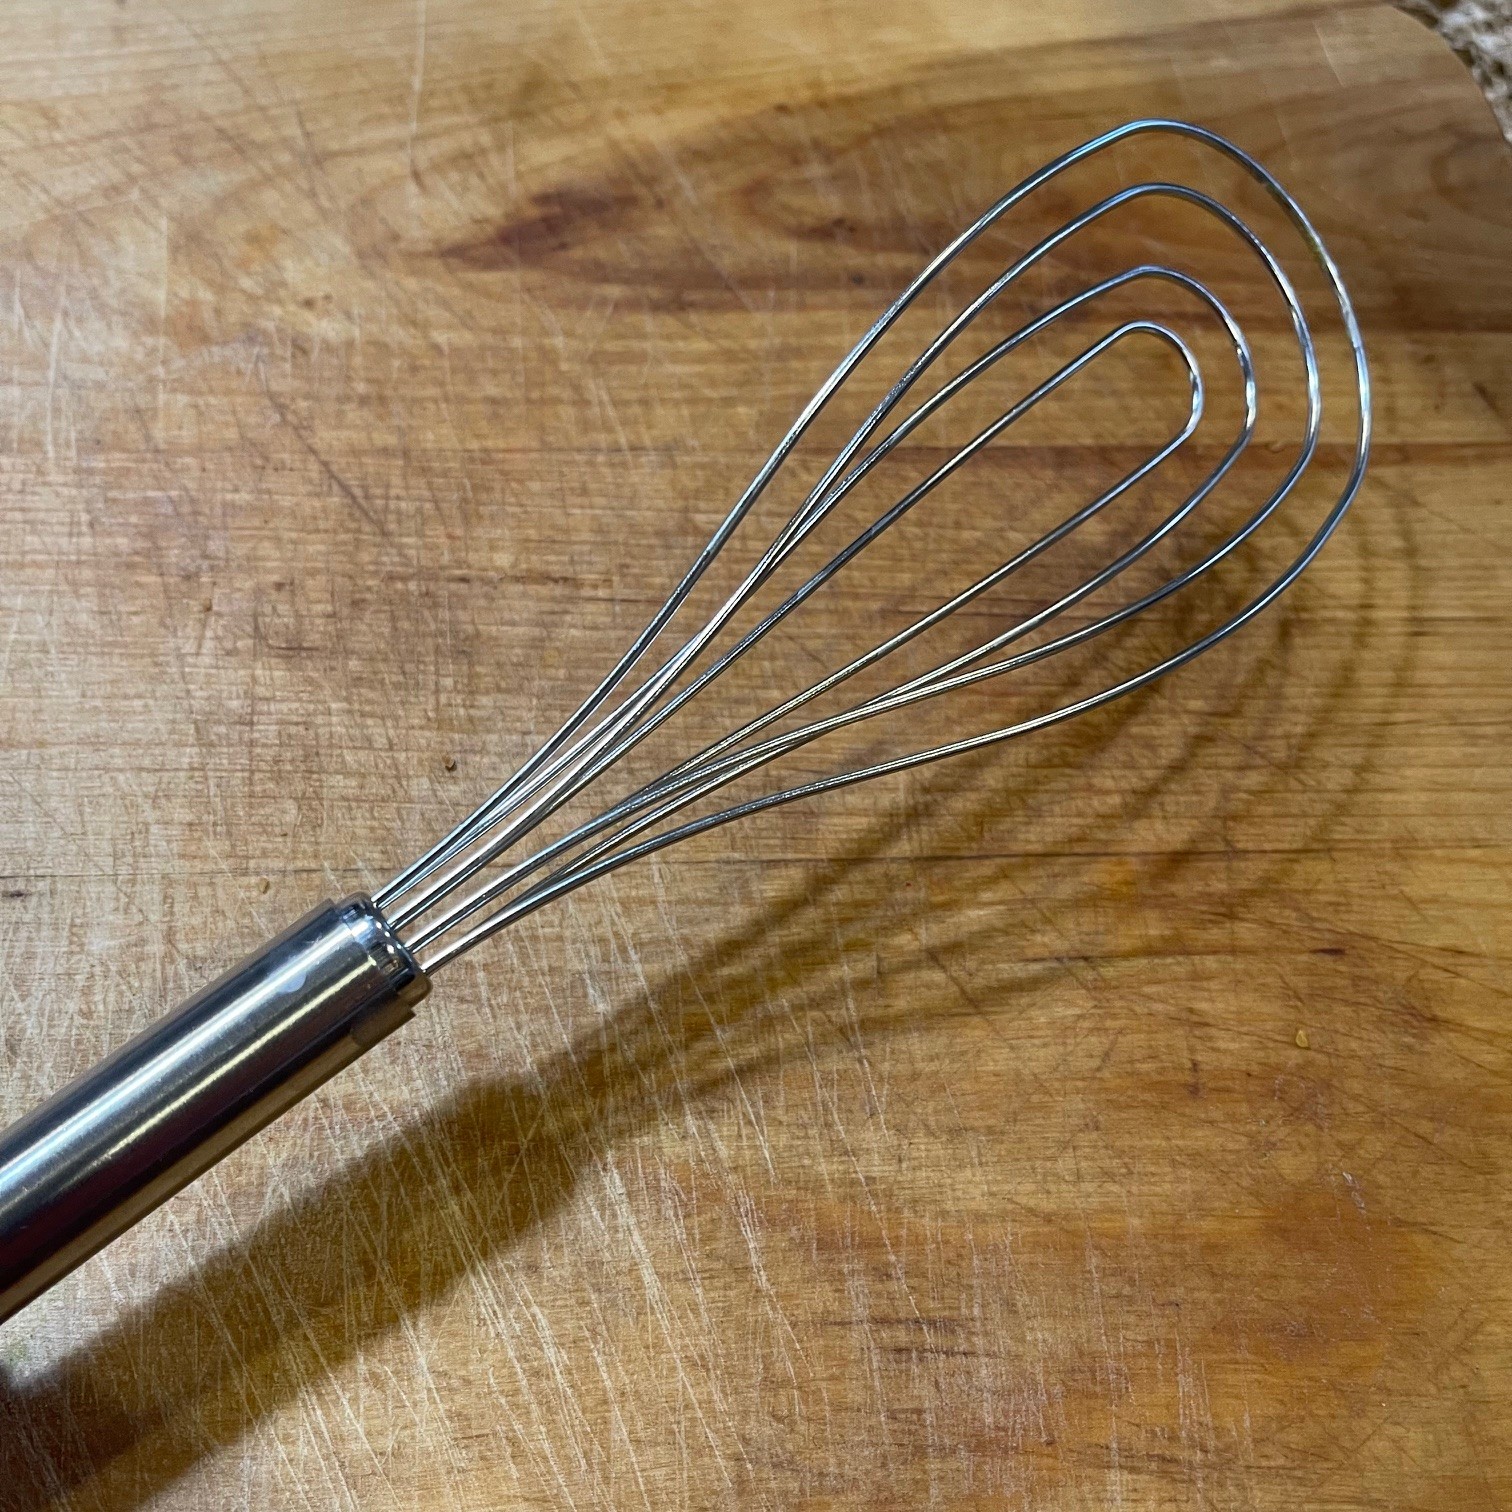
NOTE: I find using a flat whisk (see photo below) helpful for stirring mixtures in saucepans since they can get into the edges of the pan. This is NOT mandatory.
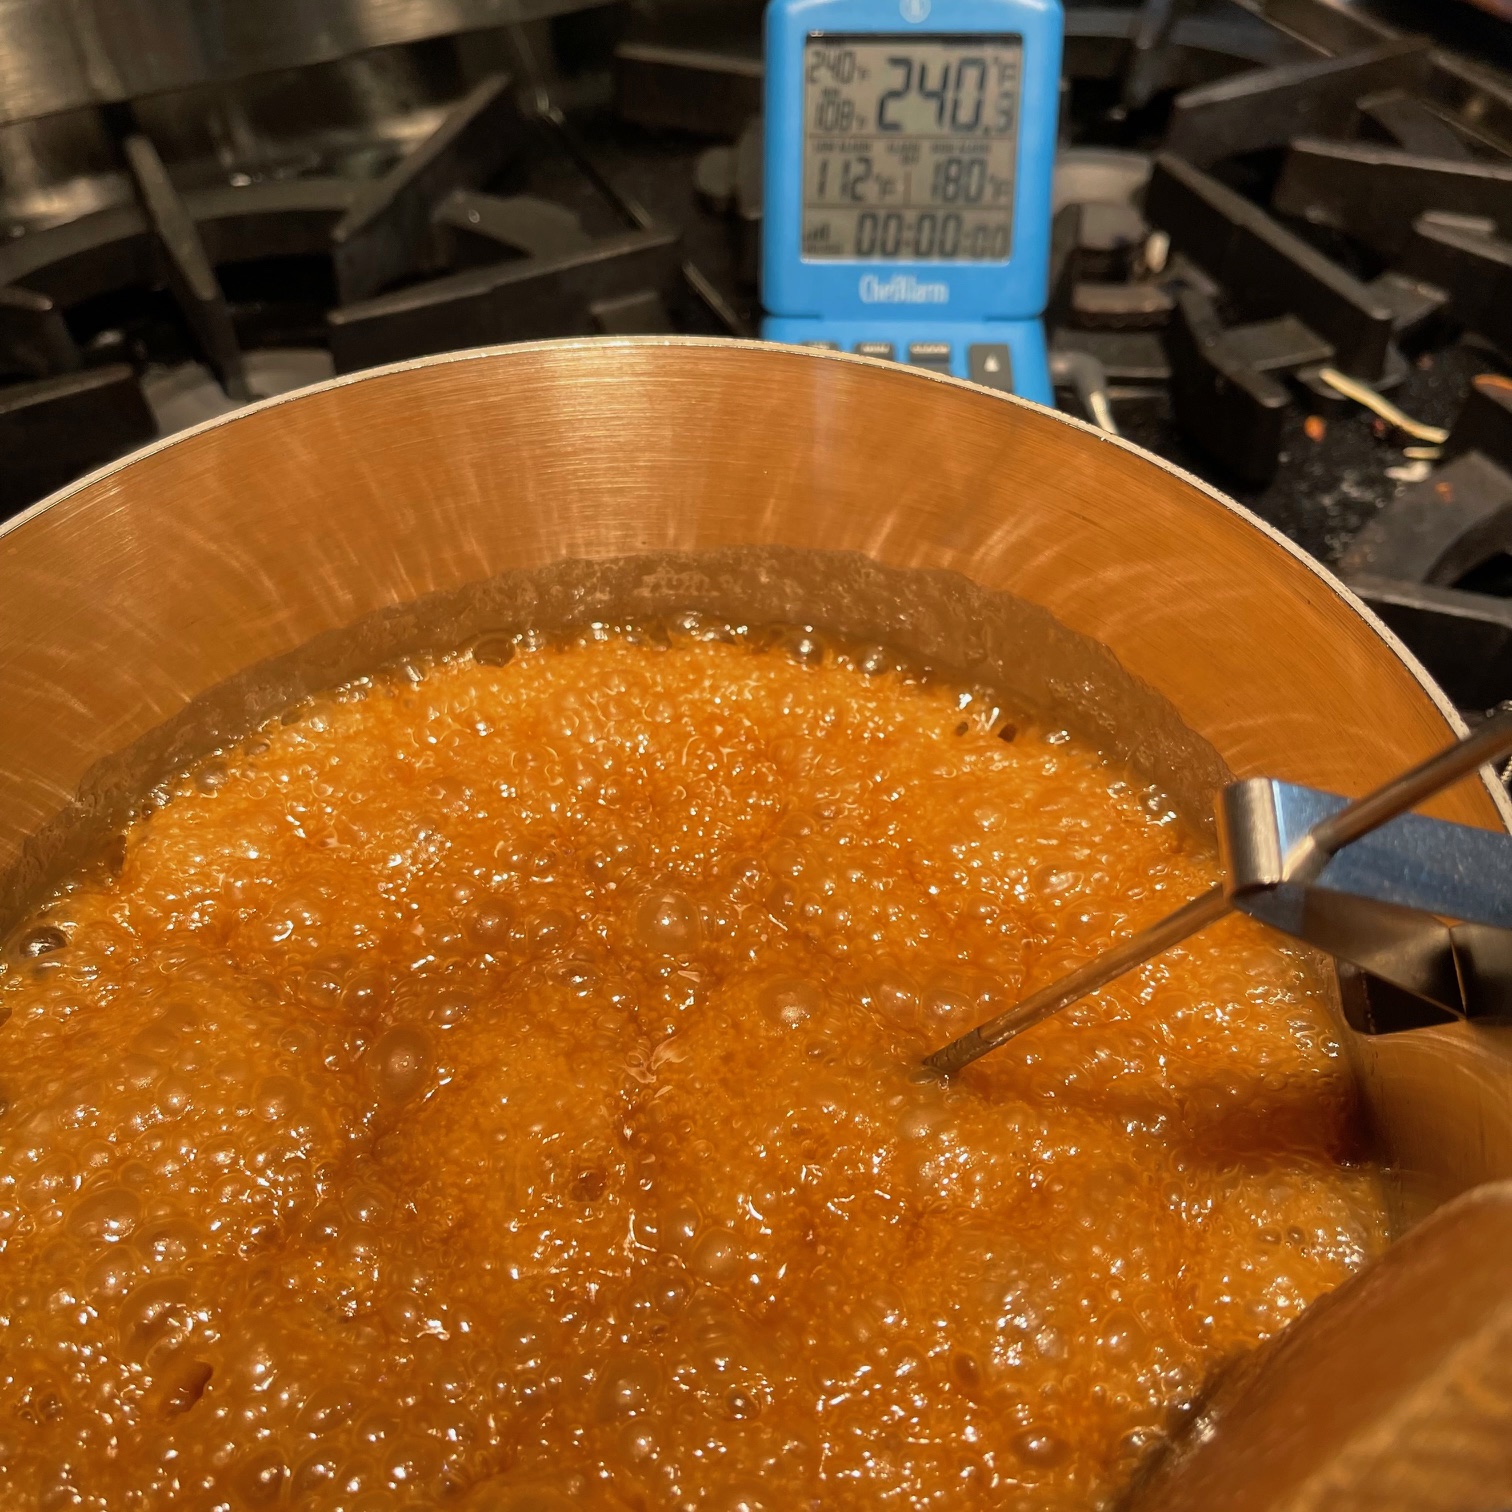
Over medium-high heat, bring the butter/sugar mixture in the saucepan to 240°F (116°C), stirring often (preferably constantly). USE A THERMOMETER! You’ll need a metal or glass thermometer that can attach to the side of the pan – plastic will soften due to the hot steam.
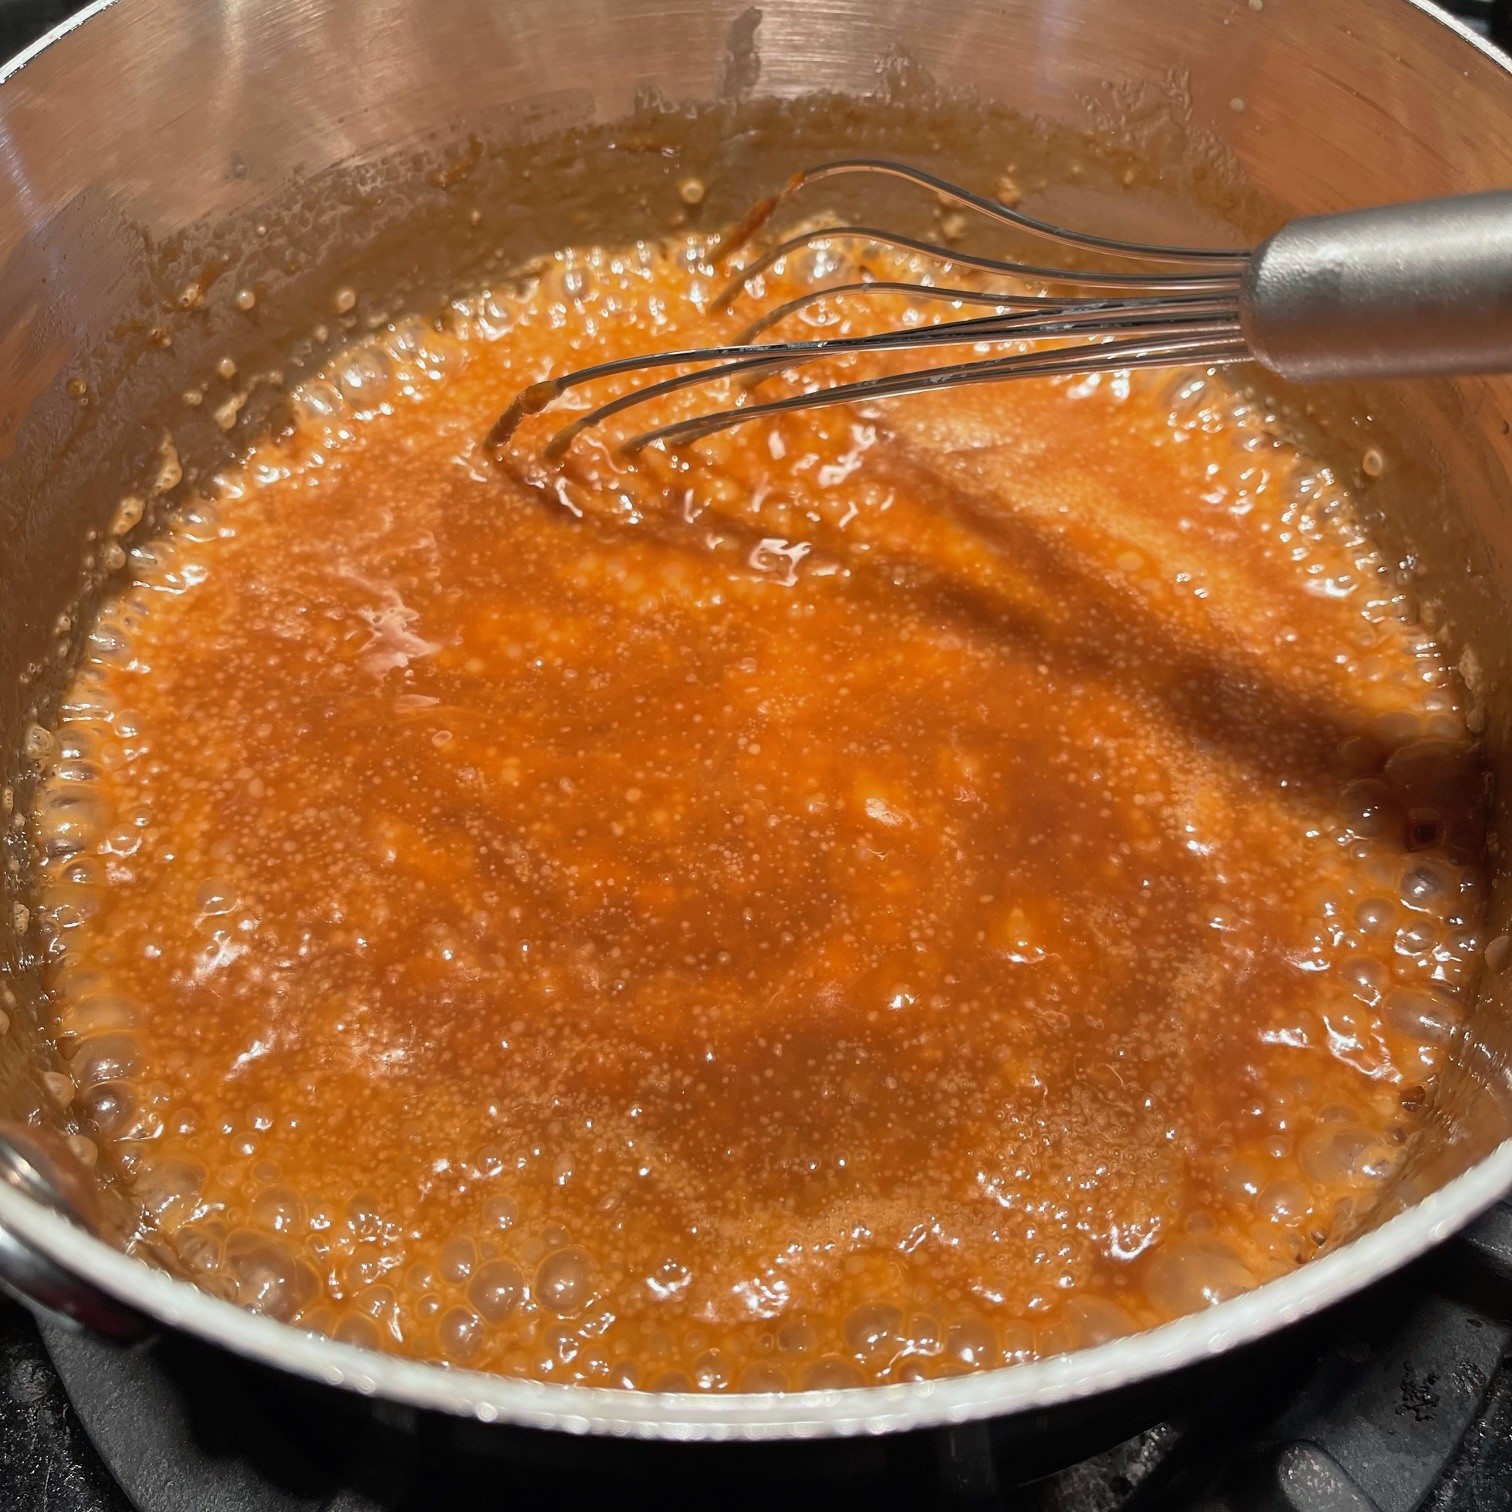
Decrease the heat to medium and stir until the liquid reaches 300°F (150°C), stirring often (preferably constantly). Much of the liquid will have evaporated and the mixture will have become a bit thicker. Turn off the flame and stir in 59g (3 T) cream for 30 seconds.
Turn on burner to medium-high again and stir in 500g (1.5 cups) milk. When milk has been incorporated, turn off burner again.
Stir the cornstarch into the egg yolks.
Bring the other 59g (3 T) cream to a simmer.
Slowly drizzle the hot cream into the yolk/cornstarch, stirring continuously (this will temper the egg yolks so they don’t scramble).
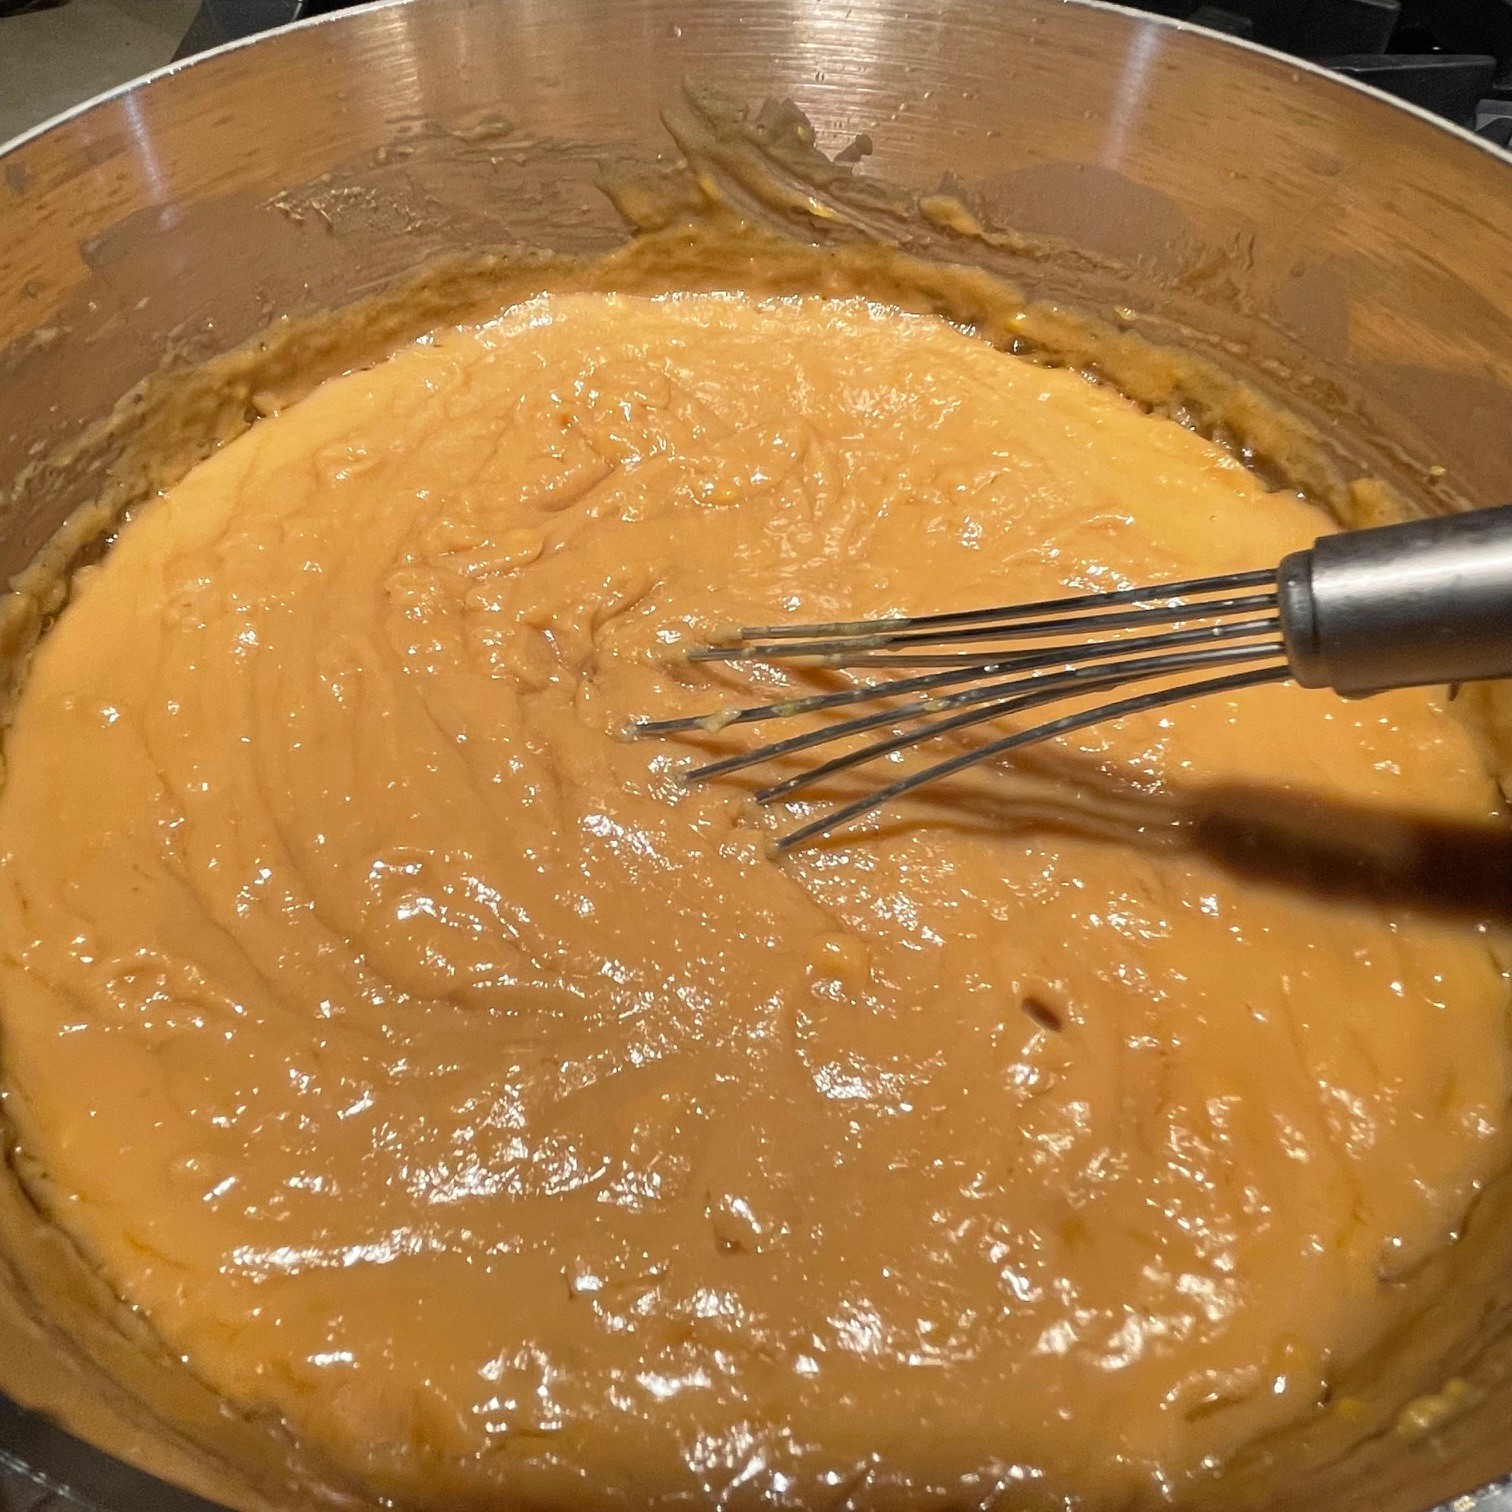
Bring the sugar mixture in the saucepan to a boil over medium-high and pour in the yolk/cornstarch/cream all at once. Whisk until thickened – about a minute. Turn off heat and stir in vanilla.
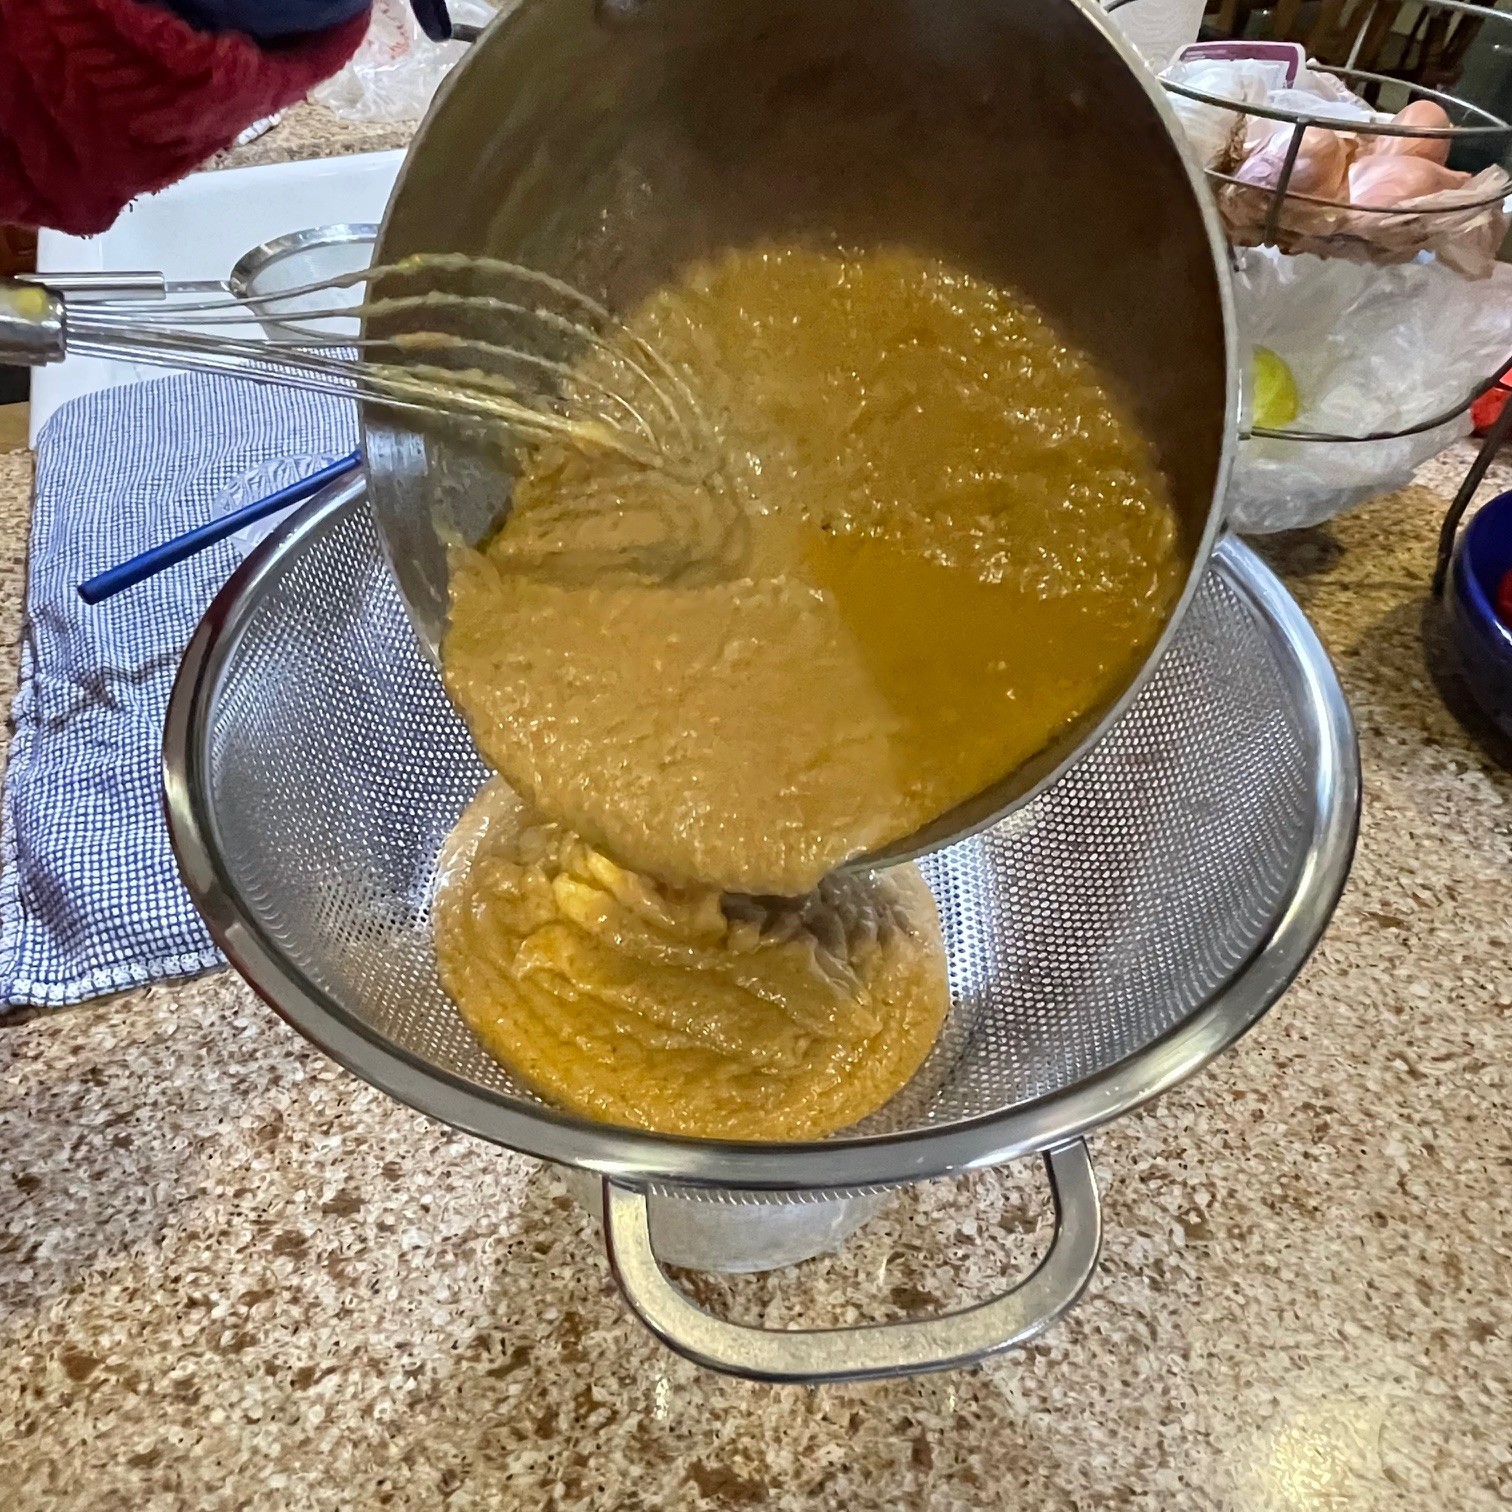
Into a bowl, strain mixture (to remove the eggy bits and any tiny lumps) through a sieve or colander that is NOT fine mesh. Stir pudding with a rubber spatula or wooden spoon to get the mixture to go through. I’ve tried using my fine mesh strainer and the butterscotch pudding is really too thick to go through. I have an Ekco strainer from days of yore that has 2mm (1/16″) holes, which works perfectly, but these strainers are hard to find. I tried my colander, and it worked fine.
You don’t have to strain the pudding, but it really does make a difference. The photo below shows the remains from straining. YUK!
Cover butterscotch pudding and chill in fridge for, at least, 3 hours.
Chill a bowl and beaters in preparation for whipping the cream later on.
Graham Cracker Crust
163g (1.5 cups) graham crackers (I use Honey Maid
30g (3 T) granulated sugar
77g (5.5 T) butter, melted
Preheat oven to 325°F (163°).
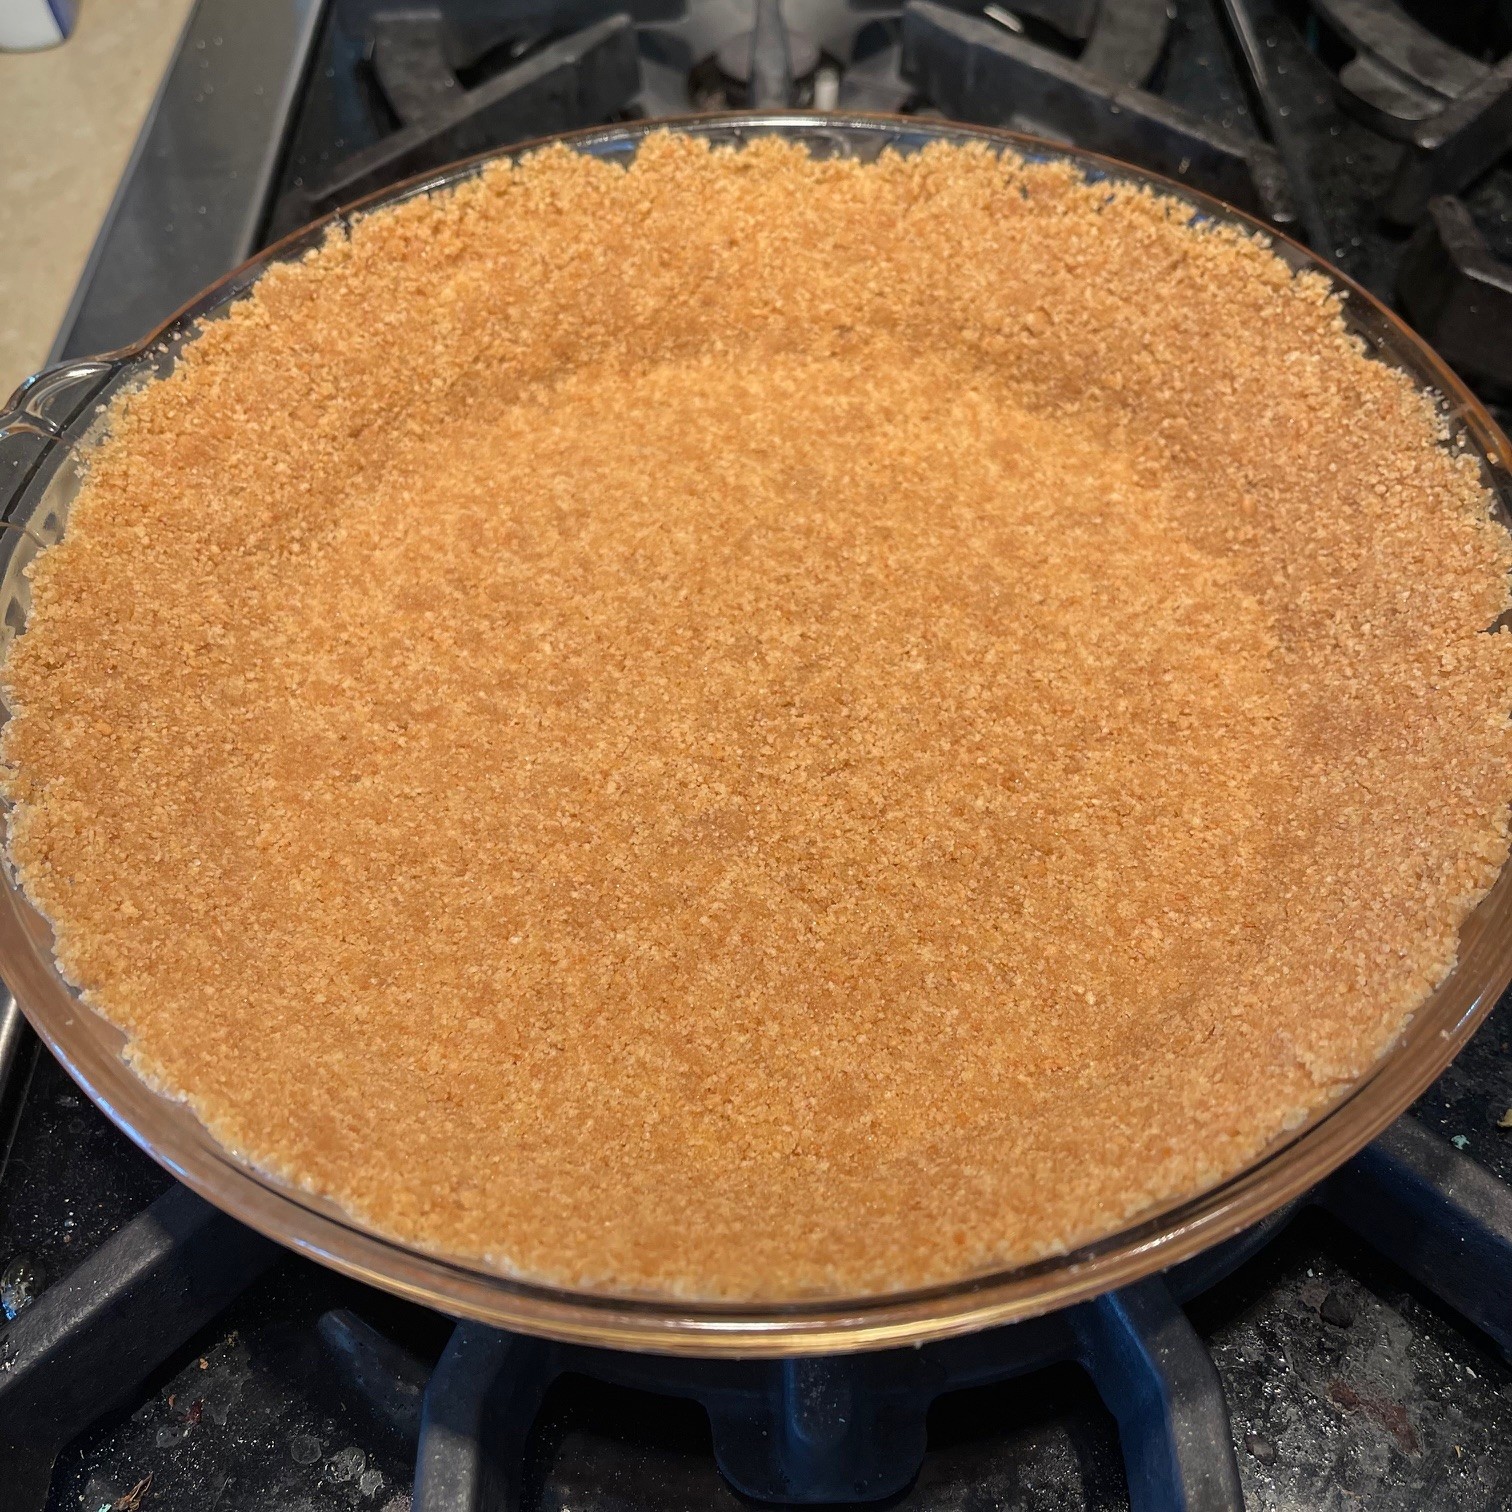
Crush graham crackers with a rolling pin until fine crumbs. Don’t use a food processor – the crumbs don’t get fine enough which leads to a not nicely textured crust. It’s easiest to break up the graham crackers and place them in a large plastic bag to contain them as you roll them. Pour crushed crackers into a bowl and stir in the melted butter and sugar.
Empty crumbs into a 9″ (25 cm) pie plate. Press mixture to evenly cover bottom and sides firmly. If find it best to use a 1/3 cup measuring cup, but you can use a fork or your fingers, etc.
Bake in preheated 325°F (163°C) until lightly browned – about 15 minutes. Let cool.
Ganache
58g (2 oz) 60% cacao chocolate bar, broken into small pieces
58g (2 oz) 72% cacao chocolate bar, broken into small pieces
114g (4 oz) heavy cream
Into a small saucepan, over LOW heat, stir the cream and chocolates together until all chocolate is melted.
Pour melted chocolate onto graham cracker crust and spread evenly across bottom. Let ganache cool in the fridge at least 20 minutes.
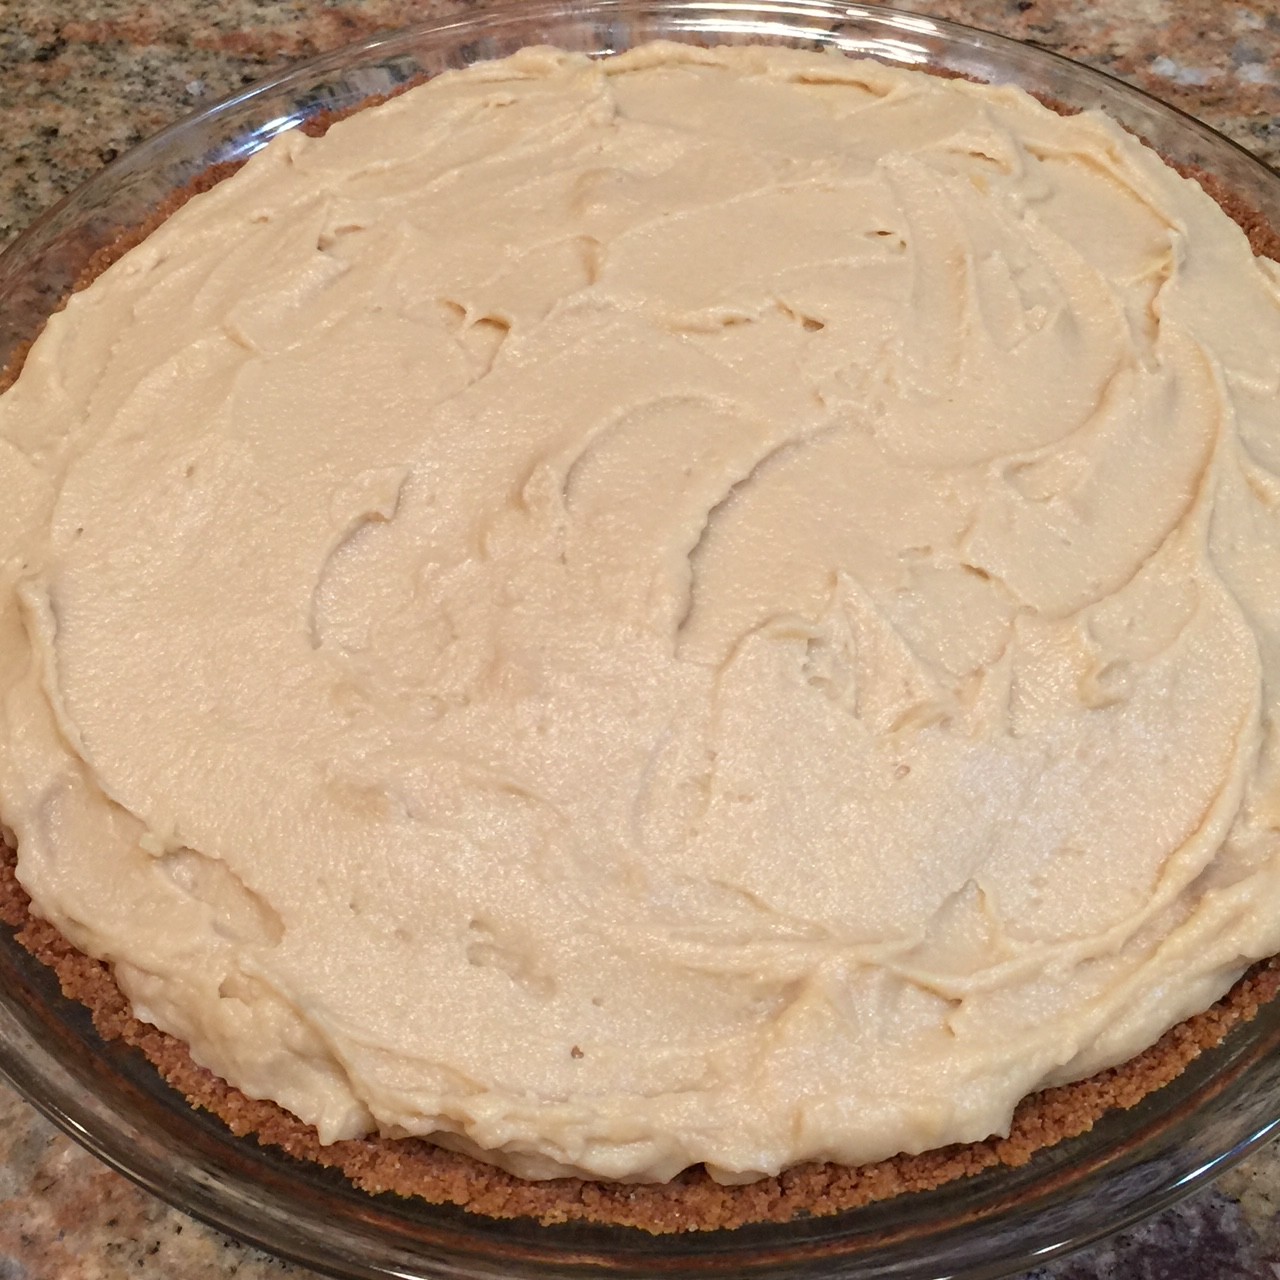
While the ganache is cooling in the fridge, remove the butterscotch pudding from the fridge and stir. It will probably be very thick. (Sometimes there are a few thin shards of hardened butter around the edge. I toss them out – they’re not very nice to eat.)
Once the ganache has cooled and the butterscotch pudding has softened a bit (about 20-30 minutes), pour the pudding on top of the ganache and spread to an even thickness – just do your best. Don’t worry about making it pretty, the whipped cream will cover it. Set pie in the fridge while you whip the cream.
Whipped Cream
205g (3/4 cup) heavy cream, cold
14g (3/8 oz) confectioners (icing) sugar
Remove the bowl and beaters from the fridge and set up mixer. Then pour the cold cream into the bowl and sift in the sugar to remove any lumps. Turn mixer on high and beat until stiff peaks form. Pour whipped cream onto the pie, spreading to cover the butterscotch pudding.
Every now and then I challenge myself to improve on a just-okay recipe. In this case, it was my grandmother’s peanut butter buns (she called them ‘josh’, which means ‘snack’ in Armenian). While they were a big hit with her five children and my husband, I felt they were a little dry.
I decided the problem was two-fold: the dry dough and the dry peanut butter filling. Creating an enriched dough seemed the obvious answer to the dough. As for the filling, I considered using a jelly. Then I spied some ripe bananas in the fruit bowl. Hmmm! (Elvis came to mind.) Recalling a contestant on the British Bake Off cooking down bananas to evaporate excess moisture, this seemed like a good idea to prevent a mushy filling while, simultaneously, adding flavor. To give a nod to the classic jelly idea, I tried crushing freeze dried strawberries. The problem was I needed to use a lot to really taste them. As they’re very expensive, I chose to go with the peanut butter and banana on its own. You can add them, if you like.
NOTE: You can substitute a different nut butter, if you prefer.
PEANUT BUTTER-BANANA BUNS – makes 6
Dough
121g (1/2 cup) milk, warmed to about 40°C (104°F)
1 tsp yeast
229g (1.75 cups) bread flour
1 tsp salt
28g (2 T) butter, room temperature
40g (1/4 cup) granulated sugar
1 egg white
Filling
3 large ripe bananas
118 (1/2 cup) peanut butter (or other nut butter)
1/4 tsp salt
Optional: 31g (1 oz) freeze dried fruit, crushed
Prepare the dough:
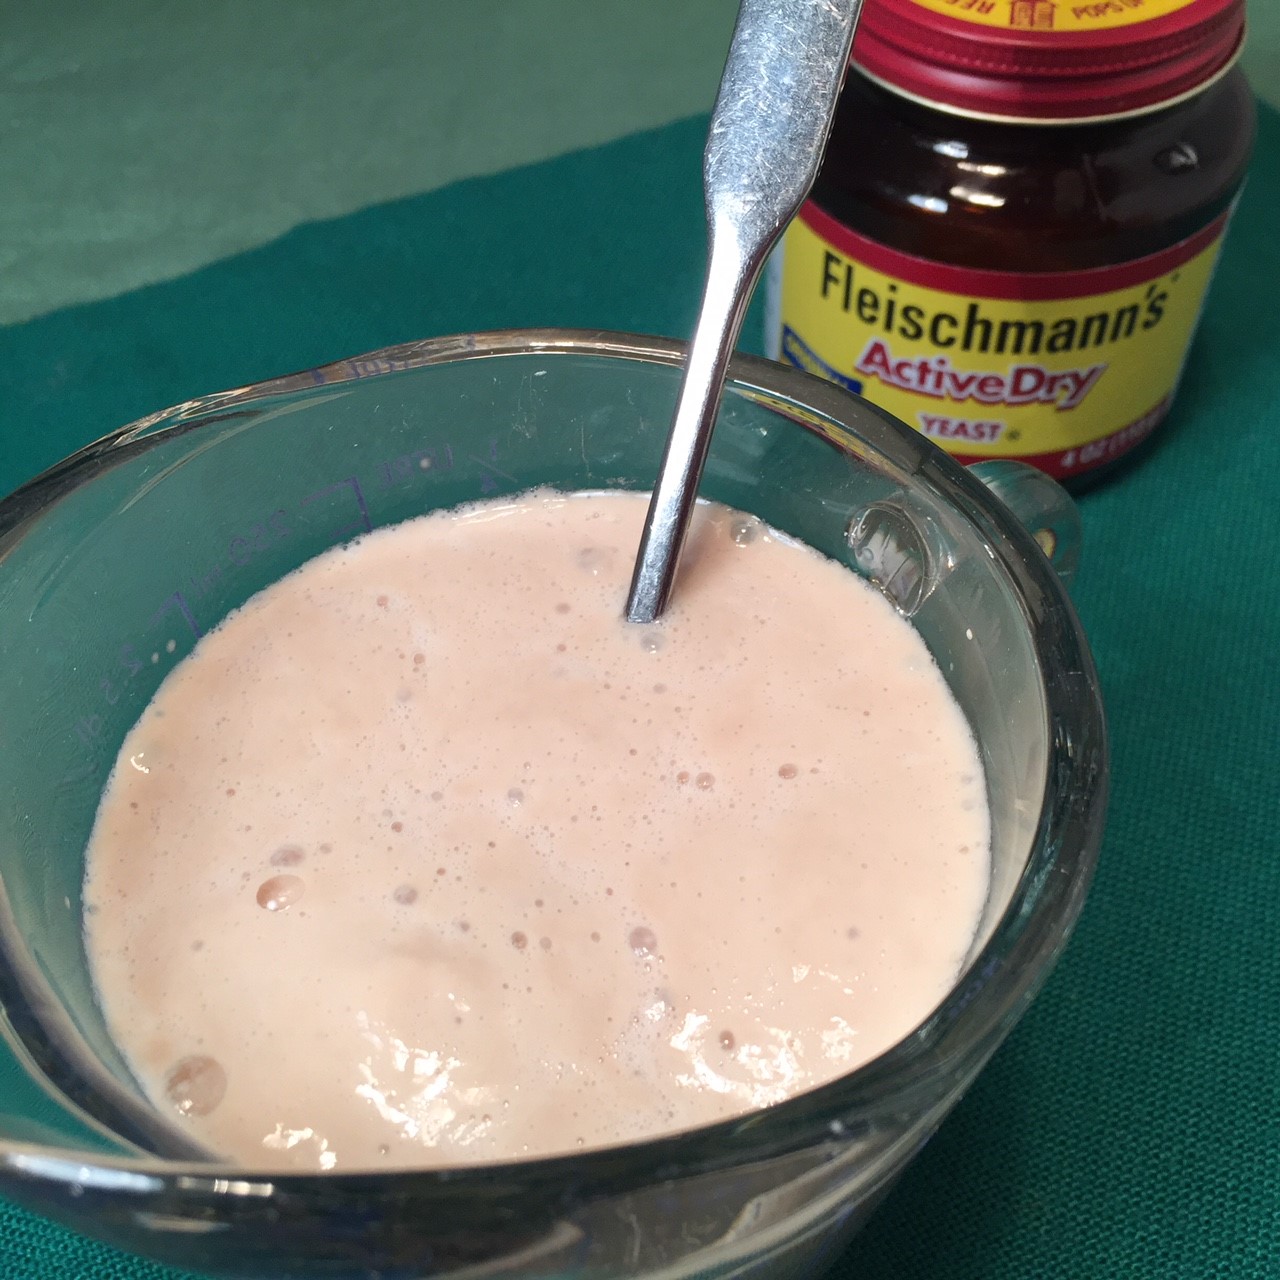
Proof the yeast by stirring the warmed milk and yeast together, letting it set about 5 minutes.
Into the workbowl of your food processor, put the flour, 1 tsp salt, sugar, softened butter, egg white, and proved yeast/milk. Process about 40 seconds, pausing to scrape down the sides as needed.
Empty dough onto lightly floured counter and knead about 6 times to bring dough into a ball. A bench scraper works well for this task.
Place dough ball in a lightly oiled bowl, then flip the ball so both sides are coated with oil. Cover and let rise 1.5 hours on counter.
While dough is rising, prepare the filling:
Into a saucepan, place the peeled bananas. Mash with a potato masher or fork.
Over medium/high heat, cook the bananas, stirring often, until most of the water has been cooked out – about 11 minutes. Remove from heat.
Stir in the peanut butter and 1/4 tsp salt. (If you’re using freeze dried fruit, stir it into the mixture) Chill until dough has finished rising.
Once the dough has risen, assemble the buns:
Empty the risen dough onto a lightly floured surface and divide it into 6 pieces. Roll each piece into a 9″x 4″ (23cm x 10cm) strip.
Divide the peanut butter-banana filling evenly between the strips. Spread the filling over the dough strip, leaving a 1/2″ (1cm) border along all 4 sides. The filling will be spread very thinly – this is good – it’s how you’ll get that lovely swirl.
Roll each strip from the short side up along the long side. Pinch the dough to seal the seam.
Roll the log towards you 90°, so the seam is facing you. (This is so the seam will be protected from bursting open during baking.)
Pinch both ends to seal them. Then, snail the log by rolling it sideways. (The seam formed along the length of the log will now be encased in the snail.) Pinch closed the end of the log to the body of the roll.
Place the rolled buns on a greased or parchment lined baking sheet. Lightly press down each bun so they’re about 1″ (2.5cm). Cover and let rise 1/2 hour. Preheat oven to 200°C (400°F) during the rise.
Once the buns have risen, place the baking sheet in the preheated oven. Decrease the temperature to 177°C (350°F) and bake about 20 minutes – until browned on top. (There is NO wash for these buns – I’ve tried egg, milk, and cornstarch/water – they cause the top to flake. They come out much better with a dry top.) Remove baked buns to a wire rack to cool.
NOTE: If you forgot to decrease the oven temperature, it’s not a problem. Just keep an eye on the brownness – you may have to decrease the bake time.
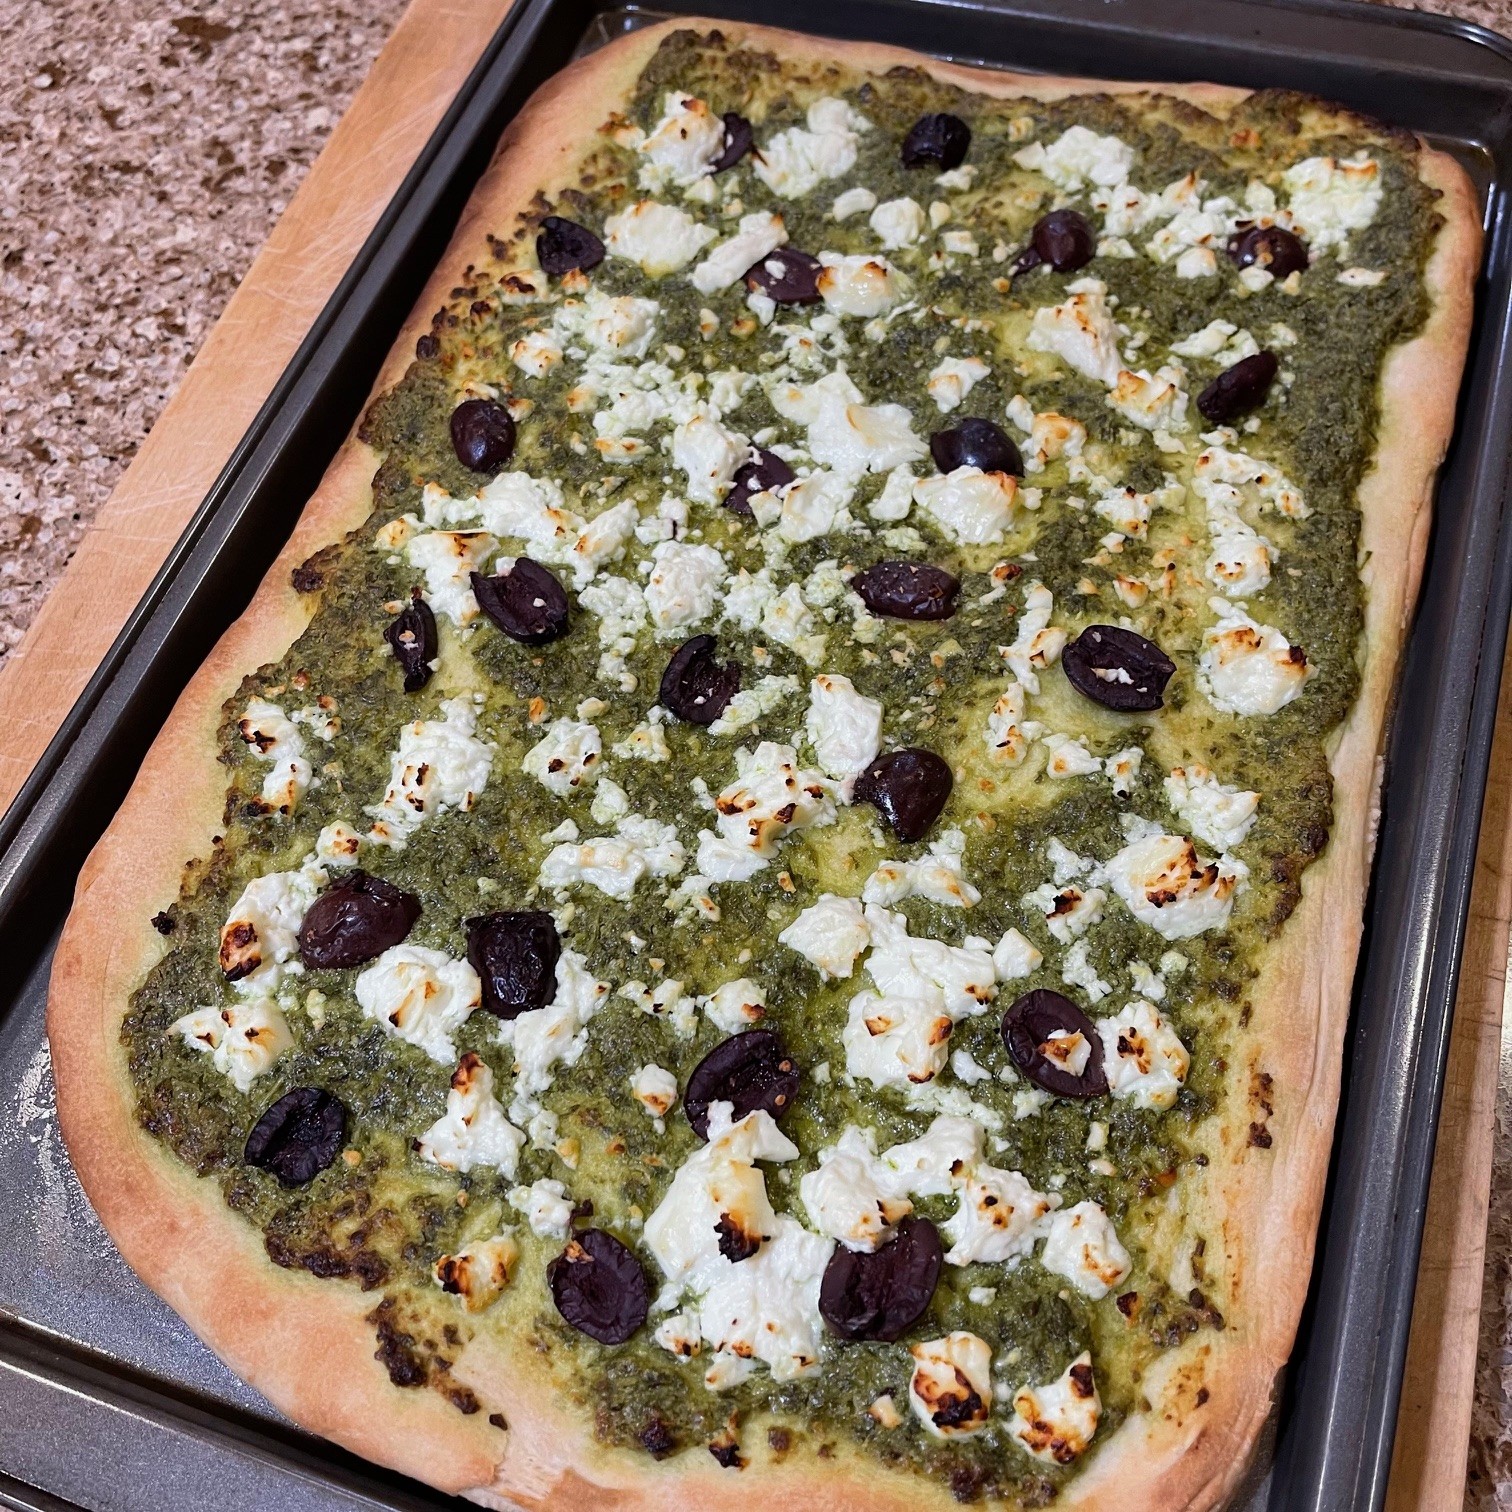
Grandma Pizza is a thin, crispy, rectangular pizza that, traditionally, is topped with Mozzarella, followed by marinara and basil.
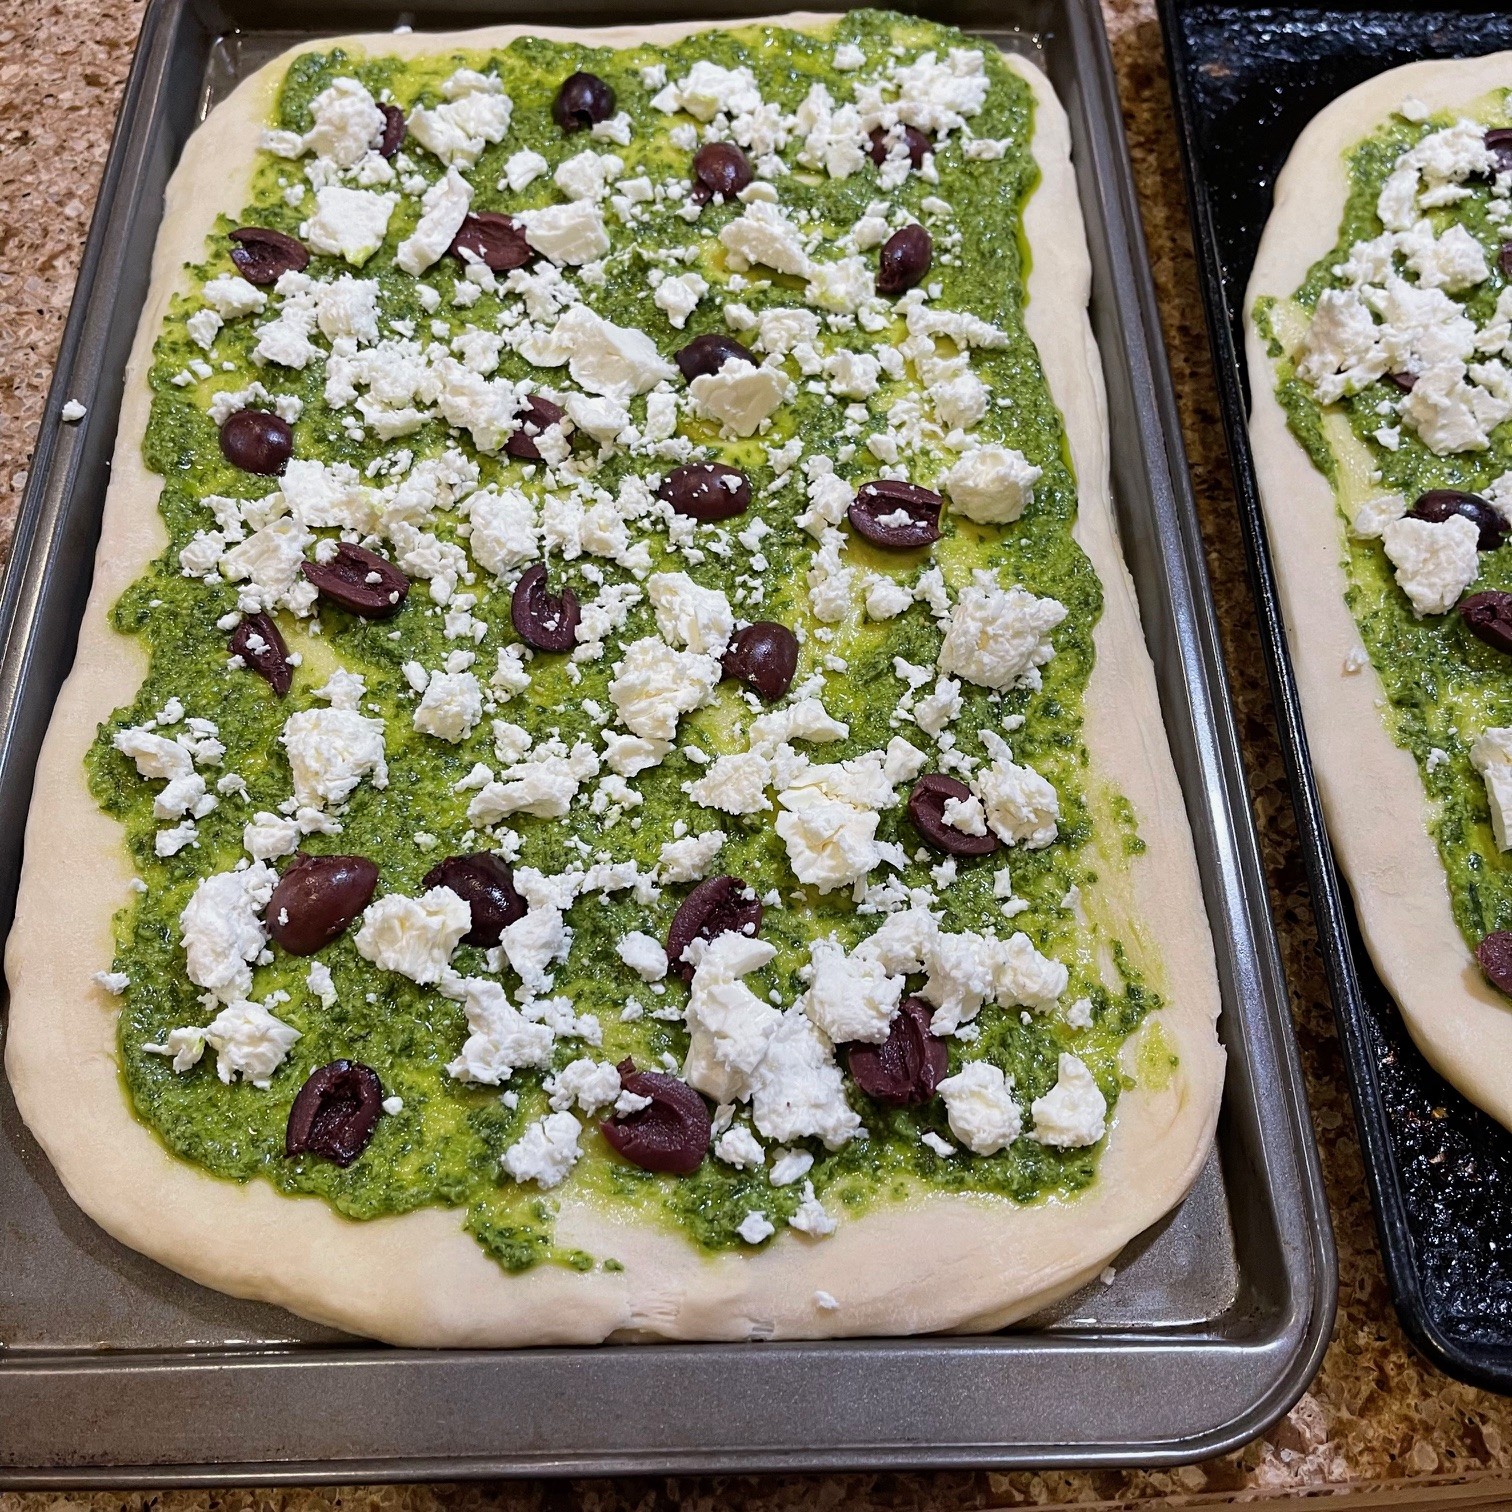
But, just to shake things up (because that’s how I roll!), I decided to change the toppings to pesto, Feta, and Kalamata olives. This has become our family’s current pizza of choice. The garlicky pesto topped with salty, creamy Feta and olives is addictive, which is why I now make 2 pizzas at a time.
NOTE 1: I highly recommend using a food processor to make the dough. Grandma Pizza is a very wet dough and clings to your palms and fingers if you knead by hand.
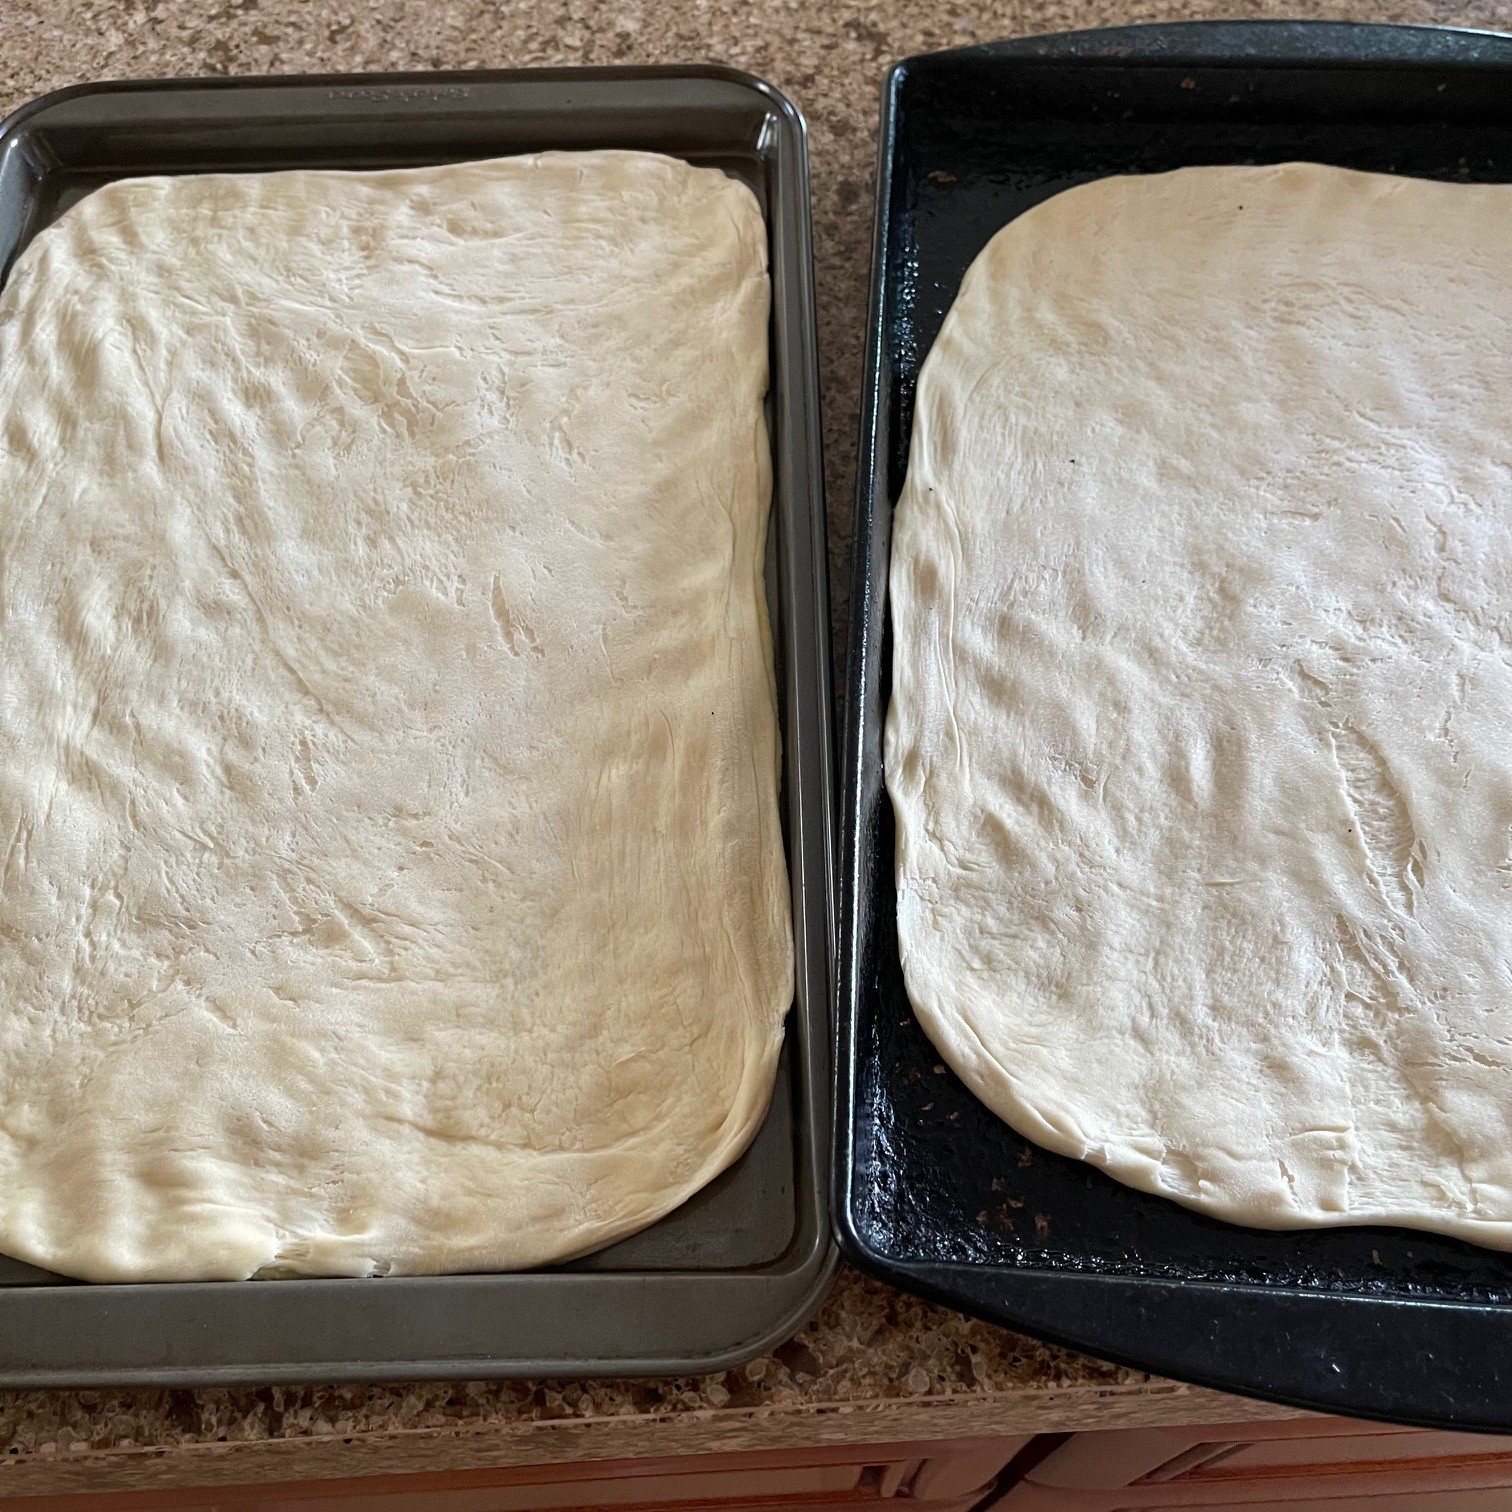
NOTE 2: A rimmed baking sheet is preferred to define the rectangular shape but, if you don’t have one, just use a large baking sheet and shape the dough as best you can. As you can see from the photo above, dough seems to have a mind of its own, and occasionally refuses to fill in the corners anyway.
GRANDMA PESTO PIZZA – makes 2 pizzas
Dough:
332g (1.5 cups) water, about 104°F (40°C)
4 tsp (12g) yeast
20g (2 T) olive oil
385g (3 cups) strong (bread) flour
8g (2 tsp) sugar
1.5 tsp salt
Topping:
130g (4 cups) (9 oz) fresh basil leaves
8 cloves garlic
22g (1 T) lemon juice
88g (1 cup) Pecorino/Romano or Parmesan Cheese, grated
44g (1/2 cup) pine nuts, lightly toasted
1 tsp salt
114g (2/3 cup) olive oil
Feta cheese
Kalamata olives
About 3 hours before serving time, make the dough:
Combine the warm water and yeast in a cup. Let prove for 5 minutes.
Into the work bowl of the food processor, add olive oil, flour, sugar, and salt. Pulse a couple of times to blend. When yeast has proved for 5 minutes, run the processor and slowly pour in the yeast water. Run the machine about 40 seconds total, stopping to scrape down the sides once.
Now comes the icky part. Remove the blade and scrape off the dough. You’ll notice how stretchy and sticky the dough is.
Empty the dough onto a well floured surface. Using a bench scraper underneath the dough, begin kneading 6 or 7 times to bring the dough together, sprinkling with flour as needed. Cut the dough in half.
Put 2 tablespoons olive oil in each of the two pans. (Don’t be tempted to use more olive oil – it will be difficult to stretch the dough on a slippery surface.) With your fingertips, spread the oil around the pan. Plop one dough half in each pan, flipping them over to cover both sides with a bit of oil. With your slightly oiled fingertips, work the dough to stretch it out to about 20cm x 13cm (8″ x 5″). Don’t worry about it being exact. Cover pans and let rise about 1.5 hours.
While dough is rising (or, ahead of time), prepare the pesto:
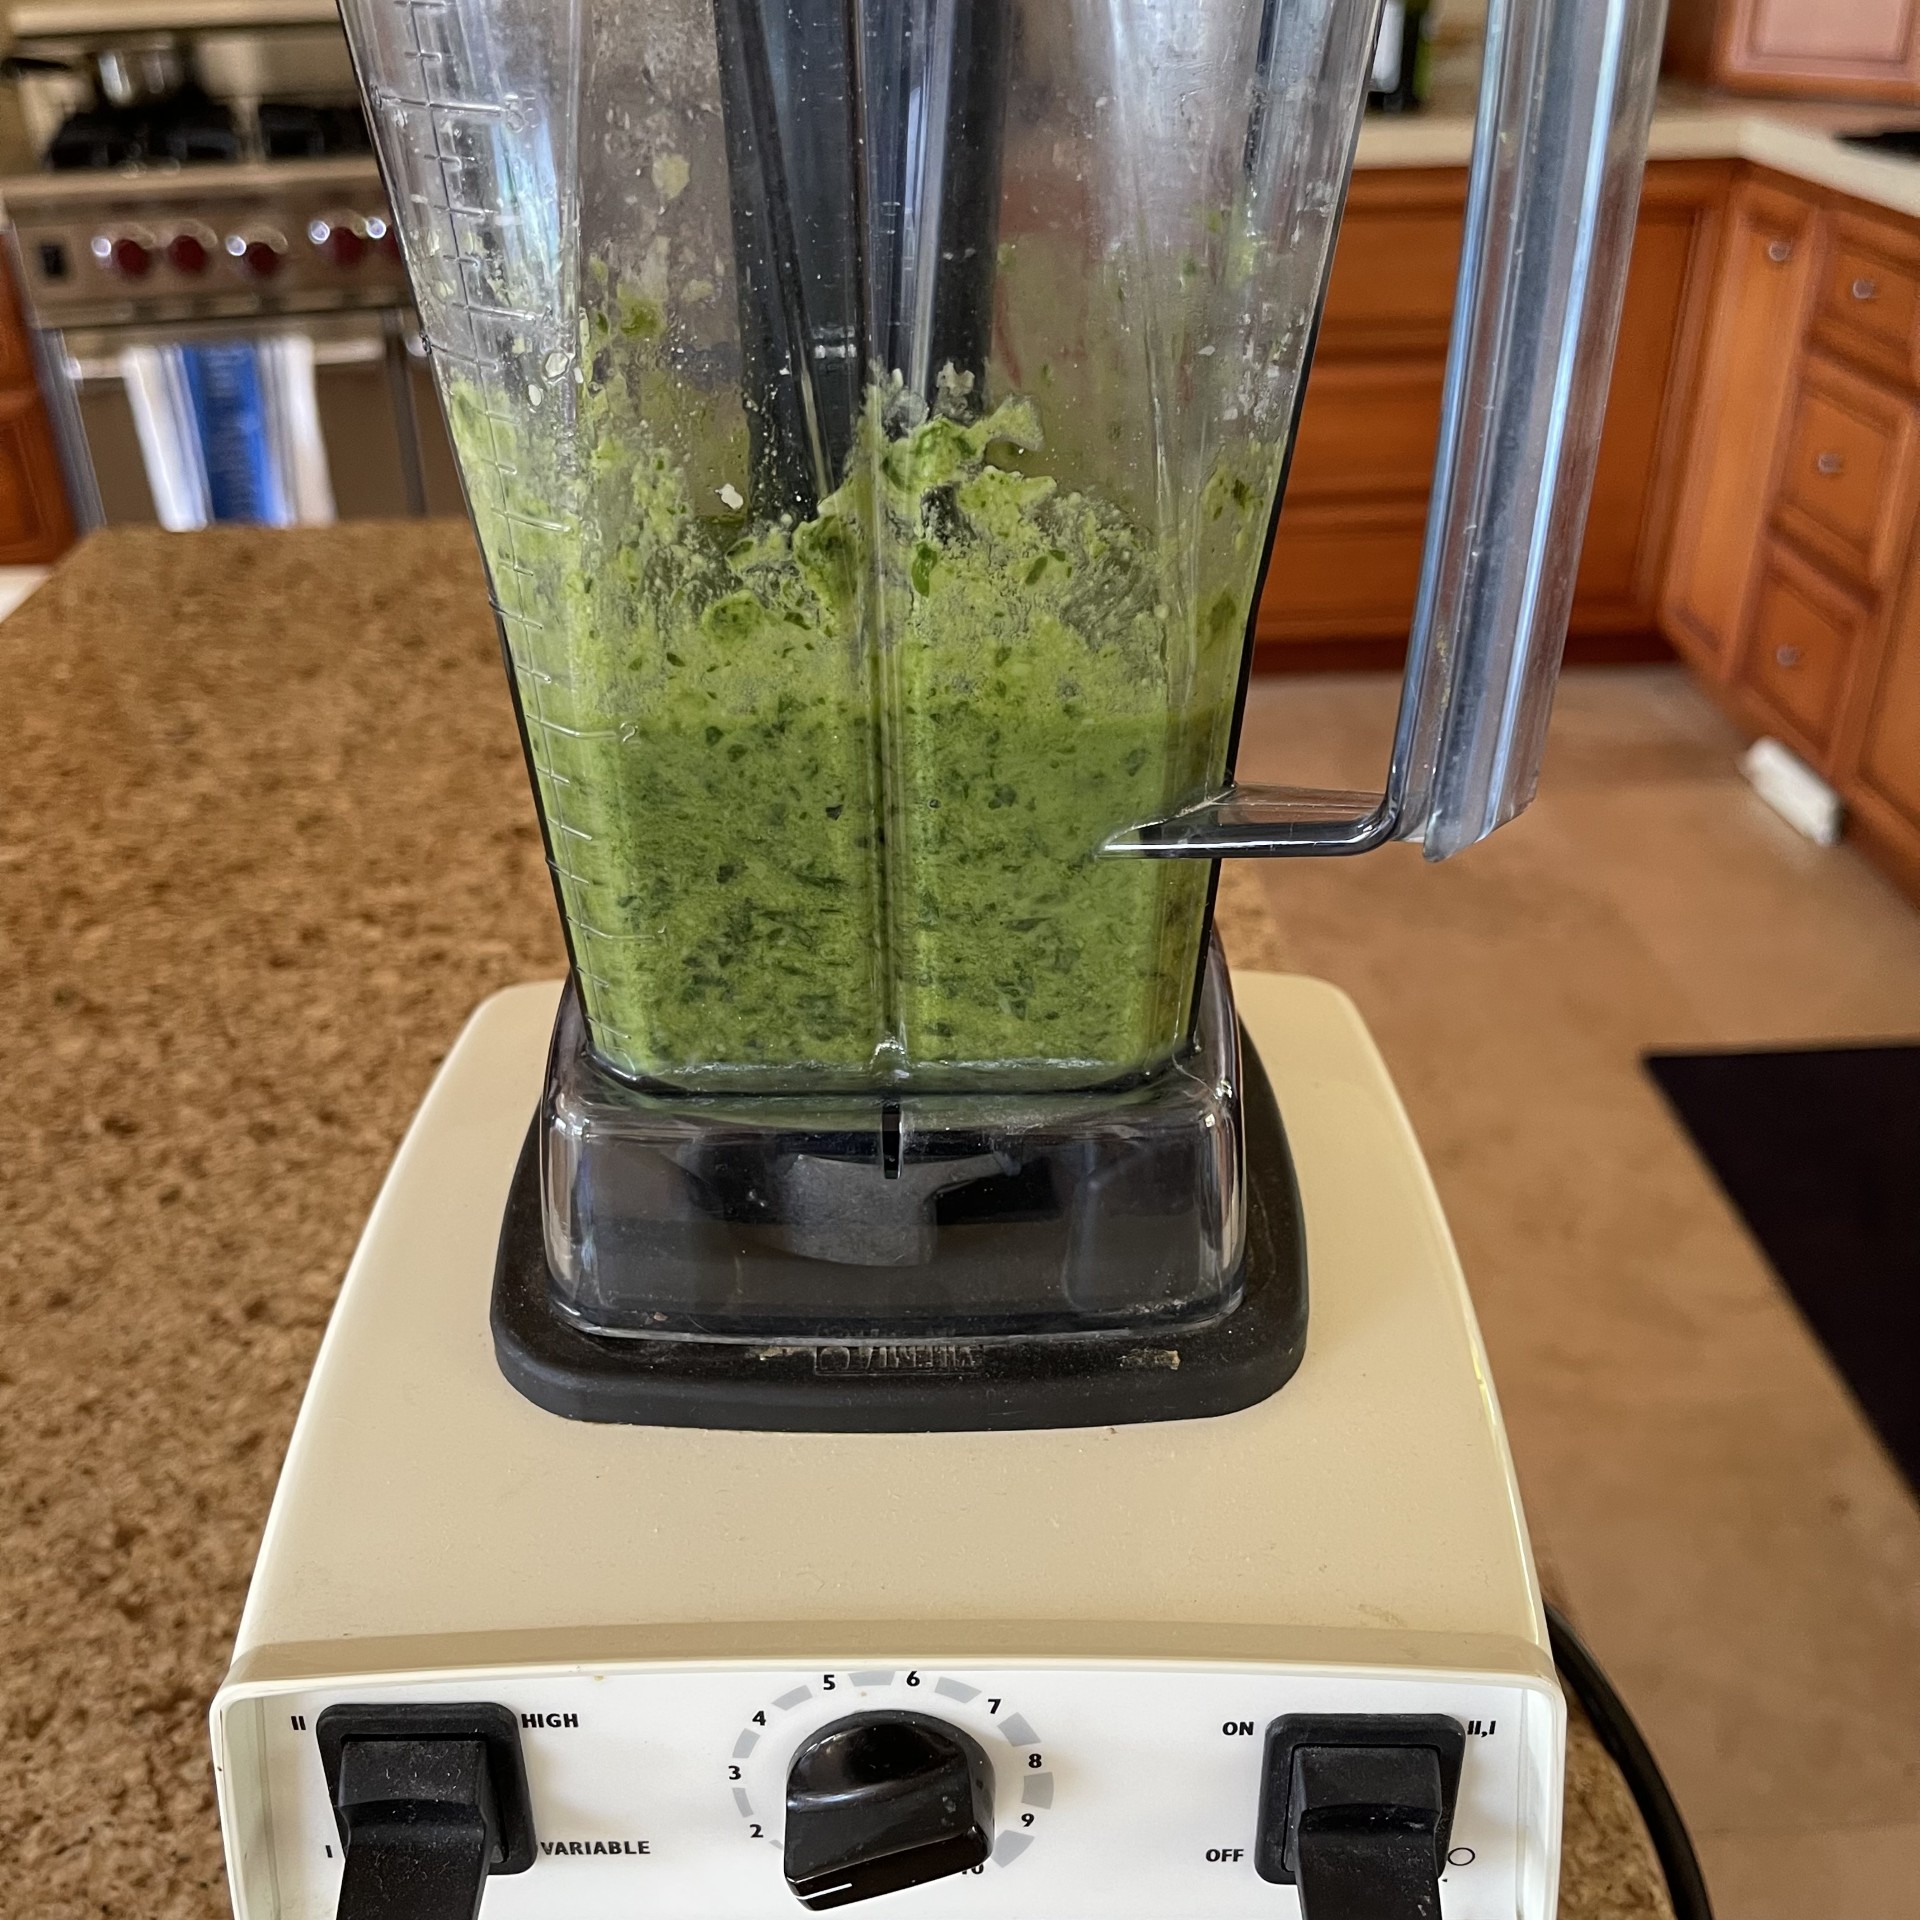
Into a blender put all the ingredients (basil, garlic, lemon juice, Pecorino/Romano, pine nuts, salt, and olive oil).
Due to the basil leaves, you’re going to have to blend in spurts, scraping down sides in between. DO NOT PRESS DOWN INGREDIENTS WHILE BLENDER IS RUNNING UNLESS YOU HAVE A BLENDER (SUCH AS A VITAMIX) THAT HAS A TAMPER SPECIFIC FOR YOUR BLENDER! I speak from experience – more than once I’ve thought I could control a wooden spoon to press the basil down without hitting the blades. I was wrong and had to thrown the whole batch out.
After dough has risen, use your fingertips to stretch the dough to cover the pan. You can pull gently on the corners to help it along. Cover and let rise 45 minutes. PREHEAT OVEN TO 260°C (500°F).
Top risen pizzas with your preferred amount of pesto, crumbled Feta, and Kalamata olives.
Bake in bottom third of preheated 260°C (500°F) oven until crust is browned – about 13-15 minutes.
While looking through my manilla file folder of recipes (yes, I still have one from days of yore), I came across a magazine clipping for lemon quick bread. Through the years I’d been tempted to try it but, as a fierce chocoholic, I’d always set it aside in favor of….well, chocolate.
Now that we live in a house with a lemon tree, I decided the time had come and made the Lemon Quick Bread. Like most quick breads, it’s fast and easy to prepare. But, more than that, it was absolutely delicious. So tender, yet firm!
NOTE: The recipe called for brushing a syrup made with a lemon juice and sugar onto the baked bread. But, for those who prefer a more powerful lemony punch, I’m adding an alternate choice of a pucker-inducing lemon icing that can be either piped or smoothed on top of the syrup.
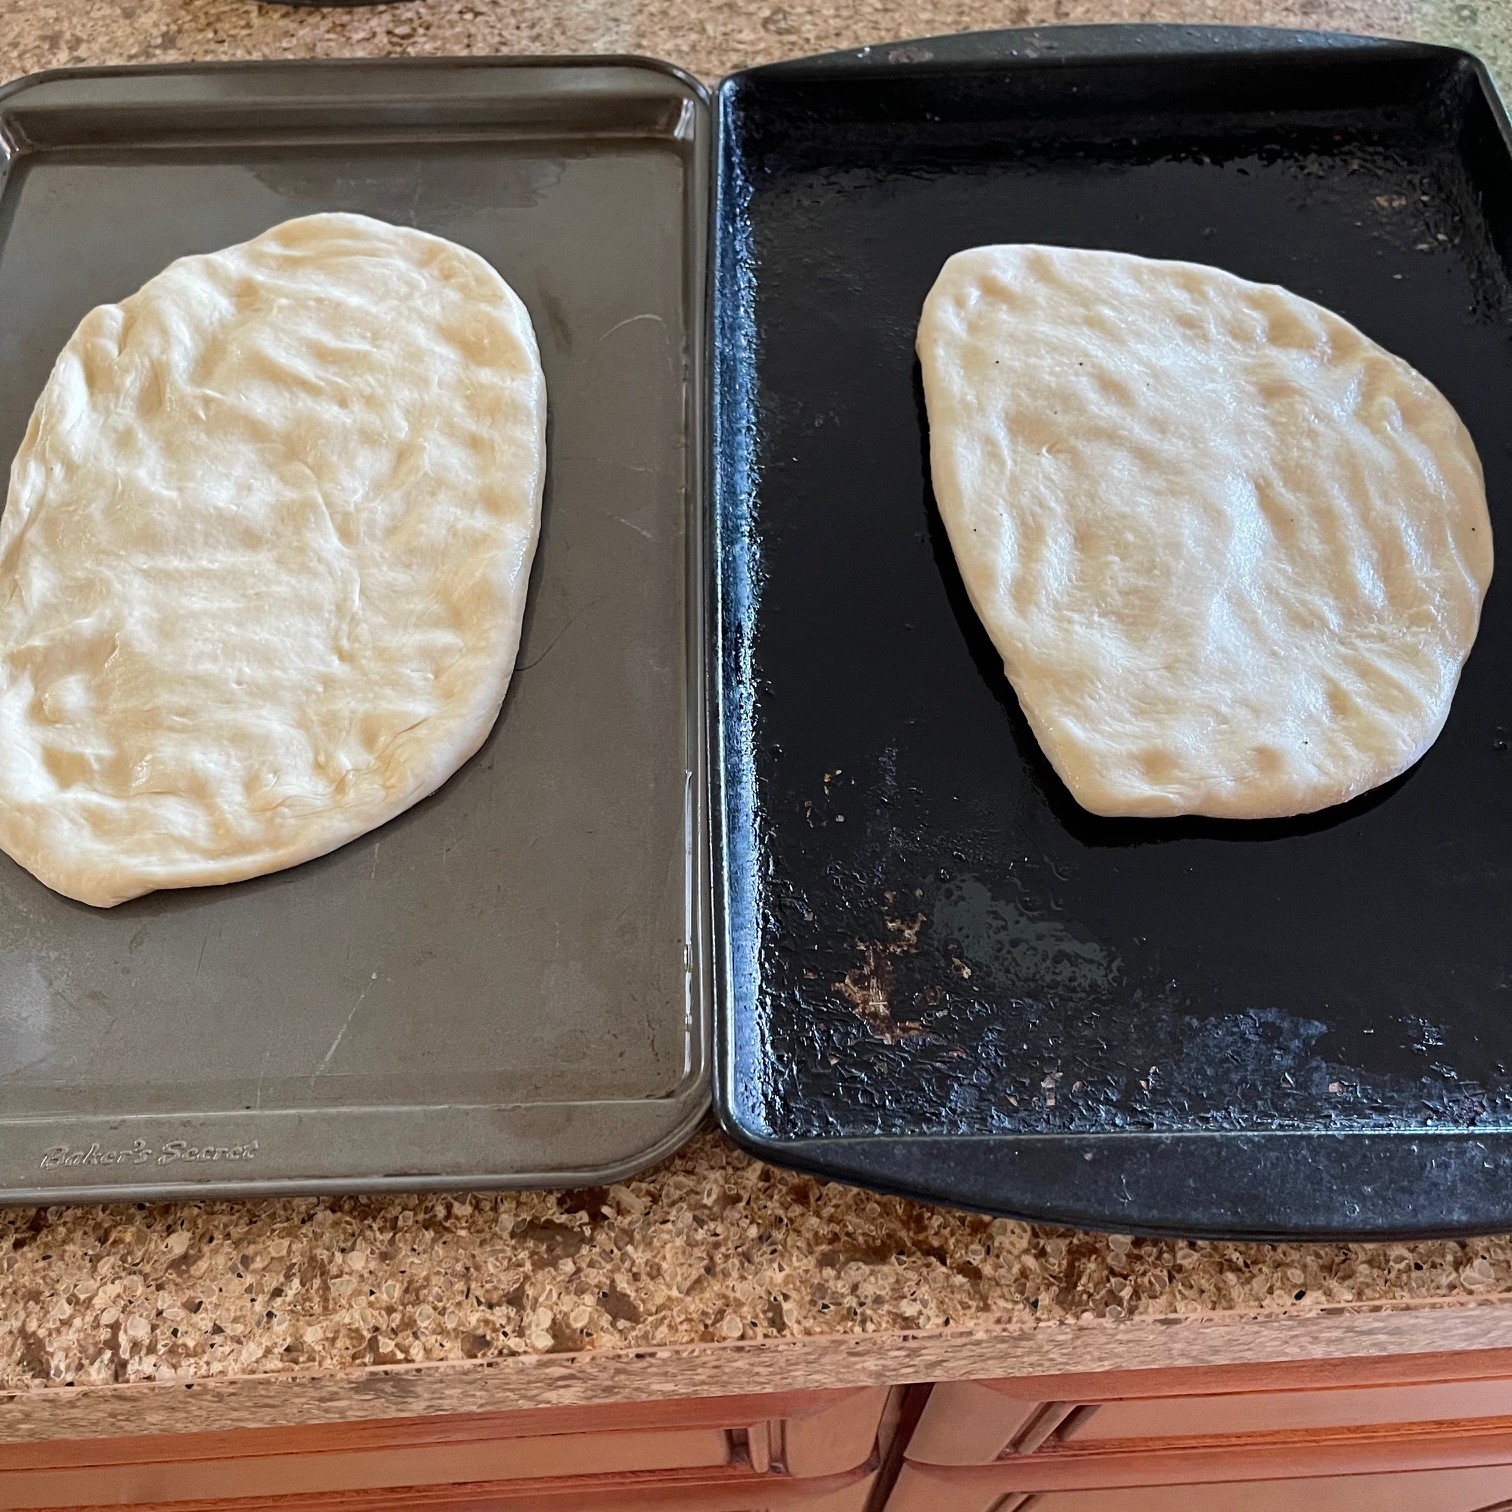
ADDITIONAL NOTE: You can use either a glass or metal loaf pan. I’ve found the metal pan cooks the loaf faster and produces less of a crack on top.
LEMON QUICK BREAD – makes 1 standard loaf
195g (1.5 cups) plain or all-purpose flour
1 tsp baking powder
3/4 tsp salt
99g (1/2 cup) vegetable oil
212g (1 cup) granulated sugar
2 eggs
3g (1 tbsp, packed) lemon zest
125g (1/2 cup) milk (any kind – I use 2%)
45g (1/2 cup) walnuts, chopped and lightly toasted
36g (3 tbsp) lemon juice
25g (2 tbsp) granulated sugar
Optional lemon icing:
125g (1 cup) icing or powdered super – no need to sift
22g (1.5 tbsp) lemon juice
Preheat oven to 180°C / 350°F
Grease sides and bottom of a standard loaf pan. Line the bottom with baking paper – this will make removal of the loaf easier. If you don’t have baking paper, make sure to grease the bottom well.
In a small bowl, mix together the flour, baking powder, and salt. Set aside.
In the bowl of an electric mixer, beat the vegetable oil and 212g (1 cup) sugar on high for 2 minutes.
Add in the eggs and lemon zest. Beat on medium speed to blend well – about a minutes or so.
Add in the flour mix and beat on low until flour is almost all incorporated. Then add in milk on low speed until milk is just incorporated – you don’t want to overmix, Finally, stir in nuts.
Pour into prepared loaf pan.
Bake at 180°C / 350°F for about 50-60 minutes. The crack along the top, which always forms on my loaves, should NOT be liquidy – bake until it firms up (54 minutes in my oven).
Prepare the syrup while loaf is baking: in a small pot, add the 36g (3 tbsp) lemon juice and 25g (2 tbsp) sugar. Over medium heat, bring to boil to melt the sugar. Remove from heat and set aside.
When loaf is done, remove from oven. Remember to touch the crack – if it’s still wet, cook a bit longer.
While still in the tin, poke the top all over with a skewer, going down about halfway. Brush on (or drizzle) the lemon syrup – use it all. Let set 10 minutes.
Run a rounded tipped (so as not to scratch your tin) knife around the edges, then flip to remove from tin. Remove the baking paper.
Set right-side up on a wire rack to cool completely.
OPTIONAL LEMON ICING
When ready to ice loaf, prepare the icing.
Into a small bowl combine the 125g (1 cup) icing (powdered) sugar and 22g (1.5 tbsp) lemon juice. Smash all the lumps from the sugar.
You can either ice the top entirely or pipe. If too thick to pipe easily, add a tiny more lemon juice, if too thin, add more sugar.
They’re coming – home gardeners who planted more zucchini than they need, arms laden with these beauties who just yesterday were 7″, today the size of props in a sci-fi film. Never one to turn down free food, I thank them and start planning. Of course, there’s zucchini bread, zucchini stir-fry, and spiralizing zucchini.
Then it hit me:
ZUCCHINI SOUP!
It can be a meal in itself or as a starter. Bonus: it freezes well!!!
ZUCCHINI SOUP
Note: Don’t worry about the chopped veggie sizes – everything will be blended
82g / 1/2 cup uncooked couscous (not the Israeli pearl couscous)
OPTIONAL: greens, such as Swiss chard or spinach pieces
OPTIONAL: small pieces of bread, such as pita
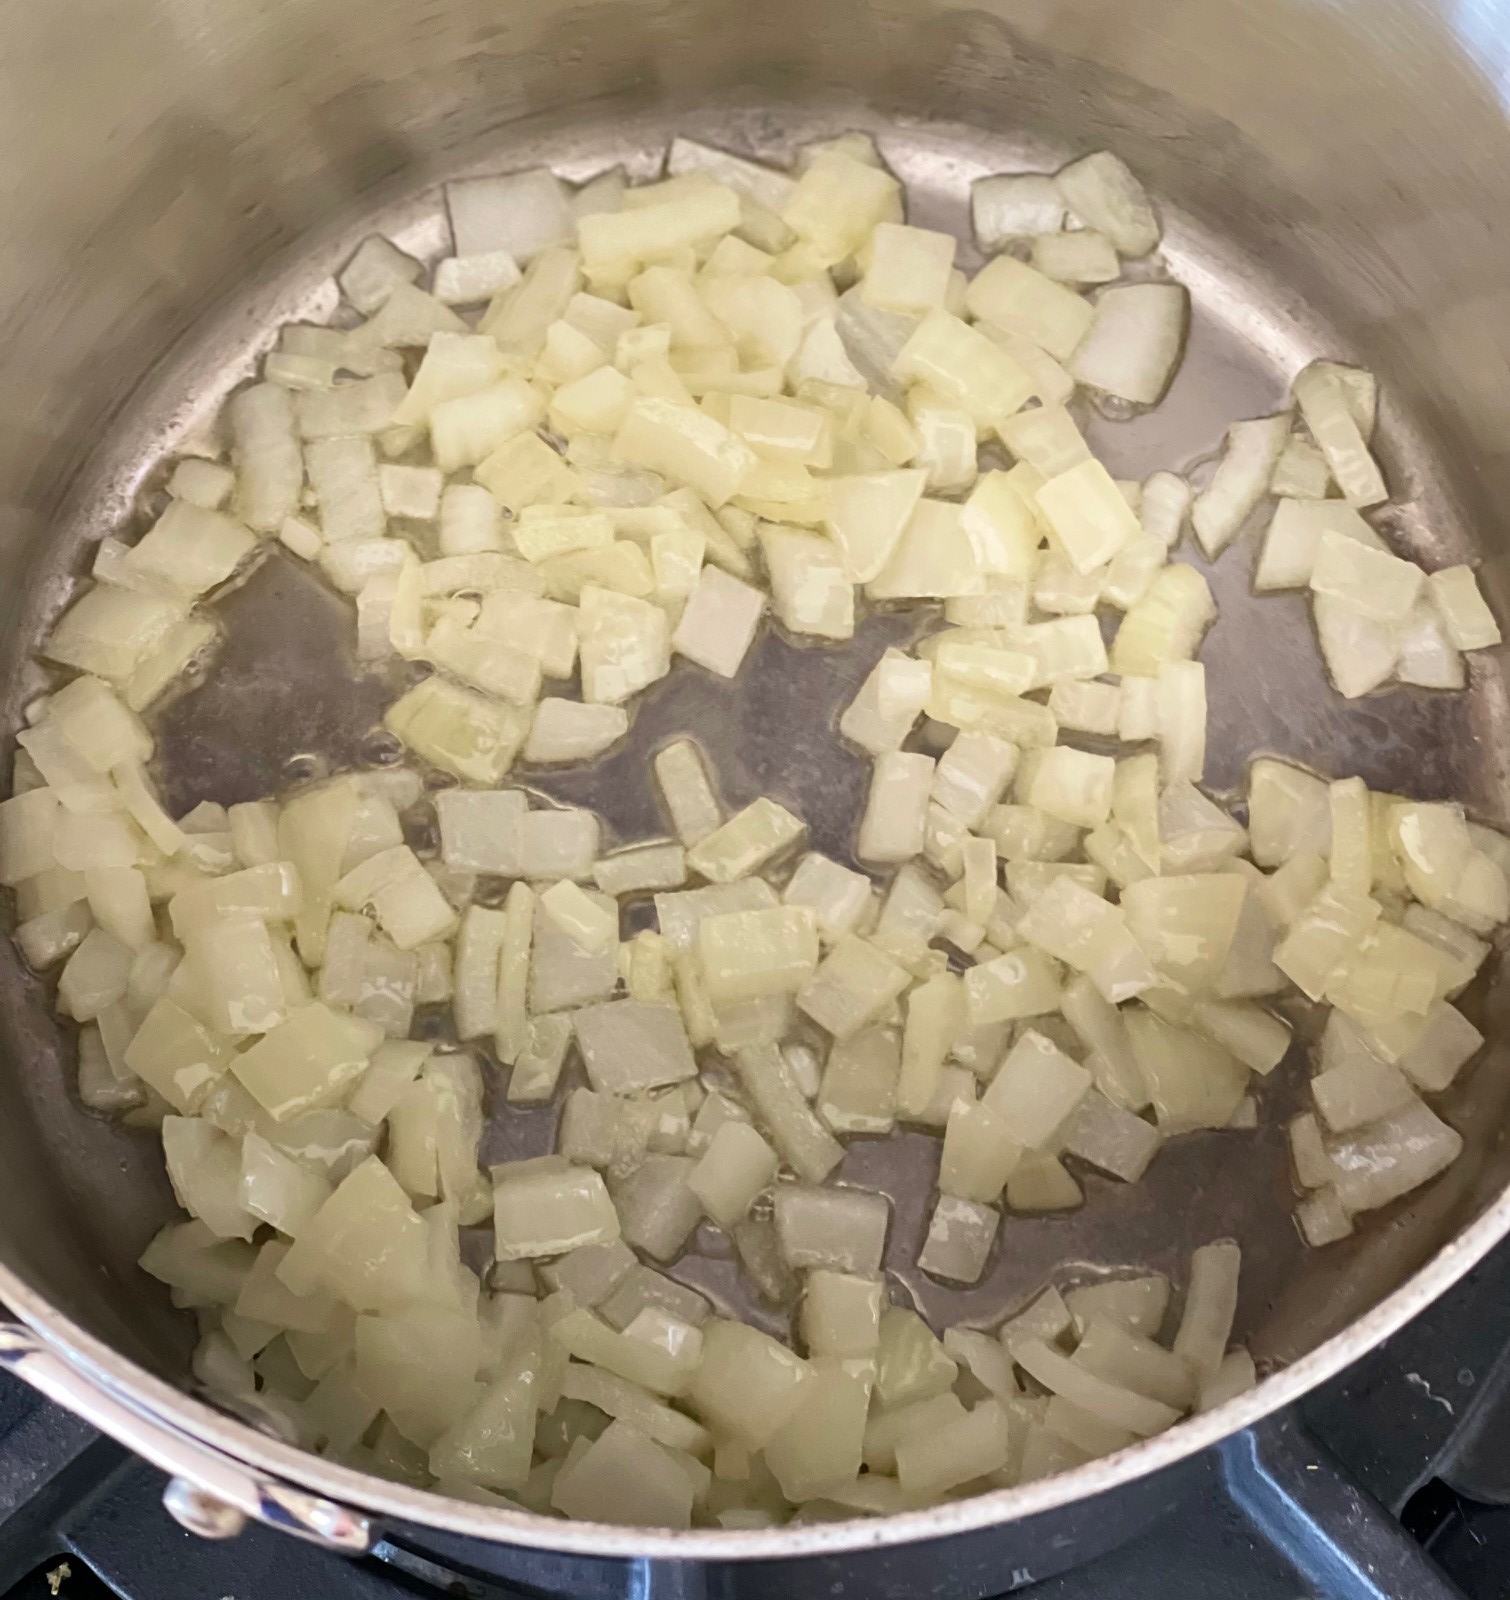
In a large saucepan (2 litres / 8 cups), melt the butter. Add onions and, over medium-high heat, saute for 5 minutes. Stir often.
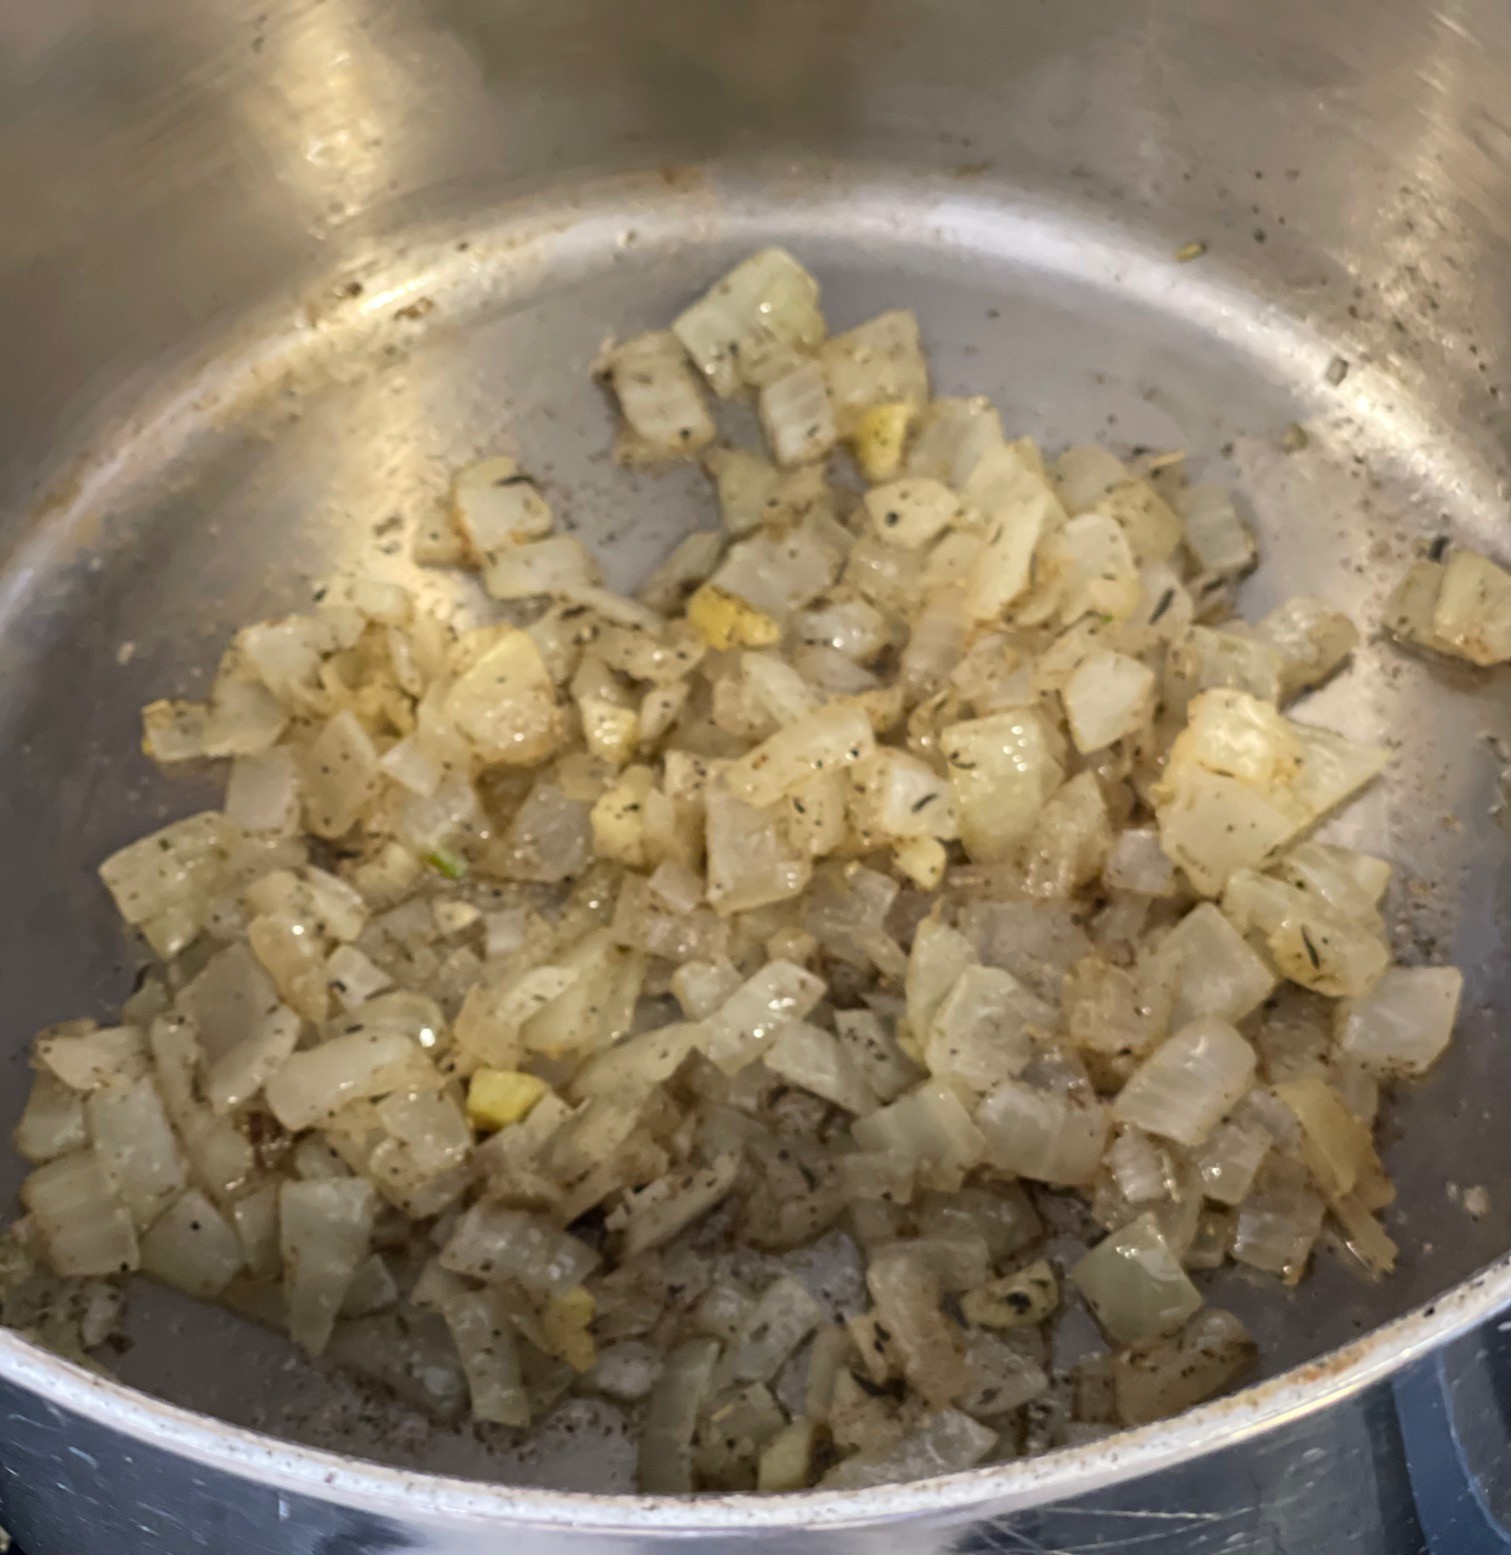
Add in garlic, rosemary, thyme, celery salt, Kosher salt, and black pepper. Over medium heat, saute about 1 minute to bloom the herbs, stirring constantly.
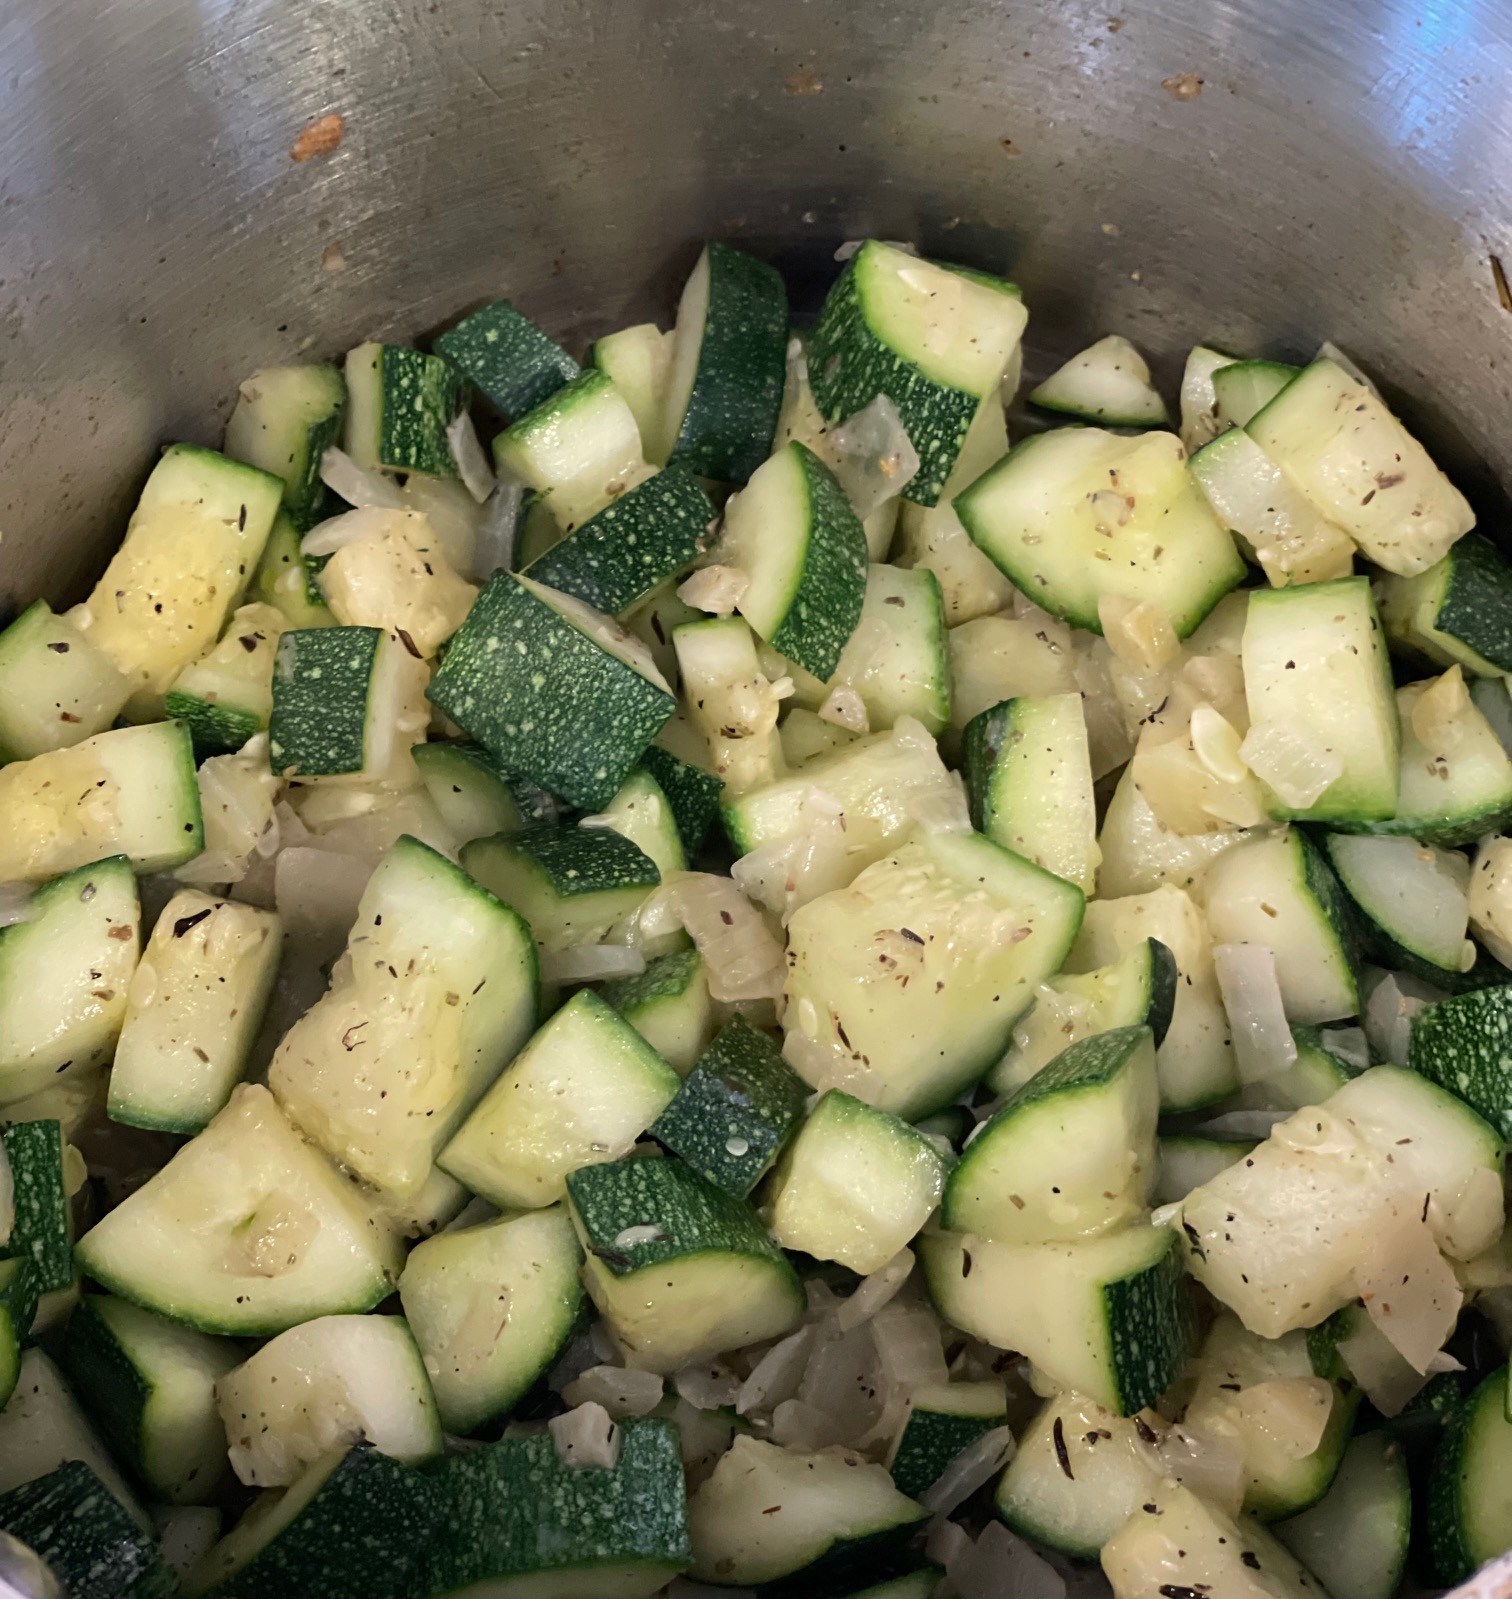
Add in zucchini and, over medium-high heat, saute 5 minutes, stirring often.
Add the potatoes, vegetable broth, soy sauce, and couscous to the pot. Bring to a boil, then decrease flame to maintain a simmer.
Cover the pot, leaving the lid slightly askew to prevent the liquid boiling over. Simmer for about 20 minutes, testing the potatoes are easily pierceable with a knife.
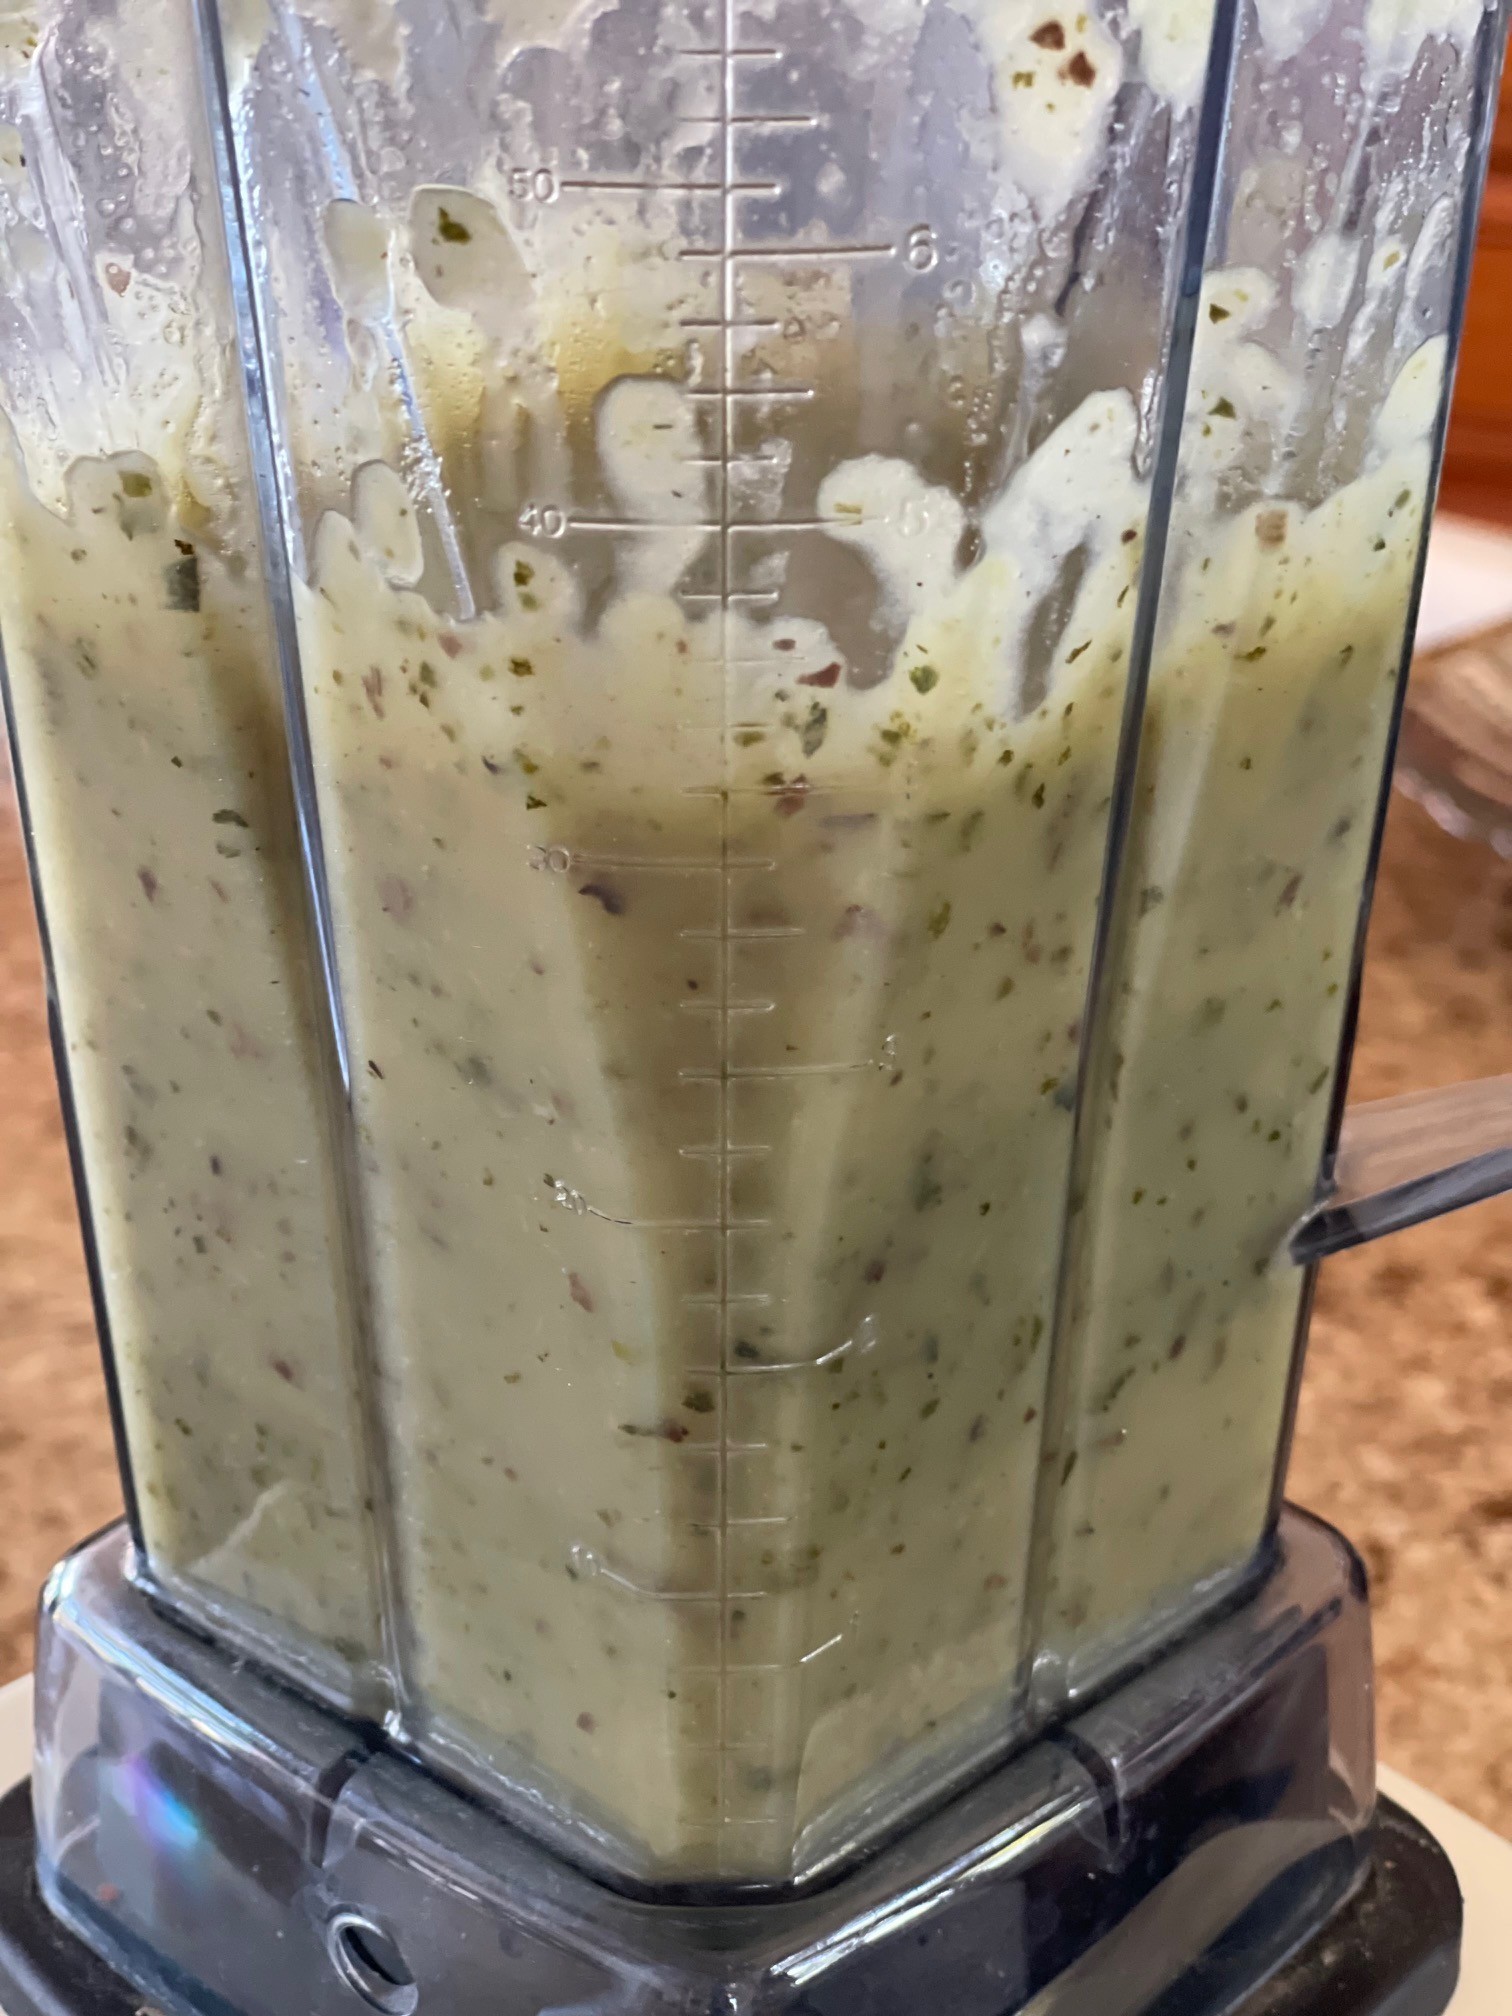
Remove lid and let soup cool about 20 minutes before blending. Then, pour cooled liquid into a blender (you may need to do this in batches) and blend until smooth.
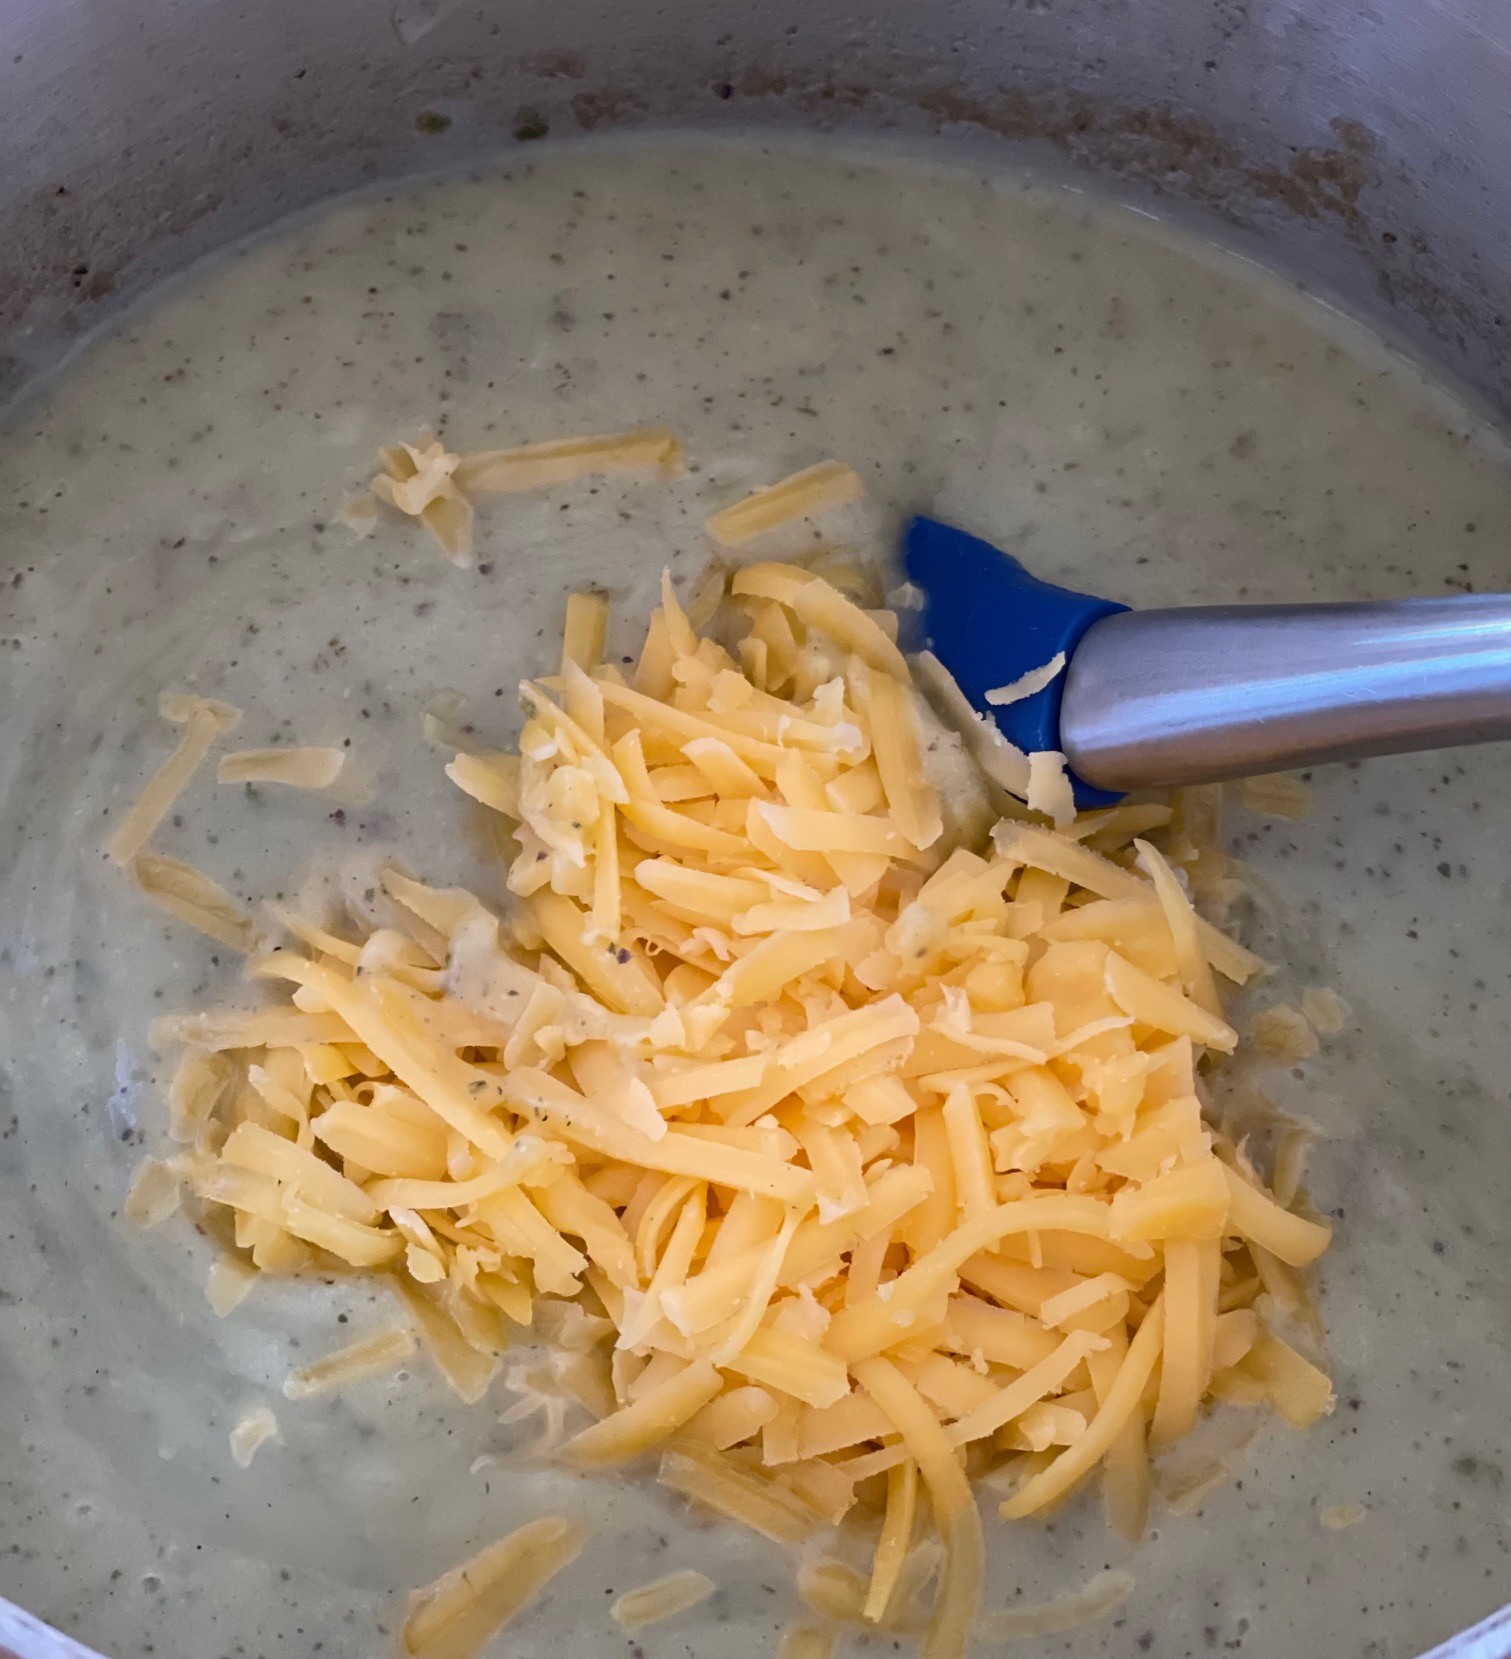
Return soup to saucepot and stir in cheese, optional greens, and optional bread pieces. Heat to melt cheese. Taste for seasoning, correcting if needed.
This recipe is not only delicious, but cooks in 5 minutes! You just toss all ingredients in a pot and boil for 5 minutes. Done! (Don’t be daunted by the number of ingredients – half of them are spices.)
Before making a larger batch of this barbecue sauce, I recommend trying it first to be sure you like it. Then, if it pleases you, you can increase the amount. Since I don’t use barbecue sauce all that often, I quadruple the recipe and freeze it in portions.
BARBECUE SAUCE – makes about 250mls / 1 cup
188g (1/2 cup + 2T) ketchup
89g (1/2 cup, packed) dark brown sugar
30g (2T) molasses – I use Grandma’s, unsulphured
25g (2T) pineapple juice
25g (2T) water
8g (1/2T) vegetarian Worchestershire sauce
1.25 tsp ground mustard
1 tsp smoked paprika
1/4 tsp garlic powder
1/8 tsp cayenne powder
3/4 tsp Kosher salt (or, 1/4 tsp table salt)
1/4 tsp white pepper
Into a saucepan, put all the above ingredients.
Bring to a boil. Maintain a low boil, stirring often, for 5 minutes. That’s it!
I’d never heard of Orzo Watermelon Salad until it was mentioned often in a novel I was reading recently. It sounded interesting, so I Googled it. Lo and behold, it was a real thing! I got the gist of what goes in it, then honed the recipe to my liking – the tangy dressing with a slight kick of red pepper flakes was the key.
This salad is very fast and easy to make but, as with most salads, they’re best mixed close to serving time. That being said, it’s still tasty the next day.
ORZO WATERMELON SALAD – makes about 5-6 cups
18g / 2 T Balsamic vinegar
10g / 1 T granulated sugar
68g / about 2 shallots, sliced thinly
18g / 2 T extra virgin olive oil
27g / 3 T lime juice
4g / 3/4 tsp Dijon mustard
1/4 tsp red pepper flakes
1/4 tsp salt
120g / 3/4 cup / 4 oz uncooked orzo
about 250g / 8 oz seedless watermelon, cubed bite-sized
114g / 4 oz Feta cheese, crumbled into bite-sized pieces
50g / 1/2 cup cooked green peas (I use frozen)
about 65g / 1/2 cup Pistachio nuts
Slice the shallots thinly.
Into a small saucepan combine the Balsamic vinegar, sugar, and shallots. Bring to a boil, turn off burner, then cover pan. Let set, at least, 30 minutes. This can be done ahead of time.
Into a small bowl, combine the olive oil, lime juice, Dijon, red pepper flakes, and salt. Set aside until serving time. This can be done ahead of time.
In a saucepan, bring about 3 cups of water to a full boil. Add in the orzo and a tsp of salt. Stir often and cook for 8 minutes. SET THE TIMER! Drain using a sieve, then pour into a mixing bowl to cool.
As orzo is cooling, chop watermelon into bite-sized cubes. Make sure to remove any seeds – they’re not very tasty.
Into the bowl with the cooked orzo, put the cubed watermelon, Feta, and peas. Gently mix and set aside until serving time.
At serving time, stir the dressing well and pour that into the orzo. Add the shallots WITH the liquid into the bowl along with the pistachios. Mix gently. Serve.