 Cranberry Tart is a beautiful dessert that can be served year-round. But I thought it particularly appropriate for Valentine’s Day…even though the only chocolate in it is the white chocolate I sprinkled on top (which doesn’t really count).
Making this tart was my excuse to finally purchase a tart pan. It’s not absolutely necessary, but it does make a pretty presentation with the fluted edges. However, a 9″ regular pie dish (like Pyrex) will work fine. By the way, I didn’t grease the pan and the tart still released perfectly.
CRANBERRY TART
Crust:
- 79g (2/3 cup) slivered almonds
- 33g (3 T) granulated sugar
- 1/8 tsp salt
- 152g (1¼ cup or 5¼ oz) all-purpose flour (it’s always better to weigh, if you can)
- 140g (10 T) butter, soft
- 1/2 tsp almond extract
Preheat oven to 375º Fahrenheit.
Toast almonds either in the oven or a dry skillet until lightly browned. Let cool.
Place almonds, sugar, flour, and salt in the food processor with the steel blade. (You can use the blender, but you’ll have to mix the rest by hand or with an electric mixer.) Pulse until the almonds are a fine crumb – about 8 pulses.  Add in softened butter and almond extract. Pulse until mixture clumps together.
  Place a 9″ tart pan on a cookie sheet – this is important since tart pans have a removable bottom and you don’t want to accidentally push it up when you lift the filled tart. (You don’t need the cookie sheet if you’re using a regular pie plate.) Scatter pieces of the dough around the tart pan (or regular 9″ pie pan), putting more near the edges.
  With fingers, press down the dough starting with the sides so it evenly covers the sides all the way up the top, and the bottom of the pan. Pay special attention to the corners – push them in so you have a nice sharp inside edge with more room for the filling.
 Place a piece of waxed paper over crust and fill with pie weights, uncooked beans, or rice. Bake in preheated 375º F for 12 minutes. Remove waxed paper and weights by bringing corners together and carefully rocking it out – you don’t want the crust to stick to the paper. (If some of it does stick to the waxed paper, scrape it off and replace it in crust.)
Continue to bake the now-uncovered crust for another 5 minutes or so until lightly browned. Carry the cookie sheet with the tart pan on top to a rack and completely cool.
Filling:
NOTE: As Queen of Freeze, I encourage you to freeze the unused egg whites from the required egg yolks in the filling for future use. Waste not, want not!!!
SECOND NOTE: I wanted a deeper red color but don’t like to use commercial food colorings. So I made my own red coloring using a red beet. It’s quick to do and doesn’t affect the flavor of the curd. But, you don’t need to color the filling – it’s a pretty pink on its own – or you can use purchased coloring, if you want.
- optional for deeper red color: 1 red beet
- 12 oz cranberries (either fresh or frozen), rinsed
- 1 cup granulated sugar
- 1/8 tsp salt
- 1/4 cup pomegranate juice (I use Pom)
- 2 T lemon zest
- optional: 2 tsp beet juice extracted from the beet
- 8 T butter, cold and cut into pieces
- 2 eggs, whole
- 2 yolks
Preheat oven to 350º Fahrenheit.
If you want to make a deeper red colored tart: wash, peel, and roughly chop beet. Place in a small saucepan with about 1/2 cup of water. Bring to boil and cook, uncovered, until water (which is now red) boils down to about 2 teaspoons. Let cool. In another saucepan, combine the cranberries, sugar, salt, pomegranate juice, and lemon zest. Bring to a boil and cook until the cranberries start to pop – about 5 minutes. Remove from heat.
 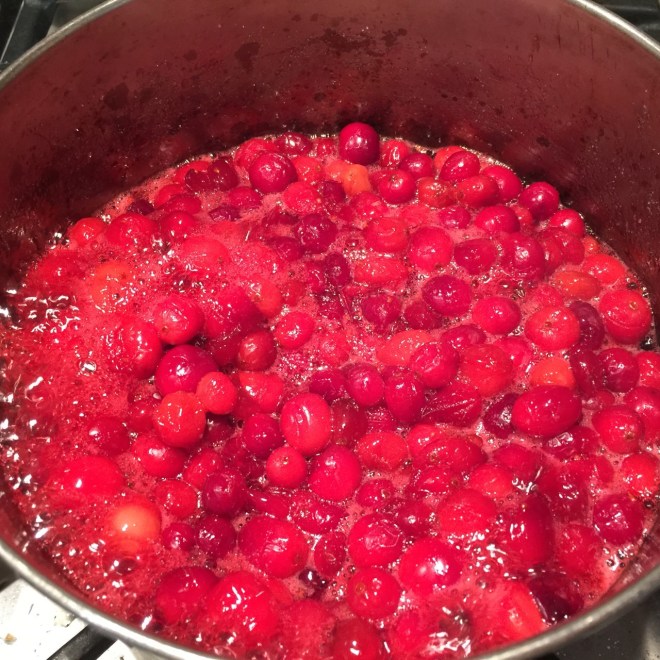 Note: Possible suggestion (although I haven’t tried this): To eliminate the above step of separately boiling the beet, try quartering the peeled beet (so you can find them easier), and add them to the cranberries before boiling. Then remove the 4 beet pieces before running the cranberries through the food mill.
Place butter in a medium sized bowl. Set food mill or strainer on top of bowl and pour cranberry mixture through the food mill or strainer. Extract as much liquid as you can. The hot liquid will melt the butter and cool down the liquid. 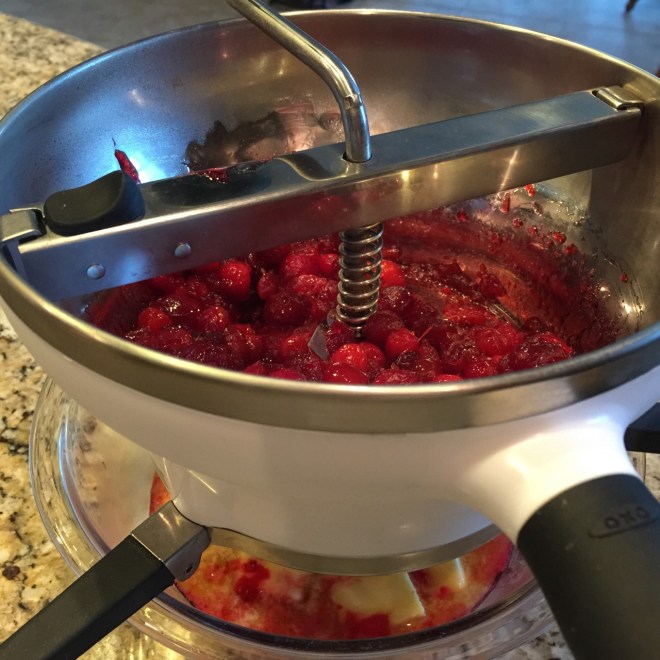 Beat the whole eggs and yolks together in a small bowl, then slowly whisk into the cranberry mixture. Add beet juice (if using).
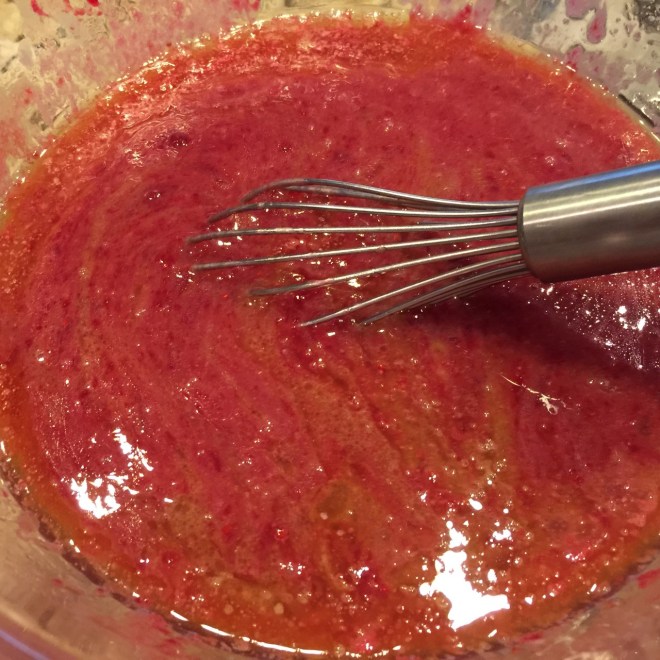 Clean out the saucepan you used for cooking the cranberries. Pour the filling through a strainer (to remove any bits from the egg and/or cranberries) into the empty saucepan. This takes some time since it’s thick! You don’t HAVE to do this step, but the curd is silkier if you remove the bits. You can see what would have been left in the curd if I hadn’t strained.
 Over medium heat, cook until thickened, stirring often – about 5 minutes.
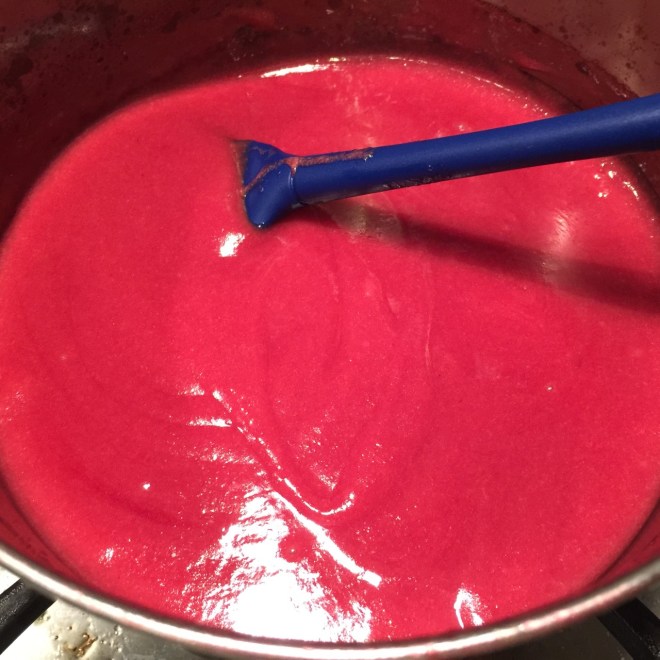 When oven is preheated, pour filling into cooled crust. (Make sure tart pan is still sitting on a cookie sheet – you really don’t want to chance pushing up on the bottom!)
Bake at 350º F about 8 minutes, until center 3″ is still jiggly but sides are firm. Don’t wait until center is firm or it’ll be overcooked. Remove from oven. 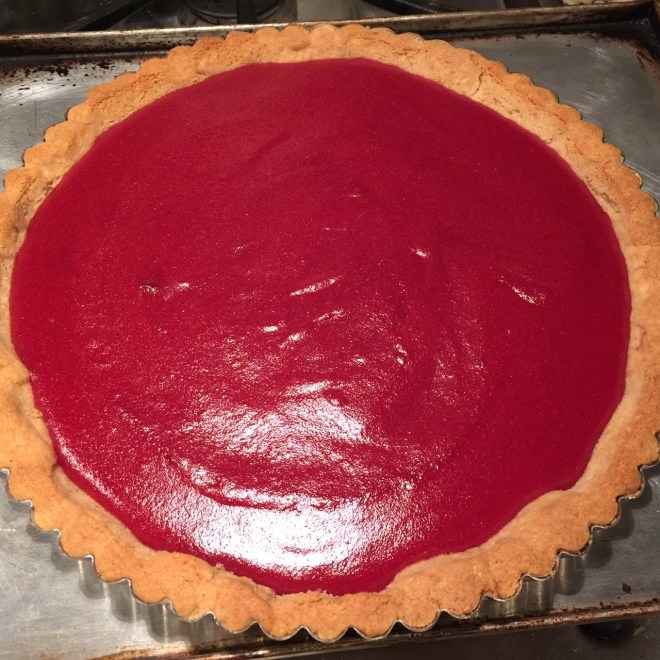 While tart is still hot, remove tart pan side by very carefully scooting the tart pan from the cookie sheet onto a wide can or bowl. (Make sure the diameter of the bowl is smaller than the tart pan opening.) Gently press down on tart pan edge and it should fall right down. Don’t move the tart yet – let it completely cool before moving it.
  Once tart is completely cooled, remove tart pan base – it may crack if it’s still warm. To remove base, run a thin, long implement (or maybe unflavored dental floss – I haven’t tried that, though) between crust and tart pan bottom. Carefully, nudge tart onto a serving plate.
Chill at least 6 hours. Making it the day ahead is best.

 Picnics and potlucks nearly always have a macaroni salad or two. Often it’s store-bought and kind of a watery mush. People eat it because it’s there.
 Pour into a large bowl.
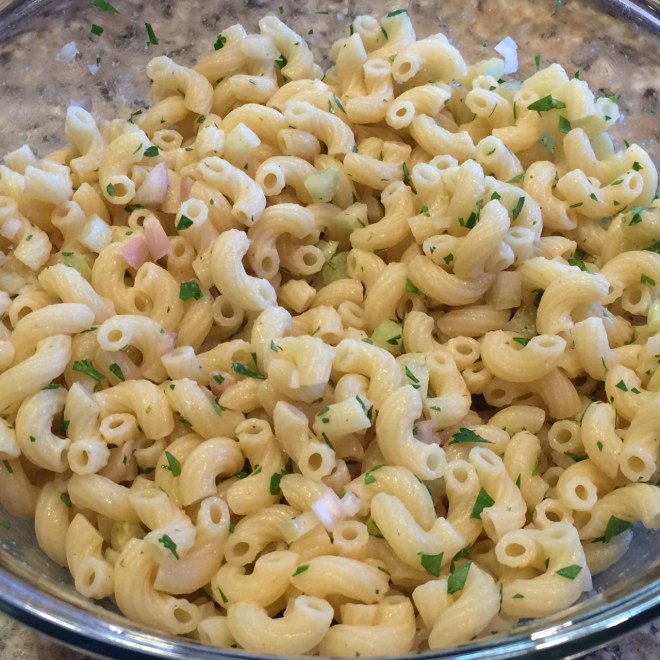
 I admit that I may be a little obsessive about making things from scratch. I make my own tortillas, pasta, yogurt, desserts, and most breads. The reason? As I’ve gotten older, I’ve become a firm believer in “you are what you eat”.
 Empty dough into a greased bowl, flipping dough to grease both sides.
 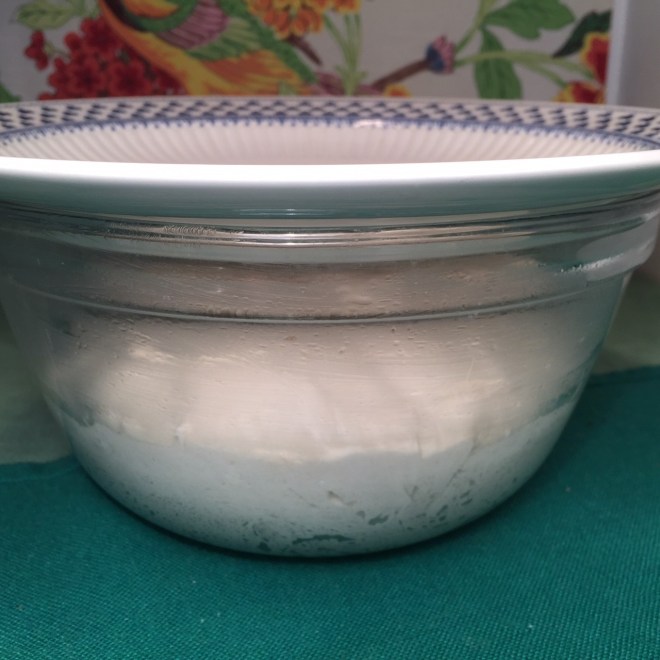 Cover and place in a warm area to rise – about 1 hour.
  Pour dough onto floured board and cut into 6 pieces. Shape into a 2″ x 5″ rectangle and place on a parchment lined (or greased) cookie sheet. Cover with tea towel and let rise while you preheat the oven to 425º Fahrenheit – this will take about 1/2 hour. (If you have a portable oven thermometer, use it! Internal oven thermometers are often wrong.)
 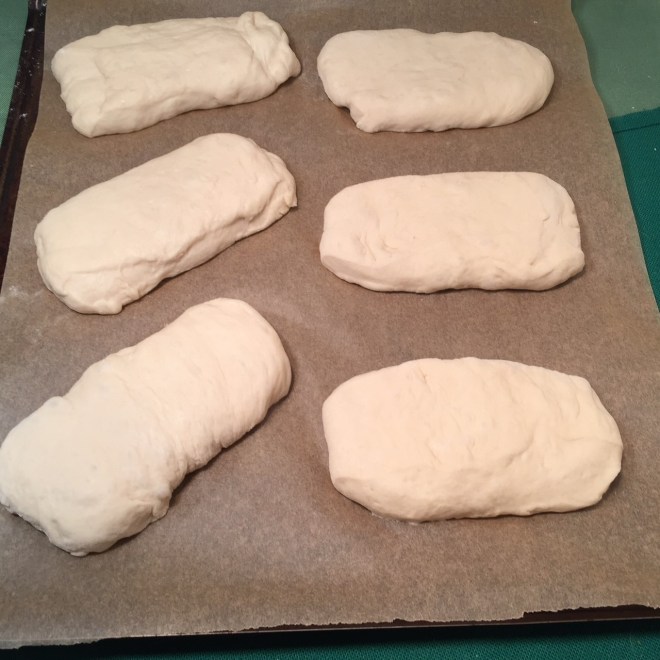 While dough is rising, mix together your topping blend. (I like to use 2 T Parmesan, 2 T dried minced onion flakes, 1/2 tsp garlic powder, and 1/8 tsp salt.)
  When oven is hot, one by one, gently brush milk onto top of dough then sprinkle on topping. Lightly press down on topping to make it stick.
  Bake at 425º F about 15 minutes, rotating sheet halfway through. You’ll notice significant rise to the rolls after a few minutes. When golden brown, remove from oven to a wire rack.
  Let cool before slicing.
 When it comes to lemon desserts, I want to know I’m eating lemon! No faint hint of flavor for me – bring it on!!!
 Using a pastry brush, paint the interior of the pan, getting deep into the crevasses. (I’m going to be buying a new bundt pan soon!)
 In a small bowl, combine the zest with 3 T lemon juice. Let set 15 minutes.
 Combine the 3 cups flour, baking powder, baking soda, and salt. Set aside.
  In an electric mixer, cream together the 18 T butter and granulated sugar. Beat on medium/high for 3 minutes. (Don’t short-change this.)
 In a small bowl, lightly beat together the eggs and yolk.
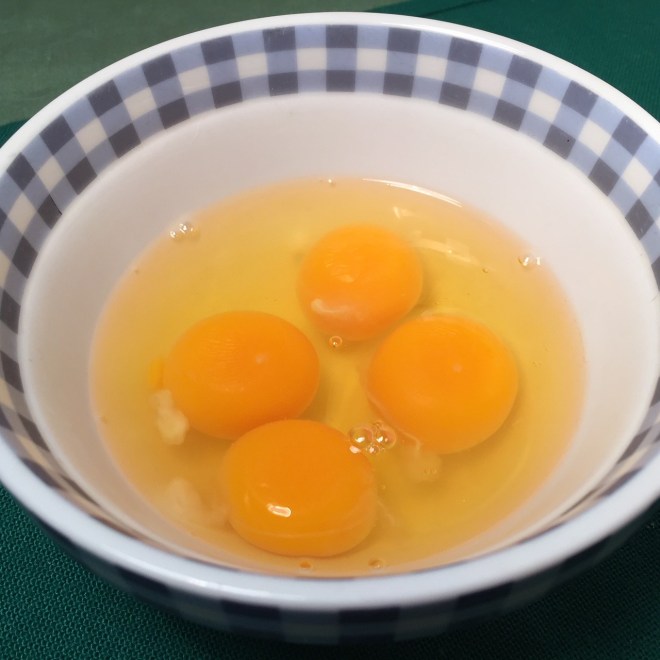 Pour approximately half of the eggs into the butter/sugar, and beat until just incorporated. Pour in the rest of the eggs and beat in.
  Combine the buttermilk, vanilla, and lemon zest/lemon juice.
  On low speed, beat approximately 1/3 of the flour mixture into the batter just until incorporated. Add in 1/2 of the liquid mixture and beat in. Beat in 1/2 of the flour mixture, then the remaining liquid. Finally, beat in the last of the flour mix. Don’t overmix – beat until flour has been incorporated and no loose flour shows.
  Pour batter into prepared bundt pan. (I cover the hole to prevent spillage – just be sure to remove it before baking – I speak from experience.) Smooth batter.
 Bake about 45 minutes at 350º F. Check for doneness with a toothpick. Remove from oven and let set in pan for 10 minutes before removing to a wire rack.
 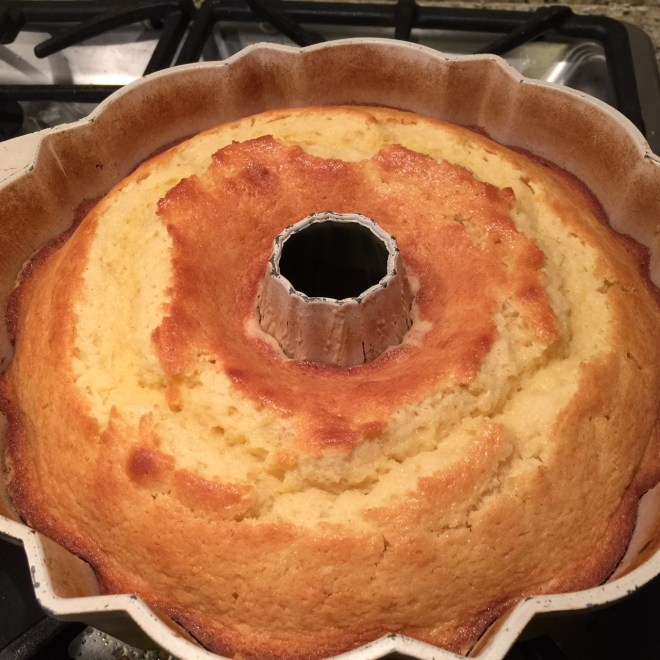 While cake is still in the pan, make the glaze. To make glaze, sift powdered sugar to remove lumps. Stir the sugar with 1 T milk or buttermilk, and 2 T lemon juice. You want the glaze to pour, but not so thin it runs off the cake. Adjust thickness of glaze by adding more sugar to thicken or more lemon juice to thin out.
 Why spend a lot of money on store-bought granola when you can make it yourself? You won’t believe how easy it is! Plus you can fine-tune it to suit yourself.
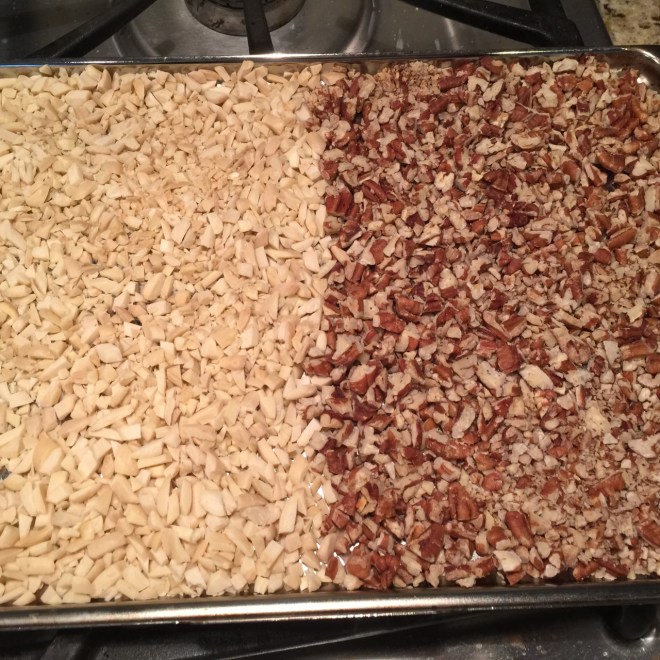 In a very large bowl, mix together the maple syrup, brown sugar, vegetable oil, vanilla, and salt.
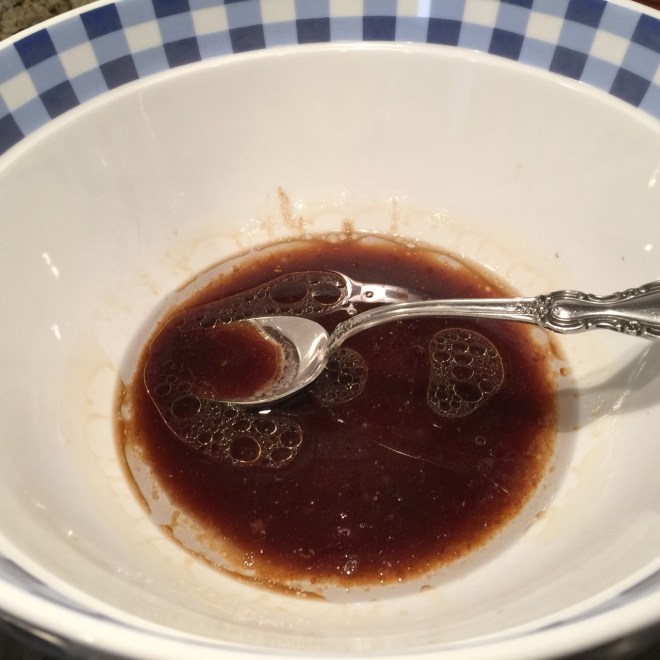 Blend in the oats and toasted nuts.
  Pour onto a parchment paper lined rimmed 16½” x 12″ (inside measure) baking sheet. Spread out and, using a flat implement (such as a potato masher or measuring cup), firmly press down granola evenly. I like to start in the center and work my way to the sides so that the edges aren’t too thin, or they’ll over-bake.
 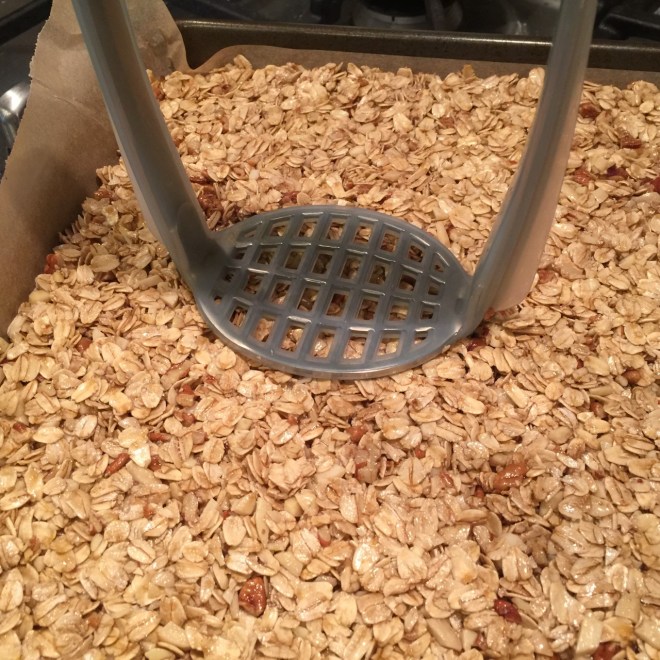 Bake in the upper third of the 325º F oven until medium browned – about 32-45 minutes. (Mine take 32 minutes.)
  Remove from oven and let cool 1 hour on baking sheet. Break apart and add in dried fruit, if using (I never do).
 Store in airtight container.
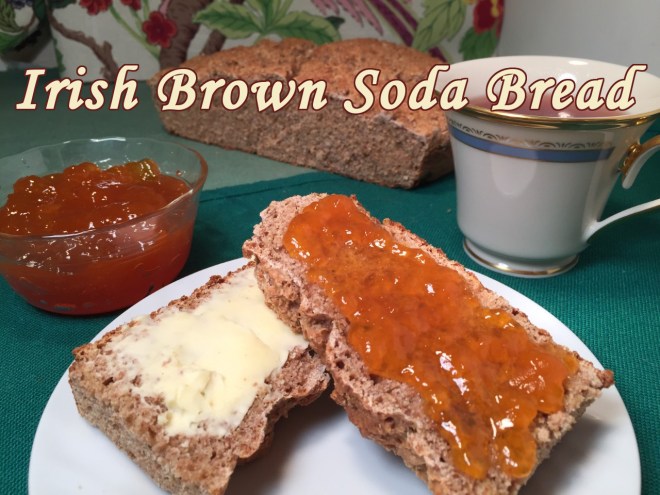 Saints be praised, St. Patrick’s Day is just around the corner, sure.
 Pile the batter into the hot skillet, pushing it all the way into the corners but mounding the batter into a dome. (Only the bottom portion of the batter should touch the sides of the pan – this will create a higher loaf.)
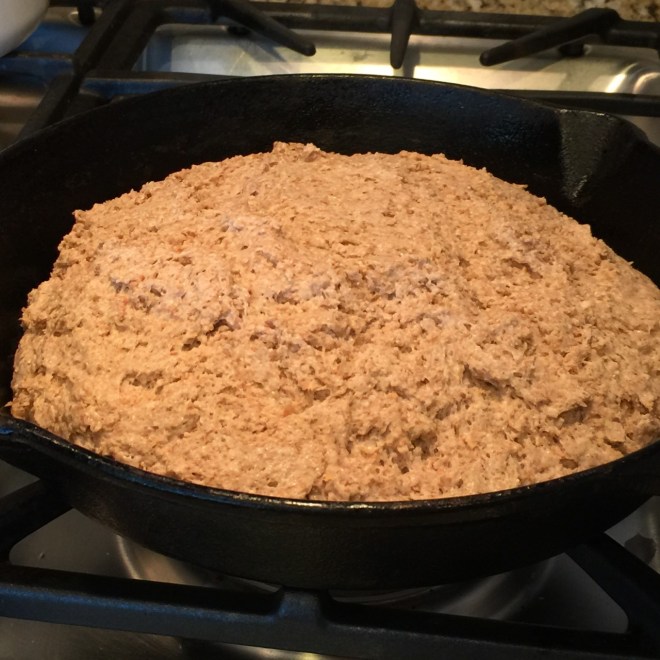 Slash top to make an ‘X’, 1/2″ deep and 5″ long.
 Bake in the preheated 375º F oven until interior temperature of the bread is 185º F – about 35-45 minutes. If you don’t have a thermometer, look for a golden brown top after 35 minutes.
 Remove hot loaf from skillet and cool at least an hour on a wire rack. Delicious with butter or jam.
 Caldo Verde is a hearty Portuguese soup that is very quick to prepare. It can be made with or without sausage. (There are fabulous fake sausages available everywhere!)
 In a large saucepot heat 1/2 T olive oil over medium/high heat. Add in the onions, salt, garlic, red pepper flakes, and black pepper. Sauté 3-4 minutes, until onions are translucent.
  Add in the potatoes and water. Increase heat to bring to a boil, then decrease heat to maintain a simmer. Cook, uncovered, until potatoes are tender when pierced – about 8-10 minutes.
  While soup is cooking, cut up the collards. First, remove and discard the center stem.
  Then cut the greens into 1″ pieces.
 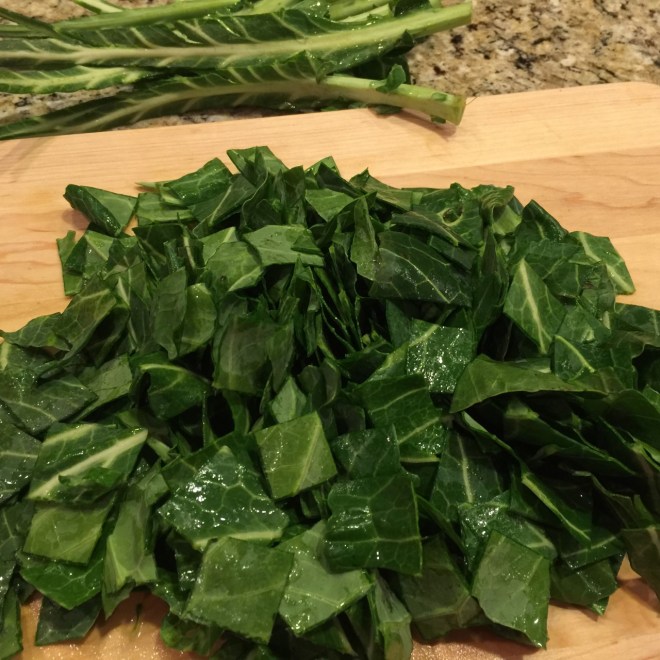 When potatoes are cooked, remove 1/2 cup of the solids and 1/2 cup of the liquid to a blender. Don’t blend yet.
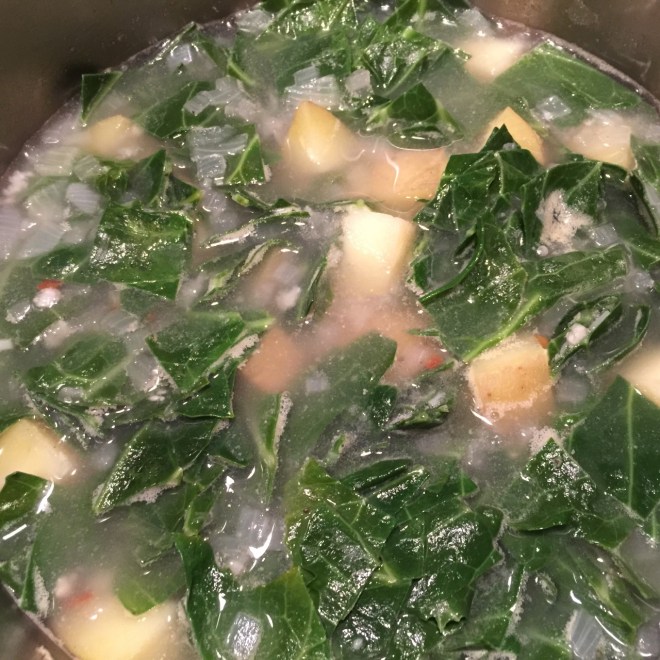 Start the blender and slowly drizzle in the remaining 1½ T olive oil. When it’s all added, continue to blend for 1 minute.
  Pour into soup. Add in the sausage (if using), vinegar, Worcestershire Sauce, and lemon juice. Adjust seasoning, as needed. (I add another 1/4 tsp salt and 1/8 tsp pepper.)
 Let me say right off the bat, this is an EXTREMELY easy recipe. Honestly! Yes, it involves making those ultra thin pancakes that wrap the stir-fry, but I promise, you can do it!!!
 Slice into 12 pieces.
  Using floured fingers, pat each piece into a 3″ disc.
  Generously brush 6 of the discs with the sesame oil (you may have some left over).
 Place each dry disc on top of an oiled one, creating a kind of sandwich.
 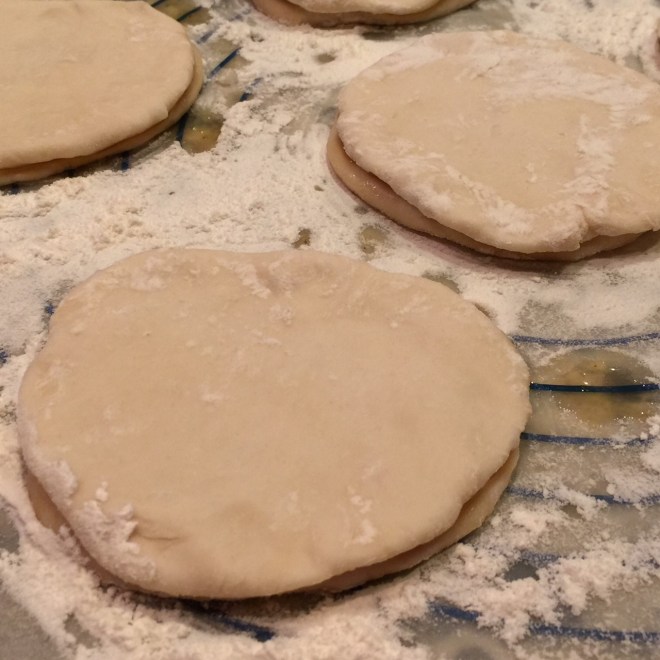 Roll each of these into a 6″-ish circle.
 Remove to a tea towel to let cool a few seconds. Then, carefully split apart the pancakes.
 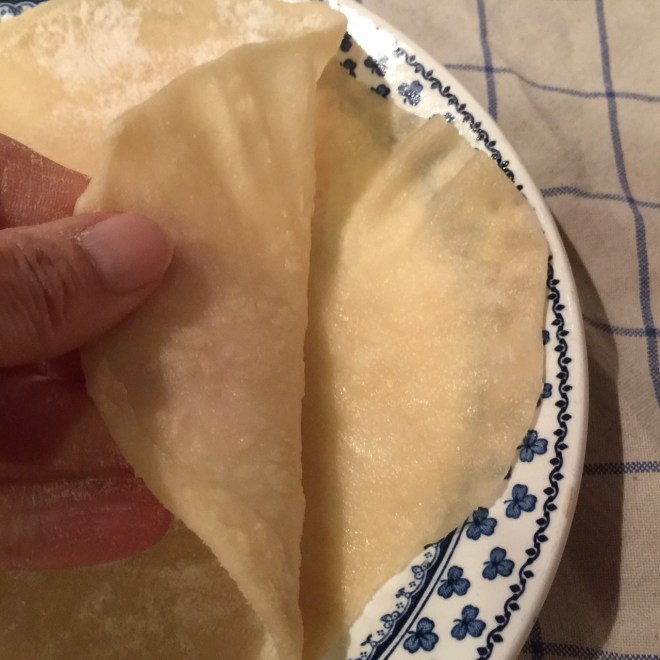 Stack them, oiled side up. Carry on with the remaining circles. (You may not need to oil the pan with each new pancake, depending on the non-stick ability of your skillet – I put in a little vegetable oil every other one.) Keep warm in the wrapped tea towel until ready to use.

 Prepare teriyaki sauce: In a small saucepan, combine the Mirin and cornstarch, smooshing out any lumps.
  Add in the soy sauce, sugar, ginger, garlic, and sesame oil. Cook over medium heat until thickened. Set aside.
  Note: You only need 1/4 cup of the teriyaki sauce for the Moo Shu. Store remainder in refrigerator.
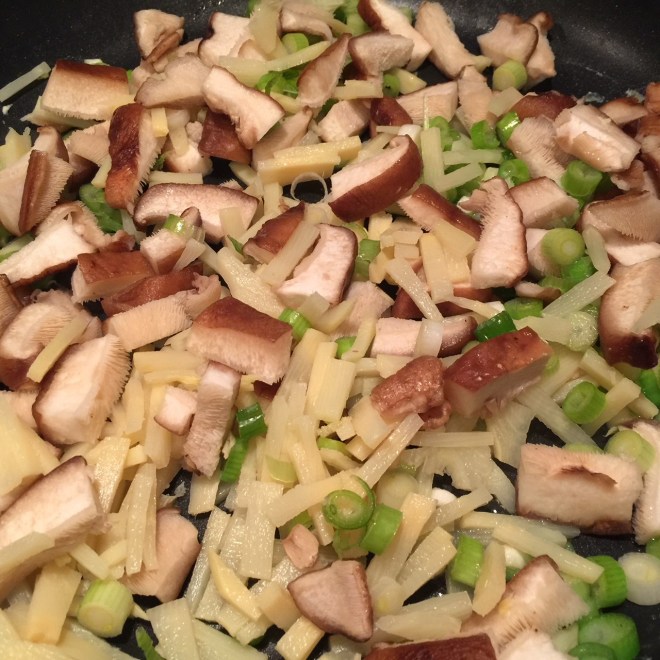 Drain the mushrooms over a container.
 Add 1/3 cup of this mushroom water to the skillet, along with the cabbage and drained mushrooms. Cook on high for another 2 minutes.
 Pour all of the stir-fry mixture into a colander or sieve, discarding the drained liquid.
 Add in the drained veggies and the 1/4 cup teriyaki sauce. Blend together and heat through.
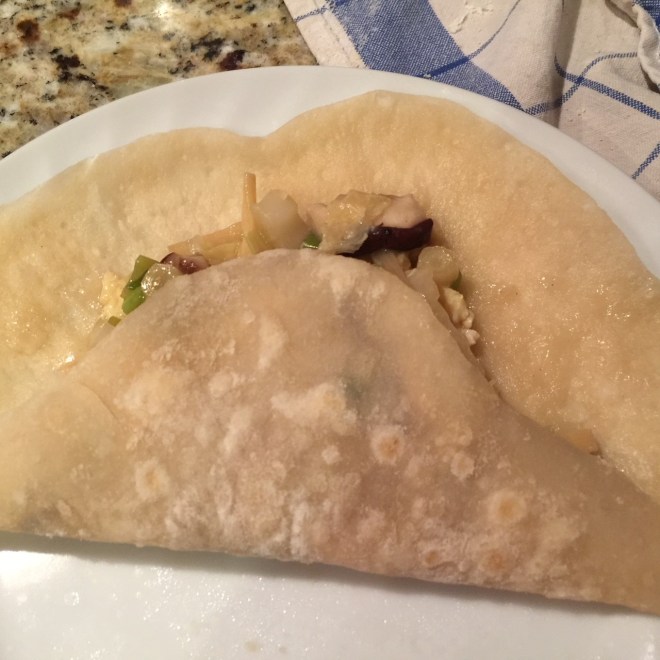

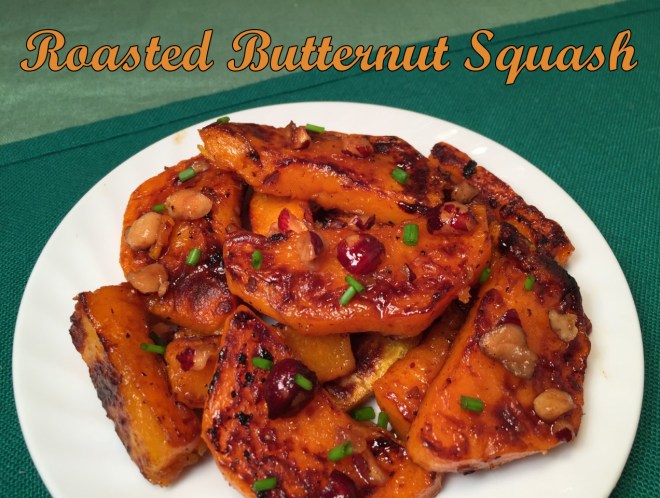 I love roasted vegetables! Their flavor comes to life, enhanced by the sweet caramelization process. Add to that the slight crispiness. Yum!!!
 Slice the body and neck in half lengthwise (yikes!) and remove seeds and fibres. Cut the four halves into 1/2″ pieces.
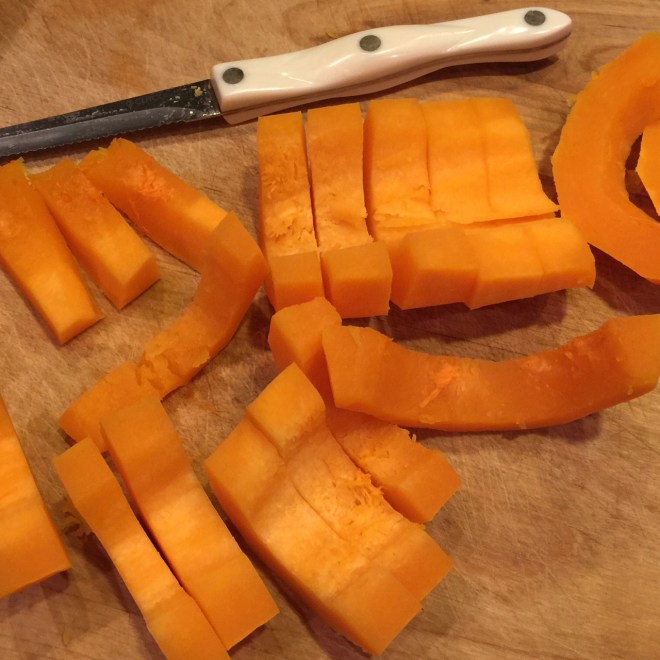
 Lay butternut squash pieces in a single layer on a rimmed baking sheet. Bake in preheated oven for 30-40 minutes, until bottoms are browned. Flip pieces and bake another 10-15 minutes, until well browned on both sides.
  While squash is baking, coarsely chop hazelnuts. In a small skillet or saucepan, melt remaining 2 T butter. Add in chopped nuts and sauté over medium/high heat. Stirring constantly, cook until nuts are browned – about 2 minutes. (The butter will be bubbly at first.)
 Remove from heat and stir in the 1 T water. Let cool a little, then add in the lemon juice and a pinch of salt.
  When squash is cooked, place slices into a mixing bowl (I use the same one from before). Gently stir in the hazelnuts and butter. Sprinkle on chives. Serve while hot.
 Mashed potatoes can get a little boring. True, they’re filling, easy, cheap, and everyone likes them. But, maybe it’s time to add in mashed parsnips…you know, to shake things up a bit.
 Place potato slices in strainer and rinse well to remove excess starch. Let drain.
 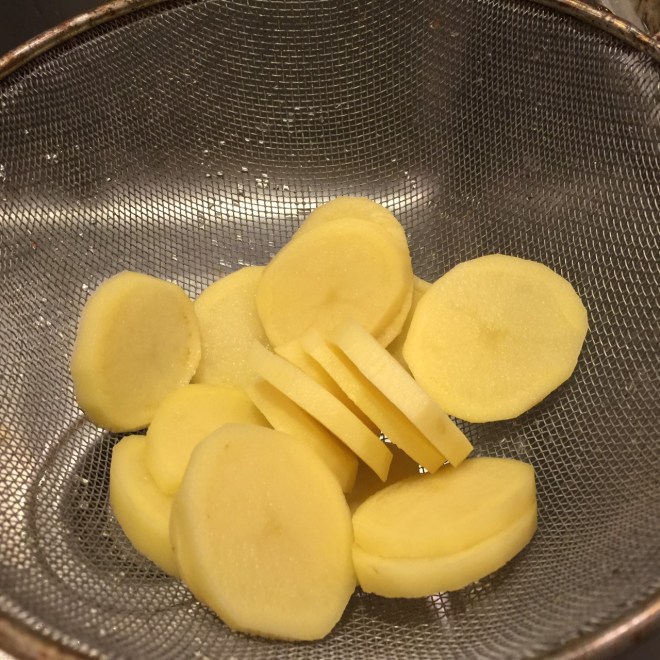 When parsnips have browned, add potatoes to the pot. Cover, decrease heat to low, and cook about 20 minutes – until potatoes are tender. Uncover pot and let set 2 minutes to allow steam to escape.
 Mash mixture until smooth.
 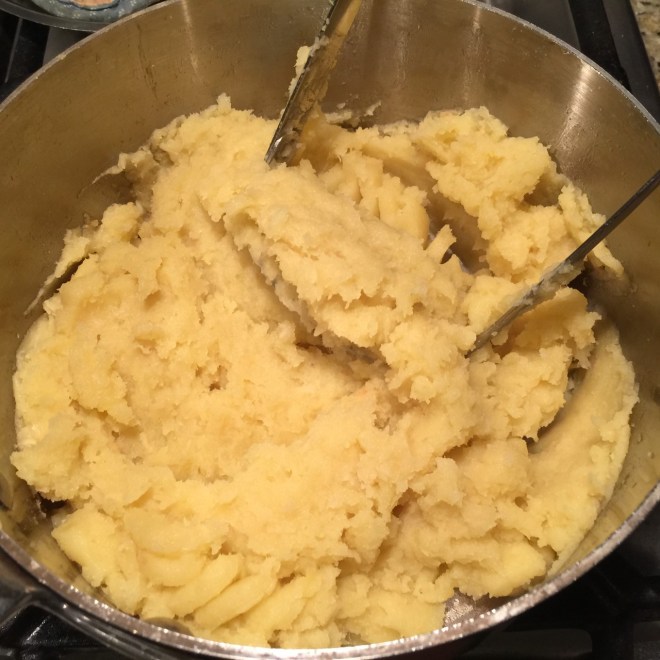 Warm the milk and pour 1/2 cup of it into the potatoes. (Use the rest, if needed. Save it for any leftover mash.) Add in chives and fold mixture gently together. Season with salt and pepper, if needed.