
 When it comes to lemon desserts, I want to know I’m eating lemon! No faint hint of flavor for me – bring it on!!!
This LEMON BUNDT CAKE gets raves from everyone who eats it. It’s has a tender crumb, which is unusual for lemon cakes. Where bakers go wrong is they tend to add more lemon juice to increase the bang for their buck. But all that does to cakes and quick breads is make them mushy. Yuck! Yes, one needs some lemon juice for the liquid and flavor, but the biggest lemony taste comes from the zest (the very outer skin).
NOTE: As Queen of Freeze, I would be remiss in my duties if I didn’t point out that zest can be frozen. So if you’re only using the juice from a lemon (or any citrus), go ahead and zest it (do this before juicing), then freeze those little flavor jewels for future use.
ADDITIONAL QUEEN OF FREEZE NOTE: Cake freezes extremely well, so don’t be daunted by the size of a bundt cake. If it’s too much to finish off in a few days, simply cut it into hunks and freeze.
LEMON BUNDT CAKE
- 1 T butter
- 1 T all-purpose flour
- 9g (3 T) lemon zest
- 30g (3 T) + 20g (2T) lemon juice, divided
- 377g (3 cups) all-purpose flour
- 1 tsp baking powder
- 1/2 tsp baking soda
- 1 tsp salt
- 18 T (252g) butter, soft
- 363g (2 cups) granulated sugar
- 3 eggs
- 1 yolk
- 175g (3/4 cup) low-fat buttermilk
- 1 tsp vanilla
- 1 T milk or buttermilk
- 190g (2 cups) powdered sugar
Preheat oven to 350º Fahrenheit.
To prepare the bundt pan, melt 1 T butter and mix in 1 T flour to make a paste. Using a pastry brush, paint the interior of the pan, getting deep into the crevasses. (I’m going to be buying a new bundt pan soon!)
 In a small bowl, combine the zest with 3 T lemon juice. Let set 15 minutes.
 Combine the 3 cups flour, baking powder, baking soda, and salt. Set aside.
  In an electric mixer, cream together the 18 T butter and granulated sugar. Beat on medium/high for 3 minutes. (Don’t short-change this.)
 In a small bowl, lightly beat together the eggs and yolk.
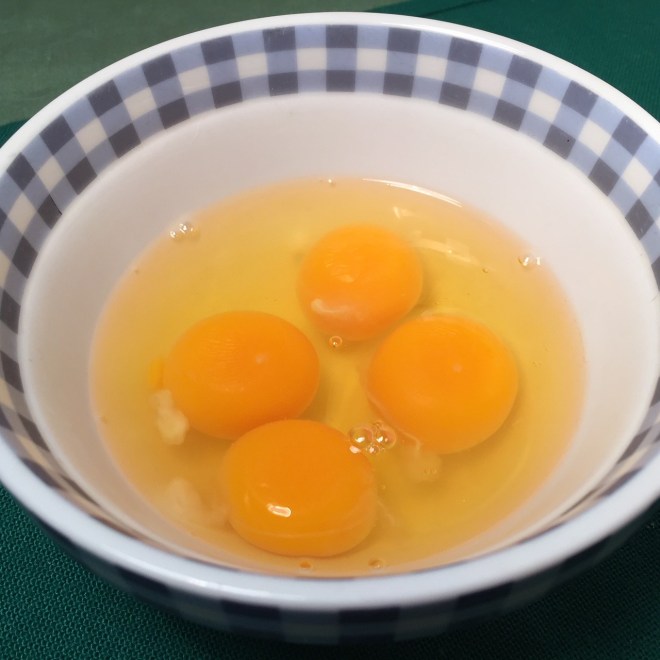 Pour approximately half of the eggs into the butter/sugar, and beat until just incorporated. Pour in the rest of the eggs and beat in.
  Combine the buttermilk, vanilla, and lemon zest/lemon juice.
  On low speed, beat approximately 1/3 of the flour mixture into the batter just until incorporated. Add in 1/2 of the liquid mixture and beat in. Beat in 1/2 of the flour mixture, then the remaining liquid. Finally, beat in the last of the flour mix. Don’t overmix – beat until flour has been incorporated and no loose flour shows.
  Pour batter into prepared bundt pan. (I cover the hole to prevent spillage – just be sure to remove it before baking – I speak from experience.) Smooth batter.
 Bake about 45 minutes at 350º F. Check for doneness with a toothpick. Remove from oven and let set in pan for 10 minutes before removing to a wire rack.
 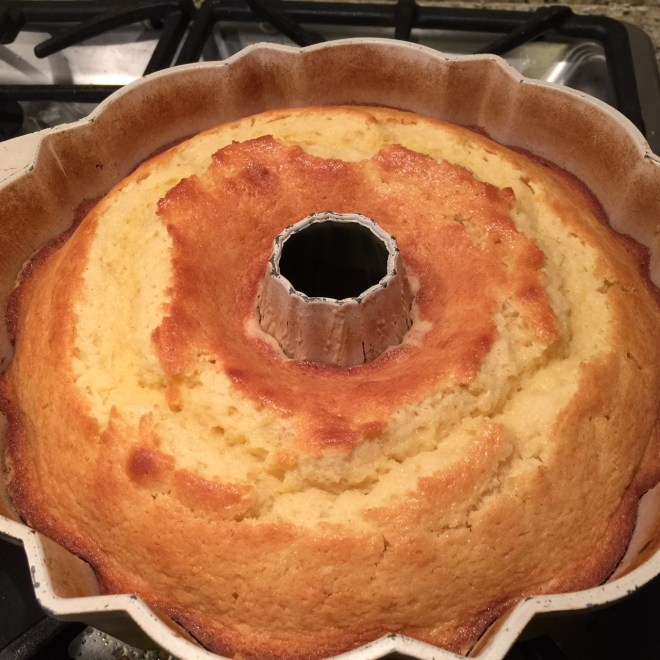 While cake is still in the pan, make the glaze. To make glaze, sift powdered sugar to remove lumps. Stir the sugar with 1 T milk or buttermilk, and 2 T lemon juice. You want the glaze to pour, but not so thin it runs off the cake. Adjust thickness of glaze by adding more sugar to thicken or more lemon juice to thin out.
Run a rounded knife around edge of cake and flip onto a rack. Flip again so it’s right side up. Pour half of the glaze on hot cake. Let set for 1 hour. Pour on remaining glaze. You can see in the photo that the first glaze is clearer than the second due to the heat of the cake. Let set at least another hour before serving.
 Sadly, when we think Mac & Cheese, we often think of Kraft Mac & Cheese. While children seem to love it, one wonders what exactly is that suspicious orange “cheese” and multitude of ingredients that hearken one back to high school chemistry.
 Add in pasta and bring to a simmer.
  Maintaining the simmer, cook uncovered until pasta is just past the al dente stage – about 6 minutes.
 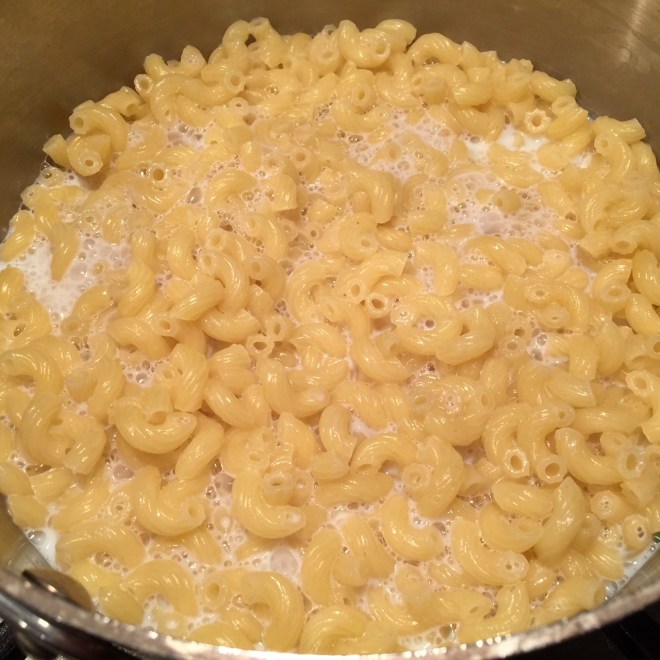 While pot is still on low heat, stir in American cheese, Dijon and cayenne. Remove from heat and stir in Cheddar. Cover pot and let melt together. Taste for seasoning.
 If you want to make the bread crumb topping, toast the panko, olive oil, salt, and pepper in a small skillet until browned. (Keep an eye on it – it only takes a couple of minutes.) Remove from heat and mix in the Parmesan.
 Grits. Just the word has always made me want to rinse out my mouth. I could never understand why anyone would want to eat them…and like them! Until now.
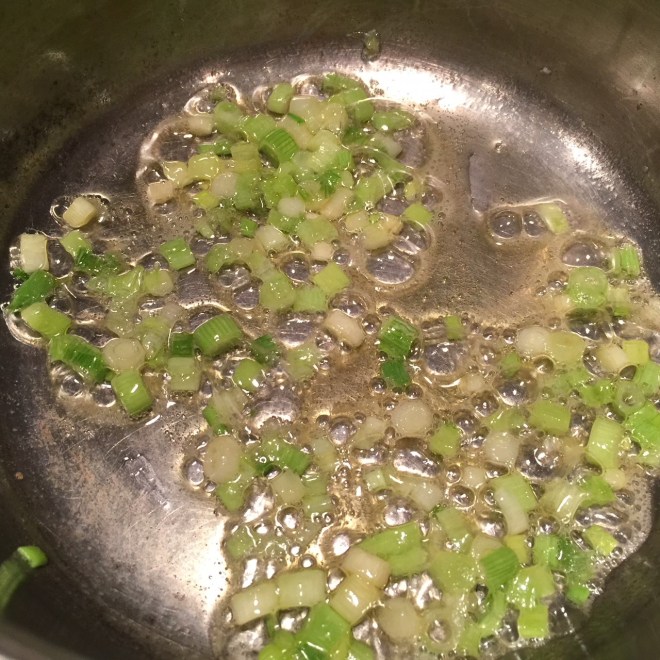 Add in the 3¼ cups water, milk, hot sauce, pepper, and salt. Bring to boil.
 Whisking continuously, very slowly pour in the polenta (or cornmeal).
  Decrease heat to maintain a simmer and cook, uncovered, until thickened – about 15 minutes. Stir often, taking care to get into the edges.
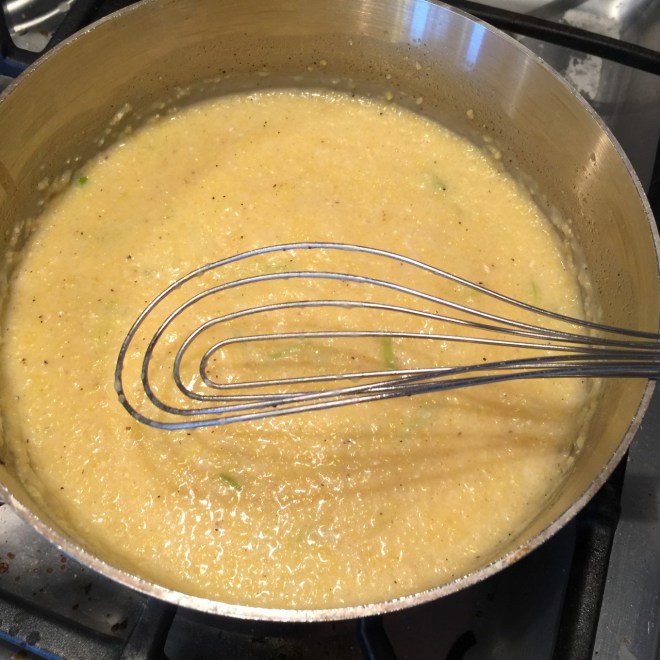 In a blender, pureé the corn with the remaining 1/4 cup water for about 5 seconds.
 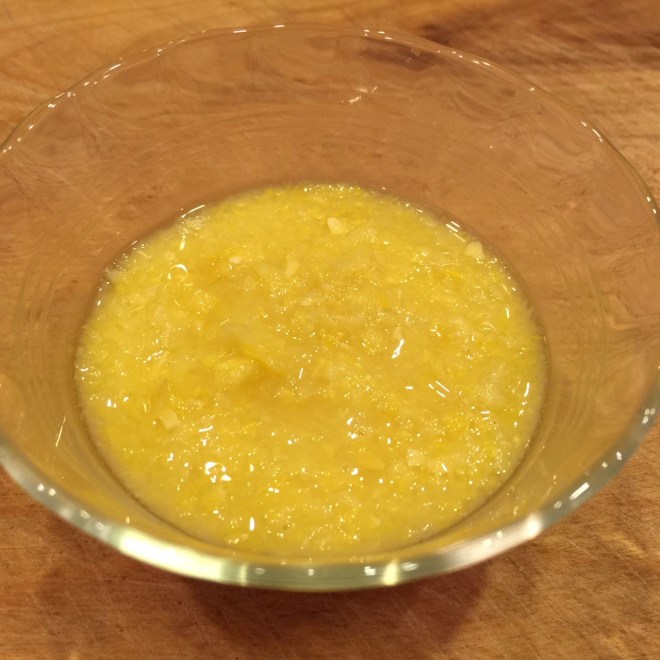 Pour into the thickened grits, also adding the cheeses, stirring to blend. Cook another 5 minutes or so to thicken.
  Top servings with scallion green slices, more shredded cheese, and paprika, if desired.
 Chicken & Dumplings is one of those classic, stick-to-your-ribs meals that’s considered a comfort food by many. Of course, being a vegetarian, chicken was not an option. That pretty much left a watery broth and a few carrots, onions, and celery.
 Add in mushrooms and continue to cook another 4 minutes, scraping fond on bottom of pan (the browned bits).
  Add dill, tomato paste, garlic, and 2½ tsp of the salt – cook 3 more minutes.
  Pour in the Sherry and continue to cook until evaporated, scraping any fond formed.
  Add the water, tofu, soy sauce, red wine vinegar, and parsley. Bring almost to a simmer. In a small bowl, make a slurry by combining the arrowroot with 1/4 cup of the soup. Stir slurry into soup until it thickens a bit – should take a few minutes. Taste for seasoning – adjust, if needed. Keep heating the soup to bring to full boil.
 As soup is heating up, make the dumplings. Heat the butter and let cool a bit. Then combine melted butter with the buttermilk – it will get clumpy. Whisk the egg white a little, then whisk it into the buttermilk mixture.
 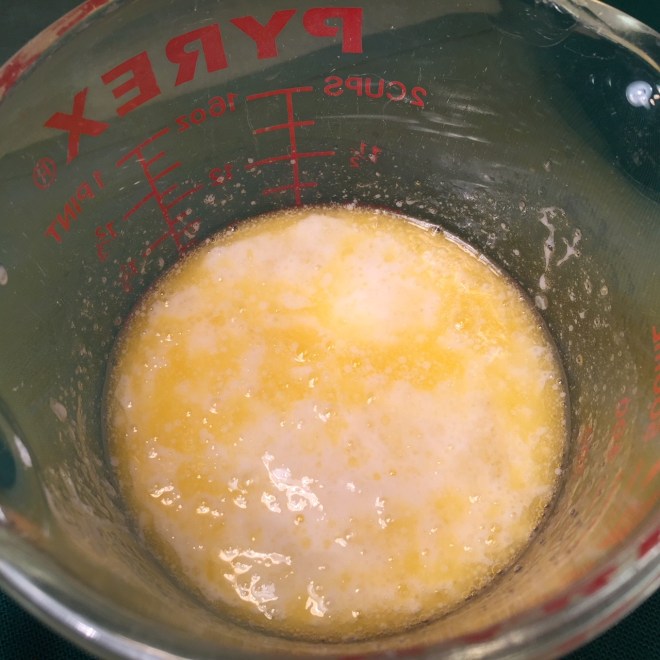 In a large bowl, combine the flour, sugar, and
  Form small dough lumps – 1″ or less. There will probably be about 62. (These will plump up with cooking.) Make sure you form all these balls before you begin dropping them in the soup so they cook at the same rate.
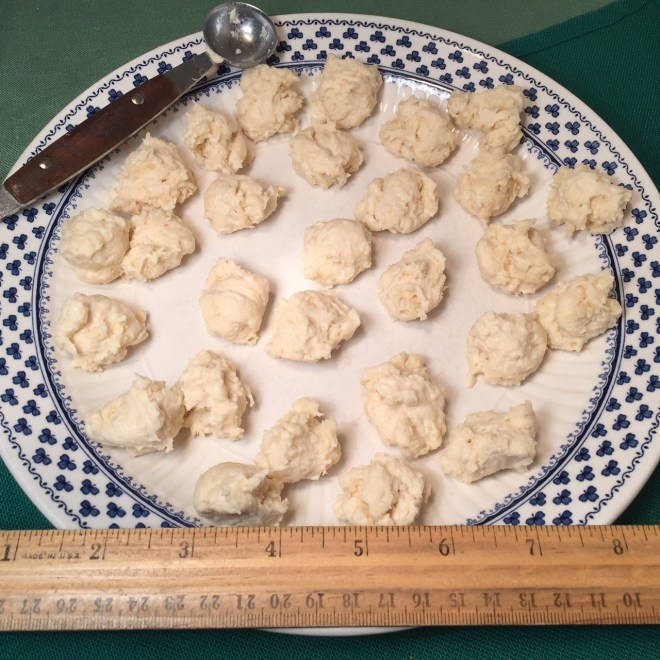 When soup has come to a full boil, one by one drop in the dough balls. Wrap a towel around the pot lid and cover. (MAKE SURE THE TOWEL DOESN’T DROP ANYWHERE NEAR THE BURNER! YOU DON’T WANT A FIRE!!!) The towel will absorb steam moisture so the dumplings don’t get soggy.
  Decrease flame to medium and cook 11 minutes. Remove lid and allow steam to escape a few minutes before serving.
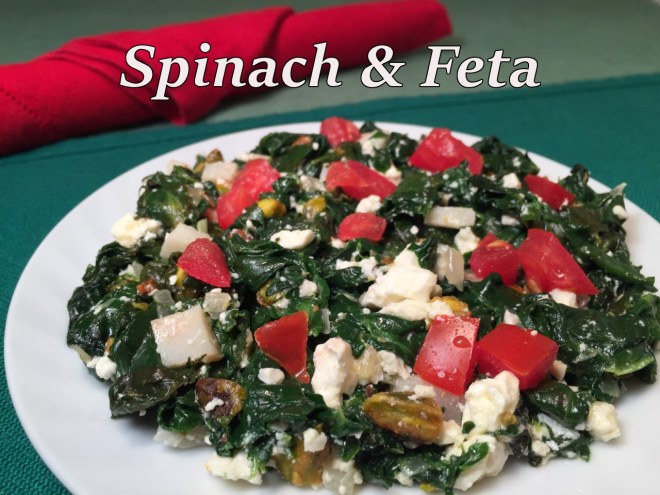 Cooked spinach is not a looker. It wilts down from a giant amount to a small, dark green mound. On its own it tastes…okay. But doctor it up with some flavor, crunch, and color and now you’ve got something.
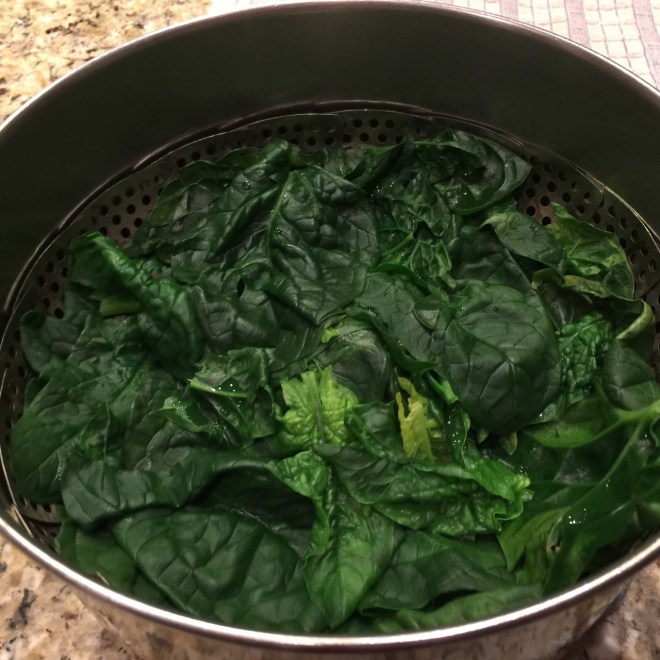 Place spinach in a towel to absorb excess water.
  Roughly chop.
  Heat
Heat 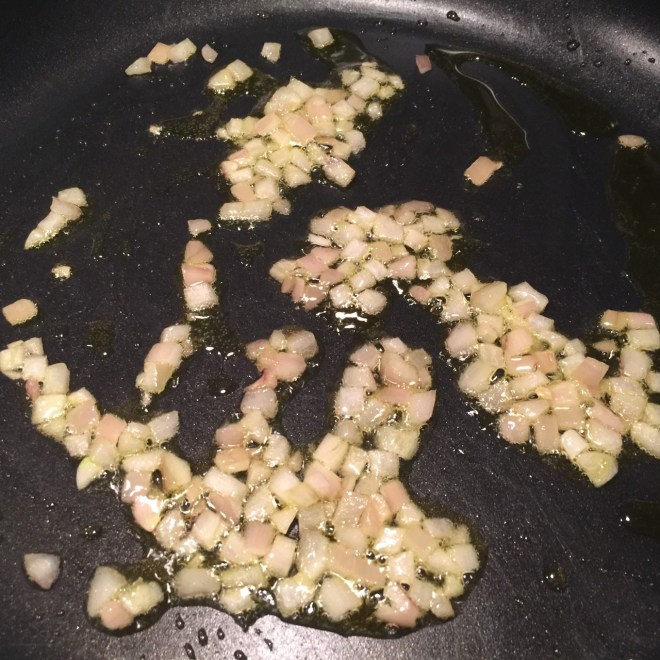 Stir in the spinach and salt – sauté over medium/high about 2 minutes to evaporate excess moisture.
  Reduce heat to low and add in the water chestnuts, feta,
 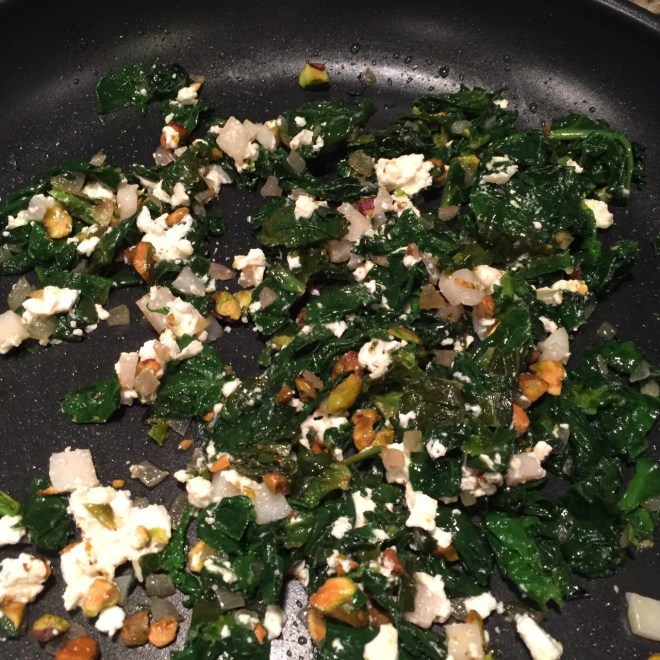 Stir over low heat, just to warm everything. Add in tomatoes and serve.
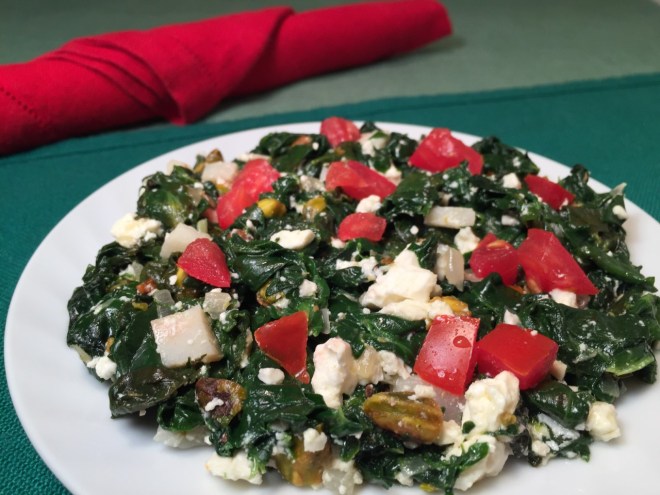
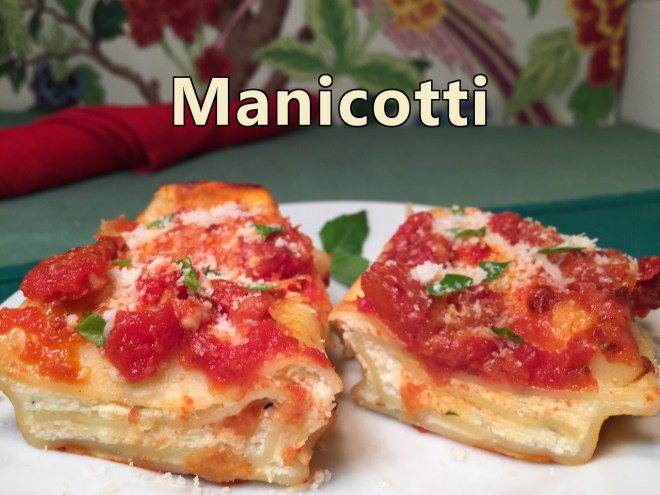 Anyone’s who made manicotti knows the challenge of trying to stuff cooked tubular pasta without tearing it. If you fill uncooked tubes, then you face the problem of cooking them enough so they’re edible.
 Add in the tomatoes and
  Place the uncooked noodles in a 8″ x 11″ (or there-abouts) casserole dish. Cover noodles with boiling water, separating them with a fork to make sure they don’t stick together. Let them soak for 5 minutes, moving them around now and then.
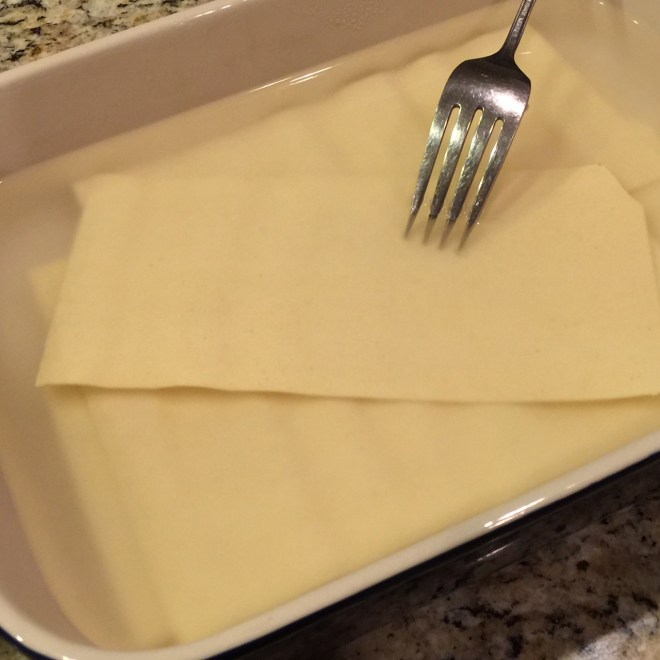 Place noodles on a tea towel to dry. Discard water and dry pan.
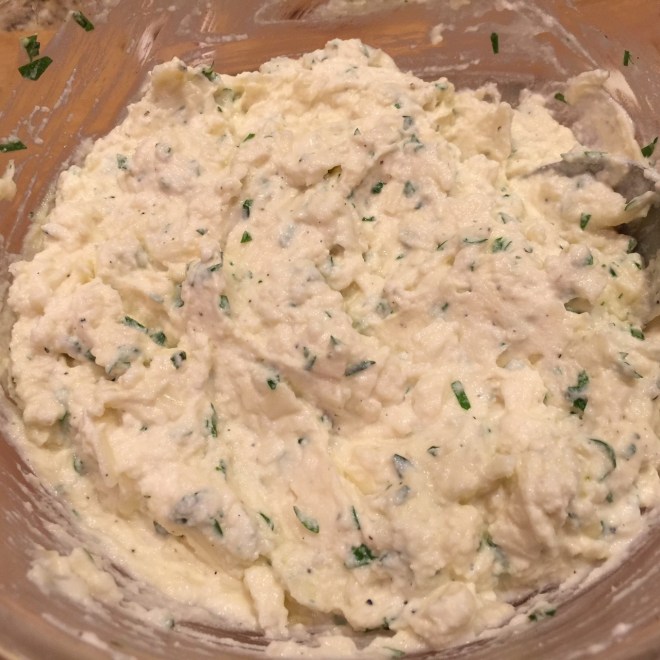 Divide the filling evenly amongst the noodles (about 1/4 cup each). Spread filling, leaving a 1/2″ border at one of the short ends.
 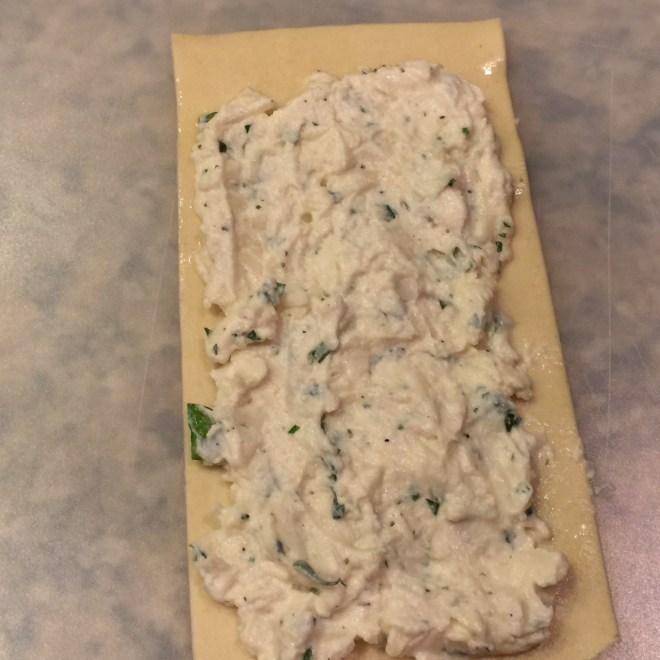 Roll up, starting at end where the filling went all the way to the end. (The border is to allow room for the filling to spread as you roll them up.)
 Spread 3/4 cup of the marinara into the pan.
  Lay the manicotti, seam side down.
  Pour on remaining marinara, covering all exposed pasta with the sauce.
  Cover with lid or foil. Bake at 375º F for 40 minutes. Increase oven to 500º F. Sprinkle on remaining
  Bake, uncovered, for 10 minutes. Sprinkle on more basil, if desired.
 Why spend a lot of money on store-bought granola when you can make it yourself? You won’t believe how easy it is! Plus you can fine-tune it to suit yourself.
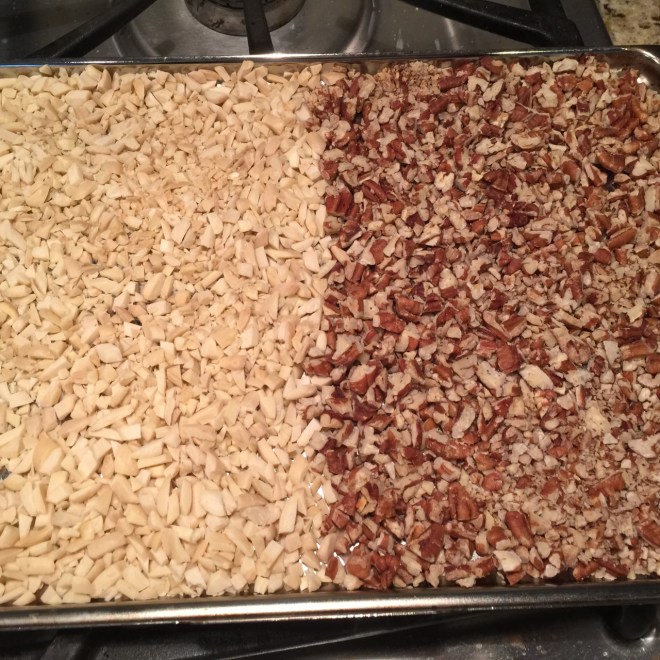 In a very large bowl, mix together the maple syrup, brown sugar, vegetable oil, vanilla, and salt.
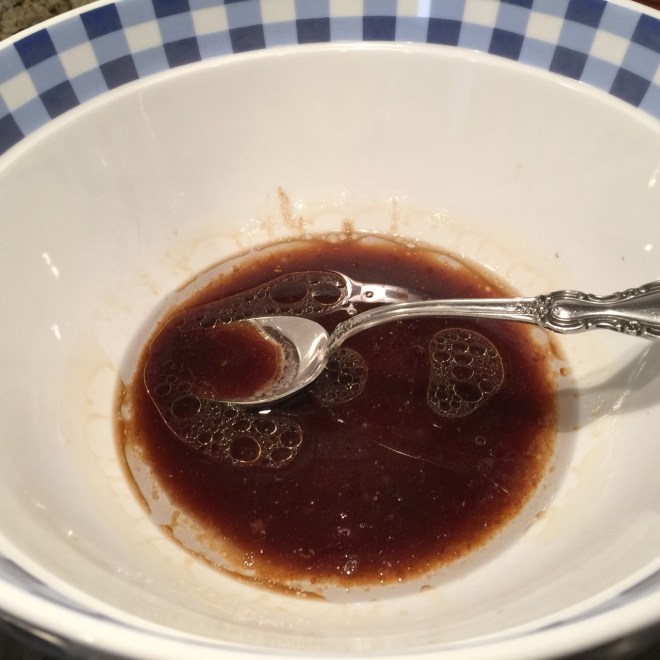 Blend in the oats and toasted nuts.
  Pour onto a parchment paper lined rimmed 16½” x 12″ (inside measure) baking sheet. Spread out and, using a flat implement (such as a potato masher or measuring cup), firmly press down granola evenly. I like to start in the center and work my way to the sides so that the edges aren’t too thin, or they’ll over-bake.
 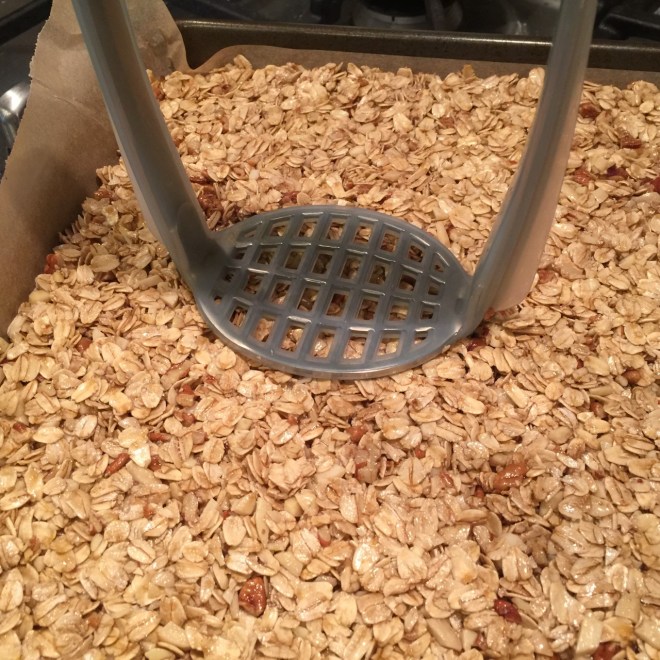 Bake in the upper third of the 325º F oven until medium browned – about 32-45 minutes. (Mine take 32 minutes.)
  Remove from oven and let cool 1 hour on baking sheet. Break apart and add in dried fruit, if using (I never do).
 Store in airtight container.
 Every now and then, even a die-hard chocoholic such as myself craves a little tang.
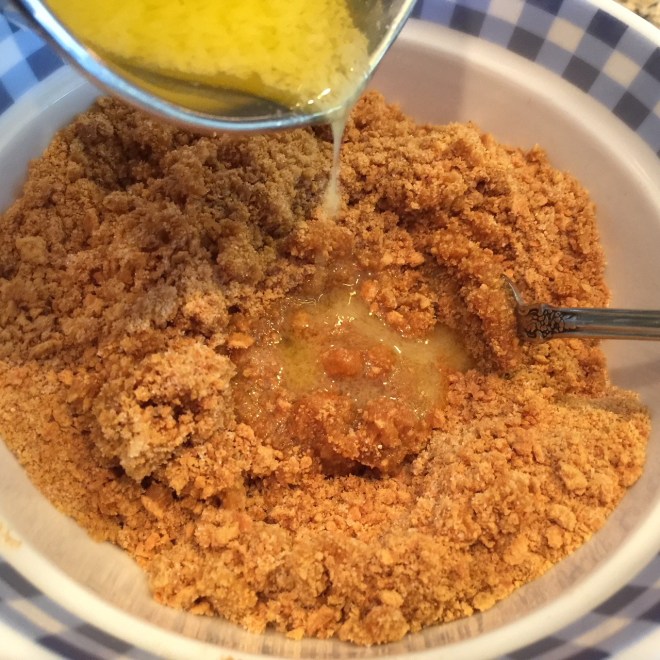 Grease an 8″ x 8″ pan (I use Pyrex) and pour in the crumbs. Pat firmly down on pan bottom only, as evenly as possible. To make the edges nice and compact, use a spoon to press down along sides.
 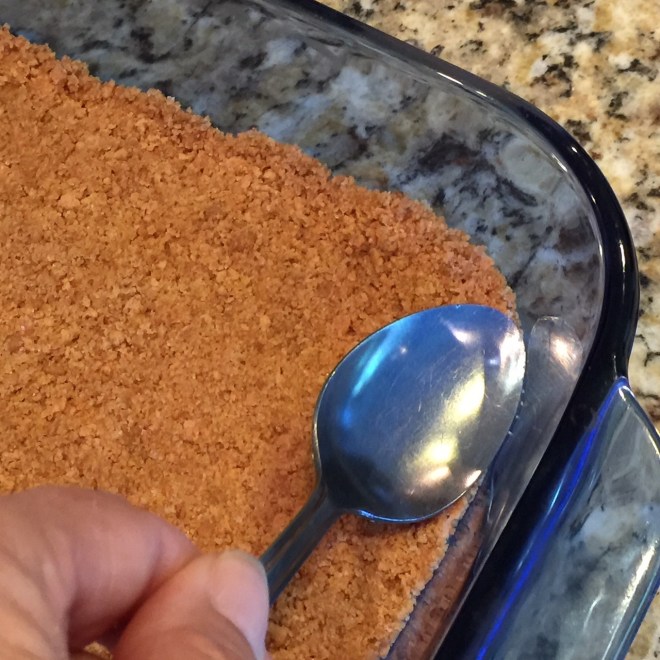 Bake in 325º F oven until lightly browned – 18-20 minutes. Remove from oven and allow crust to cool about 15 minutes.
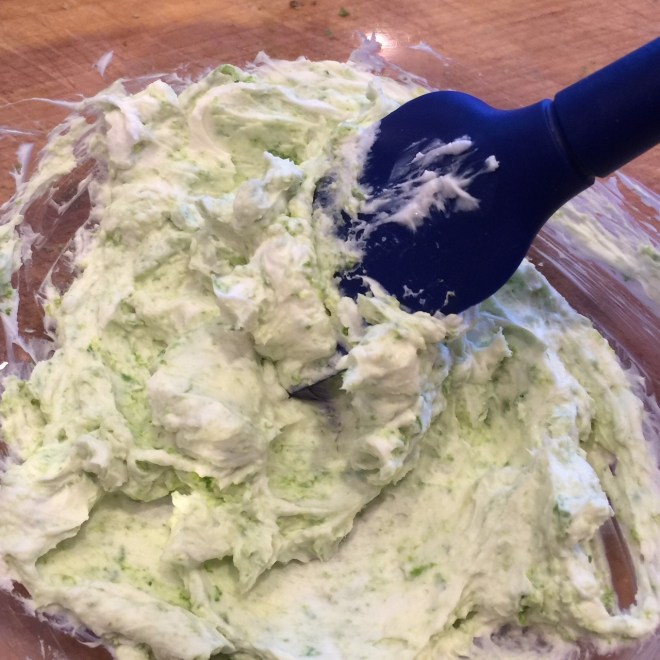 Whisk in the condensed milk and yolk.
  Pour mixture into cooled crust and bake in 325º oven for 15 minutes.
  Remove from oven and let cool on stovetop at least an hour. Then place in refrigerator a minimum of 2 hours before serving.
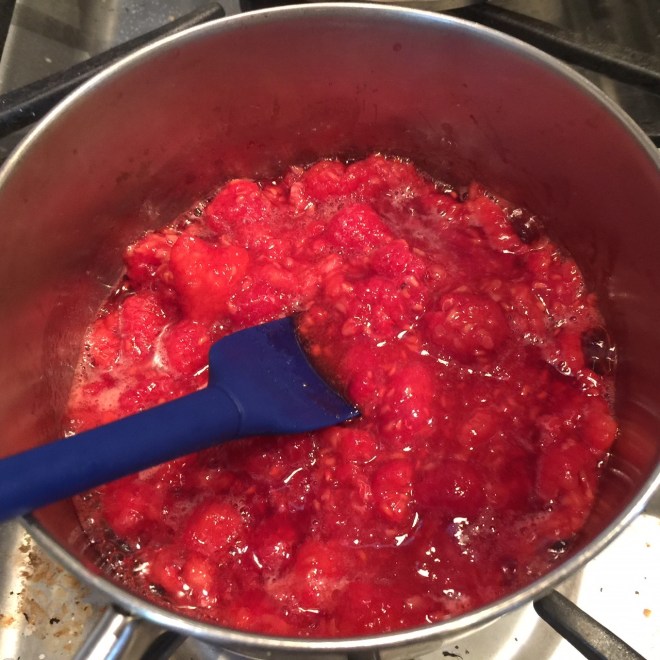 Over medium heat, bring to simmer. Cook until raspberries break down – about 10-15 minutes, stirring often.
  Strain out the solids by placing a sieve over a bowl and pouring in the raspberry mixture. Use a spoon to press out all of the juice.
 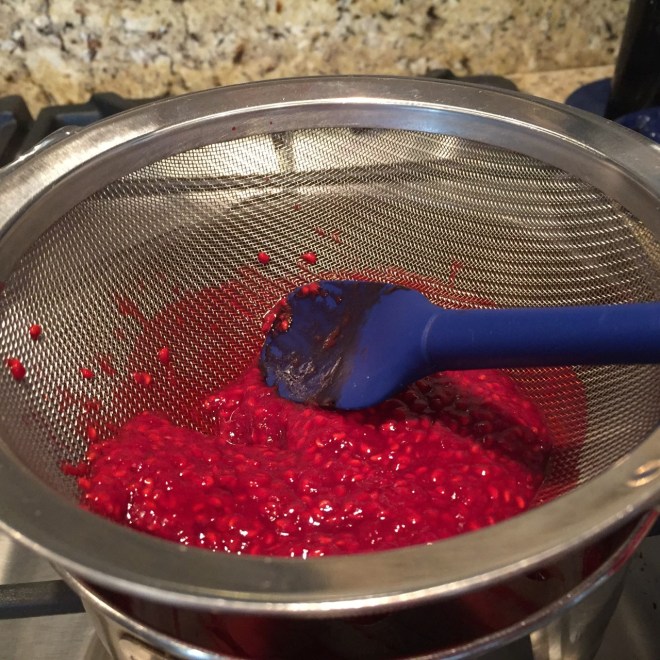 Chill the juice in the refrigerator to thicken. (You can use the remaining solids in yogurt or cereal.) Place the thickened sauce in a piping bag and drizzle onto the chilled Lime Bars.
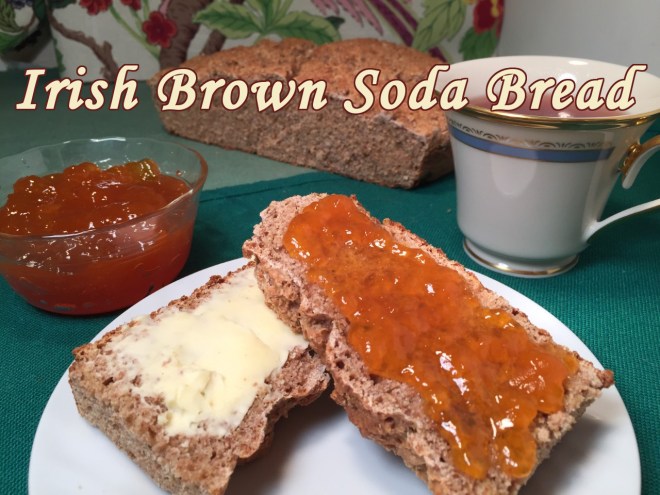 Saints be praised, St. Patrick’s Day is just around the corner, sure.
 Pile the batter into the hot skillet, pushing it all the way into the corners but mounding the batter into a dome. (Only the bottom portion of the batter should touch the sides of the pan – this will create a higher loaf.)
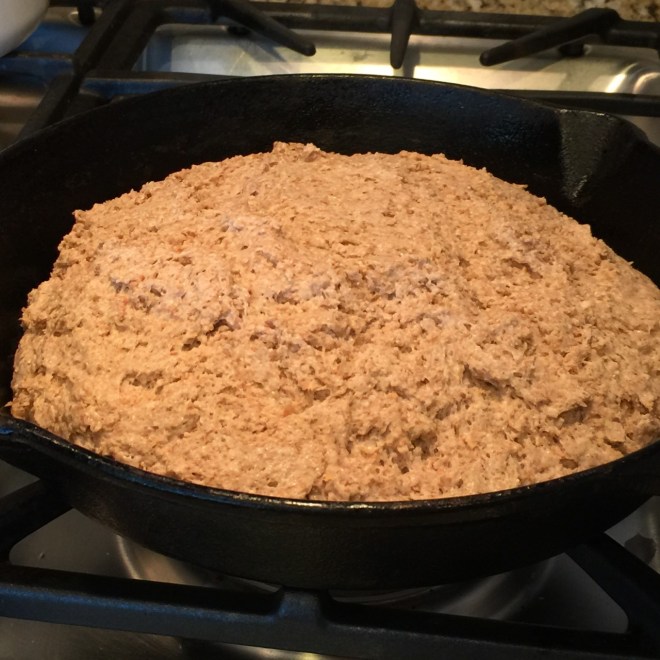 Slash top to make an ‘X’, 1/2″ deep and 5″ long.
 Bake in the preheated 375º F oven until interior temperature of the bread is 185º F – about 35-45 minutes. If you don’t have a thermometer, look for a golden brown top after 35 minutes.
 Remove hot loaf from skillet and cool at least an hour on a wire rack. Delicious with butter or jam.
 Caldo Verde is a hearty Portuguese soup that is very quick to prepare. It can be made with or without sausage. (There are fabulous fake sausages available everywhere!)
 In a large saucepot heat 1/2 T olive oil over medium/high heat. Add in the onions, salt, garlic, red pepper flakes, and black pepper. Sauté 3-4 minutes, until onions are translucent.
  Add in the potatoes and water. Increase heat to bring to a boil, then decrease heat to maintain a simmer. Cook, uncovered, until potatoes are tender when pierced – about 8-10 minutes.
  While soup is cooking, cut up the collards. First, remove and discard the center stem.
  Then cut the greens into 1″ pieces.
 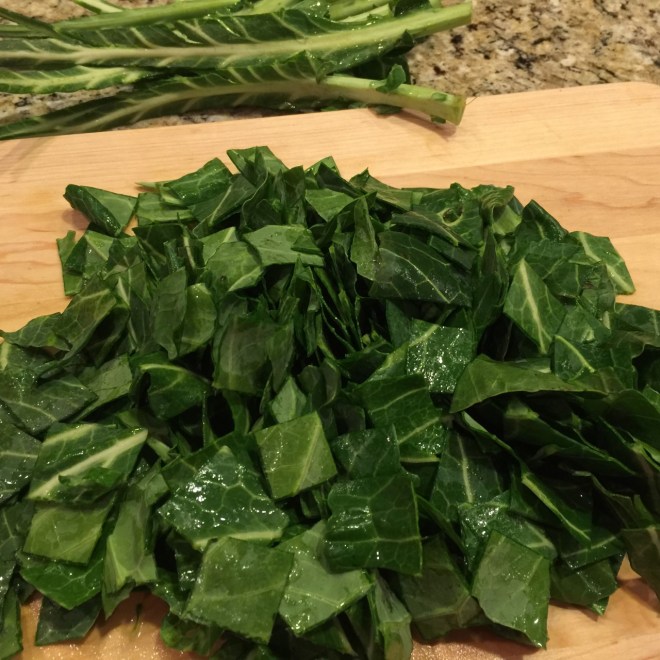 When potatoes are cooked, remove 1/2 cup of the solids and 1/2 cup of the liquid to a blender. Don’t blend yet.
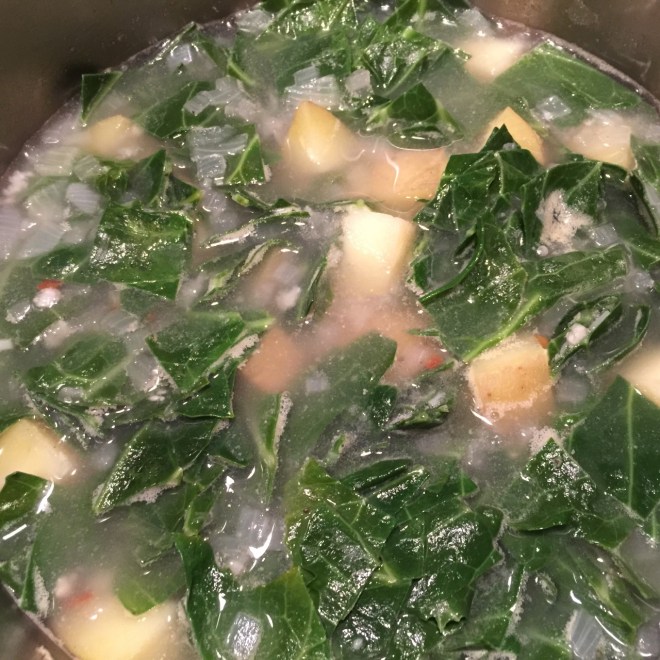 Start the blender and slowly drizzle in the remaining 1½ T olive oil. When it’s all added, continue to blend for 1 minute.
  Pour into soup. Add in the sausage (if using), vinegar, Worcestershire Sauce, and lemon juice. Adjust seasoning, as needed. (I add another 1/4 tsp salt and 1/8 tsp pepper.)
