

Sweet potatoes of some sort have become an integral part of Thanksgiving in the US. Sadly, they’re often dumped out of a can, sprinkled with brown sugar, then topped with marshmallows. Sigh!
I will agree that sweet potatoes can use some flavoring, so I decided to find a better way than covering them with sugar. Stuffing them offers the benefit of utilizing the skin, PLUS being able to assemble them ahead of time – a huge bonus when you’re trying to get a holiday dinner on the table.
STUFFED SWEET POTATOES – makes 2 servings
- 1 sweet potato
- 2 T butter
- 1 jalapeño pepper, seeds removed & minced
- 1/3 cup scallions, sliced (use whites and greens)
- 1/4 tsp salt
- 1/4 tsp ground black pepper
- 2 oz (1/2 cup) jack cheese, shredded (I like jalapeño jack for an extra kick)
Preheat oven to 375º Fahrenheit.
Wash unpeeled sweet potato and pierce with a sharp knife a few times. Microwave 2 minutes each side until soft in center – (about 6-8 minutes total). (You can bake them in the oven if you’d rather.) Set cooked sweet potato aside to completely cook in center while you prepare the filling.
Melt butter in a saucepan, and sauté jalapeño and scallions over medium flame for about 3-4 minutes – until the butter has browned, but not the scallions. Remove from heat and add in salt and pepper. Slice sweet potato in half lengthwise and scrap out pulp, leaving a 1/4″ border intact.
  Chop pulp to break up strings, then mash.
  Stir mashed sweet potato into jalapeño mixture along with all but 2 T of the cheese.
 Fill each sweet potato shell with the mixture. Sprinkle 1 T cheese on each half. At this point they can be covered and baked just before serving.
 Bake at 375º F for about 8 minutes, until sweet potatoes are hot and the cheese is melted.
  Serve immediately.
 I’m not sure when it happened but, for better or worse, every year new foods become pumpkin flavored during Autumn.
 In a small bowl, whisk together the egg, pumpkin, milk, and vanilla. Pour the wet ingredients into the dry and gently fold to mix.
 Empty onto a well-floured counter and knead about 5 or 6 times. (I use a bench scraper to help since the dough is sticky.)
  With floured fingers, pat dough into an 8″ circle (try to keep the dough to an even thickness) and cut into 8 wedges.
 Place on a greased or parchment lined cookie sheet (I prefer a dark sheet that’s greased.)
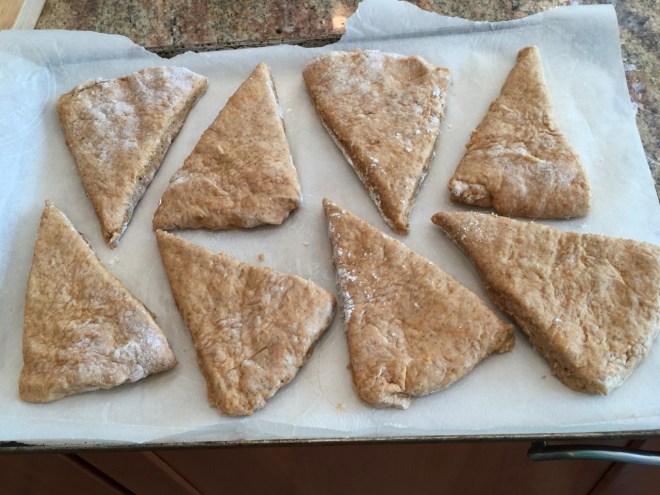 Bake at 400º F with the rack in the middle position for about 16 minutes. They’re at their best when they’re slightly dark on the bottom.
 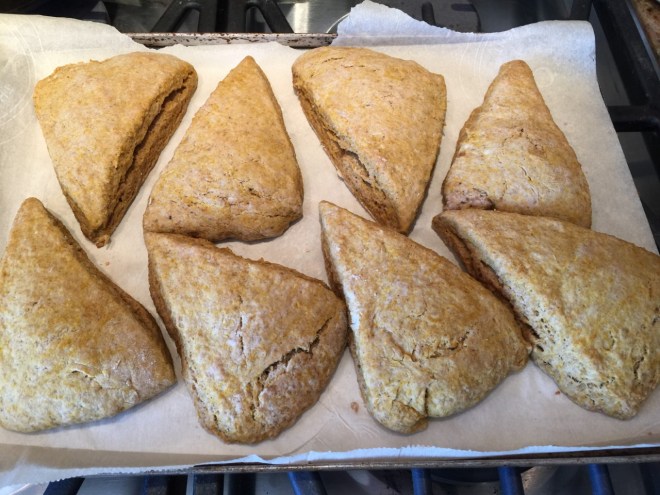 The last time I baked them, I thought I overcooked them (see photo), but they were amazing – a slight crunch on the outside and perfect chew inside. So when you check them for doneness, look for slightly dark sides.
  Then remove from oven onto wire rack to completely cool before icing.
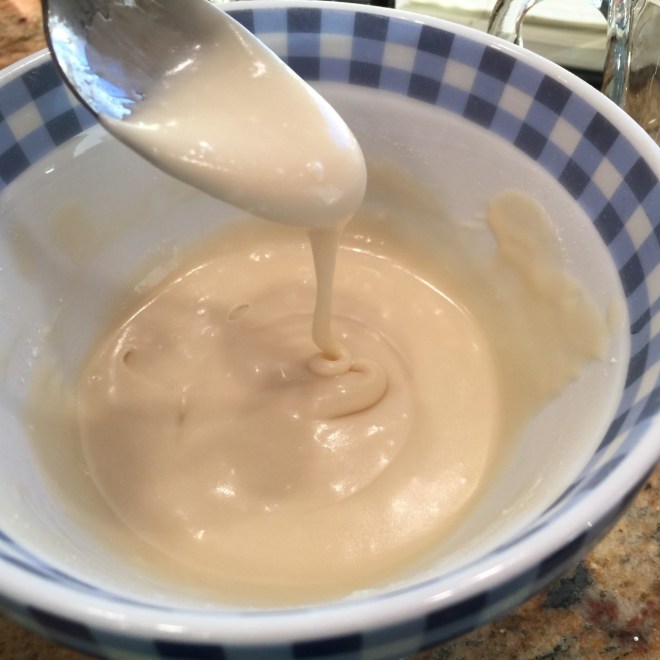 For easier control over the drizzle, pour icing into a spouted cup or a pastry bag with a small circle tip. Design as you wish.
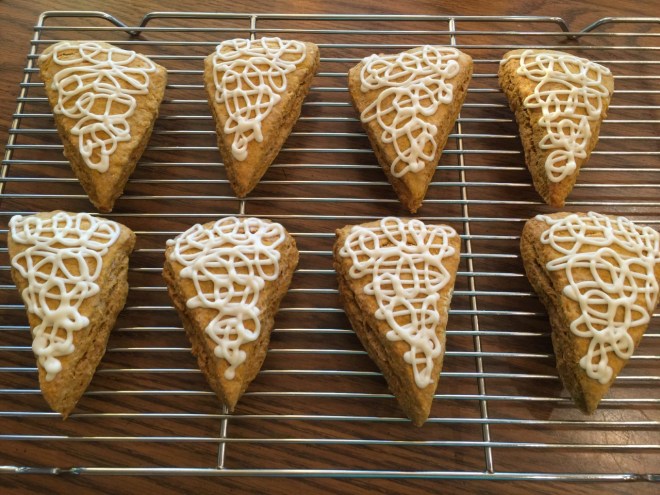 Allow icing to harden before serving.
 I love Indian food! In particular, I look forward to the soft chewy naan bread. I previously posted a plain naan bread recipe (
 During the half hour wait, sauté the onions: In a skillet put 3 T olive oil, the onions, and salt.
 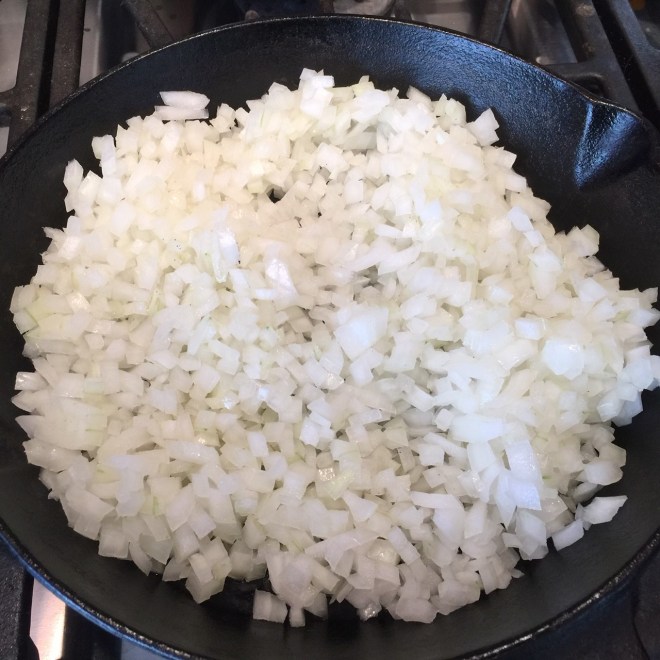 Over medium to medium/high heat cook until onions are well browned. Adjust heat as necessary. (This step can be done ahead of time.) Remove from heat to cool a bit.
 Once the dough has set for 1/2 hour, add in 3 T olive oil, buttermilk, baking powder, onions, and about 125g (1 cup) of the flour. Blend to combine and break down onion somewhat.
 Add flour in increments until you get a dough that’s only slightly tacky to the touch.
 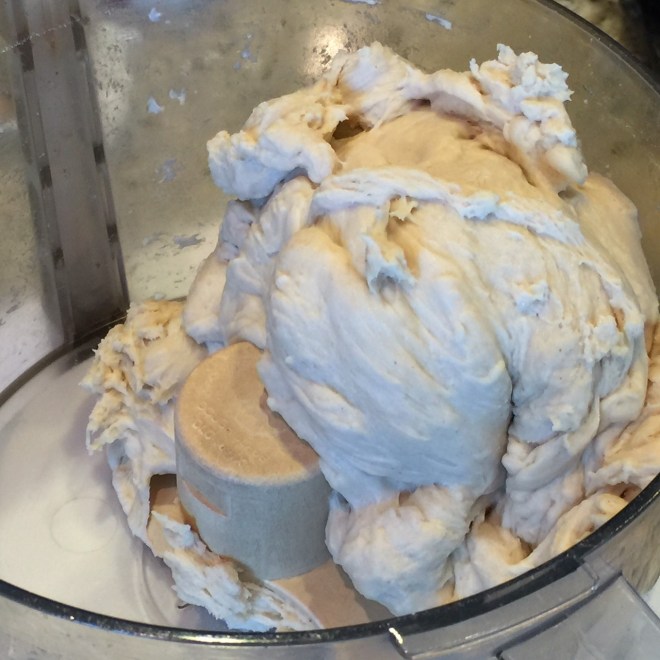 Pour dough into an oiled bowl, flip dough so both sides are oiled, and cover. Let rest about 1 hour, until doubled in size.
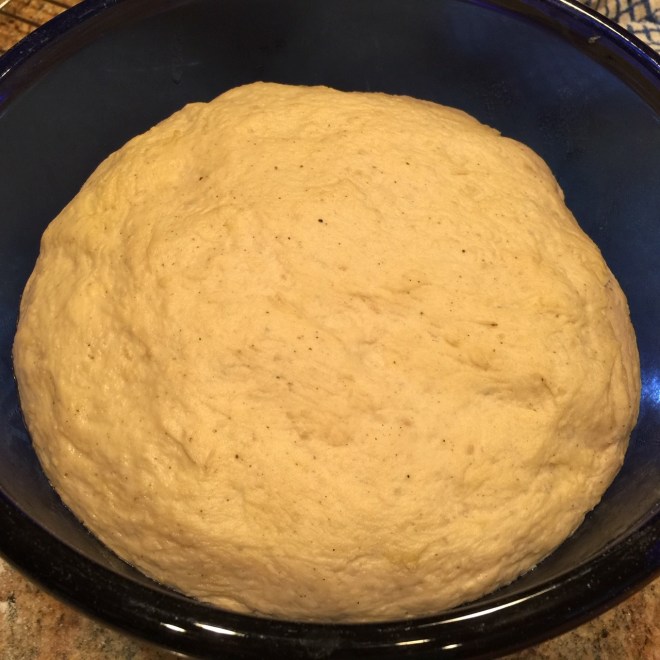 Pour dough onto a lightly oiled counter (not floured). Cut into 8-12 pieces, depending on how large you want them.
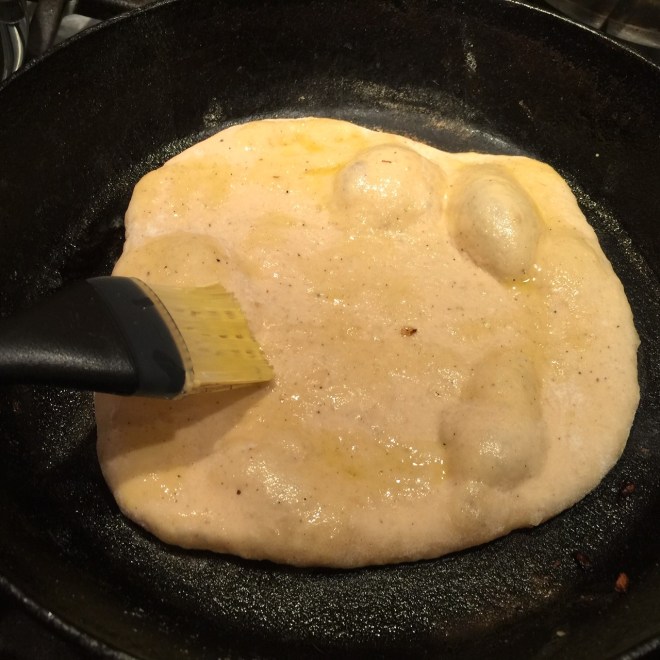 As it’s cooking, roll out next dough ball(s).
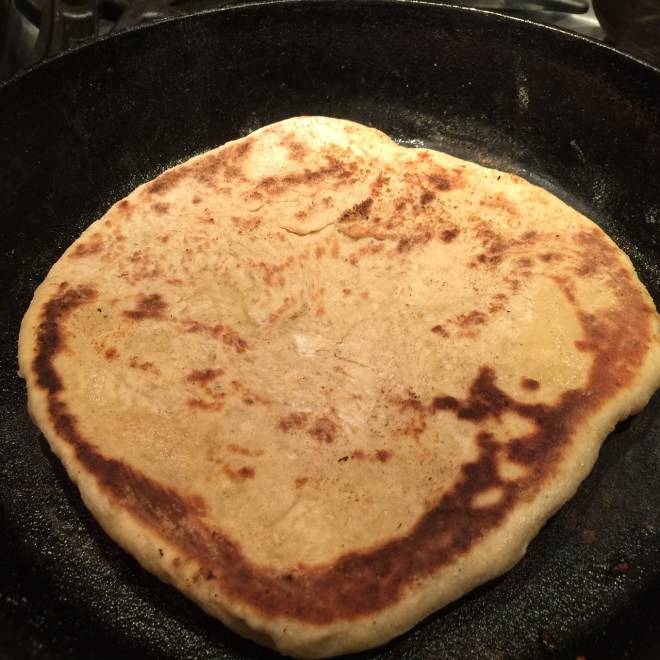 Remove to a tea towel and wrap to keep warm.
 Green Chili Stew is an incredibly tasty blend of flavors that’s quick to put together. The little pop of lime is my favorite part!
 If you’re using fresh chilis, turn oven to broil. Wash and cut pepper and chilis top to bottom. Discard seeds and ribs. Lay cut side down on cookie sheet.
 Broil until skin starts to blacken. (It only takes a few minutes, so keep an eye on it!!!). Remove and discard blackened skin.
 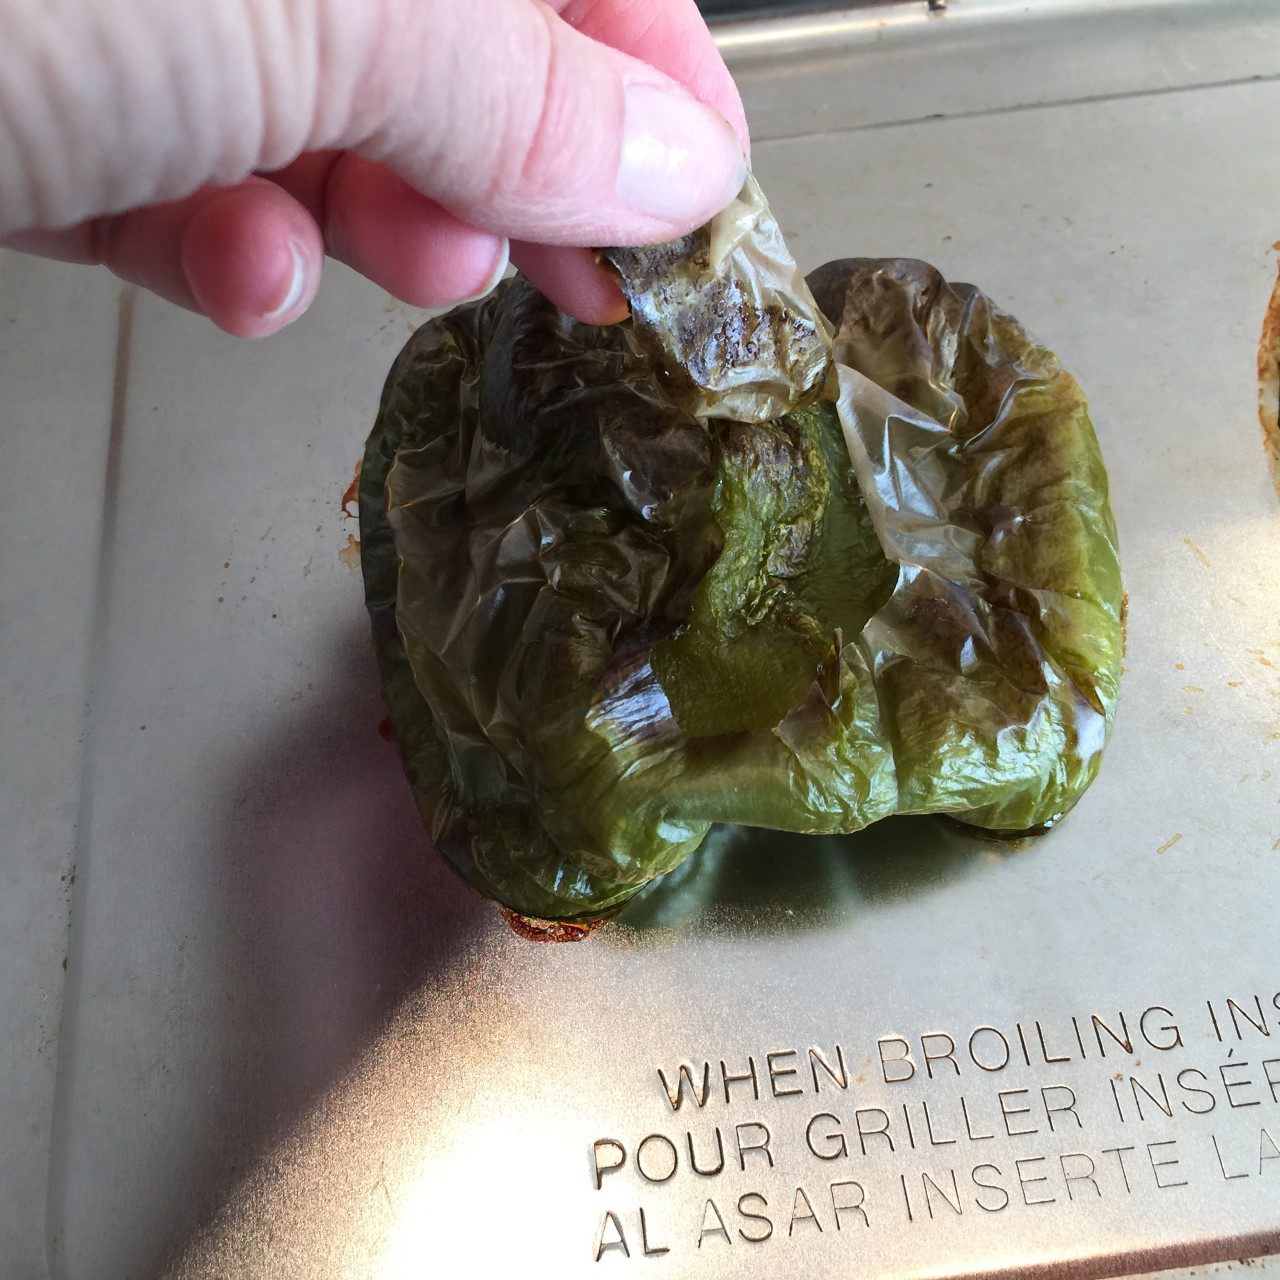 Chop skinless pepper and chilis into bite-sized pieces.
 Wash tomatillos well (they feel kind of waxy) and chop into bite-sized pieces.
  In a Dutch oven, place the oil, onions, garlic, cumin, coriander, and 1 tsp salt. Sauté over medium/high heat 4 minutes, stirring often.
  Add in corn, chilis, and pepper – cook 3 minutes, stirring often.
 Add in hominy, beans, tomatillos, vegetable stock, and fake chicken or tofu. Turn burner to medium/high heat, bring to a boil, cover, and reduce heat to keep a simmer. Cook for 20 minutes. Stir in cilantro, lime juice, and additional salt, if needed (I usually add in 1 tsp salt).
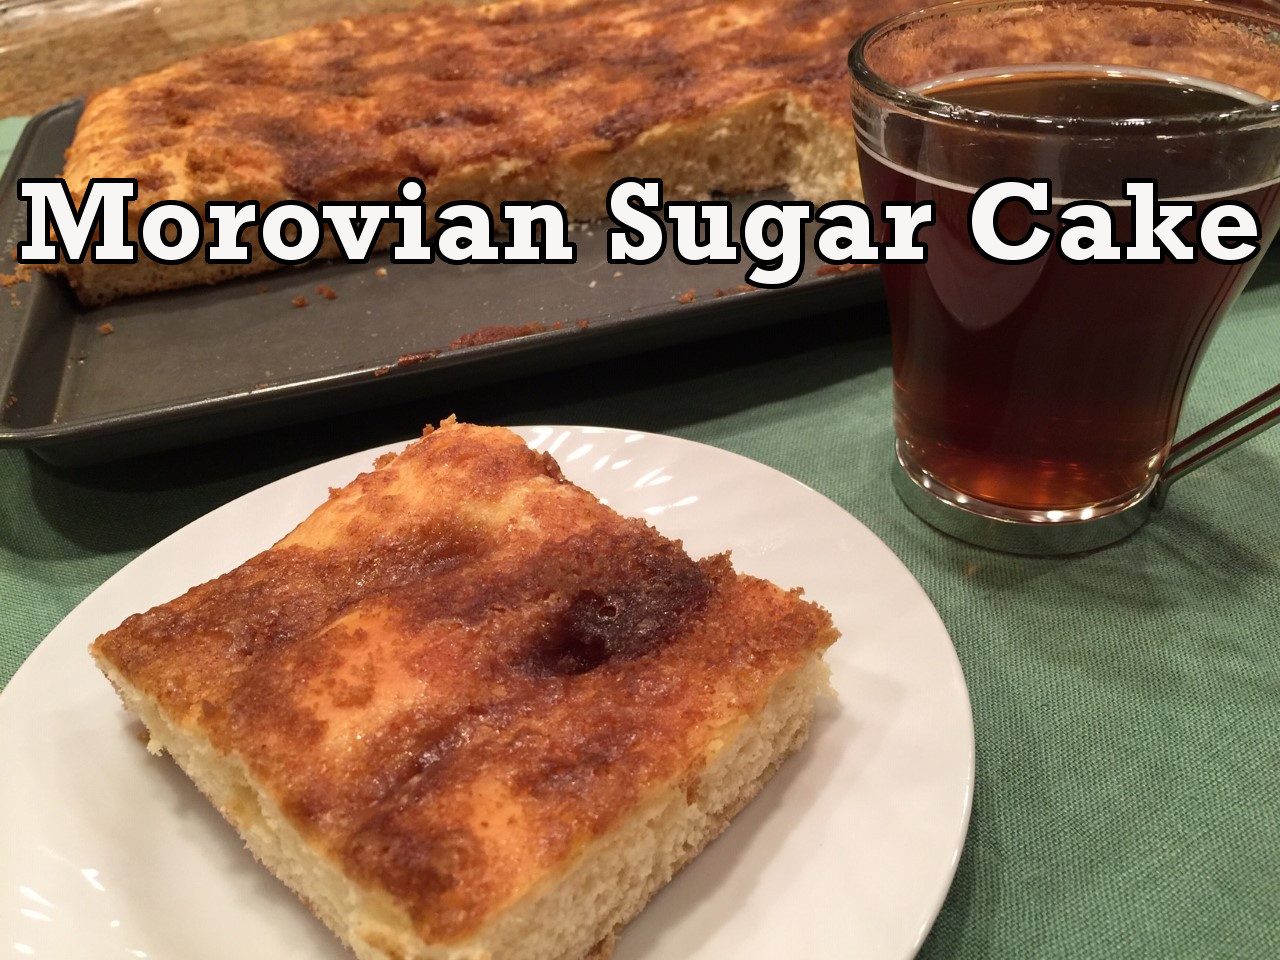 My introduction to Morovian Sugar Cake was a little bittersweet.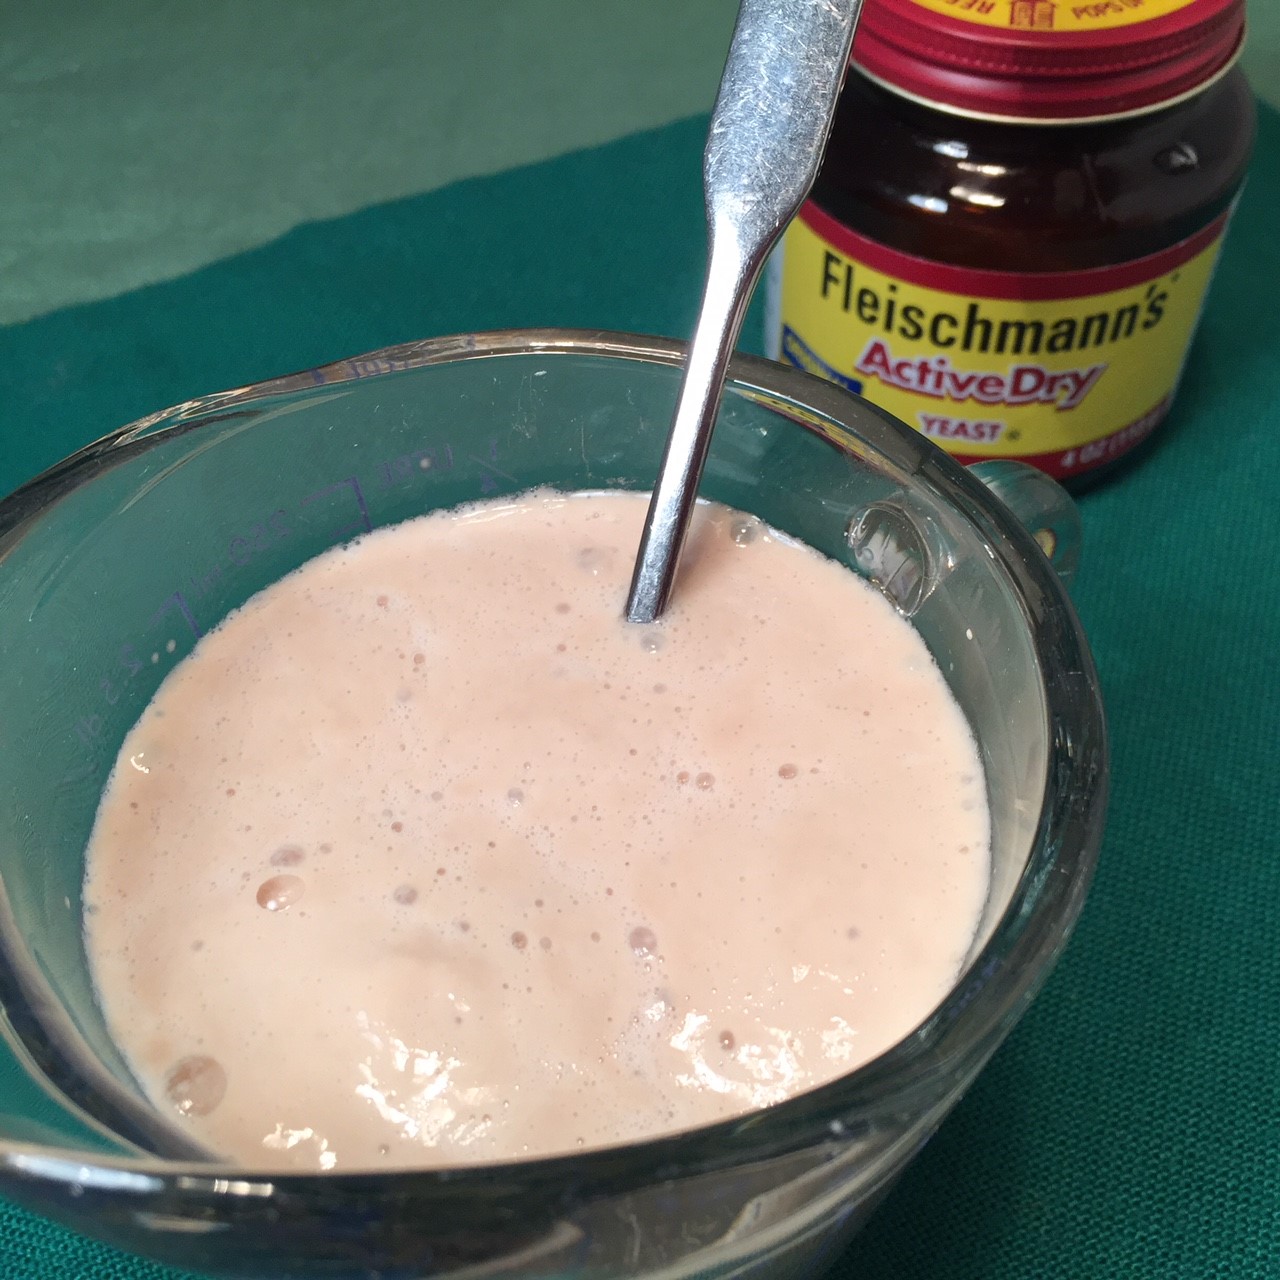
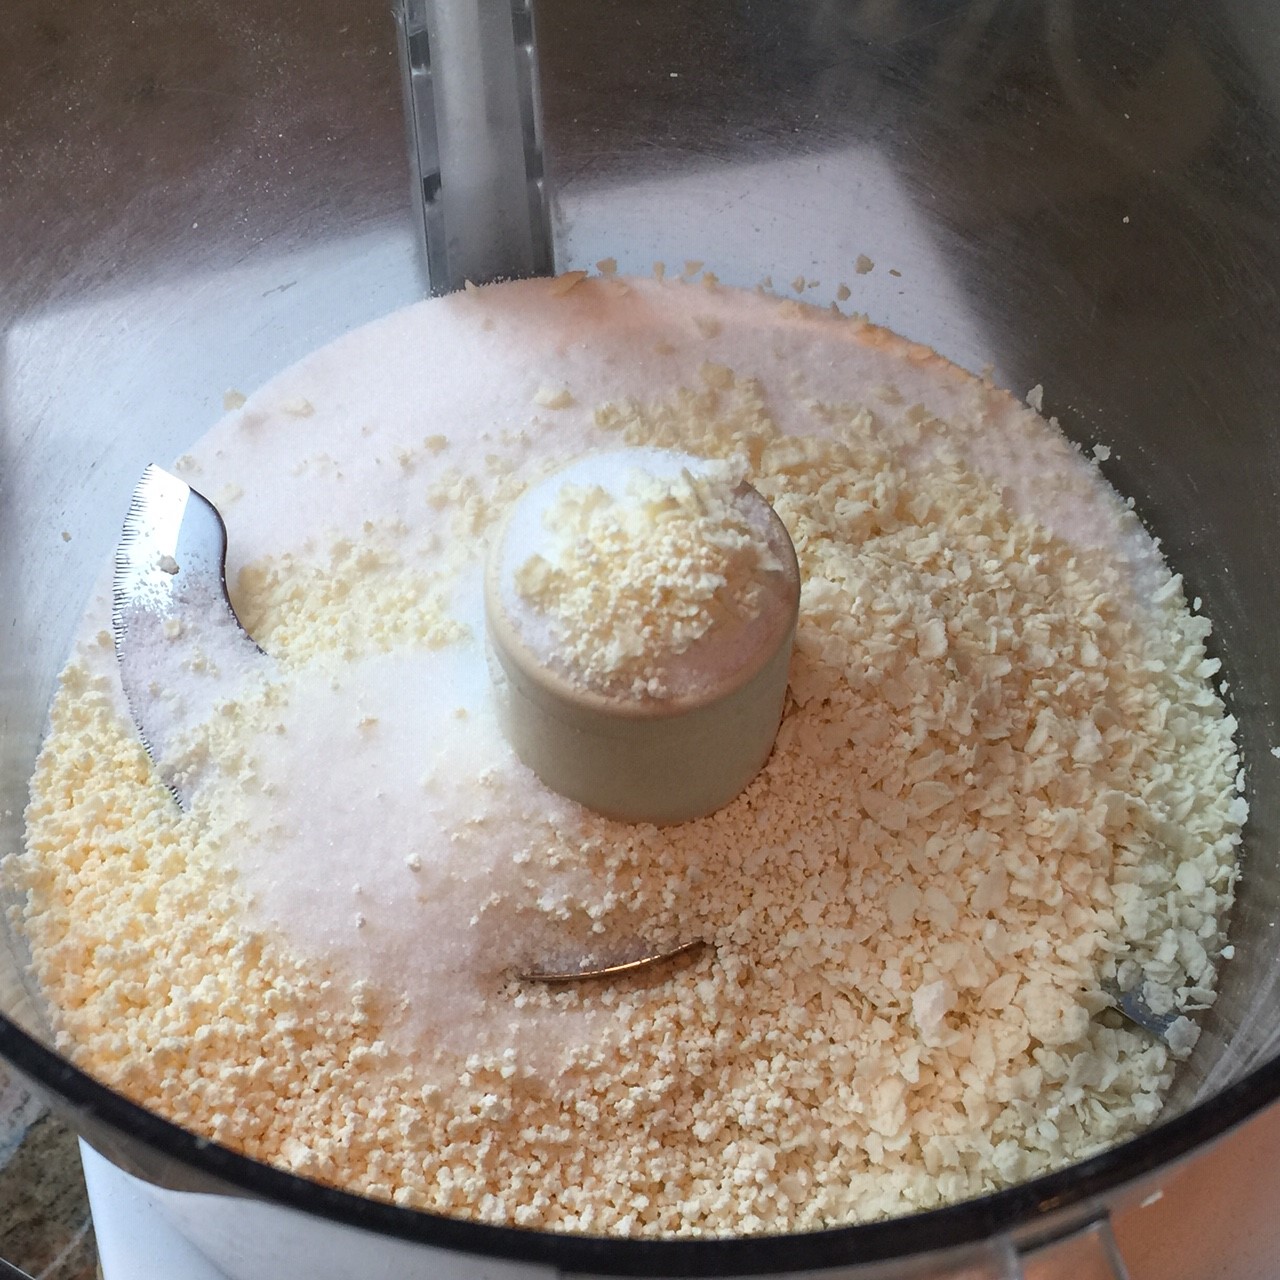 Add in 84g (6 T) butter and eggs. Process to blend.
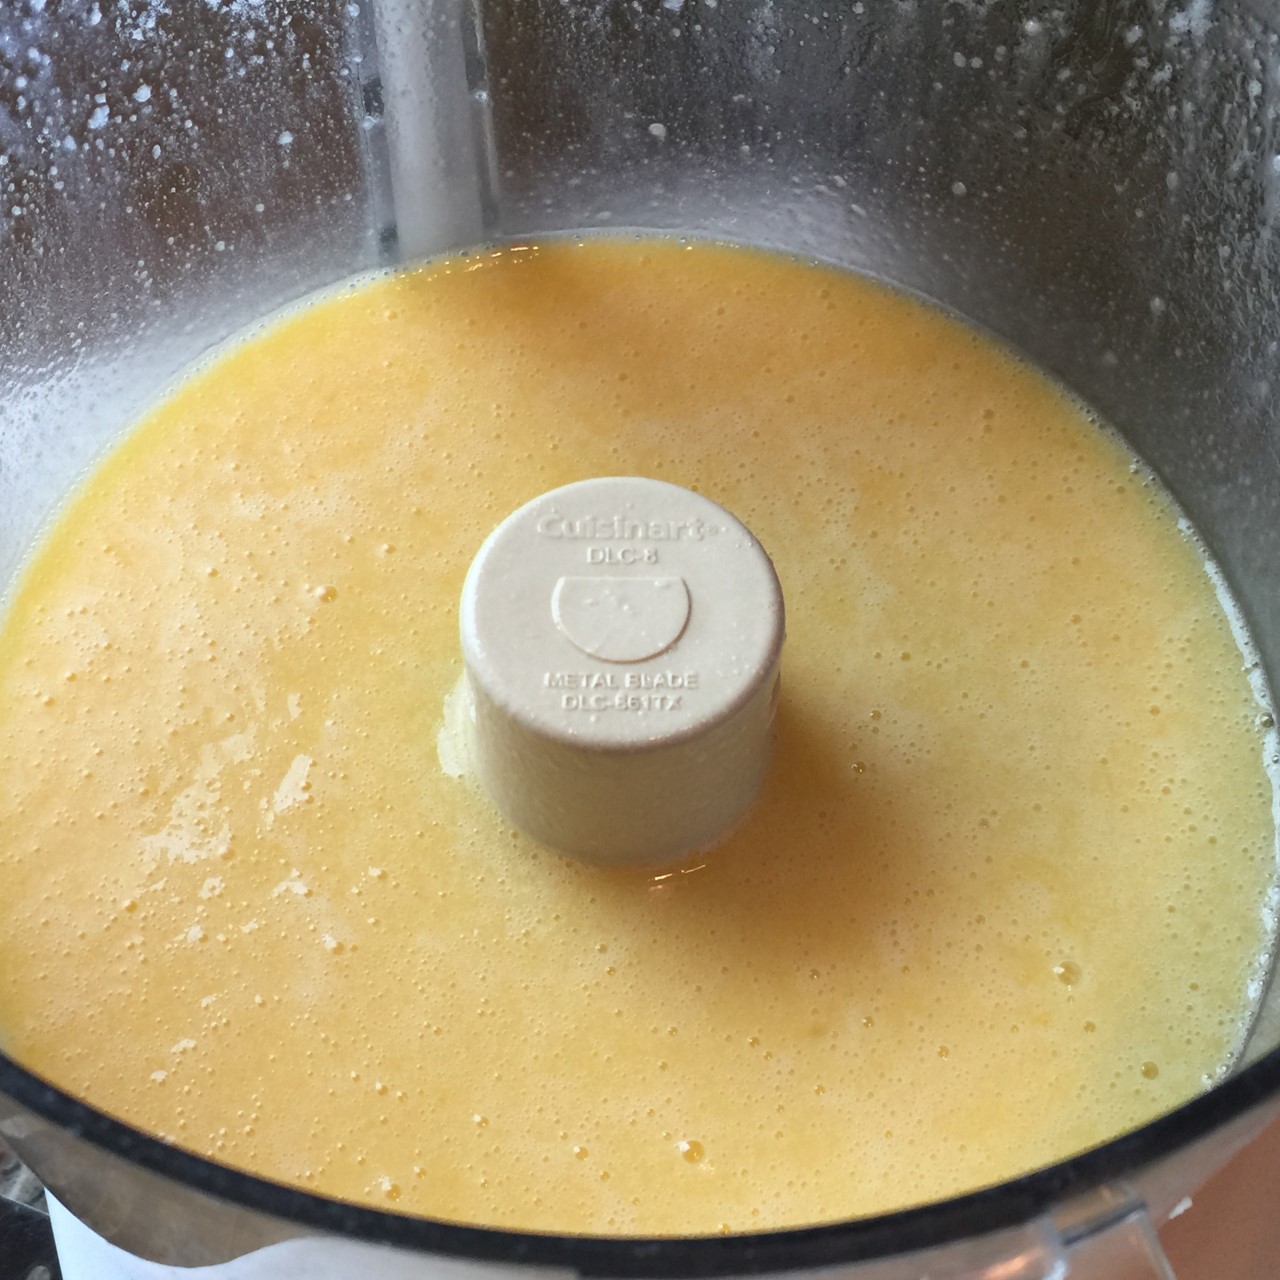 With machine running, pour in the proofed yeast water.
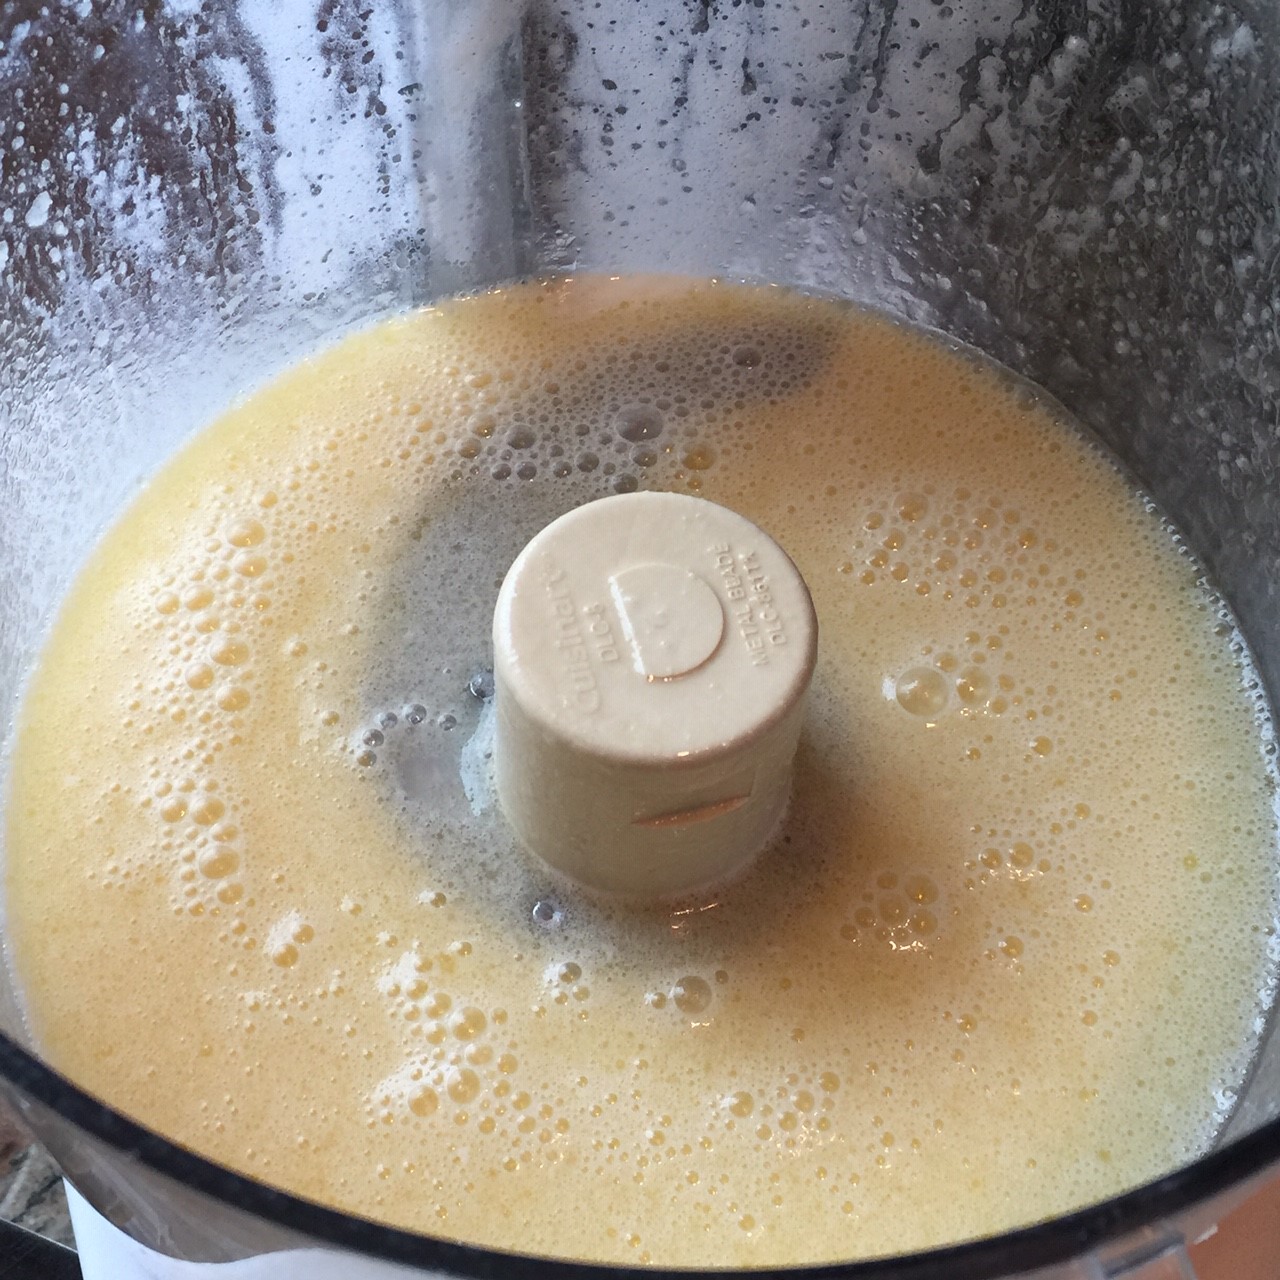 Add 400g (3½ cups) of the AP flour to processor and blend. Then add flour 25g (¼ cup) at a time, processing after each, until dough starts pulling away from sides of the work bowl. Stop adding flour, and run machine another 30 seconds to knead the dough. Empty dough onto a floured surface and knead a few times to bring together.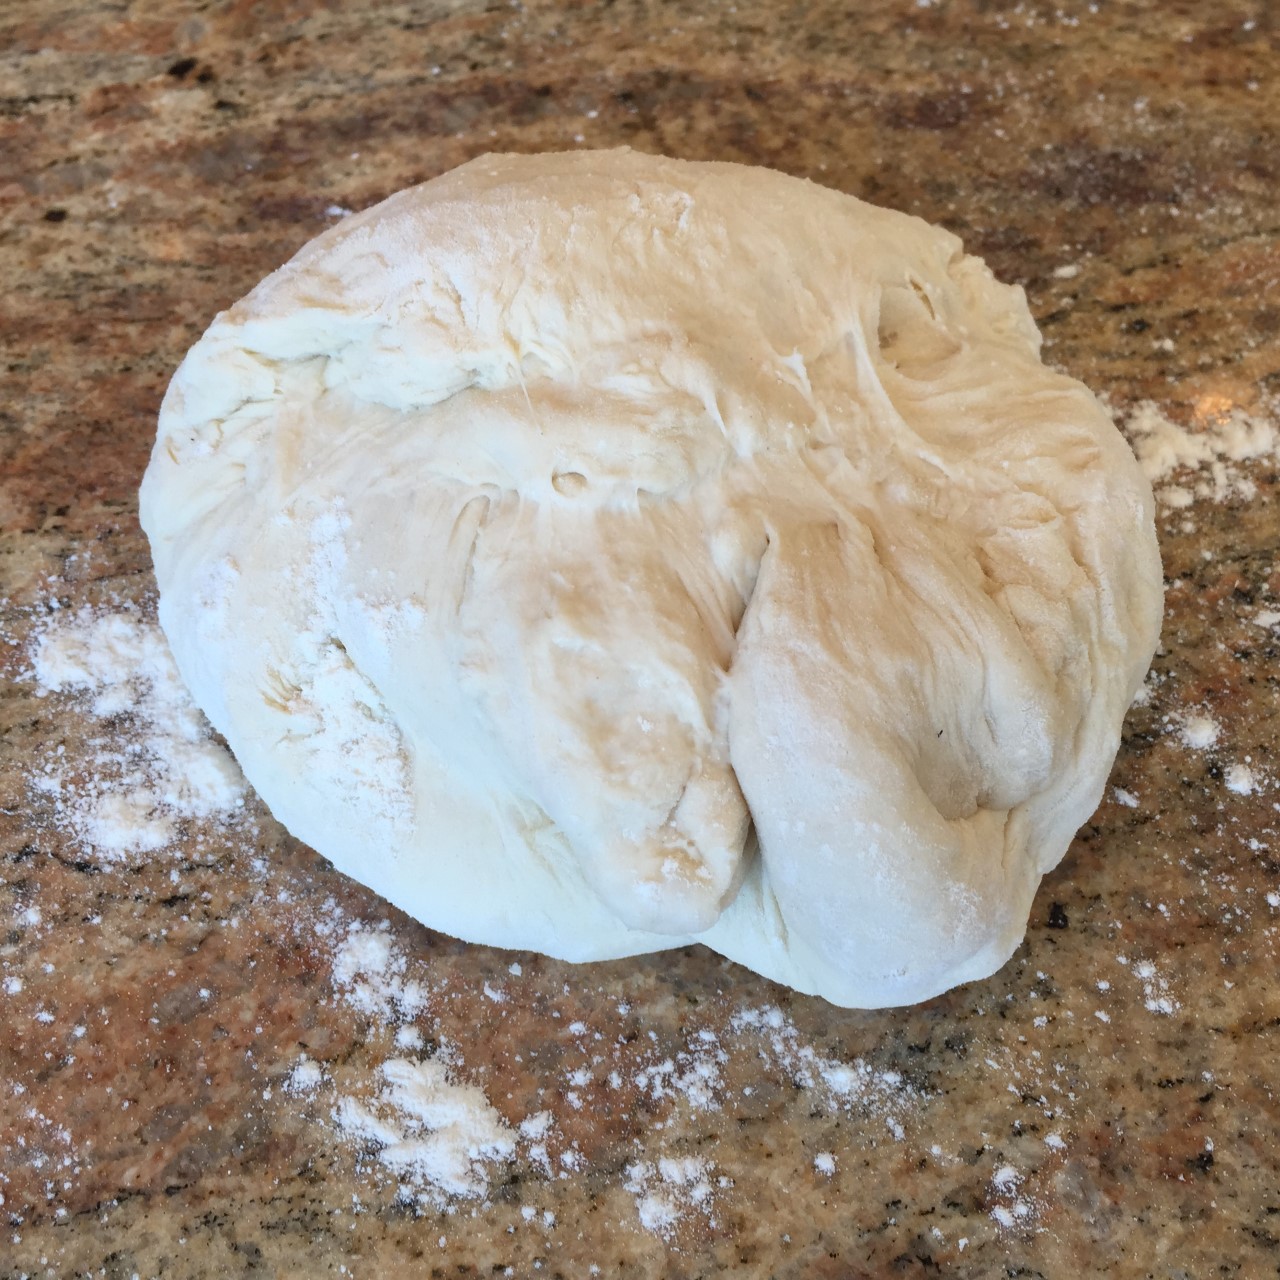


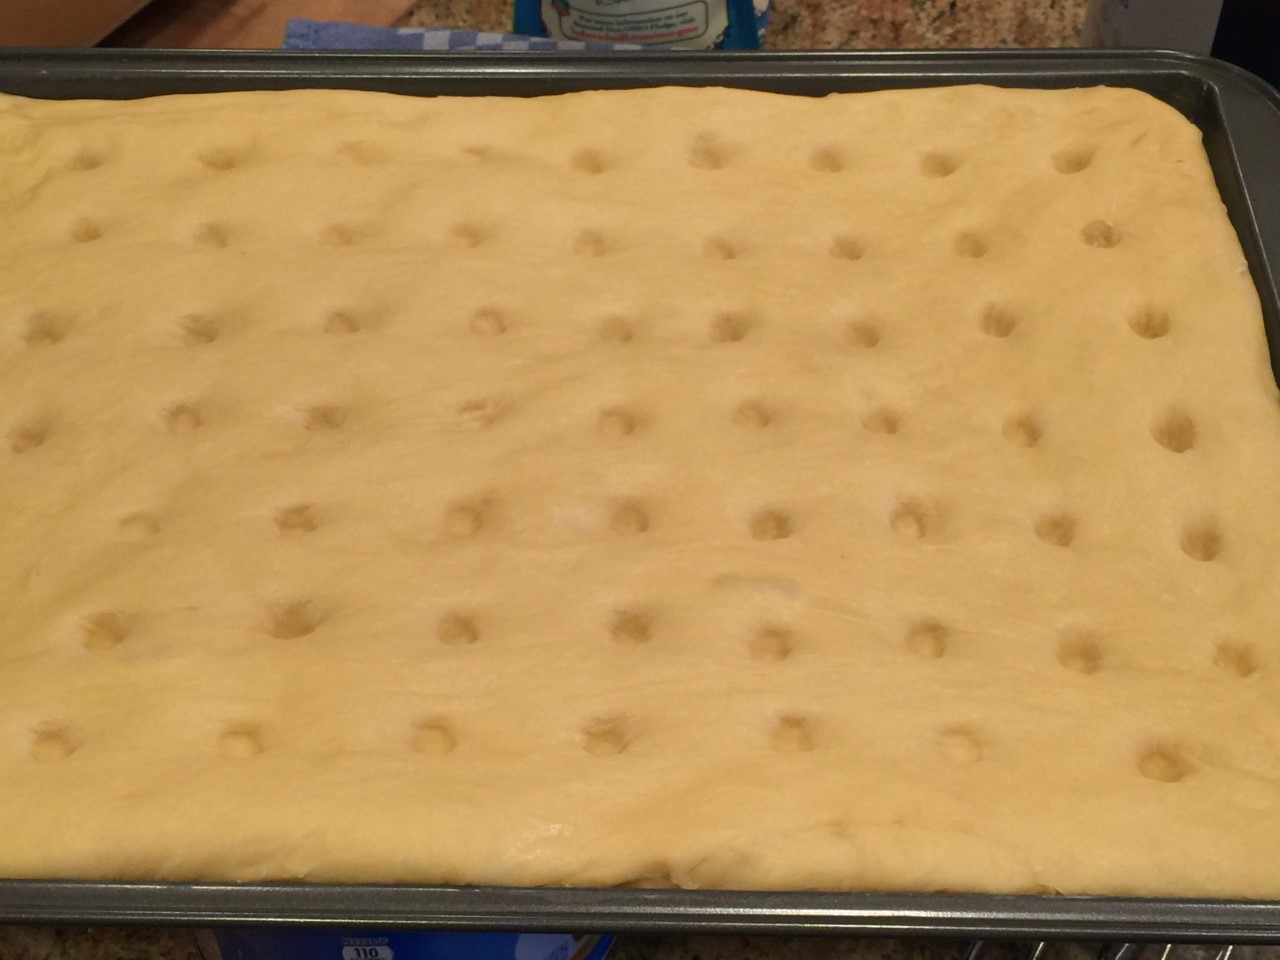
 After dough has risen, create pockets with your fingertip, the handle of a wooden spoon, or something else that’s about 1/2″ diameter.
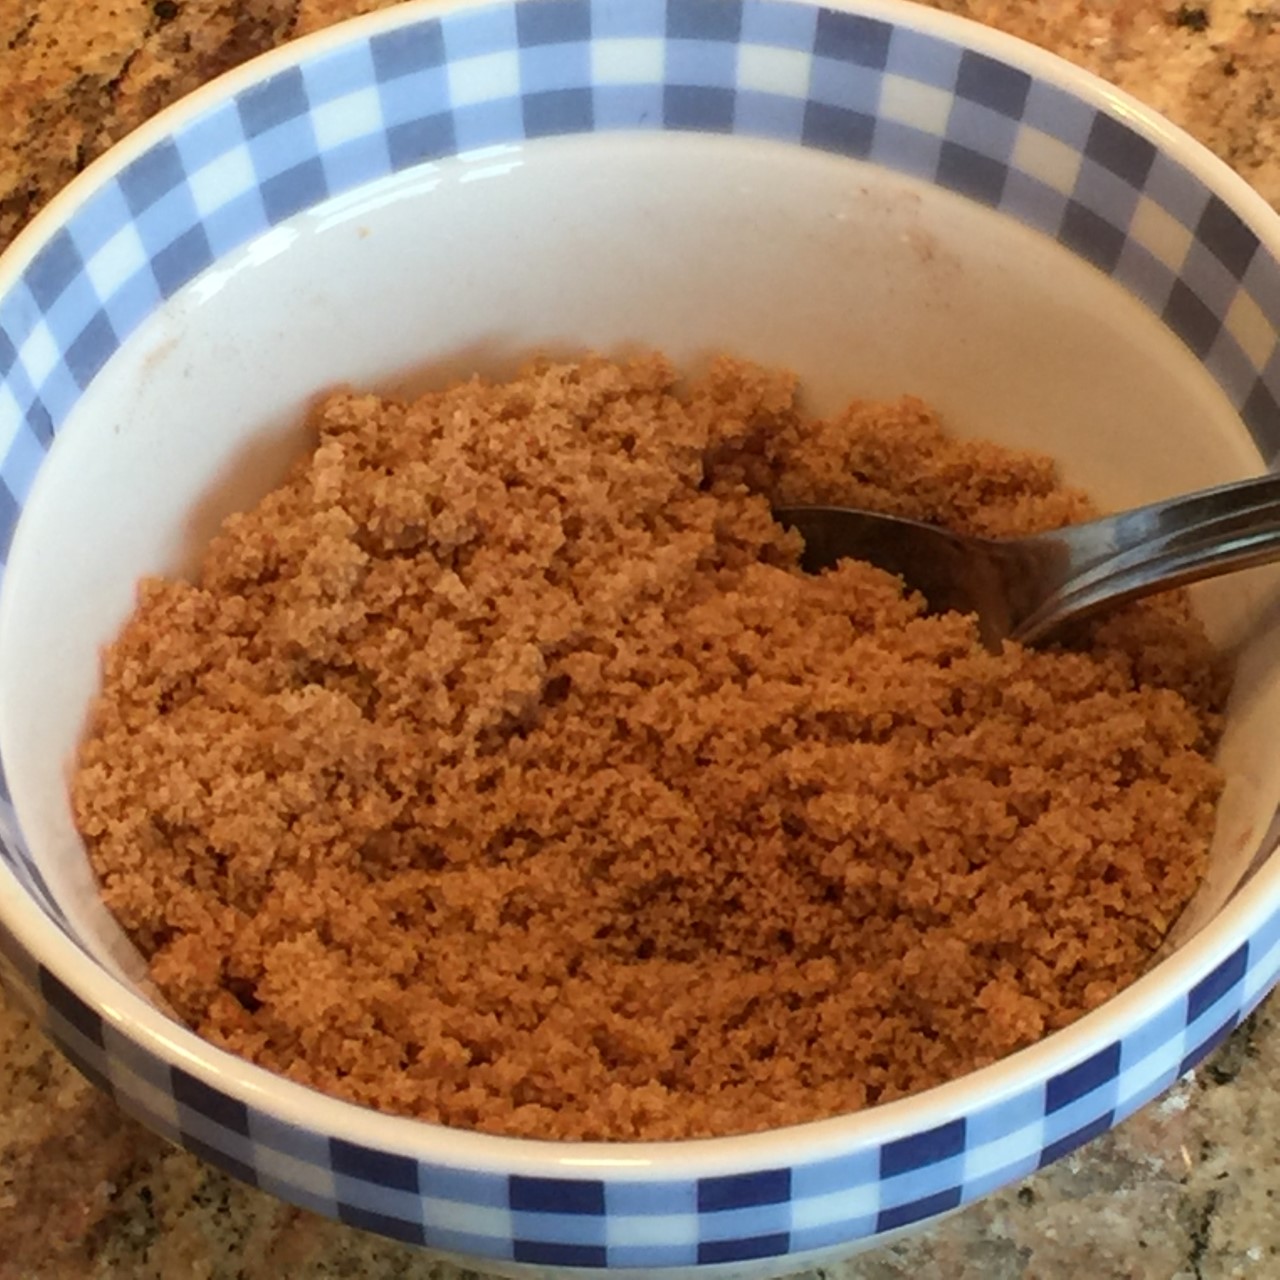
 Sprinkle the sugar topping over the entire cake. Drizzle the remaining 84g (6 T) melted butter over all.
  Bake at 350º F for about 20 minutes, until golden brown.
  Cool at least 5 minutes before serving.
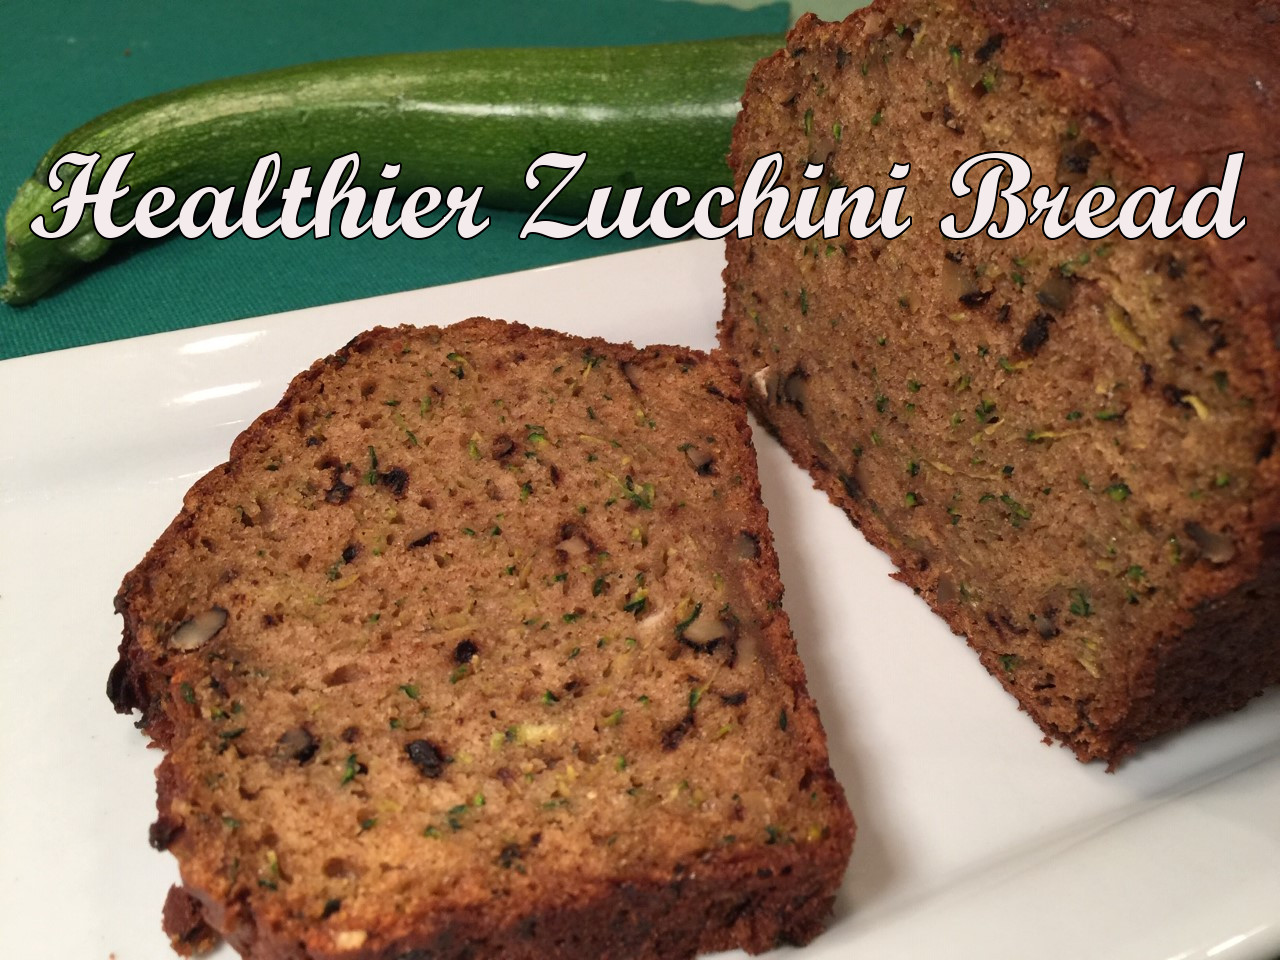 They’re out there and they’re coming – those overzealous gardeners who plant way too much zucchini. You can hear the pleading in their voices – “You want some zucchini? We have lots!”
 Using the large holes of your grater, shred the zucchini. (You can use your food processor or do it by hand.) You’ll have about 5 cups of zucchini. Take a handful of the zucchini and place it in the center of a clean tea towel. Gather the edges together and twist the ball firmly to extract as much liquid as you can. Do this with all the zucchini. (It’s better not to put too much zucchini in the towel at one time.) Discard the liquid, unless you can think of a use for it.
 In a large bowl, beat the egg whites, sugar, oil, vanilla, and vinegar by hand.
 Stir in zucchini.
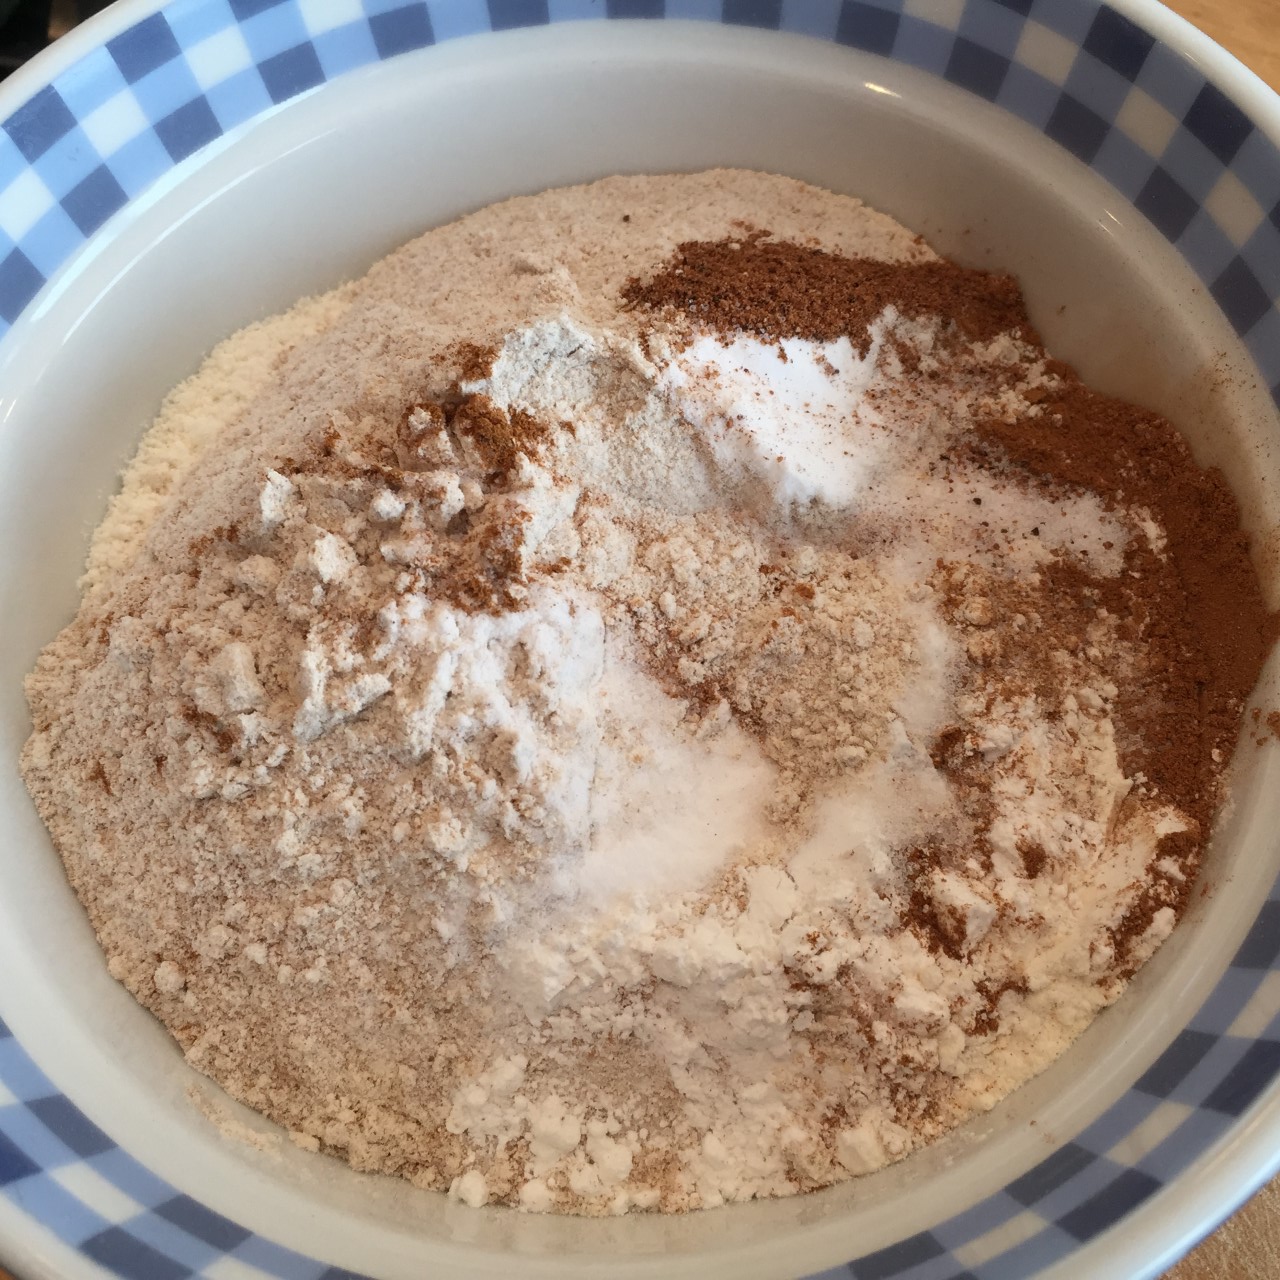
 Pour in the dry ingredients and gently blend until the flour is incorporated – there can be some flour showing. (Over mixing quick breads can lead to a tough loaf.)
  Pour batter into an oiled metal (or glass, if you don’t have metal) loaf pan and smooth top.
  Bake at preheated 375°F (190°C) for 60-70 minutes (mine took 65 minutes), until a toothpick comes out clean.
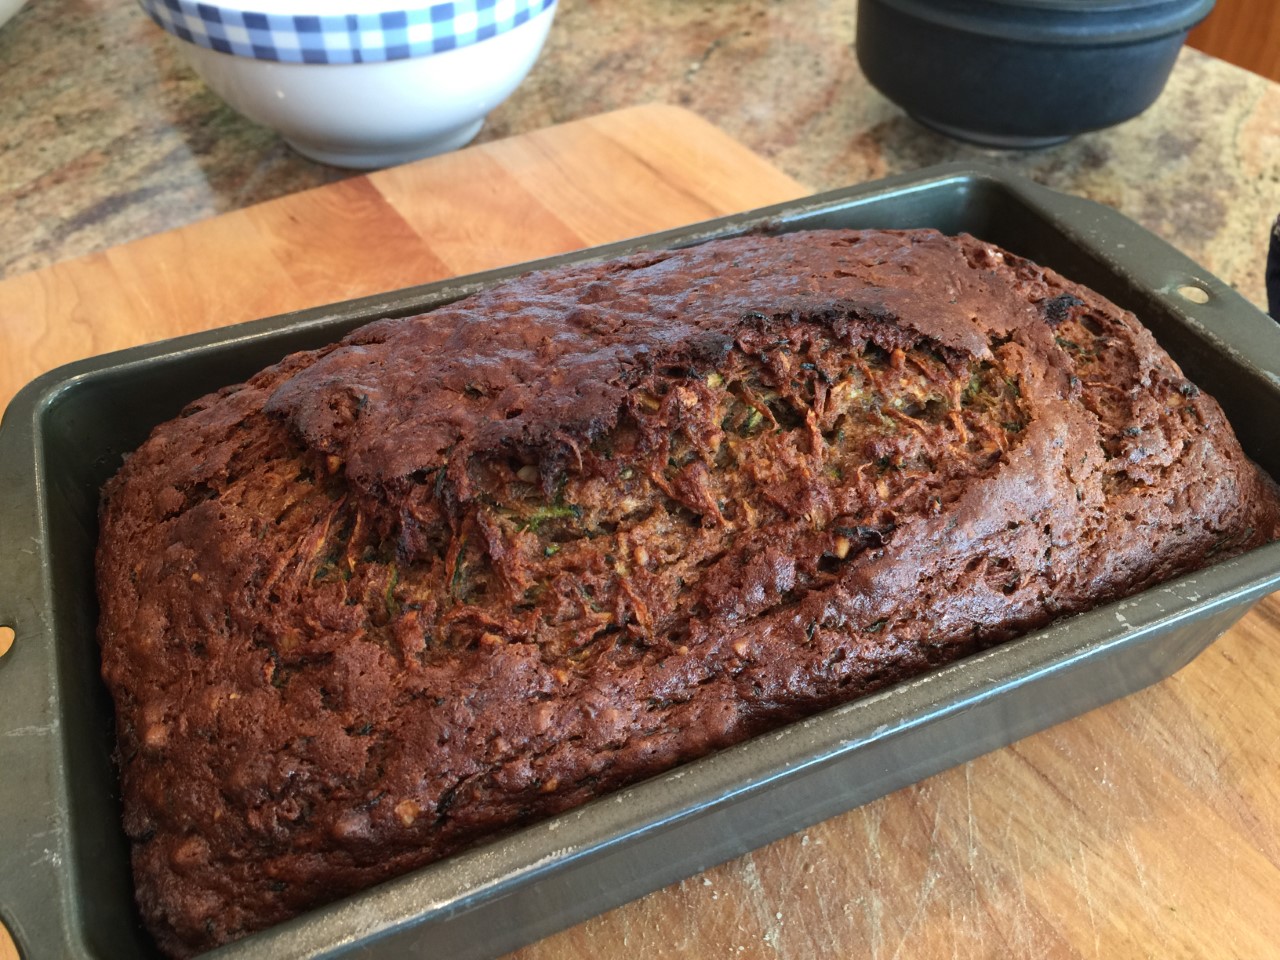 Let sit in the pan for 20 minutes before removing to a wire rack.
 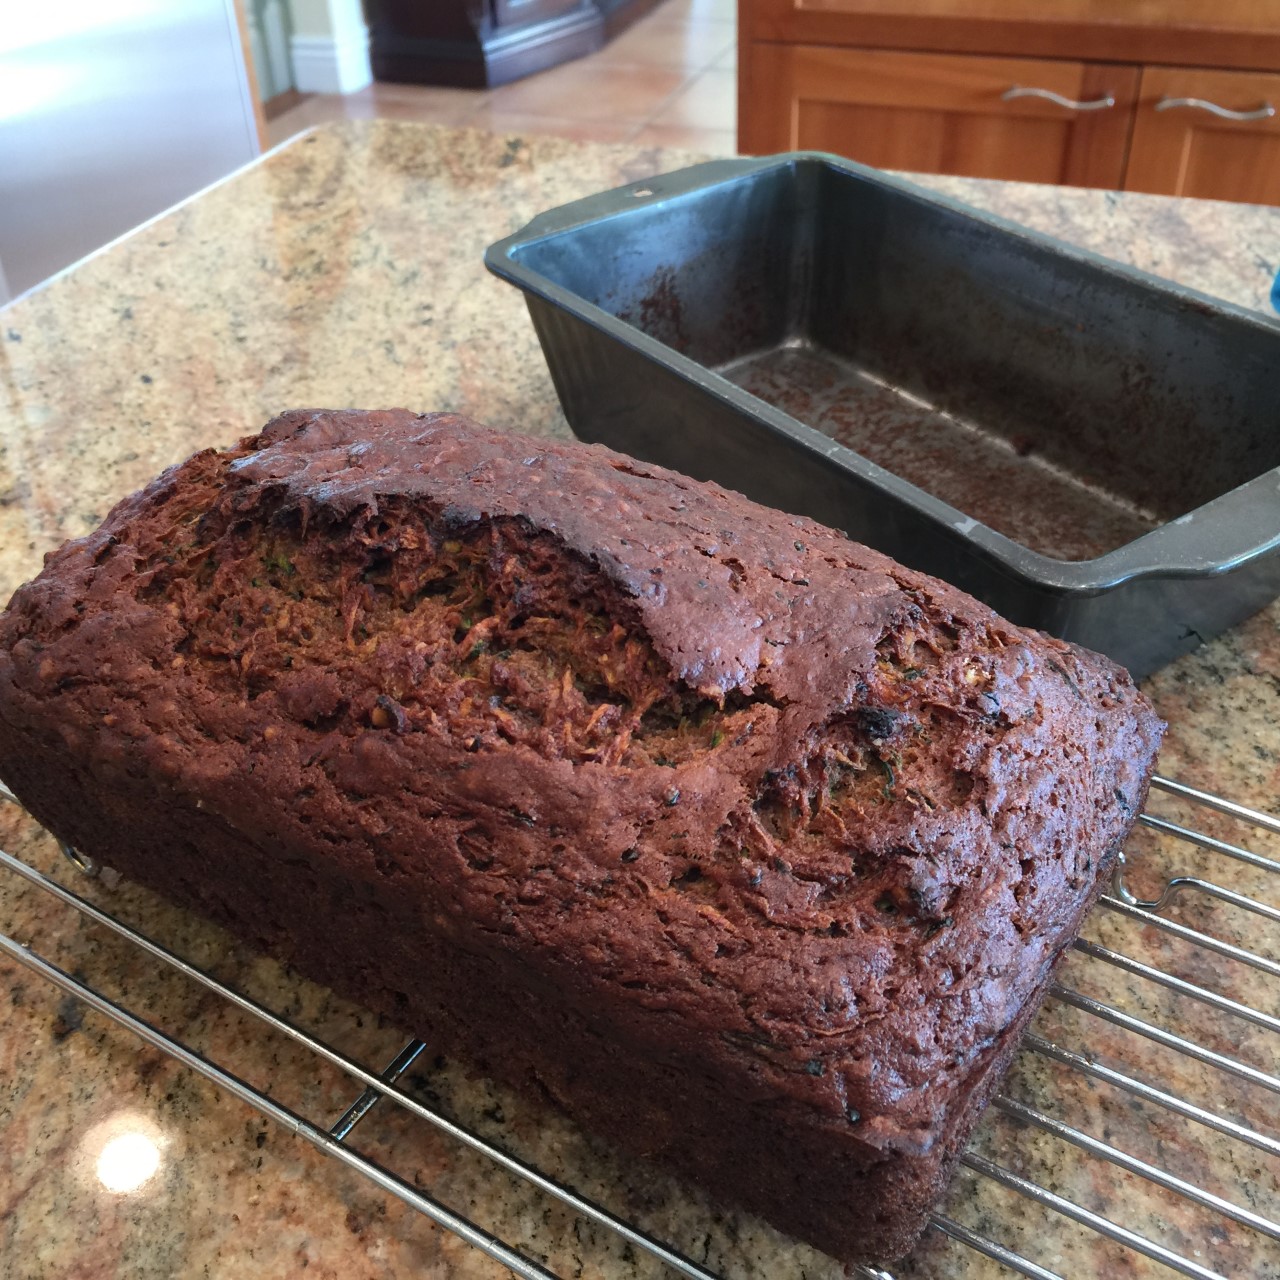 The loaf needs to cool at least 1½ hours to firm up before slicing. Honestly, try and restrain yourself – you’ll get nicer slices if you wait.
 Summer is the time when vine ripened tomatoes are plentiful. If you’re lucky, these red beauties are growing in your own garden. (I’m so jealous!)
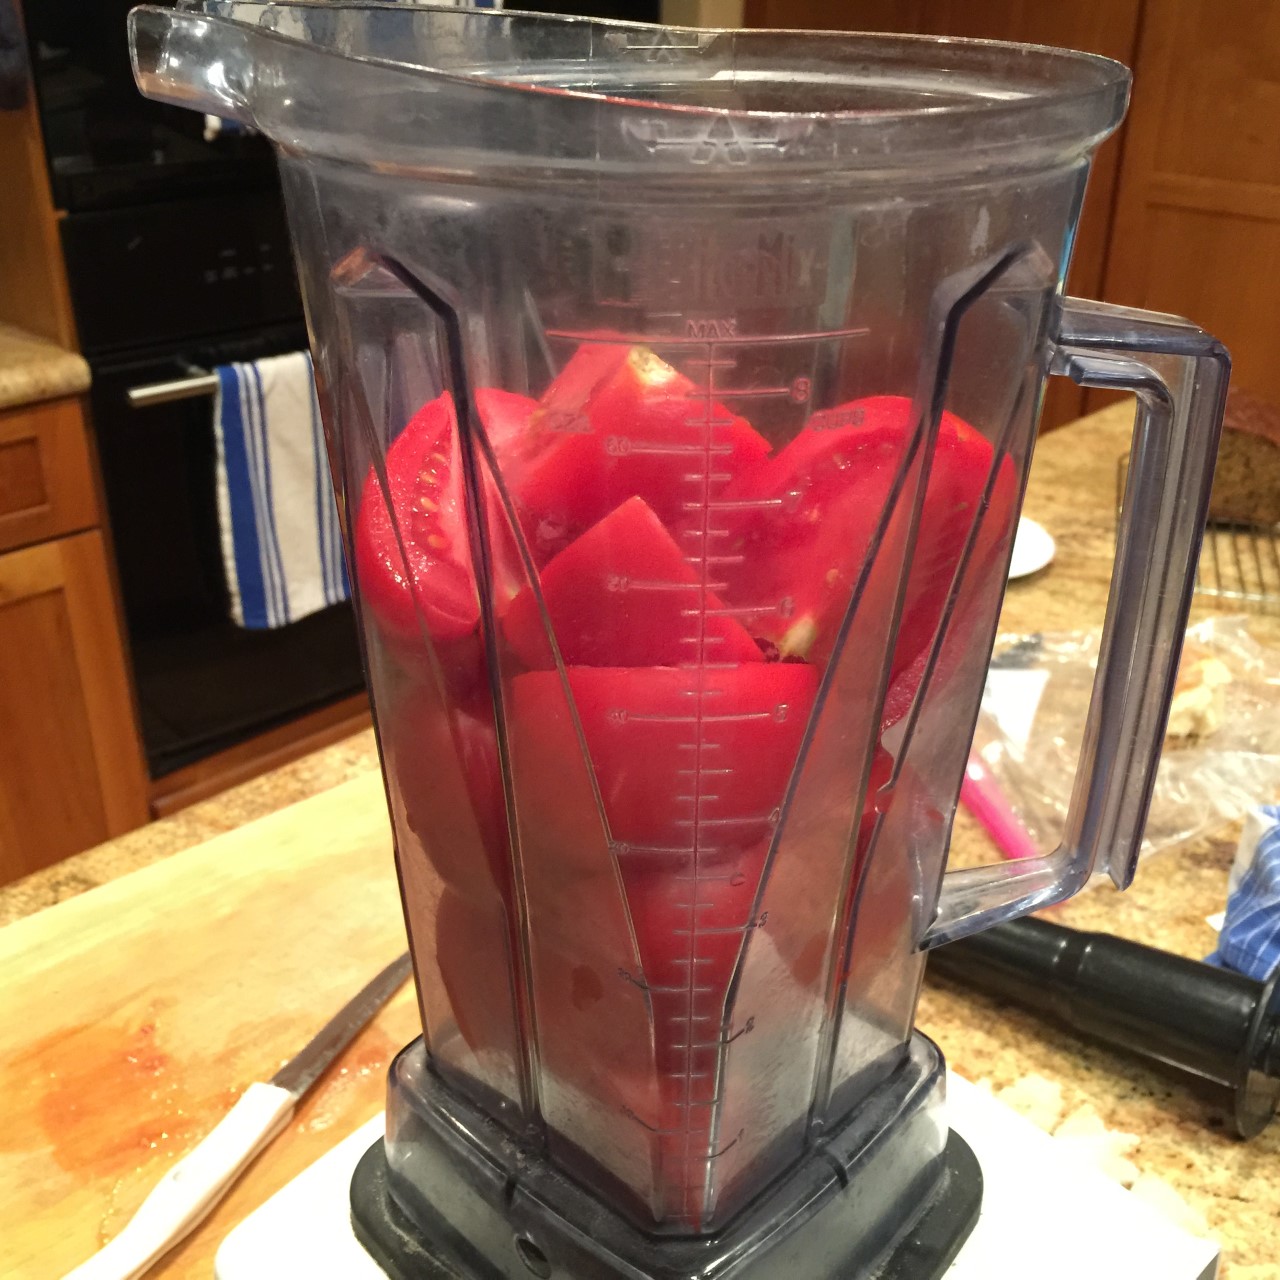 Purée tomatoes. Place a large sieve over a bowl and pour in the tomatoes.
 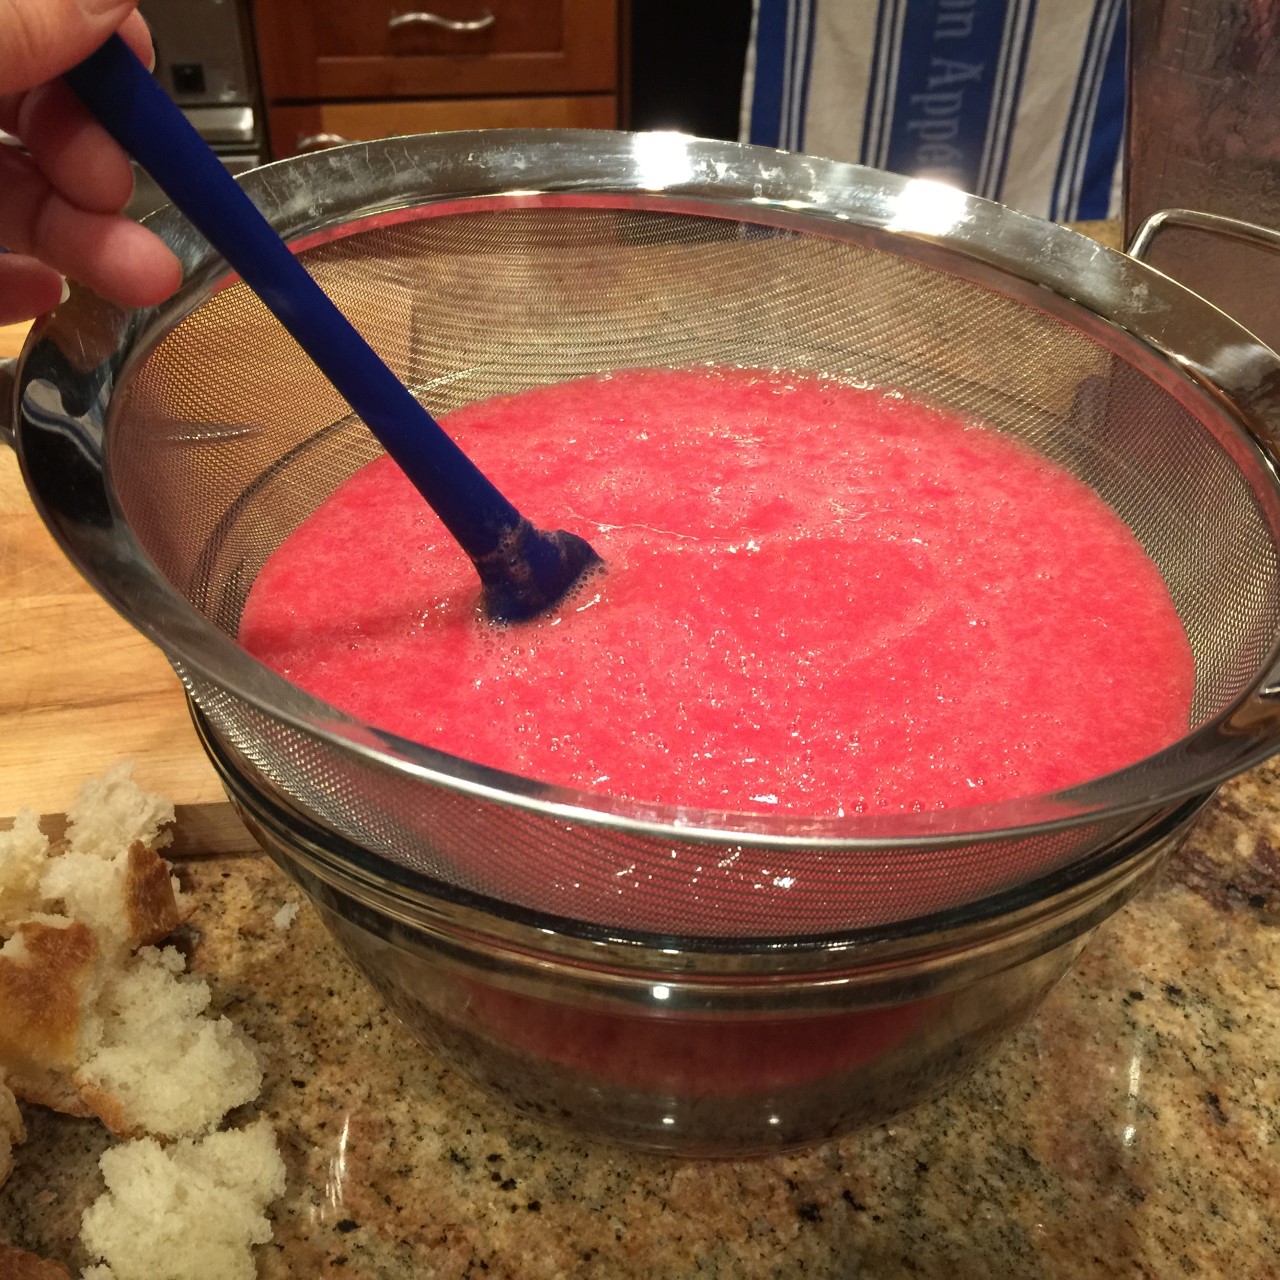 Using a spatula or large spoon, slowly stir the purée until all that remains in the sieve is a pulpy mash – this can take 5-10 minutes. Discard mash into your compost pile or down the drain.
 Put about 4 cups of the bread into the empty blender. Pour the strained tomatoes back into the blender. Let set for about 15-20 minutes to wet and soften the bread.
 Add in the garlic, salt, olive oil, and vinegar. Blend until puréed. Add in more bread to thicken, as needed.
 Taste and adjust seasoning. Serve either chilled or at room temperature, topped with chopped hard boiled eggs.
 Pasta Carbonara is a delicious meal, but is often overlooked by vegetarians since it generally contains pancetta or bacon. Also, it contains raw eggs, which can cause salmonella fear.
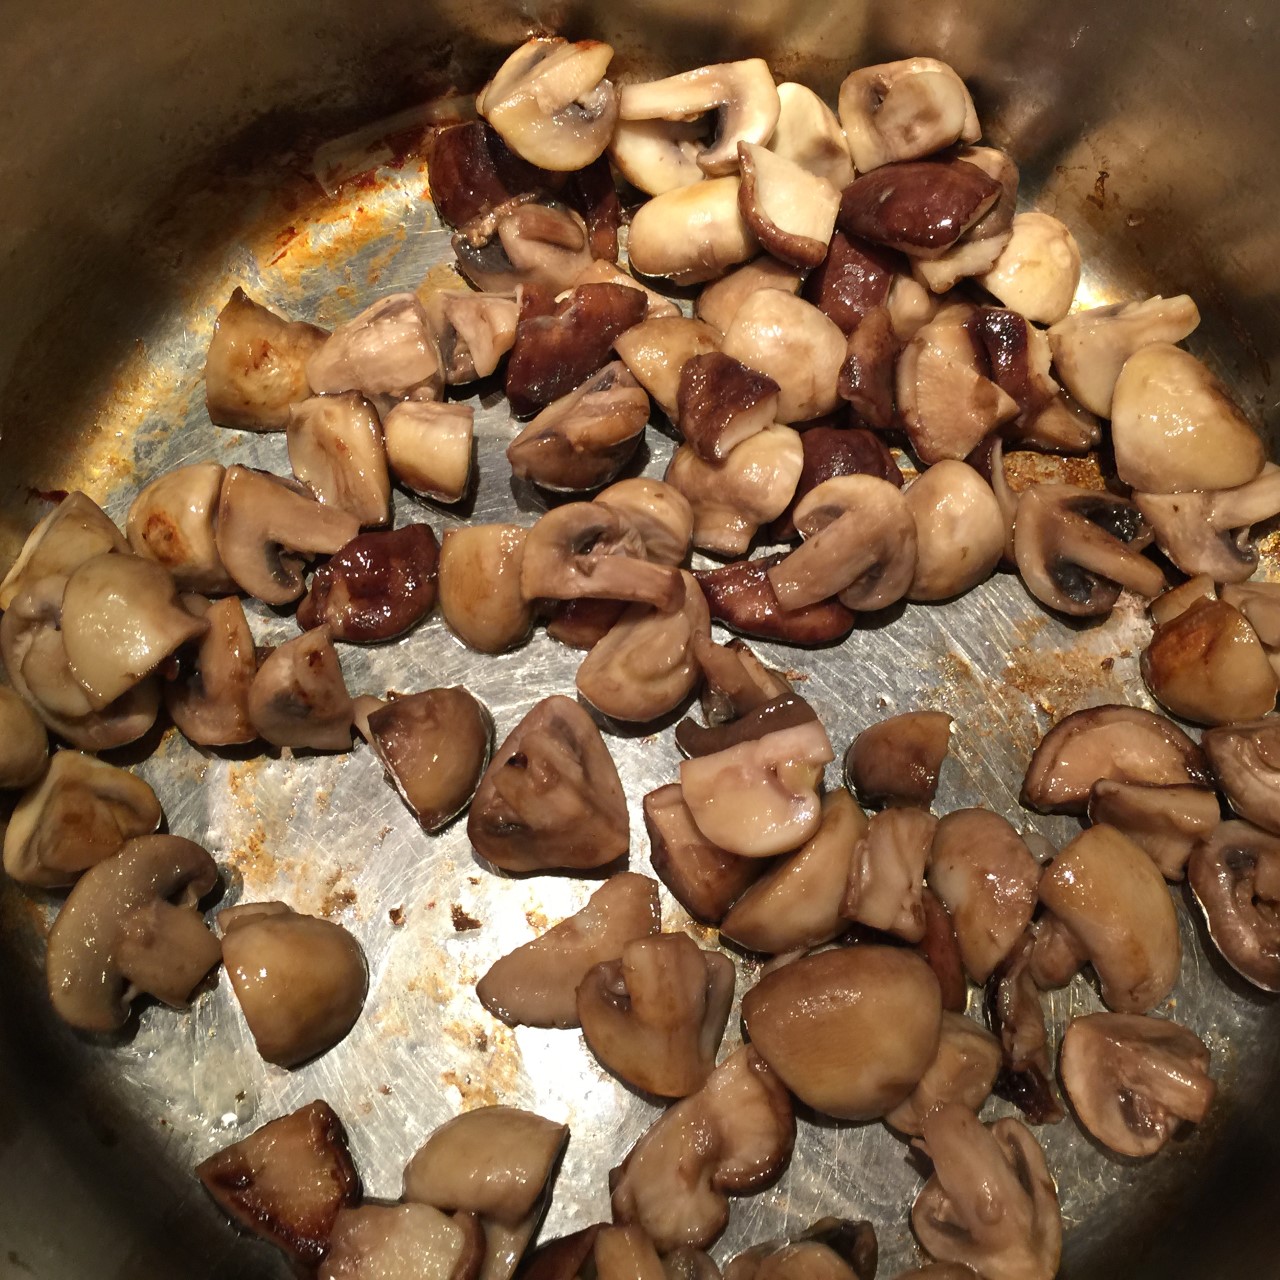
 After 5 minutes, begin stirring now and then until liquid has evaporated and mushrooms have browned – about 5 minutes.
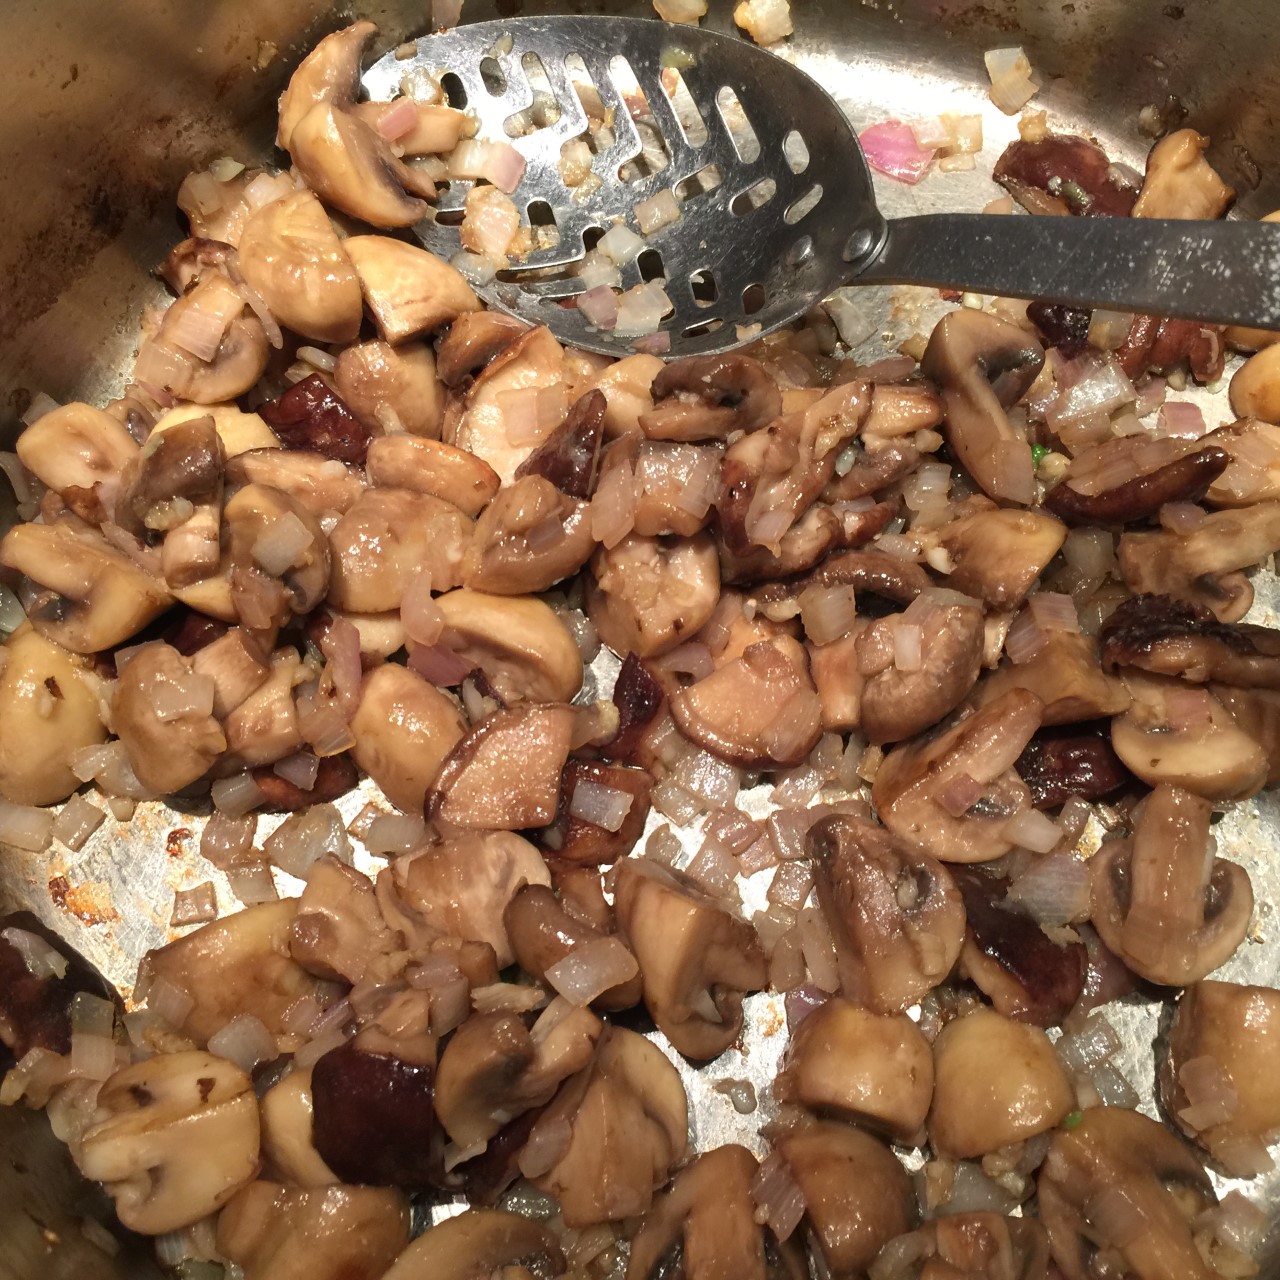
  Add in shallots and garlic, cooking another few minutes – just before shallots begin to brown.
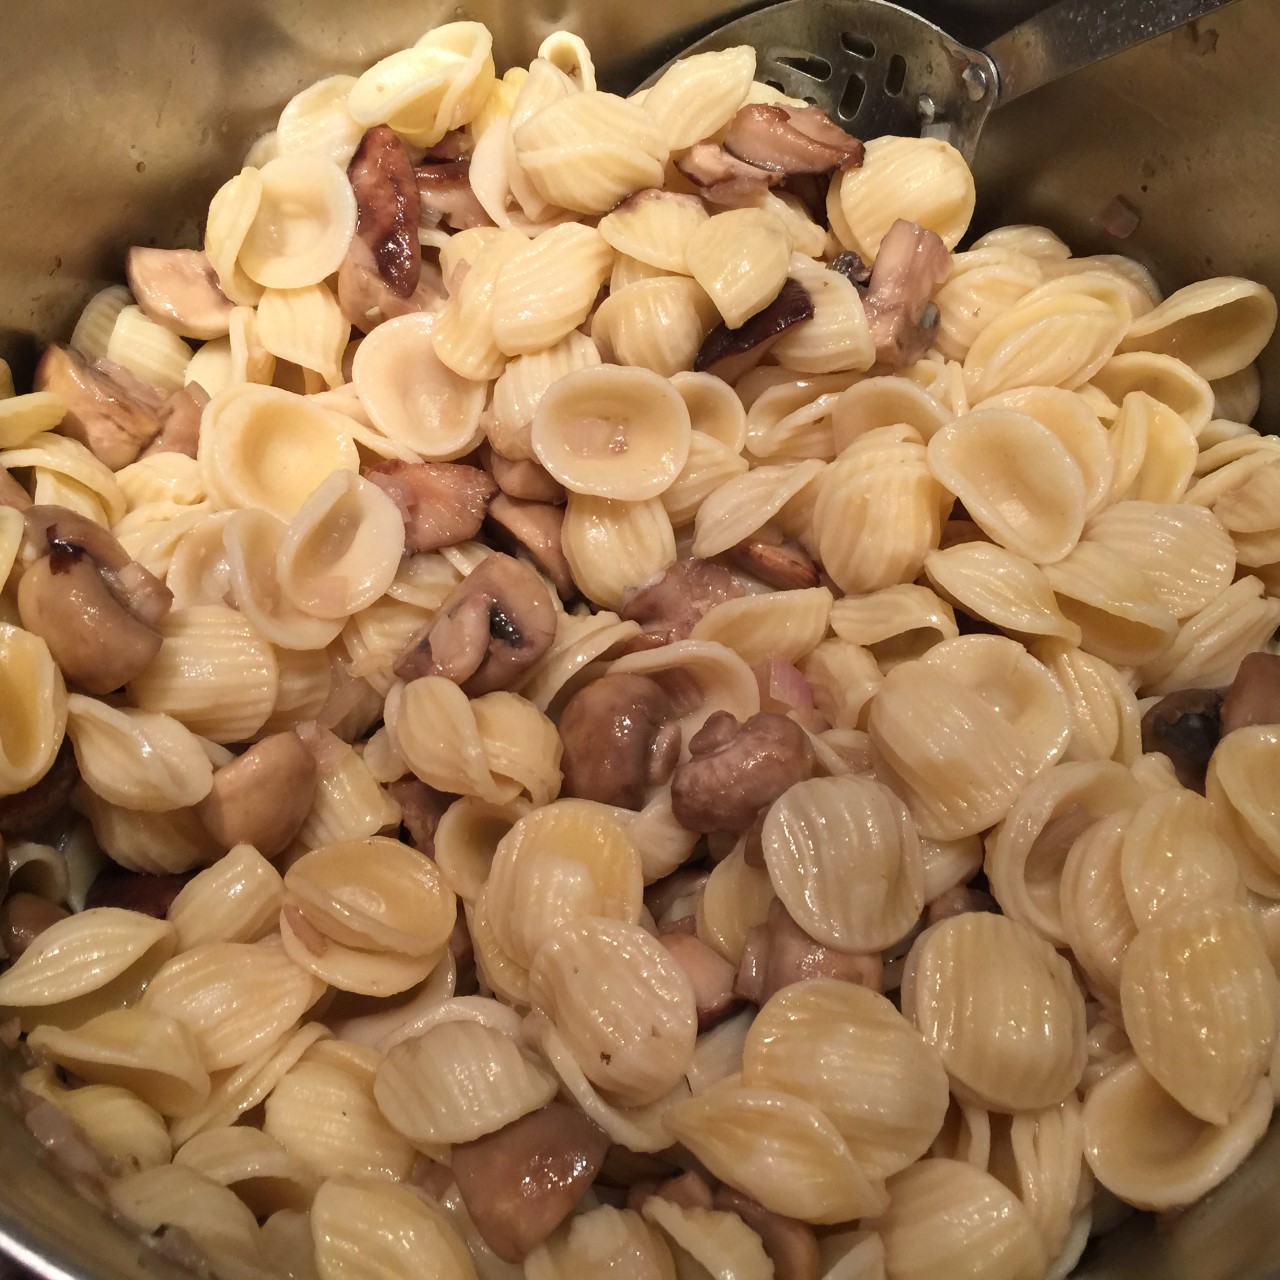
  Stir in the 1 tsp kosher salt, cooked pasta, and 1 cup of the reserved pasta water. Remove pot from heat source and let cool about 5 minutes.
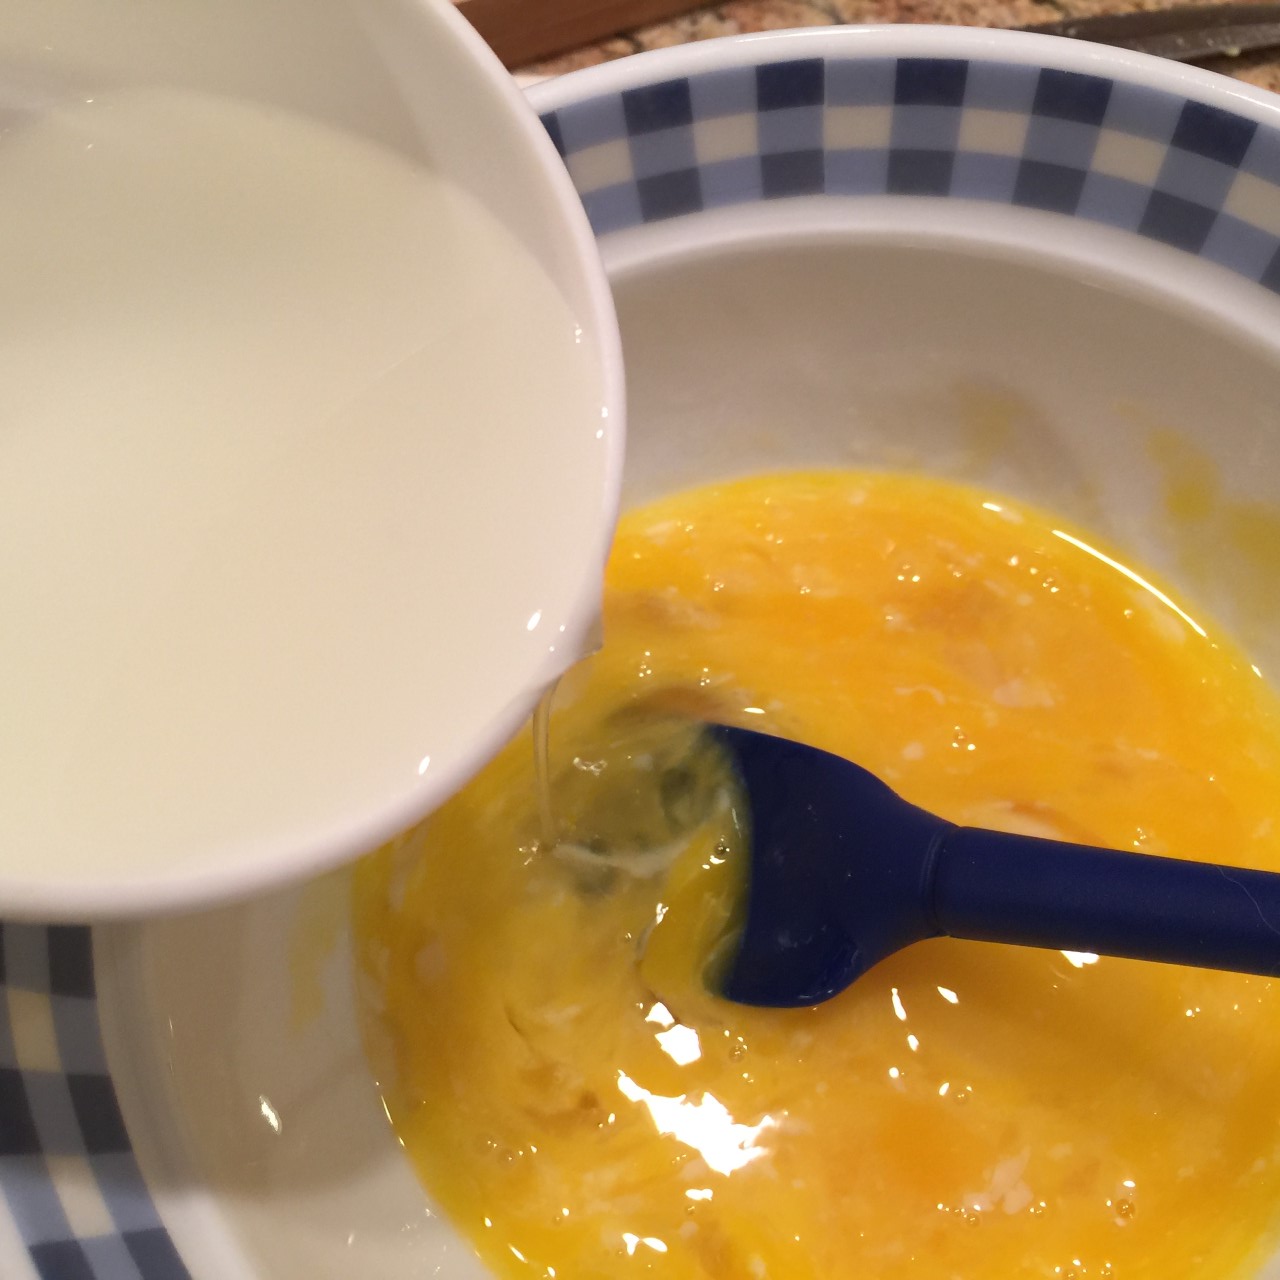
 Separate the yolks from 5 of the eggs and beat these yolks together with the whole egg. As you’re beating the eggs, slowly drizzle in 1/2 cup of the pasta water, stirring constantly – this will temper the eggs.
  Then slowly pour the eggs into the pasta mixture, stirring constantly.
  Stir in the pepper, Pecorino-Romano, and the parsley.
 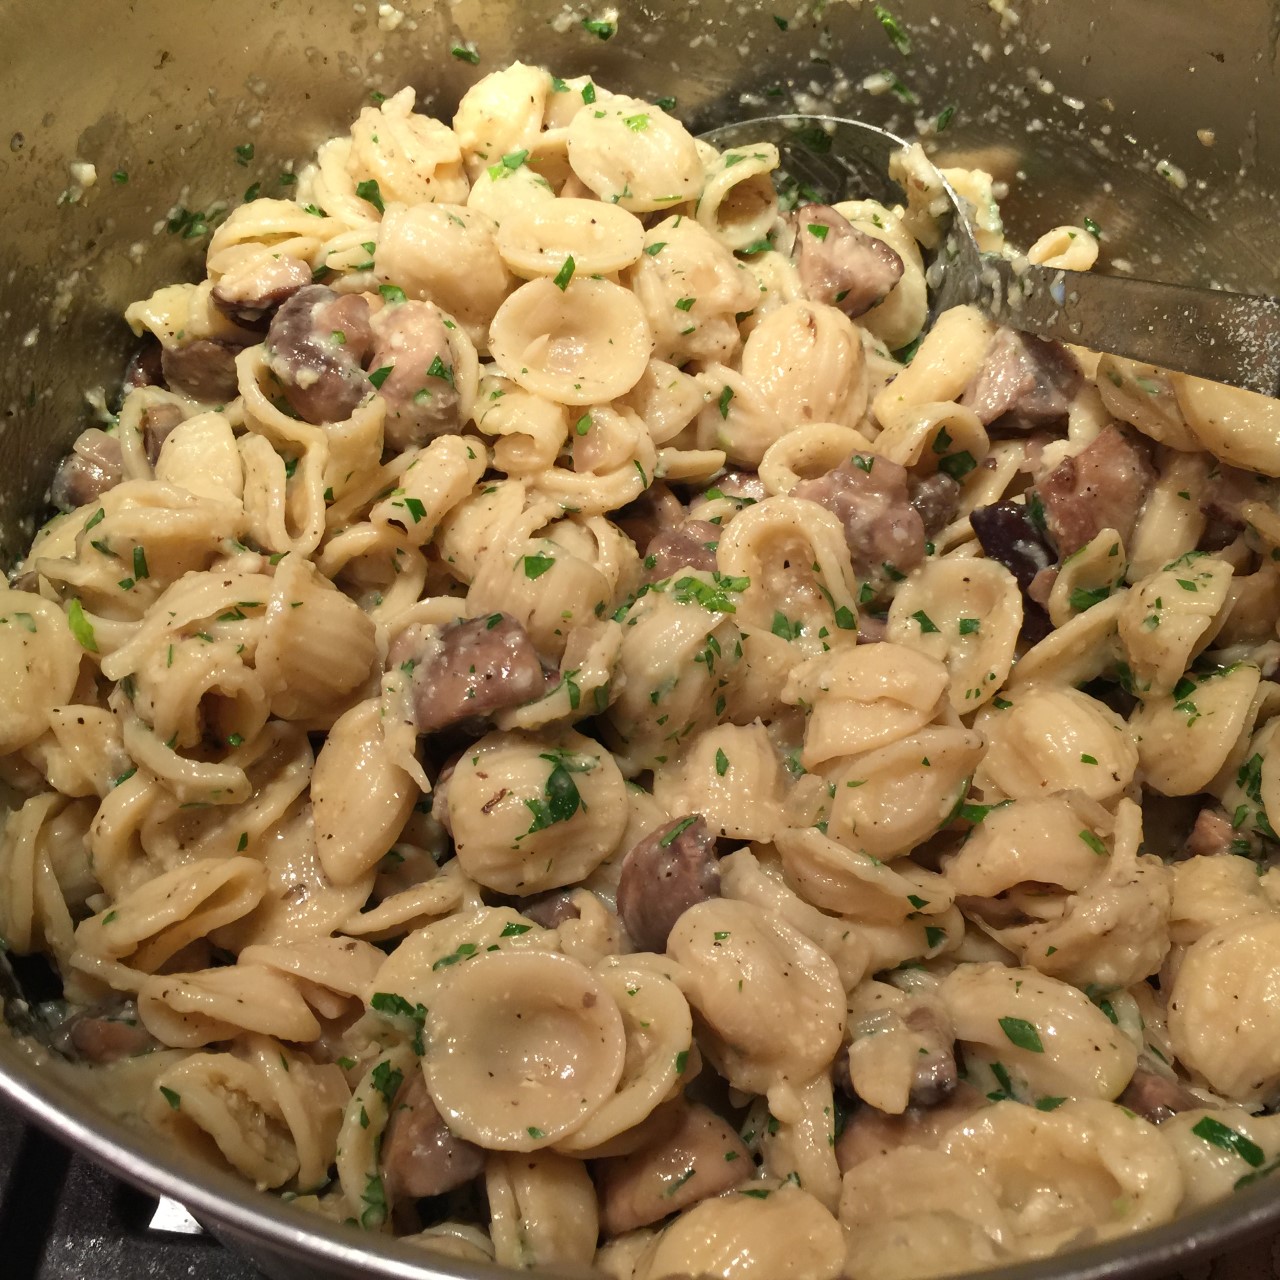 Turn burner to very low and continue to stir in order to heat pasta for serving, taking care not to scramble the eggs. If mixture is too thick for your liking, loosen it up with remaining pasta water.
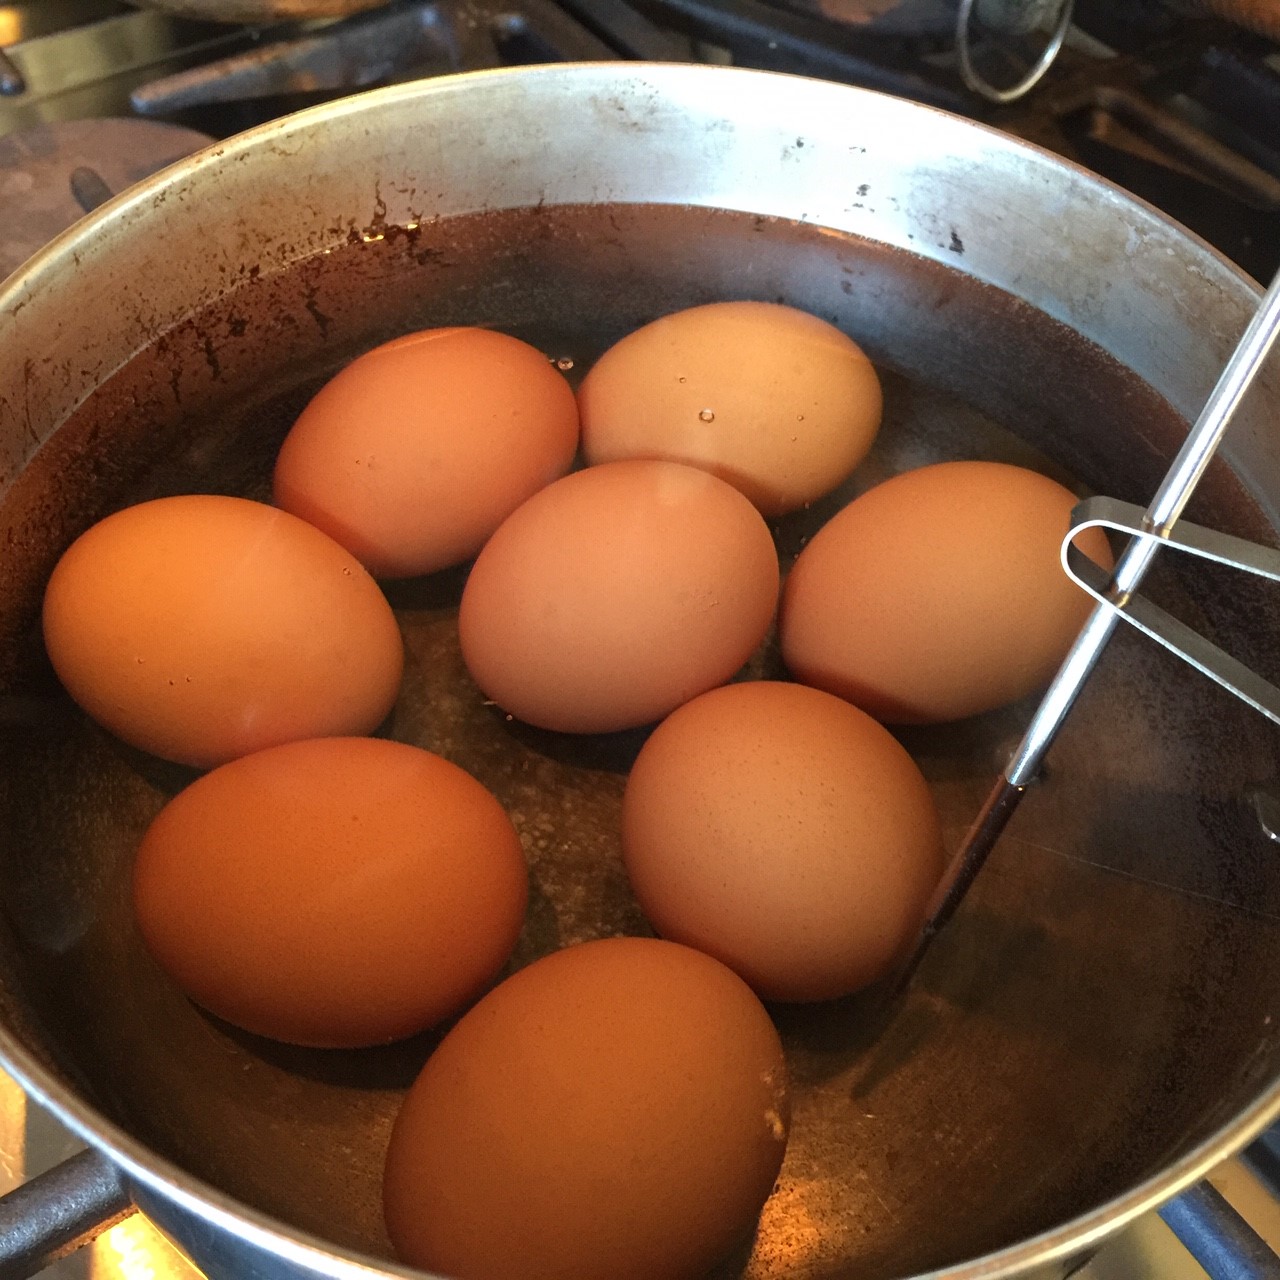 Heat saucepan until water reaches 140º Fahrenheit. Maintain 140º for 3 minutes for large eggs and 5 minutes for extra large eggs. (You’ll probably have to turn off burner all-together to maintain the temperature.)
  Remove pan from heat source and immediately remove eggs to the ice bath for about 5 minutes. This will stop the cooking process.
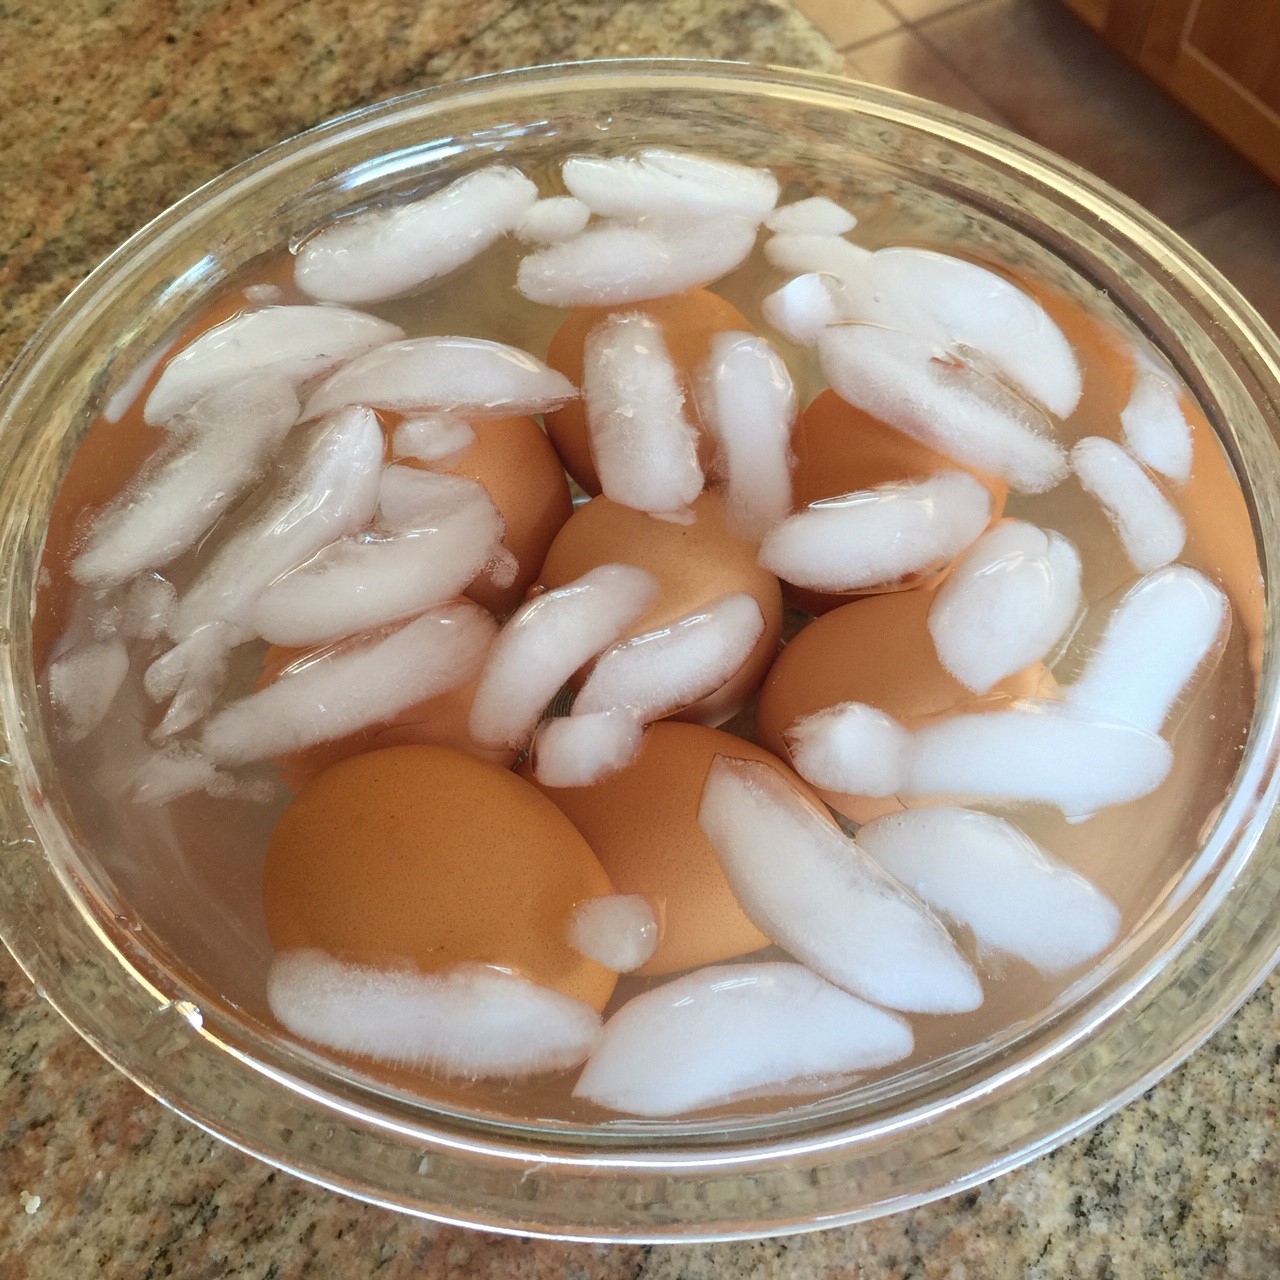 Remove eggs from ice water and refrigerate until needed. Make sure you mark them somehow so they don’t get confused with unpasteurized eggs.
 It’s summer party time and that, of course, means food – particularly finger foods to snack on. Yes, we all love our onion dip, guacamole, salsa, and bean dip. But isn’t there room for something new?
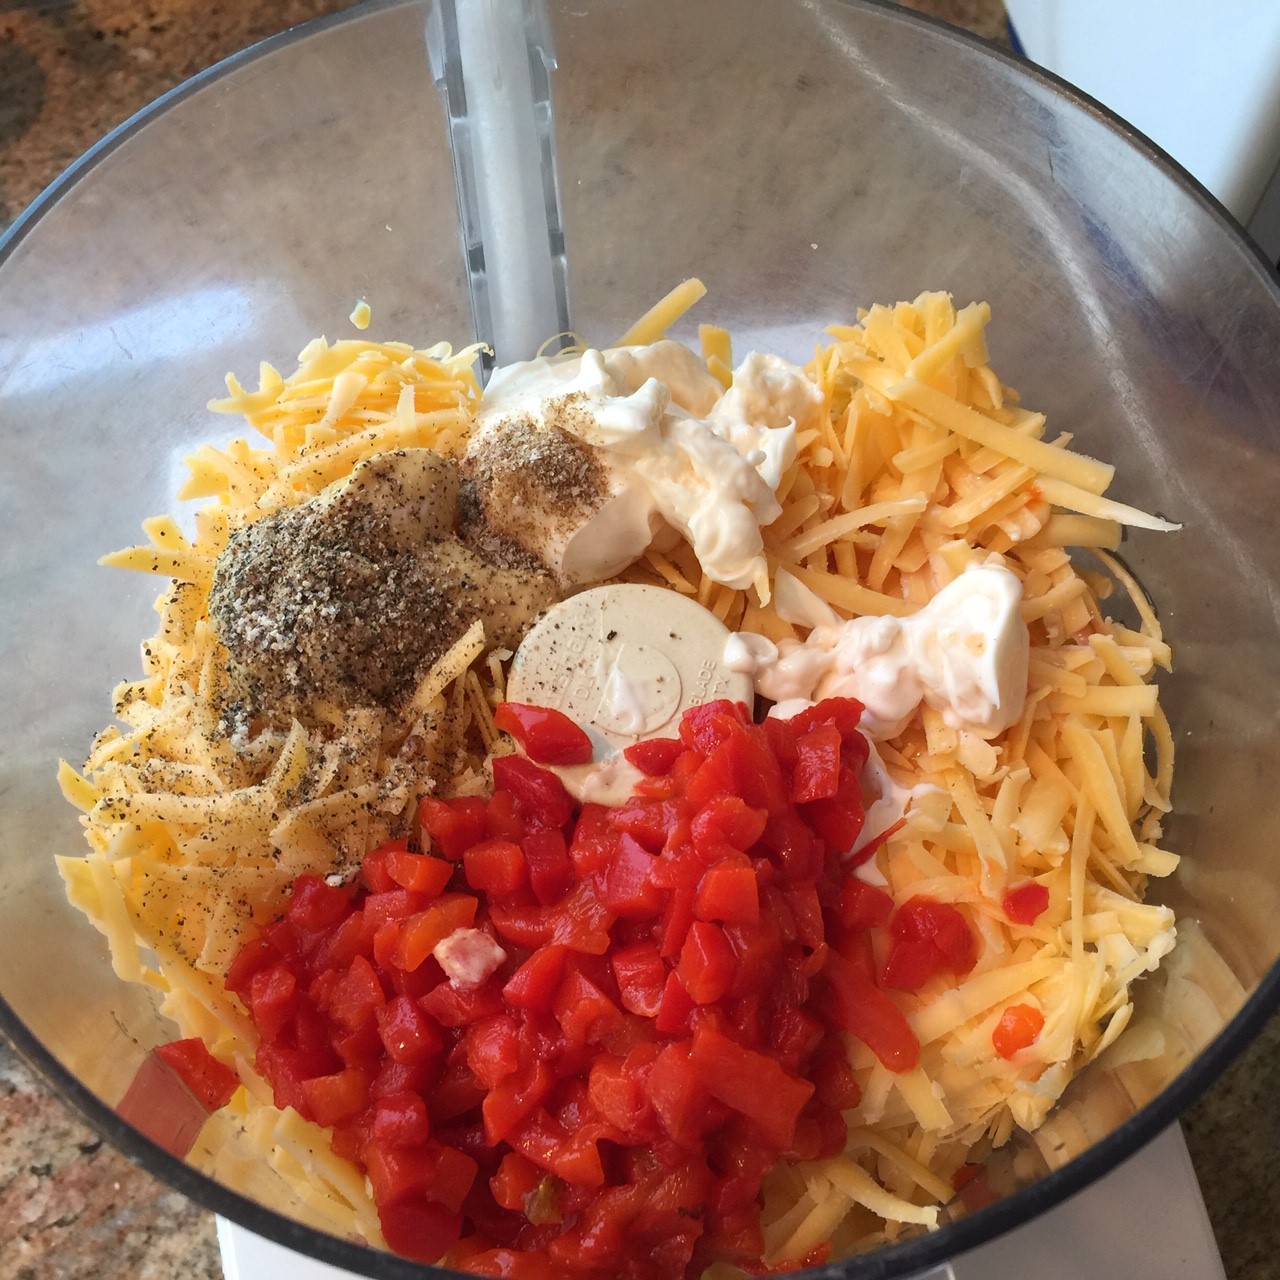 Pulse until blended, but not pureed – you want some chunkiness to the dip. Scrap down sides of bowl, as needed when you pulse.
 You can serve dip as it, or heat it in the microwave for a total of 2 minutes, stopping every 30 seconds to stir. Serve with a substantial chip such as bagel or tortilla chips.
 My mother used to love to buy lady’s club cookbooks. You know the ones – they’re made up of the members favorite recipes. Once I left home, she would buy them for me, too. This was years before the internet. Back then, we had to rely on cookbooks, magazines, and recipes passed on from friends and family.
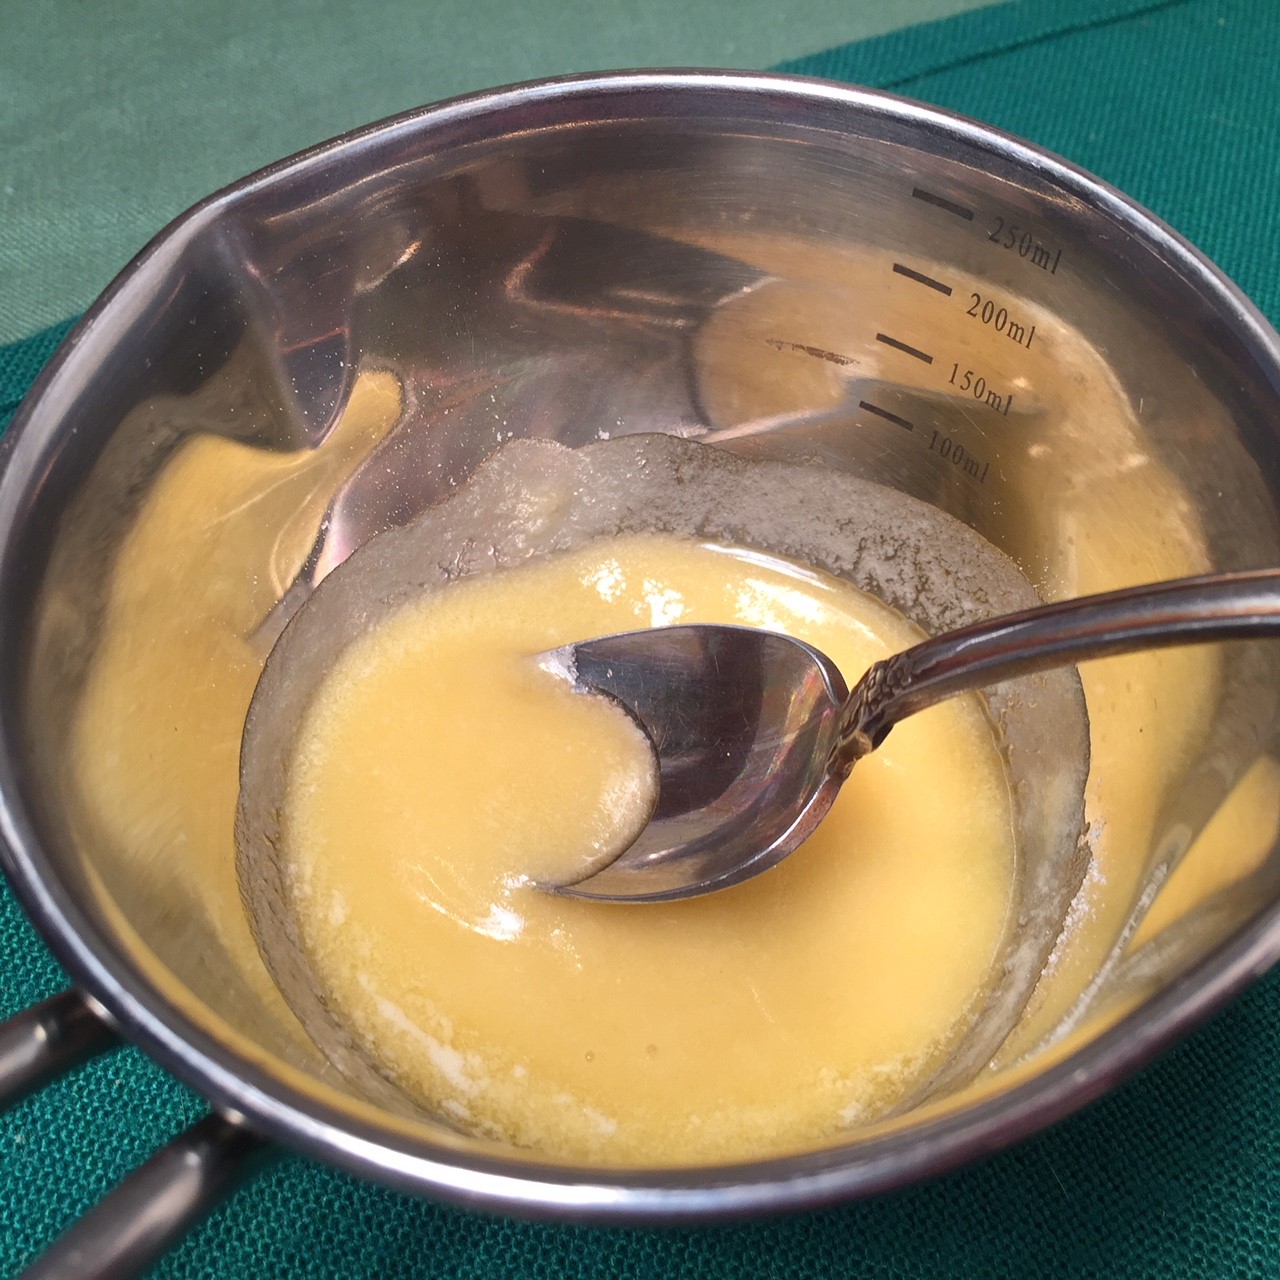 Using a pastry brush, paint flour/butter thoroughly on bundt pan – getting into all the crevices.
  In an electric mixer, cream together 1/2 cup butter and granulated sugar for 3 minutes (don’t cut this time short).
 Beat in eggs and vanilla.
  In a separate bowl, combine the 2 cups of flour, baking soda, baking powder, and salt.
 On low speed of mixer, beat in 1/2 of sour cream (don’t worry about being exact).
  Beat in 1/2 of flour mixture, then beat in remaining sour cream, followed by remaining flour. Stir in chocolate chips. (The picture below shows vanilla being added now – I forgot to add it earlier with the eggs.)
 In a separate bowl, combine brown sugar, powdered sugar, walnuts, and cinnamon.
  Spoon half of batter on bottom of bundt pan, gently spreading it out evenly. I find it easiest to scoop the batter into the bundt pan using a 3 T ice cream scoop, then gently spread the batter evenly around.
  Sprinkle on half of brown sugar mixture, then spoon on remaining batter, spreading it evenly. Finally, sprinkle on remaining brown sugar mixture.
  Bake at 350º F for 45-60 minutes, until toothpick comes out clean (it’s okay for there to be chocolate from the chips).
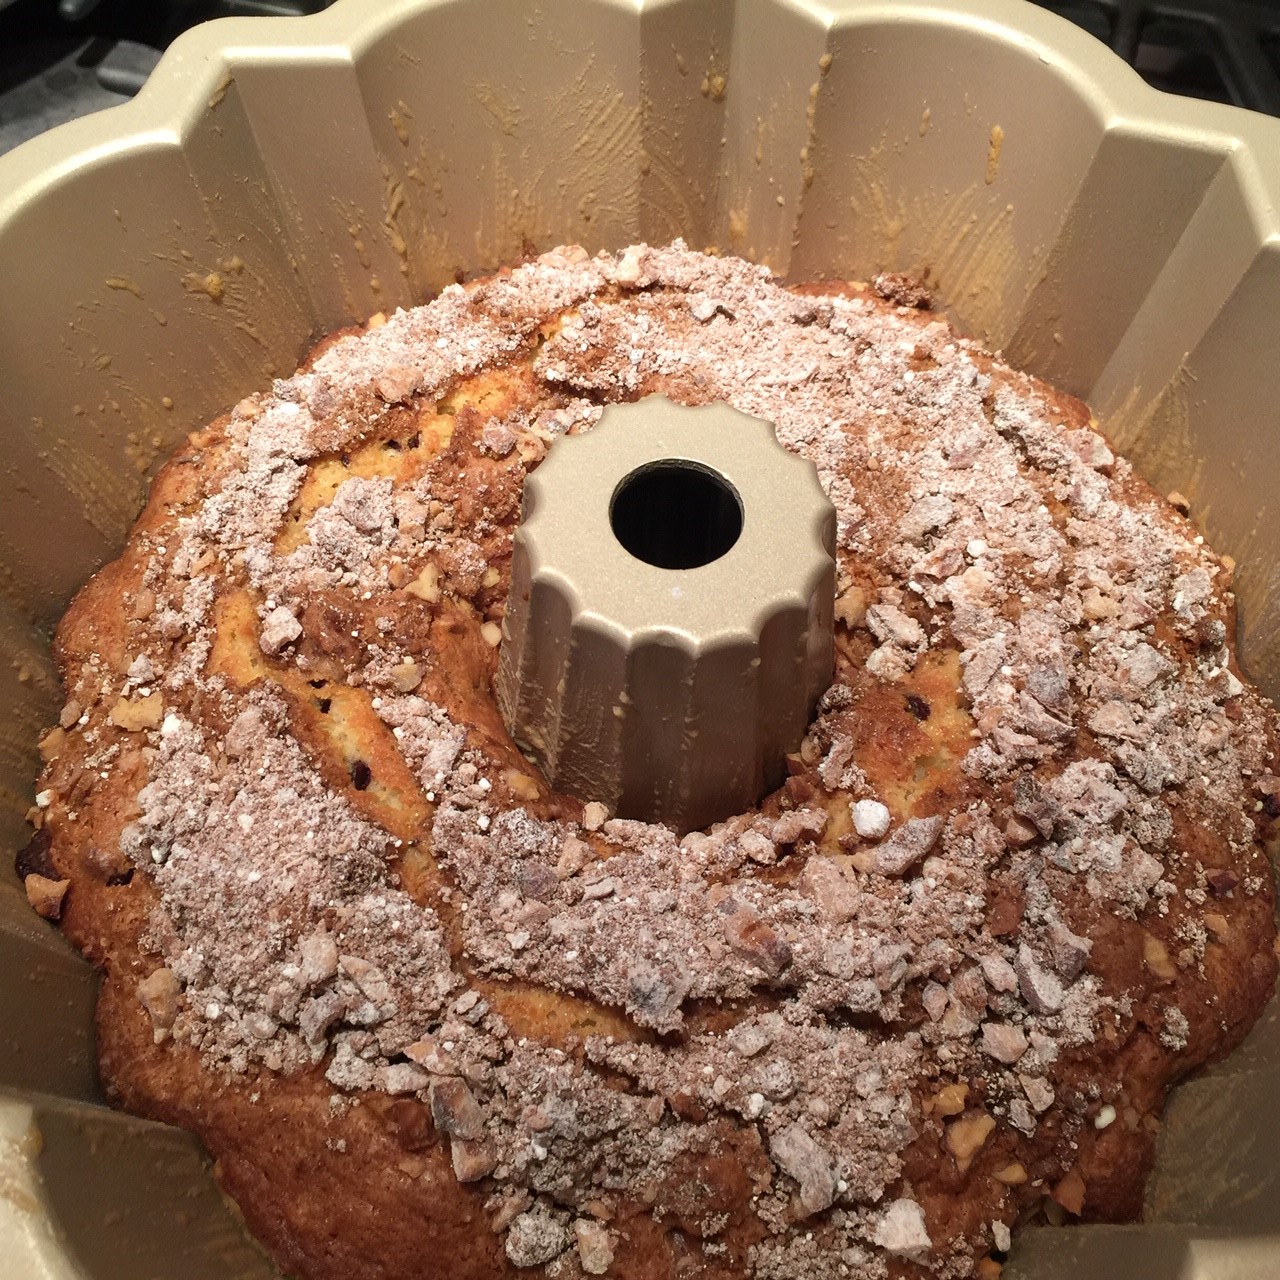 When done, remove from oven and let cake sit in pan for 20 minutes before removing to a wire rack to completely cool.
  Sprinkle on powdered sugar, if desired.
