
 We’re all familiar with the POTATO GNOCCHI – awhile back I even posted a recipe for POTATO GNOCCHI WITH SAGE BUTTER:
 But gnocchi are merely dumplings that are made from various things besides potatoes, such as wheat flour, cheese, breadcrumbs, cornmeal, and semolina flour – the basis for this Roman Gnocchi recipe.
Roman Gnocchi are fast and easy to make and can be formed ahead of time – I love make-ahead recipes! They can be served as a first, side, or main course, depending on how many one eats.
Note: I store my semolina flour in the freezer since I don’t use it that often.
ROMAN GNOCCHI – makes 12
- 2½ cups milk (use whatever you have)
- 3/4 tsp salt
- pinch nutmeg
- 1 cup semolina flour
- 4 T butter, divided
- 1 egg, beaten
- 1/3 cup Gruyère cheese, shredded
- 1/3 tsp dried crushed rosemary (or 1 tsp fresh chopped)
- 1/2 tsp baking powder
- 2 T Parmesan cheese, grated
- topping sauce of your choice (marinara, cheese sauce, butter sauce)
In a saucepan over medium heat, bring milk up to simmer. Add in salt and nutmeg. 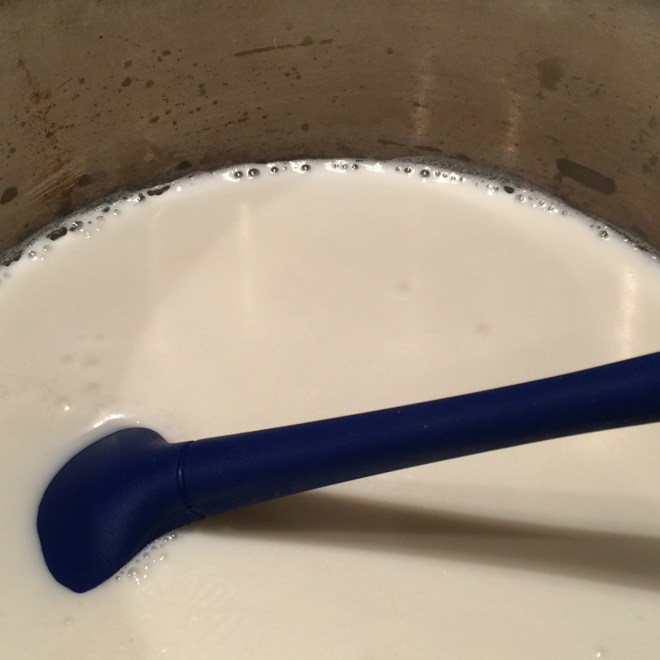 Very slowly pour in semolina, stirring constantly to prevent lumps (a whisk is best for this). Once all the semolina in mixed in, decrease heat to low and cook 3-5 minutes, until it becomes very thick and pulls away from the sides of pan. (Don’t undercook or the gnocchi will taste floury.) Let cool 4 minutes.
  Cut 3 T of the butter into pieces and stir them into the dough until all butter is melted and incorporated.
 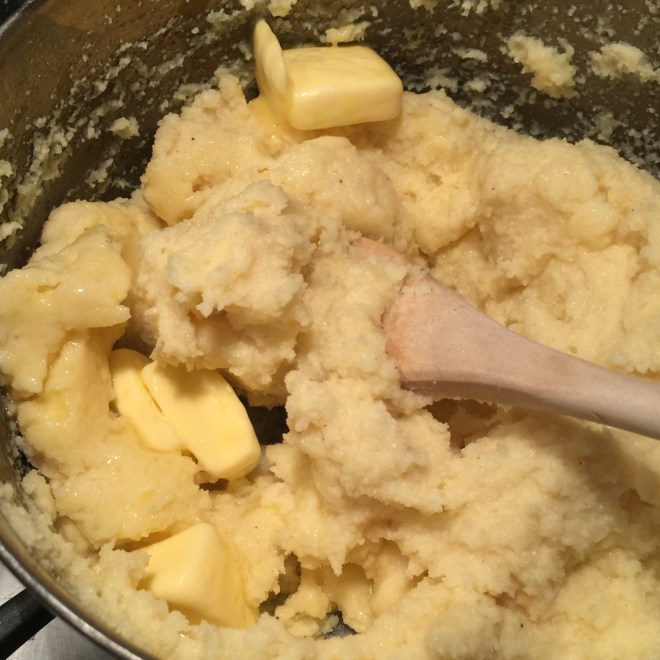 Mix in the beaten egg, Gruyère, rosemary, and baking powder.
 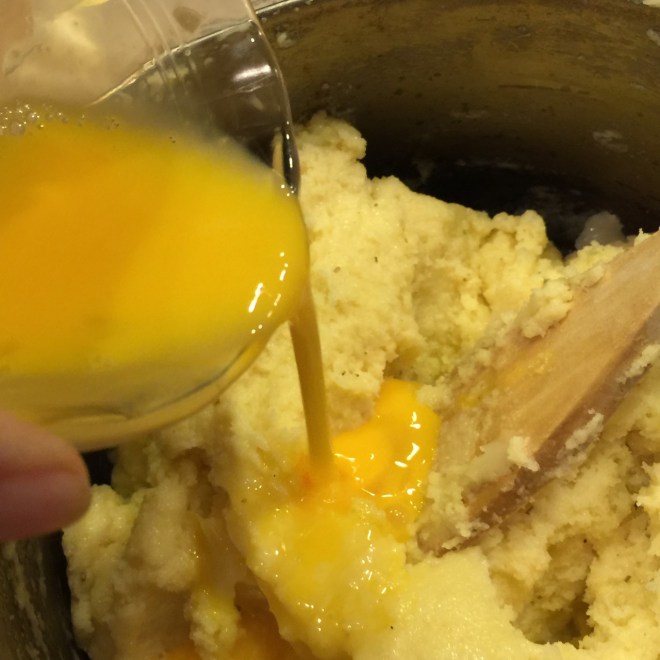 With the remaining 1 T butter grease an 8″ x 8″ baking pan (or one of equivalent size). Dip a 1/4 cup measuring cup into water to wet it, then fill it with dough. Empty onto the pan, using your fingers to fix the shape, if needed. Dip measuring cup into water each time – this helps release the dough. You should get around 12 gnocchi.
  Chill at least 30 minutes.
Preheat oven to 400º Fahrenheit.  Sprinkle Parmesan on top of gnocchi and bake, uncovered, for 30 minutes. Let cool at least 15 minutes before serving.

 Cut out stem core from cauliflower. Remove and discard the outside area – you’ll see a difference in color – then slice up the remaining core.
  Cut the head into 1/2″ slabs.
  Remove 1 cup of cauliflower florets and cut into about 1/2″ pieces – these will become garnish. Set them aside.
 While the soup is cooking, prepare the garnish: Into a small skillet, melt the remaining
  With slotted spoon remove cauliflower bits to a small bowl. Stir in the sherry vinegar and a pinch of salt. Save the butter in the skillet – that will be garnish, too.
 Mashed potatoes can get a little boring. True, they’re filling, easy, cheap, and everyone likes them. But, maybe it’s time to add in mashed parsnips…you know, to shake things up a bit.
 Place potato slices in strainer and rinse well to remove excess starch. Let drain.
 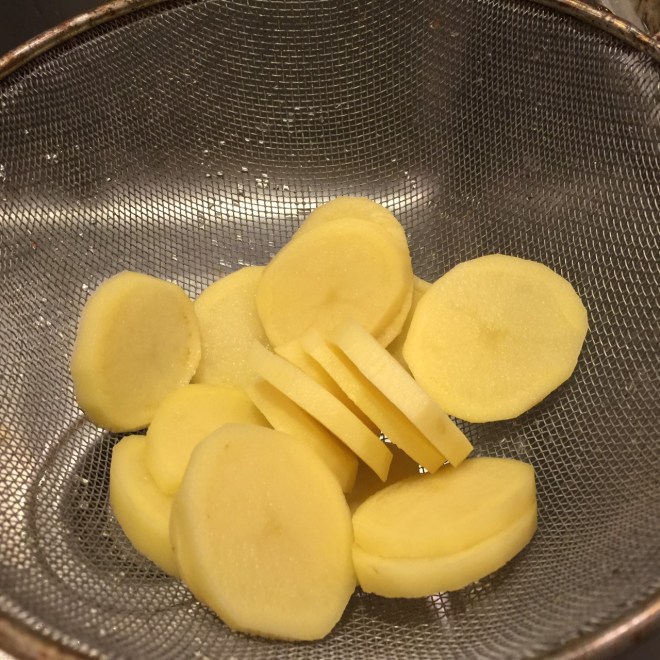 When parsnips have browned, add potatoes to the pot. Cover, decrease heat to low, and cook about 20 minutes – until potatoes are tender. Uncover pot and let set 2 minutes to allow steam to escape.
 Mash mixture until smooth.
 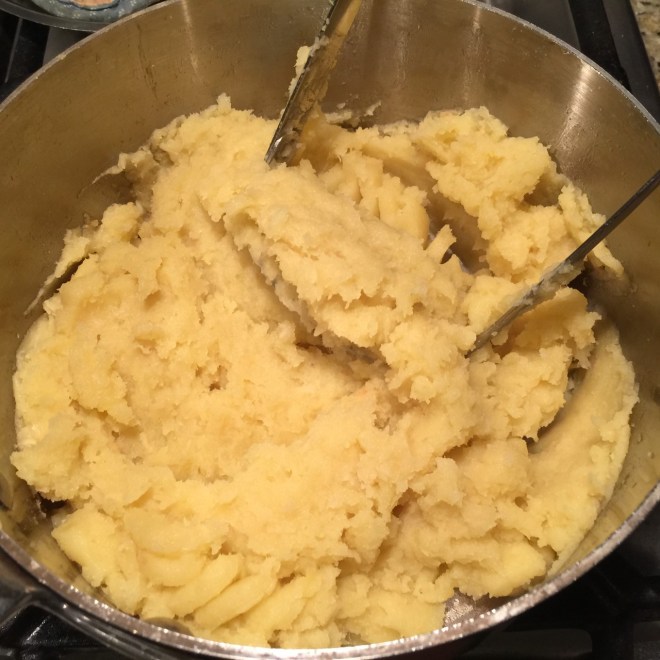 Warm the milk and pour 1/2 cup of it into the potatoes. (Use the rest, if needed. Save it for any leftover mash.) Add in chives and fold mixture gently together. Season with salt and pepper, if needed.
 I’ve been a from-scratch cook for as long as I can remember, pushing the boundaries over the years as to what I would make and what I would buy. (Puff pastry and filo dough are still on my “never in a million years” list.)
 In another small bowl whisk
  Pour egg white mix into the flour mixture and blend together with a spoon, until all flour is incorporated.
 Lay out a sheet of parchment paper (NOT waxed paper). Place the dough in the middle and form it into a square with your hands – this will help the dough roll into a rectangular shape.
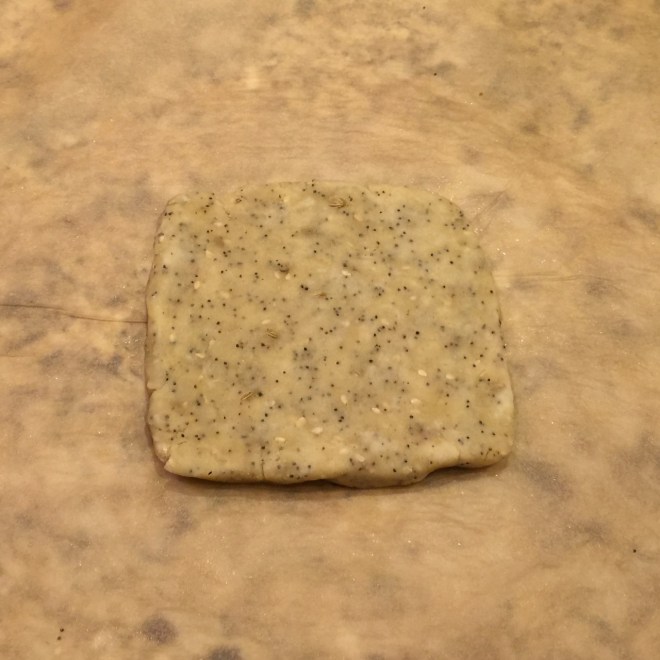 Cover with waxed paper (or parchment). Roll out the dough to a 12″x10″ rectangle – or as close as you can get. Mine was nowhere near that – it really doesn’t matter. The dough should be of even thickness – 1/16th inch. The bands really helped with that.
 Carefully remove waxed paper and set it aside.
 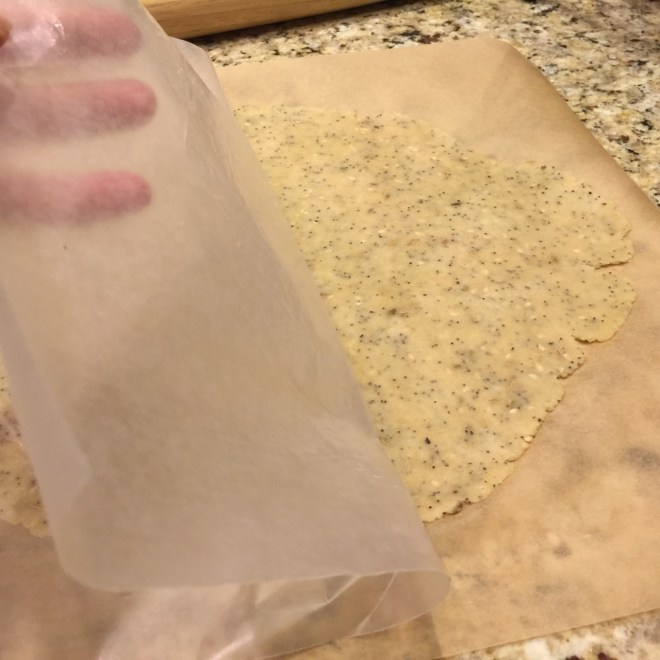 Beat the remaining
  Sprinkle on the seed blend you set aside. Cover with the waxed paper and gently run your hand over top to press in the seeds. (Without the waxed paper the seeds will stick to your hand.) Remove and discard waxed paper. Lightly score top with a dull knife to desired shapes.
  Slide parchment onto a rimless baking sheet (I prefer silver colored). Bake at 375º F for 14-18 minutes, rotating sheet halfway through baking time to promote even baking, until lightly browned. The edges always turned darker for me.
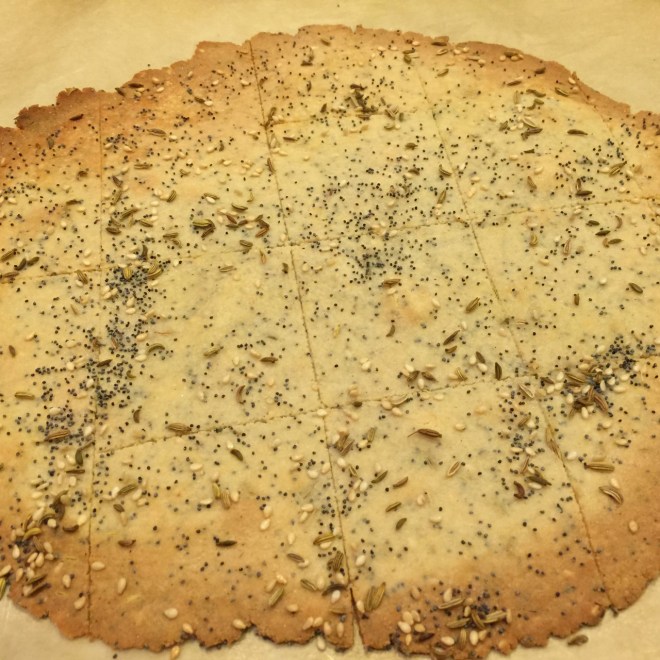 Slide parchment onto wire rack to cool completely. Break apart crackers at scored lines.
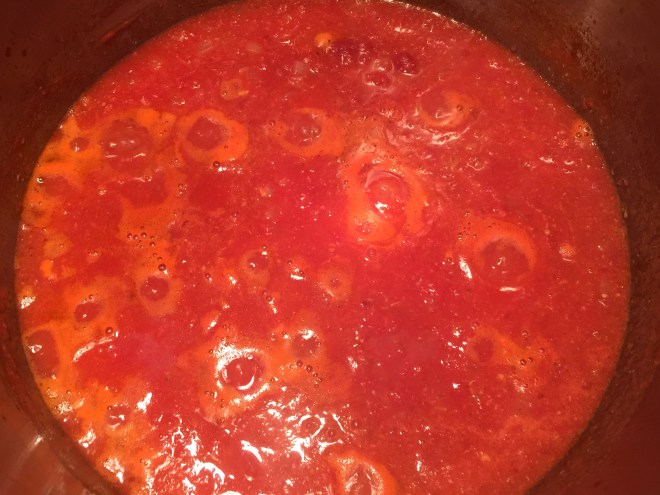 Turn off heat and stir in 1/4 cup basil, sugar, and pepper.
 Cook for 5 minutes. SET A TIMER! You don’t need to cook it fully right now – it will continue to cook in the oven. Pour pasta into a strainer to drain, but
  In another bowl, beat egg with a fork then mix in 1/2 cup (1.5 oz) (44g) Parmesan and cottage cheese.
 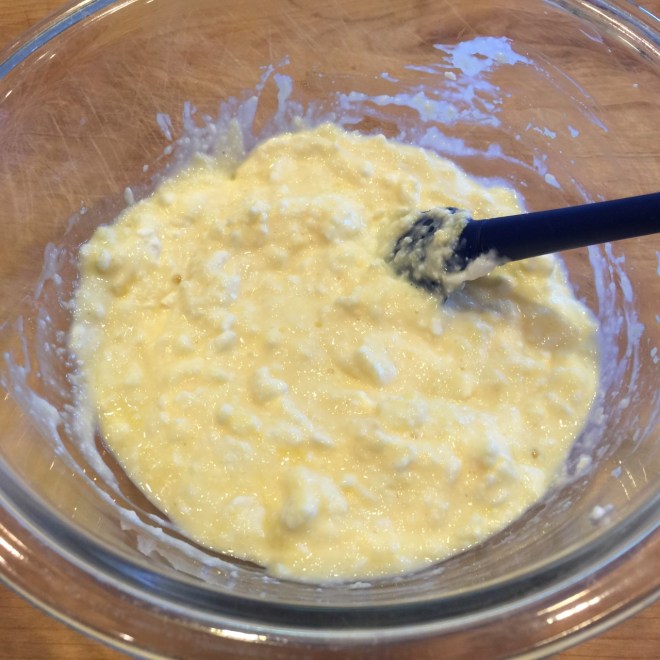 Once the pasta is draining, pour the cornstarch-cream mixture into the now-empty pot. Over a low heat, bring to boil.
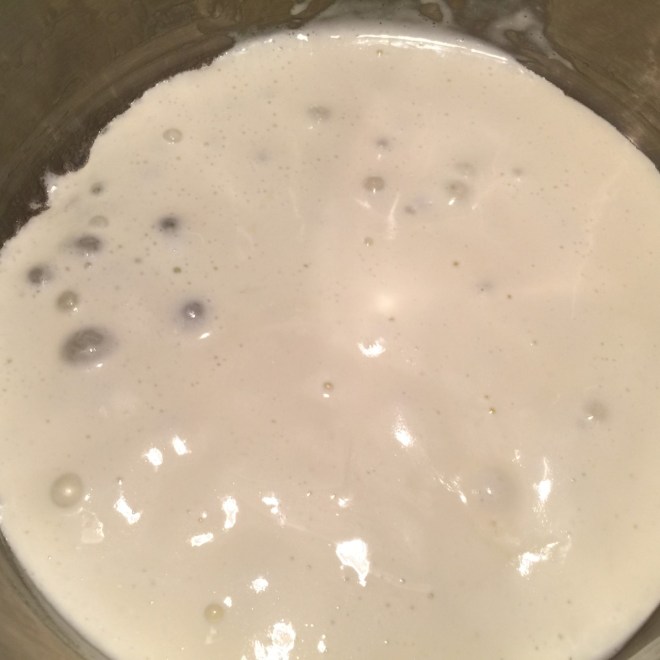 Immediately turn off flame and stir in the cottage cheese mixture.
  Add in half of the mozzarella and 1/2 cup of the marinara.
  Stir in the cooked ziti, breaking up stuck together pasta.
  Pour into an 8″ x 8″ casserole dish (or it’s equivalent).
 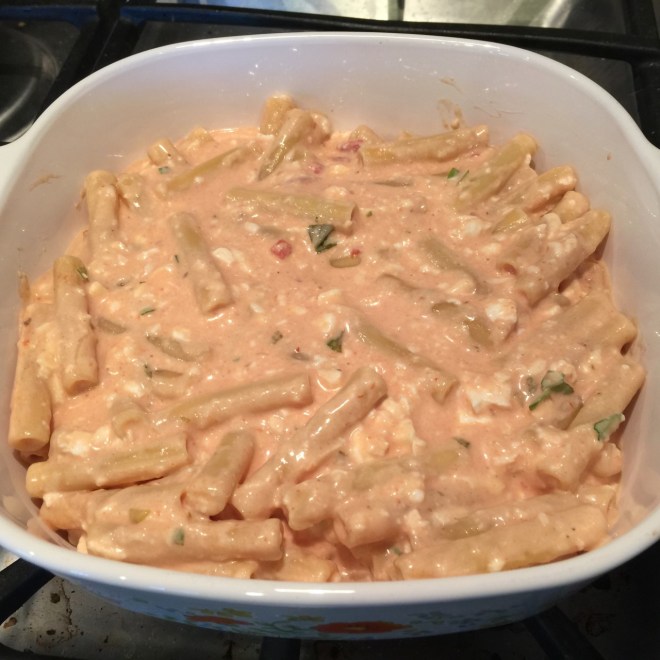 Top with remaining marinara sauce, then sprinkle on remaining mozzarella, followed by the rest of the Parmesan (20g).
 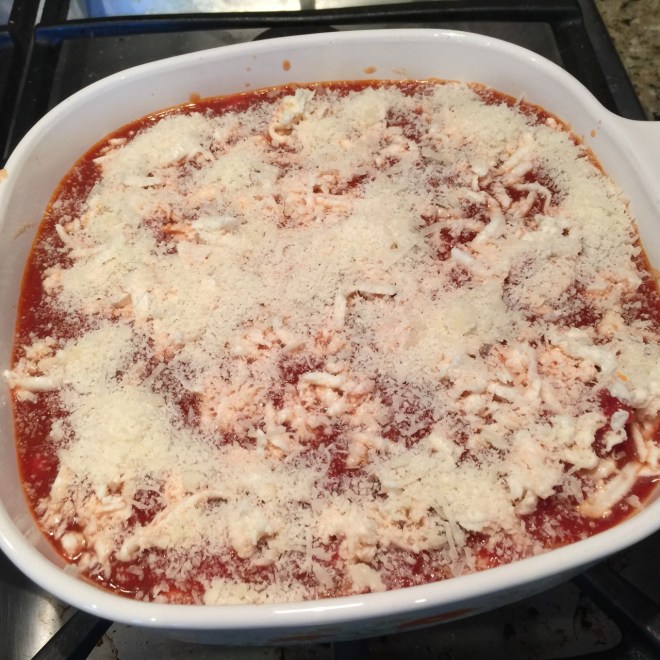 Cover with a lid or foil and bake at 350º Fahrenheit for 30 minutes. Remove cover and bake an additional 30 minutes. Remove from oven and sprinkle on 1 T basil.
  Let set 20 minutes before serving.
 When I harken back to Christmases past, one thing that stands out is the English Toffee Bars my best friend’s mother made every year. Besides my mom’s fudge, English Toffee Bars were a favorite.
 Add the yolk, vanilla, and salt. Beat 1 minute.
 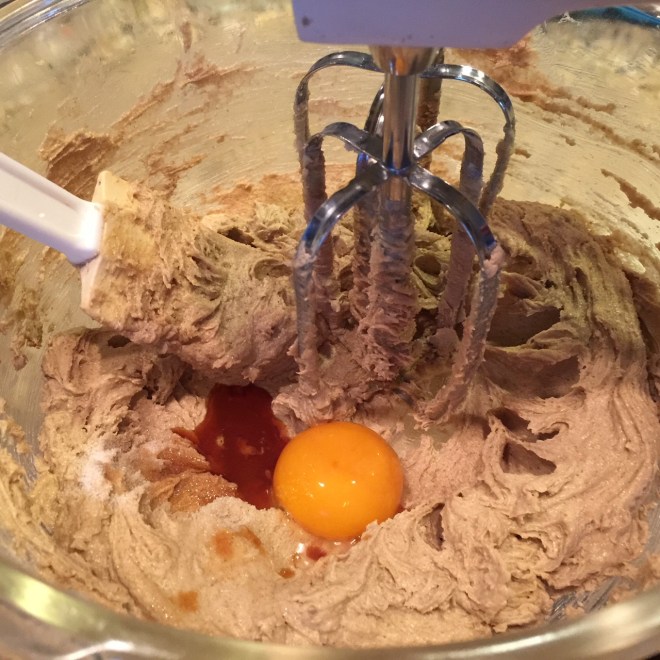 Add the flour and mix on low speed, just until flour is incorporated.
  Place dough on a piece of parchment paper, and pat it out to 11.5″ x 11.5″, trying your best to keep it of even height.
 Slide parchment on onto a rimless cookie sheet. Place in preheated 375º F oven. Bake 11-14 minutes, rotating once, until browned. Remove from oven.
 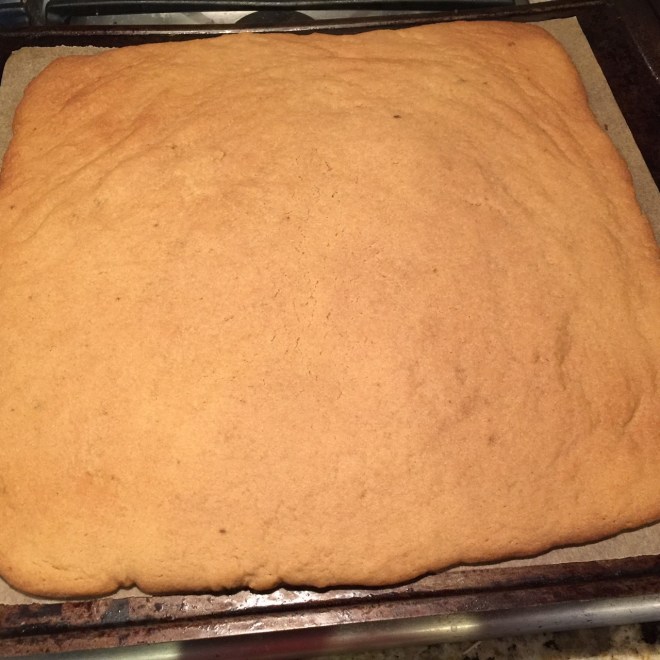 Immediately, top hot dough with chocolate bar pieces and let sit for 2-3 minutes , until chocolate softens.
 Spread chocolate.
  Sprinkle with toasted nuts, pressing very lightly so nuts adhere to chocolate.
 Cool bar on cookie sheet about 20 minutes so it sets. Slide parchment onto counter. Slice off uncoated edges, then cut slab into squares while still soft (if you wait until they’re hard, they’ll break when cut). Once bars are completely cool, refrigerate to firm up.
 Sometimes advice passed on through the ages is wise and true. BUT, sometimes one needs to re-examine it, thus finding it no longer (if ever) viable.
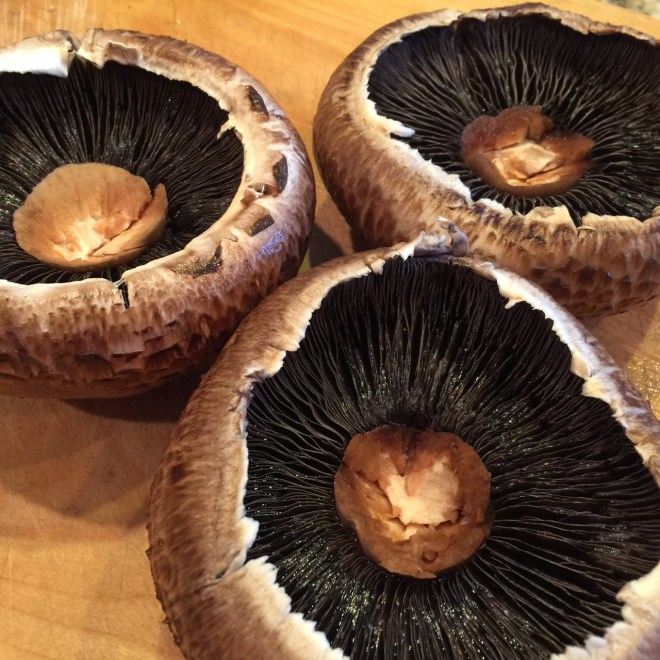 In a saucepan, melt 3 T butter. Sauté shallots over medium heat for about 3 minutes. Add in garlic and cook for 30 seconds more, just to bloom the garlic. Remove pan from heat.
  In a small bowl, mix together the flour, paprika, salt, cayenne, white pepper, and nutmeg. Blend into the butter mixture, smashing out any lumps – this is your only chance to do so!
 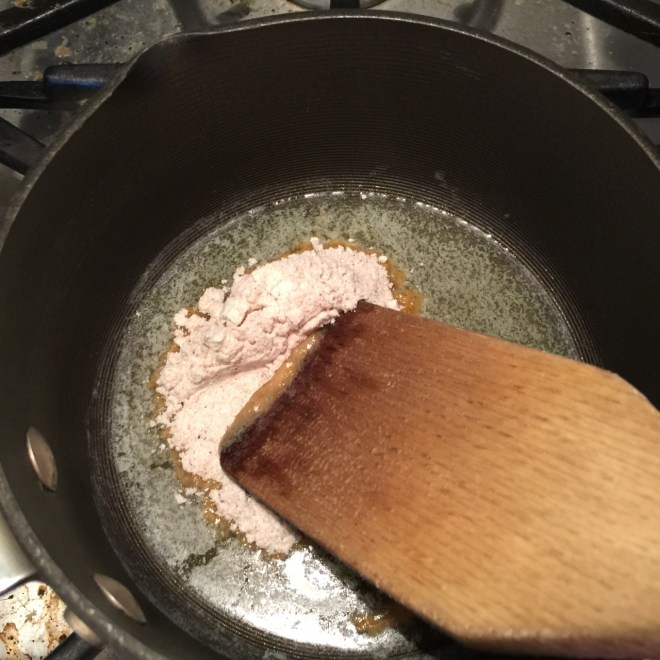 Return pan to heat and cook roux (that’s what this paste is called) for 2 minutes over medium/low heat. (This will get rid of the flour taste.)
 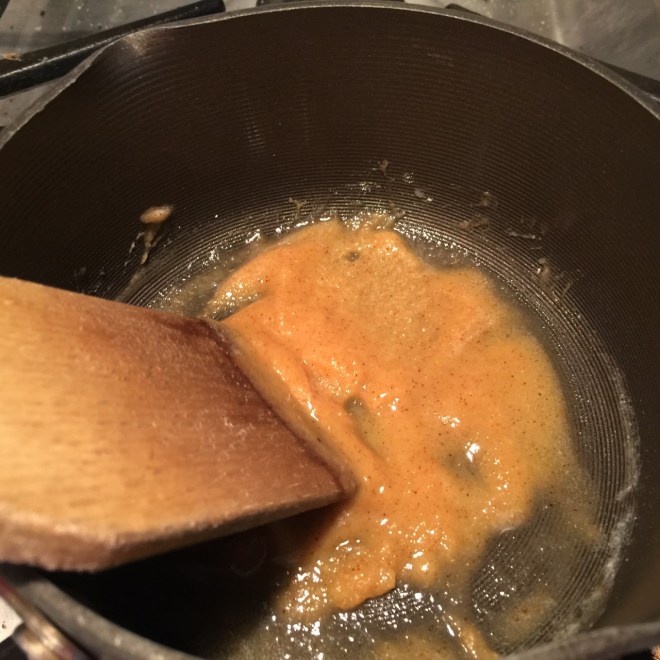 Pour in the milk and cook over medium/low until thickened, stirring constantly. Turn off burner but leave pot in place in order to use residual heat.
  Stir in Gruyère and 1/4 cup Parmesan until melted.
 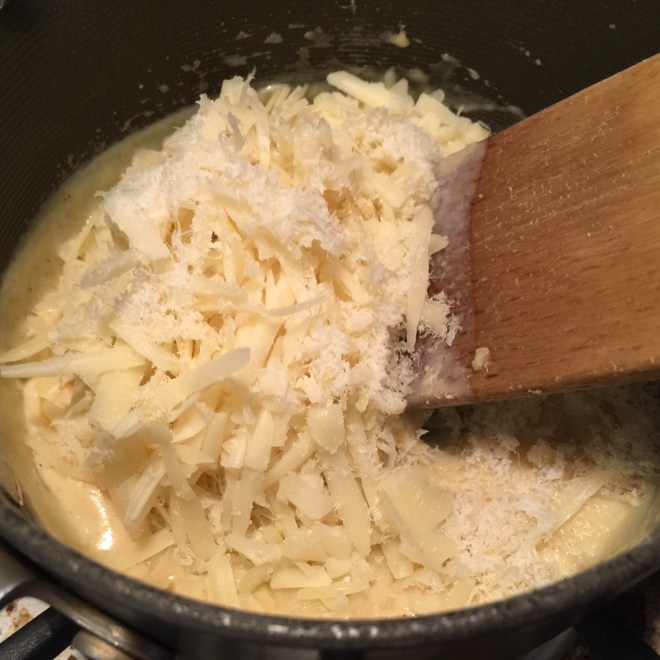 Remove pot from warm burner and let cool 5 minutes.
 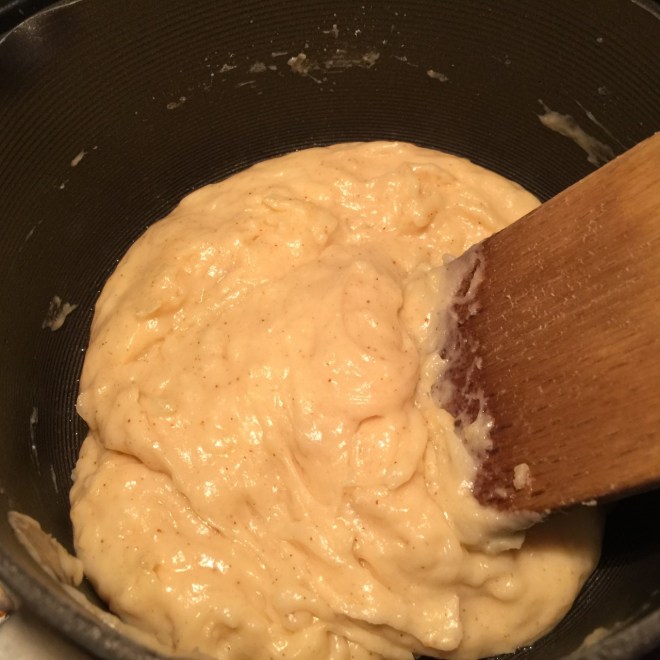 Meanwhile, build a foil cylinder around each mushroom – heavy or regular aluminum foil will work. Cut 4 pieces of foil – 8″ long if using heavy foil, and 12″ long if using regular.
  For the heavy foil, fold in half lengthwise; for the regular, fold in thirds lengthwise. The goal is to make a 4″ high strip that will surround the Portobello. Grease one side of the strips with the remaining butter (You may not need all of it, but don’t be stingy – this will prevent the soufflé from sticking.) Sprinkle the remaining Parmesan on the greased strips, lightly patting down to make it adhere to the butter.
 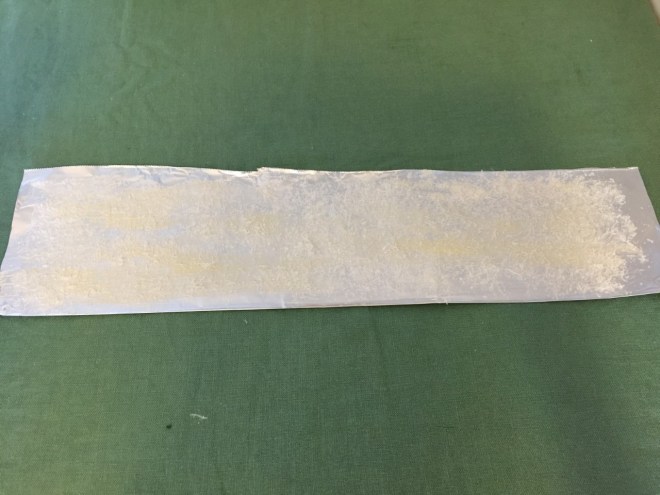 Surround each Portobello snuggly with a foil strip, coated side facing the mushroom. Secure it with a paperclip at the top.
 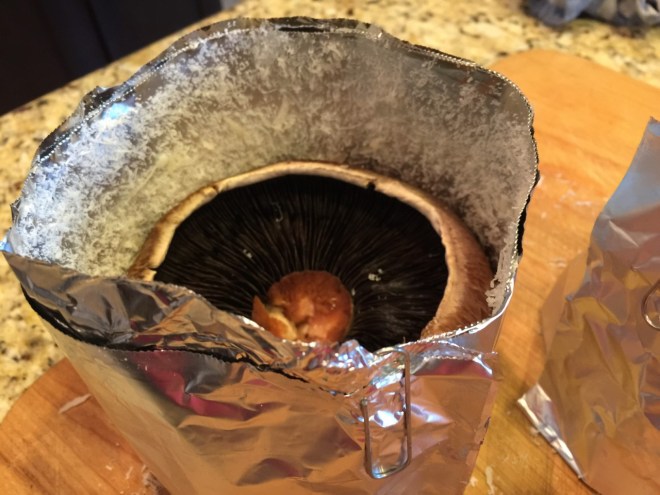 Place mushrooms on a parchment lined cookie sheet and set aside.
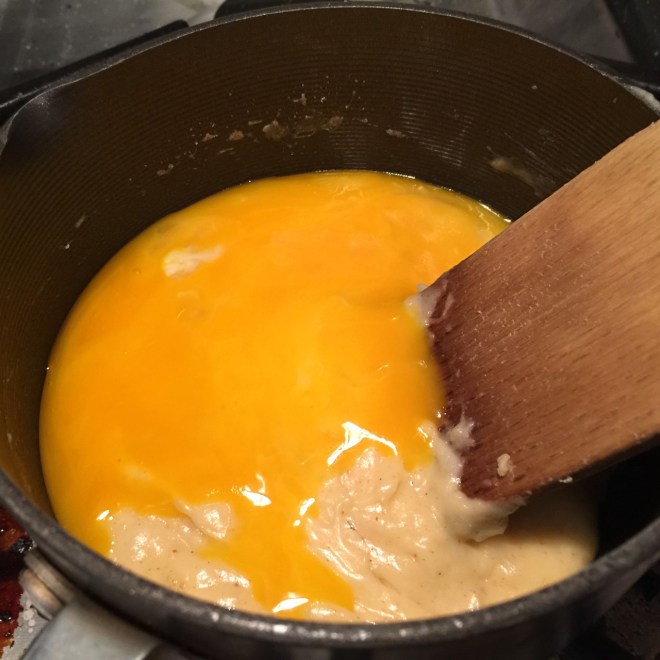 Let cool.
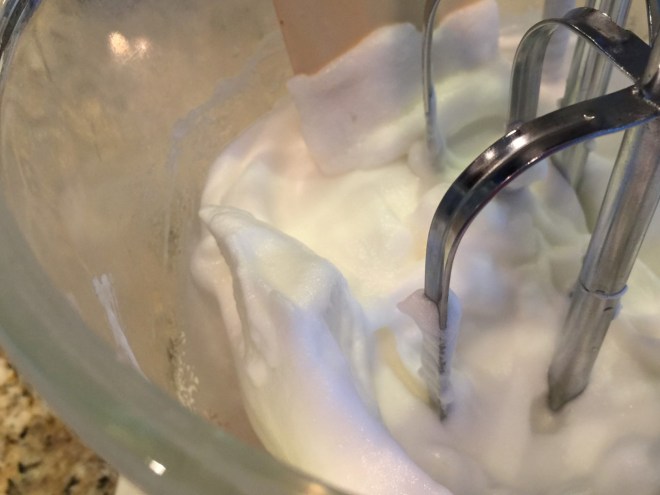 Deep breath! Pour the cheese sauce into the beaten whites. Turn the mixer on low and mix until just combined.
  Pour mixture on top of Portobellos, dividing as equally as you can – don’t get crazy about it, though.
 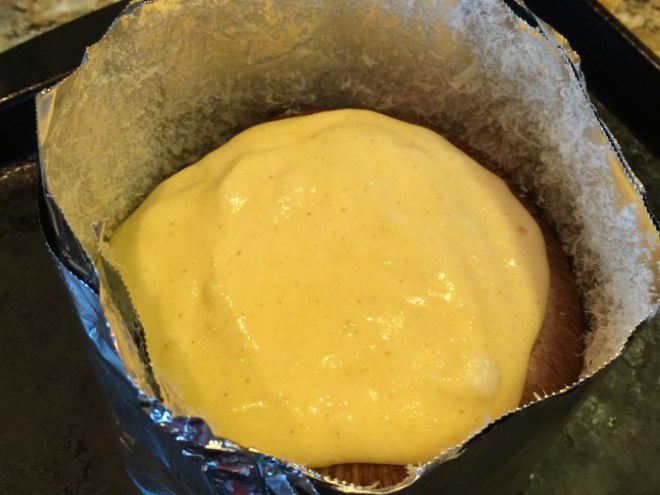 Bake at 350º F for 25 minutes – don’t open the oven door to check before that time. The soufflé should be golden and jiggly.
  Remove paper clip (take care – it’ll be hot!) and foil collar. Serve immediately.
 One of my family’s favorite soups is HOT & SOUR. Not only does it have an appealing kick, but I love that you can eat a lot of it with almost no calories. Yay! When I start my meal with a big bowl, it takes the edge off my hunger so I don’t inhale half a dozen eggrolls.
 Cut bamboo shoots in half widthwise, then into slivers lengthwise.
  Press out excess liquid from tofu, then cut into 1/2″ cubes.
 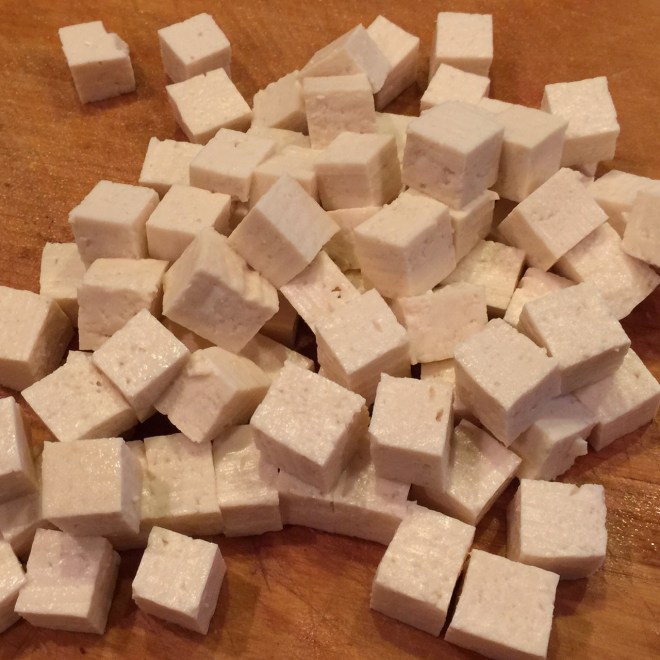 Bring vegetable stock to a boil. Add in mushrooms and bamboo shoots. Simmer for 5 minutes.
 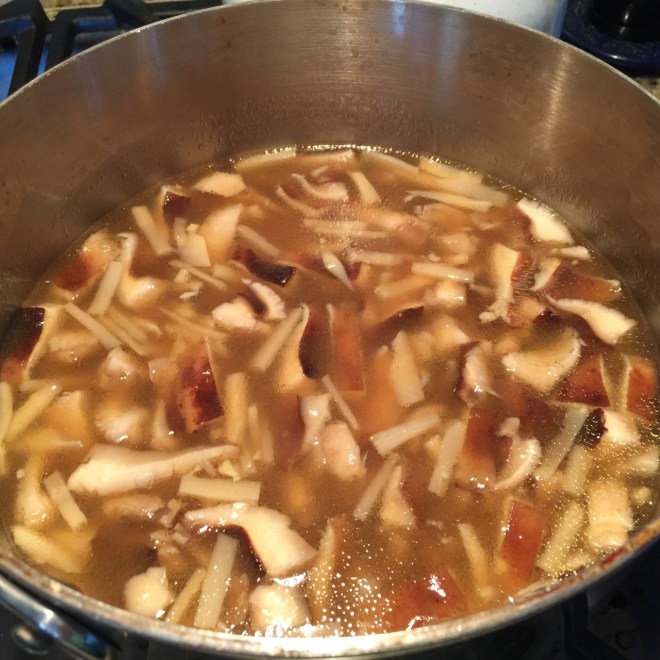 In a small bowl stir together 3 T cornstarch and 3 T water.
  Simmer 5-10 minutes. In a small bowl whisk together the egg, 1/2 tsp cornstarch, and 1 tsp water. Turn off heat. VERY SLOWLY drizzle in the egg in a thin stream, going in all directions.
 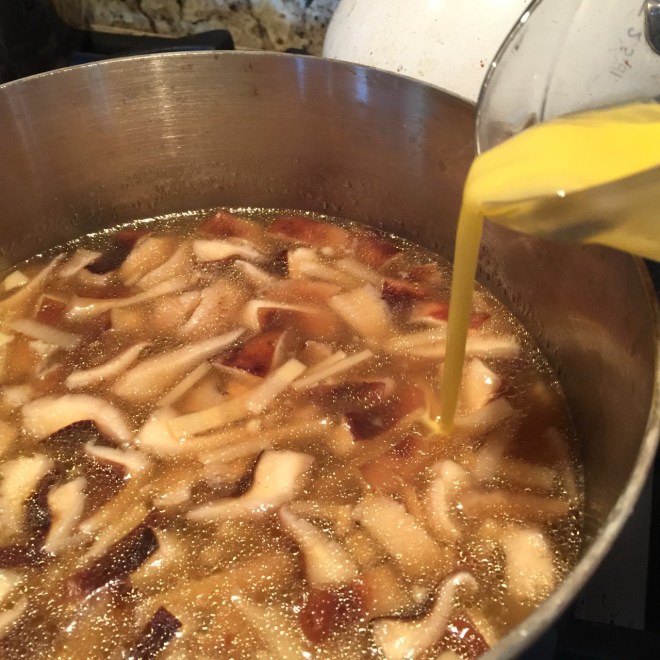 Turn the heat on again and whisk gently to break up egg strands. Serve.
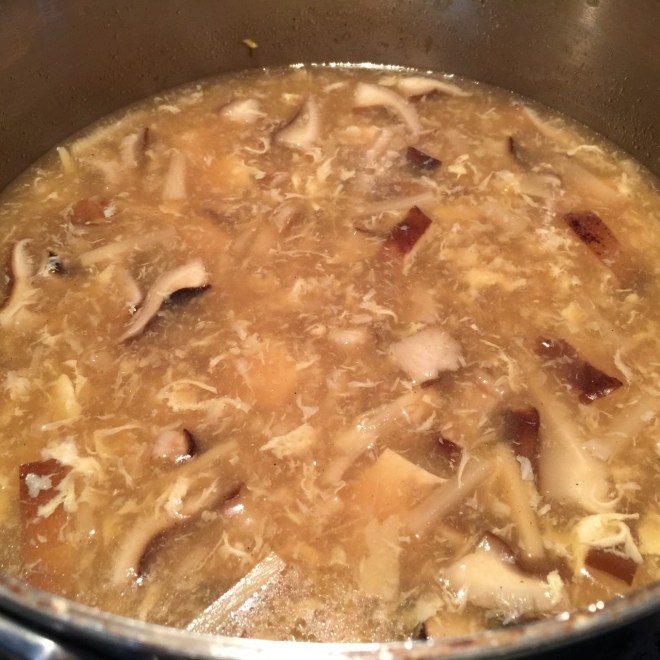
 What could be better on a chilly evening than sipping a nice mug of MULLED APPLE CIDER?! (You could even add in a dash of an adult beverage, if you like.)
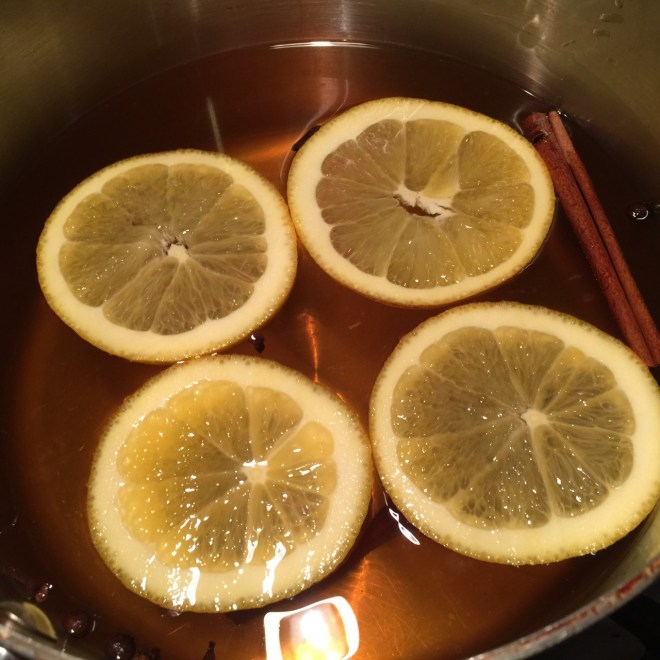 Cover and decrease heat enought to maintain a low simmer. (Make sure you cover the pot while cooking the cider. The first time I made it, I left it uncovered and most of the liquid evaporated.) Cook 30 minutes. Done.
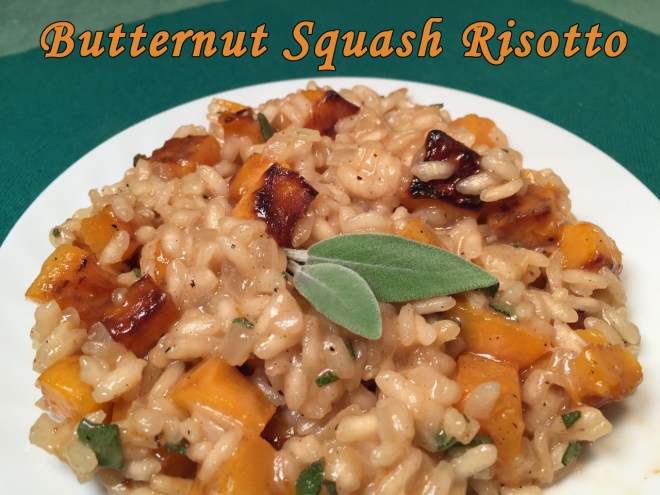 Winter squash comes in many varieties and colors – very tempting to buy as a Fall decoration. Of course, cooking them may seem a bit daunting… what with the potential for slicing off a finger or two.
 Remove neck (yikes!), slice into rounds, then cut into 1/2″ cubes. Cut the body (this is getting creepy) in half and scrape out seeds and fibers. (Remember to save the seeds, fibers, and skin for the broth!) Slice into 1/2″ thick pieces, then cut those into 1/2″ cubes.
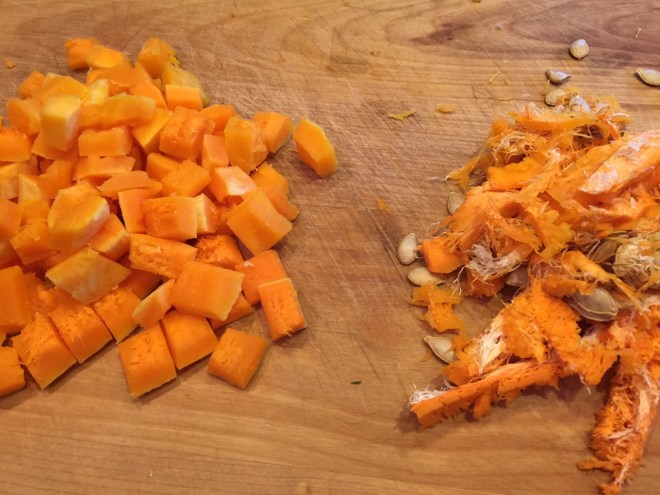 Measure out 1¾ cup of cubes (put any remaining cubes with the skins and seeds for the broth.) Into a 12″ nonstick skillet heat the olive oil over medium/high until shimmering. Add the 1¾ cup of cubed squash, spreading out into a single layer.
 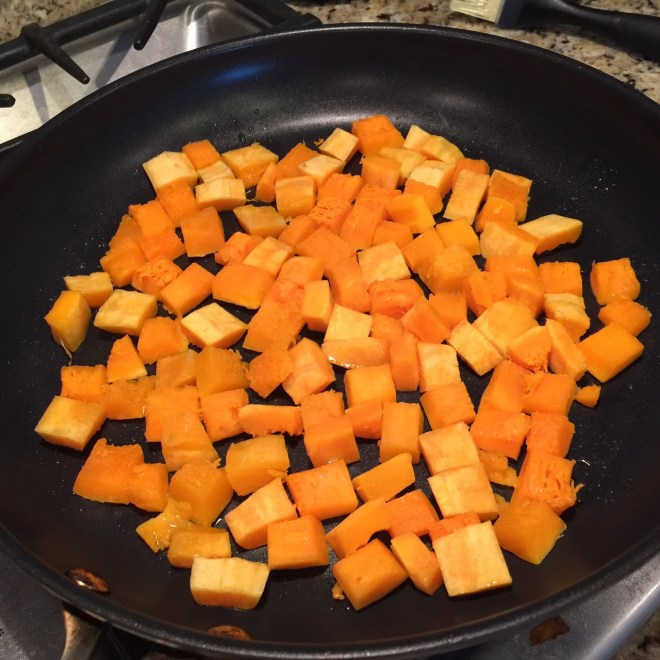 Cook about 5 minutes without stirring, until bottoms are browned. Continue cooking another 4-5 minutes, stirring now and then, trying not to turn them over – you want only one side browned. Remove to a bowl and set aside.
 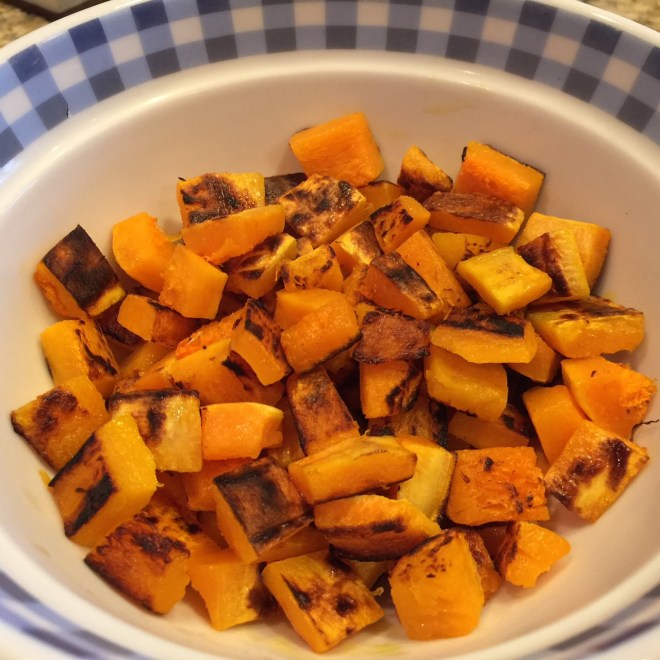 Into the now empty skillet put the seeds and skins, cooking over medium heat about 4 minutes to brown. (Beware of popping seeds as they cook.)
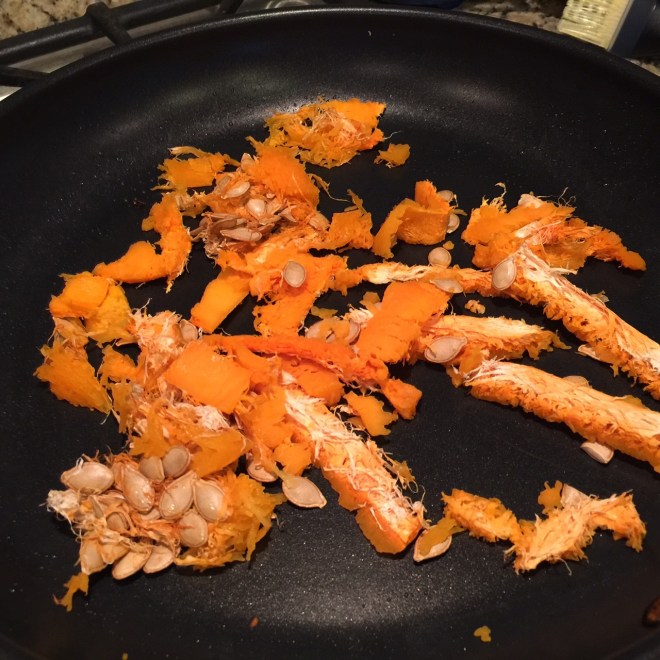 Remove to a small saucepan. Add in the vegetable stock, bring to a simmer, cover, and cook 10-15 minutes.
 Into the empty skillet melt 1½ T butter. Add in the onions, salt, and black pepper. Sauté over medium heat until onions start to brown.
 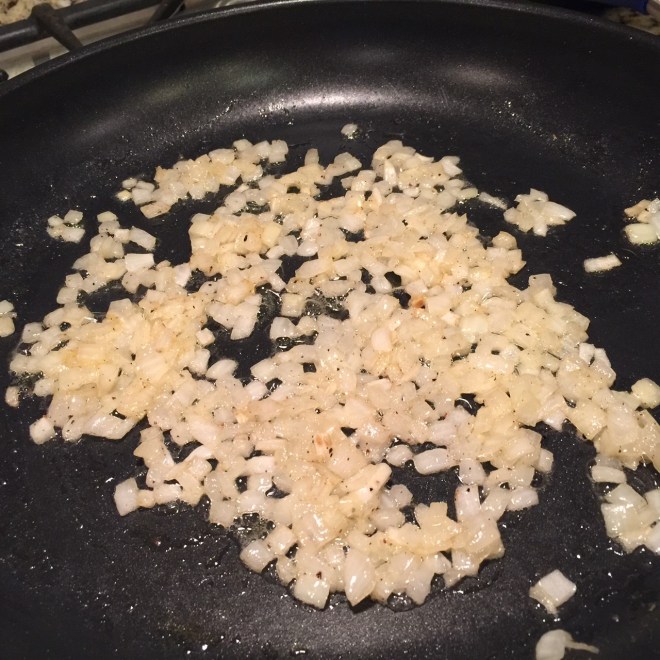 Add in nutmeg, cinnamon, and garlic. Cook another 30 seconds to bloom the spices. Pour the Arborio into the onions and sauté over medium until edges of rice become translucent.
  Add the wine to the rice and cook uncovered over medium high until it evaporates.
  As the wine is cooking, strain the broth made with seeds. Discard strained solids and set broth aside.
 Stir in Parmesan, sage, remaining 1/2 T butter, and lemon juice. Adjust salt and lemon juice, if needed.