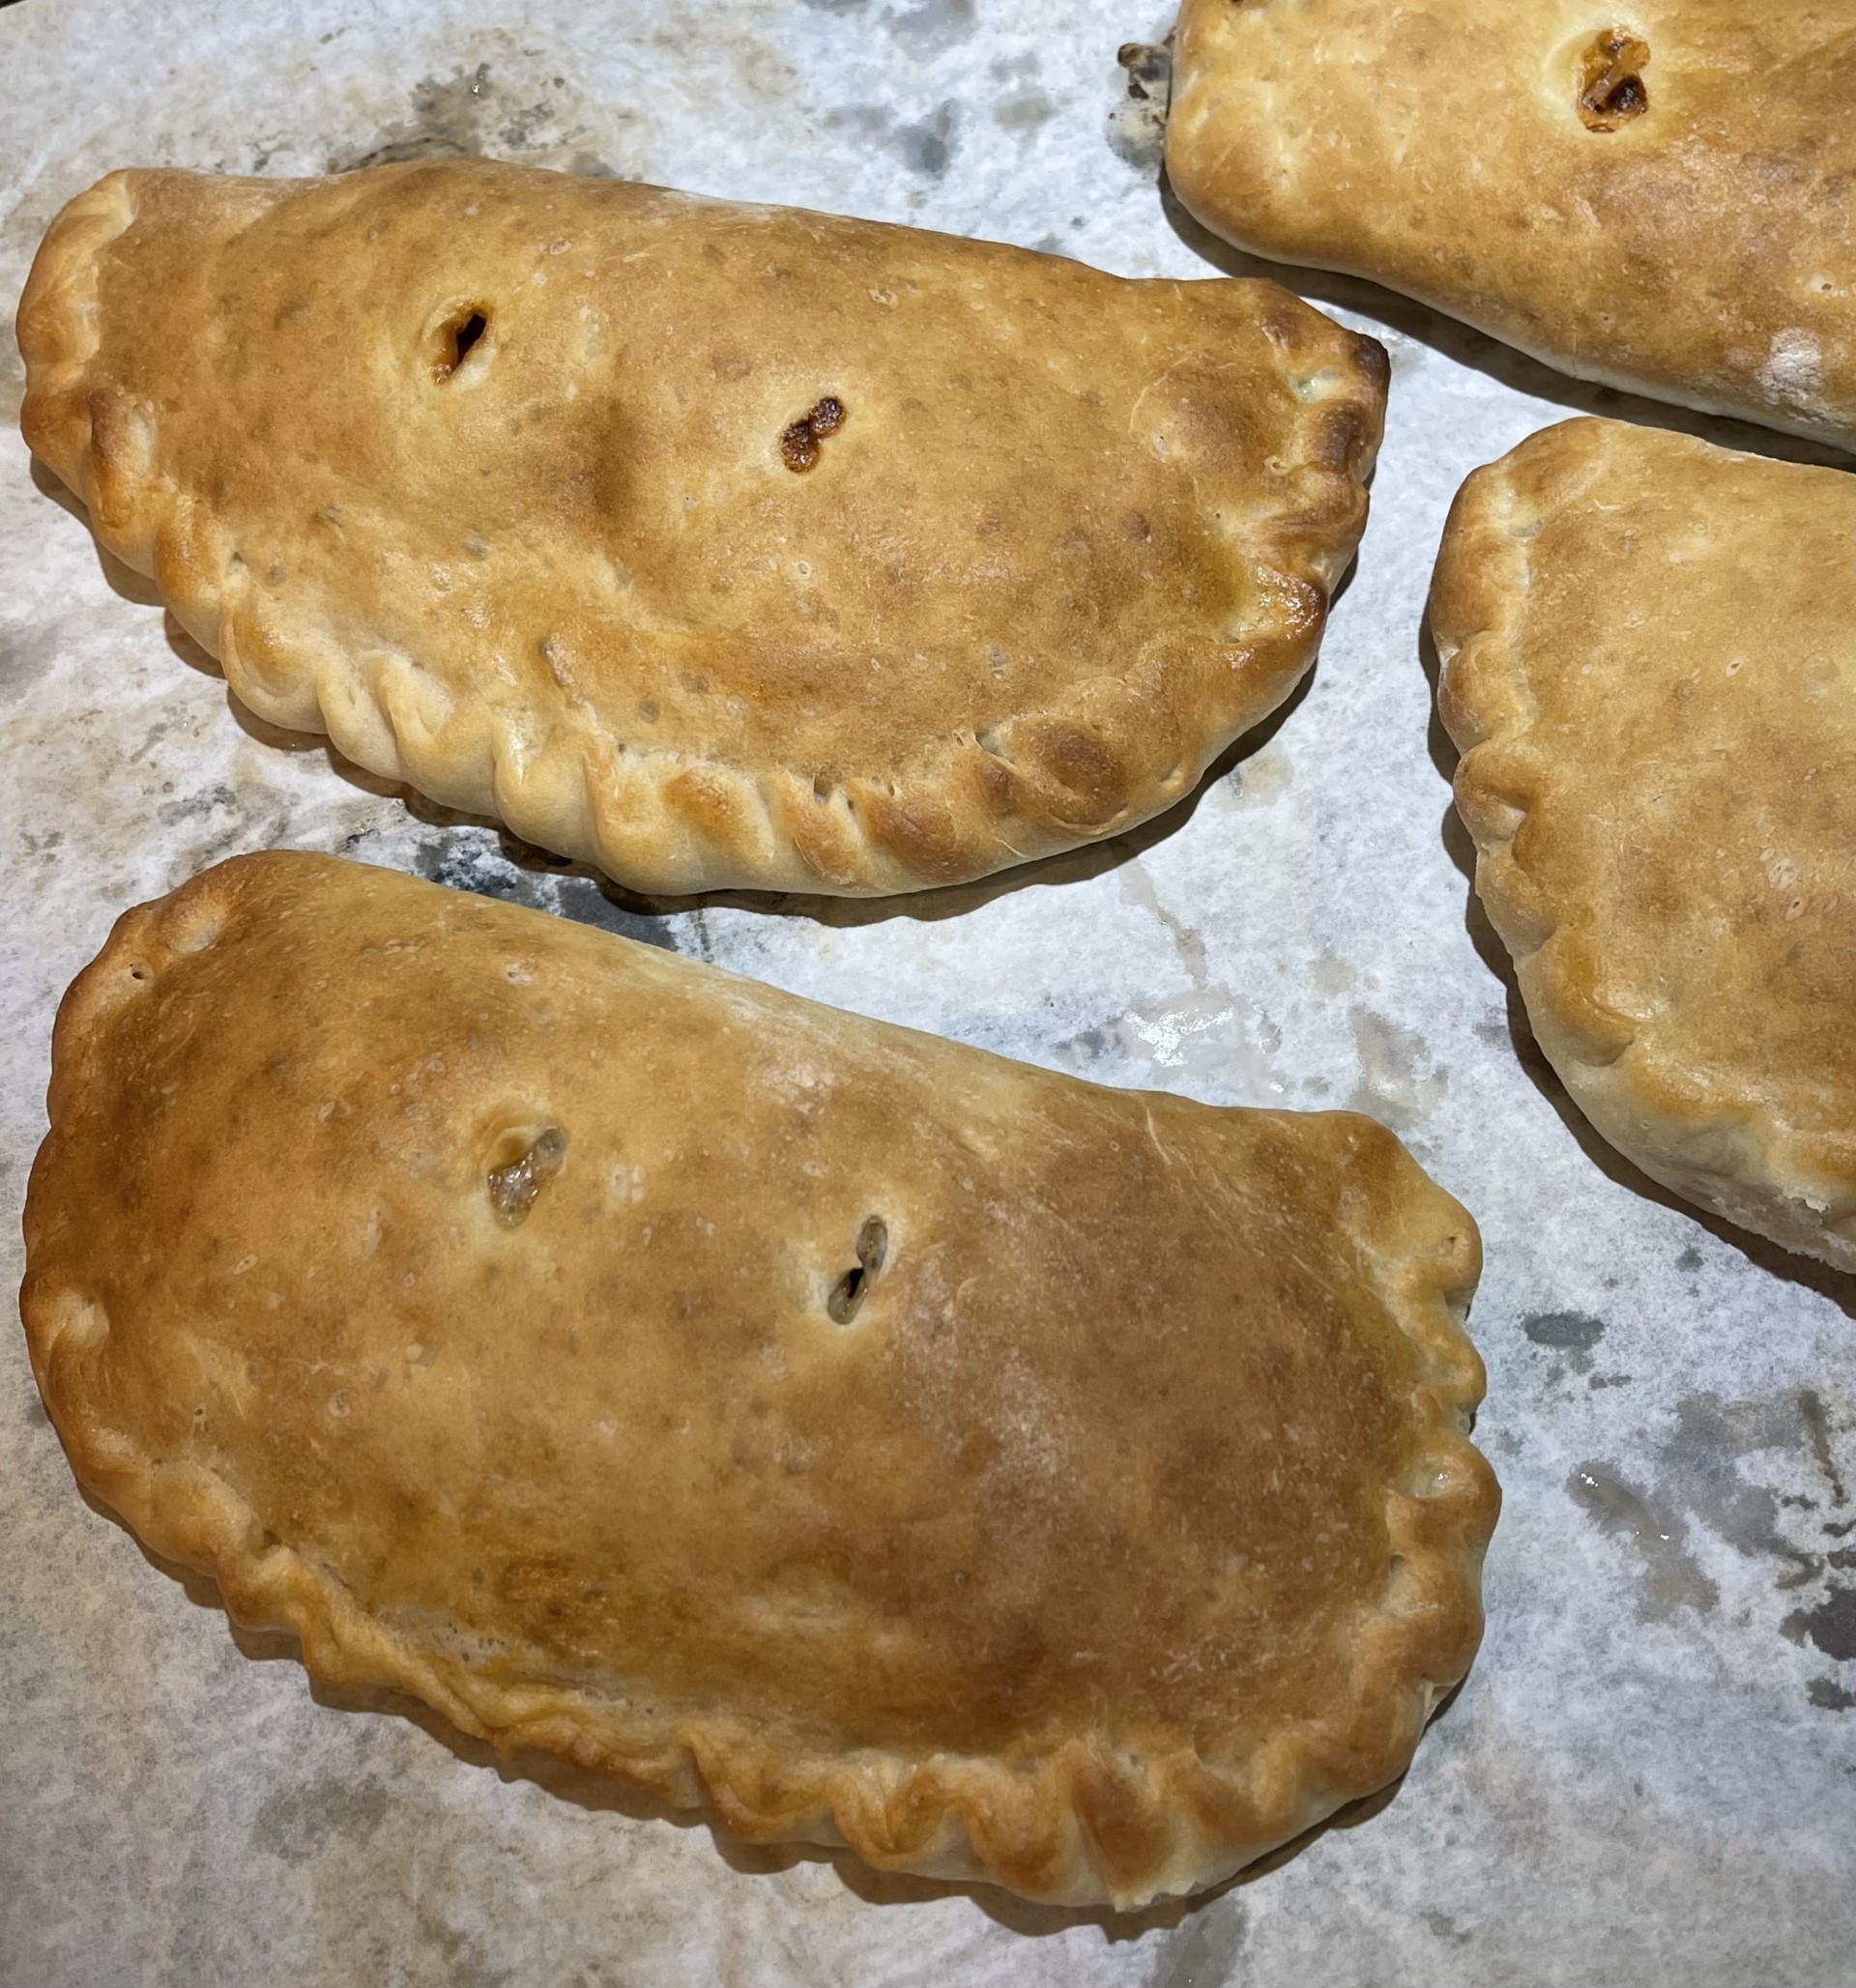
I’m a big fan of the savory pie. While I do love a good hand pie (such as the pasty), the single pie is not only faster to prepare, but offers more filling to crust ratio.
Butternut-Spinach Pie is a lovely blend of honey roasted butternut squash, a kicky bleu cheese (such as Gorgonzola), a bit of crunch from the pecans, and sweetness plus color from the dried cranberries. The spinach, of course, adds a vegetable to the mix, which is great for veggie-phobic kids.
TIP: As self-proclaimed Queen Of Freeze, I would be remiss in my duties if I didn’t suggest (nag) you to freeze the leftover egg wash for future use. One egg wash can be used several times, thus sparing the cost of an egg each time. Just remember to thaw it out before prep-time.
NOTE: My pie crust recipe is delicious, but if you have a preferred double-crust pie dough recipe, you can use that. OR, you can purchase pre-made, if you’d rather.
NOTE: This is certainly not mandatory, but there’s a device called a ‘first-slice wedge’ that can be placed under the bottom crust to aid in lifting out that notoriously difficult first pie piece. At my family’s constant nagging, I now keep mine IN the pie plate at all times so I don’t forget to use it. I guess they got tired of hearing, “Oh, no! I forgot to use the pie wedge…again!!!”

BUTTERNUT-SPINACH PIE
Crust:
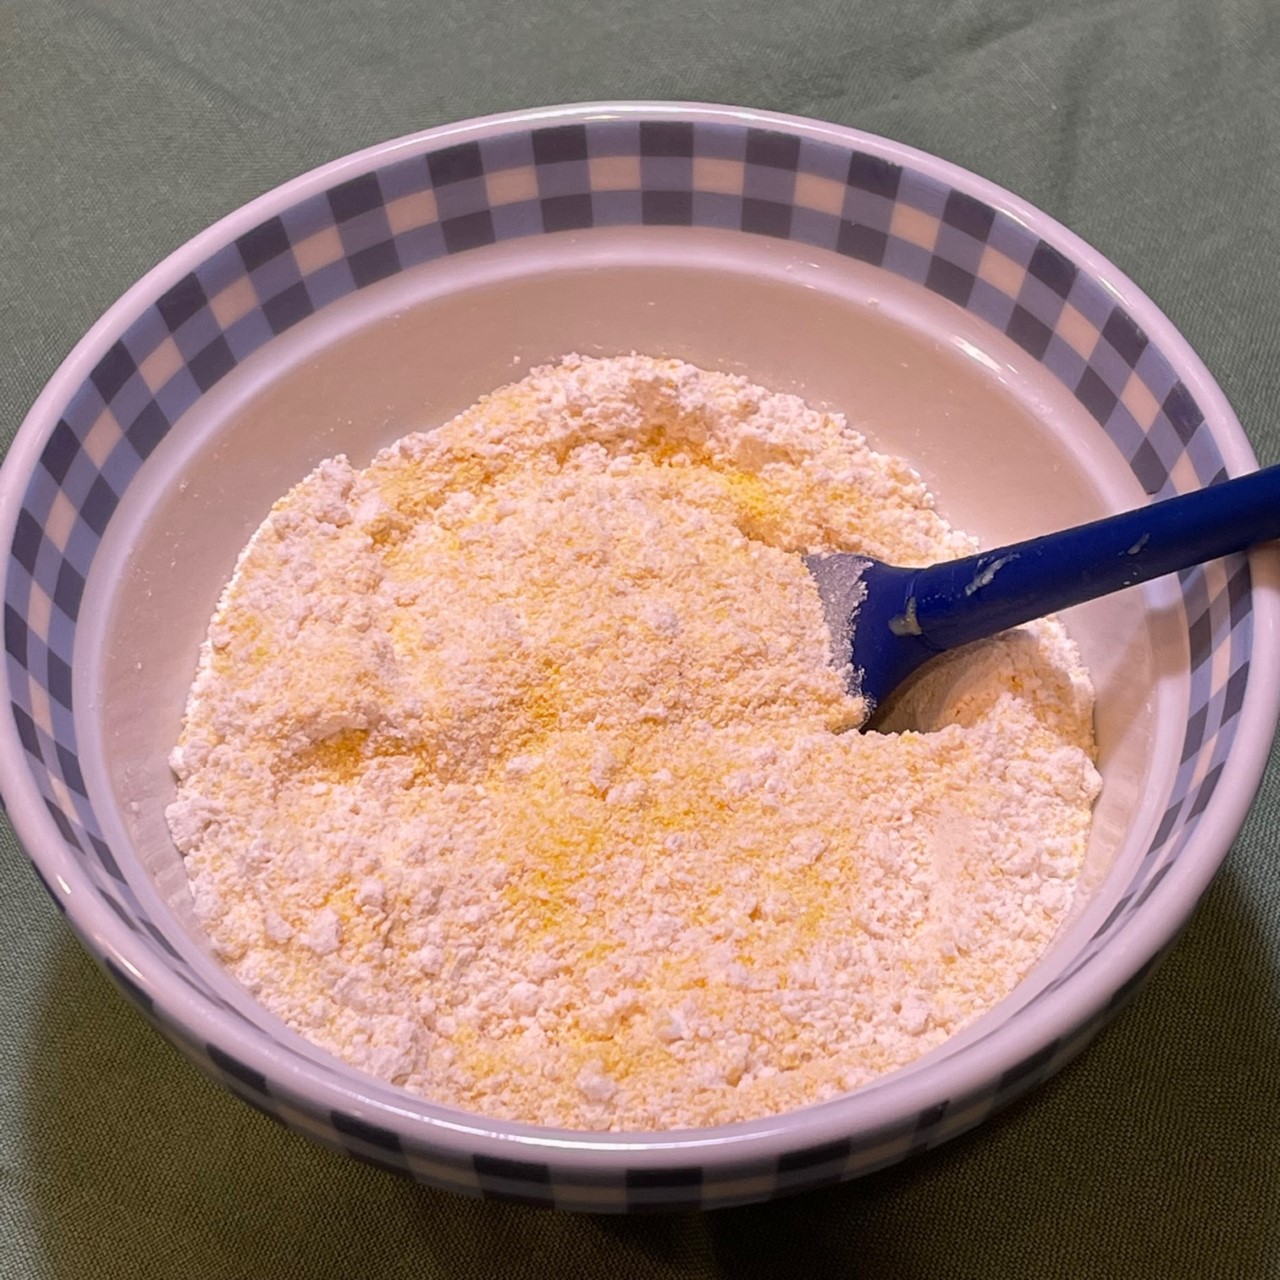
- 323g (2.5 cups) all-purpose flour, DIVIDED
- 1/2 tsp salt
- 144g (10 T) butter, cold
- 95g (1/2 cup) shortening (I use Crisco), chilled
- 34g (4 T) vodka, cold
- 34g (4 T) water, cold
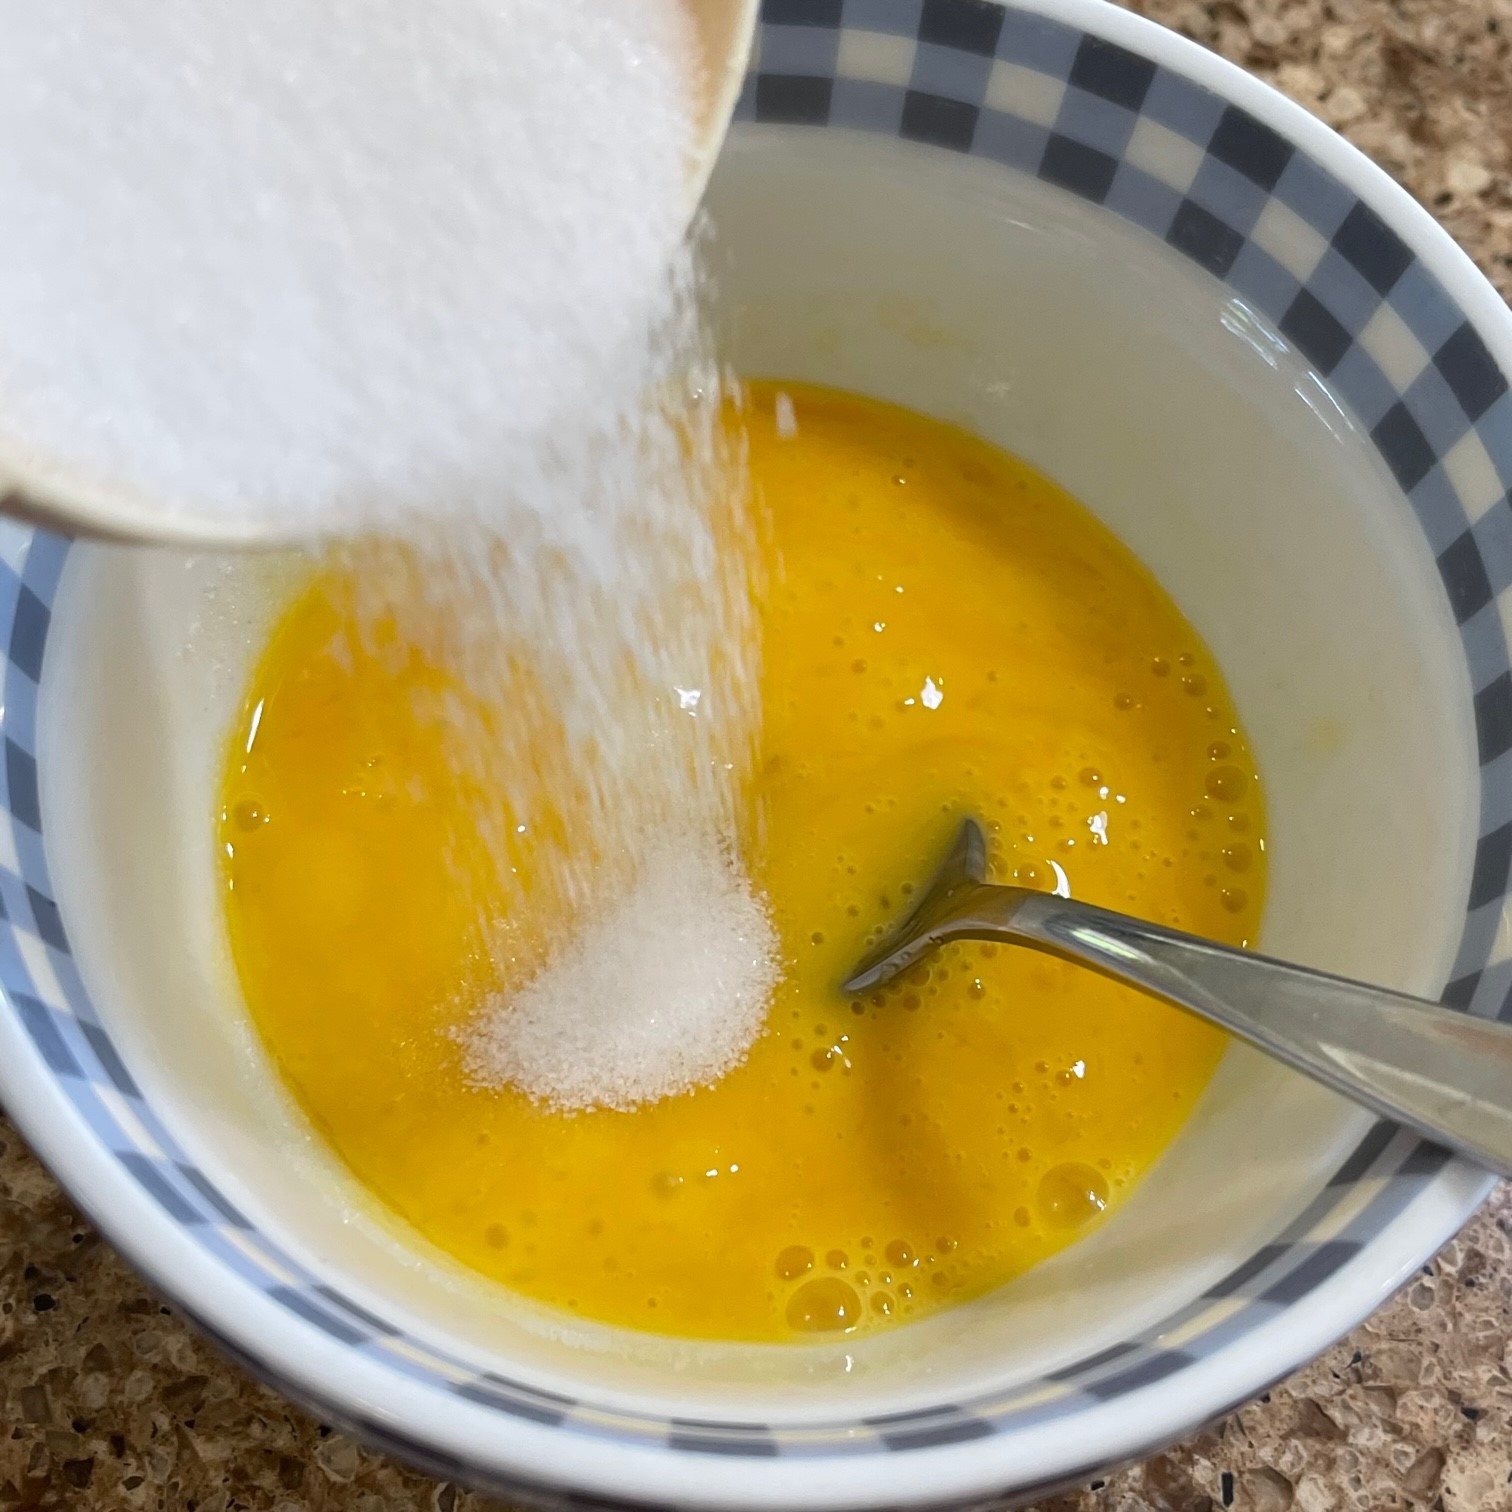
- eggwash: 1 egg plus 1 T water, beaten together
Filling:
- 1 butternut squash (about 900g / 2 lbs)
- 36g (4 T) olive oil
- 3/4 tsp dried cumin
- 3/4 tsp dried crushed rosemary
- 30g (2 T) honey
- 341g (12 oz) raw spinach, leaves only, cleaned thoroughly!
- 218g (8 oz) Gorgonzola (or any bleu cheese you prefer)
- 40g (3 T) sour cream (or plain yogurt or creme fraiche)
- 1/2 tsp ground black pepper
- 60g (2/3 cup) pecans, coarsely chopped and lightly toasted
- 50g (1/2 cup) raisins or dried cranberries
——————————————————————————————————————-
Make the crust first since the dough should be chilled before rolling it out. You can make it well ahead of time, if you like.
Preheat oven to 218°C (425°F).
Measure out the shortening onto a plate small bowl or bowl, and place it in the freezer to chill. Combine the vodka and 34g (4 T) water in a small bowl and place in the fridge. Let these ingredients chill for about 20 minutes.
Into the workbowl of your food processor, place 202g (1.5 cups) of the flour and the salt. Pulse a couple of times to mix.

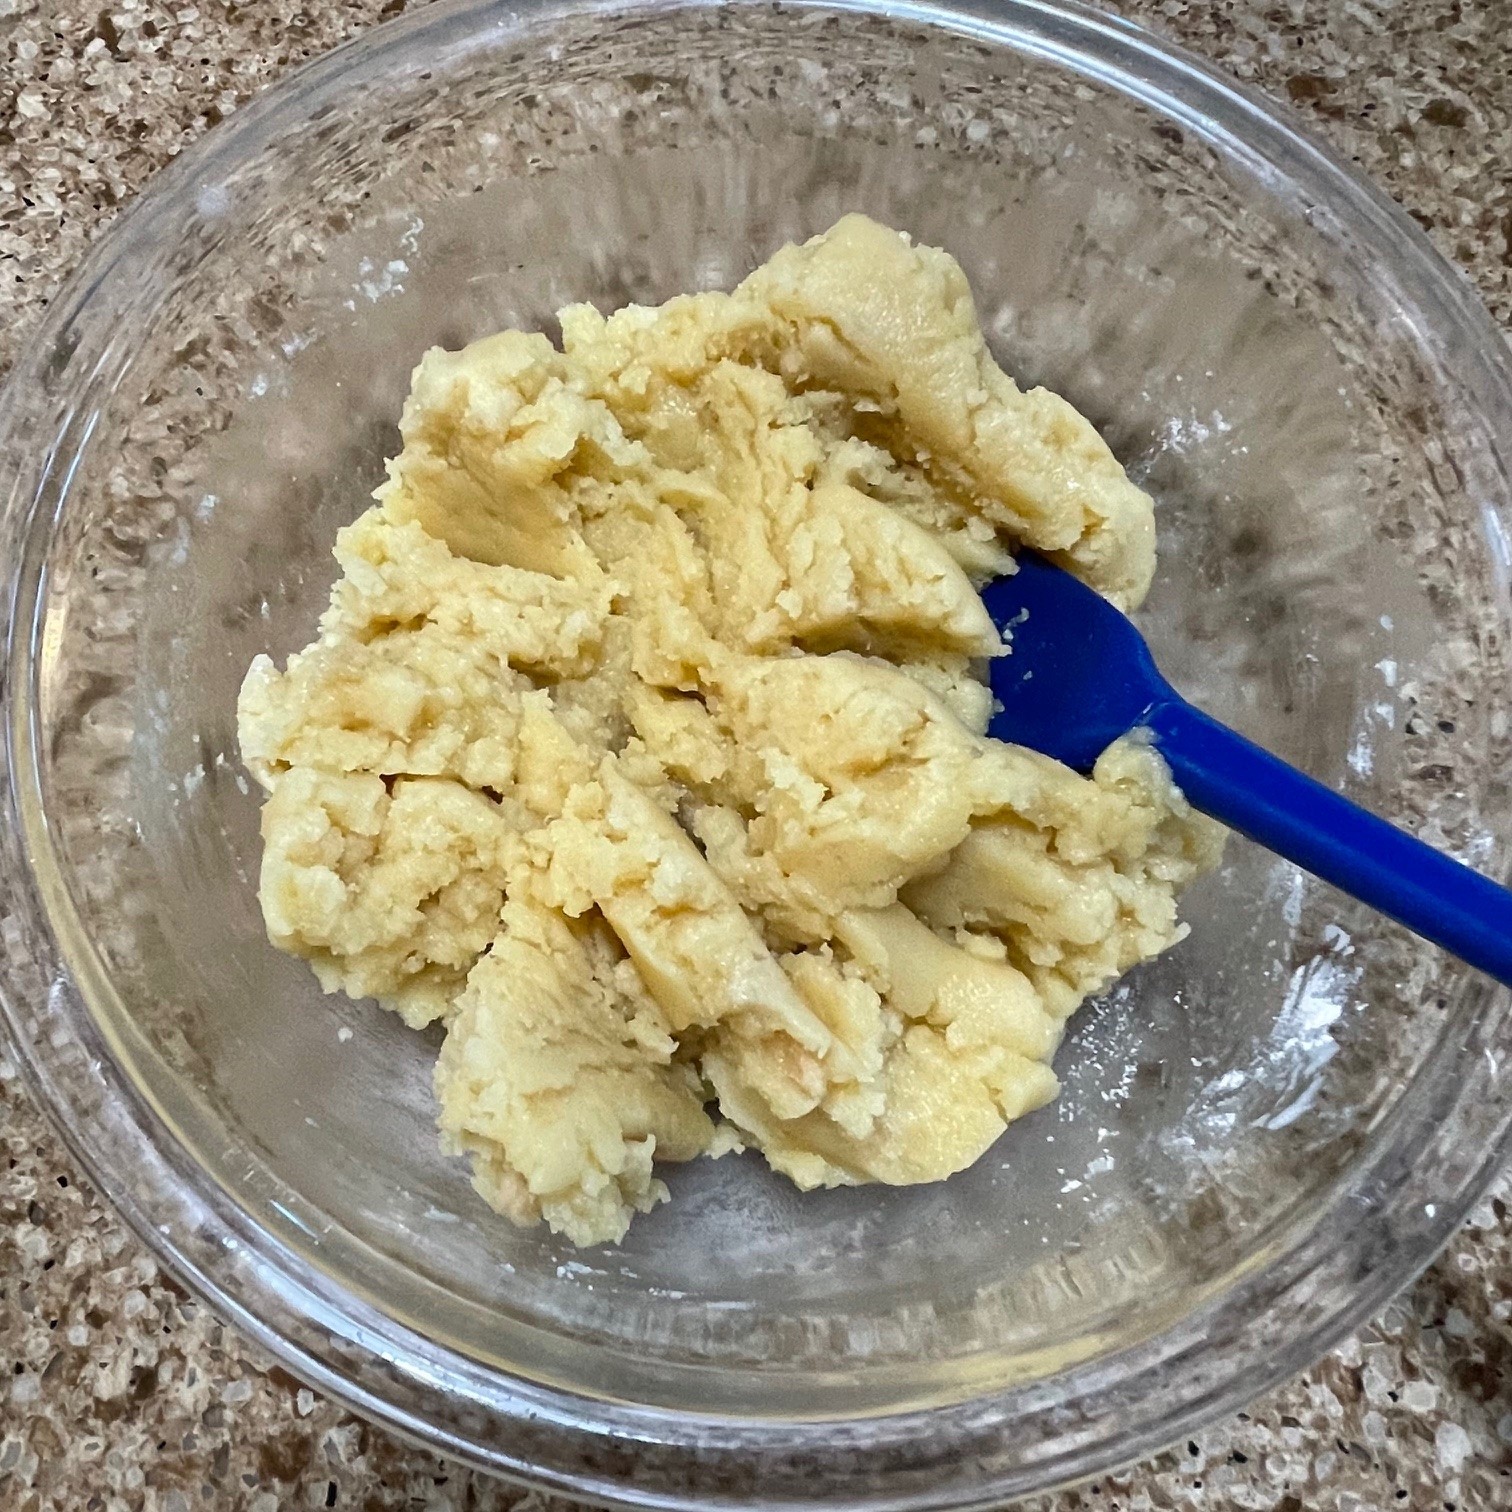
Cut the cold butter into small pieces and add to the processor along with the cold shortening. Process (NOT pulse) for 15 seconds – at about 15 seconds, the dough comes together.

Add the remaining 130g (1 cup) flour to the processor and pulse (NOT process) 6 times.

Pour the vodka/water mix into the processor and pulse 3 or 4 times, just to mix. The dough will be tacky.

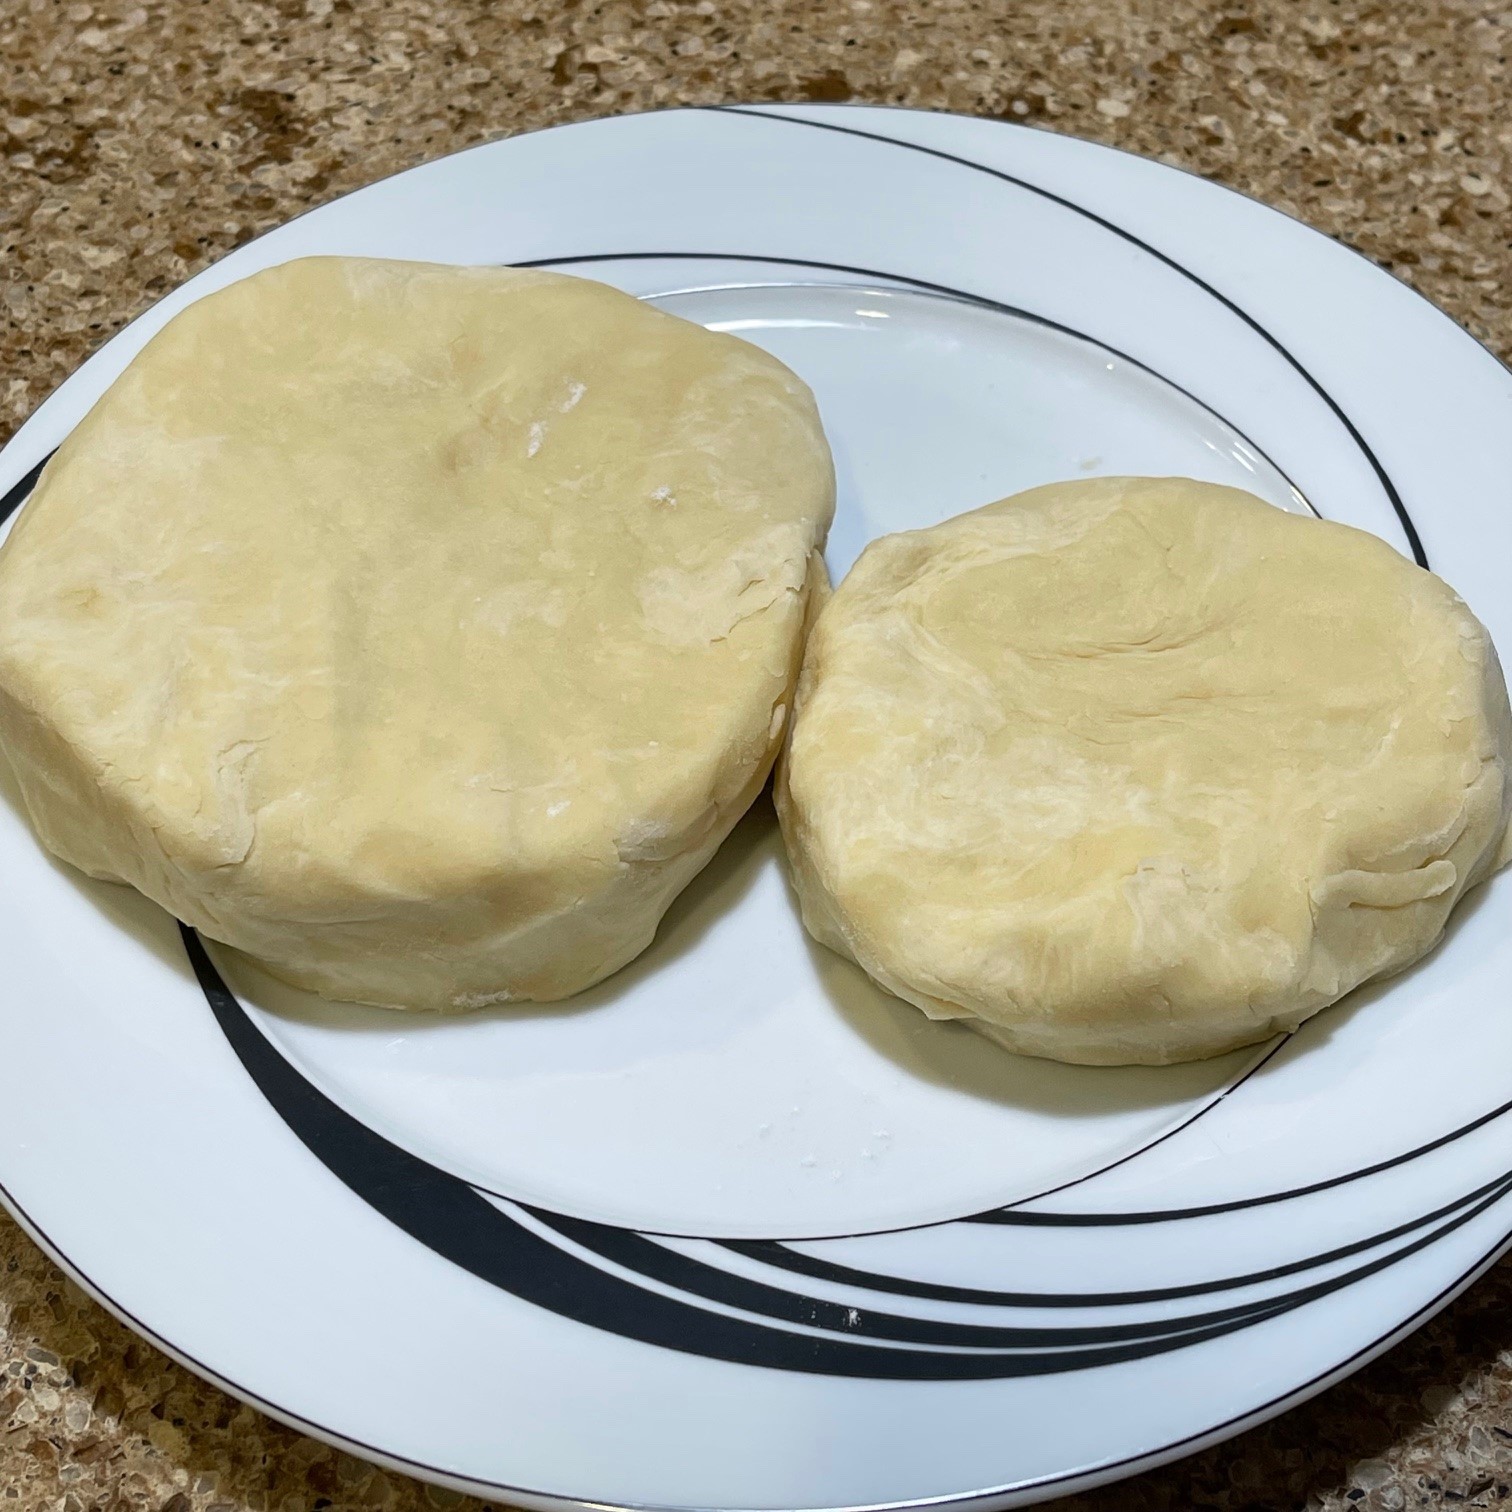
Empty dough onto a well floured surface and knead dough 5 or 6 times using a bench scraper to bring dough together. With floured hands pat the dough together. Cut off 1/3 of dough and form a disc. With the remaining dough, form another disc. Cover so the dough doesn’t dry out, then place in fridge to chill while you prepare the filling.
Preheat oven to 218°C (425°F).
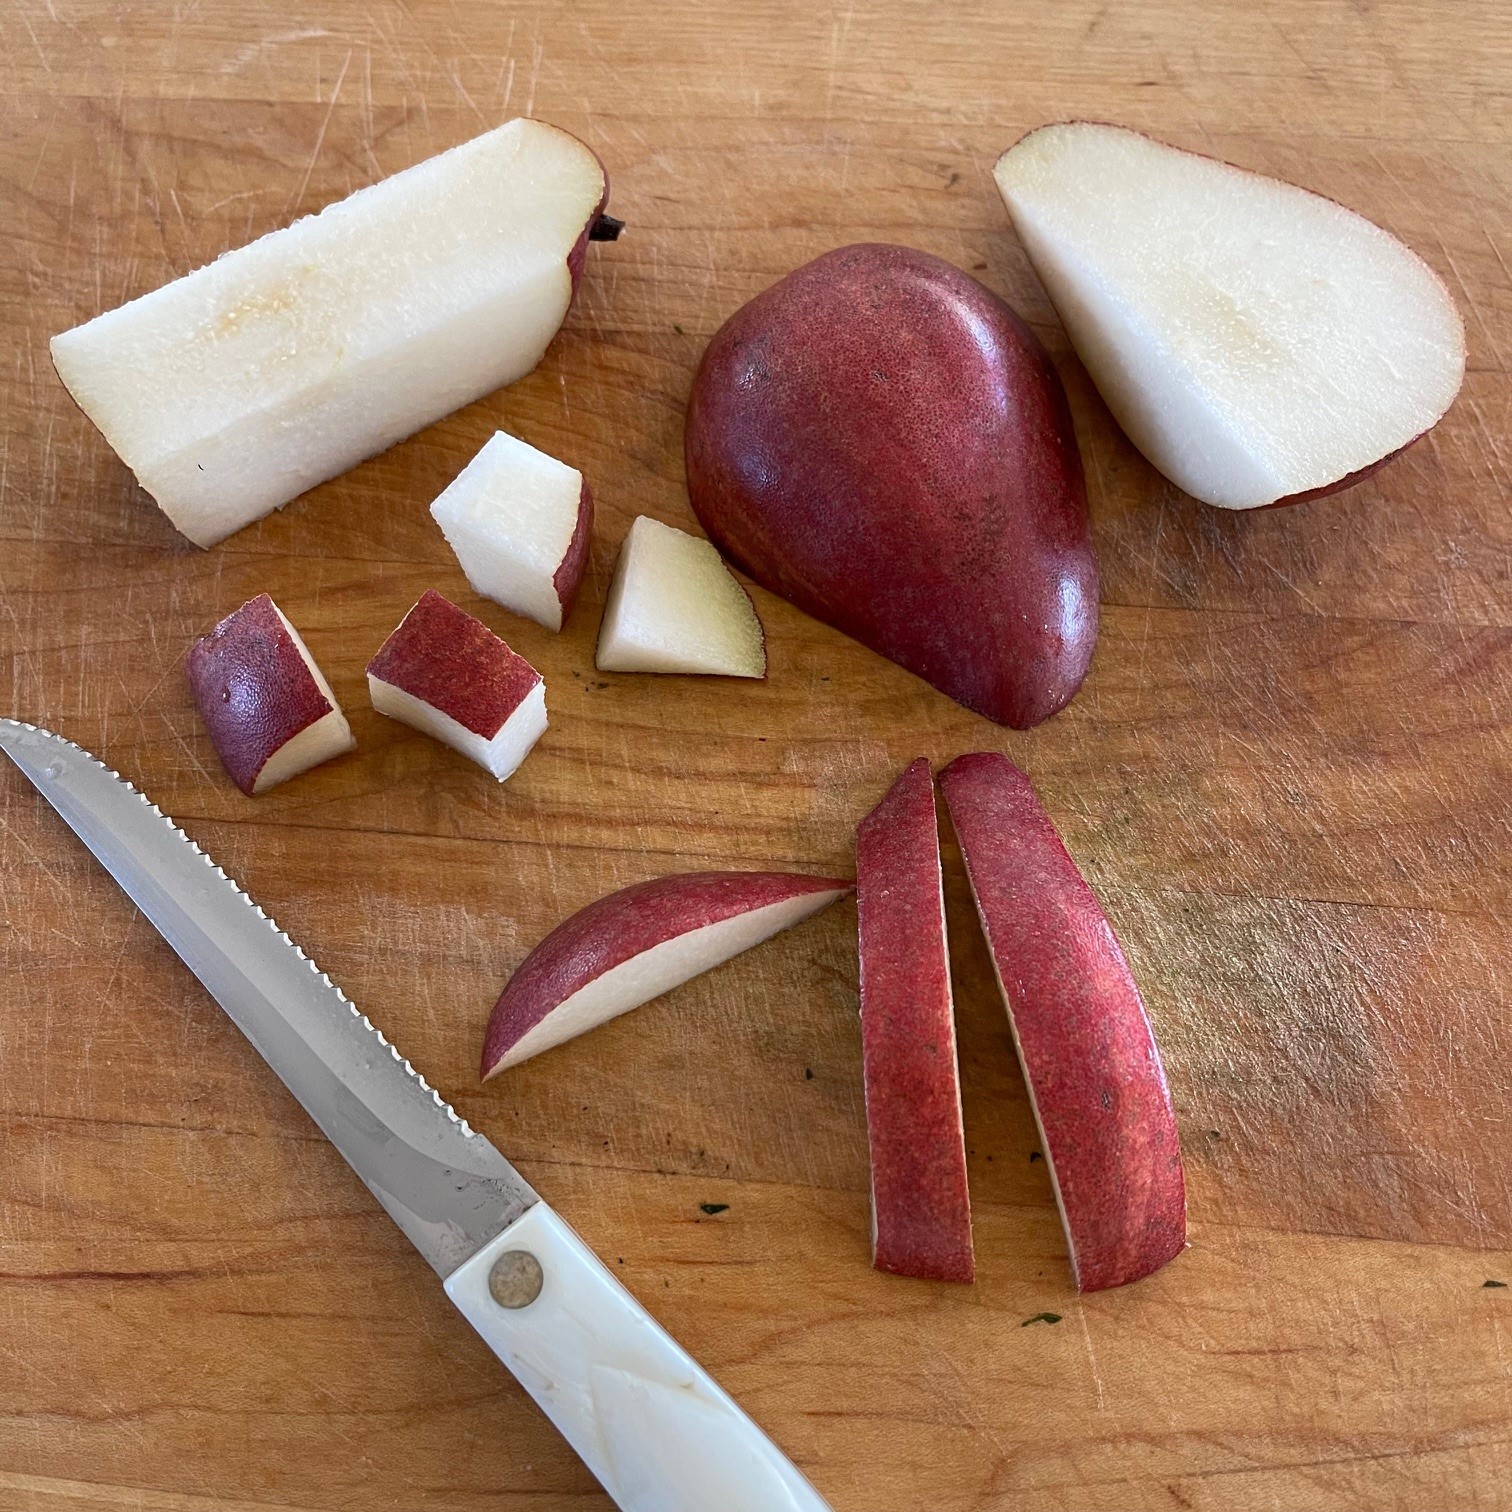
Wash the butternut squash before slicing so you don’t drag dirt and germs onto the flesh. In order to make the squash soft enough to cut, put it in the microwave for 3 minutes. (Don’t worry, it won’t explode for this short period of time!) Flip it, then zap it again for 30 more seconds. It’s now soft enough to cut. Slice off both ends and discard. Cut off the head (yikes!) and stand both halves on end. Using a sharp knife, slice off and discard the outer layer. Slice into 3cm (1/2″) circles. Cut these circles into 2cm (3/4″) pieces, discarding the strings and seeds.

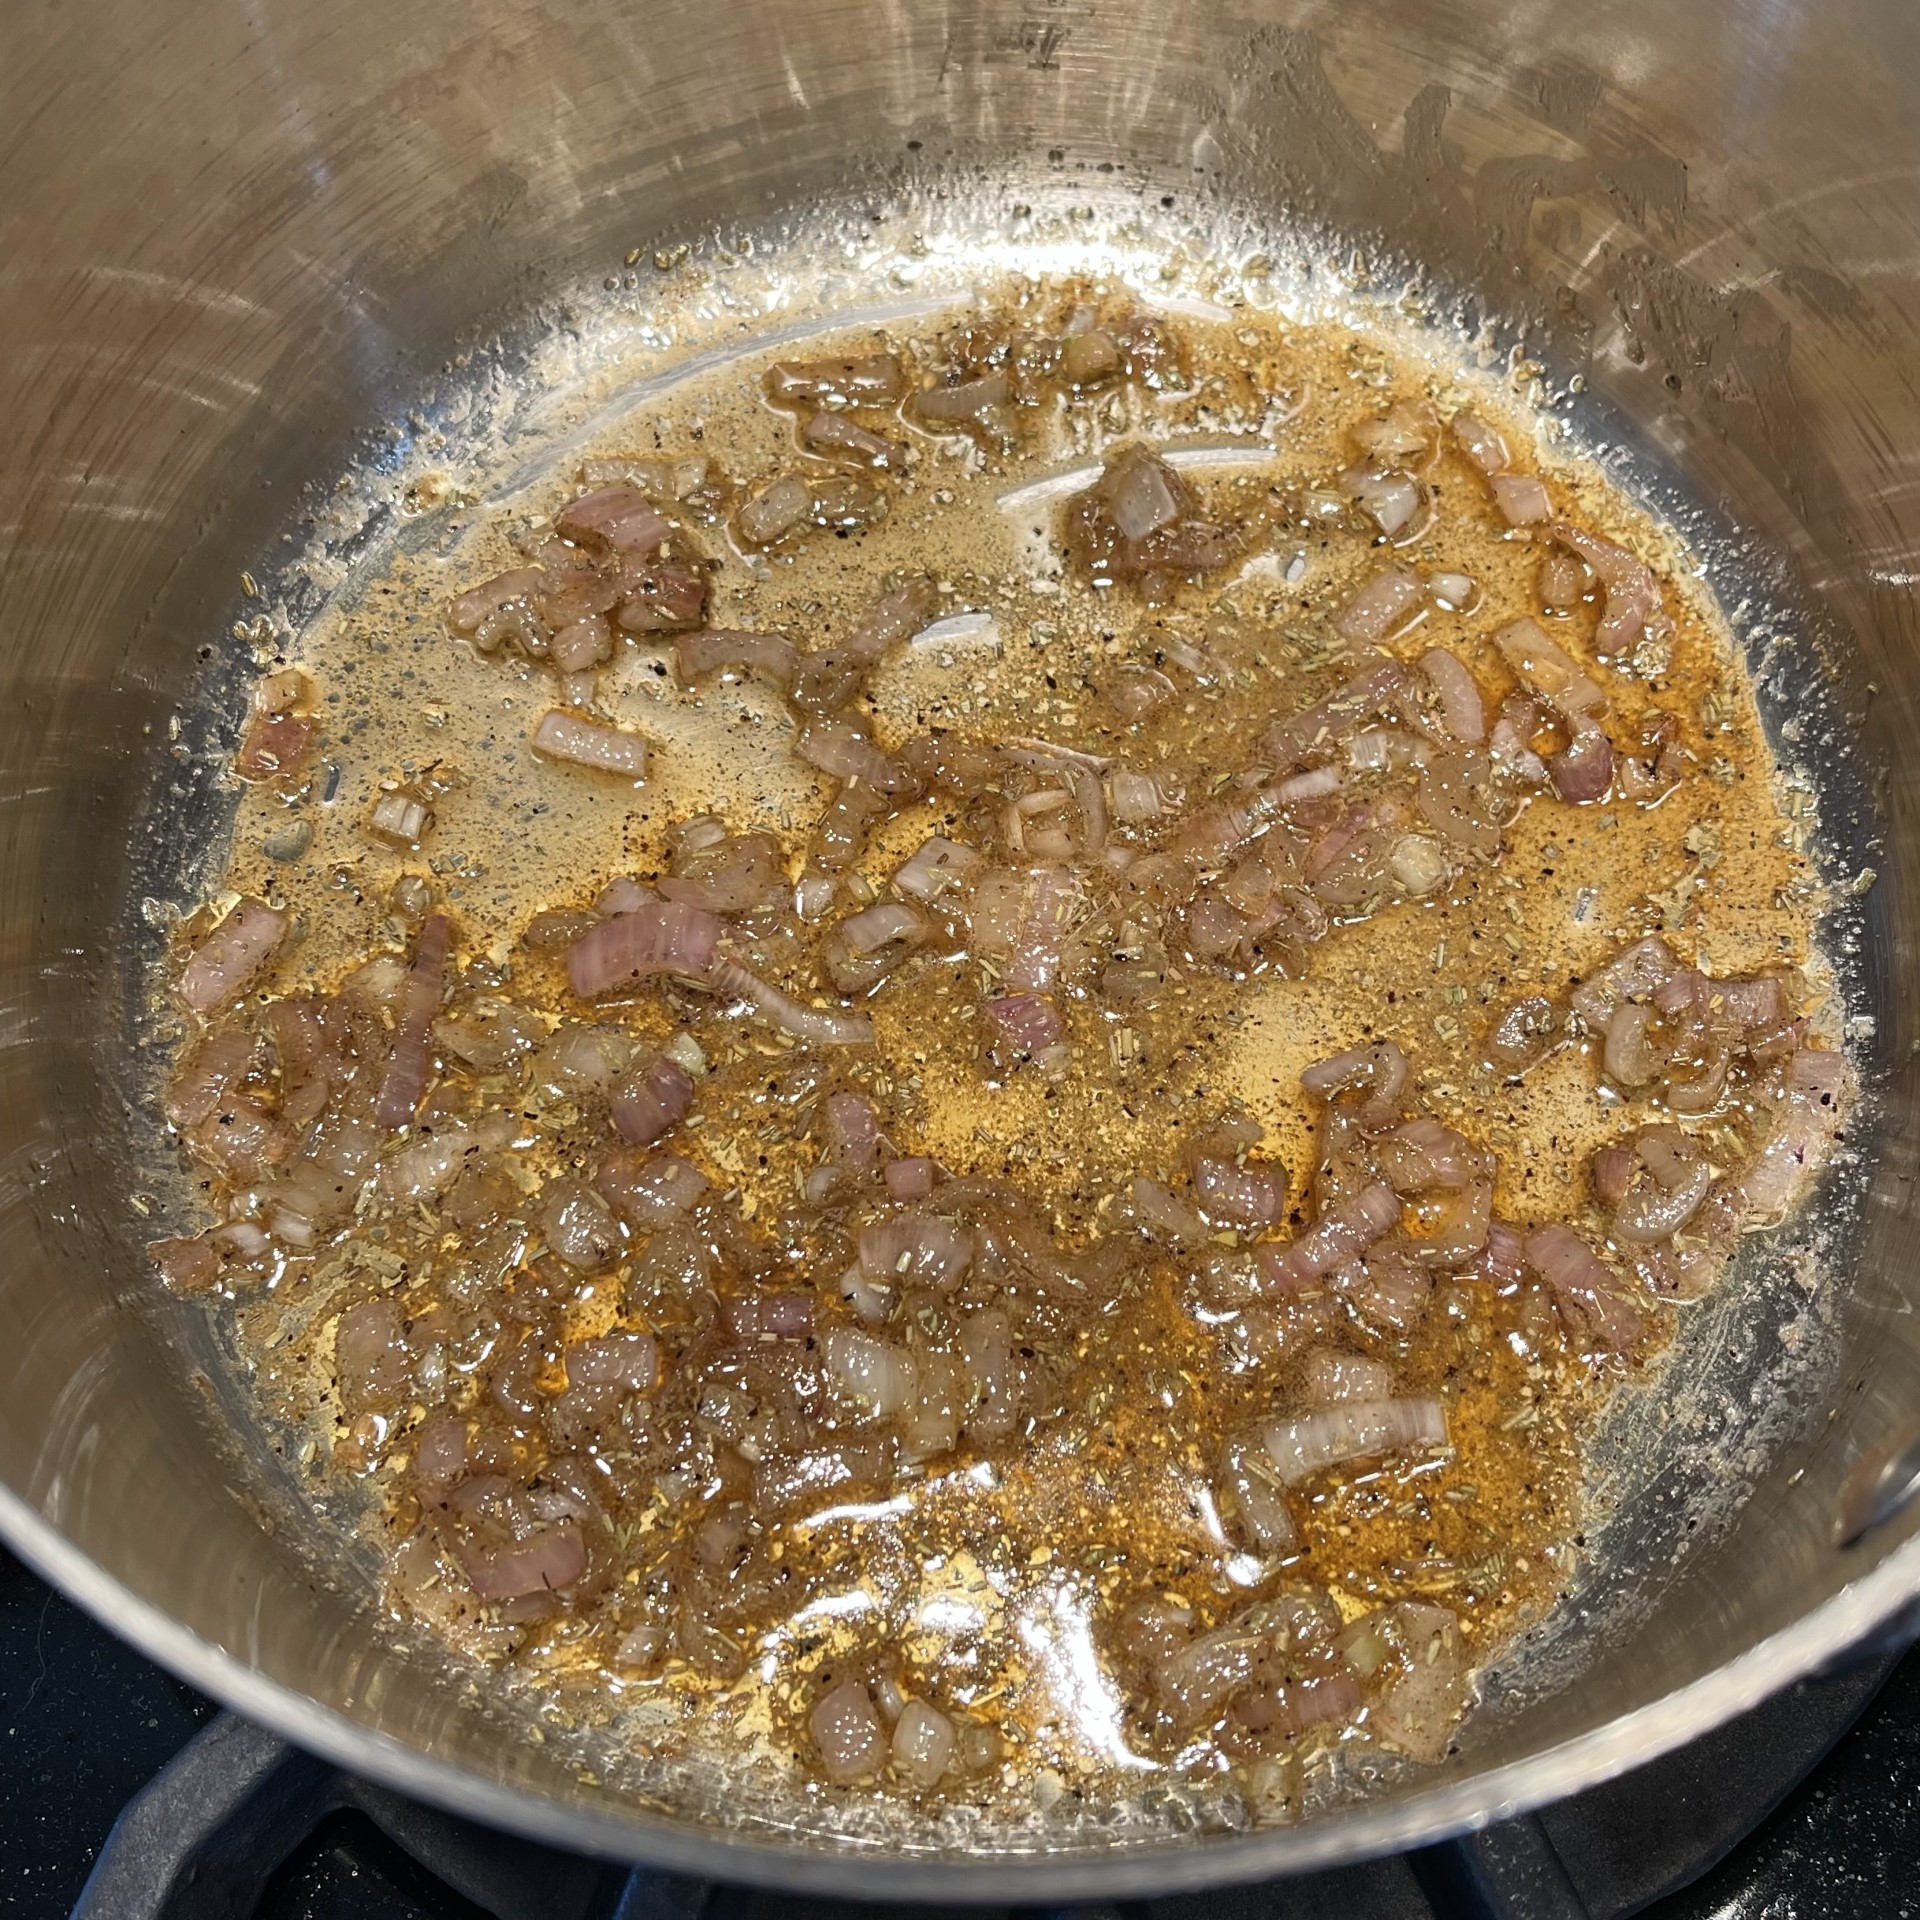
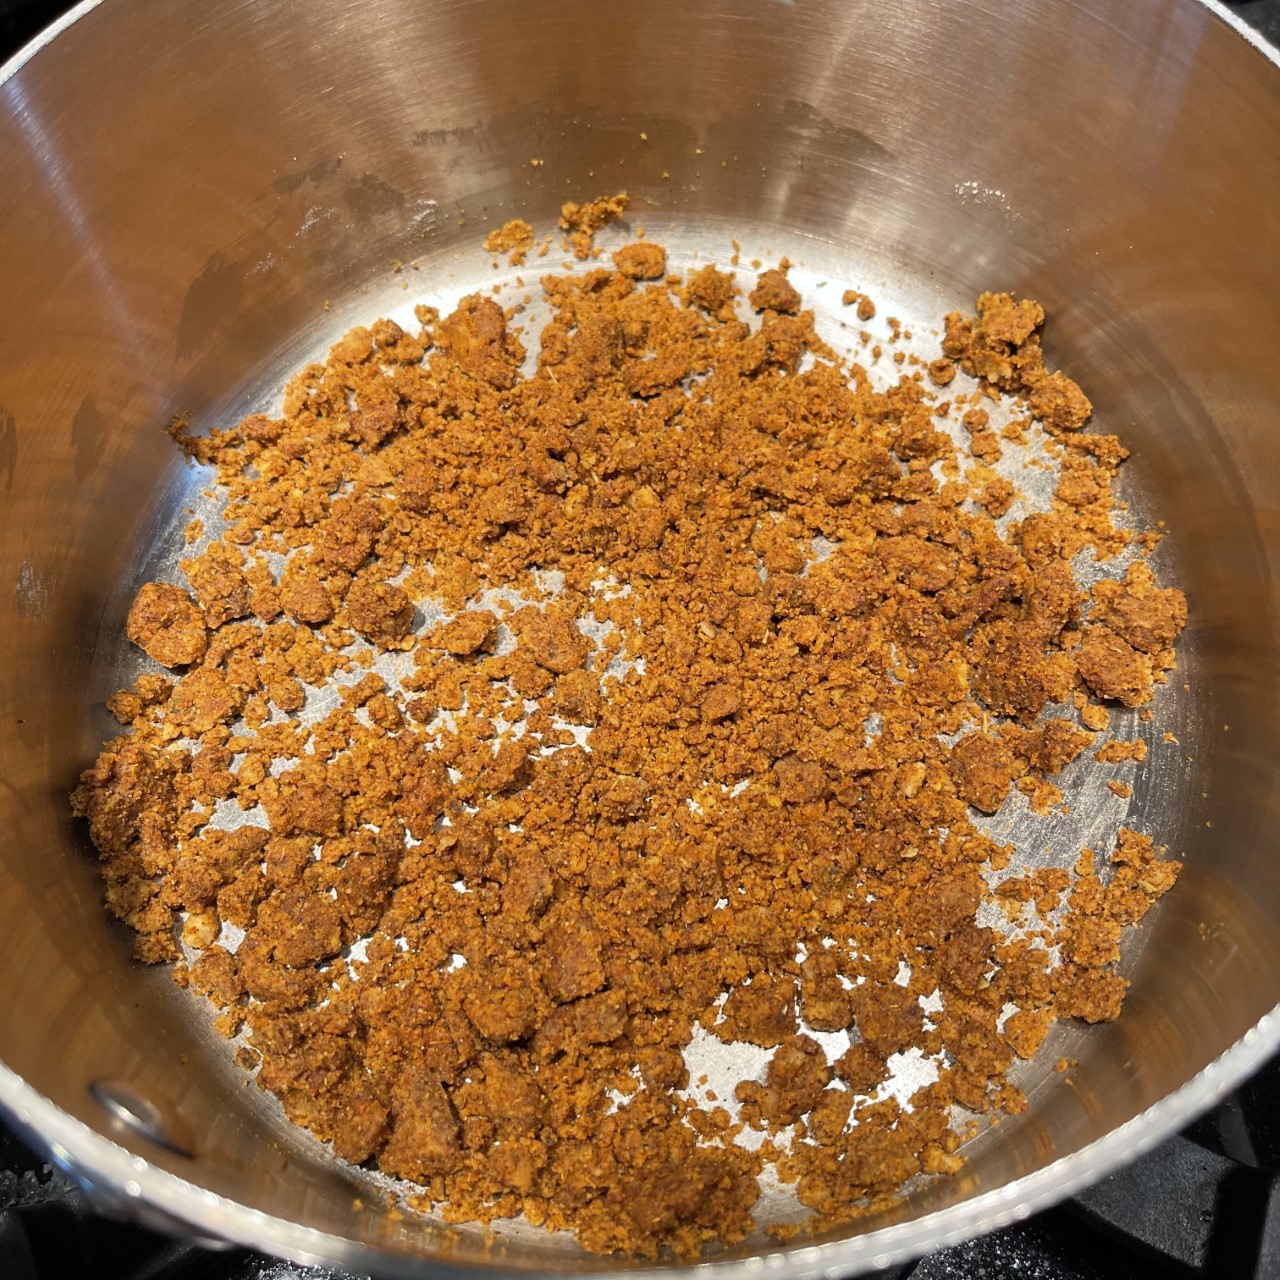
Place cubed squash on a rimmed baking sheet. Add the olive oil, cumin, crushed rosemary, and honey. Gently mix together using a spatula. Place in preheated 218°C (425°F) oven.

Stir with spatula every 10-ish minutes, and bake until squash is golden-browned – 25-30 minutes. Remove from oven and let cool. Leave the oven on at 218°C (425°F) – you’ll be par-baking the crust soon.

While squash is baking, steam the spinach to wilt – it only takes about 5 minutes.
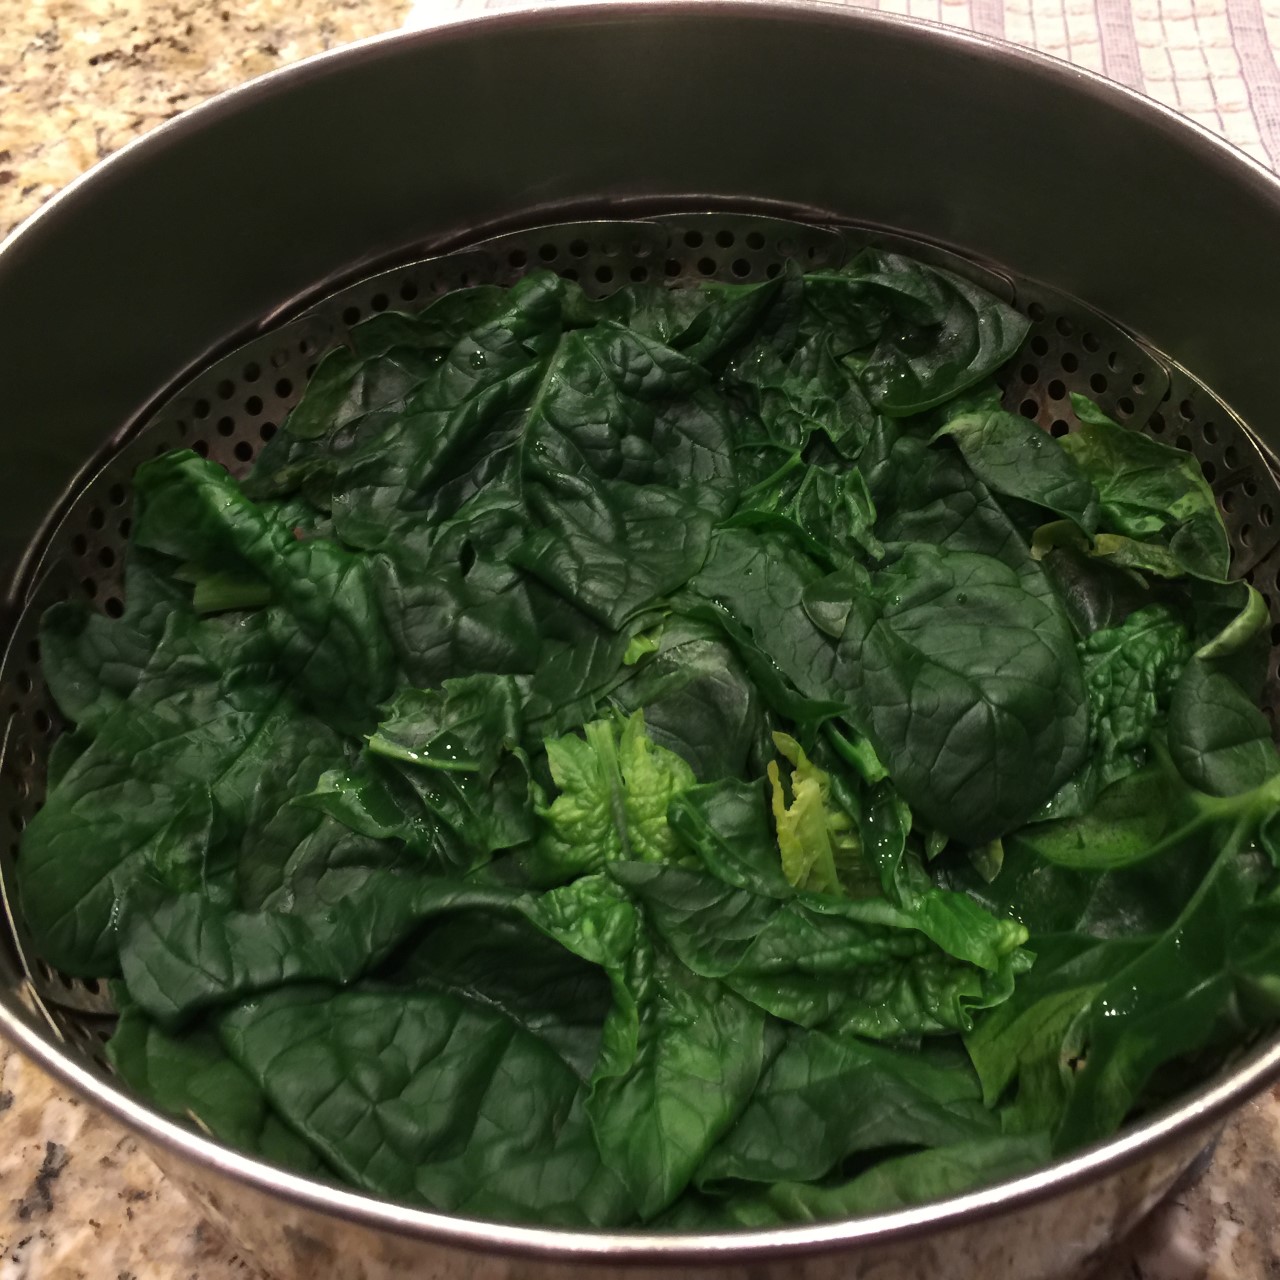
Place wilted spinach in a tea towel to sop up excess water.

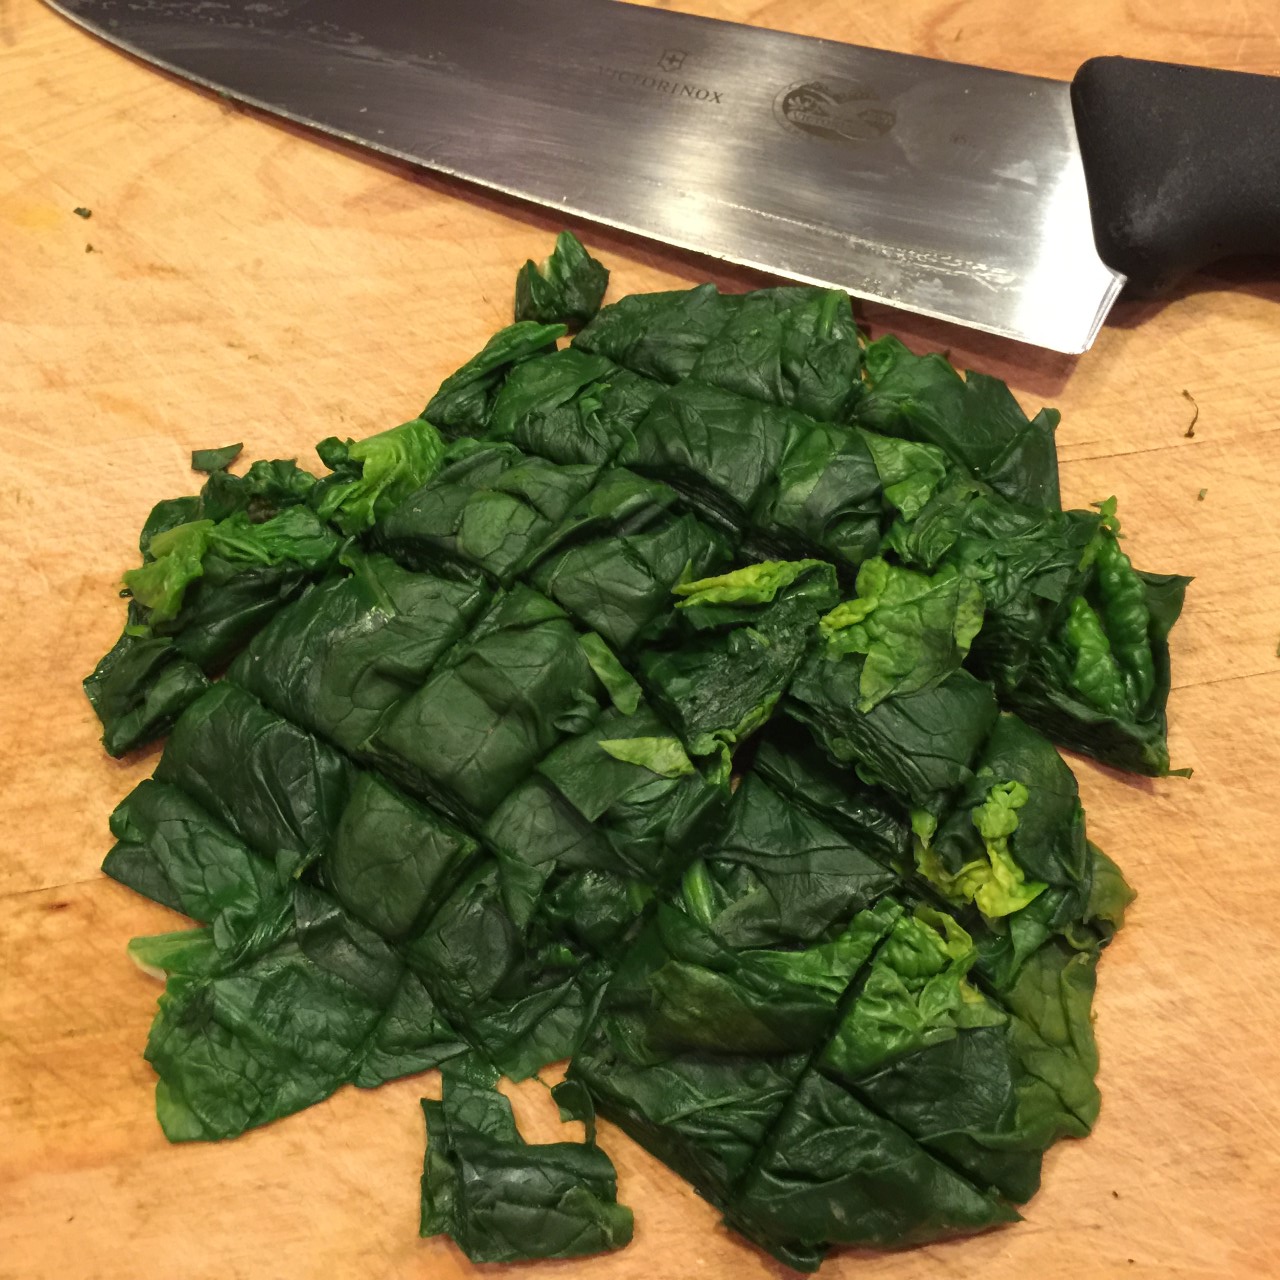
Chop into approximate 3cm (1″) segments.
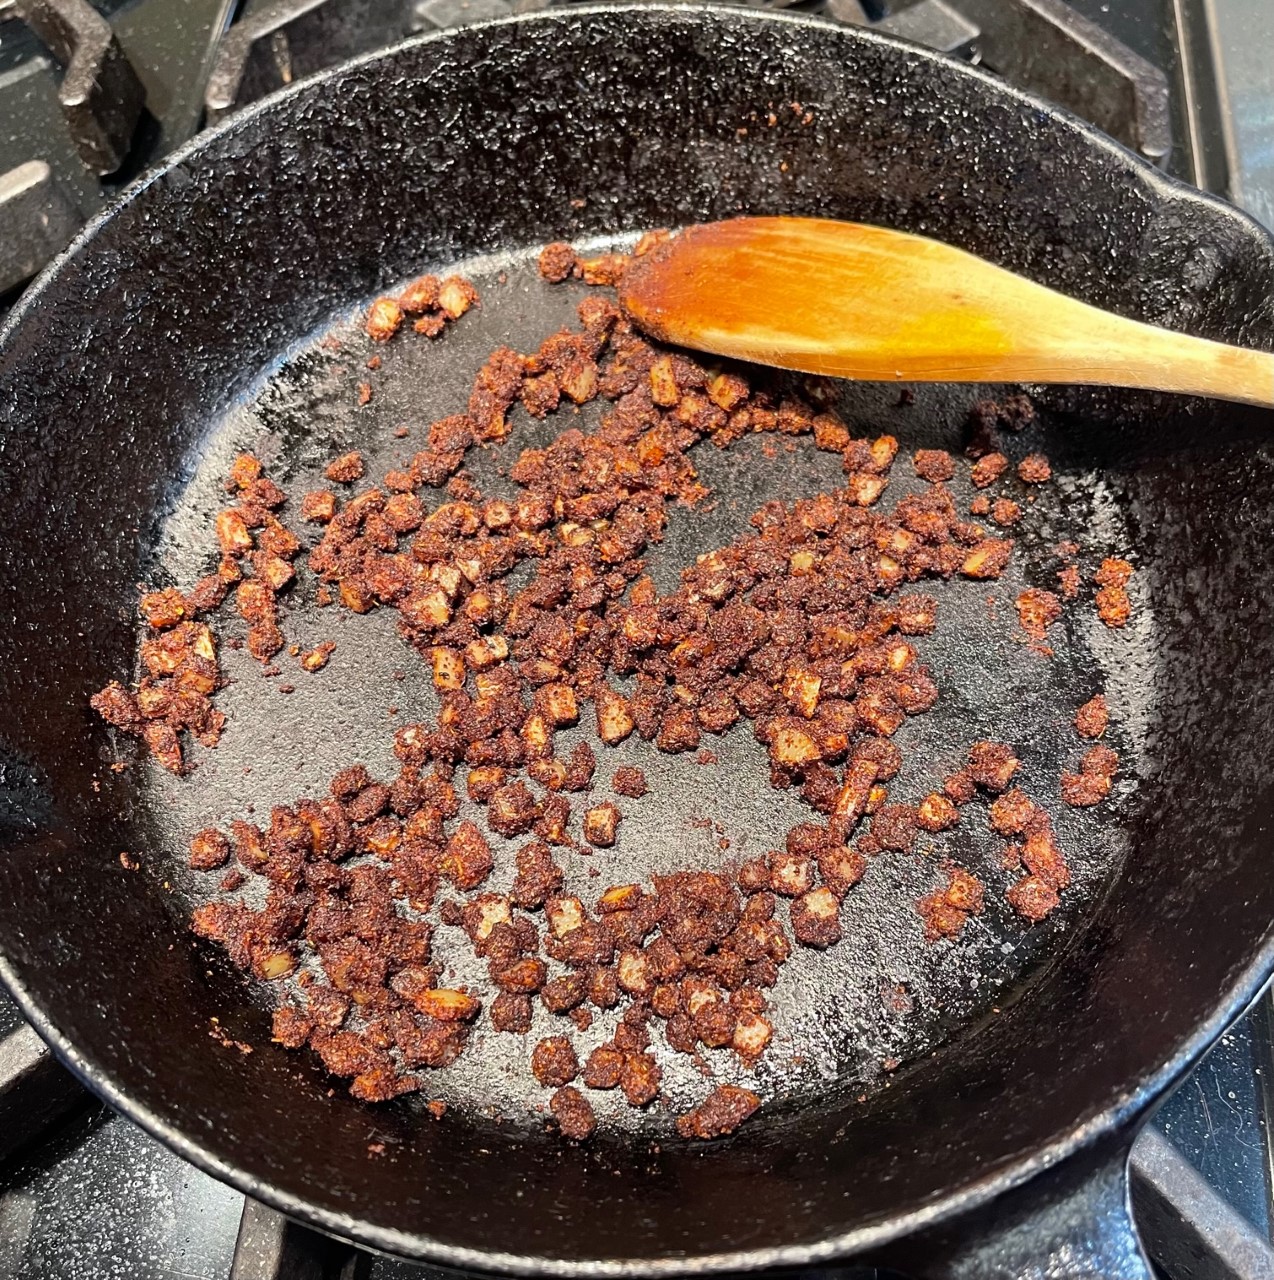
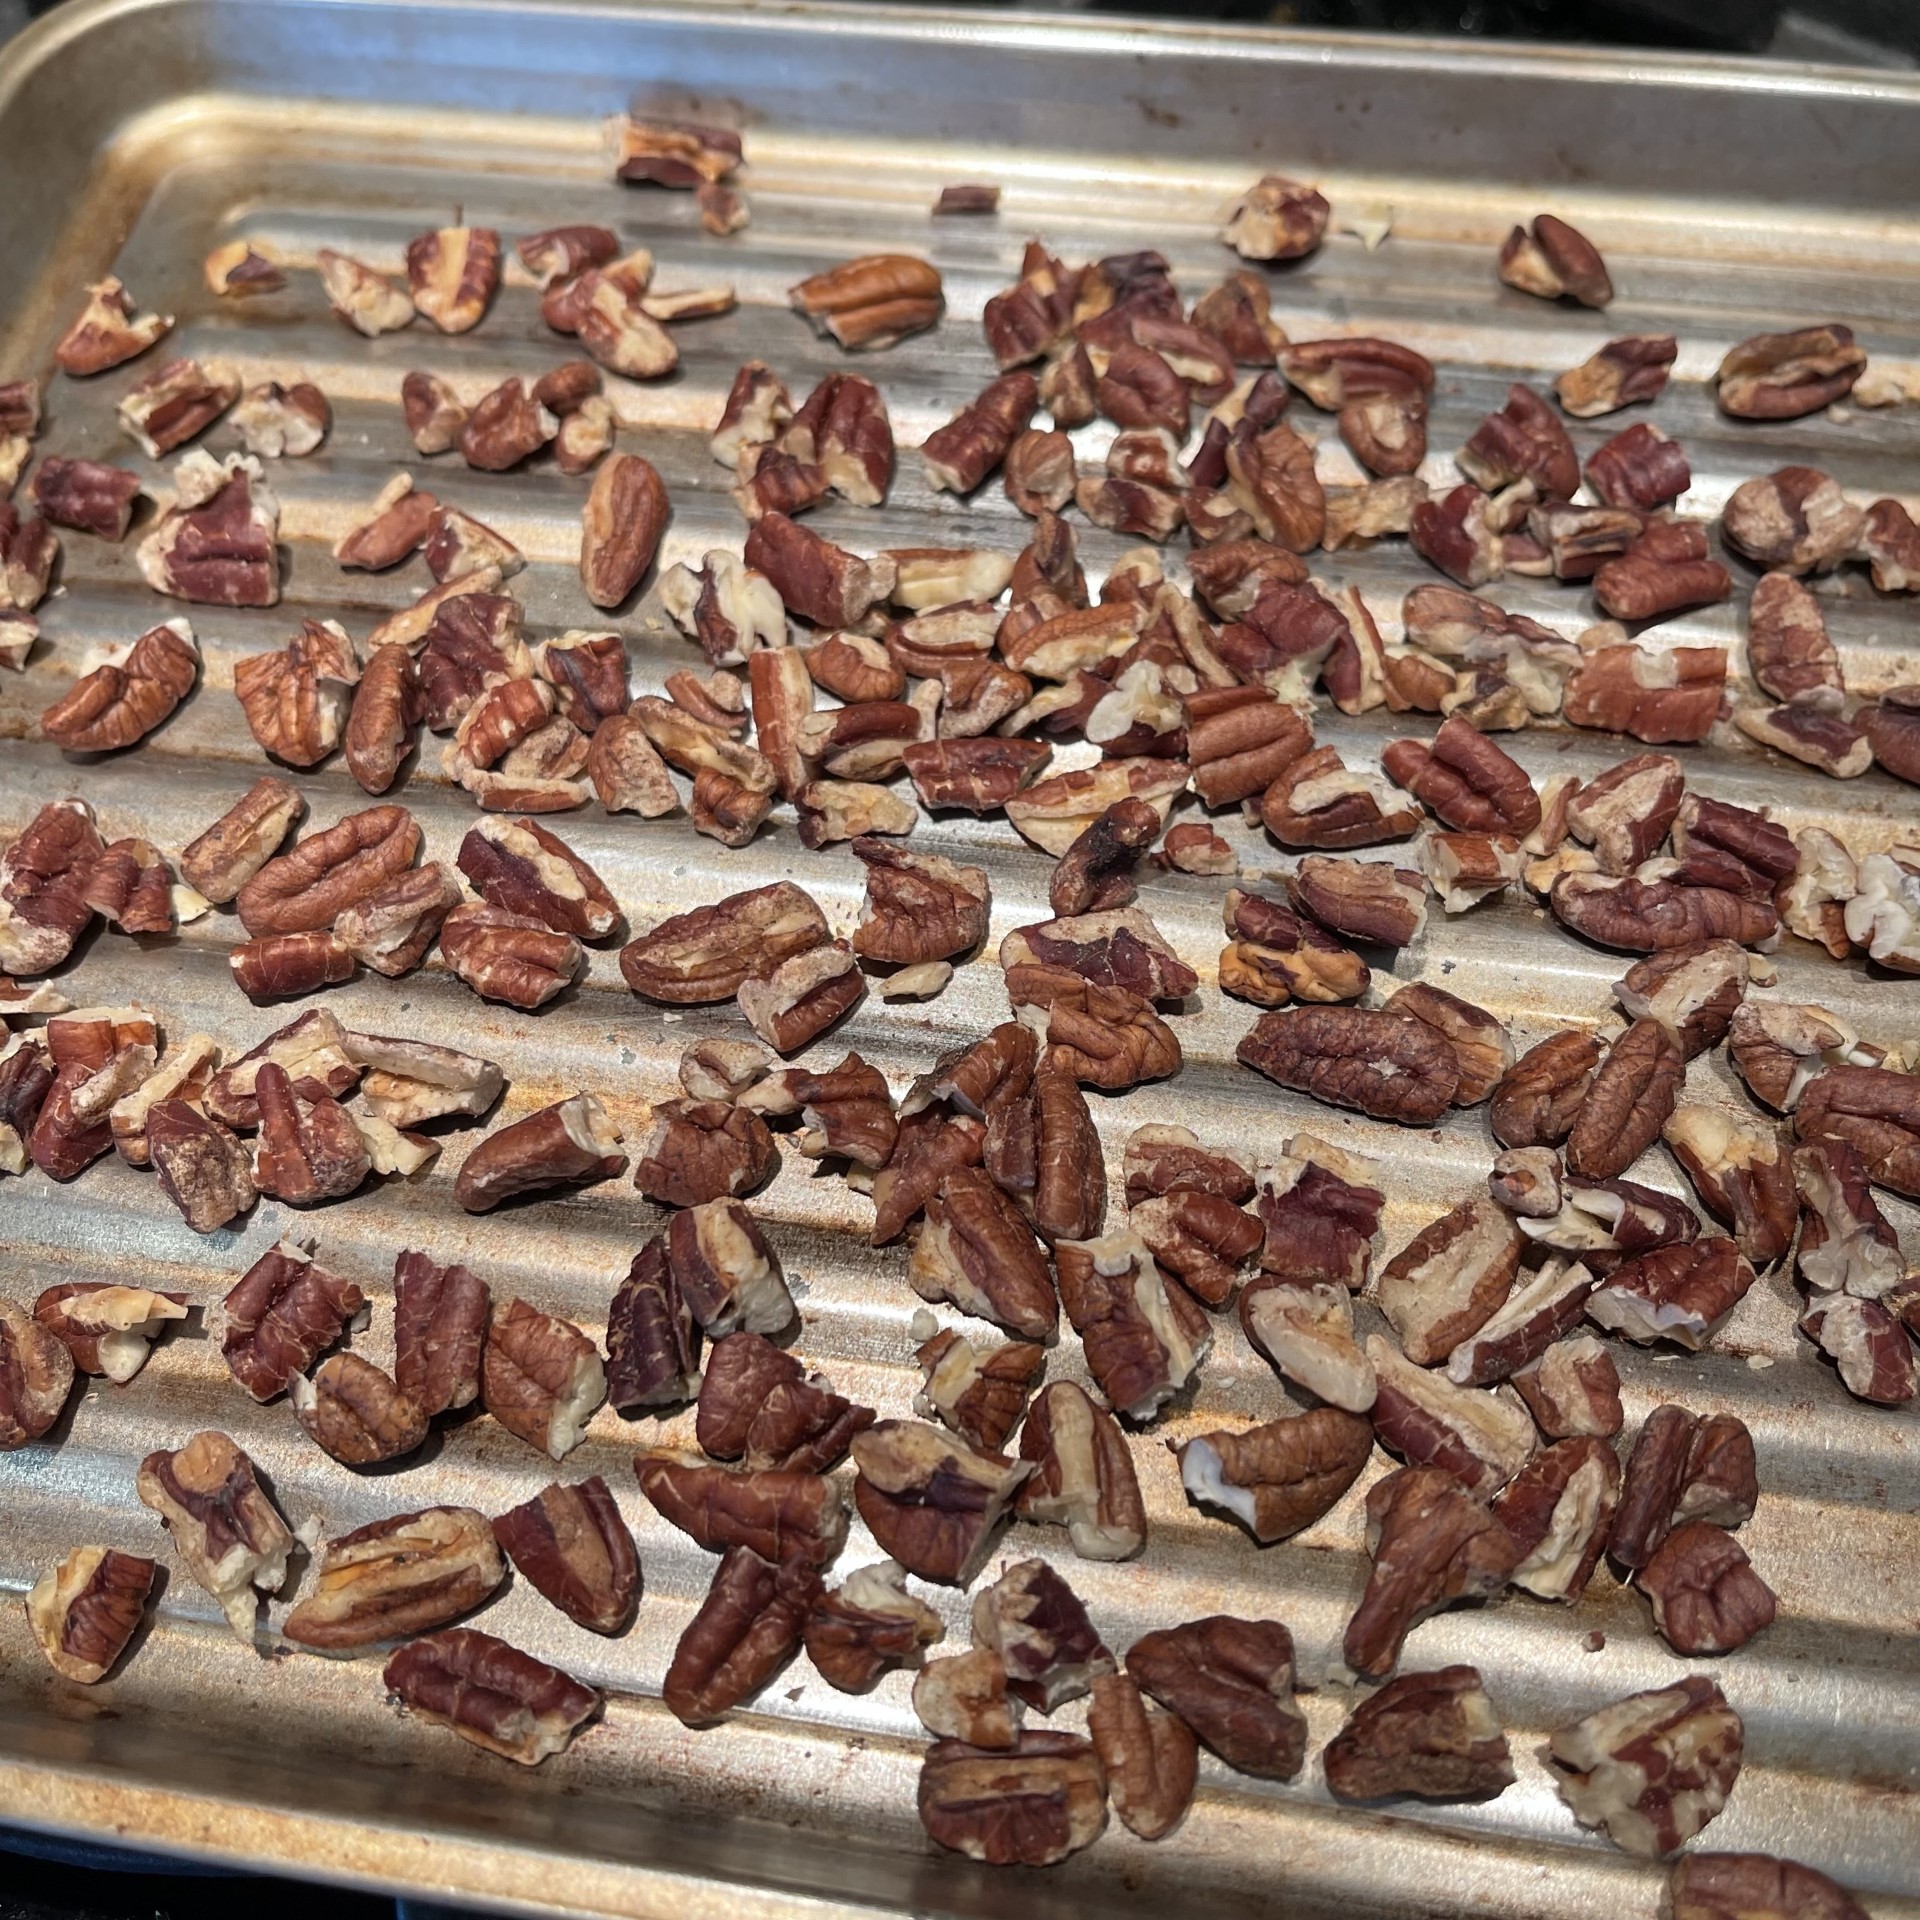
While spinach is steaming, lightly toast the pecans. I prefer to do this in a toaster oven – SET A TIMER!. You can also use a dry skillet. (Just make sure you keep stirring the nuts so they don’t burn.)
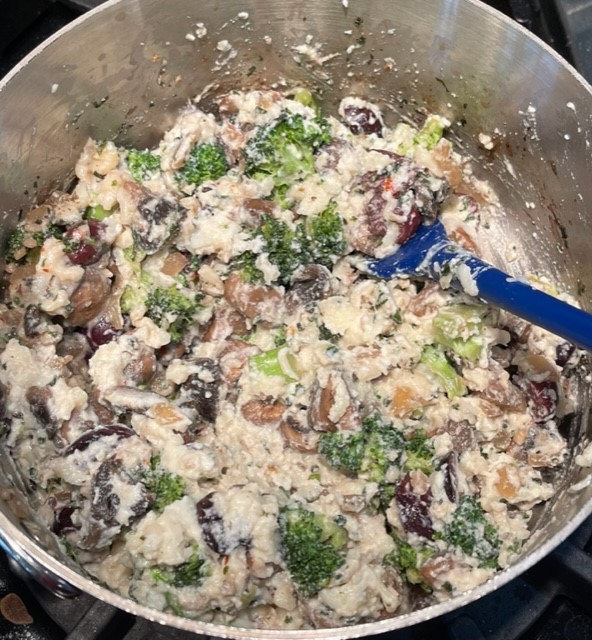
Into a large bowl, very gently combine the cooled squash with all the juices, the cooled spinach, Gorgonzola, sour cream, black pepper, pecans, and dried cranberries or raisins.

Preheat the oven to 218°C (425°F), in case you turned off the oven earlier from baking the butternut squash.
Time to roll out the crusts. A bench scraper is extremely helpful with this dough since it’s kind of tacky.
Remove the larger dough disc from fridge and place on a well floured surface. Pat a little flour on top so the rolling pin doesn’t stick. Starting at the mid-point, roll the disc away from you two times, then from the mid-point towards you two times. (If the dough is too hard from chilling to roll, pound it a few times with you rolling pin.)

Using the bench scraper, loosen and turn the dough 90° (a quarter turn) and repeat the rolling process. It’s important to keep turning the dough after each upwards/downwards pair so the dough doesn’t stick. When the edges become raggedy, push them in to smooth them a bit. Keep going until the circle is large enough to cover the bottom and sides with about 2cm (1/2″) of overhang.

Using bench scraper to help loosen the dough from the surface, fold dough towards you in half.

Carefully place a hand under each side of the dough and place in the pie dish, folded side along the pie plates middle. Unfold, adjusting so dough is fitted into corners.
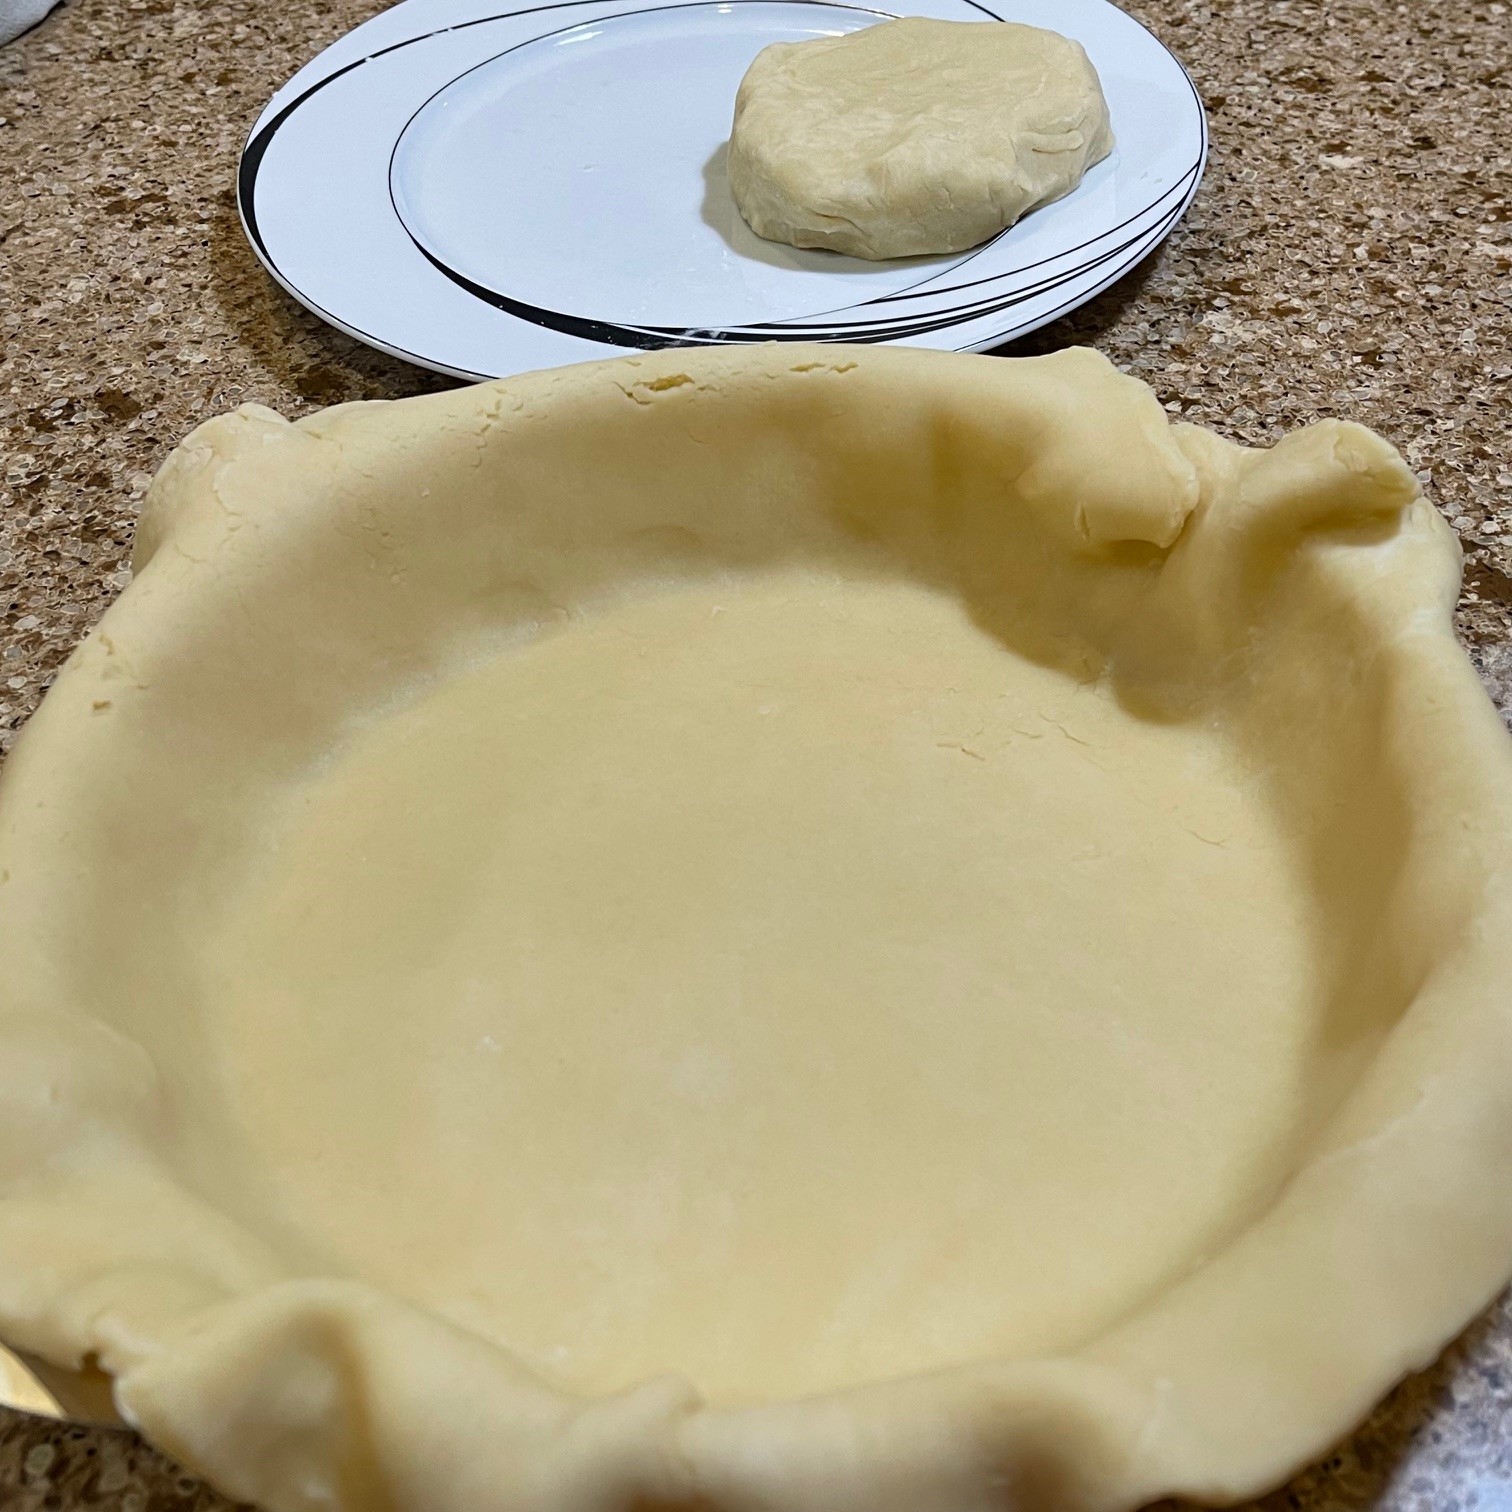
Trim dough so there’s no over-hang. With fingers, work edges so they stand upright rather than crimping them. (The edges will be covered by the top crust later.) Freeze crust about15-20 minutes so it doesn’t shrink while baking.

Line chilled pie crust with waxed paper or baking paper, then fill with pie weights (I use beans). Bake in preheated 218°C (425°F) oven for 10 minutes. (SET TIMER!)

Gather up the 4 corners of the baking paper and very gently rock and lift out the pie weights.
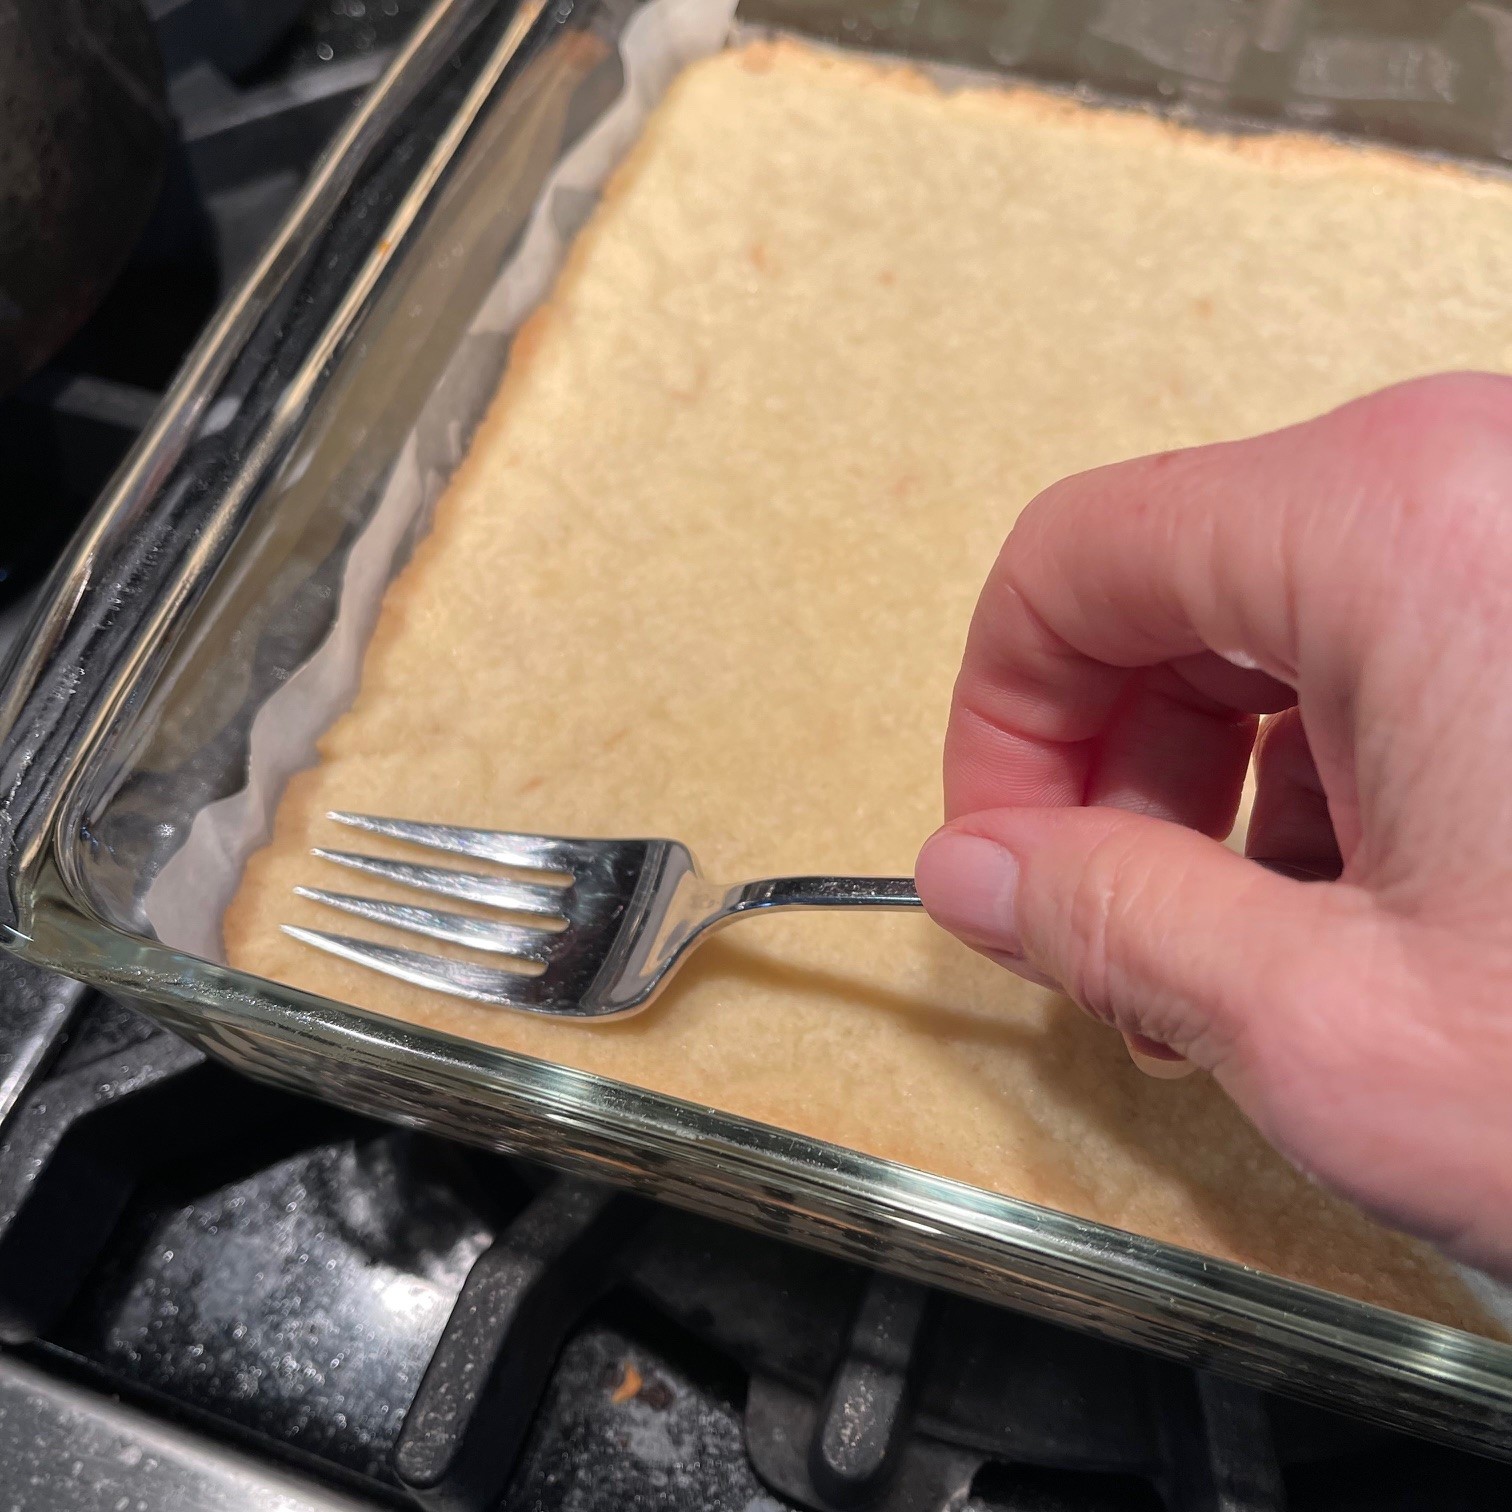
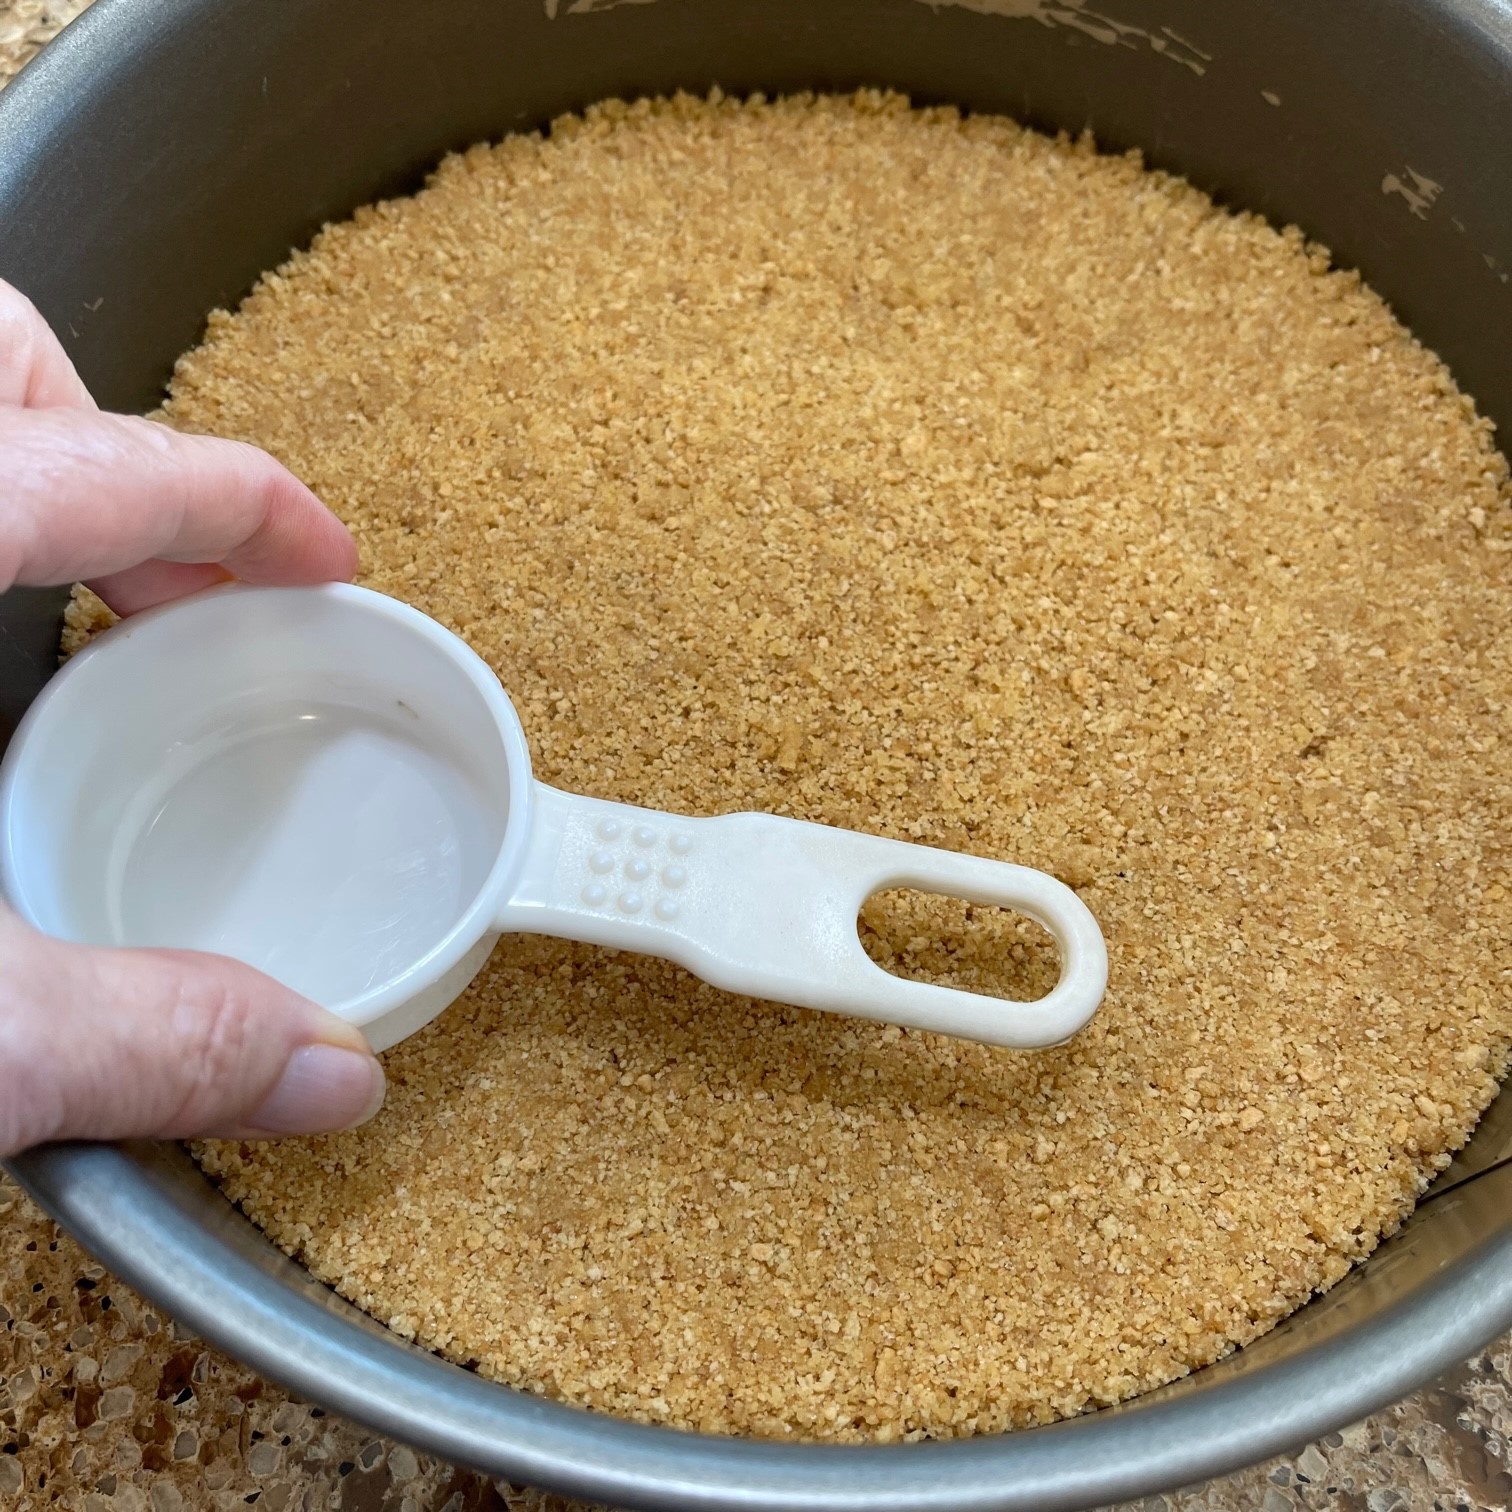
Remove the crust from the oven (so you don’t lose heat) and lightly baste the crust bottom with egg wash. (This prevents that dreaded soggy bottom!).

Put the crust back in the oven and bake an additional 5 minutes. (SET TIMER!!!). Remove and cool.
Decrease oven temperature to 190°C (375°F).
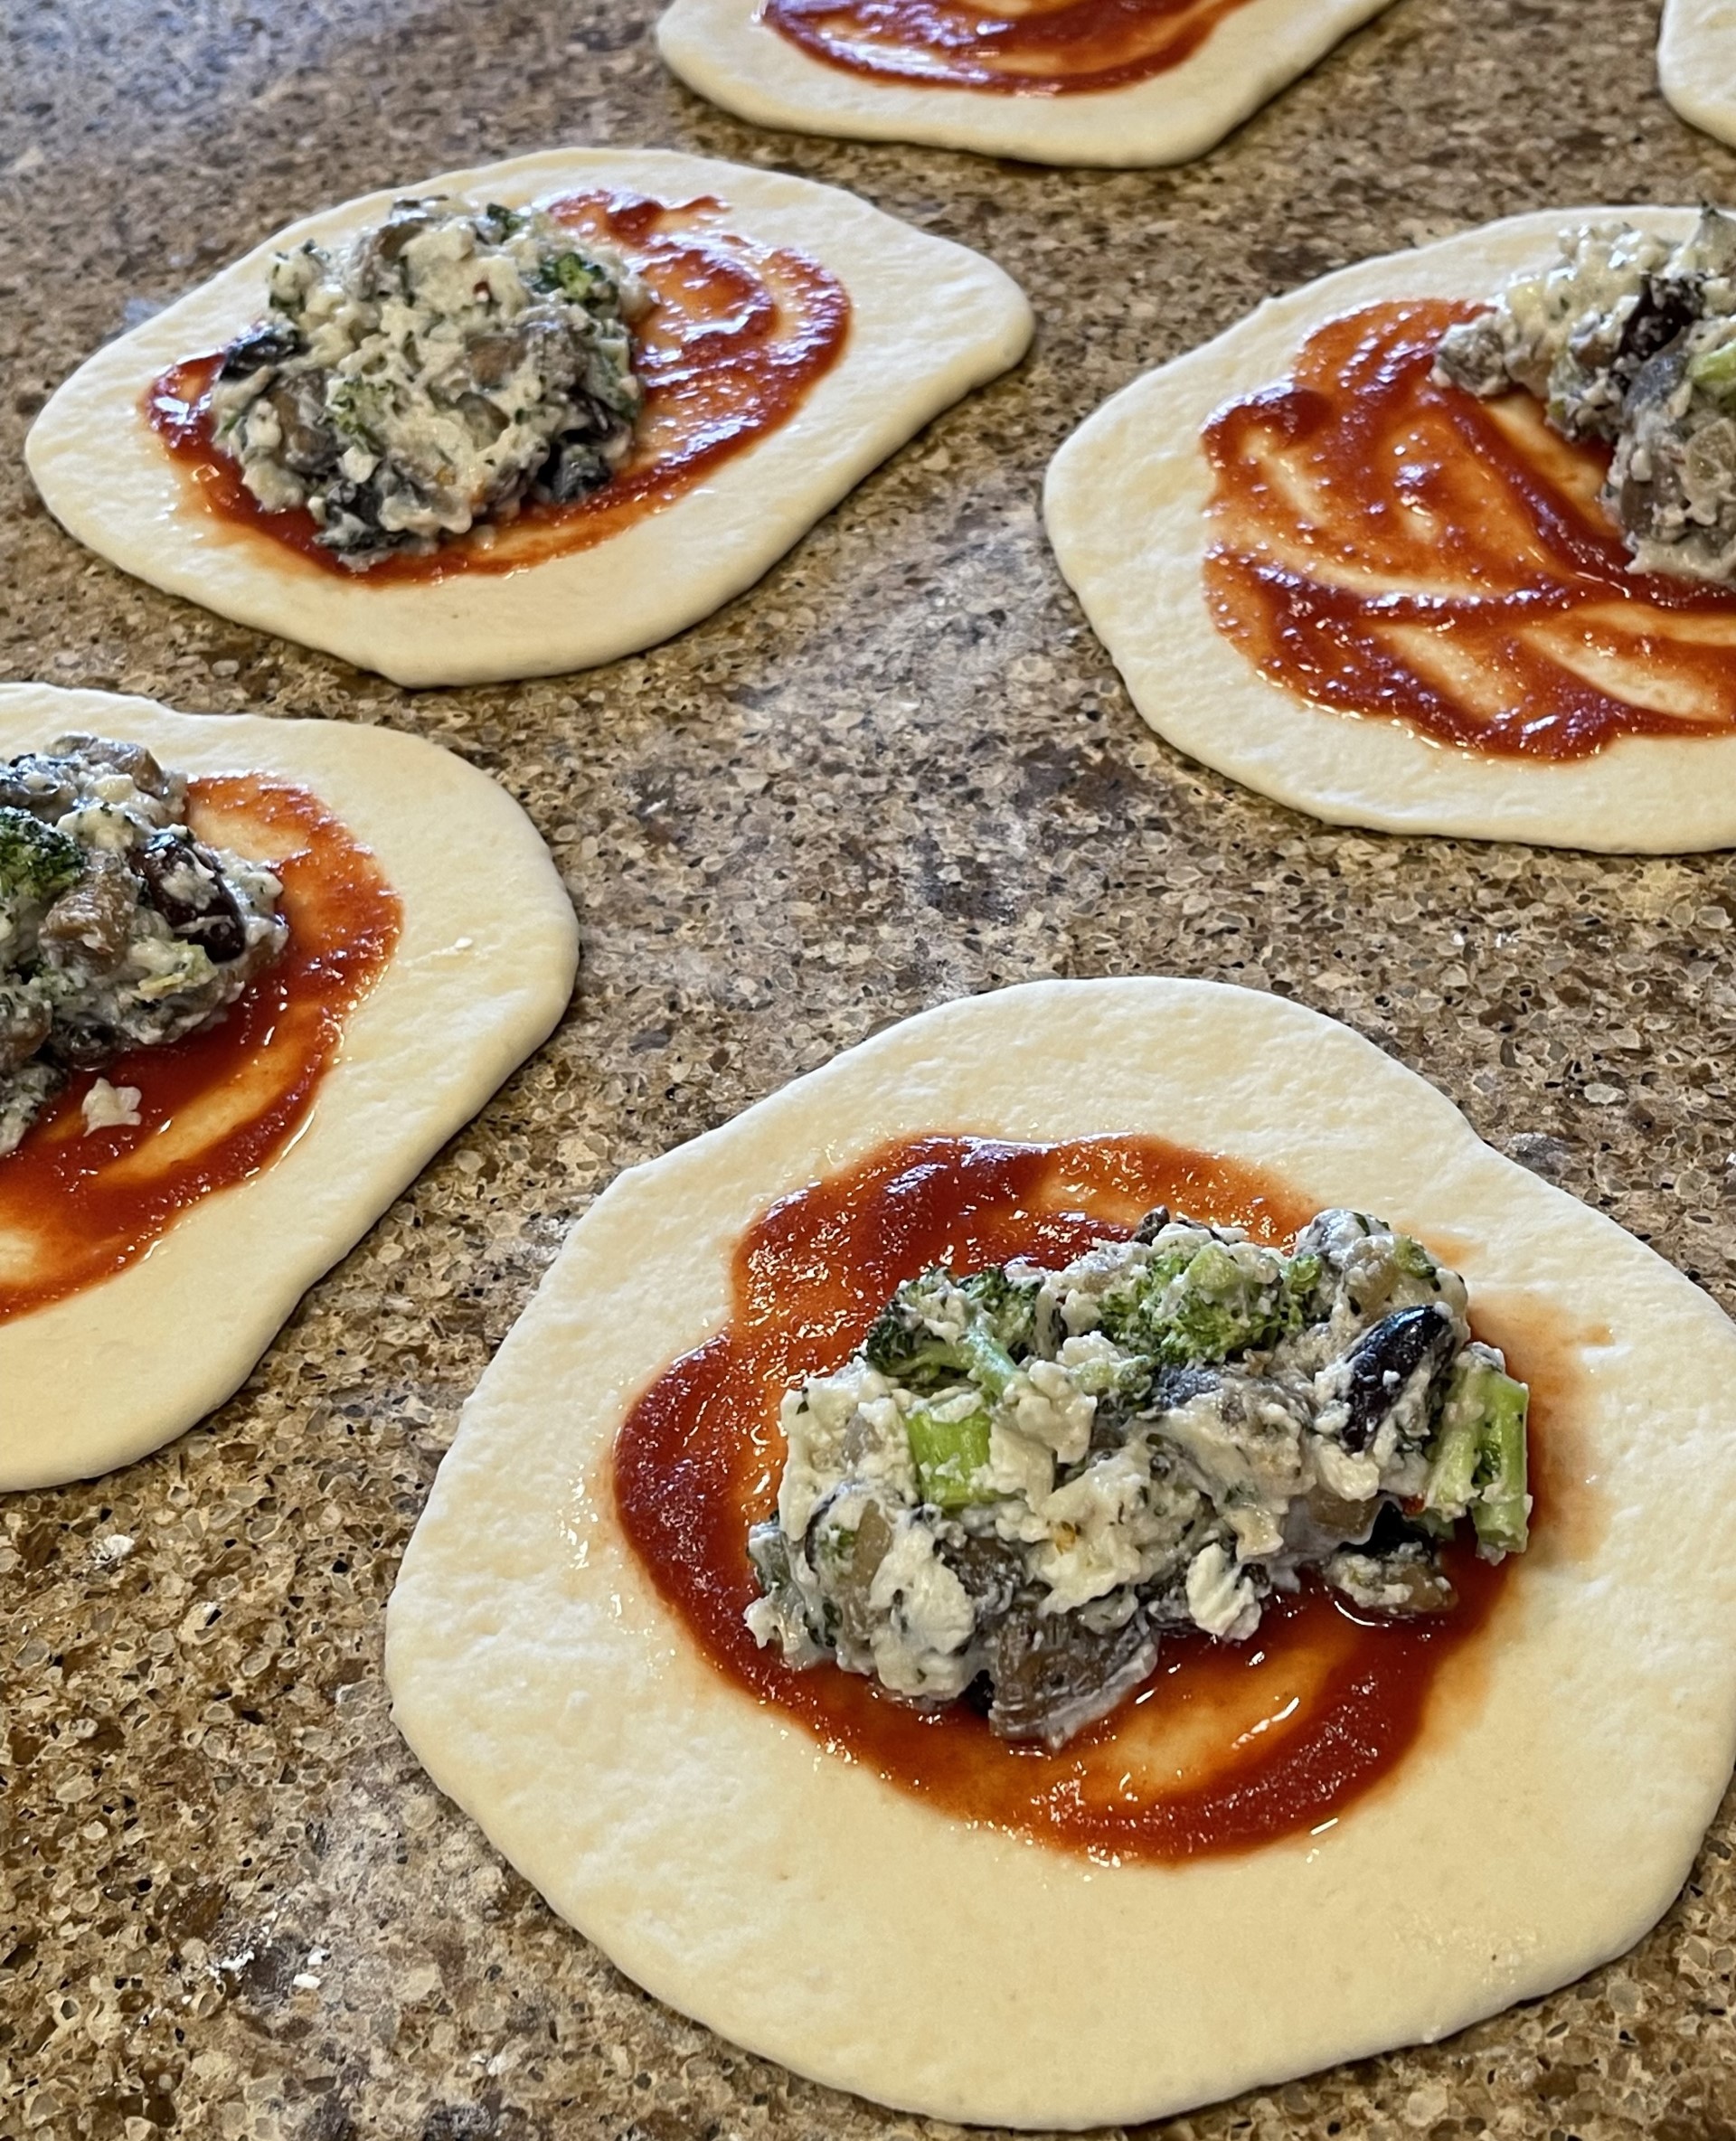
Into the cooled pie crust, pour the filling. Mound it high in the middle, sloping down towards the crust. Keep the filling away from the top of the bottom crust since you’ll be wrapping the top crust around it.

Remove the top crust disc from fridge and place on well floured surface. Roll out dough as before to the diameter from the edge to edge of the pie dish. Crimp the top crust around the bottom crust. Paint on egg wash and make 4 slashes through top.

Bake in preheated 190°C (375°F) oven for about 30 minutes, until top is golden browned.
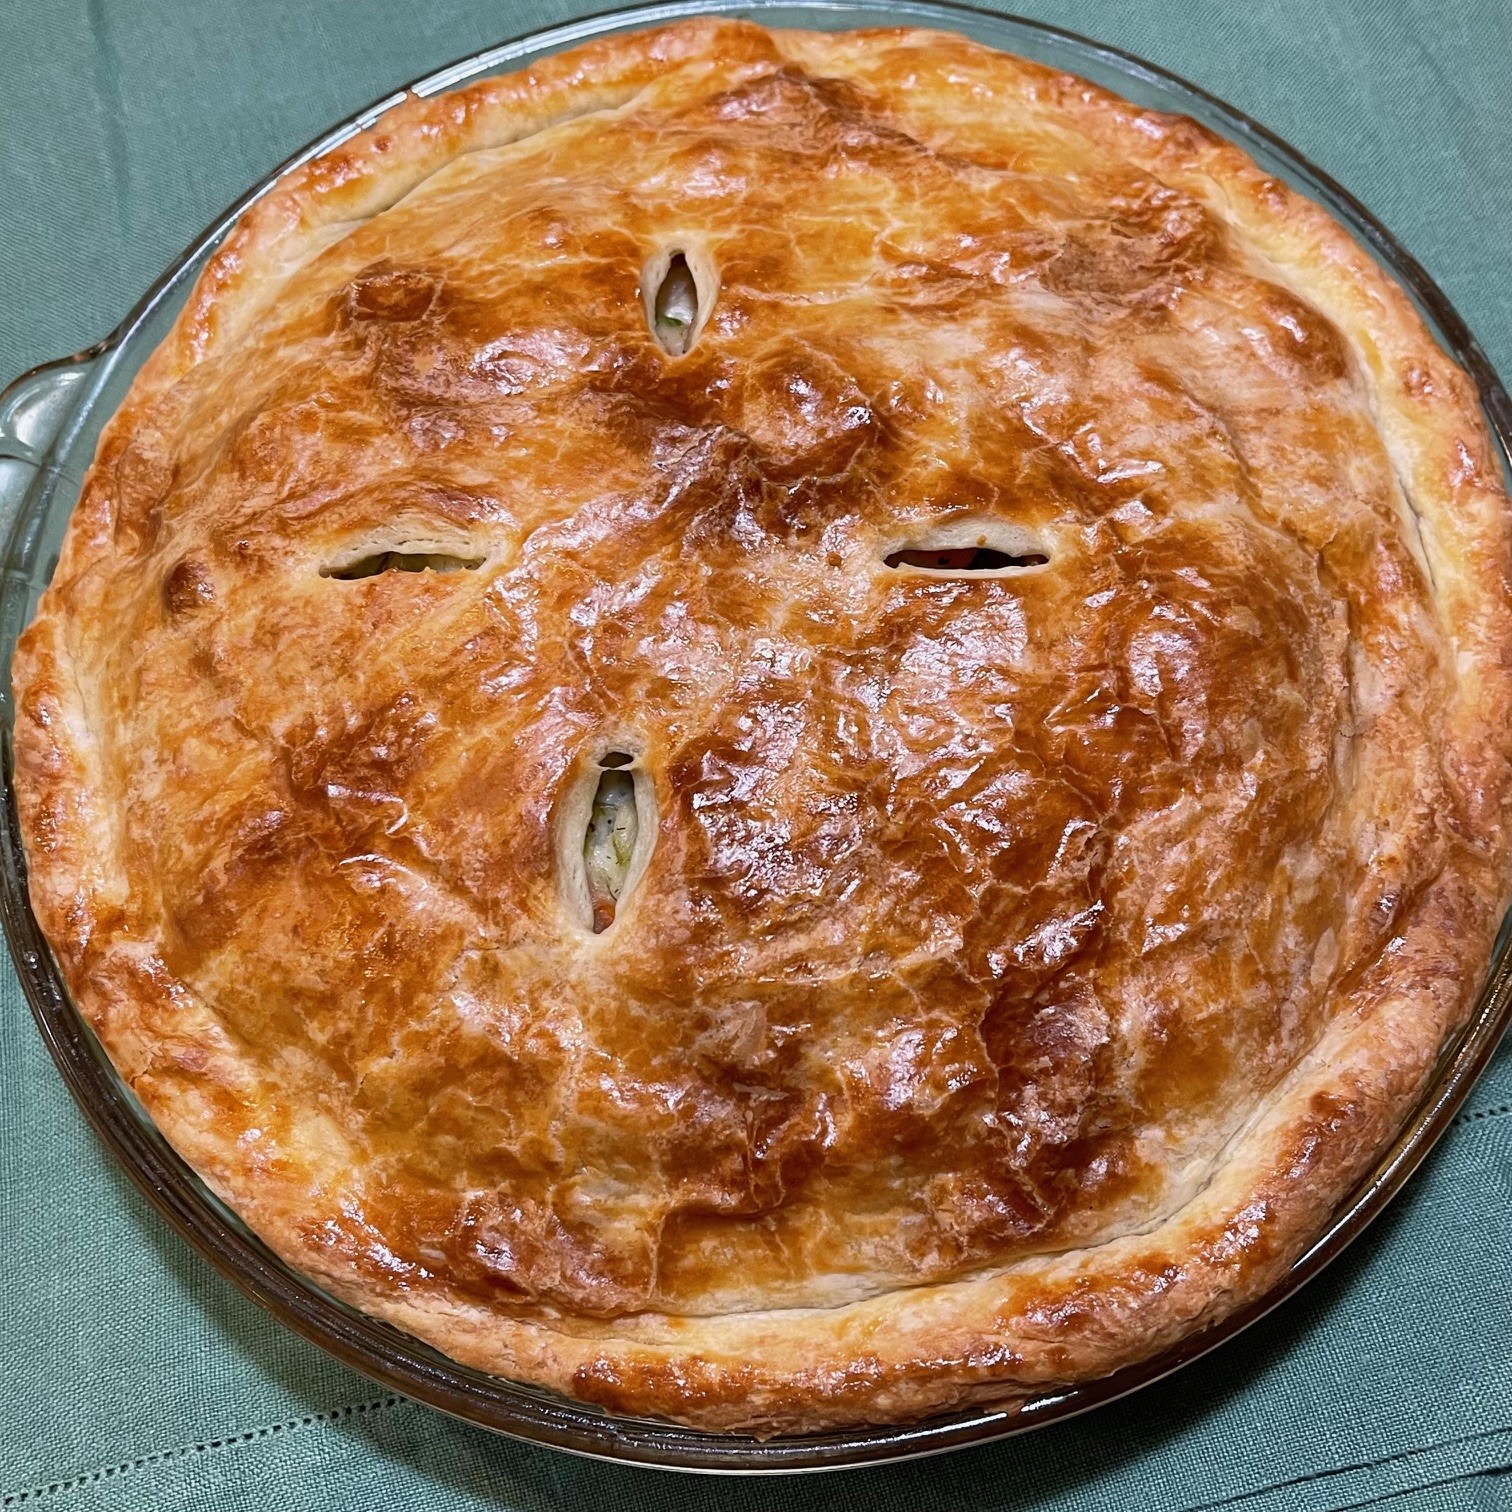
Remove from oven and cool on wire rack about 20 minutes to set.