FALAFEL – Nix The Mix

falafel sandwich textI was recently in the mood for a falafel sandwich, but when I looked up the recipe in my cookbooks (this is what my generation used before the internet), they all listed falafel mix as an ingredient, followed by deep frying. Yuck on both counts!

For one thing, I HATE mixes. I want to know what’s in my food! Also, much as I love deep fried foods, I try to avoid them when I can. After a little research I found a recipe for falafel mix, tweaking it to suit me.

NOTE:  This Falafel Mix is Queen of Freeze approved! If you like the recipe, next time make double or triple the amount and freeze it uncooked for future use.

ADDITIONAL NOTE: Falafels go great in pita bread. No surprise, I’m strongly suggesting you make your own. Click Pita Bread to get my “you’ll-never-go-back-to-store bought” recipe.

FALAFEL MIX – makes 2¼ cups (about 12 patties)

  • 1/2 cup onion, chopped in big chunks
  • 1/2 cup parsley
  • 2 cloves garlic, pressed
  • 1 can (15 oz) garbanzo beans, drained
  • 1 egg
  • 2 tsp cumin
  • 1 tsp coriander
  • 1 tsp salt
  • 1/8 tsp cayenne pepper
  • 1 tsp lemon juice
  • 1 tsp baking powder
  • 1 T olive oil
  • about 1 cup plain bread crumbs
  • extra olive oil for brushing on patties
  • pita bread
  • tzatziki sauce – recipe follows

In workbowl of your food processor (please, tell me you have one!), blend together the onion, parsley, garlic, cumin, coriander, salt, pepper, cayenne, lemon juice, and baking powder. Add in the garbanzo beans, egg, and olive oil, and pulse until the beans are teeny sized pieces, but aren’t pureed (you want some texture).

Pour mixture into a bowl and stir in enough of the bread crumbs to firm up the mixture so it’s not too sticky, but not so dry that the mixture falls apart when you try to form a ball. (I used the full 1 cup.)

Preheat oven to 400º fahrenheit.

Divide mixture into 1″ balls, then press them between your hands to about 3/8″ thick (they’ll be about 1½” in diameter). Place the discs on a well oiled cookie sheet.

Brush the extra olive oil lightly on each patty and bake for 10 minutes. Flip discs, brush with olive oil, and bake another 10 minutes. Broil for 1-2 minutes, if you want them a little crisper.

NOTE: Quite often you see falafels shaped into balls. If you like, you can do this – they’ll still taste the same. But I prefer them flattened so they fit into the pita bread better. (Also, they don’t roll all over the cookie sheet.) If you’re making falafels as an hors d’oeuvre, then I would go with the spherical shape.

To assemble:  Either cut pitas in half and stuff them, or layer filling on top and fold (like a taco). Spoon on tzatziki sauce, and add in tomato, lettuce, red onions, or olives, if desired.

TZATZIKI SAUCE – makes about 3/4 cup

  • 3/4 cup plain yogurt (click Homemade Yogurt to make your own)
  • 1 cucumber, finely chopped
  • 2 tsp dried dill
  • 1 tsp salt (I used kosher)
  • 2 tsp lemon juice
  • 2 tsp olive oil

Stir all ingredients together in a bowl.

TOFU PASTA SATAY – A Busy Day Favorite

Tofu Pasta Satay

It goes without saying that I do a LOT of cooking. And I enjoy it. Really, I DO! (Although, not crazy about the washing up!)

However, there are times when I want a fast and easy, yet healthy dinner for my family. When I’m in that mood, TOFU PASTA SATAY is one of my go-to recipes. Bonus – leftovers make a delicious next-day lunch.

While I chose broccoli, red pepper, carrots, and snow peas for my add-ins, you can play fast and loose with your choices, gearing it to suit your taste.

NOTE: The satay sauce can be frozen so, if you like it, next time make extra and freeze it in portion sized containers for future use.

TOFU PASTA SATAY – makes about 6 cups

  • 6 oz (170 grams) tofu
  • 2 cups (6 oz / 172 grams) uncooked spiral pasta (I use multi colored)
  • 3 scallions, sliced
  • 1 red pepper, chopped
  • about 10 snow peas, remove threads from sides
  • 1 cup broccoli pieces
  • 1/3 cup carrots, sliced
  • 1 T Sriracha sauce
  • 1 T soy sauce
  • spicy peanuts (I use Chipotle flavor)
  • 3/4 cup (about 190 grams) Satay Sauce (recipe below)

Press out the excess water from the tofu by placing it on a plate and covering it with another plate. Pour off the water from time to time as you prepare the rest of the recipe. When it seems like not much water is draining, cube the tofu into bite sized pieces, then marinate in the Sriracha and soy sauce.

Cook the pasta. Make sure you don’t overcook it – it will absorb liquid from the Satay Sauce. Drain when done.

Steam the red pepper, broccoli, carrots, and snow peas 1 minute, then remove from heat source and refrigerate. You don’t want to cook the veggies – just break down the fibers a wee bit so they’re more palatable.

In large bowl, combine the steamed veggies, pasta, scallions, tofu, and Satay Sauce. Add peanuts just before serving.

SATAY SAUCE – makes about 3/4 cup

  • 1/2 (131grams) cup peanut butter (any kind)
  • 1 T hot sauce
  • 4 tsp soy sauce
  • 1/4 tsp curry powder
  • 1/4 tsp garlic powder
  • 1/4 tsp crushed red pepper flakes
  • about 2 – 4 T water

In a saucepan, over low heat, combine the peanut butter, hot sauce, soy sauce, curry powder, garlic powder, and pepper flakes. Begin adding water 1 tablespoon at a time until desired consistency is achieved. You may even need more water, depending on the thickness of your peanut butter. The sauce should be thick enough to stick to the salad, but thin enough to spread throughout the pasta.

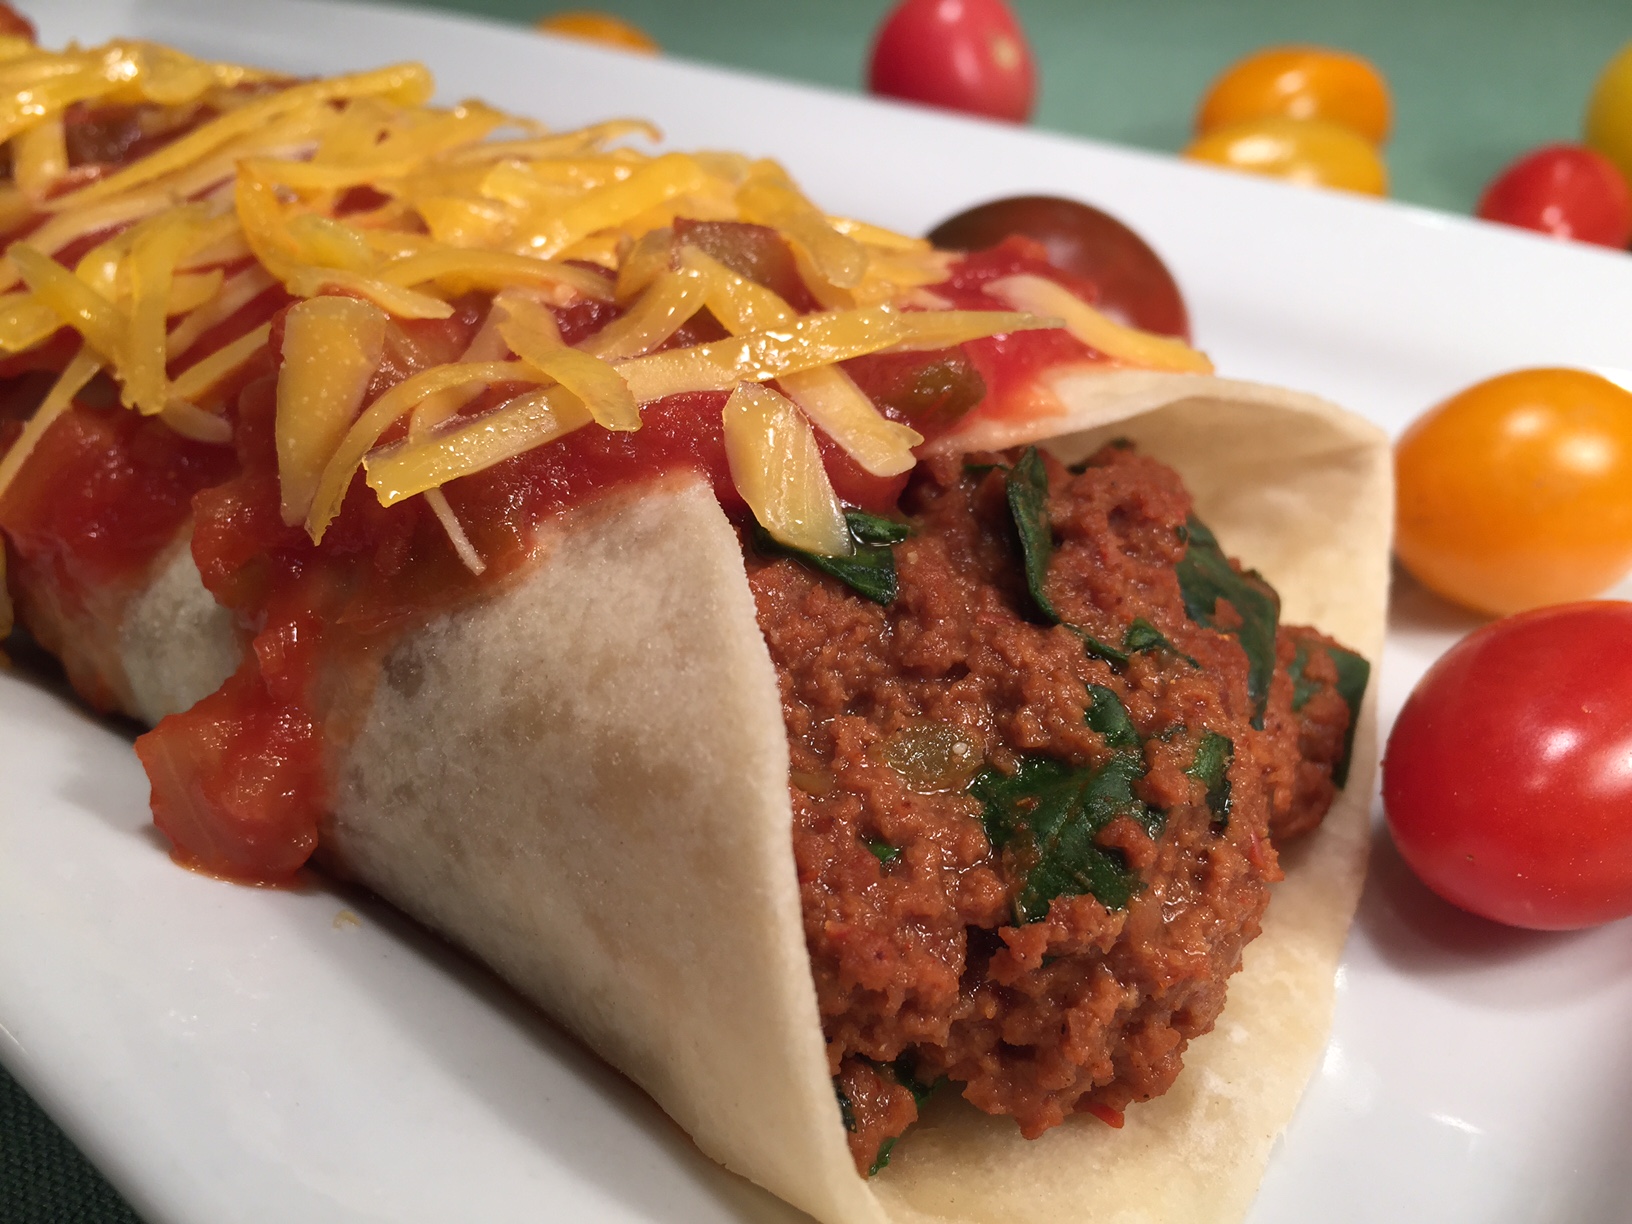
VEGETARIAN “BEEF” SALSA BURRITOS – Fast And Filling!

"BEEF" SALSA BURRITOS

“BEEF” SALSA BURRITOS

Now that I make my own flour tortillas, “BEEF” SALSA BURRITOS are a go-to dinner for when I’m looking for a last minute meal that’s fast and hearty. The reason is because the main ingredients for this dish are always on-hand in my kitchen: imitation canned beef, jarred salsa, and frozen spinach. If I happen to have fresh spinach, I’ll use that, but I always keep some frozen for emergencies (such as hungry children who won’t eat vegetables except when you sneak it in things so they can’t see it).

You’ll notice “cheese” is on the ingredient list. If you don’t happen to have any, make them anyway – “BEEF” SALSA BURRITOS are still tasty.

To those of you leery of making the tortillas, then you’ll have to buy them. But I encourage you to try – they’re very easy, especially if you have a food processor. Not only are homemade healthier, but you can make just the amount you need, rather than the packaged dozen you have to buy. Since they don’t freeze well, you either have to eat them up or throw them out…and you know how I HATE waste! Click on FLOUR TORTILLAS to learn how.

NOTE:  I would be remiss in my duty as Queen of Freeze if I didn’t point out that the filling for “BEEF” SALSA BURRITOS can be frozen for future use. If you like the recipe (make sure you try it first), next time make double or triple batches and freeze them in portion sized containers. Then, all you’ll need for that crazy no-time-or-energy-to-cook night is to make or buy the tortillas.

“BEEF” SALSA BURRITOS – makes 4 cups filling

  • 1¼ cup thicky & chunky salsa, any spice level (I like medium)
  • 1½ T chili powder
  • 1/2 tsp cumin
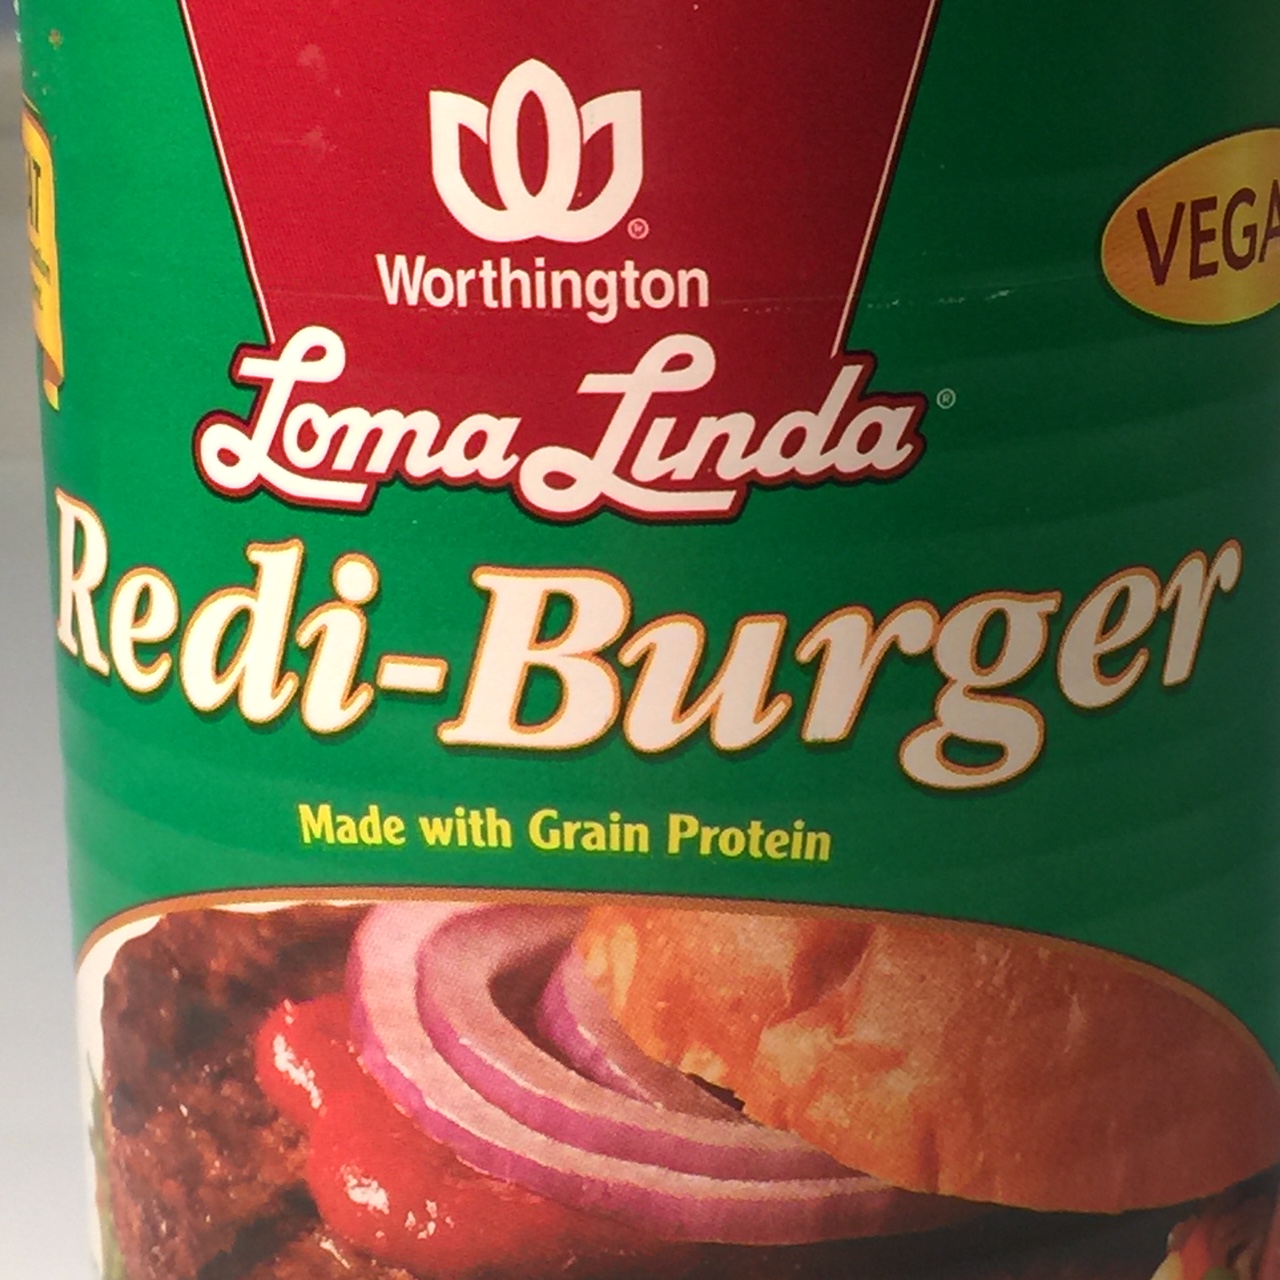
  • 1 can (or 1 lb) fake ground beef (I use Loma Linda’s Redi-Burger)IMG_0212
  • 2 cups chopped fresh spinach (or 8 oz frozen)
  • shredded cheese (I use medium cheddar)
  • about 6 flour tortillas (depending on how much filling you use each)

Into a 10″ skillet or medium sized saucepan, put the salsa, chili powder, and cumin. Mix. Add in the fake meat. Over a medium flame, break up the “beef” (a flat headed wooden stirrer works best) and blend together.

Stir in the spinach with the burner still on for a few minutes. Then, turn the burner off, cover pan, and let sit another 5 minutes to allow the spinach to cook.

Spoon filling into tortillas, roll up, and top with extra salsa (if desired) and cheese. Microwave 1-2 minutes, until heated through.

BREAD & CHEESE OMELETTE CASSEROLE – A Make Ahead Gift To Yourself!

BREAD & CHEESE OMELETTE CASSEROLE – A Make Ahead Gift To Yourself!

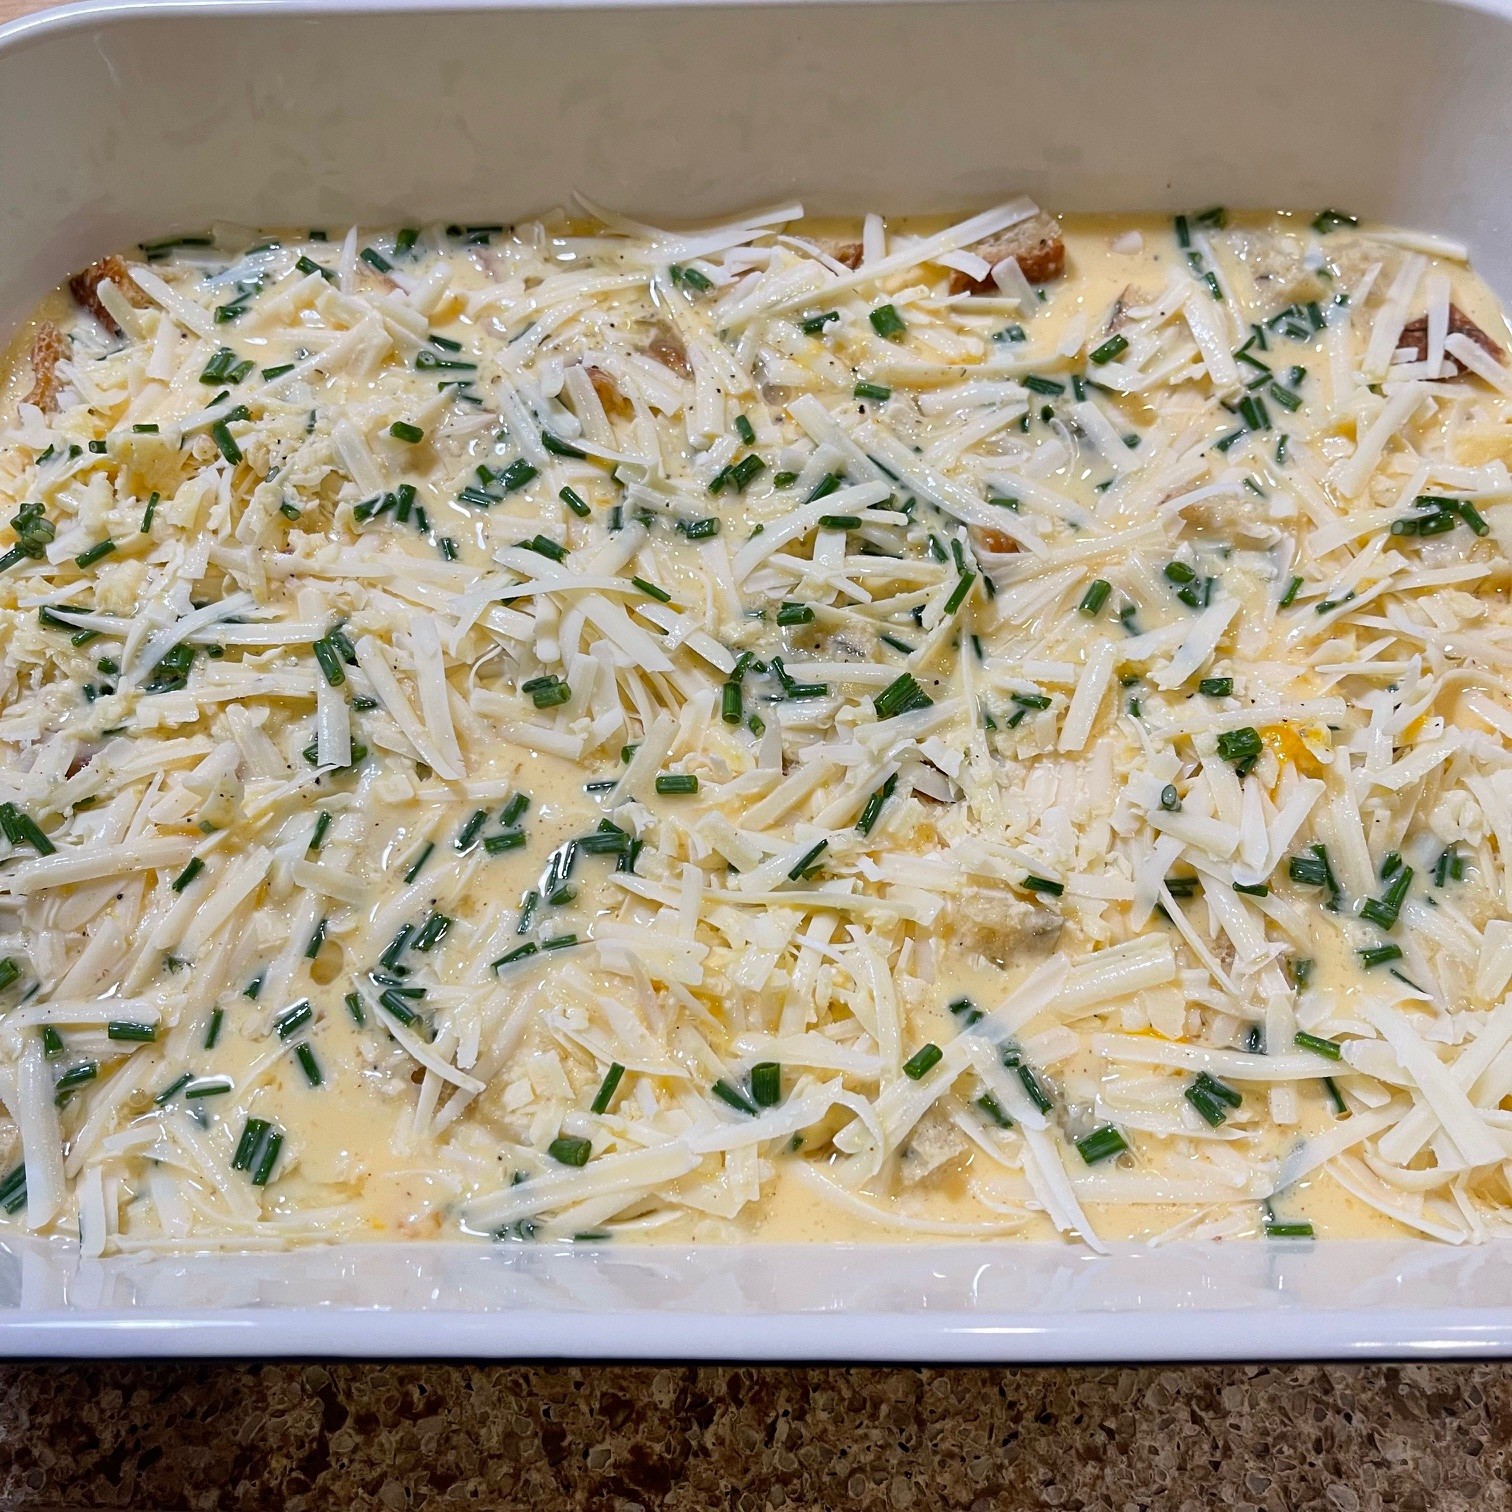
BREAD & CHEESE OMELETTE CASSEROLE

One of the problems when you’re hosting a holiday dinner is the holiday breakfast and holiday lunch. Isn’t it enough you have to plan and prepare the dinner PLUS clean the house AND set the table?  And, if it’s Christmas, there are presents to open! Who has time to cook extra meals???

Fear not, I have the perfect solution:  BREAD & CHEESE OMELETTE CASSEROLE!

You put it together the day before, then just pop it in the oven in the morning and let it bake for an hour. While it cooks, you can open presents or tackle any of the hundred tasks needed to be done before company arrives.

NOTE:  I use this casserole as an opportunity to finish up odd bits of leftover cheeses. (I hate waste! AKA: I’m cheap.)

BREAD & CHEESE OMELETTE CASSEROLE

  • about 200g (3 cups) French bread pieces (about 1″ squares)
  • 226g (8 oz) cheese, shredded (your choice – mix it up, if you like)
  • 8 eggs
  • 392g (1½ cups + 2 T) milk (I use nonfat)
  • 58g (1/4 cup) white wine
  • 1 tsp dried mustard
  • 1/4 tsp pepper
  • 1/4 tsp cayenne pepper
  • 2 stalks (37g) (1/3 cup) scallions OR 3T chives, sliced thinly

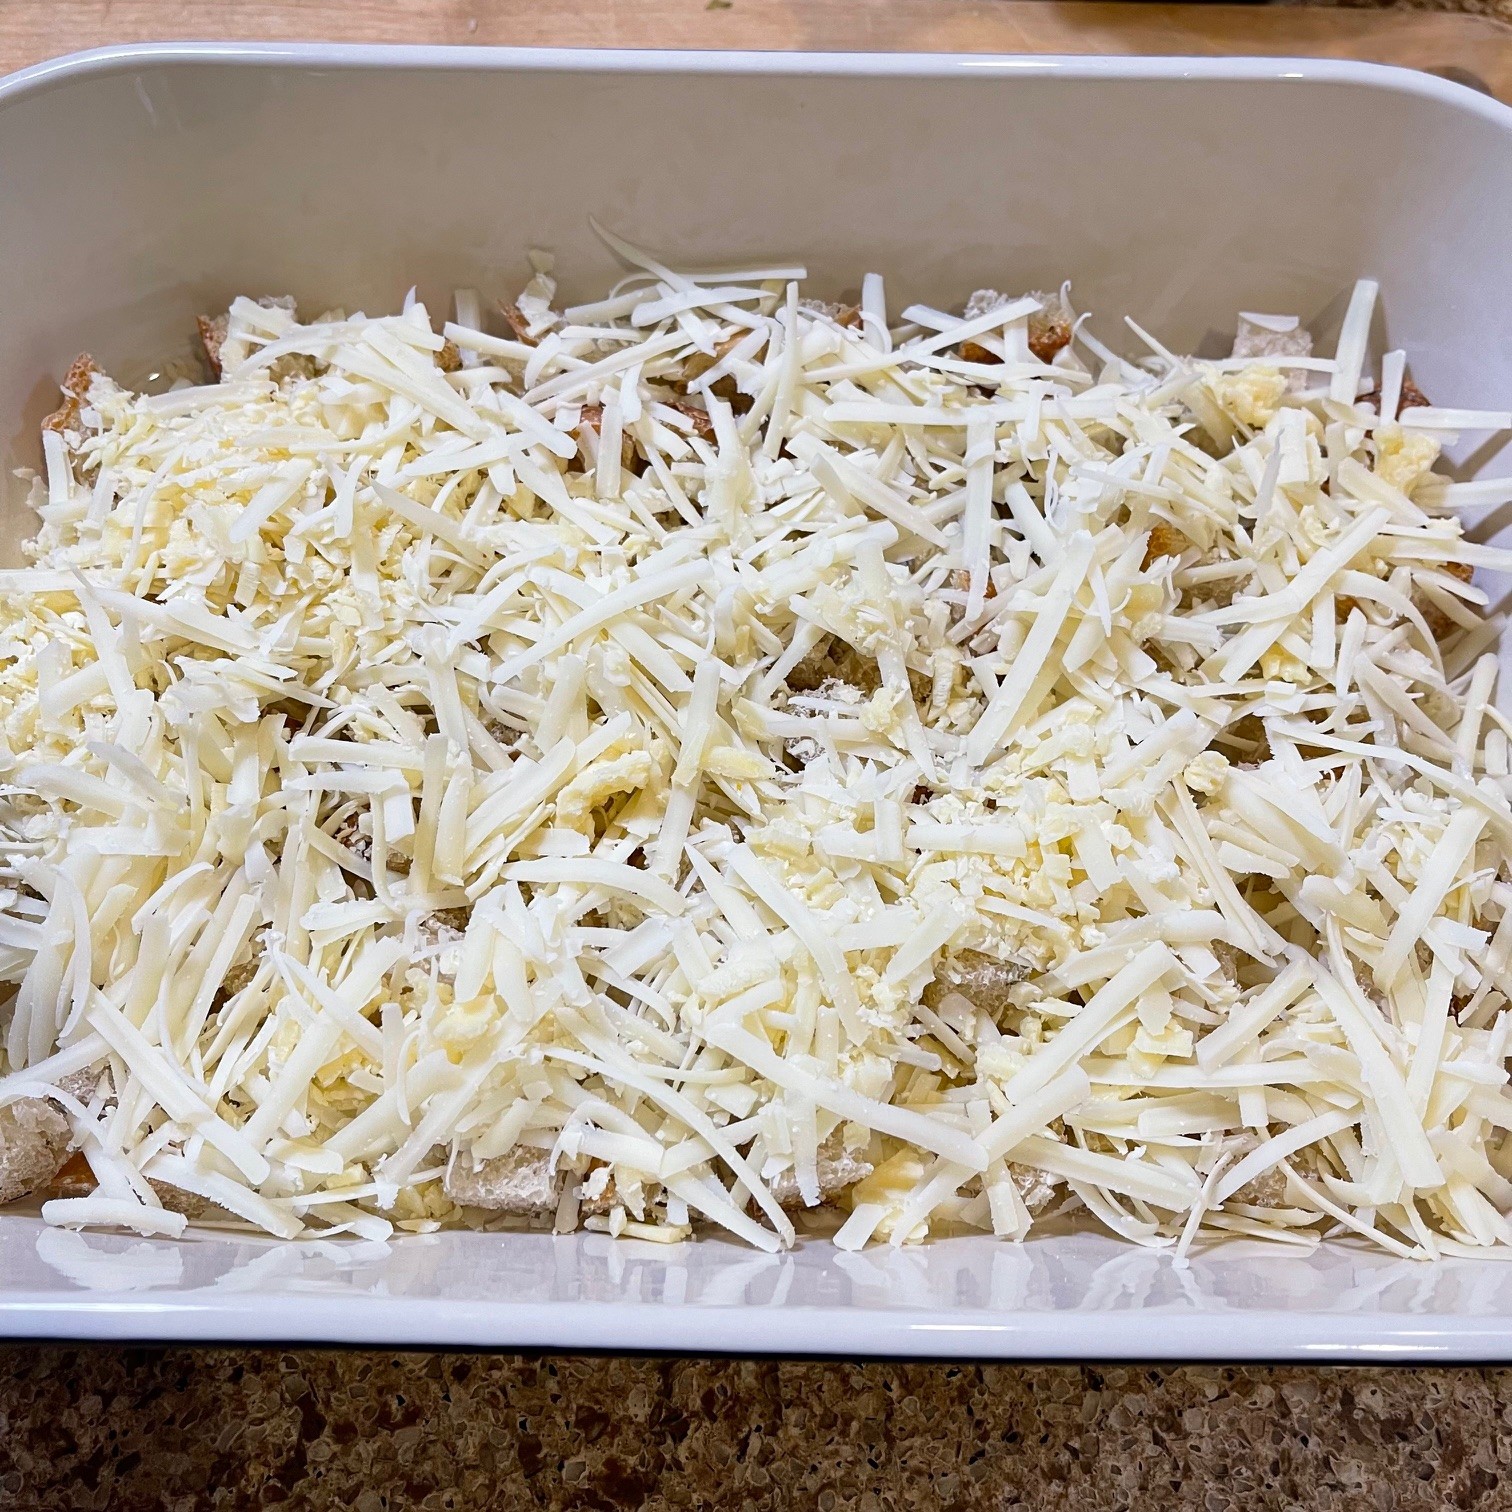
Butter a 9½” x 13″ casserole dish. Evenly sprinkle on bread followed by cheese.

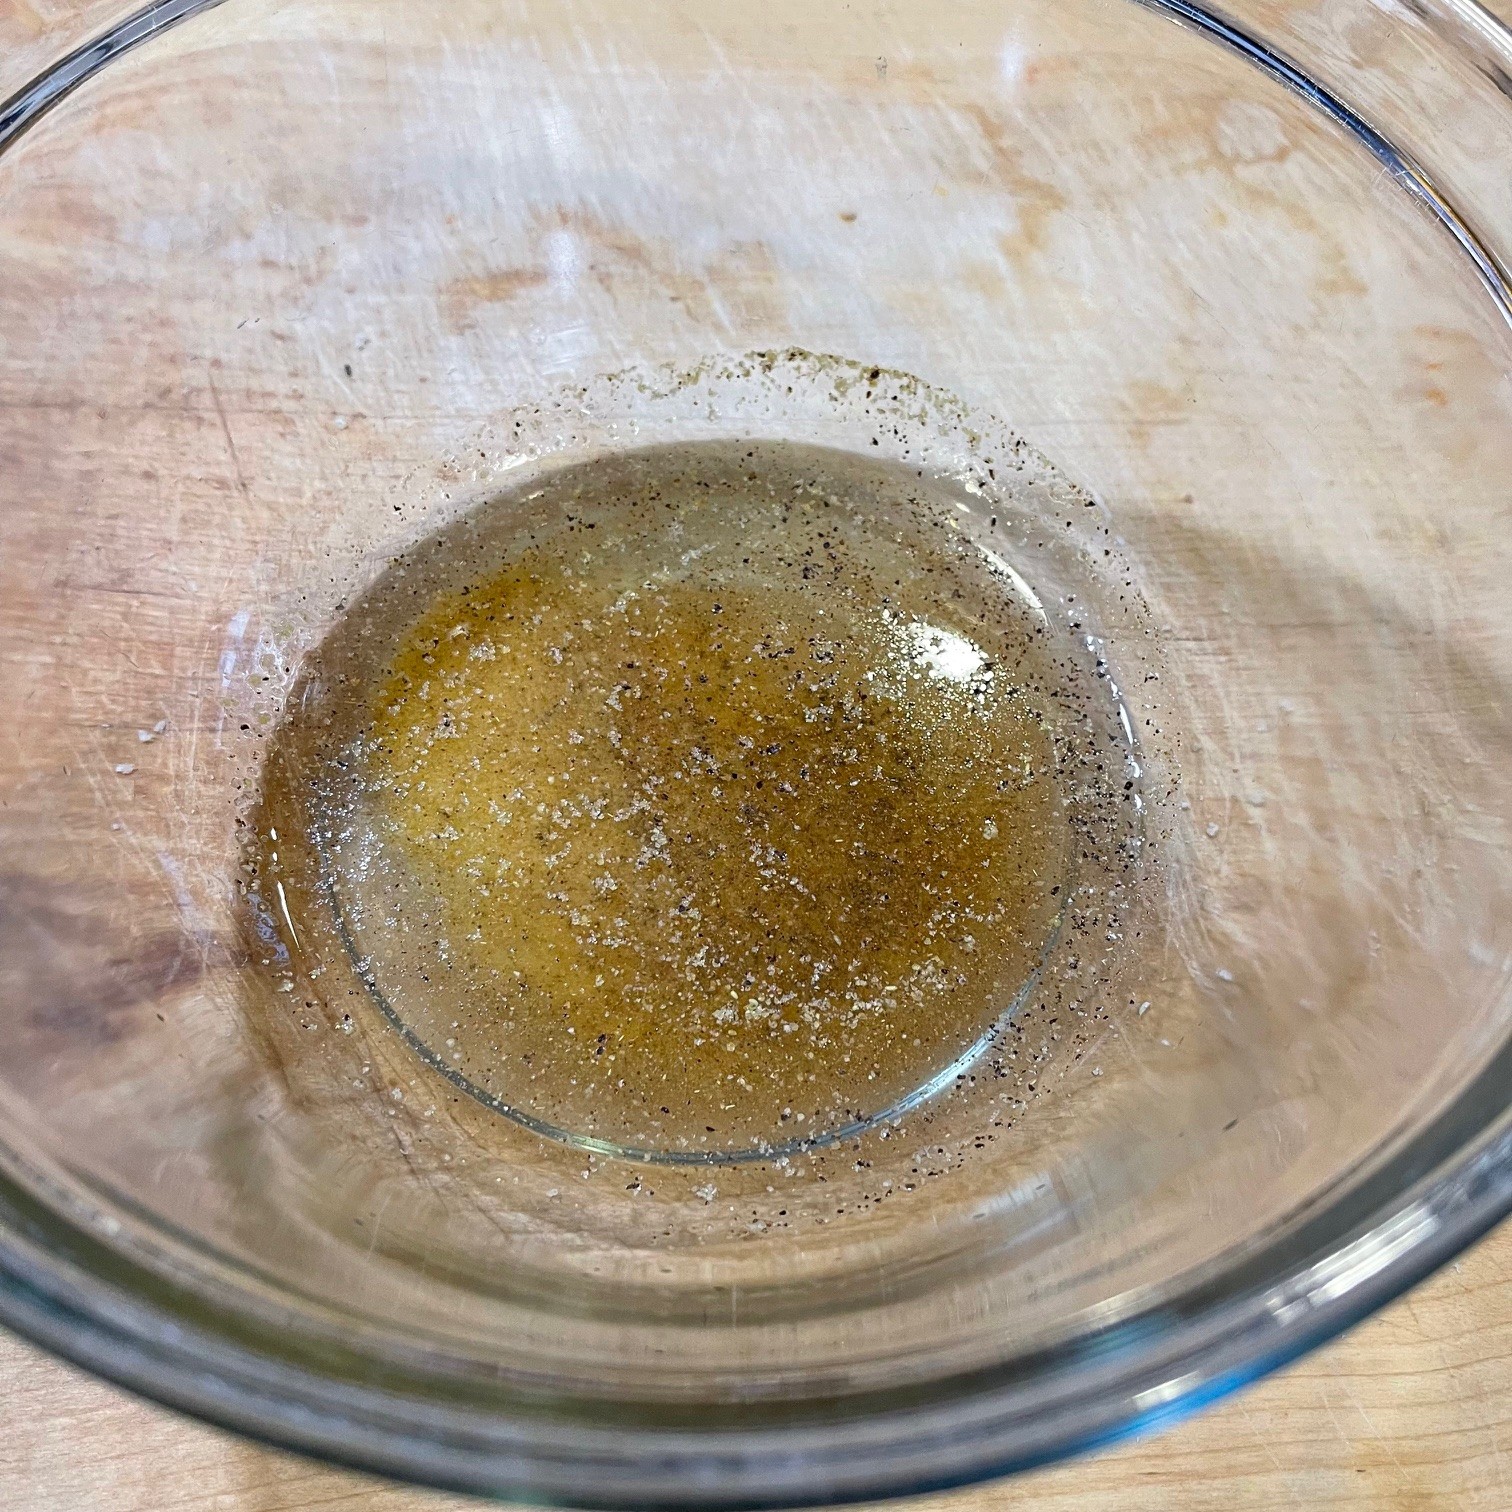
In a large bowl, put the dried mustard, pepper, cayenne pepper, and wine. Stir to blend, smashing out any lumps.

Add the eggs and beat well with an egg beater or whisk.

Add in the milk and scallions or chives. Beat well.

Pour over bread and cheese. Cover with foil and refrigerate.

If possible, remove from fridge about half an hour before cooking. Bake covered at 163°C (325ºF) for 1 hour. Remove foil and bake another 5 minutes. Let rest at least 15 minutes to allow it to firm up.

IMG_0735

ORANGE TOFU – Tangy Goodness!

ORANGE TOFU

ORANGE TOFU

There are a few things I miss from my carnivorous days. Orange chicken is one. I love the tangy orange sauce clinging to the deep fried batter surrounding luscious tender chicken pieces.

Now, as a vegetarian, I’m always searching for recipes that fulfill those cravings but don’t make me feel like my food is ‘less than’. If you start feeling like you’re eating second rate, that’s when you fall off the vegetarian wagon.

Unless you’re eating a plain steak, pork chop, or turkey slice, most meat dishes use meat as a foundation – the majority of taste coming from sauce, spices, and toppings. Using that knowledge, my challenge is to find a substitute that allows the essence of the original. Sometimes I use imitation meats (such as fake sausage, hot dogs, and chicken), and sometimes I find a similarly textured food (such as jack fruit in place of pulled pork).

In the case of Orange Tofu, I’m not trying to fool anyone – clearly, this is tofu, not chicken. My very first blogpost was THE ORANGE CHICKEN DILEMMA, in which I use imitation chicken (or turkey) to give the texture of the real thing.

However, there are people out there concerned about using imitation products. “What’s in it?” is a common question. While my family prefers Orange “Chicken” (quotation marks denote “fake”), I decided to make an Orange Tofu for those leery of faux foods.

So, donning my lab coat, I began to experiment with tofu. What I found was the longer you cook it, the more rubbery it becomes. Unfortunately, this rules out batter dipped deep frying because of the time it takes to get that golden brown crispy coat. Rather, a quick fry in a teeny bit of oil on a nonstick skillet worked best for taste. I will grant you, it doesn’t look as pretty as the deep fried version, but it’s delicious.  (And your arteries will thank you!)

ORANGE TOFU – makes about 3 servings

  • 453g (1 lb) block of tofu, extra firm
  • 60g (4 T) fresh orange juice
  • 116g (1/2 cup) water
  • 35g (3 T) rice wine vinegar
  • 22g (2 T) lemon juice
  • 17g (4 tsp) soy sauce
  • 1/2 T orange zesty, packed (don’t be stingy!)
  • 64g (1/2 cup) dark brown sugar, packed
  • 1/2 T fresh, 1/4 tsp dry,ground ginger
  • 1/4 tsp garlic powder
  • 15g (1½ T) cornstarch
  • 29g (1 T) water

Remove tofu from package and press with heavy plate for 1/2 hour to remove water.

Meanwhile, prepare orange sauce. In a small saucepan bring the orange juice, 1/2 cup water, vinegar, lemon juice, soy sauce, zest, sugar, ginger, and garlic powder to a boil. In a small bowl blend together the cornstarch and 1 T water until smooth. Slowly stream it into the boiling orange juice mixture, stirring as you pour, until sauce is thickened.

NOTE: As Queen of Freeze, I would be remiss if I didn’t tell you this orange sauce freezes well. So, if you like it, double or triple the recipe next time and freeze in portion sized containers for future use.

Slice tofu into pieces 3/8″ in width. Heat about 1/2 T oil in a nonstick skillet. Fry tofu a couple of minutes on each side, until lightly browned. Be careful of oil spatter! If you don’t have a nonstick skillet, use a regular one and increase the amount of oil. Drain on paper towel.

Serve tofu on sticky rice, topped with orange sauce.

BREAKFAST BURRITO – A Fast & Easy Dinner!

IMG_7841

Who doesn’t love breakfast food for dinner? By then, we’re wide awake enough to enjoy it. Plus, the last thing I want to do in the morning is cook – which is why my breakfast consists of tea & biscuit.

Breakfast Burritos are more a concept than a specific recipe. Generally, they include scrambled eggs, but after that – the sky’s the limit: avocado, tomatoes, cheese, peppers, “sausage”. Whatever you have on hand.

Awww – I hear the murmuring.  “Sausage”??? Isn’t this a vegetarian blog? Note the quotation marks around sausage – that means imitation. You might cringe at the fake stuff, but “sausage” is one of those imitation products that tastes amazing. I use Morningstar’s Sausage Patties, and even my carnivorous brother loved them (I didn’t tell him ahead of time).

It’s best to have all your ingredients chopped and tortillas warmed, so that when the eggs are done you can stuff and go. Of course, you can zap them in the microwave, too.

BREAKFAST BURRITO

  • tortillas, warmed
  • eggs
  • imitation sausage patties, cooked per instructions
  • stuffings: avocado, tomato, peppers, etc.
  • cheese (pepper jack, cheddar – whatever you like)

Warm tortillas in microwave and keep in plastic gallon sized bag, foil, or tea towel.

Scramble eggs and add in torn up “sausage” patties.

Layer eggs/”sausage” on tortilla, followed by your other add-ins. (Don’t overstuff or you’ll never be able to wrap the tortilla.) Top with cheese and fold up tortilla.


CHINESE “CHICKEN” CASSEROLE – An Old Favorite Vegified

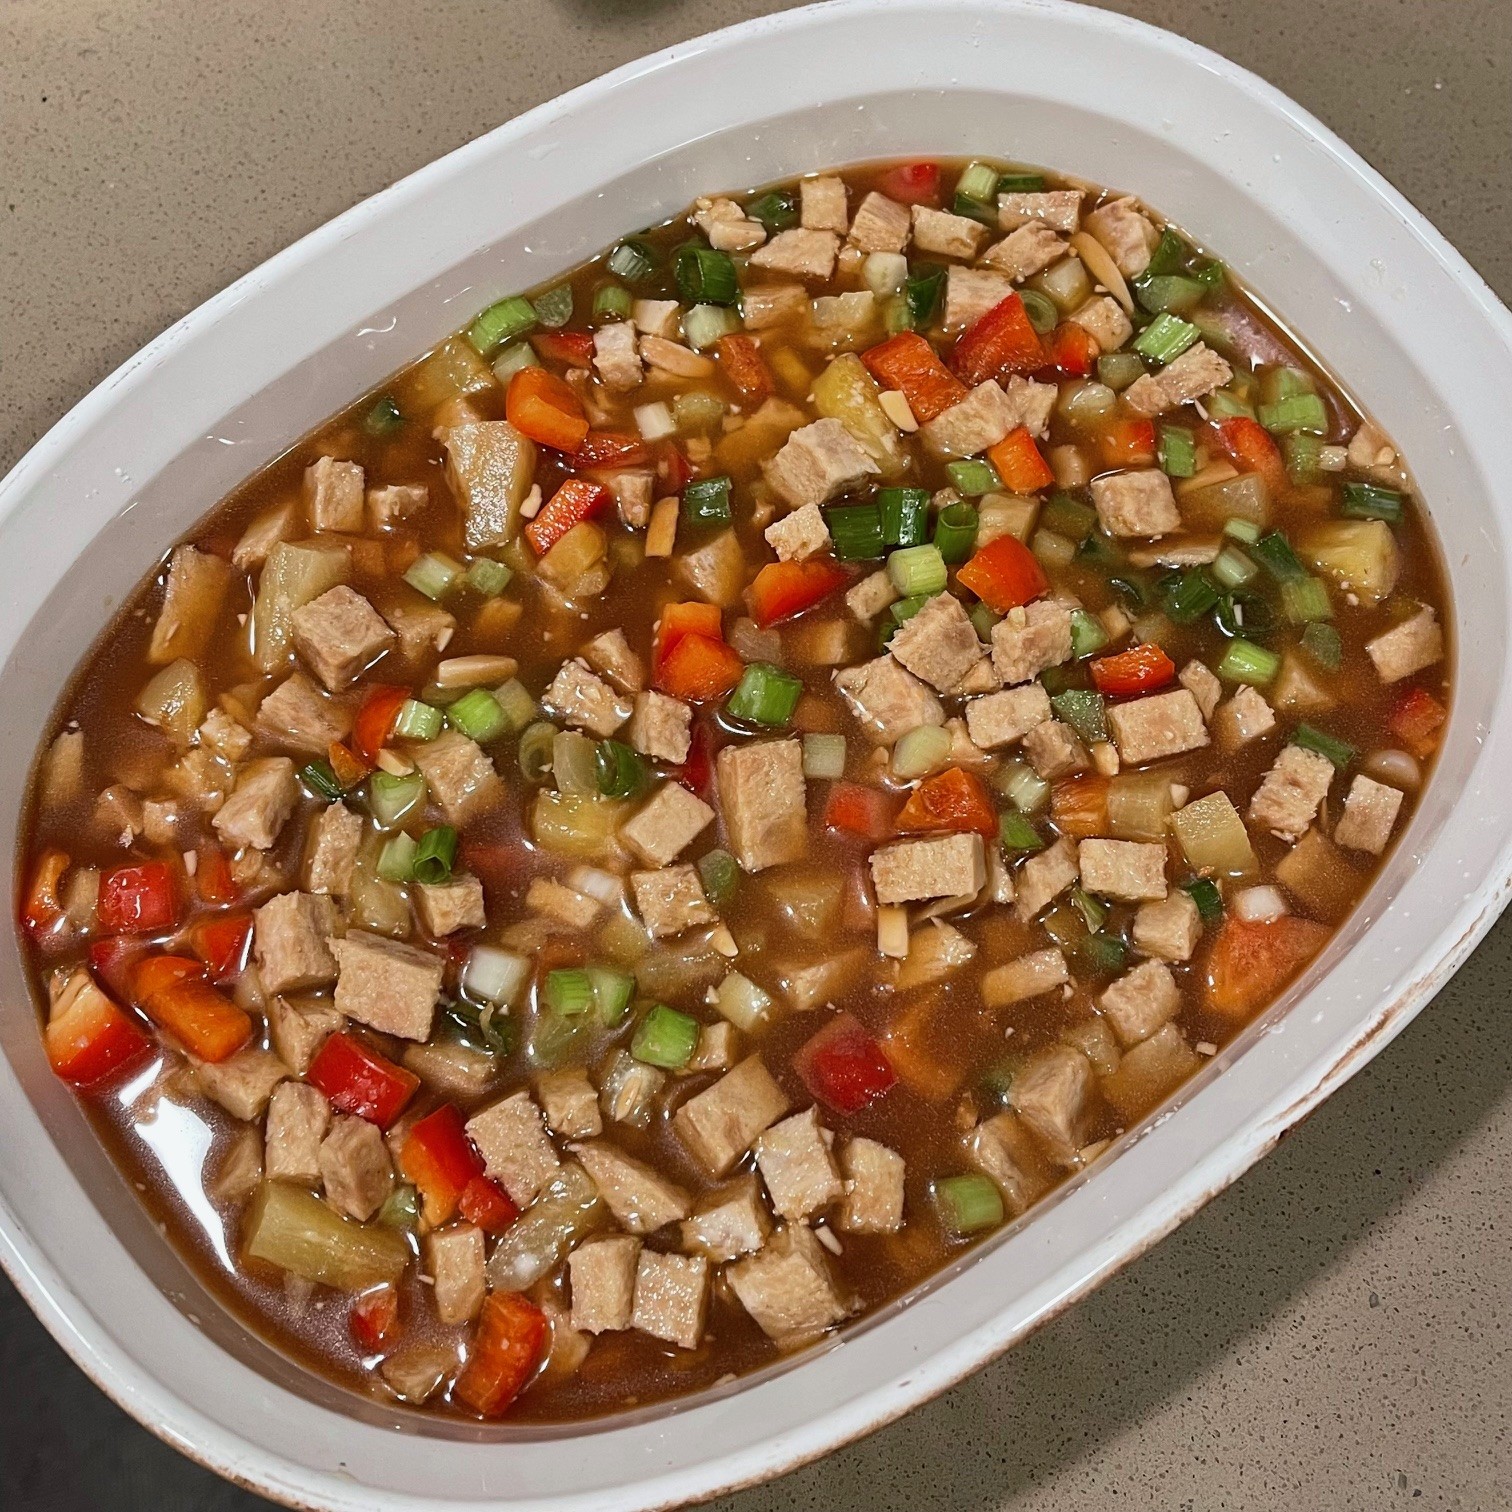
CHINESE “CHICKEN” CASSEROLE

Sometimes I find myself in a meal-time rut, especially when I’m busy (which is a frequent occurrence as a wife, mom, actress, and writer). So every now and then I rummage through my recipe box for forgotten gems. Many of these are from my carnivore days of yore.

But now, with the advent of some very tasty imitation meats, I’m able to substitute the fake stuff for real beef, chicken, ham, etc. CAUTION: Not all of these products are created equal. Some are excellent, some are nasty. Try different brands to see which (if any) appeal to you.

A bonus to using imitation meats is that they’re already cooked. When I used to make the original Chinese Chicken Casserole, it would take me 30 minutes to boil the breasts, then they’d have to cool, and finally I would cube them (an unpleasant job). All that took about an hour. By using faux chicken, this recipe becomes one of those throw-everything-into-a-casserole dish, mix, and bake recipes. Fast and easy – my favorite!

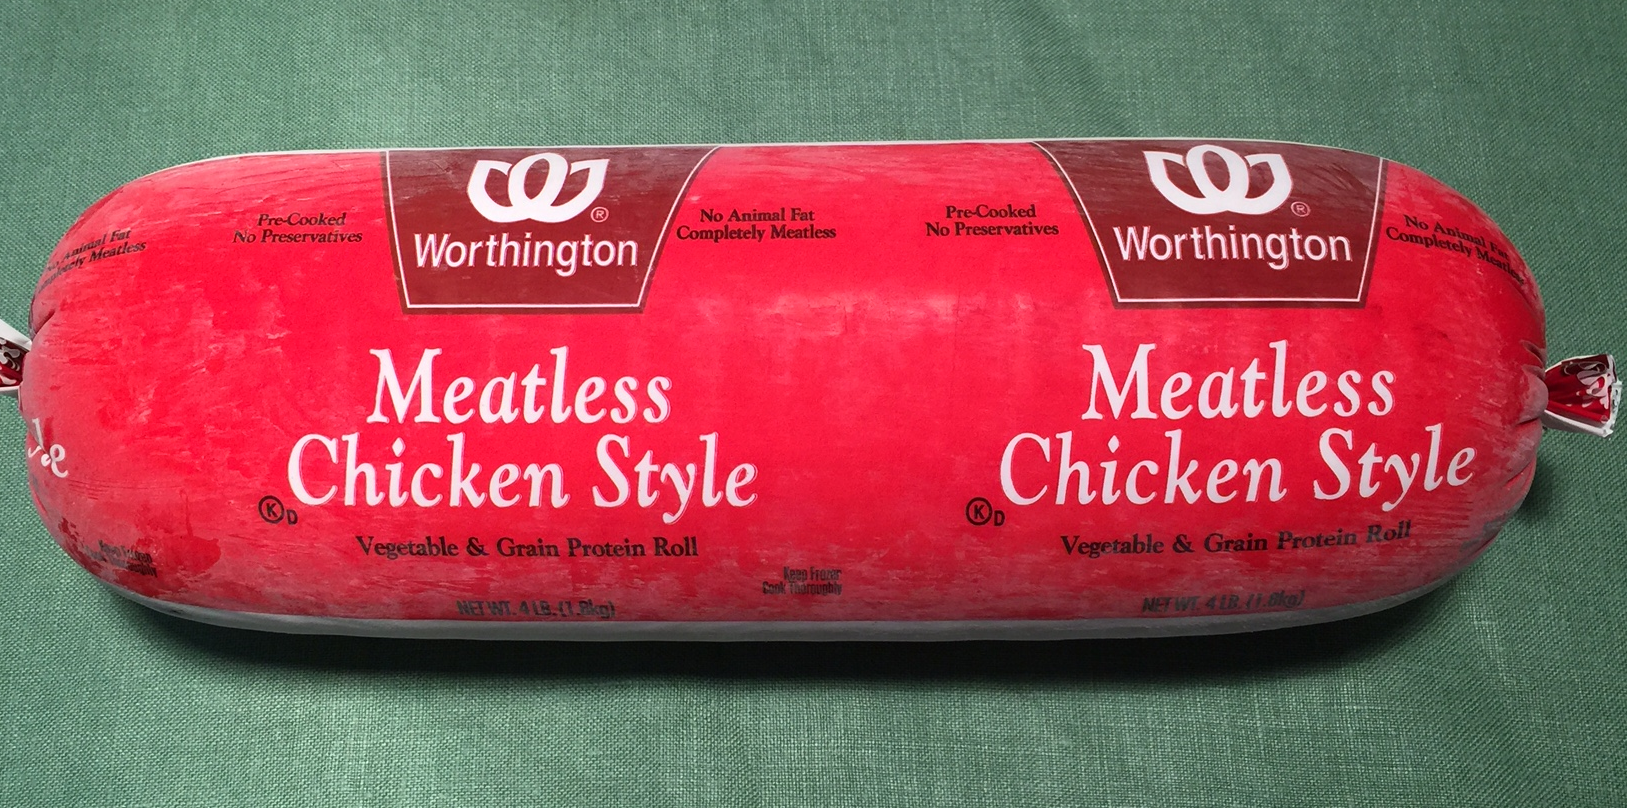
Note:  My fake chicken of choice is by Worthington (see photo). It may seem a little pricey at first glance, but unlike real chicken, every bit is edible – no skin, fat, or bones in this baby! Plus it’s already cooked. Of course, there are other brands out there that are also good.

chicken fake cropped

CHINESE “CHICKEN” CASSEROLE

  • 425g (3 cups) (15 oz) cubed fake chicken
  • 227g (8 oz) pineapple rings (save the juice), cut into bite sized pieces
  • vegetable stock – about 400g (1.75 cups) – homemade or purchased
  • 2 stalks celery, chopped
  • 1 red bell pepper, chopped
  • 153g (2/3 cup) (5.5 o) dry sherry
  • 70g (1/4 cup) (2.5 oz) soy sauce
  • 35g (1/4 cup) cornstarch
  • 1 tsp ground ginger
  • 1/2 tsp garlic powder
  • 2 scallions, sliced
  • 35g (1/3 cup) (1 oz) slivered almonds, toasted

Drain the pineapple juice into a measuring cup. Add in enough water to equal 484g (2 cups).

Into a casserole dish combine all the ingredients.

Cover with lid or foil and bake at 375º Fahrenheit for 40-45 minutes, stirring now and then.

Serve over rice.

TANGERINE “TURKEY” (or TOFU) SALAD – Not Just A Pretty Picture!

Colorful MANDARIN TOFU SALAD

Colorful TANGERINE TOFU SALAD

Not all salads are created equal. There are dinner salads, meant to whet the appetite. There are fruit salads, often eaten in lieu of French fries (so we can justify dessert). And then, there are meal salads. We feel proud of ourselves when we eat a meal salad. They fill us up with healthy stuff (so we can justify dessert).

My friend, blogger Angie Thompson at Peas For Two, posted a mouth-watering photo of a chicken salad from Umalu restaurant in Hawaii. People post a lot of food on Facebook, but this photo grabbed me like an iron vice.

Thanks to the internet I was able to find Umalu’s menu, read a description of the salad, and then promptly changed several things to make it vegetarian and mine.

As you may have noticed, I called this salad “Turkey” (quotation marks denote imitation) OR Tofu. That’s because they both work and are tasty. My husband and I prefer the fake turkey in this recipe, but I know there are those of you leery of imitation products. Tofu is rather bland and doesn’t really add much tastewise to the salad, whereas the faux (I’m feeling posh) gives a nice turkey-ish flavor and texture.

NOTE: There are lots of imitation turkey products out there. Some are fabulous, and some taste like cardboard. Don’t give up if you don’t like the first brand you try. My favorite is by Worthington and it’s called Meatless Smoked Turkey Roll (See photo below). Don’t be put off by the price – this baby weighs in at 4 pounds and it’s all edible. It comes frozen so I let it thaw enough to cut it into meal sized portions, then refreeze it. And, no, they’re not paying me to promote it.

Turkey fake color bkg

My favorite fake turkey!

The only real work to producing TANGERINE “TURKEY” SALAD is pan frying the “turkey” (or tofu, if you choose), and the tortilla strips – but neither of these steps is too time consuming. For the most part, this salad is fast and easy.

Of course, me being the perennial DIYer, I made the tortillas myself, which added a bit of extra work. I see you rolling your eyes, thinking that I could just pick up a pack of pre-made tortillas and save the trouble. Hear me out! Those tortillas come in packs of 12 and I only needed 1 or 2 (depending on size). Unfortunately, tortillas don’t freeze well. So I made only what I need and there’s no waste. As you may have noticed by now – I hate waste! I included the recipe for flour tortillas below – they’re really easy.

TANGERINE “TURKEY” (OR TOFU) SALAD – makes 3 servings

  • about 6 oz tofu or imitation turkey (3/4″ slice of Meatless Smoked Turkey)
  • 2  6″ flour tortillas (recipe below, for the adventurous)
  • about 3 cups red leaf lettuce, torn into bite sized pieces
  • 1 cup red cabbage, thinly sliced
  • 1 cucumber, skinned, seeded, and sliced
  • 6 scallions, sliced
  • 1/2 cup carrots, shredded (about 2 carrots)
  • 1  11-oz can Mandarin oranges, drained
  • 2-3 T spicy peanuts
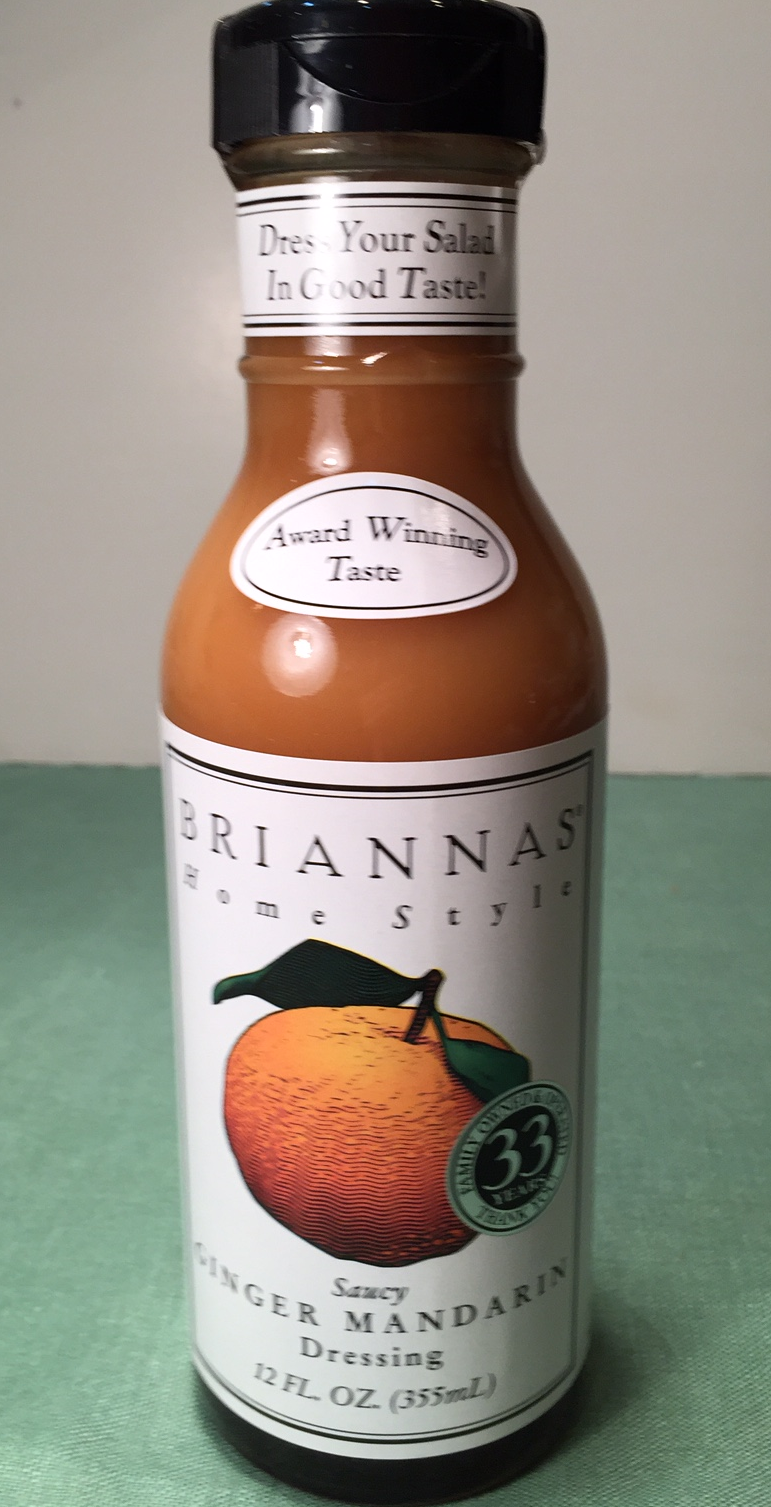
  • Ginger Mandarin Dressing (see photo) or a similar oneGINGER MANDARIN DRSG

Cut “turkey” into two 3/8″ thick discs. If using tofu, slice three 3/8″ pieces. Dredge the “turkey” in flour and shake off excess (you don’t have to do this with the tofu). It’s best to use a nonstick skillet if you’re using tofu – even with oil it tends to stick to pan. Fry in oil, browning both sides. Remove to paper towel and cool. Slice into bite sized pieces.

Slice the tortillas into 3/8″ wide x 1½” long strips. A pizza cutter works really well for this task. In a small saucepan or wok, put at least 1/2″ of vegetable oil and heat to 375º Fahrenheit. Deep fry small batches of the tortilla strips until they’re browned on both sides. Remove to paper towel.

NOTE:  You can reuse the deep fry oil by pouring it through a fine sieve into a container. Store in the fridge.

In a large bowl, combine the lettuce, cabbage, cucumber, scallions, carrots, oranges, and “turkey” or tofu. Add dressing (don’t be stingy) and mix well.

Just before serving, sprinkle in the peanuts and tortilla strips.

FLOUR TORTILLAS – makes 2 tortillas

  • 1/4 cup flour
  • 1/8 tsp salt
  • 1 T vegetable oil
  • 2 T water

I used my food processor to mix the dough, but because this was such a small amount, I had to keep stopping the machine to scrape the sides and bottom. Instead, you can just mix everything together by hand, kneading until it’s well mixed.

Divide dough into 2 balls, cover, and let rest for 1/2 hour. (If you don’t do this, the dough will resist rolling.)

On a well floured board, roll out each dough ball into circles 6″ in diameter.

Either use a tortilla cooker or a 10″ dry skillet. One at a time, cook the tortillas, flipping often. You DON’T want to brown them or they get crispy – they need to be flexible. Each one will take about 1 minute total. Transfer into a plastic bag to keep them moist until ready to use.


TOMATOES & BASIL & PASTA – Oh, My!

IMG_3767
TOMATO & CAMEMBERT TOPPED SPAGHETTI


It’s all happening in the garden! Tomatoes, cucumbers, beans, basil, and, of course, the ever-present zucchini. Nature is in full bounty!

Whether you grow your own veggies or buy from a farmer’s market, there’s a world of difference between farm fresh and the flavorless produce at the grocery store. So let’s enjoy these garden glories while we can.

I’ve been making Tomato & Camembert Topped Spaghetti for years and have always used dried basil in the dish. It’s so much easier and I figured dried is the same thing as fresh minus the water, right? Well, as it turns out, while that may be technically true,  where taste is concerned, fresh is absolutely superior. I recently made this dish using some leftover fresh basil I had (you know me – waste not, want not!) – my mouth was aglow with flavor.

Nothing but fresh from now on in this recipe!

Tomato & Camembert Topped Spaghetti obviously calls for spaghetti (or linguine) noodles. I make my own pasta (no surprise to those of you loyal followers of my blog). I’ve included the recipe for the brave souls out there willing to give it a go.

TIP:  An easy way to chop basil is to put the leaves in a cup and snip away with kitchen shears.            This photo shows me chopping parsley, but it’s the same principle.

parsley snipping

TOMATO & CAMEMBERT TOPPED SPAGHETTI – makes enough for 3

  • 10½ oz spaghetti or linguine pasta (recipe follows – or buy pre-made)
  • about 307g (2 cups) tomatoes, coarsely chopped
  • 227g (1/2 lb) Camembert cheese, torn into bite sized pieces
  • 78g (1/2 cup) extra virgin olive oil
  • 20g (1/2 cup) fresh basil (chopped)
  • 3 cloves garlic, pressed
  • 1½ tsp salt
  • ground pepper to taste
  • about 46g (2/3 cup) Pecorino-Romano or Parmesan cheese, shredded

Boil pasta until done. Drain.

As pasta is cooking, put the tomatoes, Camembert, olive oil, basil, garlic, salt, black pepper, and Pecorino-Romano into a large serving bowl.

Mix in cooked pasta.

Can be served immediately as a warmish dish, or refrigerated and served cold.

HOMEMADE PASTA – makes 10.5 oz (approximately 3 servings)

  • 2 eggs
  • 1 T extra virgin olive oil
  • 1½ cups all purpose flour
  • additional water, if needed

Into the workbowl of your food processor, put the eggs, olive oil and flour. Whirl, stopping now and then to scrape the loose flour into dough. The goal is for the dough to be able to form a ball when dough is squeezed. Add a teaspoon of water at a time, if needed. However, you don’t want it too wet.  If it’s sticky, add a tablespoon at a time of flour and mix.

I use the Atlas hand crank pasta machine. For my pasta maker, I start with a setting of ‘1’ and work my way to ‘5’. Then I run the dough through the spaghetti cutter.

There are a number of youtube videos about making homemade pasta that would be a good idea to watch.


TOASTY TOMATO & PESTO SANDWICHES

TOASTY TOMATO PESTO SANDWICH

TOASTY TOMATO PESTO SANDWICH

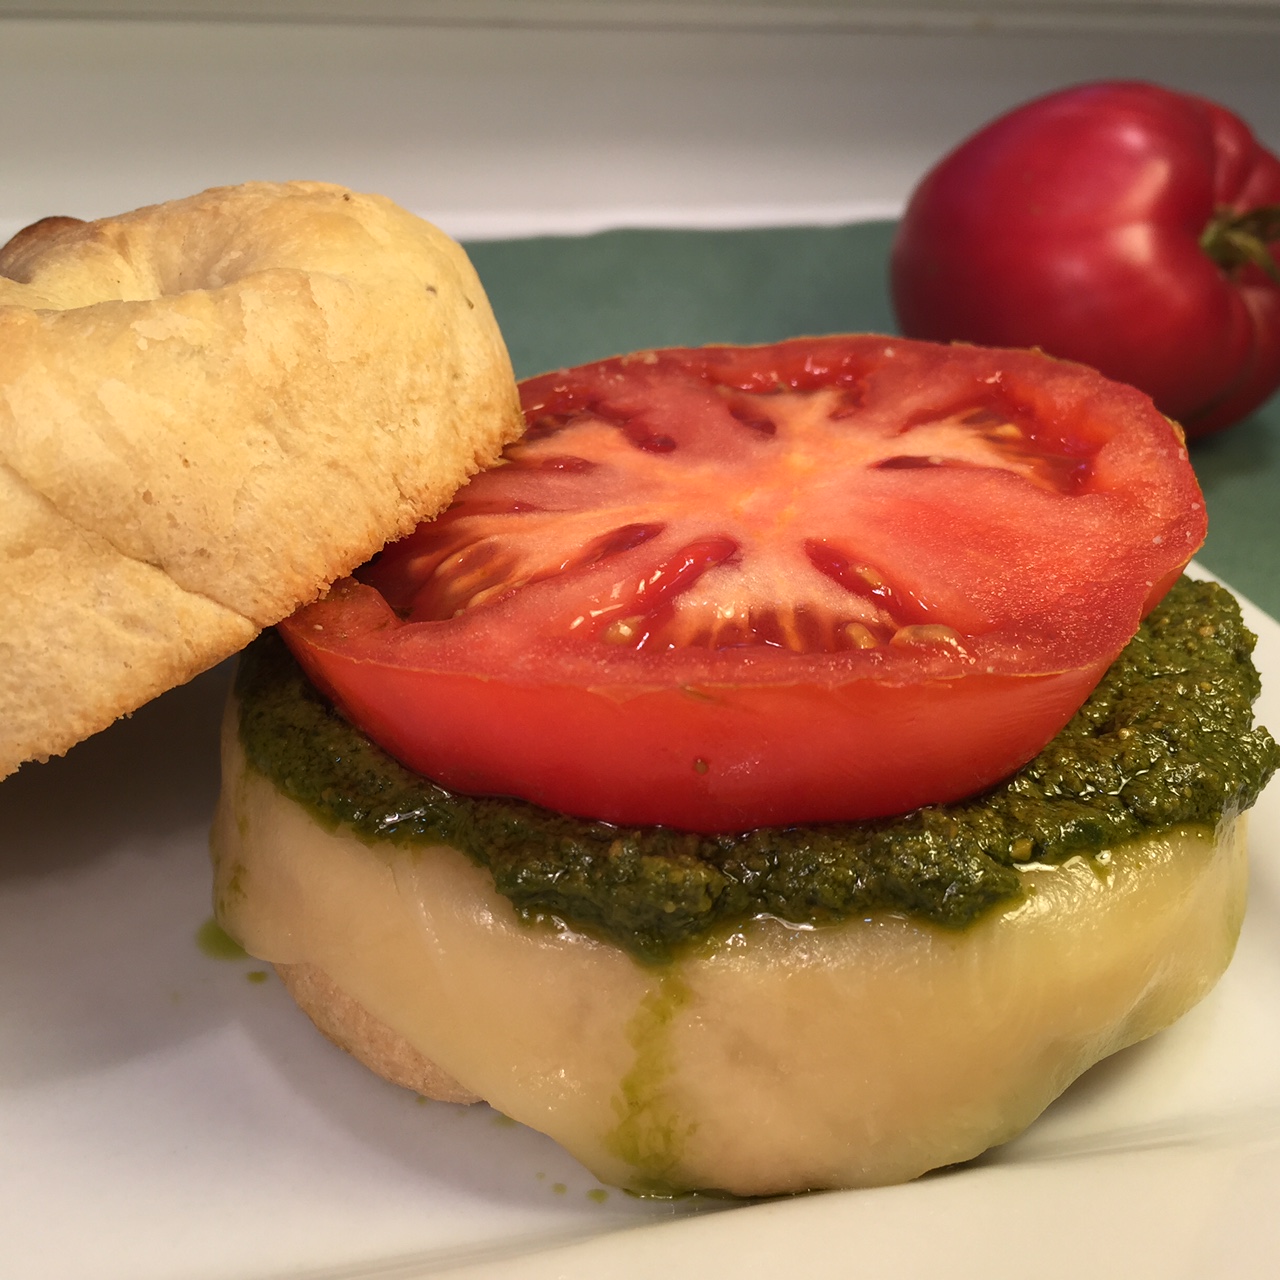
After picking my first tomato of the season, I wanted to make the most of this tempting treat. So I came up with an amazing sandwich:  a toasted focaccia bun topped with melted provolone cheese, slathered with pesto, and a fat slice of my precious tomato.

I’m a firm believer in cooking from scratch – it not only saves big bucks, but it empowers you to choose what goes in your body. So, of course, I made the pesto and focaccia myself.

However, I understand not everyone shares my passion as a diehard DIY-er. So you can simply purchase the pesto and focaccia and STILL have a great tasting sandwich.

As a glass half full kind of gal, I’ve included recipes for the pesto and focaccia, along with the sandwich directions, in my optimism that some of you will give them a try.

TOASTY TOMATO PESTO SANDWICH – makes 1 sandwich

Ingredients:

  • thick tomato slice (preferably home grown or from a farmer’s market)
  • 2 or 3 Tbsp. pesto (recipe follows below)
  • 2 slices provolone (or whatever cheese you prefer)
  • focaccia bun (recipe follows below)

Directions:

  1. Slice the focaccia in half horizontally and toast it.
  2. Lay the cheese on bottom half and zap in the microwave for 15 seconds or so to melt the cheese.
  3. Slather on pesto.
  4. Add the tomato.
  5. Place the top half of the roll.

Now open wide and enjoy the feast!!!

PESTO – makes 1 cup

  • 2½ cups (4 oz) basil, packed
  • 6 cloves garlic
  • 1/2 tsp salt
  • 2½ T lemon juice
  • 1/2 cup Romano cheese, shredded
  • 1/3 cup pine nuts, toasted
  • 1/3 cup extra virgin olive oil

Put all ingredients in a blender and puree. You’re going to need to start and stop the blender a lot in the beginning in order to mix things around by hand.  WARNING:  Do NOT push down with any utensil while machine is running. Been there, done that. Turn machine off before mixing things up! Pretty soon everything will blend on its own.

FOCACCIA BREAD – makes 5 buns

  • 1 cup water, 100º-104º Fahrenheit
  • 1¼ tsp yeast
  • 1½ (7 oz) cups white bread flour
  • 1½ (7¼ oz) cups whole wheat flour
  • 2 T olive oil
  • 1 tsp salt
  • 1/2 tsp dried rosemary
  • coarse salt in grinder for top of bun
  • extra olive oil for soufflé dishes

Proof yeast in water.

Into the work bowl of food processor put all of the white flour, 1 cup of the whole wheat flour, the olive oil, salt, and rosemary. Turn on machine and slowly stream in the yeast water through the pour spout. Add the remaining wheat flour one tablespoon at a time until the dough forms a firm ball. Let the machine run 45 seconds more to knead the dough. (If you don’t own a food processor, you’ll have to do this by hand. As you undertake this task, think about buying a food processor!)

Plop dough into an oiled bowl, then flip dough and place back in bowl. Now both sides are oiled. Cover with tea towel and let rise 1 hour.

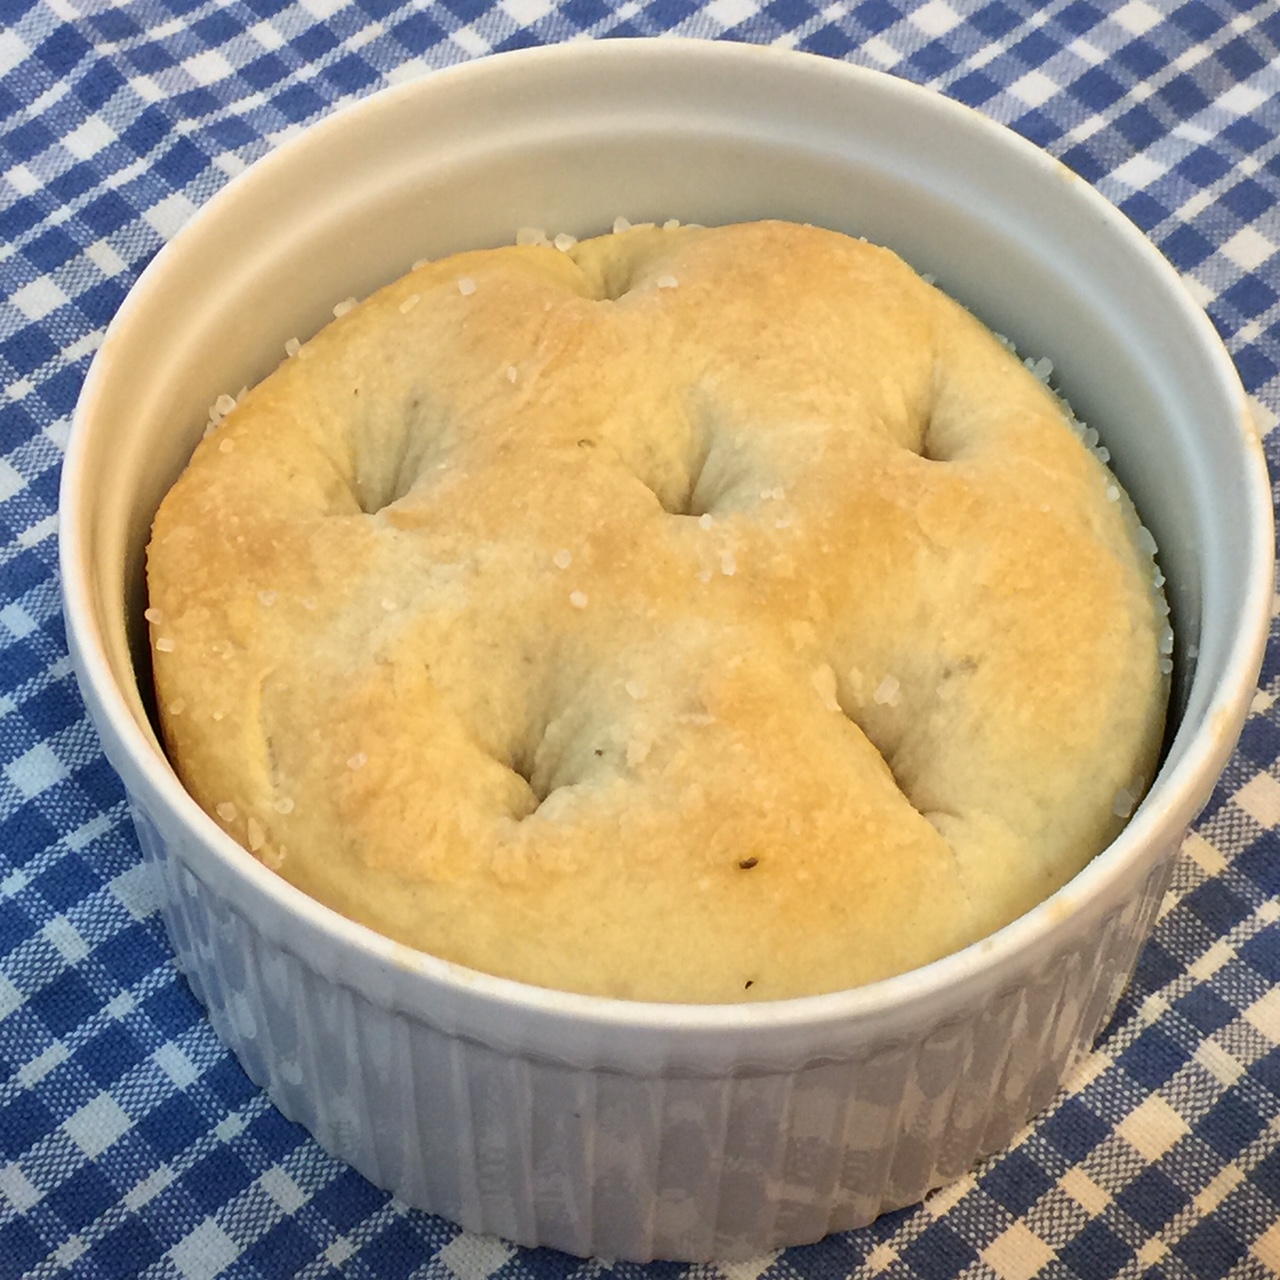
Cut dough into 5 pieces. If you have 4¼” individual soufflé dishes (see photo) use them – you’ll need 5.

IMG_1318

The buns will turn out nice and rounded. If you don’t have soufflé dishes, just use a well oiled cookie sheet. As you can see from the photos, the soufflé dishes turn out prettier focaccia buns – but they taste the same!

BAKED IN SOUFFLE DISH VS FREE FORM

BAKED IN SOUFFLE DISH VS FREE FORM

Pour about 1½ tsp olive oil into each soufflé dish. One by one, take a piece of the dough and work it into a 4″ disk, smooth on one side. Place the smooth side down into the oiled dish, and press. Flip dough and press down again, so the dough fills the dish bottom – try not to mar the smooth surface. Cover and let rise 1/2 hour.

Using a finger with a short fingernail (or the stick end of a wooden spoon), make several deep indentations in dough. Brush with a little olive oil (not absolutely necessary to do this), and grind sea salt over top.

Bake in preheated 400º Fahrenheit oven for 20 minutes. Let rest for 10 minutes before removing from soufflé dishes to a wire rack to cool.