My boys grew up watching me cook up a storm on a daily basis. I baked whole wheat bread (sadly, quite often the slices kind of fell apart as you ate it – this was before I understood about gluten), juiced 400 lbs of organic apples every fall, and made pasta and baked goods from scratch.
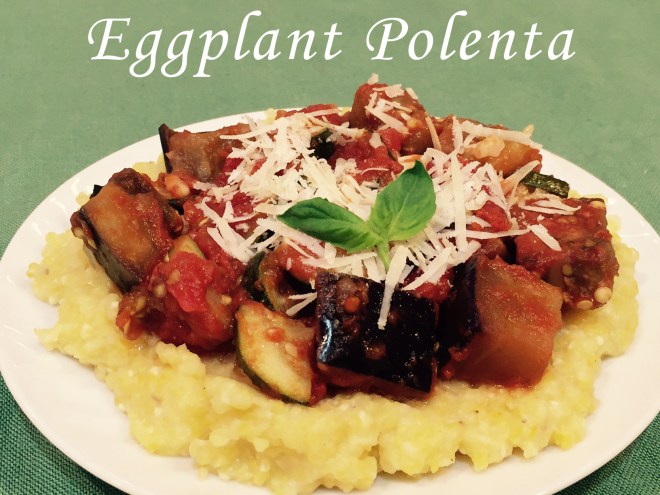
To my chagrin, they showed no interest in learning how to cook. Until now. Yay! Both my sons have finally grasped the benefit to health and pocketbook by cooking from scratch. Last night my oldest made a delicious, fast, and easy polenta topped with eggplant and Parmesan.
Thus, the student becomes the teacher.
Of course, like all cooks, I made a couple of changes. As it’s zucchini overload season, I decided to incorporate this prolific squash into the recipe (one can only eat so much zucchini bread!). Also, I exchanged Fontina cheese for most of the Parmesan. It has a nice melty property.
NOTE: With a little forethought, you can shave half an hour off the cooking time for the polenta. All you need to do is combine the cornmeal and water the night before (or even the morning of) and let it soak (just soak – no cooking yet) until you’re ready to make dinner. This step takes seconds and you save half an hour!
EGGPLANT POLENTA – makes about 4-6 servings
- 1 cup medium grind cornmeal
- 4 cups water
- 1¼ tsp salt, divided
- 28 oz can whole tomatoes, chopped
- 1/4 cup extra virgin olive oil
- 1 lb eggplant, unpeeled & cut into 3/4″ cubes
- 1 zucchini, sliced into quarter moons
- 3 garlic cloves, pressed
- 1/2 cup fresh basil, chopped
- 3/4 cup Fontina cheese, shredded
- 1/4 cup Parmesan cheese, grated
Soak cornmeal and water the night before or the morning of preparing this dish. This will expedite cooking dramatically. If you don’t do this, you’ll just have to allow more cooking time – it could take an hour to absorb the water and be soft enough to eat.
Either way, cook the cornmeal, its water, and 1/2 tsp of the salt uncovered over a medium flame, bringing it to a boil. Then decrease heat to medium/low. Stir often, but not continuously (unless you have nothing better to do).
While the polenta is cooking, heat olive oil over medium flame in large skillet. When it shimmers (the sign for when it’s hot enough), add in the eggplant, zucchini, and 1/4 tsp salt. Sauté for about 7 minutes, stirring often, until browned. Turn off heat.
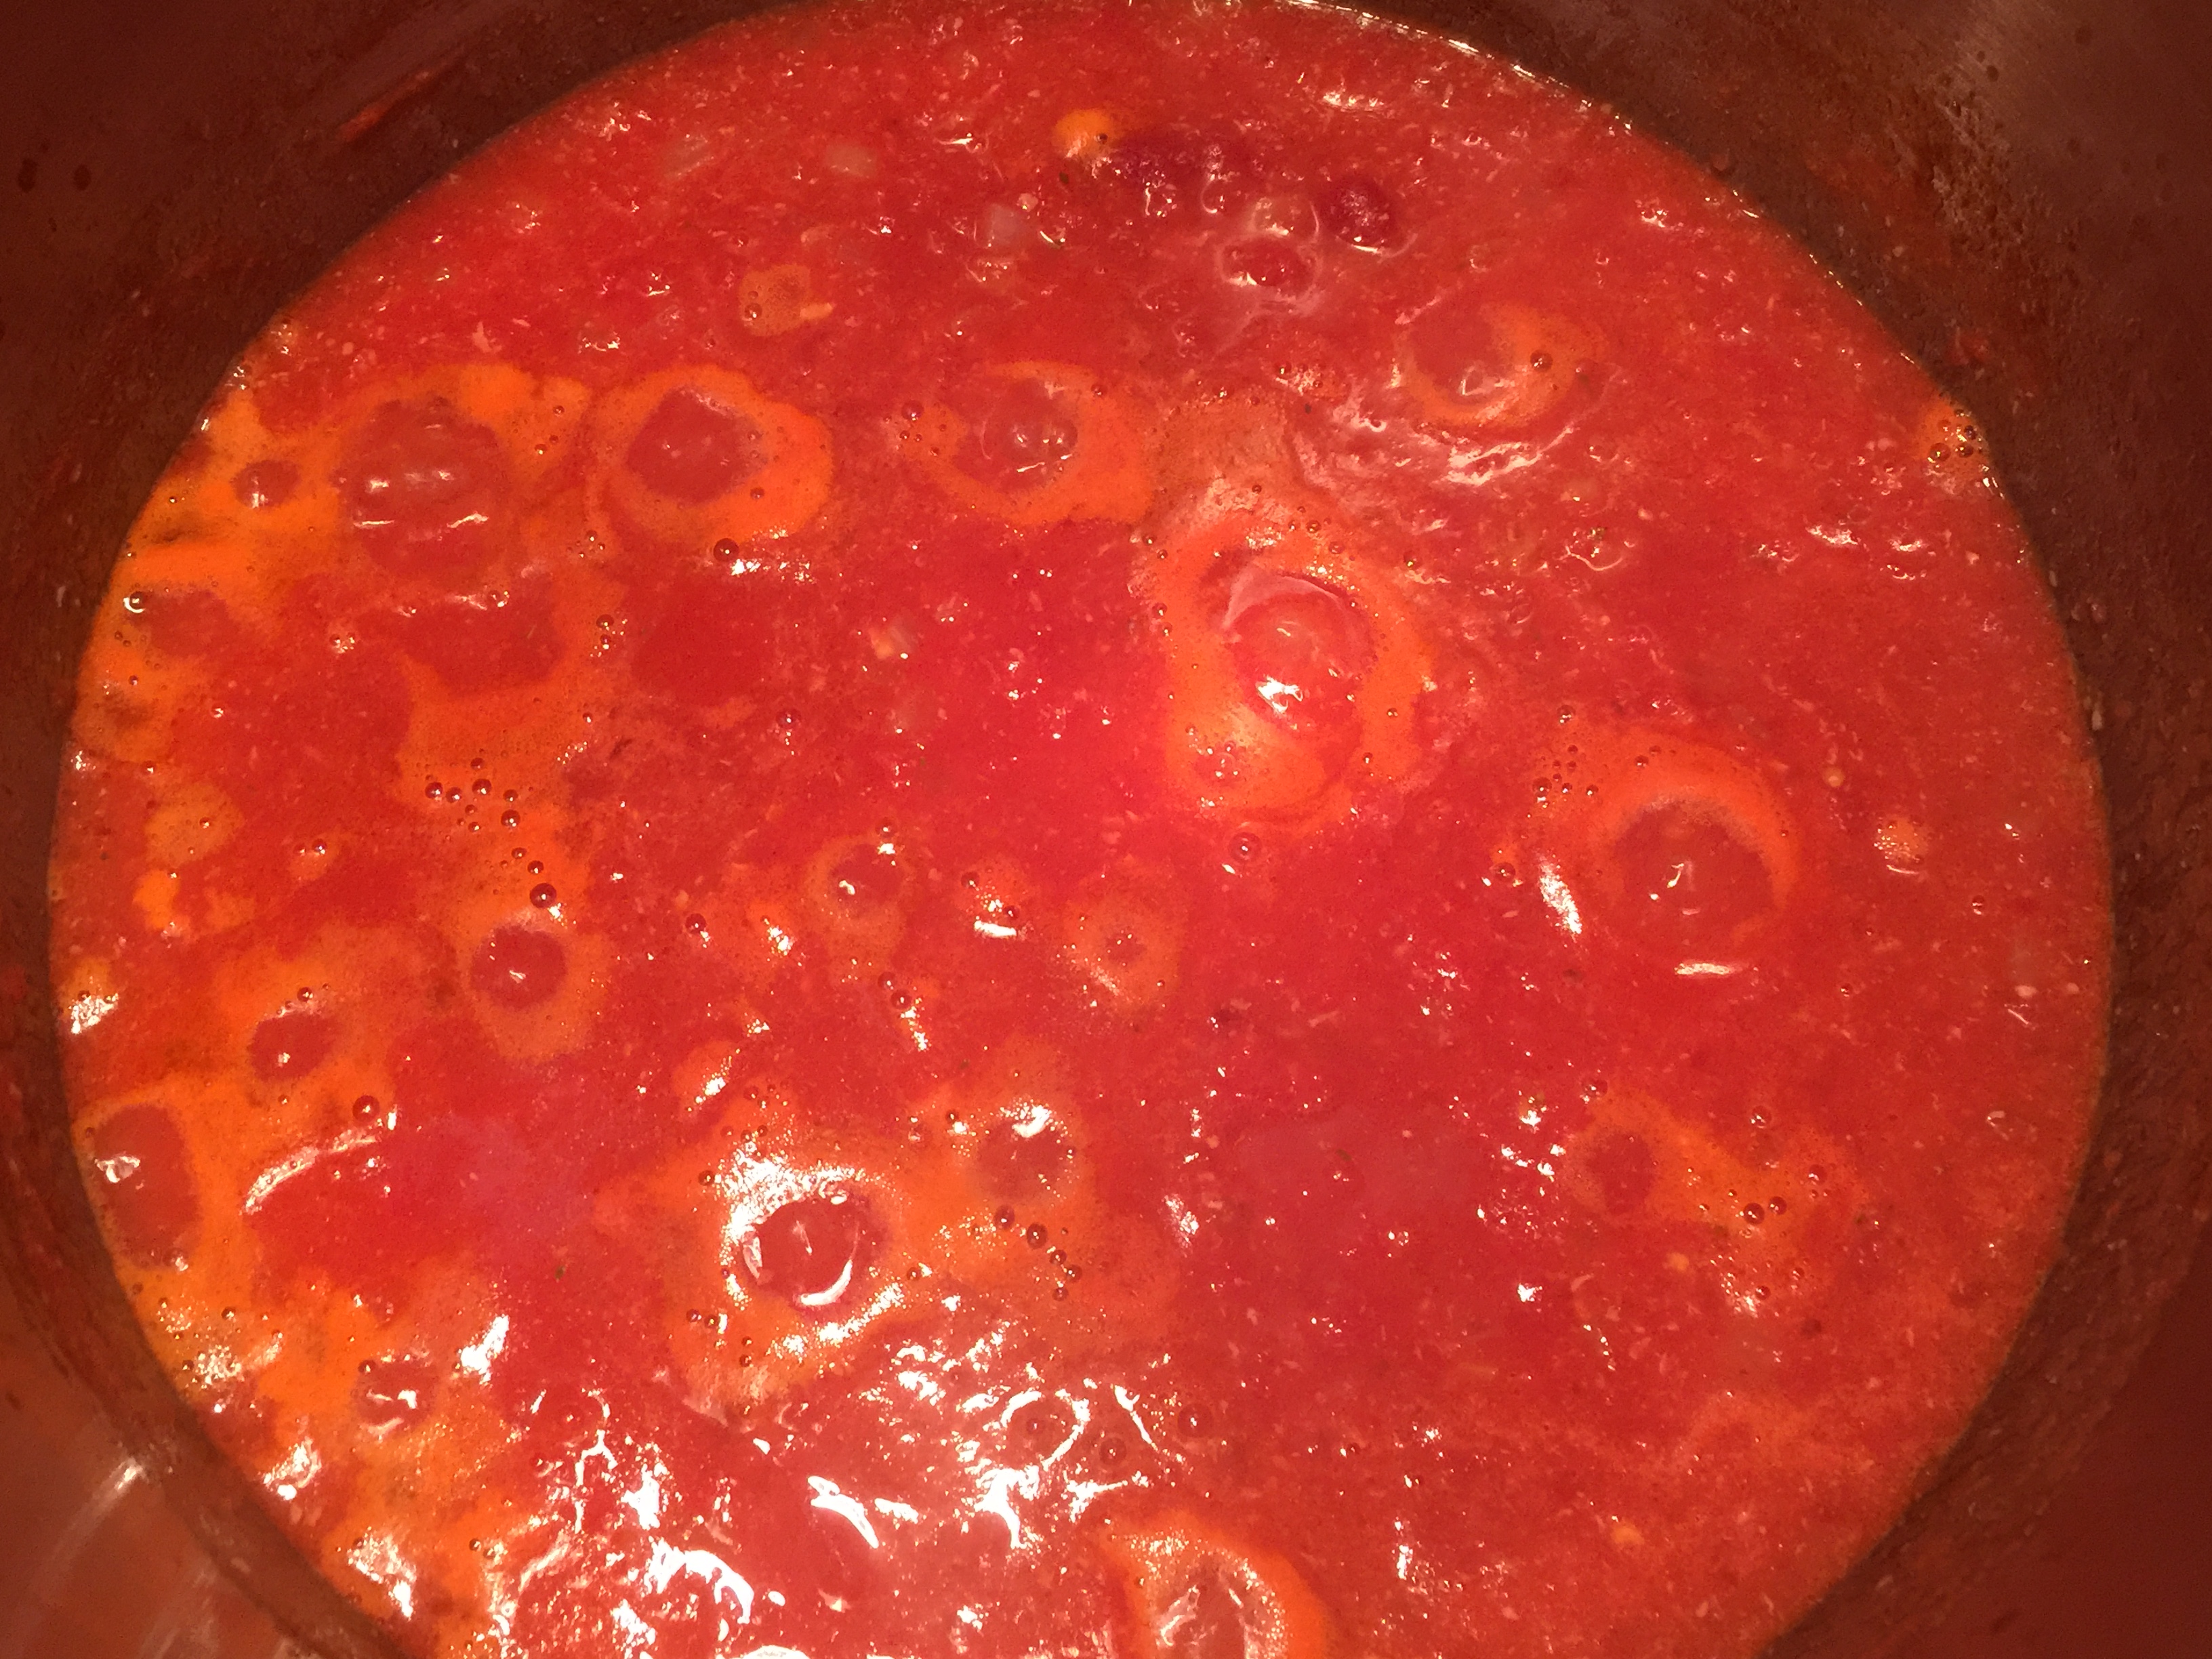
Add in garlic and cook for 30 seconds with the heat off (this prevents scorching the garlic). Turn the heat back to medium, and stir in the tomatoes (with its juice) and 1/2 tsp salt. Cook another 2 minutes to thicken a bit.
To serve: On either individual plates or a large platter, layer the polenta, topped with Fontina, the eggplant mixture, fresh basil, and then sprinkle with Parmesan. Let set a few minutes so the Fontina gets nice and gooey!
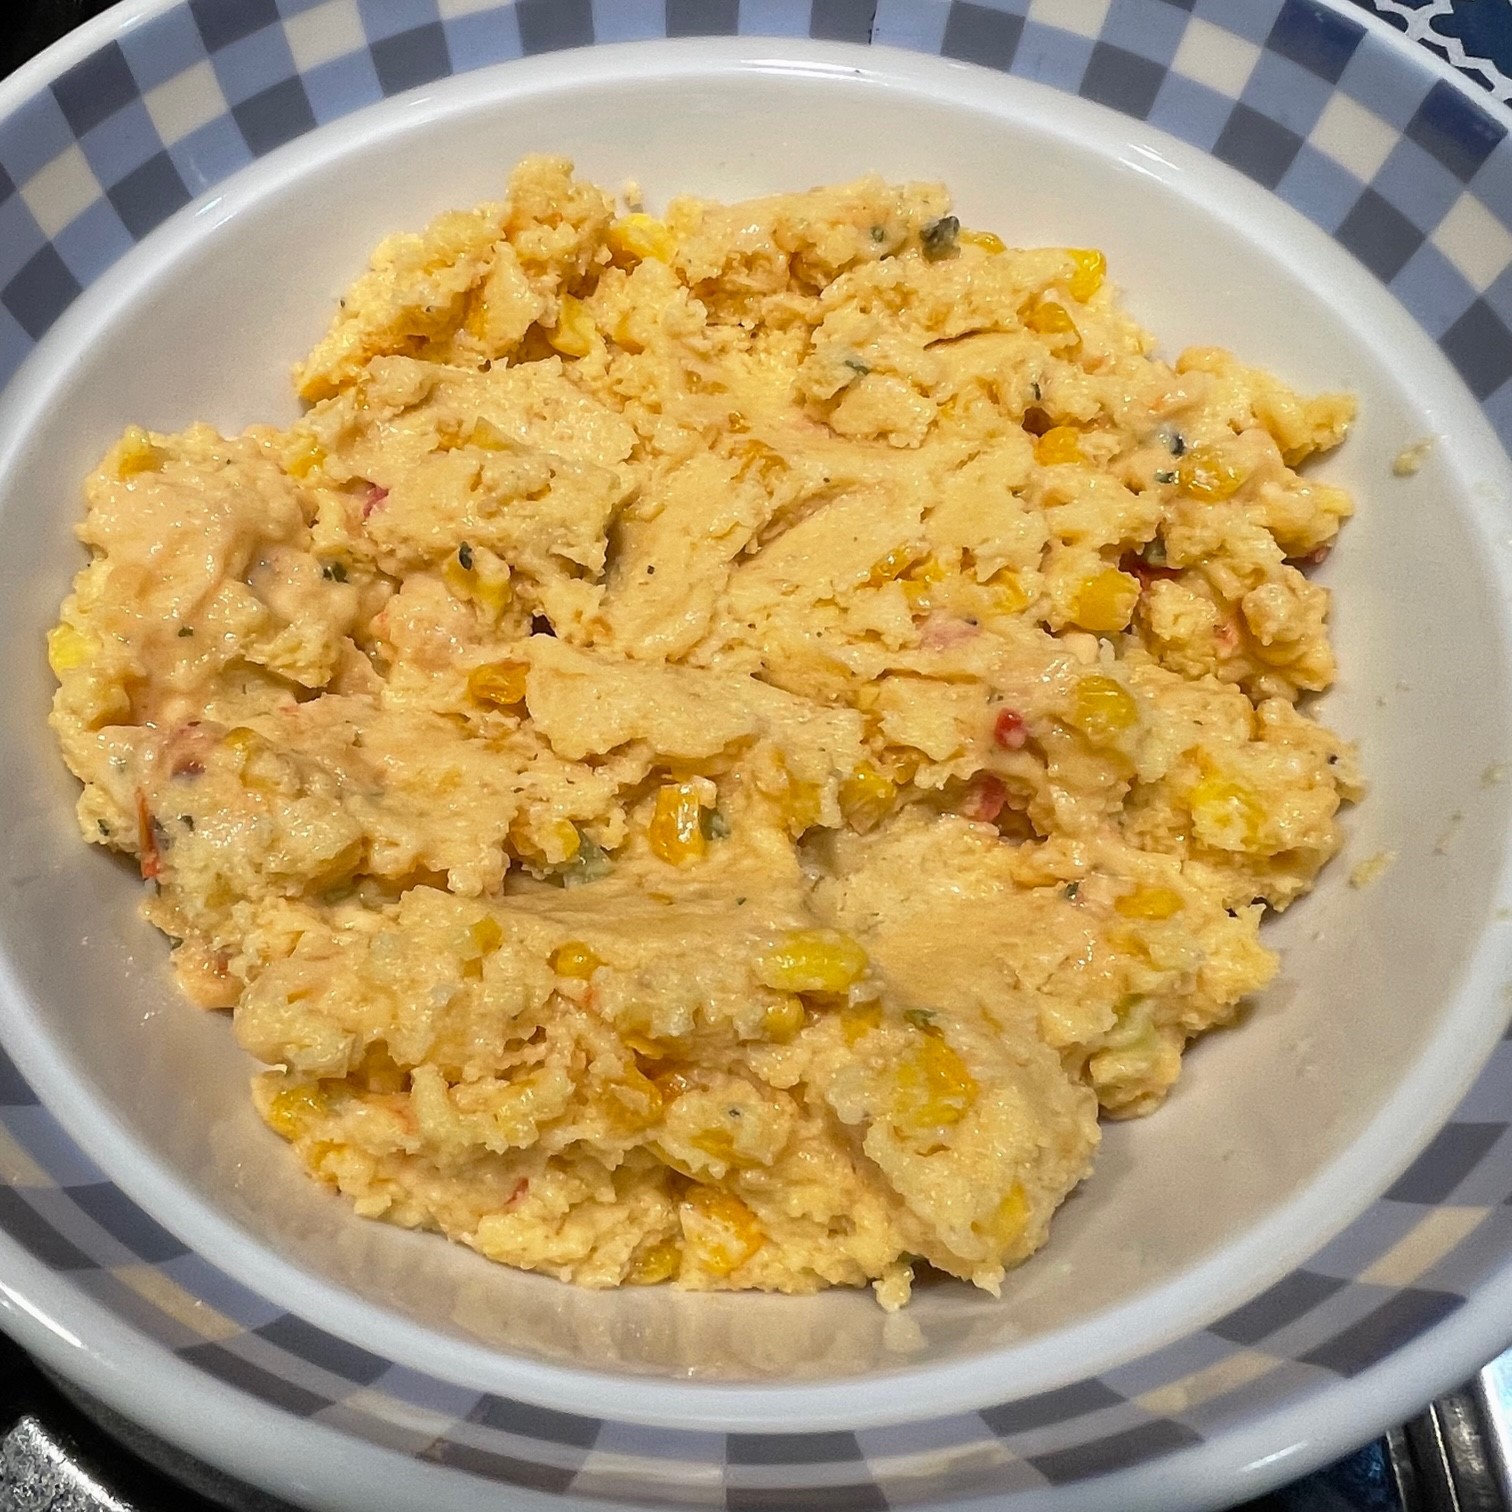
 Never heard of spoonbread? Neither had I, but I saw it on America’s Test Kitchen and it looked delicious. A popular dish in the southern United States, it’s kind of a cross between cornbread and a soufflé.


 I was recently in the mood for a falafel sandwich, but when I looked up the recipe in my cookbooks (this is what my generation used before the internet), they all listed falafel mix as an ingredient, followed by deep frying. Yuck on both counts!