My Butterscotch-Ganache Pie has become the most requested item when friends and family come to our house for dinner. It took a few years to finally perfect it (in my opinion) so the layers were the right height, the ganache was the right consistency, the butterscotch pudding was the right texture, and the crust was not too crumbly nor too hard. The decorative top is optional.
NOTE: This pie should be made the day before it’s first served, so you need to plan ahead!
There are 4 parts to this pie: the crust, chocolate ganache, the butterscotch pudding, and the whipped cream. All of these should be made the day before serving so the pie has settled and is cold. This is a good thing – one less thing to do on company coming day!
BUTTERSCOTCH-GANACHE PIE
Butterscotch Pudding
- 169g (12 T) butter
- 90g (1/2 cup) granulated sugar
- 87g (1/2 cup) dark brown sugar, packed
- 56g (4 T) water
- 3/4 tsp table salt
- 1 tsp lemon juice
- 30g (2 T) Lyle’s Golden Syrup or corn syrup
- 118g (1/2 cup) heavy cream, DIVIDED
- 500g (2 cups) milk – any fat level will do
- 4 yolks
- 36g (1/4 cup) (1.25 oz) cornstarch
- 1 T vanilla extract
Graham Cracker Crust
- 163g (1.5 cups) graham crackers (I use Honey Maid
- 30g (3 T) granulated sugar
- 77g (5.5 T) butter, melted
Ganache
- 58g (2 oz) 60% cacao chocolate bar
- 58g (2 oz) 72% cacao chocolate bar
- 114g (4 oz) heavy cream
Whipped Cream
- 205g (3/4 cup) heavy cream, cold
- 14g (3/8 oz) confectioners (icing) sugar
It’s best to begin preparing this pie by making the butterscotch pudding since it needs to cool several hours before pouring it into the crust.
First, measure out the ingredients so everything is ready to go. Yes, I know this is a lot of bowls to wash, but having everything ready makes life easier in this recipe.

1 – Into a large saucepan (at least 3 quarts), place the butter, granulated sugar, brown sugar, water, salt, lemon juice, and Lyle’s Golden syrup (or corn syrup).
2 – Into a small saucepan, pour 59g (1/4 cup) heavy cream. (This will be simmered later.)
3 – Into a small bowl, pour 59g (1/4 cup) heavy cream.
4 – Into a small bowl, place the 4 yolks.
5 – Into a small bowl, place the 36g (1/4 cup) (1.25 oz) cornstarch.
6 – Either have ready the vanilla bottle with a tablespoon or measure out the 1 T into a tiny bowl.
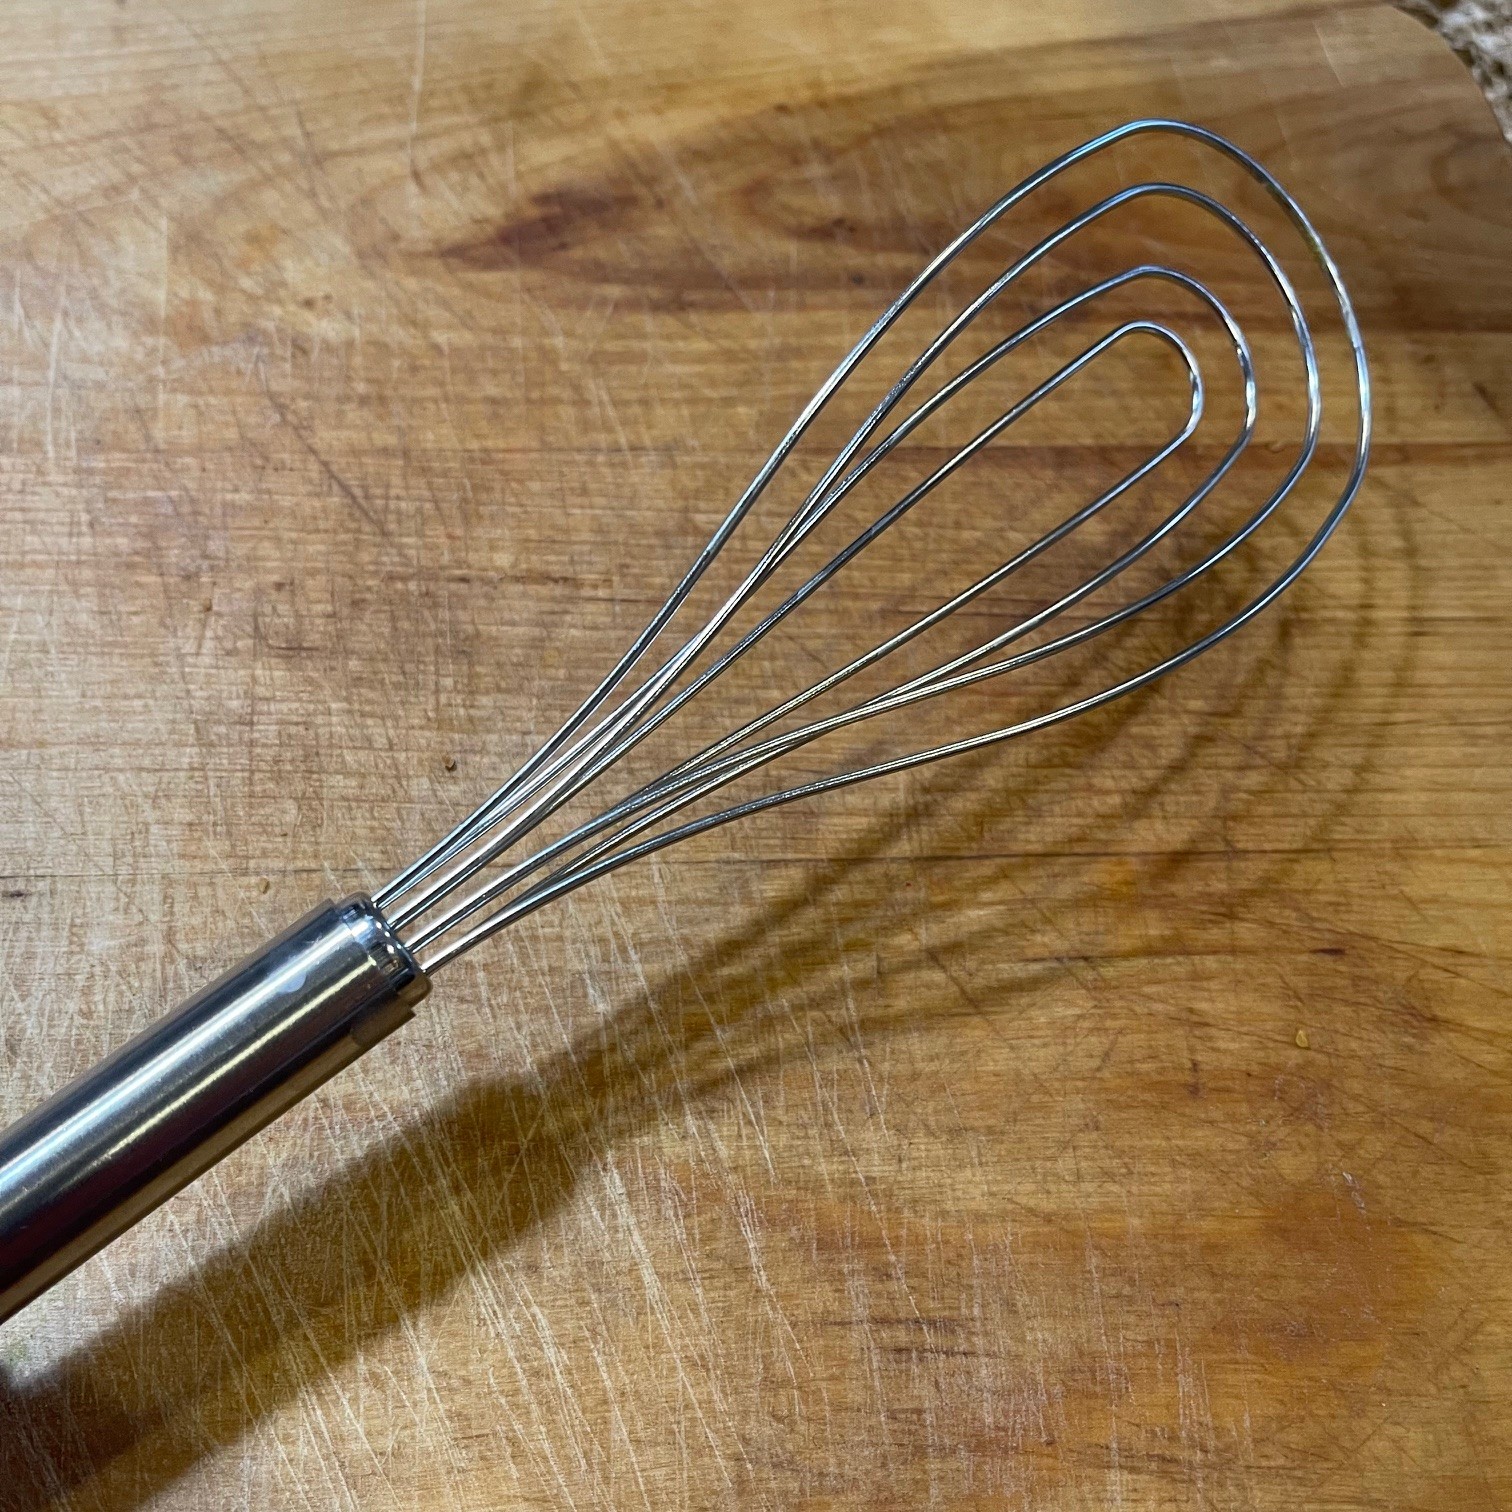
NOTE: I find using a flat whisk (see photo below) helpful for stirring mixtures in saucepans since they can get into the edges of the pan. This is NOT mandatory.
Over medium-high heat, bring the butter/sugar mixture in the saucepan to 240°F (116°C), stirring often (preferably constantly). USE A THERMOMETER! You’ll need a metal or glass thermometer that can attach to the side of the pan – plastic will soften due to the hot steam.
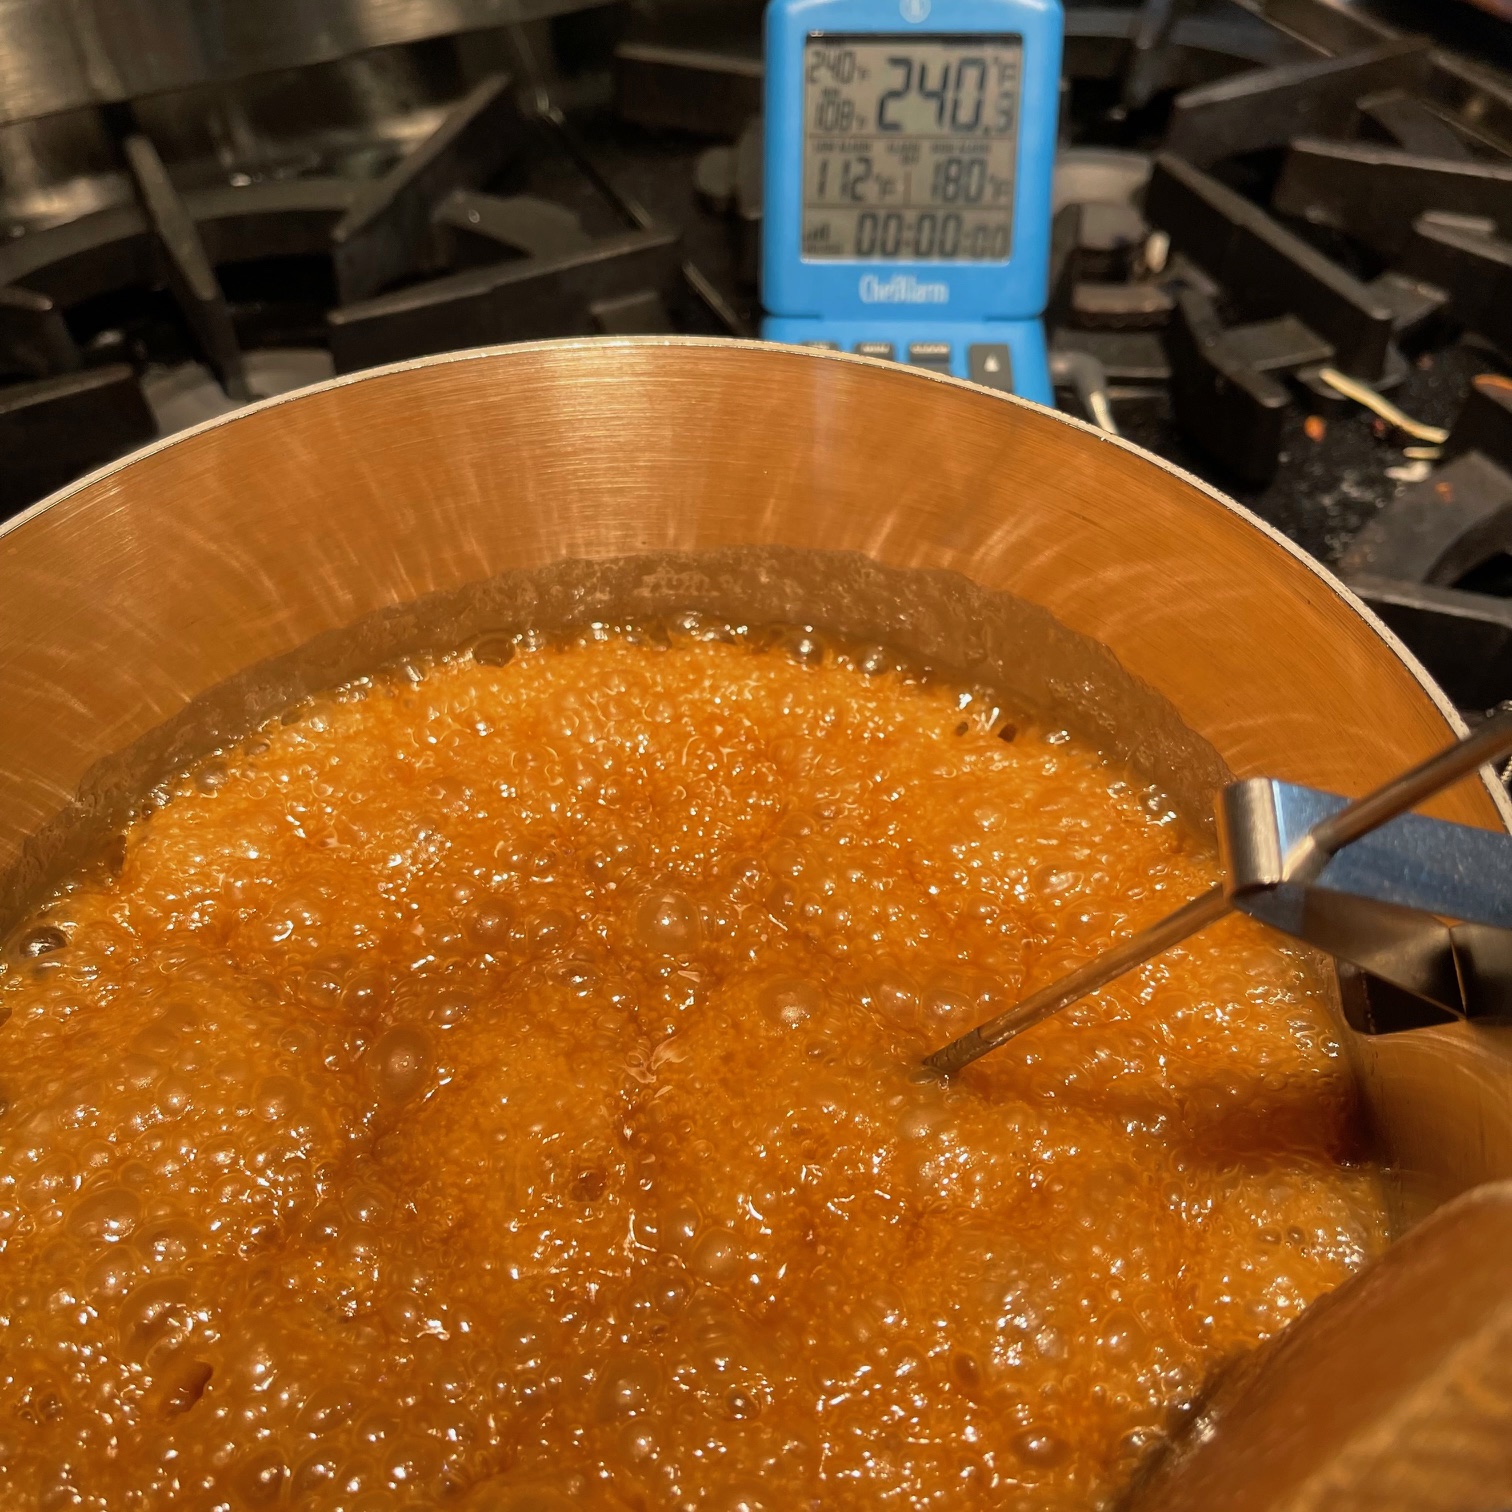
Decrease the heat to medium and stir until the liquid reaches 300°F (150°C), stirring often (preferably constantly). Much of the liquid will have evaporated and the mixture will have become a bit thicker. Turn off the flame and stir in 59g (3 T) cream for 30 seconds.
Turn on burner to medium-high again and stir in 500g (1.5 cups) milk. When milk has been incorporated, turn off burner again.

Stir the cornstarch into the egg yolks.

Bring the other 59g (3 T) cream to a simmer.

Slowly drizzle the hot cream into the yolk/cornstarch, stirring continuously (this will temper the egg yolks so they don’t scramble).

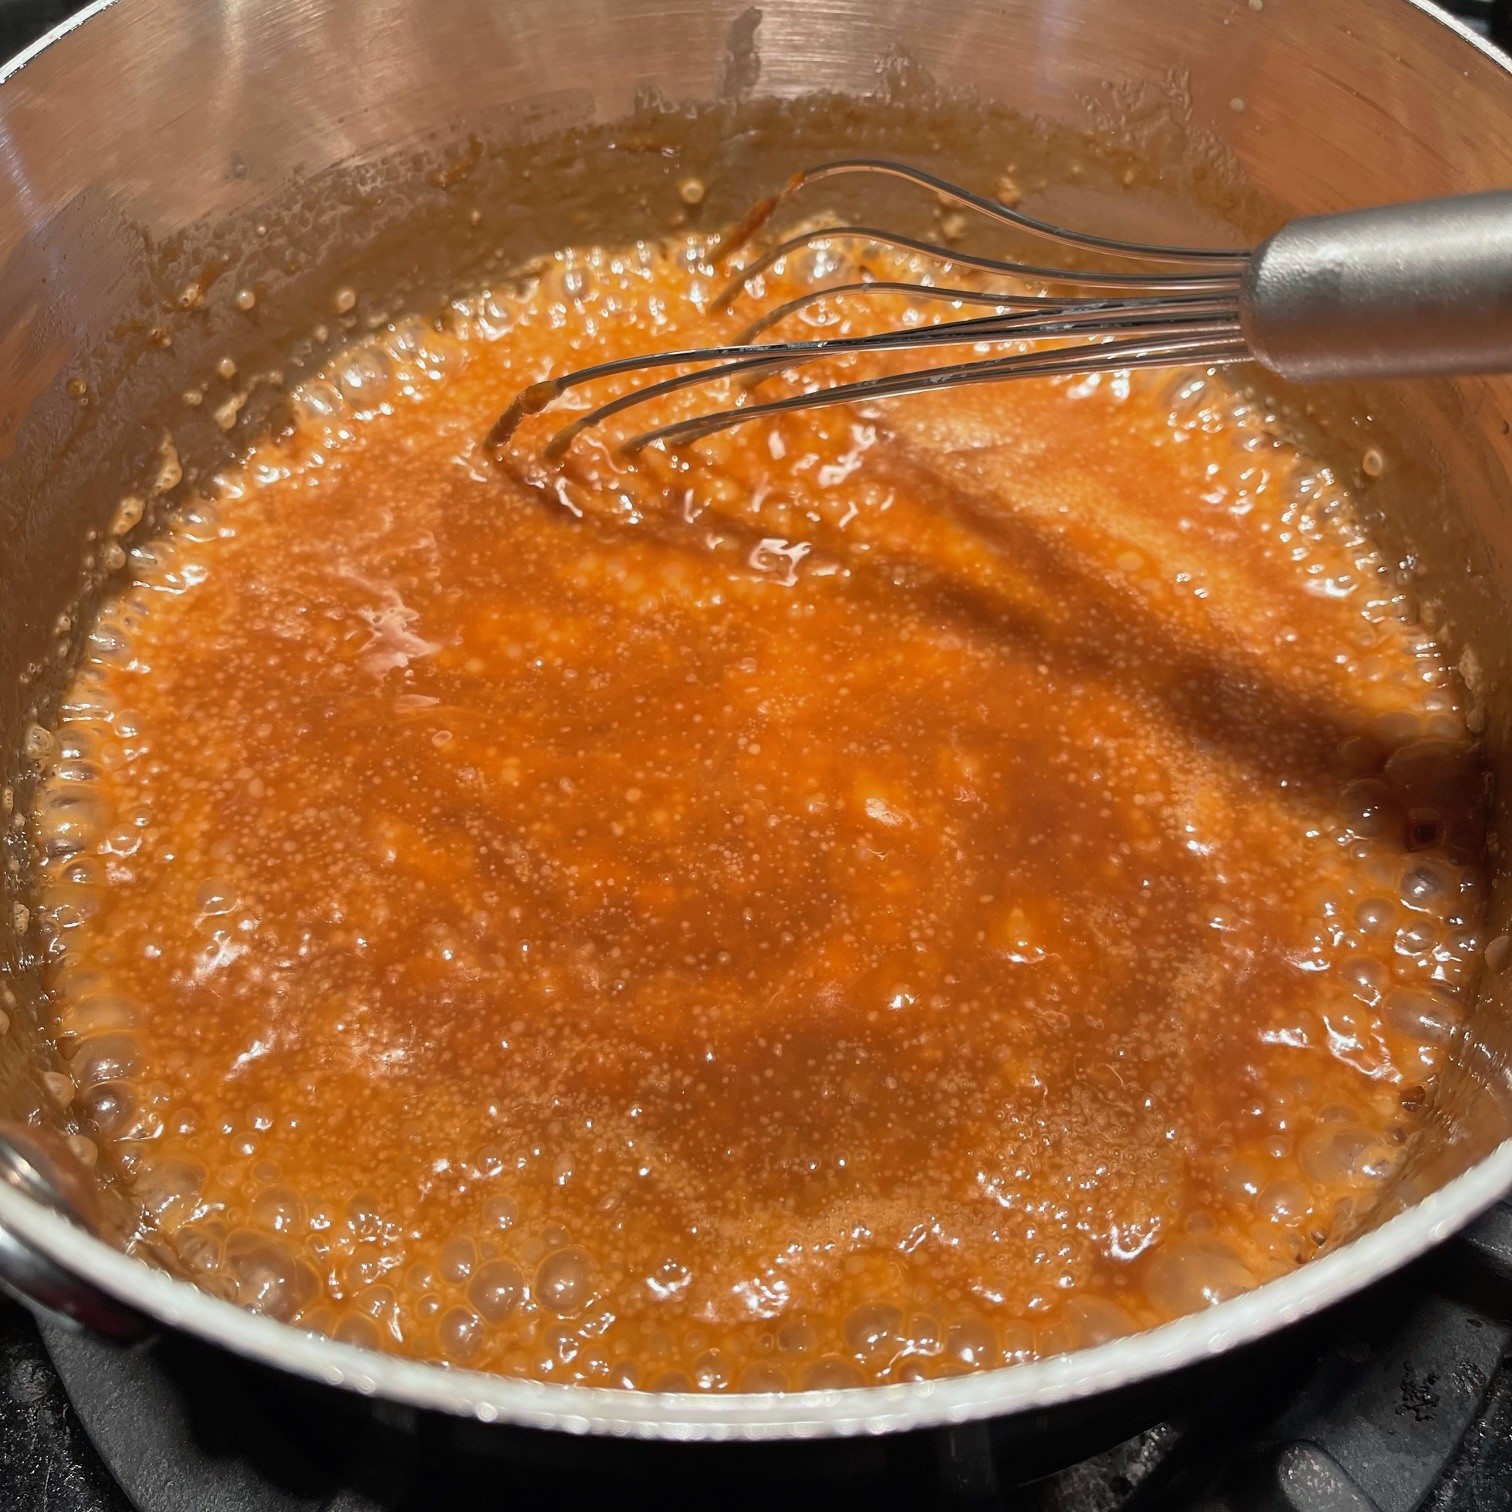
Bring the sugar mixture in the saucepan to a boil over medium-high and pour in the yolk/cornstarch/cream all at once. Whisk until thickened – about a minute. Turn off heat and stir in vanilla.
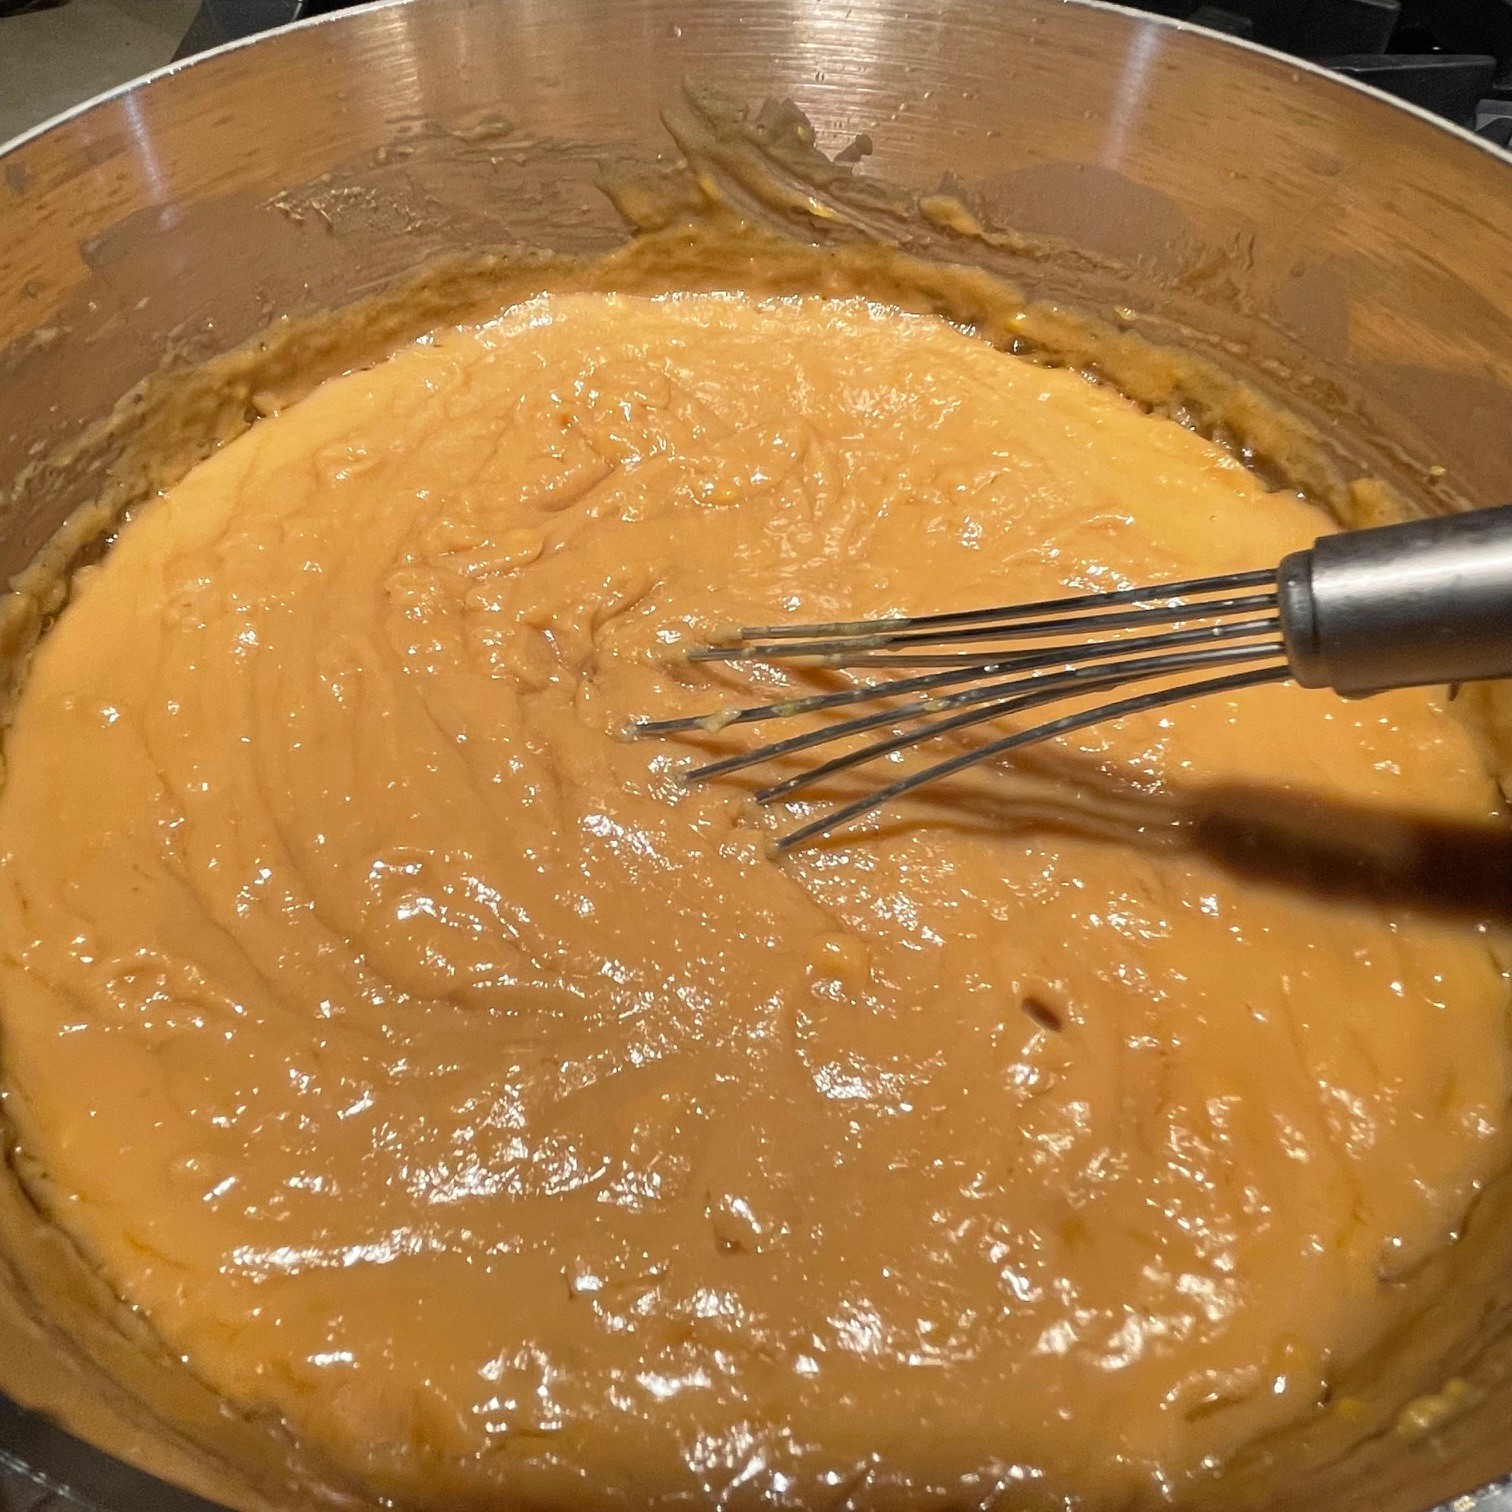
Into a bowl, strain mixture (to remove the eggy bits and any tiny lumps) through a sieve or colander that is NOT fine mesh. Stir pudding with a rubber spatula or wooden spoon to get the mixture to go through. I’ve tried using my fine mesh strainer and the butterscotch pudding is really too thick to go through. I have an Ekco strainer from days of yore that has 2mm (1/16″) holes, which works perfectly, but these strainers are hard to find. I tried my colander, and it worked fine.
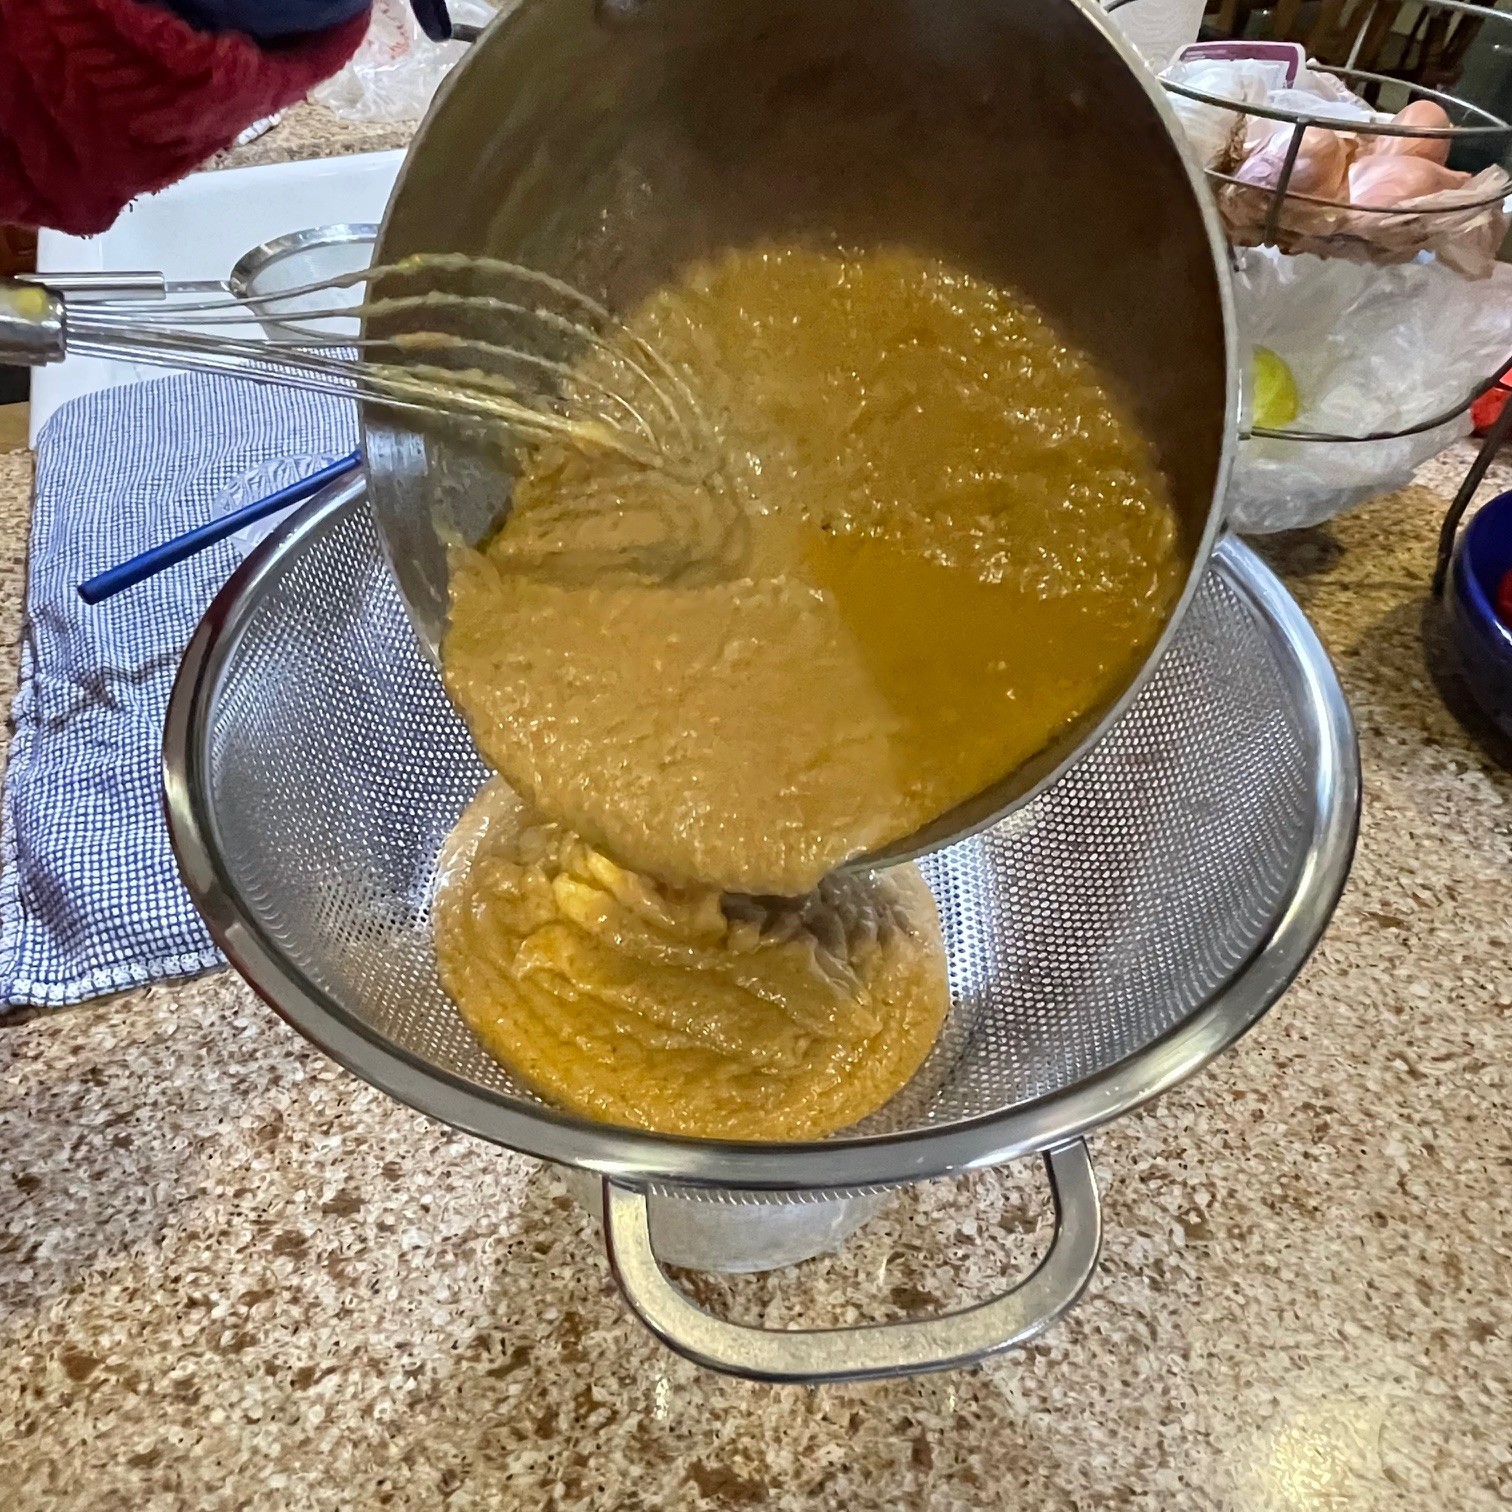
You don’t have to strain the pudding, but it really does make a difference. The photo below shows the remains from straining. YUK!

Cover butterscotch pudding and chill in fridge for, at least, 3 hours.
Chill a bowl and beaters in preparation for whipping the cream later on.
Graham Cracker Crust
- 163g (1.5 cups) graham crackers (I use Honey Maid
- 30g (3 T) granulated sugar
- 77g (5.5 T) butter, melted
Preheat oven to 325°F (163°).
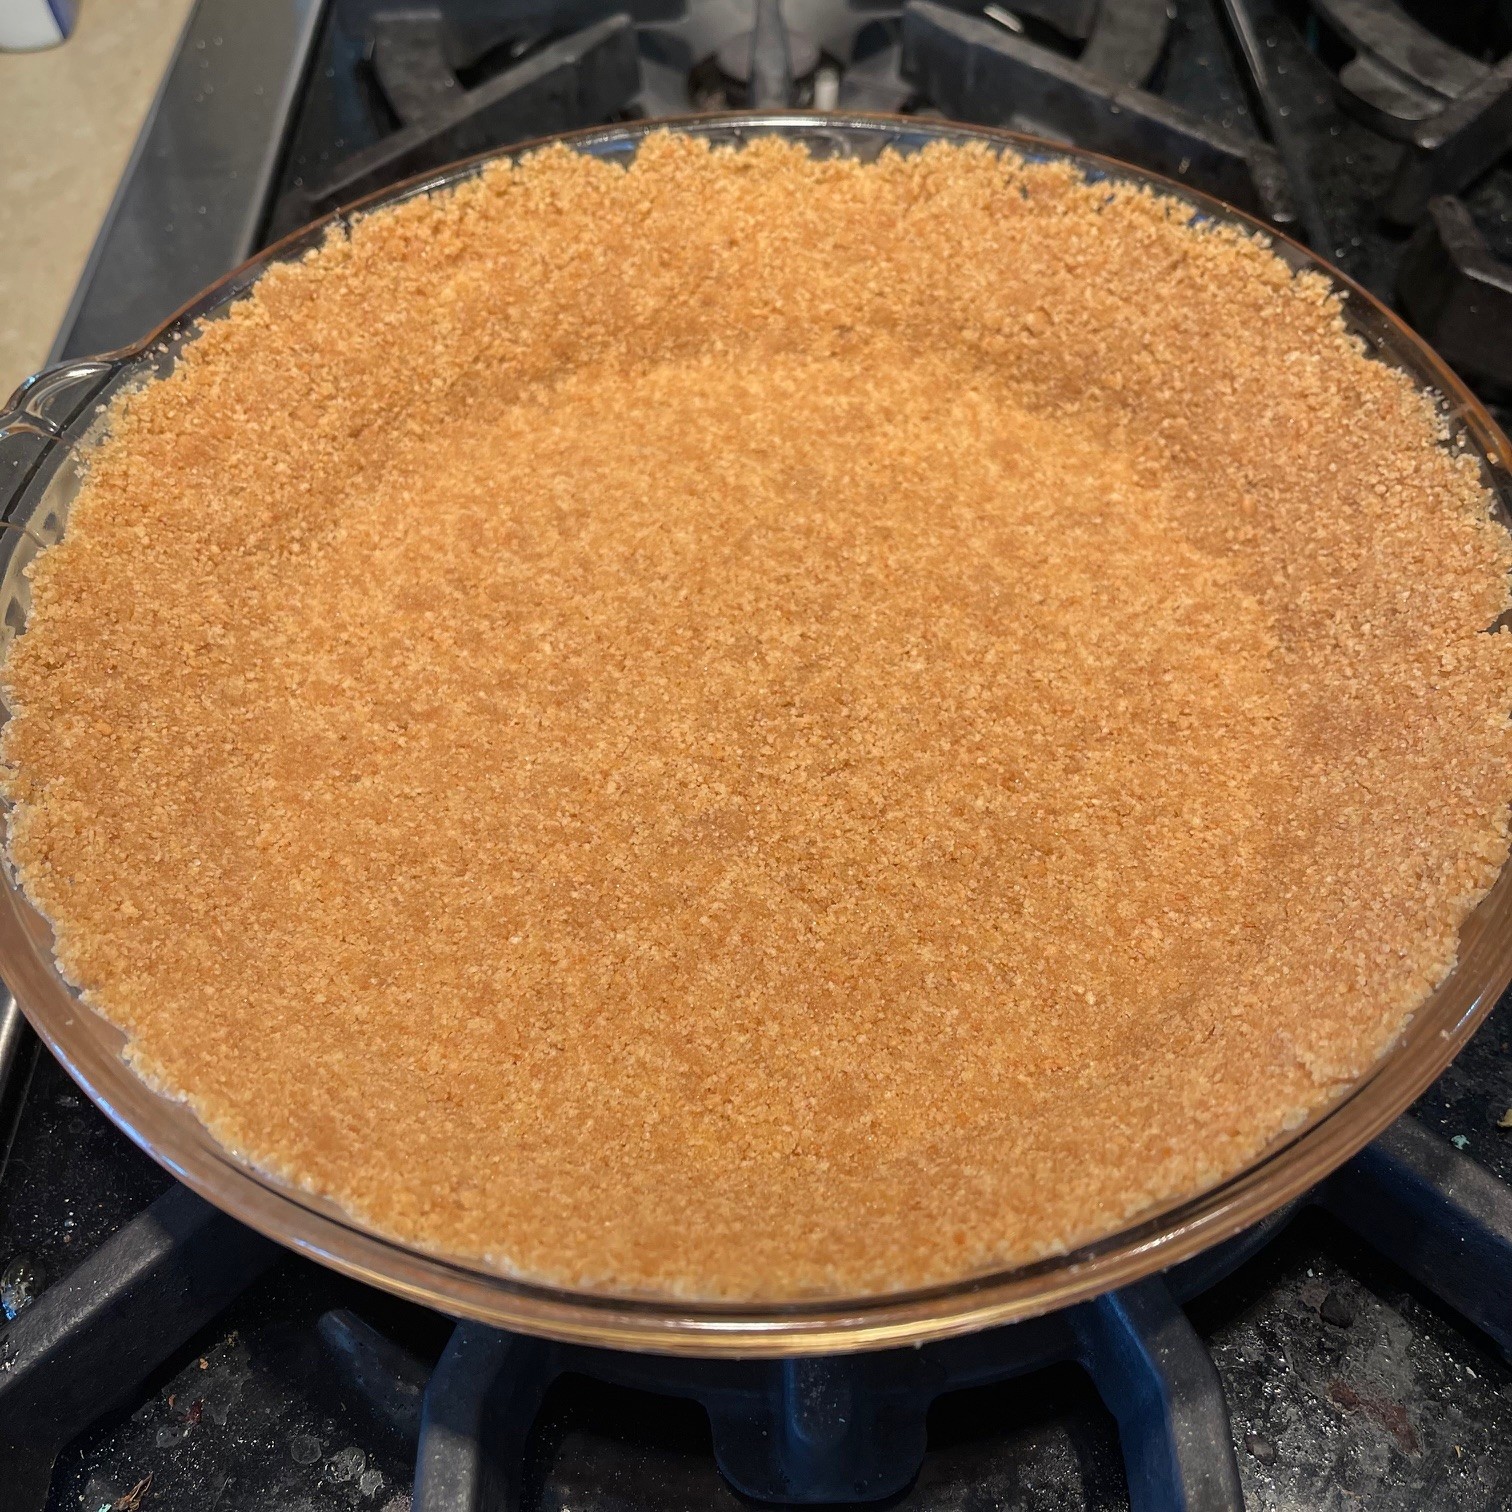
Crush graham crackers with a rolling pin until fine crumbs. Don’t use a food processor – the crumbs don’t get fine enough which leads to a not nicely textured crust. It’s easiest to break up the graham crackers and place them in a large plastic bag to contain them as you roll them. Pour crushed crackers into a bowl and stir in the melted butter and sugar.

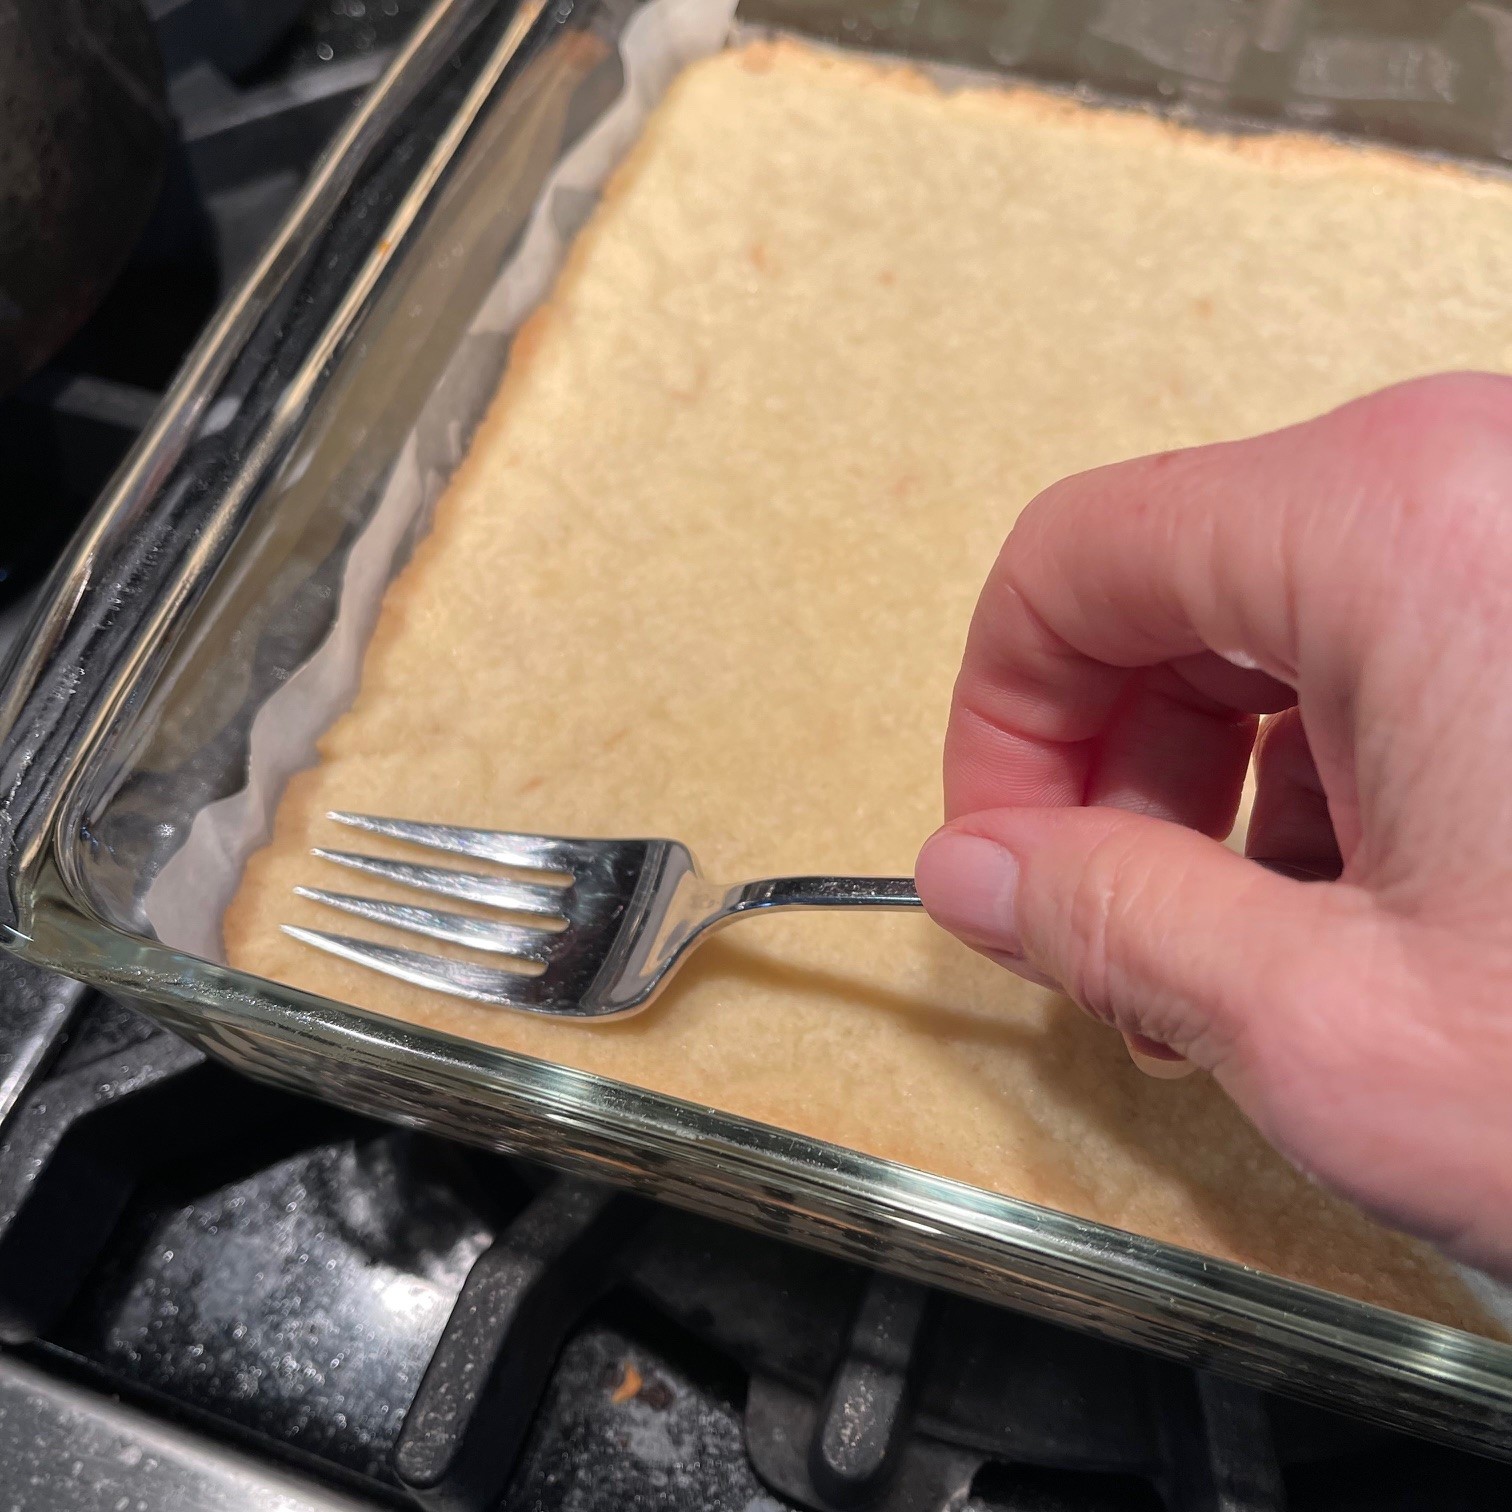
Empty crumbs into a 9″ (25 cm) pie plate. Press mixture to evenly cover bottom and sides firmly. If find it best to use a 1/3 cup measuring cup, but you can use a fork or your fingers, etc.


Bake in preheated 325°F (163°C) until lightly browned – about 15 minutes. Let cool.
Ganache
- 58g (2 oz) 60% cacao chocolate bar, broken into small pieces
- 58g (2 oz) 72% cacao chocolate bar, broken into small pieces
- 114g (4 oz) heavy cream
Into a small saucepan, over LOW heat, stir the cream and chocolates together until all chocolate is melted.

Pour melted chocolate onto graham cracker crust and spread evenly across bottom. Let ganache cool in the fridge at least 20 minutes.

While the ganache is cooling in the fridge, remove the butterscotch pudding from the fridge and stir. It will probably be very thick. (Sometimes there are a few thin shards of hardened butter around the edge. I toss them out – they’re not very nice to eat.)
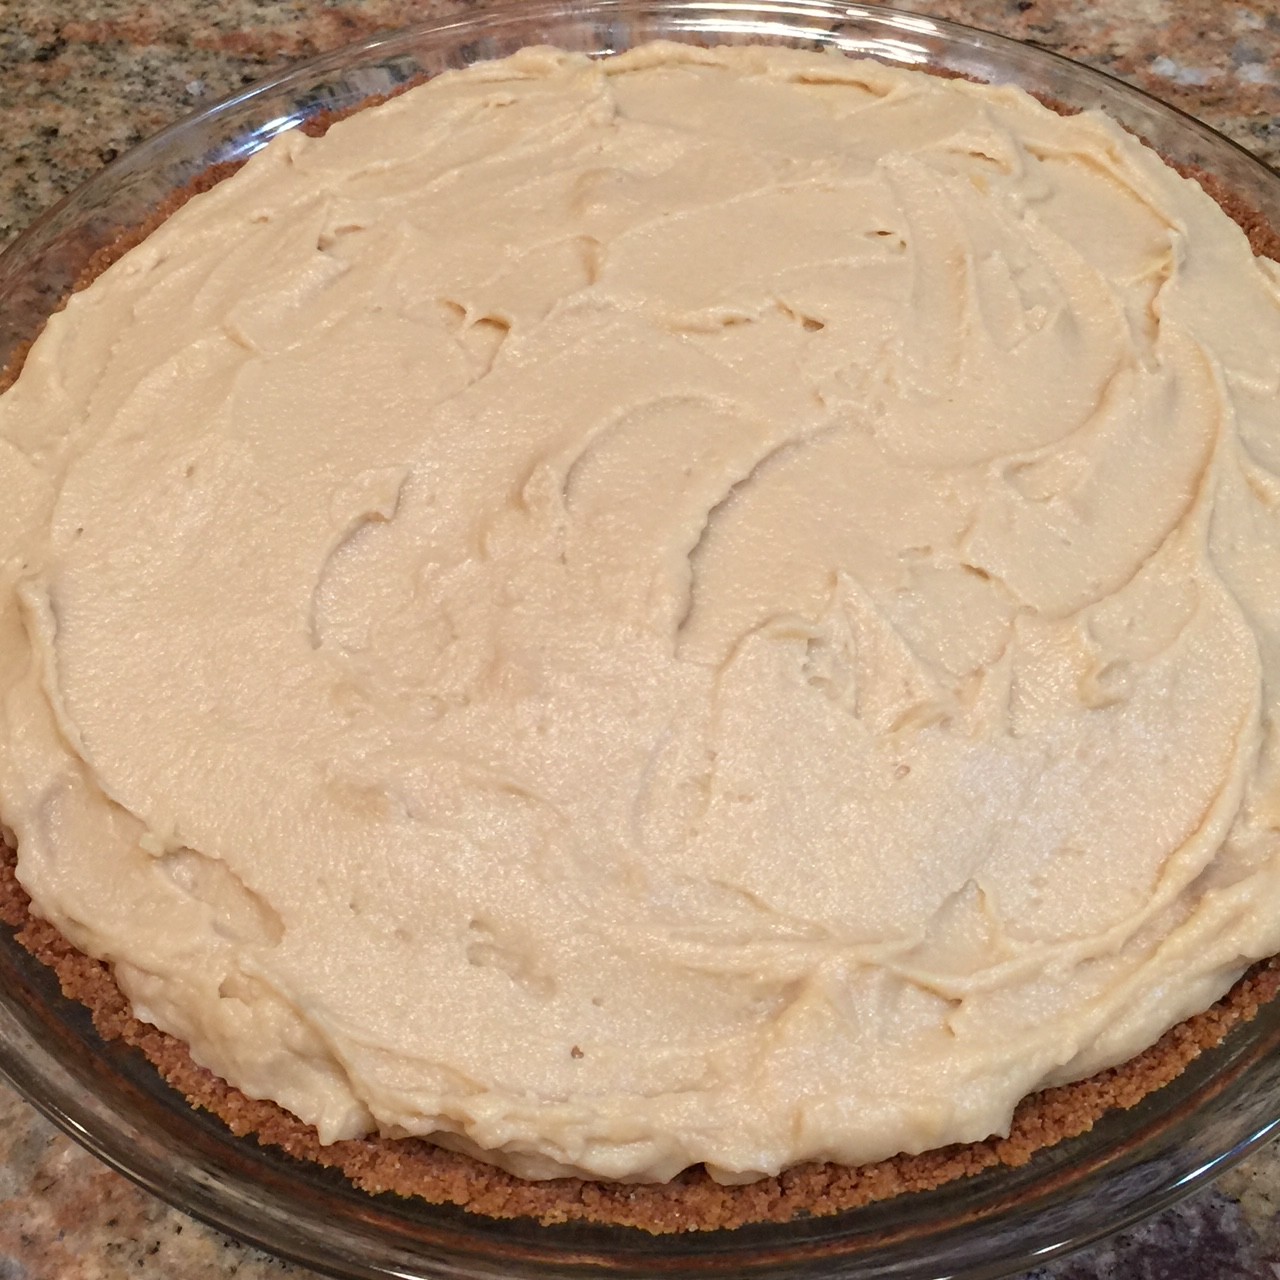
Once the ganache has cooled and the butterscotch pudding has softened a bit (about 20-30 minutes), pour the pudding on top of the ganache and spread to an even thickness – just do your best. Don’t worry about making it pretty, the whipped cream will cover it. Set pie in the fridge while you whip the cream.
Whipped Cream
- 205g (3/4 cup) heavy cream, cold
- 14g (3/8 oz) confectioners (icing) sugar
Remove the bowl and beaters from the fridge and set up mixer. Then pour the cold cream into the bowl and sift in the sugar to remove any lumps. Turn mixer on high and beat until stiff peaks form. Pour whipped cream onto the pie, spreading to cover the butterscotch pudding.

Decorate pie as you wish.