
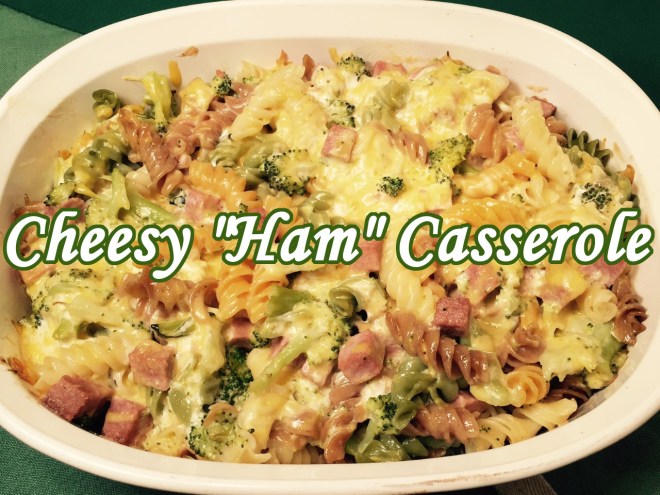
 Being the mother of picky eaters, I’ve struggled to find dishes my boys would willingly eat. CHEESY “HAM” CASSEROLE became an instant favorite in our home. A bonus is that it’s loaded with broccoli, so even if they try to pick out the larger pieces, they’re still ingesting the smaller bits. (Hey, I’ll take what I can get!)
New readers may be perplexed by a vegetarian cooking blog using ham. Well, if you look carefully you notice the quotation marks around the word “ham”. That’s my shorthand for “fake”, “faux”, or “imitation”. If the idea of fake meat makes you cringe, then just leave it out and call the dish CHEESY BROCCOLI CASSEROLE. But for those of us ex-carnivores who like meat but are choosing not to eat it, the right imitation meat keeps us from falling off the vegetarian wagon.
CHEESY “HAM” CASSEROLE is quite easy to put together, plus it can be prepared ahead of time. Half an hour before dinner, just pop the casserole in the oven to bake. Use the cooking time to make your side dishes, set the table, and get the kids to make their way into the kitchen (a feat in itself).
CHEESY “HAM” CASSEROLE
- 7 oz (204g OR 3 cups) uncooked spiral noodles (I use Wacky Mac)
- 7.5 oz (211g OR 2½ cups) broccoli pieces
- 305 oz (104g) fake ham (I use Worthington frozen “Ham” loaf)
- 7 oz (257g OR 1¼ cup) mayonnaise
- 2/3 cup (150 ml OR 164 g) milk (any kind)
- 3 cups (174g OR 6 oz), divided, medium Cheddar cheese, shredded
Bring a large pot of water to boil and cook the noodles until they are ALMOST done – they will continue to cook in the oven. Rinse with cold water in a colander to stop the cooking process.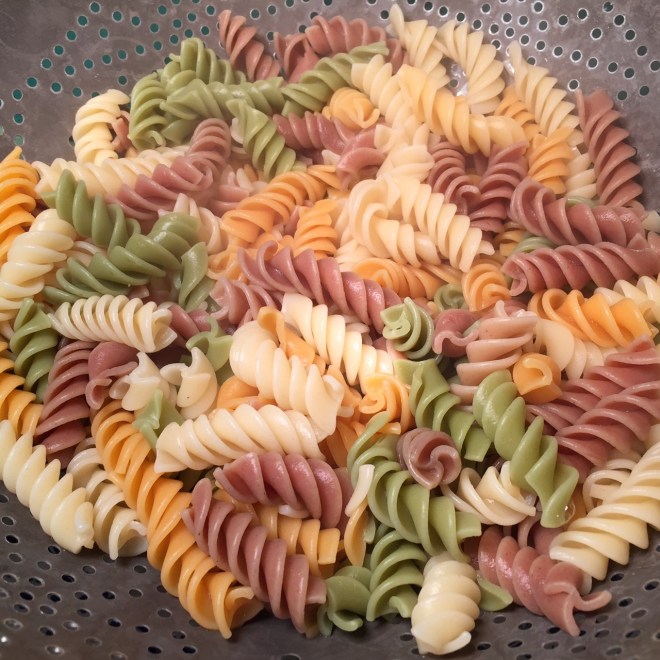 NOTE: If you’re using colored pasta, such as Wacky Mac that I use, you’ll notice that the color, unfortunately, fades with cooking. (See photo below). I don’t think there’s anything that can be done.
 While the pasta is cooking, steam the broccoli. Like the noodles, you don’t want it overcooked or it will be mushy. Just steam it for about 5 minutes.
 While the pasta and broccoli are cooking, cube the “ham” into bite-sized pieces.
  To save dirtying a bowl, use the empty pasta pot to combine the noodles, broccoli, “ham”, mayonnaise, milk, and 2½ cups (139g OR 5 oz) of the cheese. Stir gently, but thoroughly. Pour into a 2.5 quart casserole and sprinkle the remaining 1/2 cup (35g OR 1 oz) cheese on top. Cover and bake at 350º Fahrenheit for 30 minutes.
 Several months ago I jumped onboard the cast iron craze and bought a 10″ skillet that I found at a thrift store. I absolutely love it, and my fear of keeping it seasoned was for nothing. It’s quite easy, really. After washing, all one has to do is rub a bit of vegetable oil over the surface, then place on the stove using a medium/high flame, letting it dry for 1 minute.
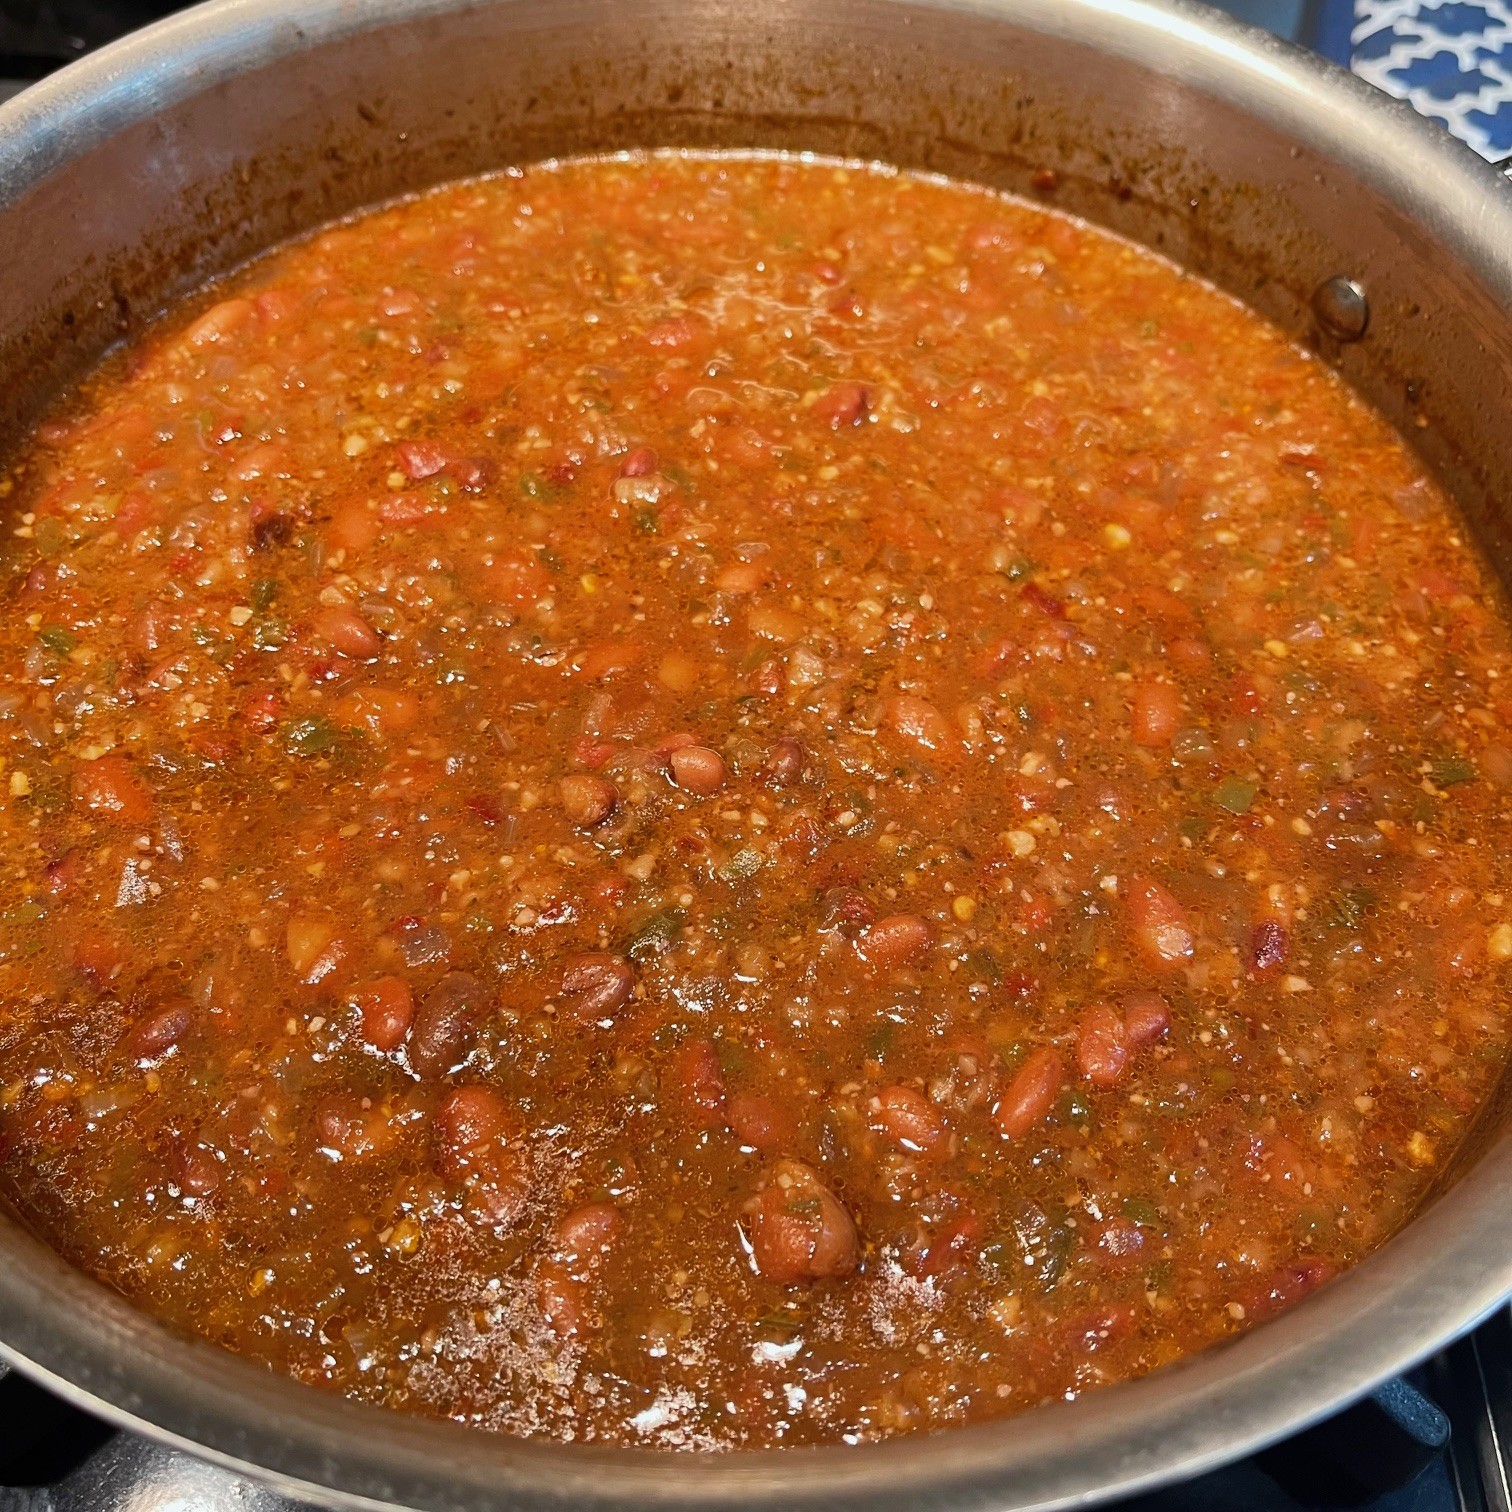
 I recently watched an America’s Test Kitchen episode which featured a vegetarian chili recipe. Years ago, I developed my own


 It seemed appropriate to post a Tres Leches Cake recipe for Three Kings Day, (aka, the Epiphany). Tres Leches (three milks), three kings. Yeah, okay – it may be a stretch. But it’s still a delicious recipe and you could certainly serve it on the Epiphany…or anytime, for that matter.
 The hectic holidays are done. Time to relax, but there’s dinner to make. No problem!
 During the holiday season it’s always fun to make festive foods. I created TOMATO-SPINACH TIMBALE with a little trepidation since December is NOT tomato season. While supermarket tomatoes generally lack flavor, even during peak times, my worry was for nothing, since the cooking process plus the flavors of the other ingredients brought out the best in these red beauties.
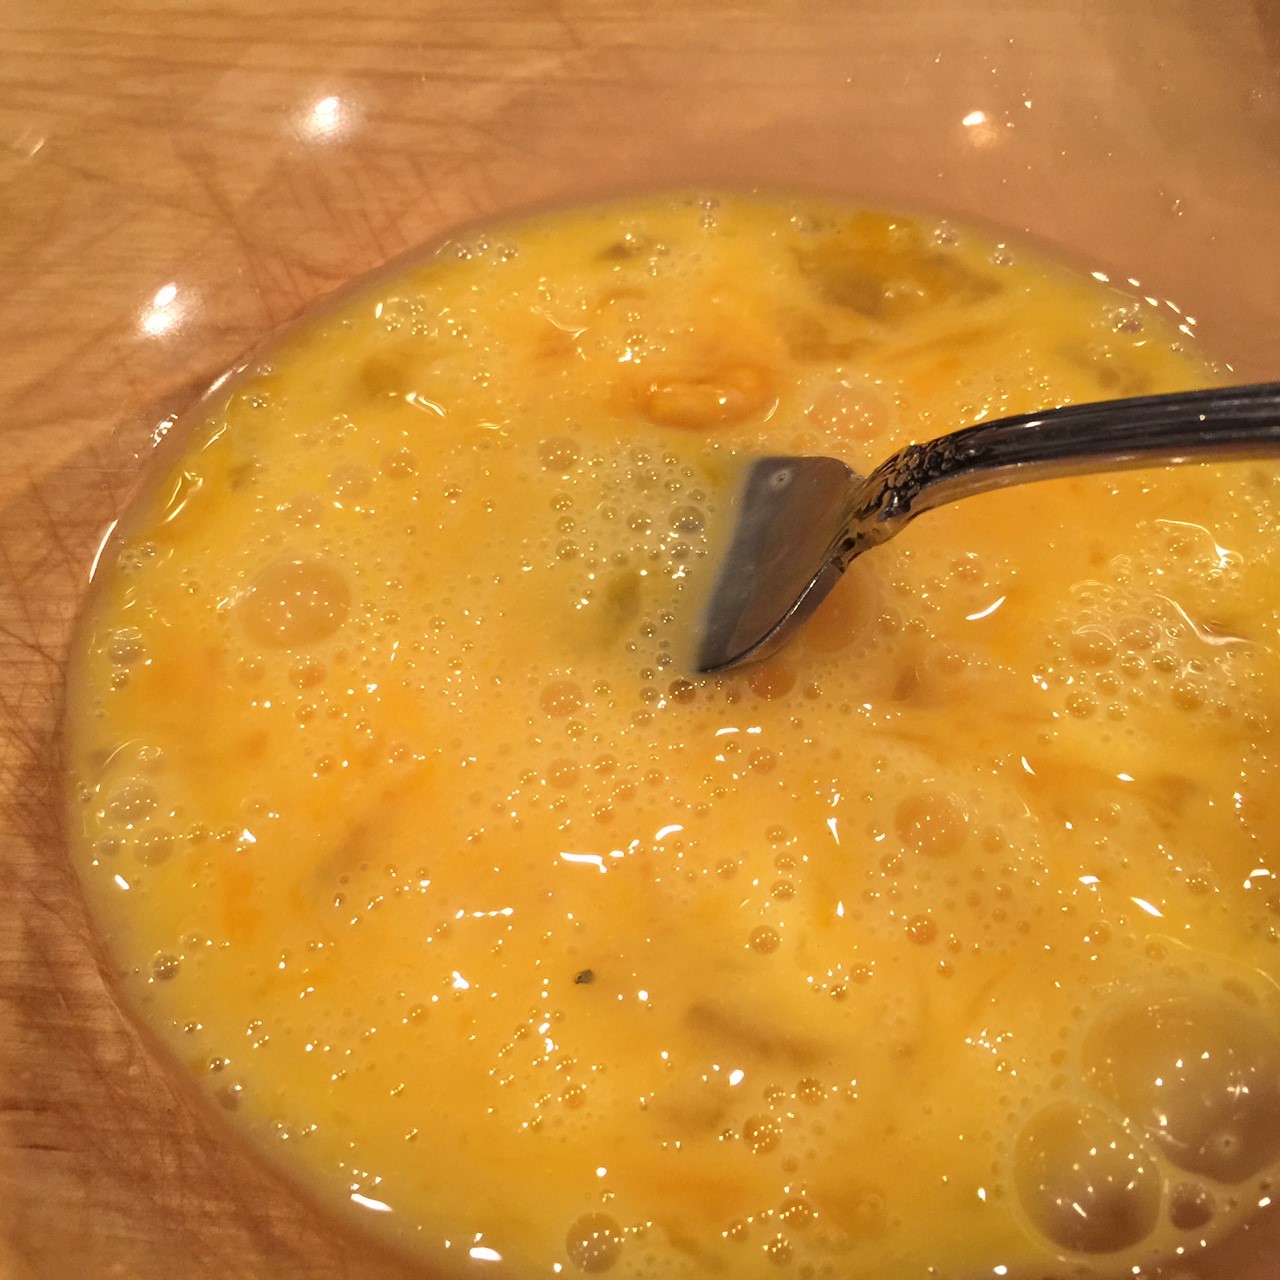 Add butter, milk, bread crumbs, salt, and dried minced onion.
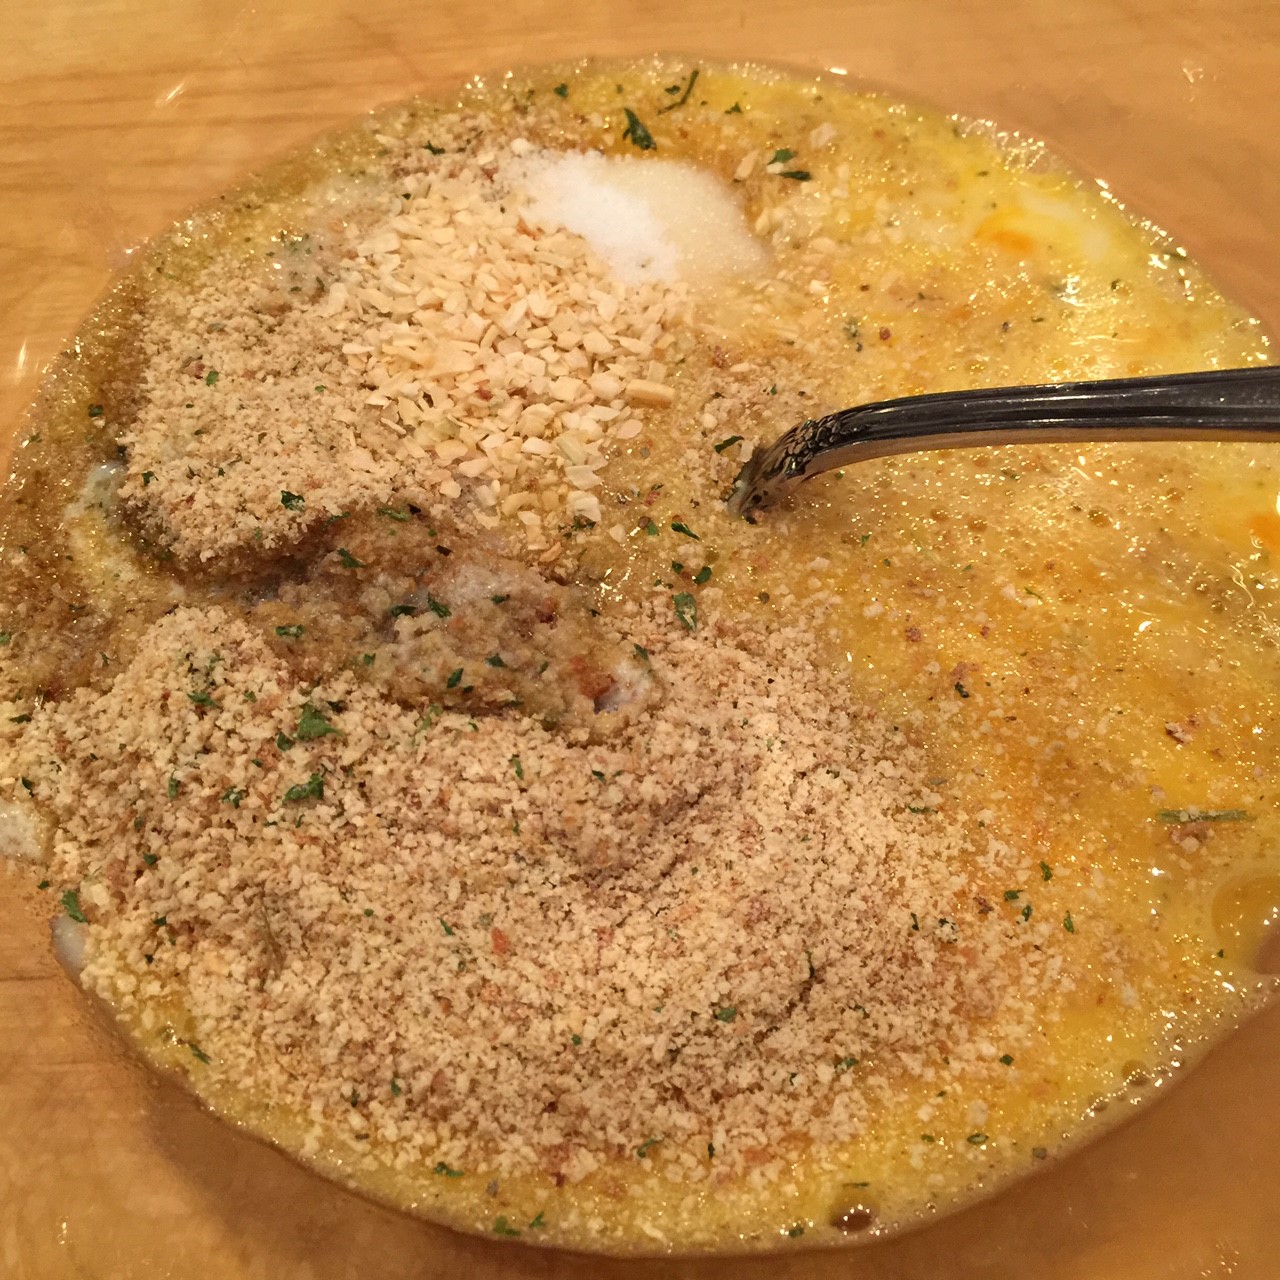 Remove spinach from paper towel and chop.
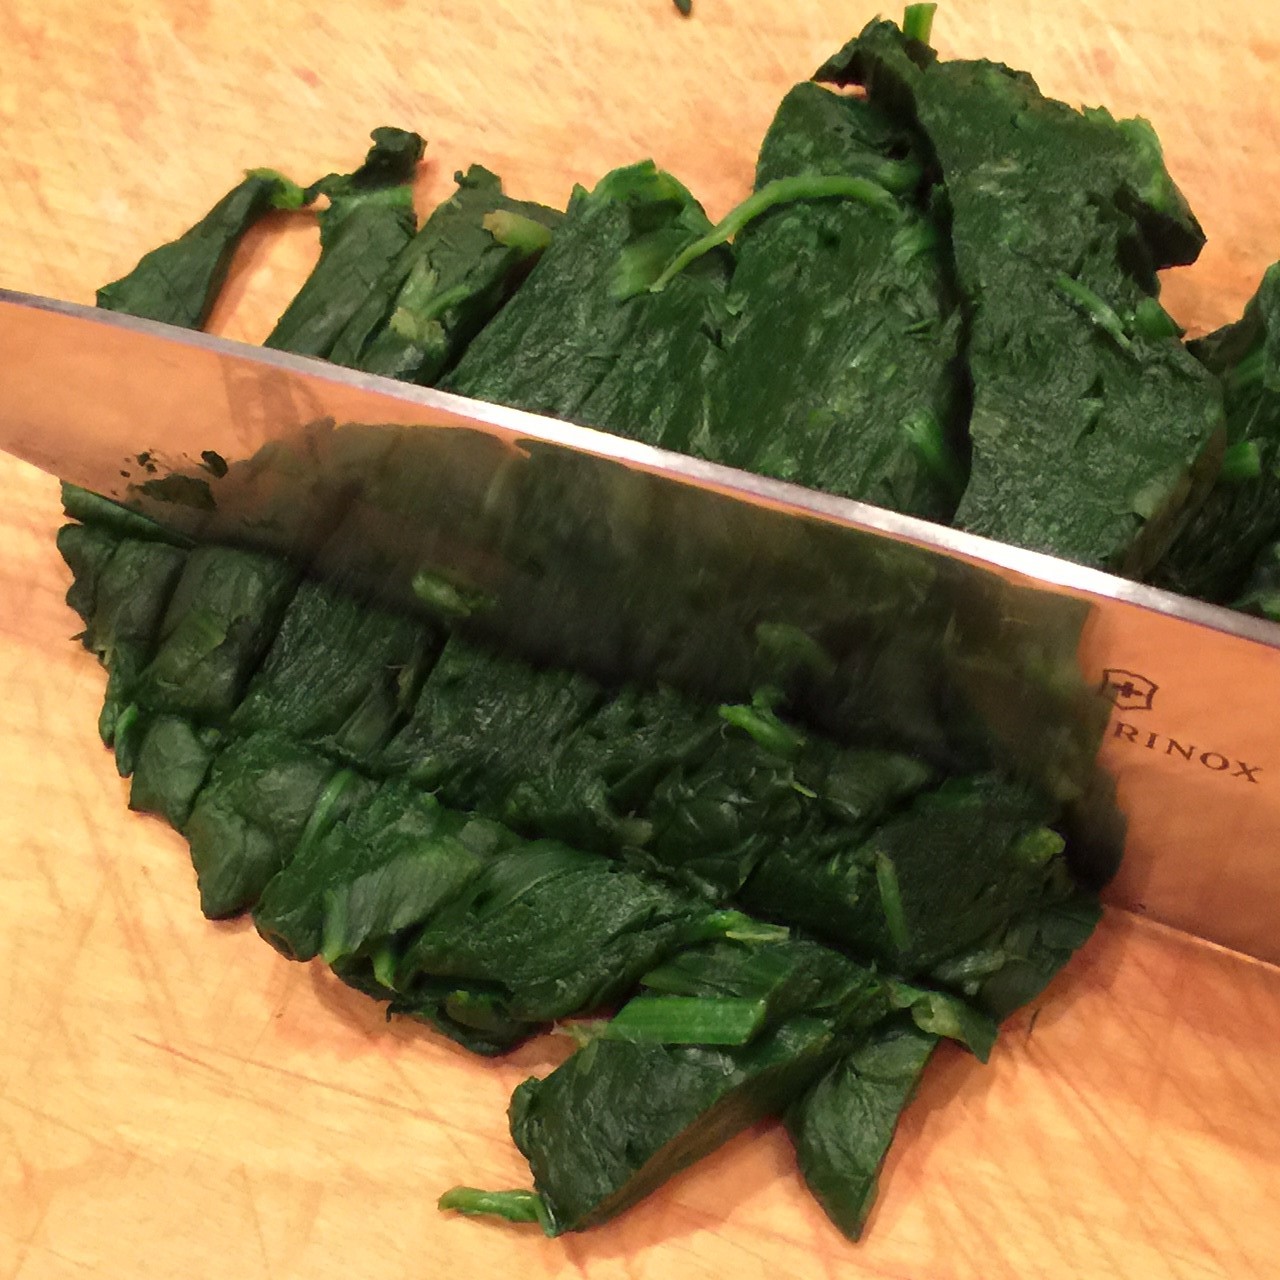 Stir into egg mixture.
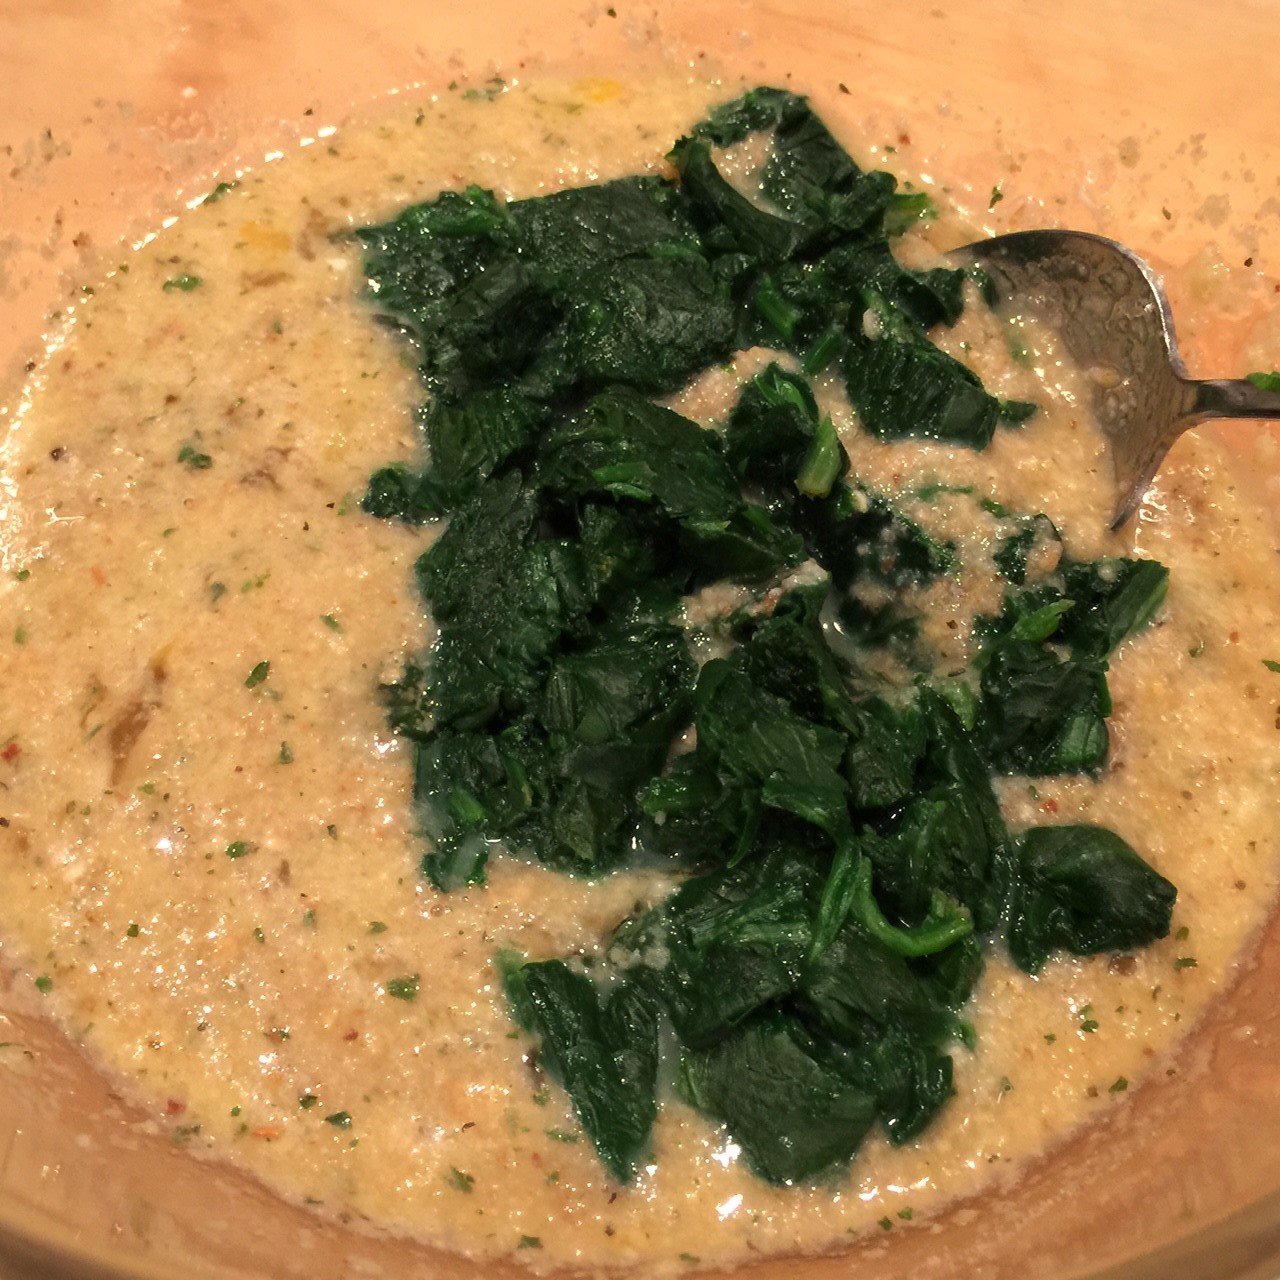 Preheat oven to 350º Fahrenheit.
 Place a tomato half, cut side up, in each. Using your fingers, spread open the tomato so it touches the cup sides.
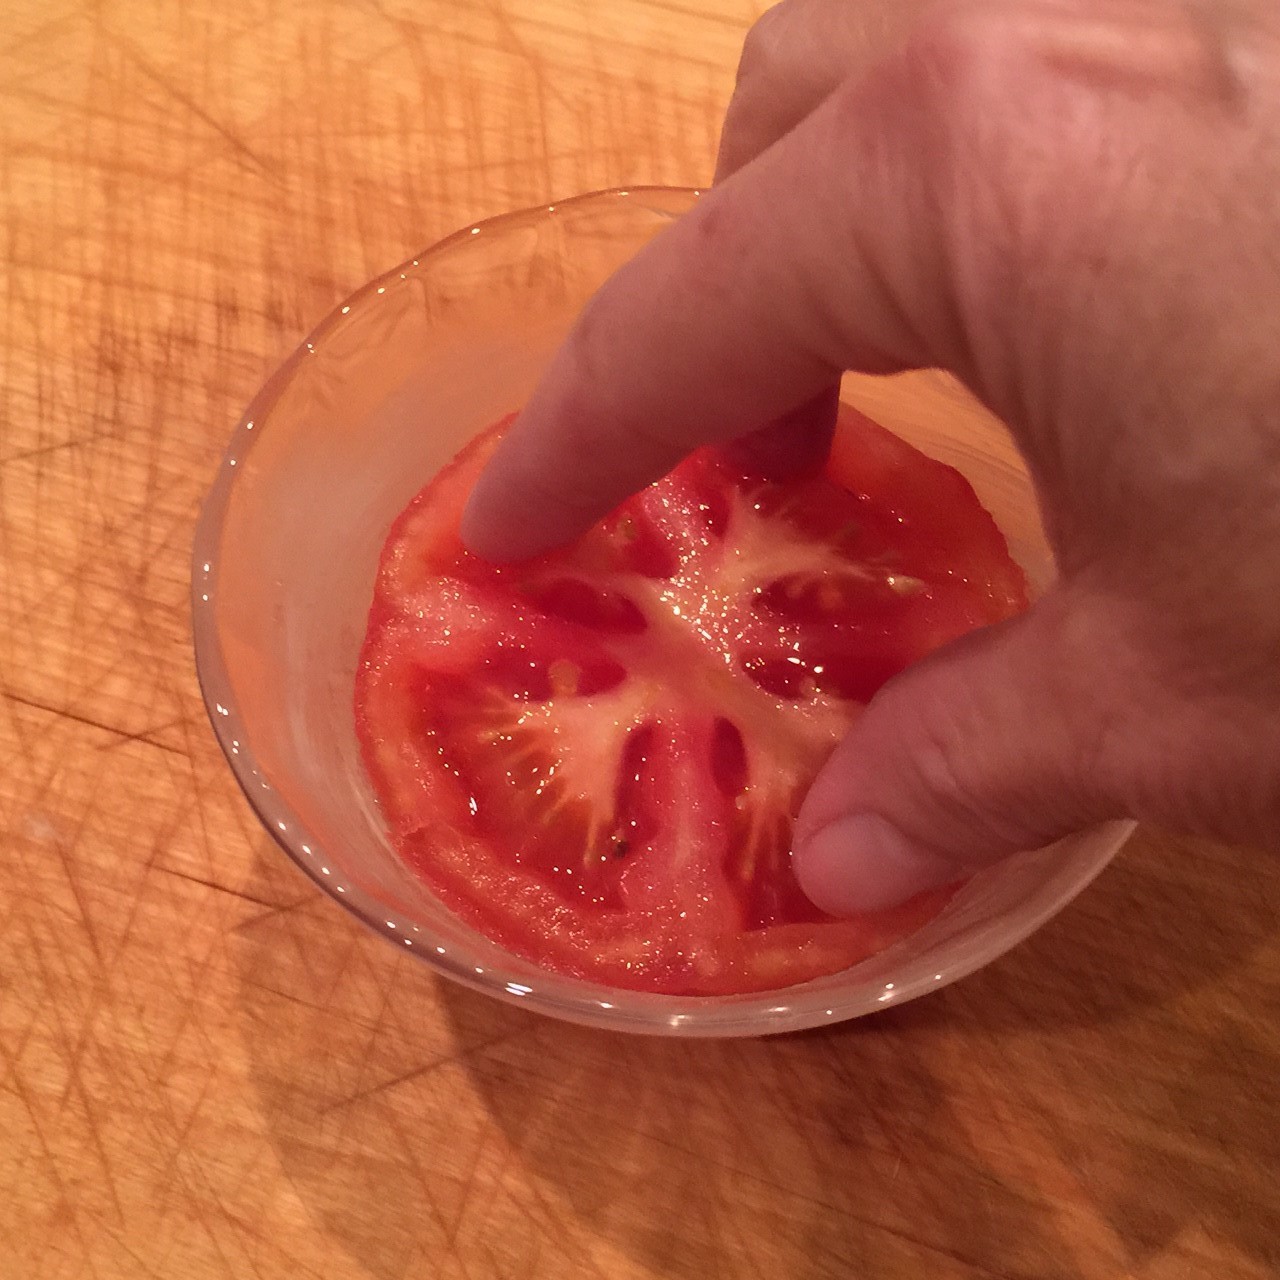 Sprinkle on feta cheese.
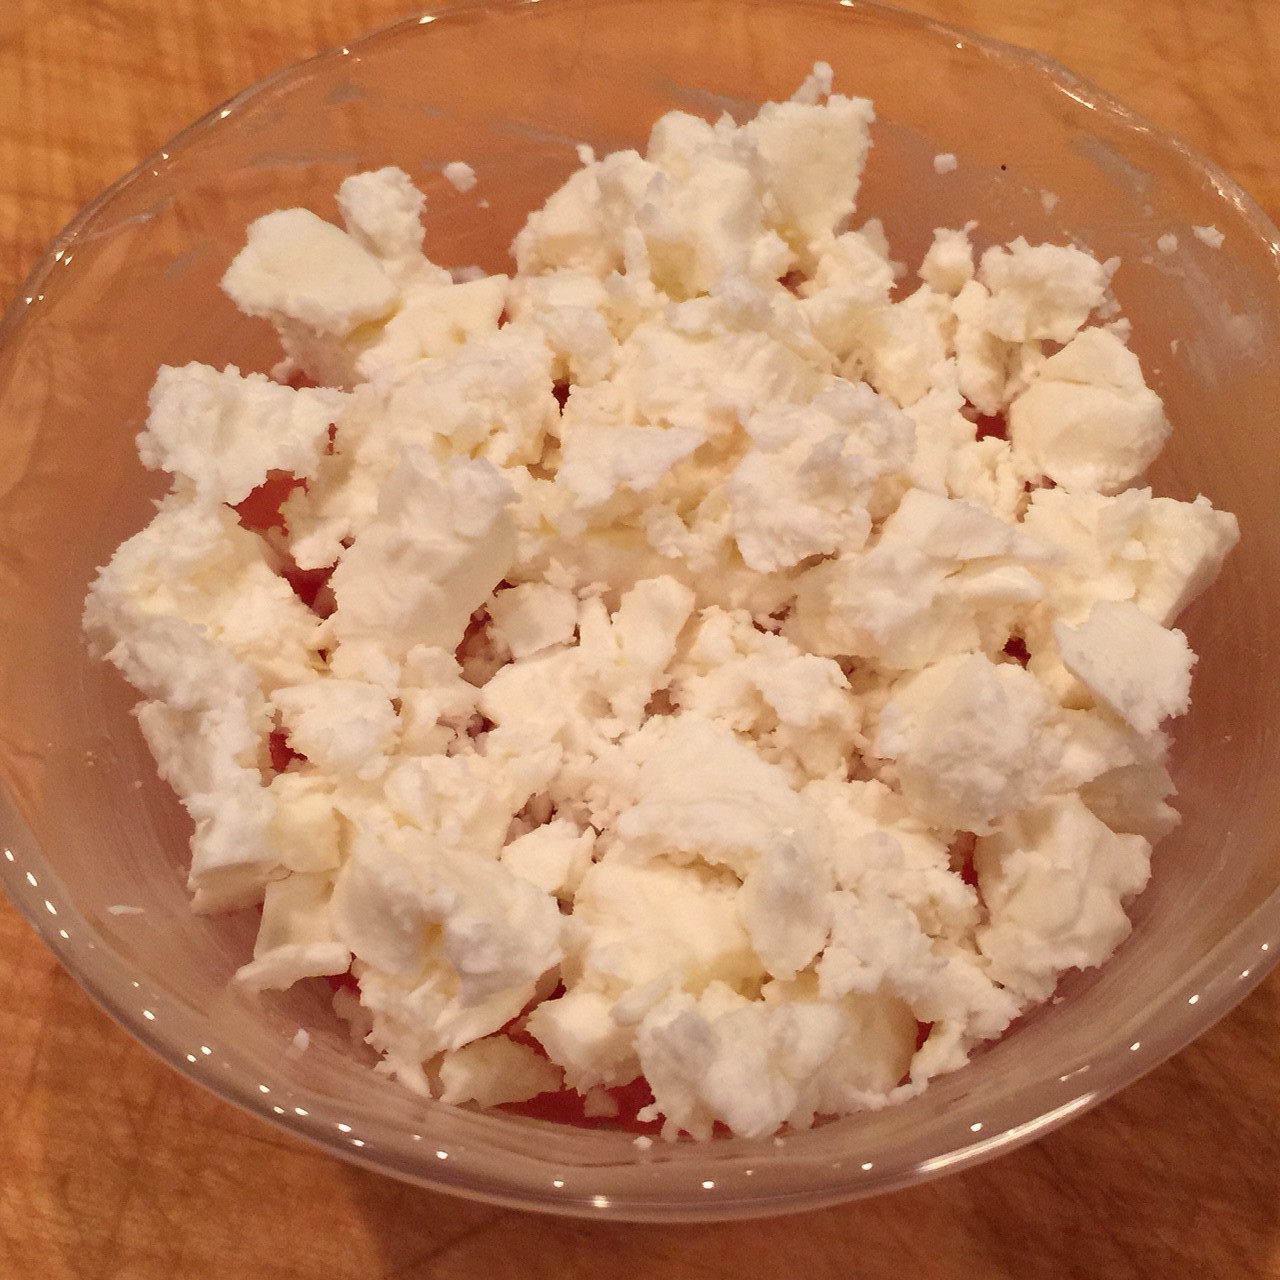 Top with spinach mixture to the brim, patting down to get rid of air pockets.
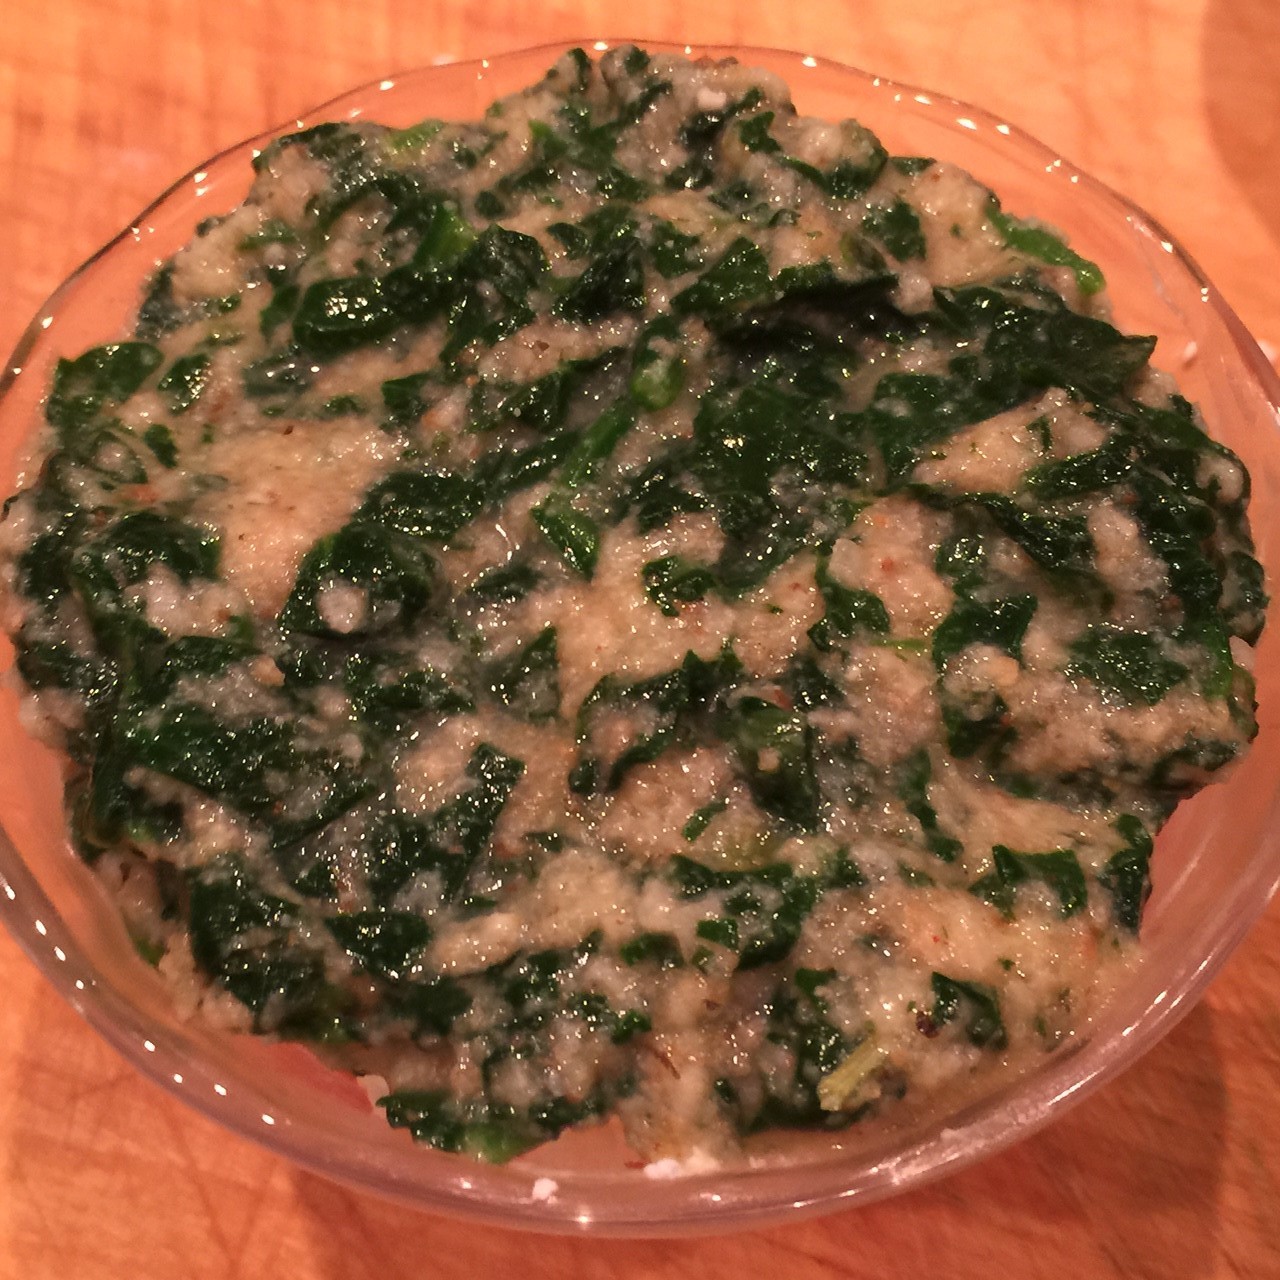 Place cups in a baking dish and fill halfway with boiling water.
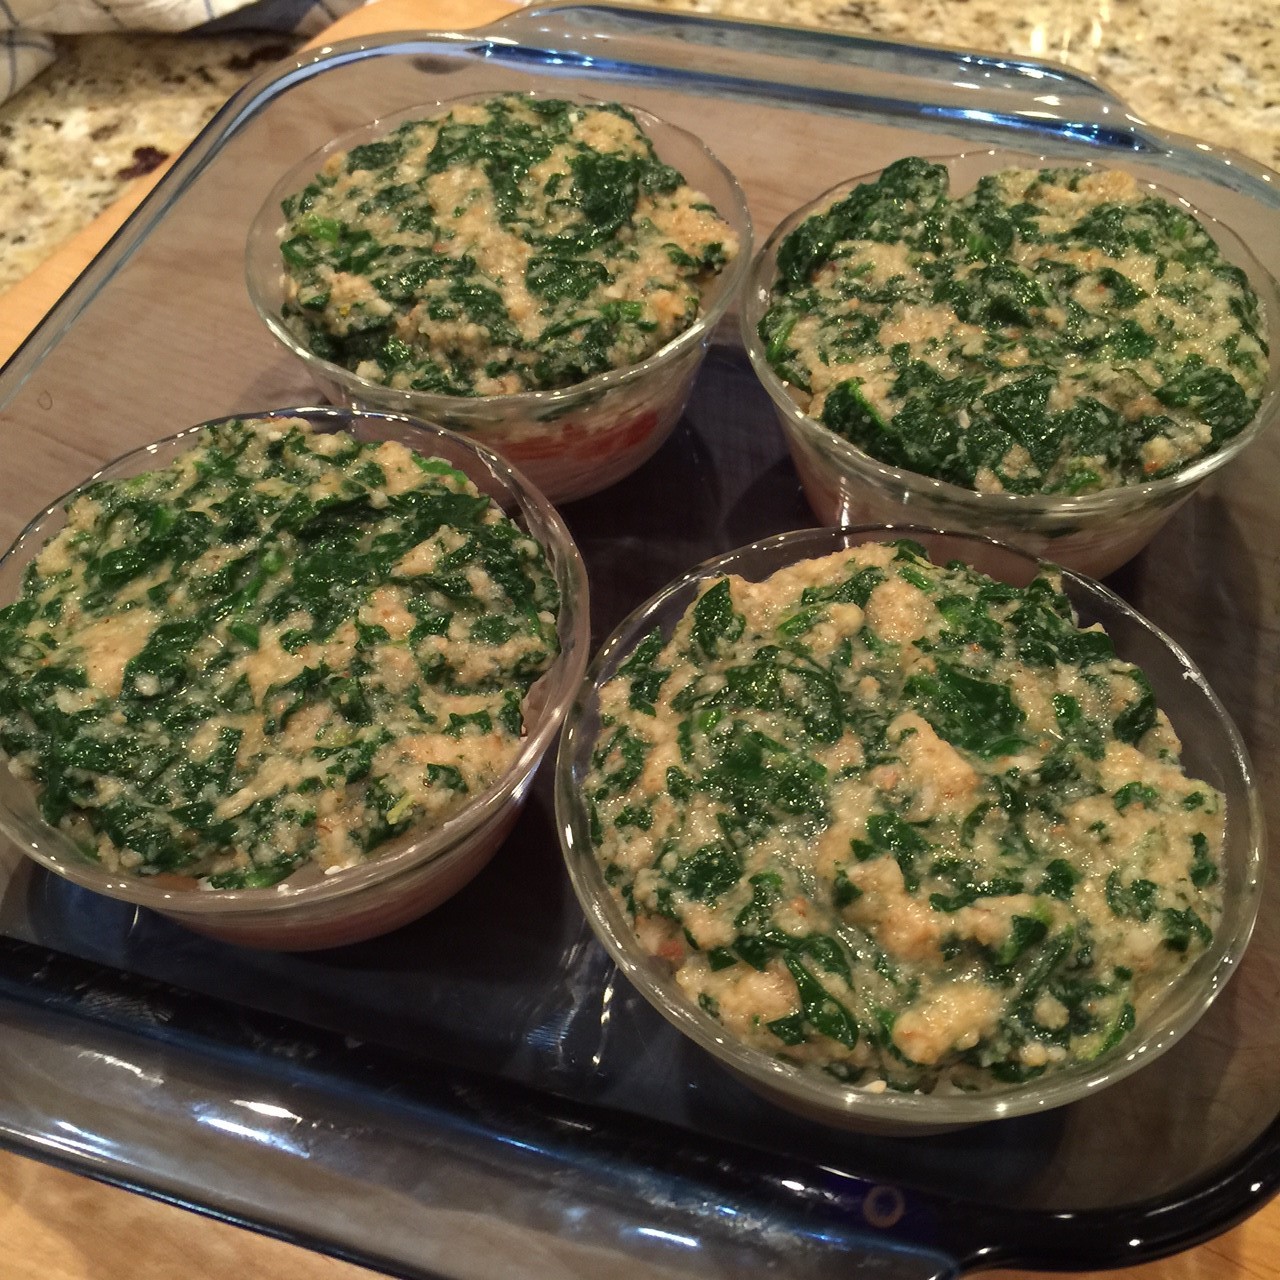 Bake at 350º F for 25-30 minutes, until spinach layer starts to brown. Remove from oven. Take cups out of the water bath and place on a rack to set for 15 minutes. To remove the TOMATO-SPINACH TIMBALES, run a rounded knife around edges, then invert, removing cup.
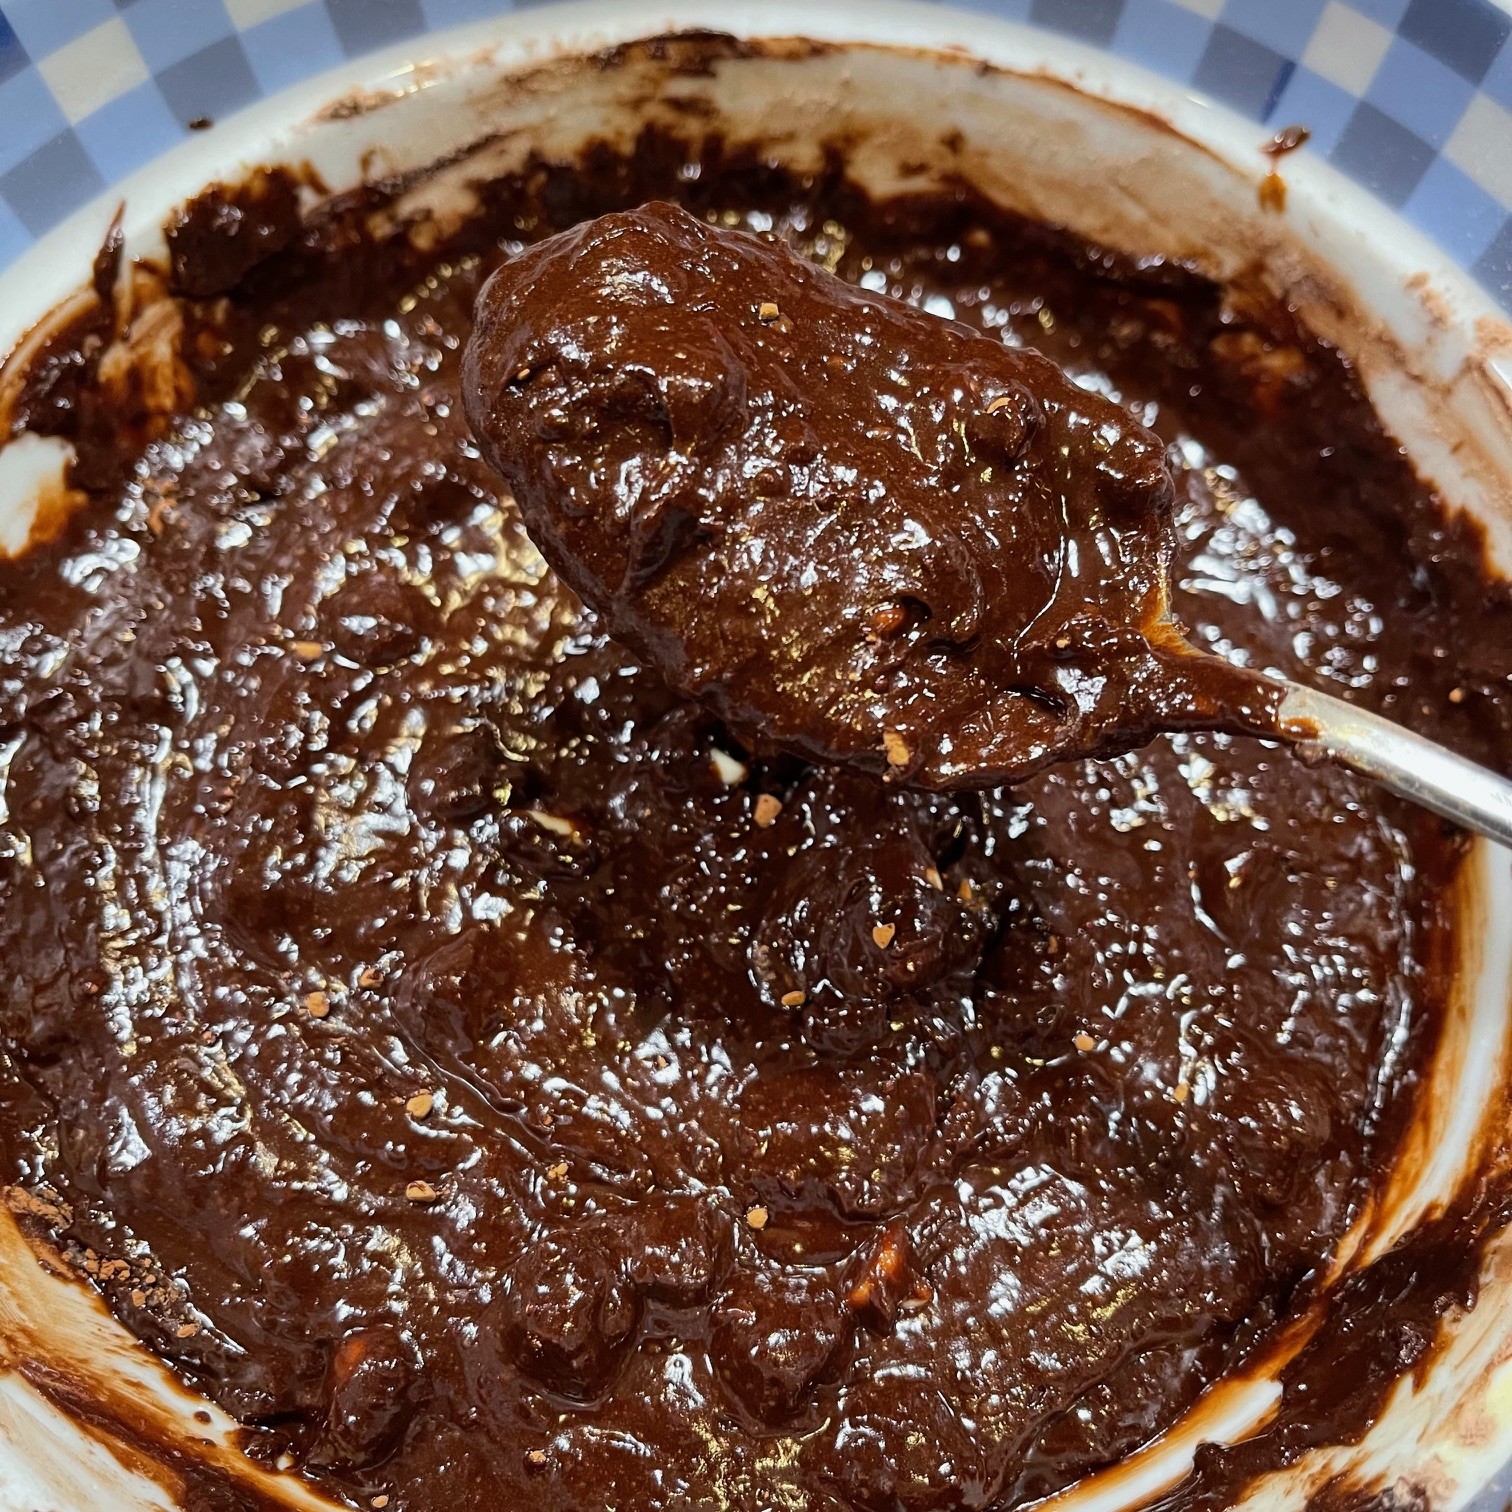
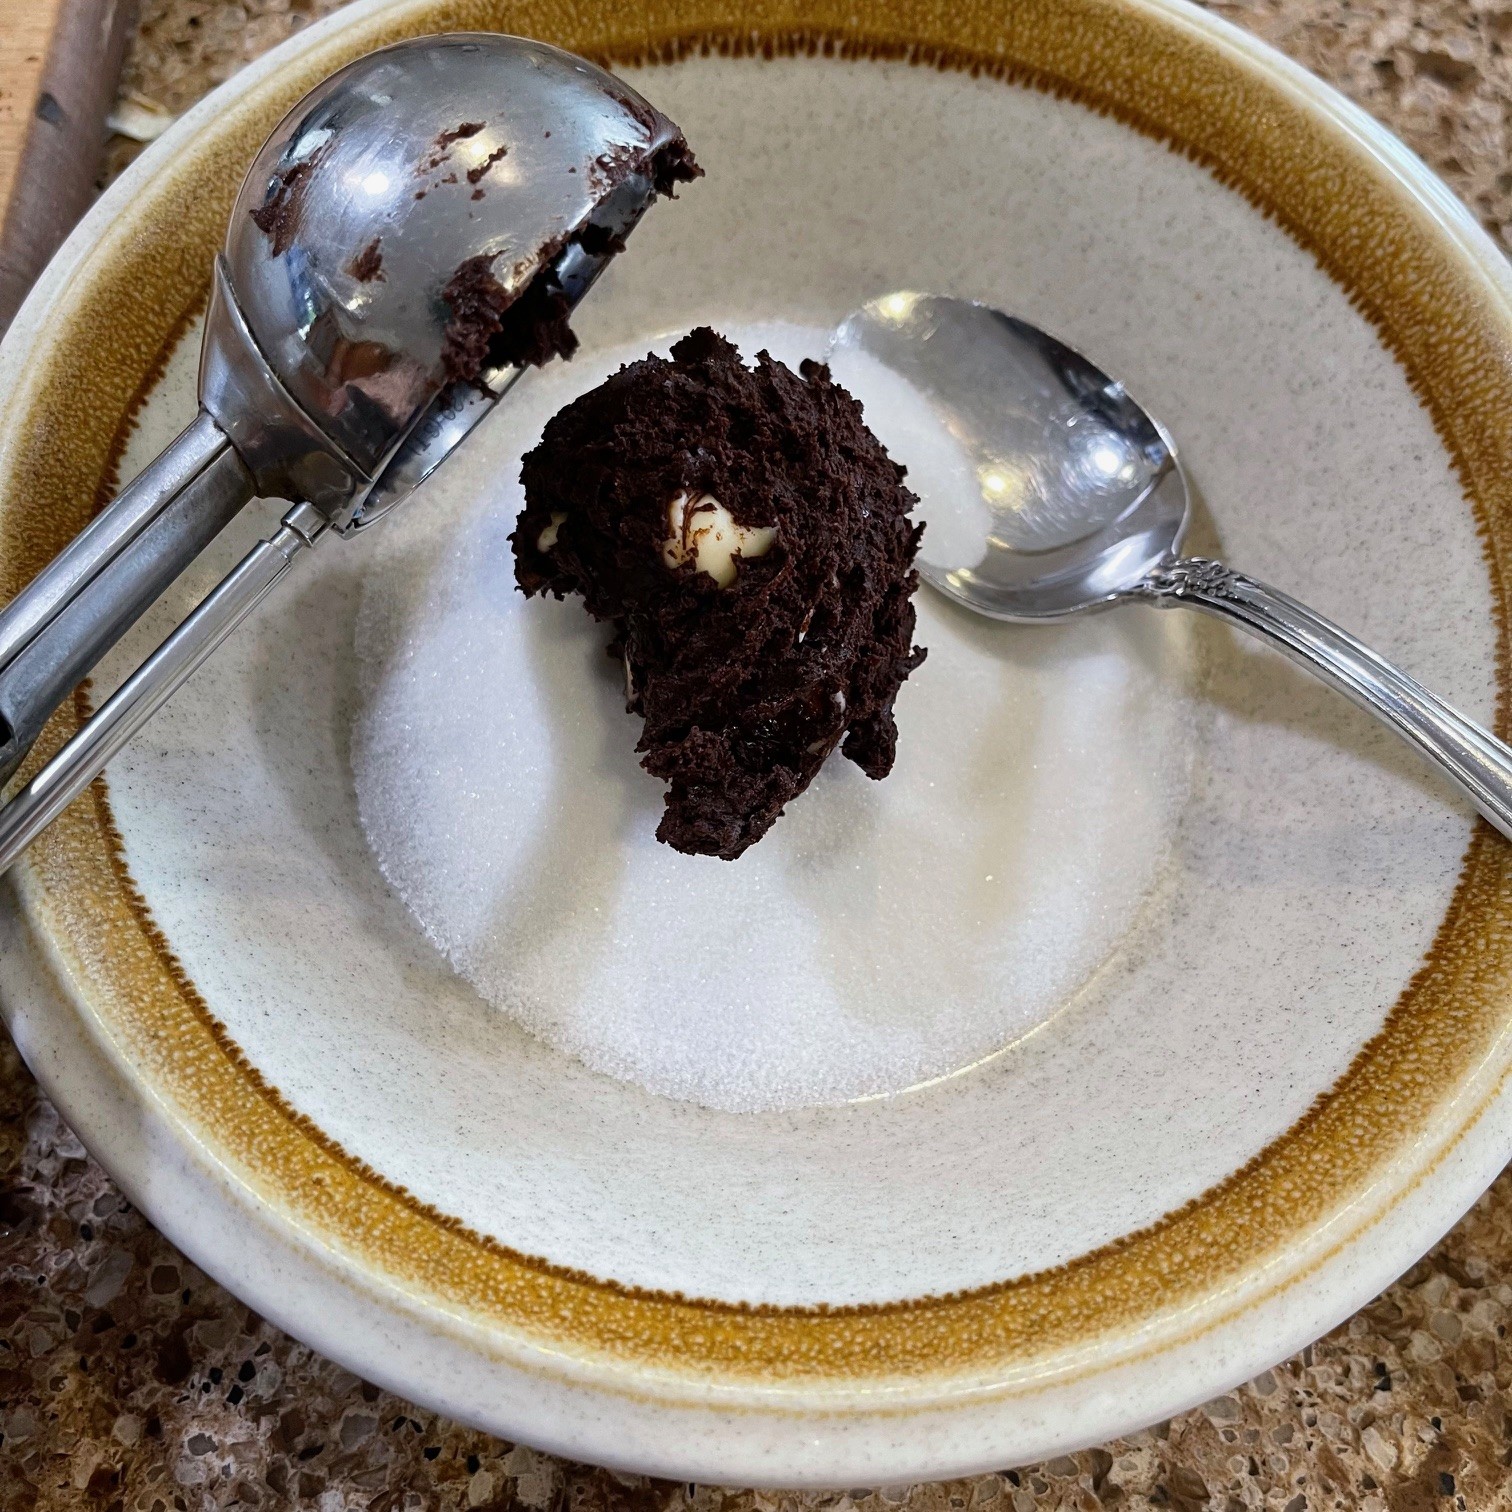
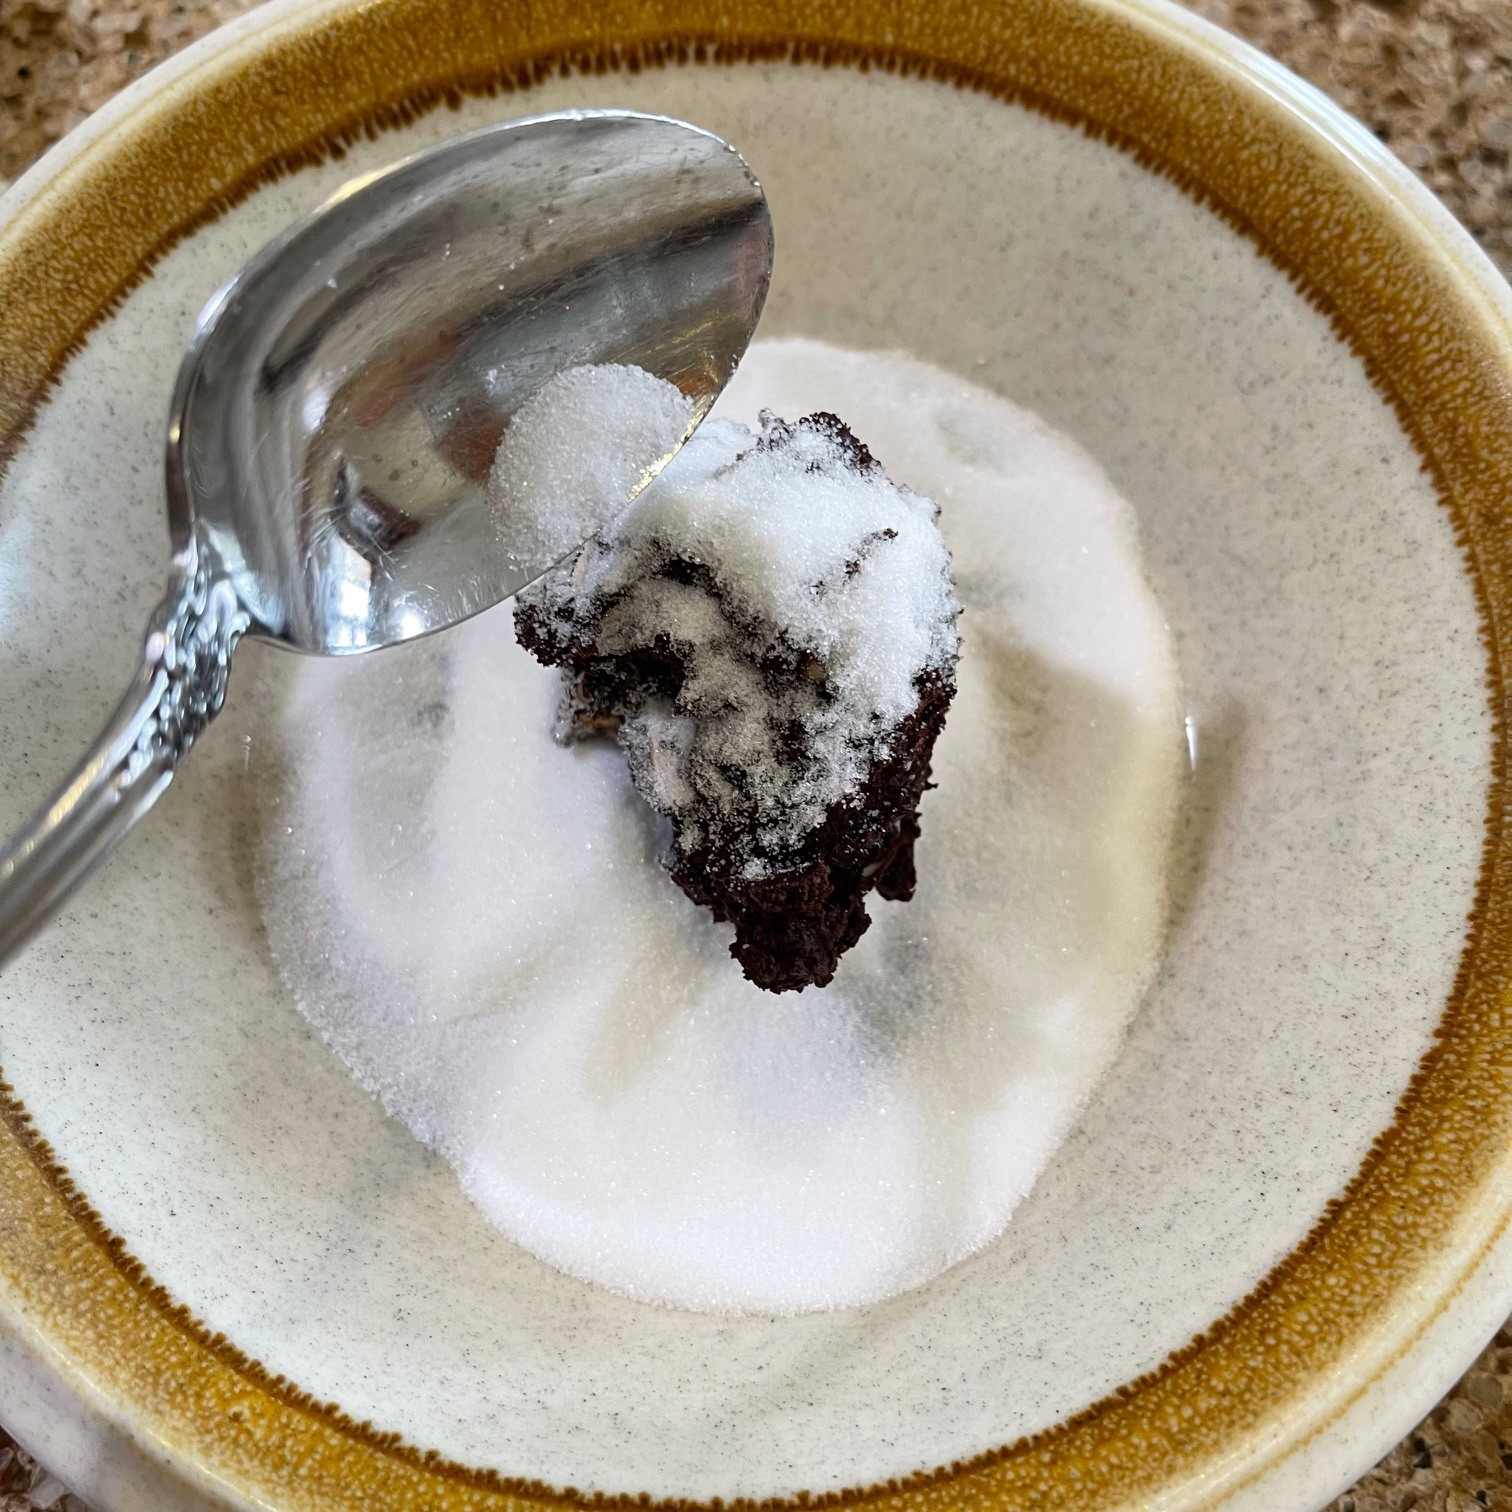
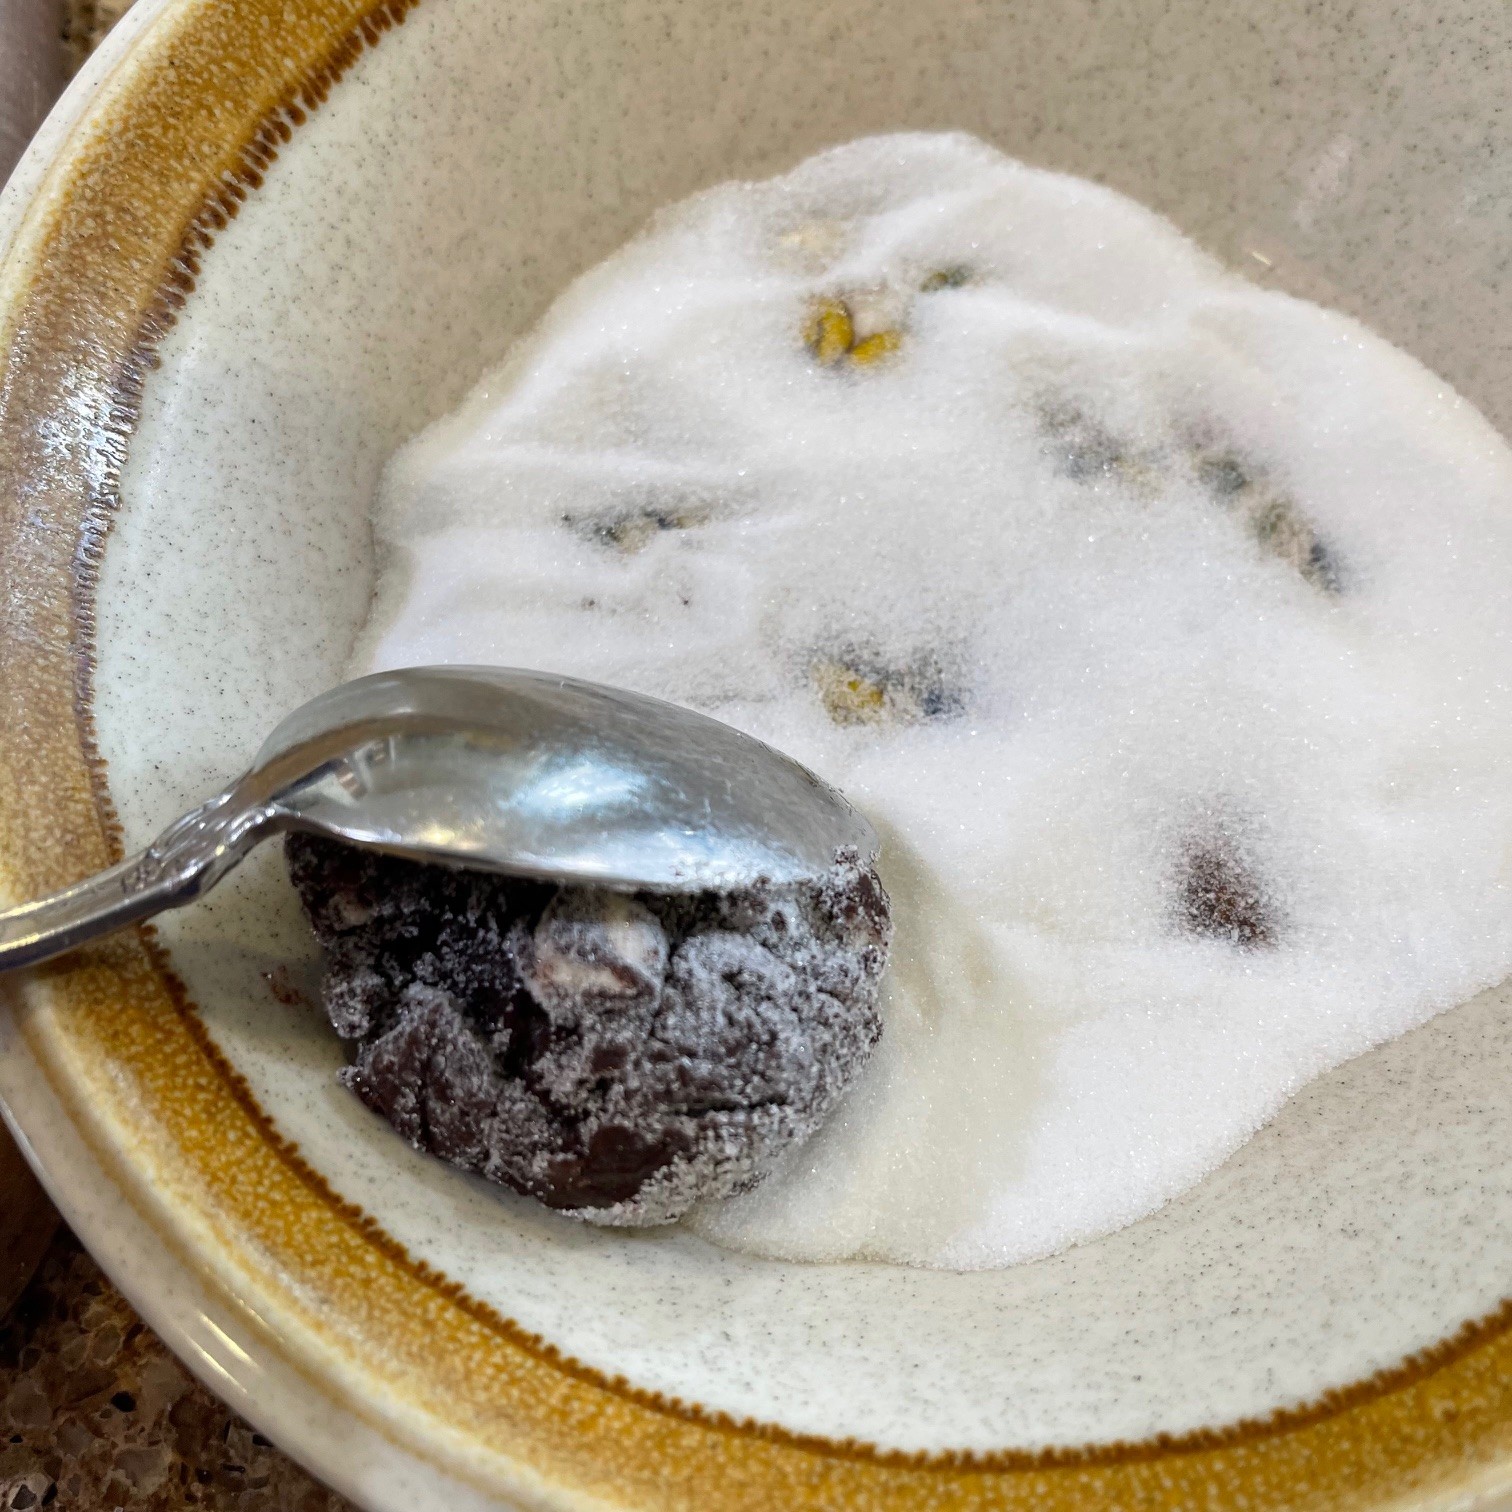
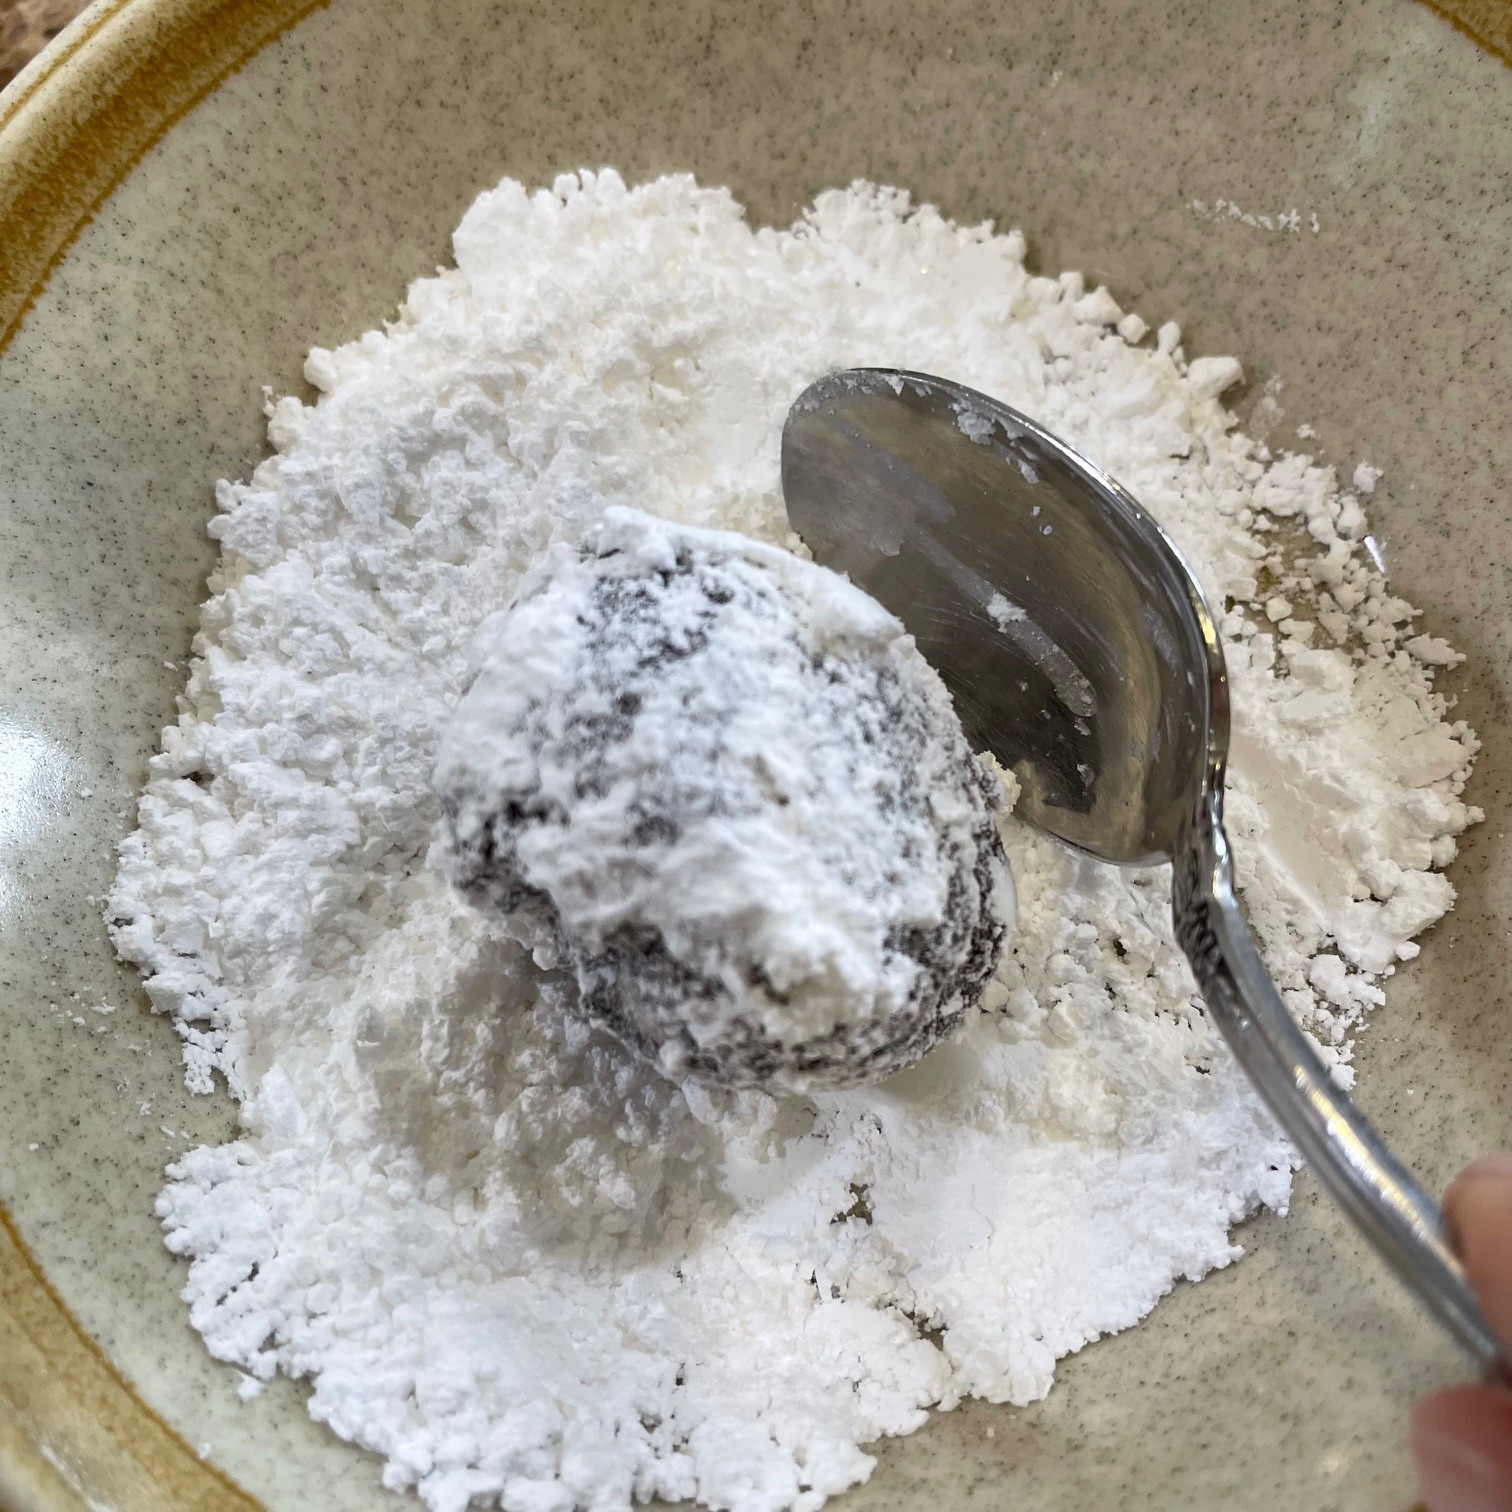
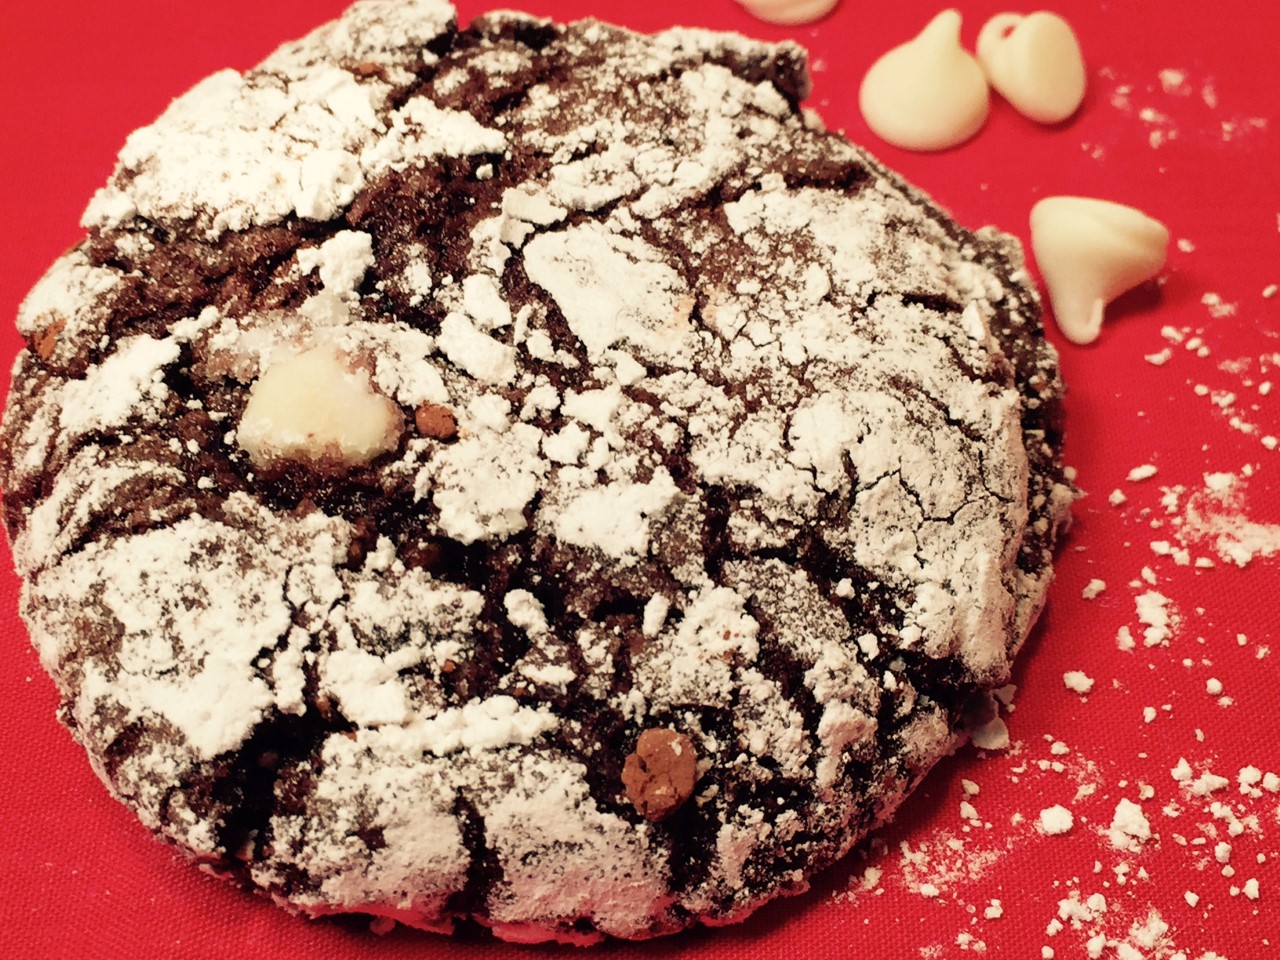 If you’re craving a rich, chocolate dessert, then look no further. WHITE CHIPS CHOCOLATE CRINKLE COOKIES will satisfy your urge, and then some! Warning: they’re a bit messy from the powdered sugar…so just wear white and you’re good to go.
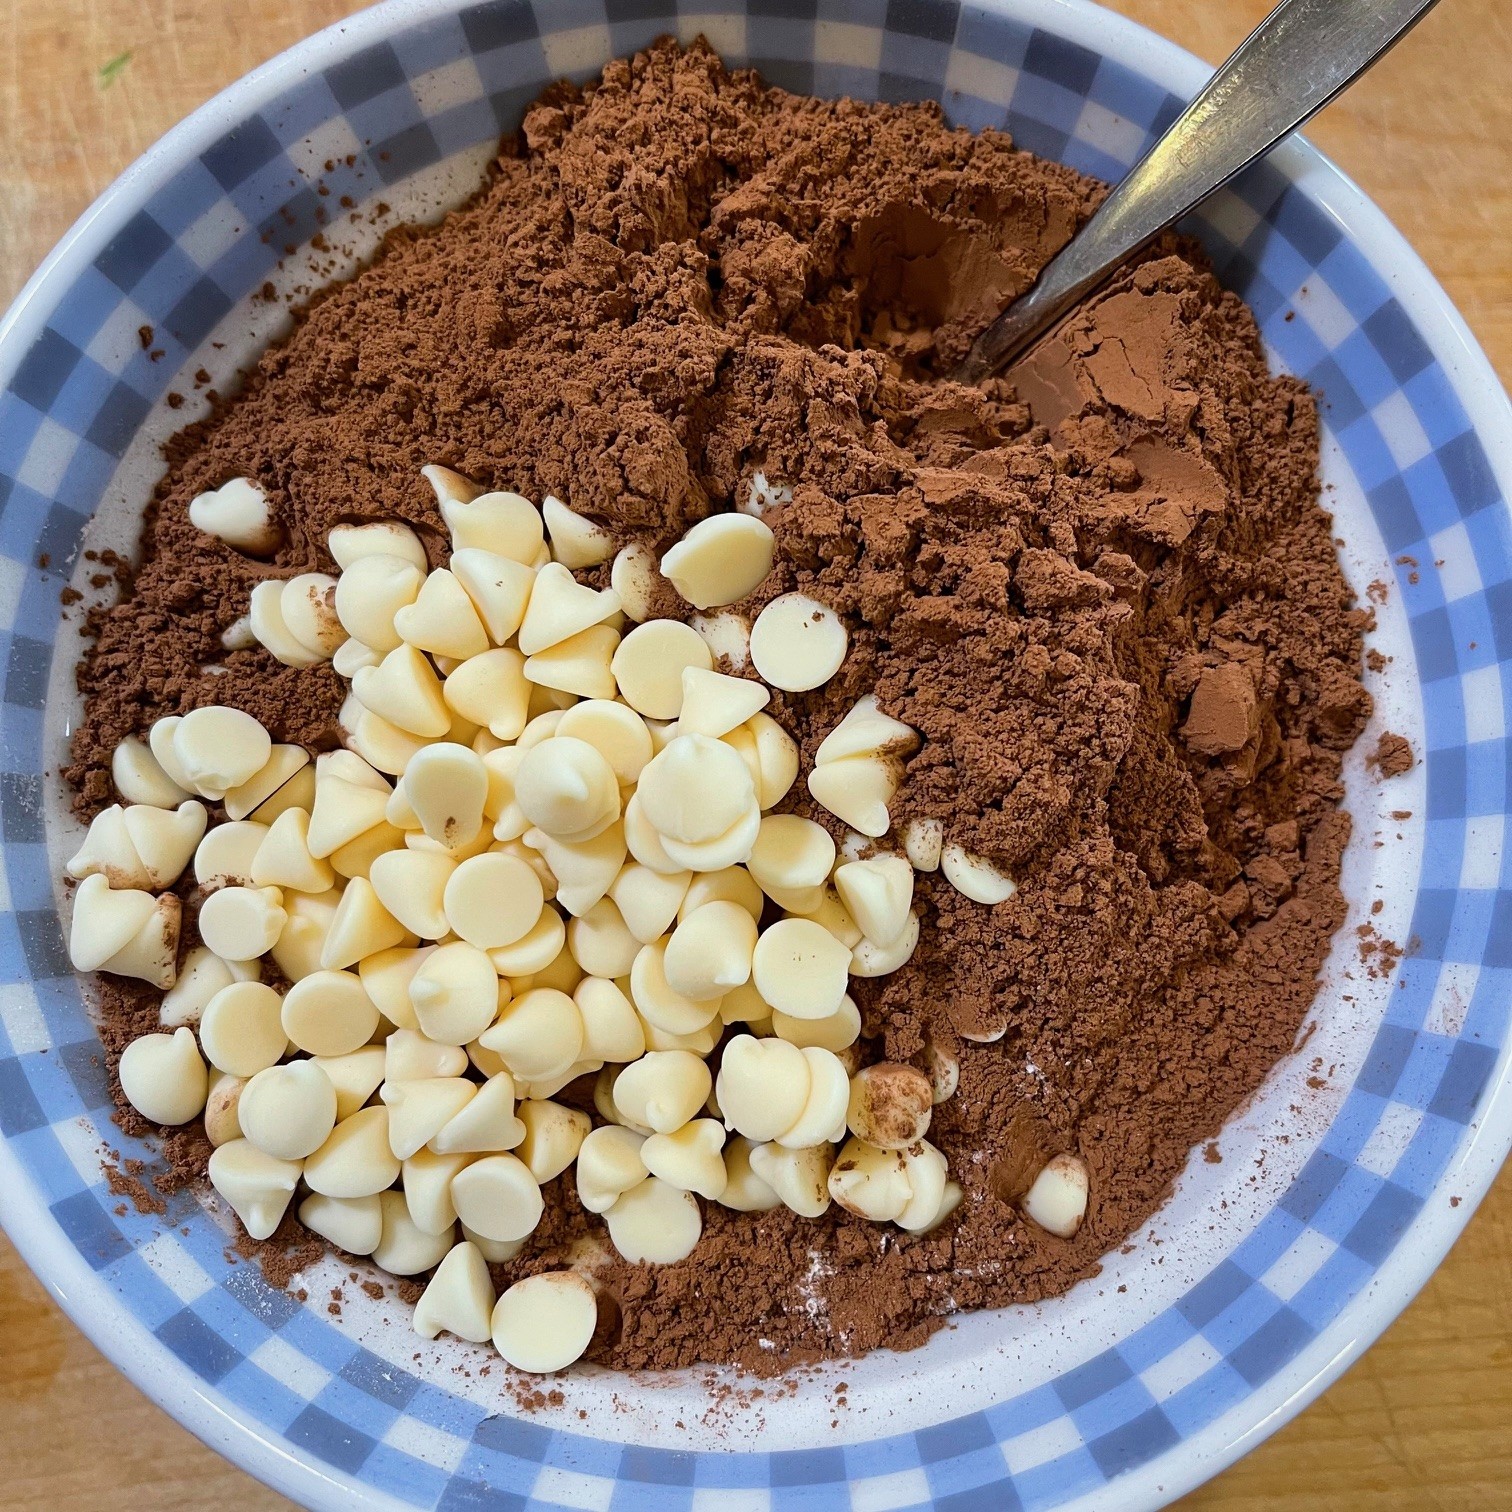


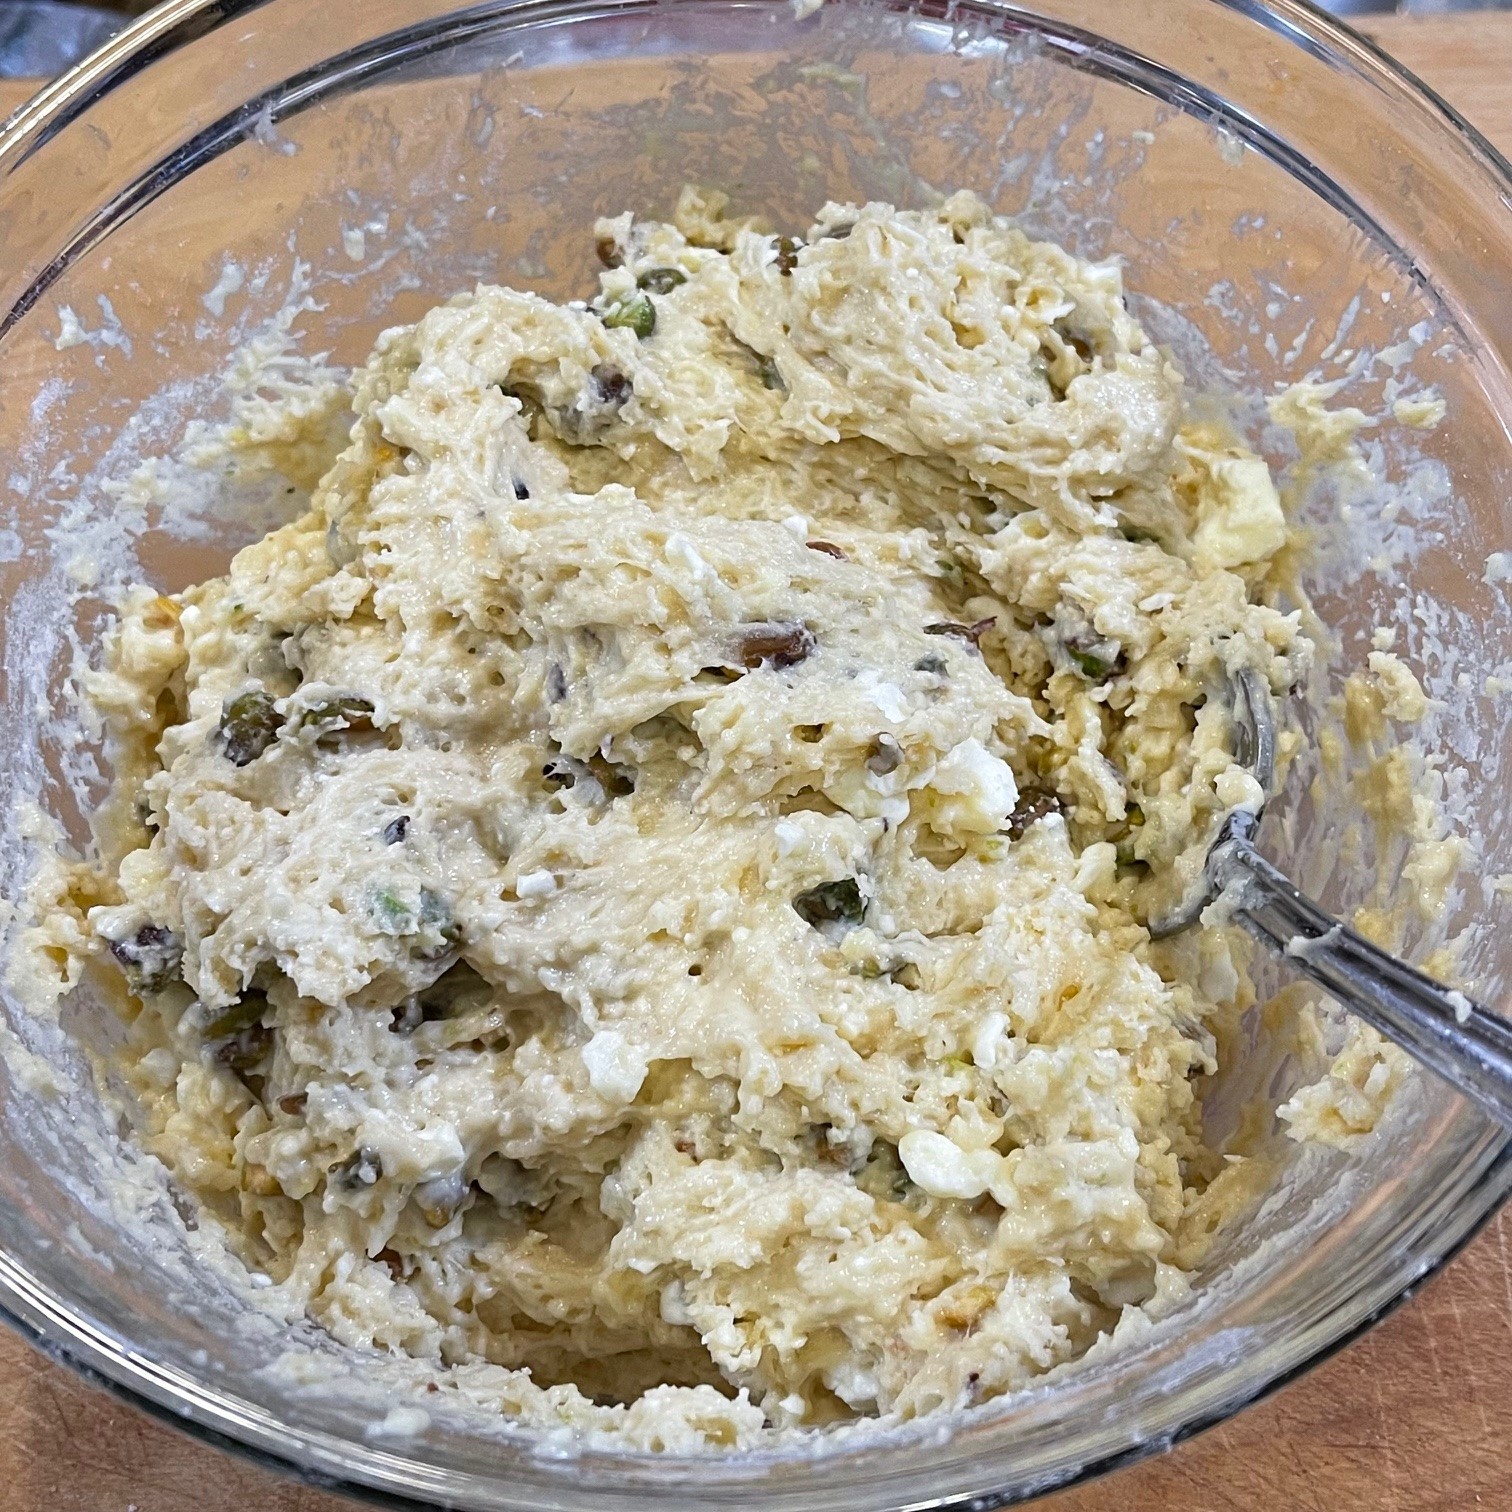
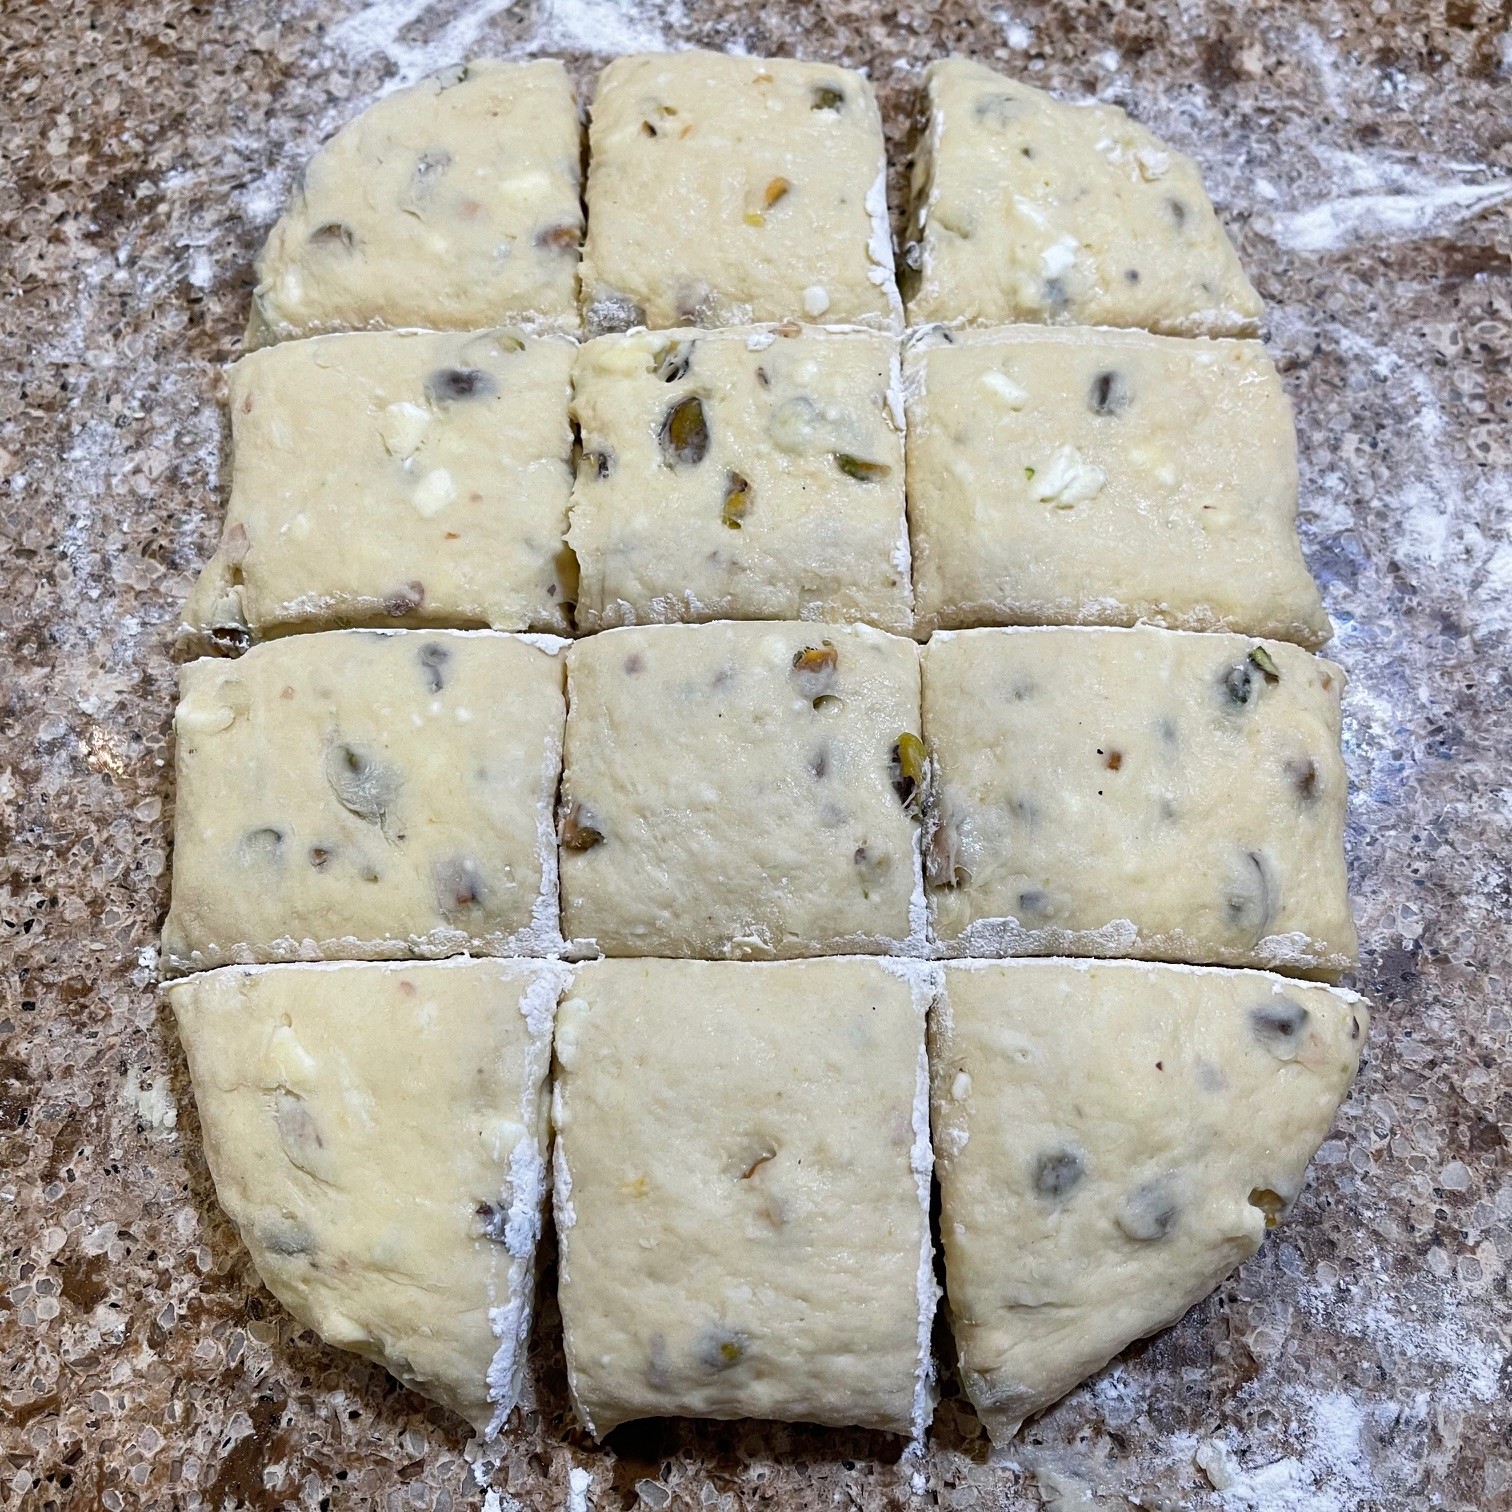
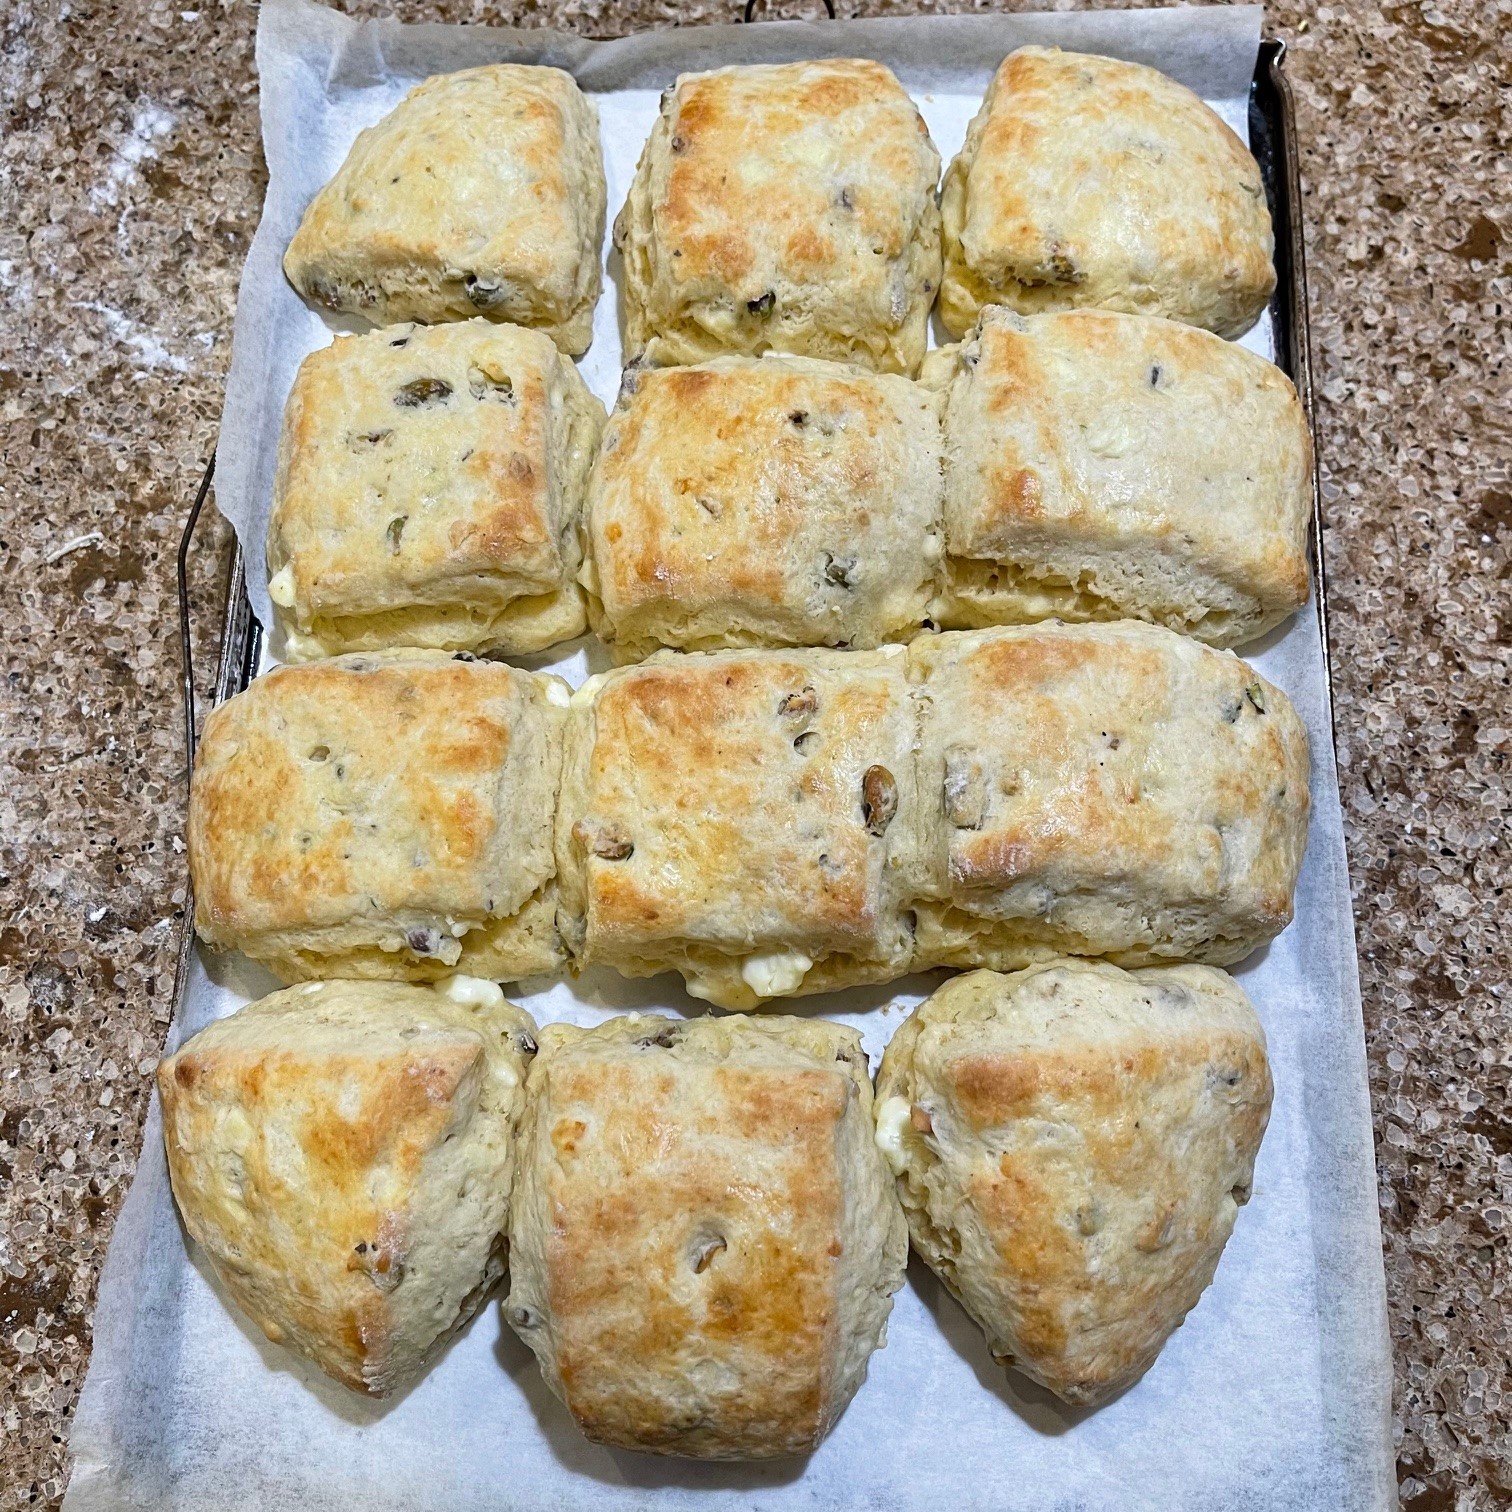
 As a woman who hates waste (yeah – I’m cheap!), I was trying to come up with something to do with leftover feta cheese. True, it can always be a crumbled topping for salad, but I wanted something new. As I was looking for a bread recipe to post, I decided to merge the two. Biscuits! There were also a handful of pistachios lurking about, so I threw them in for crunch.


 Anyone who owns a television, computer, or has been to a store lately knows it’s the holiday season. People will gather for small get-togethers and big galas. And where people celebrate, there’s always food. (It’s a rule!)
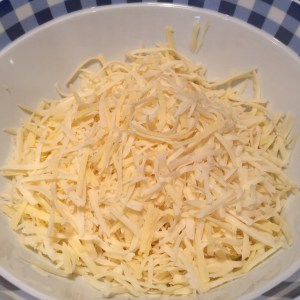 In a small bowl, combine the milk and flour to form a smooth paste.
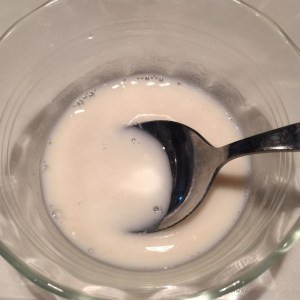 In a larger bowl, beat the eggs. Pour the flour paste into the eggs, beating to combine.
 Sprinkle about one-third of cheese (you don’t have to measure) onto baking pan. Top with one can of chilies, spreading evenly. Add half of the remaining cheese, then the other can of chilies, the rest of the cheeses, and, finally, pour egg mixture over chili-cheese mixture, smoothing top.
 Bake at 375º F, uncovered, for 45 – 50 minutes – until browned. Don’t worry about the edges being too dark – they’ll be discarded into your mouth. Remove from oven and let set for about 15 minutes.
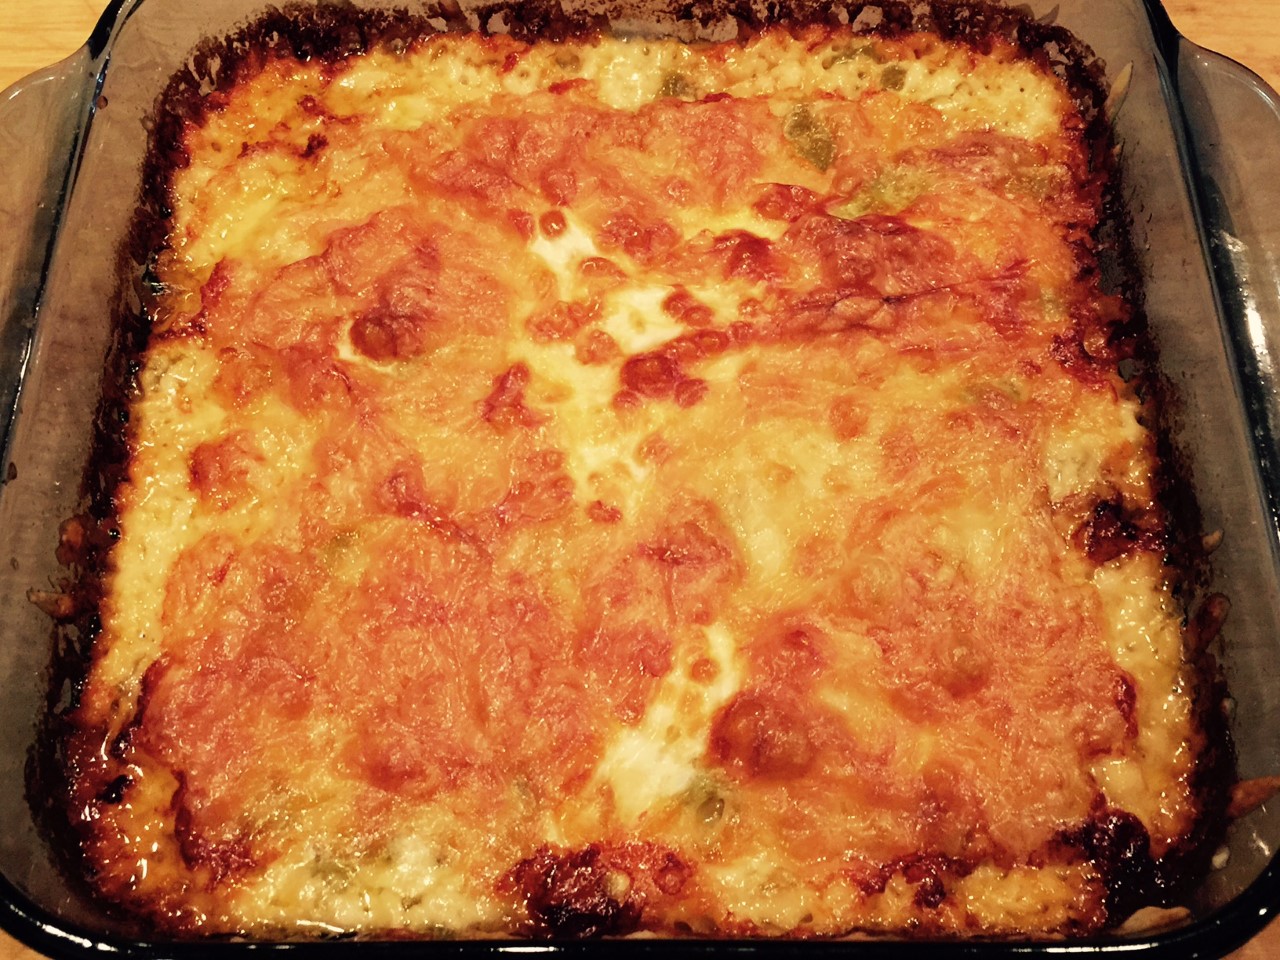 Run a spatula around edges and underneath to loosen.
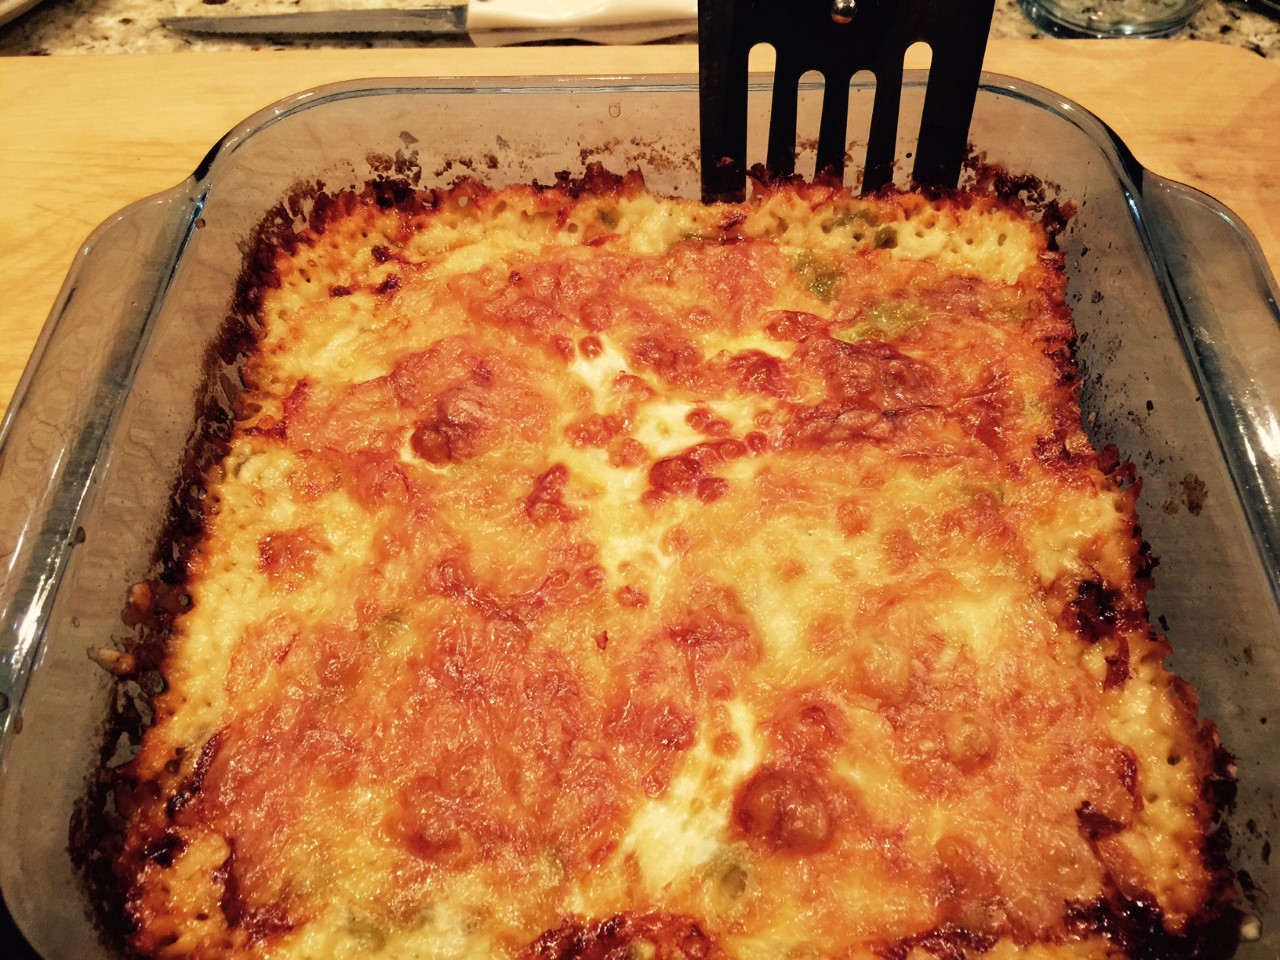 Place a plate on top and flip to remove – it will plop down…hopefully. Then place another plate on top (which is the bottom of the chili-cheese mixture) and flip again. Now, it’s right side up. Here’s the BEST part – cut off the 4 edges and eat them (you won’t be serving them). They are an irresistible crispy, warm, cheesy temptation.
 Let the square rest a few more minutes to make sure it’s firm, then slice into squares. TIP: I used a large pizza wheel.
 But let’s be honest. A slice of fake turkey is NOT the same as a slice of the real thing. So I decided to create a layered Thanksgiving pie, incorporating the fake turkey into the bottom layer with the dressing, thus giving the essence of turkey flavor. Layer with other traditional Thanksgiving dishes of mashed potatoes, cranberry sauce, and gravy – and you’ve got yourself a vegetarian Thanksgiving.