CREAMY SWEET POTATO SOUP
Cream soup without the cream? What? How can this be?
Oh – it be! Thanks to your handy-dandy blender.
Wait – you say you don’t have a blender?! As many of you know, I don’t like to throw money away on frivolous things (cheap!). There are many kitchen gadgets that are one trick ponies – you can only use them for one thing (such as a bread maker). I’m not a fan. BUT, I do believe in stocking your kitchen with tools that will ease the task of cooking, thus making it more likely you WILL actually cook. Items such as a food processor, toaster oven, a wide assortment of pots, and a BLENDER!
Please note, that I put food processor AND blender on the list. That’s because they are both useful in different ways. The food processor is great for shredding carrots & cheese, chopping tomatoes and onions, kneading dough, finely grinding nuts. The blender uses a funnel action and is great for puréeing soups, pesto, and yogurt shakes. By the way, you can find these items at thrift shops if you’re on a tight budget.
A couple of weeks ago I wrote a blog about eating soup for lunch (click on Slim Down With Vegetable Soup) to help lose those extra pounds one accumulates during the winter months and (let’s be honest) just plain life. I based the idea on that old Campbell’s Soup commercial where the girl wanted to fit into her itsy bitsy bikini so she replaced her calorie laden lunch with soup.
I decided to add another soup to the list: Creamy Sweet Potato Soup. Which brings us back to the blender. (See how I did that? I returned us seamlessly to the beginning of the blog.) Did you know if you purée soup in a blender it gets creamy, even if there’s no cream in it? It makes you feel like you’re indulging in something decadent when, in reality, it’s low in calories. Plus, soup fills you up pretty quickly which satisfies you long enough to get you away from the table.
The last time I was in London, I had a wonderful Sweet Potato Soup made with coconut milk and coriander. It was a lovely blend of flavors. I decided to try to duplicate the essence while ditching a lot of the calories. Also, to make sure it met vegetarian criteria (this is a vegetarian blog, as you know), I used vegetable stock in lieu of the suspected chicken broth.
So I started throwing ingredients together until I came up with a taste I was happy with. (OR, ‘of which I was happy’, for you English majors). A little tip for those of you who like to either create your own recipes or just tweak other peoples’: write down the ingredients and the amounts you use. Then make notes about the taste and possible suggestions for future attempts. You don’t have to write a novel – just a quick, ‘try oregano instead of basil next time’. I’m a firm believer in not reinventing the wheel. When you find something that works (or doesn’t) keep track. That way you’ll save yourself time in the future AND be able to make it again. No matter how good your memory is, over time one forgets minutia such as ‘was it 1 cup or 1½?’ or ‘did I use garlic SALT or POWDER?’. Once you write it down, it frees your mind and you don’t have to worry about it again.
As far as the coconut milk goes, you can use either canned or powdered. Canned is more accessible in my town, but I prefer the powdered so I just order it online. If you use the canned, you’ll need to decrease the amount of vegetable stock since there’s water in it already. By using the powdered, I can play around with how much coconut goes in the soup. Also, I can half the recipe and don’t have to worry about what to do with the unused half. Plus the powder takes up less cupboard space. But, at the end of the day, it doesn’t really matter as far as taste is concerned which you choose.
SWEET POTATO SOUP – makes 10 cups
- 9 cups sweet potatoes or yams, chopped
- 1 large onion, coarsely chopped
- 2 T olive oil
- 1½ tsp dried cumin
- 1½ tsp dried coriander
- 1/3 tsp dried ginger
- 1/3 cup coconut milk powder (or 1 14 oz can)
- 4 cups vegetable stock (or 2¼ cups if using canned coconut milk)
- 1 tsp salt
- few twists of pepper
- 1 bay leaf
Heat the olive oil in a very large stockpot and sauté the onions about 5 minutes – until they begin to brown. Add in the cumin, coriander, ginger, bay leaf, salt, and pepper. Stir for another minute to bring out the flavors. Pour in the sweet potatoes, coconut powder, and vegetable stock. If you’d like to make your own stock (which I ALWAYS do), you can find my recipe by clicking on BACK TO BASIC: VEGETABLE STOCK. Bring to a boil, then cover and simmer until the sweet potatoes are tender – about 20-30 minutes.
Let the soup cool down a bit, REMOVE THE BAY LEAF (notice the caps – this is important!), then pour into your blender (in batches, if need be) and purée. Serve either hot or cold.
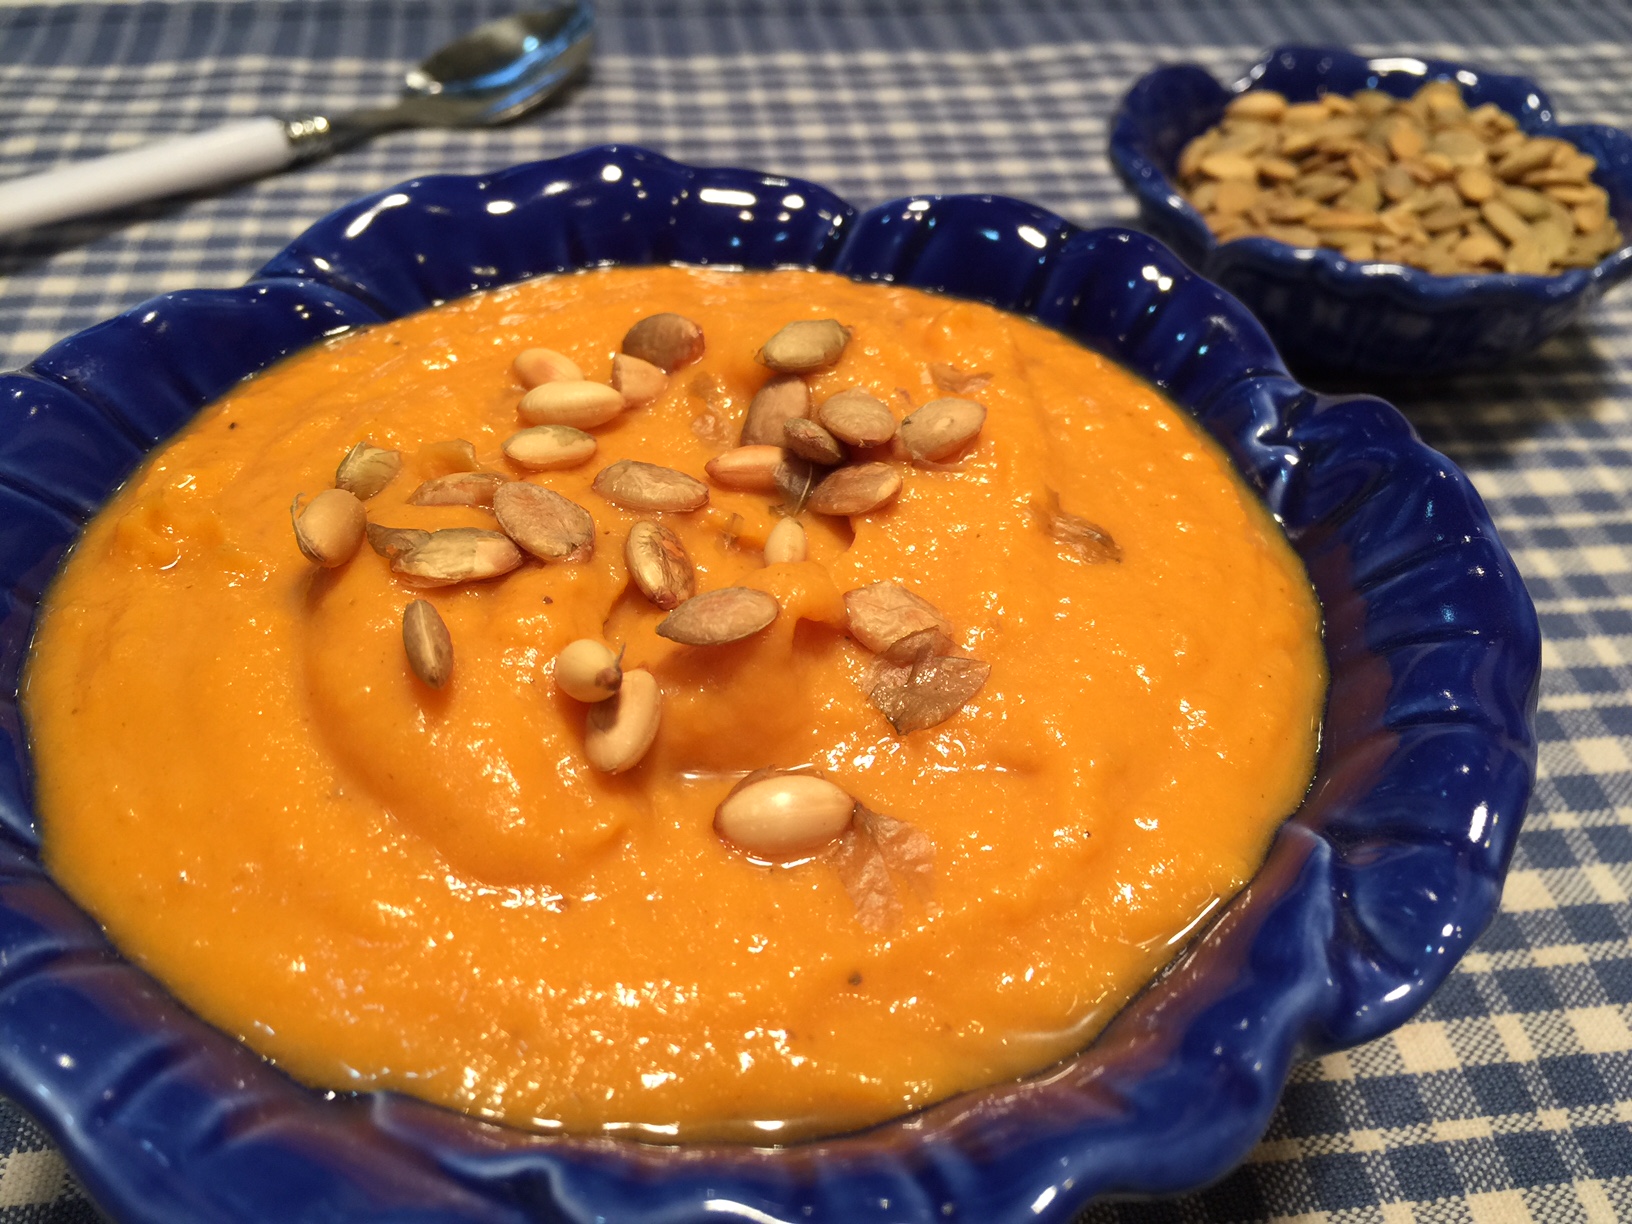
NOTE: Toasted pumpkin seeds are a tasty topping – and they’re visually appealing.
If you’re in a hurry (and who isn’t?!), you can make this soup even faster by skipping the sauteing onions part and just throwing everything into the stockpot. I’ve done this many times, and the soup is still excellent.