PEANUT BUTTER-BANANA BUNS: Snack Or Lunch!

Every now and then I challenge myself to improve on a just-okay recipe. In this case, it was my grandmother’s peanut butter buns (she called them ‘josh’, which means ‘snack’ in Armenian). While they were a big hit with her five children and my husband, I felt they were a little dry.

I decided the problem was two-fold: the dry dough and the dry peanut butter filling. Creating an enriched dough seemed the obvious answer to the dough. As for the filling, I considered using a jelly. Then I spied some ripe bananas in the fruit bowl. Hmmm! (Elvis came to mind.) Recalling a contestant on the British Bake Off cooking down bananas to evaporate excess moisture, this seemed like a good idea to prevent a mushy filling while, simultaneously, adding flavor. To give a nod to the classic jelly idea, I tried crushing freeze dried strawberries. The problem was I needed to use a lot to really taste them. As they’re very expensive, I chose to go with the peanut butter and banana on its own. You can add them, if you like.

NOTE: You can substitute a different nut butter, if you prefer.

PEANUT BUTTER-BANANA BUNS – makes 6

Dough

  • 121g (1/2 cup) milk, warmed to about 40°C (104°F)
  • 1 tsp yeast
  • 229g (1.75 cups) bread flour
  • 1 tsp salt
  • 28g (2 T) butter, room temperature
  • 40g (1/4 cup) granulated sugar
  • 1 egg white

Filling

  • 3 large ripe bananas
  • 118 (1/2 cup) peanut butter (or other nut butter)
  • 1/4 tsp salt
  • Optional: 31g (1 oz) freeze dried fruit, crushed

Prepare the dough:

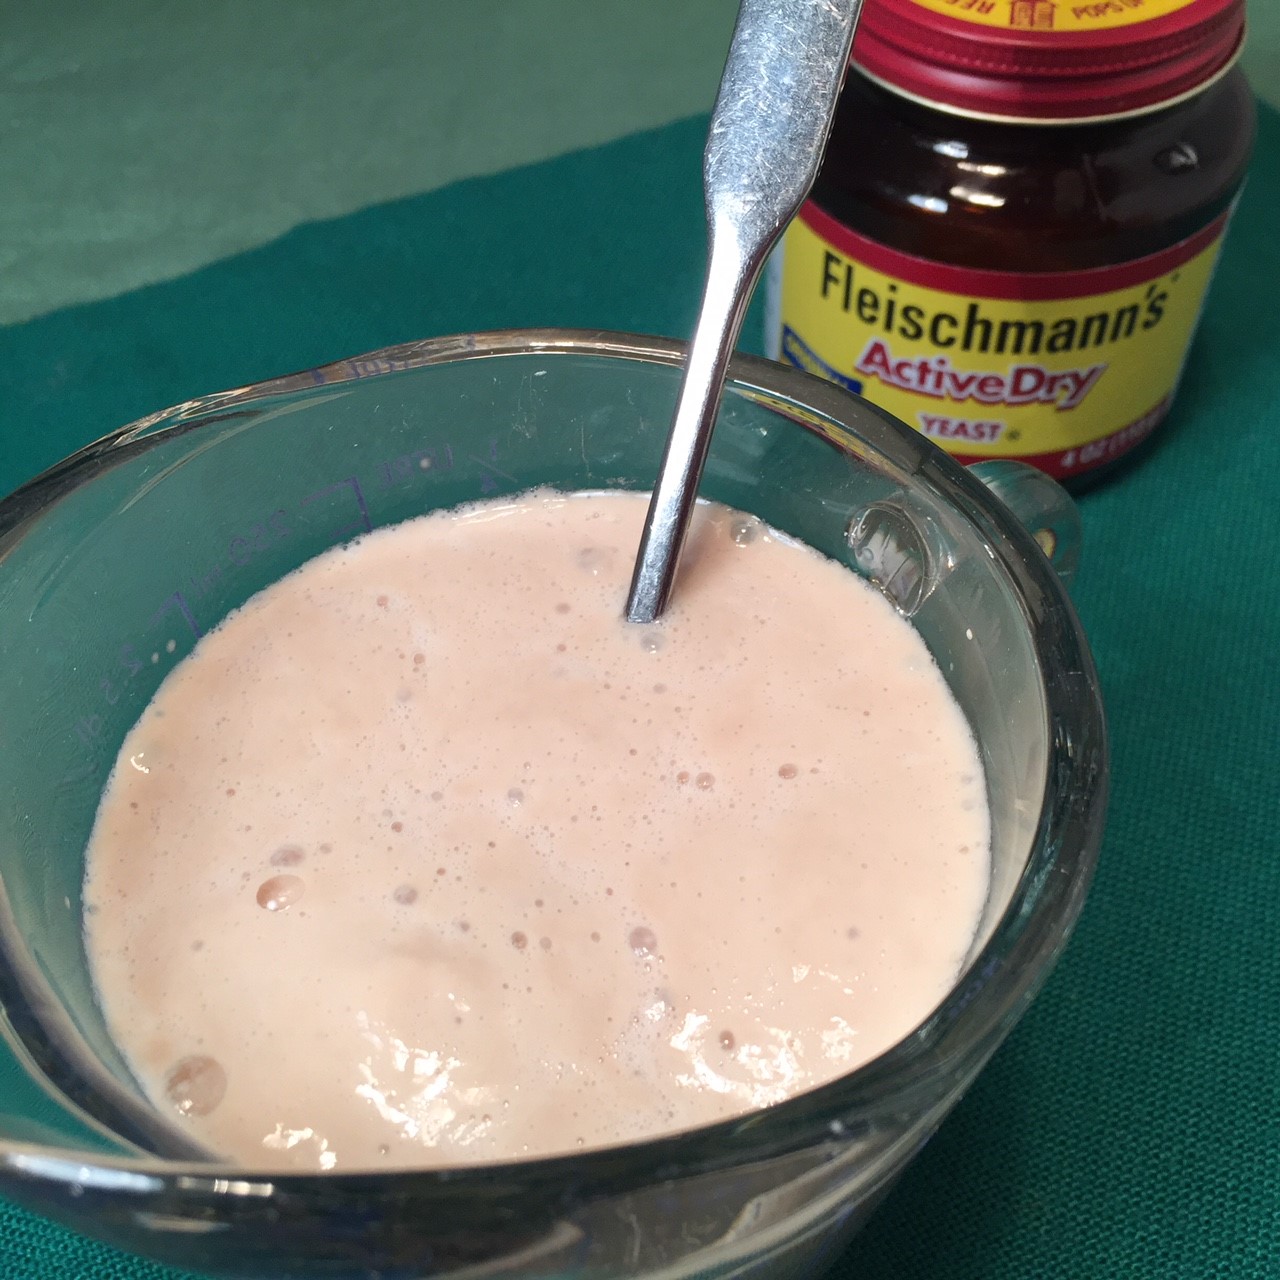
Proof the yeast by stirring the warmed milk and yeast together, letting it set about 5 minutes.

Into the workbowl of your food processor, put the flour, 1 tsp salt, sugar, softened butter, egg white, and proved yeast/milk. Process about 40 seconds, pausing to scrape down the sides as needed.

Empty dough onto lightly floured counter and knead about 6 times to bring dough into a ball. A bench scraper works well for this task.

Place dough ball in a lightly oiled bowl, then flip the ball so both sides are coated with oil. Cover and let rise 1.5 hours on counter.

While dough is rising, prepare the filling:

Into a saucepan, place the peeled bananas. Mash with a potato masher or fork.

Over medium/high heat, cook the bananas, stirring often, until most of the water has been cooked out – about 11 minutes. Remove from heat.

Stir in the peanut butter and 1/4 tsp salt. (If you’re using freeze dried fruit, stir it into the mixture) Chill until dough has finished rising.

Once the dough has risen, assemble the buns:

Empty the risen dough onto a lightly floured surface and divide it into 6 pieces. Roll each piece into a 9″x 4″ (23cm x 10cm) strip.

Divide the peanut butter-banana filling evenly between the strips. Spread the filling over the dough strip, leaving a 1/2″ (1cm) border along all 4 sides. The filling will be spread very thinly – this is good – it’s how you’ll get that lovely swirl.

Roll each strip from the short side up along the long side. Pinch the dough to seal the seam.

Roll the log towards you 90°, so the seam is facing you. (This is so the seam will be protected from bursting open during baking.)

Pinch both ends to seal them. Then, snail the log by rolling it sideways. (The seam formed along the length of the log will now be encased in the snail.) Pinch closed the end of the log to the body of the roll.

Place the rolled buns on a greased or parchment lined baking sheet. Lightly press down each bun so they’re about 1″ (2.5cm). Cover and let rise 1/2 hour. Preheat oven to 200°C (400°F) during the rise.

Once the buns have risen, place the baking sheet in the preheated oven. Decrease the temperature to 177°C (350°F) and bake about 20 minutes – until browned on top. (There is NO wash for these buns – I’ve tried egg, milk, and cornstarch/water – they cause the top to flake. They come out much better with a dry top.) Remove baked buns to a wire rack to cool.

NOTE: If you forgot to decrease the oven temperature, it’s not a problem. Just keep an eye on the brownness – you may have to decrease the bake time.

GRANDMA PESTO PIZZA: Tweaking Tradition!

Grandma Pizza is a thin, crispy, rectangular pizza that, traditionally, is topped with Mozzarella, followed by marinara and basil.

But, just to shake things up (because that’s how I roll!), I decided to change the toppings to pesto, Feta, and Kalamata olives. This has become our family’s current pizza of choice. The garlicky pesto topped with salty, creamy Feta and olives is addictive, which is why I now make 2 pizzas at a time.

NOTE 1: I highly recommend using a food processor to make the dough. Grandma Pizza is a very wet dough and clings to your palms and fingers if you knead by hand.

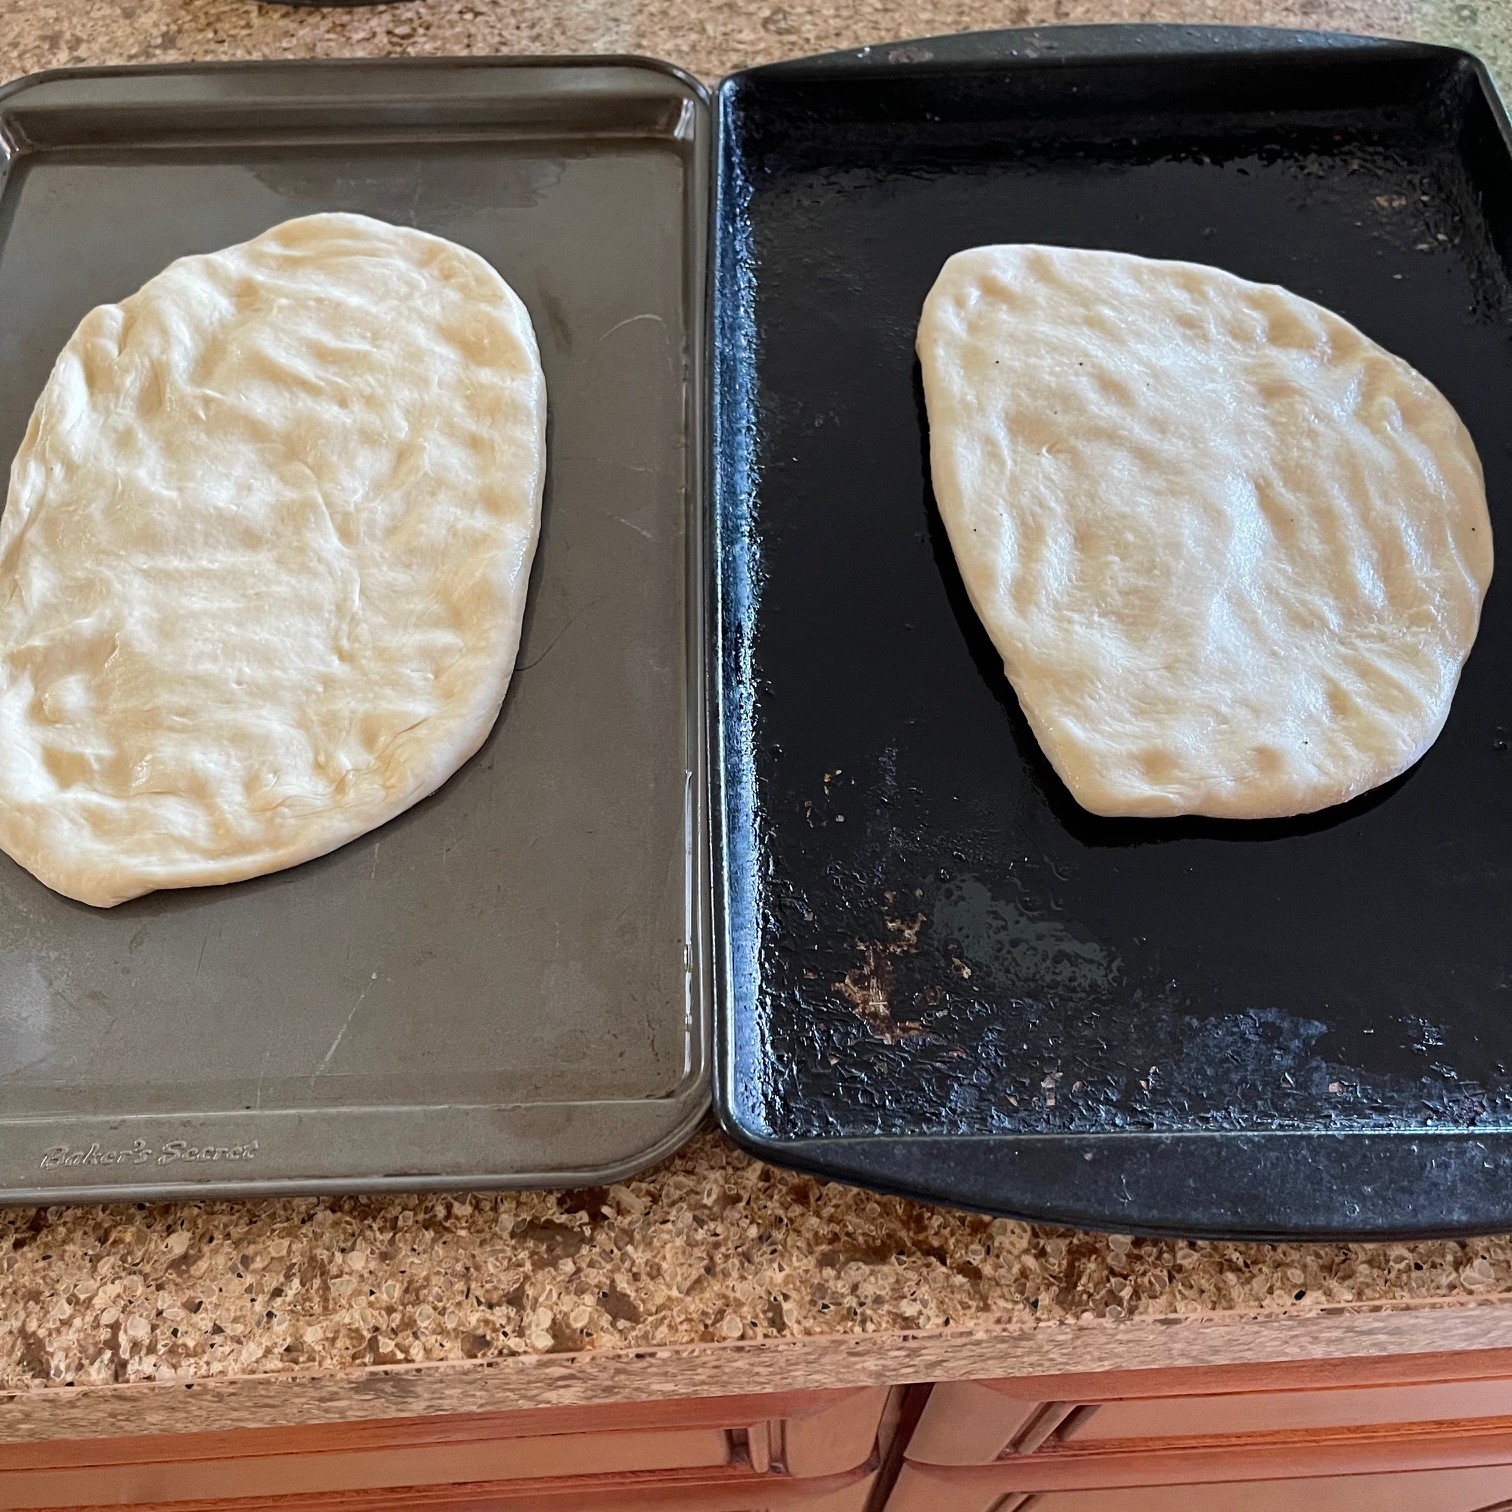
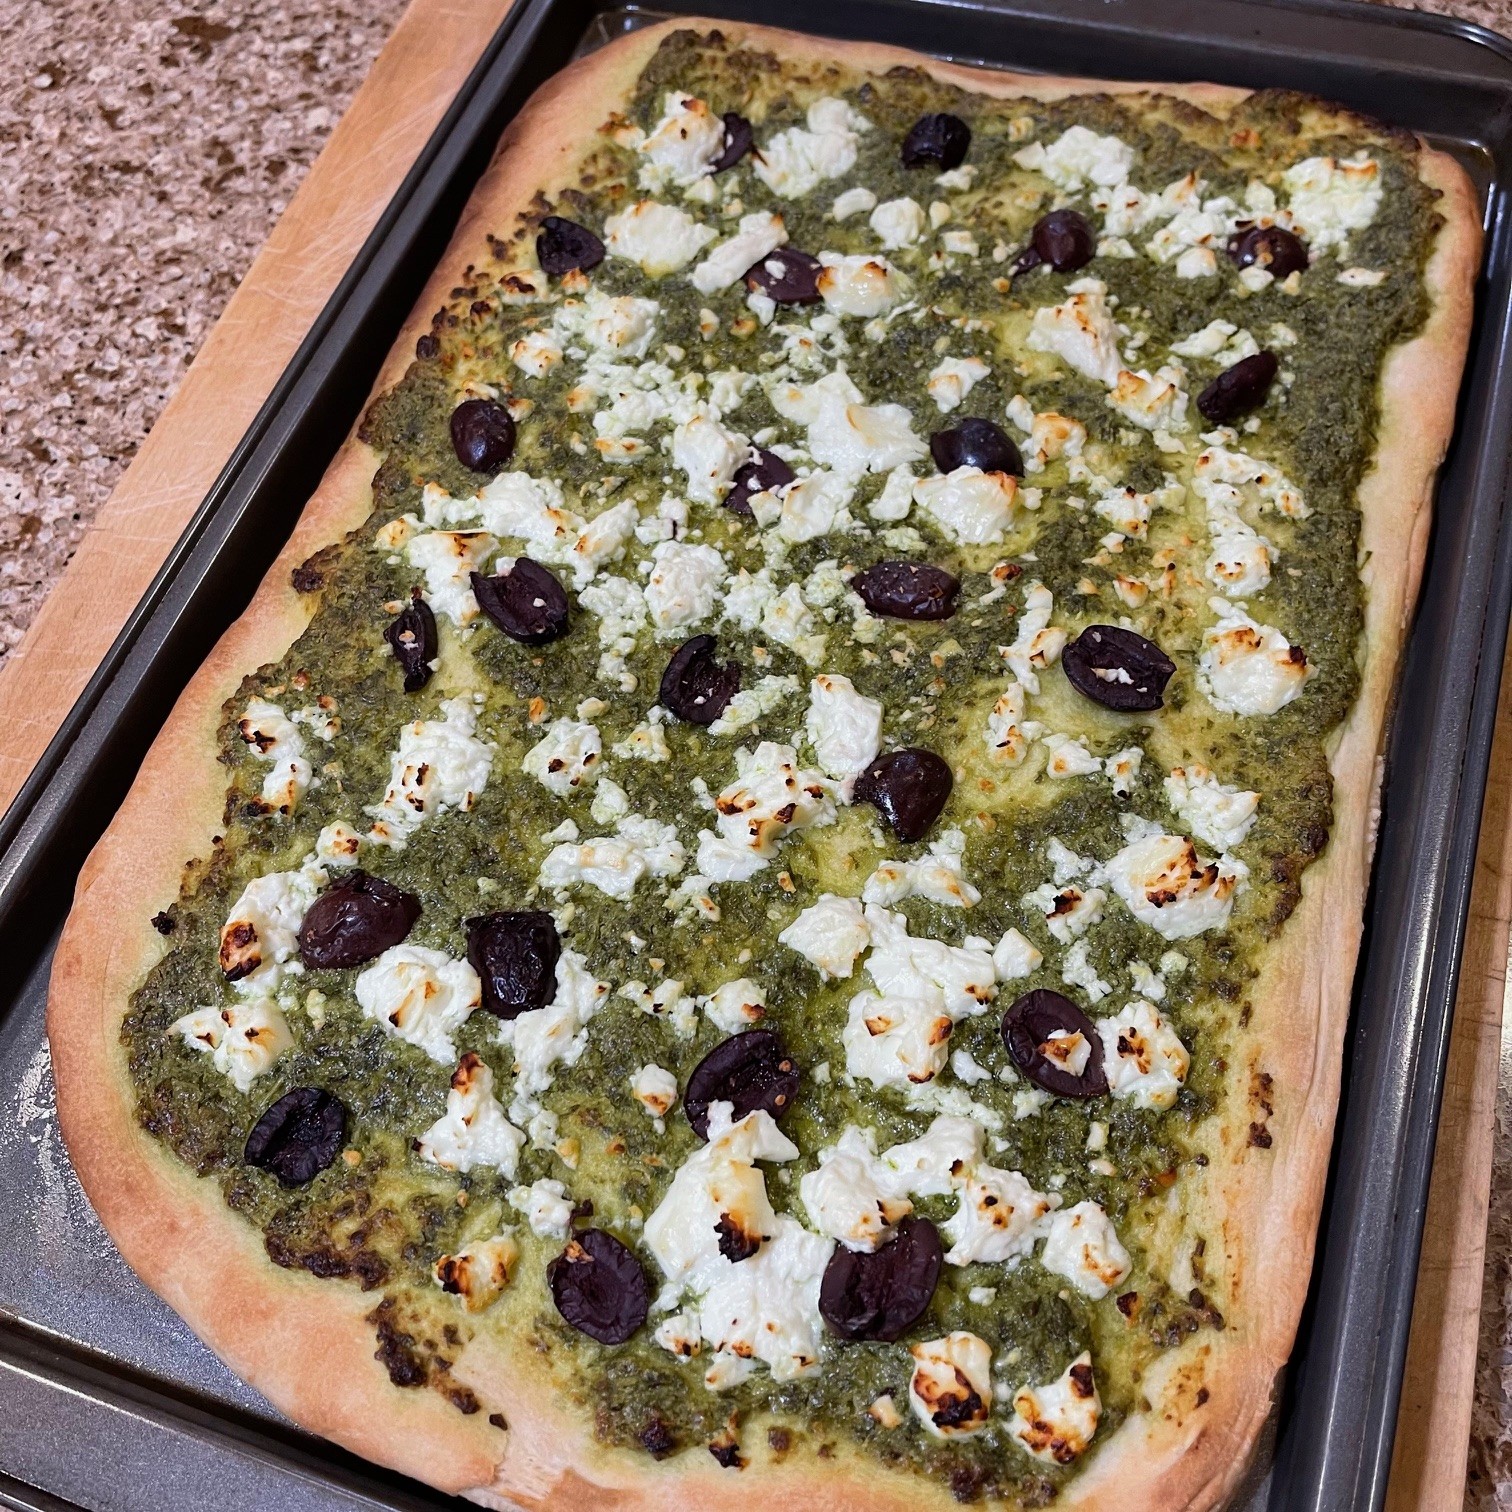
NOTE 2: A rimmed baking sheet is preferred to define the rectangular shape but, if you don’t have one, just use a large baking sheet and shape the dough as best you can. As you can see from the photo above, dough seems to have a mind of its own, and occasionally refuses to fill in the corners anyway.

GRANDMA PESTO PIZZA – makes 2 pizzas

Dough:

  • 332g (1.5 cups) water, about 104°F (40°C)
  • 4 tsp (12g) yeast
  • 20g (2 T) olive oil
  • 385g (3 cups) strong (bread) flour
  • 8g (2 tsp) sugar
  • 1.5 tsp salt

Topping:

  • 130g (4 cups) (9 oz) fresh basil leaves
  • 8 cloves garlic
  • 22g (1 T) lemon juice
  • 88g (1 cup) Pecorino/Romano or Parmesan Cheese, grated
  • 44g (1/2 cup) pine nuts, lightly toasted
  • 1 tsp salt
  • 114g (2/3 cup) olive oil
  • Feta cheese
  • Kalamata olives

About 3 hours before serving time, make the dough:

Combine the warm water and yeast in a cup. Let prove for 5 minutes.

Into the work bowl of the food processor, add olive oil, flour, sugar, and salt. Pulse a couple of times to blend. When yeast has proved for 5 minutes, run the processor and slowly pour in the yeast water. Run the machine about 40 seconds total, stopping to scrape down the sides once.

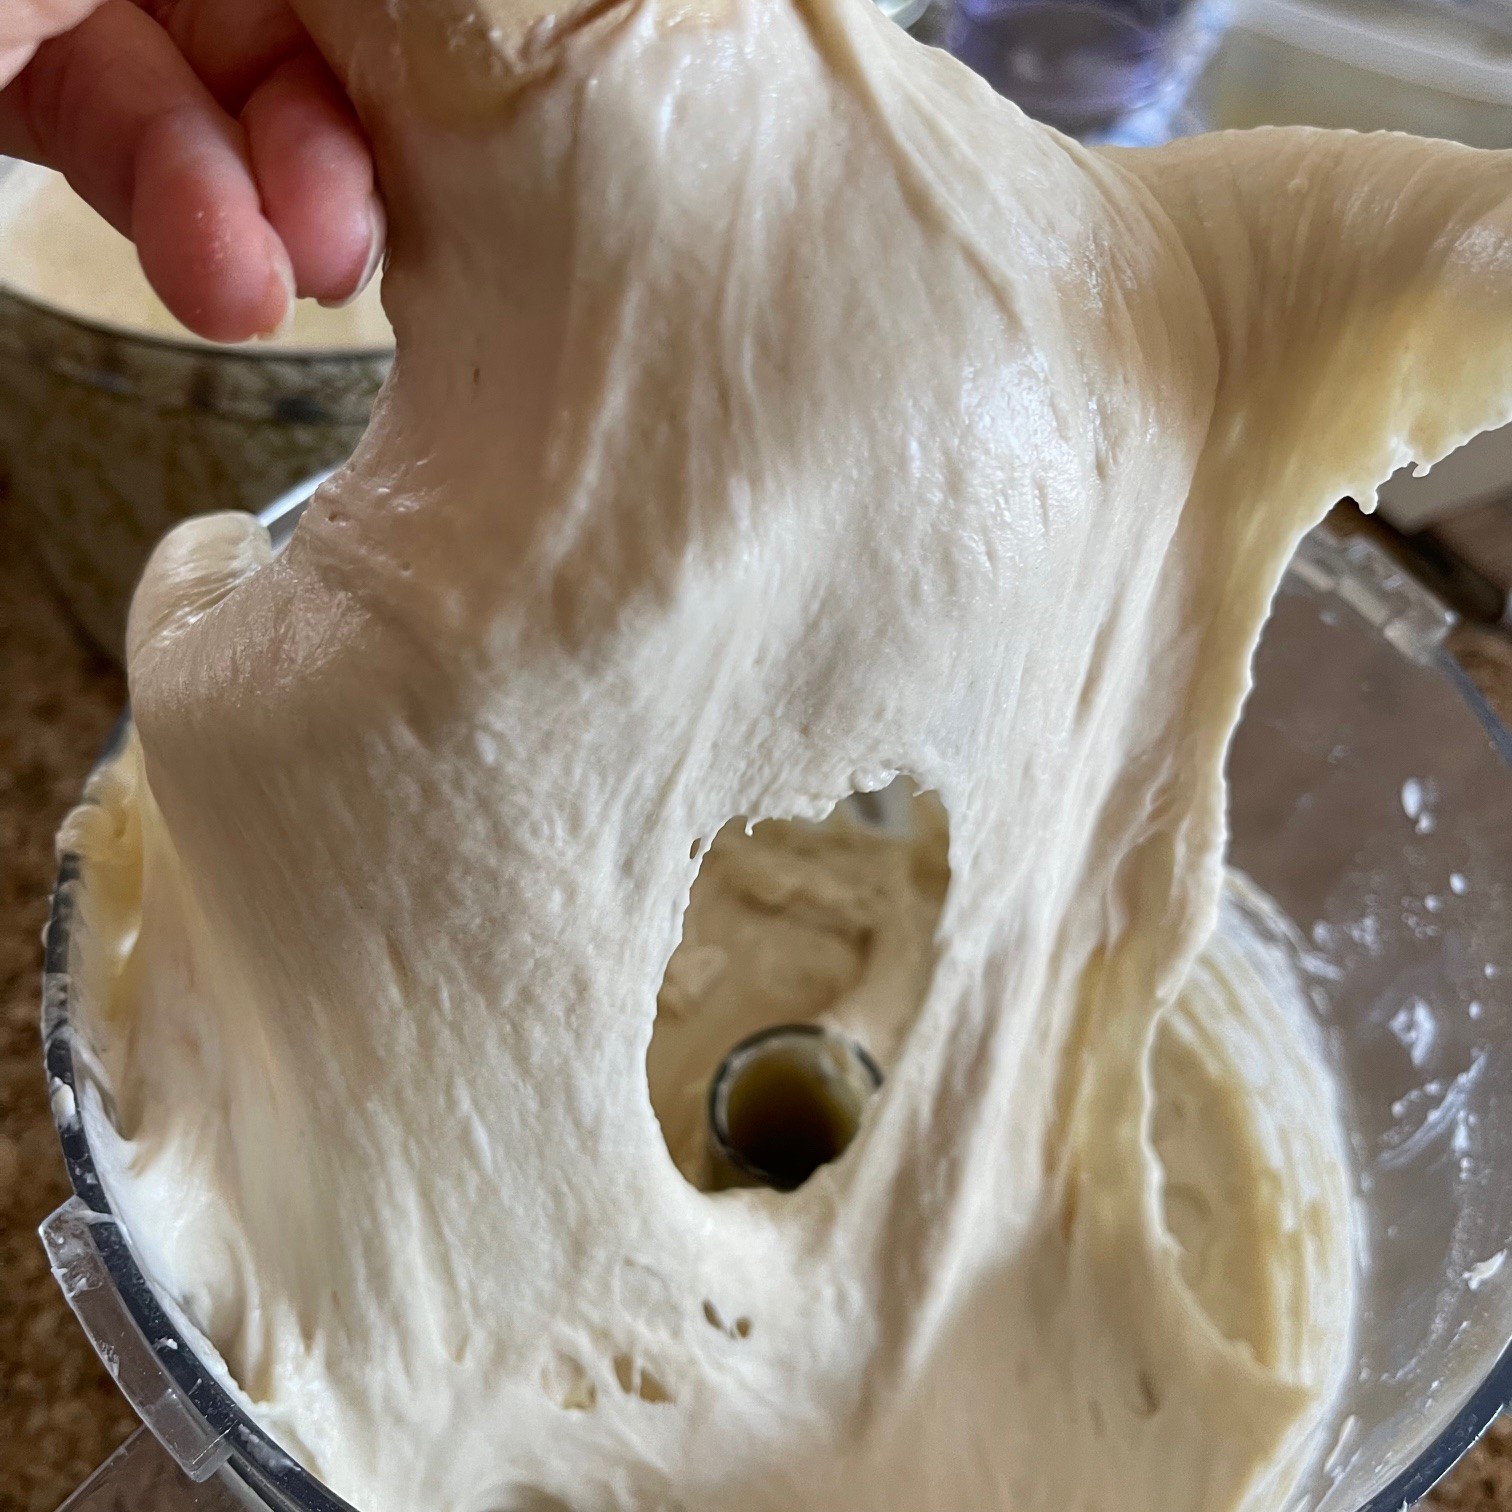
Now comes the icky part. Remove the blade and scrape off the dough. You’ll notice how stretchy and sticky the dough is.

Empty the dough onto a well floured surface. Using a bench scraper underneath the dough, begin kneading 6 or 7 times to bring the dough together, sprinkling with flour as needed. Cut the dough in half.

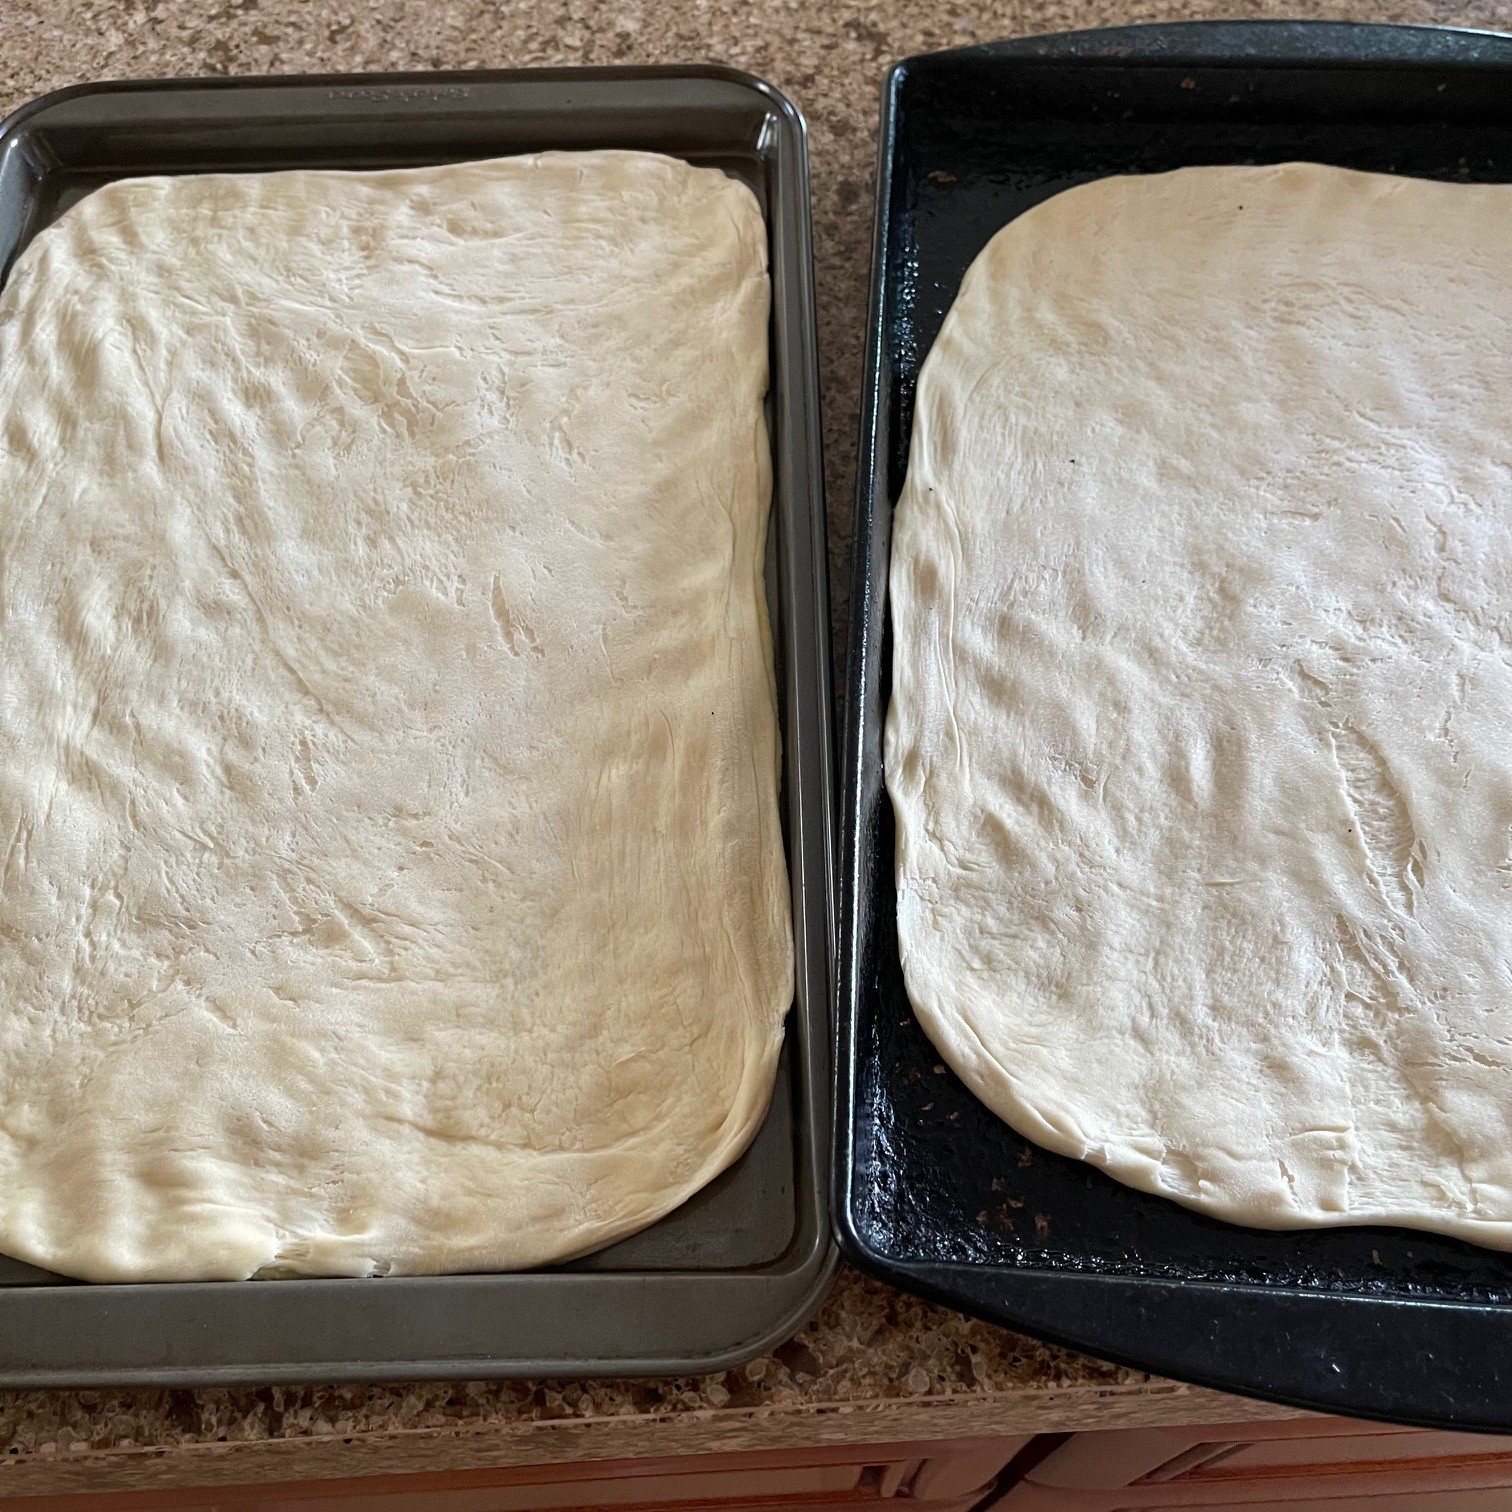
Put 2 tablespoons olive oil in each of the two pans. (Don’t be tempted to use more olive oil – it will be difficult to stretch the dough on a slippery surface.) With your fingertips, spread the oil around the pan. Plop one dough half in each pan, flipping them over to cover both sides with a bit of oil. With your slightly oiled fingertips, work the dough to stretch it out to about 20cm x 13cm (8″ x 5″). Don’t worry about it being exact. Cover pans and let rise about 1.5 hours.

While dough is rising (or, ahead of time), prepare the pesto:

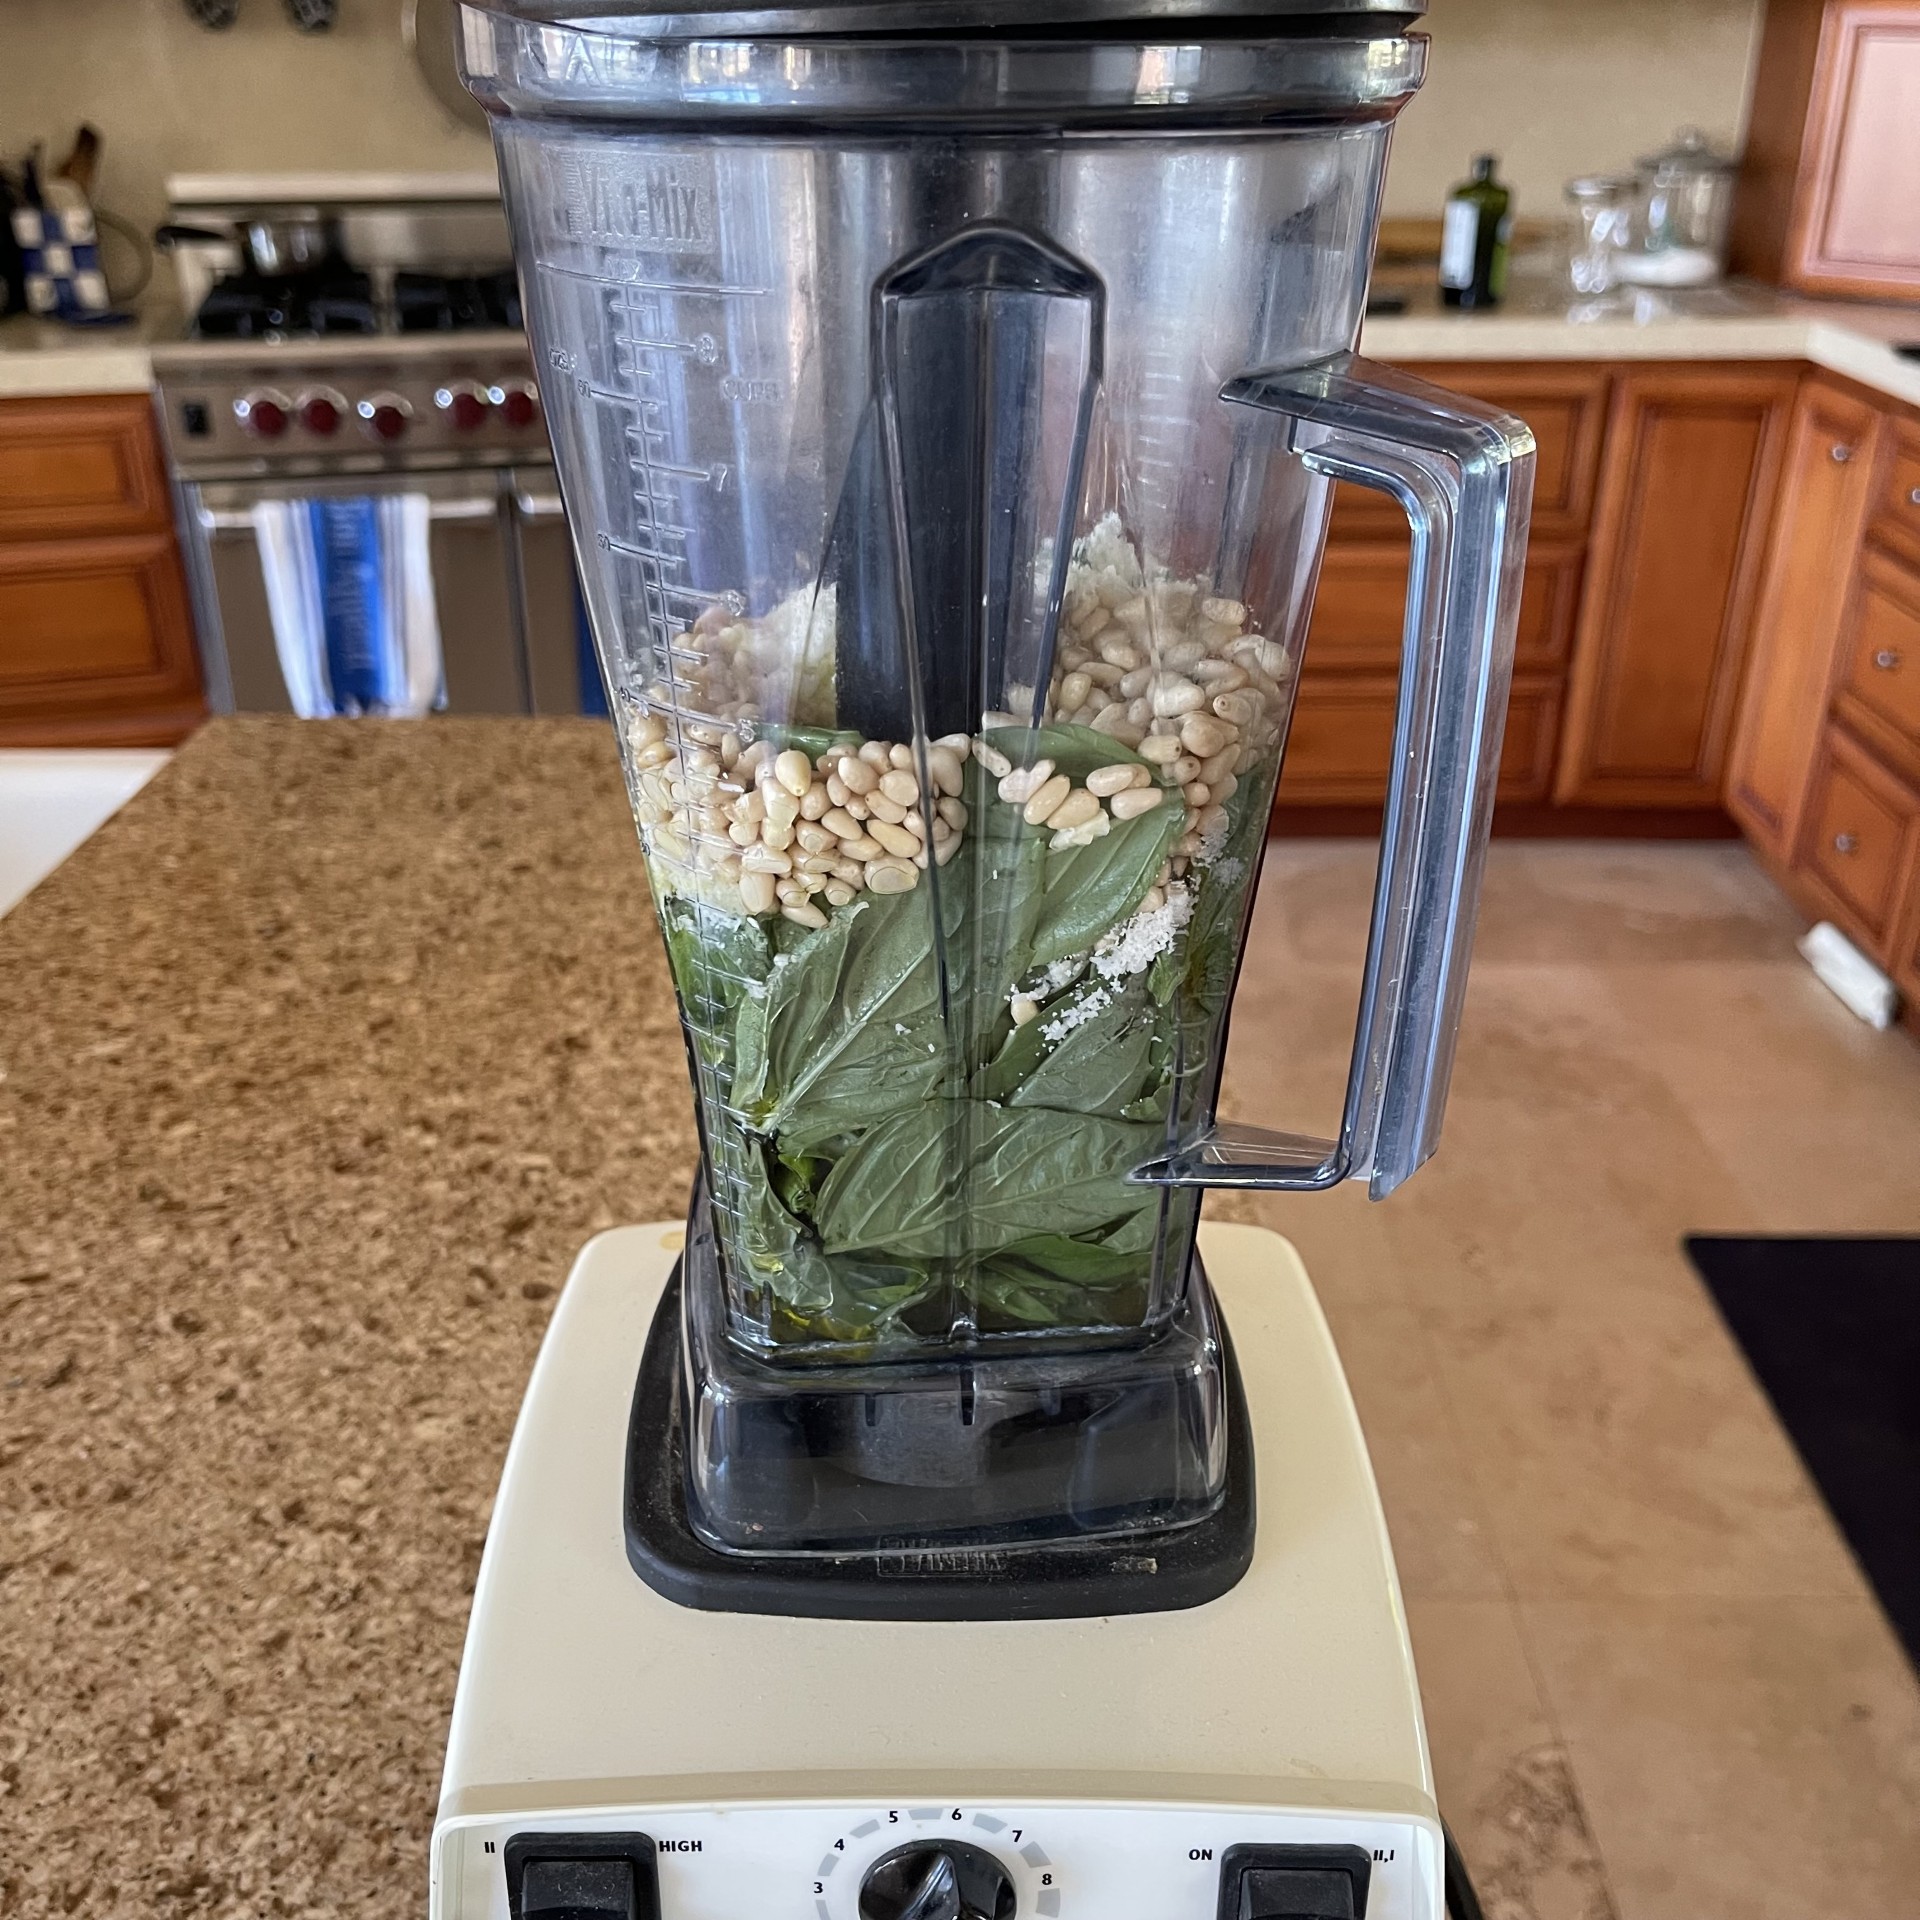
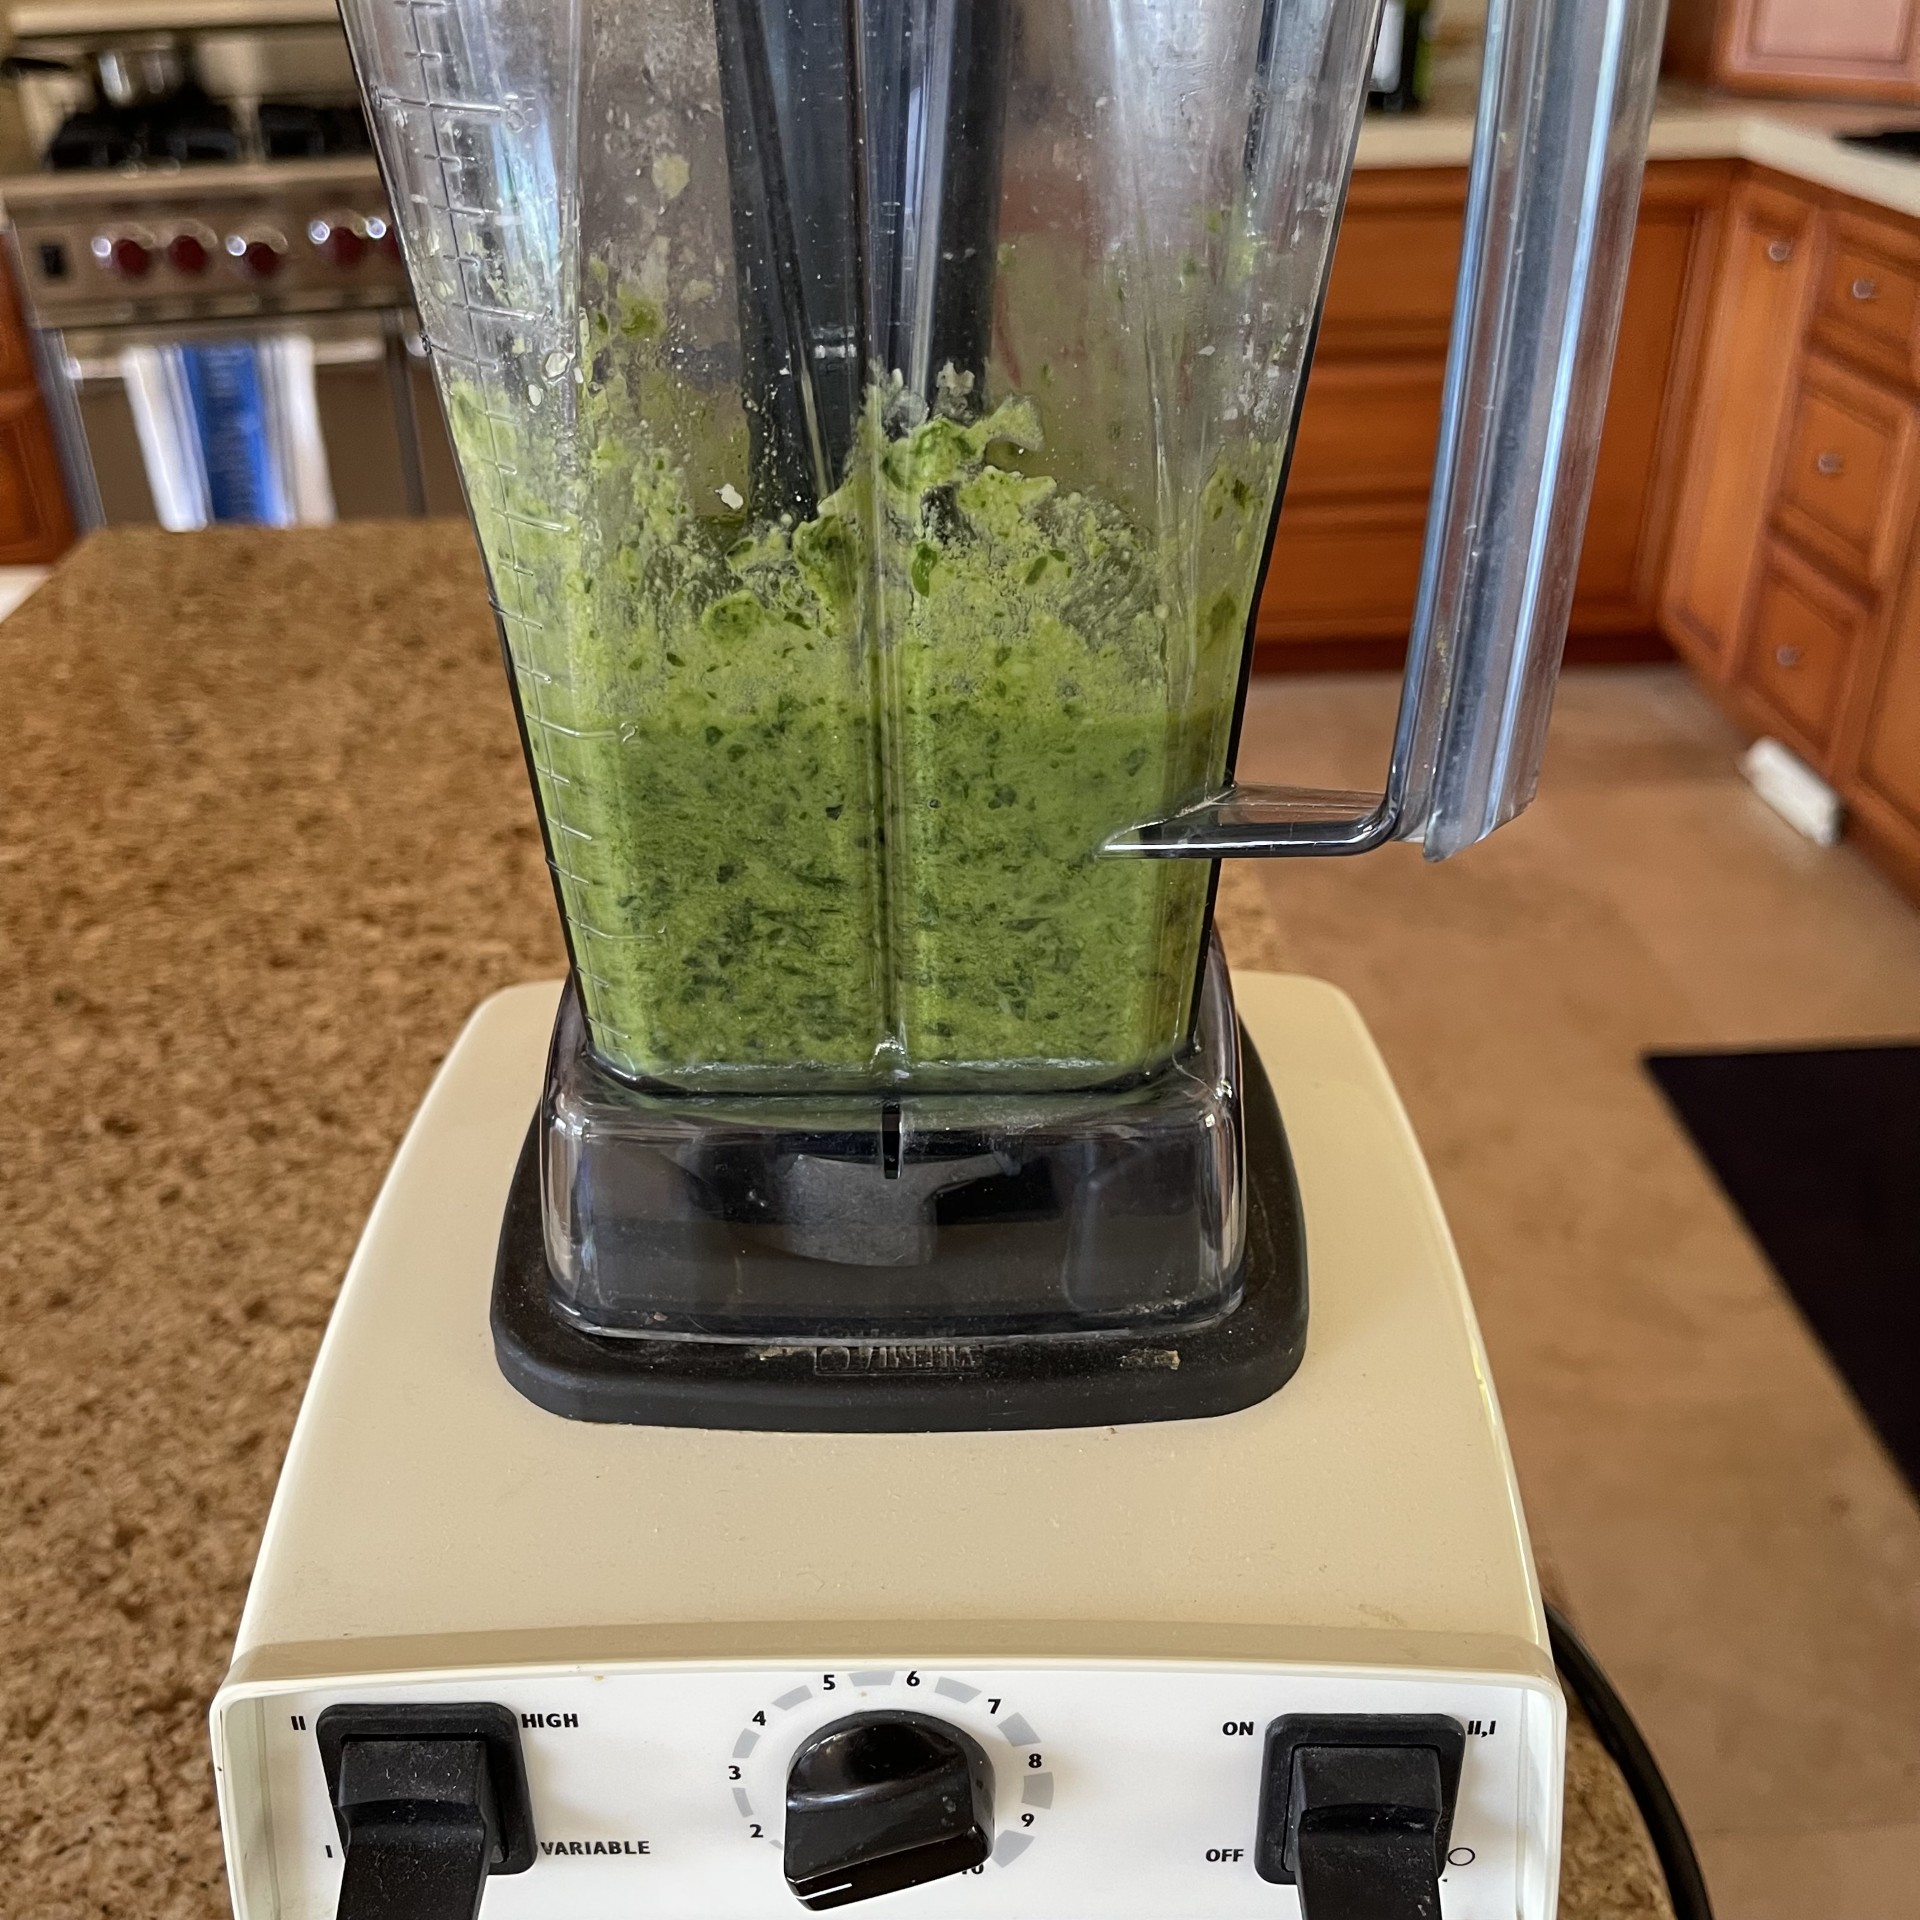
Into a blender put all the ingredients (basil, garlic, lemon juice, Pecorino/Romano, pine nuts, salt, and olive oil).

Due to the basil leaves, you’re going to have to blend in spurts, scraping down sides in between. DO NOT PRESS DOWN INGREDIENTS WHILE BLENDER IS RUNNING UNLESS YOU HAVE A BLENDER (SUCH AS A VITAMIX) THAT HAS A TAMPER SPECIFIC FOR YOUR BLENDER! I speak from experience – more than once I’ve thought I could control a wooden spoon to press the basil down without hitting the blades. I was wrong and had to thrown the whole batch out.

After dough has risen, use your fingertips to stretch the dough to cover the pan. You can pull gently on the corners to help it along. Cover and let rise 45 minutes. PREHEAT OVEN TO 260°C (500°F).

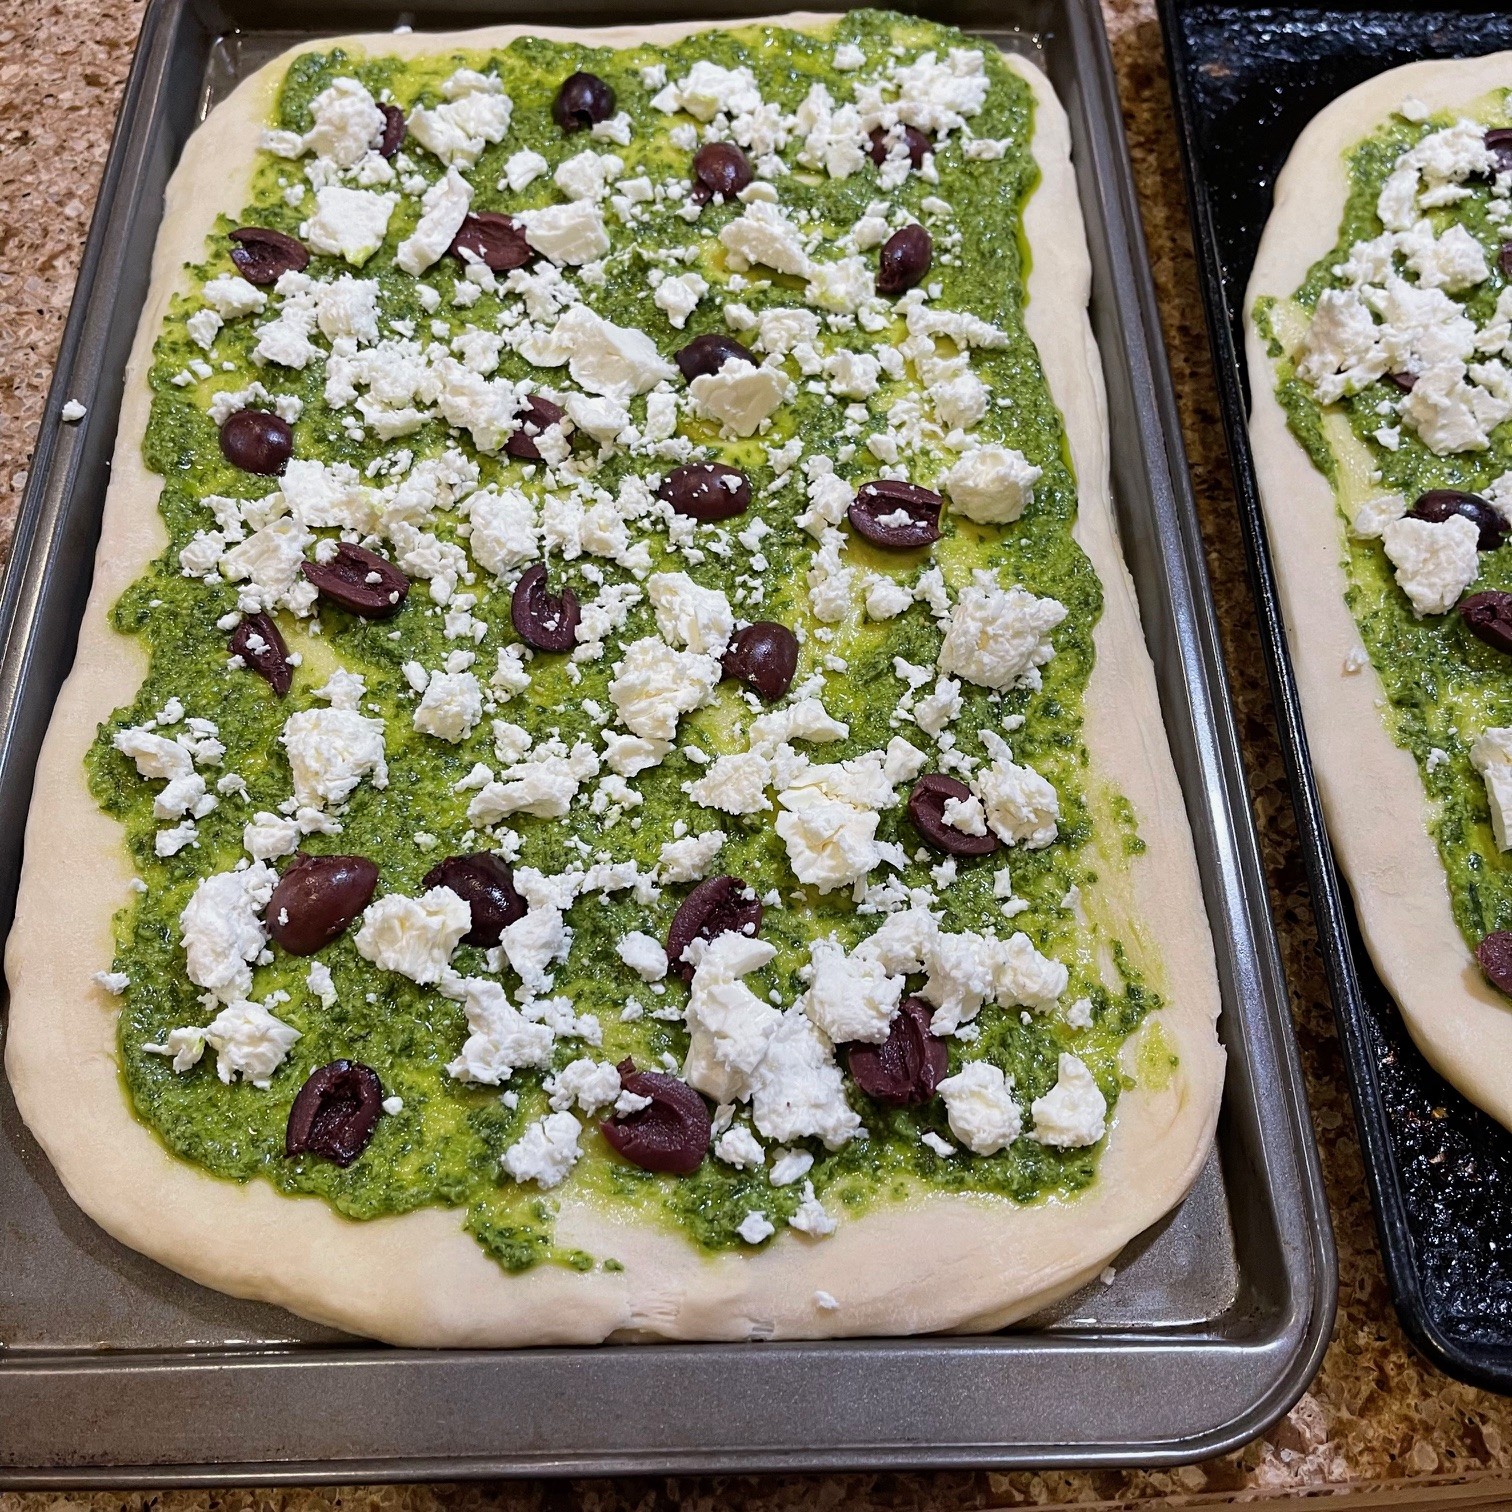
Top risen pizzas with your preferred amount of pesto, crumbled Feta, and Kalamata olives.

Bake in bottom third of preheated 260°C (500°F) oven until crust is browned – about 13-15 minutes.

ZUCCHINI SOUP: Why, Yes! I’d Love Some Zucchini!

They’re coming – home gardeners who planted more zucchini than they need, arms laden with these beauties who just yesterday were 7″, today the size of props in a sci-fi film. Never one to turn down free food, I thank them and start planning. Of course, there’s zucchini bread, zucchini stir-fry, and spiralizing zucchini.

Then it hit me:

ZUCCHINI SOUP!

It can be a meal in itself or as a starter. Bonus: it freezes well!!!

ZUCCHINI SOUP

Note: Don’t worry about the chopped veggie sizes – everything will be blended

  • 28g / 2 T butter
  • 115g / 1 cup onions, chopped
  • 2-3 garlic cloves, minced
  • 1/4 tsp dried rosemary
  • 1/4 tsp dried thyme
  • 1/4 tsp celery salt
  • 1.75 tsp kosher salt (or 3/4 tsp table salt)
  • 1/4 tsp black ground pepper
  • 1/8 tsp cayenne pepper
  • 683g / 1.5 lbs / 5 cups zucchini, unpeeled and chopped
  • 445g / 1 lb russet potatoes, unpeeled and diced
  • 690g / 3 cups vegetarian stock – homemade (click link) or purchased
  • 17g / 1T soy sauce
  • 60g / 2 oz / 1 cup sharp Cheddar cheese, shredded
  • 82g / 1/2 cup uncooked couscous (not the Israeli pearl couscous)
  • OPTIONAL: greens, such as Swiss chard or spinach pieces
  • OPTIONAL: small pieces of bread, such as pita

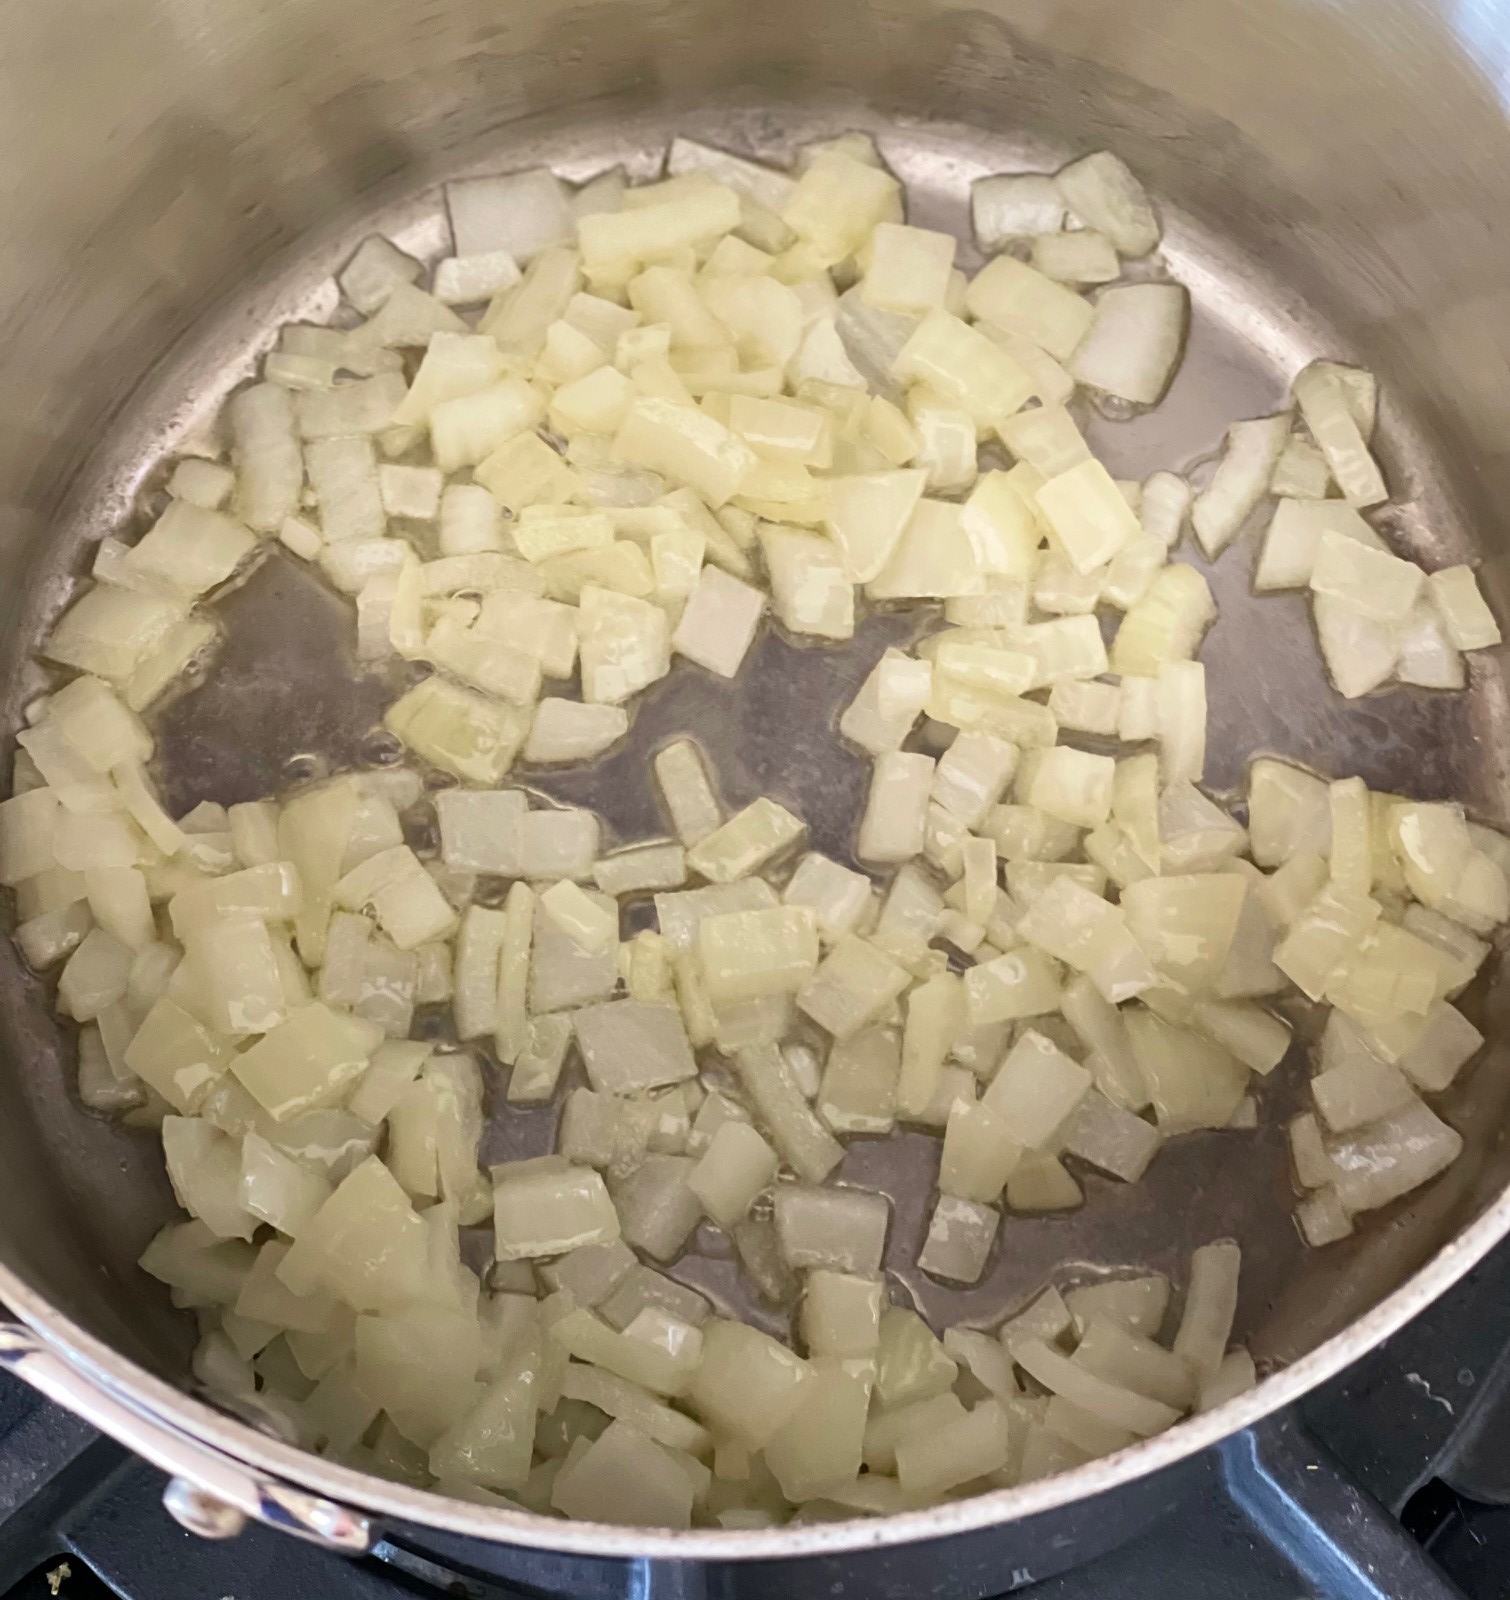
In a large saucepan (2 litres / 8 cups), melt the butter. Add onions and, over medium-high heat, saute for 5 minutes. Stir often.

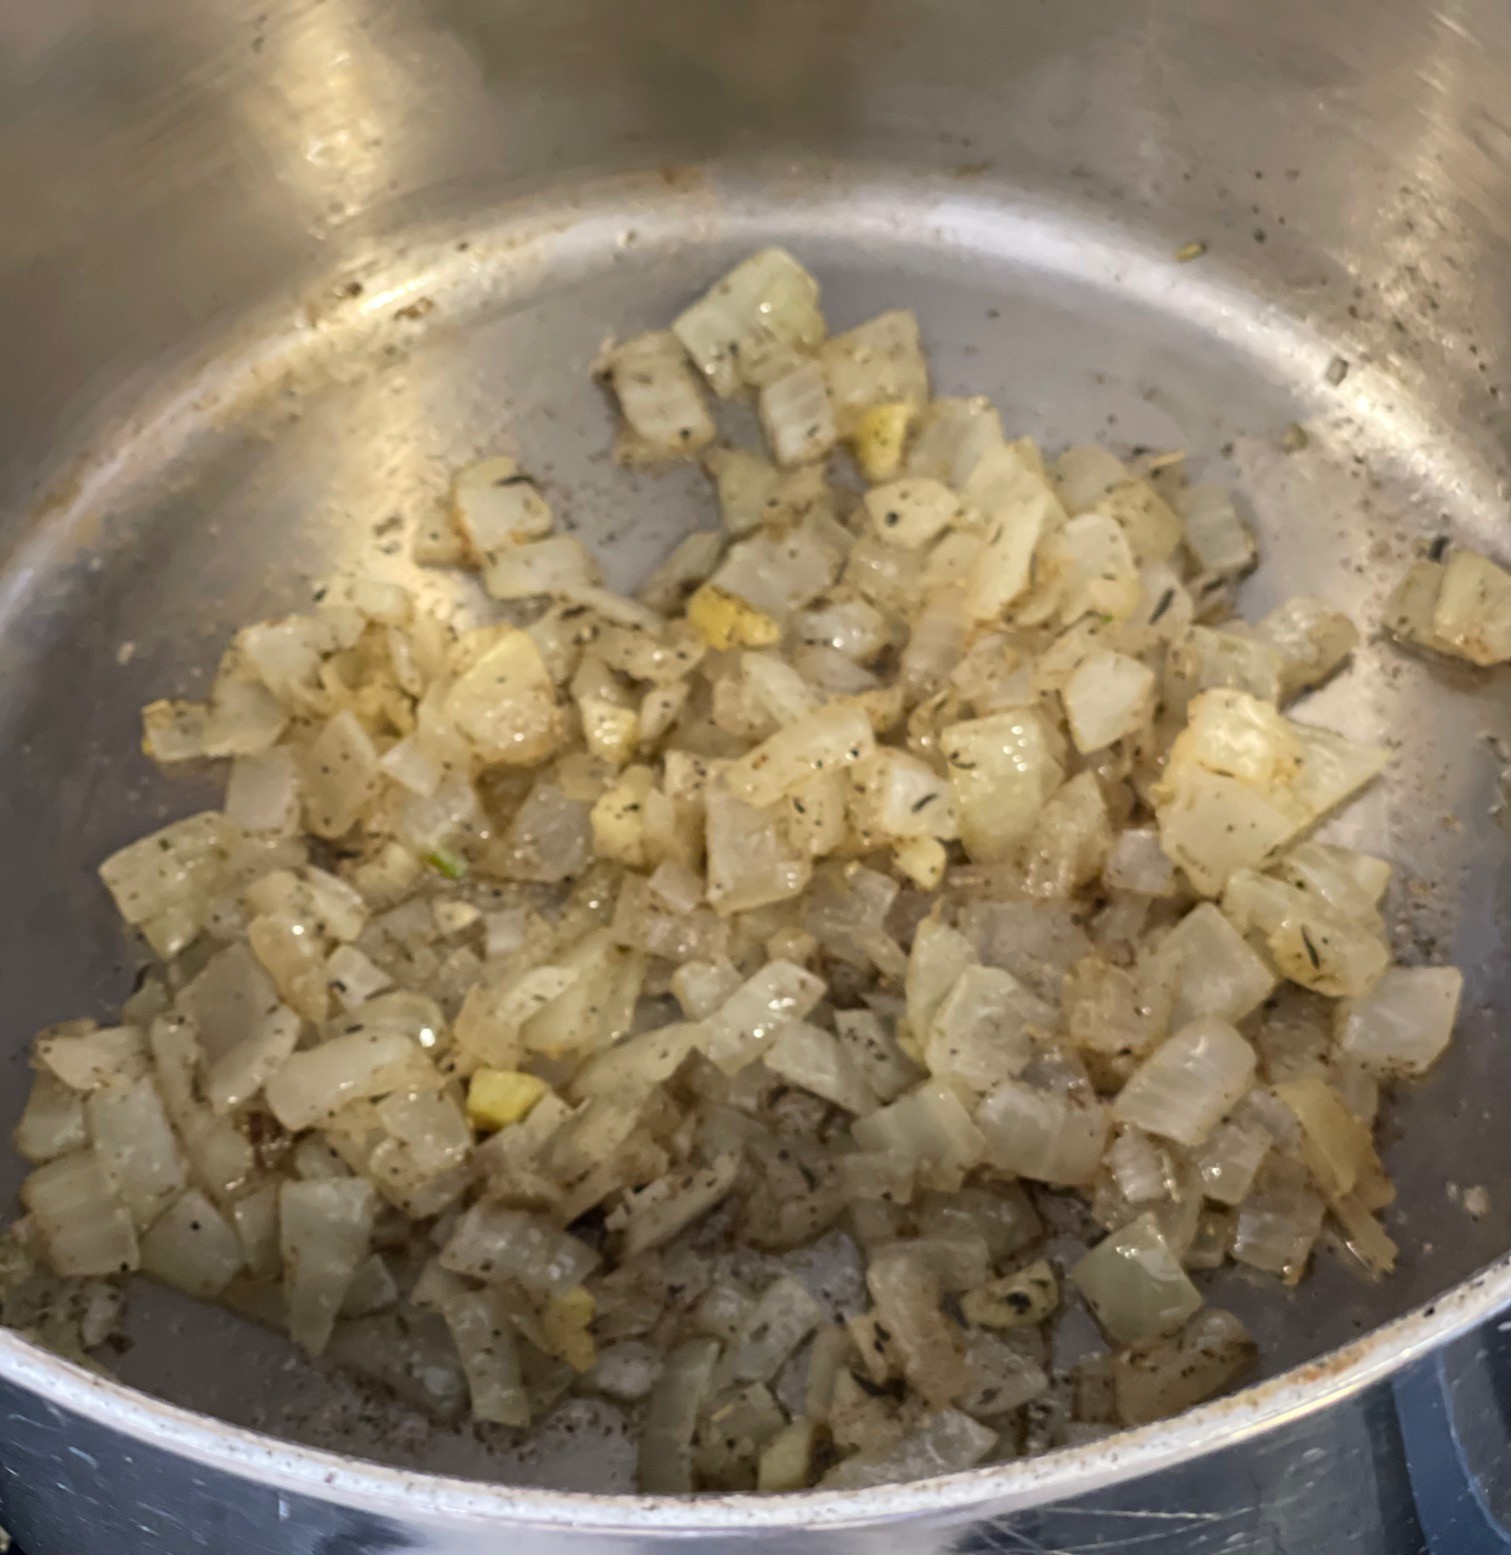
Add in garlic, rosemary, thyme, celery salt, Kosher salt, and black pepper. Over medium heat, saute about 1 minute to bloom the herbs, stirring constantly.

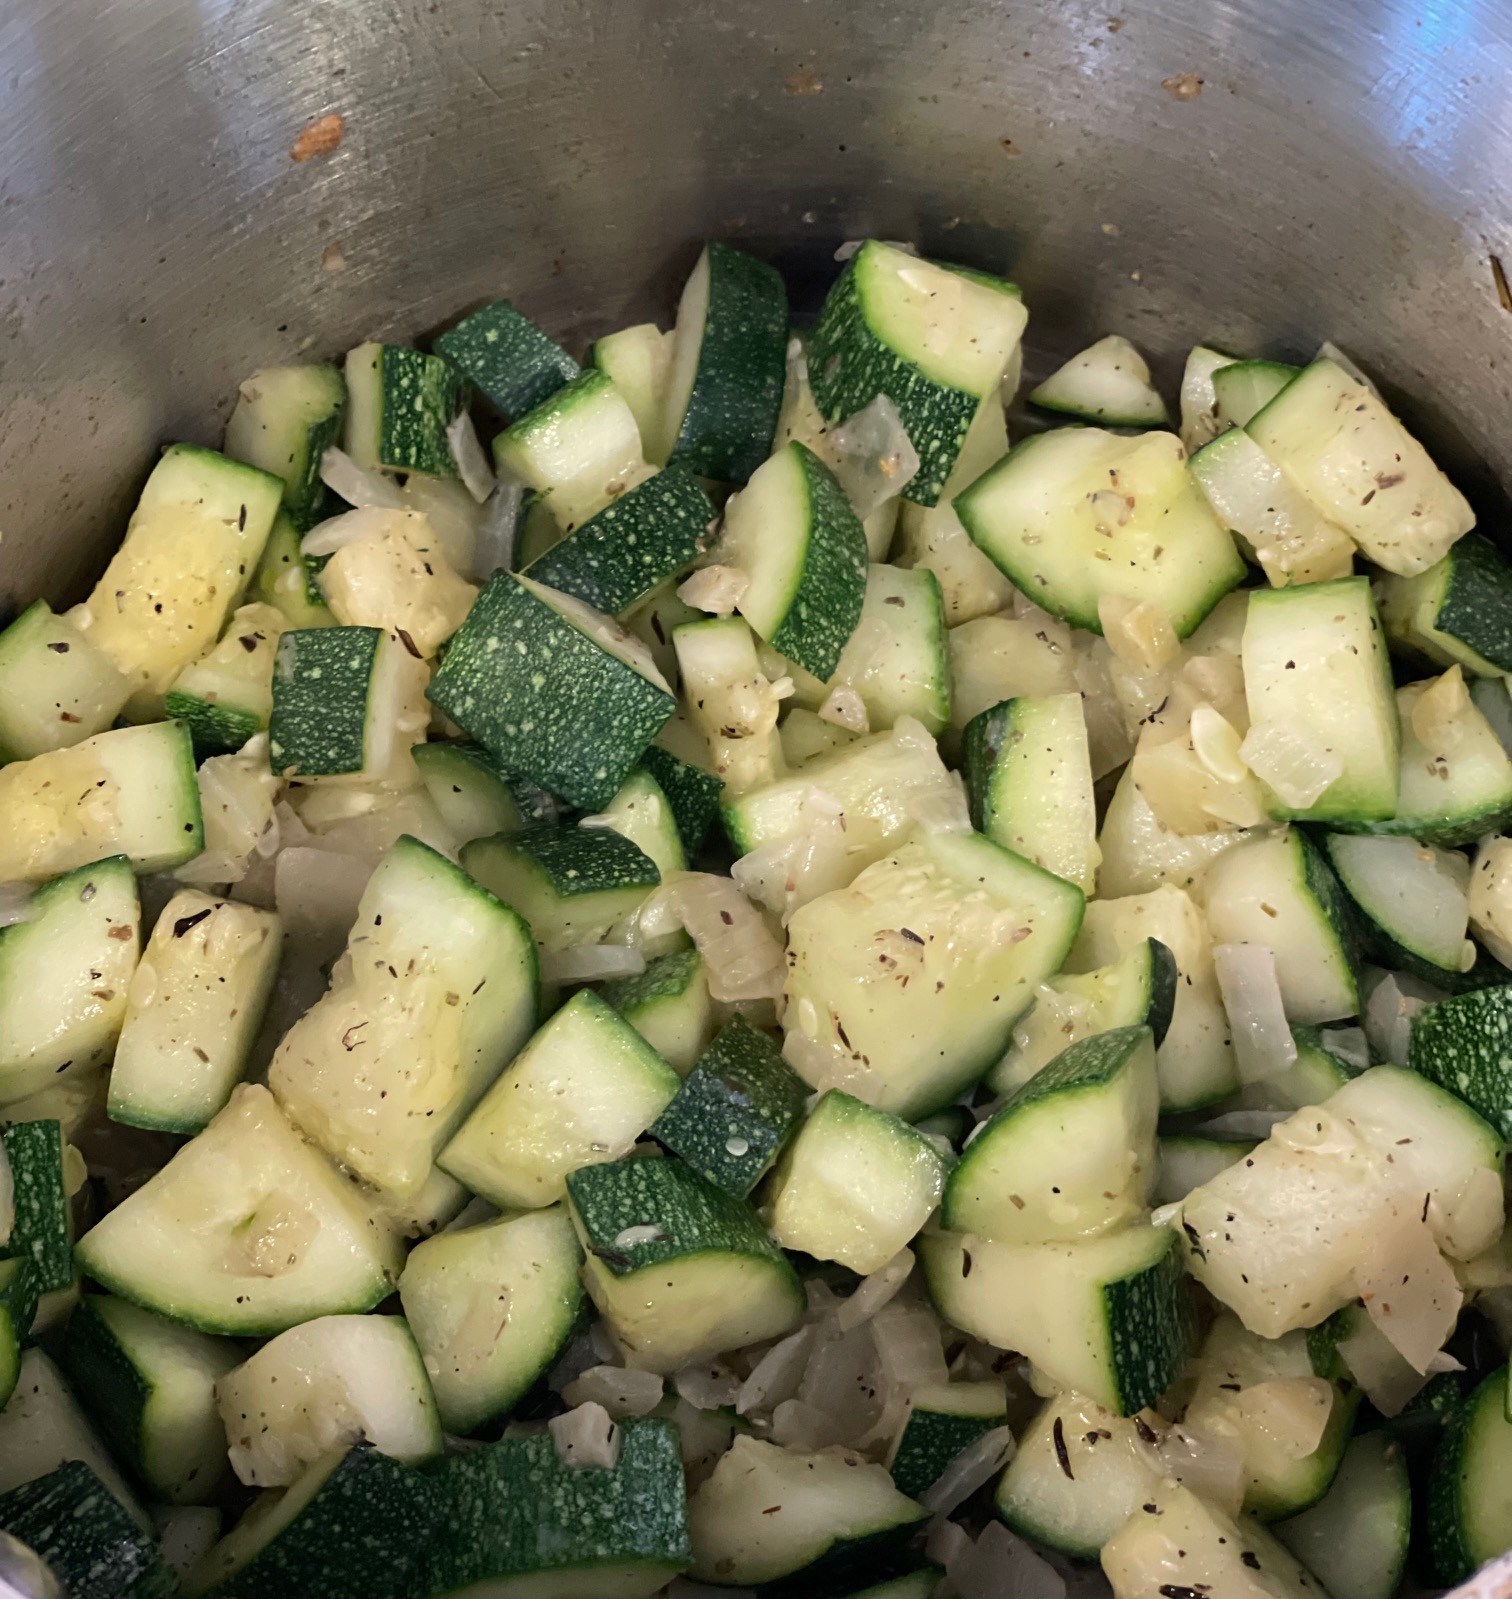
Add in zucchini and, over medium-high heat, saute 5 minutes, stirring often.

Add the potatoes, vegetable broth, soy sauce, and couscous to the pot. Bring to a boil, then decrease flame to maintain a simmer.

Cover the pot, leaving the lid slightly askew to prevent the liquid boiling over. Simmer for about 20 minutes, testing the potatoes are easily pierceable with a knife.

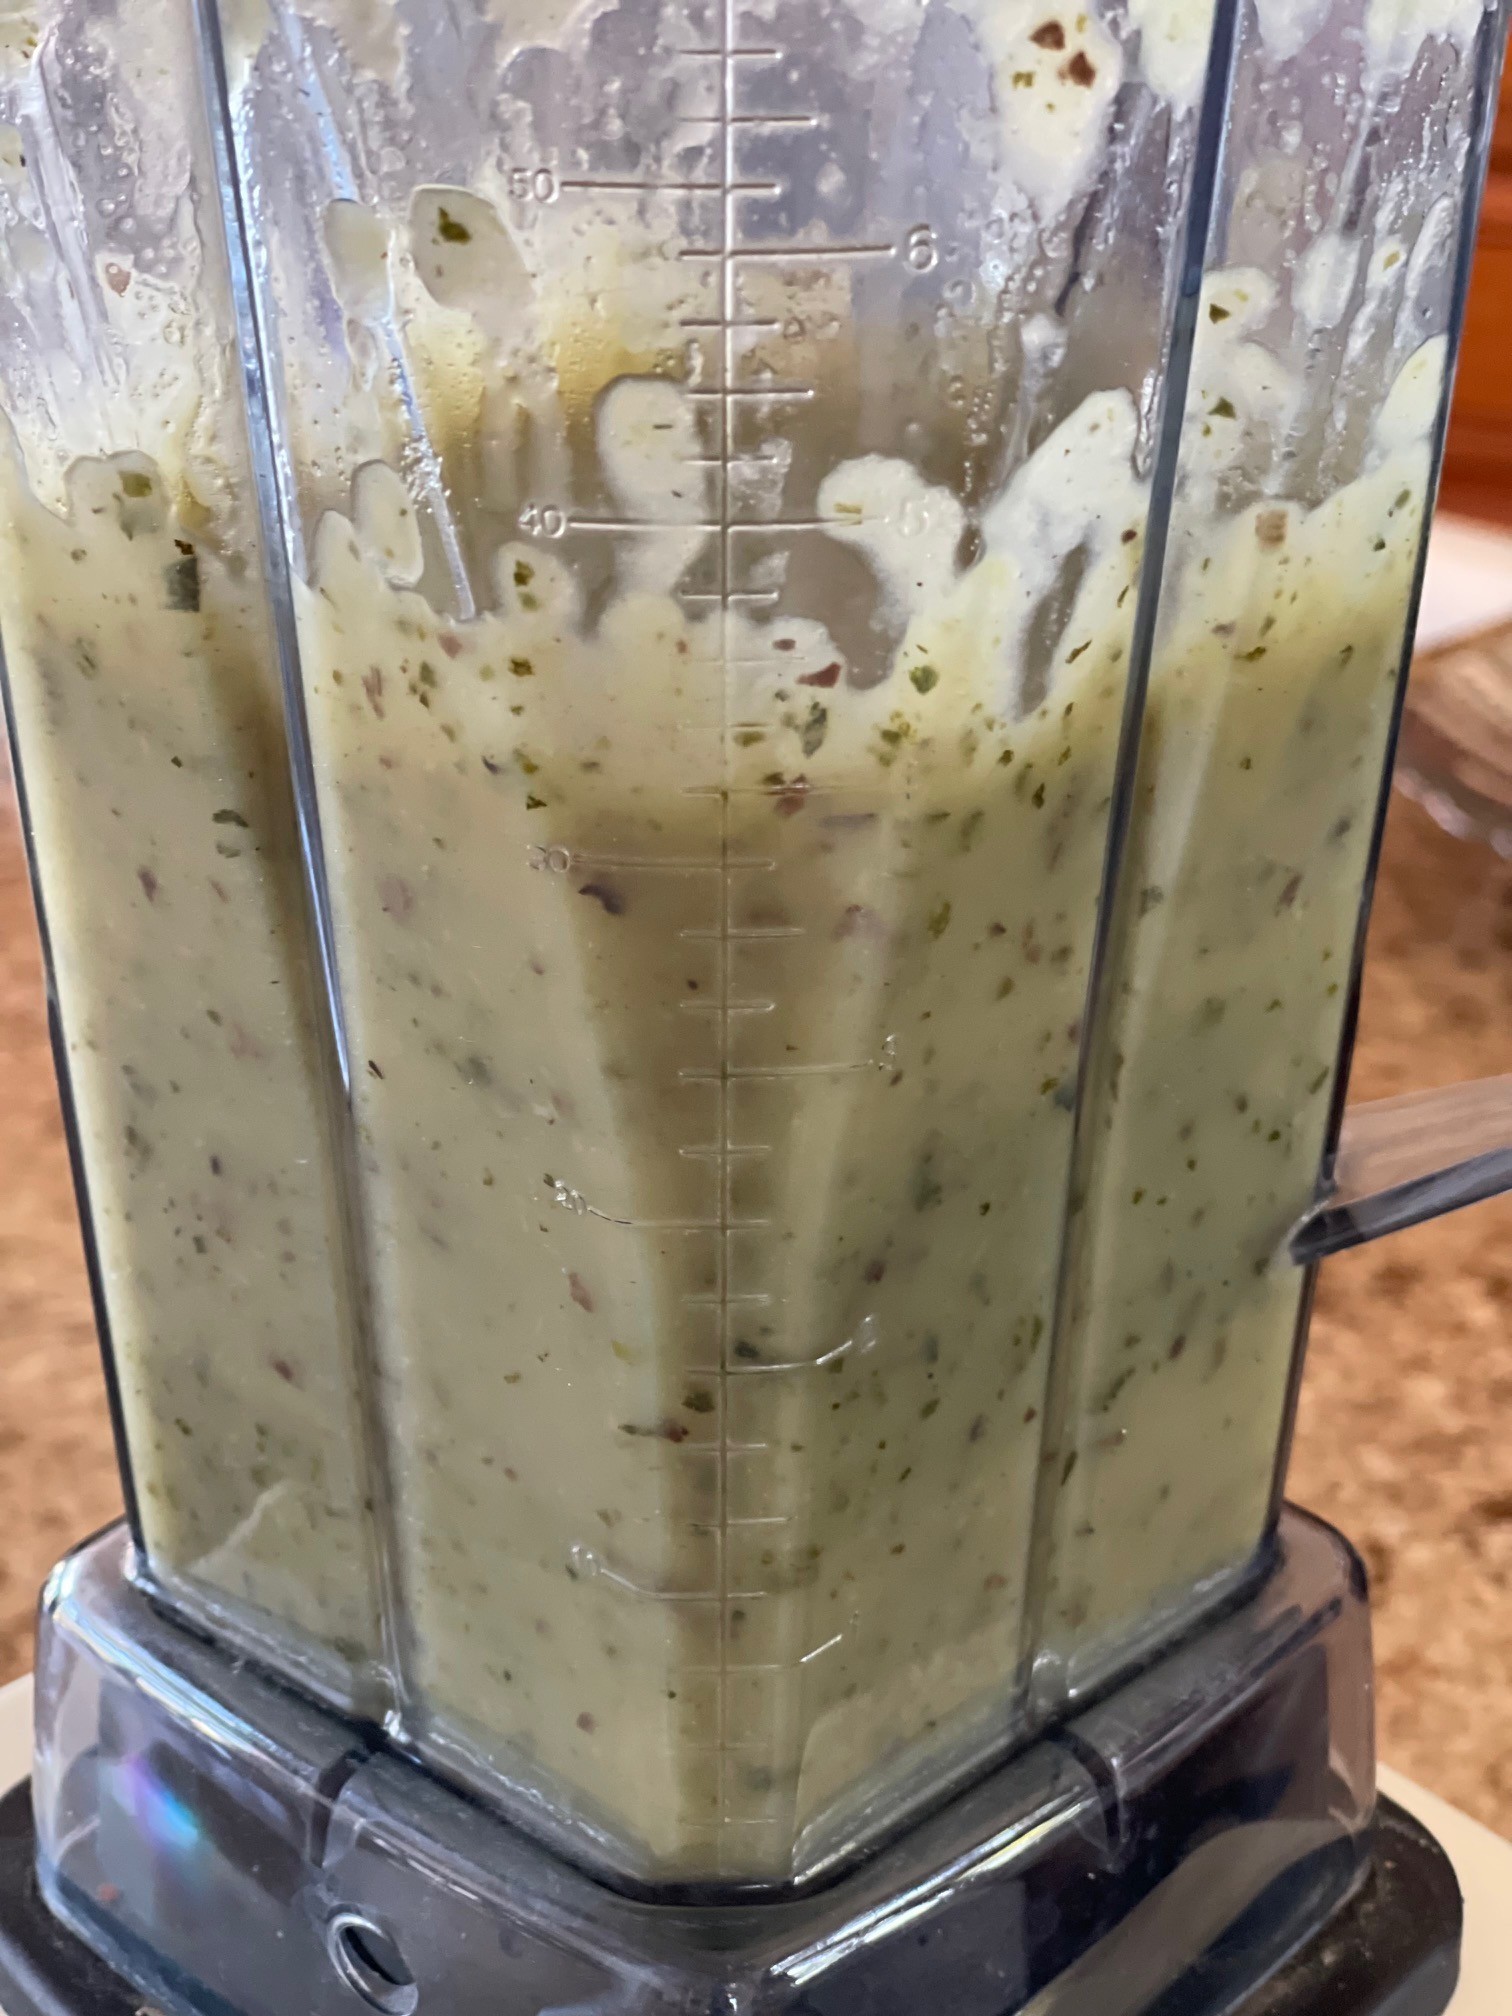
Remove lid and let soup cool about 20 minutes before blending. Then, pour cooled liquid into a blender (you may need to do this in batches) and blend until smooth.

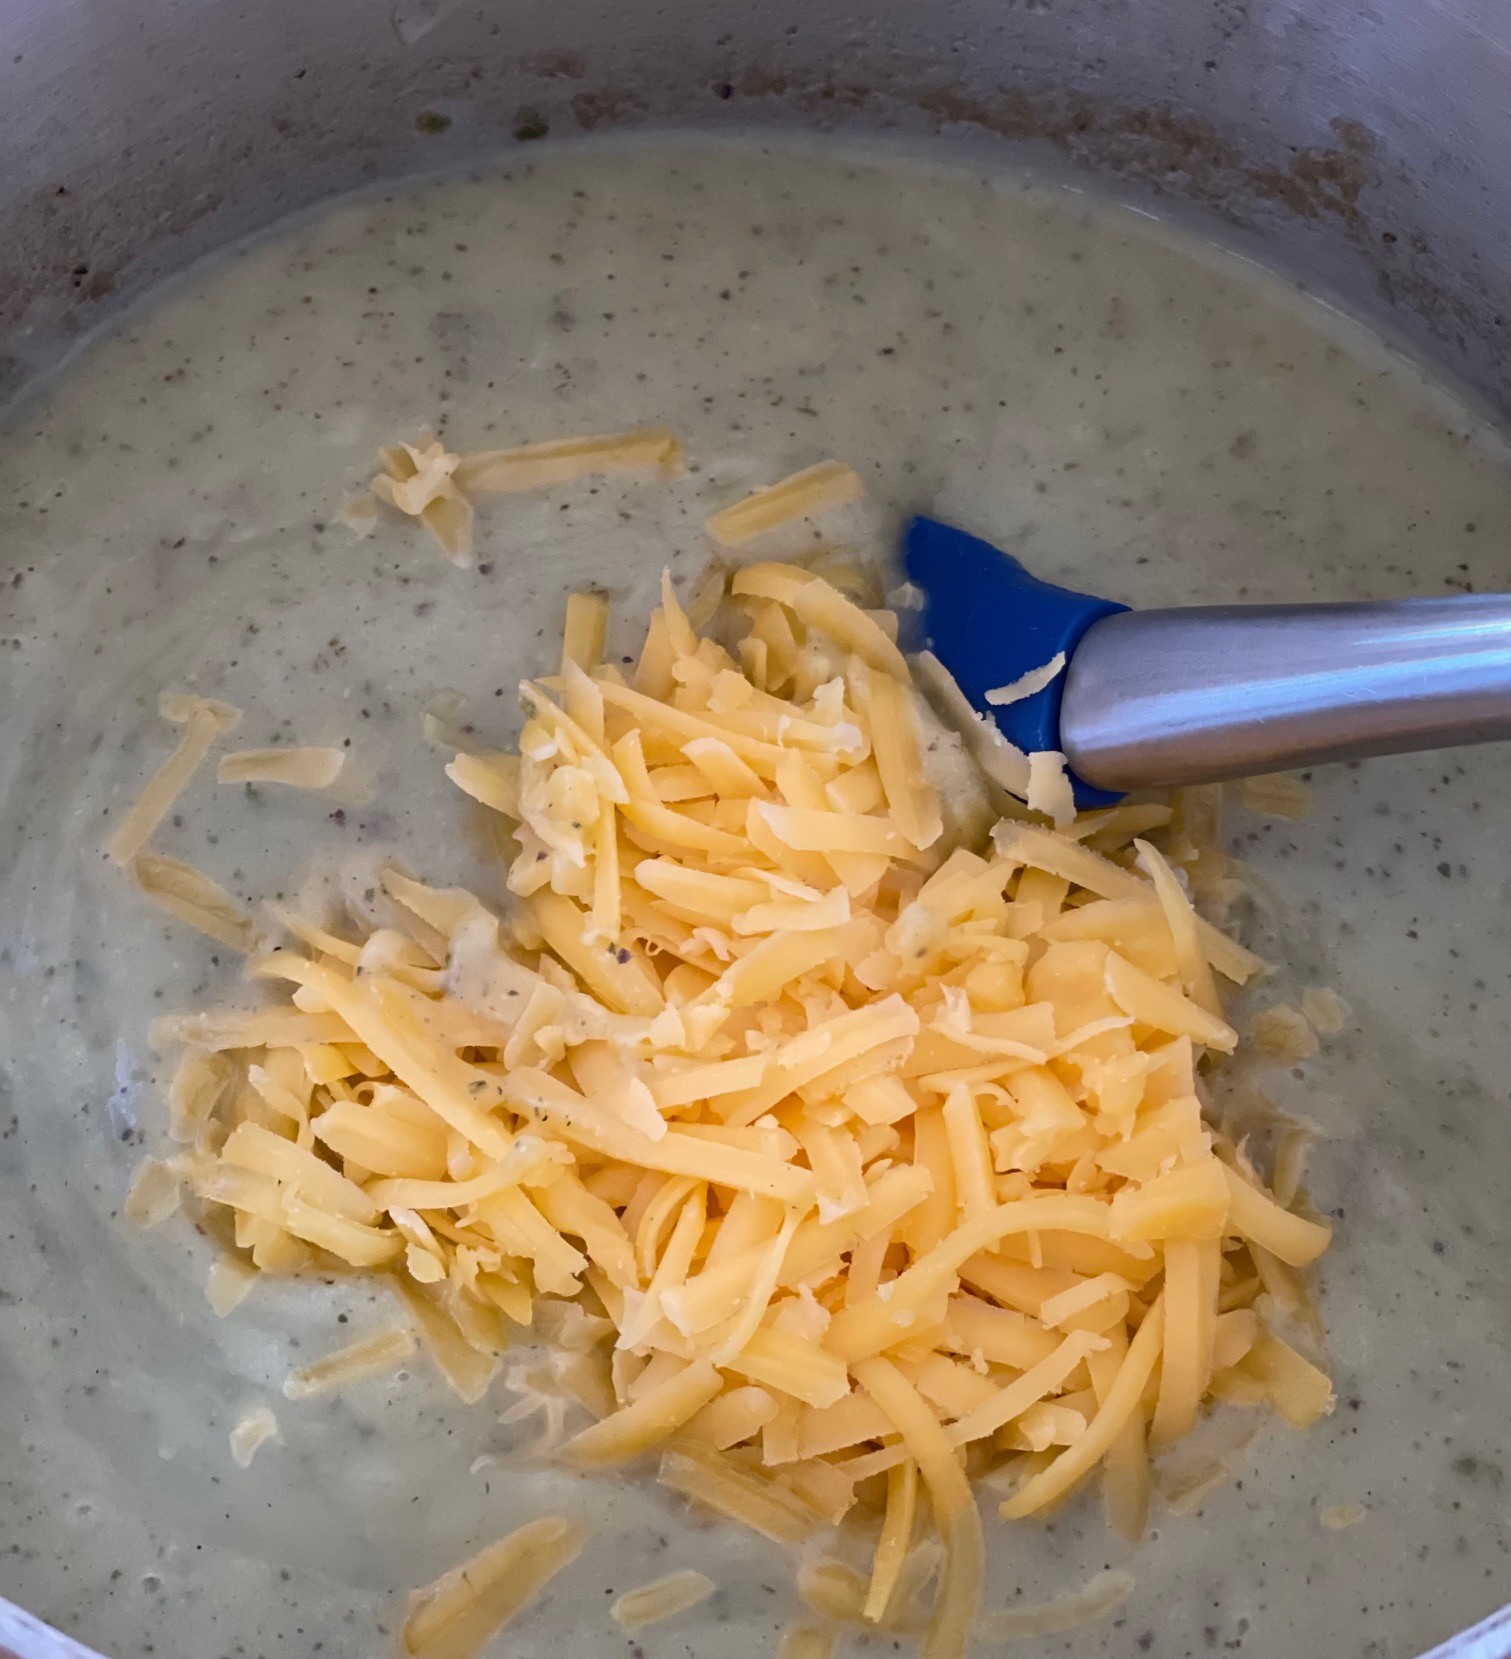
Return soup to saucepot and stir in cheese, optional greens, and optional bread pieces. Heat to melt cheese. Taste for seasoning, correcting if needed.

BARBECUE SAUCE: Fast, Easy, & Delicious!!!

This recipe is not only delicious, but cooks in 5 minutes! You just toss all ingredients in a pot and boil for 5 minutes. Done! (Don’t be daunted by the number of ingredients – half of them are spices.)

Before making a larger batch of this barbecue sauce, I recommend trying it first to be sure you like it. Then, if it pleases you, you can increase the amount. Since I don’t use barbecue sauce all that often, I quadruple the recipe and freeze it in portions.

BARBECUE SAUCE – makes about 250mls / 1 cup

  • 188g (1/2 cup + 2T) ketchup
  • 89g (1/2 cup, packed) dark brown sugar
  • 30g (2T) molasses – I use Grandma’s, unsulphured
  • 25g (2T) pineapple juice
  • 25g (2T) water
  • 8g (1/2T) vegetarian Worchestershire sauce
  • 1.25 tsp ground mustard
  • 1 tsp smoked paprika
  • 1/4 tsp garlic powder
  • 1/8 tsp cayenne powder
  • 3/4 tsp Kosher salt (or, 1/4 tsp table salt)
  • 1/4 tsp white pepper

Into a saucepan, put all the above ingredients.

Bring to a boil. Maintain a low boil, stirring often, for 5 minutes. That’s it!

Risotto with Gorgonzola-Pears-Walnuts

When I heard about a risotto dish featuring Gorgonzola, pears, and walnuts, I was intrigued. Salty, sweet, and crunch combined in a creamy risotto? Whoa! Four worlds colliding! (Seinfeld fans will understand my reference.) I set to work to create the recipe which, surprisingly, only took 2 tries. Delizioso!!!!

NOTE: While any type of pear will do for flavor, I suggest using a deep red pear to add color to the dish.

RISOTTO WITH GORGONZOLA-PEARS-WALNUTS – makes about 3 cups

  • 1T (14g) butter
  • 31g (1/3 cup) shallots, sliced into strips
  • 1/4 tsp salt
  • 1/8 ground black pepper
  • 1/2 tsp dried rosemary
  • 1/2 tsp cumin
  • 20g (1T) honey
  • 135g (3/4 cup) raw arborio rice
  • 57g (1/3 cup) white wine
  • 475 ml (2 cups) vegetable stock
  • 1 pear – not too hard, nor mushy, preferably red for color
  • 40g (1/2 cup) walnuts, chopped & lightly toasted
  • 100g (3.5 oz) Gorgonzola cheese, crumbled

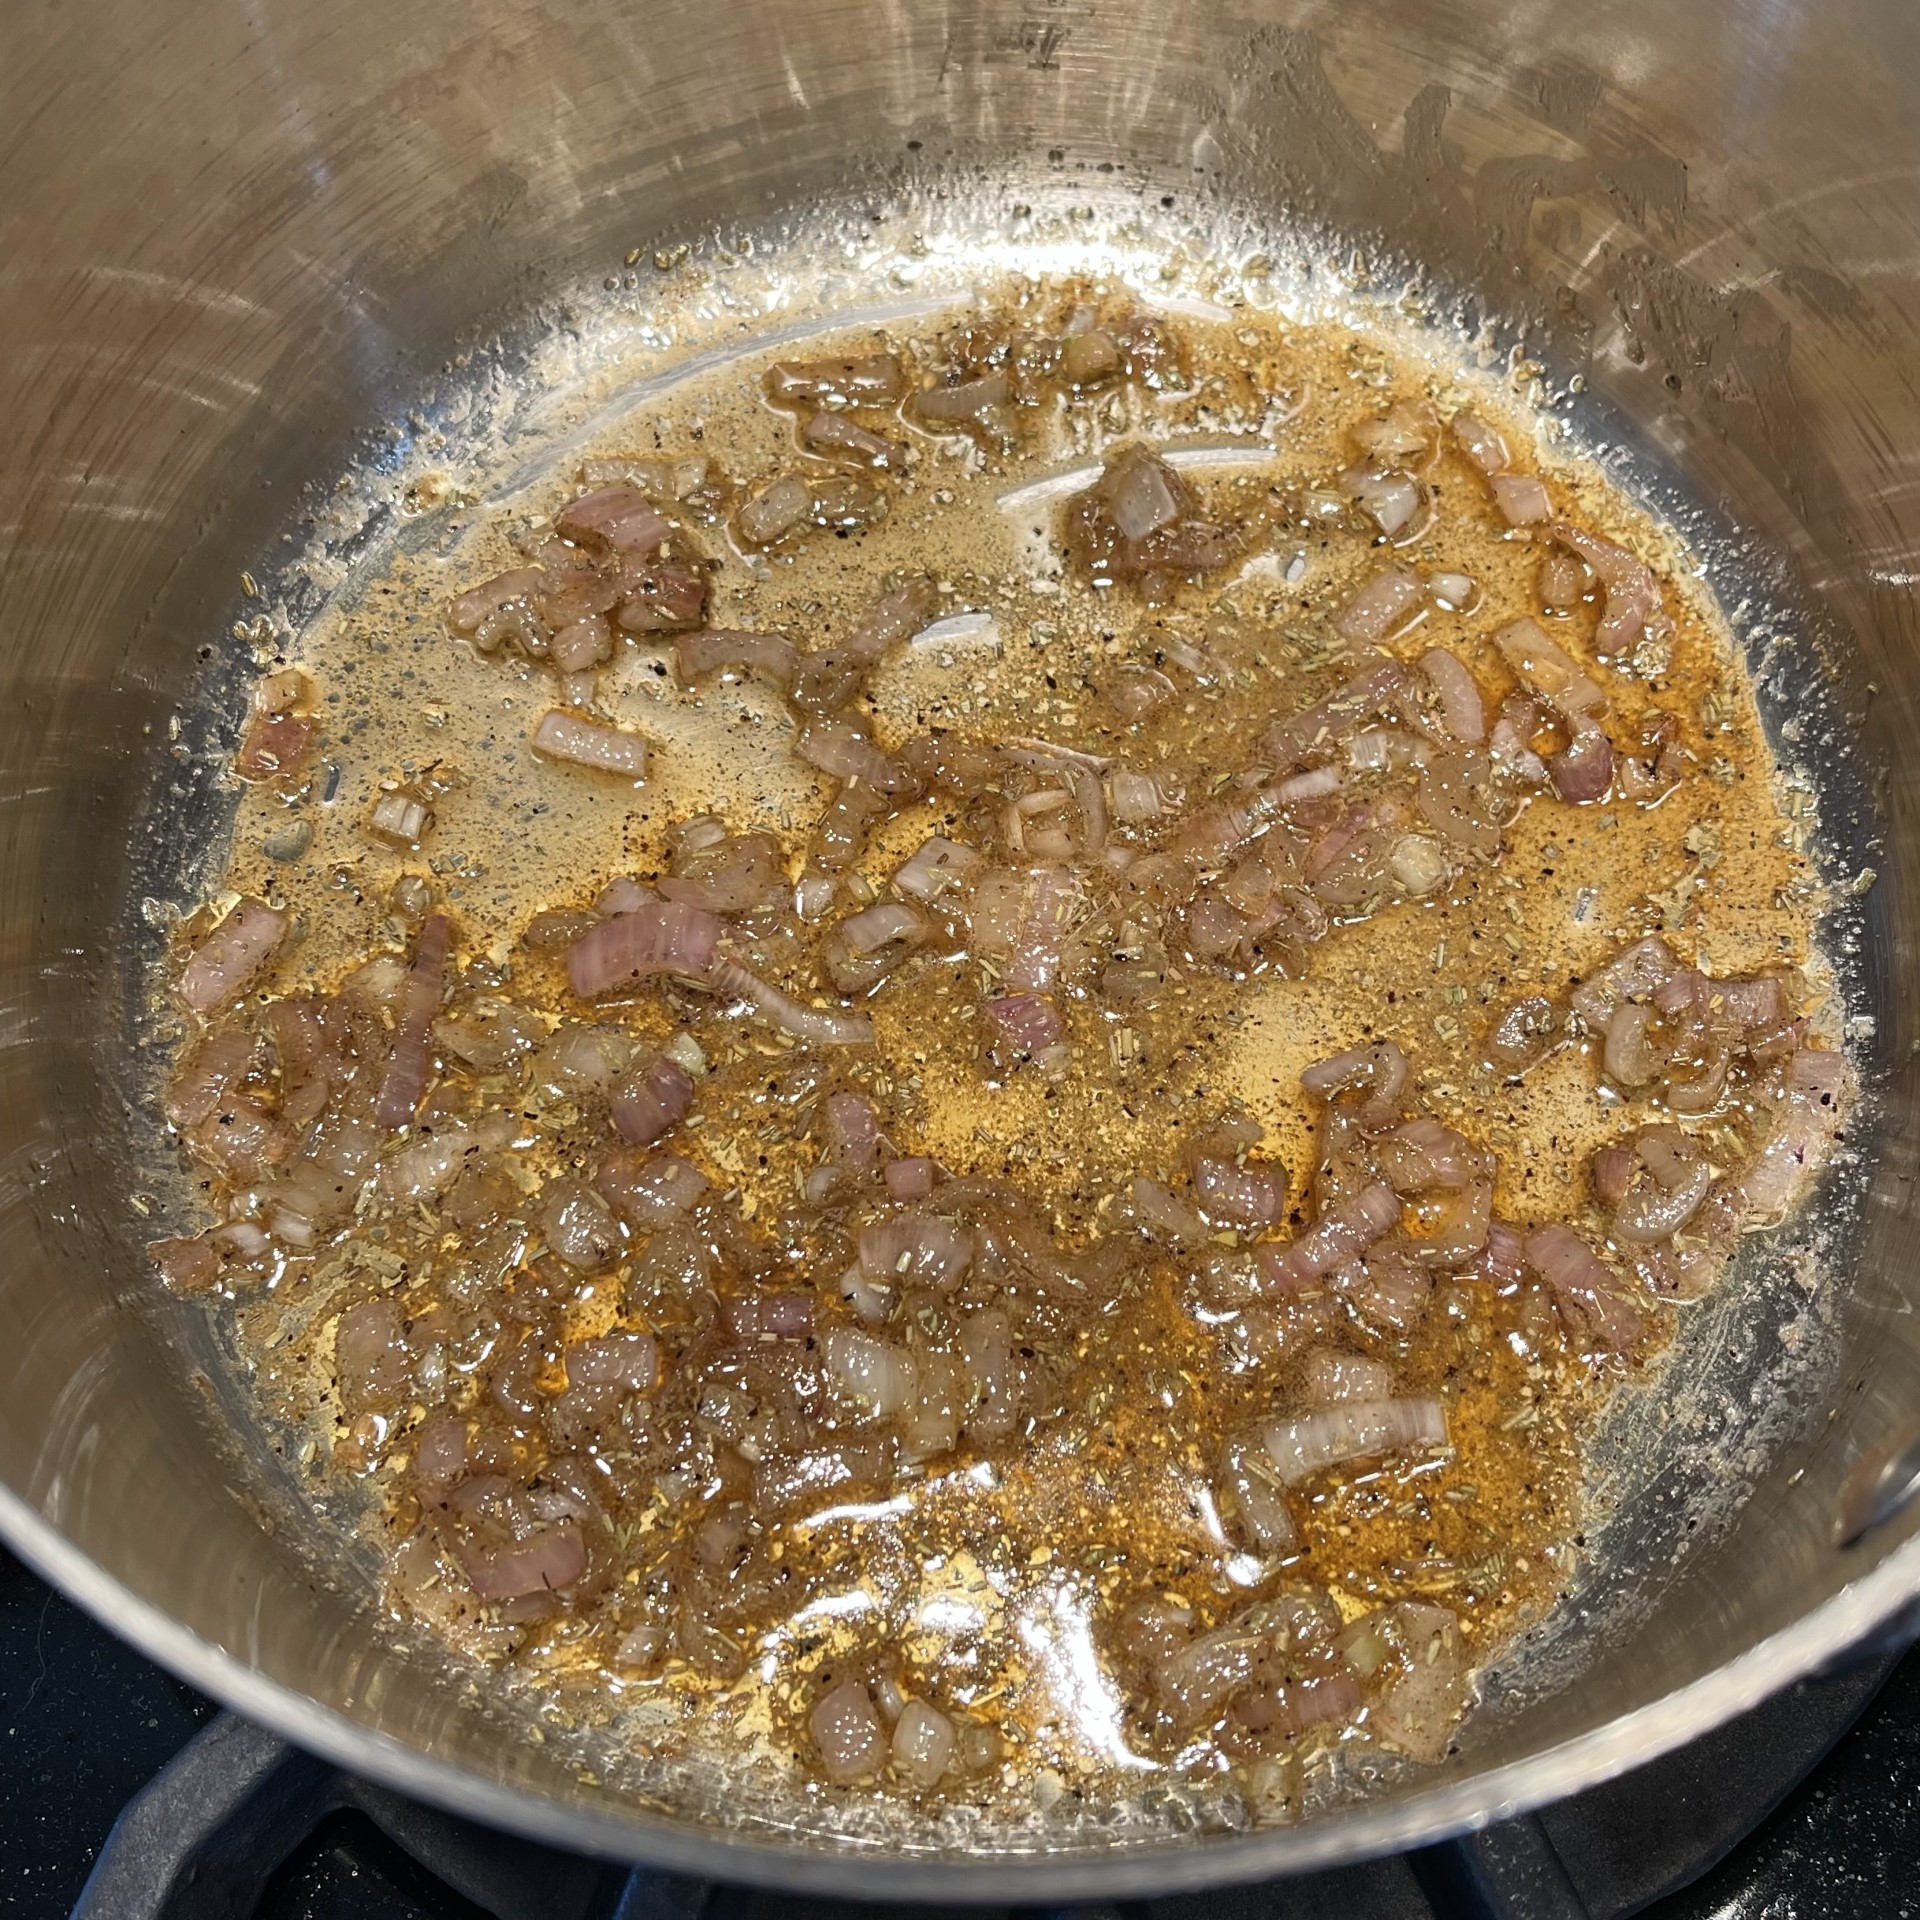
In a medium sized saucepan, melt butter. Add in shallots, salt, and pepper. Over medium flame stir to soften the shallots, but not brown them – about 4 minutes.

Add rosemary, cumin, and honey to pot. Over low heat, stir together for 30 seconds – just to bloom the spices.

Stir in the arborio rice and saute over low heat for 5 minutes.

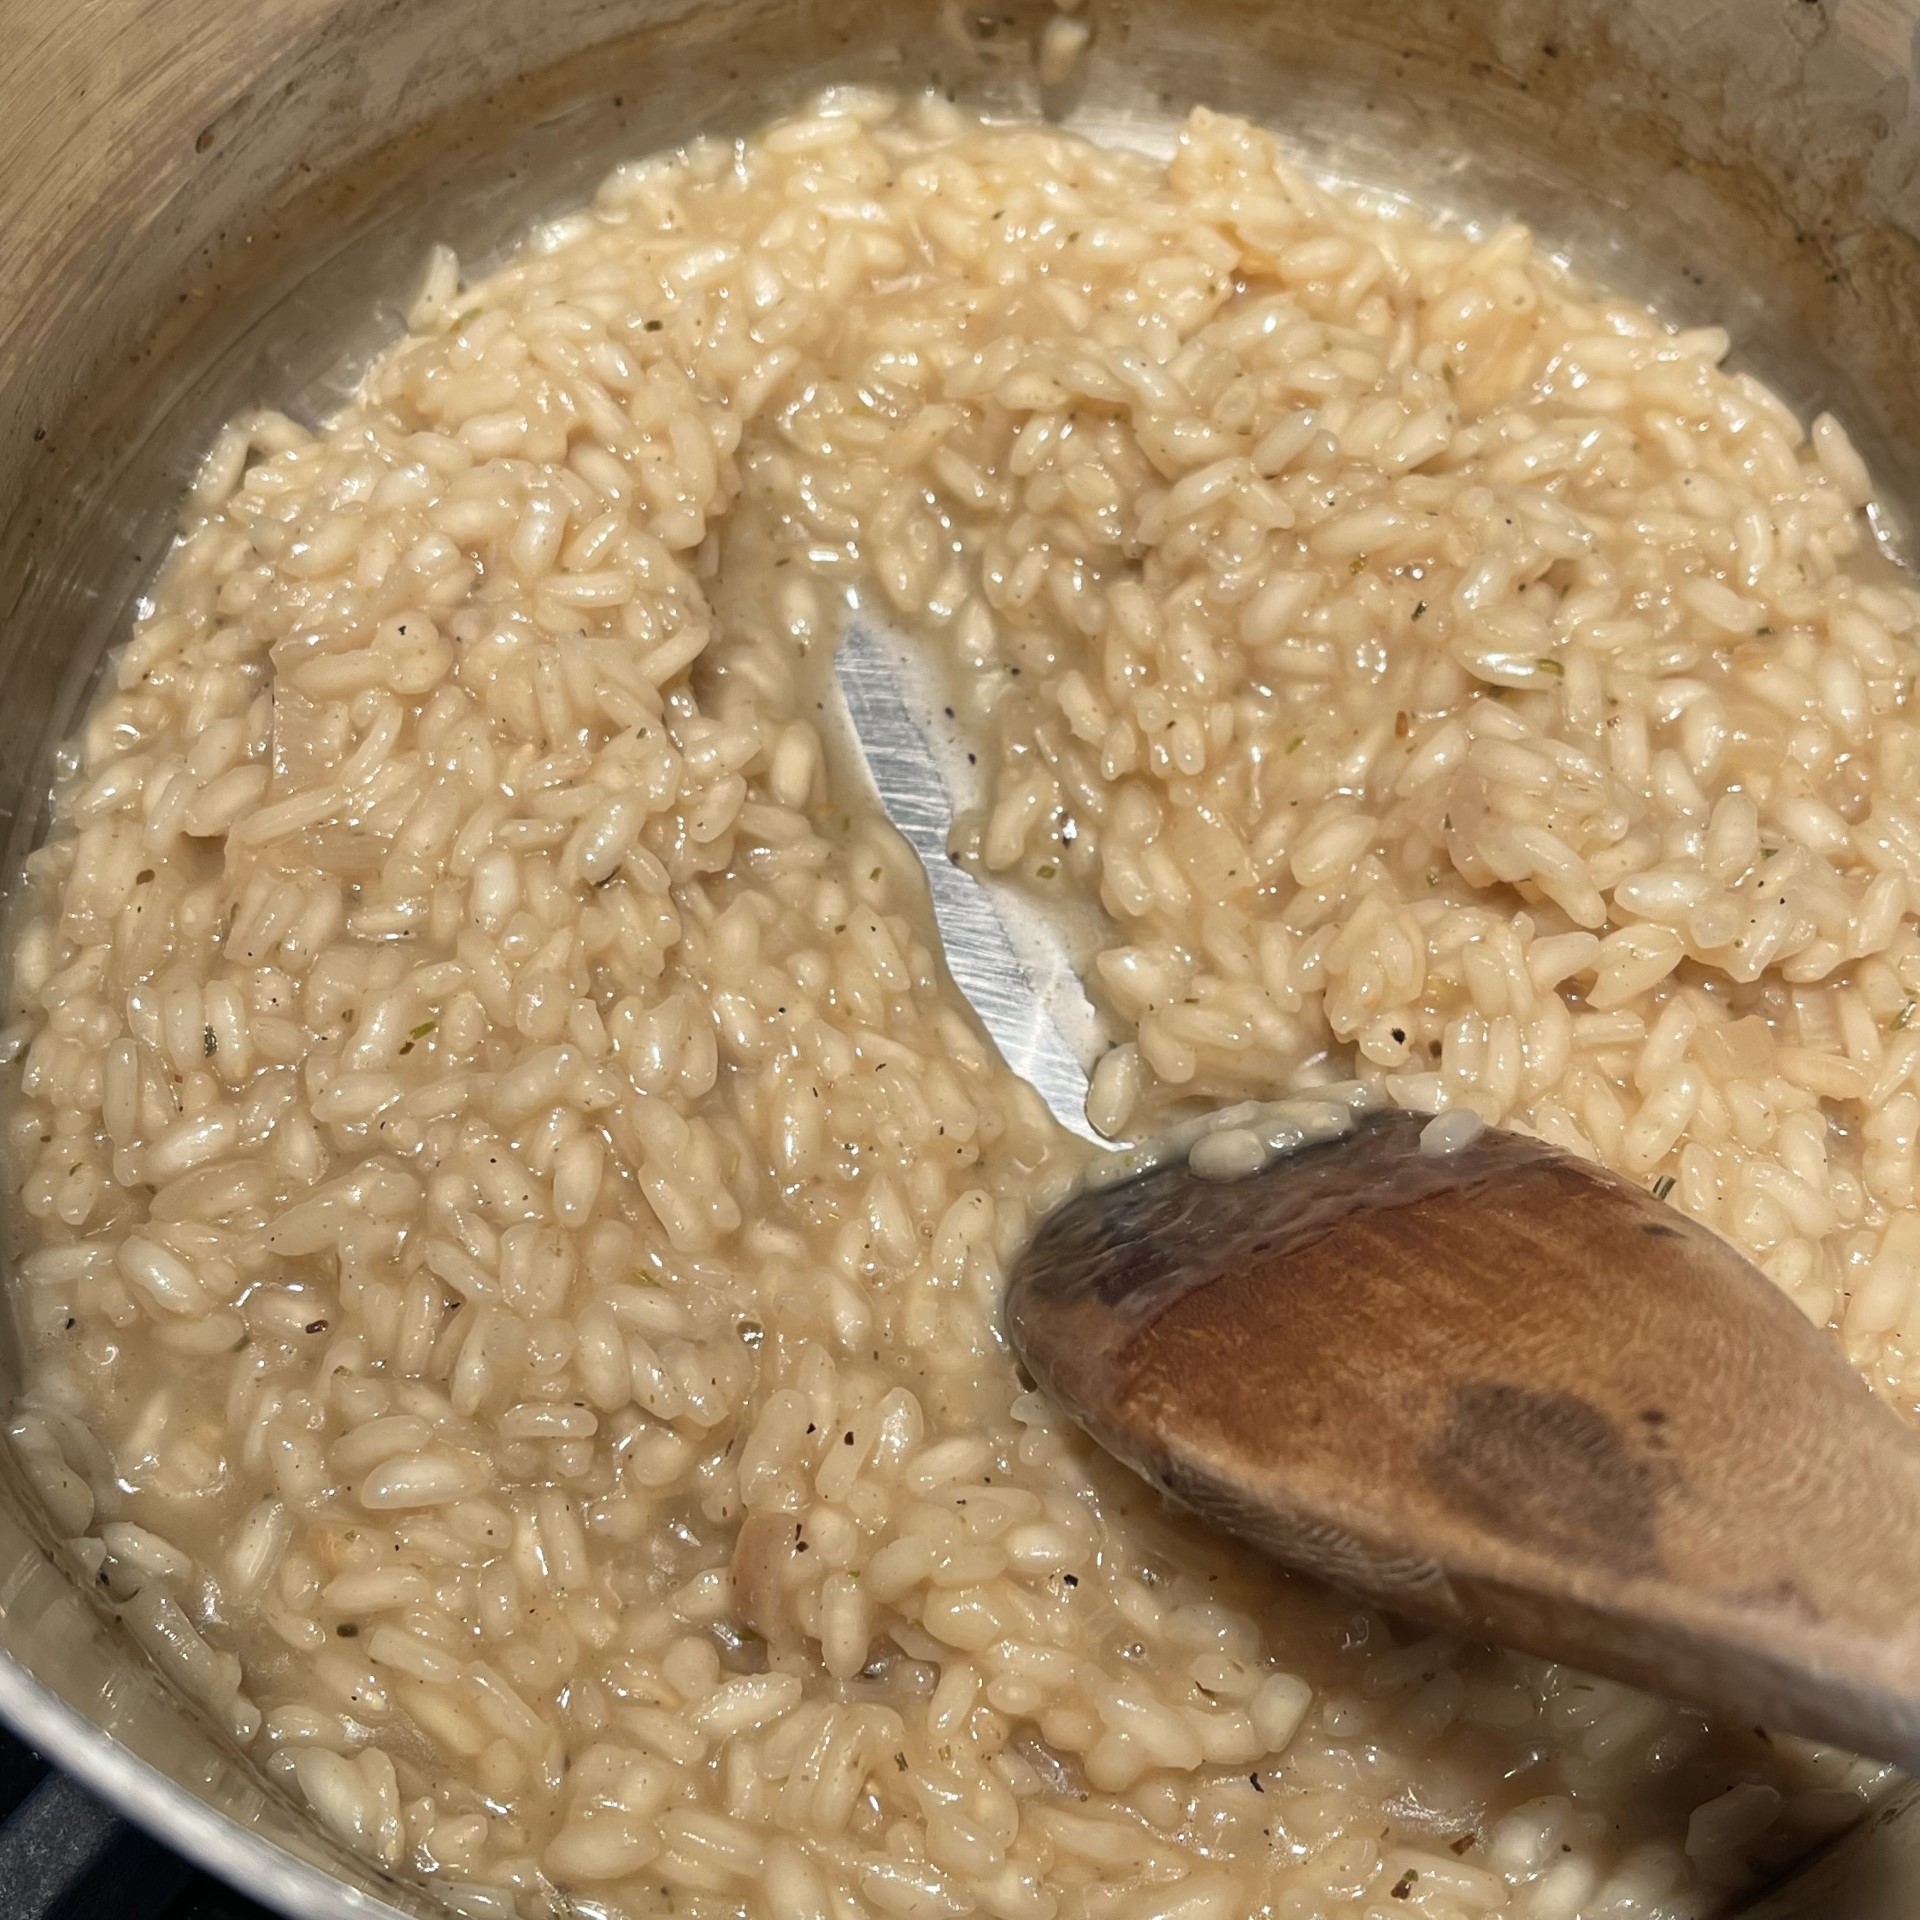
Pour in the white wine and stir over low heat until the wine has NEARLY evaporated. (This takes just a few minutes so have the vegetable stock ready to go.) Photo shows wine just being added.

Now comes the part that, while easy, takes time – please don’t rush it. Over medium flame, start adding the stock in about (you don’t have to be precise) 50 ml (1/4 cup) increments, stirring constantly. Add more when the previous amount has been absorbed. Keep going until the final addition – let it absorb somewhat, but not altogether – you want it creamy.

Remove from heat and pour into serving bowl to cool slightly.

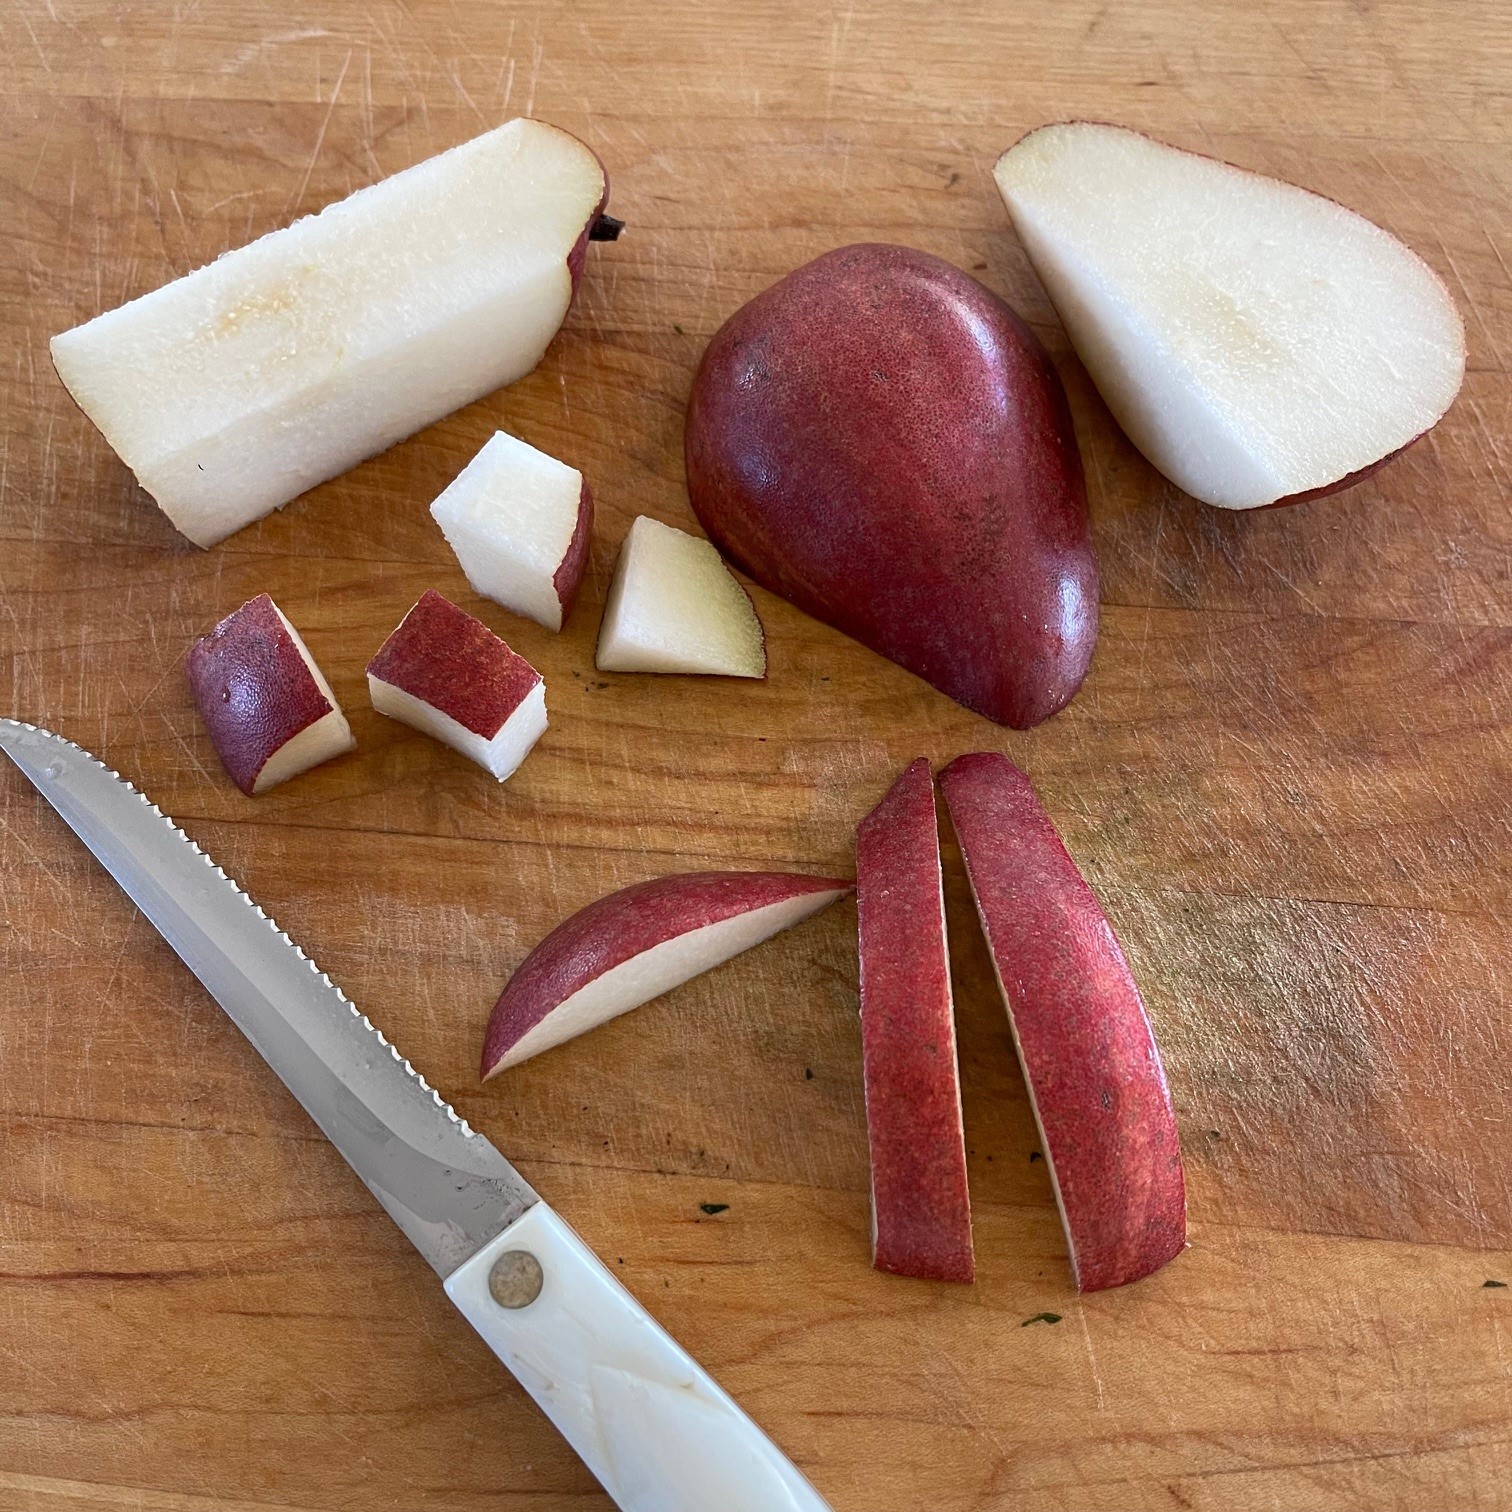
Slice pear from top to bottom around core into four slabs. Cut into 2cm (3/4″) pieces. (I prefer to slice my pear just before adding it to the risotto so it doesn’t start to brown.)

Very gently stir in the pears, Gorgonzola, and walnuts, just to blend.

Serve warm or room temperature.

TAMALE PIE: You Won’t Miss The Meat!

Tamale Pie is one of my favorite meals to prepare. Not only is it delicious, but it’s quick to assemble and bake….that is, IF you’ve already made my HOMEMADE VEGETARIAN “GROUND BEEF” or use purchased imitation ground beef (such as Impossible Burger or Morningstar Crumbles). For this reason, I always keep 1 lb (1/2 kg) portions in my freezer. In the morning, I set it out to thaw.

NOTE: As a woman who prefers to wash as few dishes as possible, I use a cast iron skillet for this recipe since it can go from stovetop to oven. You can also use a different type of skillet, as long as the handle is able to go into the oven. Alternatively, saute the onions in a small saucepan, then mix everything together in a bowl and bake in a casserole dish.

TAMALE PIE

  • 2 T vegetable oil
  • 3 T chili powder
  • 40g (1/3 cup) onions, chopped
  • 1/2 kg (1 lb) imitation ground beef
  • 425g (15 oz) canned black beans, drained and rinsed (321g drained)
  • 65g (2.25 oz) black olives, sliced
  • 1/2 cup salsa (homemade or purchased)
  • 3 T cilantro, fresh, finely chopped
  • 74g (1 cup) Cheddar cheese, grated
  • 109g (3/4 cup) cornmeal
  • 107g (3/4 cup) all-purpose flour
  • 34g (3T) sugar
  • 3/4 tsp salt
  • 3/4 tsp baking powder
  • 1/4 tsp baking soda
  • 39g (3T) butter
  • 1 egg
  • 180g (3/4 cup buttermilk)

Preheat oven to 230°C (450°F)

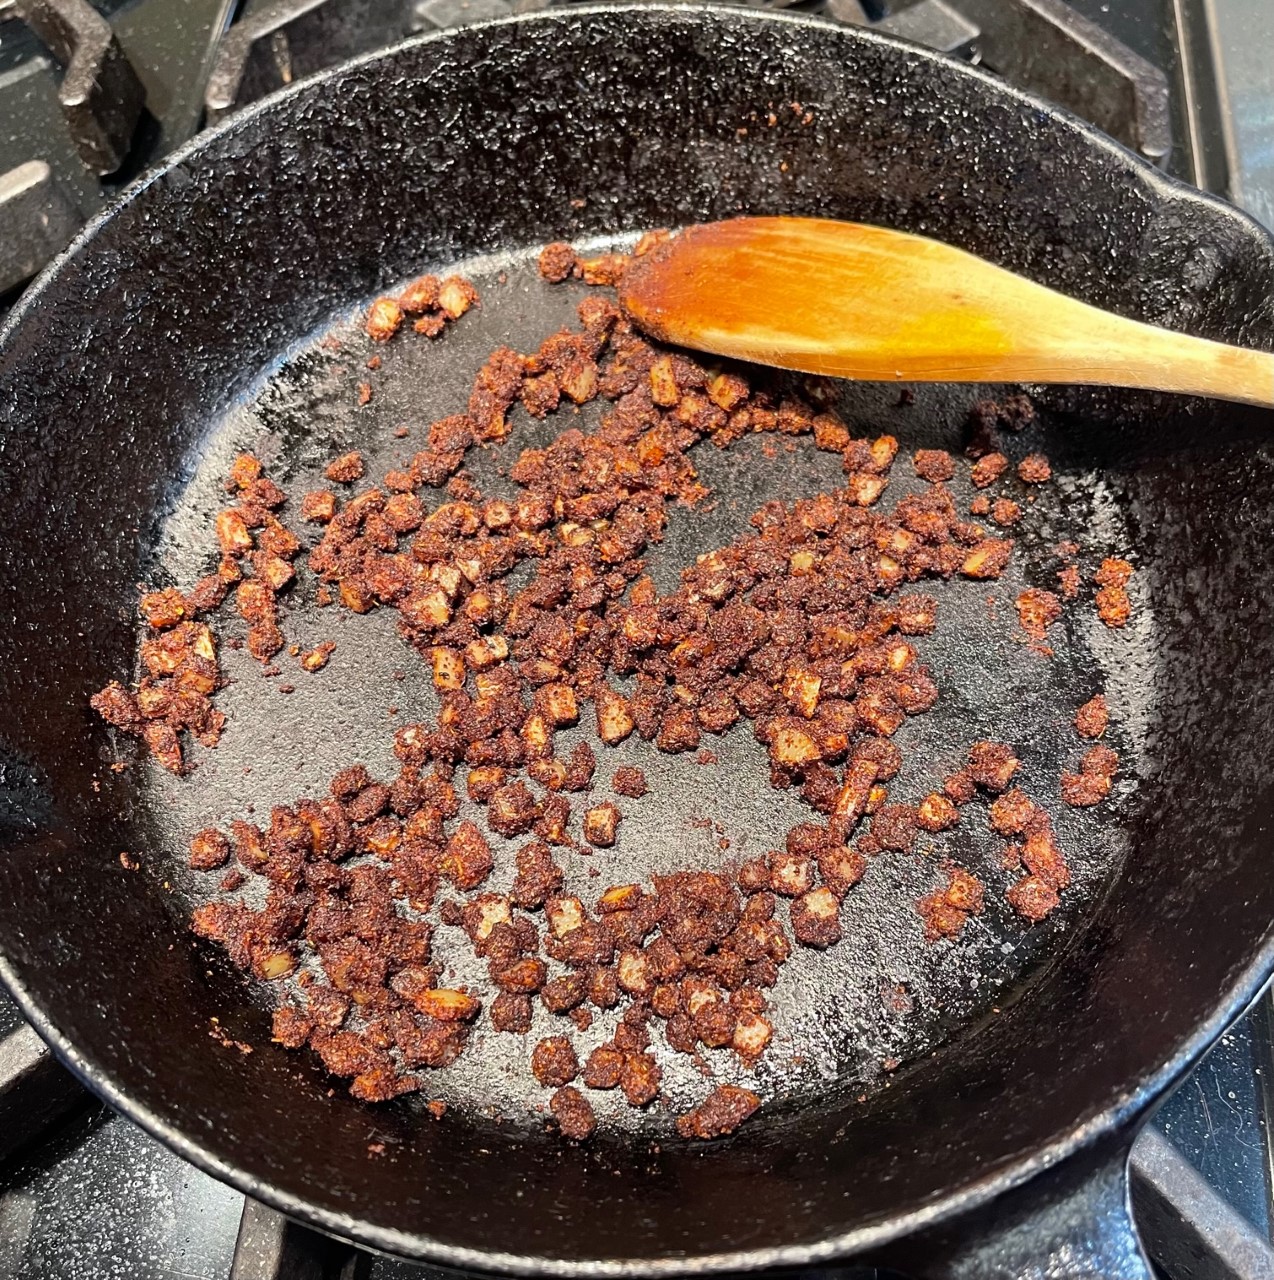
Into a skillet, combine the oil, chili powder, and onions. Saute over medium heat for 5 minutes.

Pour cooked onions into a bowl. Add in the imitation ground beef, black beans, olives, salsa, cilantro, and cheese. Mix together and pour back into skillet, smoothing top.

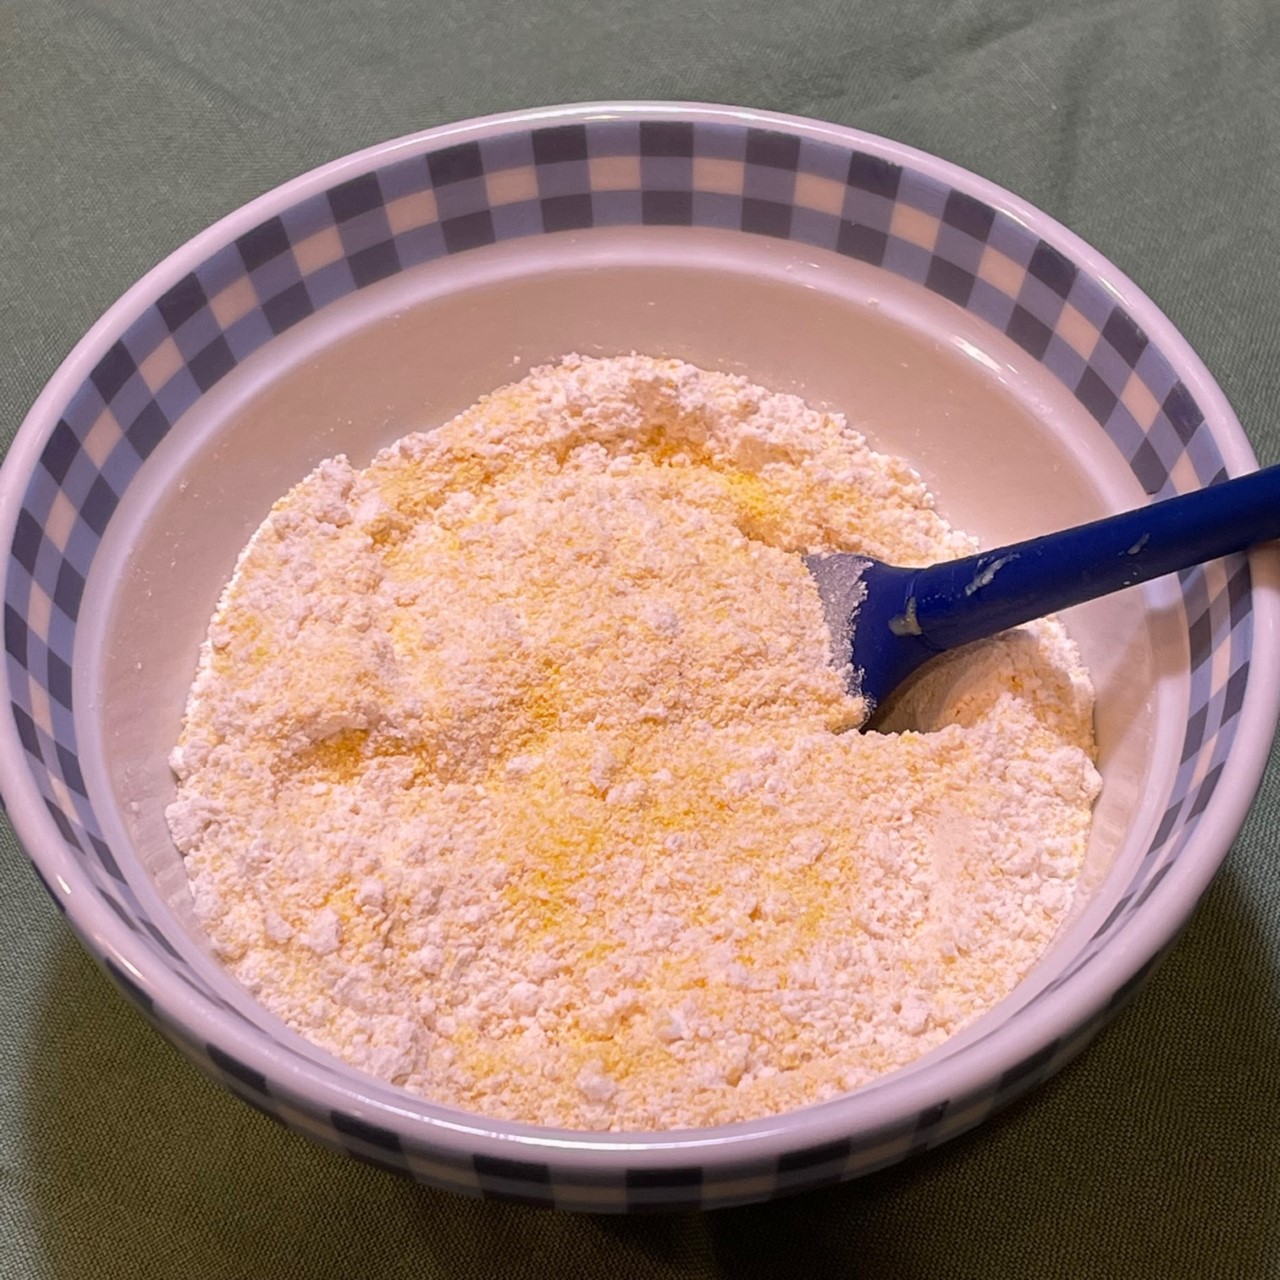
Into a bowl (it can be the same bowl you used for the filling), combine the cornmeal, flour, sugar, salt, baking powder, and baking soda.

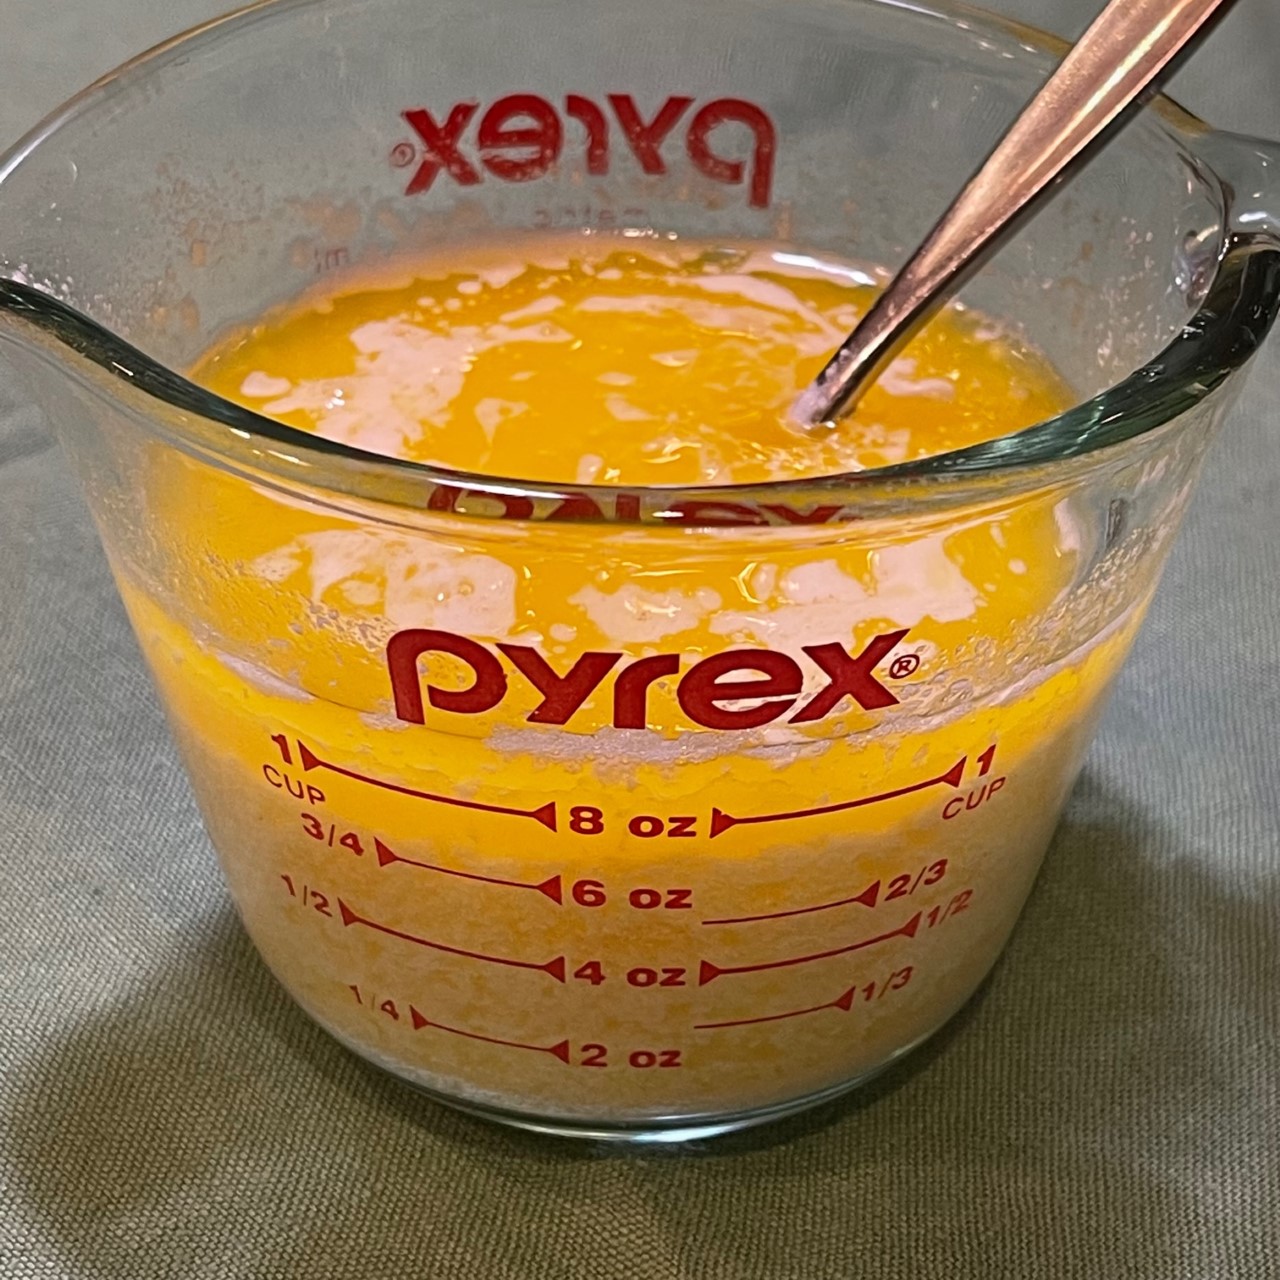
Melt butter and let cool a few minutes. Into a measuring cup or bowl, beat the egg with a fork. Then beat in the buttermilk and melted butter.

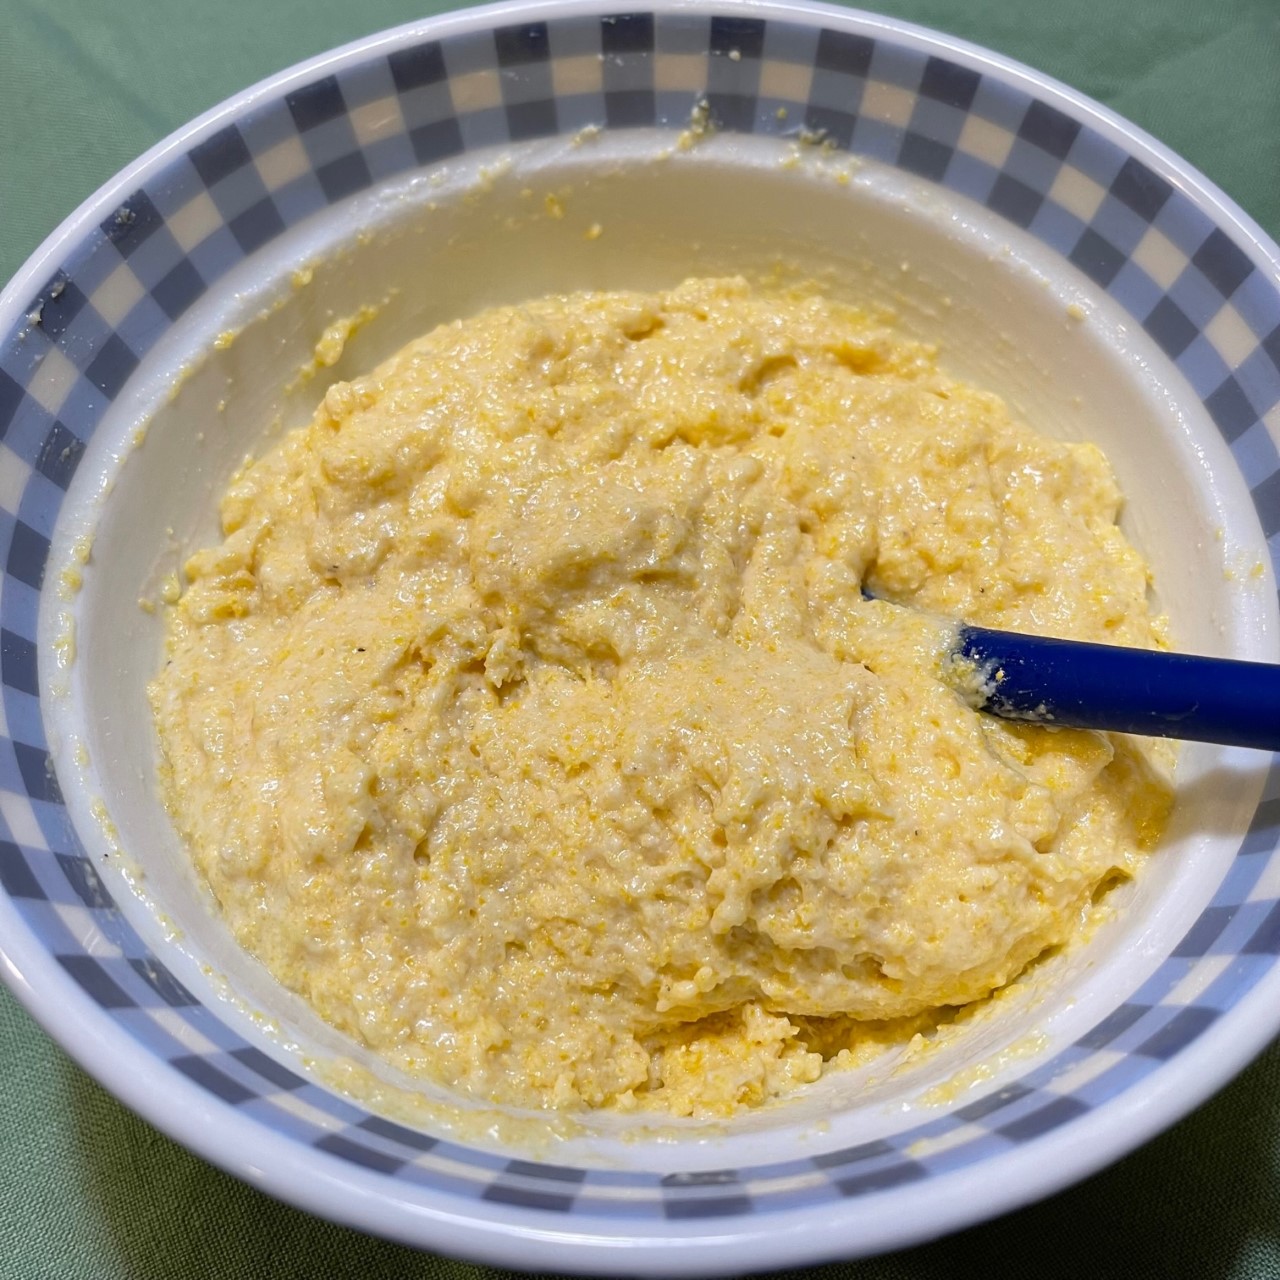
Pour the buttermilk mixture into the cornmeal mixture and combine until just blended (don’t over mix).

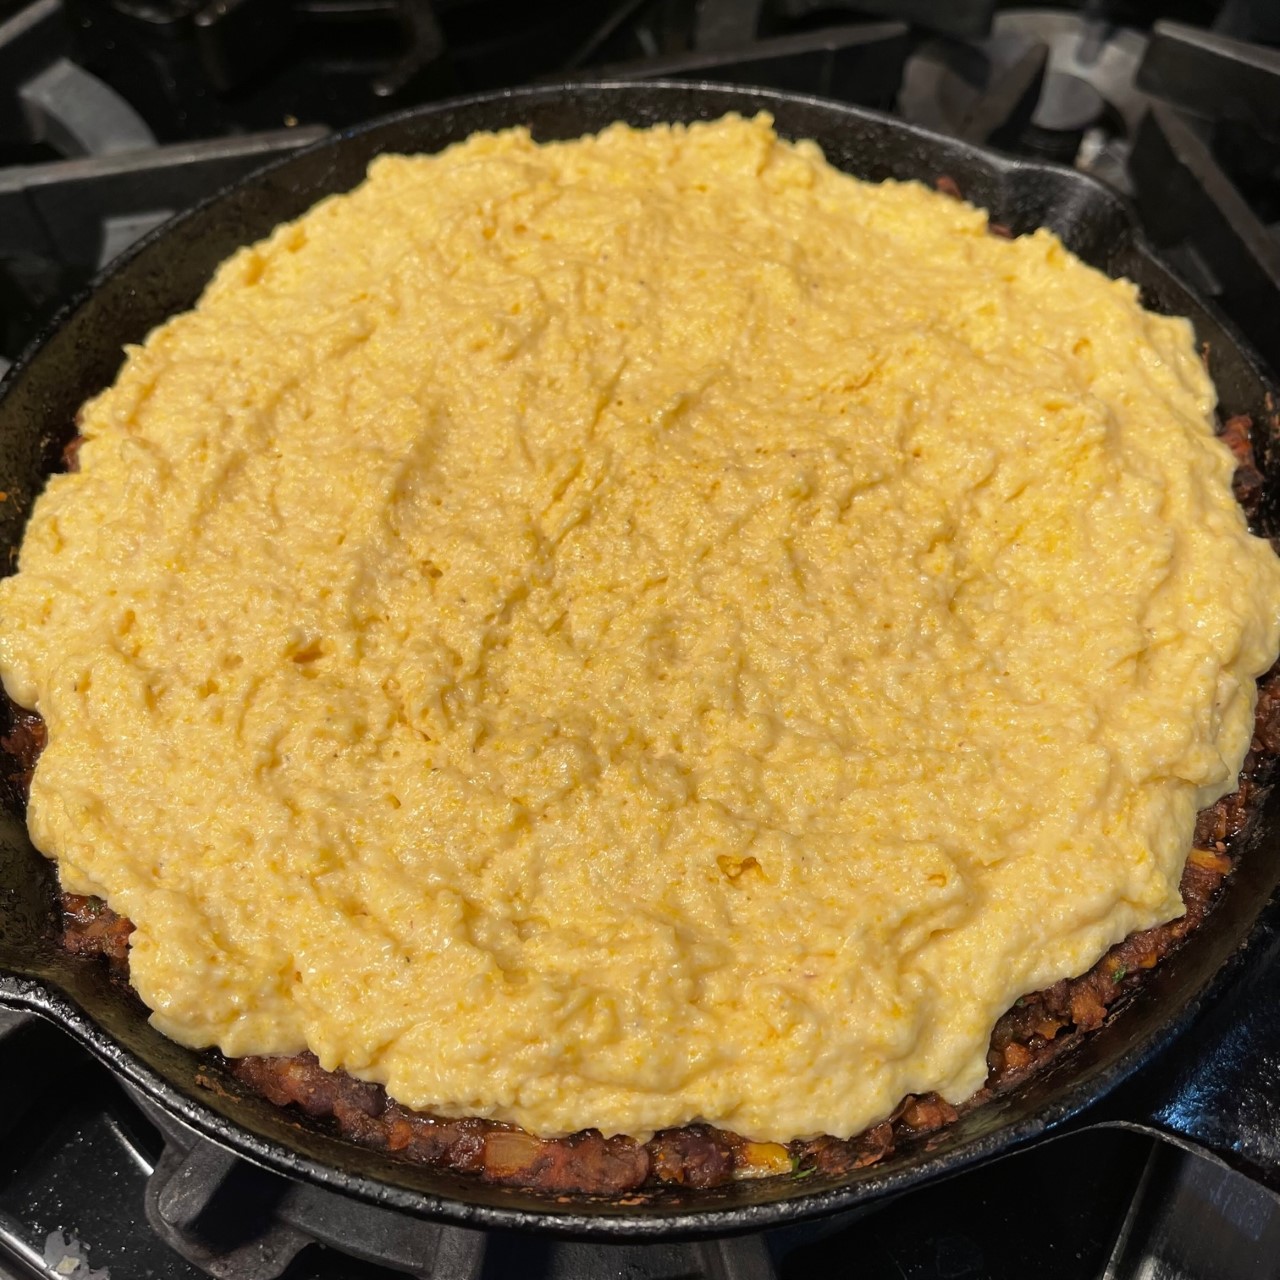
Spread cornmeal mixture on top of filling, smoothing top.

Bake at 230°C (450°F) about 15 minutes – until top begins to brown.

Let rest about 10 minutes before serving.

VEGETARIAN GROUND BEEF

Let me state up-front: this HOMEMADE VEGETARIAN GROUND BEEF recipe is NOT designed for a patty – it’s too mushy to form a firm burger. What it’s fabulous for is as a substitute when you need ground beef for a recipe and you’re a vegetarian or vegan. I’ve used it successfully in shepherd’s pie, burritos, tamale pie, and Greek moussaka.

It’s not a difficult recipe, but it takes about 25 minutes to cook off the liquid at the end. Because of this, I double or triple the recipe then, as Queen of Freeze, I freeze it in 1 lb or 1/2 lb portions for future use. This way, if I decide to make a shepherd’s pie, tamale pie, or burrito, the bulk of the work is done.

VEGETARIAN GROUND BEEF – makes at least 1.5 lbs

  • 10g OR 1 T olive oil
  • 112g OR 4 oz OR 1 cup onions, chopped small
  • 1/2 tsp salt
  • 4 cloves garlic, pressed
  • 43g OR 1 oz OR 2 T tomato paste
  • 125 ml OR 1/2 cup red wine (I use a Cabernet)
  • 2 tsp paprika
  • 2 tsp oregano
  • 1/2 tsp red pepper flakes
  • 425g OR 15 oz canned chickpeas (garbanzo beans), drained
  • 227g OR 8 oz whole cremini mushrooms
  • 411g OR 14.5 oz canned whole tomatoes, discard stem end and any flaws, chop, KEEP JUICE – YOU’LL NEED IT!

NOTE: I suggest you try the single recipe before making a larger batch just in case you don’t like it.

ADDITIONAL NOTE: If you’re doubling or more this recipe, use a Dutch oven or larger.

Heat oil in a large pot and saute onions and salt over medium heat until the onions are just starting to brown – about 6 minutes.

Add in the garlic and continuously stir 30 seconds to bloom (but not burn), then stir in the tomato paste. Increase heat to medium high and saute 2-3 minutes to darken the tomato paste a bit. (This adds an umami flavor).

Pour in the wine, paprika, oregano, and red pepper flakes. Cook over medium, scraping up the burnt bits into the paste, until the wine has nearly evaporated – about 3 minutes. Remove from heat.

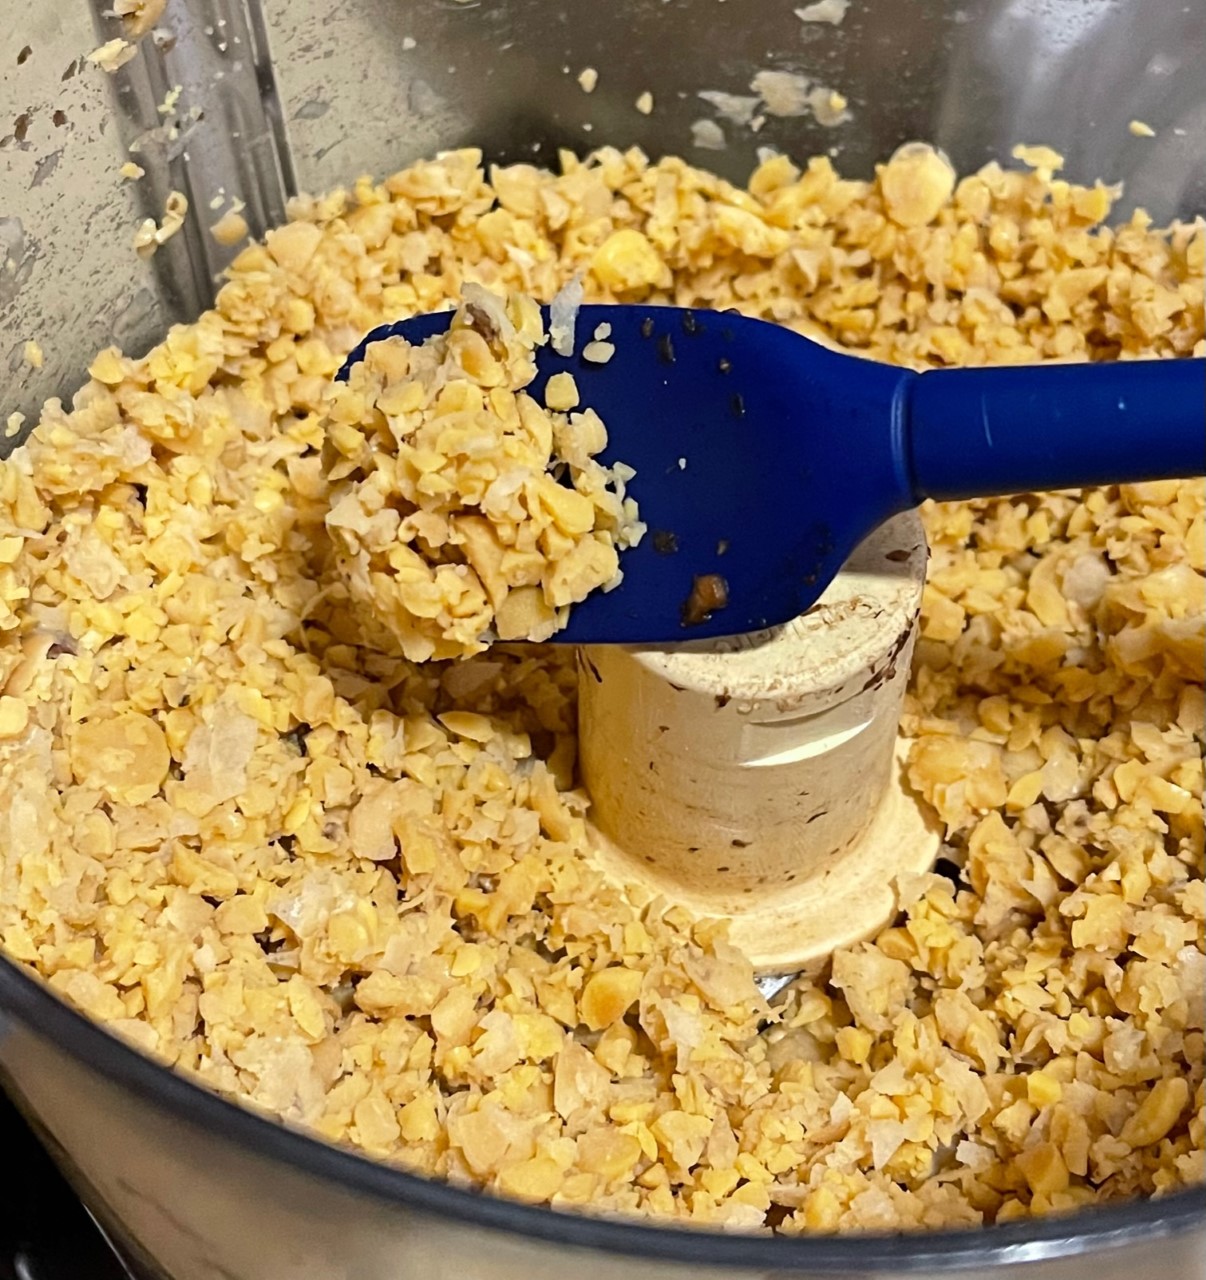
Drain the chickpeas and roughly chop.

Place chopped chickpeas into your food processor and pulse until it’s become small bits, scraping down the sides and bottom as needed. If you don’t have a food processor, you’ll have to chop them by hand.

Empty minced chickpeas into the pot with the onions/tomato paste.

Thoroughly wash mushrooms and coarsely chop into 1cm / 1/2″ pieces.

Place chopped mushrooms in food processor and pulse several times until mushrooms are broken into small bits, scraping sides and bottom, as needed. If you don’t have a food processor, chop by hand.

Empty mushrooms into the pot.

Over medium/high heat, saute mixture, stirring often for 5 minutes.

Pour the chopped tomatoes and their juice into the pot.

Cook over medium/high heat until the liquid has cooked off and the mixture can mound.

MUSHROOM-NUT BURGER: Firm & Tasty!

I hesitate to use the word “burger” for my Mushroom-Nut Burger because it sounds like I’m trying to pass this recipe off as an imitation hamburger – so close to the real thing, you’ll think you’re eating meat. While there are some excellent plant based (aka, fake) burgers on the market now (such as Impossible Burger and Beyond Burger) that can satisfy that craving for meat, this is not one of those.

I really should call this recipe Mushroom-Nut Burger-Alternative because, like my Black Bean Burger recipe, this is merely a patty decked out like a hamburger. It’s not meant to fool anyone….but, it IS delicious!

In developing my Mushroom-Nut Burger, I felt like Goldilocks – trying to find a blend that wasn’t so soft it collapsed, but not so dry it crumbled. I wanted one that was just right.

My greatest challenge was creating a firm patty. I hate when I bite into a veggie burger that appears to be firm because the outside is crusted over, only to find the inside is mush, oozing out the sides. It becomes a bit like eating a melty ice cream cone.

I found the solution to be chopping the firm ingredients – the mushrooms and nuts – into large pieces, so it acts like a skeleton. This prevents the outside from collapsing and the center from squishing out.

The second challenge was binding the ingredients so the patty doesn’t fall apart as you’re eating it. I found 2 eggs and 45 grams (1.5 oz) of flour to be the key. I strongly suggest you weight the flour because I tried less flour and it didn’t work as well.

MUSHROOM-NUT BURGER – makes 4 patties

  • 59g (2oz) (1/3 cup) raw short, sticky rice
  • 150ml (2/3 cup) water
  • 14g (1 tbsp) butter
  • 120g (4oz) (1 cup) onions, chopped
  • 53g (2oz) (3/4 cup) firm mushrooms such as white common or cremini
  • 91g (3oz) (include stem in weight) shiitake mushrooms
  • 1/4 tsp dried thyme
  • 1/4 tsp dried sage
  • 1/2 tsp dried marjoram
  • 1.5 tsp vegetarian Worchestershire sauce
  • 3/4 tsp salt
  • 1 garlic, pressed or minced
  • 70g (2.5oz) (3/4 cup) walnuts
  • 38g (1.25oz) (1/4 cup) salted cashews
  • 2 eggs
  • 45g (1.5 oz) flour

Preheat oven to 190C° (375F°), rack in the center position.

Rinse the raw rice then, into a small saucepan, combine the rice and 150ml water. Cook, covered, until water is absorbed (about 12 minutes). SET TIMER FOR 10 MINUTES TO REMIND YOURSELF! Remove from heat and let cool.

Scrupulously wash mushrooms. Remove and discard the stems from the shiitakes only (they’re too woody to eat). Coarsely chop all the mushrooms – check the measuring tape in the photo for size. The mushrooms will shrink some when cooked.

Coarsely chop walnuts and cashews – check the measuring tape in photo below. Like the mushrooms, these will support the patty. That being said, if you have any nut crumbs on the cutting board, use them – I hate waste! Lightly toast nuts.

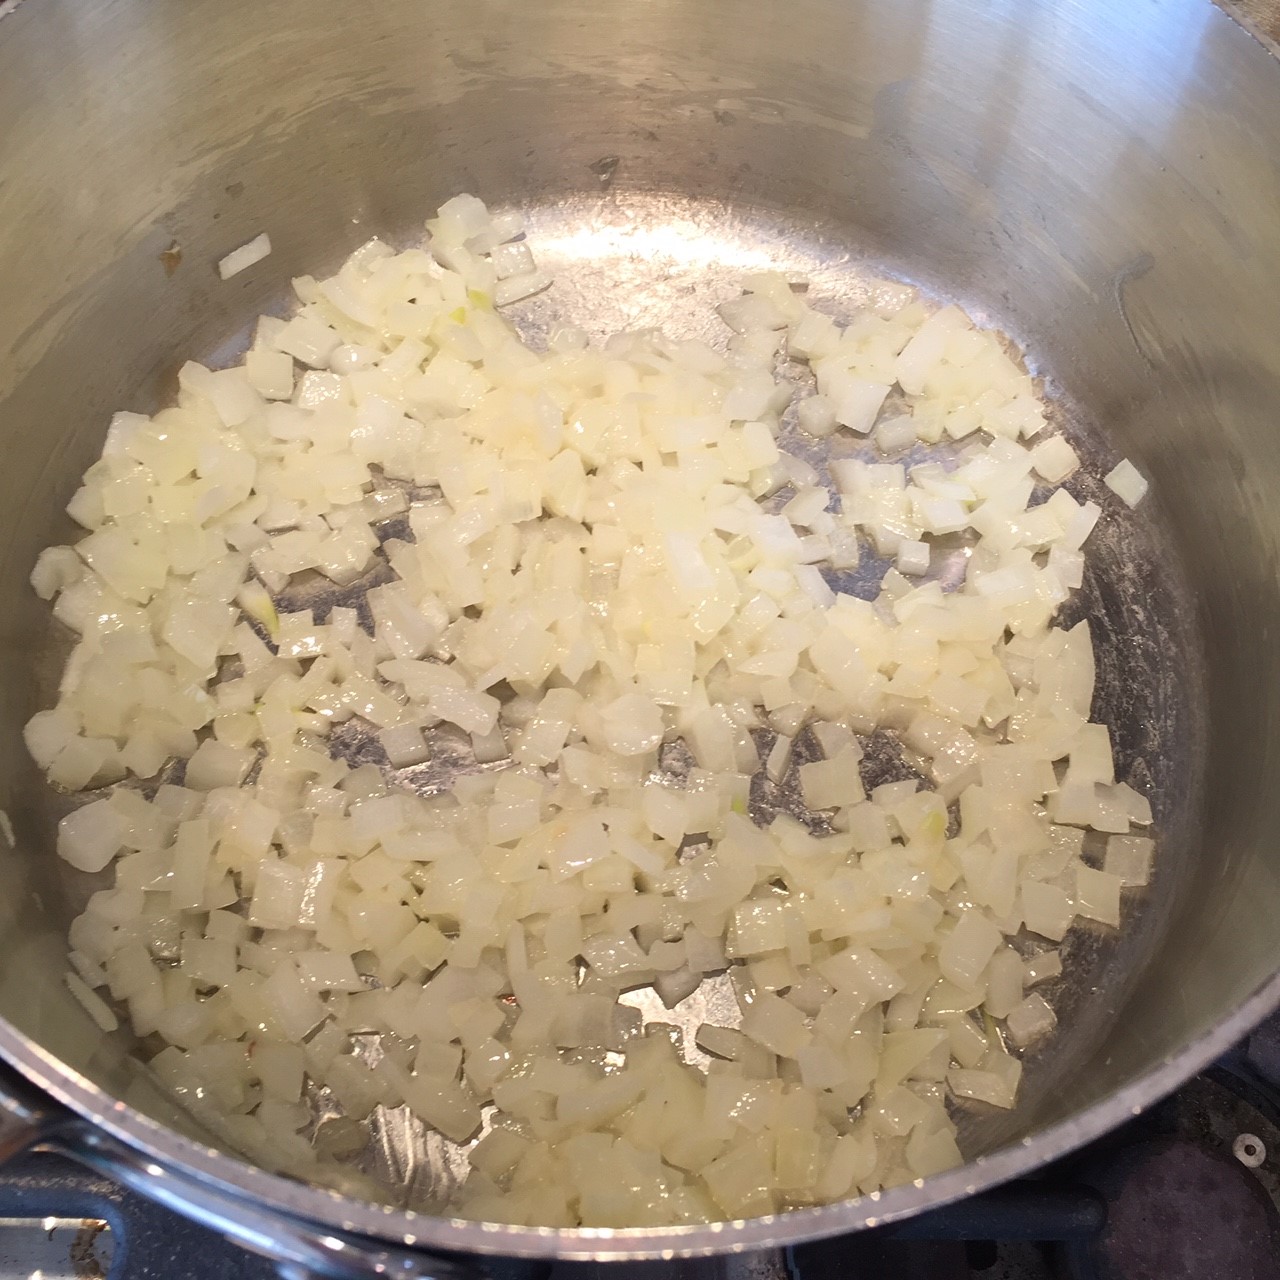
Into a skillet melt the butter over medium flame. Add in the onions and saute 2-3 minutes.

Into the onions add the mushrooms, thyme, sage, marjoram, Worchestershire sauce, salt, and garlic. Saute 6 minutes. Set aside to cool.

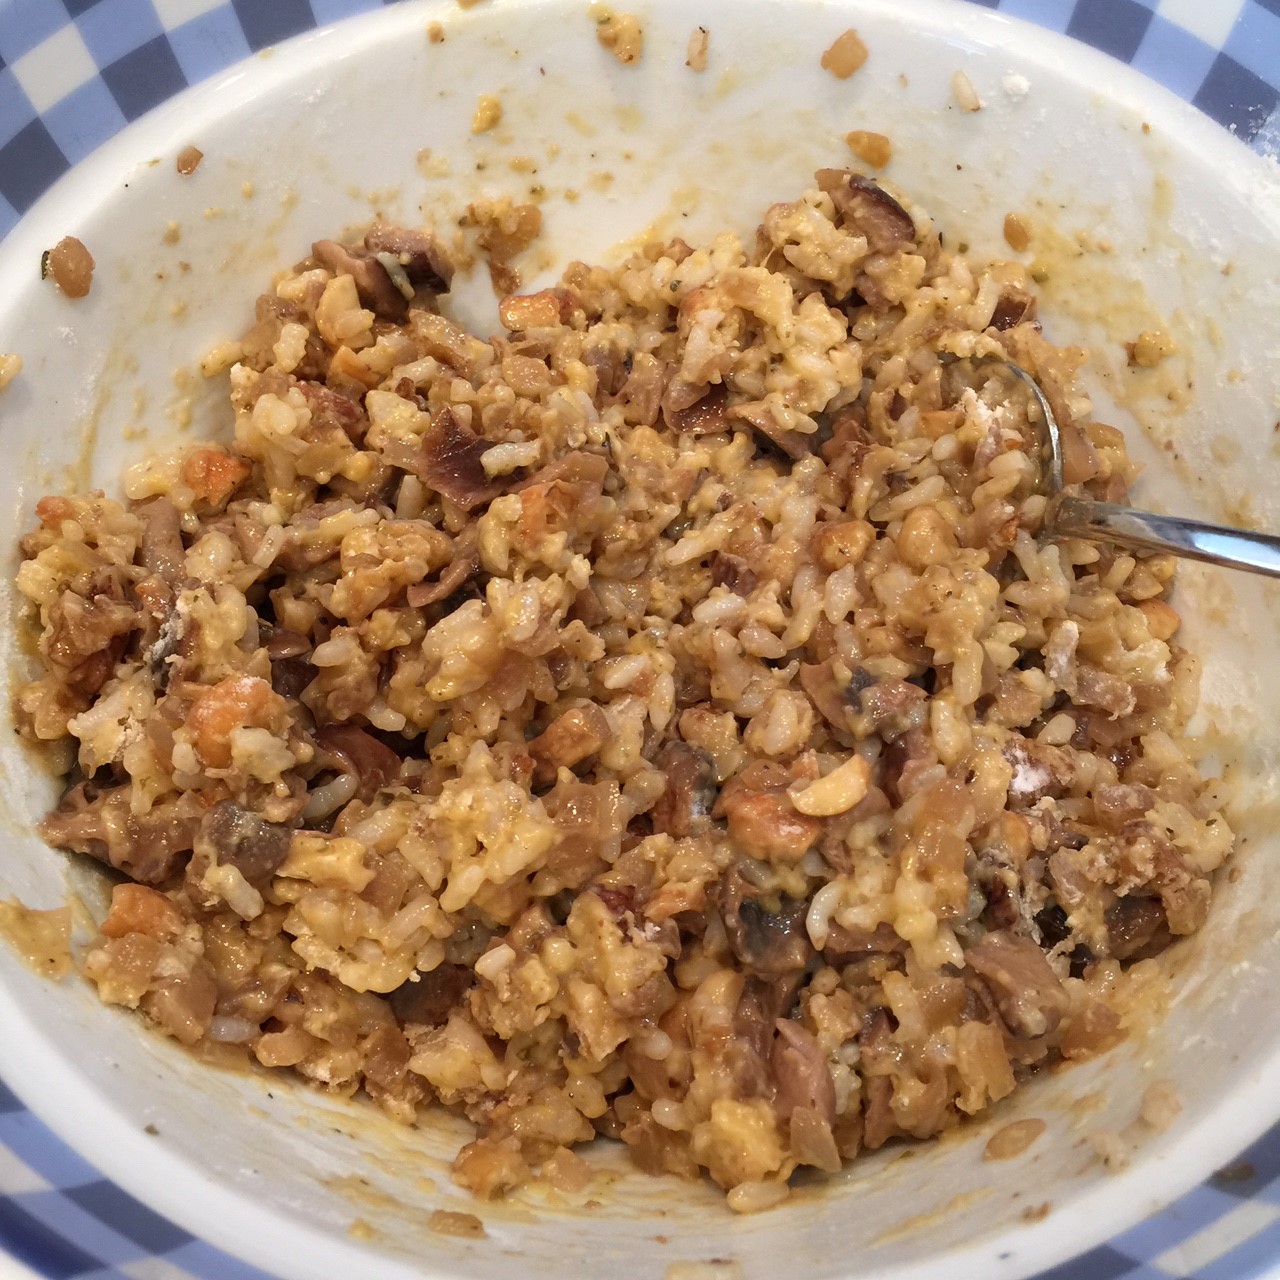
Into a large bowl, beat the eggs. Stir in the cooked rice, nuts, and cooled mushroom saute. Sprinkle in the flour and blend well.

Form 4 patties about 9cm (3.5″) in diameter and place on an oiled baking sheet.

Bake in the preheated 190C° (375F°) and bake for 15 minutes. Flip patties and bake another 15 minutes. Serve.

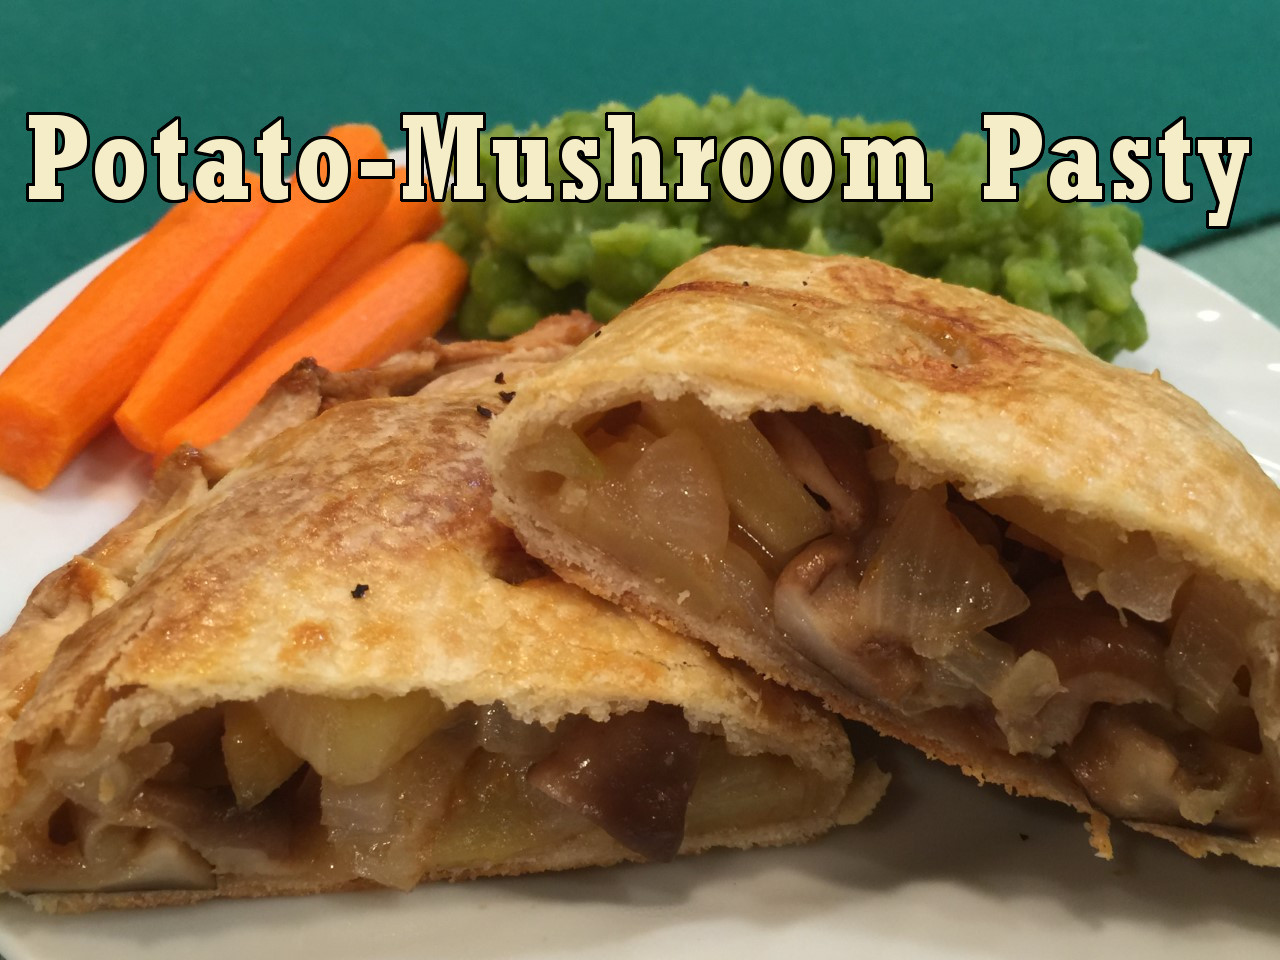
POTATO-MUSHROOM PASTY

I love hand-pies, be they piroshkis, beureg, empanadas, potstickers, or pasties. They’re perfect for an on-the-go nosh and picnics, as well as at-home eating.

Yes, they’re a little bit of work since you have to roll out individual dough circles, fill them, and fold them. But prepare them in an assembly-line fashion and/or get a helper or two, and you’ll have them done in no time.

I prefer a hot-water crust for my pasties, but if you have a crust you like better, use that.

You may notice that I don’t refer to my pasties as CORNISH pasties. They take their pasties very seriously in Cornwall and have a list of rules that must be followed in order to use the term, ‘Cornish’. Two of the rules that I will never be able to follow are that they be prepared in Cornwall, and they are made with meat. Oh, well! A rose by any other name would smell as sweet. And my Potato-Mushroom Pasties are delicious!!!

POTATO-MUSHROOM PASTY – makes 6

Filling

  • 140 g (4.75 oz) shiitake mushrooms
  • 190 g (6.5 oz) onions
  • 260 g (10.25 oz) waxy potatoes (such as Yukon gold)
  • 1.25 tsp vegetarian Worchestershire sauce
  • 1 tsp salt
  • 75 g (2.5 oz) sharp Cheddar cheese, grated

Dough – makes 6 discs, 20cm/8in diameter

  • 400 g (14 oz) (3 cups) bread flour
  • 1 tsp salt
  • 173 g (12 T) butter, cold & cut into 12 or more slices
  • 166 ml (2/3 cup + 1 T) very hot water

Egg Wash: beat 1 egg with 1 T water

Make the filling first: Chop the shiitakes and onions into 2.5 cm/1/2″ pieces. Cut the potatoes into .25 cm/1/8 in thick slices, then chop these up into small pieces. Mix the shiitakes, onions, potatoes, Worchestershire sauce, salt, and cheese in a bowl. Set aside.

Preheat oven to 200° C/400° F.

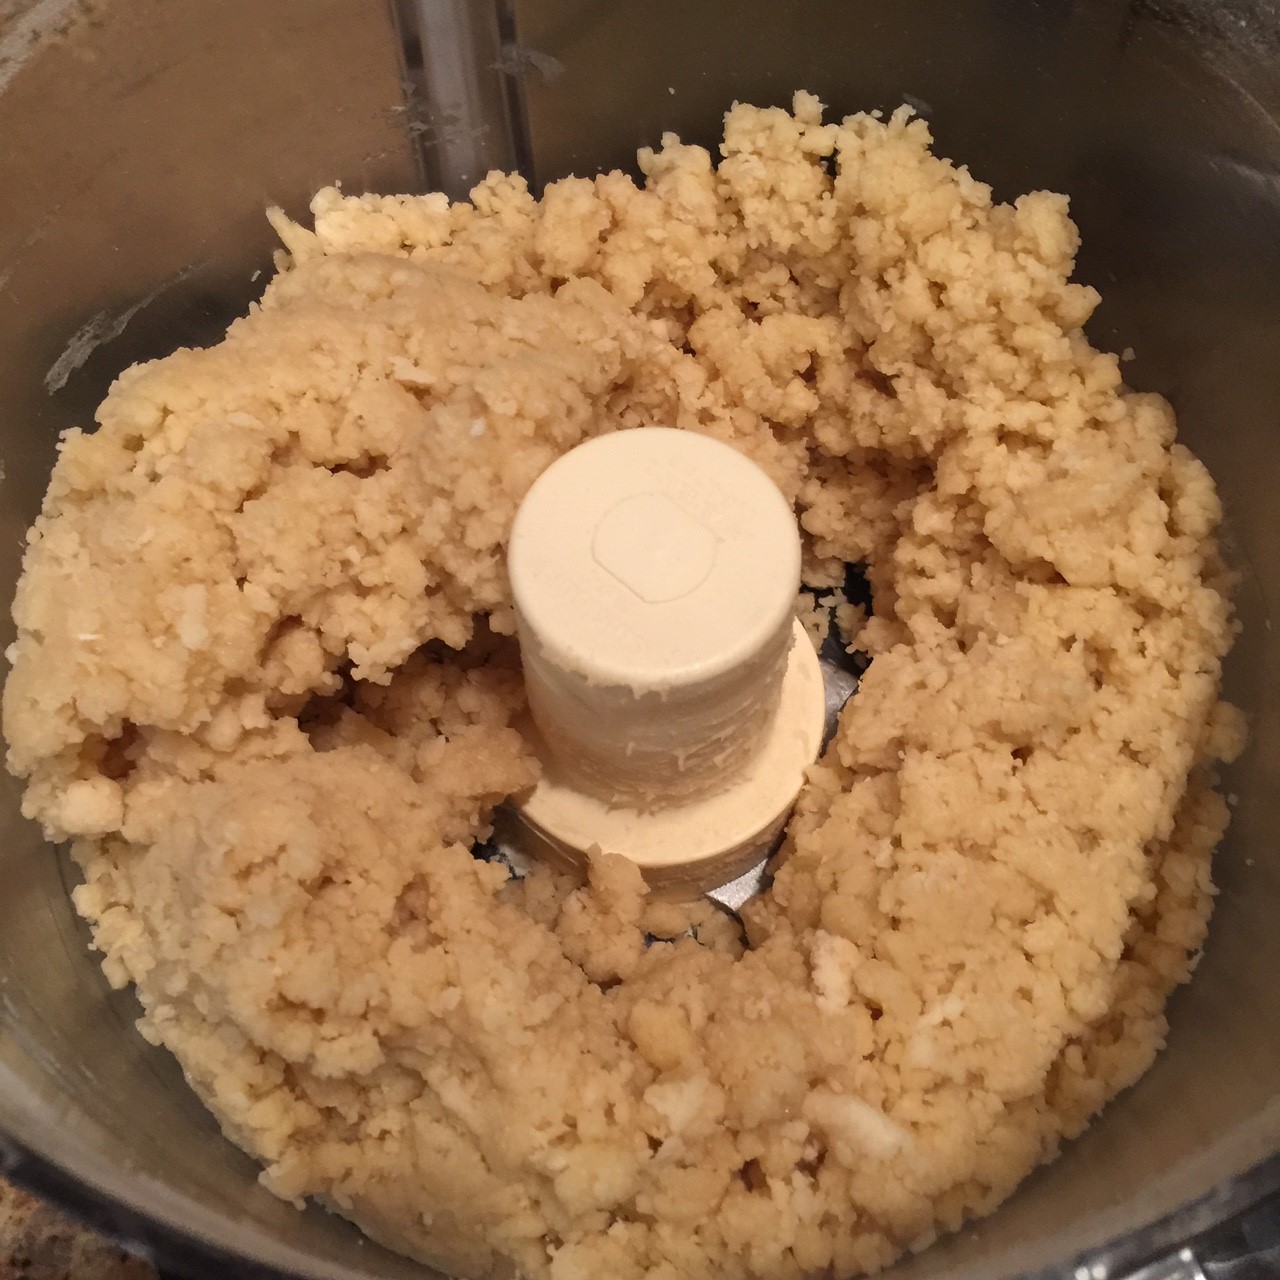
Prepare the hot water crust once the oven is preheating and the filling is mixed: Into your food processor put the flour and salt. Pulse 1 or 2 times. Scatter the butter into the flour and pulse until you don’t see any large blobs of butter – about 8 pulses.

Pour in the hot water all at once. Pulse to incorporate the water. You should be able to form a soft, pliable ball. Add a tsp at a time of water if the dough seems too dry. Don’t worry if it’s too wet – you’ll be adding flour when you roll out the circles.

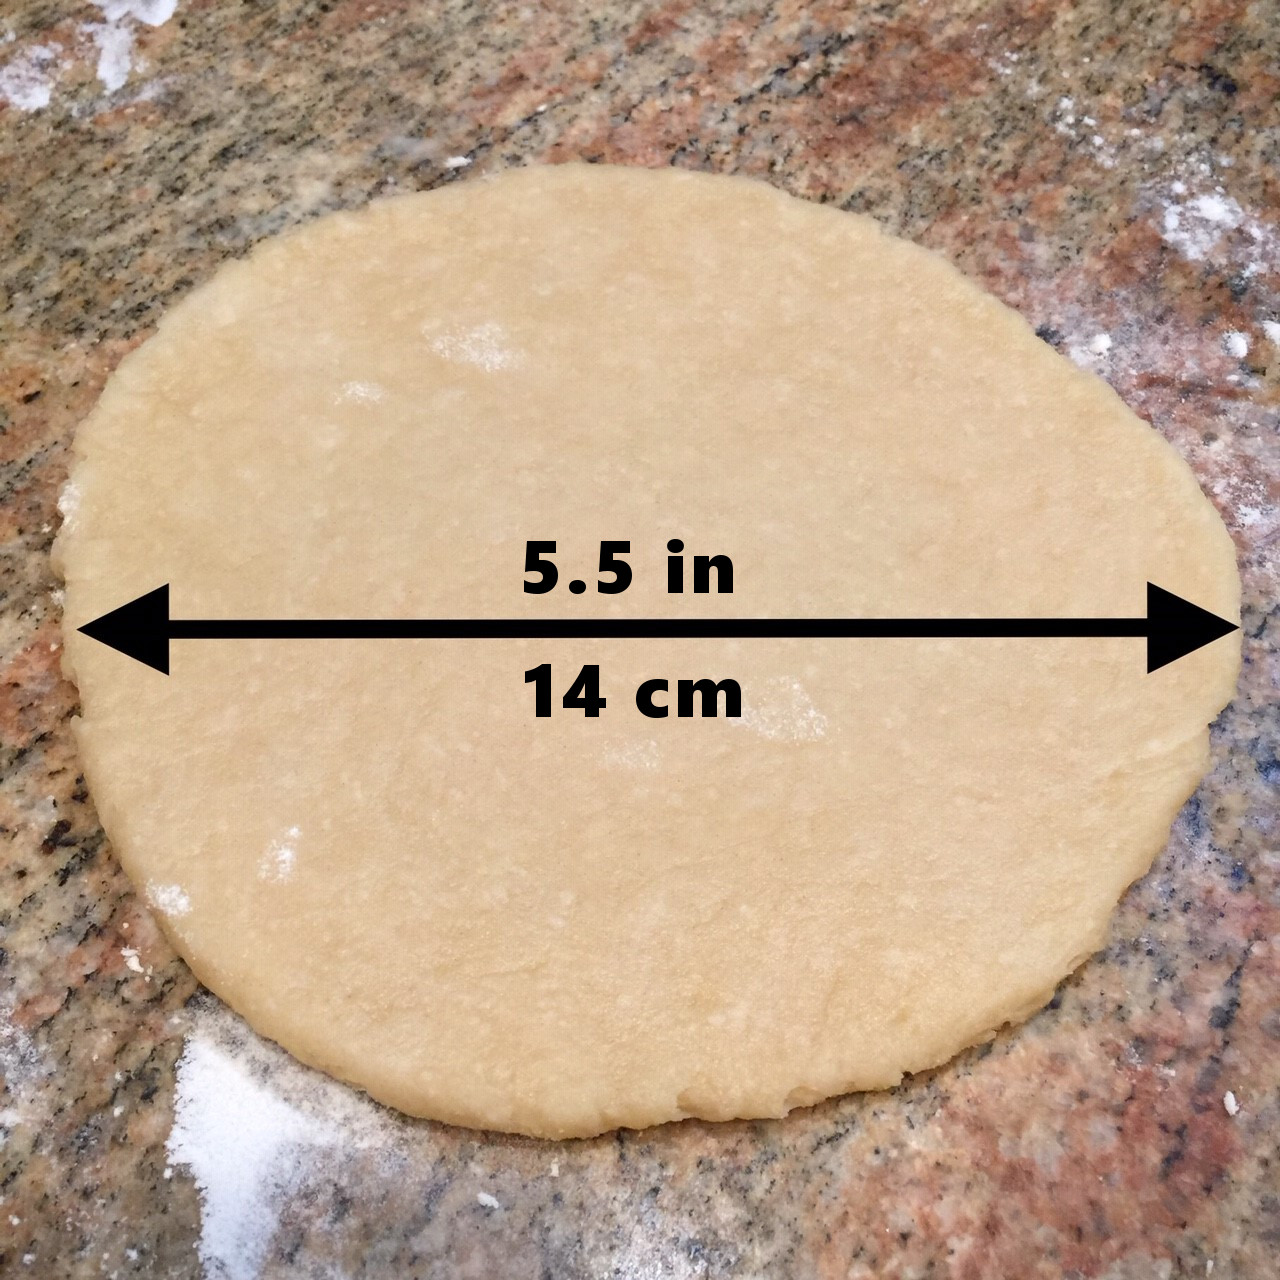
Lightly flour a flat surface and empty dough onto it. Knead the dough 3 or 4 times to bring it together. Cut into 6 equal pieces and roll into balls. Keep them covered until you roll them. One at a time, roll a ball into about a 14 cm/5.5″ circle.

You’re going to roll the dough into a final 20 cm/8″ circle, but rather than placing the rolling pin on the center and rolling outward, place it a little closer to the side it’s going toward and roll. (This keeps the center of the circle from getting too thin, which can allow leakage in the oven.) Try to make them as circular as you can, but don’t stress too much (you’ll be folding up the edges which will hide small imperfections.) You can use a 20cm/8″ template (such as a plate) and cut around it, if you like, but I can’t be bothered.

Keep the dough circles covered after you roll them out to prevent them from drying.

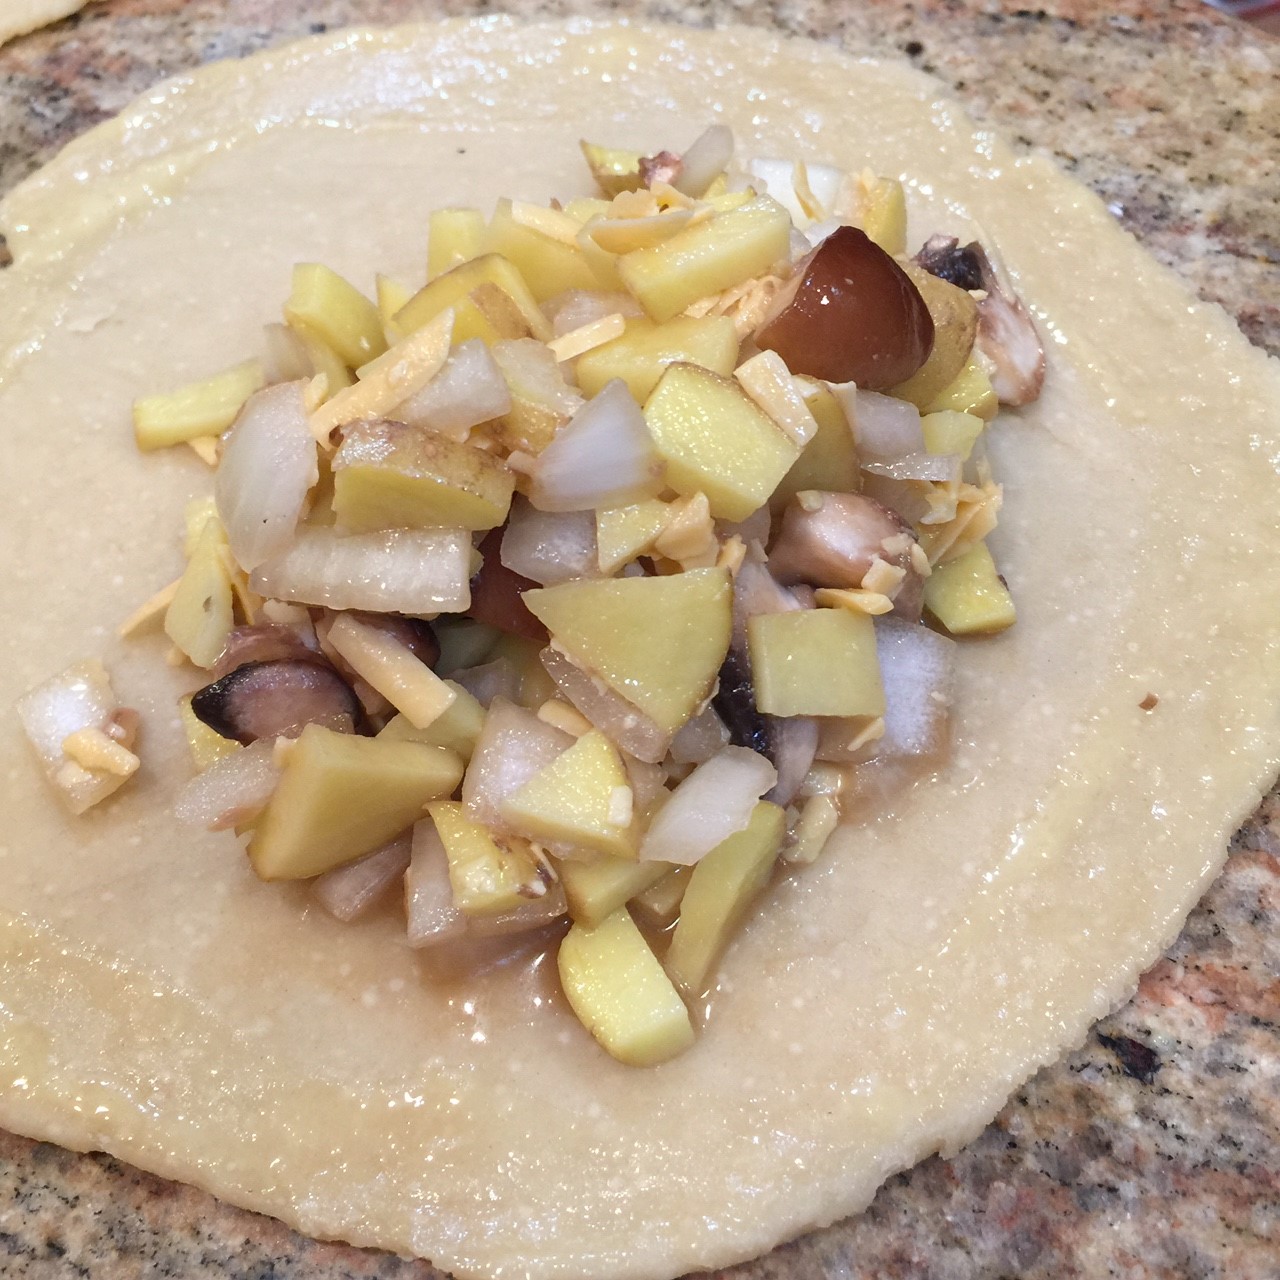
Divide the filling equally between the 6 circles. Place the filling mostly on one side of the circle, leaving a border of 2 cm/.75 in. Cover the dough circles you’re not working with with a tea towel so they don’t dry out. Working with one pasty at a time, dip your finger or a pastry brush in the egg wash and wet the border. (This will act as a glue to seal the sides together.)

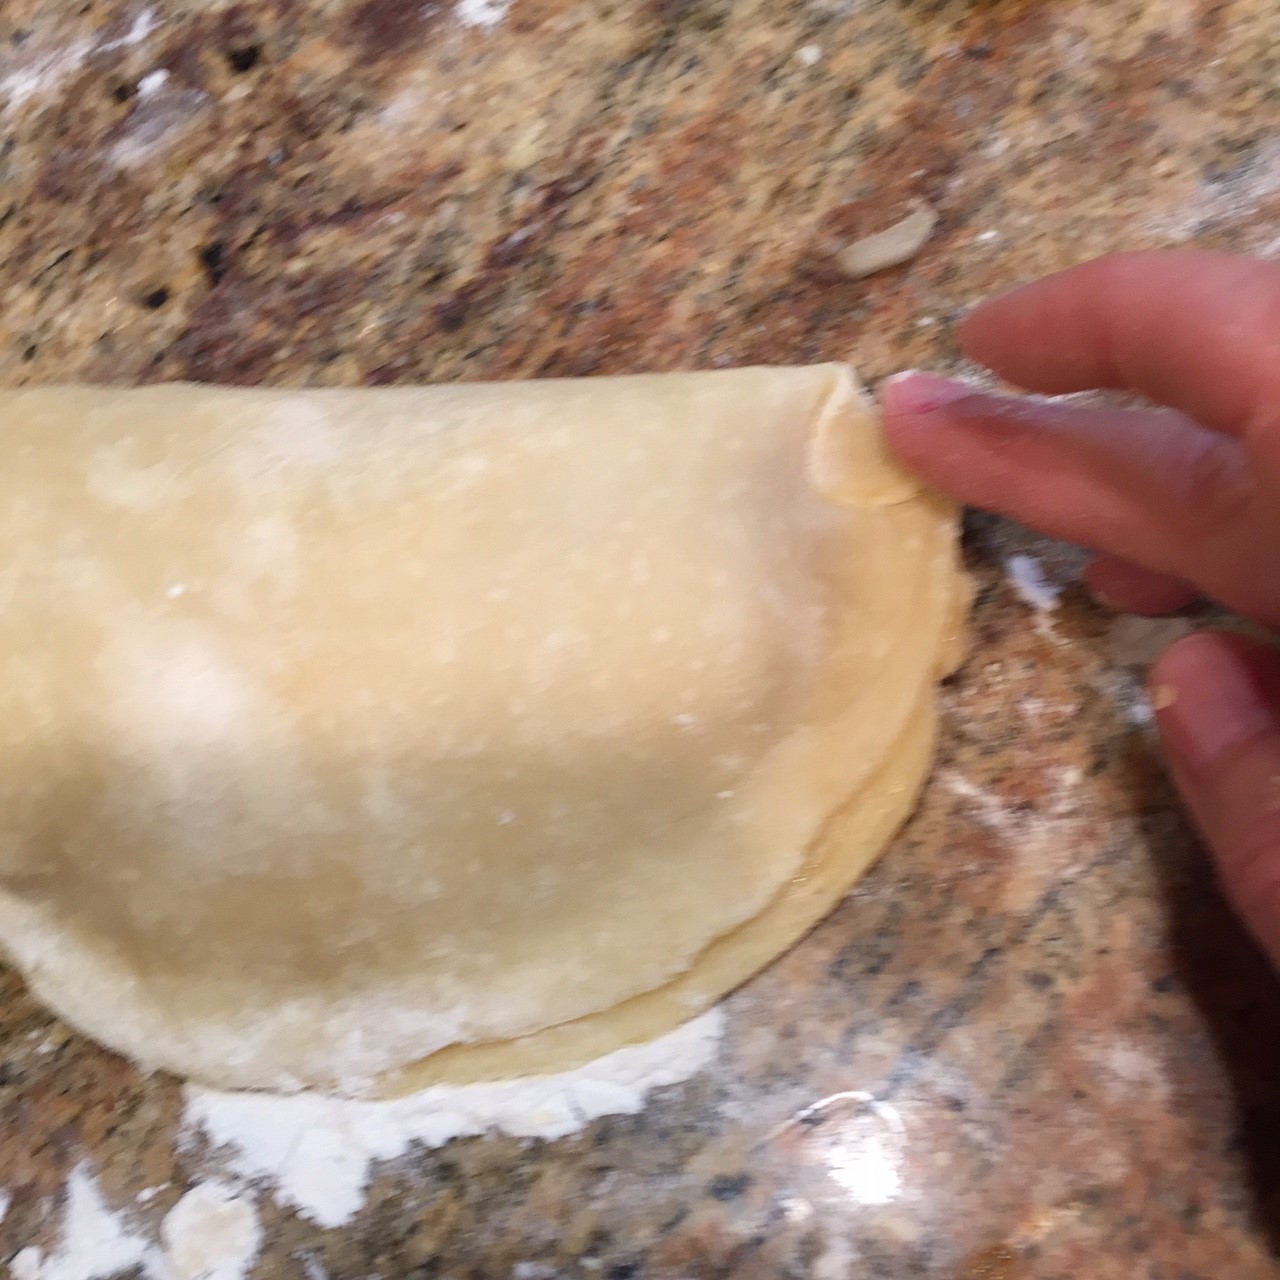
Carefully fold the dough in half, making sure the filling stays 2 cm/.75″ from the edge. Firmly press the border together so it’s completely sealed. Fold both corners in.

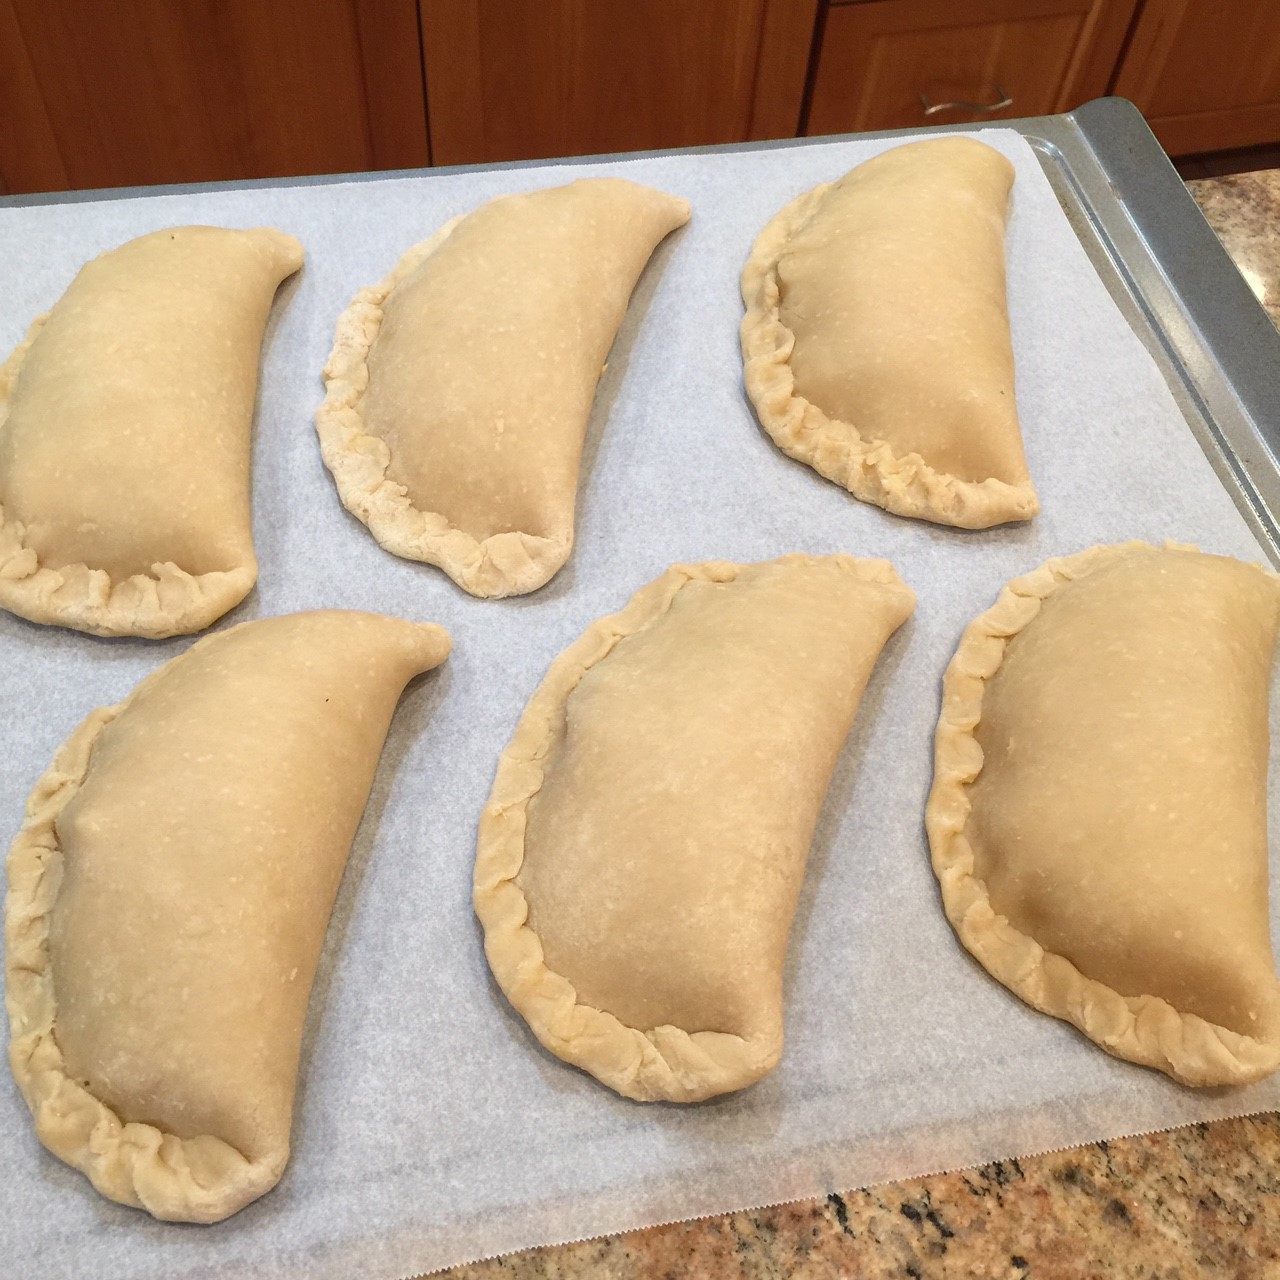
With your non-dominant hand, hold down the folded corner with your index finger. With your dominant hand, grasp the dough next to the fold and fold that in, pressing down. Continue along the entire border. The idea is to form a ropelike crimp. I’ve never managed to get that look, but I’m happy with my version. Find your own way, if you like. The point is to seal in the filling.

Lay the folded and crimped pasties on a parchment lined or greased baking sheet.

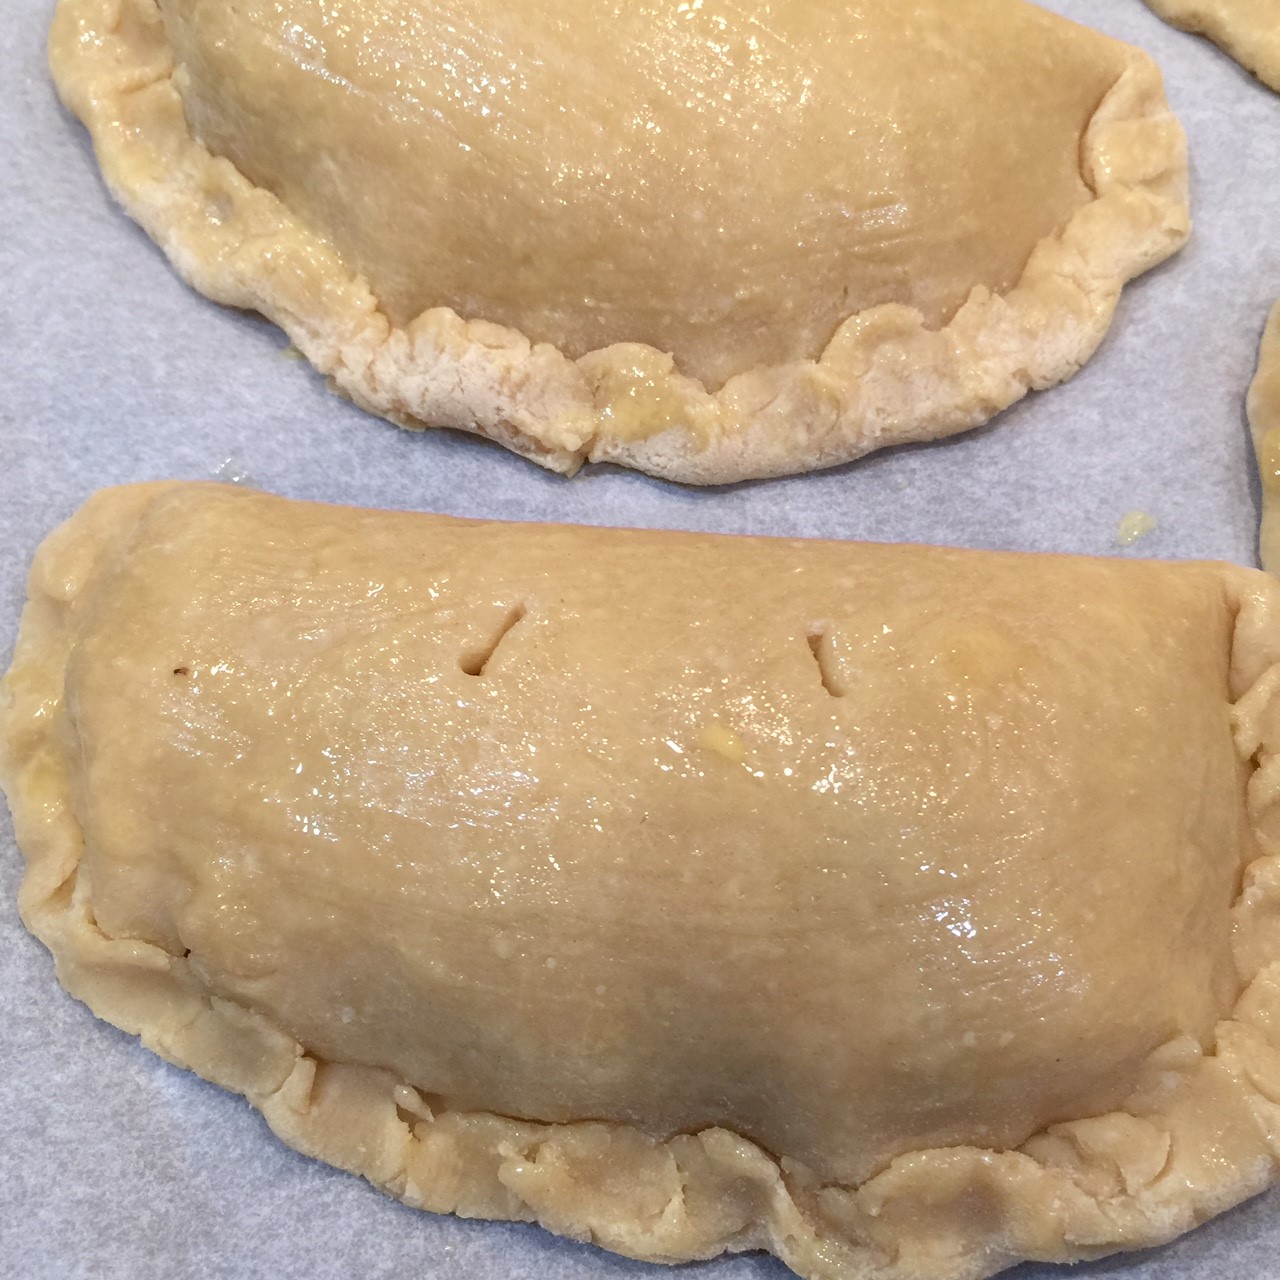
Once all the pasties are formed, paint the exposed surfaces generously with the egg wash.

Using a knife, make 2 slits in the top near the fold to allow steam to escape.

Place in the preheated 200° C/400° F oven on the middle rack. Bake until well-browned – 30-35 minutes. Remove to a rack to cool slightly before eating.

TOFU NOODLE SATAY: Fast & Easy!

Tofu Noodle Satay is one of those fast and easy meals that even picky kids like. Use this recipe as a base, but go ahead and substitute as you prefer. Add a red pepper or asparagus, make it chunky peanut butter – the sky’s the limit. You can even sneak in some finely chopped spinach! (The kids will never know.)

Queen of Freeze Note: The satay sauce freezes well so, if you like it, next time double or more the recipe. Then, go ahead and freeze the extra in portion sized containers for future use.

TOFU NOODLE SATAY – makes about 2 large servings

  • 1/2 cup (82 grams / 3 oz) creamy peanut butter
  • 1/3 cup (75g / 2.5 oz) water
  • 1/3 cup (75g / 2.5 oz) soy sauce
  • 3 T (30g) lime juice
  • 3 cloves garlic, pressed or minced
  • 1 T ginger, fresh, grated
  • 1 T (11g) sesame oil
  • 1/4 tsp red pepper flakes
  • 21-28 oz (593-794 grams) extra-firm tofu block
  • 1.25 cups (85 grams / 3 oz) bite-sized broccoli pieces
  • Vegetable oil for frying tofu
  • 6 oz (174 g) uncooked spaghetti noodles
  • 1/3 cup (40 g) roasted peanuts (I prefer spicy lime flavored)

Sandwich the tofu between between two plates to squeeze out excess water. To speed up the process, set something weighty (such as a can) on top to add pressure. Pour off drained water from time to time.

Into a blender, combine the peanut butter, water, soy sauce, lime juice, garlic, ginger, sesame oil, and red pepper flakes. Whirl on low until blended. Pour into a small saucepan and heat over medium/low, just to boil. Turn off heat, and let sauce set while preparing the rest of the recipe.

Turn on oven to 200° F (93° C) – so the cooked tofu will be able to stay warm until ready to use.

Steam the broccoli pieces for 3 minutes only. They will go from a dark green to a bright green. Immediately remove the steamer basket from the pot to stop the cooking. (You don’t want mushy broccoli.)

Bring about 2 quarts of water to cook the pasta to a full boil in a Dutch oven while you prepare the tofu.

Slice the drained tofu into 5/8″ (1.5 cm) slabs. Cut these into smaller pieces – I prefer 1.5″ x 1.5″ (3.5 cm x 3.5cm).

Heat vegetable oil in a nonstick skillet over medium/high heat. When oil is shimmering, add as many tofu pieces as will fit. If you have a splatter guard, use it! As soon as the bottoms are browned, flip and cook the other side. Don’t overcook or the tofu will become rubbery.

Place the cooked tofu pieces on a paper towel lined baking sheet and put in the 200° F (93° C) oven to keep warm.

When the water in the Dutch oven is at a full boil, add in the spaghetti noodles and cook until done. Drain in a sieve, but don’t rinse or shake.

Into to now empty Dutch oven, pour in the satay sauce and heat over low. When warmed, add in the broccoli, peanuts, and pasta. Stir to mix. Then add in the tofu and gently combine (the tofu will break apart if you’re over-zealous. Serve.