It’s getting to be that time of year when we start regretting that extra slice of holiday pie. Yes, swimsuit season is closing in. My FARRO VEGETABLE STEW is low in calories, easy to make, and adaptable to what you happen to have in the fridge or prefer.
NOTE: Even though this recipe is called Farro Veggie Stew, you can use a different grain that you might prefer. I did try quinoa, but didn’t care for it. However, taste is subjective. As they say now: you do you!
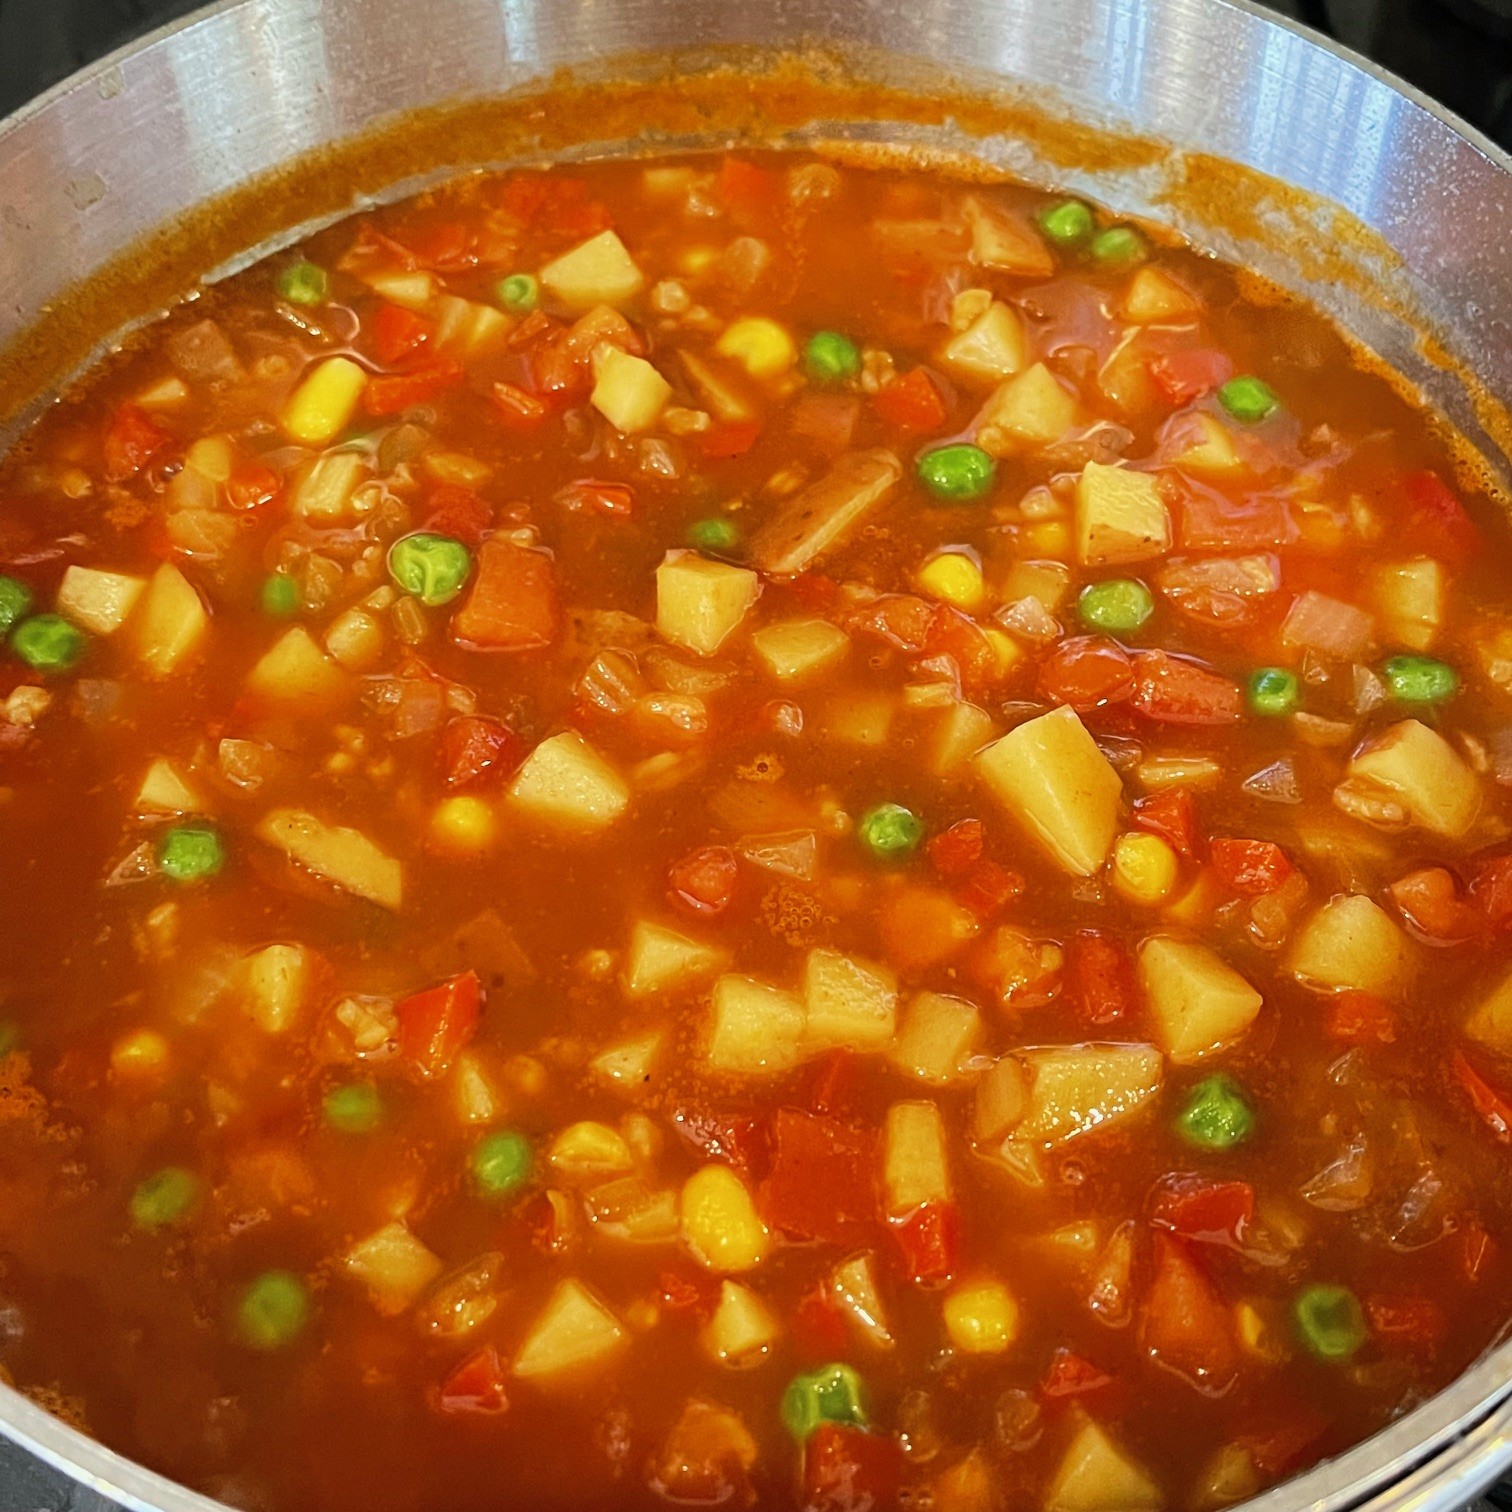
FARRO VEGGIE STEW – makes about 6 cups (1.5 litres)
- 160g (1 cup) uncooked farro
- 1 T olive oil
- 170g (1.5 cups) onion, chopped
- 80g (about 1 large) red pepper, chopped
- 3 garlic cloves, pressed or minced
- 1/2 T paprika
- 1 tsp coriander
- 3/4 tsp cumin
- 675g (3 cups) vegetable stock – homemade or purchased
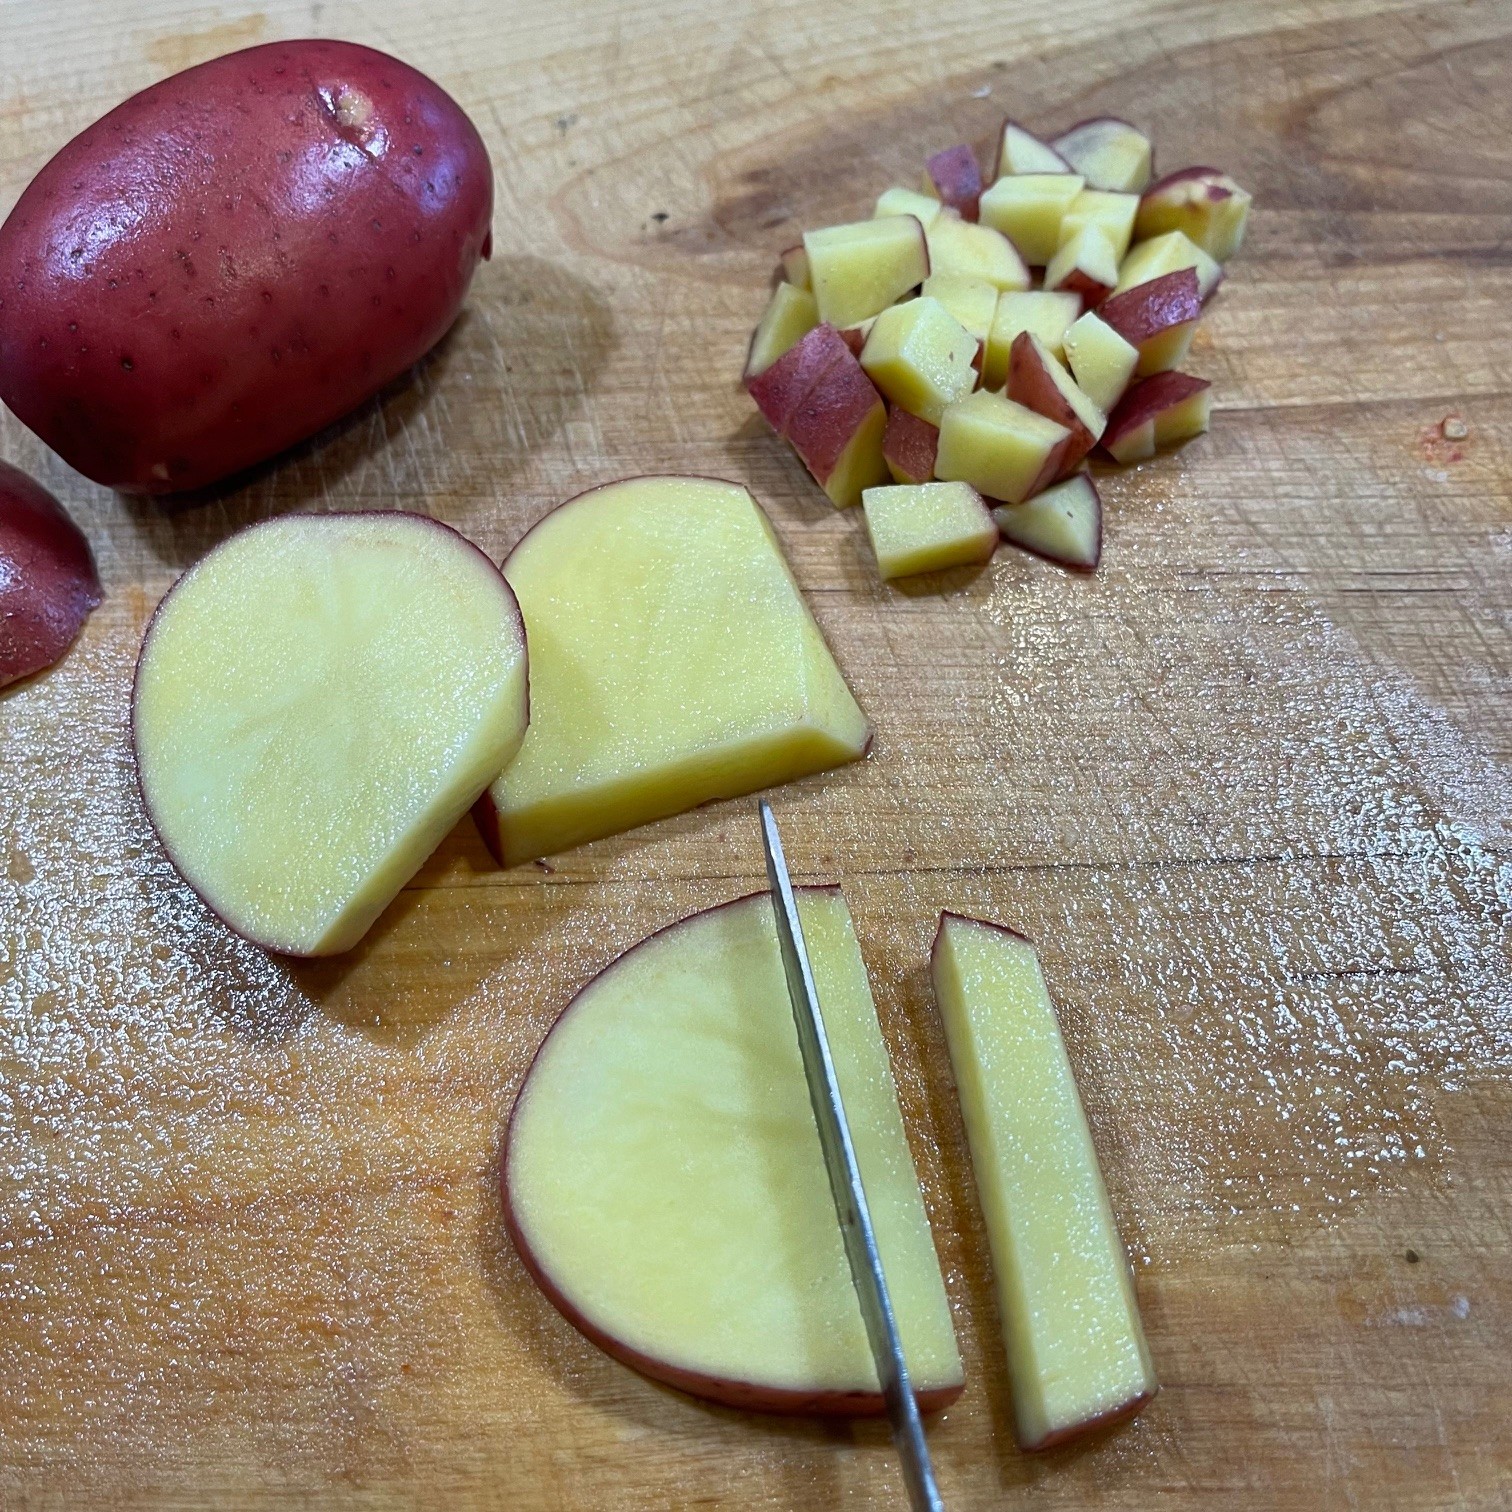
- 232g (8 oz) Yukon Gold or red potatoes, unpeeled
- 230g (1 cup) tomato sauce
- 60g (1/2 cup) corn (frozen, canned, or from the cob)
- 60g (1/2 cup green peas (frozen or canned)
- 2-3 tomatoes (I like Roma), chopped
- 1 tsp table salt
- 2 tsp red wine vinegar (or whatever vinegar you prefer)
- OPTIONAL (RECOMMENDED!) TOPPINGS:
- 80g (1 cup) Pecorino Romano cheese, grated
- 227g (1.25 cups) Feta cheese, crumbled
First thing to do, before any prep work, is to hydrate the farro. This gives a jump start to the cooking time.
Rinse the farro in a sieve. Pour drained farro into a bowl, cover with boiling water, then top with a plate to retain the heat. Set aside. Proceed with prep work and cooking.
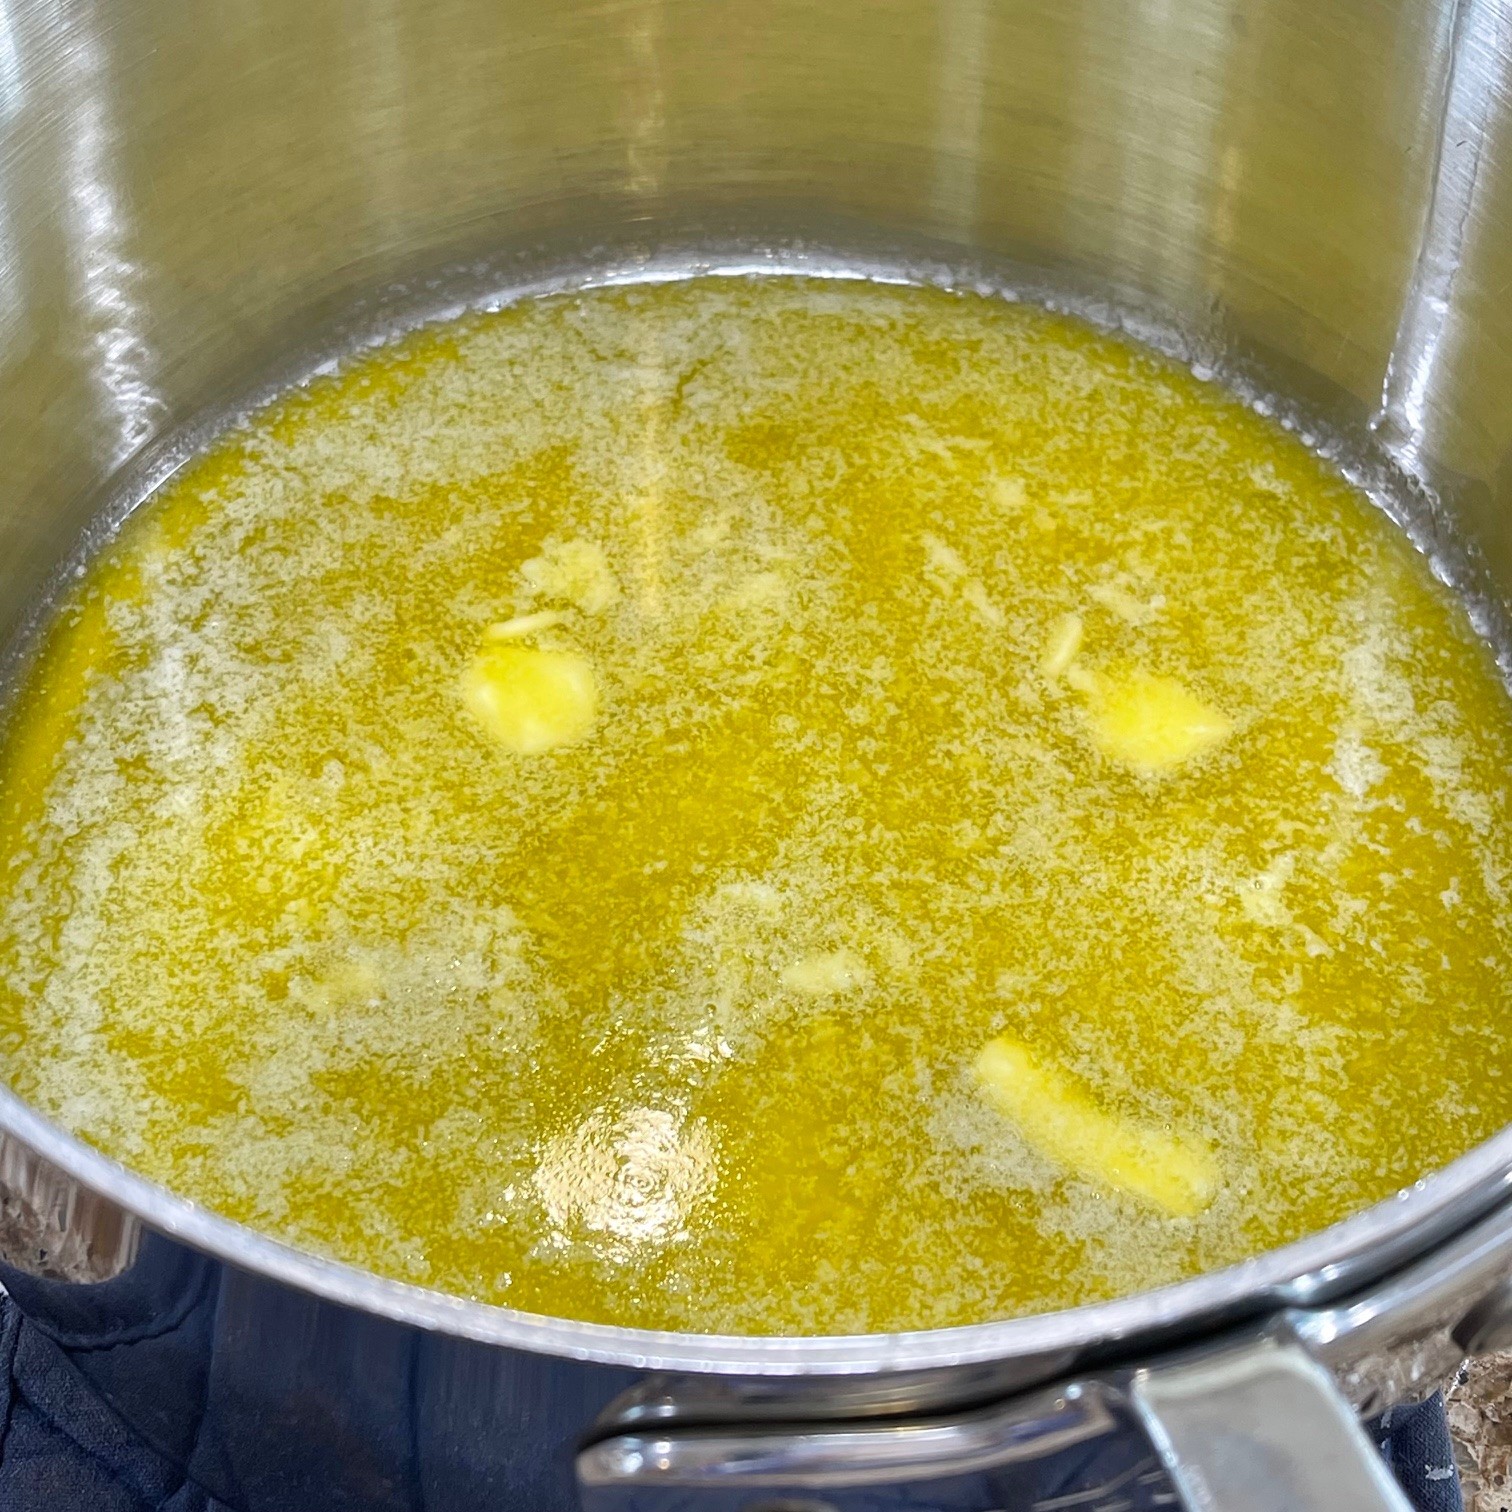
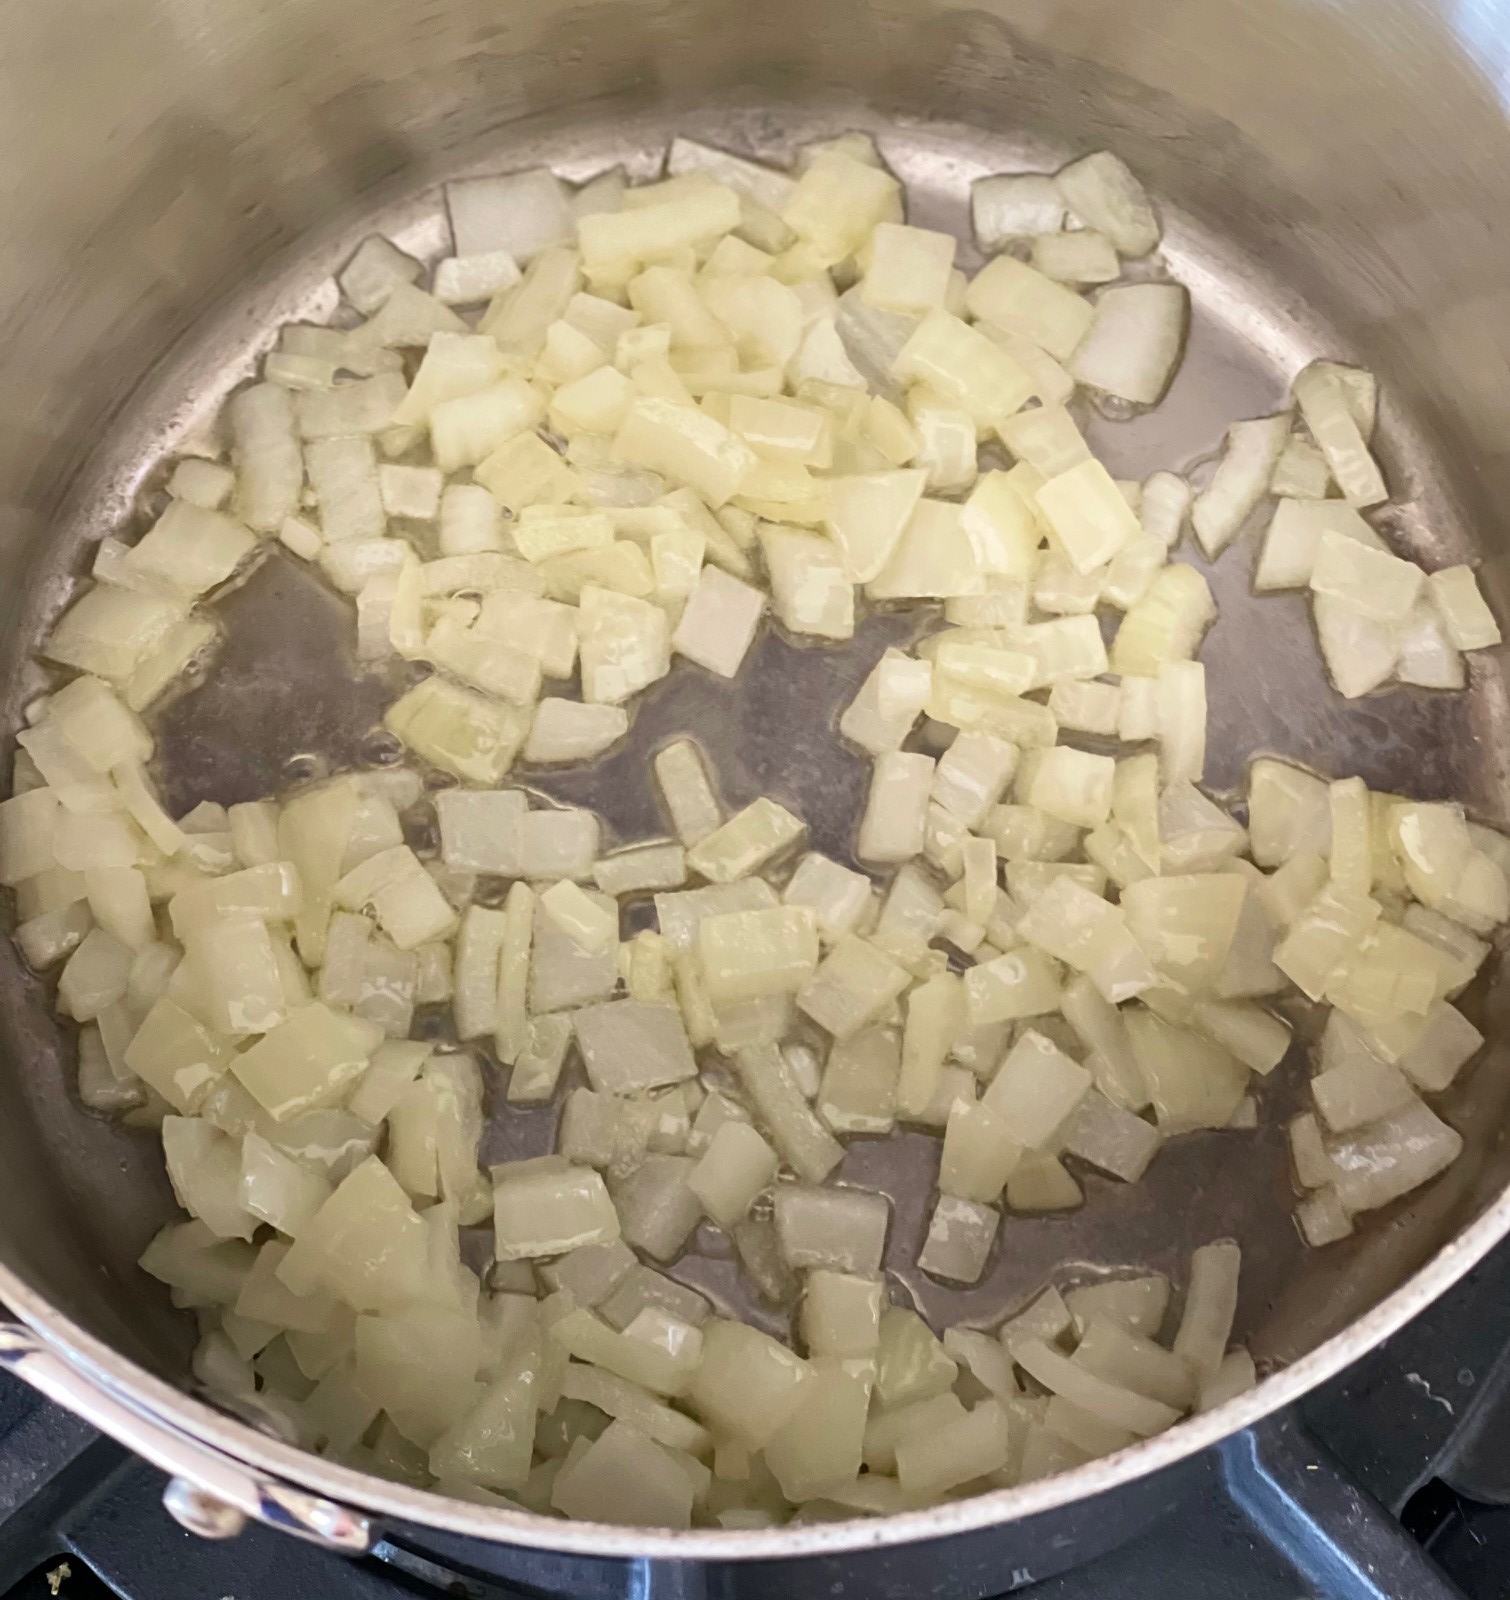
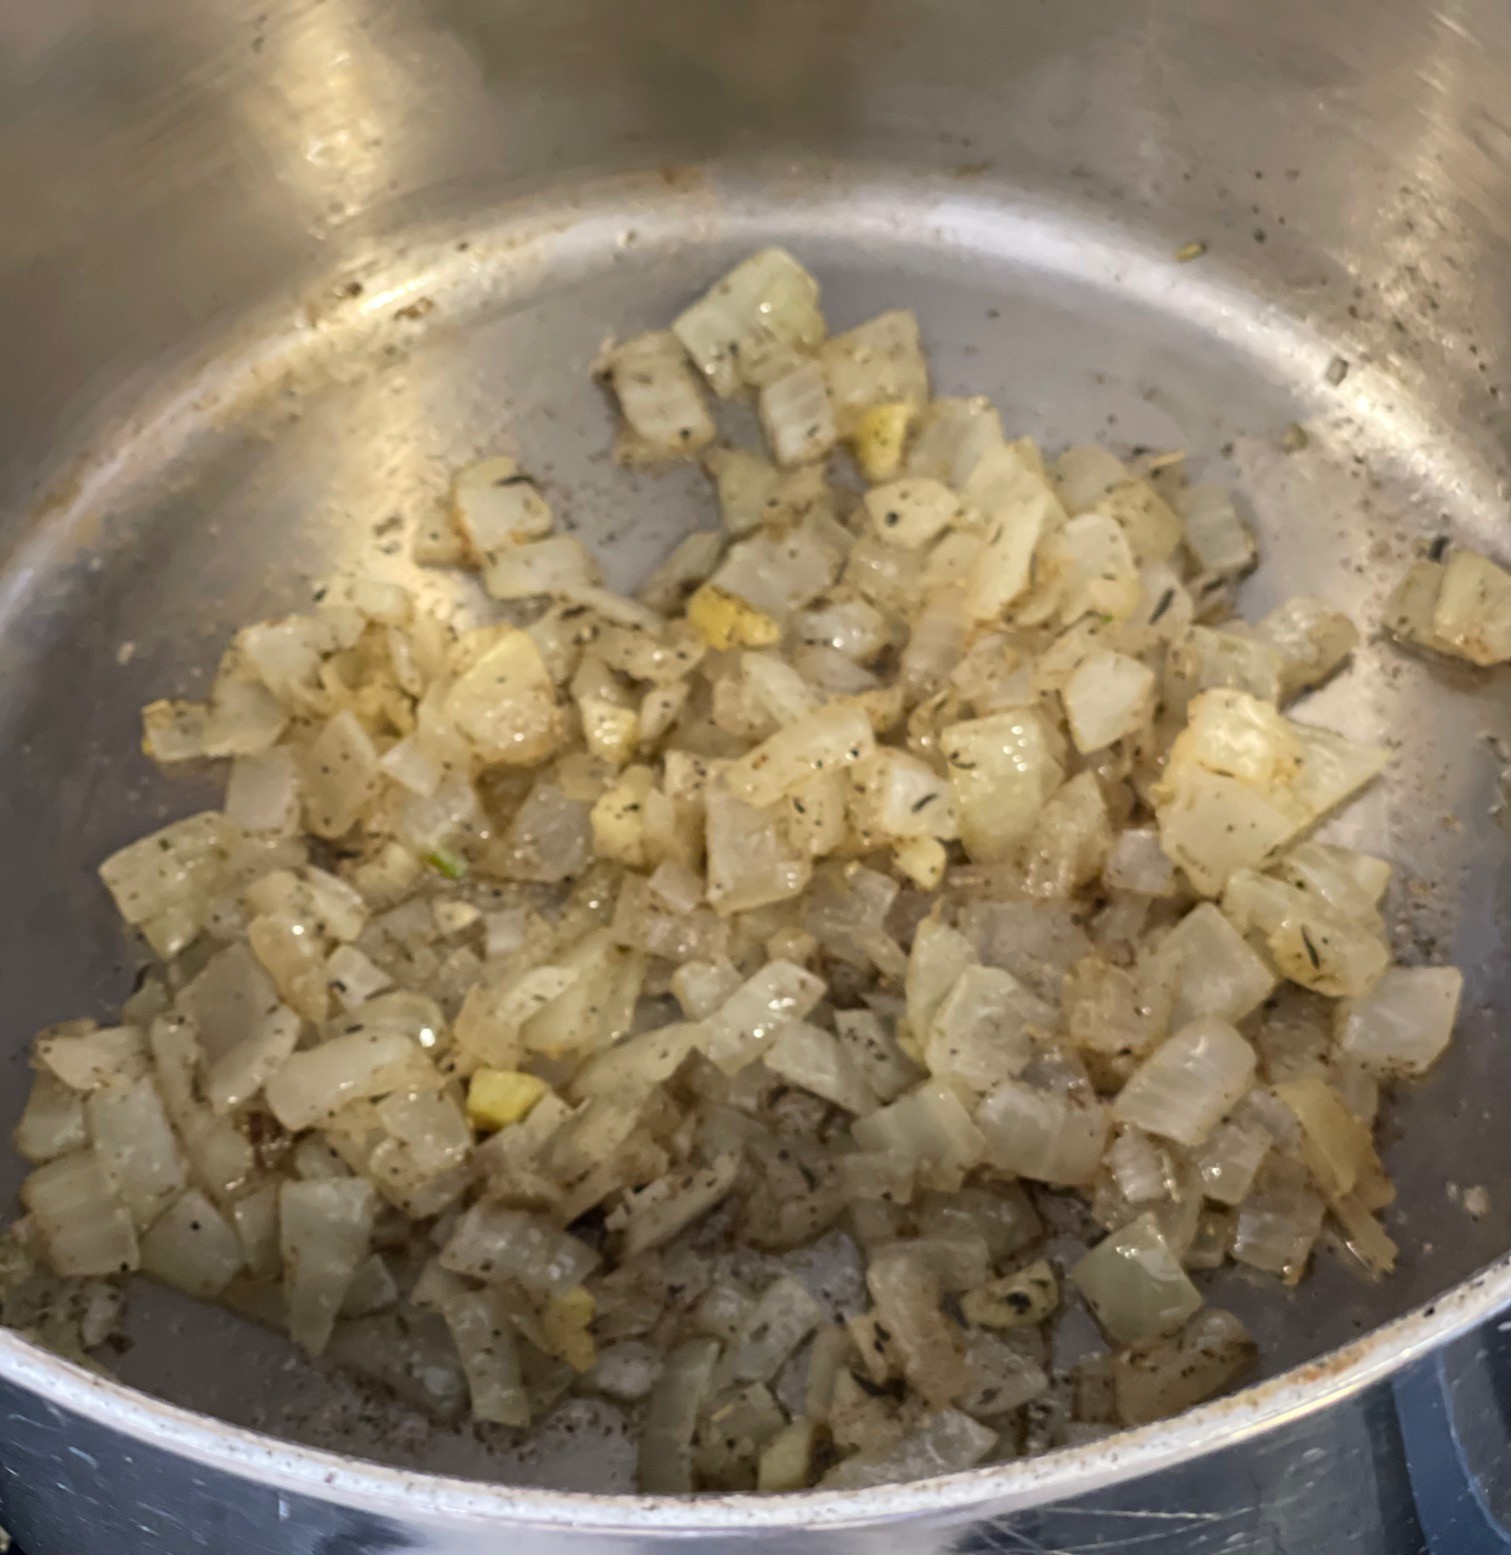
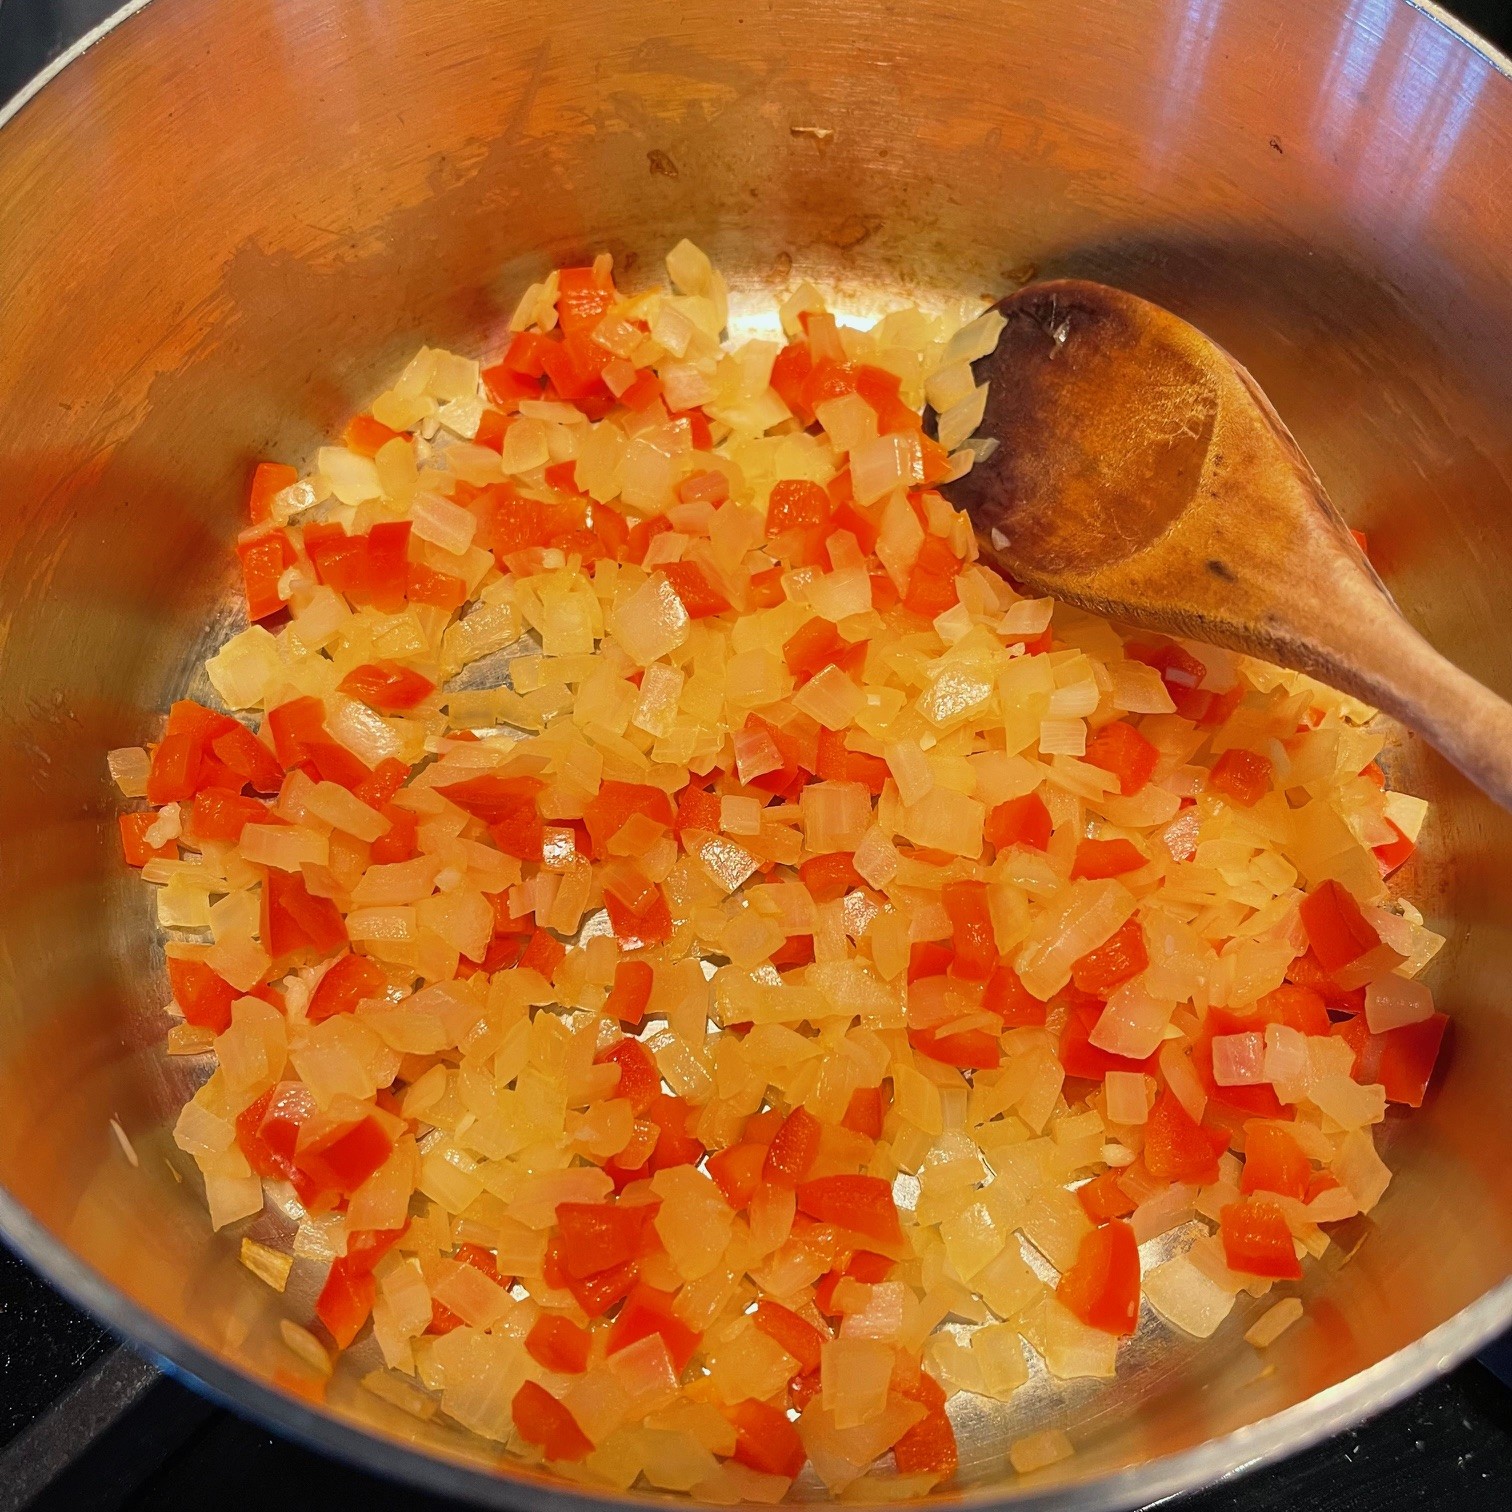
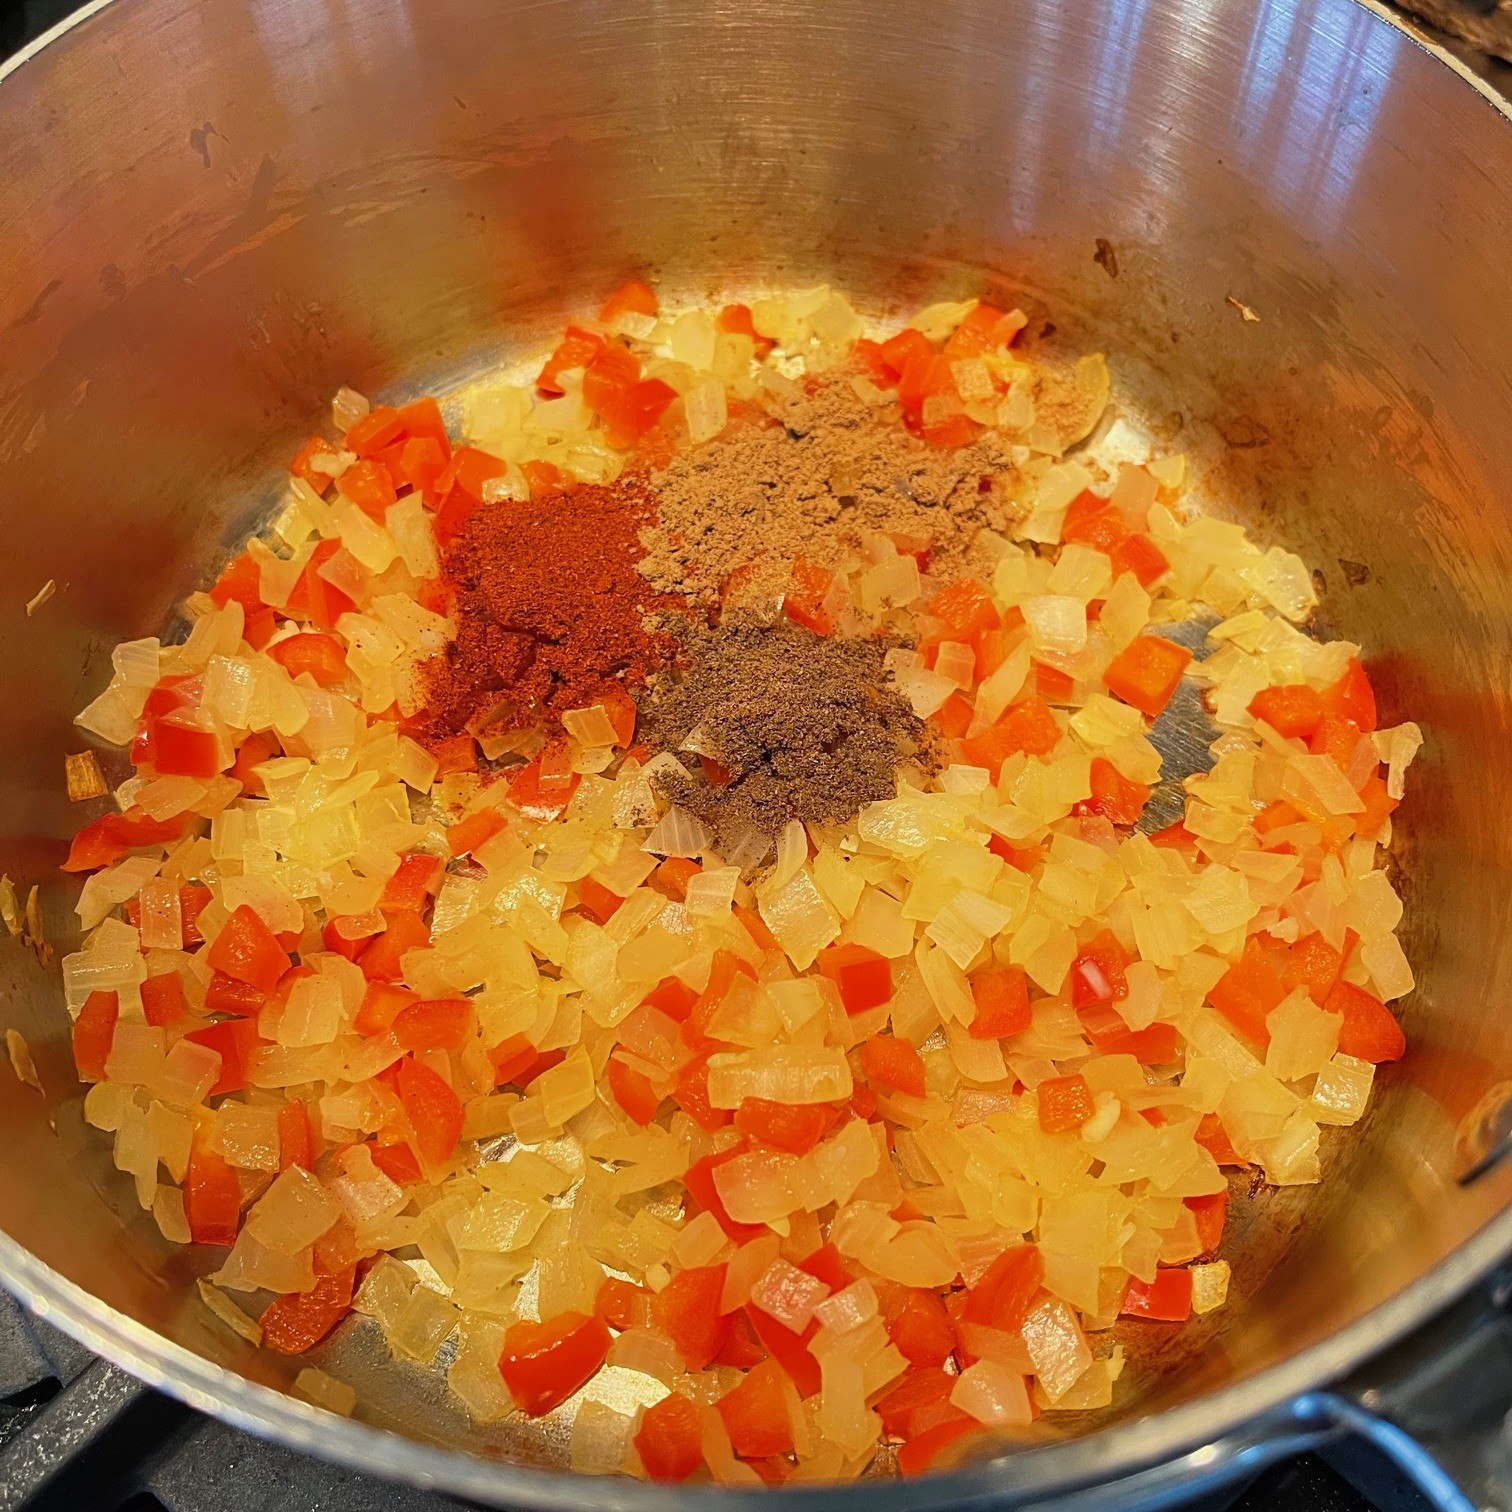
Into a saucepan that can hold at least 6 cups (1.5 litres), saute the onions and red pepper in olive oil over medium/high heat for 5 minutes. Stir often.
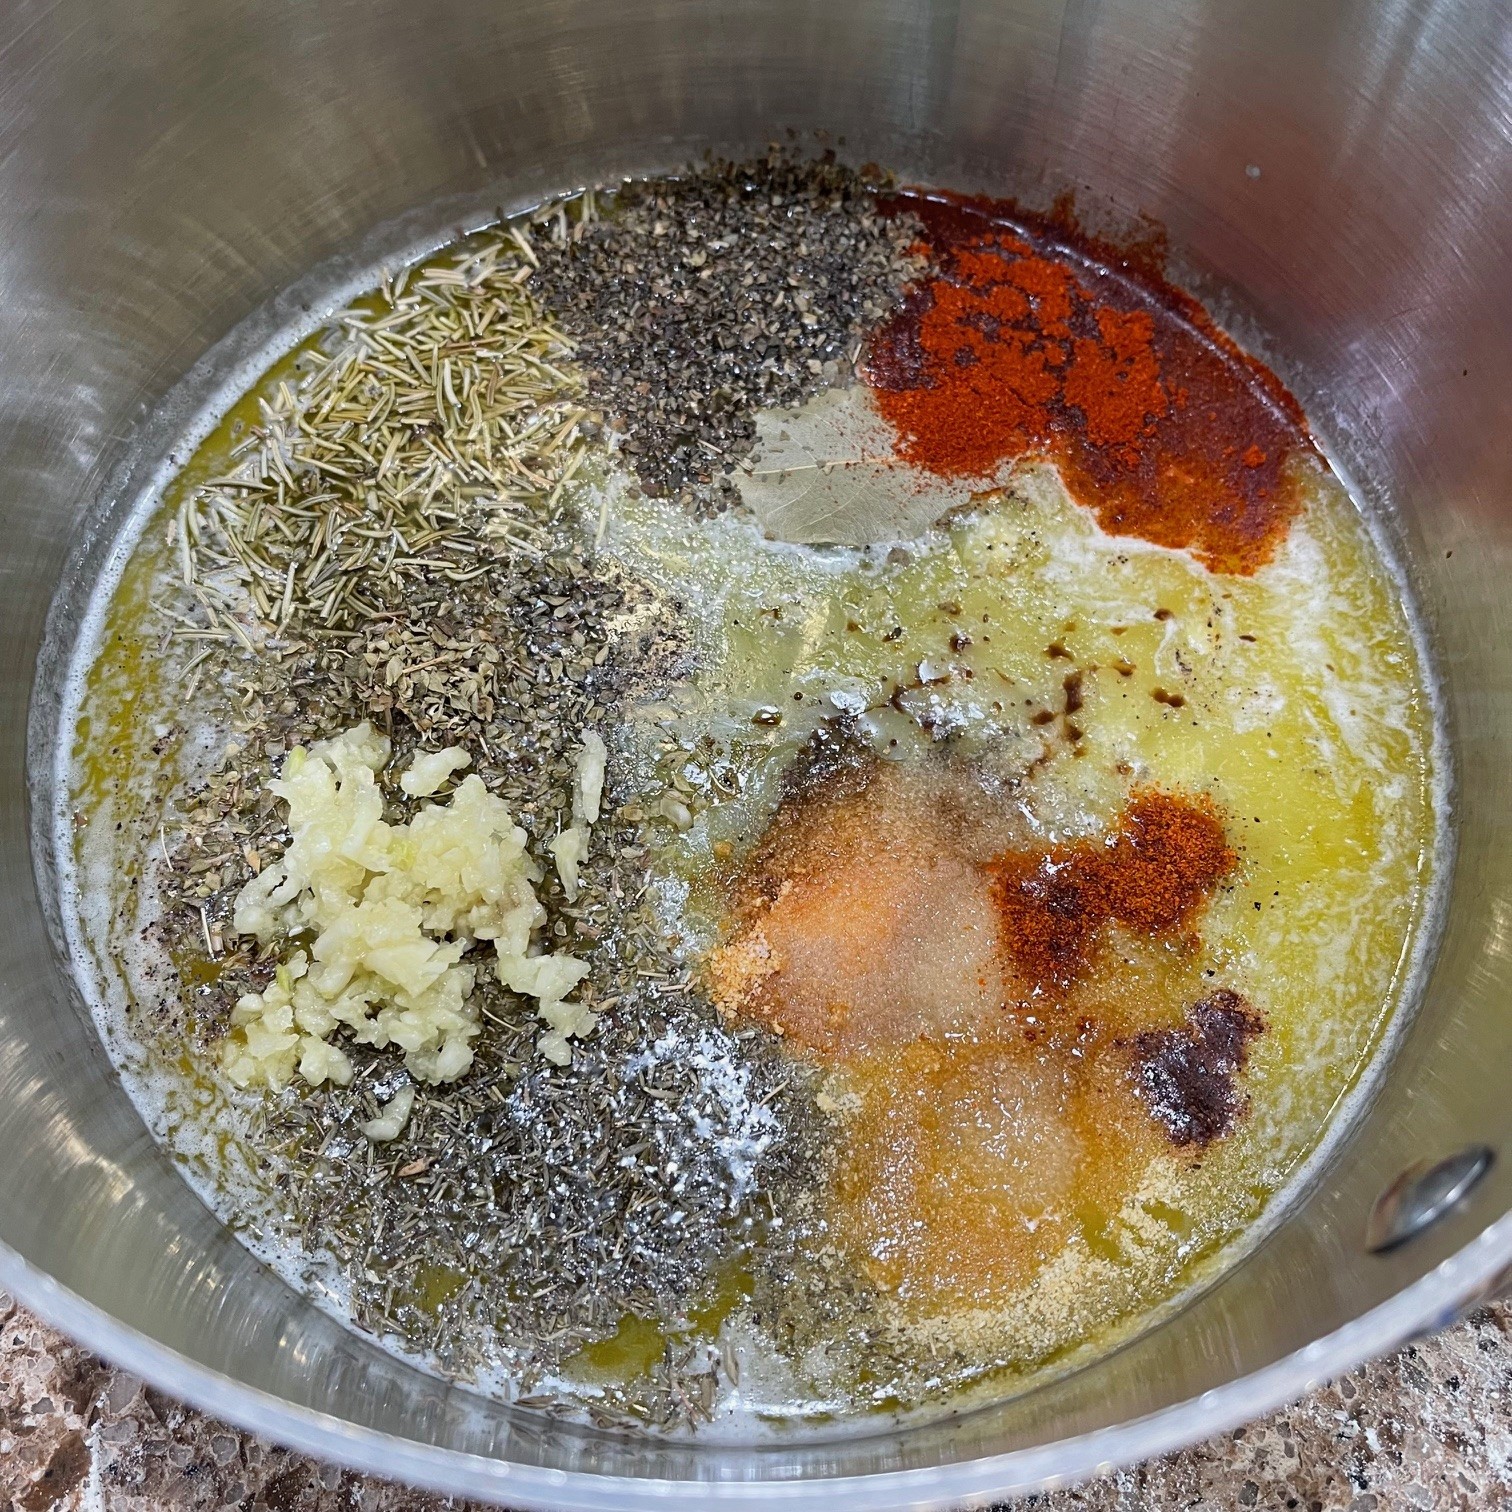
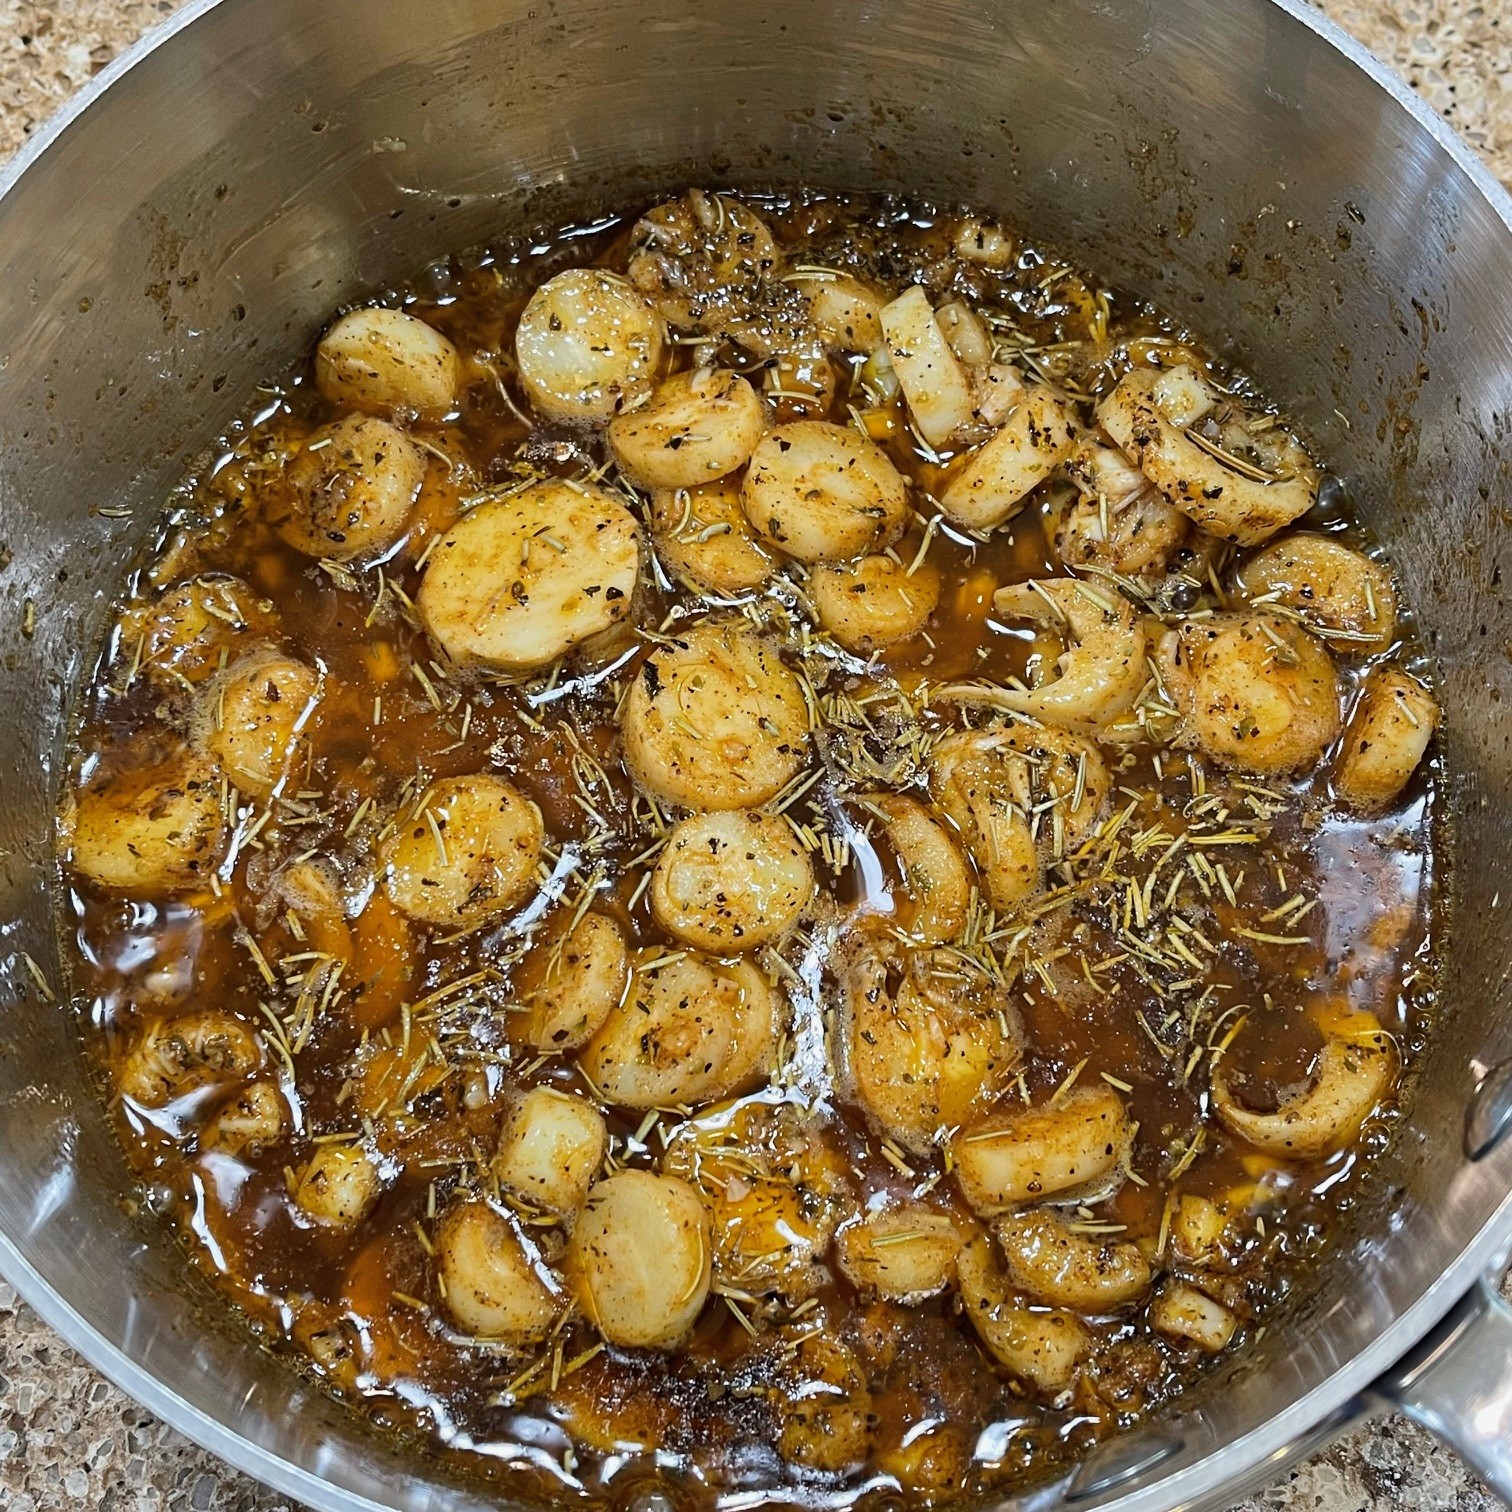
Add garlic, paprika, coriander, and cumin. Stir over medium/low for 30 seconds to bloom the favors.
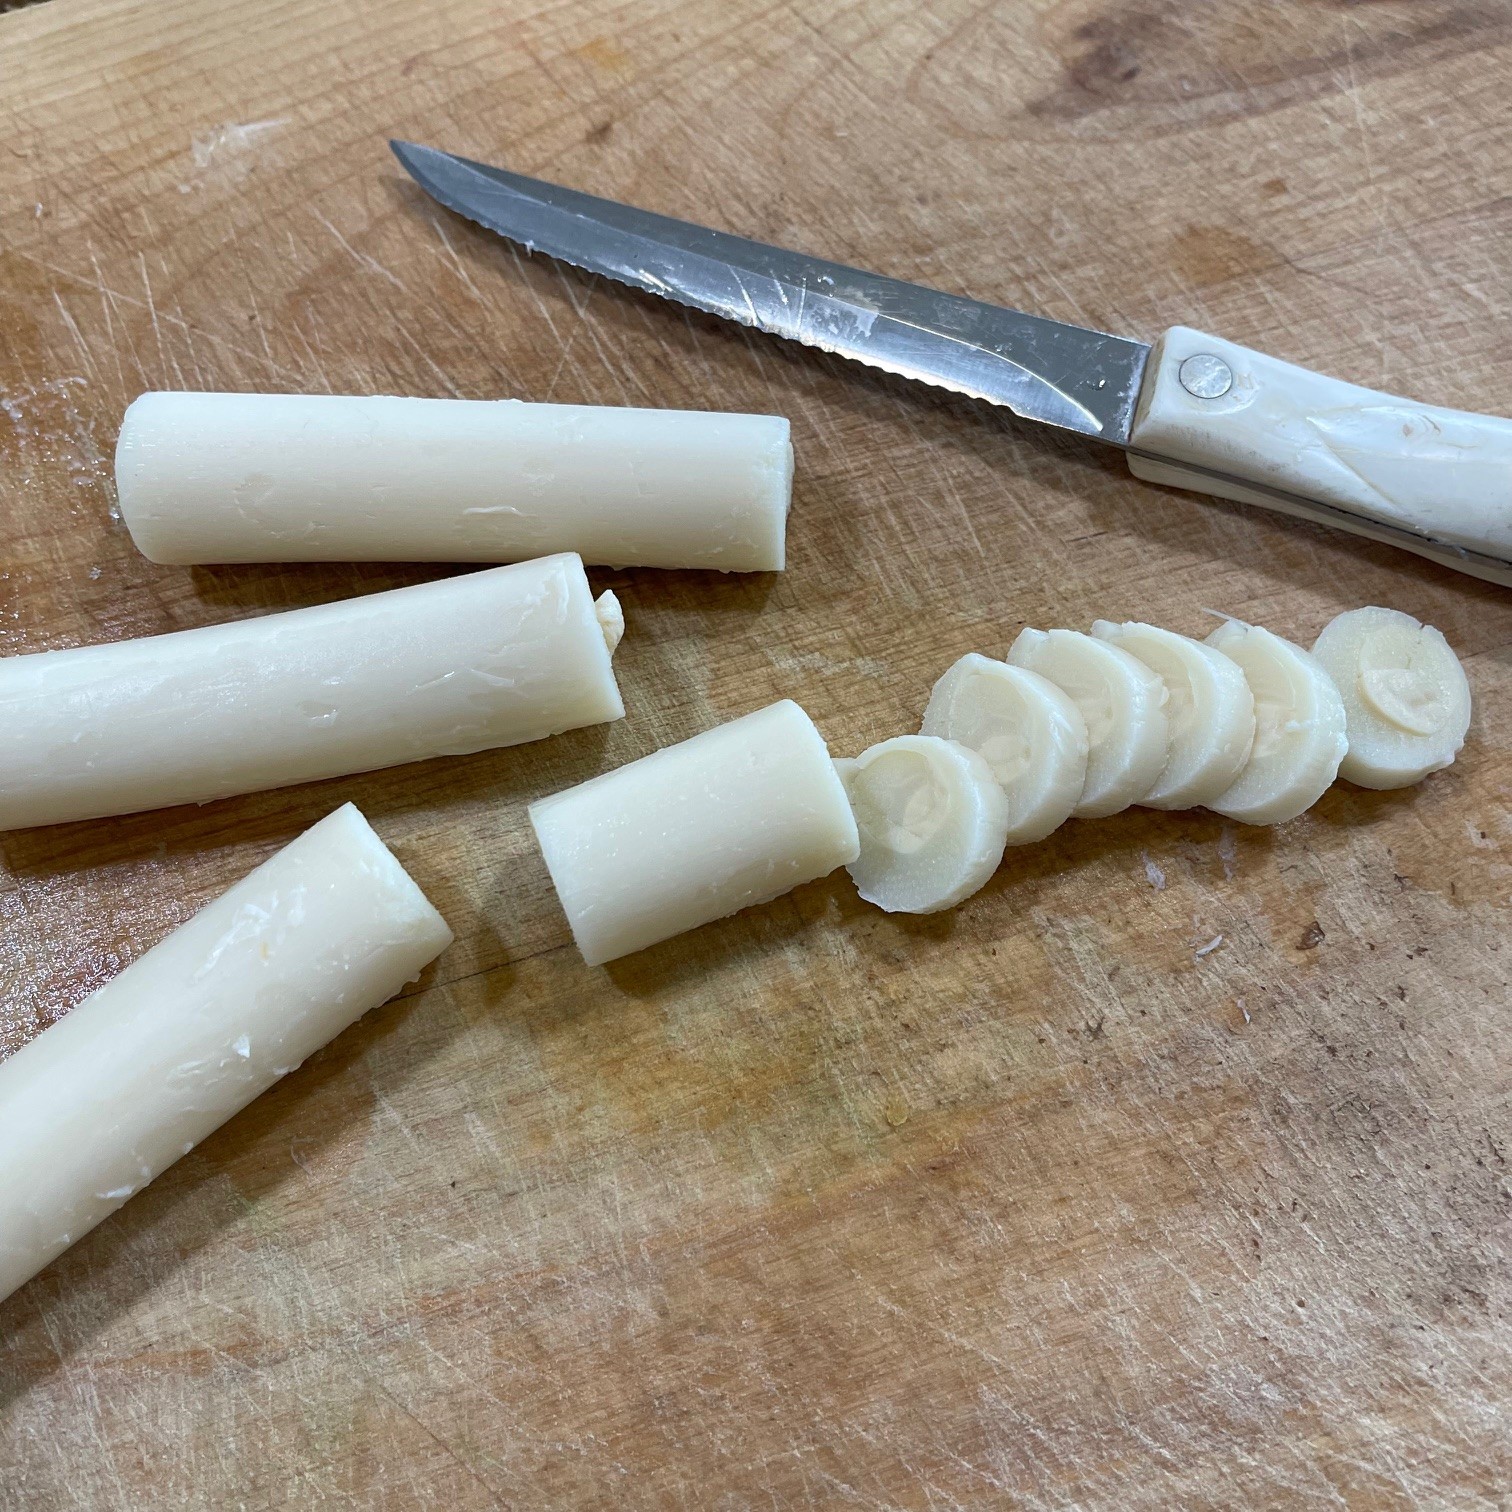
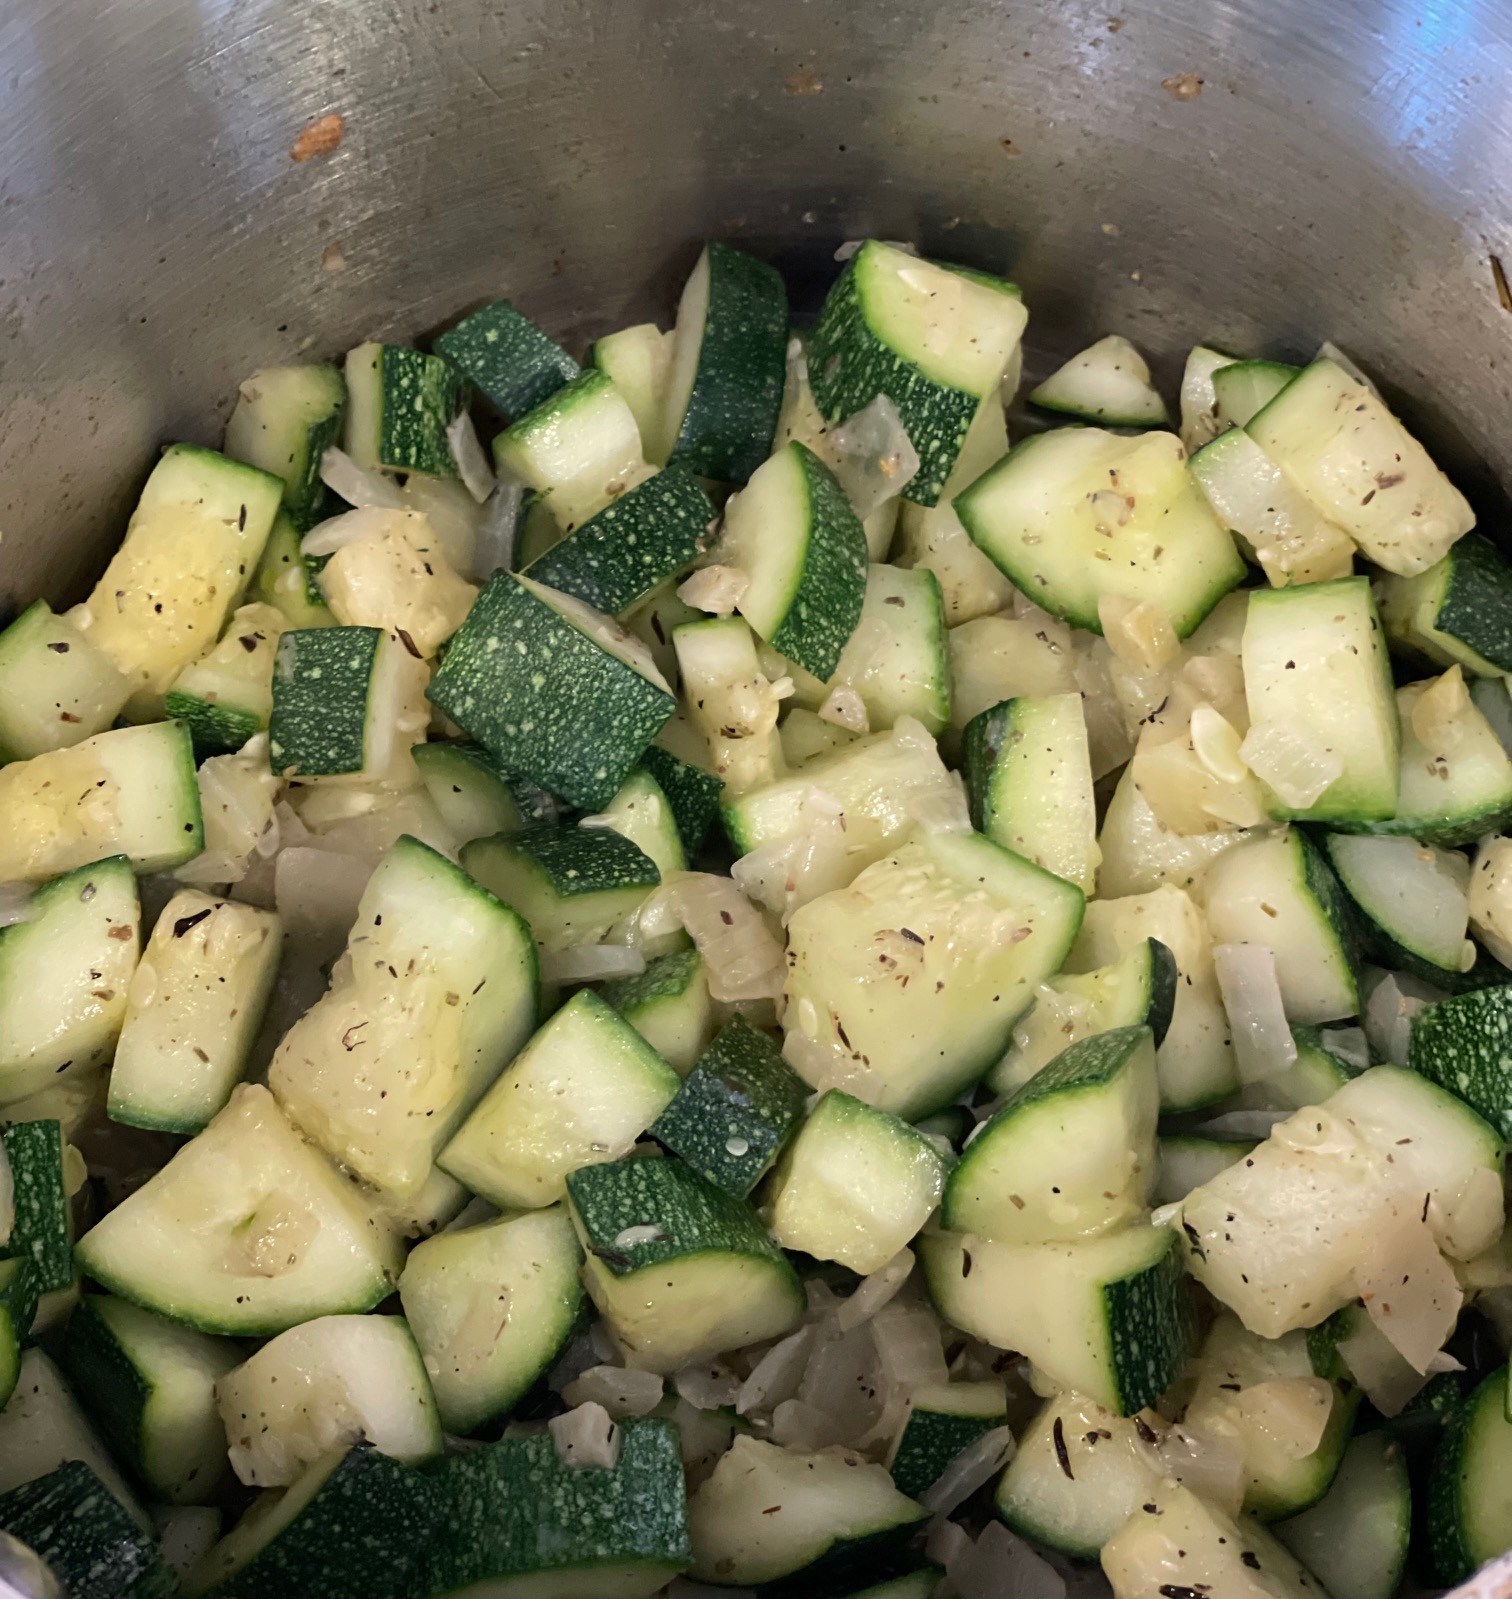
Cut potatoes into bite-sized pieces.
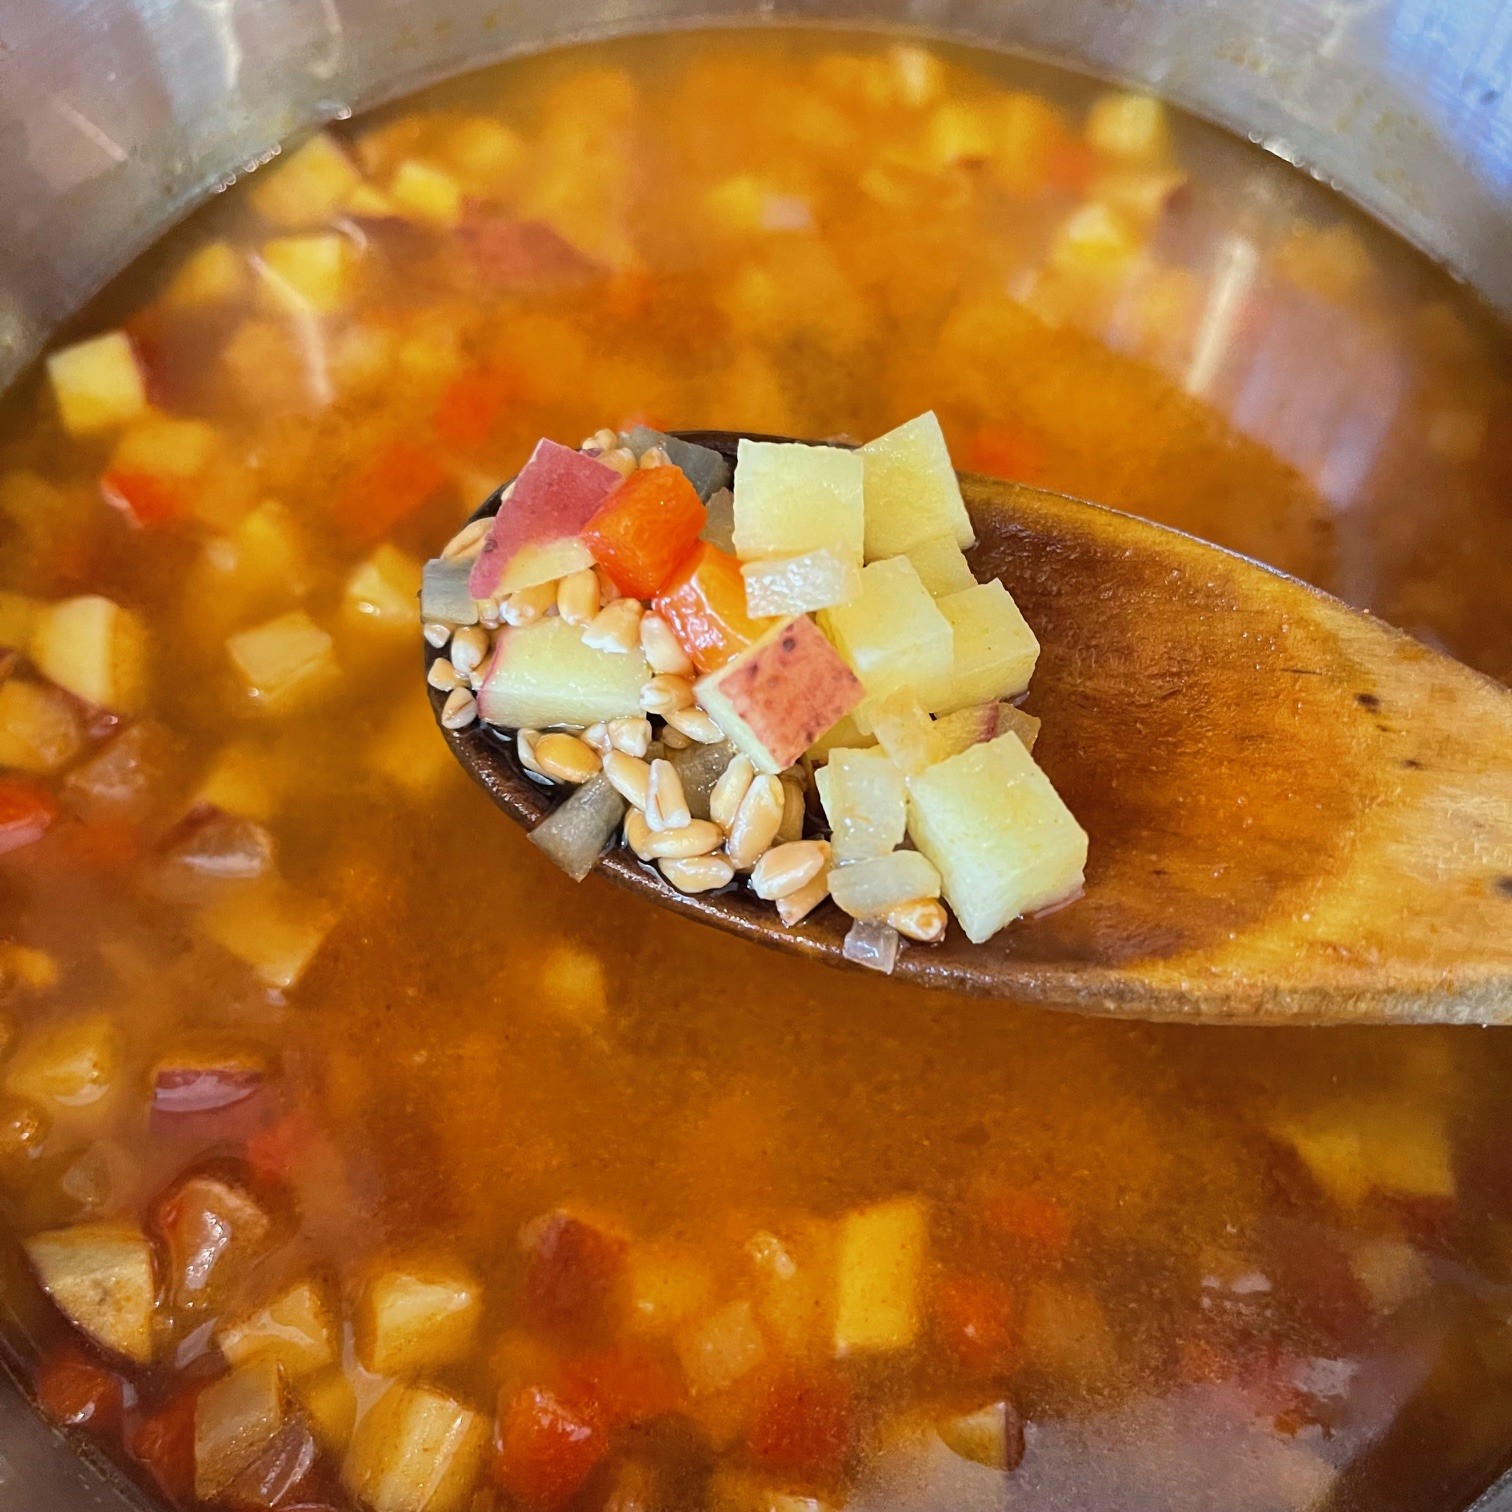
Drain the soaking farro and discard liquid.
Into the pot, add the vegetable stock, potatoes, and drained farro. Bring to boil, then reduce to simmer for 18 minutes.
Chop tomatoes.
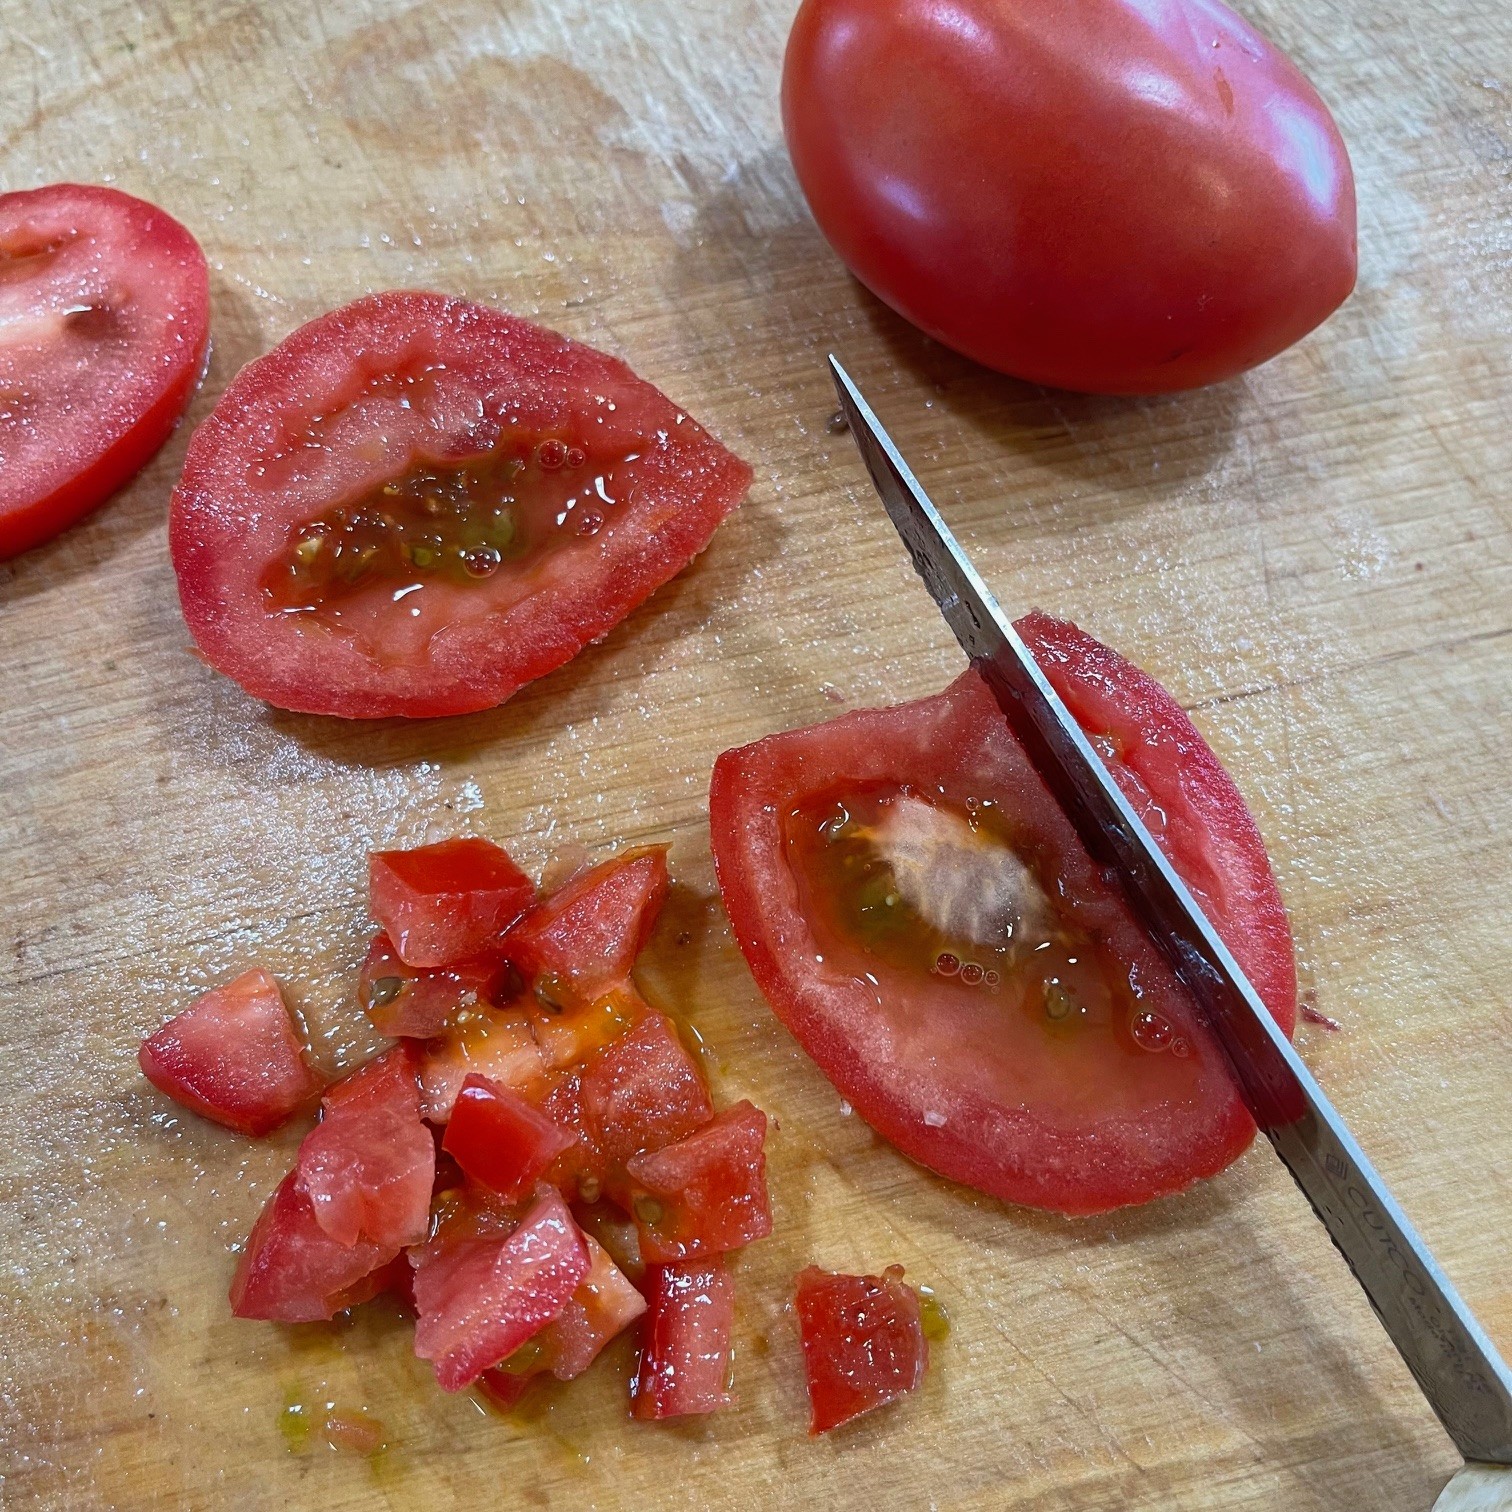
After the 18 minutes are up, add tomato sauce, corn, peas, and chopped tomatoes to the pot. Simmer for another 5 minutes or so to heat the veggies.
Add in red wine vinegar and salt. Adjust seasoning to taste, bearing in mind the cheeses are salty.
Top with Feta, Pecorino Romano, croutons, or whatever you like. Serve.