Sometimes dinner time is rising fast on the horizon and I need to put food on the table soon. I like to have ingredients at the ready that can be assembled quickly and easily, thus avoiding expensive take-out foods.
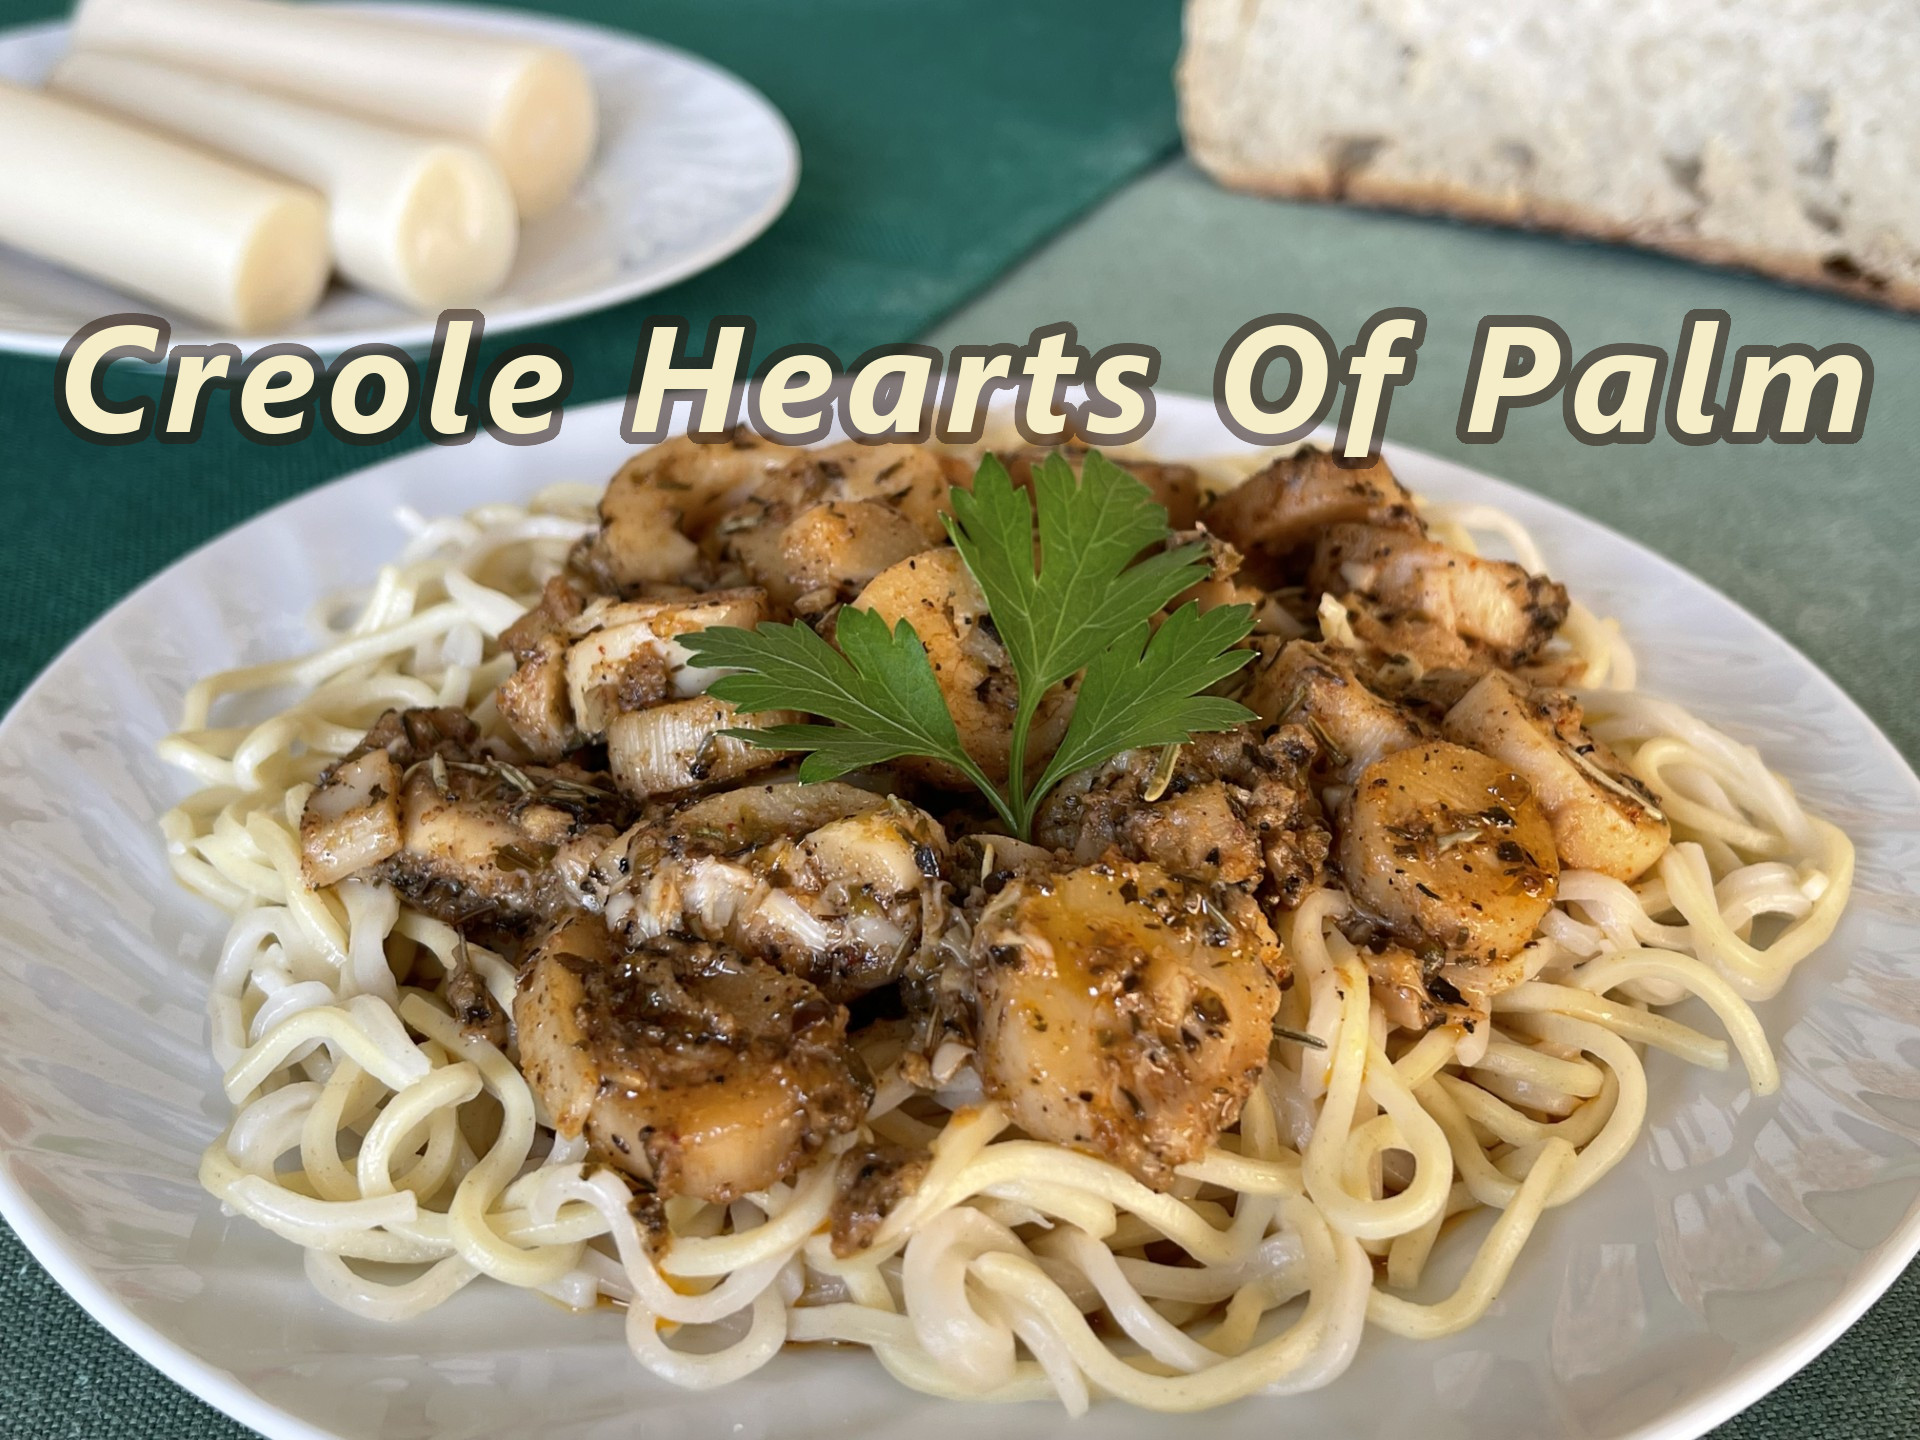
Creole Hearts Of Palm is one of those quick-to-put-together meals with most ingredients you probably already have in your pantry. The exception might be the hearts of palm. I now keep several jars of them on hand.
My husband prefers spaghetti pasta as a base for the sauce, but you can choose any base you please: other types of pasta, rices, or grains are delicious possibilites as well. Whatever you prefer or have in the house will do!
CREOLE HEARTS OF PALM – serves about 4
64g (4 T) olive oil
226g (16 T) butter
52g (4T) lemon juice
12 cloves garlic
28g (2 T) vegetarian Worchestershire sauce
4 bay leaves
2 T ground black pepper
4 tsp dried oregano
4 tsp dried rosemary
4 tsp dried basil
2 tsp dried thyme
2 tsp onion powder
2 tsp garlic powder
1 tsp salt
1/8 tsp cayenne
1/8 tsp nutmeg
2 tsp paprika
500g (2- 8.5 oz jars) hearts of palm
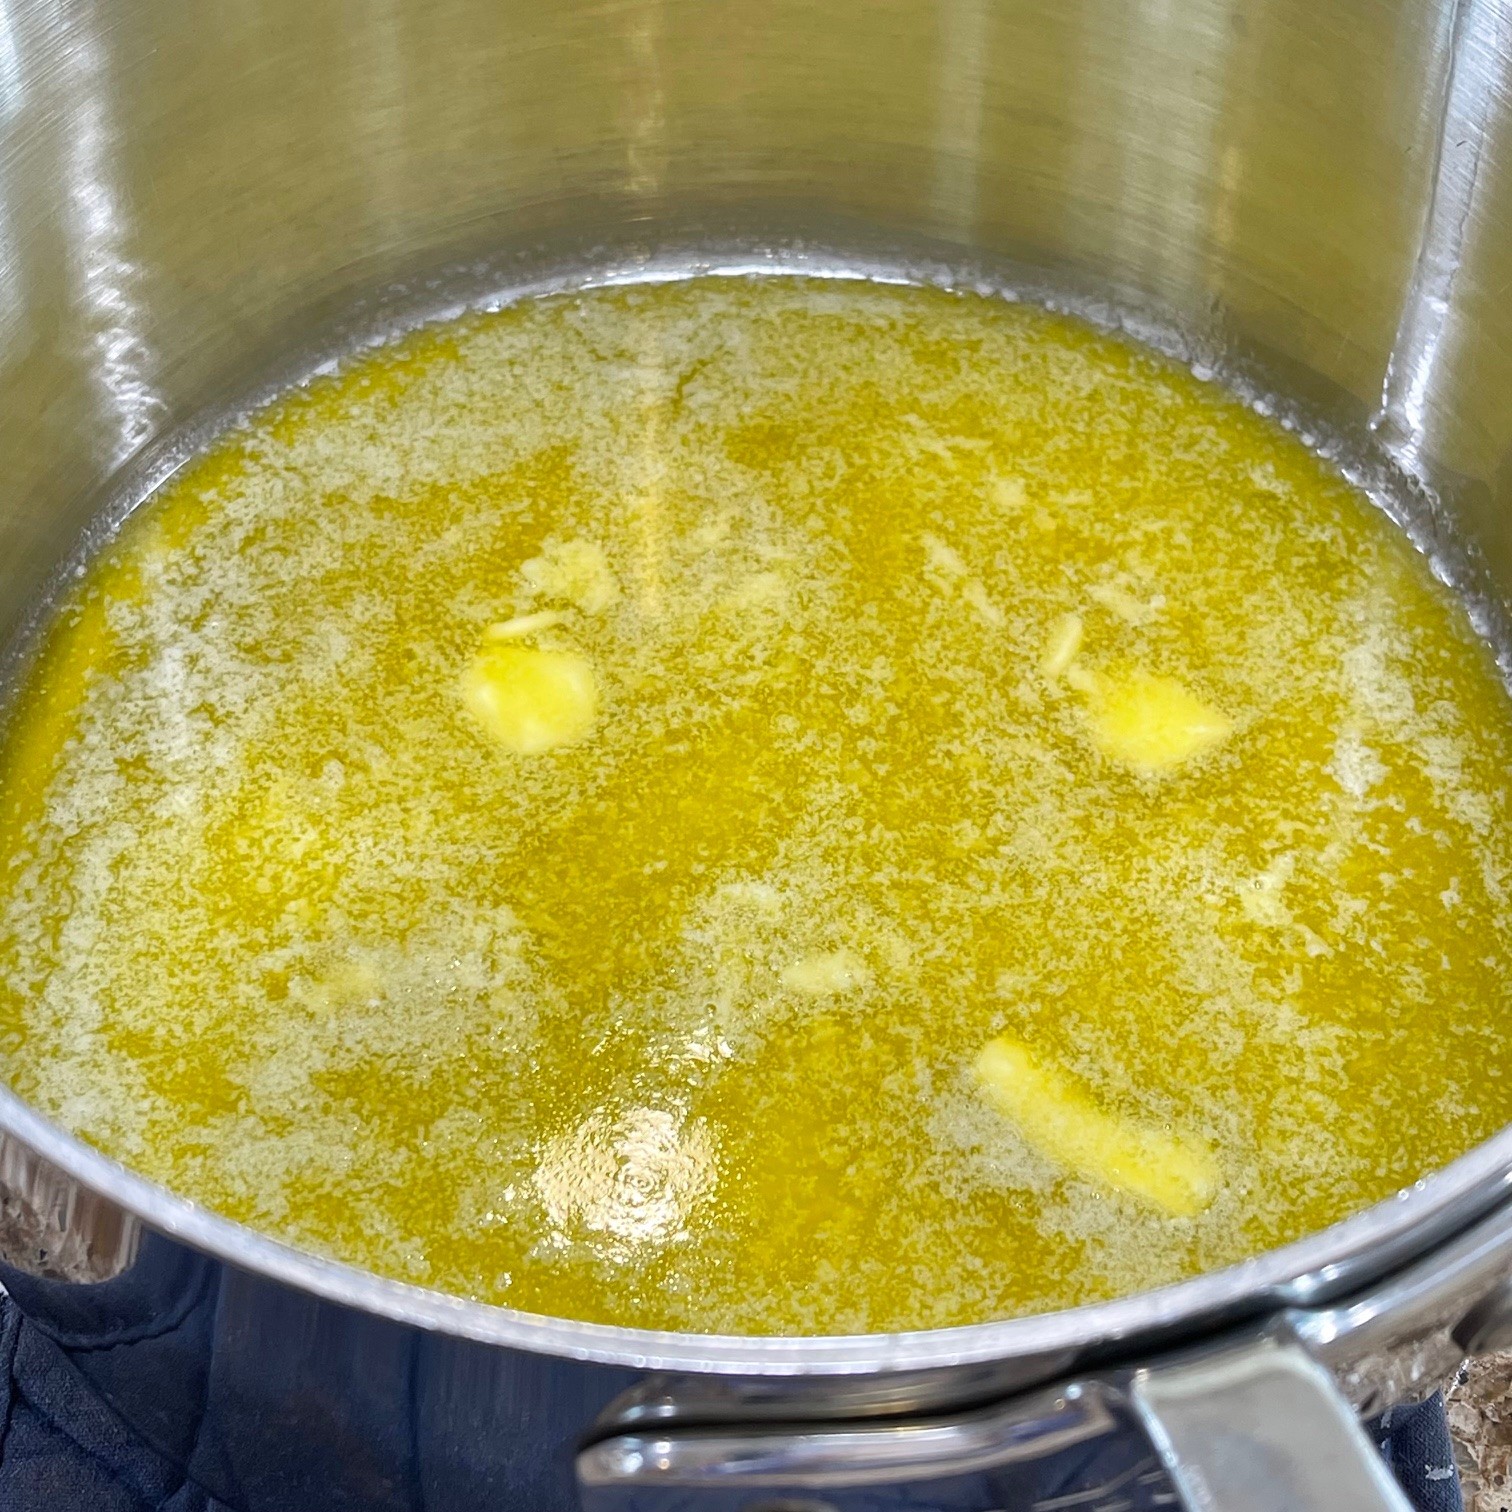
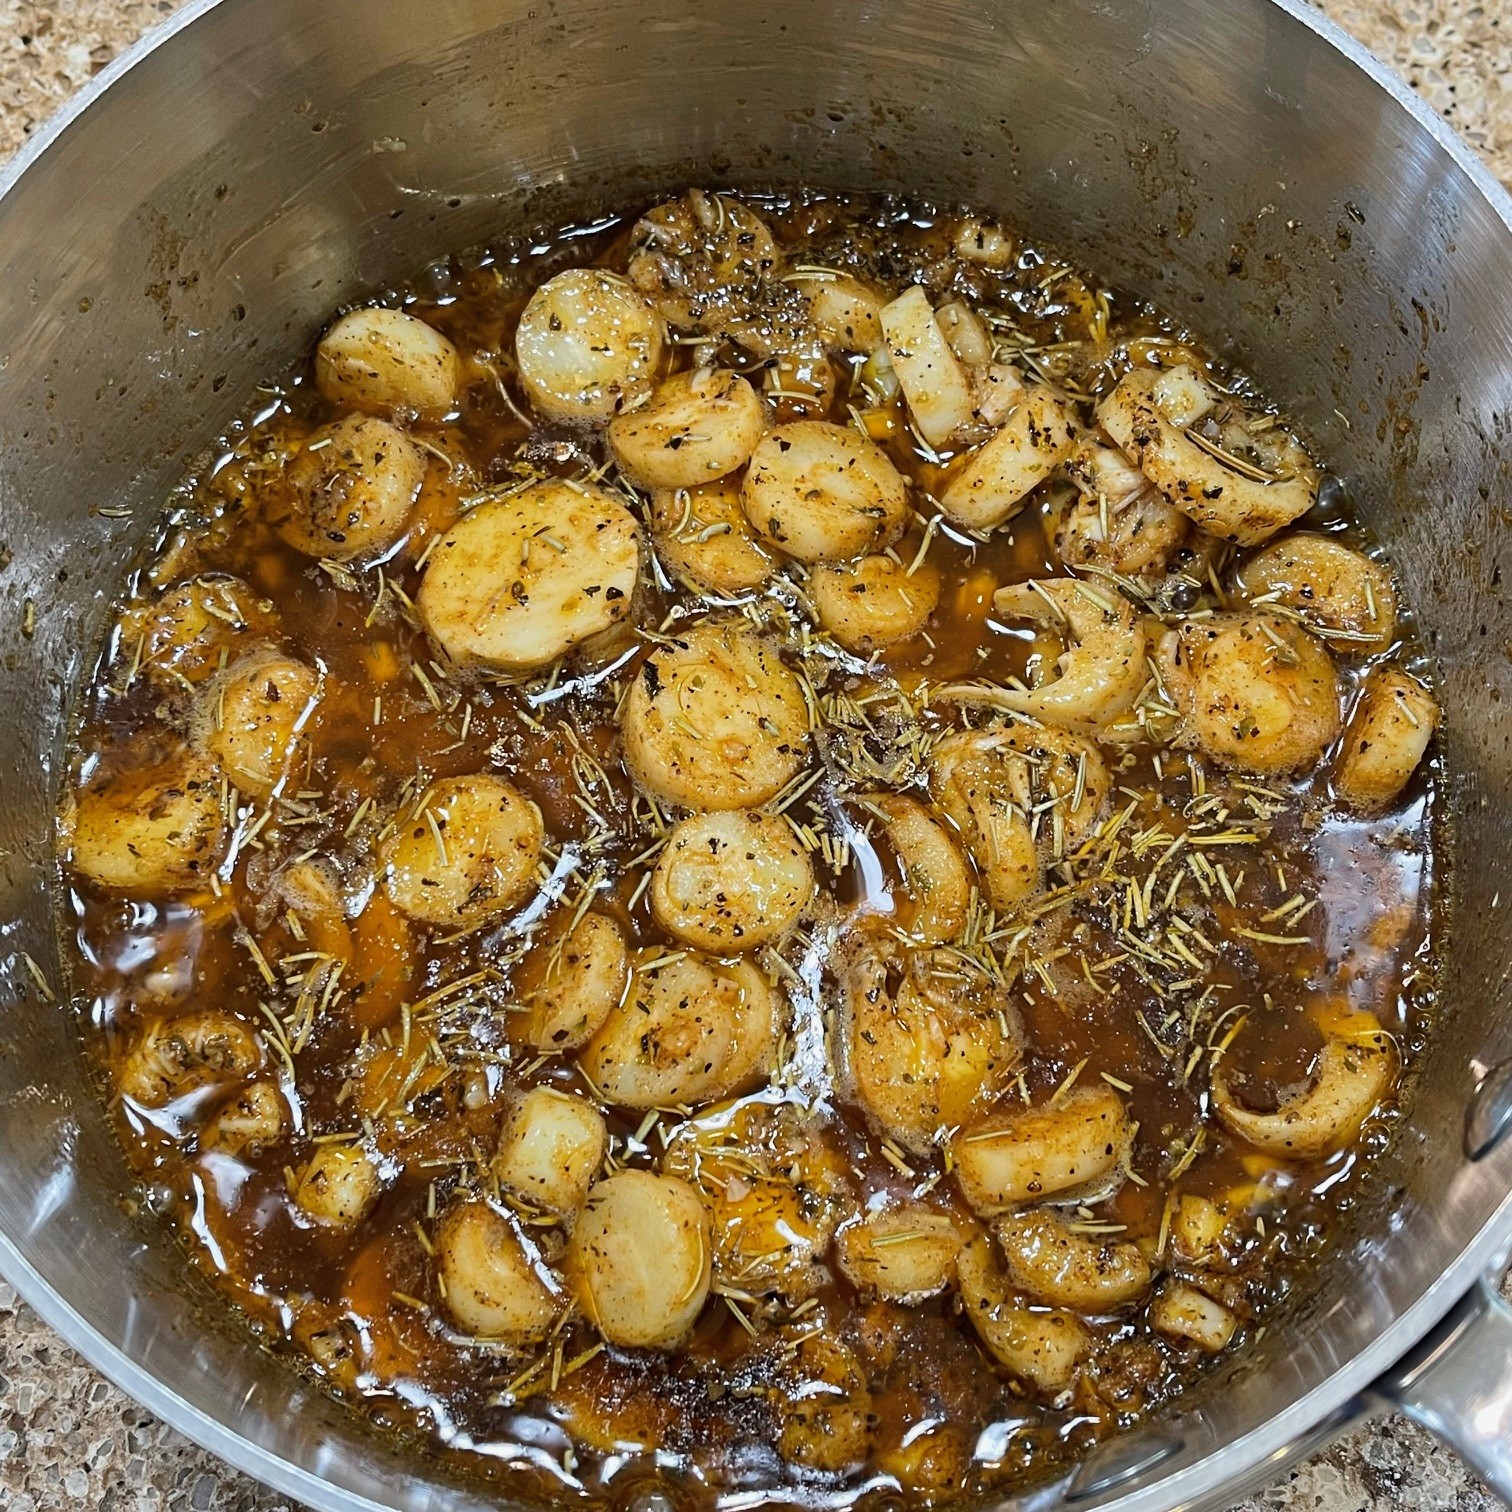
In a large saucepan, heat the olive oil and butter to melt.
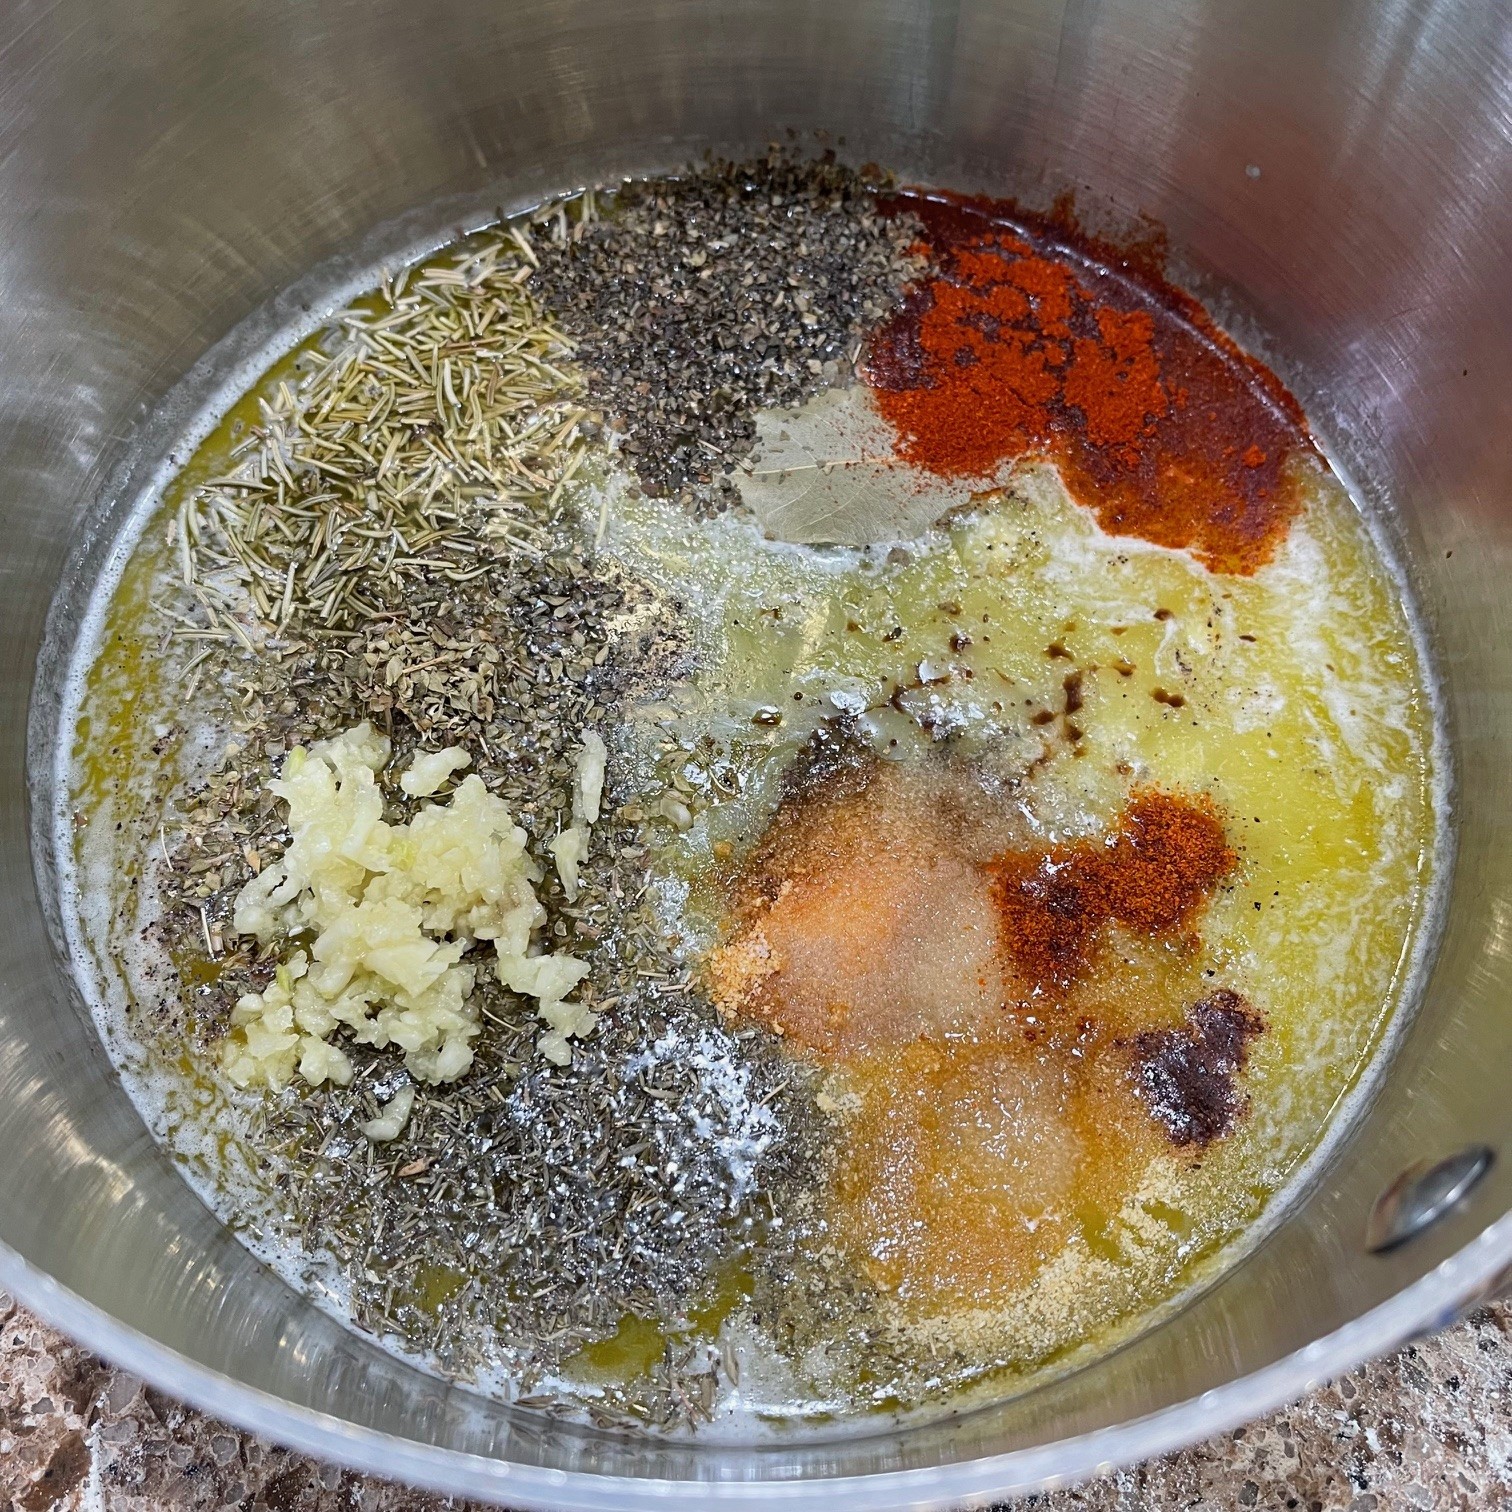
To the saucepan add all the ingredients EXCEPT the hearts of palm. Saute over medium 3 minutes to bloom the flavors, stirring often.
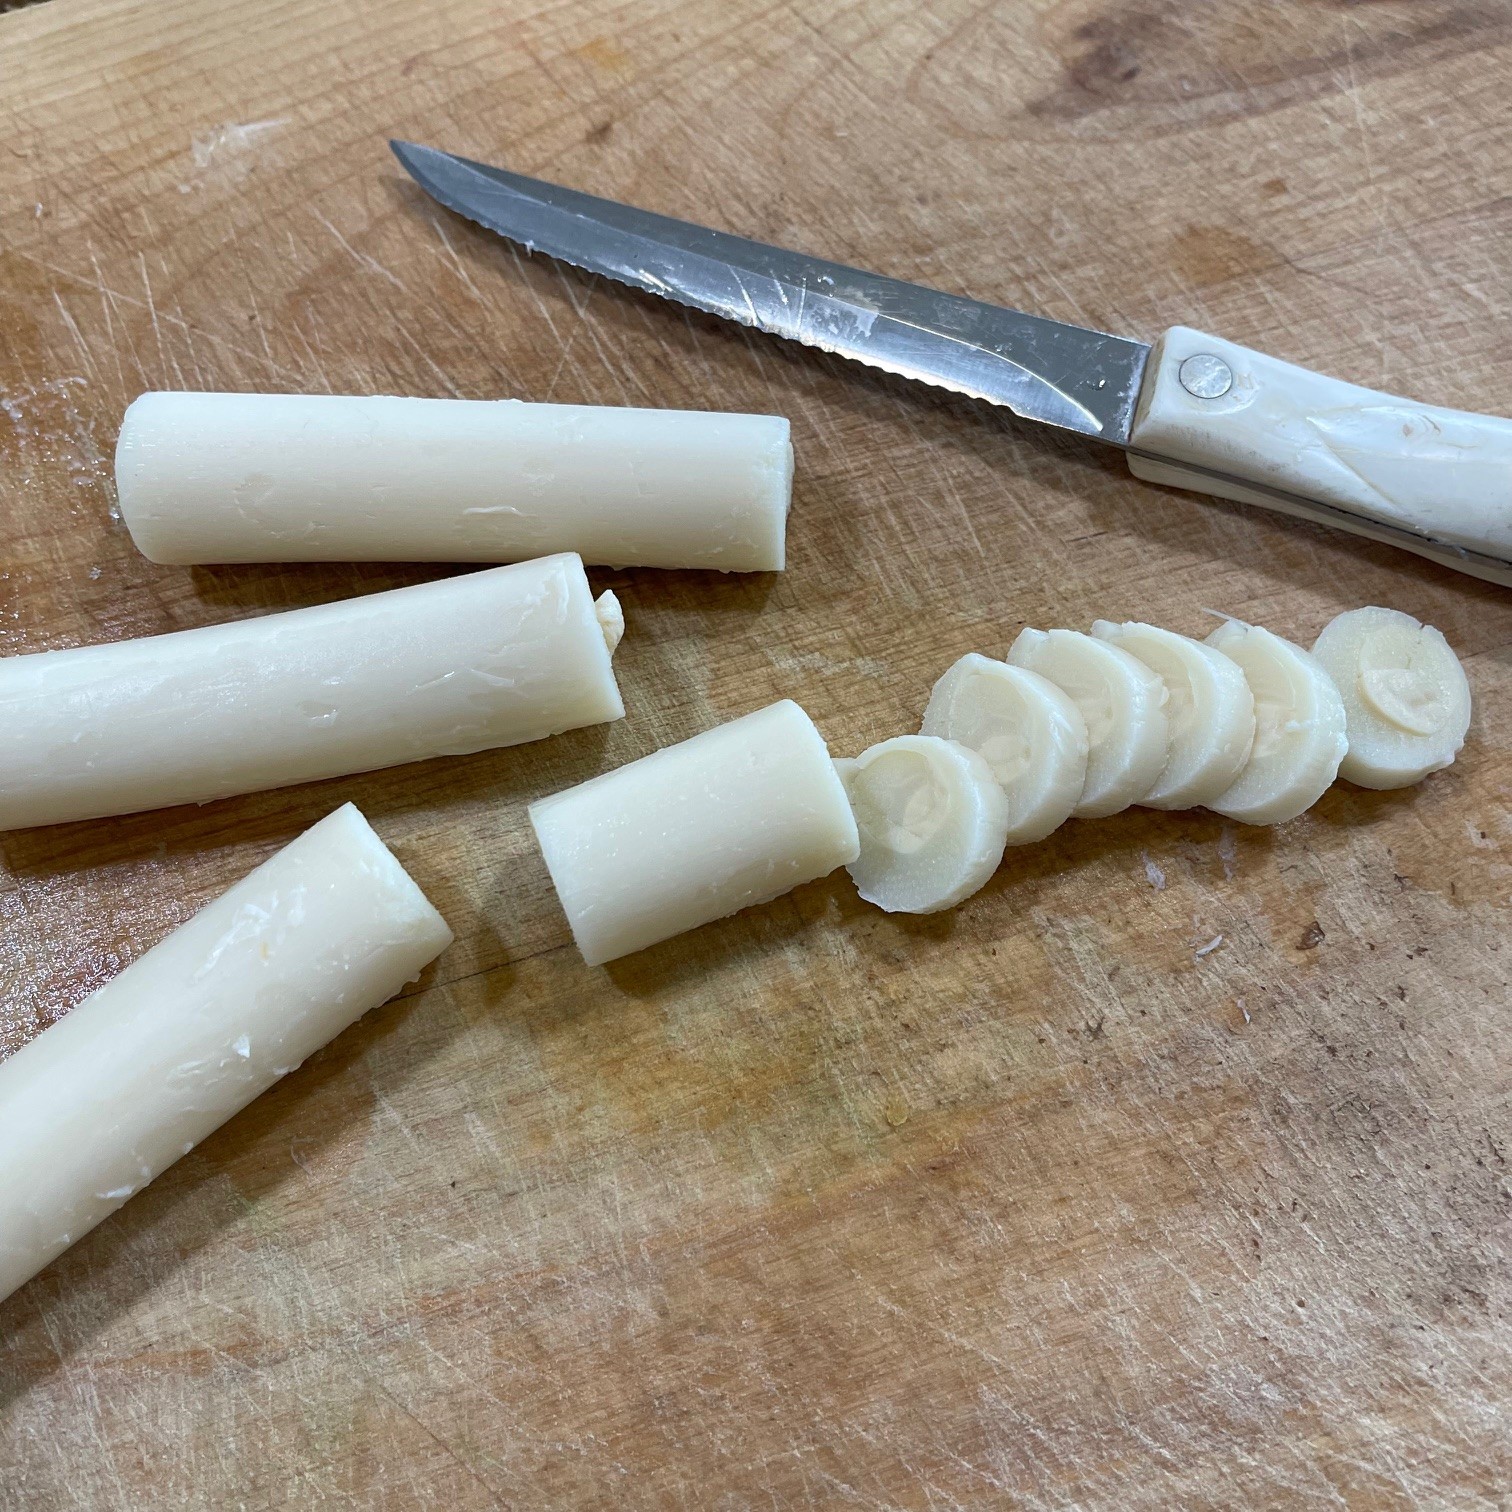
Slice hearts of palm into approximate 1/4″(1 cm) slices.
Add sliced hearts of palm to saucepan and saute 3-4 minutes over medium/high heat.
Cover pot with a lid and, over low heat, cook about 10 minutes to fuse the flavors. Use this time to cook the pasta (or whatever your choice of base.) Serve.
A crostata (also known as a galette in French) is a stand-alone, open topped pie. They can be savory or sweet. There’s a rustic look to them as they are formed by rolling out a large circle of pie dough, then placing ingredients on top, leaving a wide border around the perimeter. This border is then folded in a ruffled manner, pinching the dough to keep it in place, then baked.
My Mushroom-Onion Crostata is a delicious blend of caramelized onions, sauteed mushrooms and leeks, topped with Gruyere cheese, encased in an easy-to-prepare hot water crust. The onions and mushrooms can be cooked ahead of time, making the final assembly that much faster on busy nights.
NOTE: As self-proclaimed Queen Of Freeze, I would be remiss in my duties if I didn’t mention freezing leftover eggwash in a small container for future use!
MUSHROOM-ONION CROSTATA
Preheat oven to 425°F (218°C)
Filling:
Note for fillingingredients: amounts for the filling ingredients are approximate – don’t stress
2 T + 1 t olive oil, DIVIDED
about 454g (1 lb) baby bella mushrooms, chopped into chunks
1 large leek, white & light green part, chopped
1/2 tsp + 1/4 tsp table salt, DIVIDED
2 garlic cloves, pressed or minced
1 tsp rosemary, fresh, chopped fine
1 large onion, about 270g (2 cups), chopped
131g (4.5 oz) Gruyere cheese, shredded
1 T chives, finely chopped
Dough:
Note regarding eggwash: Save leftover eggwash in a small container and freeze for future use.
200g (1+ 2/3 cups) bread flour
1/2 tsp salt
77g (5.5 T) butter, cold, cut into small pieces
76g (1/3 cup) hot water (NOT boiling)
Egg wash – 1 egg mixed with1 T water.
Clean the mushrooms and leek well. Chop into chunks. Place into a large pot with the 2 T olive oil and 1/2 tsp salt. Cook over medium/high heat for about 10 minutes, stirring often.
Add the garlic and rosemary to the mushrooms. Continue cooking over medium/high until liquid is gone. Set aside to cool. (This step can be done ahead of time.)
Into a skillet put the 1 T olive oil, onions, and 1/4 tsp salt. Cook over medium/high heat until the onions are golden brown. Add the caramelized onions to the mushrooms. Let cool. This step can be done ahead of time.
Add in the chives and stir together.
Once the mushroom mixture has cooled (so it doesn’t melt the crust), make the dough. If you have a food processor, I highly recommend using it. Otherwise, you’ll have to mix by hand.
Into the work bowl of your processor (or mixing bowl, if doing this by hand), put the flour and 1/2 tsp salt. Pulse a couple of times to blend, then drop in the chunks of the cold butter and PULSE 6 times.
Pour in the hot water and PROCESS until dough comes together and you can form a ball with it.
Pour the dough onto a very lightly floured surface and knead about 6 time to bring together. Onto a piece of baking paper place the dough and roll out to a circle about 14″ (36 cm) in diameter.
Roll the dough thinner along the 2″ (5 cm) so that when you crimp the dough later it’s not so thick.
Place half the cheese in the center of the dough, leaving about a 2″ (5 cm) border.
Top the cheese with the mushroom mixture.
Sprinkle on remaining half of cheese.
Encase the filling by placing your fingers about 2″ (5 cm) apart and overlapping the dough, pinching each ruffle together as you go. Do this around the entire perimeter.
Paint an eggwash around the border.
Bake in preheated 425°F (218°C) border turns golden brown – about 25-35 minutes. Cool about 10 minutes before serving to firm up a bit.
Every now and then I challenge myself to improve on a just-okay recipe. In this case, it was my grandmother’s peanut butter buns (she called them ‘josh’, which means ‘snack’ in Armenian). While they were a big hit with her five children and my husband, I felt they were a little dry.
I decided the problem was two-fold: the dry dough and the dry peanut butter filling. Creating an enriched dough seemed the obvious answer to the dough. As for the filling, I considered using a jelly. Then I spied some ripe bananas in the fruit bowl. Hmmm! (Elvis came to mind.) Recalling a contestant on the British Bake Off cooking down bananas to evaporate excess moisture, this seemed like a good idea to prevent a mushy filling while, simultaneously, adding flavor. To give a nod to the classic jelly idea, I tried crushing freeze dried strawberries. The problem was I needed to use a lot to really taste them. As they’re very expensive, I chose to go with the peanut butter and banana on its own. You can add them, if you like.
NOTE: You can substitute a different nut butter, if you prefer.
PEANUT BUTTER-BANANA BUNS – makes 6
Dough
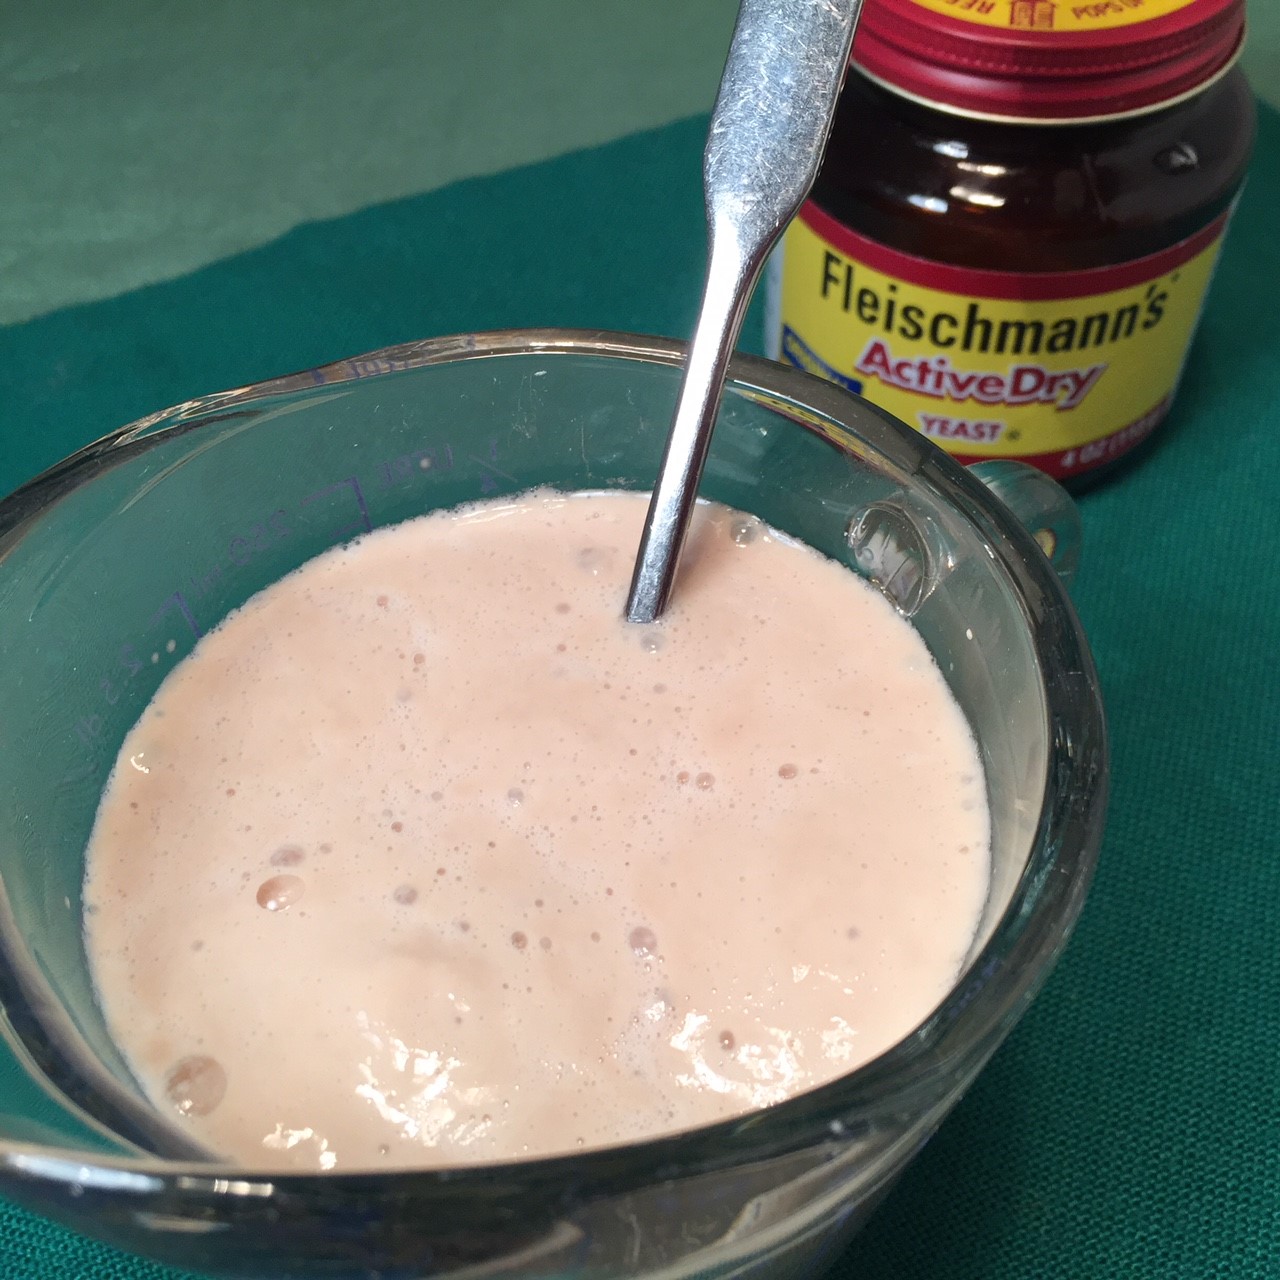
121g (1/2 cup) milk, warmed to about 40°C (104°F)
1 tsp yeast
229g (1.75 cups) bread flour
1 tsp salt
28g (2 T) butter, room temperature
40g (1/4 cup) granulated sugar
1 egg white
Filling
3 large ripe bananas
118 (1/2 cup) peanut butter (or other nut butter)
1/4 tsp salt
Optional: 31g (1 oz) freeze dried fruit, crushed
Prepare the dough:
Proof the yeast by stirring the warmed milk and yeast together, letting it set about 5 minutes.
Into the workbowl of your food processor, put the flour, 1 tsp salt, sugar, softened butter, egg white, and proved yeast/milk. Process about 40 seconds, pausing to scrape down the sides as needed.
Empty dough onto lightly floured counter and knead about 6 times to bring dough into a ball. A bench scraper works well for this task.
Place dough ball in a lightly oiled bowl, then flip the ball so both sides are coated with oil. Cover and let rise 1.5 hours on counter.
While dough is rising, prepare the filling:
Into a saucepan, place the peeled bananas. Mash with a potato masher or fork.
Over medium/high heat, cook the bananas, stirring often, until most of the water has been cooked out – about 11 minutes. Remove from heat.
Stir in the peanut butter and 1/4 tsp salt. (If you’re using freeze dried fruit, stir it into the mixture) Chill until dough has finished rising.
Once the dough has risen, assemble the buns:
Empty the risen dough onto a lightly floured surface and divide it into 6 pieces. Roll each piece into a 9″x 4″ (23cm x 10cm) strip.
Divide the peanut butter-banana filling evenly between the strips. Spread the filling over the dough strip, leaving a 1/2″ (1cm) border along all 4 sides. The filling will be spread very thinly – this is good – it’s how you’ll get that lovely swirl.
Roll each strip from the short side up along the long side. Pinch the dough to seal the seam.
Roll the log towards you 90°, so the seam is facing you. (This is so the seam will be protected from bursting open during baking.)
Pinch both ends to seal them. Then, snail the log by rolling it sideways. (The seam formed along the length of the log will now be encased in the snail.) Pinch closed the end of the log to the body of the roll.
Place the rolled buns on a greased or parchment lined baking sheet. Lightly press down each bun so they’re about 1″ (2.5cm). Cover and let rise 1/2 hour. Preheat oven to 200°C (400°F) during the rise.
Once the buns have risen, place the baking sheet in the preheated oven. Decrease the temperature to 177°C (350°F) and bake about 20 minutes – until browned on top. (There is NO wash for these buns – I’ve tried egg, milk, and cornstarch/water – they cause the top to flake. They come out much better with a dry top.) Remove baked buns to a wire rack to cool.
NOTE: If you forgot to decrease the oven temperature, it’s not a problem. Just keep an eye on the brownness – you may have to decrease the bake time.
Calzoni are a favorite hand-pie in our house. They’re not difficult, but they do take some time because of the rise time of the dough (1-1.5 hours), so plan accordingly. The actual hands-on work isn’t all that much, especially if you knead the dough in a food processor (it’s not cheating!)
Leakage is always a worry with hand-pies. Try not to roll them too thinly, especially in the center (which is a weak point). 6.5″ (17cm) is about as big a circle as you should roll out.
Try to use low-moisture mozzarella. This will help discourage leakage.
TIP: Rather than buying bread flour, I make my own when I need it by mixing Vital Wheat Gluten Flour to my plain (all-purpose) flour. This way I can control the protein percentage of the flour. Store all flours in the freezer to prevent bugs and keep flour fresh.
Mix together the warm water and yeast to proof for about 5 minutes. Set aside.
Into the workbowl of a food processor, put the flour, salt, and olive oil. Pulse to blend a couple of times. Once yeast has proofed, run the machine while you slowly pour in the yeasted water. Continue running about 40 seconds – until the dough comes together. You may need to add more flour, but do so in 1 T amounts at a time.
Empty dough onto a lightly floured surface and knead by hand about 6 times, then bring the dough together into a ball.
Place dough into a lightly oiled bowl, then flip the ball over so the oiled side is up – this keeps the dough from drying. Cover (I use a plate) and let rise about 1.5 hours.
While the dough is rising, make the filling.
Filling:
1/2 T olive oil
214g (7.5 oz) (3 cups) white mushrooms, coarsely chopped
60g (2 oz) (1/2 cup) yellow onions, chopped
3 cloves garlic, pressed or minced
1/2 tsp dried oregano
1/2 tsp red pepper flakes
81g (3 oz) broccoli, chopped in 1/2″ pieces
3 T fresh basil, chopped finely
58g (2.25 oz) black olives, sliced
1/2 tsp salt
160g (3/4 cup) ricotta
30g (1 oz) (1/3 cup) Pecorino Romano, grated (or any hard cheese)
111g (4 oz) (1.25 cup) low moisture mozzarella
1/2 cup tomato sauce
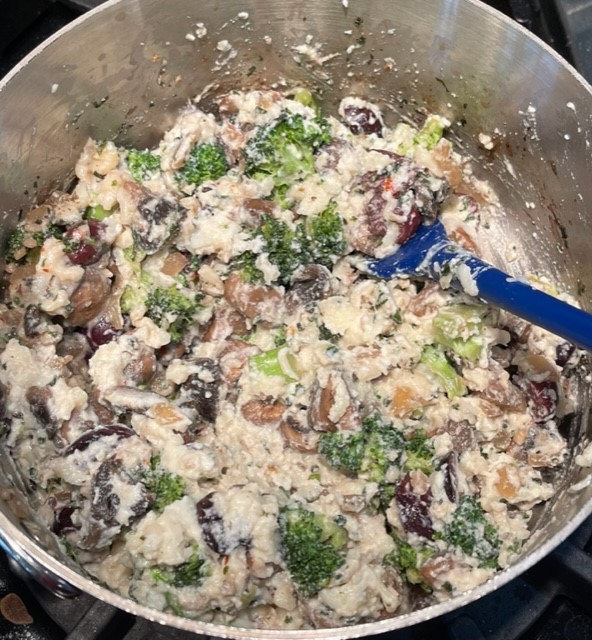
Into a saucepan, heat oil. Add in the mushrooms, onions, garlic, oregano, and red pepper flakes. Saute 5 minutes over medium heat.
Add in the broccoli, basil, black olives, and salt. Cook over medium-high to evaporate liquid – about 1-2 minutes. Cool.
Stir the ricotta, Pecorino, and mozzarella into the cooled broccoli mixture.
PREHEAT OVEN TO 475°F (250°C)
It’s best to fill the calzoni in an assembly-line fashion so you can divide up the filling evenly.
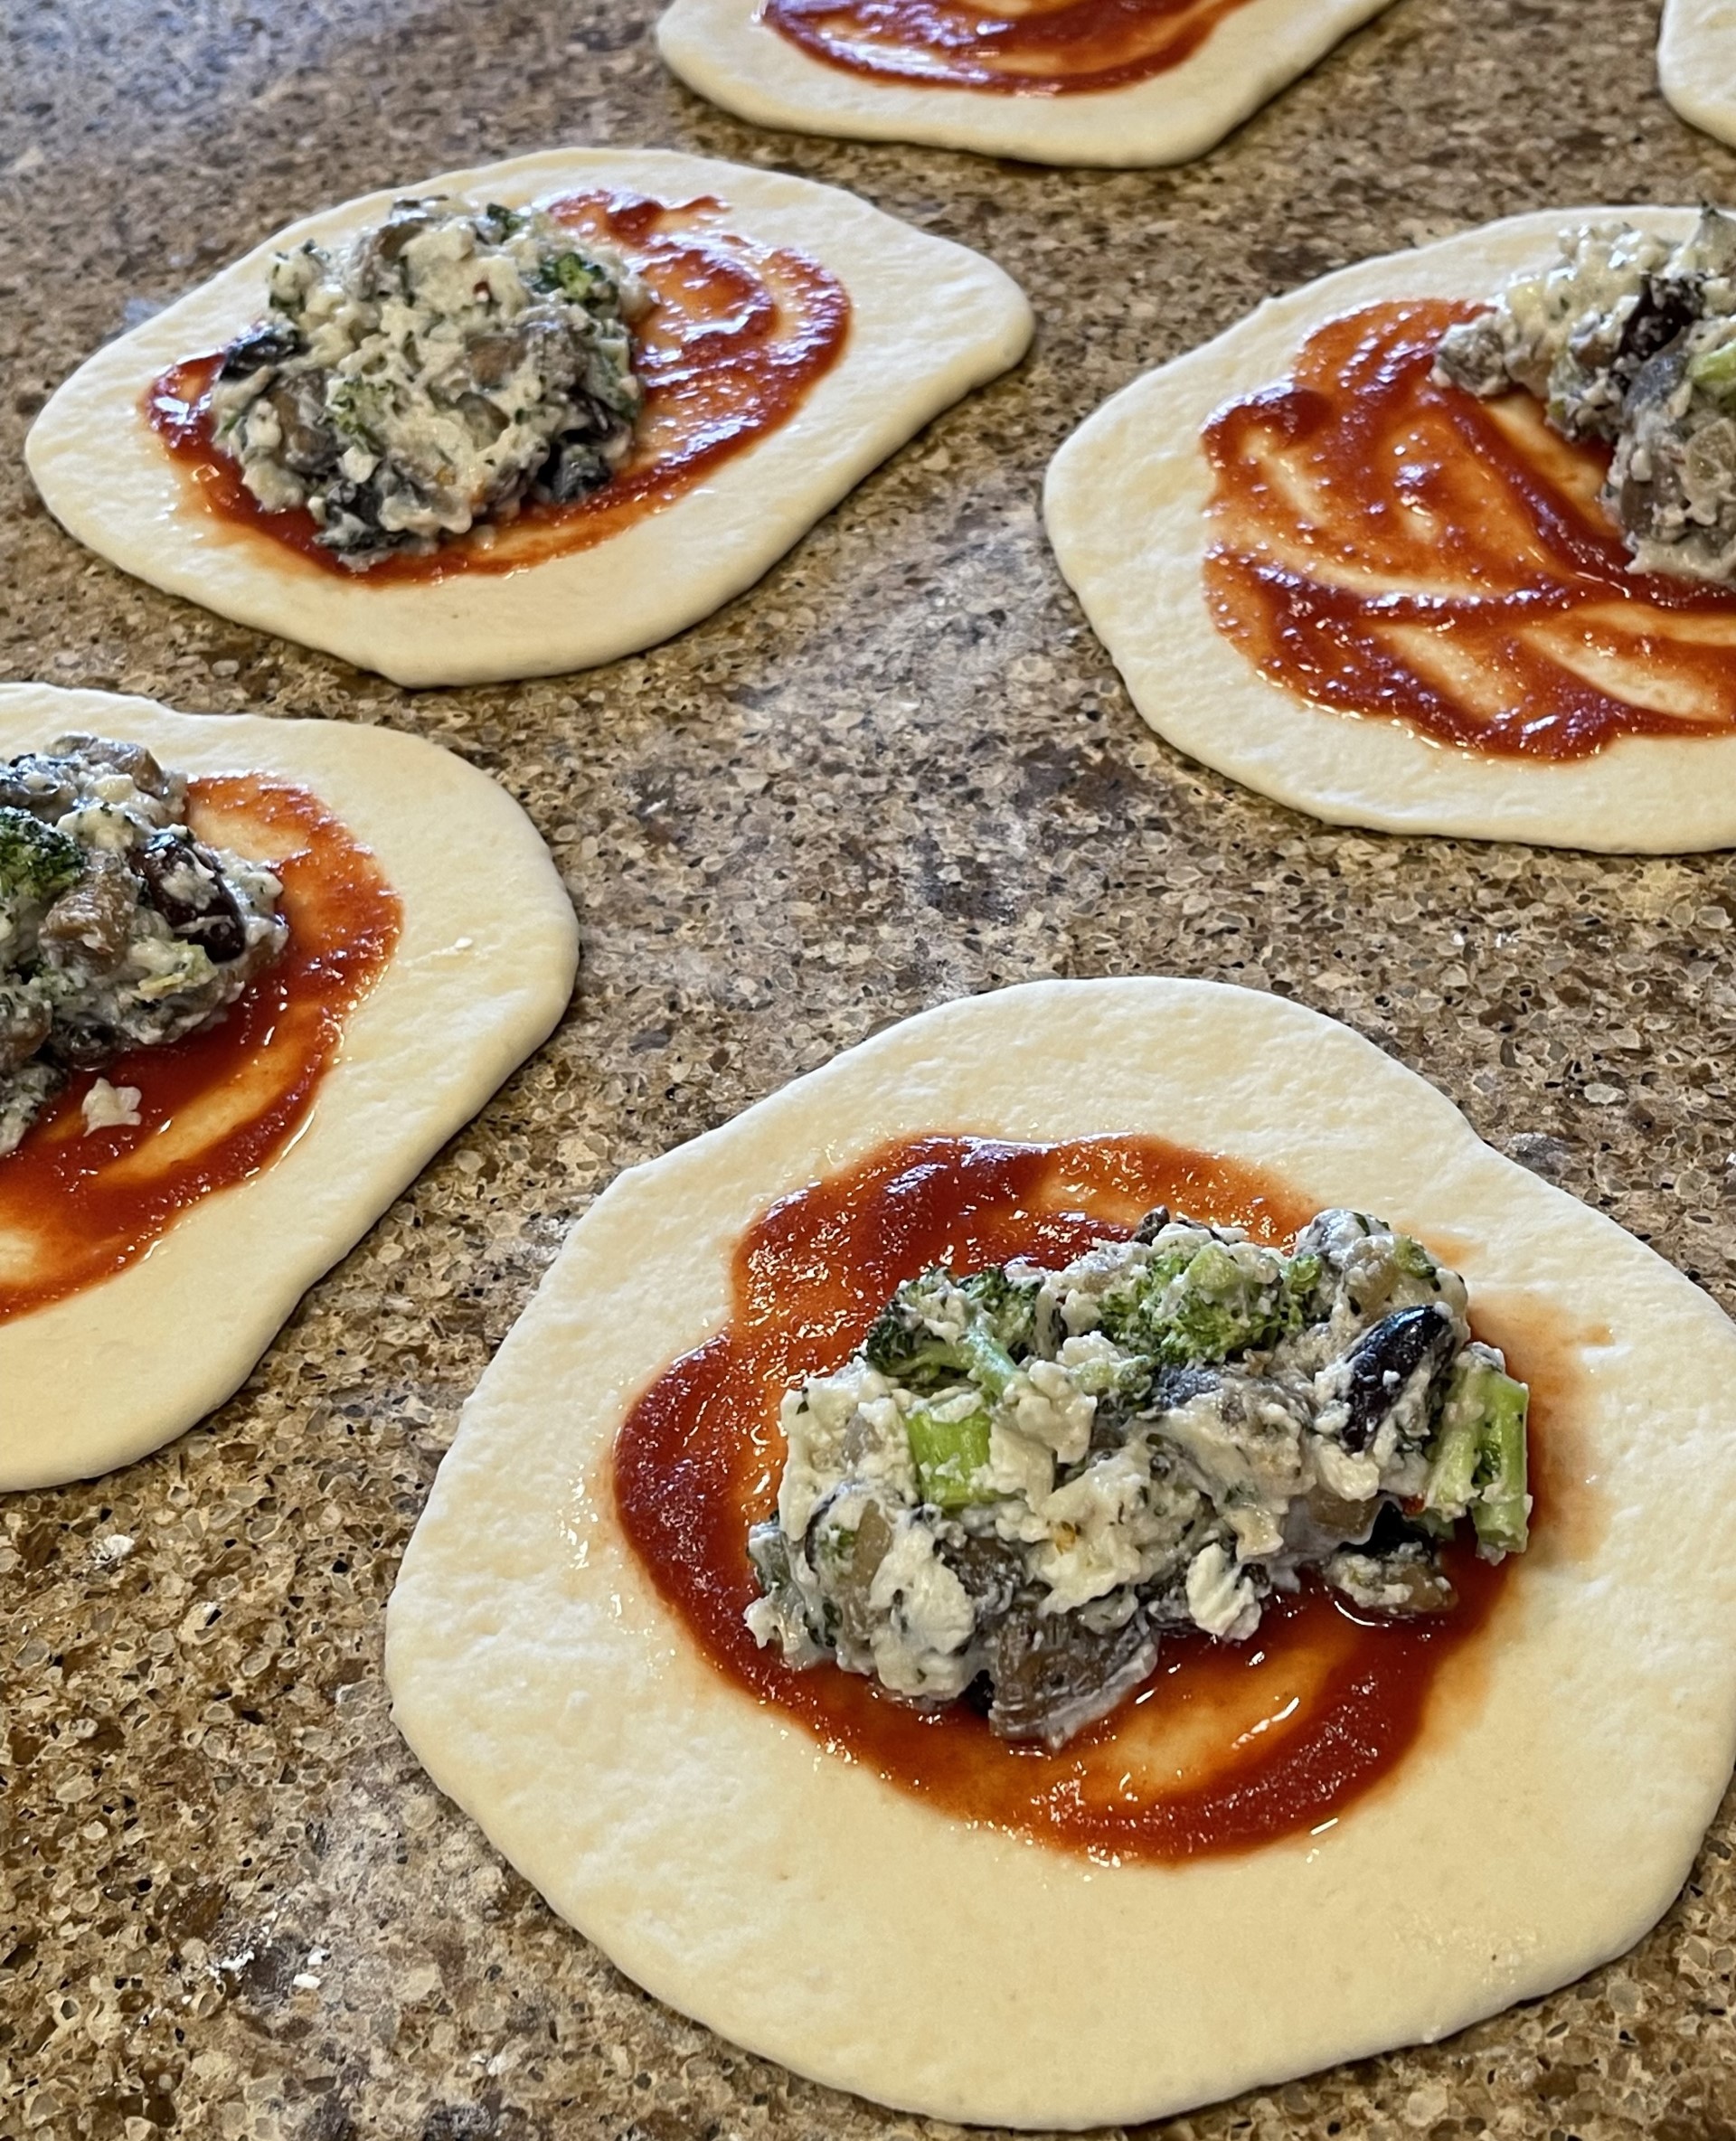
Divide the risen dough into 6 equal segments. On a very lightly floured surface, roll each dough piece into 6.5″ (17cim) circles. After rolling each dough circle, set it out of the way onto a floured area. (The flour will prevent the dough from sticking and tearing to the counter as you move the finished calzone to the baking sheet.)
Spread tomato sauce to within 1″ (2cm) of the circle’s edge. (The dough border will be crimped and requires dough-on-dough contact to stick properly. The tomato sauce will interfere with that.) Top each circle with equally portioned fillings.
If the dough is tacky around the the circle’s edge, go ahead and fold the calzone in half, meeting the edges. If the dough is a little dry, then dip your finger in water and run it around the edge so the dough will stick together. Press down the edges with your fingers, then fold down the two corners and press them down.
Now to begin the crimping process. (Deep breath!) If you’re right-handed, start with the right corner; lefties, start with the left corner. With your NON-dominant hand, press down the corner flap. With your dominant hand, grasp the dough next to the folded corner and fold that in, pressing down. Continue along the entire border, non-dominant hand pressing the previous crimp, dominant hand forming the next crimp.
The idea is to form a ropelike crimp. I’ve never managed to quite get that look, but I’m happy with my version. Find your own way, if you like. The point is to seal in the filling.
Place crimped Calzoni on a parchment paper lined or greased cookie sheet as you go, taking care not to tear the bottoms of the dough as you lift up each calzone (this is why you floured the counter under the dough circle).
Brush olive on all calzoni tops, including the crimps.
Cut 2 small slits on each top with a knife or scissors to allow steam to escape.
Bake in a preheated 475°F (250°C) oven with fan (if you have a convection oven) or without fan (if you have a conventional oven). Bake until golden brown – about 15-20 minutes.
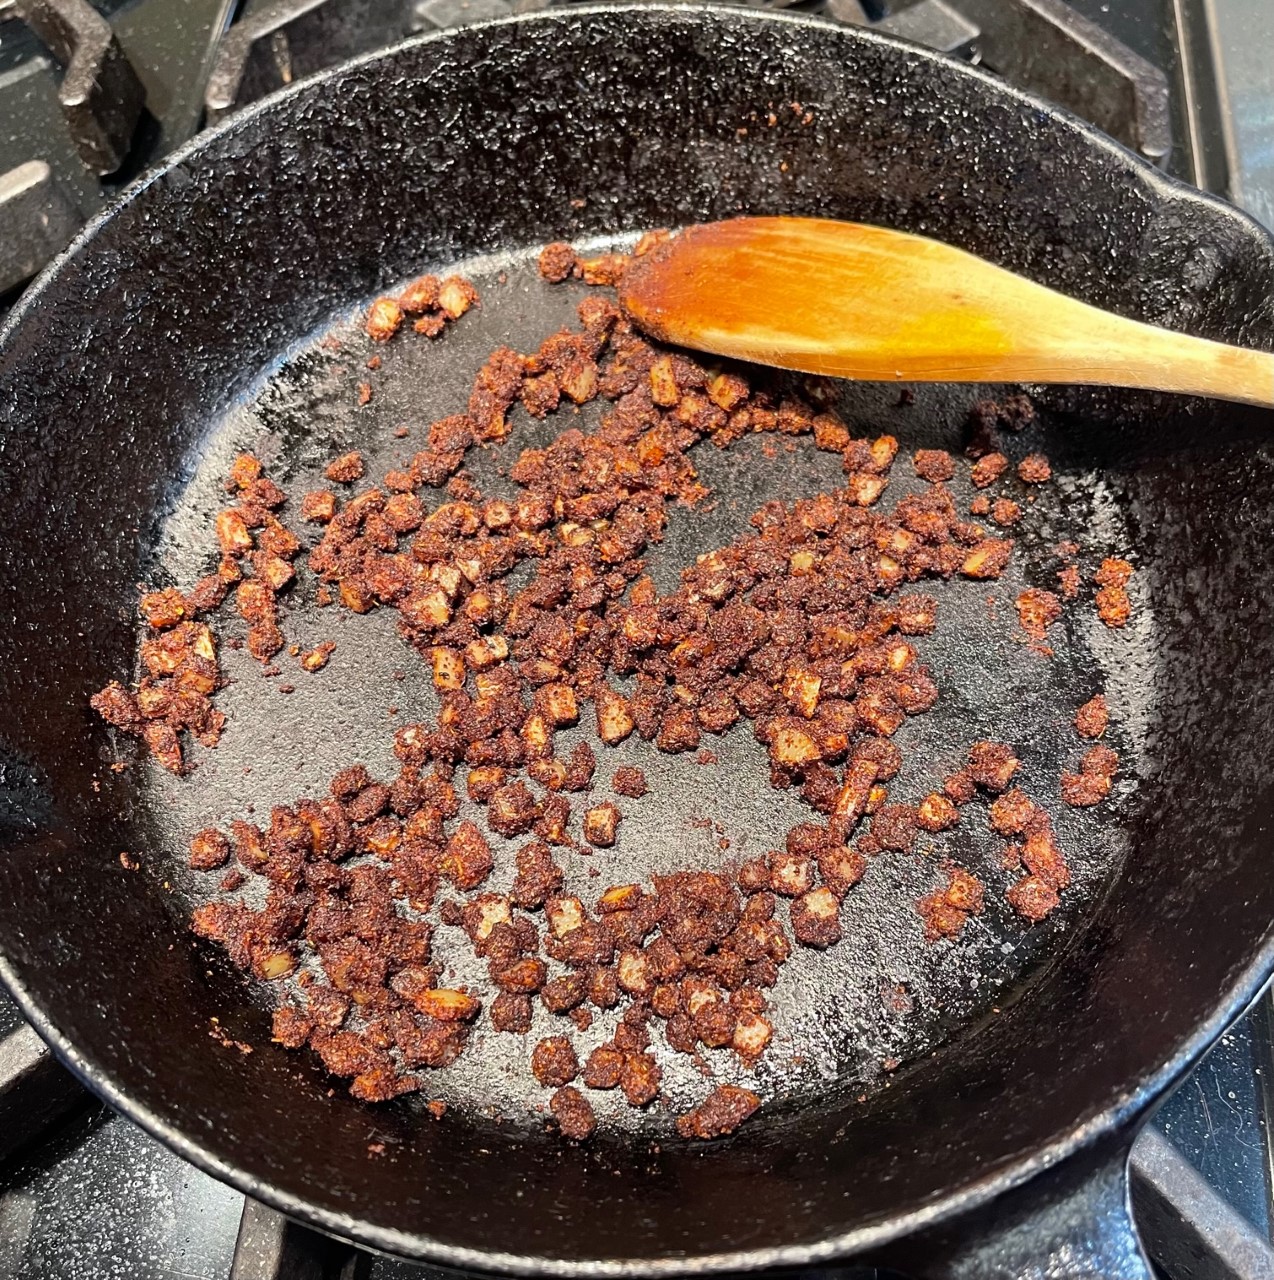
Tamale Pie is one of my favorite meals to prepare. Not only is it delicious, but it’s quick to assemble and bake….that is, IF you’ve already made my HOMEMADE VEGETARIAN “GROUND BEEF” or use purchased imitation ground beef (such as Impossible Burger or Morningstar Crumbles). For this reason, I always keep 1 lb (1/2 kg) portions in my freezer. In the morning, I set it out to thaw.
NOTE: As a woman who prefers to wash as few dishes as possible, I use a cast iron skillet for this recipe since it can go from stovetop to oven. You can also use a different type of skillet, as long as the handle is able to go into the oven. Alternatively, saute the onions in a small saucepan, then mix everything together in a bowl and bake in a casserole dish.
Into a skillet, combine the oil, chili powder, and onions. Saute over medium heat for 5 minutes.
Pour cooked onions into a bowl. Add in the imitation ground beef, black beans, olives, salsa, cilantro, and cheese. Mix together and pour back into skillet, smoothing top.
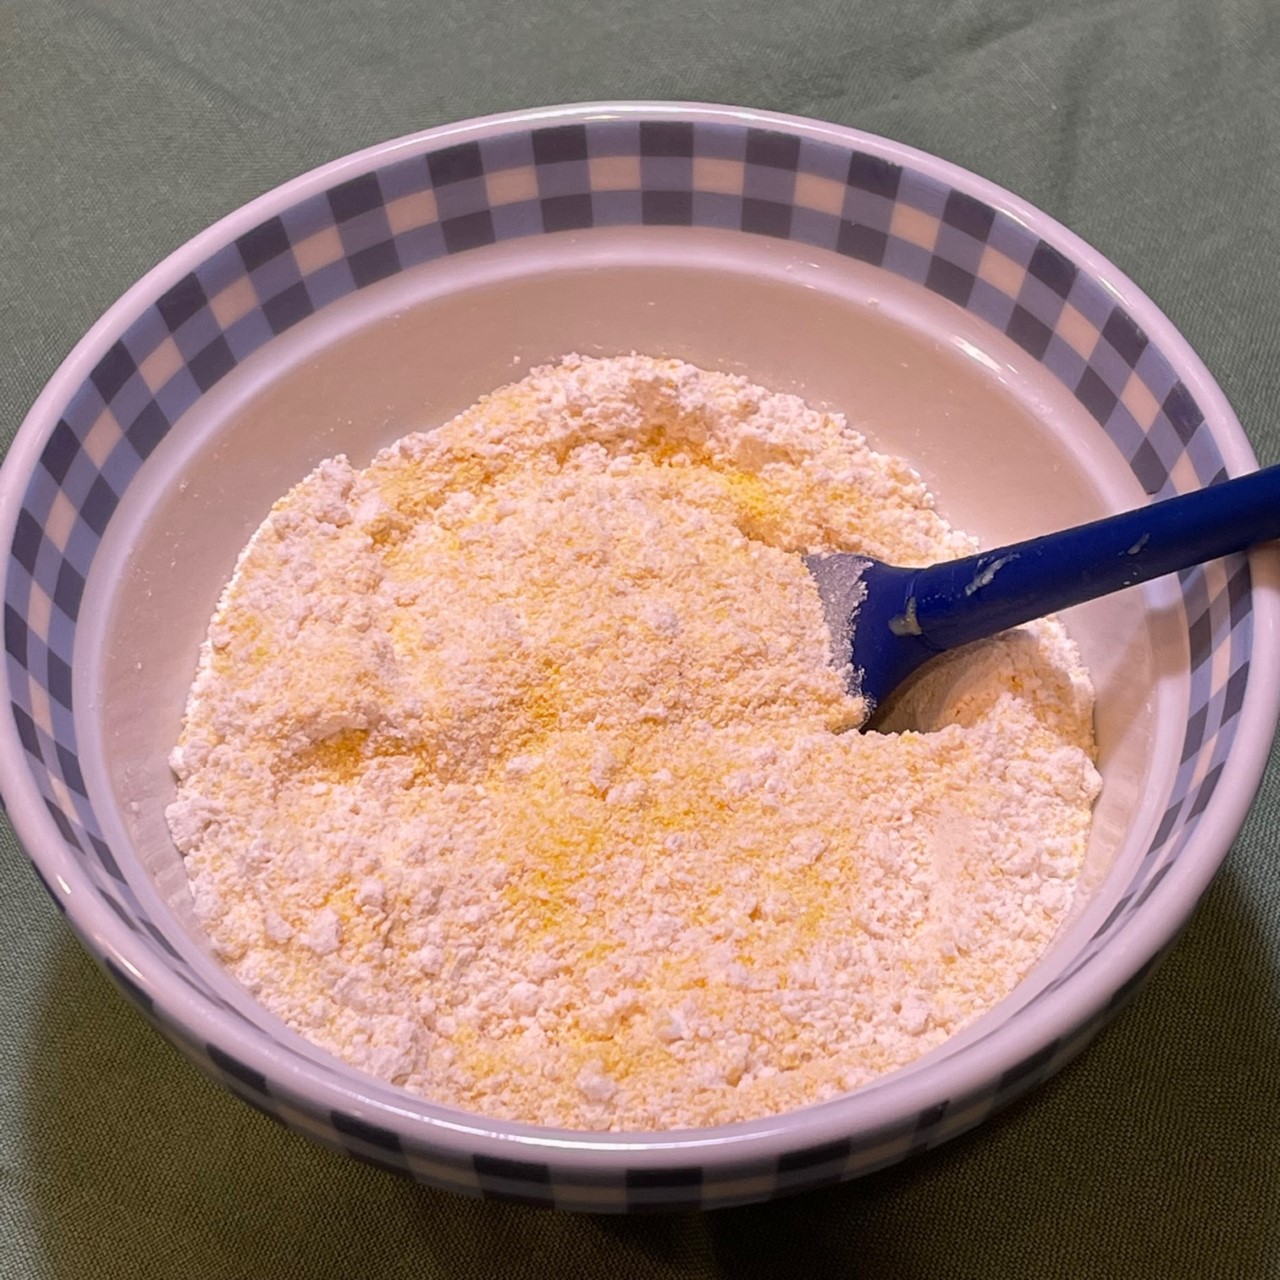
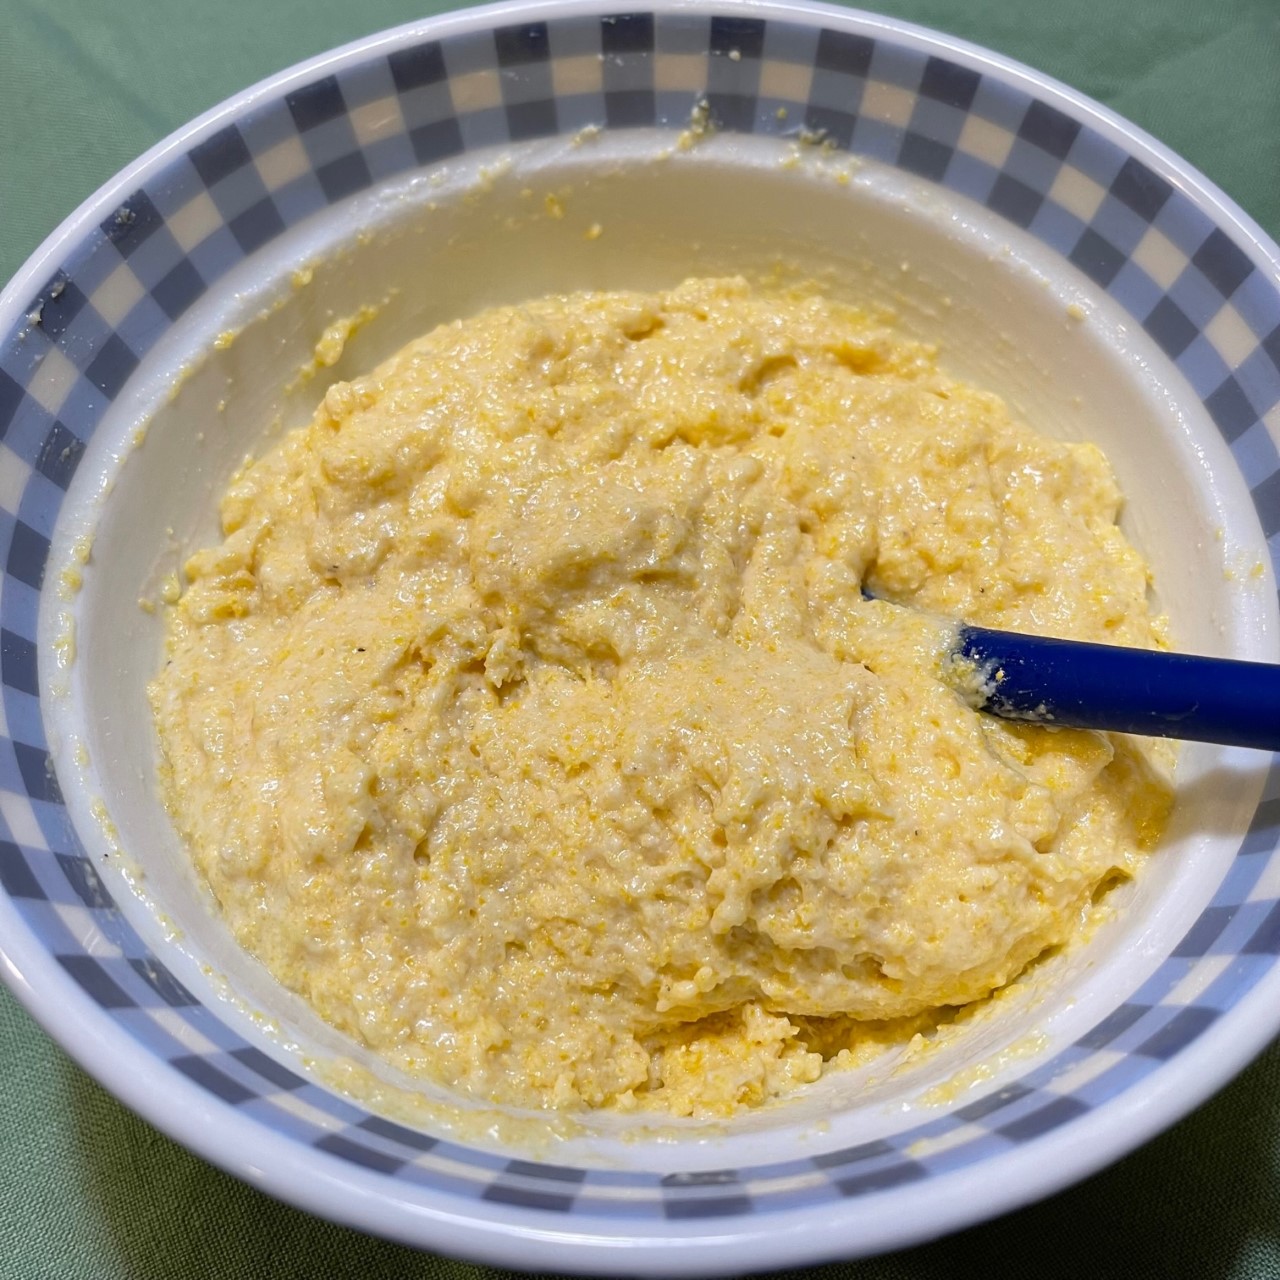
Into a bowl (it can be the same bowl you used for the filling), combine the cornmeal, flour, sugar, salt, baking powder, and baking soda.
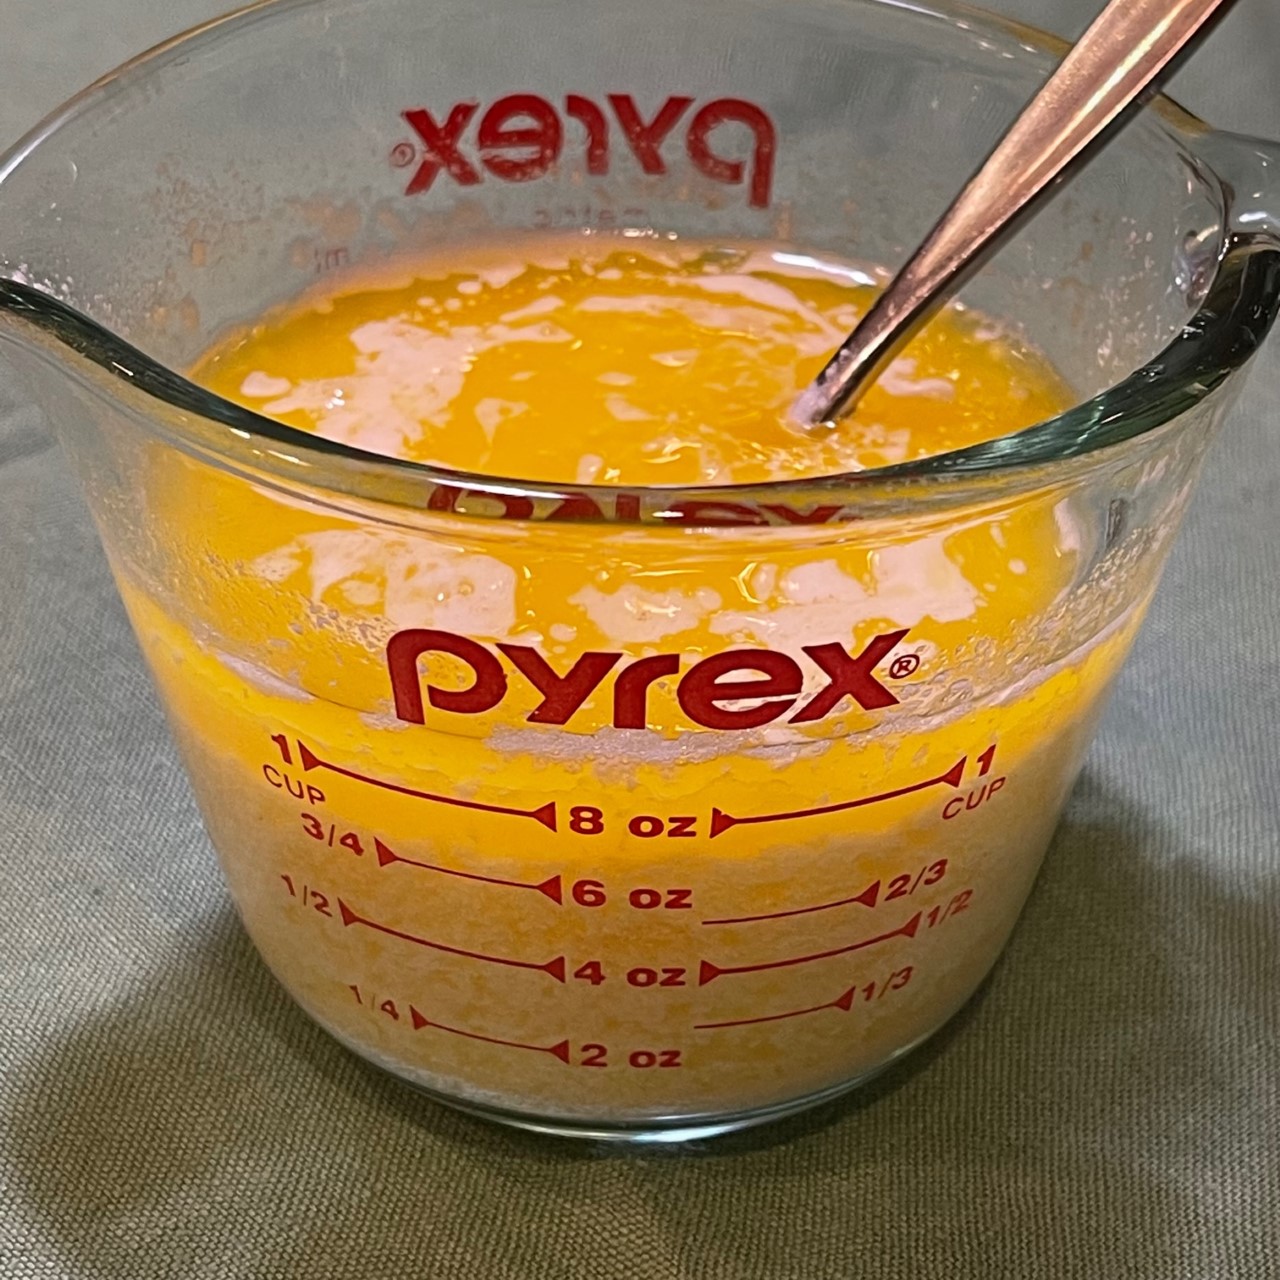
Melt butter and let cool a few minutes. Into a measuring cup or bowl, beat the egg with a fork. Then beat in the buttermilk and melted butter.
Pour the buttermilk mixture into the cornmeal mixture and combine until just blended (don’t over mix).
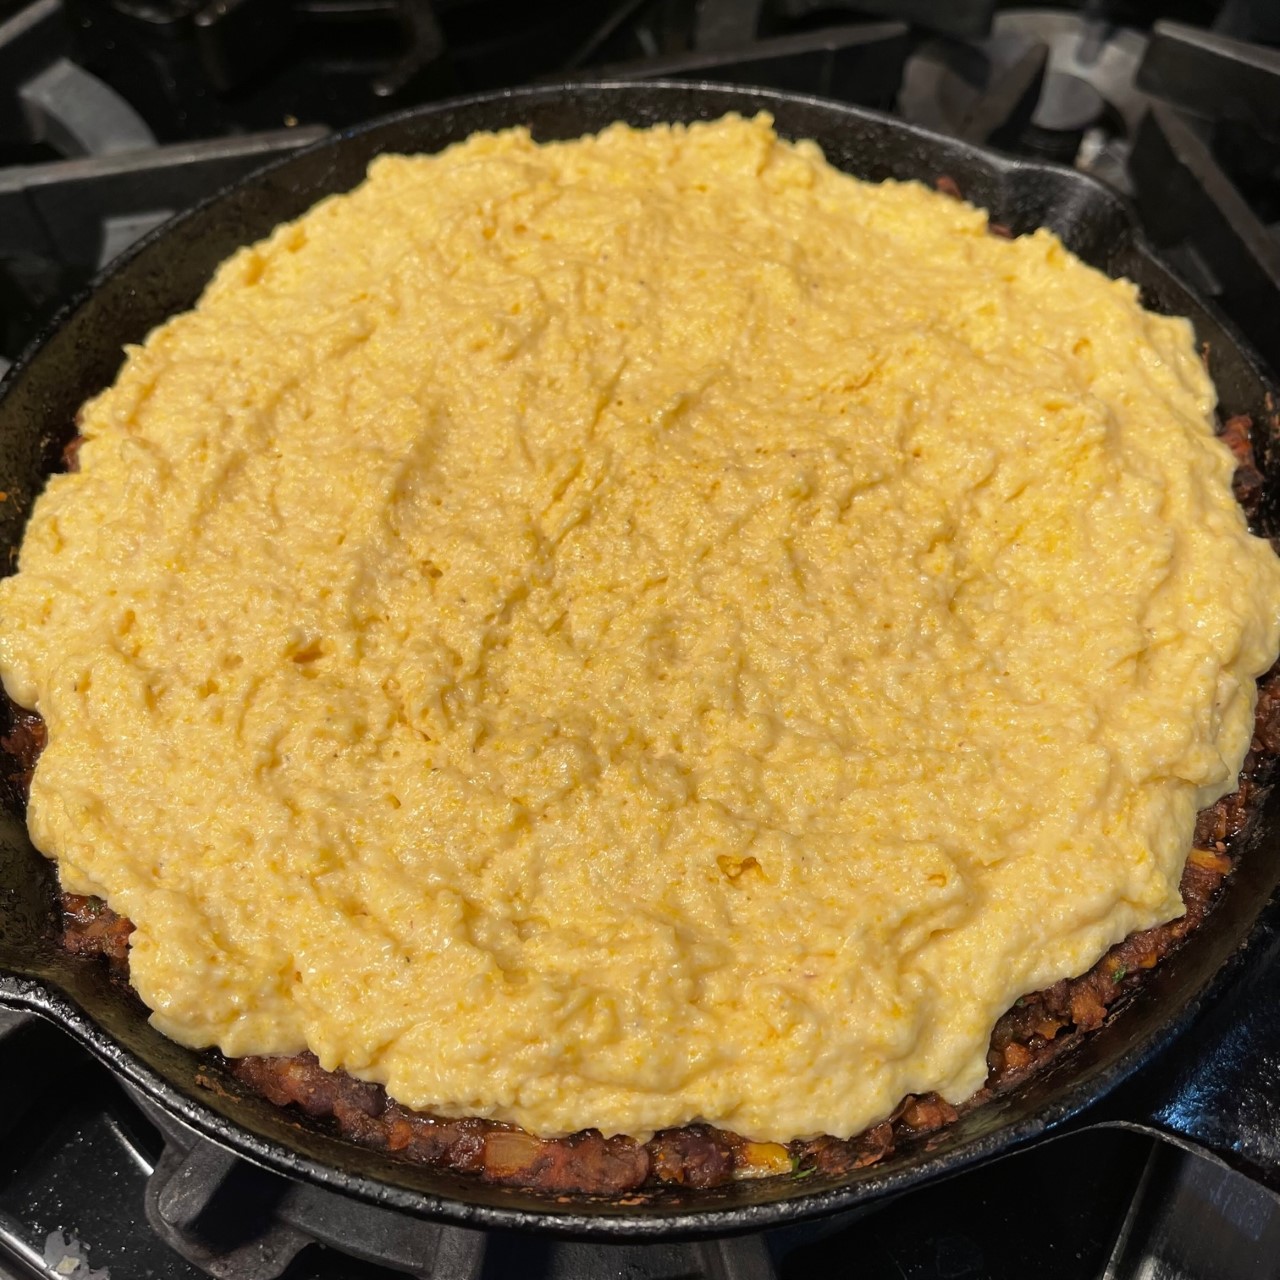
Spread cornmeal mixture on top of filling, smoothing top.
Bake at 230°C (450°F) about 15 minutes – until top begins to brown.
Let me state up-front: this HOMEMADE VEGETARIAN GROUND BEEF recipe is NOT designed for a patty – it’s too mushy to form a firm burger. What it’s fabulous for is as a substitute when you need ground beef for a recipe and you’re a vegetarian or vegan. I’ve used it successfully in shepherd’s pie, burritos, tamale pie, and Greek moussaka.
It’s not a difficult recipe, but it takes about 25 minutes to cook off the liquid at the end. Because of this, I double or triple the recipe then, as Queen of Freeze, I freeze it in 1 lb or 1/2 lb portions for future use. This way, if I decide to make a shepherd’s pie, tamale pie, or burrito, the bulk of the work is done.
VEGETARIAN GROUND BEEF – makes at least 1.5 lbs
10g OR 1 T olive oil
112g OR 4 oz OR 1 cup onions, chopped small
1/2 tsp salt
4 cloves garlic, pressed
43g OR 1 oz OR 2 T tomato paste
125 ml OR 1/2 cup red wine (I use a Cabernet)
2 tsp paprika
2 tsp oregano
1/2 tsp red pepper flakes
425g OR 15 oz canned chickpeas (garbanzo beans), drained
227g OR 8 oz whole cremini mushrooms
411g OR 14.5 oz canned whole tomatoes, discard stem end and any flaws, chop, KEEP JUICE – YOU’LL NEED IT!
NOTE: I suggest you try the single recipe before making a larger batch just in case you don’t like it.
ADDITIONALNOTE: If you’re doubling or more this recipe, use a Dutch oven or larger.
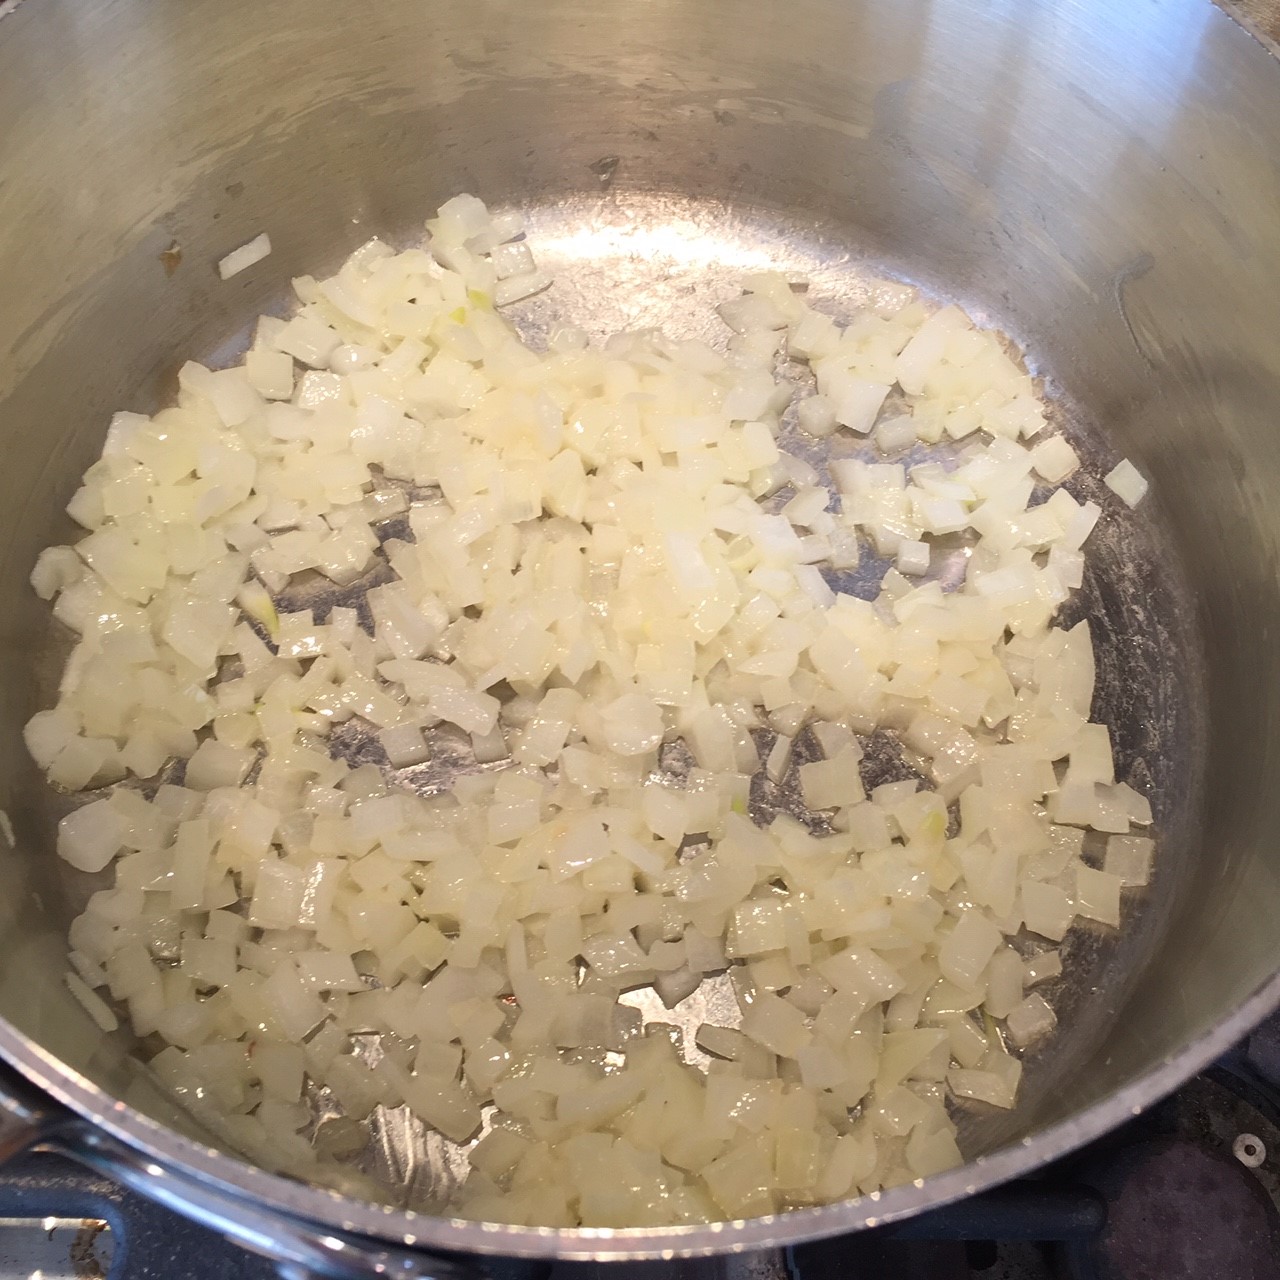
Heat oil in a large pot and saute onions and salt over medium heat until the onions are just starting to brown – about 6 minutes.
Add in the garlic and continuously stir 30 seconds to bloom (but not burn), then stir in the tomato paste. Increase heat to medium high and saute 2-3 minutes to darken the tomato paste a bit. (This adds an umami flavor).
Pour in the wine, paprika, oregano, and red pepper flakes. Cook over medium, scraping up the burnt bits into the paste, until the wine has nearly evaporated – about 3 minutes. Remove from heat.
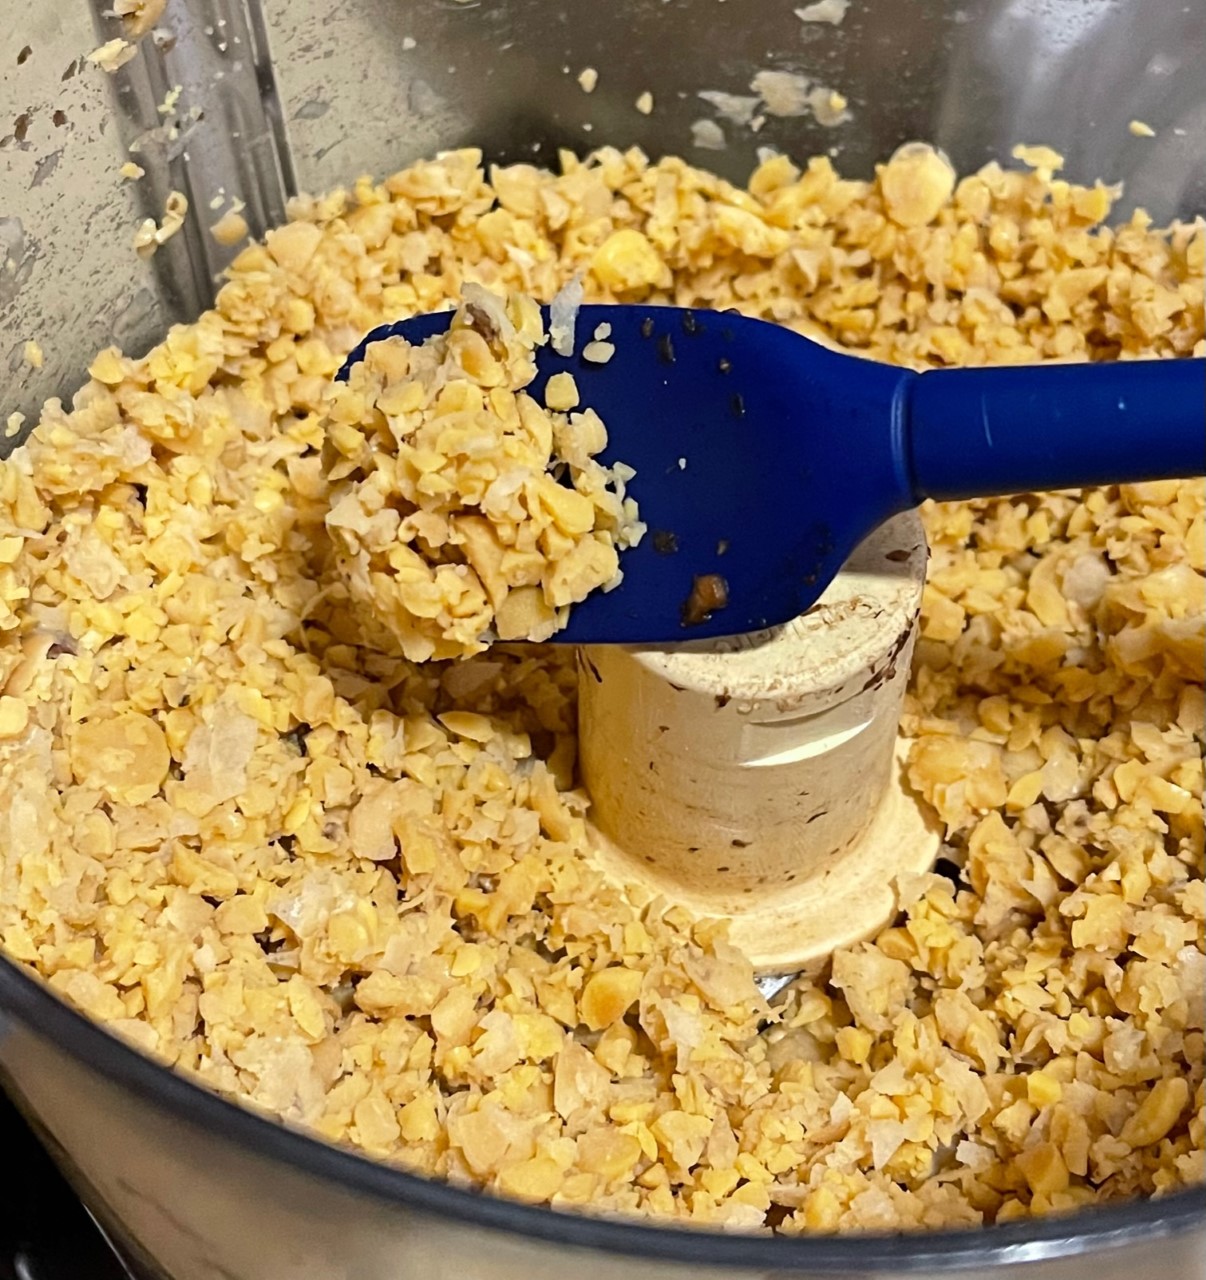
Drain the chickpeas and roughly chop.
Place chopped chickpeas into your food processor and pulse until it’s become small bits, scraping down the sides and bottom as needed. If you don’t have a food processor, you’ll have to chop them by hand.
Empty minced chickpeas into the pot with the onions/tomato paste.
Thoroughly wash mushrooms and coarsely chop into 1cm / 1/2″ pieces.
Place chopped mushrooms in food processor and pulse several times until mushrooms are broken into small bits, scraping sides and bottom, as needed. If you don’t have a food processor, chop by hand.
Empty mushrooms into the pot.
Over medium/high heat, saute mixture, stirring often for 5 minutes.
Pour the chopped tomatoes and their juice into the pot.
Cook over medium/high heat until the liquid has cooked off and the mixture can mound.
I hesitate to use the word “burger” for my Mushroom-Nut Burger because it sounds like I’m trying to pass this recipe off as an imitation hamburger – so close to the real thing, you’ll think you’re eating meat. While there are some excellent plant based (aka, fake) burgers on the market now (such as Impossible Burger and Beyond Burger) that can satisfy that craving for meat, this is not one of those.
I really should call this recipe Mushroom-Nut Burger-Alternative because, like my Black Bean Burger recipe, this is merely a patty decked out like a hamburger. It’s not meant to fool anyone….but, it IS delicious!
In developing my Mushroom-Nut Burger, I felt like Goldilocks – trying to find a blend that wasn’t so soft it collapsed, but not so dry it crumbled. I wanted one that was just right.
My greatest challenge was creating a firm patty. I hate when I bite into a veggie burger that appears to be firm because the outside is crusted over, only to find the inside is mush, oozing out the sides. It becomes a bit like eating a melty ice cream cone.
I found the solution to be chopping the firm ingredients – the mushrooms and nuts – into large pieces, so it acts like a skeleton. This prevents the outside from collapsing and the center from squishing out.
The second challenge was binding the ingredients so the patty doesn’t fall apart as you’re eating it. I found 2 eggs and 45 grams (1.5 oz) of flour to be the key. I strongly suggest you weight the flour because I tried less flour and it didn’t work as well.
MUSHROOM-NUT BURGER – makes 4 patties
59g (2oz) (1/3 cup) raw short, sticky rice
150ml (2/3 cup) water
14g (1 tbsp) butter
120g (4oz) (1 cup) onions, chopped
53g (2oz) (3/4 cup) firm mushrooms such as white common or cremini
91g (3oz) (include stem in weight) shiitake mushrooms
1/4 tsp dried thyme
1/4 tsp dried sage
1/2 tsp dried marjoram
1.5 tsp vegetarian Worchestershire sauce
3/4 tsp salt
1 garlic, pressed or minced
70g (2.5oz) (3/4 cup) walnuts
38g (1.25oz) (1/4 cup) salted cashews
2 eggs
45g (1.5 oz) flour
Preheat oven to 190C° (375F°), rack in the center position.
Rinse the raw rice then, into a small saucepan, combine the rice and 150ml water. Cook, covered, until water is absorbed (about 12 minutes). SET TIMER FOR 10 MINUTES TO REMIND YOURSELF! Remove from heat and let cool.
Scrupulously wash mushrooms. Remove and discard the stems from the shiitakes only (they’re too woody to eat). Coarsely chop all the mushrooms – check the measuring tape in the photo for size. The mushrooms will shrink some when cooked.
Coarsely chop walnuts and cashews – check the measuring tape in photo below. Like the mushrooms, these will support the patty. That being said, if you have any nut crumbs on the cutting board, use them – I hate waste! Lightly toast nuts.
Into a skillet melt the butter over medium flame. Add in the onions and saute 2-3 minutes.
Into the onions add the mushrooms, thyme, sage, marjoram, Worchestershire sauce, salt, and garlic. Saute 6 minutes. Set aside to cool.
Into a large bowl, beat the eggs. Stir in the cooked rice, nuts, and cooled mushroom saute. Sprinkle in the flour and blend well.
Form 4 patties about 9cm (3.5″) in diameter and place on an oiled baking sheet.
Bake in the preheated 190C° (375F°) and bake for 15 minutes. Flip patties and bake another 15 minutes. Serve.
Holidays in my house were always spent with my Armenian father’s side of the family. As it so often is with immigrant gatherings, food played a major role. The main meal was served in the early afternoon. Then came the clean-up, followed by a second round of the main meal. Armenians love to eat!
Dolma (stuffed grape leaves) was a favorite and always plentiful. My grandmother’s recipe was the absolute best! (My Lebanese friend, Deborah, claims her grandmother’s is the best…but we’ll have to agree to disagree.)
Of course, once I became a vegetarian, my grandmother’s beef and lamb filled dolmas became a happy memory, testing my willpower at holiday dinners. Oh, yes, I made many attempts at a vegetarian version, but they never came close.
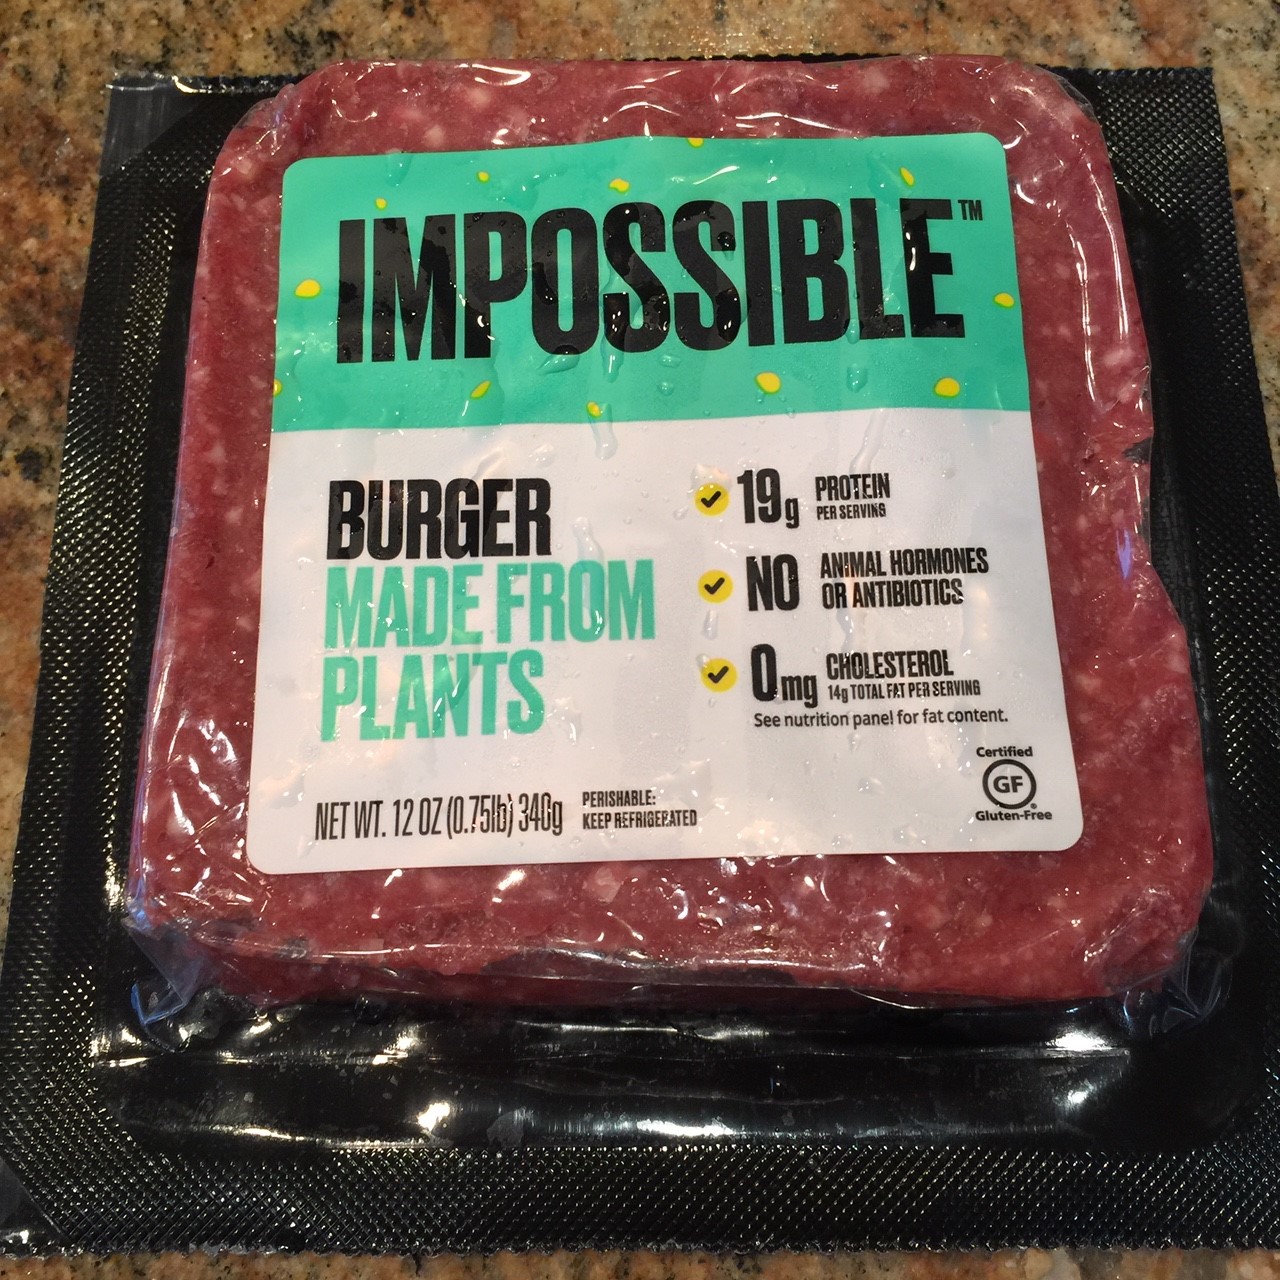
Finally, food technology caught up. Imitation meats were getting better and better. When Impossible Burger became available at my local market, I decided to substitute it in for the beef and lamb (there doesn’t seem to be any imitation lamb yet). I added in a few shiitake mushrooms and Worcestershire sauce for the umani flavor, plus some flour to bind the filling logs so they don’t fall apart. After much tweaking of my recipe, I’m now prepared to serve them to my dolma-loving brother.
Note: I’m recommending Impossible Burger brand for this recipe. (No, they’re not paying me!) This product forms a firmer log so it mimics the filling made with beef and lamb.
Note: While you can grow and brine your own grape leaves, it’s much easier to buy them. Most supermarkets carry them, but you have to search. They’re usually in with the olives, and packaged in glass jars. You may not have much choice in brands. Be aware that they can be very difficult to remove from the jar – quite often I end up tearing a third of them, which makes them unusable. A brand with a wide mouth is best. To remove the leaves, you have to grasp a roll, then gently pull up while twisting. It’s very maddening.
Queen of Freeze note: Unused leaves can be stacked, rolled, and frozen for future use.
VEGETARIAN DOLMA – makes about 26-31, depending on leaf size
340g / 12 oz / 3/4 lb Impossible Burger
3 T parsley, chopped
62 g / 2 oz shiitake mushrooms, coarsely chopped
50 g / 1/3 cup / 1.75 oz uncooked Chinese-style rice (or any white rice)
100 g / 3.5 oz onions, chopped
286 g / 10 oz canned tomatoes plus their juice
1/4 tsp ground black pepper
2 tsp salt
1 T vegetarian Worcestershire sauce
30 g / 4 T all-purpose flour
at least 40 grape leaves (you won’t use them all, but it’s good to have extra)
To get 286 g (10 oz) of the canned tomatoes plus juice, you’re going to have to buy a larger can and weigh out the amount. (Using the entire 15 oz can is too much for this recipe.) Pour the juice into a 4qt (4 litre) or larger cooking pot. Remove and discard the stem area of the tomatoes, and any skin or defects. Chop into small pieces.
Thoroughly wash mushrooms, discarding the stem (it’s too woody). Chop cap into 1cm (3/8″) sized pieces.
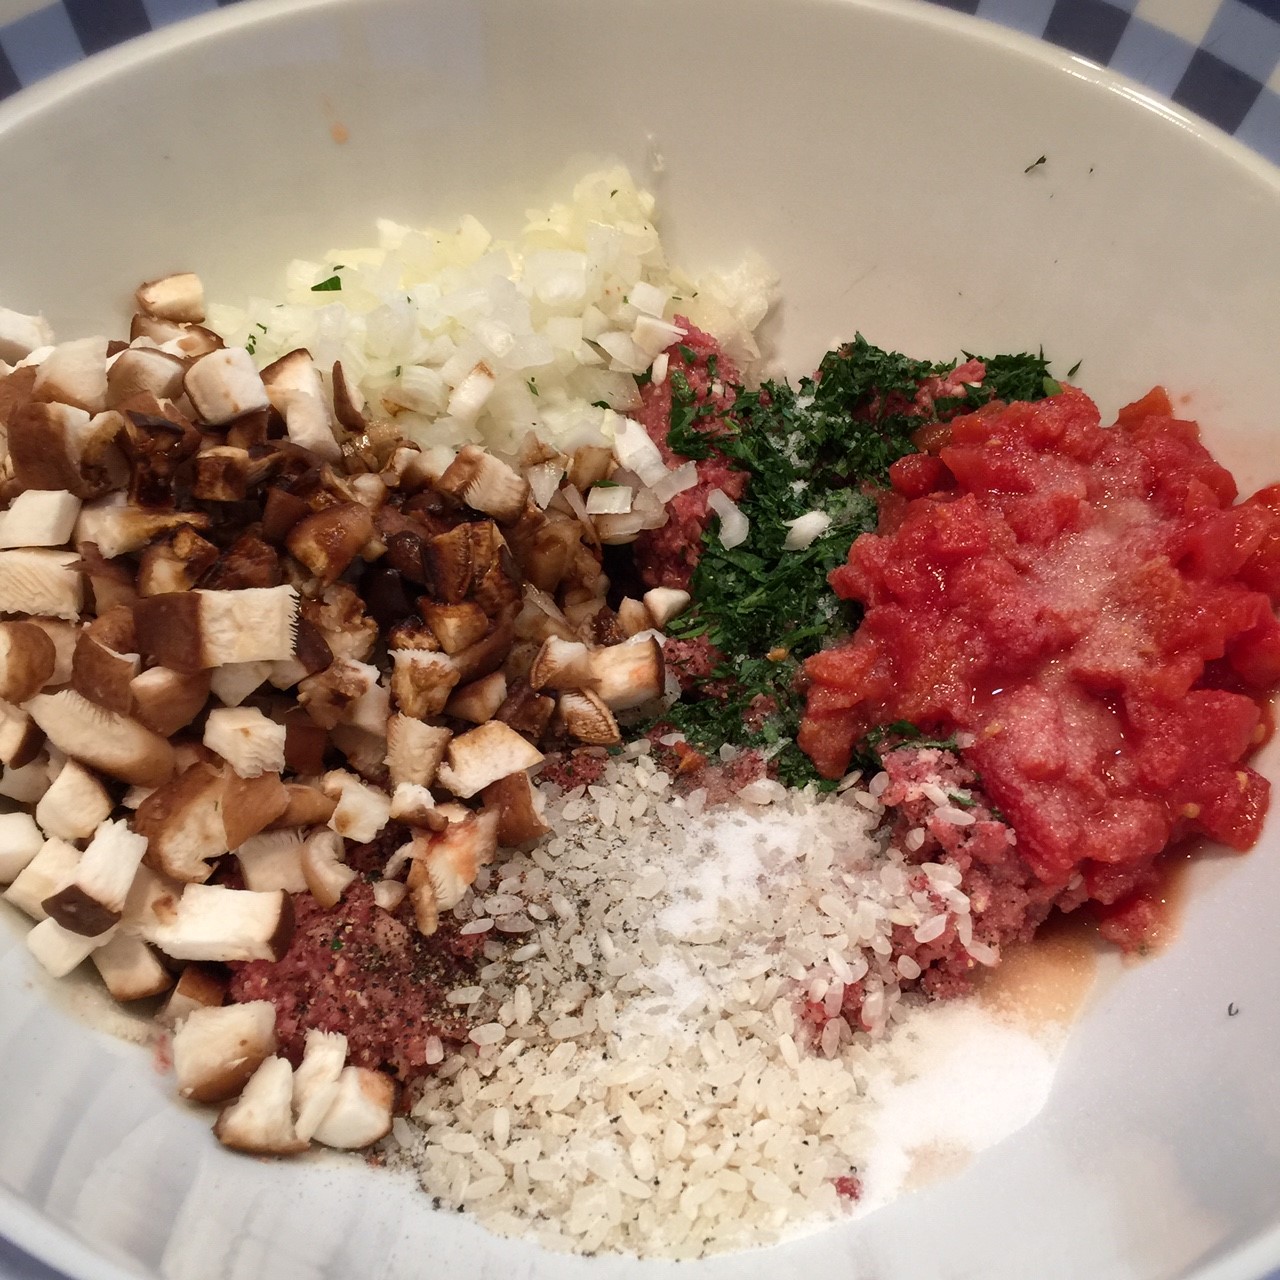
Into a large bowl, put the tomatoes, Impossible Burger, parsley, mushrooms, rice, onions, pepper, salt, and Worcestershire sauce. (You’ll add the flour later.)
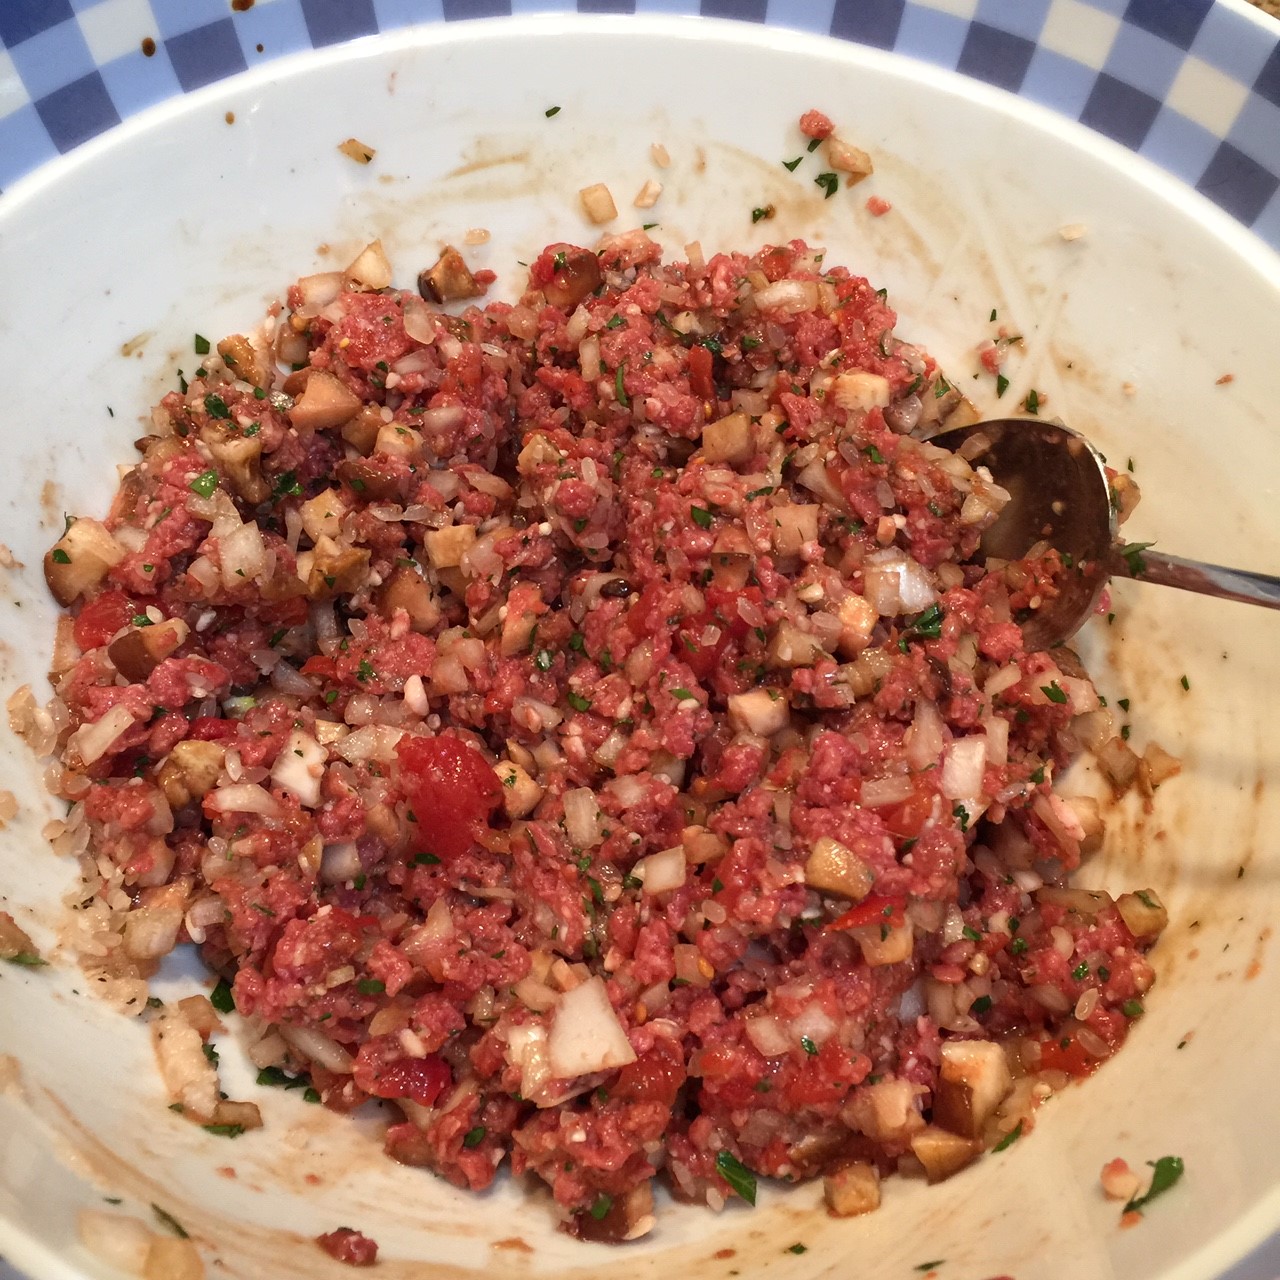
Stir mixture to blend.
Before adding in the flour, prepare the grape leaves. Depending on the brand, it can be very tricky to remove them from the jar without tearing many. Torn leaves are pretty useless. So, do your best. You’ll need between 20-40 intact leaves. (The number is dependent on the size of the leaves and how generous you are with the filling.)
After removing the grape leaves from the jar, unroll them and cut off the stems to the nub. Some people rinse off the brine, but I don’t – I like the salty flavor.
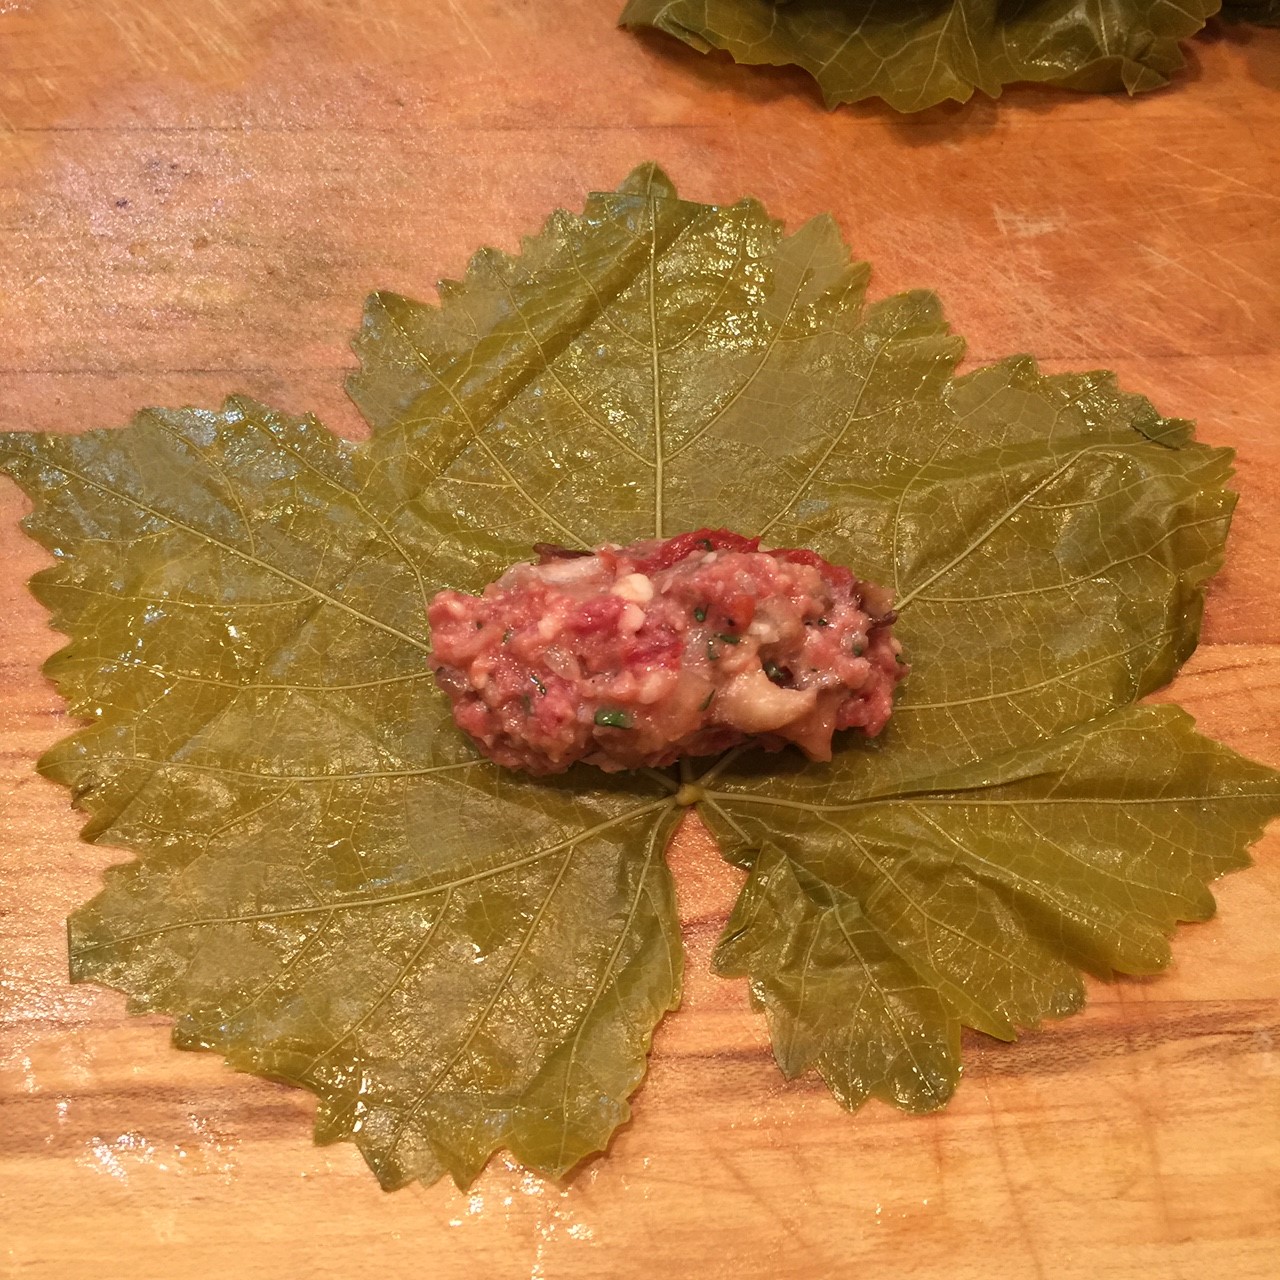
Depending on how much room you have, lay out several leaves, vein-side up, to work in an assembly-line manner.
Add the flour to the filling and mix in. (I like to wait until the last minute to add in the flour.) Spoon out some filling and form a tight log. The amount will depend on the size of the leaf. If you over-stuff, the roll will come apart in the cooking – you need plenty of leaf to fold and roll as you can see from the photo below.
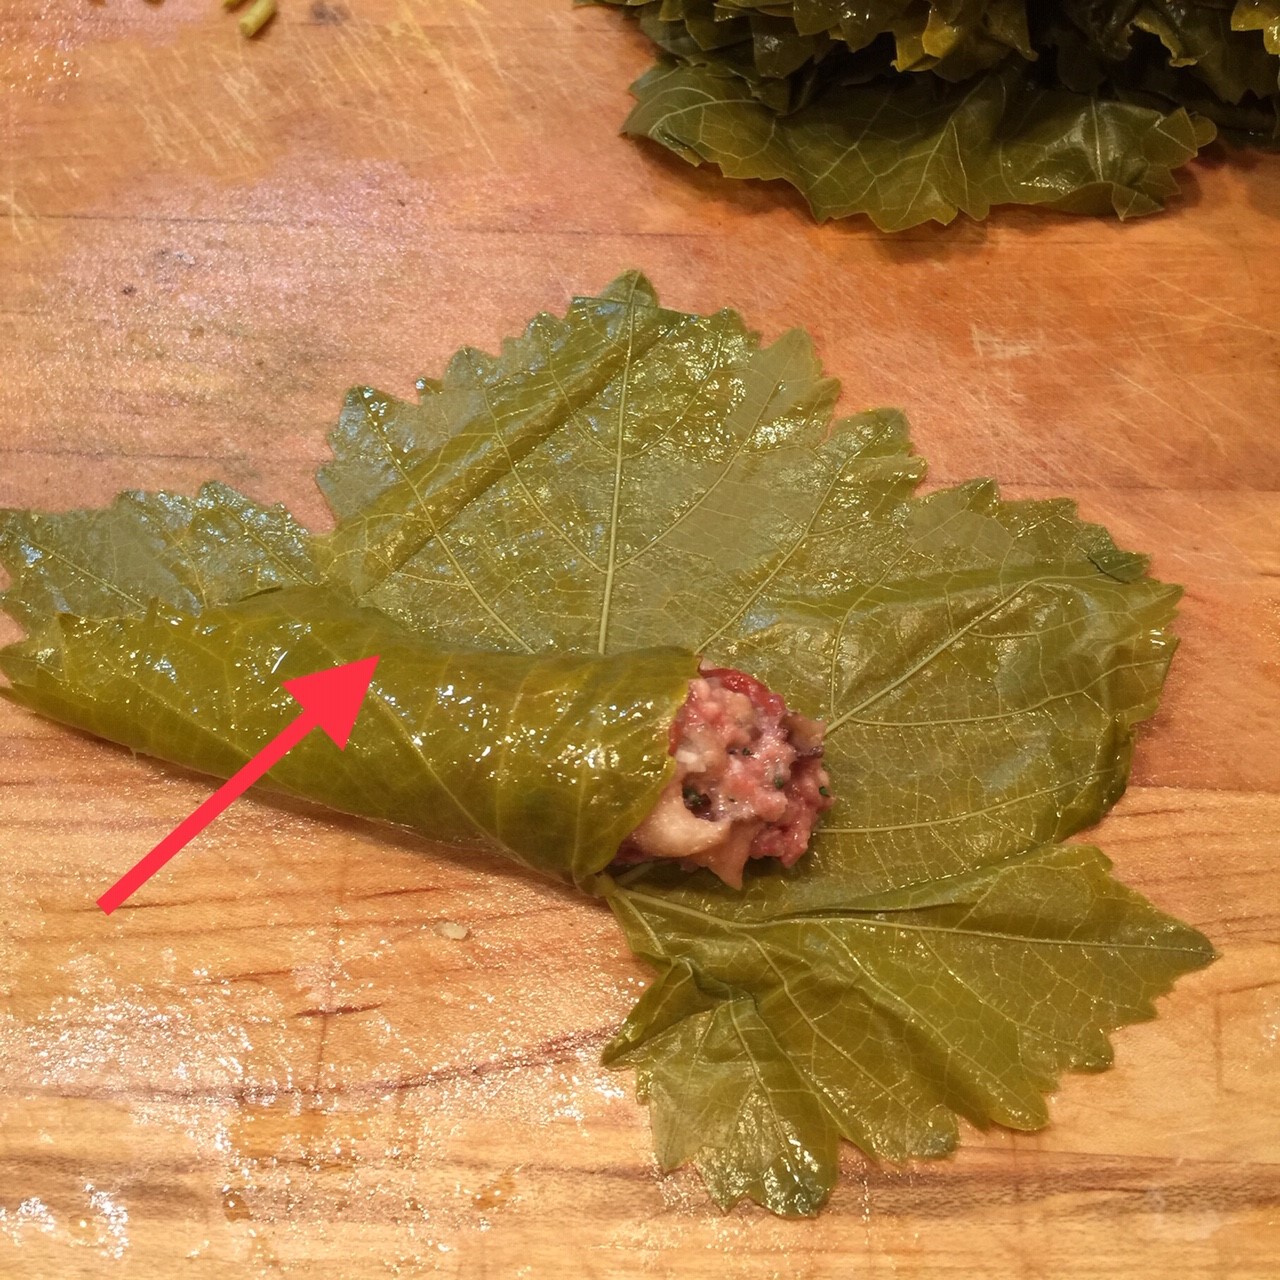
Wrap one of the lower flaps around the filling, tucking in the flap. (Don’t wrap too tightly – the rice will expand with cooking and you don’t want them to burst.)
Wrap the other lower flap around filling as before.
Wrap one of the side flaps toward the center (this seals in the side of the filling).
Fold in the other side flap.
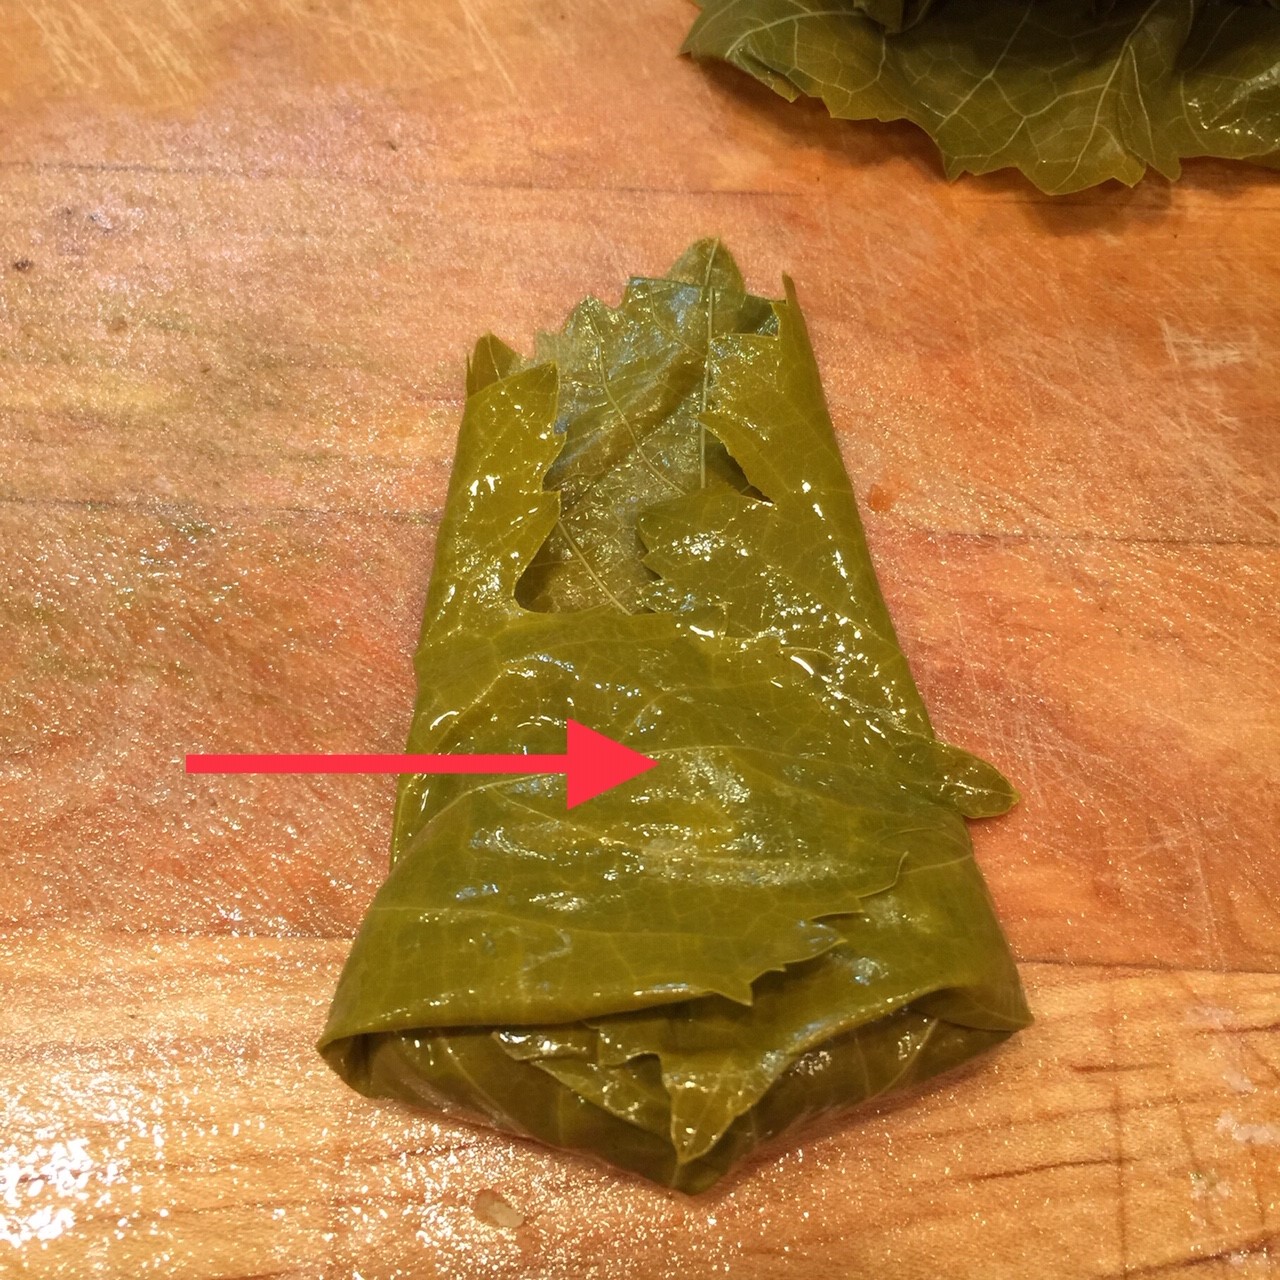
Finally, roll up the dolma starting at the filling end. (Again, don’t roll too tightly.)
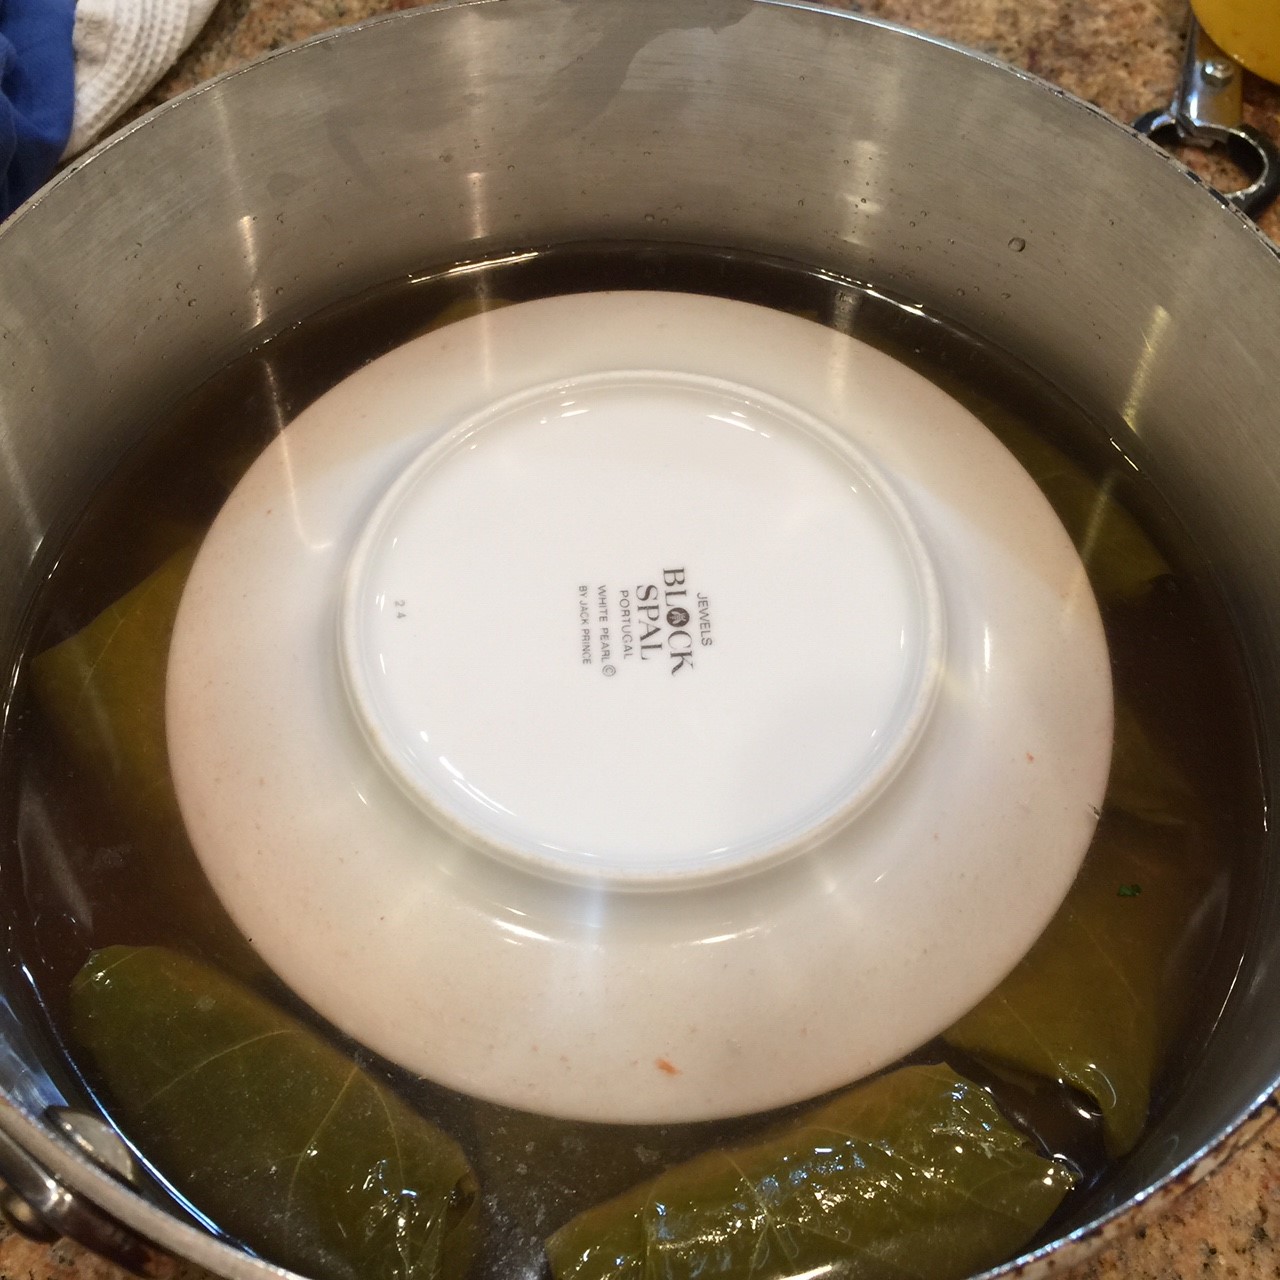
Place rolled dolmas in the pot with the tomato juice.
Line them up as you go, creating a second layer, as needed.
Once all the dolmas are wrapped and placed in the pot, cover with water. Place an upturned plate on top to weigh down the dolmas – otherwise, they’ll float.
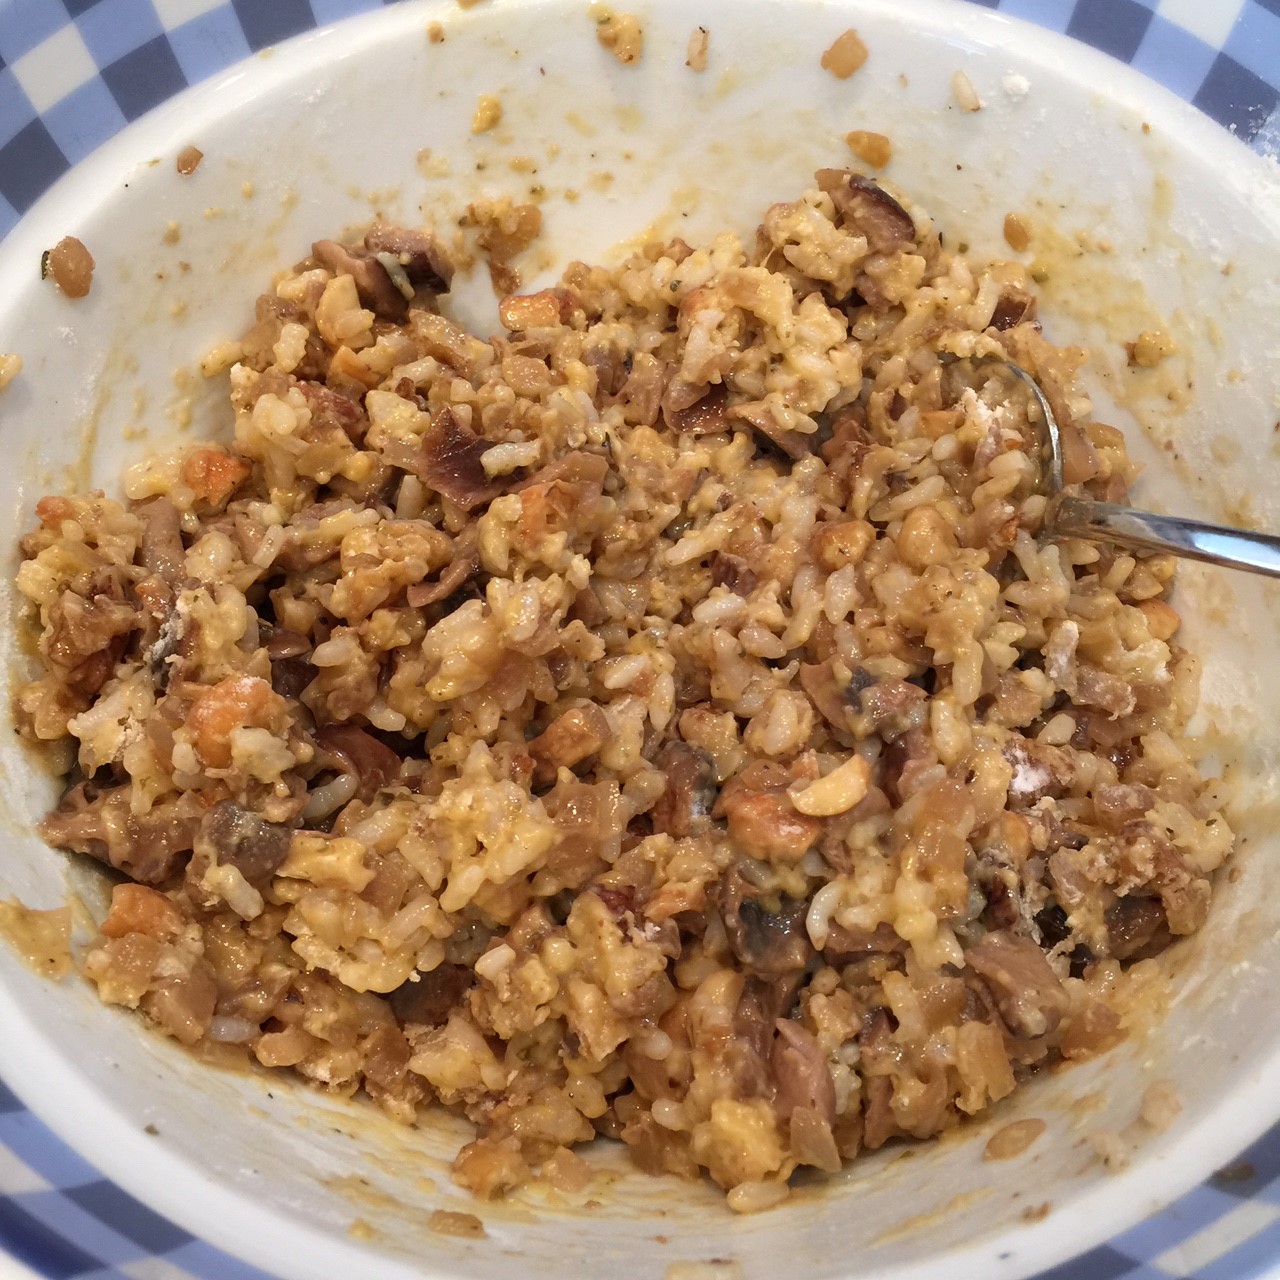
Bring to a boil, cover pot, and reduce heat to just maintain a simmer. Cook 1 hour. Remove plate and let dolma cool about 15 minutes or more before serving. In my family we eat them plain. You might prefer a dipping sauce, such as tzatziki.
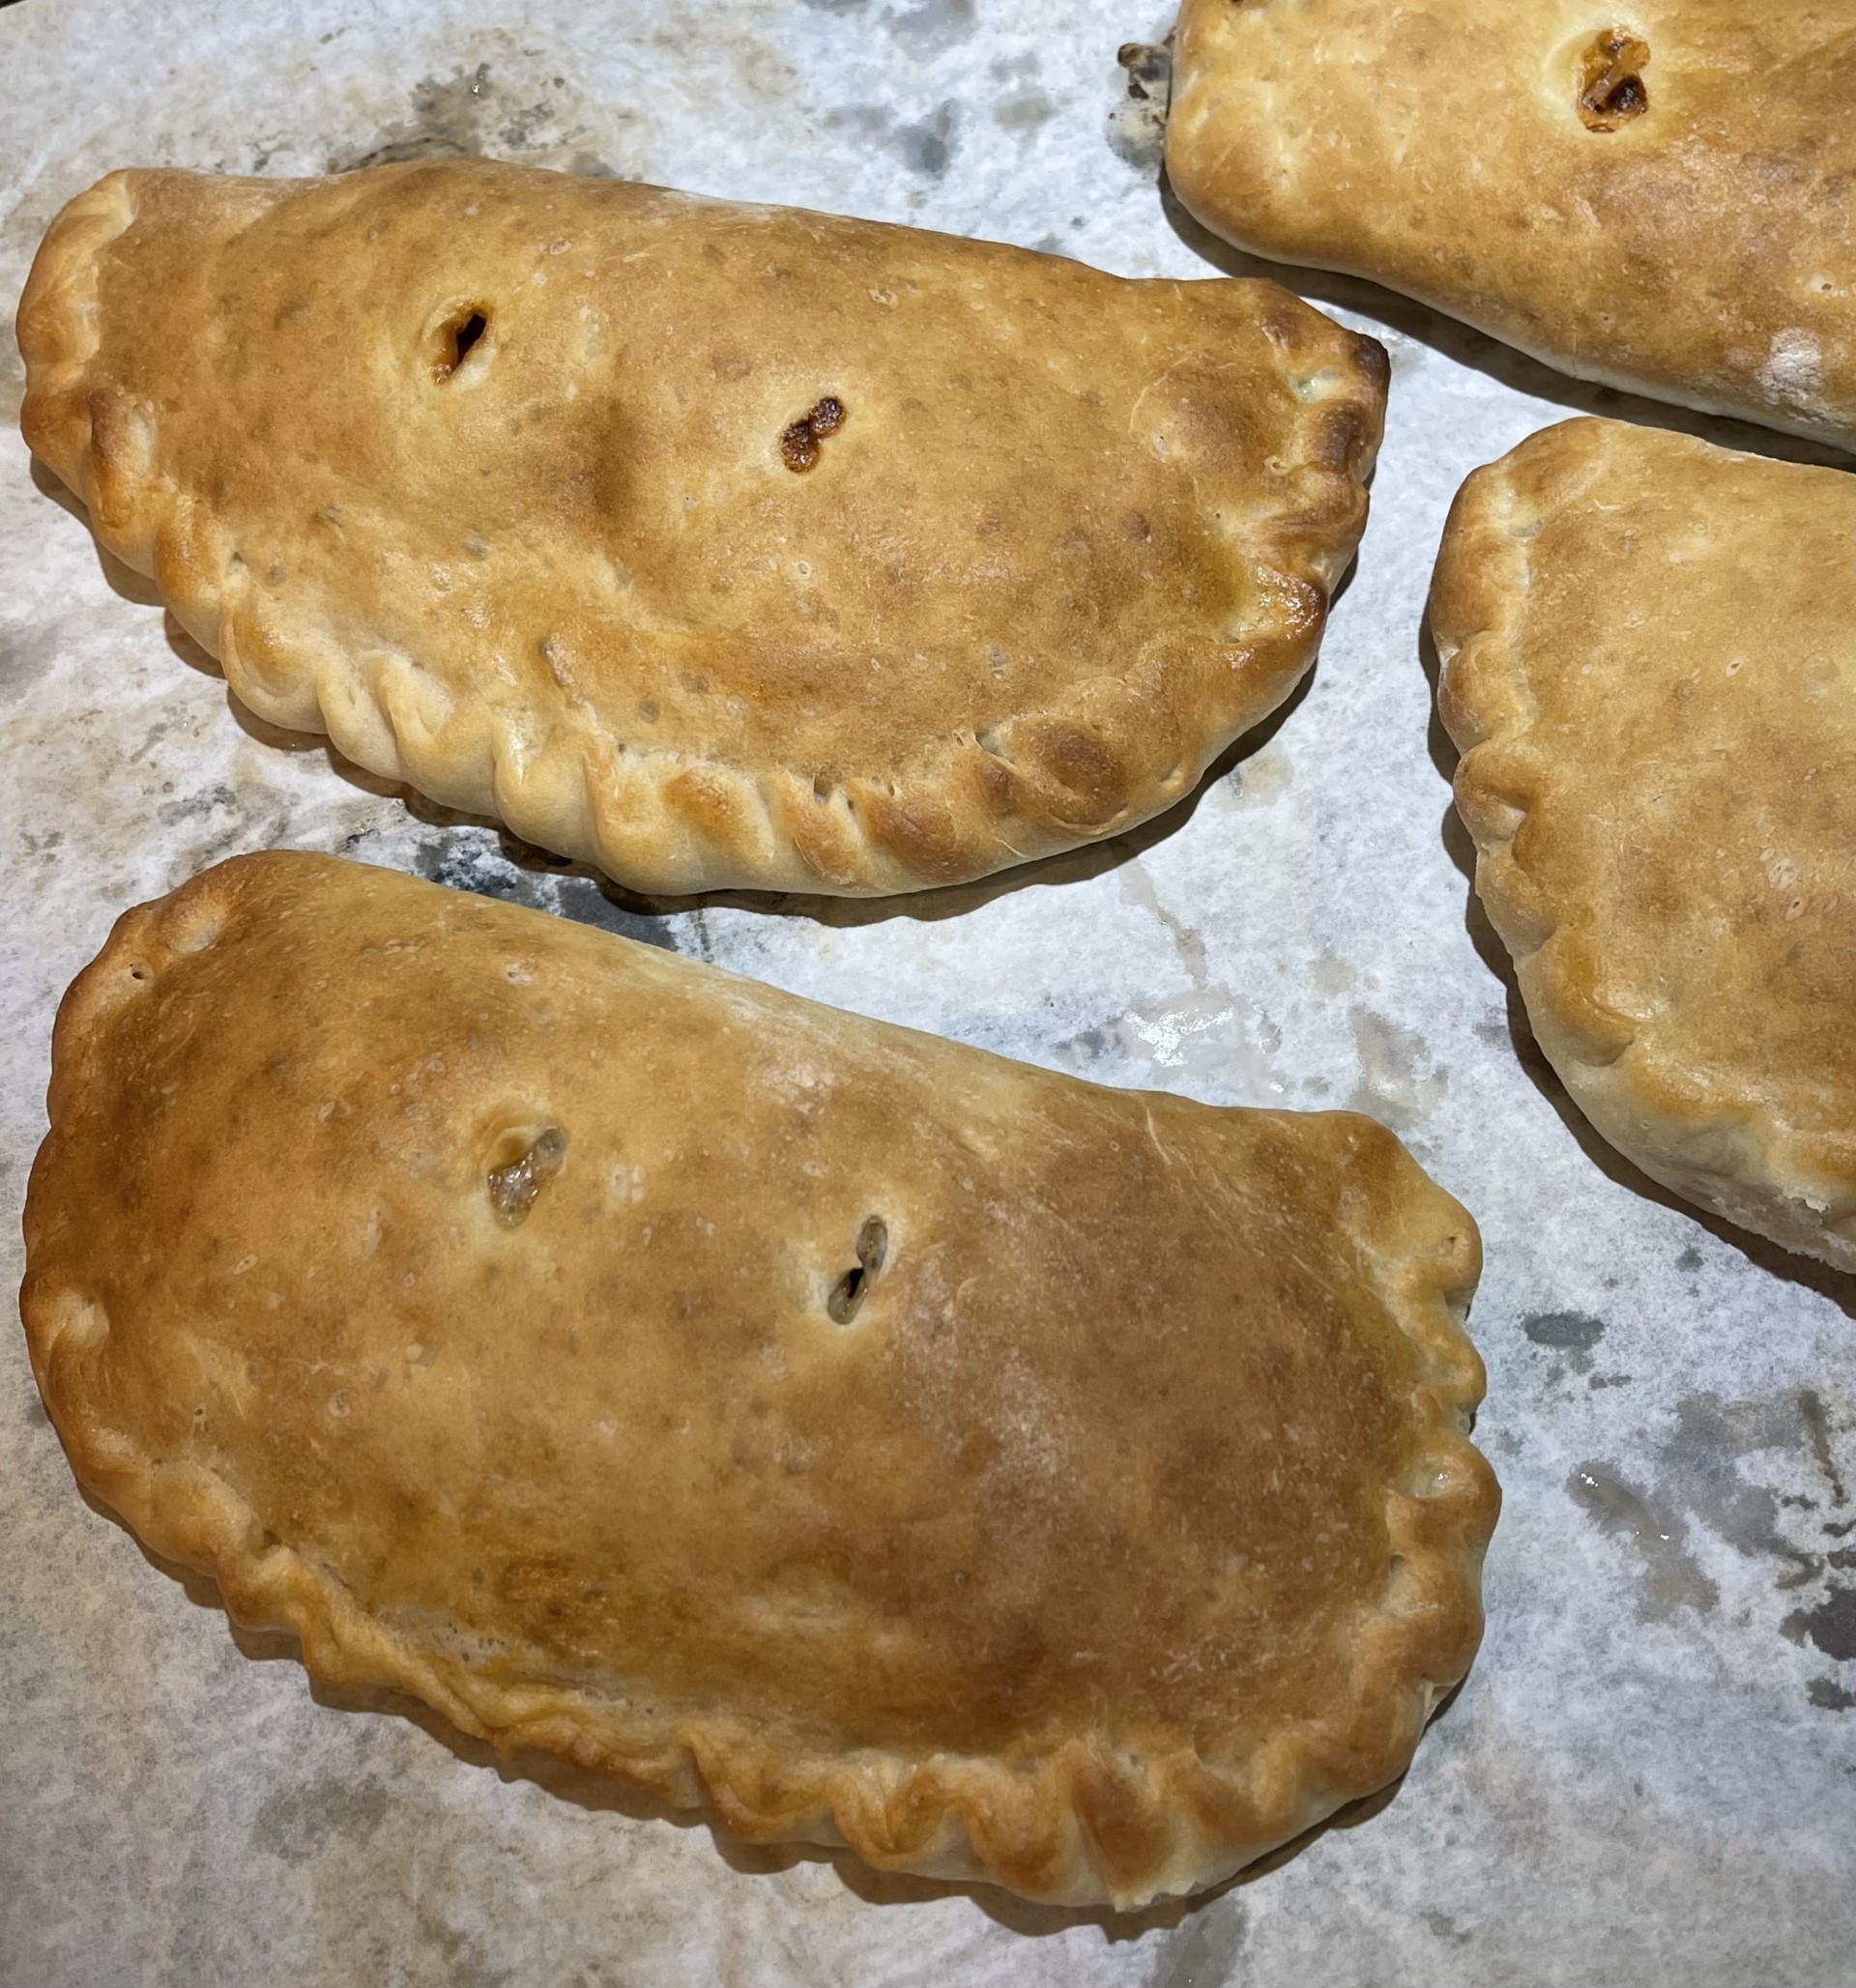
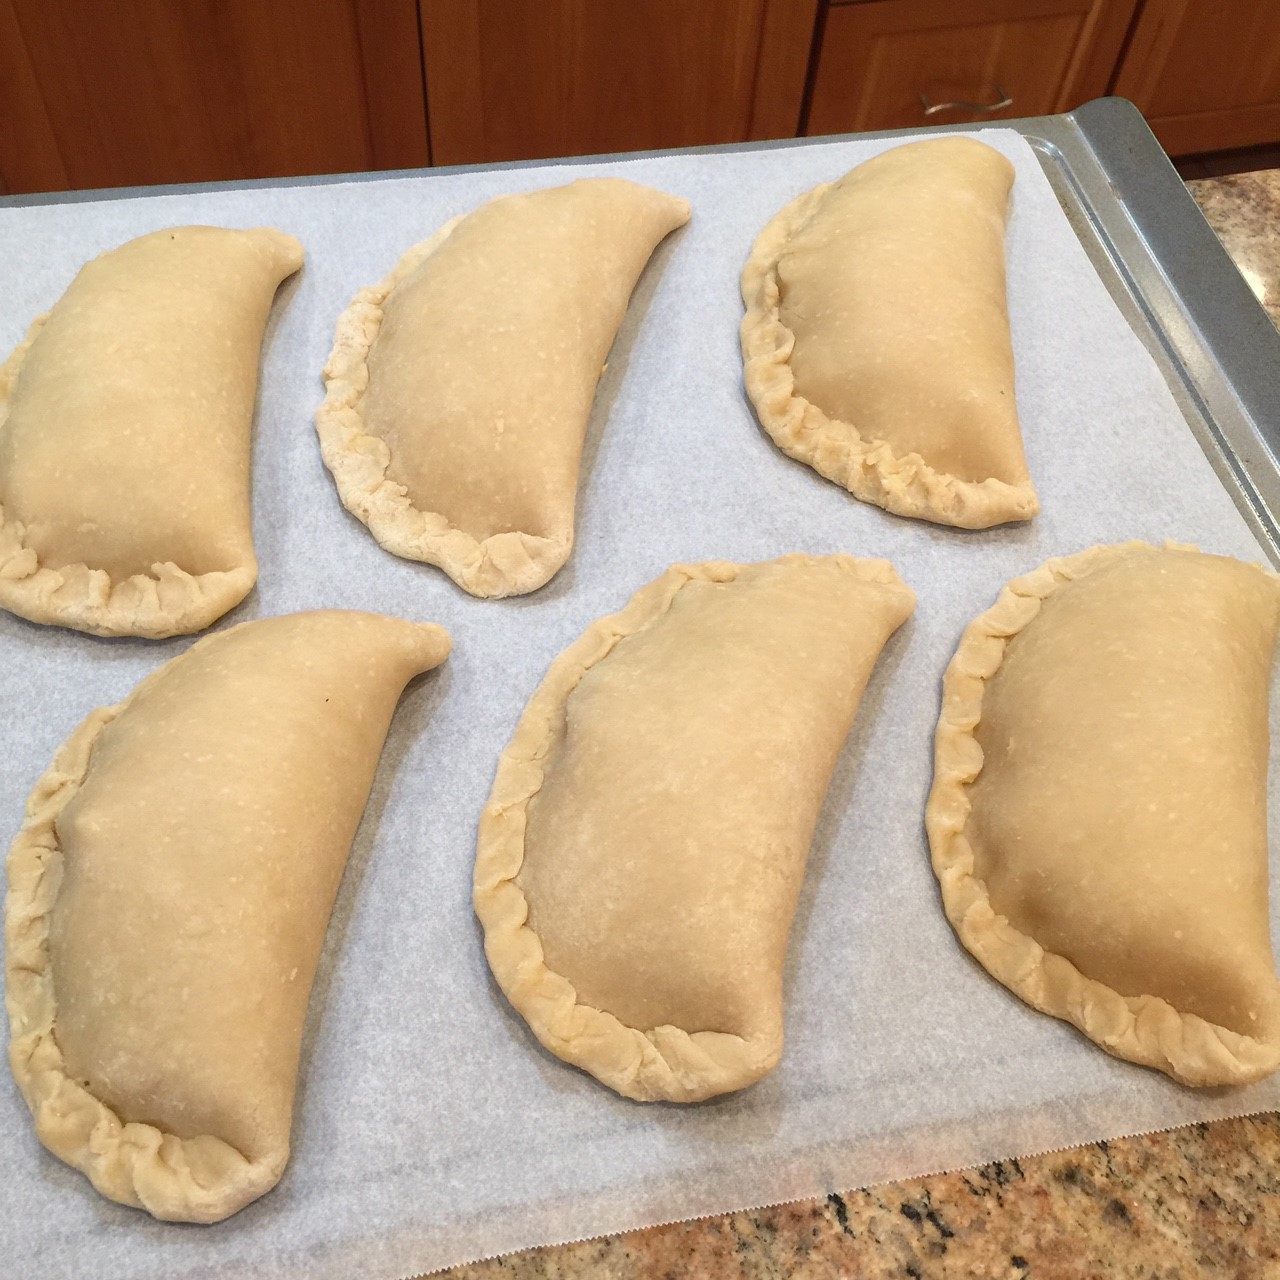
I love hand-pies, be they piroshkis, beureg, empanadas, potstickers, or pasties. They’re perfect for an on-the-go nosh and picnics, as well as at-home eating.
Yes, they’re a little bit of work since you have to roll out individual dough circles, fill them, and fold them. But prepare them in an assembly-line fashion and/or get a helper or two, and you’ll have them done in no time.
I prefer a hot-water crust for my pasties, but if you have a crust you like better, use that.
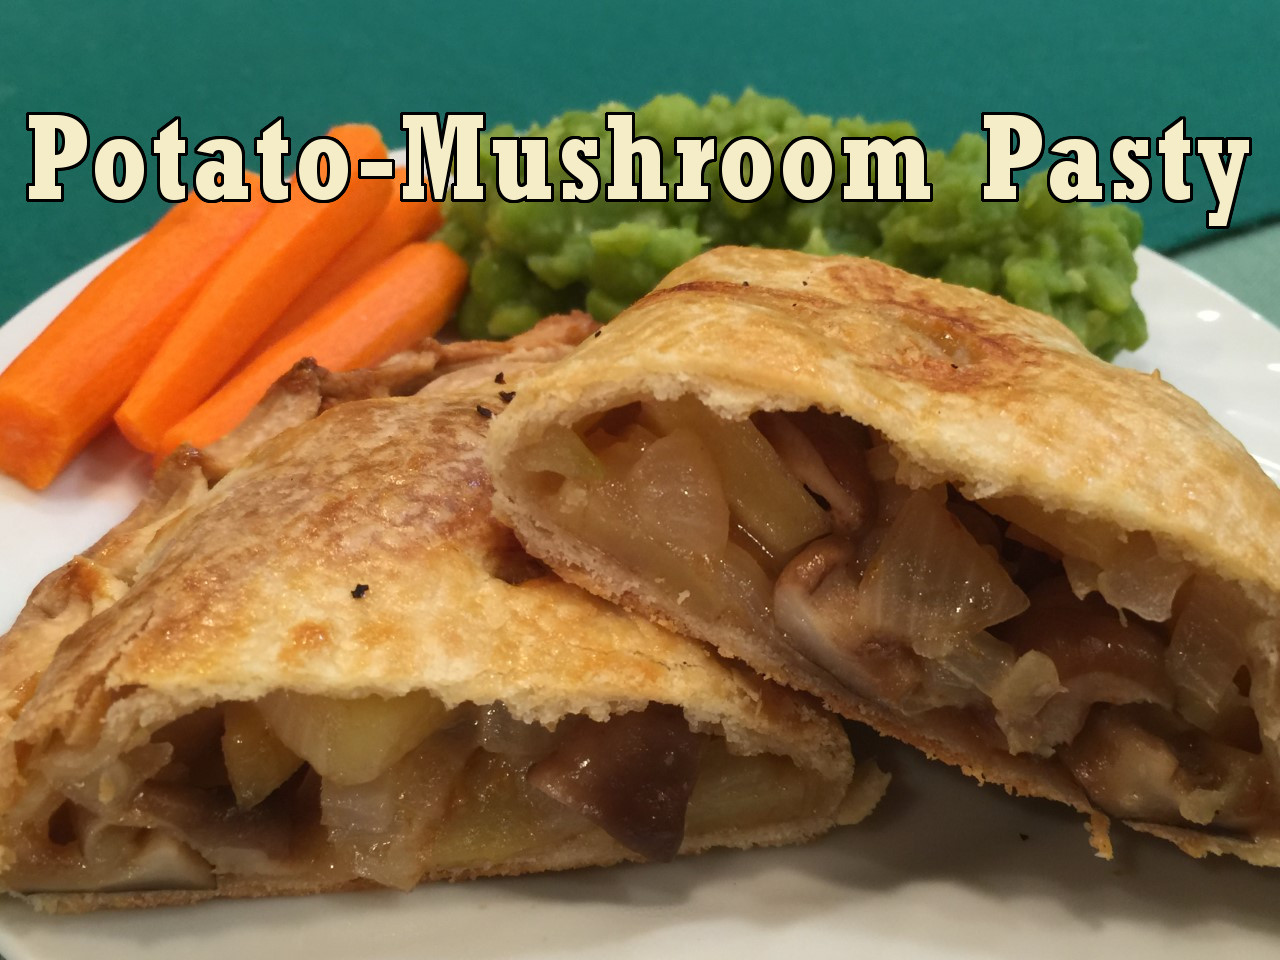
You may notice that I don’t refer to my pasties as CORNISH pasties. They take their pasties very seriously in Cornwall and have a list of rules that must be followed in order to use the term, ‘Cornish’. Two of the rules that I will never be able to follow are that they be prepared in Cornwall, and they are made with meat. Oh, well! A rose by any other name would smell as sweet. And my Potato-Mushroom Pasties are delicious!!!
POTATO-MUSHROOM PASTY – makes 6
Filling
140 g (4.75 oz) shiitake mushrooms
190 g (6.5 oz) onions
260 g (10.25 oz) waxy potatoes (such as Yukon gold)
1.25 tsp vegetarian Worchestershire sauce
1 tsp salt
75 g (2.5 oz) sharp Cheddar cheese, grated
Dough – makes 6 discs, 20cm/8in diameter
400 g (14 oz) (3 cups) bread flour
1 tsp salt
173 g (12 T) butter, cold & cut into 12 or more slices
166 ml (2/3 cup + 1 T) very hot water
Egg Wash: beat 1 egg with 1 T water
Make the filling first: Chop the shiitakes and onions into 2.5 cm/1/2″ pieces. Cut the potatoes into .25 cm/1/8 in thick slices, then chop these up into small pieces. Mix the shiitakes, onions, potatoes, Worchestershire sauce, salt, and cheese in a bowl. Set aside.
Preheat oven to 200° C/400° F.
Prepare the hot water crust once the oven is preheating and the filling is mixed: Into your food processor put the flour and salt. Pulse 1 or 2 times. Scatter the butter into the flour and pulse until you don’t see any large blobs of butter – about 8 pulses.
Pour in the hot water all at once. Pulse to incorporate the water. You should be able to form a soft, pliable ball. Add a tsp at a time of water if the dough seems too dry. Don’t worry if it’s too wet – you’ll be adding flour when you roll out the circles.
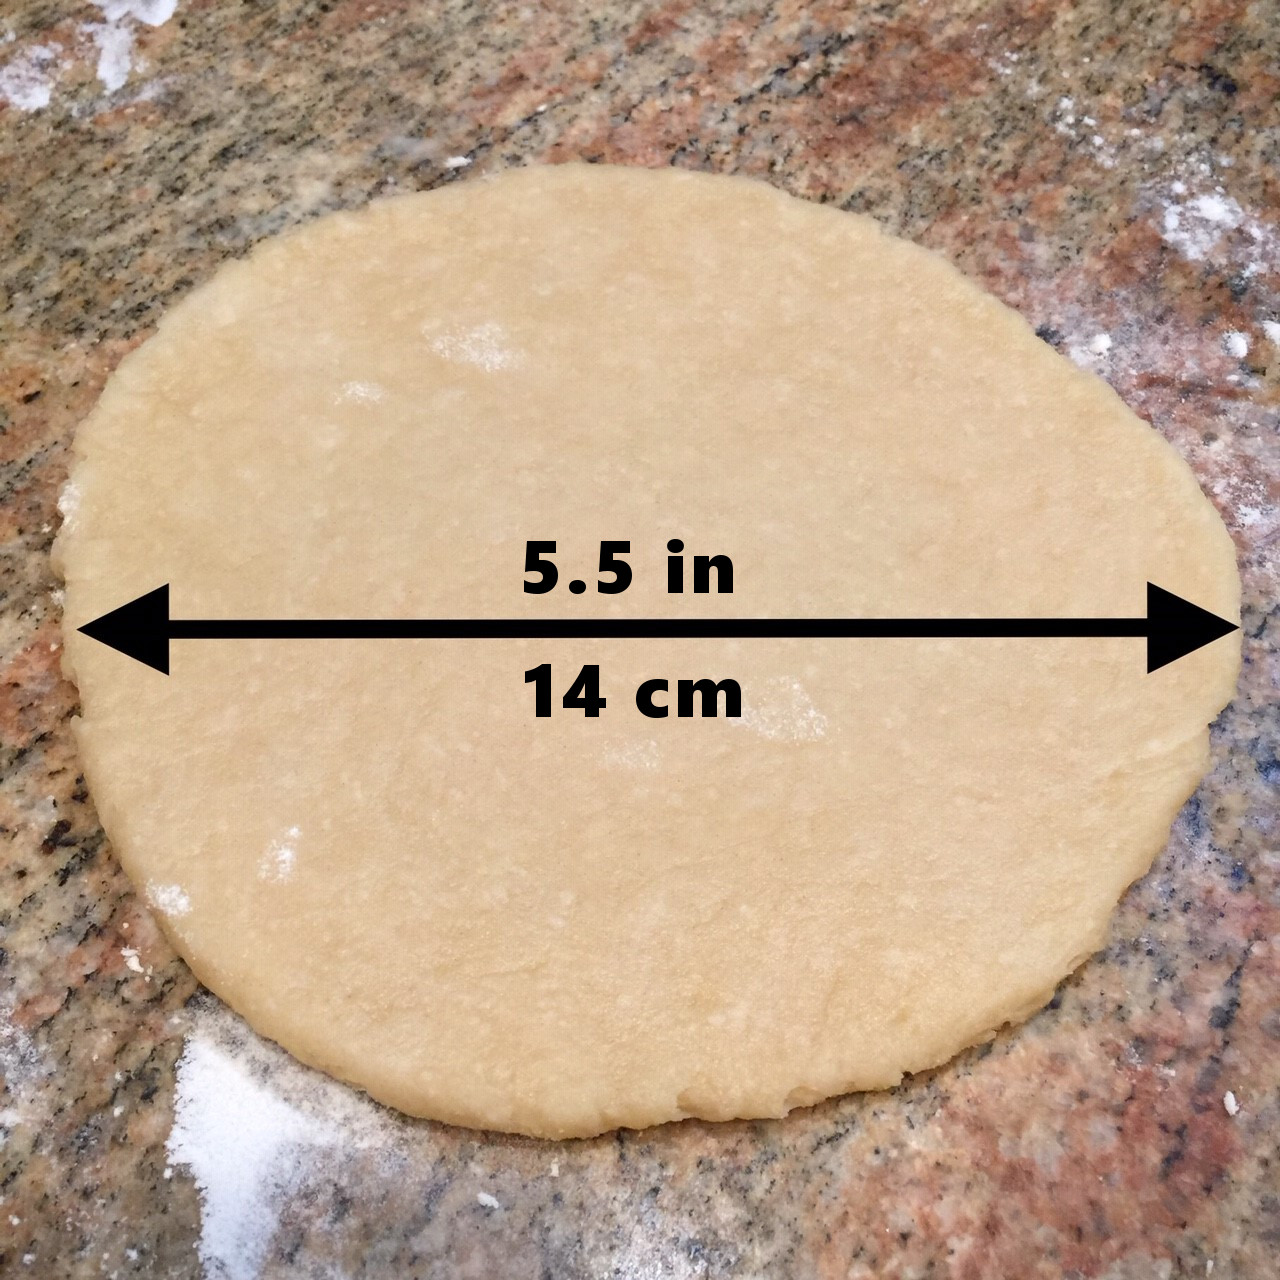
Lightly flour a flat surface and empty dough onto it. Knead the dough 3 or 4 times to bring it together. Cut into 6 equal pieces and roll into balls. Keep them covered until you roll them. One at a time, roll a ball into about a 14 cm/5.5″ circle.
You’re going to roll the dough into a final 20 cm/8″ circle, but rather than placing the rolling pin on the center and rolling outward, place it a little closer to the side it’s going toward and roll. (This keeps the center of the circle from getting too thin, which can allow leakage in the oven.) Try to make them as circular as you can, but don’t stress too much (you’ll be folding up the edges which will hide small imperfections.) You can use a 20cm/8″ template (such as a plate) and cut around it, if you like, but I can’t be bothered.
Keep the dough circles covered after you roll them out to prevent them from drying.
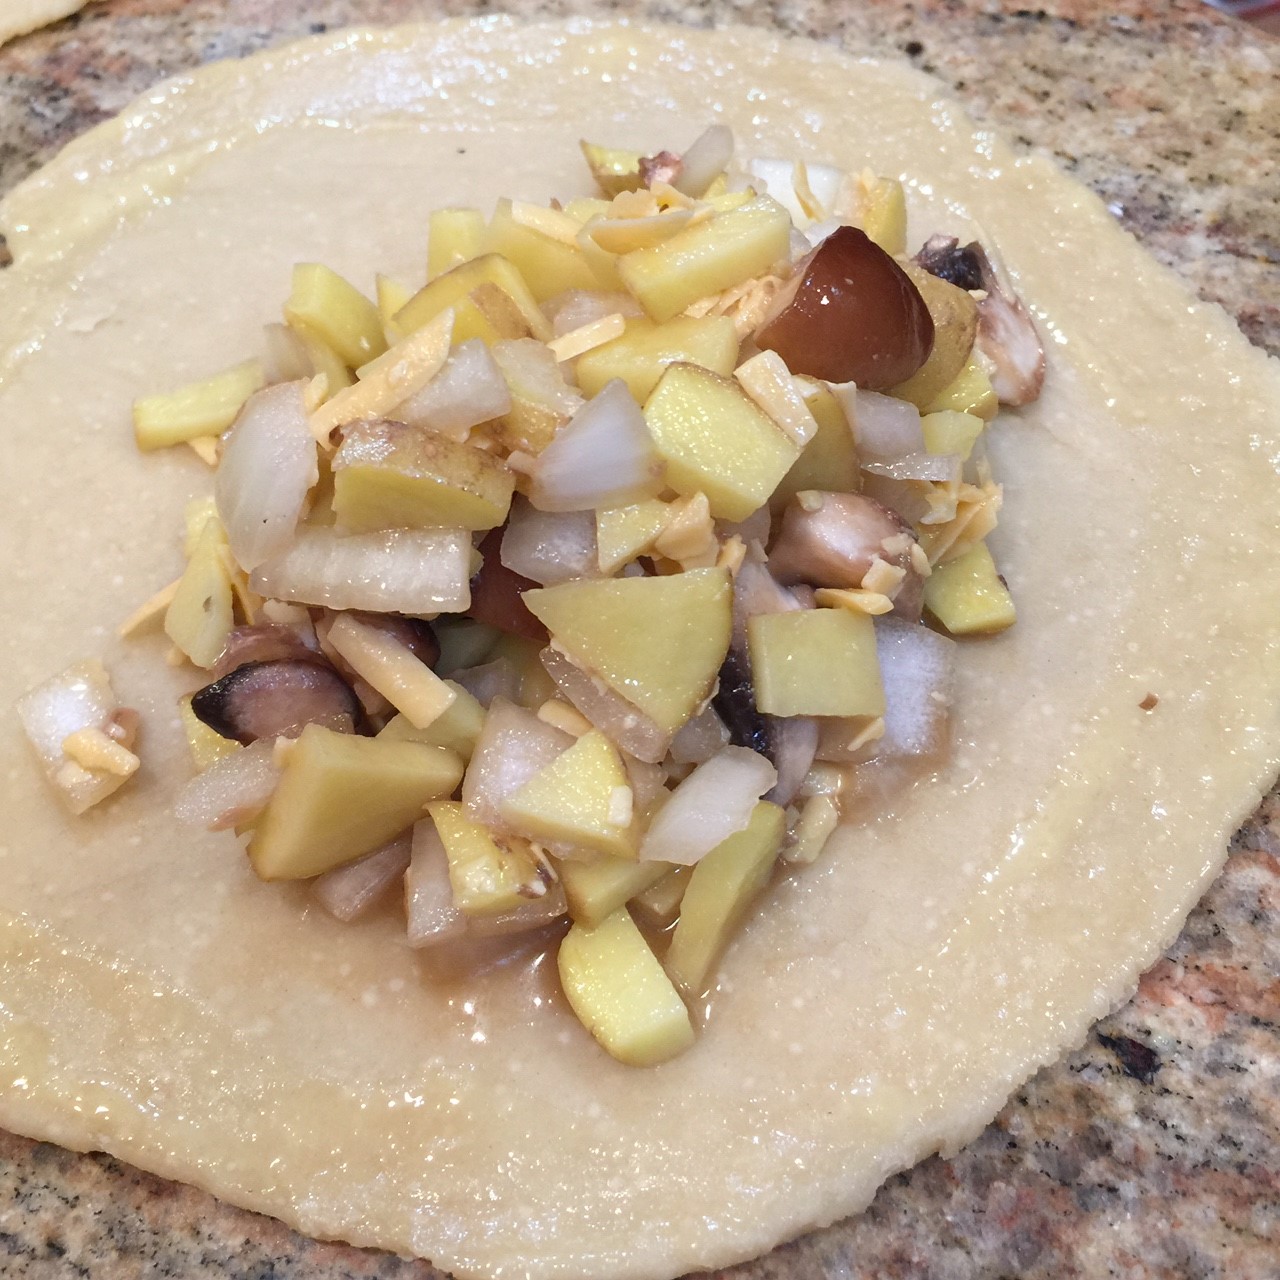
Divide the filling equally between the 6 circles. Place the filling mostly on one side of the circle, leaving a border of 2 cm/.75 in. Cover the dough circles you’re not working with with a tea towel so they don’t dry out. Working with one pasty at a time, dip your finger or a pastry brush in the egg wash and wet the border. (This will act as a glue to seal the sides together.)
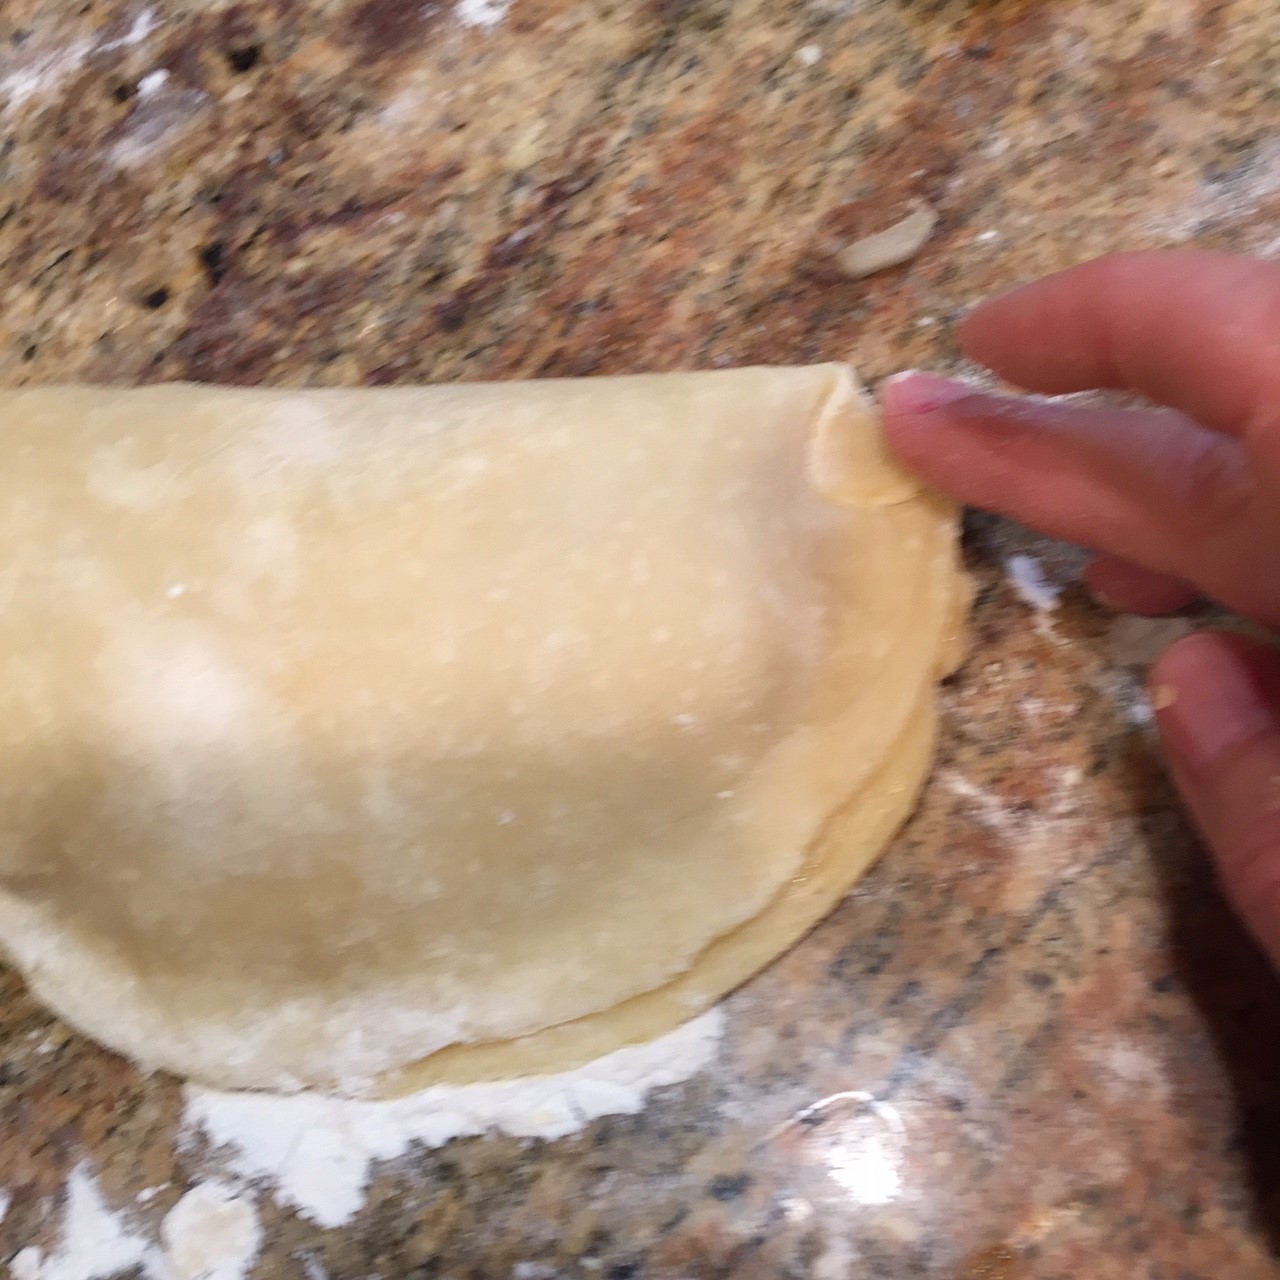
Carefully fold the dough in half, making sure the filling stays 2 cm/.75″ from the edge. Firmly press the border together so it’s completely sealed. Fold both corners in.
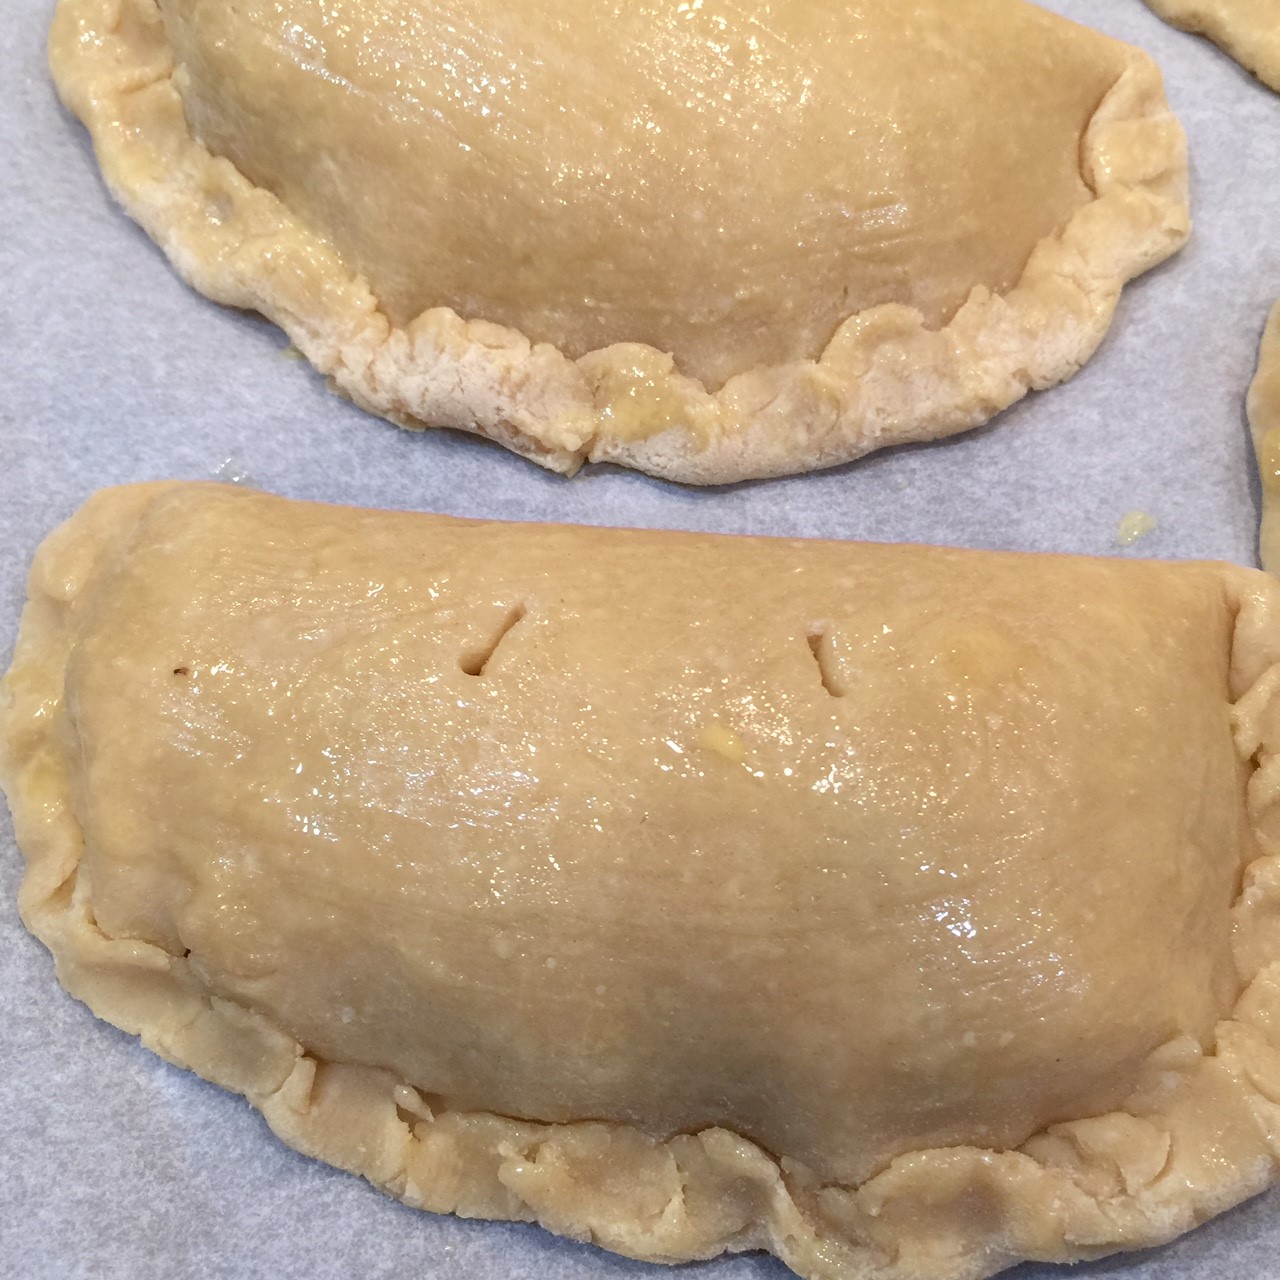
With your non-dominant hand, hold down the folded corner with your index finger. With your dominant hand, grasp the dough next to the fold and fold that in, pressing down. Continue along the entire border. The idea is to form a ropelike crimp. I’ve never managed to get that look, but I’m happy with my version. Find your own way, if you like. The point is to seal in the filling.
Lay the folded and crimped pasties on a parchment lined or greased baking sheet.
Once all the pasties are formed, paint the exposed surfaces generously with the egg wash.
Using a knife, make 2 slits in the top near the fold to allow steam to escape.
Place in the preheated 200° C/400° F oven on the middle rack. Bake until well-browned – 30-35 minutes. Remove to a rack to cool slightly before eating.
Sometimes all it takes for a recipe to go from ‘meh’ to marvelous is one thing. This is usually an ingredient. But, every now and then, it’s a technique. With my Orange Tofu Balls: it was both.
In developing a new recipe, I generally start with a recipe that catches my eye. I make the recipe as written, then tweak it to suit my taste. In this case, I started with Moosewood Cookbook’s Buddha’s Jewels – Asian style tofu balls.
The recipe instructed to drain the tofu by sandwiching it between 2 plates and pressing out as much liquid as would come. After chopping the drained tofu and mixing it with the remaining ingredients, I formed golf-ball sized balls and baked. However, the uncooked balls were never really firm and had to be dealt with gingerly or they’d fall apart. During the baking process they sank into a mound rather than remain in a tight ball.
It finally came to my attention that there was too much moisture in the tofu. The plate pressing was not enough – I had to squeeze chopped tofu in a tea towel to properly extract the water. Then, I added some flour for good measure. Success!
ORANGE TOFU BALLS – makes about 15
Balls:
397 g (14 oz) firm or soft tofu
30g (2 T) peanut butter (I use creamy)
28g (2 T) soy sauce
2 scallions, white and green part, sliced thin
60 g (1/2 cup) red pepper, chopped fine
111 g (4 oz) mushrooms (I’ve used shiitakes & white common – both worked)
61 g (1/2 cup) water chestnuts, chopped fine
33 g (1/4 cup) all-purpose flour
Orange Sauce
8g / 1 T cornstarch
12g / 1 T water
172g (3/4 cup) orange juice
32g (2 T) pure maple syrup
46g (1/4 cup) rice wine vinegar
28g (2 T) soy sauce
1 garlic, pressed or minced
Preheat oven to 375° Fahrenheit (190° Celsius).
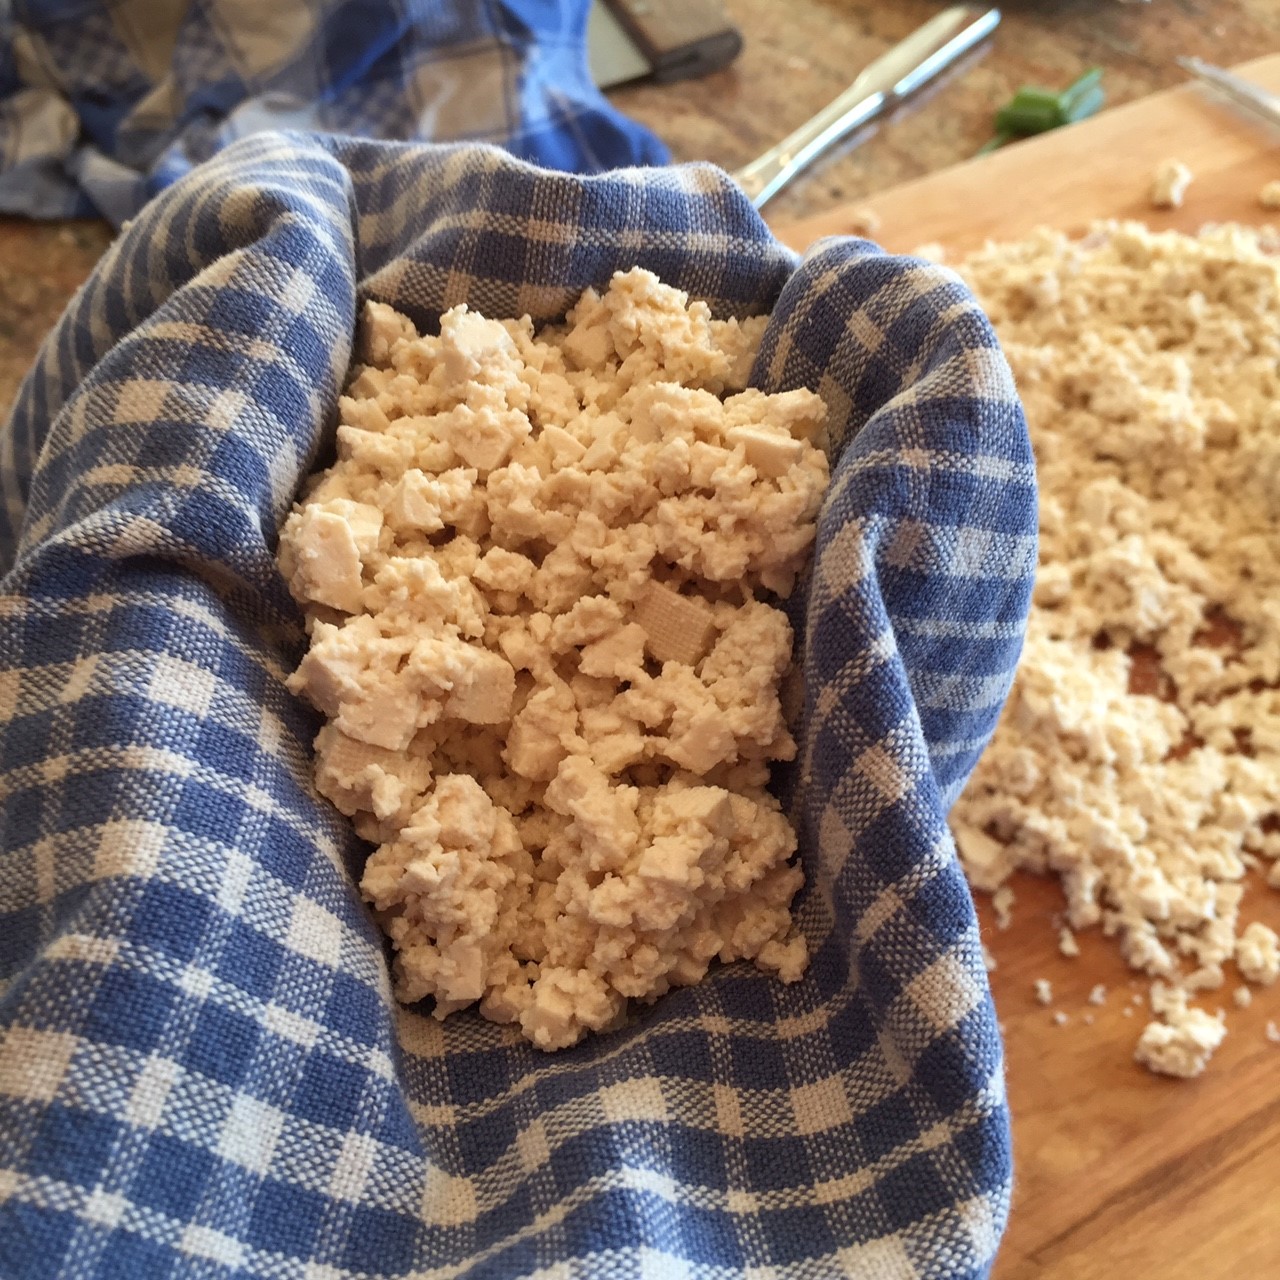
The first thing to do is extract as much water as you can from the tofu. You can either begin by sandwiching the tofu block between two plates to get it started (you can use this time to chop the remaining ingredients), or go straight to squeezing it in a tea towel. Either way works.
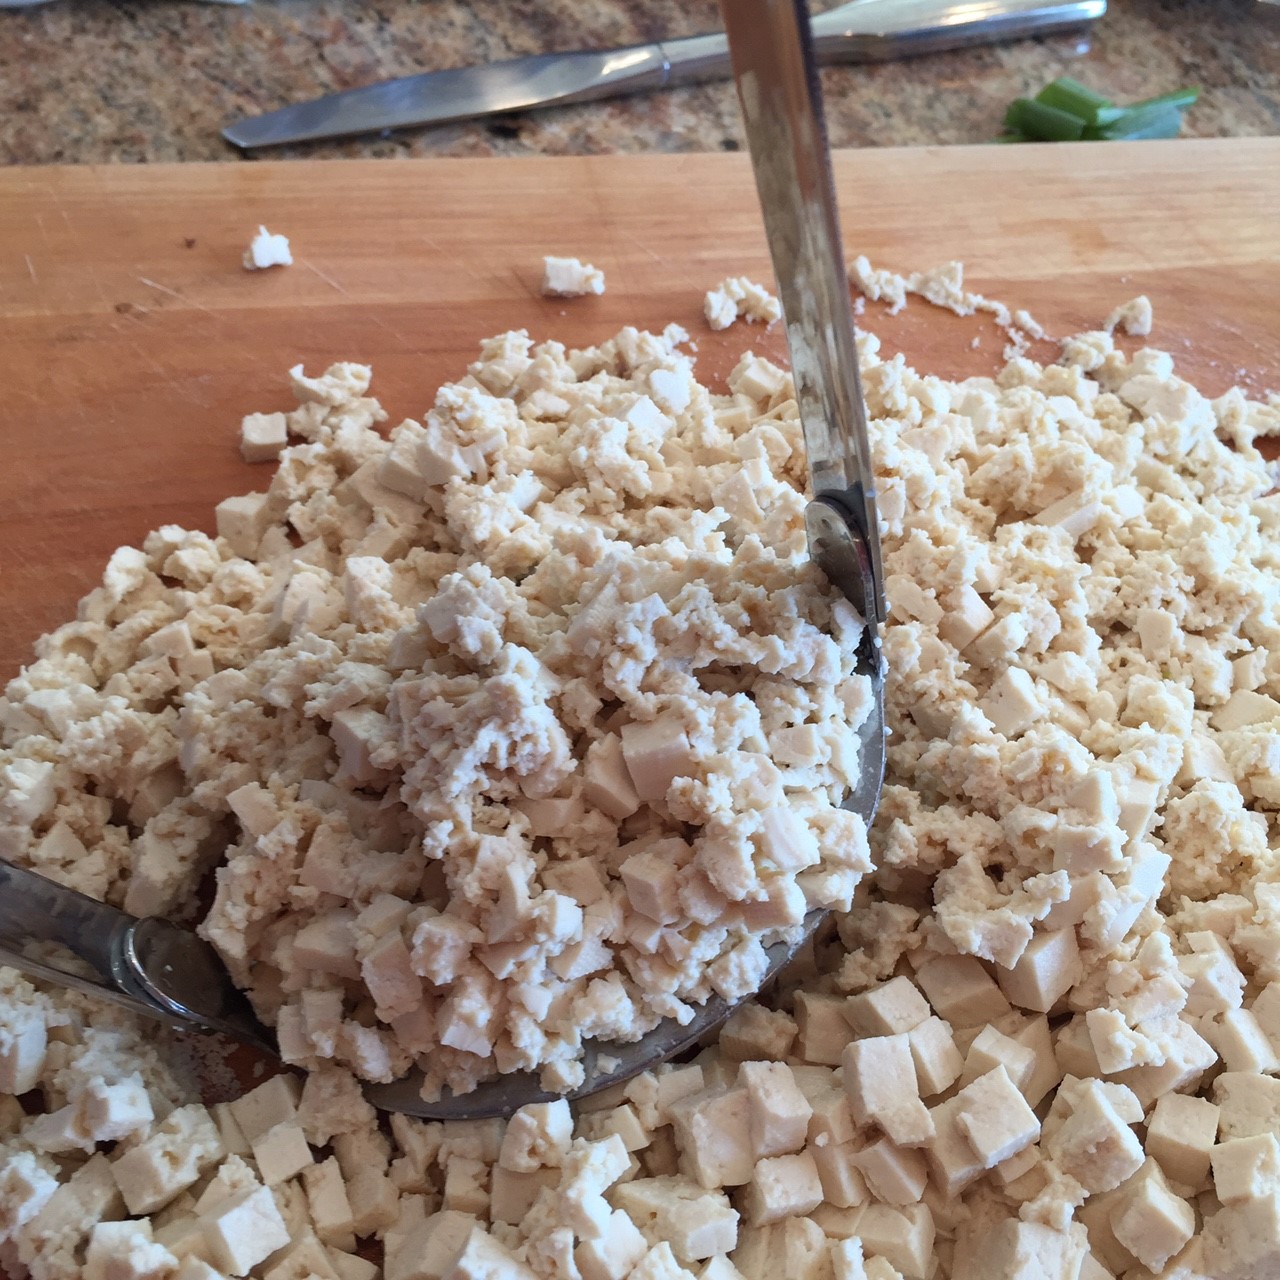
Chop the tofu block (drained or not) into very small pieces. Spoon a fistful onto a clean tea towel.
Wrap the towel around the tofu, forming a sack, and twist to extract as much liquid as you can. (Do this in small batches – if there’s too much, it’s harder to twist out the water.) Empty tofu onto a bread board. Continue until all tofu has been squeezed.
Use a potato masher to smash the drained tofu.
In an empty mixing bowl, add the peanut butter, soy sauce, scallions, red pepper, water chestnuts, mushrooms, and flour – blend well.
Add in the mashed tofu and blend well.
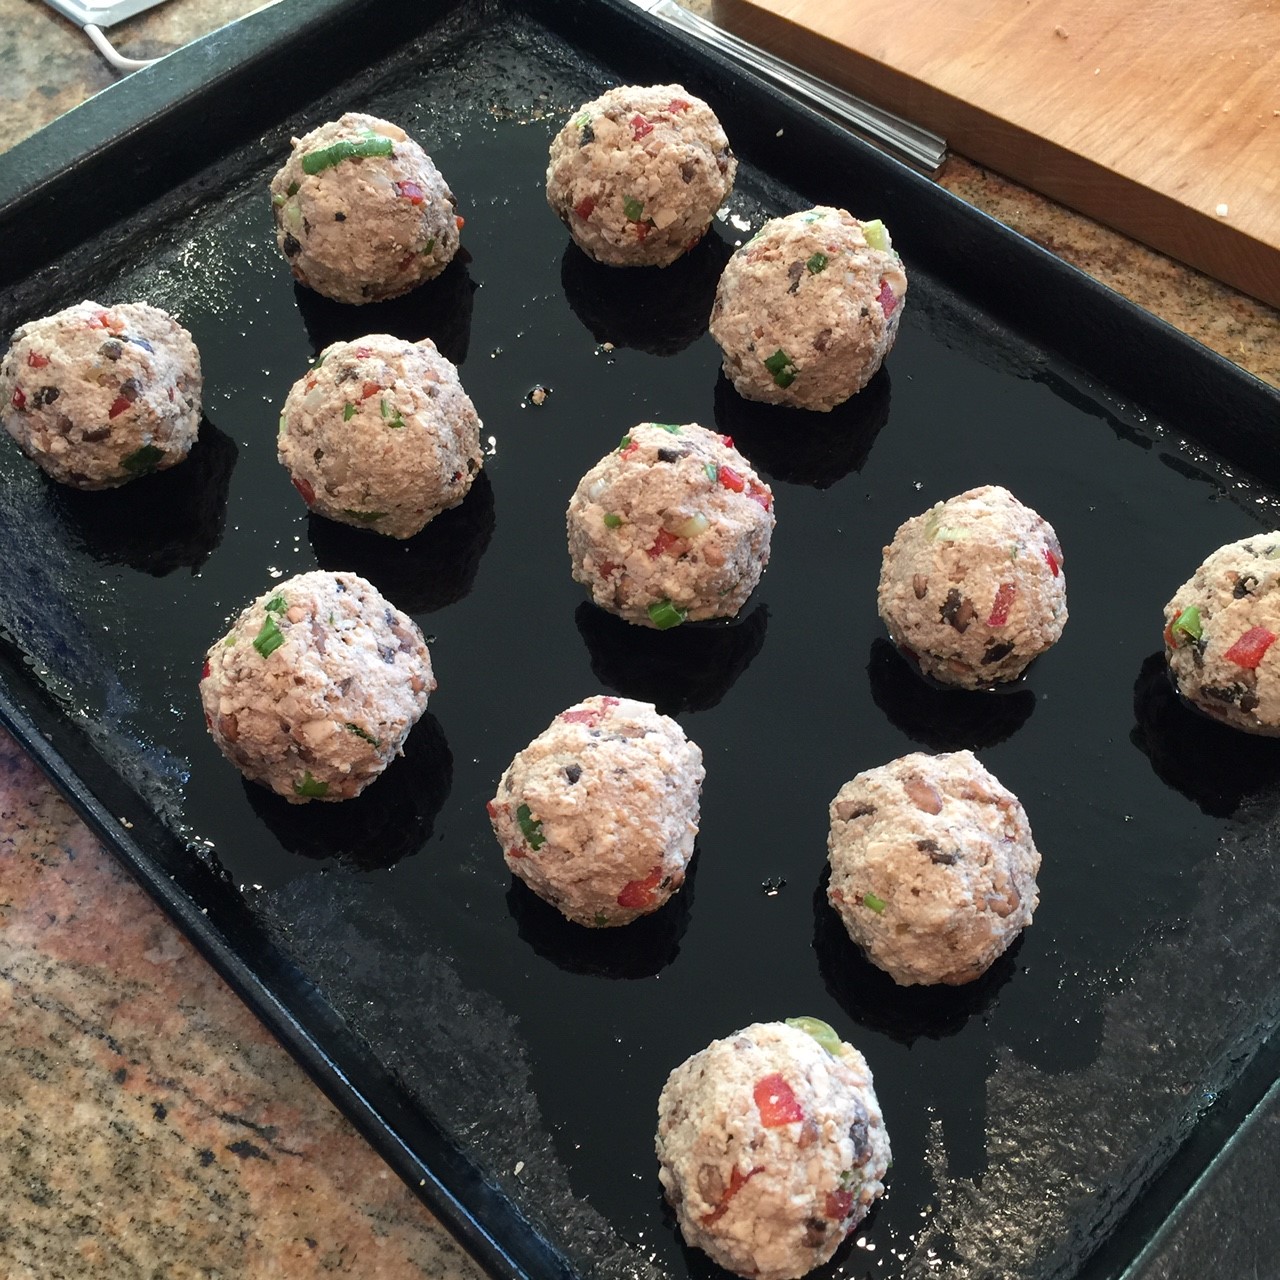
Oil a rimmed cookie sheet with a very light coating of oil. Form about 14-15 compact balls with the tofu mixture and place on sheet spaced well apart to get good heat circulation. (A 3-T scoop, packed tightly, forms just the right size.)
Bake in preheated 375° F (190° C) oven for 45 minutes.
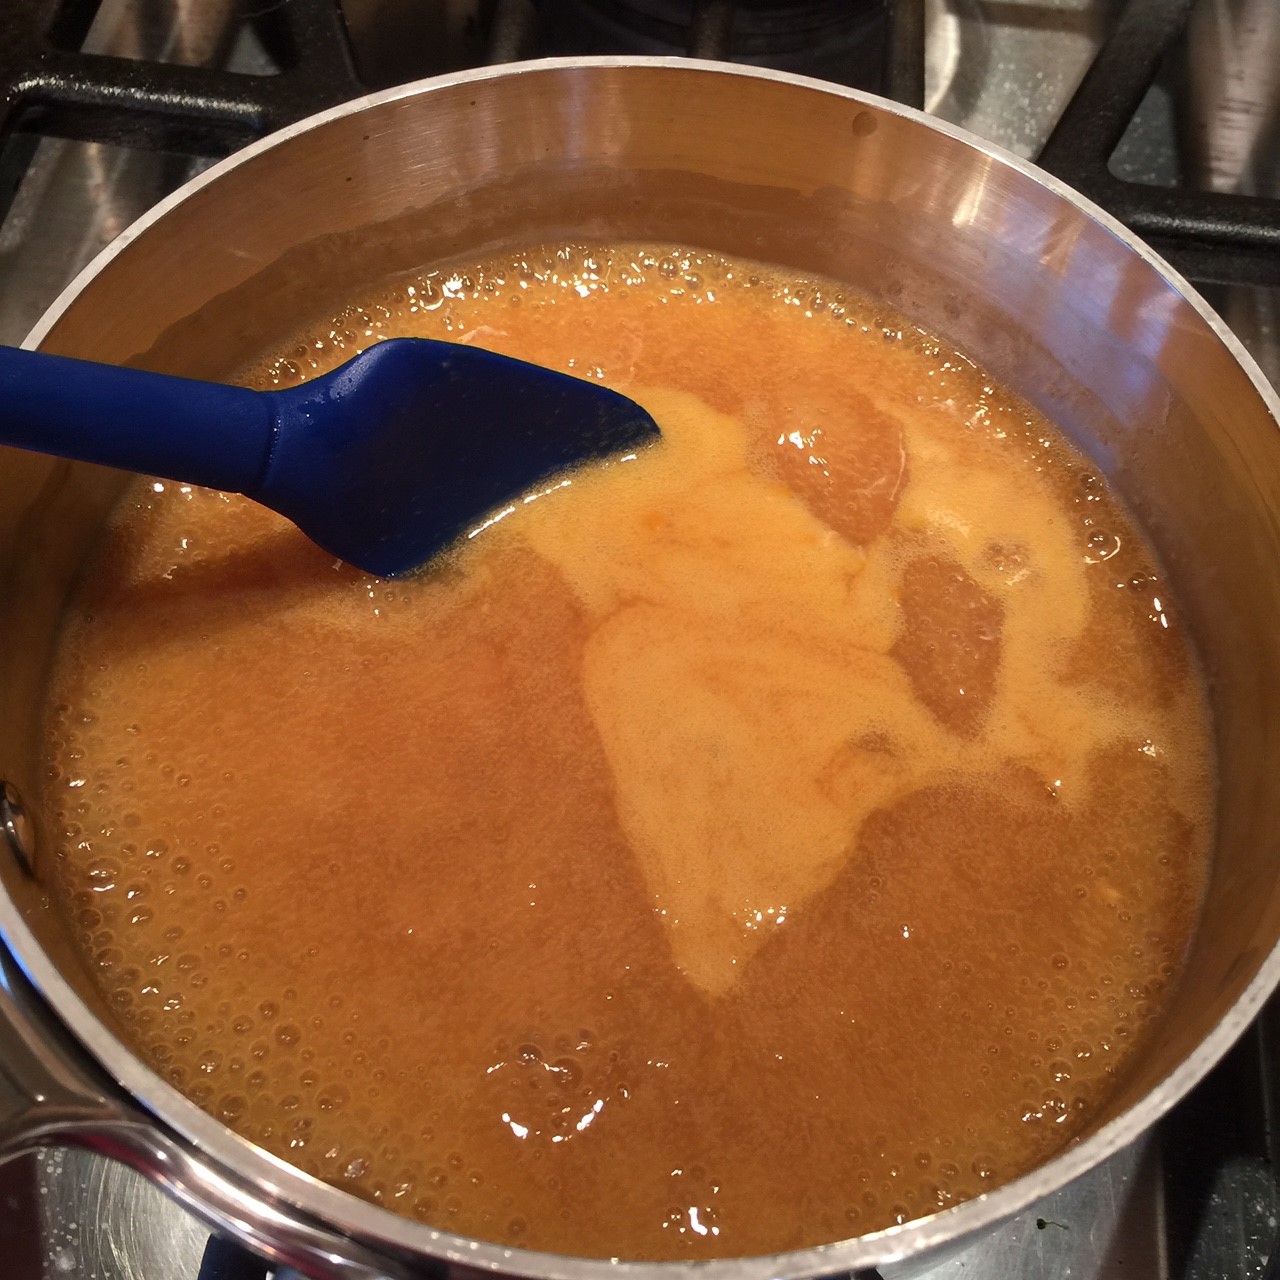
As the tofu balls are baking, prepare the orange sauce: In a small bowl combine the 1 T cornstarch with 1 T water to form a slurry. Set aside.
In a small saucepan, combine the orange juice, maple syrup, rice wine vinegar, 2 T soy sauce, and garlic. Bring to a boil.
When the liquid begins to boil, drizzle in the slurry – stirring as you pour. Continue to stir until the sauce thickens. Remove from heat.
When the Tofu Balls are darkened, serve immediately with the warmed orange sauce. I like to serve it over rice.