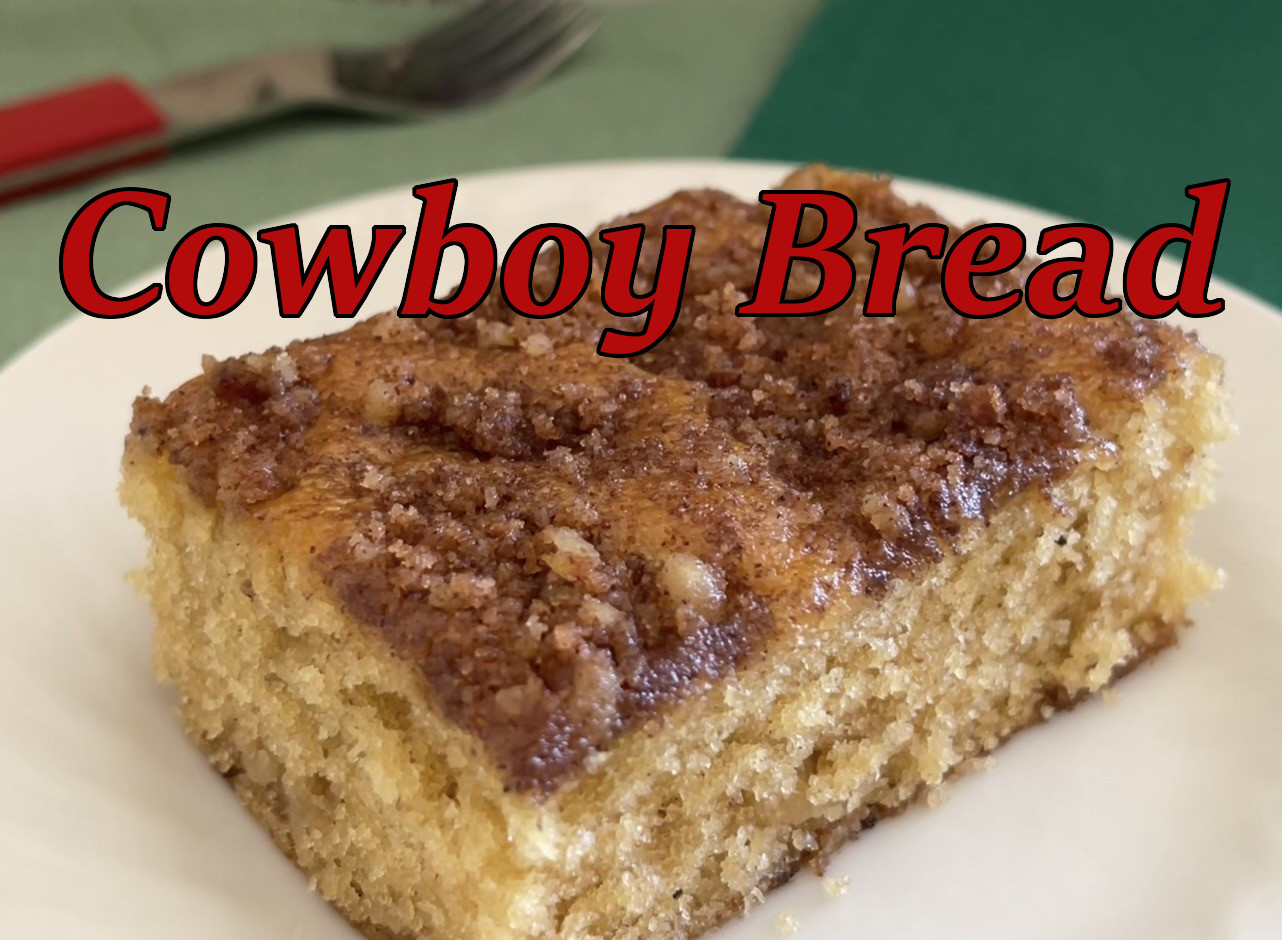
When I was at school, my favorite snack was a cinnamon cake called Cowboy Bread. (I have no idea why.) I never forgot how tasty it was. So, once the internet became a thing, I googled it to find the recipe. Of course, nothing is ever that easy. I found multiple recipes for Cowboy Bread, with slight variations. One of them was an actual bread. Sadly, none of them matched my memory of this scrumptious cake. I finally ended up creating my own version.
NOTE: Both chilled ingredients (the buttermilk and egg) should be at room temperature. I used to ignore this instruction in recipes, but it really makes a difference in baked goods! You’ll get a better rise from your cake.
COWBOY BREAD:
- 323g (2.5 cups) AP flour
- 209g (1 cup) packed brown sugar (I prefer light)
- 105g (1/2 cup + 1 T) granulated sugar
- 1 tsp salt
- 3/4 tsp nutmeg
- 2 tsp cinnamon + 1/4 tsp, DIVIDED
- 3/4 tsp cardamom
- 162g (3/4 cup) vegetable oil
- 250g (1 cup) buttermilk, room temperature
- 1 egg, room temperature
- 1 tsp baking soda
- 1 tsp baking powder
PREHEAT OVEN TO 350°F (180°F)
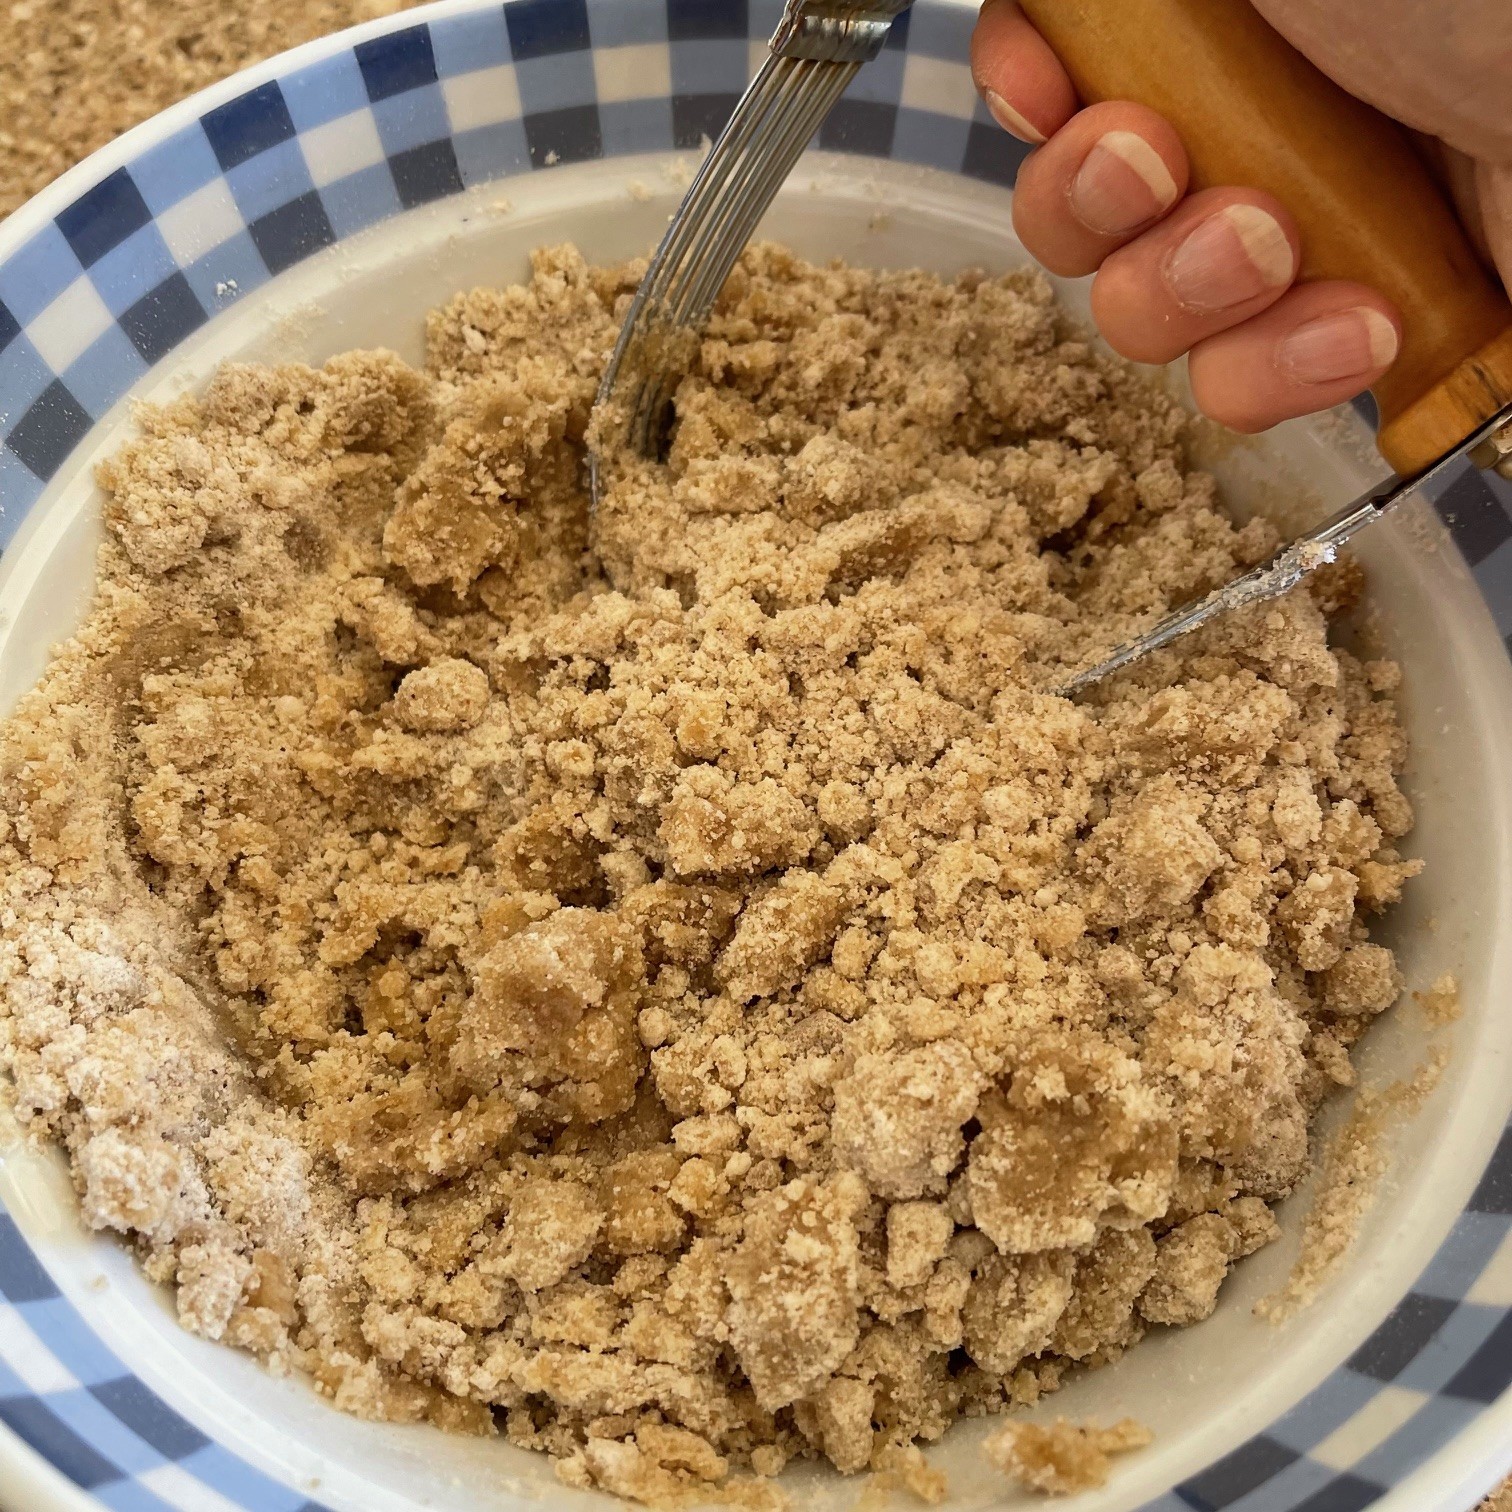
Into a large mixing bowl, put the flour, brown sugar, granulated sugar, salt, nutmeg, 2 tsp cinnamon, 3/4 tsp cardamom, and vegetable oil. Mix by hand – it will become crumbly. (I like to use a pastry cutter.)
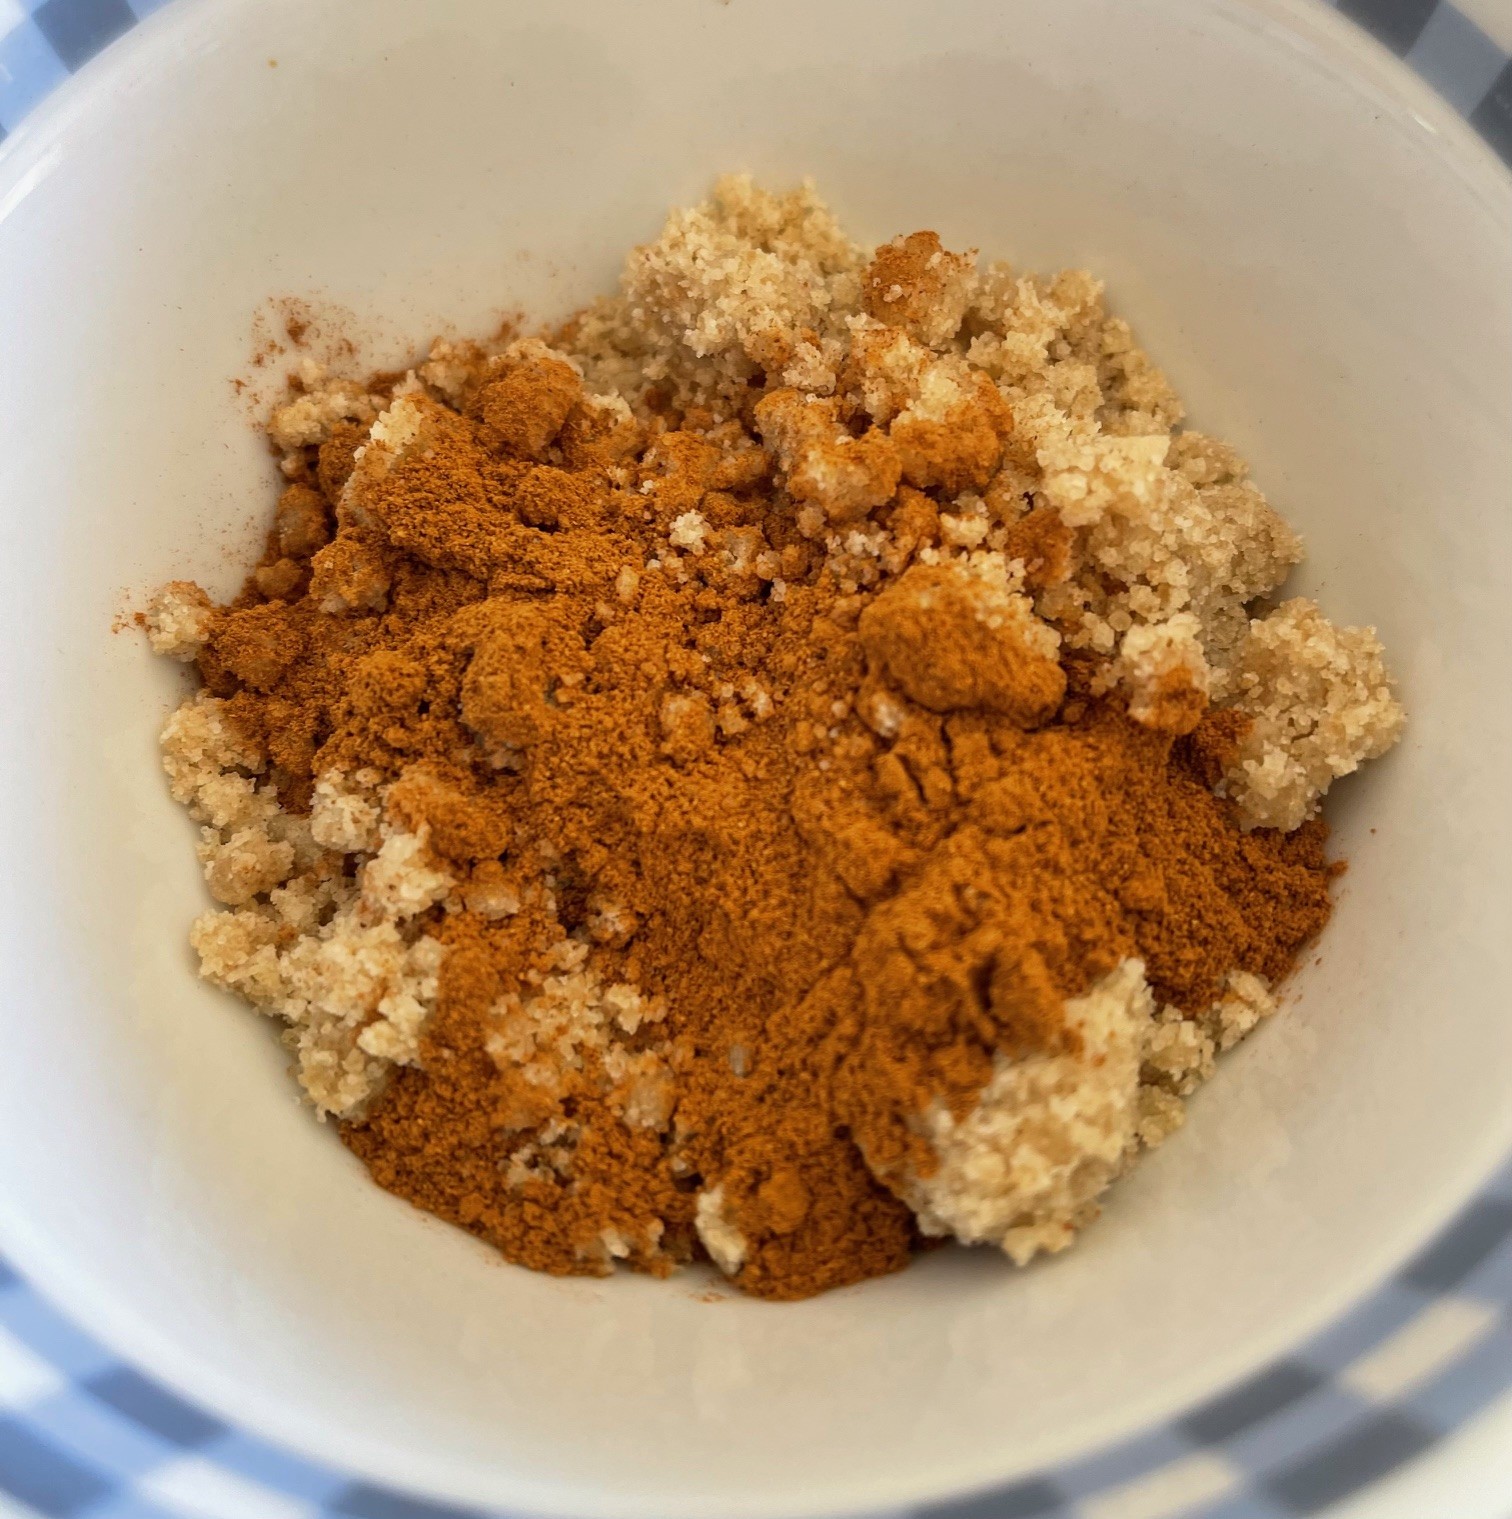
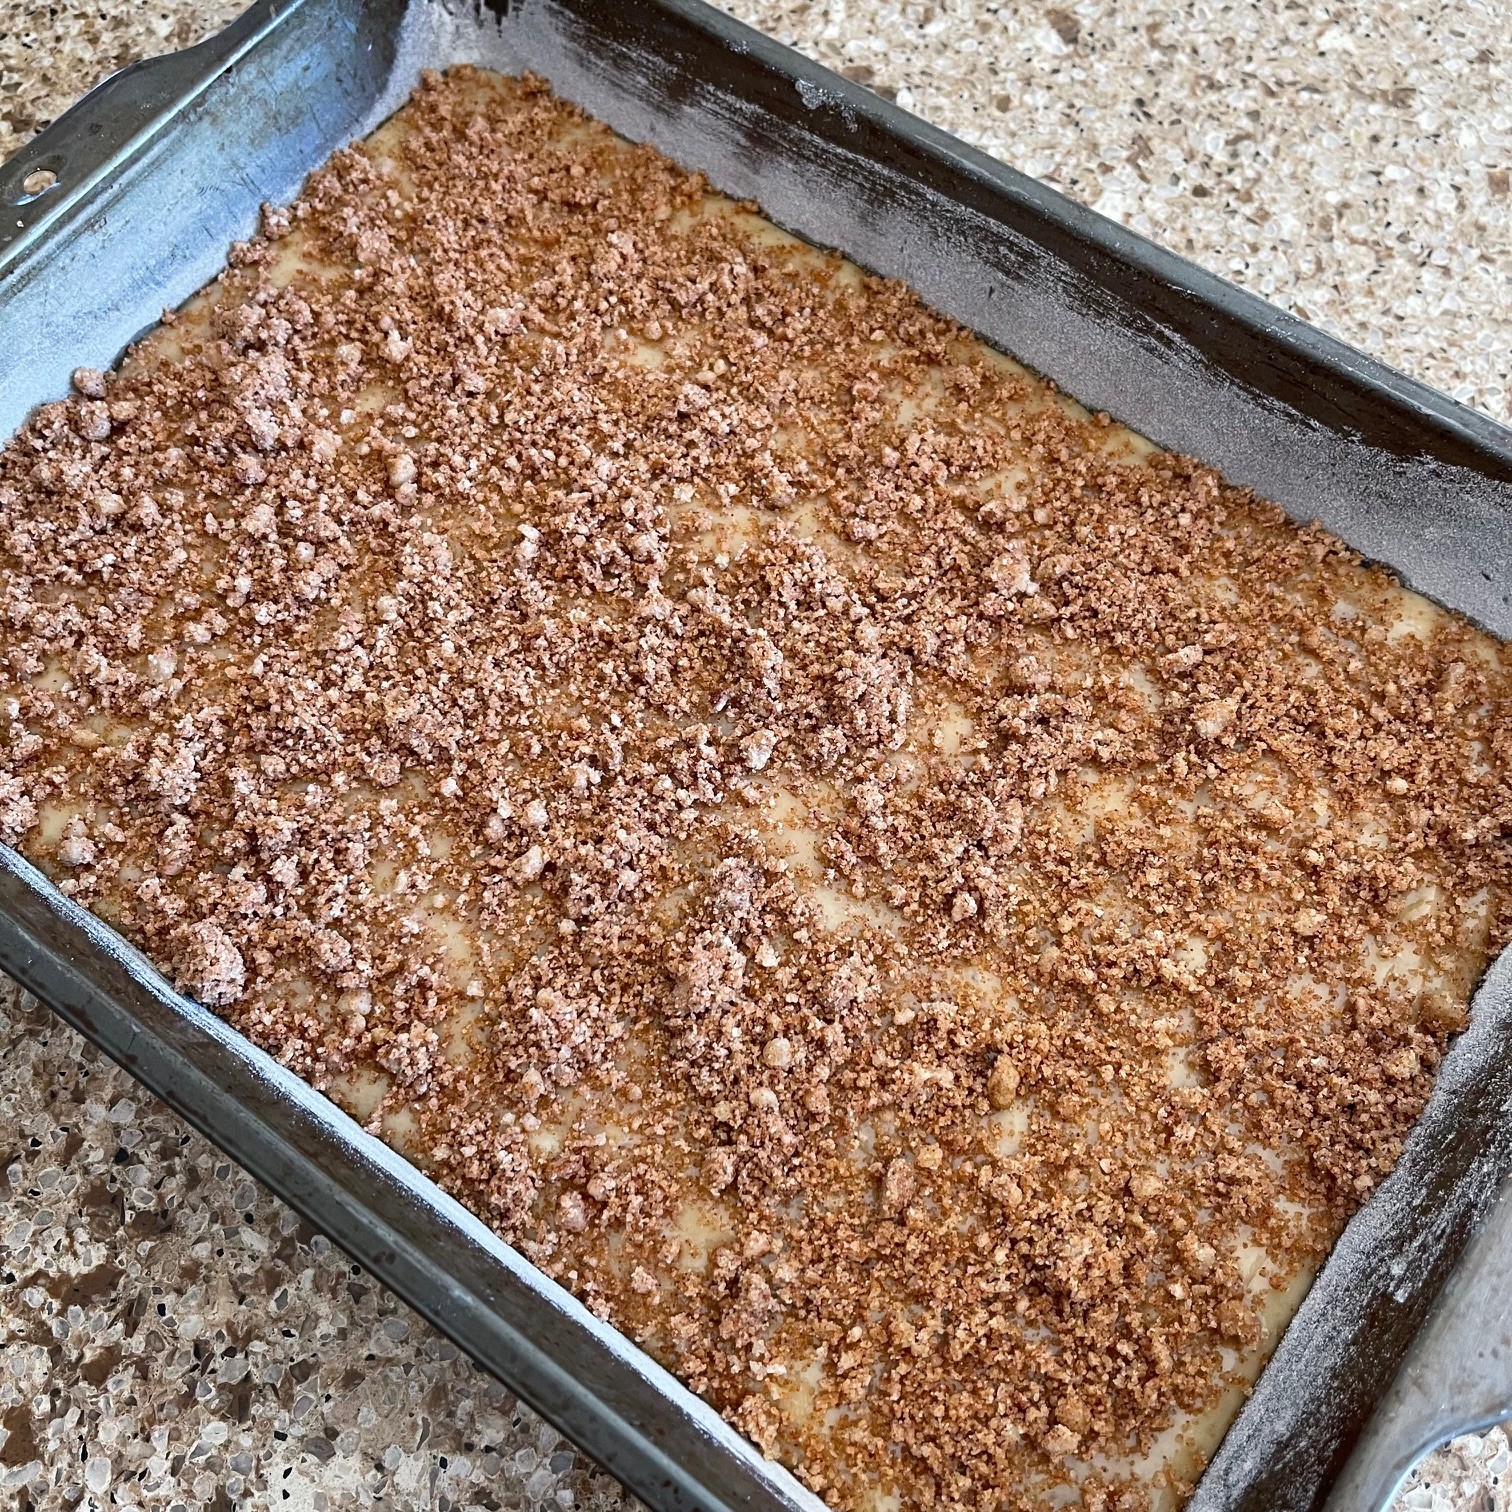
Remove 89g (1/2 cup) of flour mixture and place into a small bowl. Add in the remaining 1/4 tsp cinnamon and gently stir. Set aside – this will become the topping.
Beat the egg with a fork in a small bowl

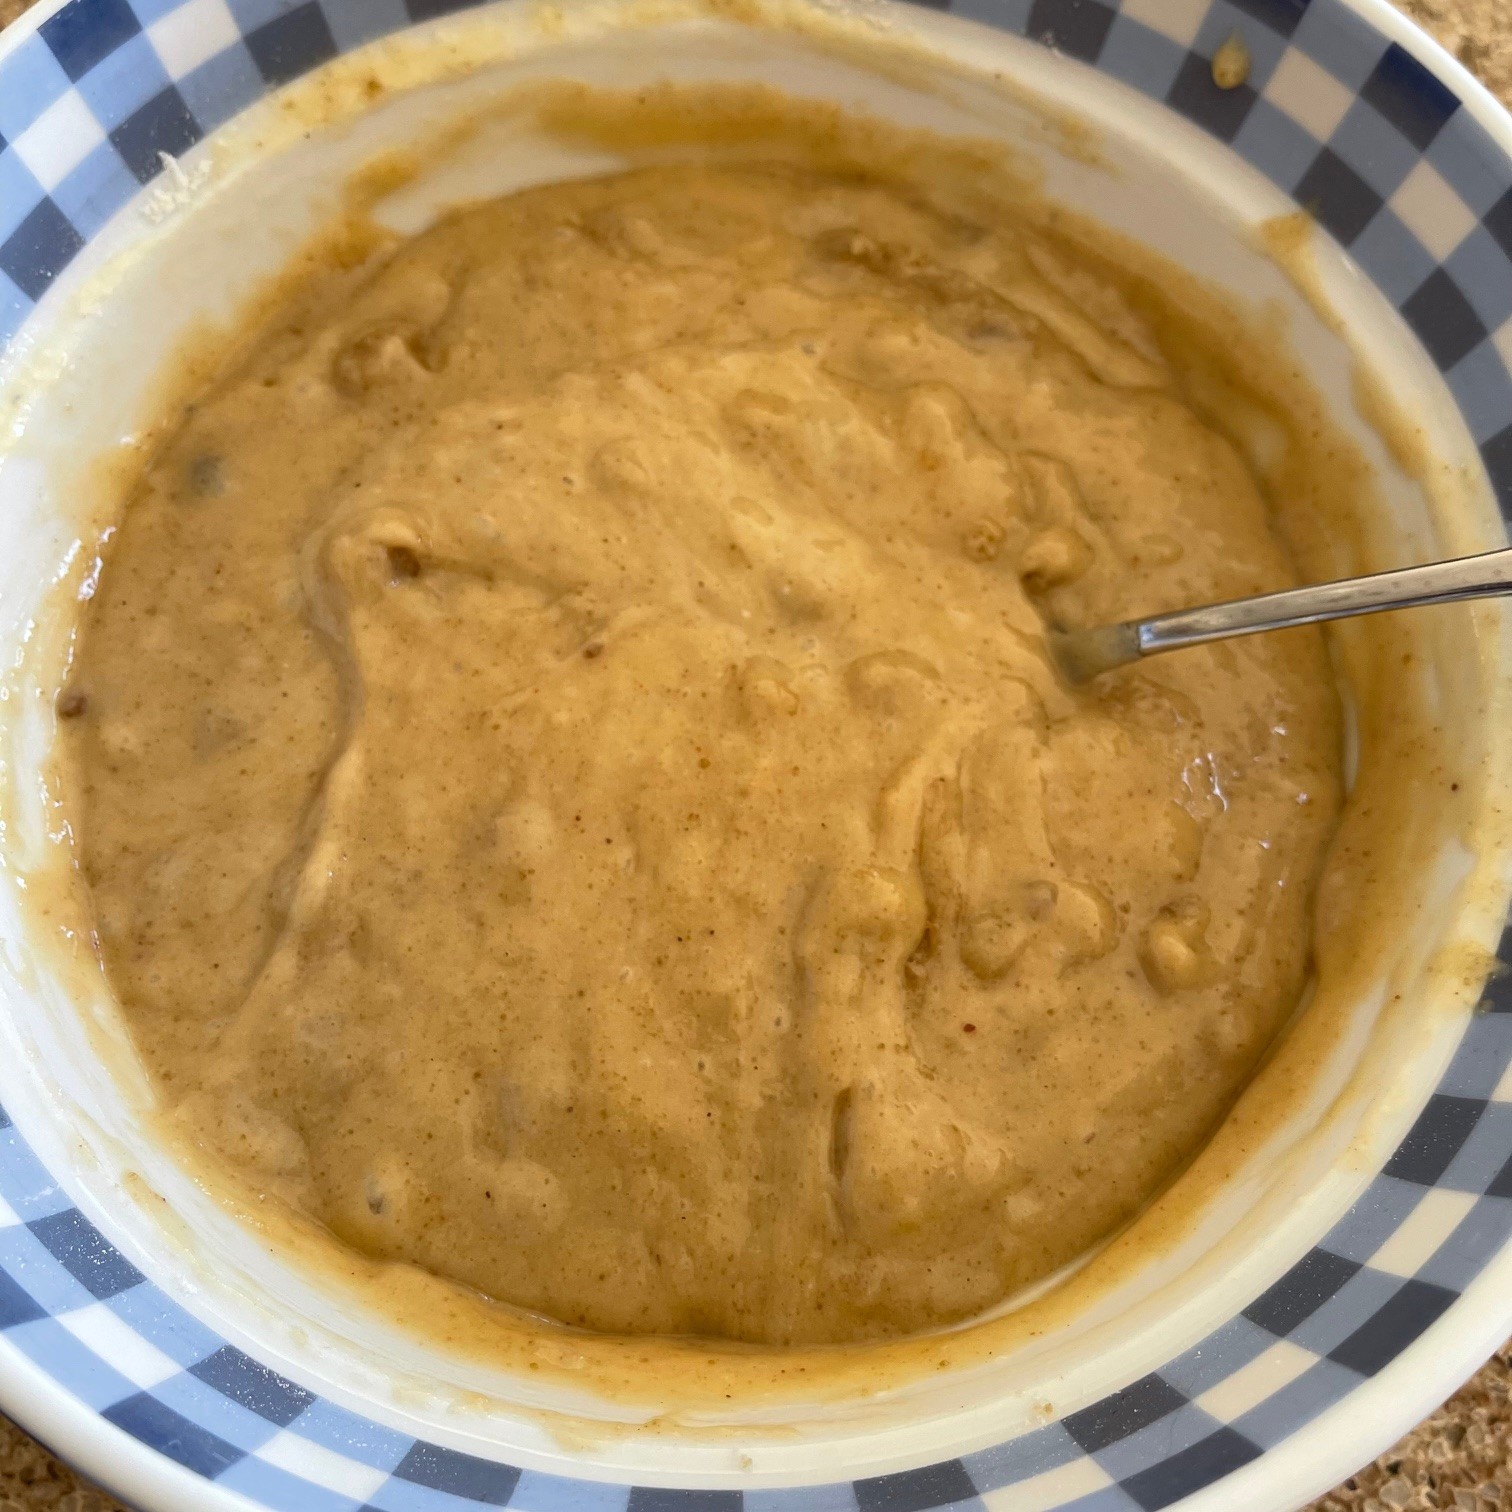
Into the large mixing bowl with the flour (not the small bowl set aside with the topping) add the egg, buttermilk, baking soda, and baking powder. Mix by hand just until the flour is incorporated. (Don’t over mix or the cake will be tougher)
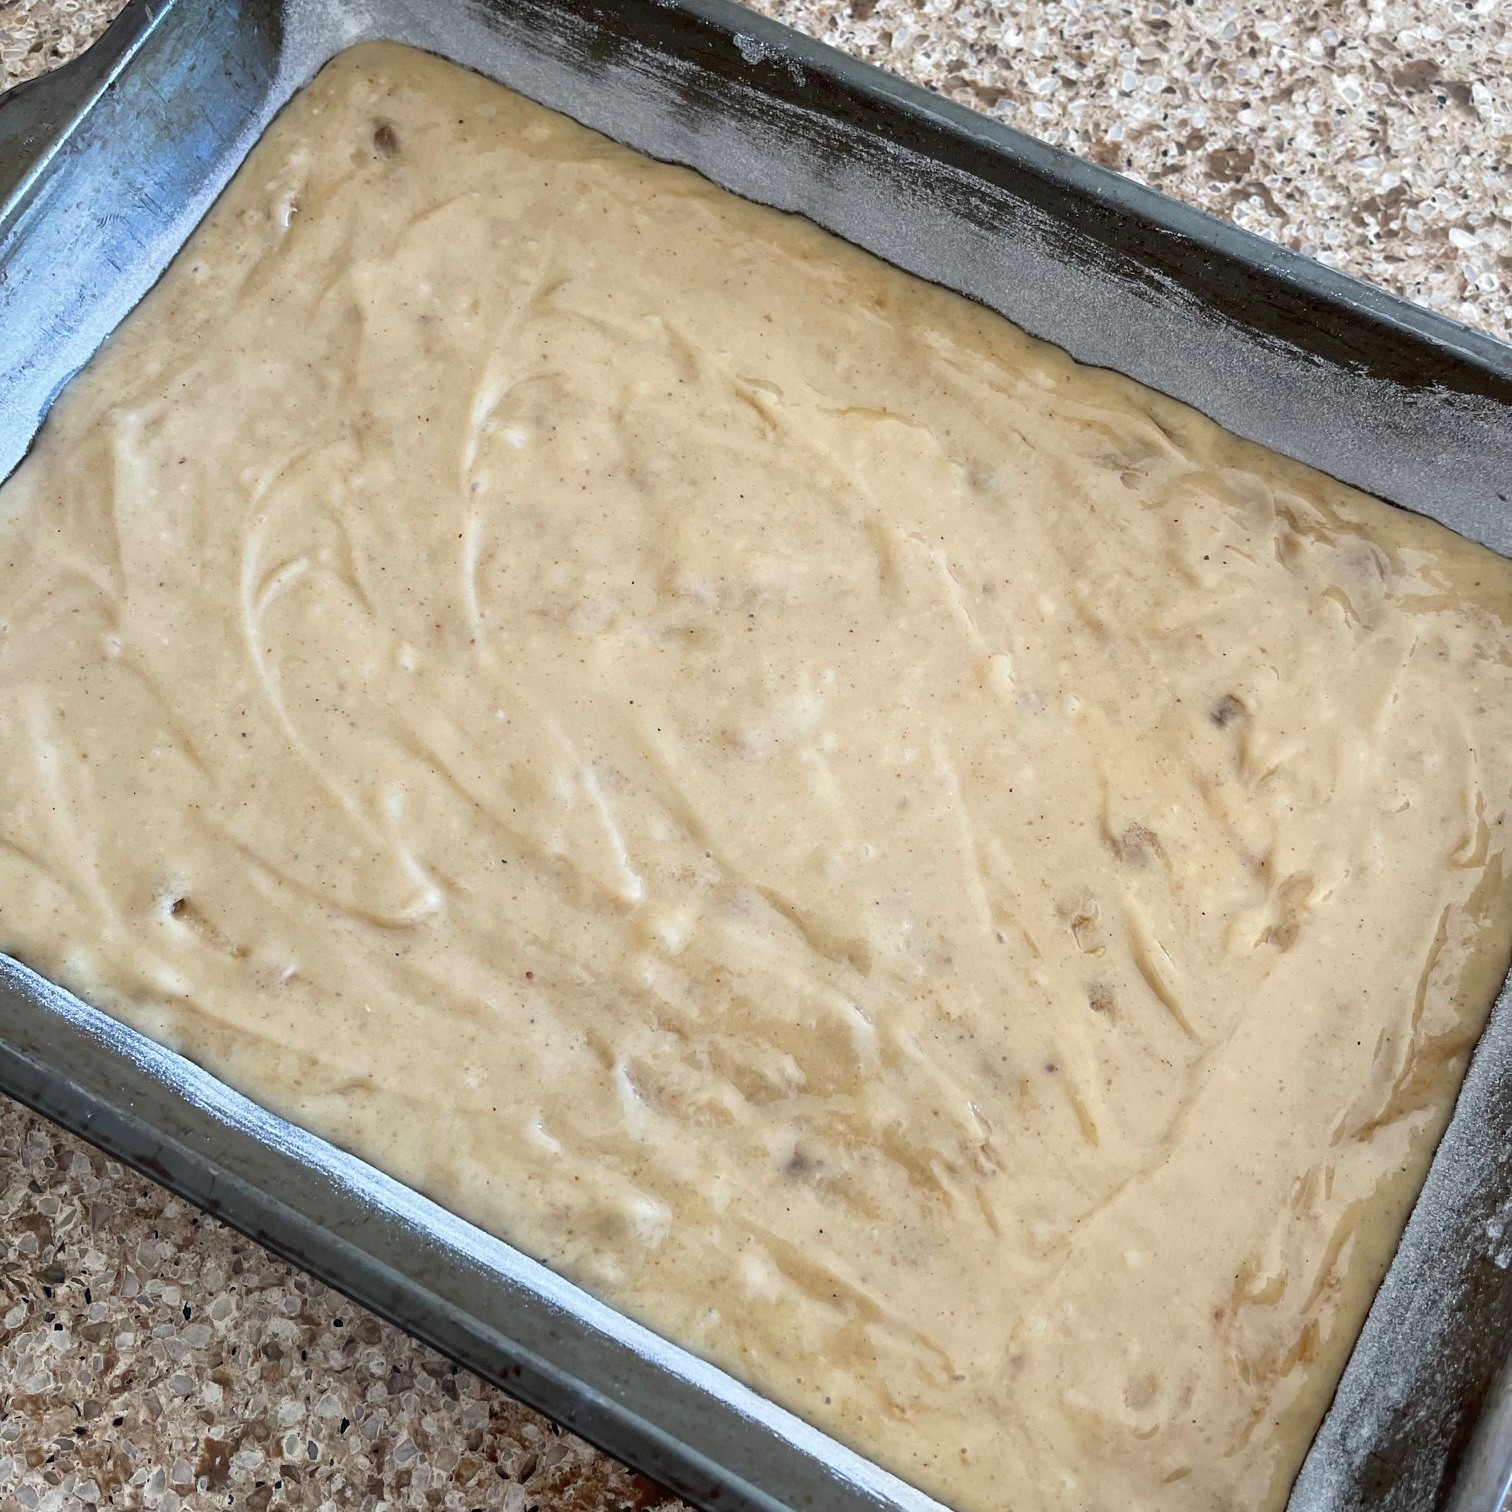
Pour batter into a greased and floured 9″ x 13″ (7.5cm x 36cm ) metal pan. Tilt the pan around to even the batter level.
Sprinkle the topping on top of batter as evenly as you can.
Bake in 350°F (180°C) oven, rack in the middle position, for 25- 30 minutes. (Mine takes 25 minutes.) It’s a little difficult to tell doneness when there’s a topping. Look for browning around the edges. Also, you can carefully bring the cake near your ear and listen for a bubble popping sound. If you hear that, put it back in the oven another minute or so and check again.

When done, remove from oven. Cool completely before slicing.