I’m always looking for zucchini recipes ever since I’ve begun to grow them in my garden. Not only is this recipe delicious, it has the added bonus of being easy to prepare. It’s great to serve at holiday dinners, picnics, and pot-lucks.
ZUCCHINI PASTA SALAD – makes about 650g (5 cups)
12g (2 T) diced shallots
2 T extra-virgin olive oil, divided
10g (1 T) red wine vinegar
1/4 tsp salt
1/4 tsp black ground pepper
114g (1/4 lb) small pasta
2 cloves garlic, minced or pressed
15g (1 T) ketchup
170g (1-2) zucchini, chopped into half-moons
46g (1/2 cup) red pepper, chopped
27g (1/4 cup) small carrot, sliced thin
130g (1 cup) Feta cheese, crumbled into chunks
63g (1/2 cup) Kalamata olives, chopped
In a small bowl, blend together 1 T olive, the shallots, red wine vinegar, salt, and pepper. Set aside.
Bring about a quart of water to a full boil and add in the uncooked pasta. Cook for about 9 minutes, stirring now and then. Drain without shaking out the excess water in the sieve. Pour the cooked pasta into a large bowl.
Into the now empty pot, put the remaining 1 T olive oil, garlic, ketchup, zucchini, red pepper, and carrot. Over medium flame cook about 5 minutes, stirring often. You only want to par-cook the veggies so there’s still a slight bite to them, not make them soggy.
Pour the cooked veggies to the bowl of cooked pasta. Mix in the Feta, Kalamata olives, and vinegrette.
Serve at room temperature (or chilled, if you prefer).
I’ve never met a potato I didn’t like. My weakness is crispy and salty – I just can’t stop! Which is why I avoid them as much as possible. Until now!
This Cheesy Roasted Potato recipe has been a game changer. There’s no deep frying and, in fact, there’s no oil except for the slight smear on the baking sheet to prevent sticking.
NOTE: Use a firm potato such as Yukon Gold or a red variety. Russets do NOT work well – they become too mushy.
CHEESY ROASTED POTATOES
3 lbs (1/2 kg) Yukon Gold or other firm potato
2 quarts (1 kg) water
1/2 tsp baking soda
2 T kosher salt (or 2 tsp table salt)
4 bay leafs
1 T whole black peppercorns
6 cloves garlic, slightly crushed
1/2 tsp dried thyme
42g (3 T ) butter, melted
30g (1/3 cup) (2 oz) Pecorino/Romano cheese
1 T kosher salt (OR 1 tsp table salt)
1/2 tsp black ground pepper
The first thing to do is prepare and assemble the ingredients:
Preheat oven to 400°F (204° cm), fan off; OR 450°F (230° cm), fan on.
Wash and cut potatoes into 3 cm (1.25″) wedges, leaving peel ON.
Into 1 or 2 tea ball infusers (or cheesecloth) put the bay leafs, peppercorns, garlic, and thyme.
Put the Pecorino in a small bowl.
Put the butter in a small saucepan, ready for melting.
Prepare a large, rimmed baking sheet by VERY lightly smearing it with vegetable oil.
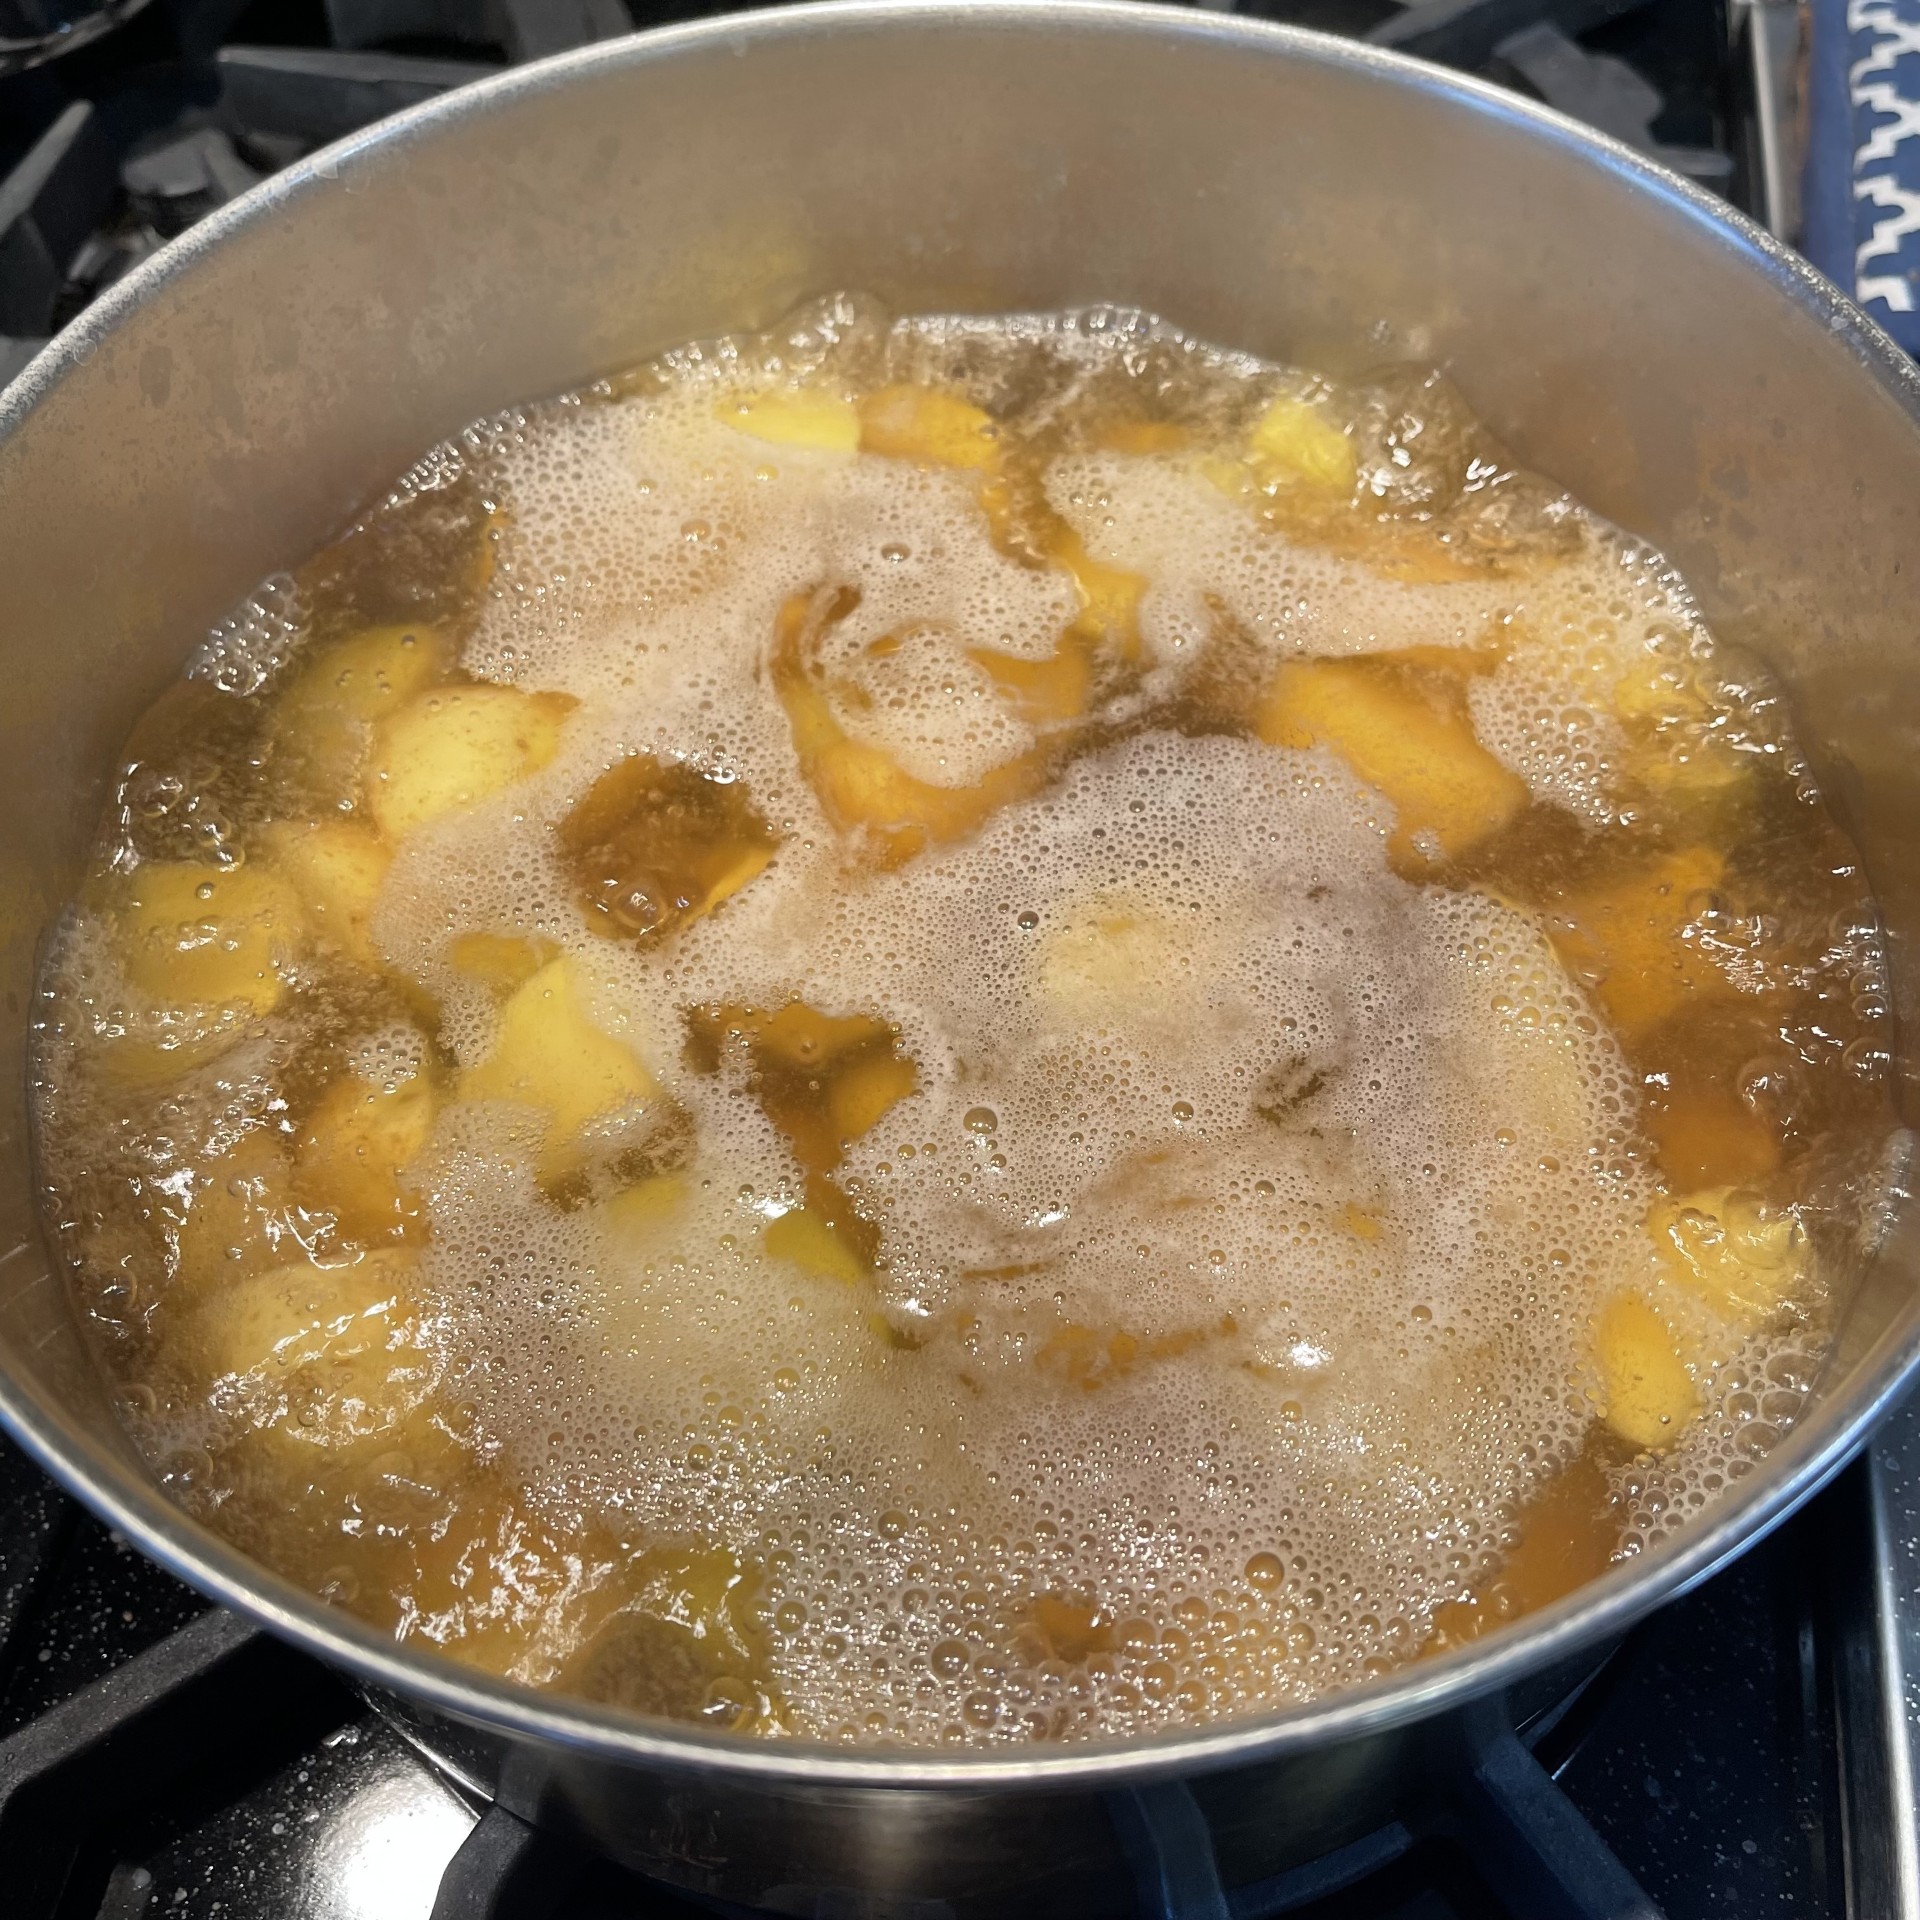
Into a large pot, put the 2 quarts (1 kg) water, the tea ball infusers, baking soda, and 2 T kosher salt.
Bring water to a full boil and drop in potato wedges. Cook until potatoes can be easily pierced with a knife – about 10 minutes.
Drain potatoes in a strainer and discard the contents from the tea ball infuser.
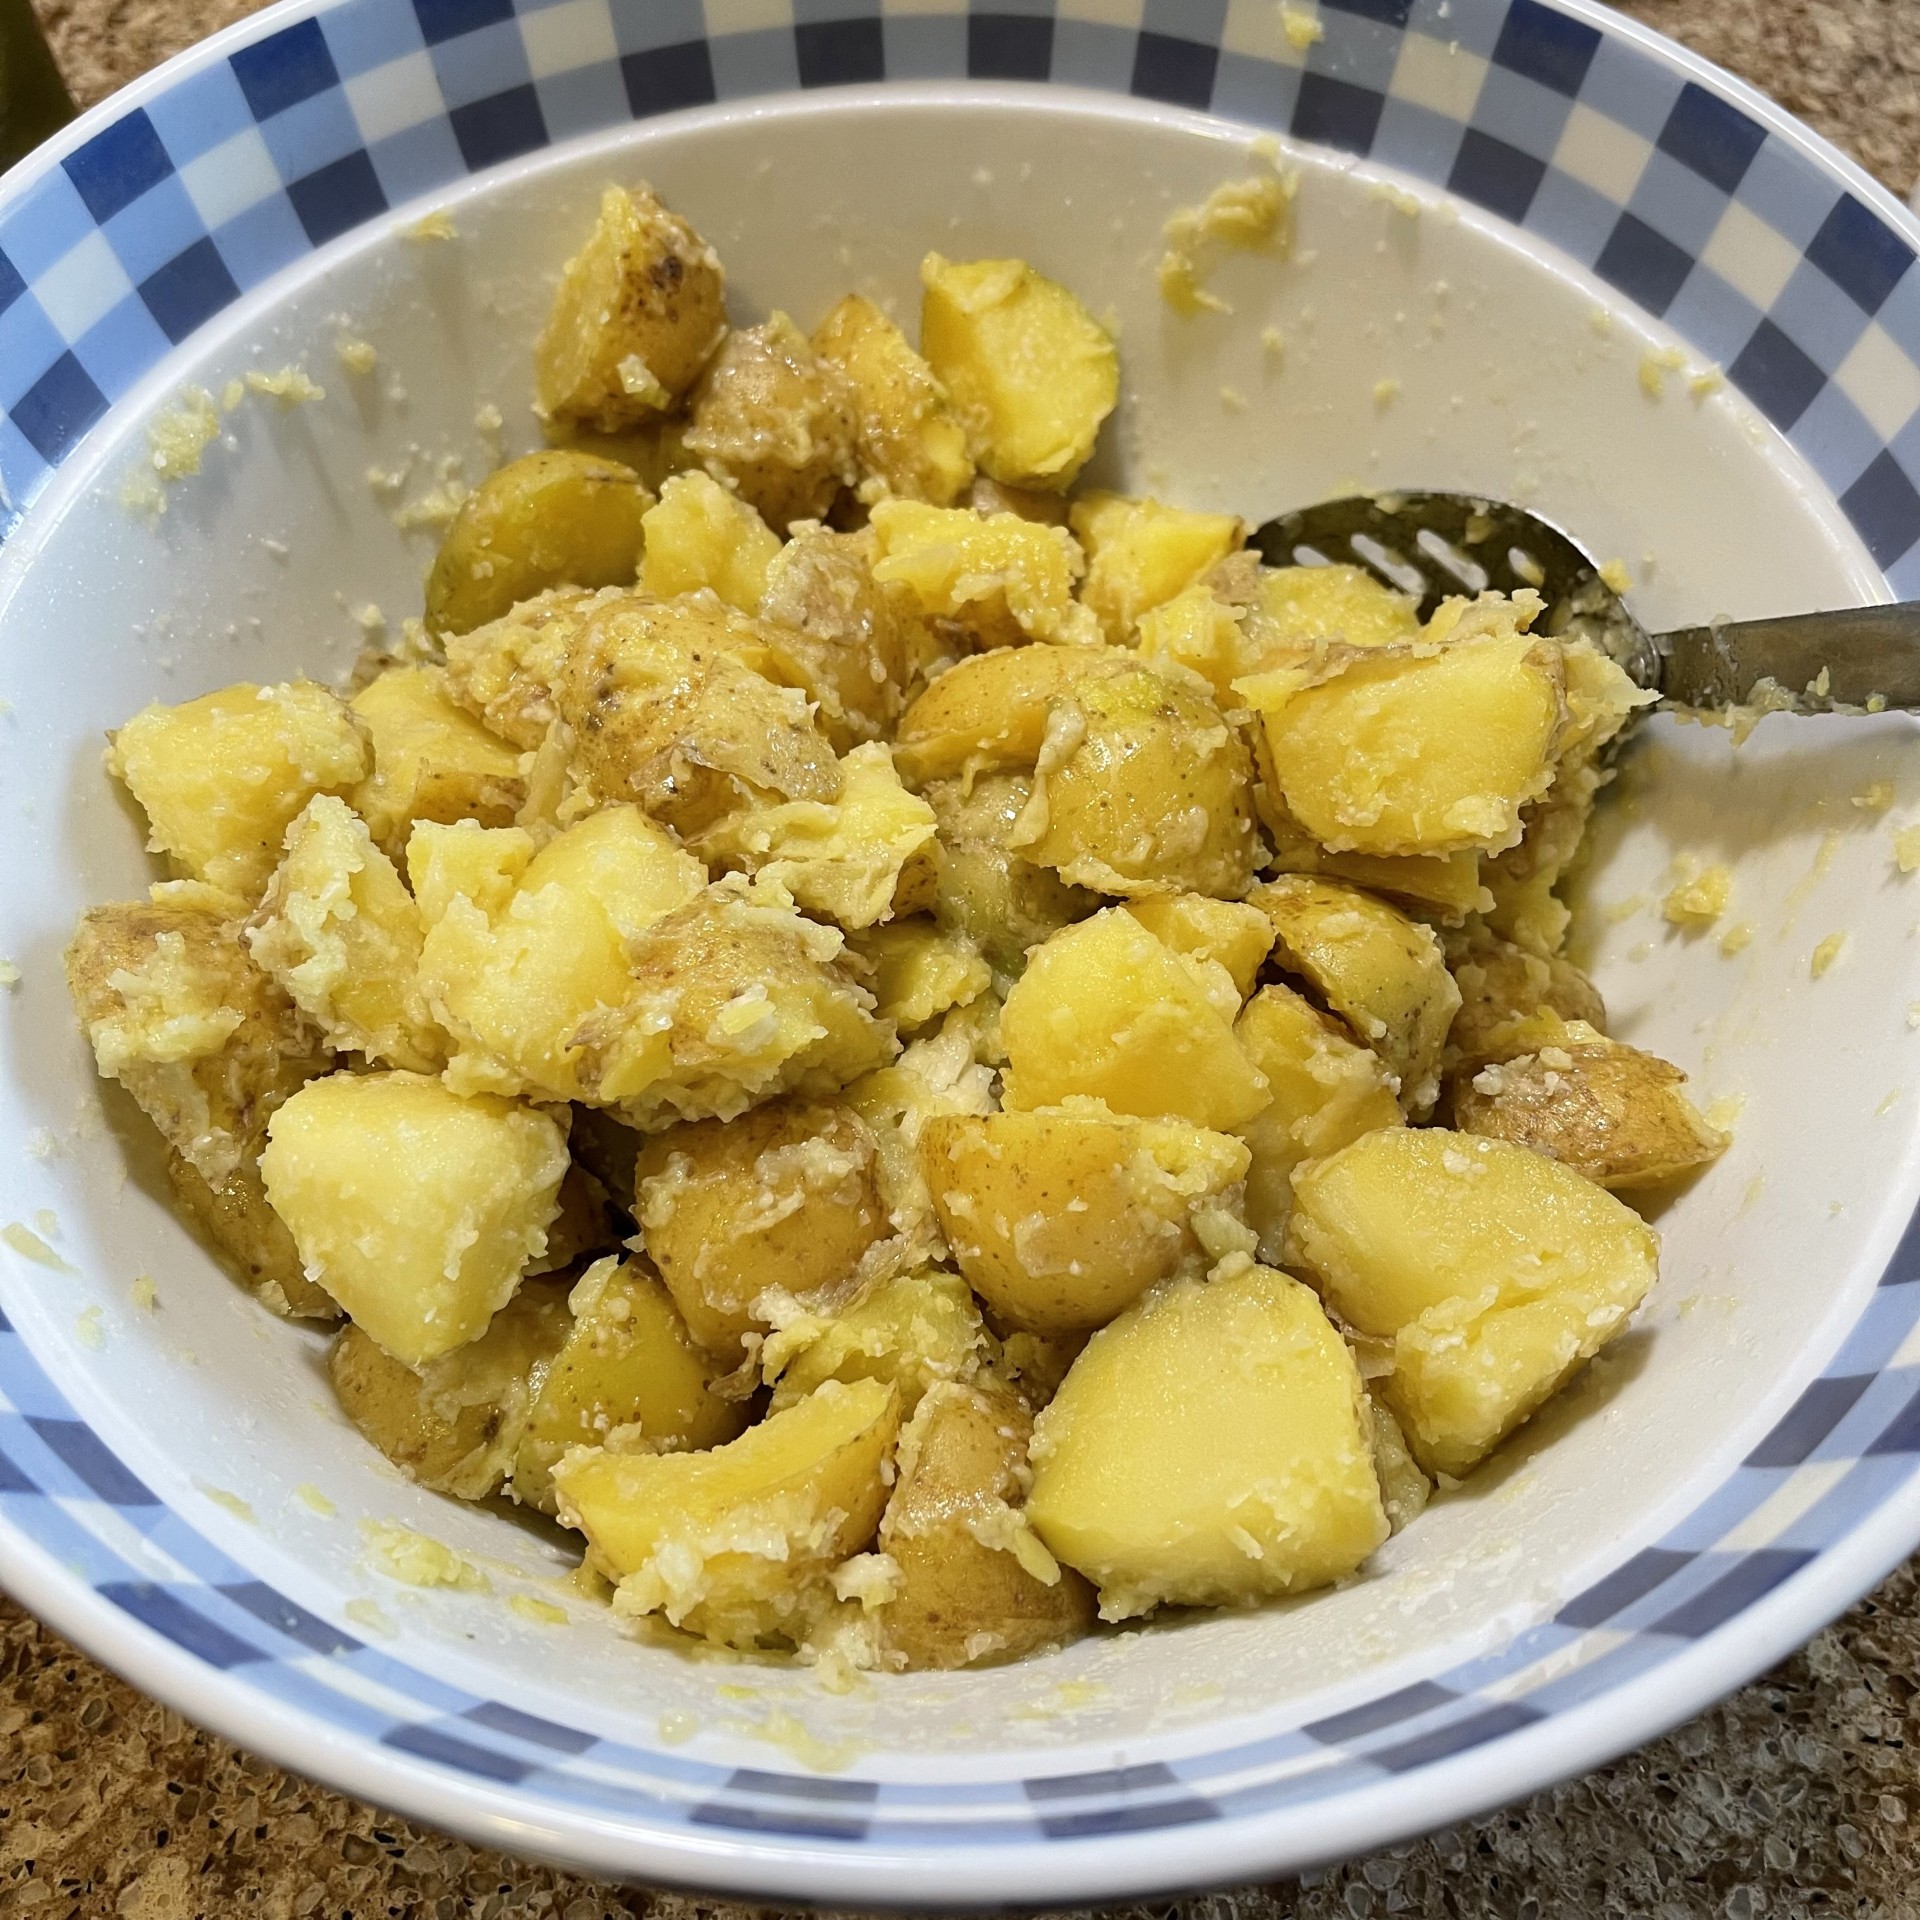
Empty potatoes into a large bowl. Melt the butter. Pour the butter, Pecorino, salt, and ground pepper into the potatoes. With a large spoon, vigorously stir all for 30 seconds. The idea is to slightly break down the potatoes but not mash them – we still want the wedges whole.
Tip potatoes onto a large, rimmed, very lightly oiled baking sheet. Spread potatoes out evenly, avoiding overlap.
Bake at 400°F with fan or 204° C without fan for 20 minutes. (I prefer using the fan.)
After 20 minutes, flip them to brown both sides. Cook for another 20 minutes, until golden brown. Remove from oven and let potatoes sit on baking sheet for 5 minutes before transferring to a serving bowl.
Serve immediately. Leftovers can be reheated and recrisped at 350°F (180°C) for 5-10 minutes.
Yam-Cran Casserole is a flavorful, fast to prep side-dish that perks up any holiday meal. You can prepare it the day before, then pop it in the oven before mealtime. (The less I have to do the day-of, the better!)
BONUS TIP: Leftovers are delicious eaten cold mixed with plain yogurt!
NOTE: While this dish is fast to prepare, it takes about 1.5 hours to bake – so plan ahead!!!
CRAN-YAM CASSEROLE:
171g / 6 oz uncooked, whole cranberries
1 tart apple (such as fuji, gala, honeycrisp) – unpeeled, cubed into bite-sized pieces
57g / 1/2 cup pecans, chopped and lightly toasted
74g / 1/2 cup brown sugar (I used dark)
129g / 3/4 cup orange juice
36g / 3 T Cointreau (or another orange flavored liqueur, or more orange juice)
3/4 tsp cinnamon
1/8 tsp nutmeg
636g / 1.5 lbs yams or sweet potatoes
Into a bowl, combine the cranberries, apple, pecans, brown sugar, orange juice, Cointreau, cinnamon, and nutmeg. (In other words, combine everything except the yams.)
Place the chopped yams evenly in a casserole dish.
Pour the cranberry mixture evenly on top of yams.
Cover with a lid or foil. Bake at 400°F / 200°C for 45 minutes. Remove lid, then continue to bake until most of liquid has evaporated and yams can be pierced with a knife – about 35 minutes or so.
Stir casserole so remaining liquid is mixed in. Serve immediately or cover until serving time. It can be served either hot or at room temperature.
Every now and then I challenge myself to improve on a just-okay recipe. In this case, it was my grandmother’s peanut butter buns (she called them ‘josh’, which means ‘snack’ in Armenian). While they were a big hit with her five children and my husband, I felt they were a little dry.
I decided the problem was two-fold: the dry dough and the dry peanut butter filling. Creating an enriched dough seemed the obvious answer to the dough. As for the filling, I considered using a jelly. Then I spied some ripe bananas in the fruit bowl. Hmmm! (Elvis came to mind.) Recalling a contestant on the British Bake Off cooking down bananas to evaporate excess moisture, this seemed like a good idea to prevent a mushy filling while, simultaneously, adding flavor. To give a nod to the classic jelly idea, I tried crushing freeze dried strawberries. The problem was I needed to use a lot to really taste them. As they’re very expensive, I chose to go with the peanut butter and banana on its own. You can add them, if you like.
NOTE: You can substitute a different nut butter, if you prefer.
PEANUT BUTTER-BANANA BUNS – makes 6
Dough
121g (1/2 cup) milk, warmed to about 40°C (104°F)
1 tsp yeast
229g (1.75 cups) bread flour
1 tsp salt
28g (2 T) butter, room temperature
40g (1/4 cup) granulated sugar
1 egg white
Filling
3 large ripe bananas
118 (1/2 cup) peanut butter (or other nut butter)
1/4 tsp salt
Optional: 31g (1 oz) freeze dried fruit, crushed
Prepare the dough:
Proof the yeast by stirring the warmed milk and yeast together, letting it set about 5 minutes.
Into the workbowl of your food processor, put the flour, 1 tsp salt, sugar, softened butter, egg white, and proved yeast/milk. Process about 40 seconds, pausing to scrape down the sides as needed.
Empty dough onto lightly floured counter and knead about 6 times to bring dough into a ball. A bench scraper works well for this task.
Place dough ball in a lightly oiled bowl, then flip the ball so both sides are coated with oil. Cover and let rise 1.5 hours on counter.
While dough is rising, prepare the filling:
Into a saucepan, place the peeled bananas. Mash with a potato masher or fork.
Over medium/high heat, cook the bananas, stirring often, until most of the water has been cooked out – about 11 minutes. Remove from heat.
Stir in the peanut butter and 1/4 tsp salt. (If you’re using freeze dried fruit, stir it into the mixture) Chill until dough has finished rising.
Once the dough has risen, assemble the buns:
Empty the risen dough onto a lightly floured surface and divide it into 6 pieces. Roll each piece into a 9″x 4″ (23cm x 10cm) strip.
Divide the peanut butter-banana filling evenly between the strips. Spread the filling over the dough strip, leaving a 1/2″ (1cm) border along all 4 sides. The filling will be spread very thinly – this is good – it’s how you’ll get that lovely swirl.
Roll each strip from the short side up along the long side. Pinch the dough to seal the seam.
Roll the log towards you 90°, so the seam is facing you. (This is so the seam will be protected from bursting open during baking.)
Pinch both ends to seal them. Then, snail the log by rolling it sideways. (The seam formed along the length of the log will now be encased in the snail.) Pinch closed the end of the log to the body of the roll.
Place the rolled buns on a greased or parchment lined baking sheet. Lightly press down each bun so they’re about 1″ (2.5cm). Cover and let rise 1/2 hour. Preheat oven to 200°C (400°F) during the rise.
Once the buns have risen, place the baking sheet in the preheated oven. Decrease the temperature to 177°C (350°F) and bake about 20 minutes – until browned on top. (There is NO wash for these buns – I’ve tried egg, milk, and cornstarch/water – they cause the top to flake. They come out much better with a dry top.) Remove baked buns to a wire rack to cool.
NOTE: If you forgot to decrease the oven temperature, it’s not a problem. Just keep an eye on the brownness – you may have to decrease the bake time.
They’re coming – home gardeners who planted more zucchini than they need, arms laden with these beauties who just yesterday were 7″, today the size of props in a sci-fi film. Never one to turn down free food, I thank them and start planning. Of course, there’s zucchini bread, zucchini stir-fry, and spiralizing zucchini.
Then it hit me:
ZUCCHINI SOUP!
It can be a meal in itself or as a starter. Bonus: it freezes well!!!
ZUCCHINI SOUP
Note: Don’t worry about the chopped veggie sizes – everything will be blended
82g / 1/2 cup uncooked couscous (not the Israeli pearl couscous)
OPTIONAL: greens, such as Swiss chard or spinach pieces
OPTIONAL: small pieces of bread, such as pita
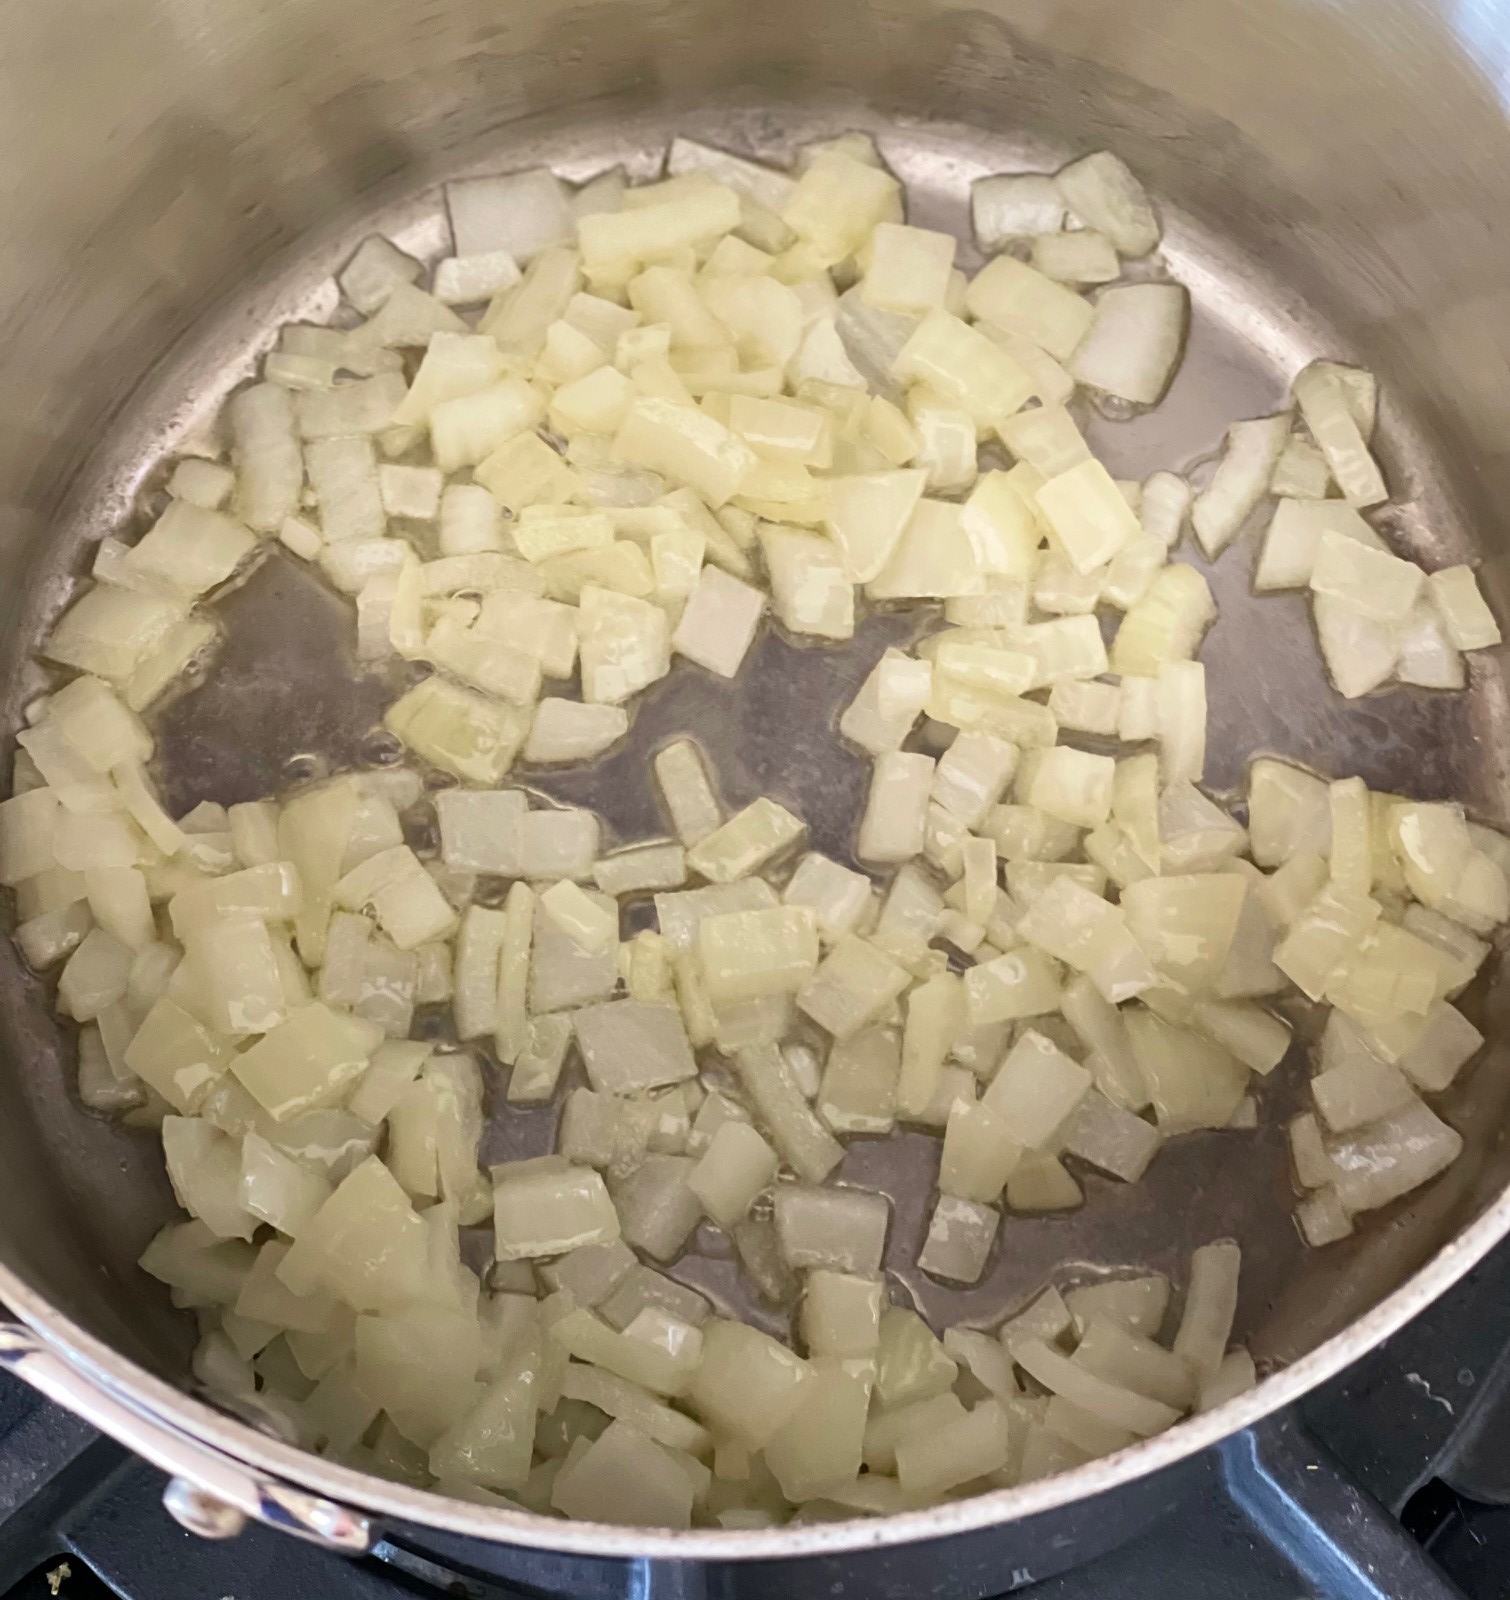
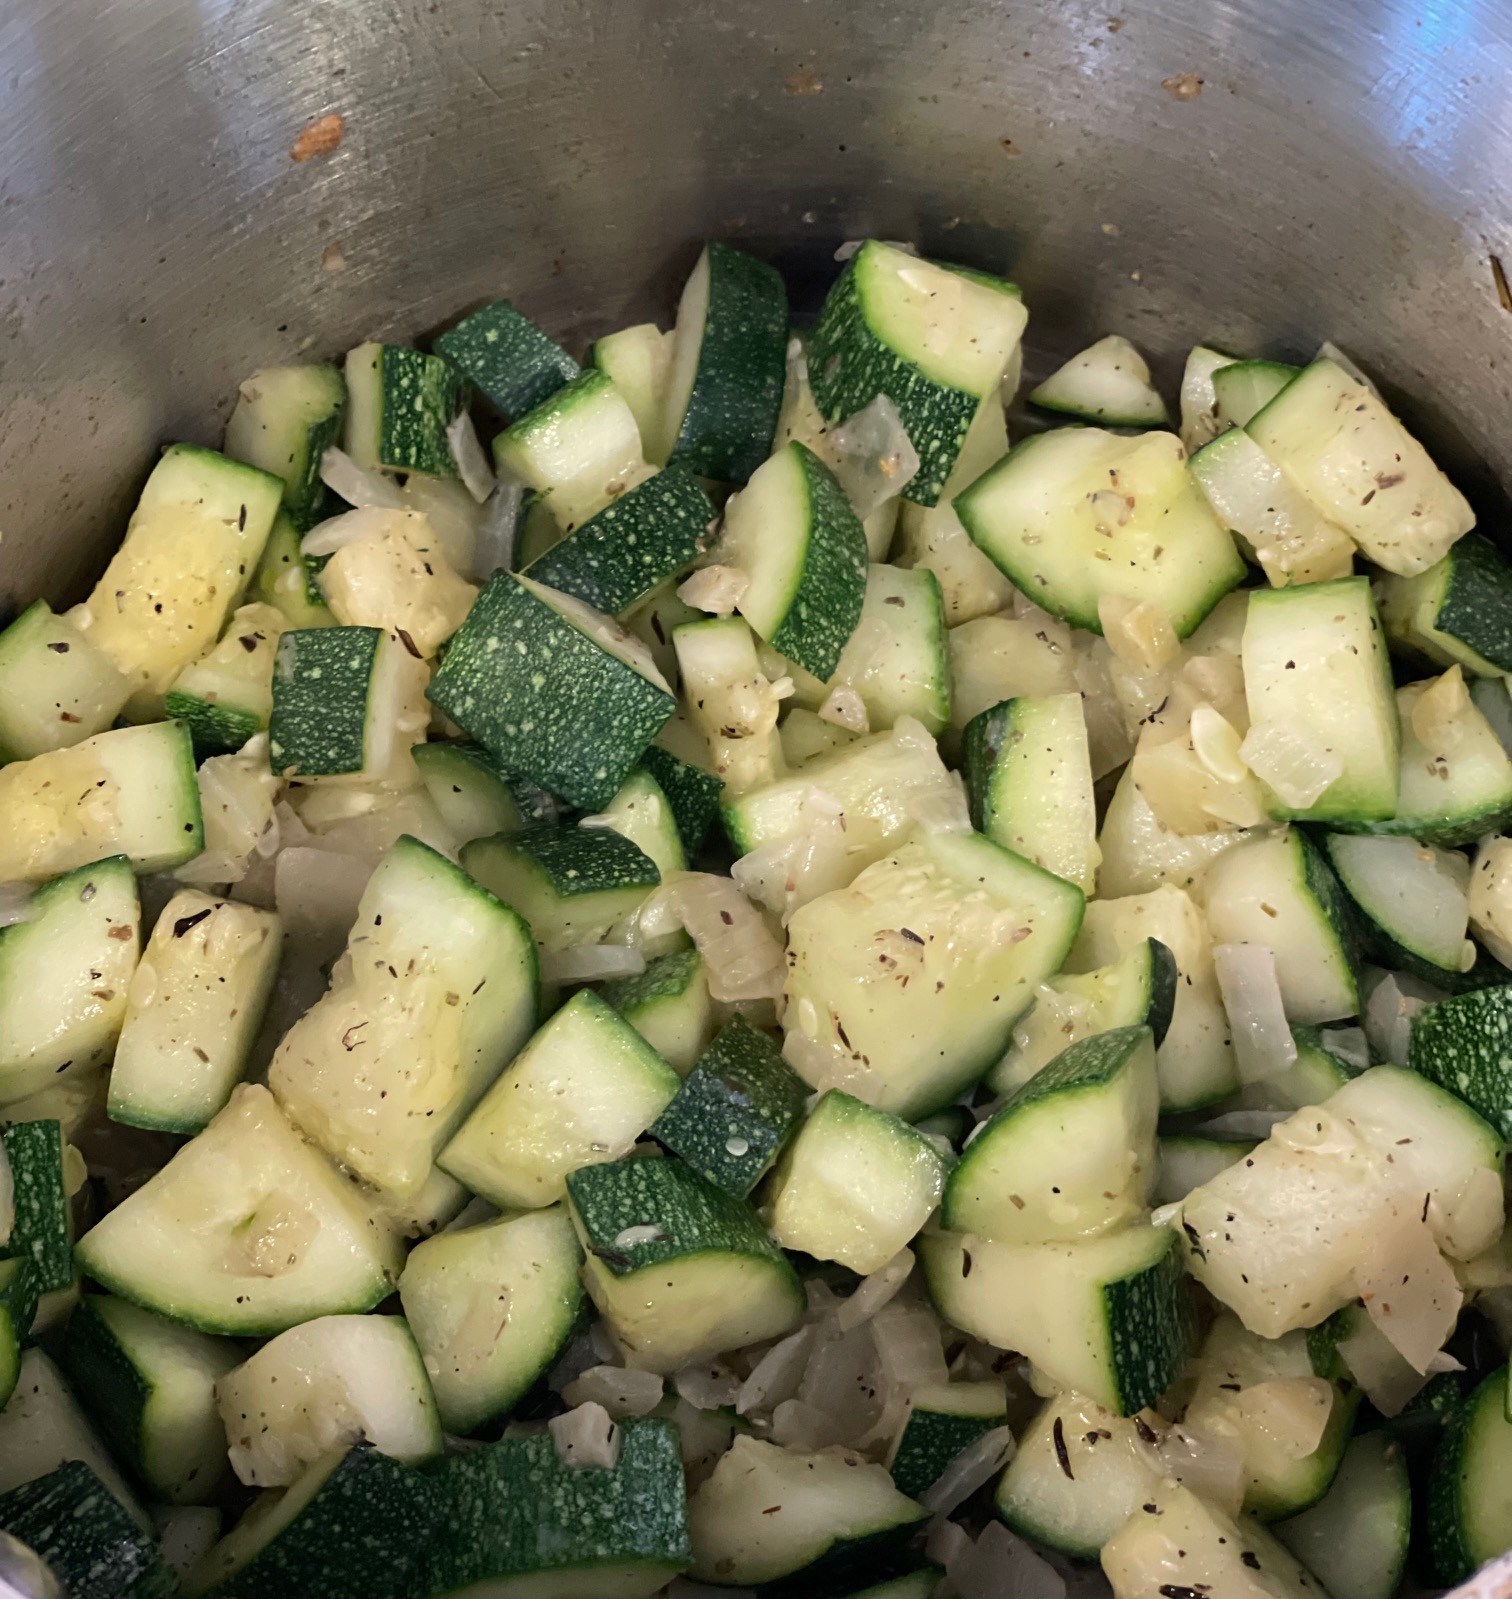
In a large saucepan (2 litres / 8 cups), melt the butter. Add onions and, over medium-high heat, saute for 5 minutes. Stir often.
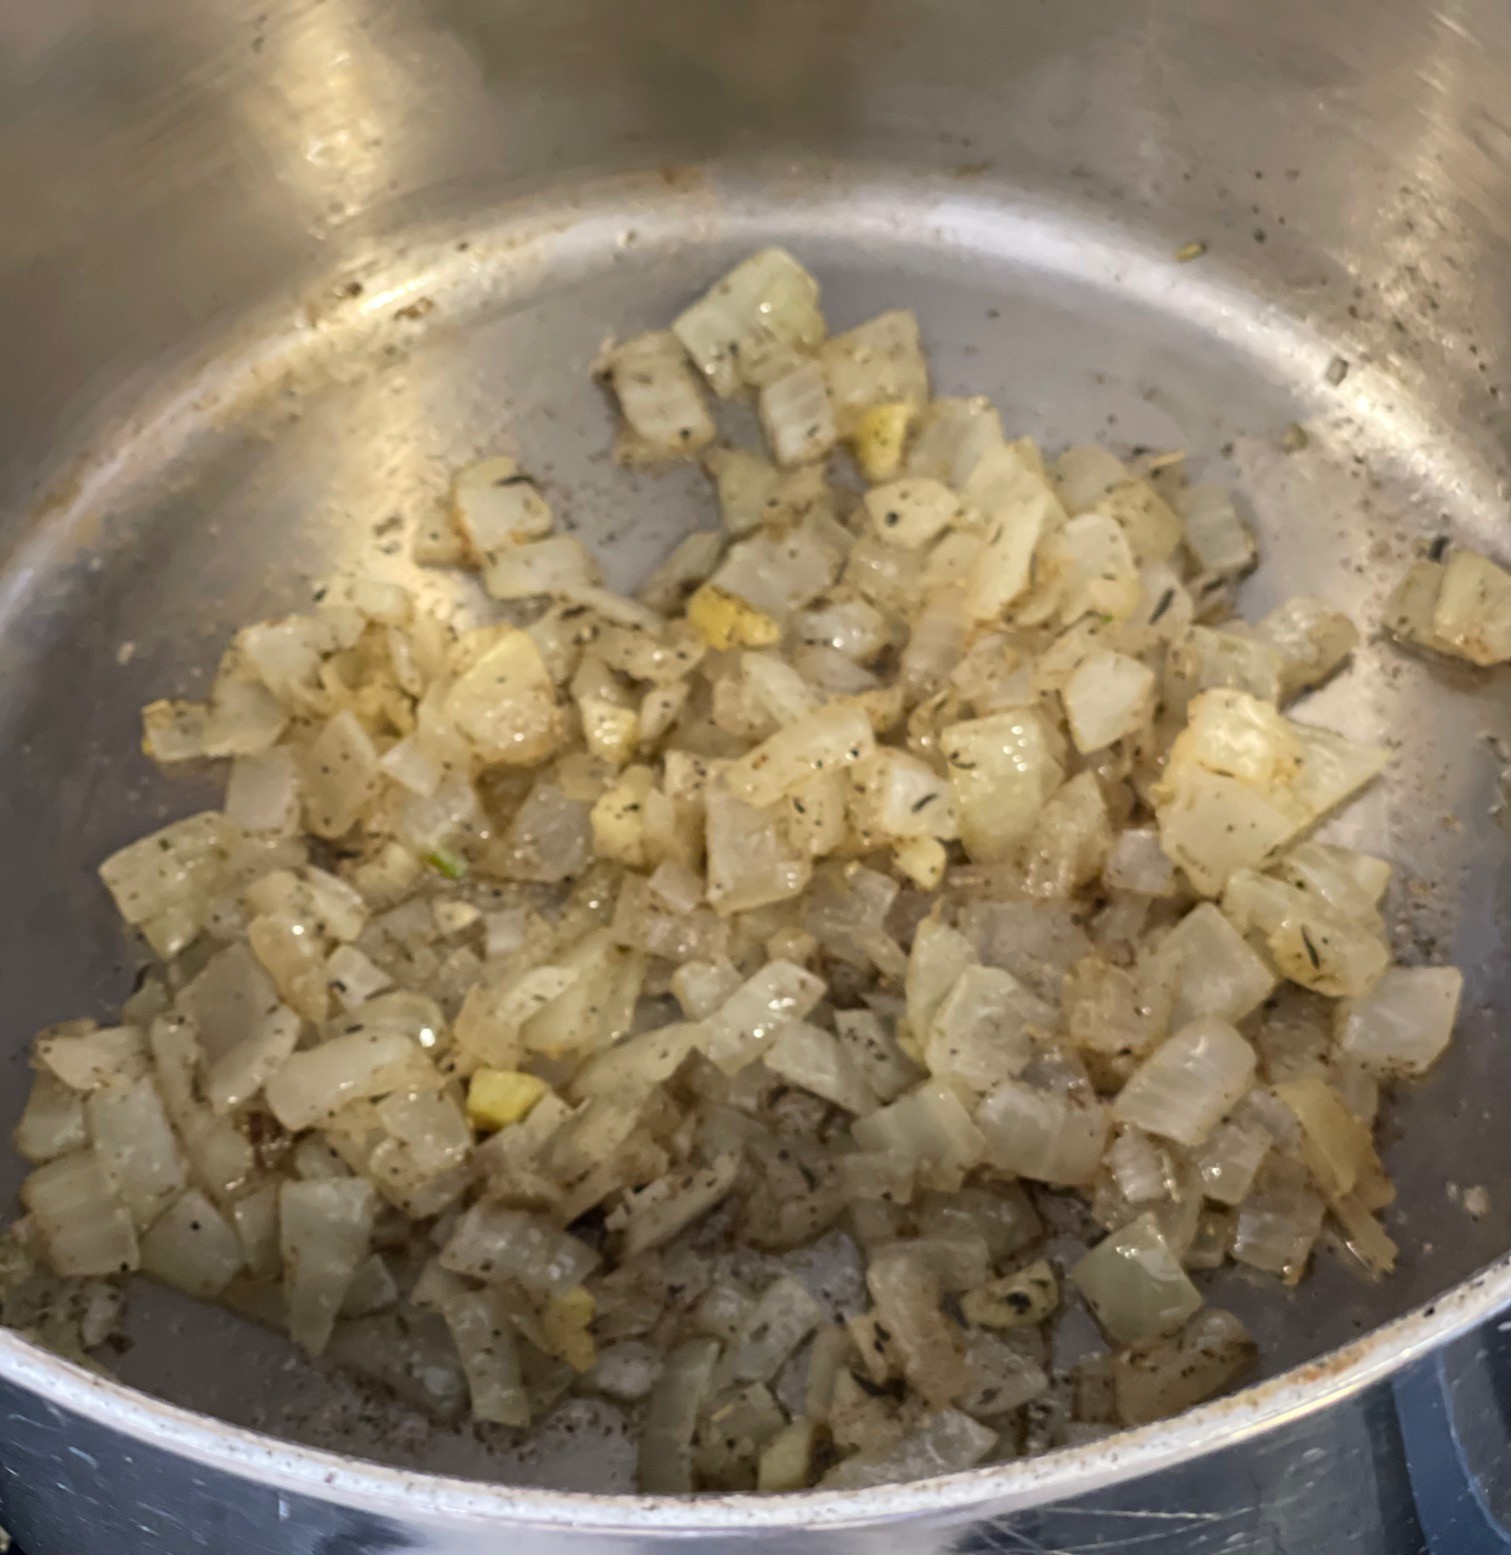
Add in garlic, rosemary, thyme, celery salt, Kosher salt, and black pepper. Over medium heat, saute about 1 minute to bloom the herbs, stirring constantly.
Add in zucchini and, over medium-high heat, saute 5 minutes, stirring often.
Add the potatoes, vegetable broth, soy sauce, and couscous to the pot. Bring to a boil, then decrease flame to maintain a simmer.
Cover the pot, leaving the lid slightly askew to prevent the liquid boiling over. Simmer for about 20 minutes, testing the potatoes are easily pierceable with a knife.
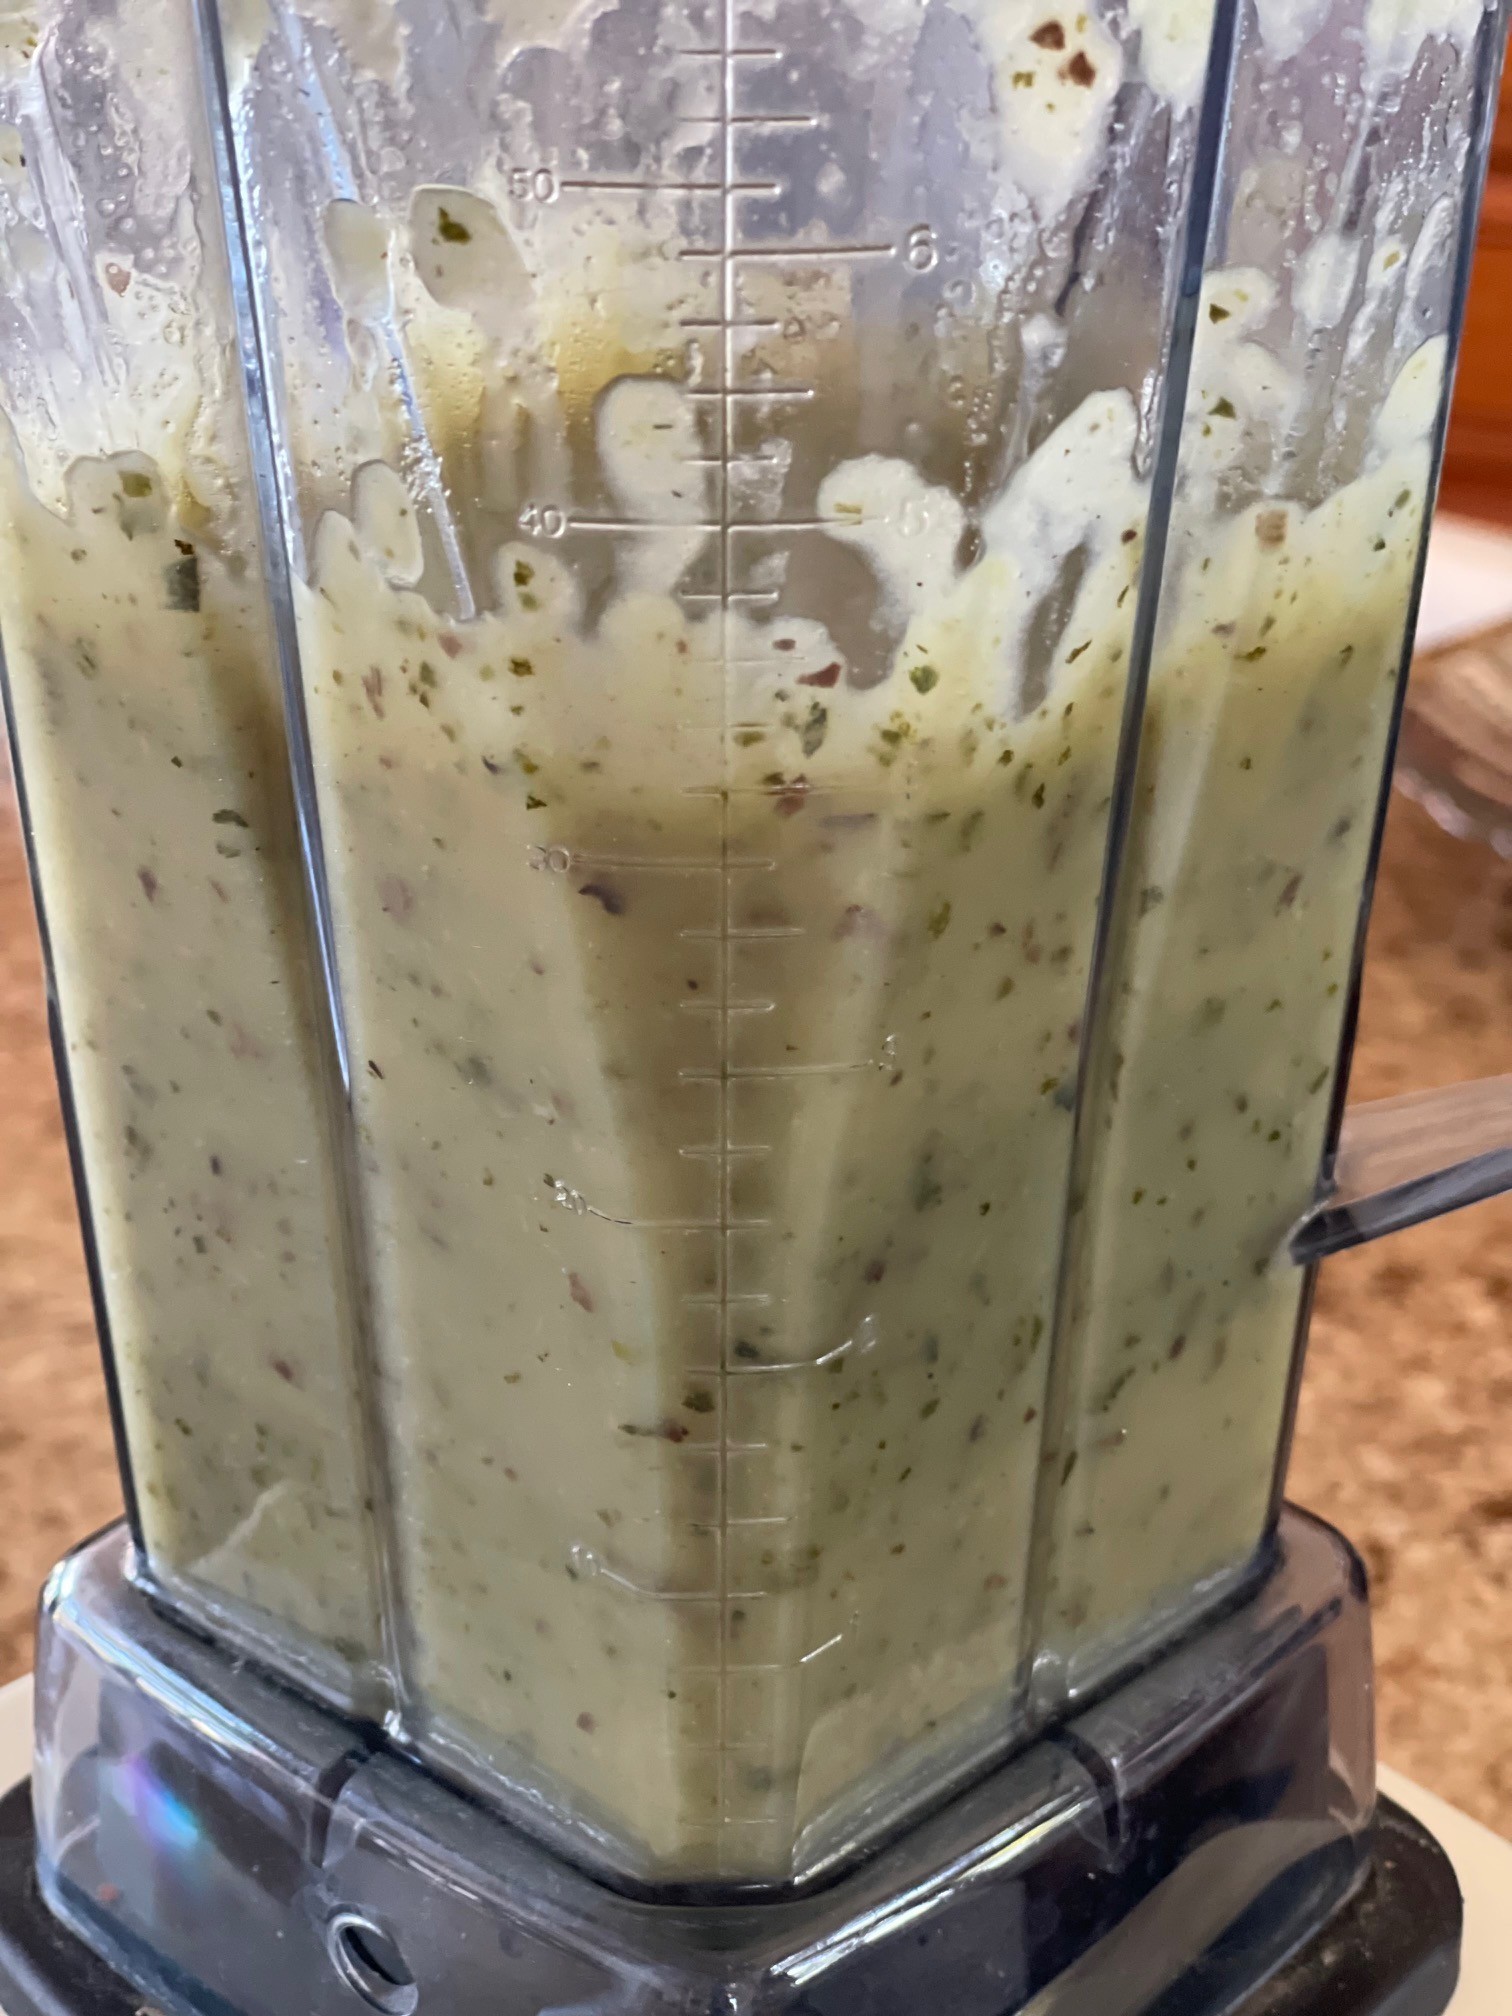
Remove lid and let soup cool about 20 minutes before blending. Then, pour cooled liquid into a blender (you may need to do this in batches) and blend until smooth.
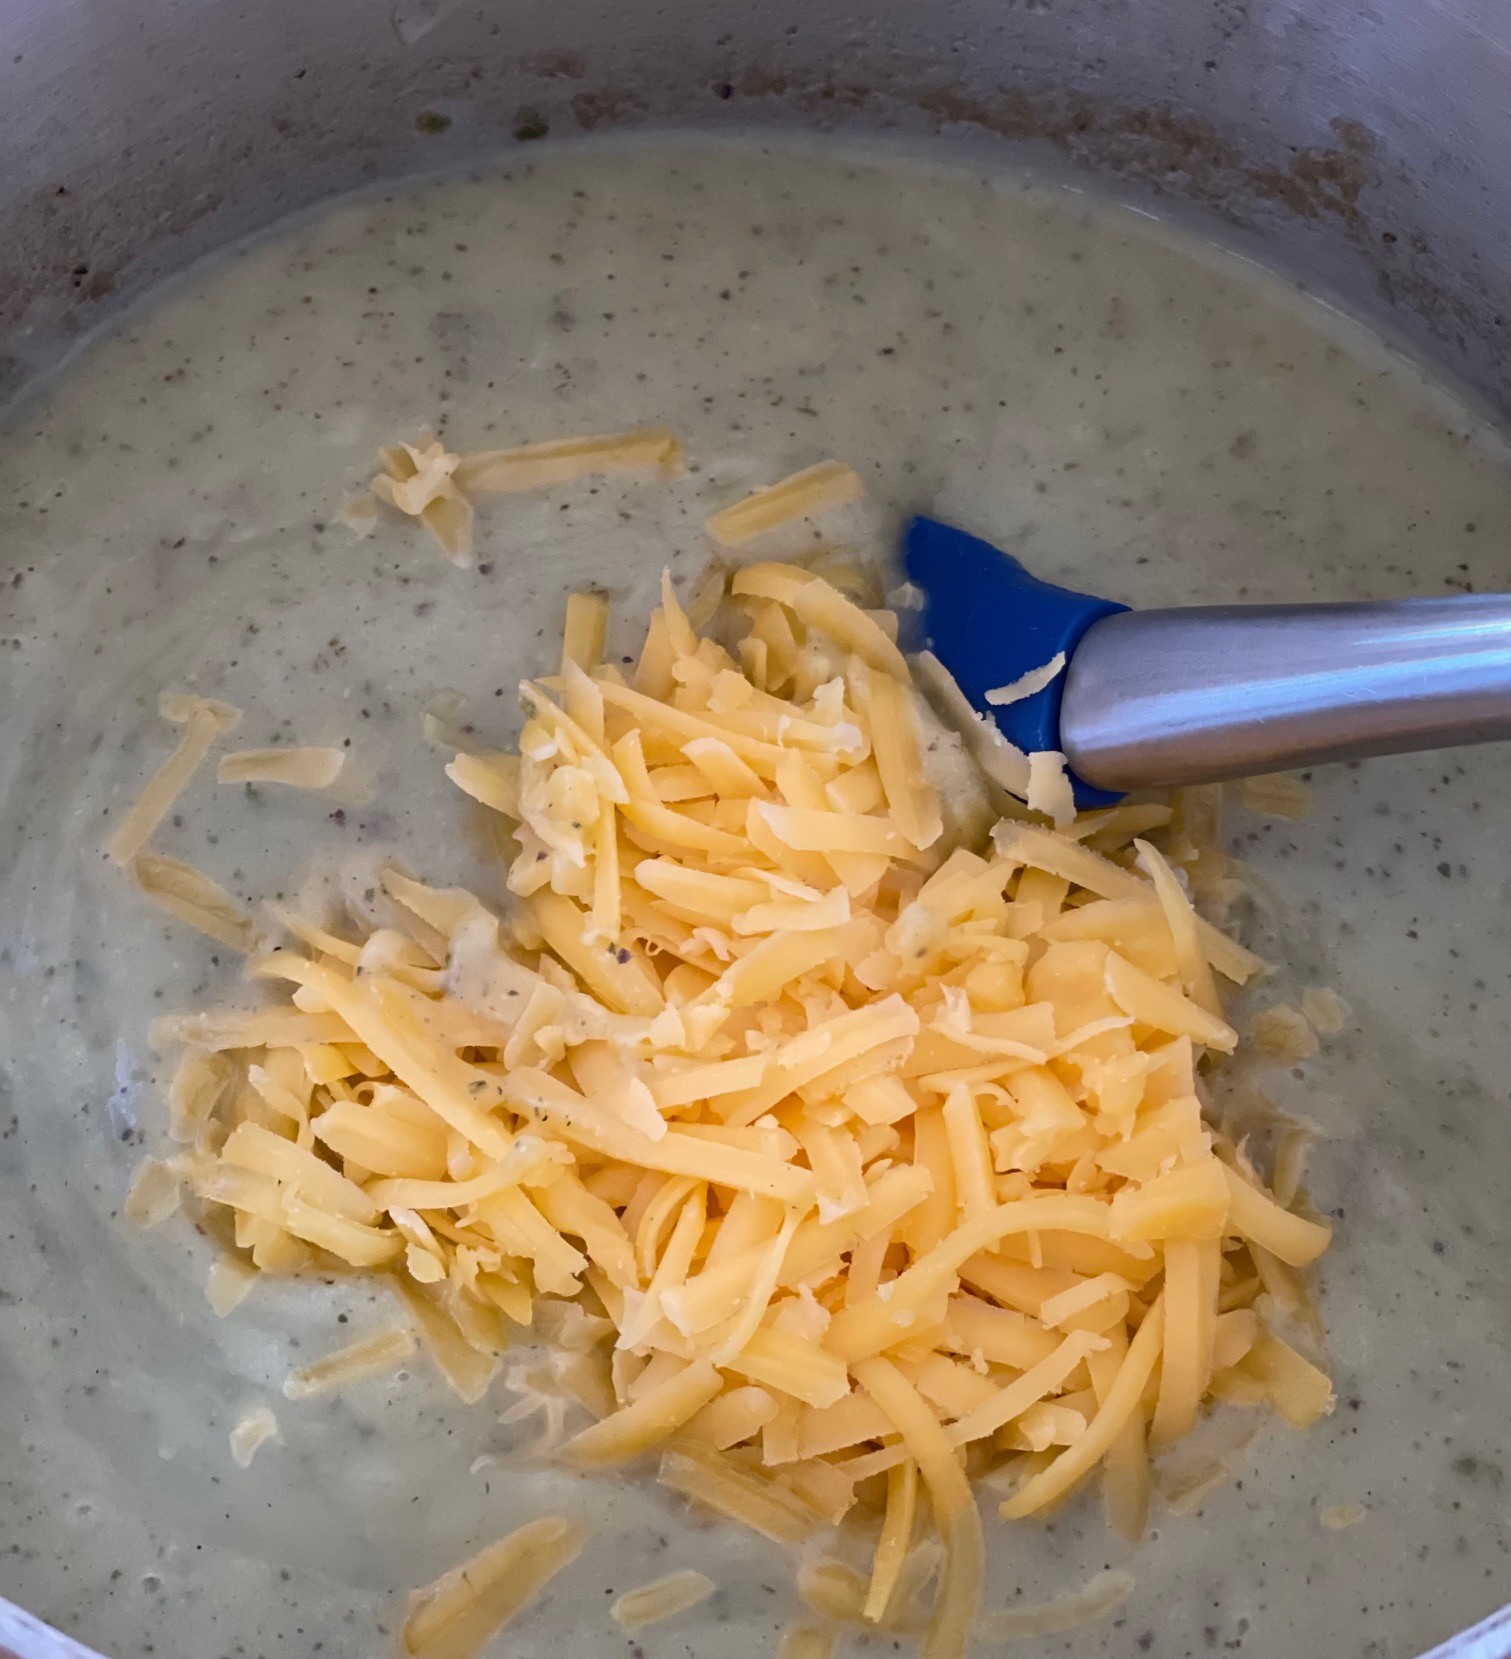
Return soup to saucepot and stir in cheese, optional greens, and optional bread pieces. Heat to melt cheese. Taste for seasoning, correcting if needed.
I’d never heard of Orzo Watermelon Salad until it was mentioned often in a novel I was reading recently. It sounded interesting, so I Googled it. Lo and behold, it was a real thing! I got the gist of what goes in it, then honed the recipe to my liking – the tangy dressing with a slight kick of red pepper flakes was the key.
This salad is very fast and easy to make but, as with most salads, they’re best mixed close to serving time. That being said, it’s still tasty the next day.
ORZO WATERMELON SALAD – makes about 5-6 cups
18g / 2 T Balsamic vinegar
10g / 1 T granulated sugar
68g / about 2 shallots, sliced thinly
18g / 2 T extra virgin olive oil
27g / 3 T lime juice
4g / 3/4 tsp Dijon mustard
1/4 tsp red pepper flakes
1/4 tsp salt
120g / 3/4 cup / 4 oz uncooked orzo
about 250g / 8 oz seedless watermelon, cubed bite-sized
114g / 4 oz Feta cheese, crumbled into bite-sized pieces
50g / 1/2 cup cooked green peas (I use frozen)
about 65g / 1/2 cup Pistachio nuts
Slice the shallots thinly.
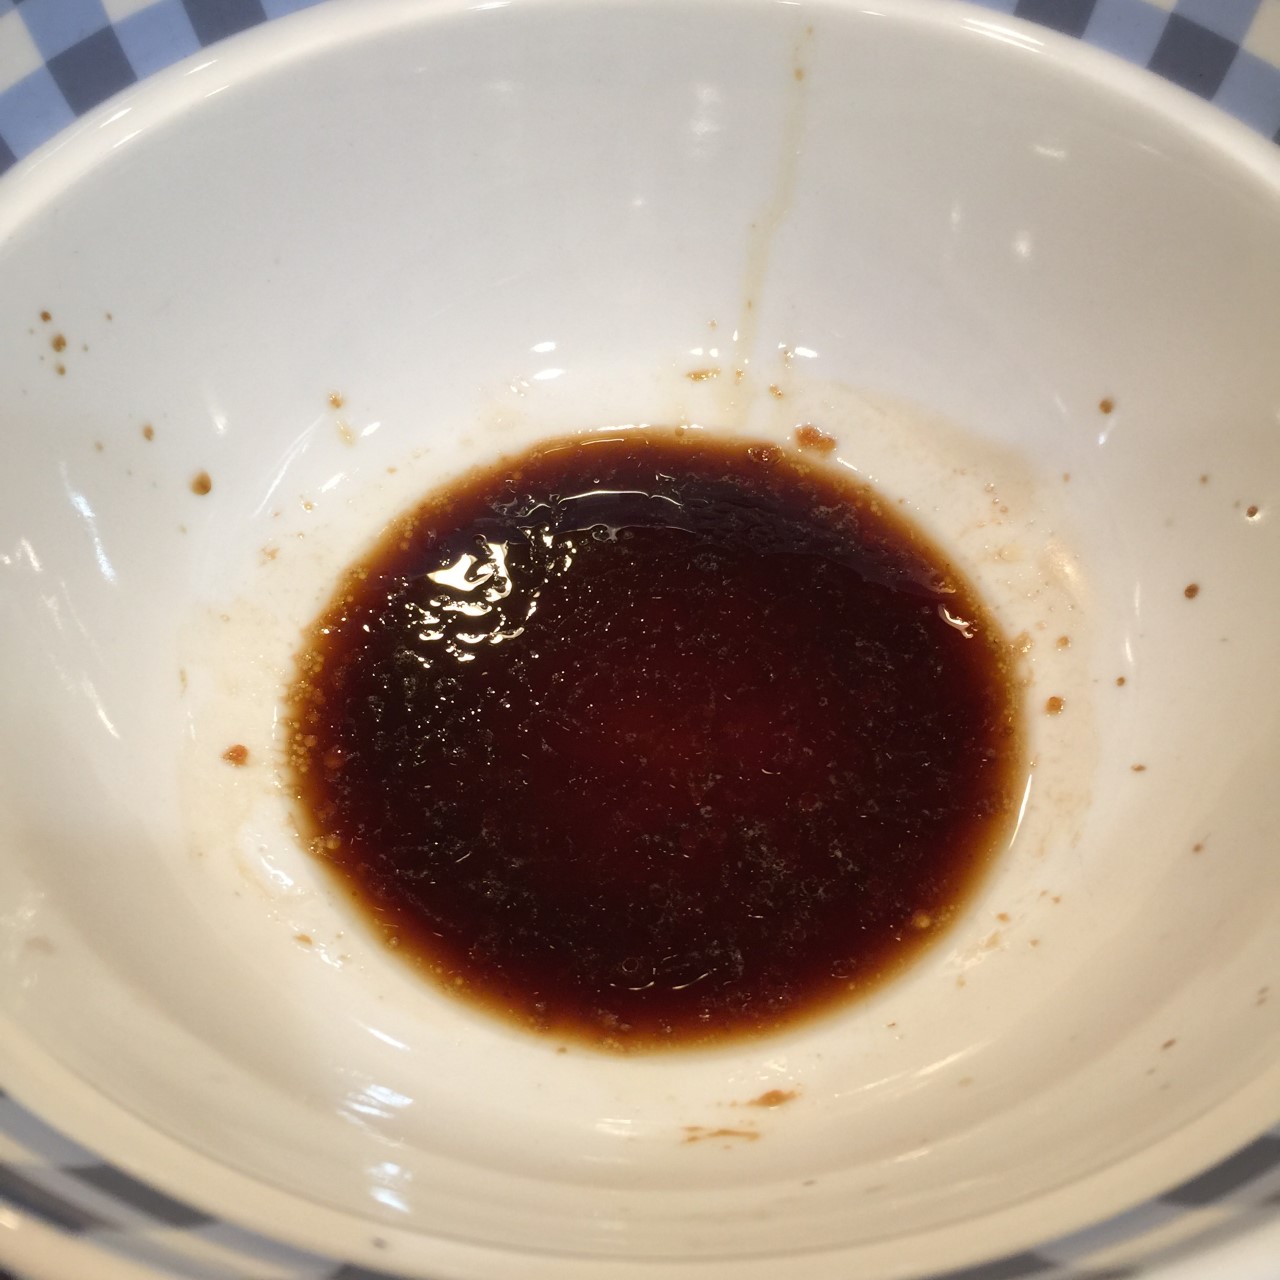
Into a small saucepan combine the Balsamic vinegar, sugar, and shallots. Bring to a boil, turn off burner, then cover pan. Let set, at least, 30 minutes. This can be done ahead of time.
Into a small bowl, combine the olive oil, lime juice, Dijon, red pepper flakes, and salt. Set aside until serving time. This can be done ahead of time.
In a saucepan, bring about 3 cups of water to a full boil. Add in the orzo and a tsp of salt. Stir often and cook for 8 minutes. SET THE TIMER! Drain using a sieve, then pour into a mixing bowl to cool.
As orzo is cooling, chop watermelon into bite-sized cubes. Make sure to remove any seeds – they’re not very tasty.
Into the bowl with the cooked orzo, put the cubed watermelon, Feta, and peas. Gently mix and set aside until serving time.
At serving time, stir the dressing well and pour that into the orzo. Add the shallots WITH the liquid into the bowl along with the pistachios. Mix gently. Serve.
My friend, Lynne, was telling me about the food served at a recent gathering. Somewhere in the middle of her list she mentioned ‘warm bok choy salad’. I, actually, didn’t hear anything else after that – my mind became focused on this intriguing-sounding dish. Warm salad? Bok choy? Hmmm.
Like a detective interrogating a prime suspect, I grilled her for details. What was in it? Anything else? How did she make it? My friend was becoming increasingly nervous – possibly fearing I would soon be reading her Miranda Rights. So, I let it go… and googled it.
As one would expect, there were multiple Warm Bok Choy Salad recipes. I read several, and came up with my own version. Feel free to change my recipe to suit yourself.
WARM BOK CHOY SALAD – serves 2
12 oz / 340g bok choy
3 tsp rice wine vinegar
3 tsp soy sauce
1 tsp honey
3/4 tsp sesame oil
1/4 cup carrots, shredded
1/4 cup dried cranberries
1.5 oz / 43g Feta cheese, crumbled
3 oz / 85g Mandarin oranges
1 tsp sesame seeds
Slice off and discard bottom of bok choy. Wash stems and chop into bite-sized pieces.
Heat together the vinegar, soy sauce, sesame oil, and honey. (You can use the serving bowl, if it’s microwave-proof.)
Place bok choy in a steamer basket but don’t put basket in the pan yet. Add about 1/2″ (2 cm) to the pan and bring to boil. Then place the steamer basket in pan, cover with a lid, and steam for about 1-2 minutes. (If you place the basket in before the water is boiling, you run the risk of over-steaming.)
Immediately remove basket from pan and empty bok choy into bowl with dressing. Stir in remaining ingredients and serve.
The old saying proves true: you can’t judge a book by it’s cover.
I was given the recipe for Eggplant-Tomato Stir-Fry years ago when my husband and I were in a gourmet group. Looking at the ingredients, I was completely unimpressed. However, when I made and tasted it, I was completely IMpressed by how well the flavors blended.
As with most stir-frys, it’s all about the prep. With Eggplant-Tomato Stir-Fry, you wash and chop the veggies, and the cooking goes quickly. Yes, at the end, you do need to cover and simmer for 10-15 minutes, but that’s hands-off.
EGGPLANT/TOMATO STIR-FRY
2 T vegetable oil
1 onion, cut into bite-sized slices
1 medium eggplant, unpeeled and 1″ cubed
1 red pepper, cut into slices or cubes
3 cloves garlic, pressed
3½ oz (3½cups) fresh spinach leaves, chopped (or 1 frozen 10 oz package chopped)
1 zucchini, sliced lengthwise then cut into half moons
2 tomatoes, cut into bite sized pieces
1/2 tsp salt
1/4 tsp black pepper
Prepare veggies.
Heat oil in large skillet – I used a 14″ stainless steel pan. When oil is shimmering, add onions and sauté over medium/high for 2 minutes. One by one, continue to add eggplant, red pepper, garlic & spinach together, zucchini, and finally the tomatoes, cooking each 2 minutes before adding the next. Stir in the salt and pepper.
Cover and reduce heat to low. Simmer for 10-15 minutes, until veggies are tender but not mushy. Taste for seasoning, adjusting as needed.
This is probably the easiest meal you’ll ever make. Simply chop the onion, cilantro, and red pepper, then throw everything into the pot and cook for 30 minutes.
This recipe is a lovely combination of subtle flavors. Try not to leave out any of the spices – I know most are only 1/8 tsp, but they’re important for the overall effect.
NOTE: Belizean Rice & Beans is super good topped with Avocado Sauce!
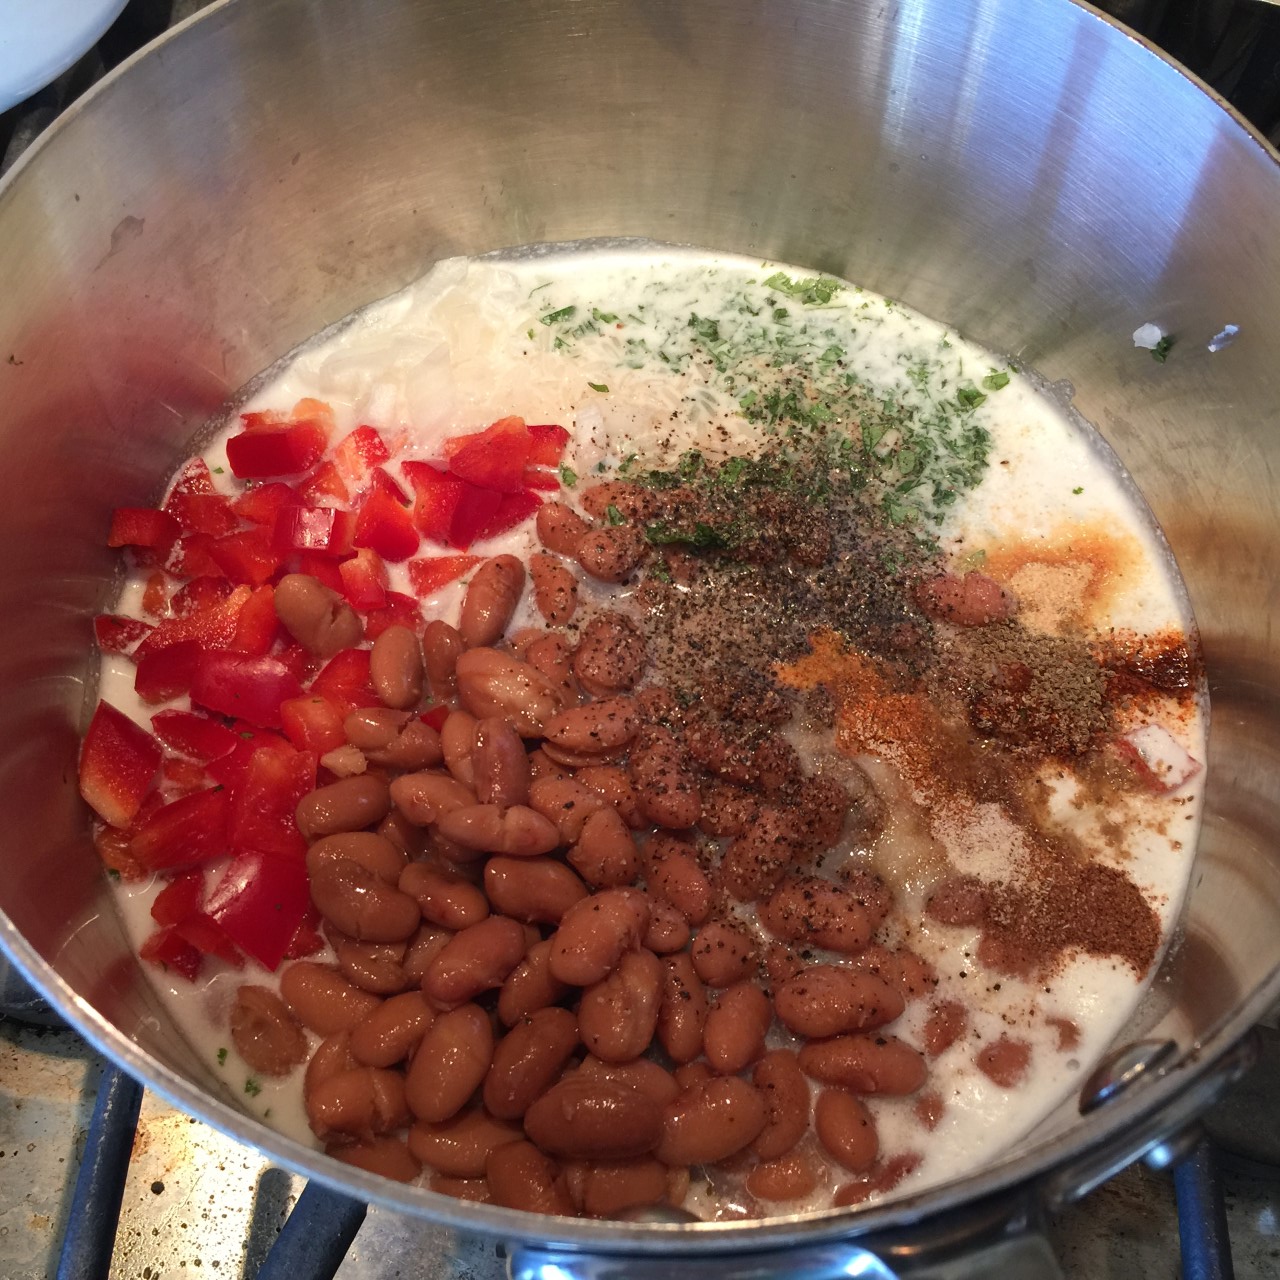
BELIZEAN RICE AND BEANS – makes about 5 cups
1 15-oz can pinto beans, including liquid
112g (1 cup) onions, chopped
2 T fresh cilantro, chopped
4 T butter
1 15-oz can coconut milk (or 37g (1/2 cup) powdered coconut milk plus enough water to make 15 oz)
180g (1 cup) uncooked long-grain white rice
1 red pepper, chopped
1/2 tsp ground black pepper
1 tsp salt
1/8 tsp chili powder
1/8 tsp celery seed
1/8 tsp coriander
1/8 tsp nutmeg
1/8 tsp onion powder
1/8 tsp paprika
1/8 tsp garlic powder
Mix all ingredients in a 2-quart saucepan. Bring to boil, then reduce heat to simmer. Cover and cook over low heat for a total of 30 minutes. At first, stir now and then – until it’s been cooking for about 20 minutes. At this point most of the liquid will have been absorbed into the rice. Stir more often now to prevent burning. If all the liquid has been incorporated before the 30 minutes is up, turn off the heat and let the covered pot sit on the hot burner. This is to make sure the rice is completely cooked. Eat as is, or do something crazy (like I do) and serve as an open faced sandwich on a homemade English Muffin or arepa, topped with avocado. Yummmm!
When asked to attend a potluck, my Spicy Macaroni Salad is often specifically requested. Unlike the usual bland pasta salads, this recipe will wake up your mouth…in a good way!
It’s super easy to make and does well with being made in advance so the flavors have time to blend.
SPICY MACARONI SALAD – makes about 6 cups
1 cup buttermilk
1/2 cup mayonnaise
1 T lemon juice
2 tsp salt
2 tsp Dijon mustard
1 tsp garlic, pressed or minced
3/4 tsp ground black pepper
1/8 tsp Tabasco (or other hot sauce)
8 oz small elbow macaroni
1 cup shredded carrots
1/2 cup chopped radishes
1 cucumber, peeled, seeded, and chopped
1/4 cup scallions
1/4 cup chopped parsley
1 T dried dill (or 3 T fresh)
In a large bowl, whisk together the buttermilk, mayonnaise, lemon juice, salt, Dijon, garlic, pepper, and Tabasco. Stir the carrots, radishes, cucumber, scallions, parsley, and dill into the dressing. Mix well and chill.Cook pasta in salted water until just tender. Rinse with cold water to stop the cooking (don’t worry, it will continue to soften when mixed with the dressing) and drain. Mix into the dressing. Chill at least an hour to allow the flavors to penetrate the pasta.


 Taste for seasoning, adjusting as needed.
 Bring to boil, then reduce heat to simmer. Cover and cook over low heat for a total of 30 minutes. At first, stir now and then – until it’s been cooking for about 20 minutes. At this point most of the liquid will have been absorbed into the rice. Stir more often now to prevent burning. If all the liquid has been incorporated before the 30 minutes is up, turn off the heat and let the covered pot sit on the hot burner. This is to make sure the rice is completely cooked.
  Eat as is, or do something crazy (like I do) and serve as an open faced sandwich on a homemade
  When asked to attend a potluck, my Spicy Macaroni Salad is often specifically requested. Unlike the usual bland pasta salads, this recipe will wake up your mouth…in a good way!
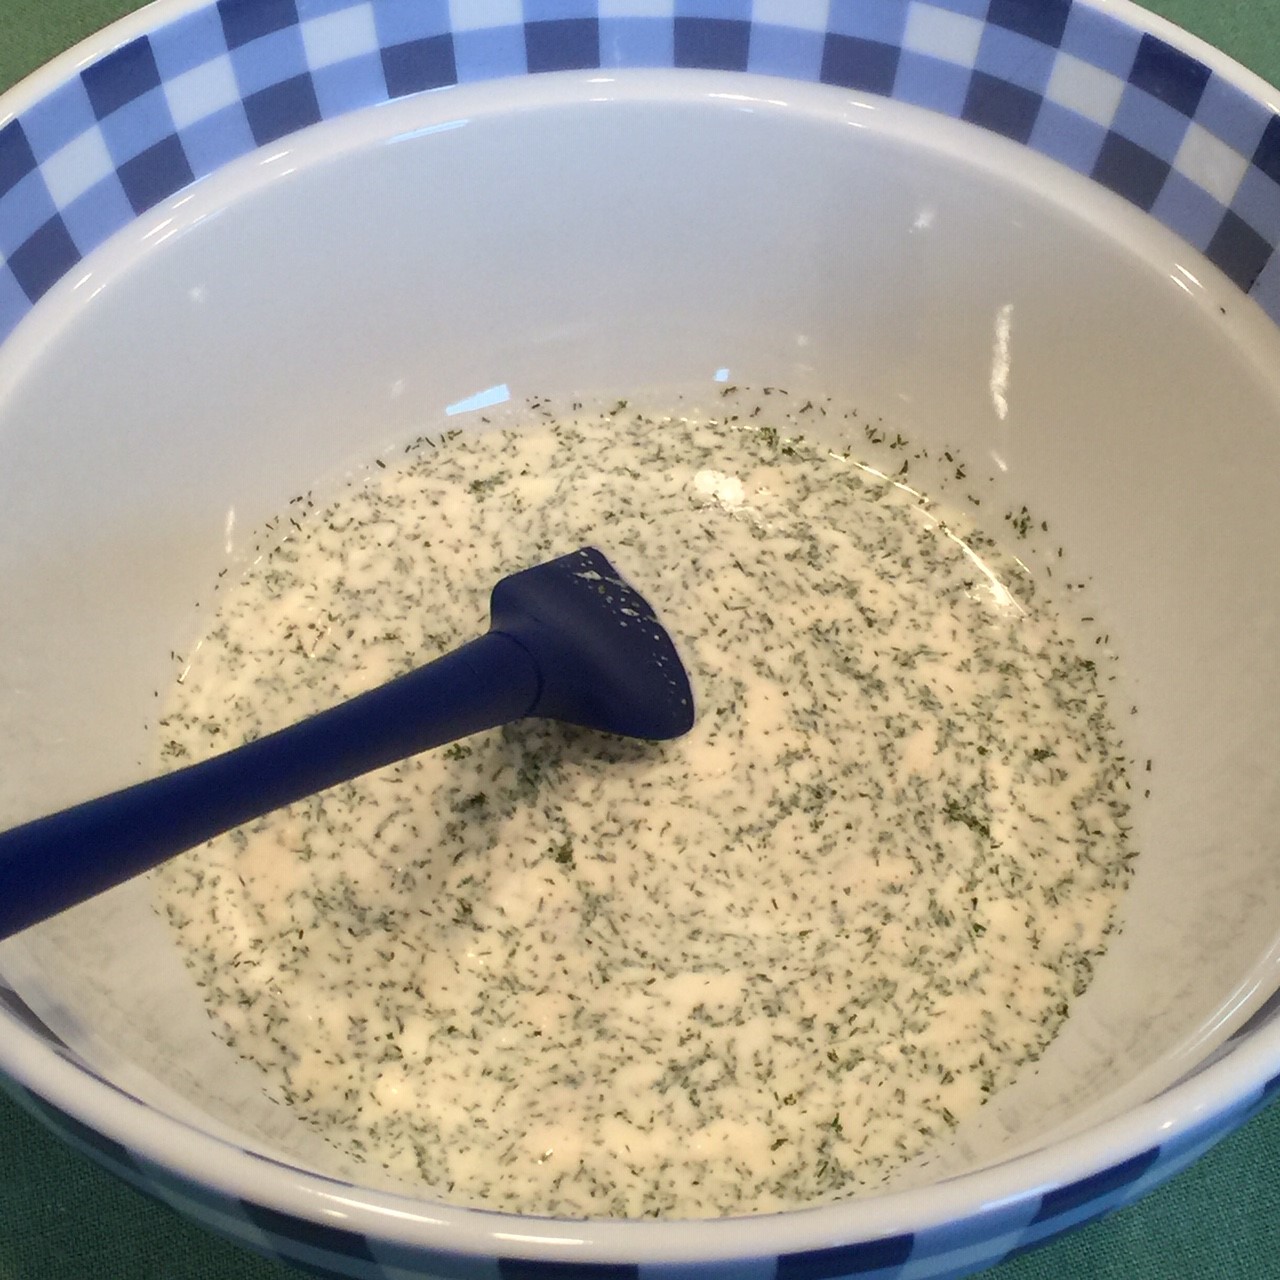 Stir the carrots, radishes, cucumber, scallions, parsley, and dill into the dressing. Mix well and chill.
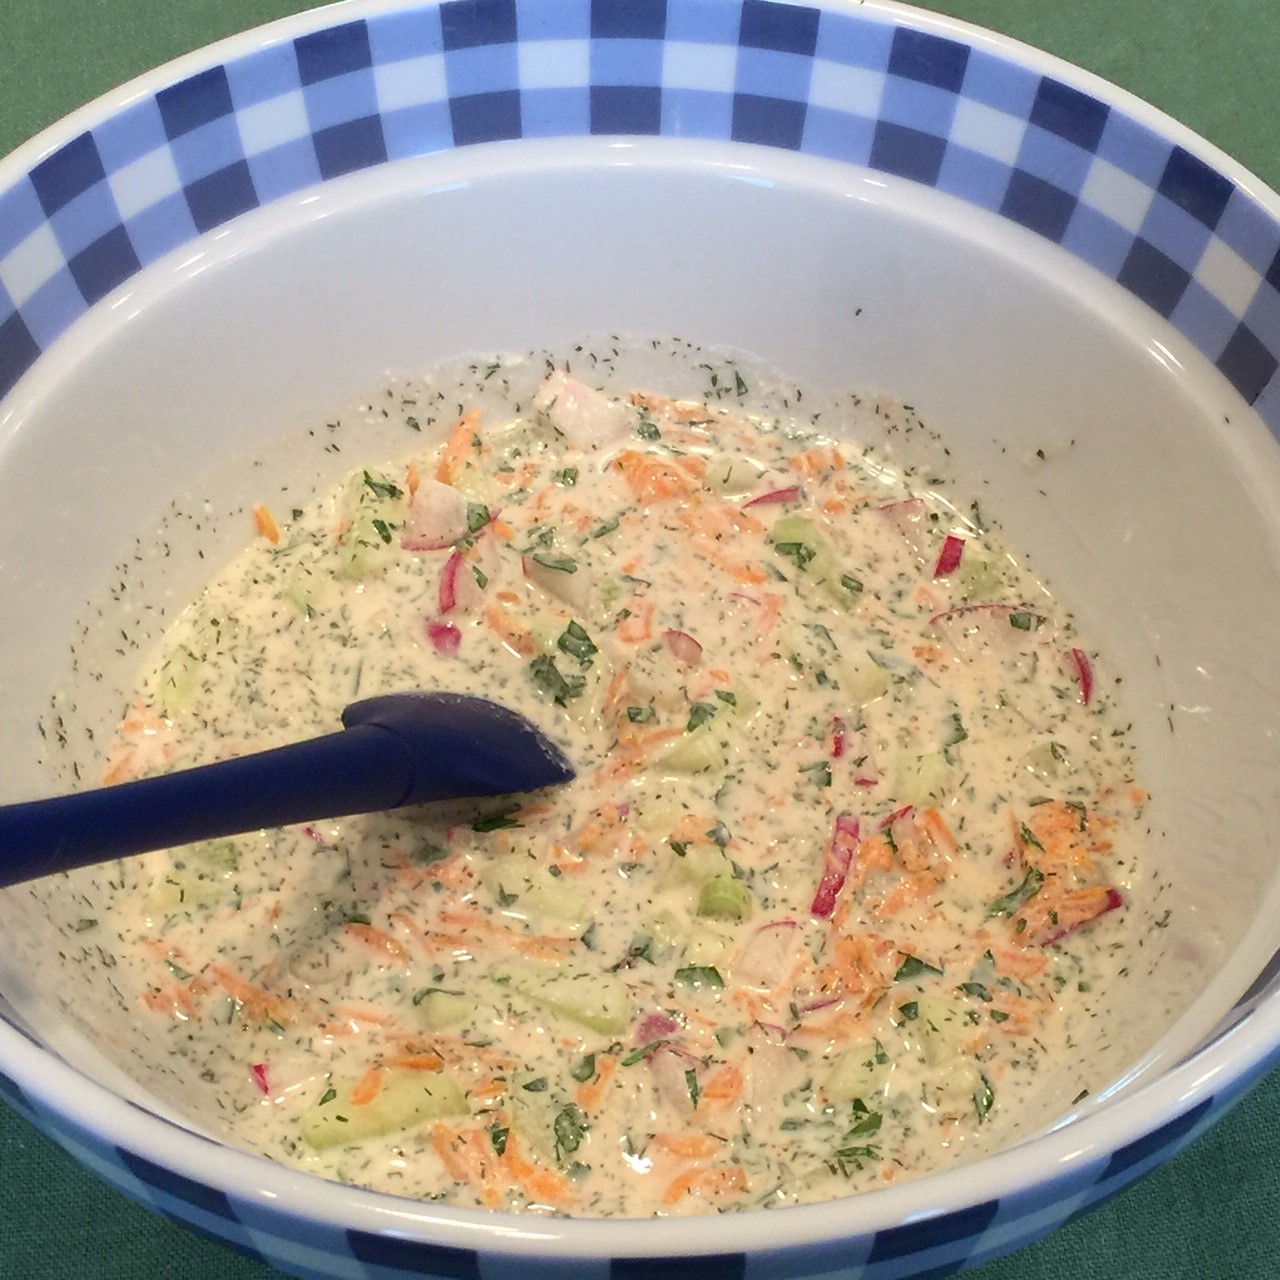 Cook pasta in salted water until just tender. Rinse with cold water to stop the cooking (don’t worry, it will continue to soften when mixed with the dressing) and drain. Mix into the dressing. Chill at least an hour to allow the flavors to penetrate the pasta.
