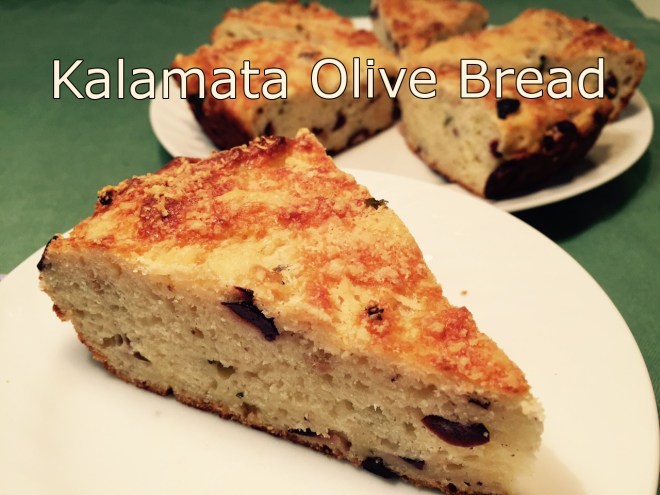
 Company was coming and I needed a bread – fast! I flipped through my America’s Test Kitchen cookbook and found this Kalamata Olive Bread recipe made in a cast iron skillet. (To those under 35, cookbooks are how people used to get recipes!)
I’m always looking for ways to use my cast iron skillet, so I tried it. The results? It was fast, it was beautiful, and, best of all, it was delicious.
NOTE: A cast iron skillet is imperative to producing the crisp top, side, and bottom.
IDEA FOR NEXT TIME: Include crumbled Feta cheese in the dough.
KALAMATA OLIVE BREAD
- 5 T extra virgin olive oil
- 3 cloves garlic, sliced in half lengthwise
- 12.5 oz (2½ cups) (355g) all-purpose flour
- 4 T fresh basil, chopped
- 1 T baking powder
- 1/2 tsp salt
- 4.5 oz (1½ cup) (130g), divided, Parmesan cheese, grated
- 1 cup (250 ml) milk (I used whole milk)
- 1/2 cup sour cream (or yogurt – I’ve used both)
- 1 egg
- 1 cup (115g) Kalamata olives, coarsely chopped
Preheat oven to 450º Fahrenheit.
In a 10″ cast iron skillet, heat olive oil over medium/high. Add in the garlic and sauté for about 30 seconds, just until fragrant. You want to flavor the oil but not burn the garlic. Remove pan from heat and let cool down while preparing the rest of the recipe.
In medium bowl, mix together the flour, basil, baking powder, salt, and 3.5 oz (1 cup) Parmesan.
In a large mixing bowl, beat the egg to break it up. Whisk in the milk and sour cream.
Remove garlic from skillet and mince (I use a garlic press). Add the garlic to the egg mixture. Stir in all but 1 T olive oil. Pour in the dry ingredients and blend until nearly all the flour is incorporated. Add in the Kalamata olives and gently finish blending. DON’T OVERMIX OR THE BREAD WILL BE TOUGH.
Heat remaining 1 T oil in skillet. Turn off heat but leave pan on burner. Pour in batter (it will be thick), smoothing top. Sprinkle on remaining 1 oz (1/2 cup) Parmesan.
Bake at 450º F for 20 minutes, until top is golden brown. Remove from oven and let cool 5 minutes in skillet. Remove to wire rack. I like to serve it as soon as it’s cool enough to eat.
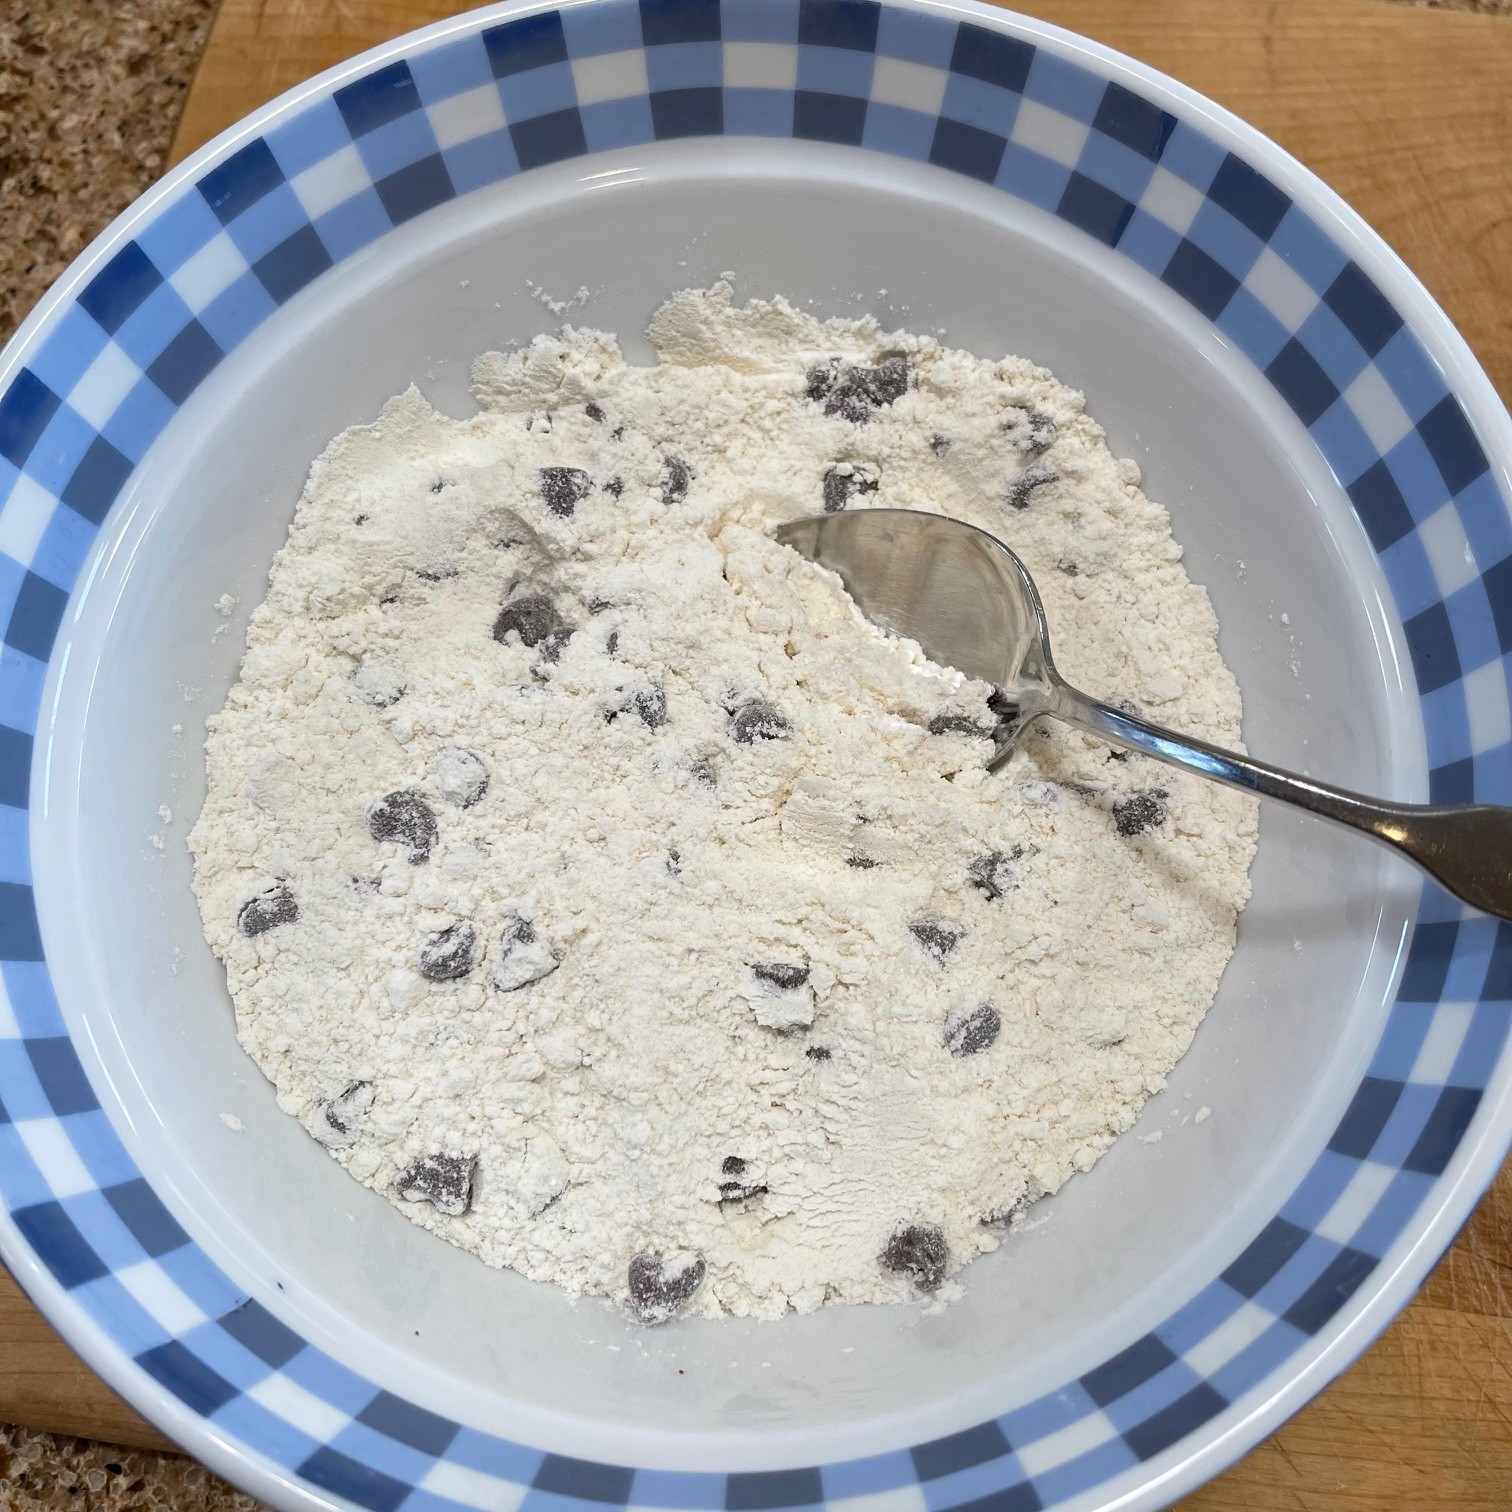
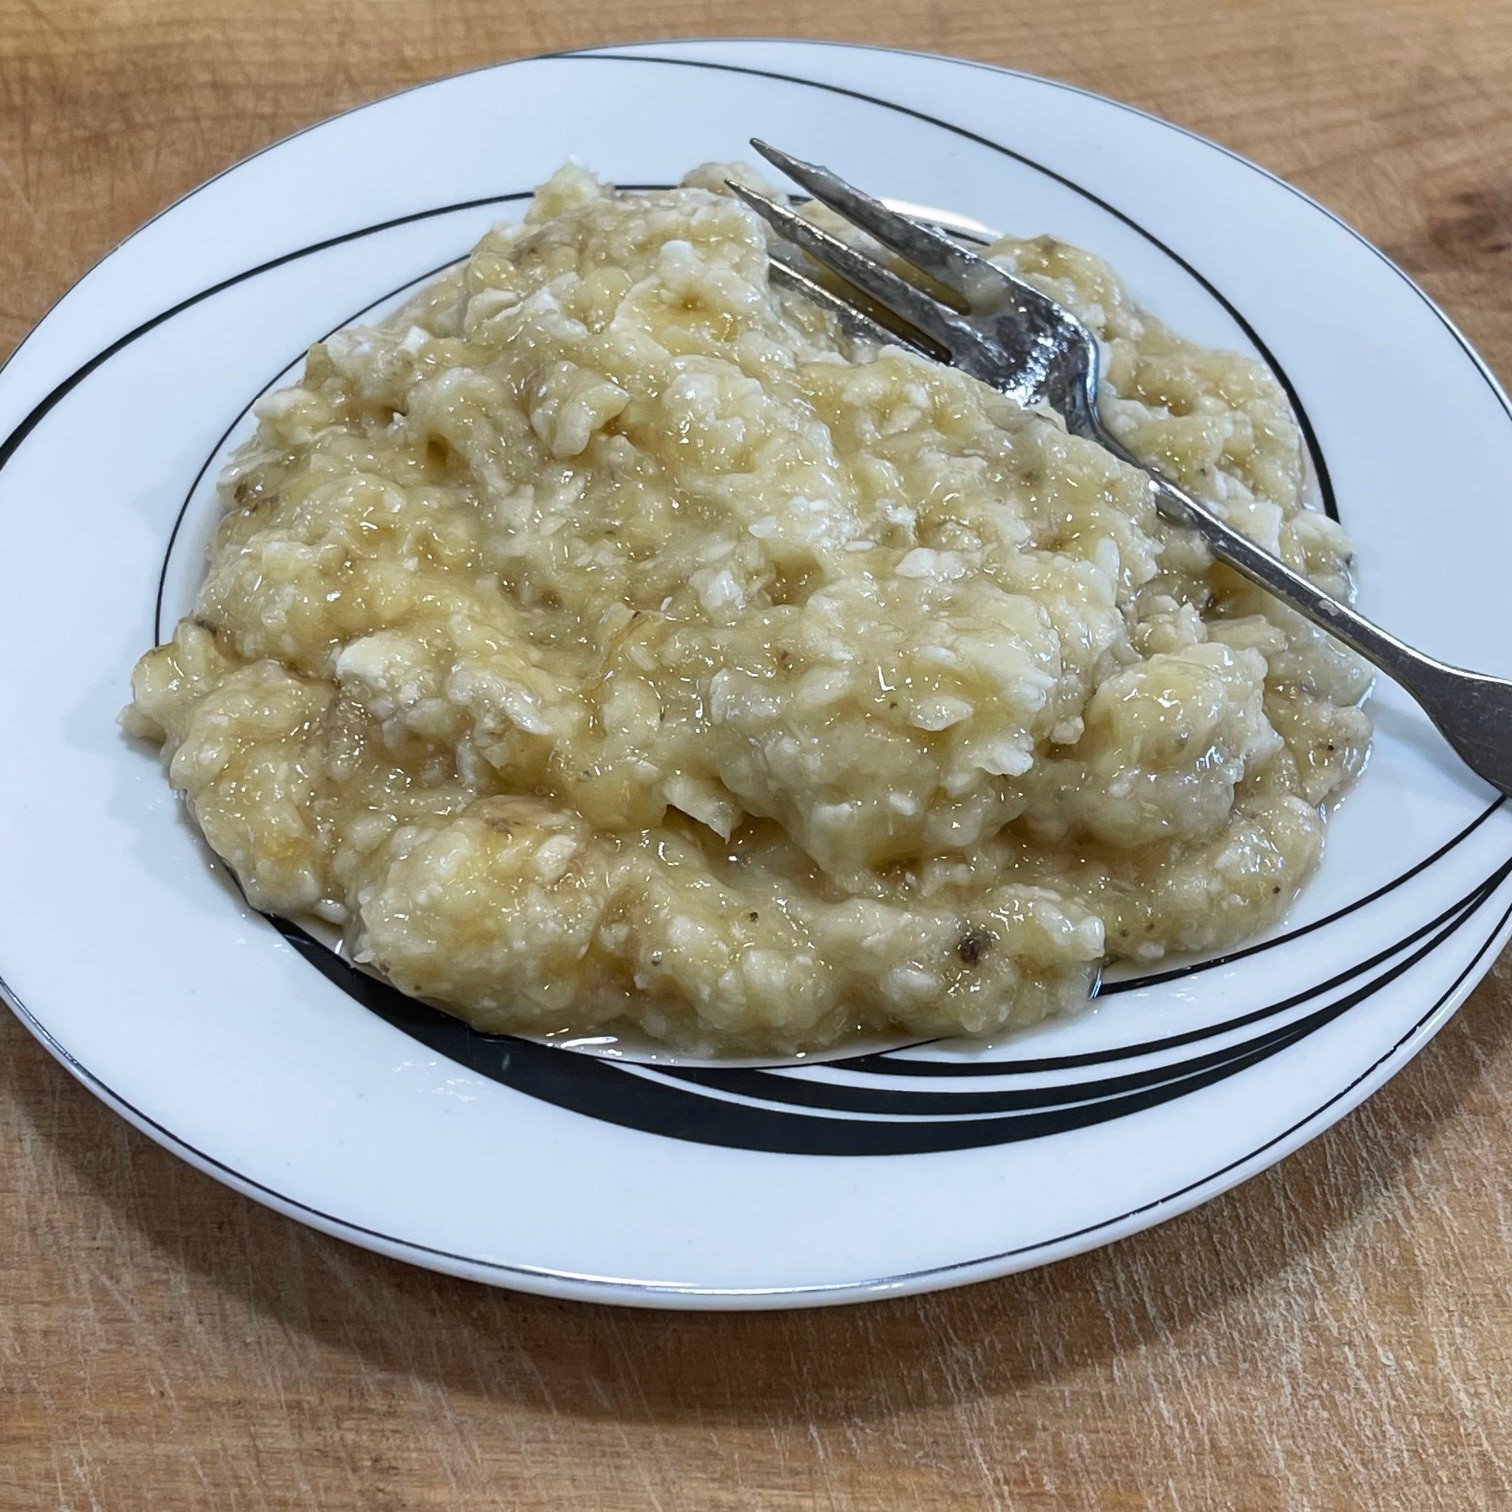
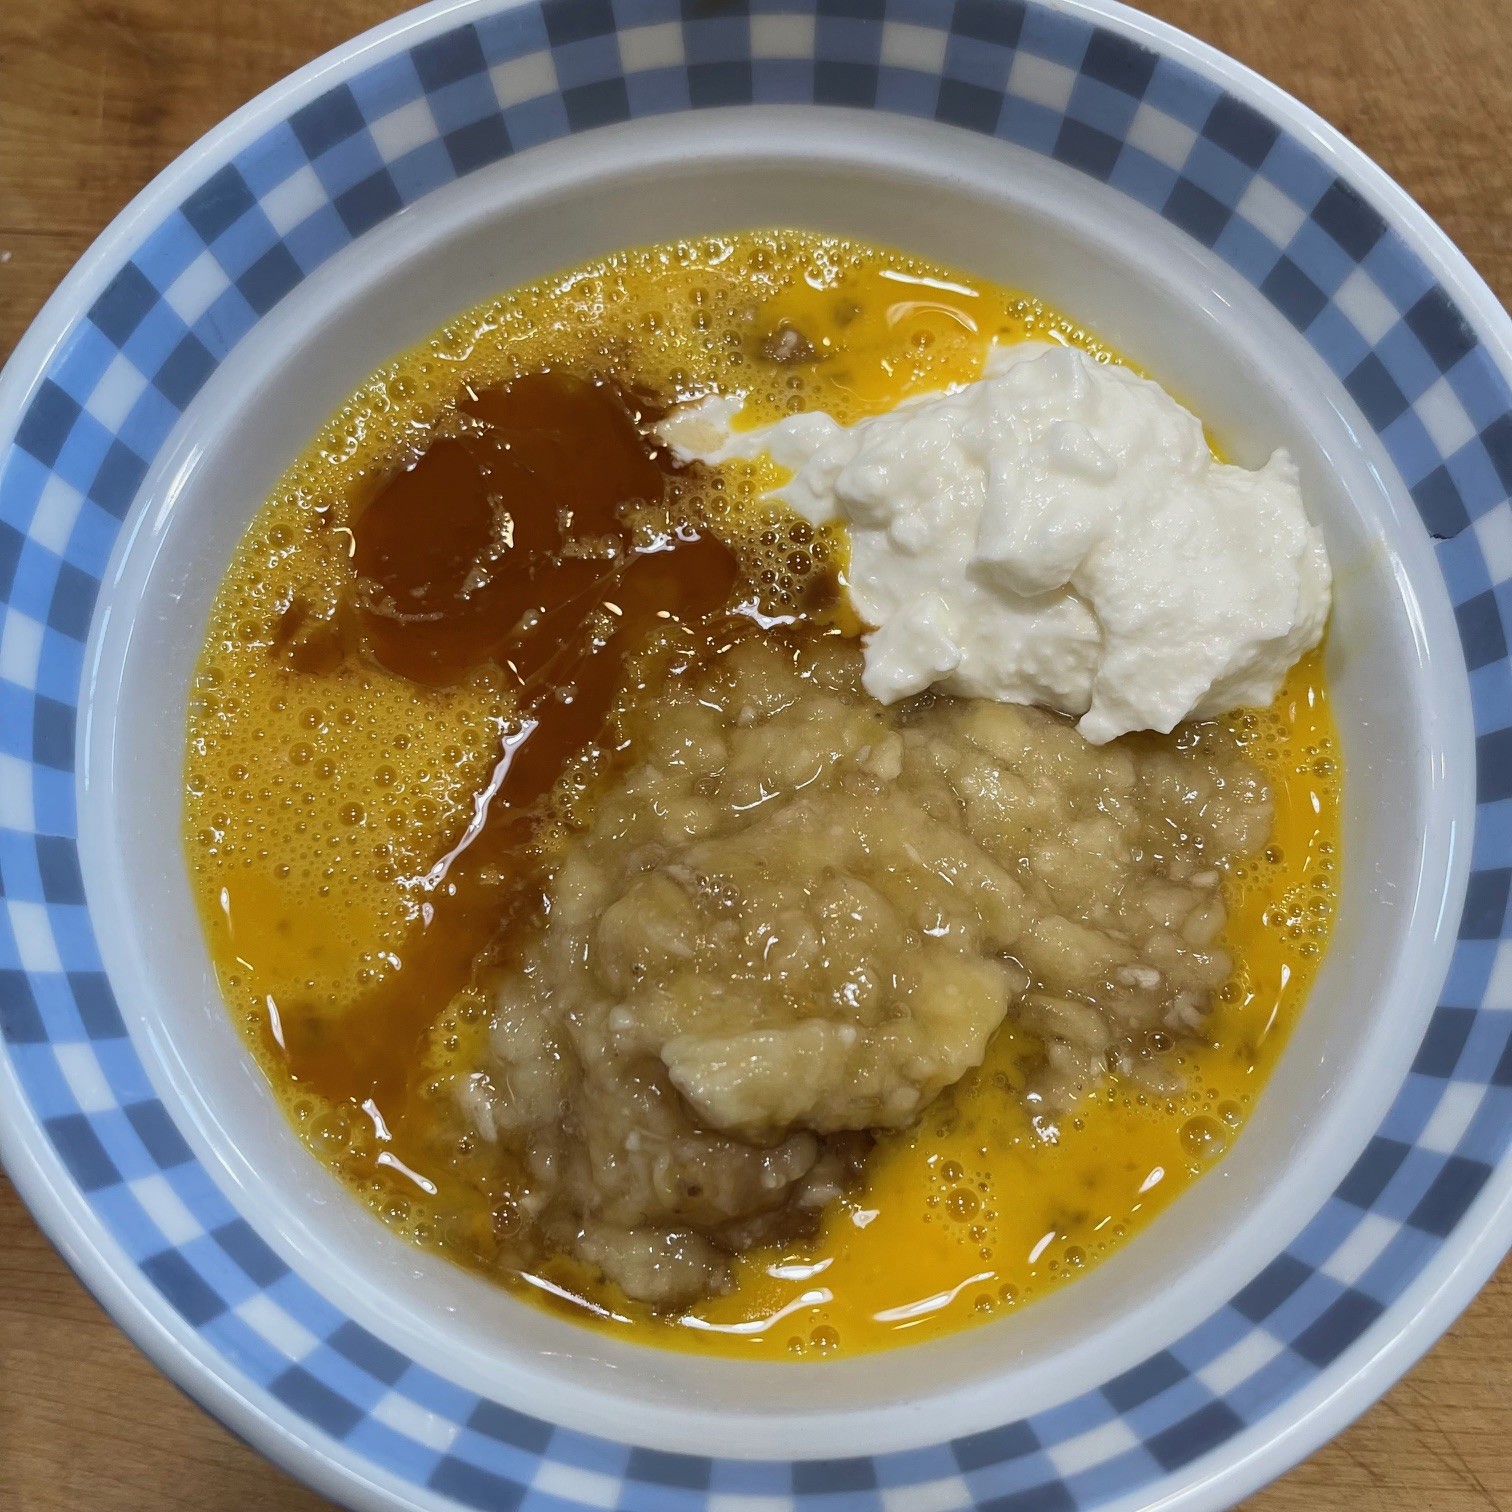
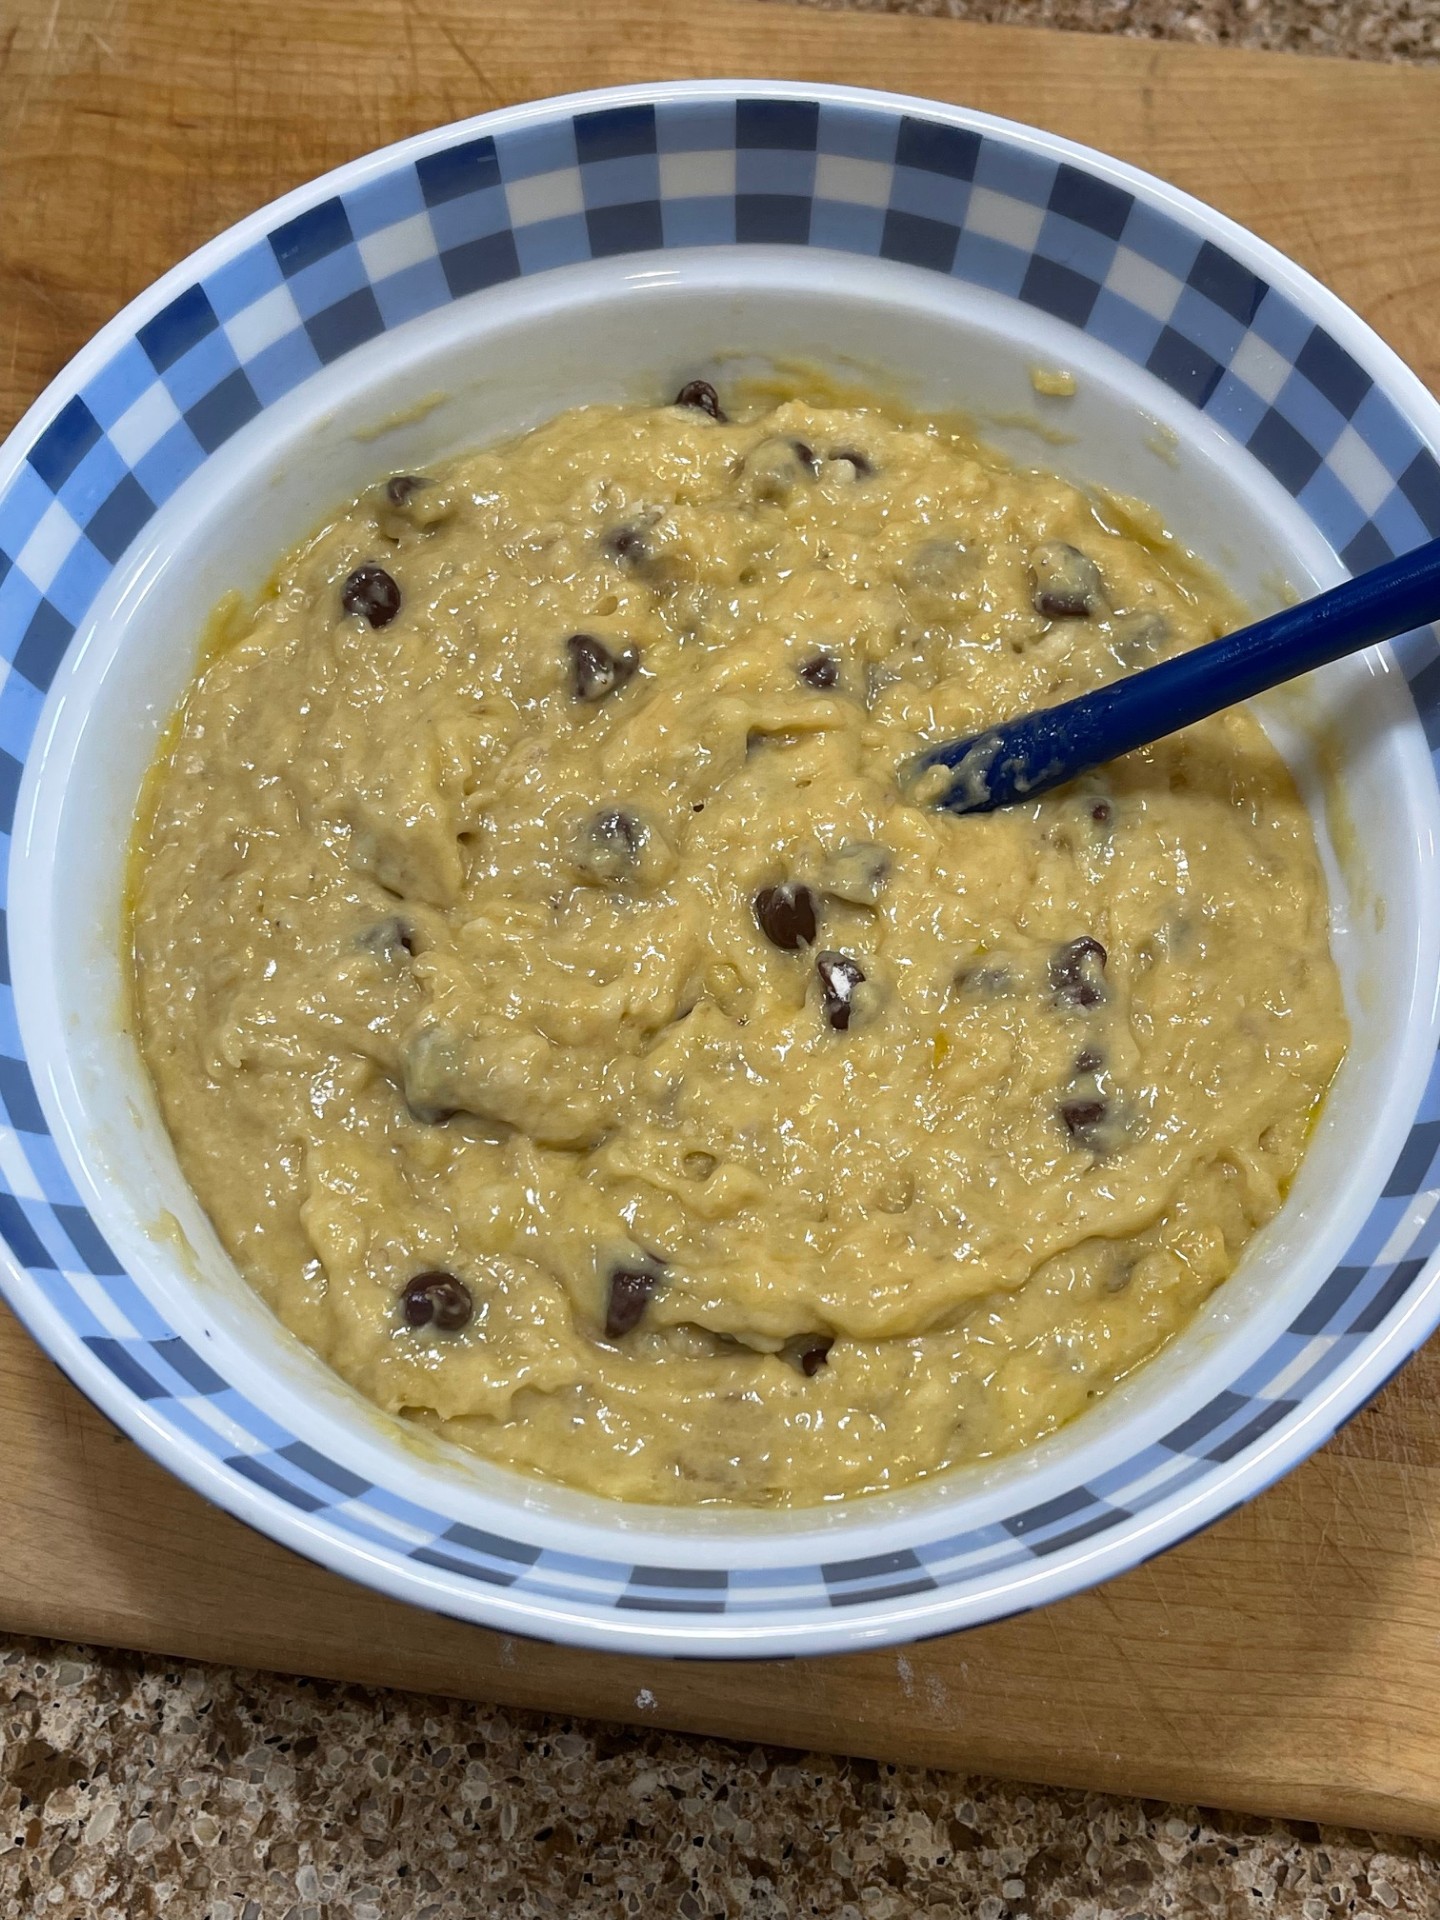
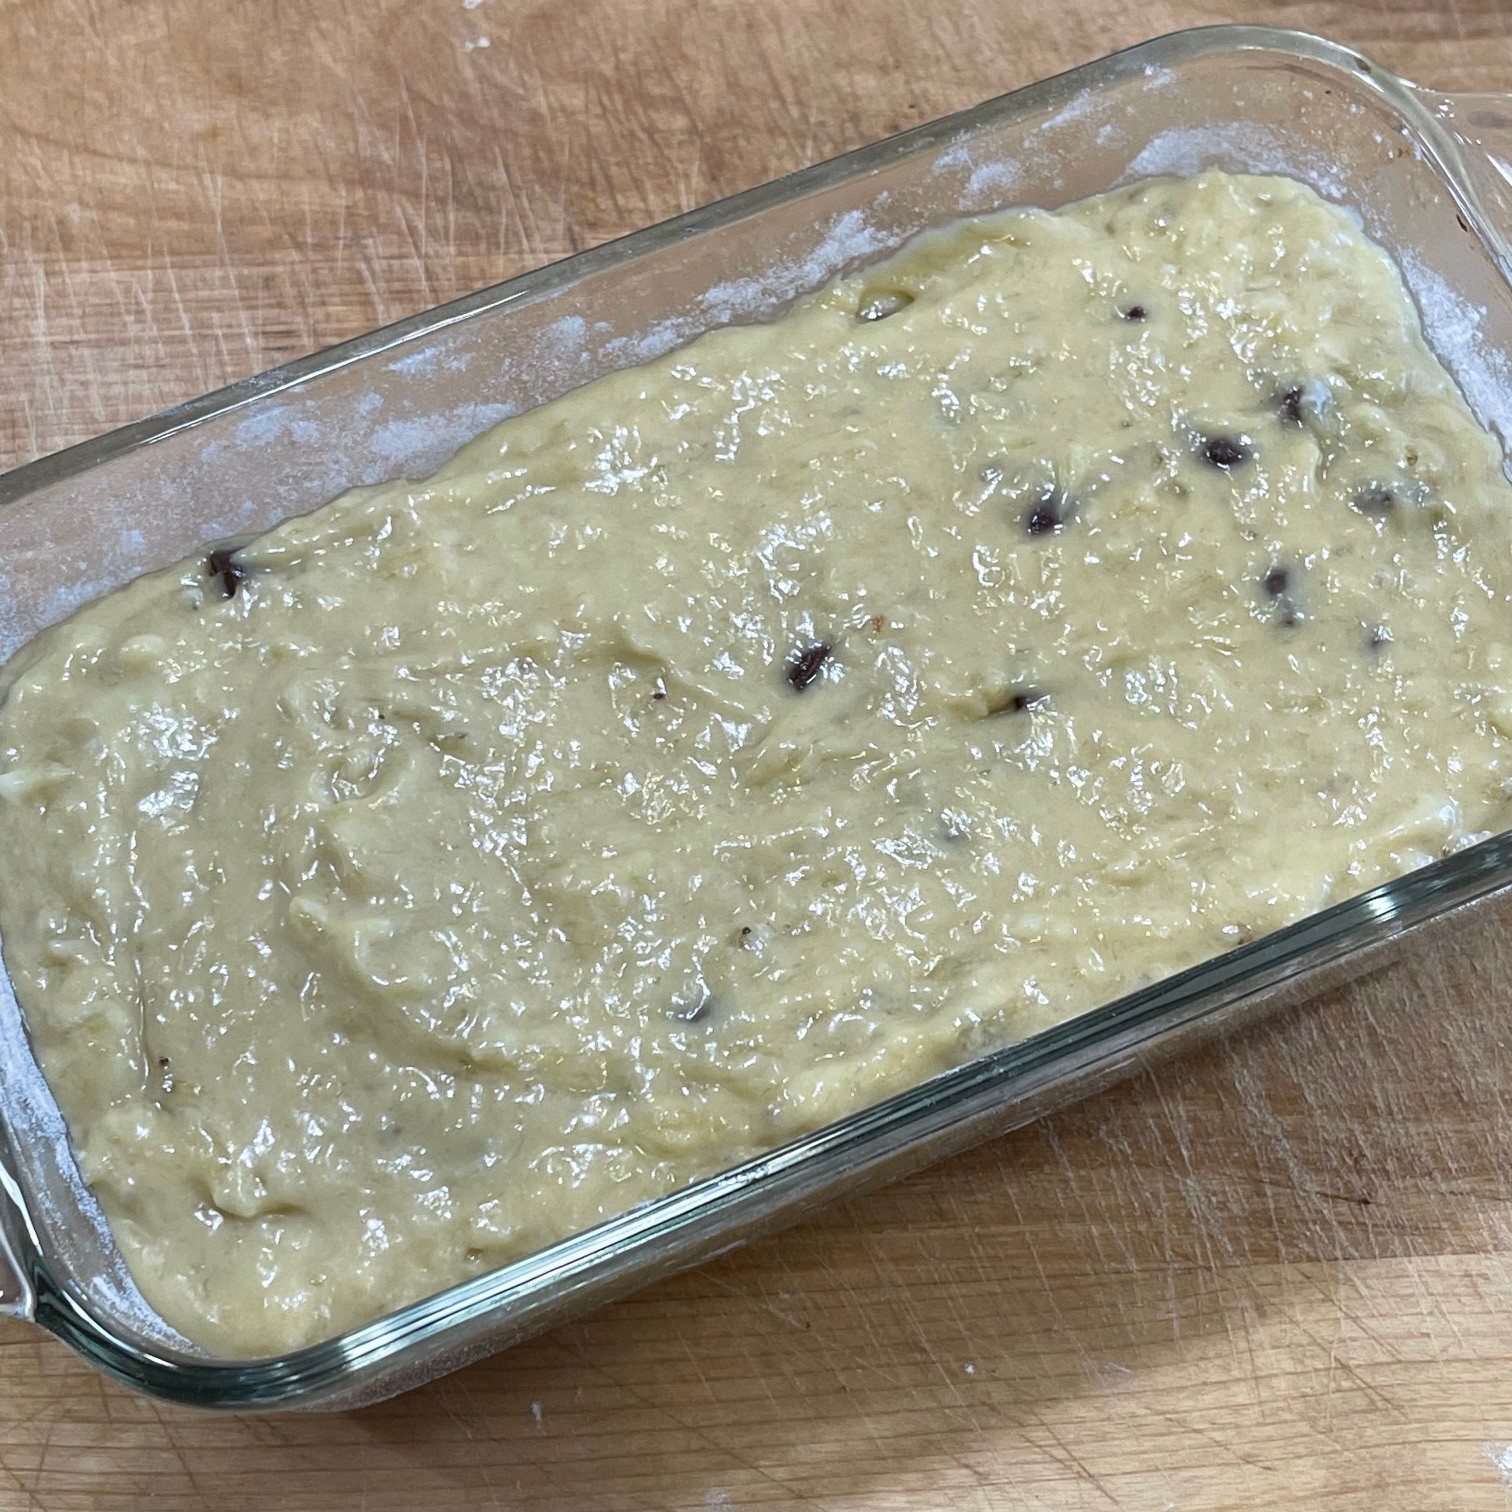
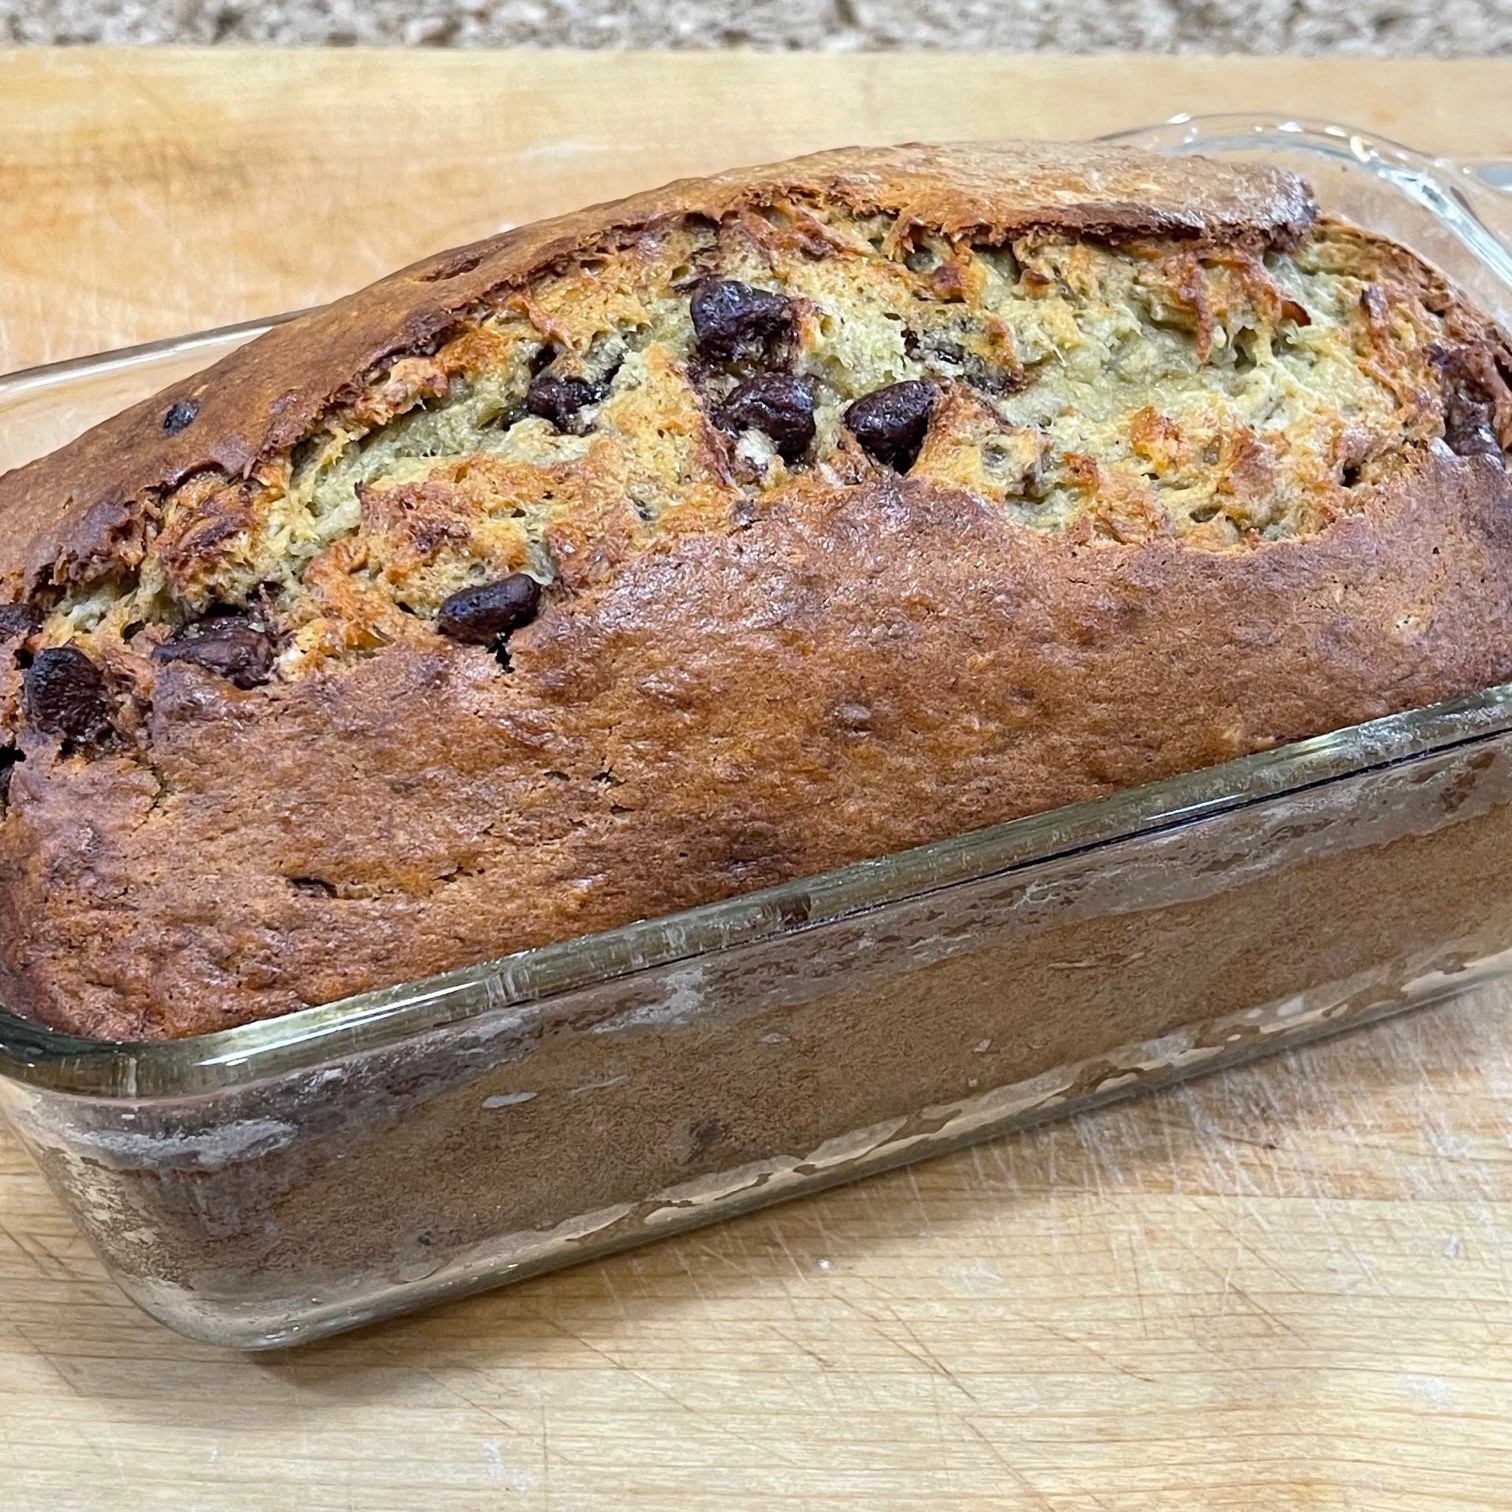
 On its own, banana bread is delicious. Add in chocolate chips and you really up your game.
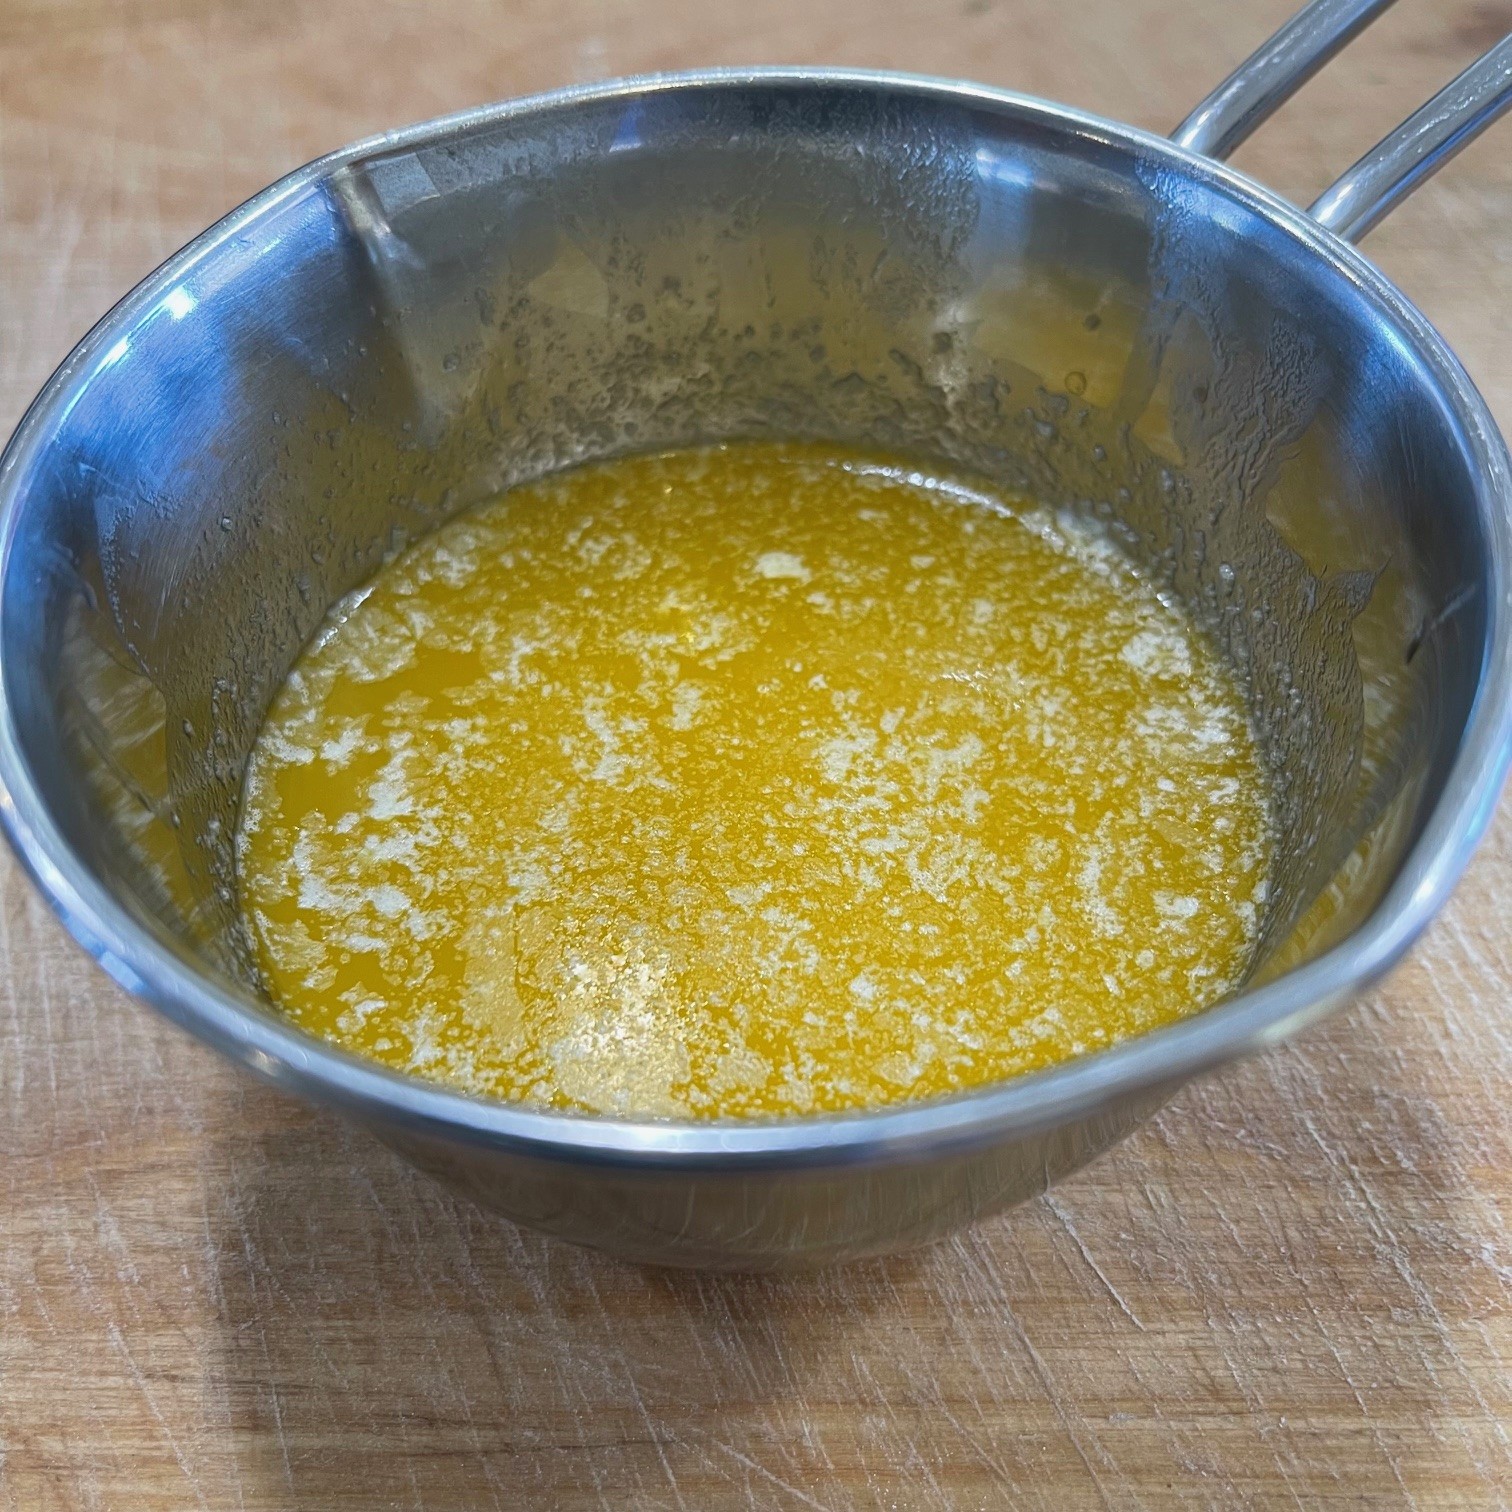


 One generally associates fruit salads with summer. But sometimes a heavy winter meal needs the fresh sweetness that fruit provides.
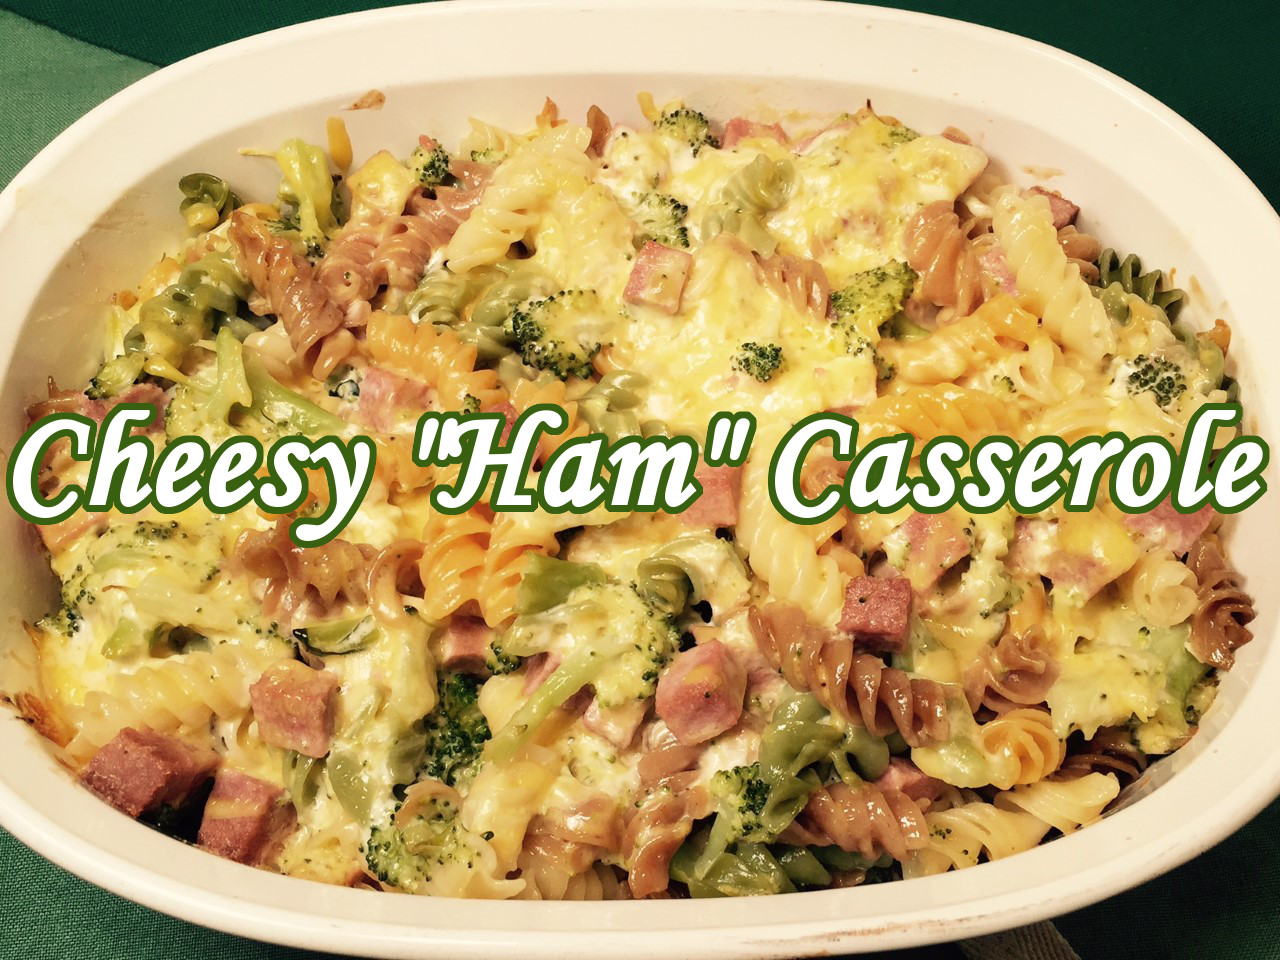 Being the mother of picky eaters, I’ve struggled to find dishes my boys would willingly eat. CHEESY “HAM” CASSEROLE became an instant favorite in our home. A bonus is that it’s loaded with broccoli, so even if they try to pick out the larger pieces, they’re still ingesting the smaller bits. (Hey, I’ll take what I can get!)
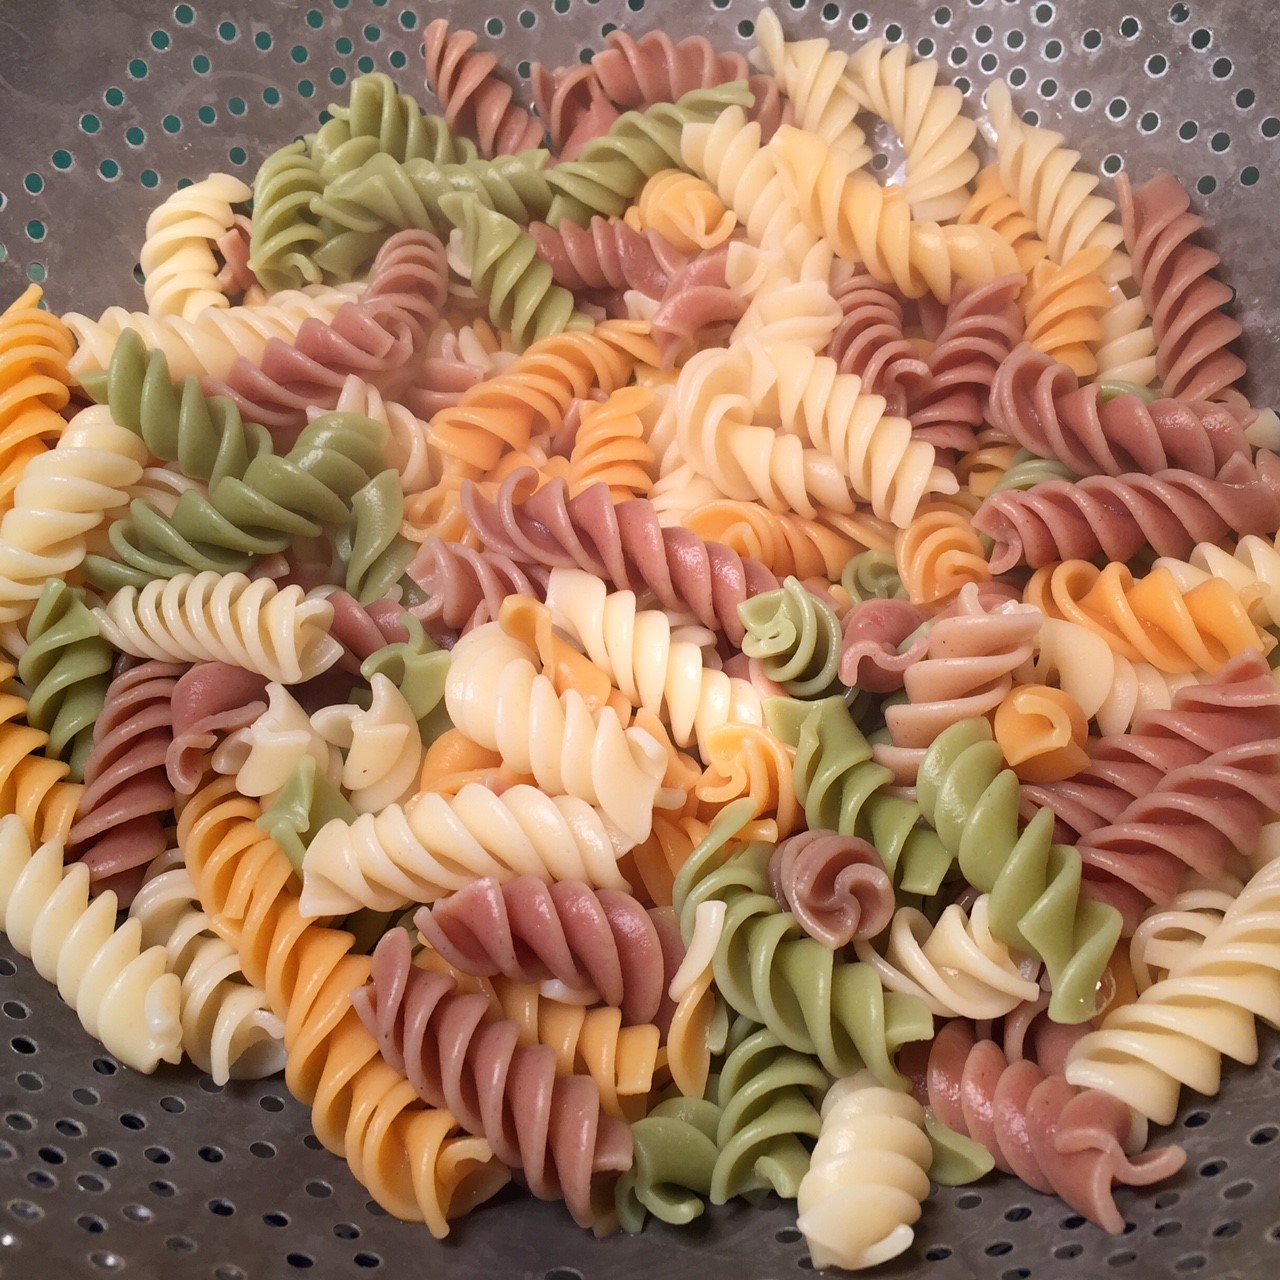 NOTE: If you’re using colored pasta, such as Wacky Mac that I use, you’ll notice that the color, unfortunately, fades with cooking. (See photo below). I don’t think there’s anything that can be done.
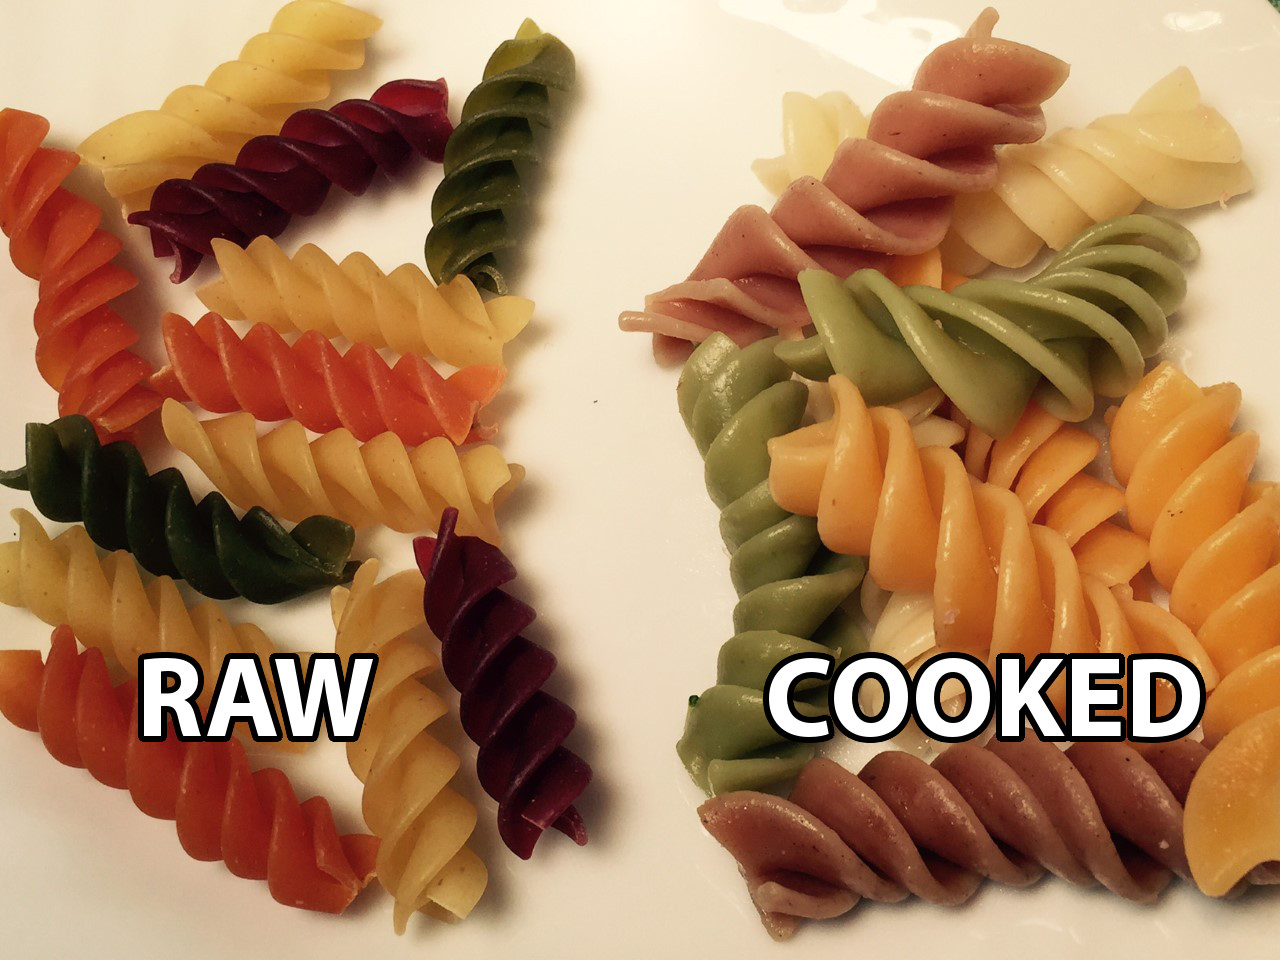 While the pasta is cooking, steam the broccoli. Like the noodles, you don’t want it overcooked or it will be mushy. Just steam it for about 5 minutes.
 While the pasta and broccoli are cooking, cube the “ham” into bite-sized pieces.
 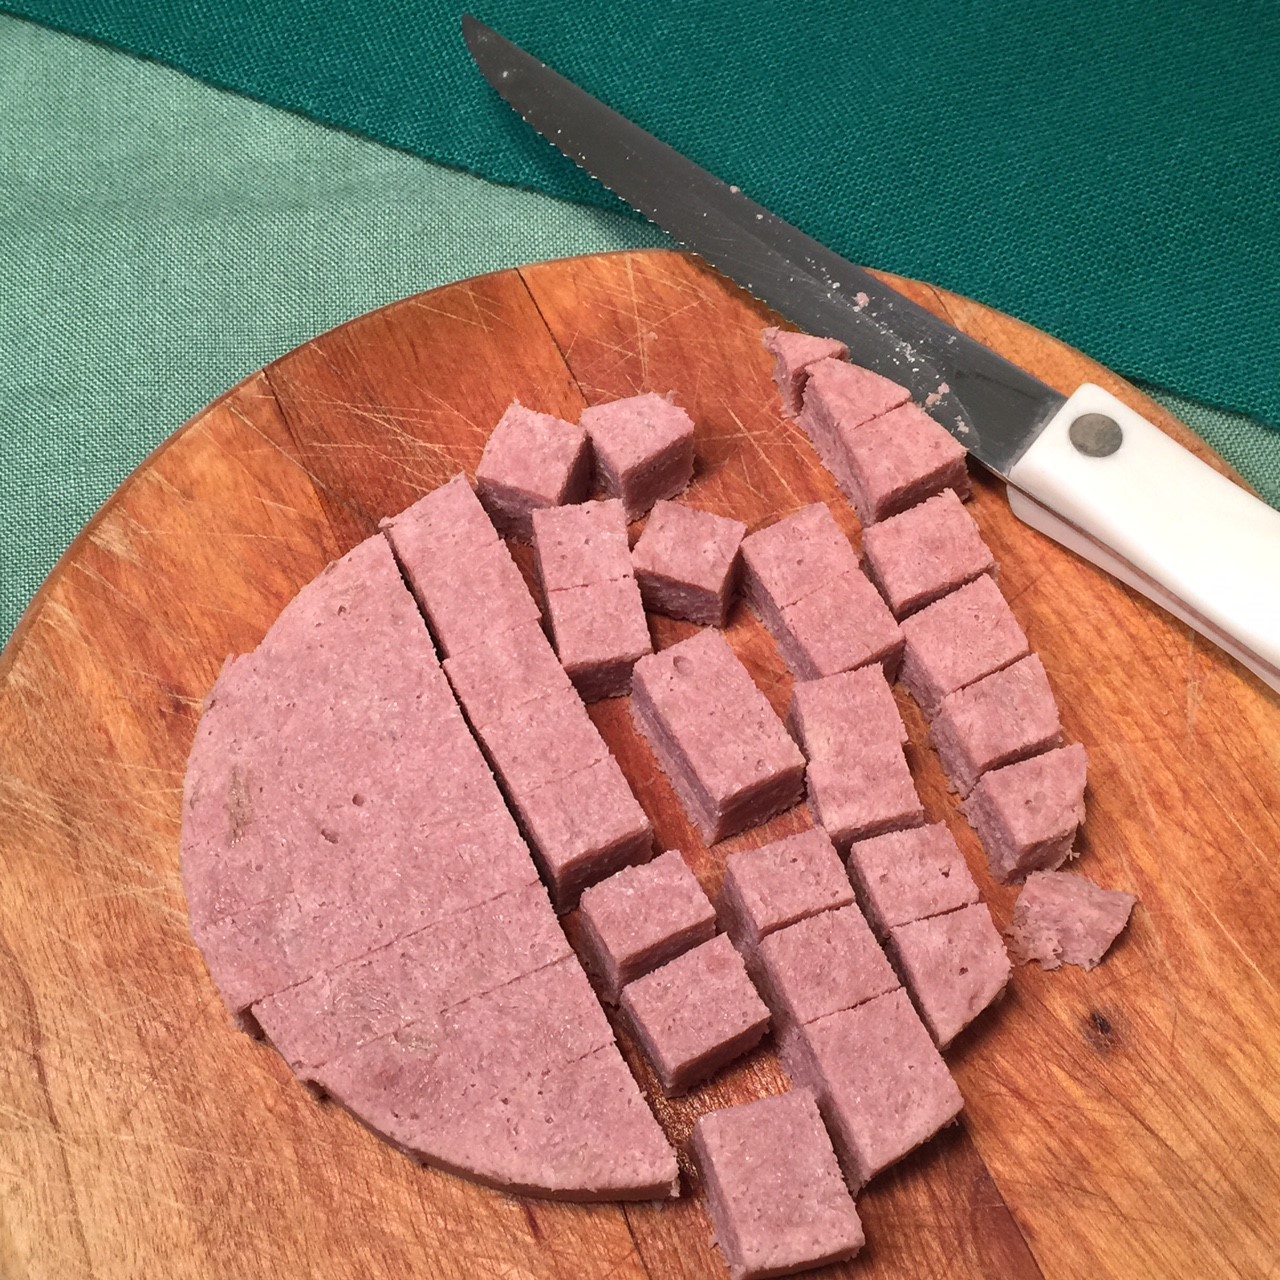 To save dirtying a bowl, use the empty pasta pot to combine the noodles, broccoli, “ham”, mayonnaise, milk, and 2½ cups (139g OR 5 oz) of the cheese. Stir gently, but thoroughly. Pour into a 2.5 quart casserole and sprinkle the remaining 1/2 cup (35g OR 1 oz) cheese on top. Cover and bake at 350º Fahrenheit for 30 minutes.
 Several months ago I jumped onboard the cast iron craze and bought a 10″ skillet that I found at a thrift store. I absolutely love it, and my fear of keeping it seasoned was for nothing. It’s quite easy, really. After washing, all one has to do is rub a bit of vegetable oil over the surface, then place on the stove using a medium/high flame, letting it dry for 1 minute.
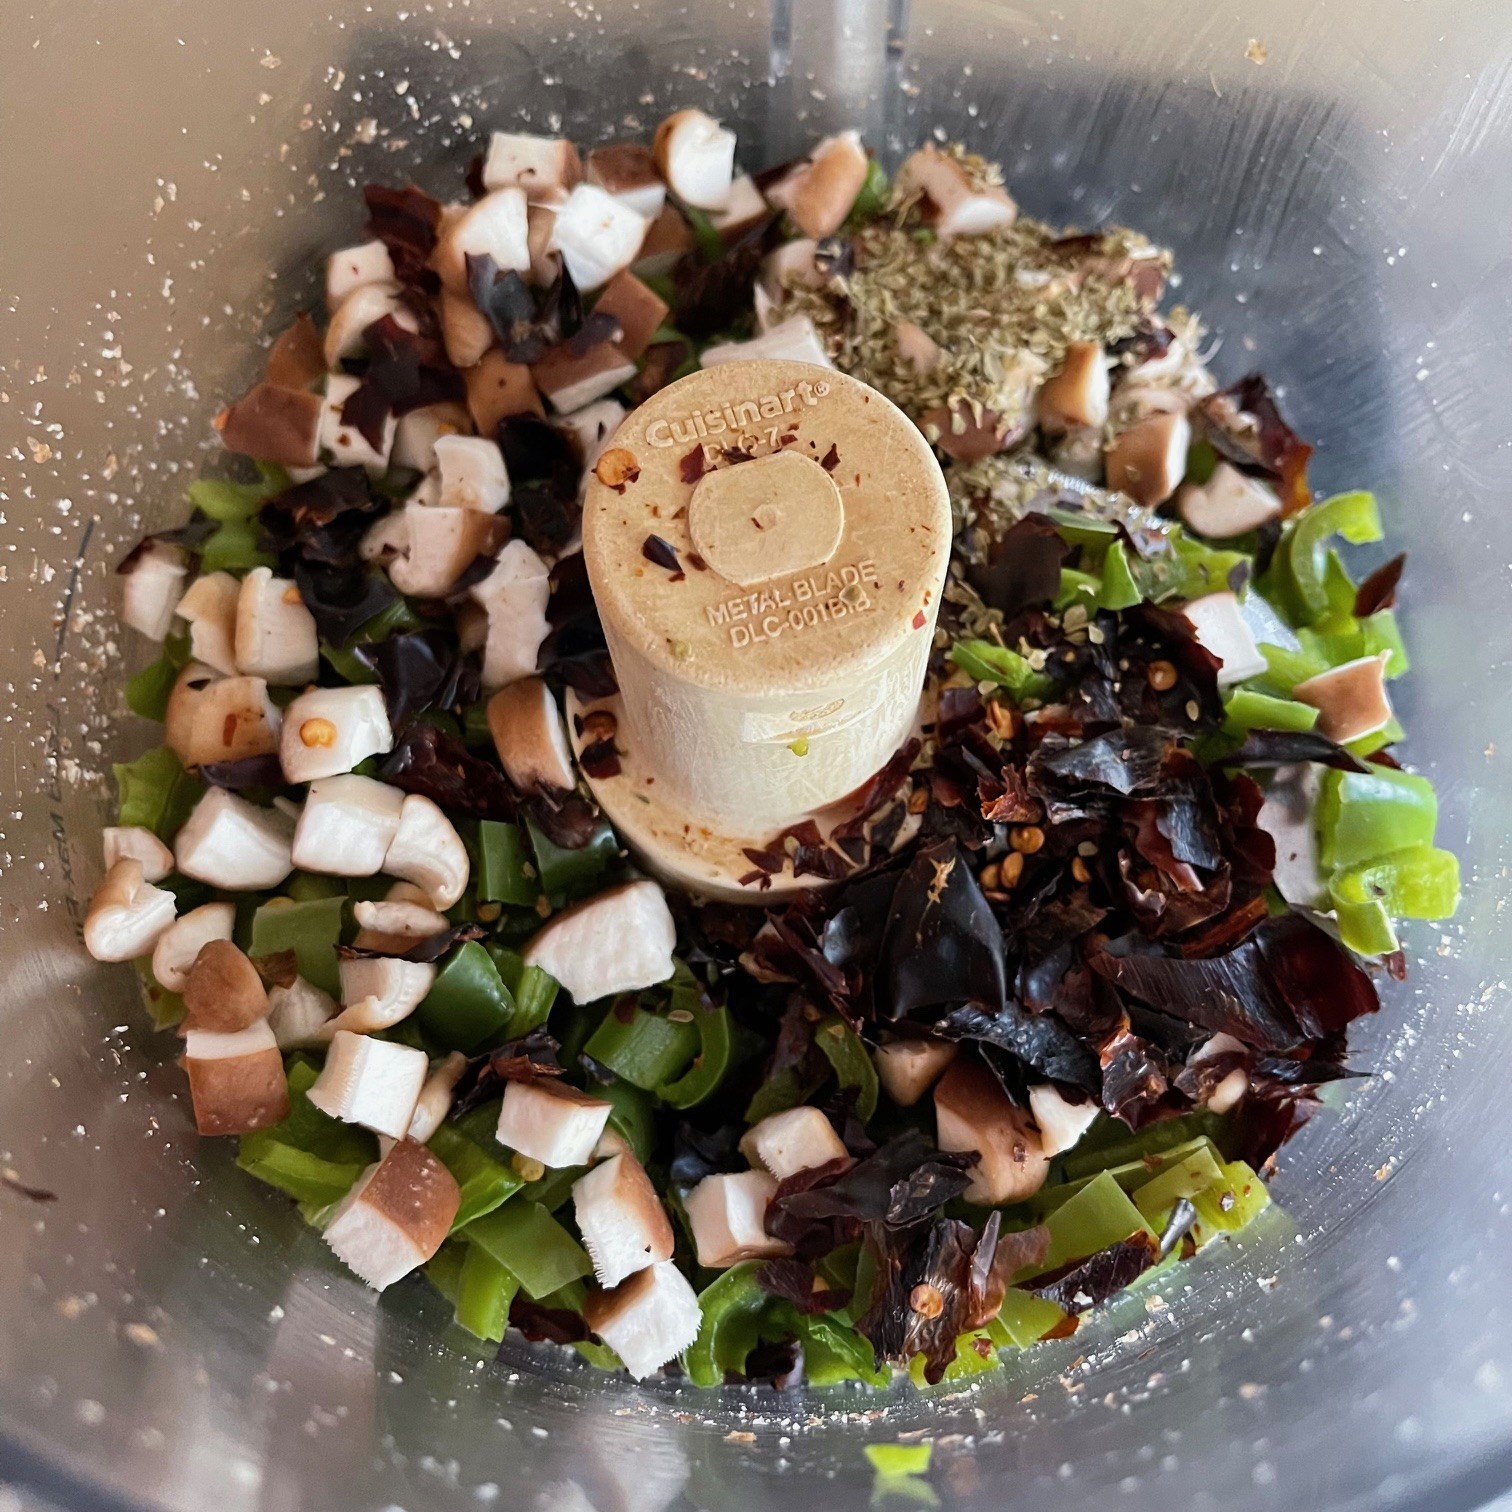
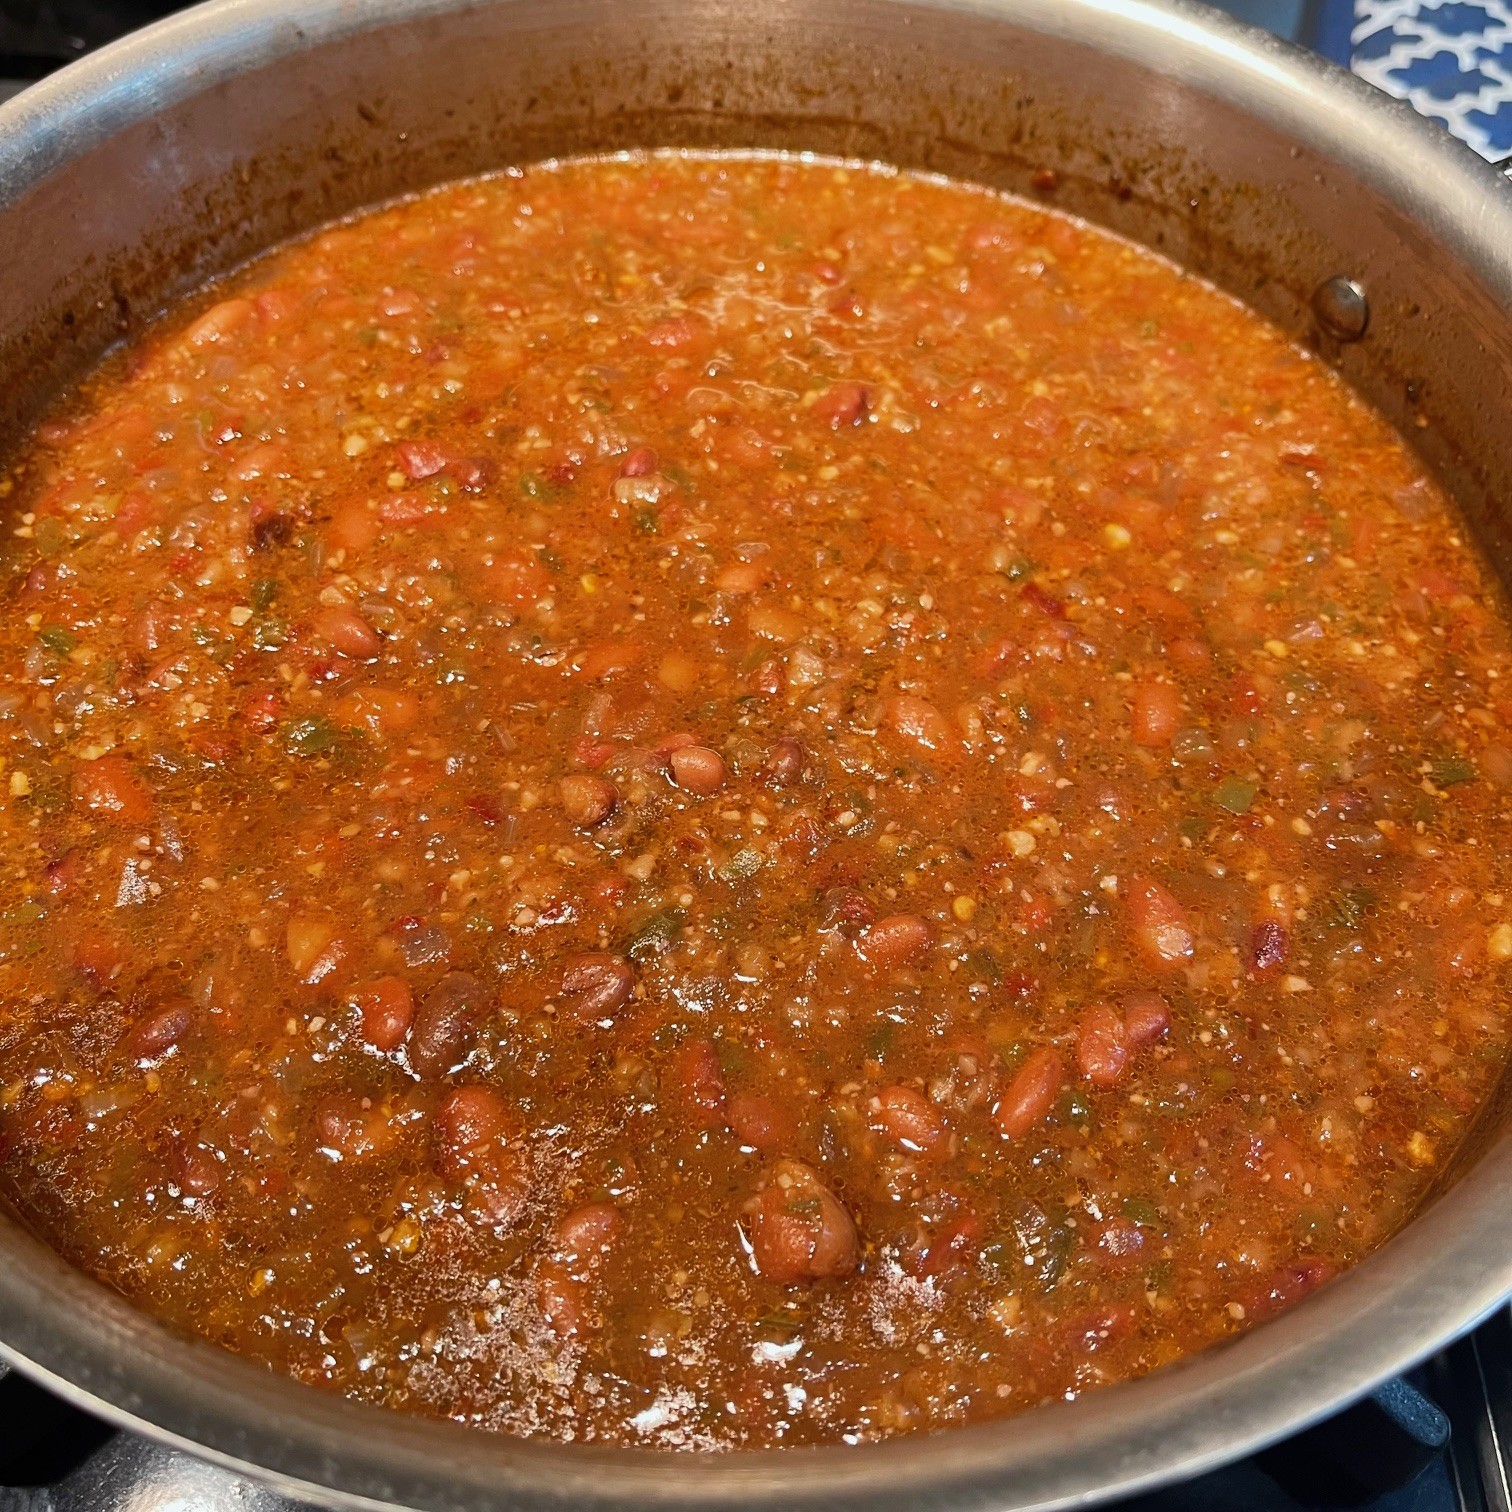
 I recently watched an America’s Test Kitchen episode which featured a vegetarian chili recipe. Years ago, I developed my own
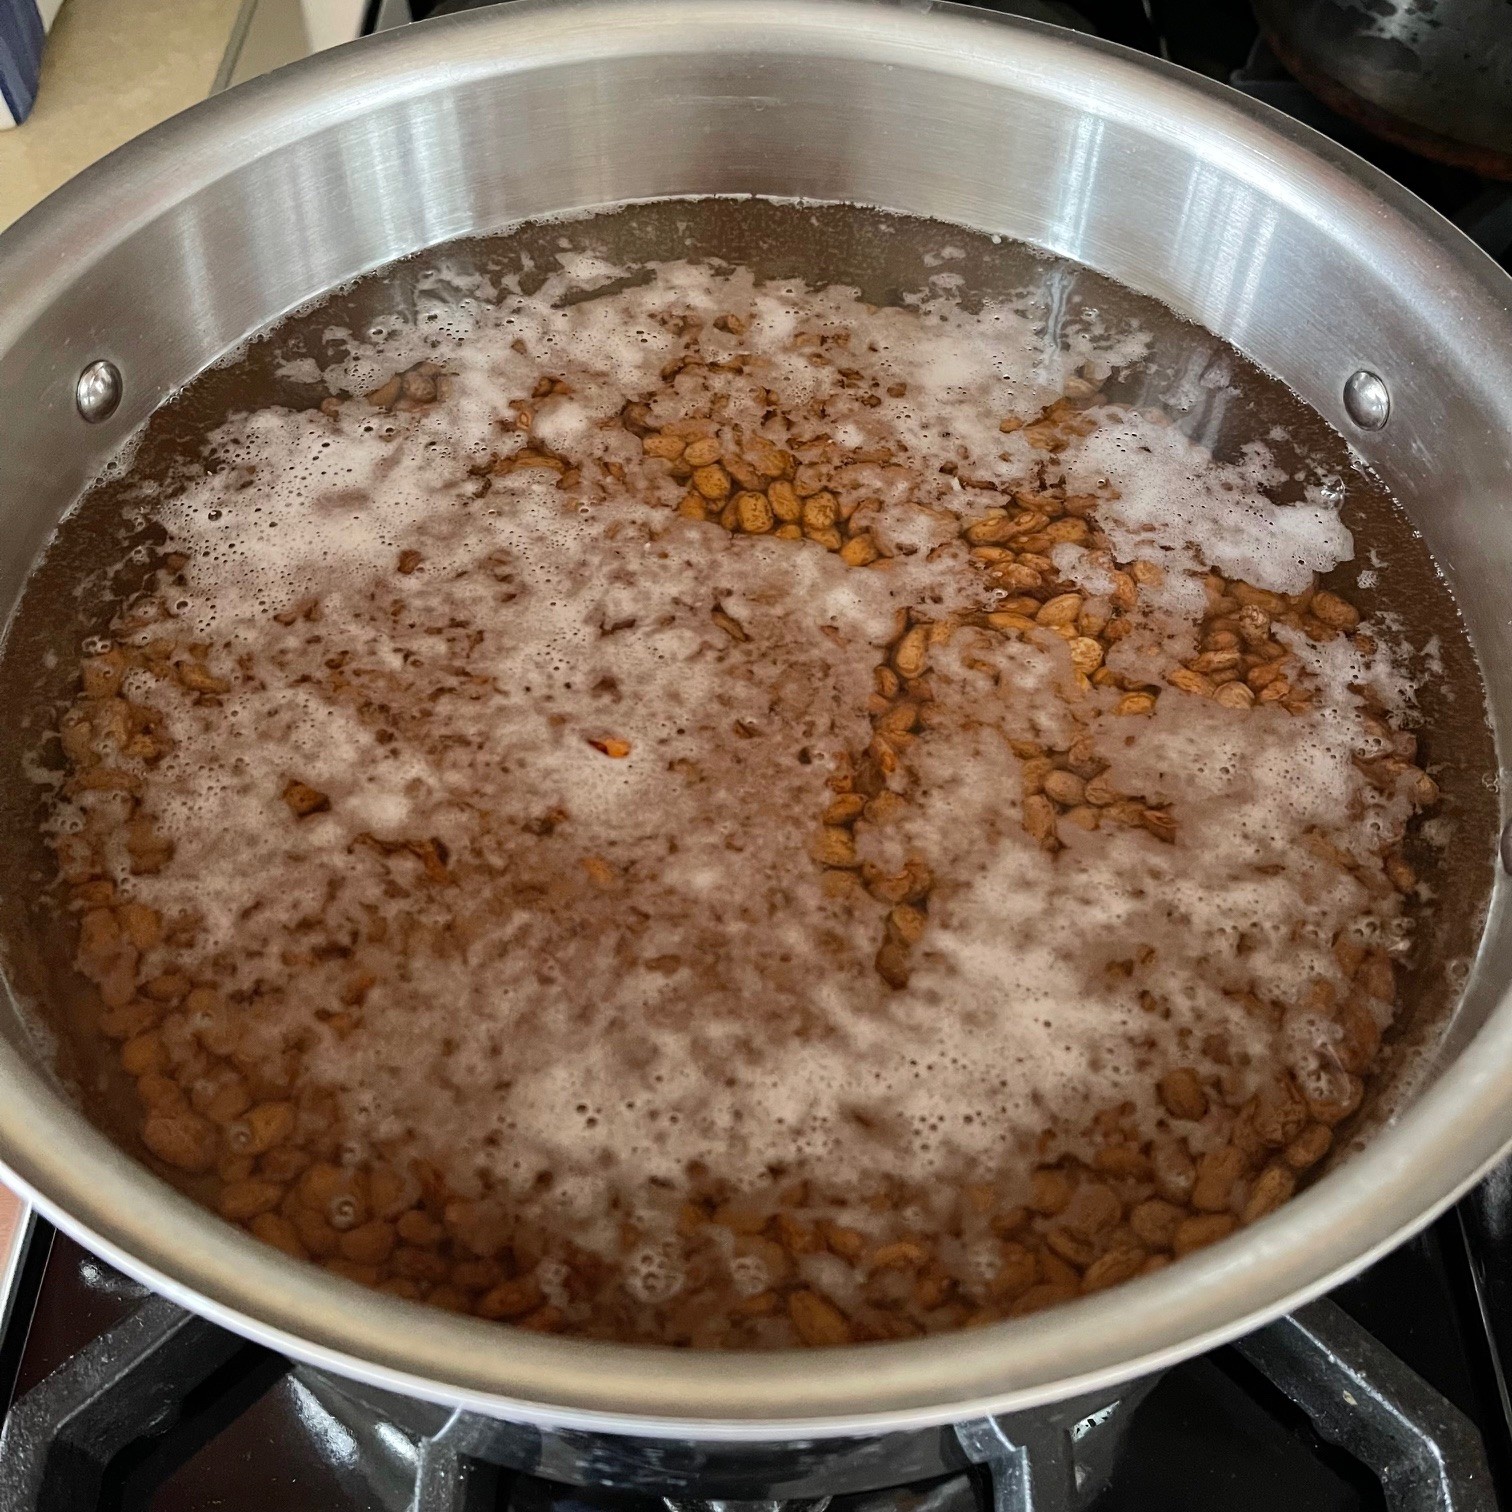


 It seemed appropriate to post a Tres Leches Cake recipe for Three Kings Day, (aka, the Epiphany). Tres Leches (three milks), three kings. Yeah, okay – it may be a stretch. But it’s still a delicious recipe and you could certainly serve it on the Epiphany…or anytime, for that matter.
 The hectic holidays are done. Time to relax, but there’s dinner to make. No problem!
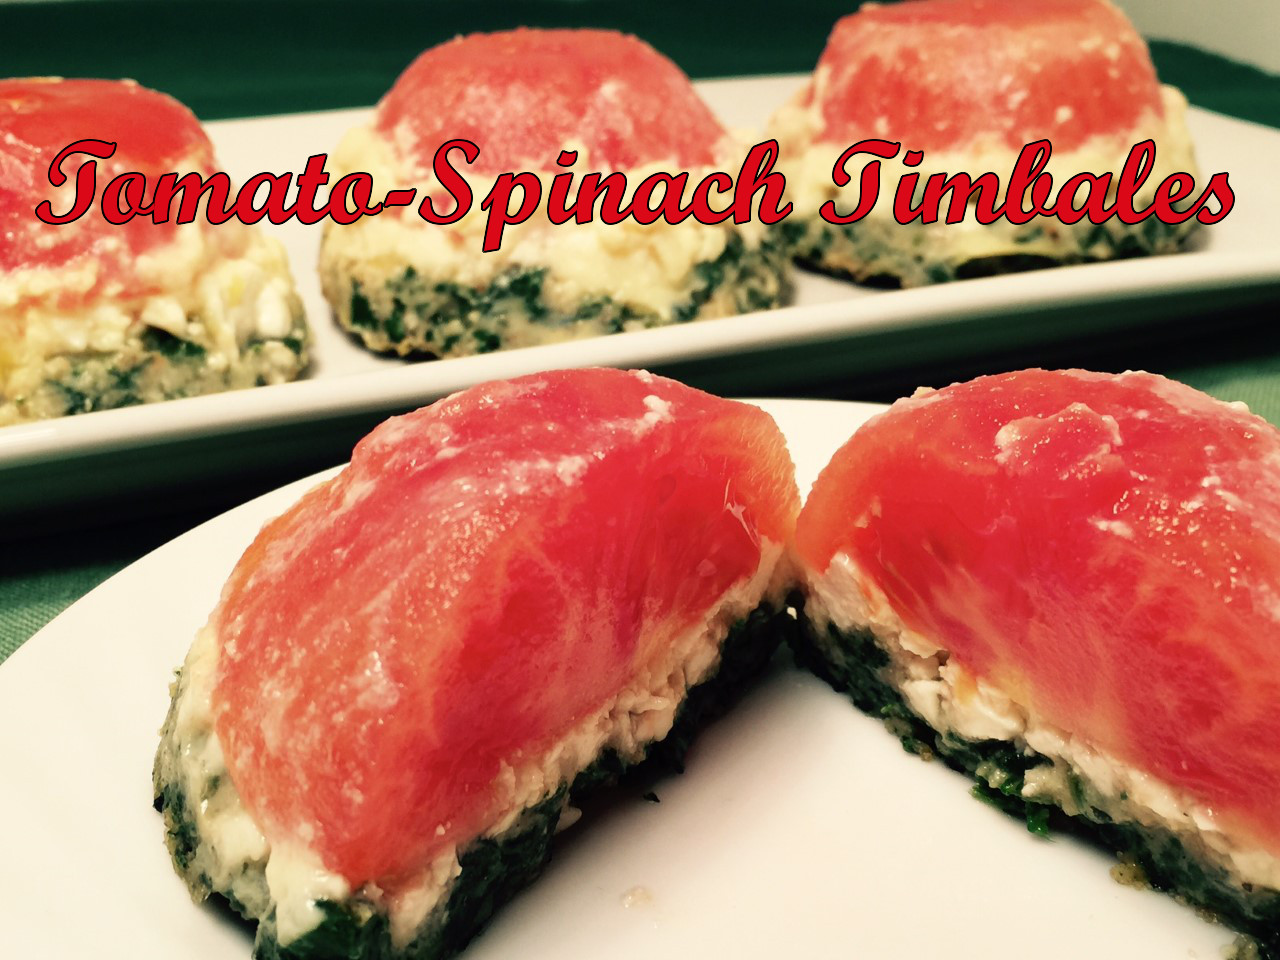 During the holiday season it’s always fun to make festive foods. I created TOMATO-SPINACH TIMBALE with a little trepidation since December is NOT tomato season. While supermarket tomatoes generally lack flavor, even during peak times, my worry was for nothing, since the cooking process plus the flavors of the other ingredients brought out the best in these red beauties.
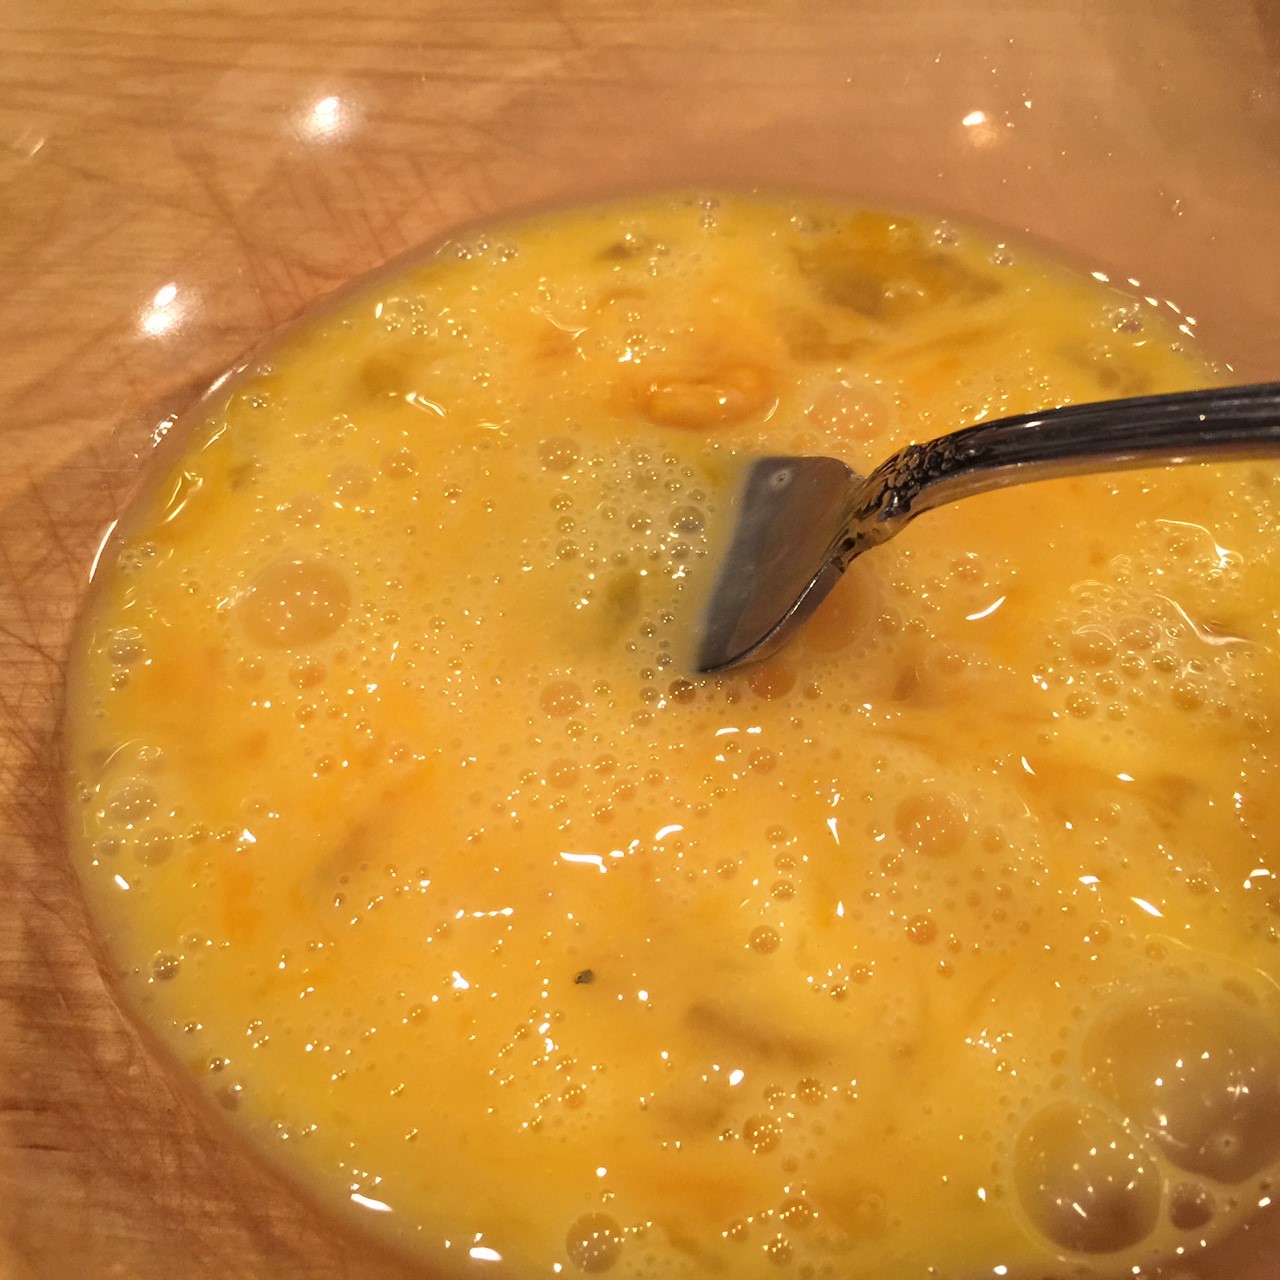 Add butter, milk, bread crumbs, salt, and dried minced onion.
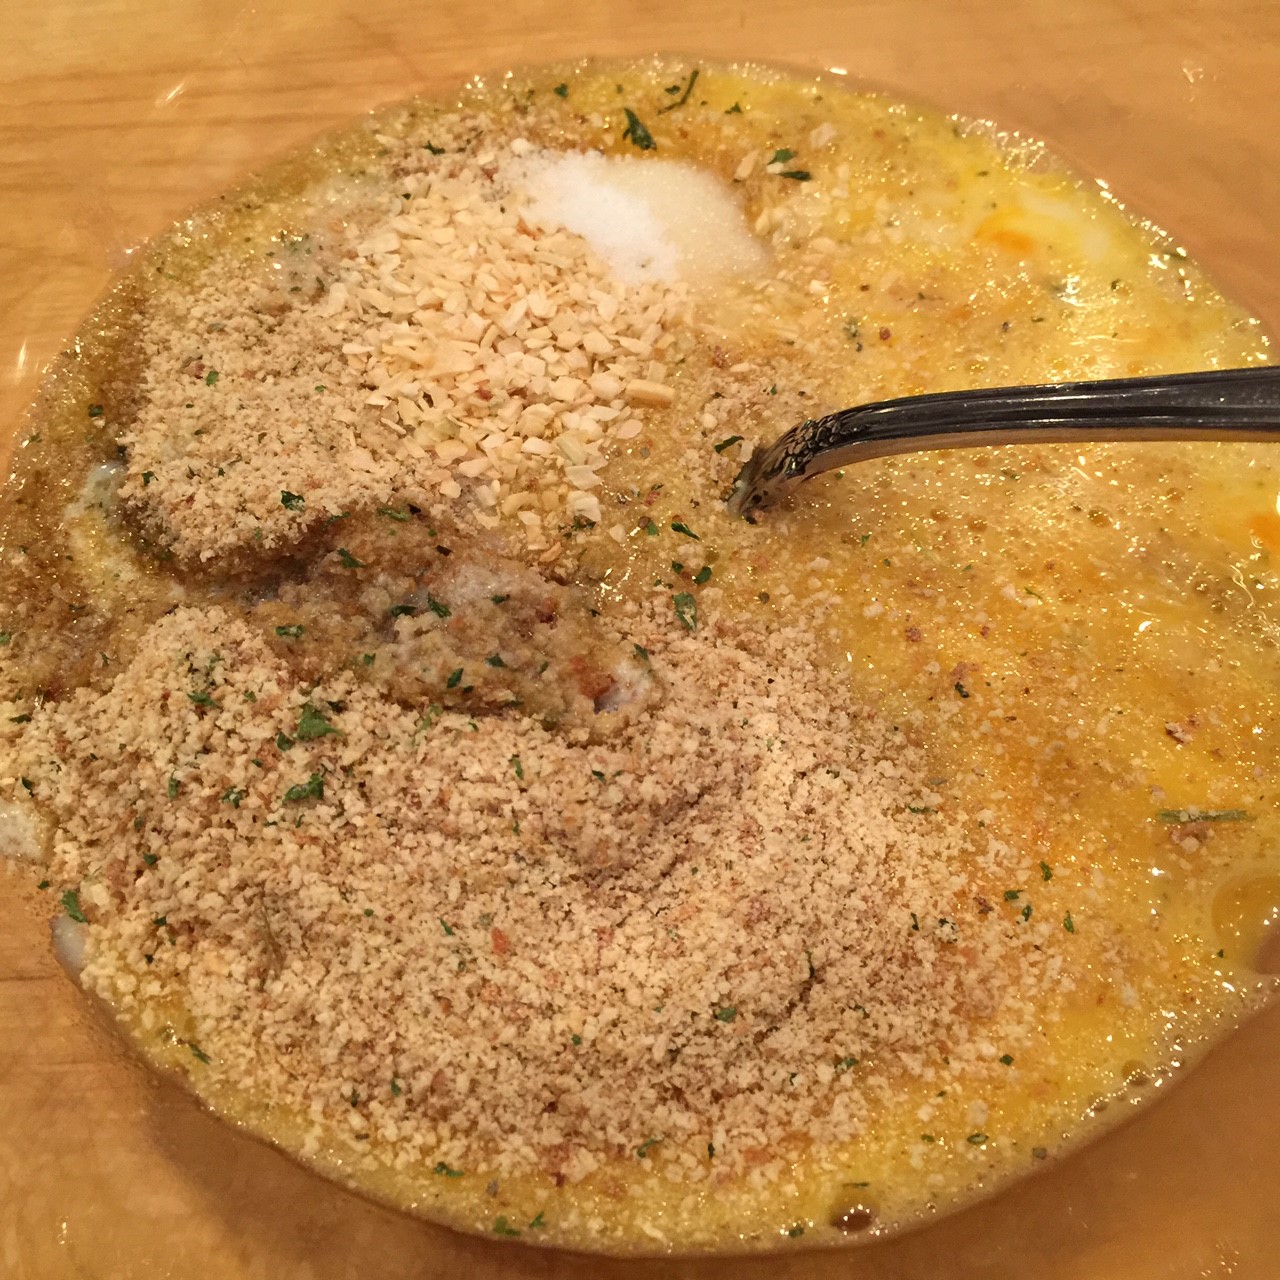 Remove spinach from paper towel and chop.
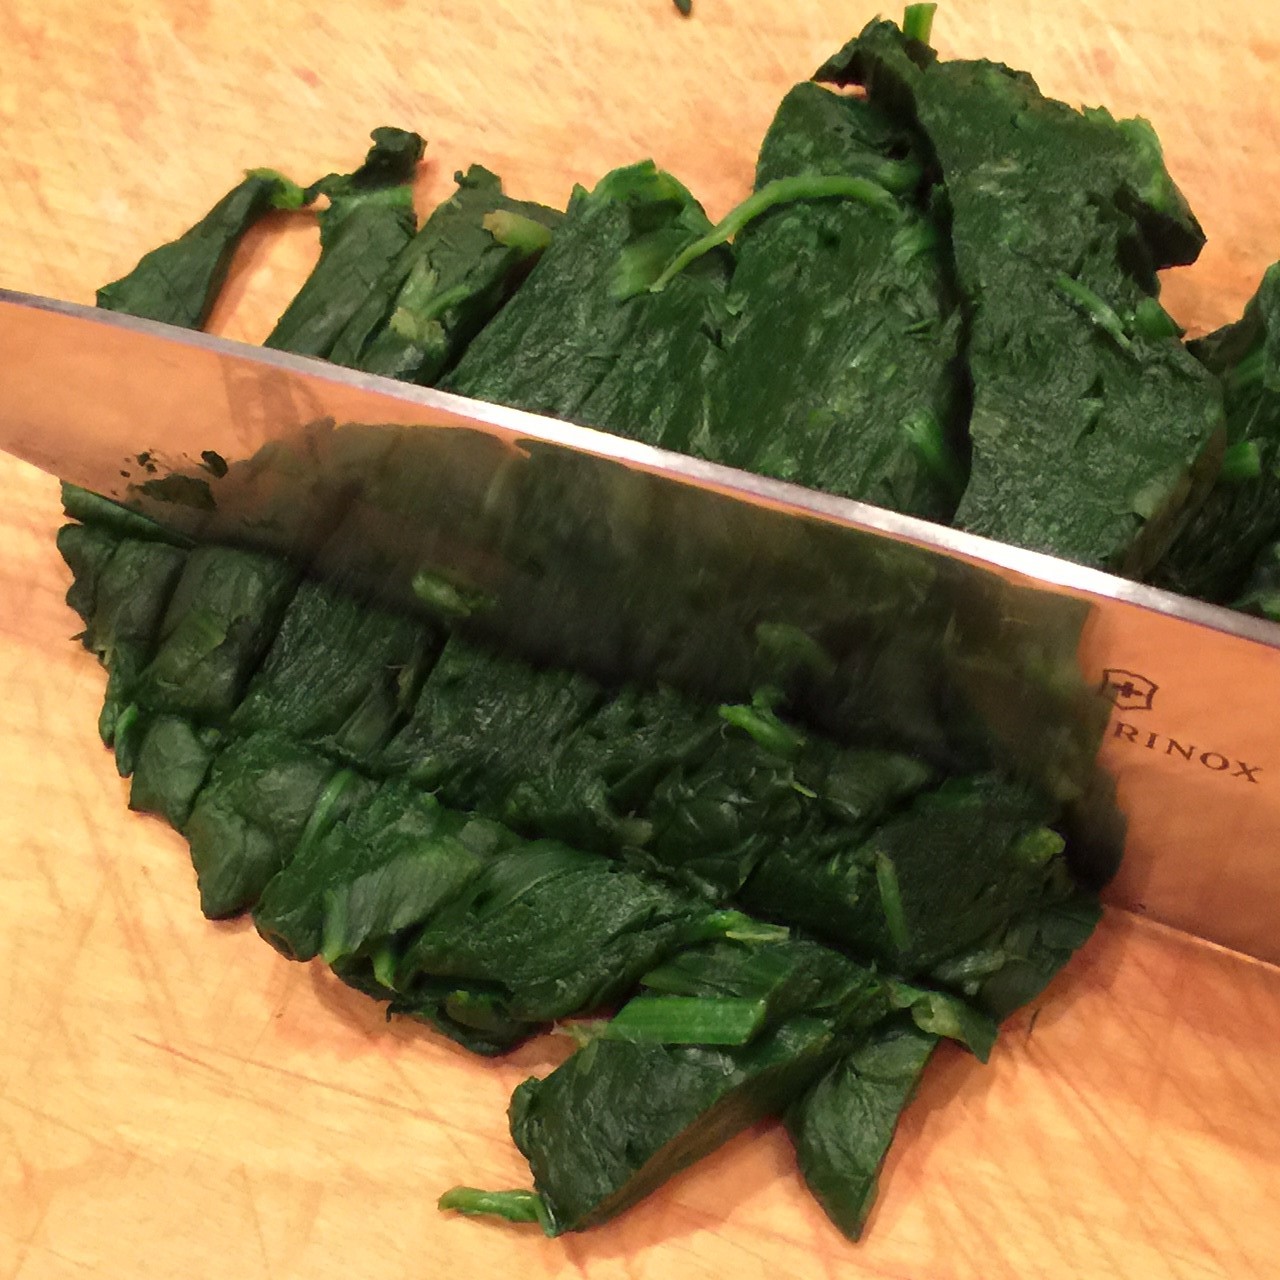 Stir into egg mixture.
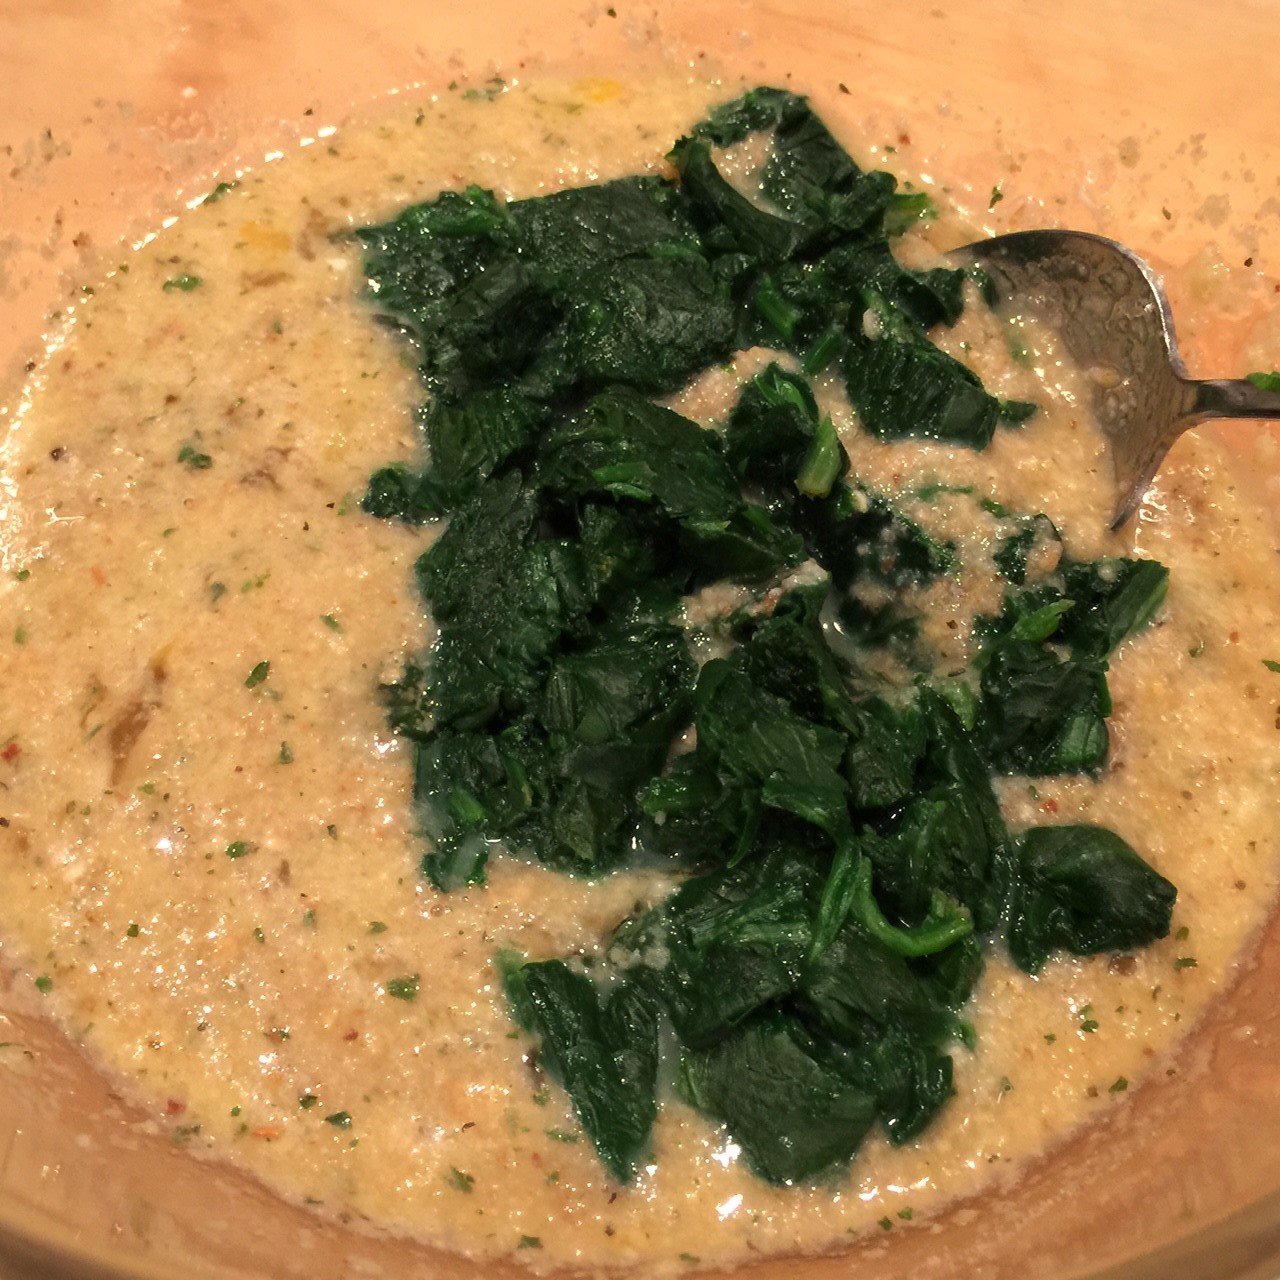 Preheat oven to 350º Fahrenheit.
 Place a tomato half, cut side up, in each. Using your fingers, spread open the tomato so it touches the cup sides.
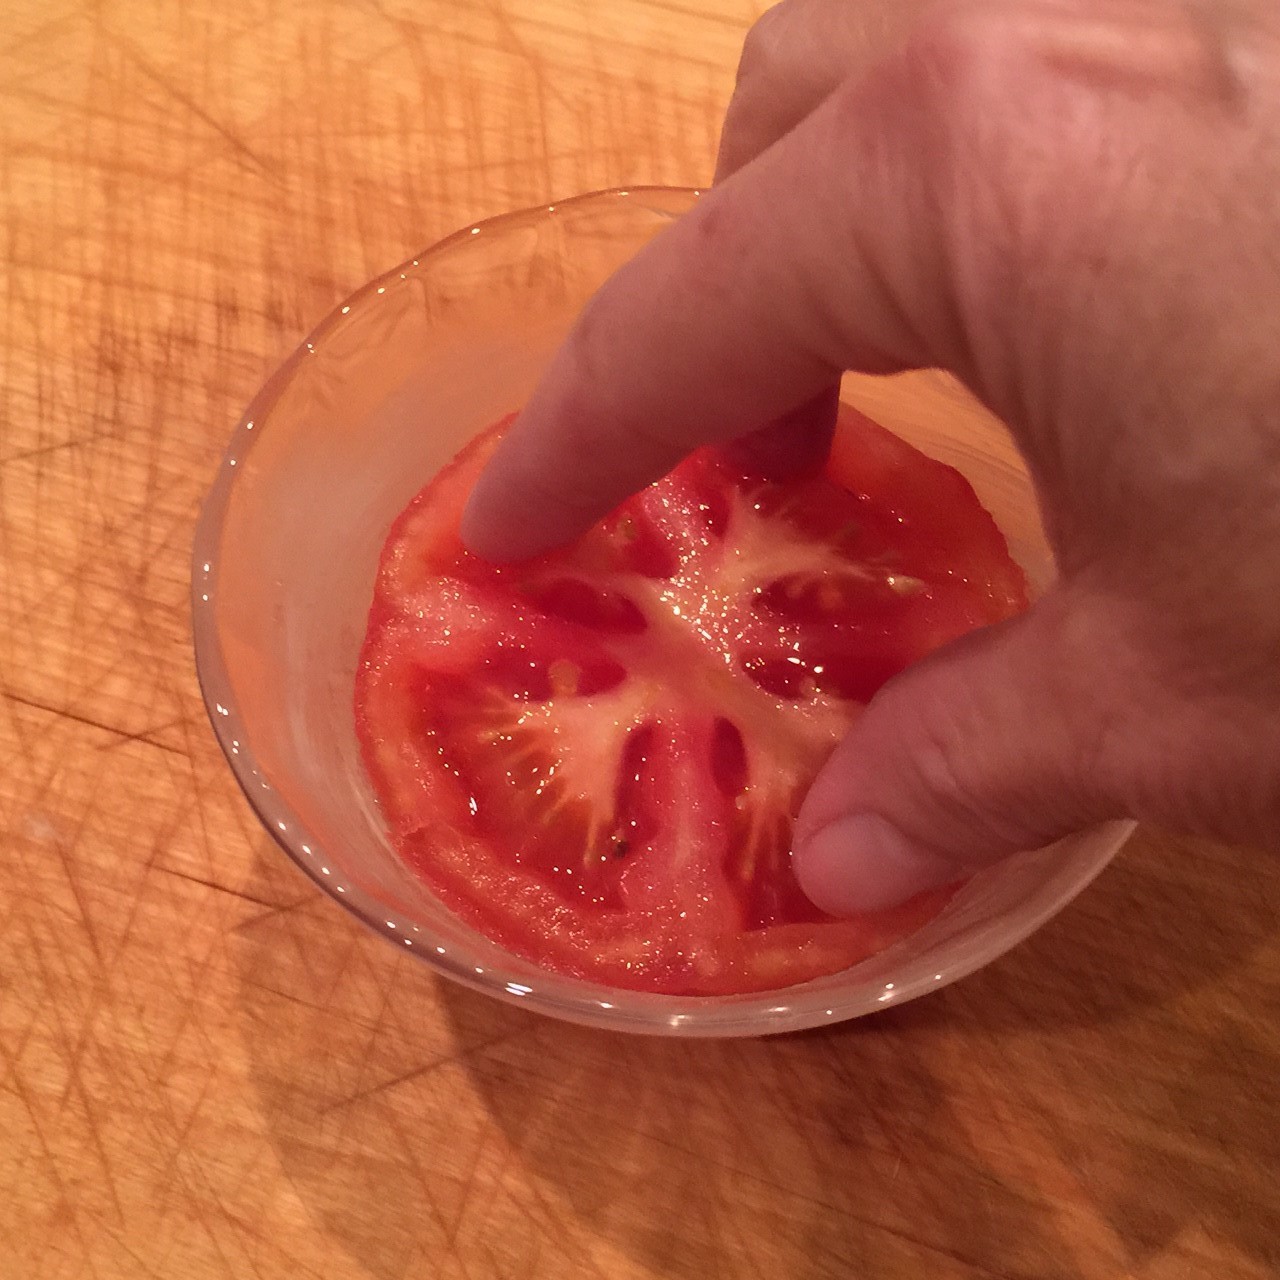 Sprinkle on feta cheese.
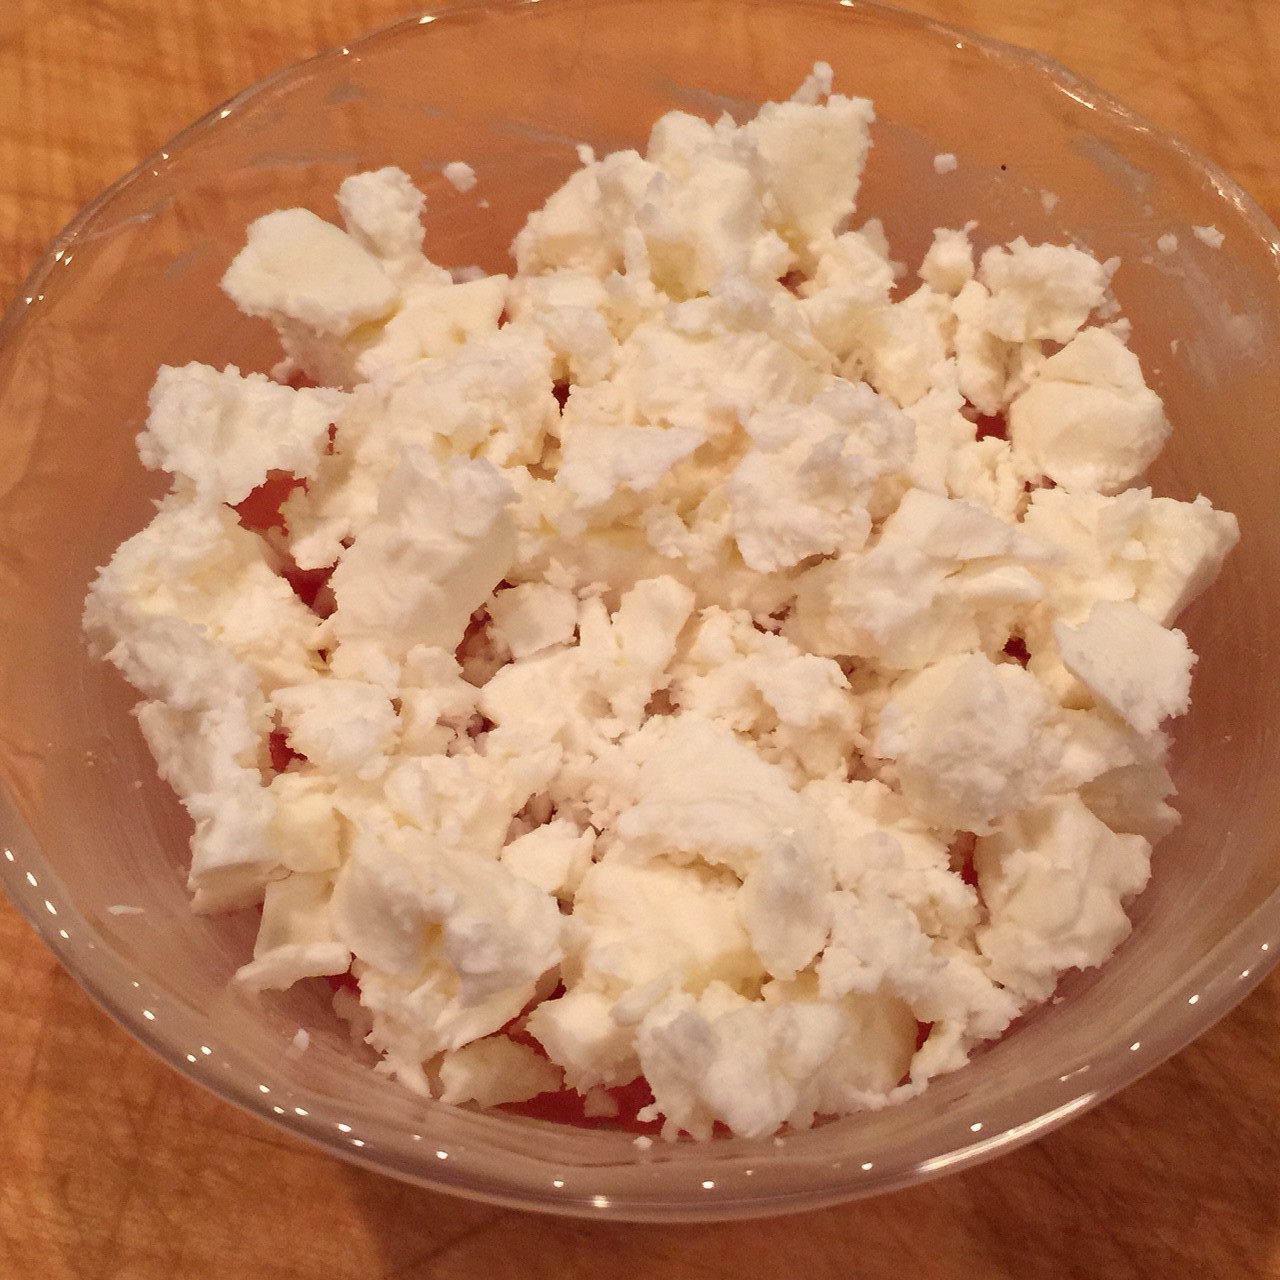 Top with spinach mixture to the brim, patting down to get rid of air pockets.
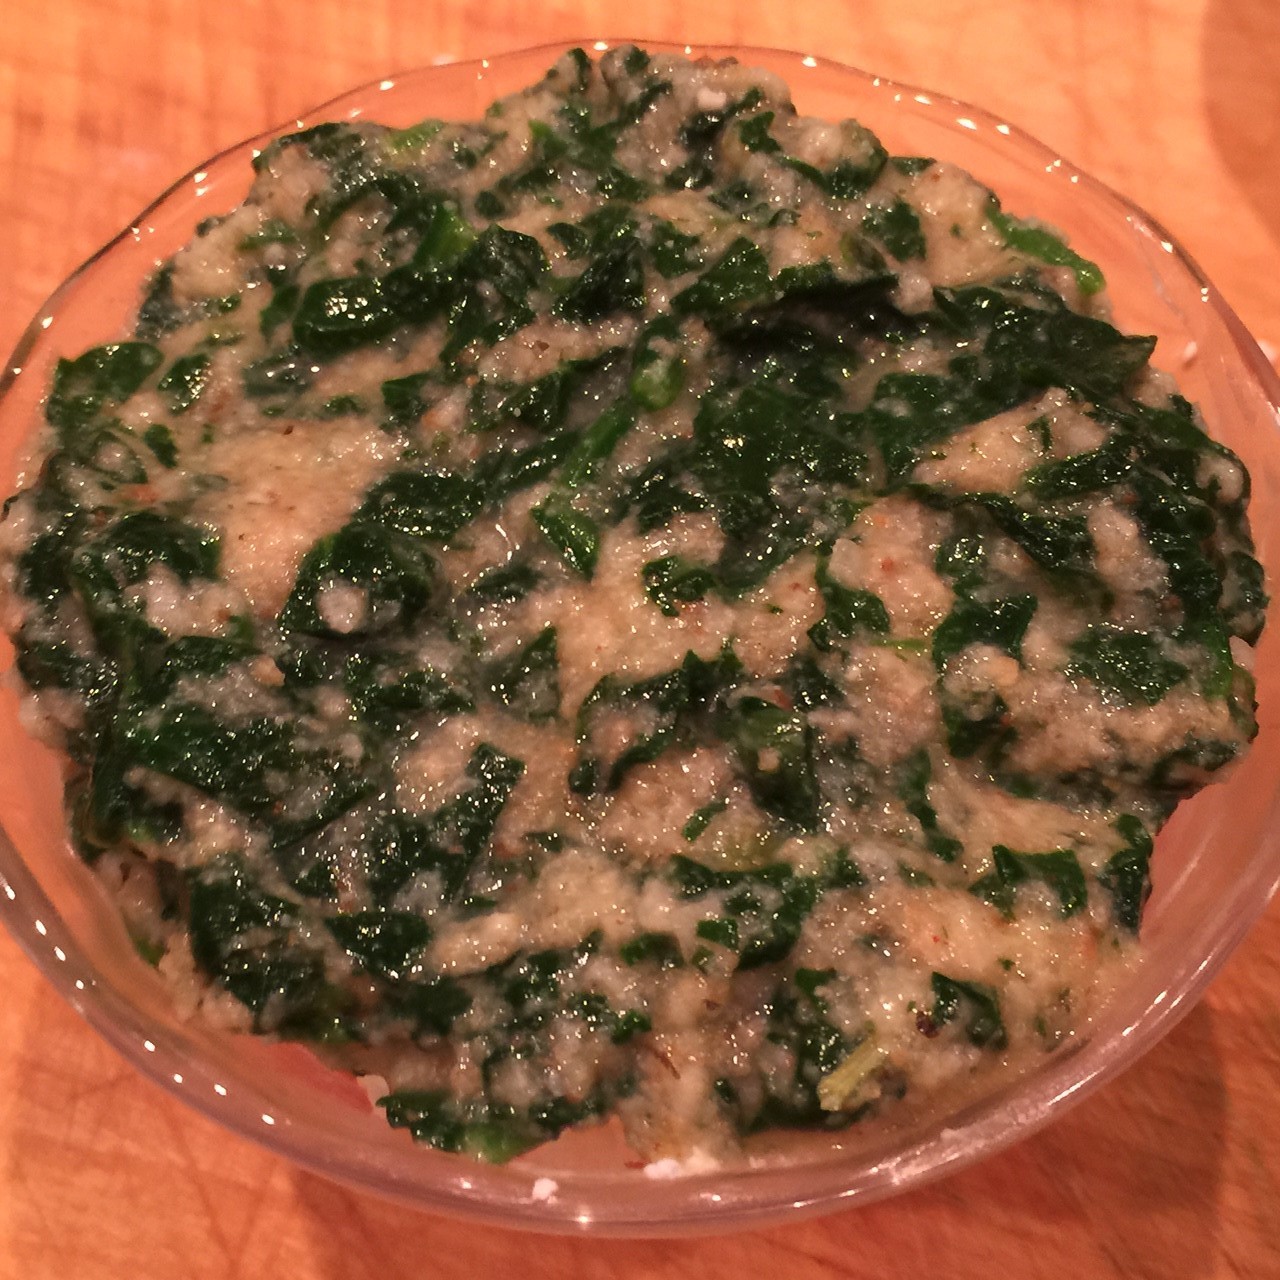 Place cups in a baking dish and fill halfway with boiling water.
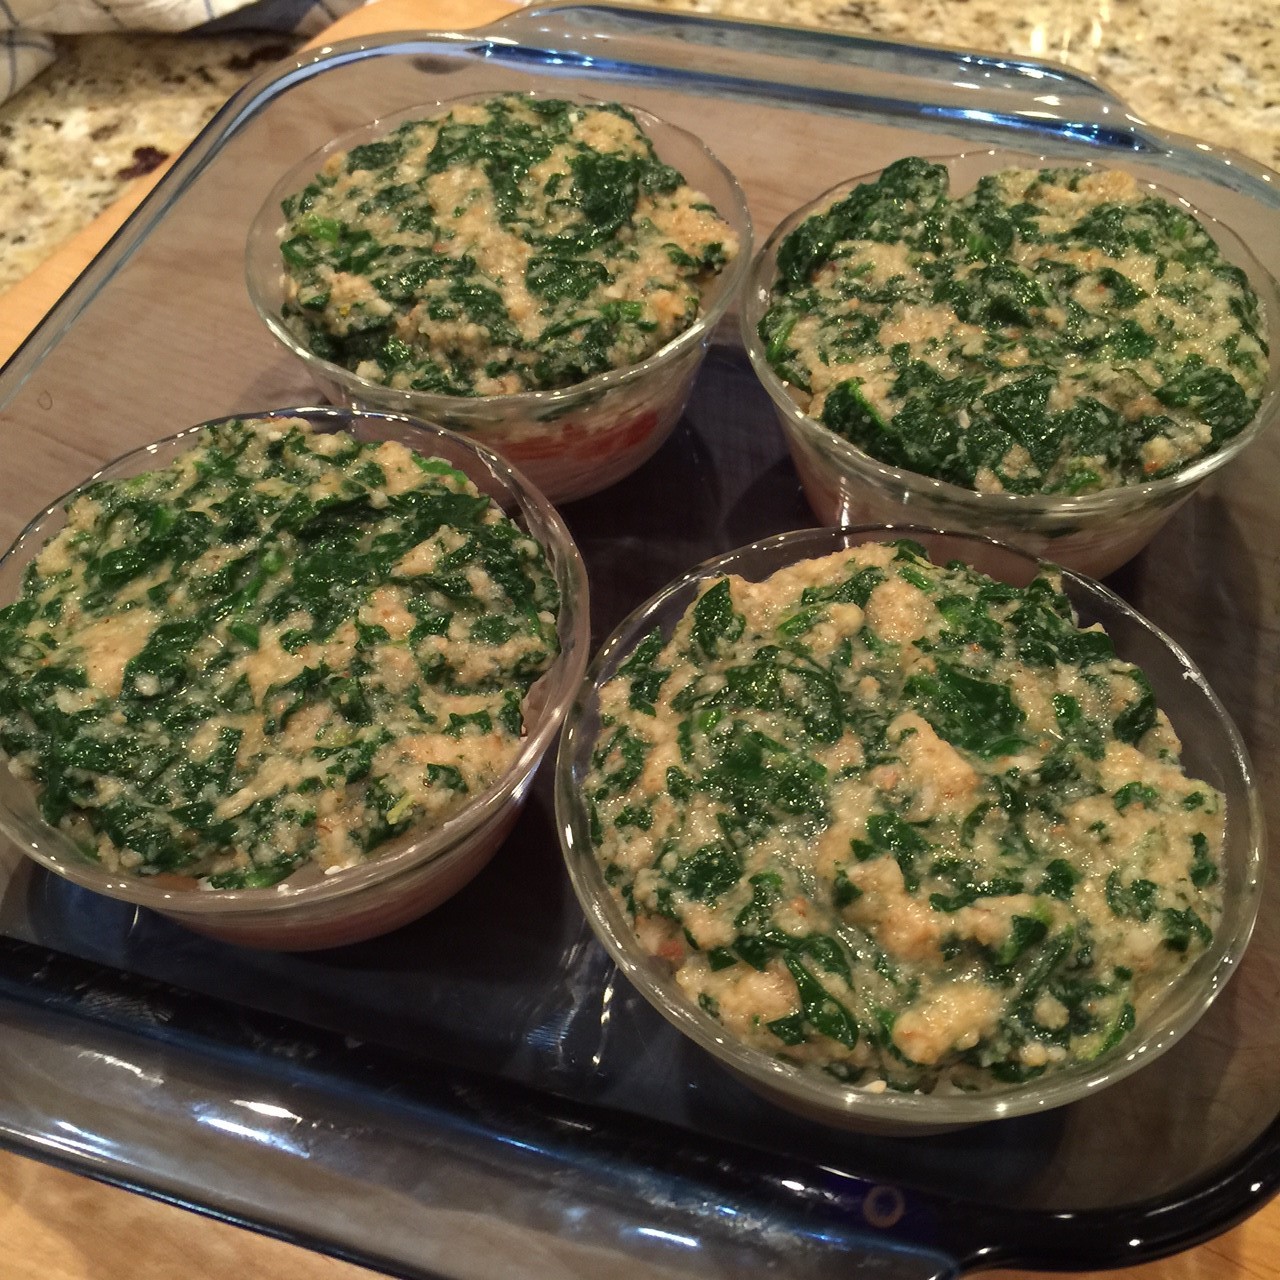 Bake at 350º F for 25-30 minutes, until spinach layer starts to brown. Remove from oven. Take cups out of the water bath and place on a rack to set for 15 minutes. To remove the TOMATO-SPINACH TIMBALES, run a rounded knife around edges, then invert, removing cup.
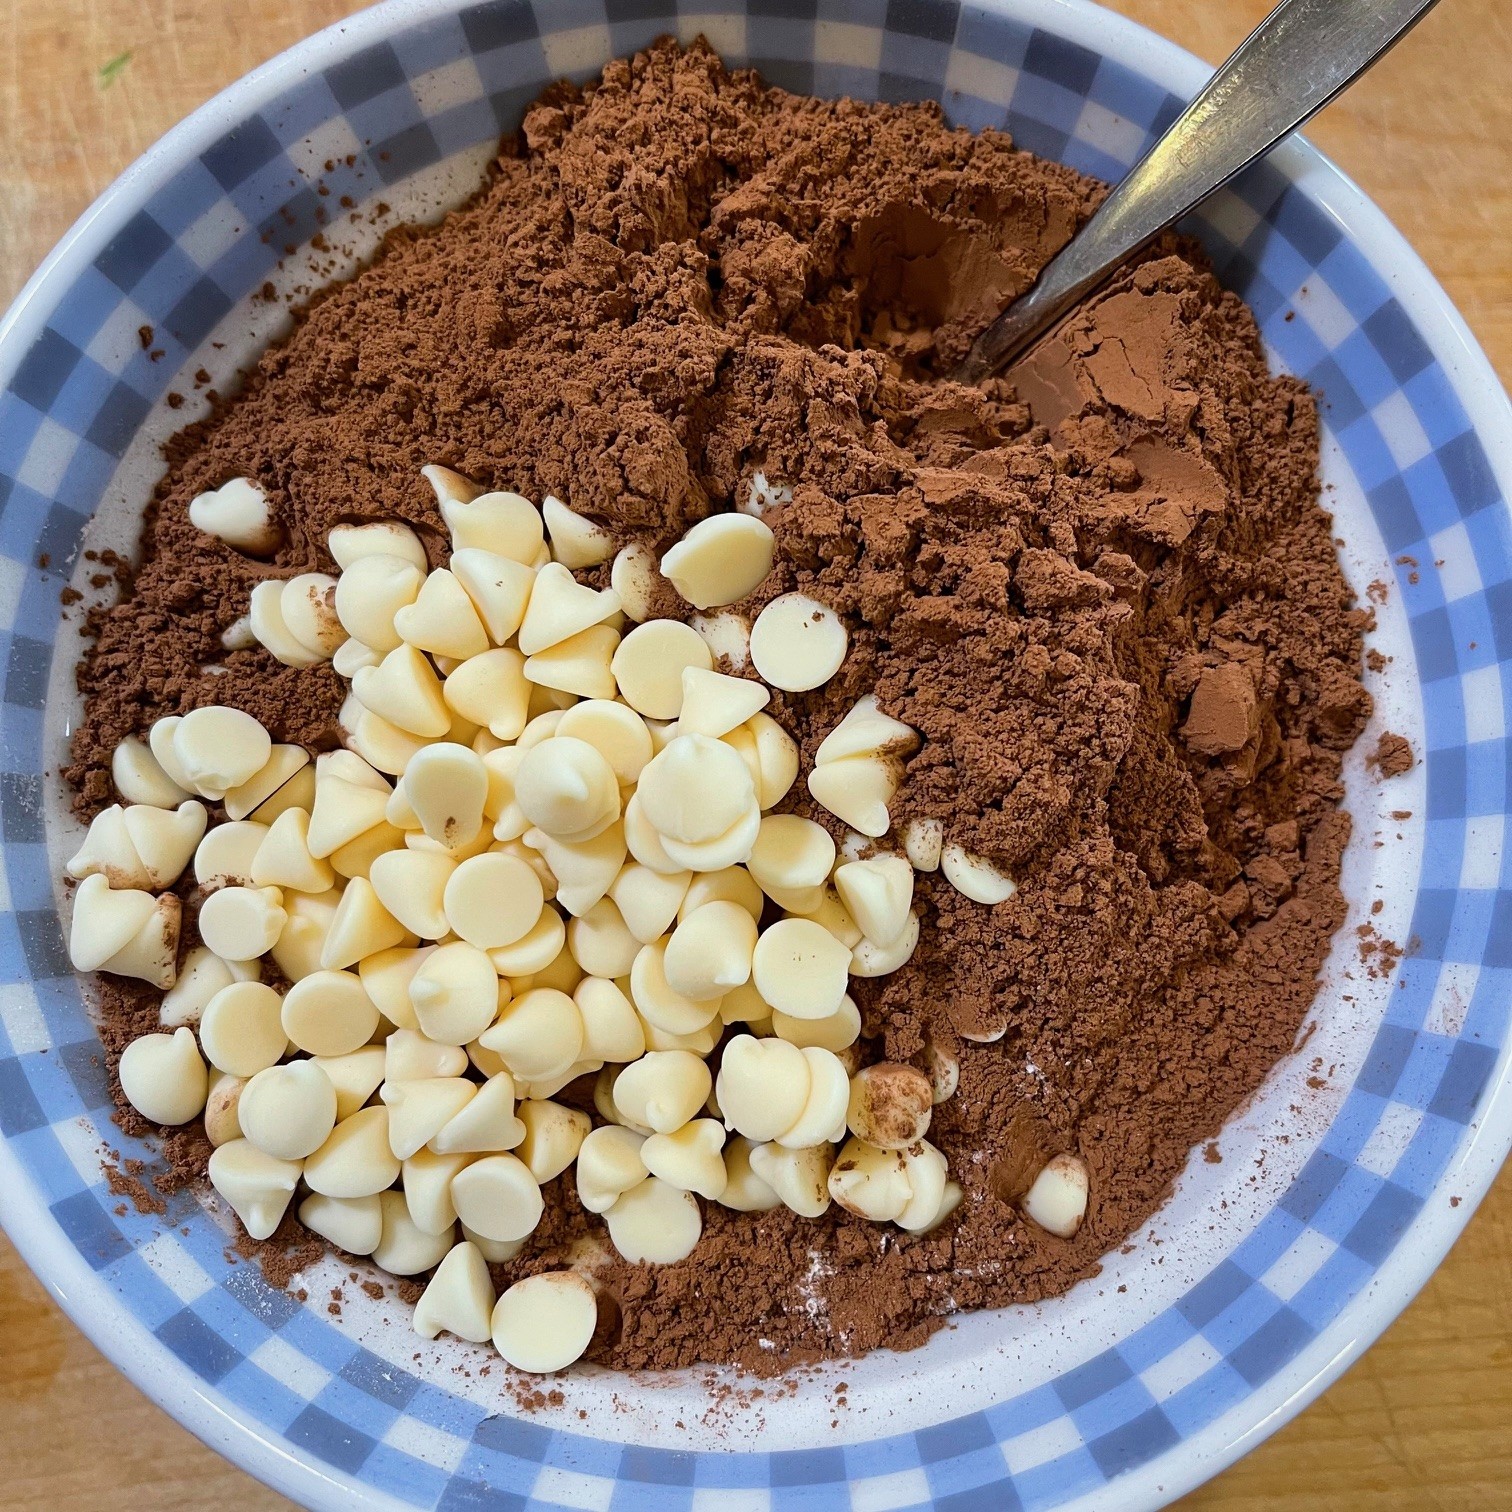
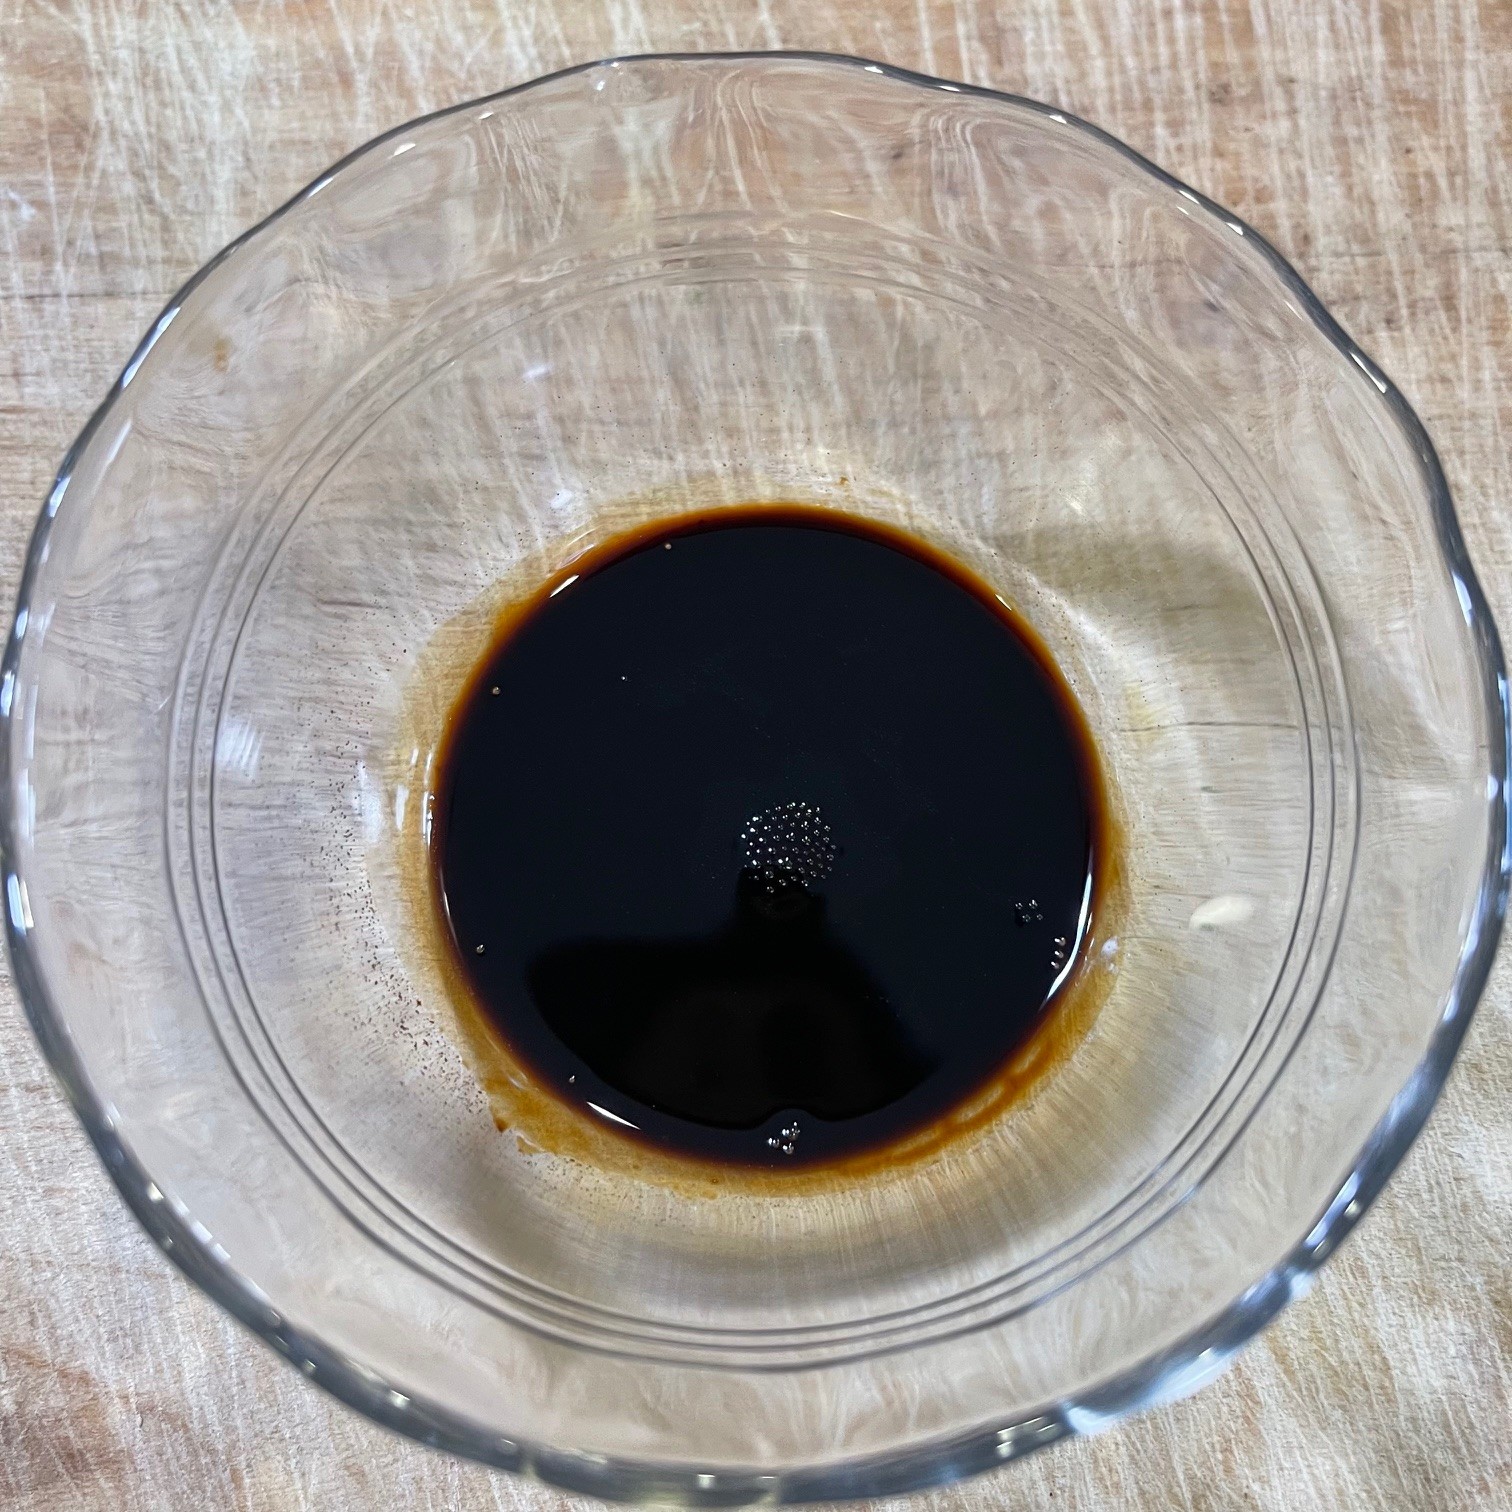
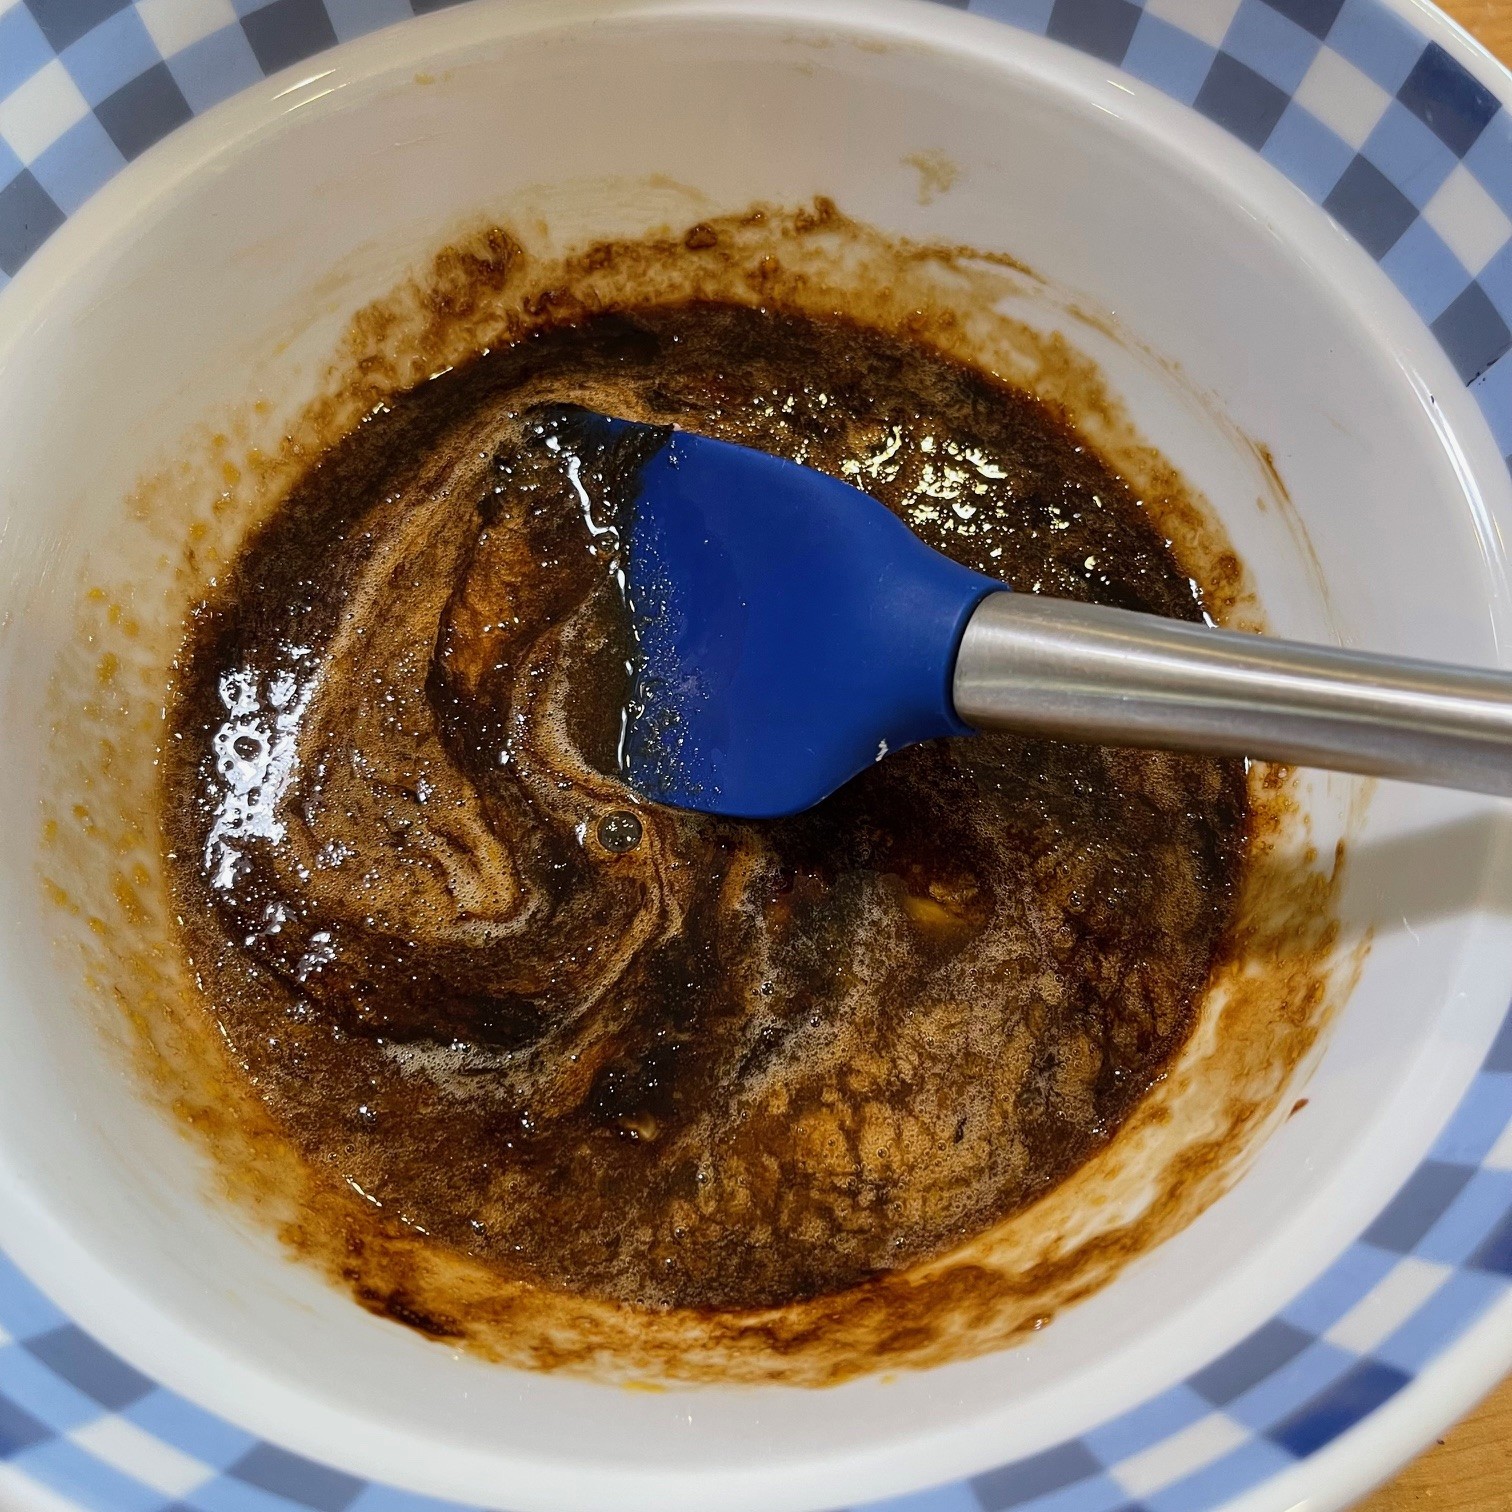
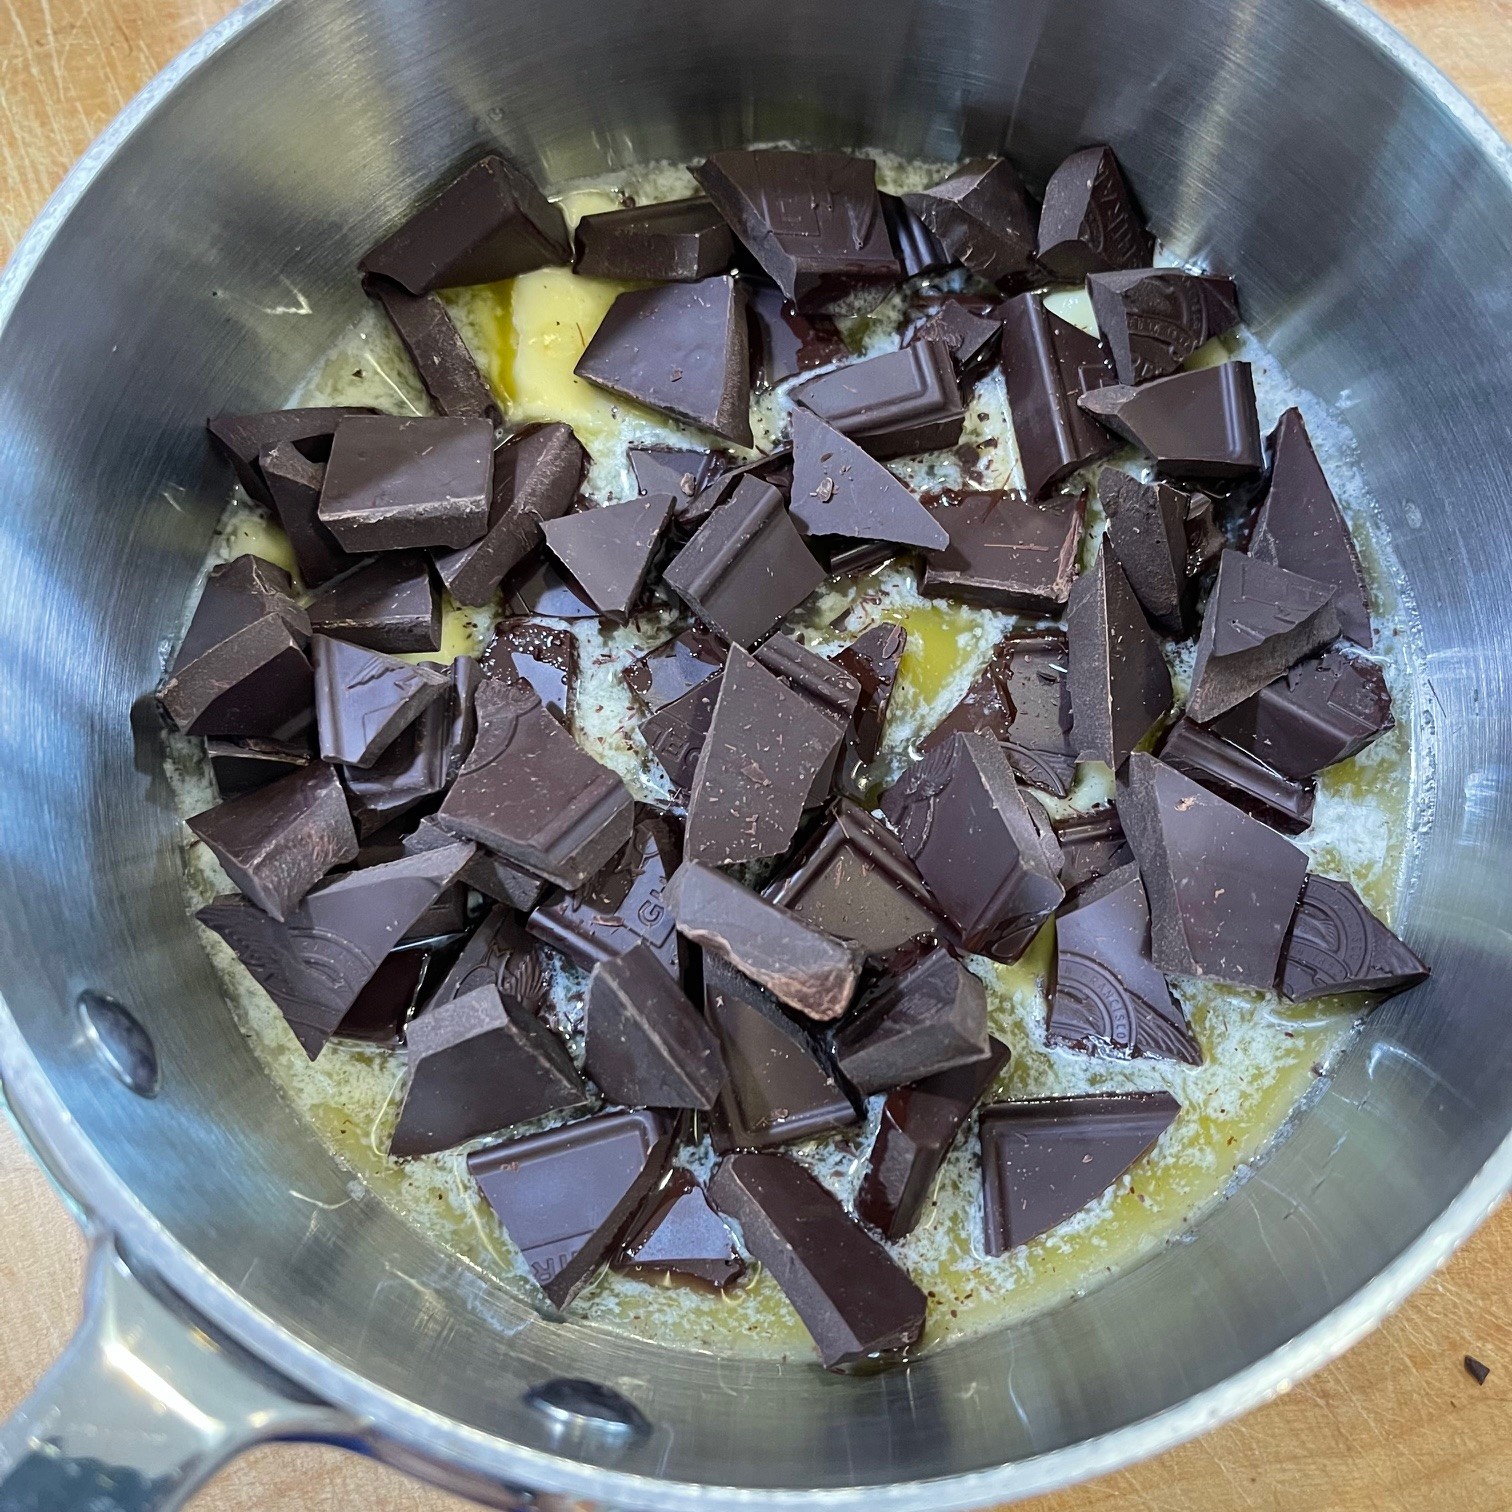
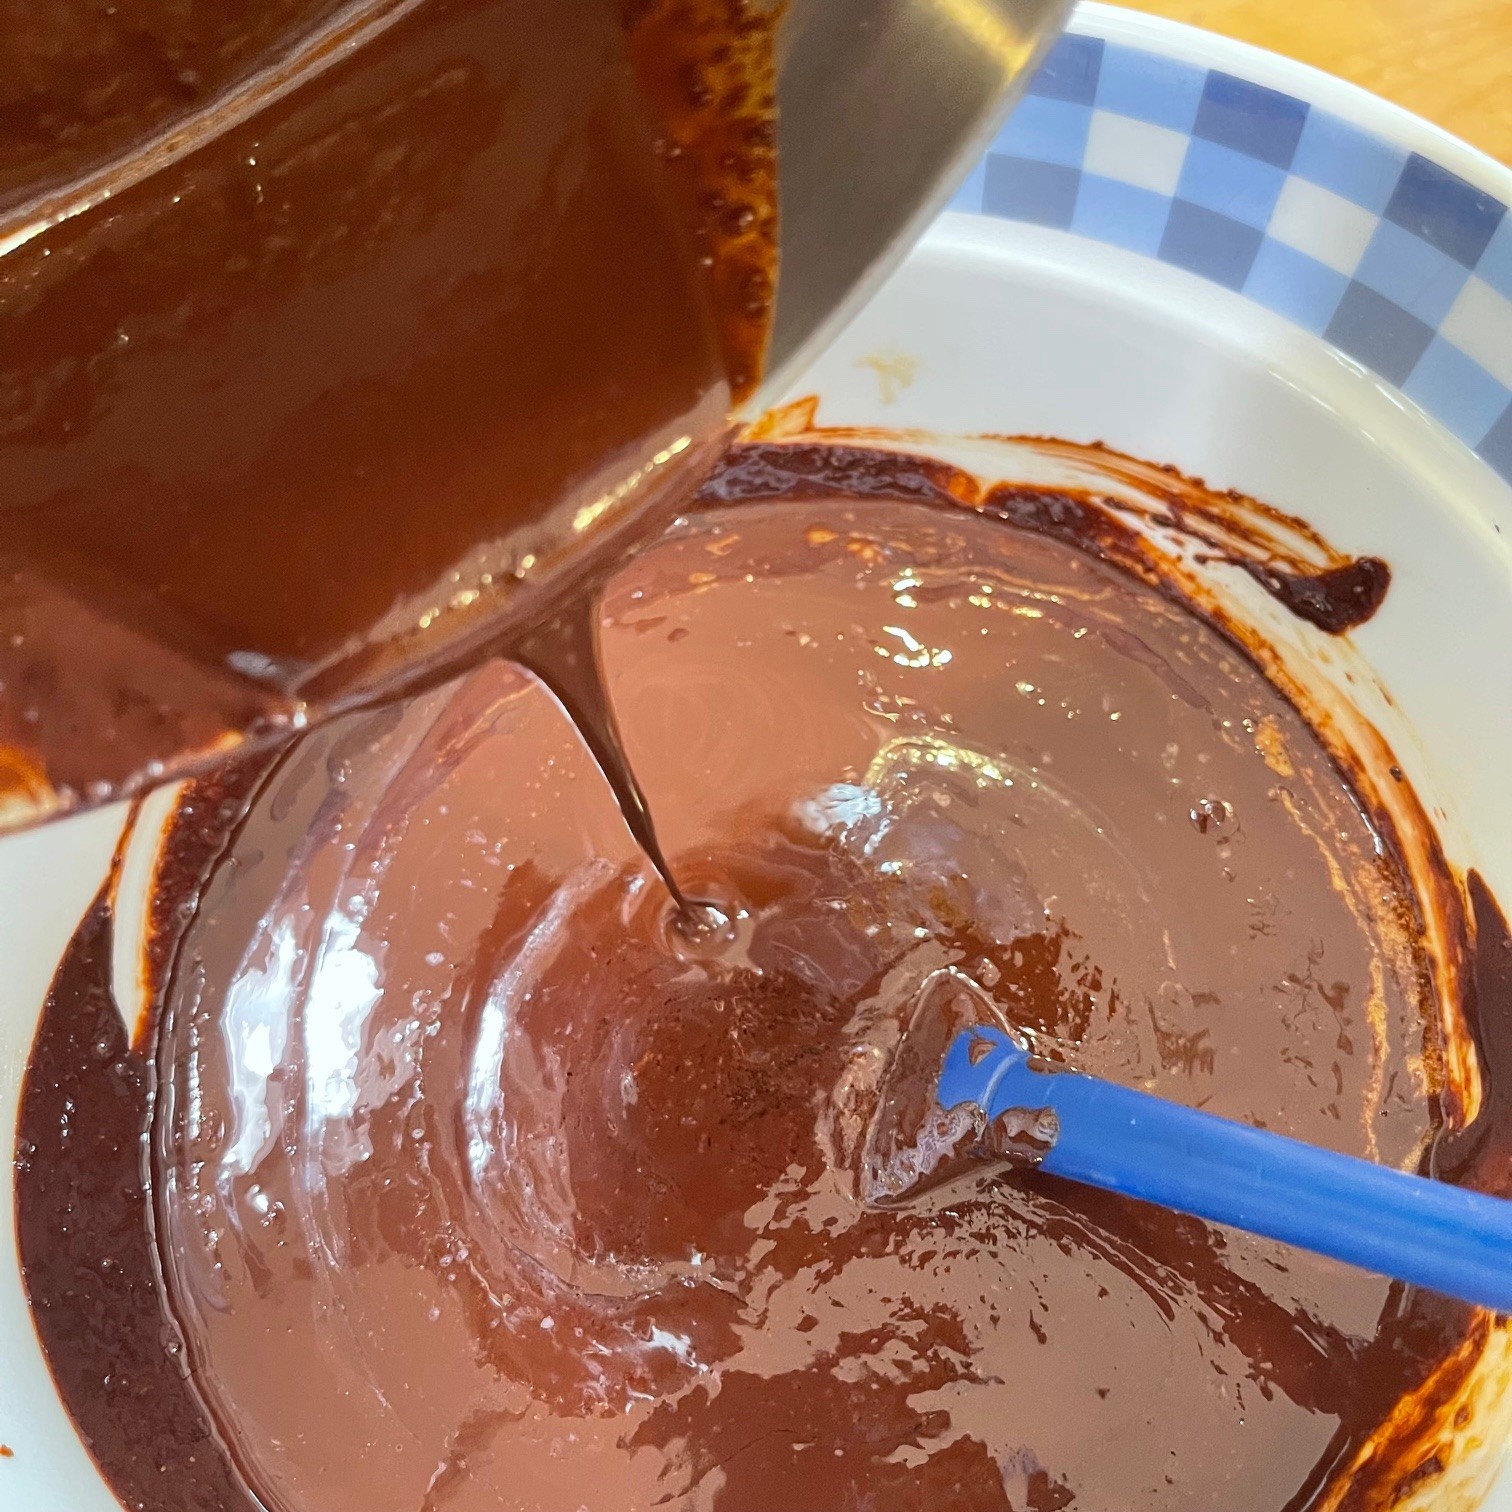
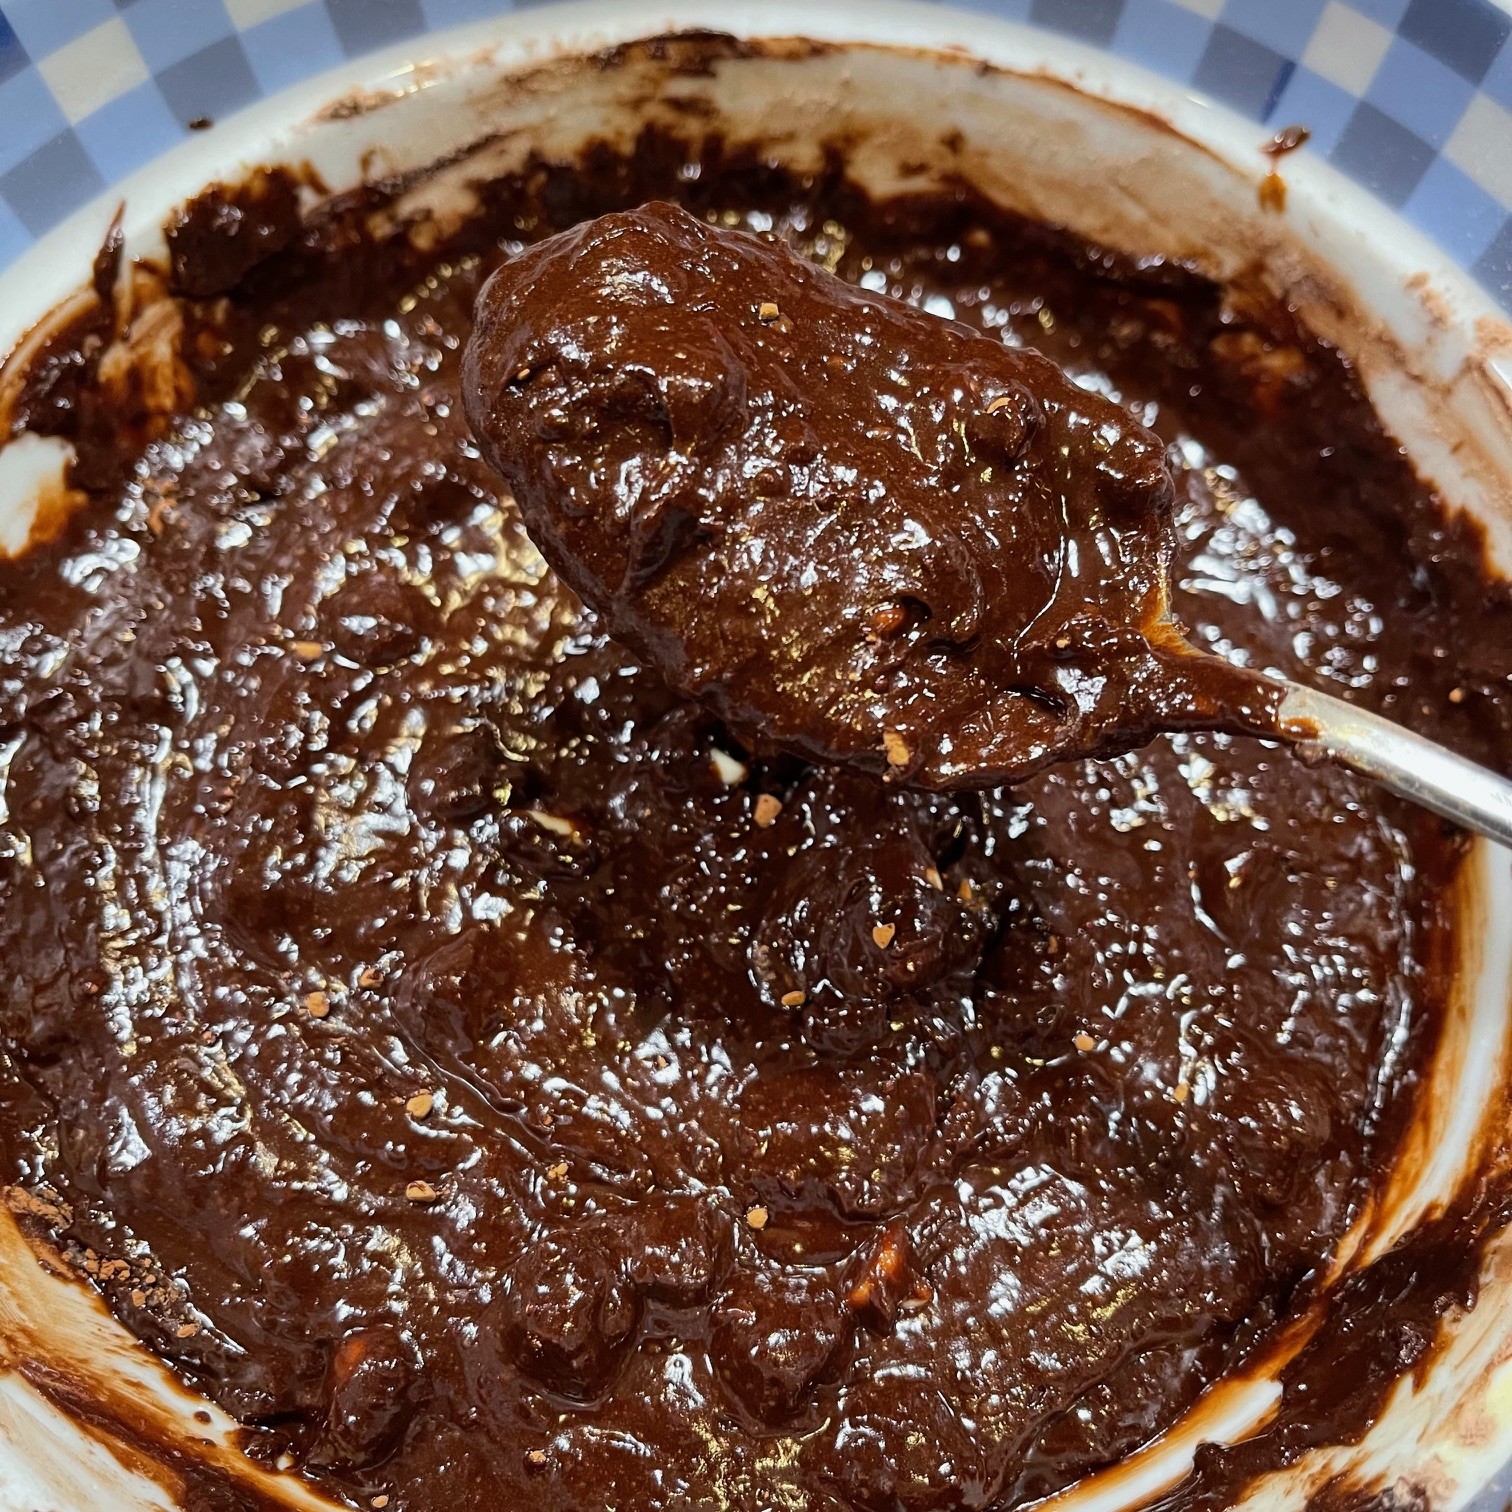
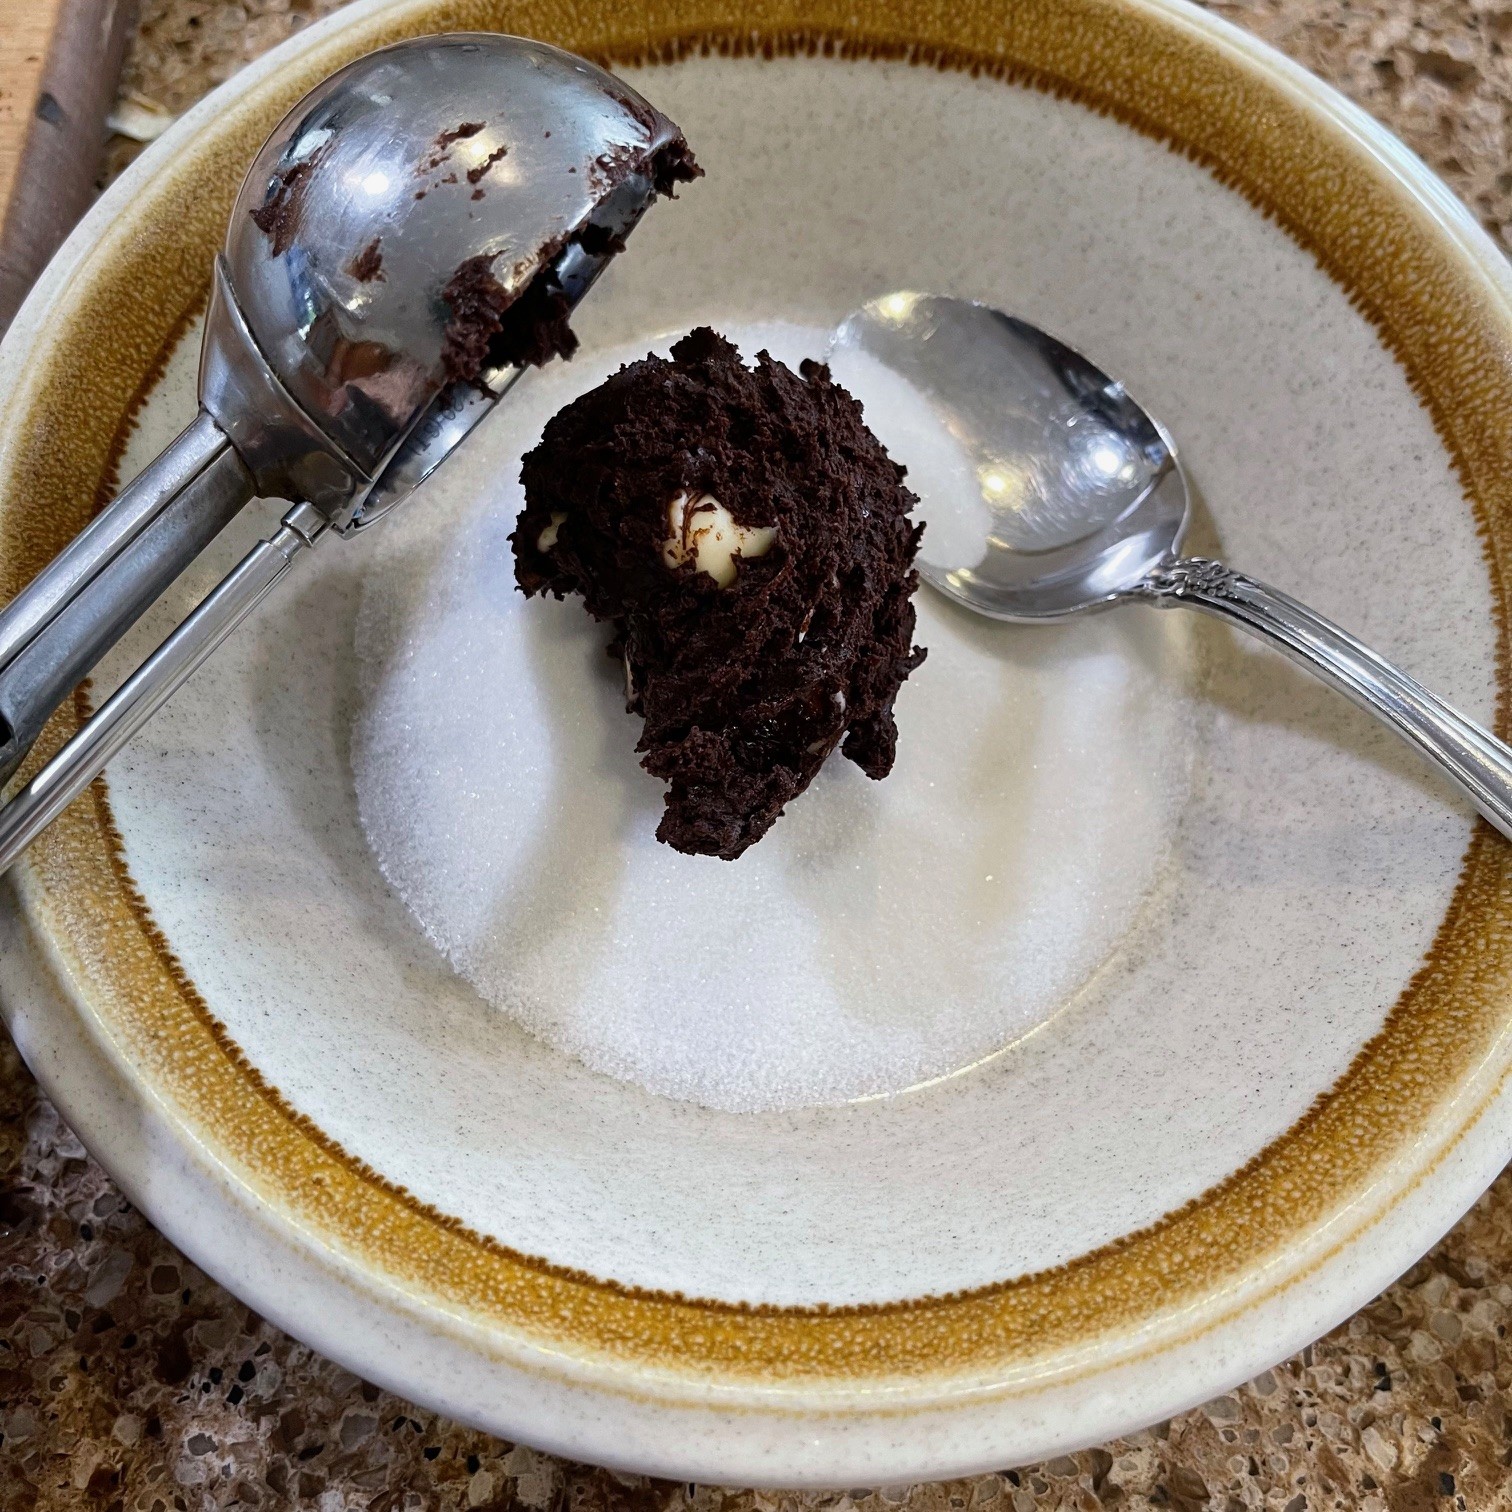
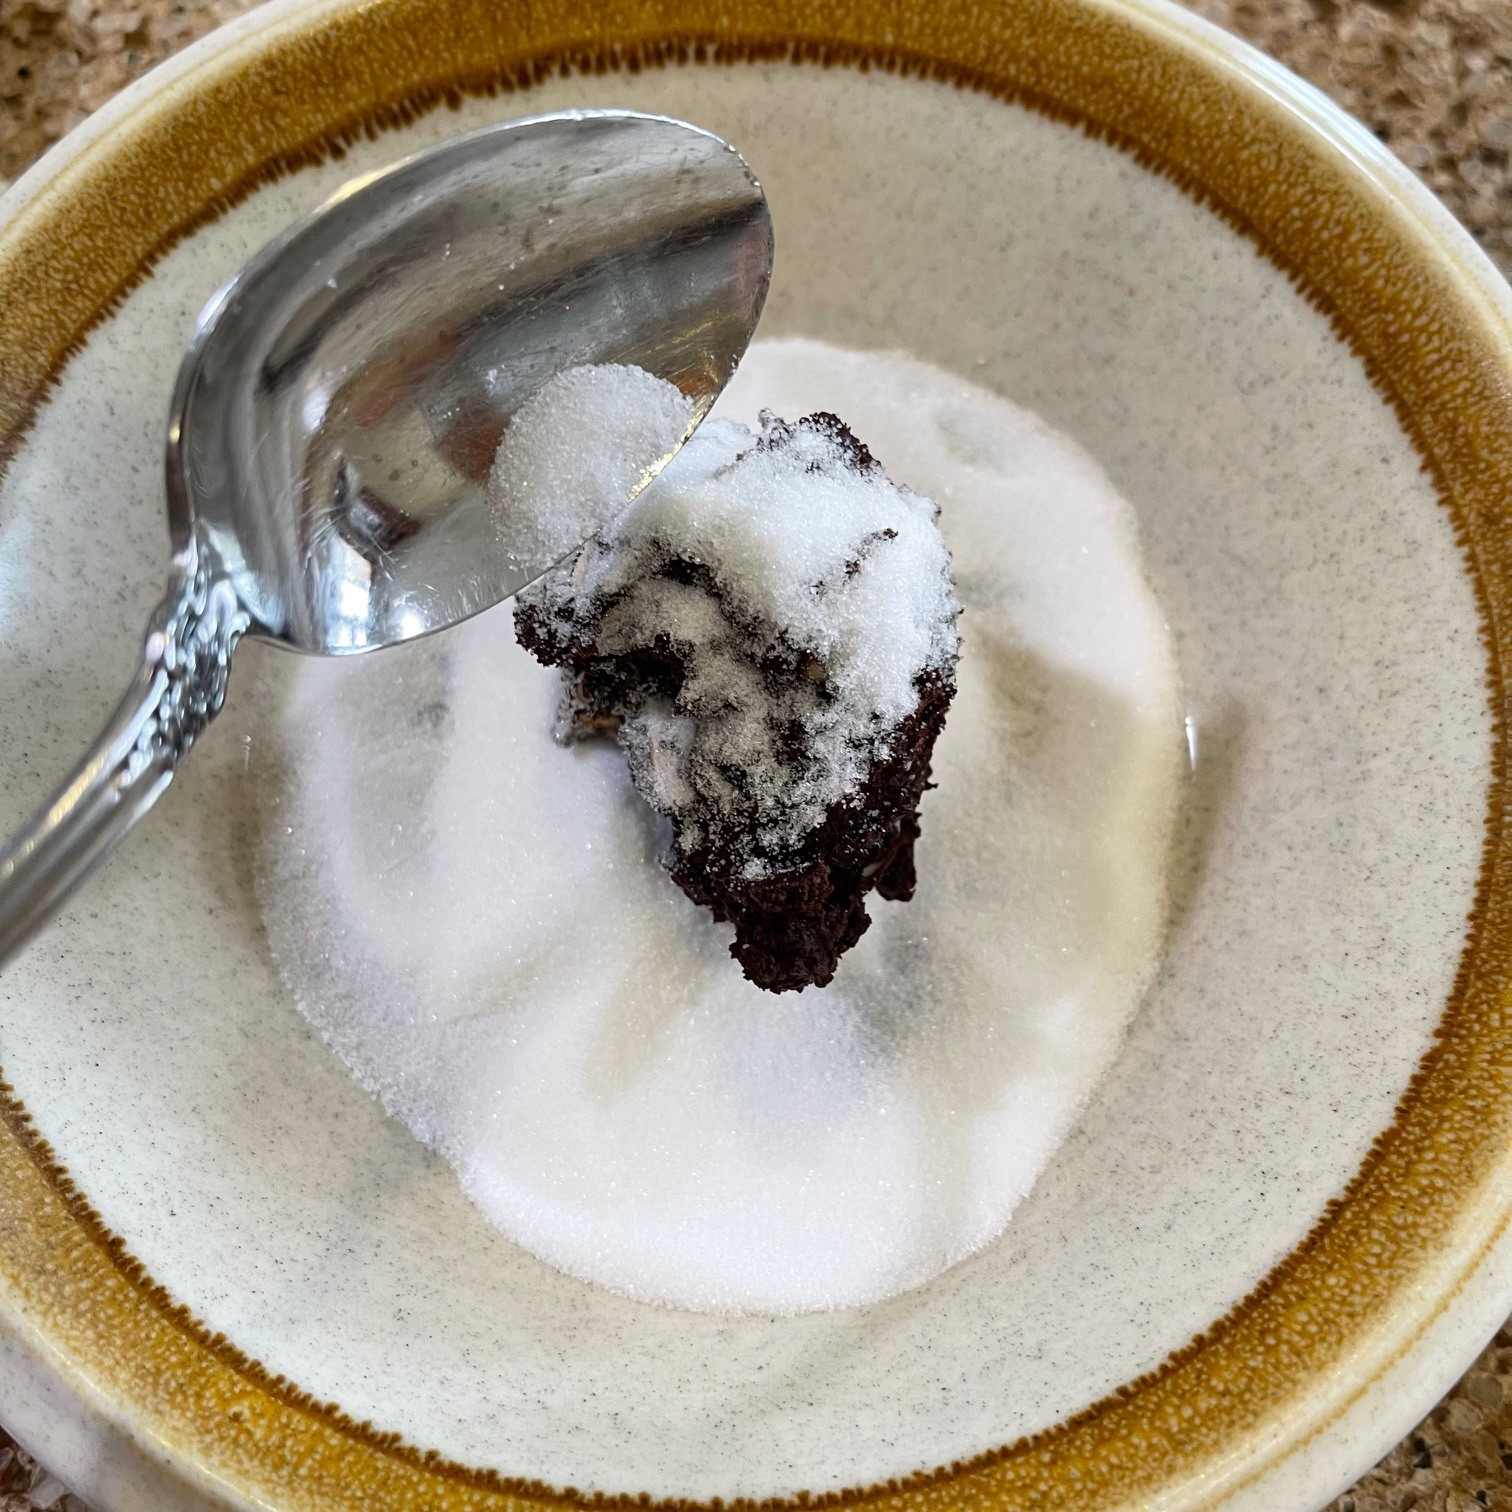
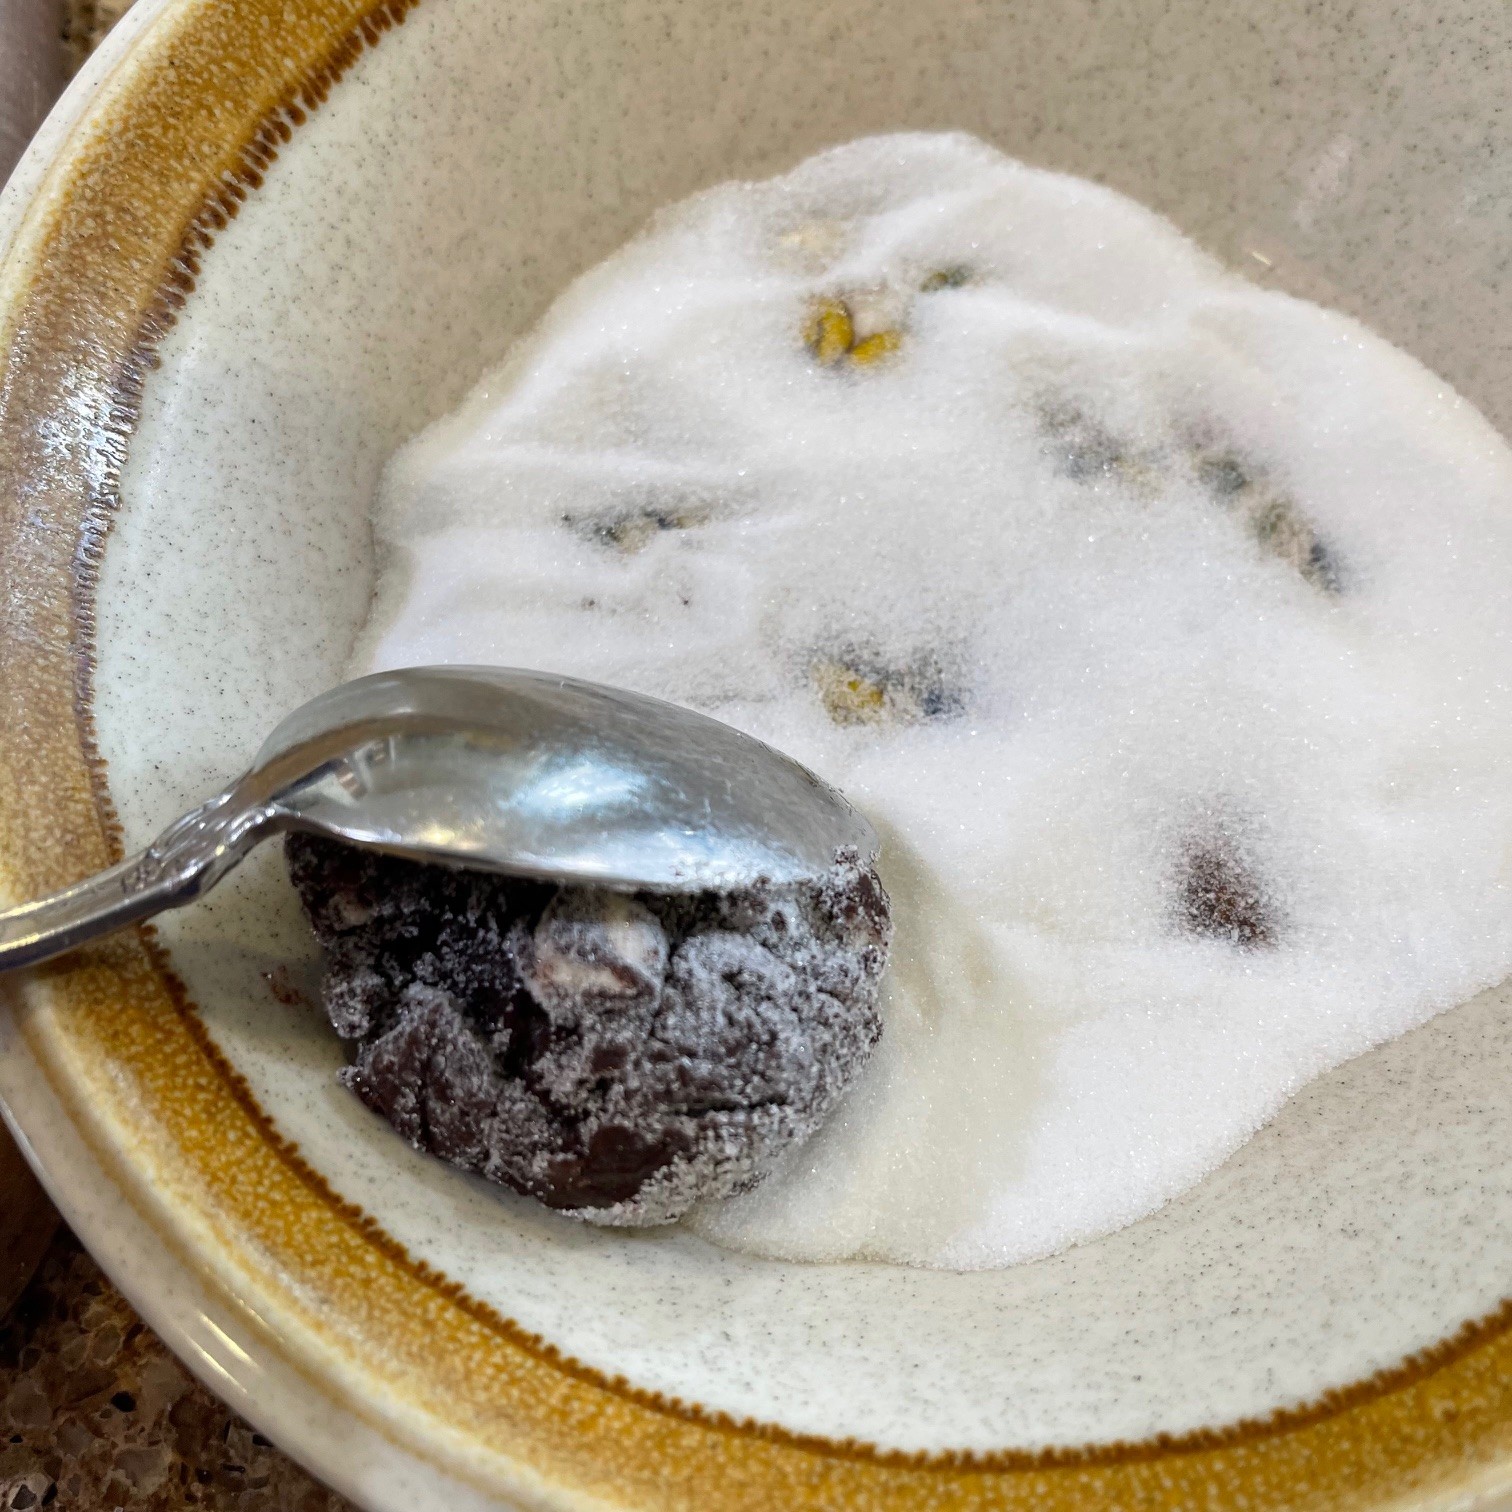
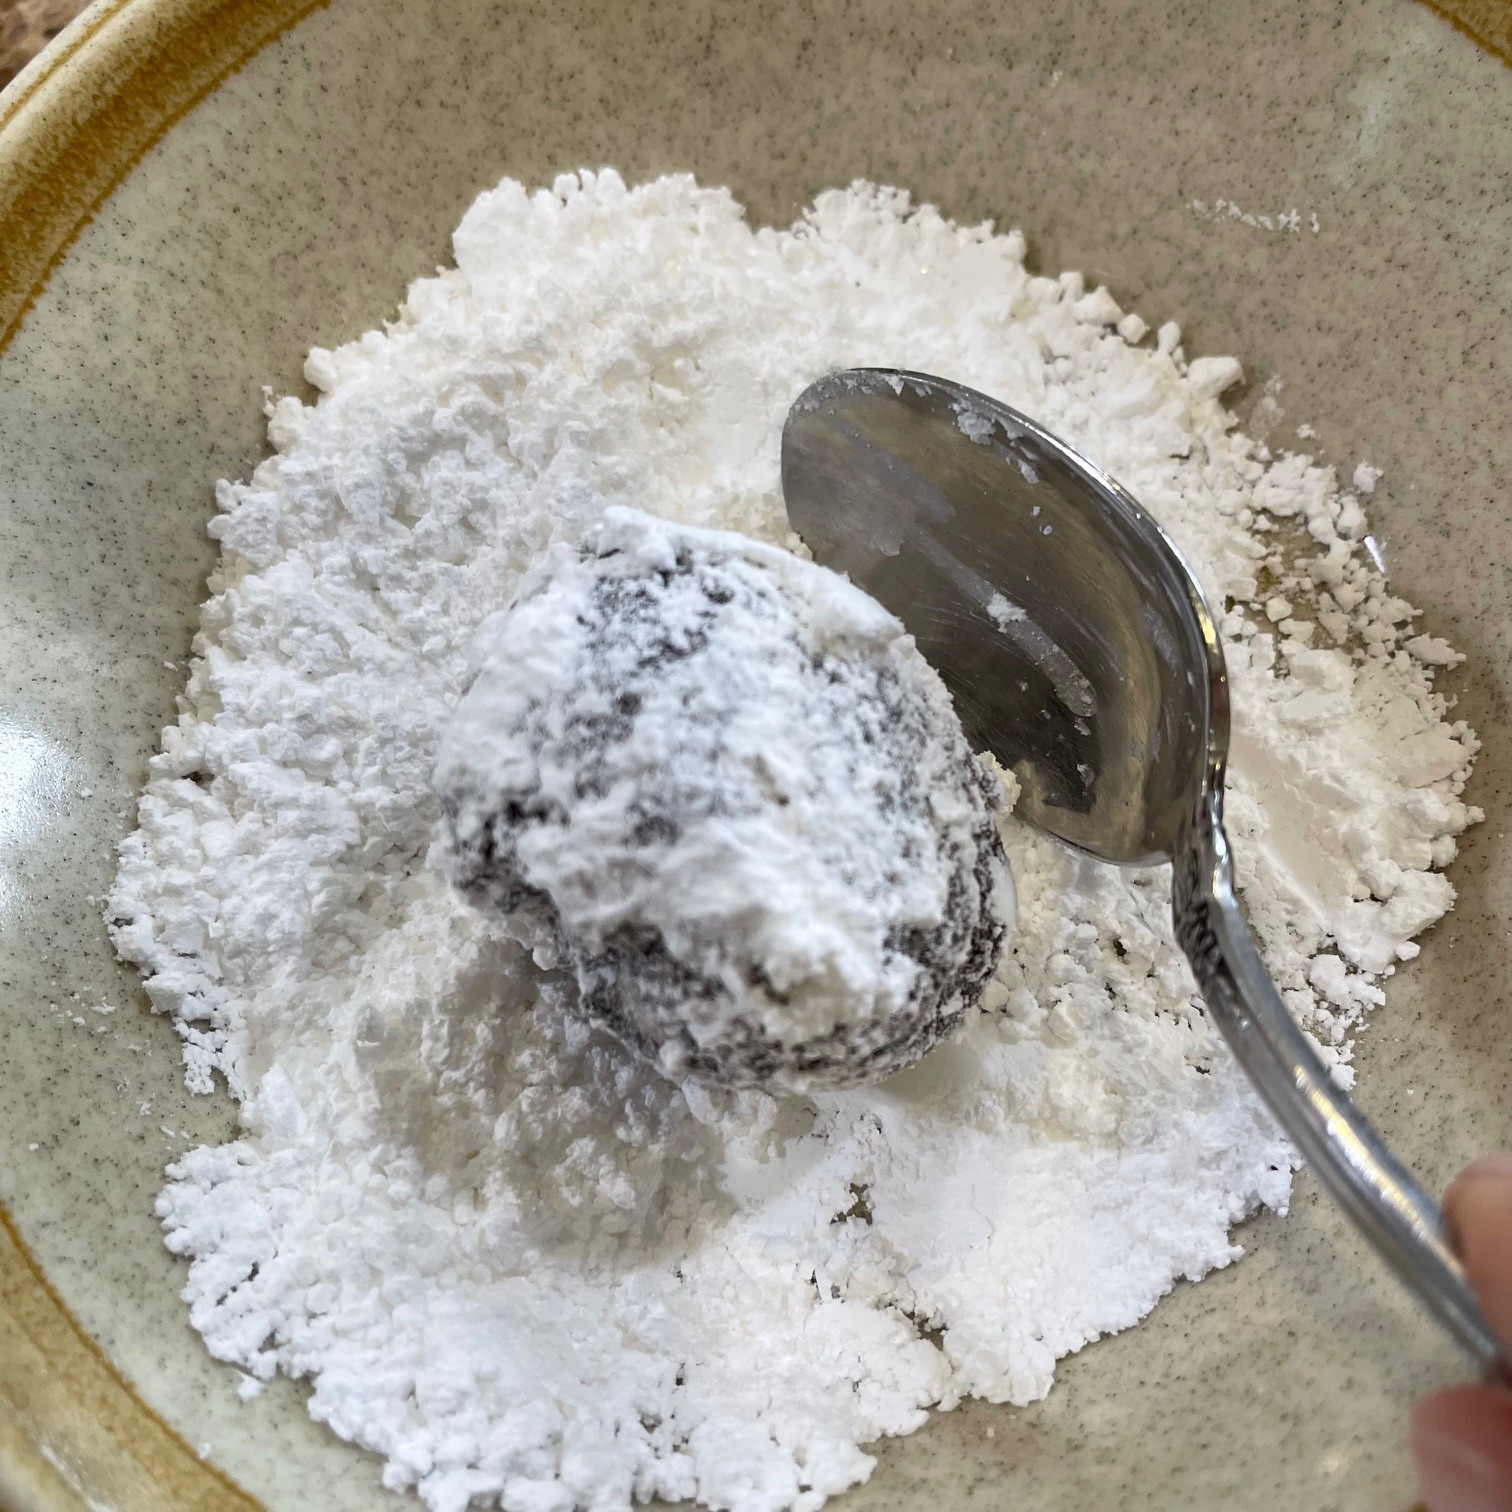
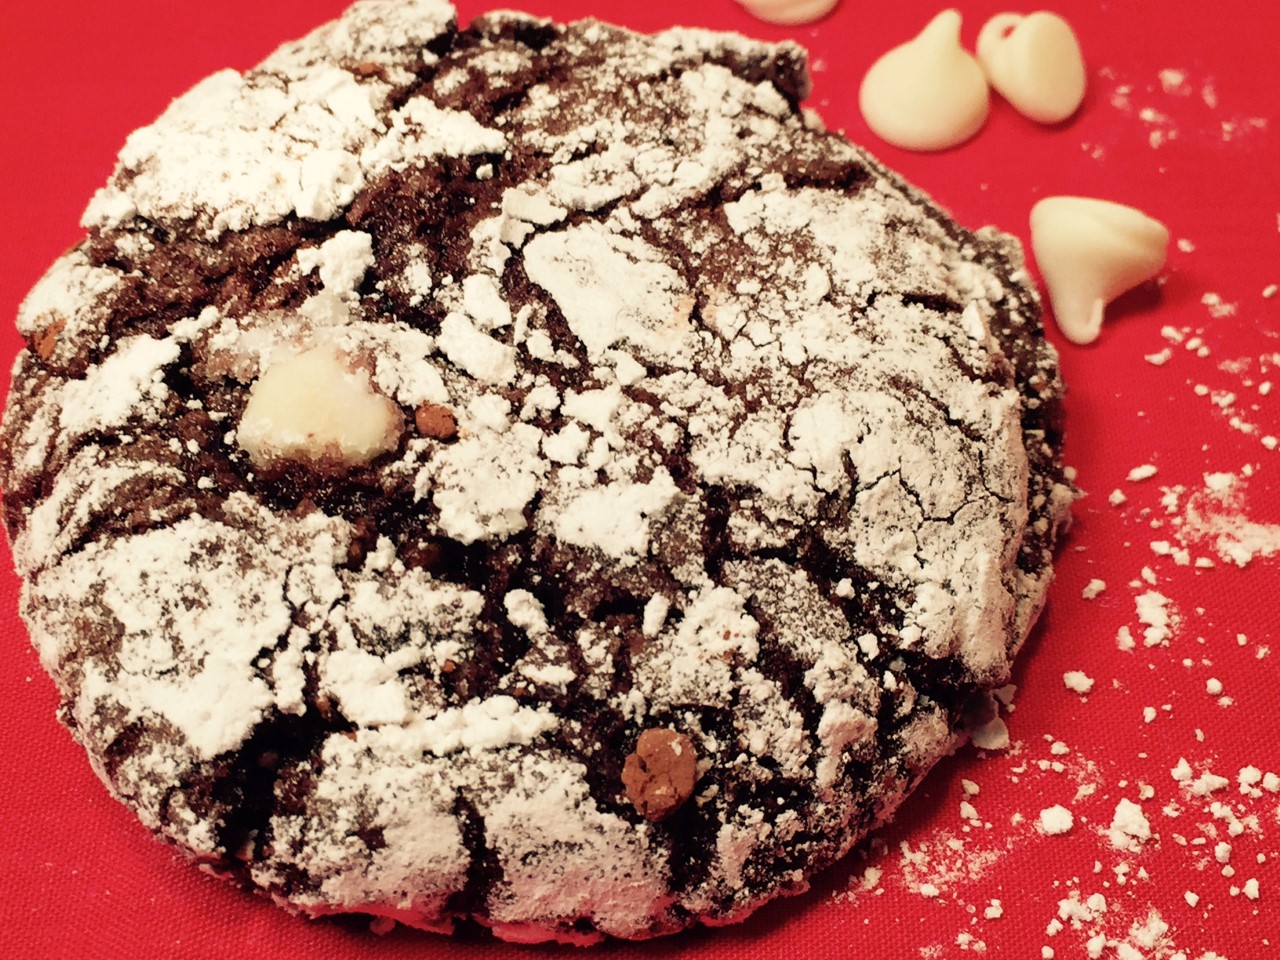 If you’re craving a rich, chocolate dessert, then look no further. WHITE CHIPS CHOCOLATE CRINKLE COOKIES will satisfy your urge, and then some! Warning: they’re a bit messy from the powdered sugar…so just wear white and you’re good to go.