If I’m going to have dessert – and, I AM going to have dessert – it has to be worth the calories. What’s the point in exercising off a dessert I didn’t absolutely love?! So, while I like cheesecake, I rarely eat it since there are so many other choices that I prefer.
That changed recently when I watched an America’s Test Kitchen episode where they featured a lemon cheesecake. It looked so good, I decided I had to make it. And so began the evolution of my Lemon Cheesecake.
As I watched the episode, I copied down the recipe (or so I thought). One of the first steps was to combine 1/4 cup sugar with 1 T lemon zest in a food processor to break down the zest. Did that, no problem. Then, blend this lemon/sugar mixture with an additional 1 cup sugar. Uh oh! For some reason, I forgot to write down that part, so I ended up with a cheesecake batter 1 cup shy of sugar. I did think it strange there was so little sugar called for in the recipe, but waited until I popped the cheesecake in the oven before re-checking the recipe online. The cheesecake had already begun baking by this point so there was nothing to do but carry on and see what happens.
Much to my amazement, the finished cheesecake was delicious even though 80% of the sugar was left out. But that was just the beginning.
The next step came when I decided to make a triple chocolate cheesecake recipe that I found in one of Joanne Fluke’s mysteries. While, as mentioned previously, cheesecake may not be my favorite dessert, chocolate was, especially TRIPLE CHOCOLATE! The thing about the recipe was, besides the obvious cream cheese, it called for 1 cup of mayonnaise! MAYONNAISE???!!!
Well, even though that sounded crazy, the triple chocolate won me over enough to try it. And it was delicious! The mayonnaise lightened up the cheesecake just enough that it held together but wasn’t so thick and stodgy.
I decided to incorporate mayonnaise into ATK’s lemon cheesecake, making a few other changes such as an added egg, using a graham cracker crust, and putting back 48g (1/4 cup) of the 192g (1 cup) sugar that I originally left out. I ended up with a creamy, very lemony Lemon Cheesecake.
NOTE: The cheesecake is baked in a bain marie (water bath). Since you’ll be using a springform pan in which to bake, you’ll need to cover the bottom and sides up to the top rim so the water doesn’t leak into the cheesecake. Springform pans seem very tight, but water can get in. I happen to have a cake pan the does NOT have a false bottom that will contain the springform pan. But if you don’t have one, you can use heavy duty aluminum foil to encase the pan.
ADDITIONAL NOTE: Lemon Cheesecake needs to be made the day before serving. While the actual hands-on work is minimal, there are 7 hours needed for the cake to rest and chill, plus an hour of baking.
LEMON CHEESECAKE
Crust:
- 163g (1.5 cups) graham crackers
- 30g (3 T) granulated sugar
- 77g (5.5 T) butter, melted
Preheat oven to 350°F (177°C).
Crush the graham crackers into fine crumbs using a rolling pin. (Food processors don’t yield an evenly crushed crumb.) Mix the crumbs and sugar in a bowl. Add in the melted butter and blend with a fork.

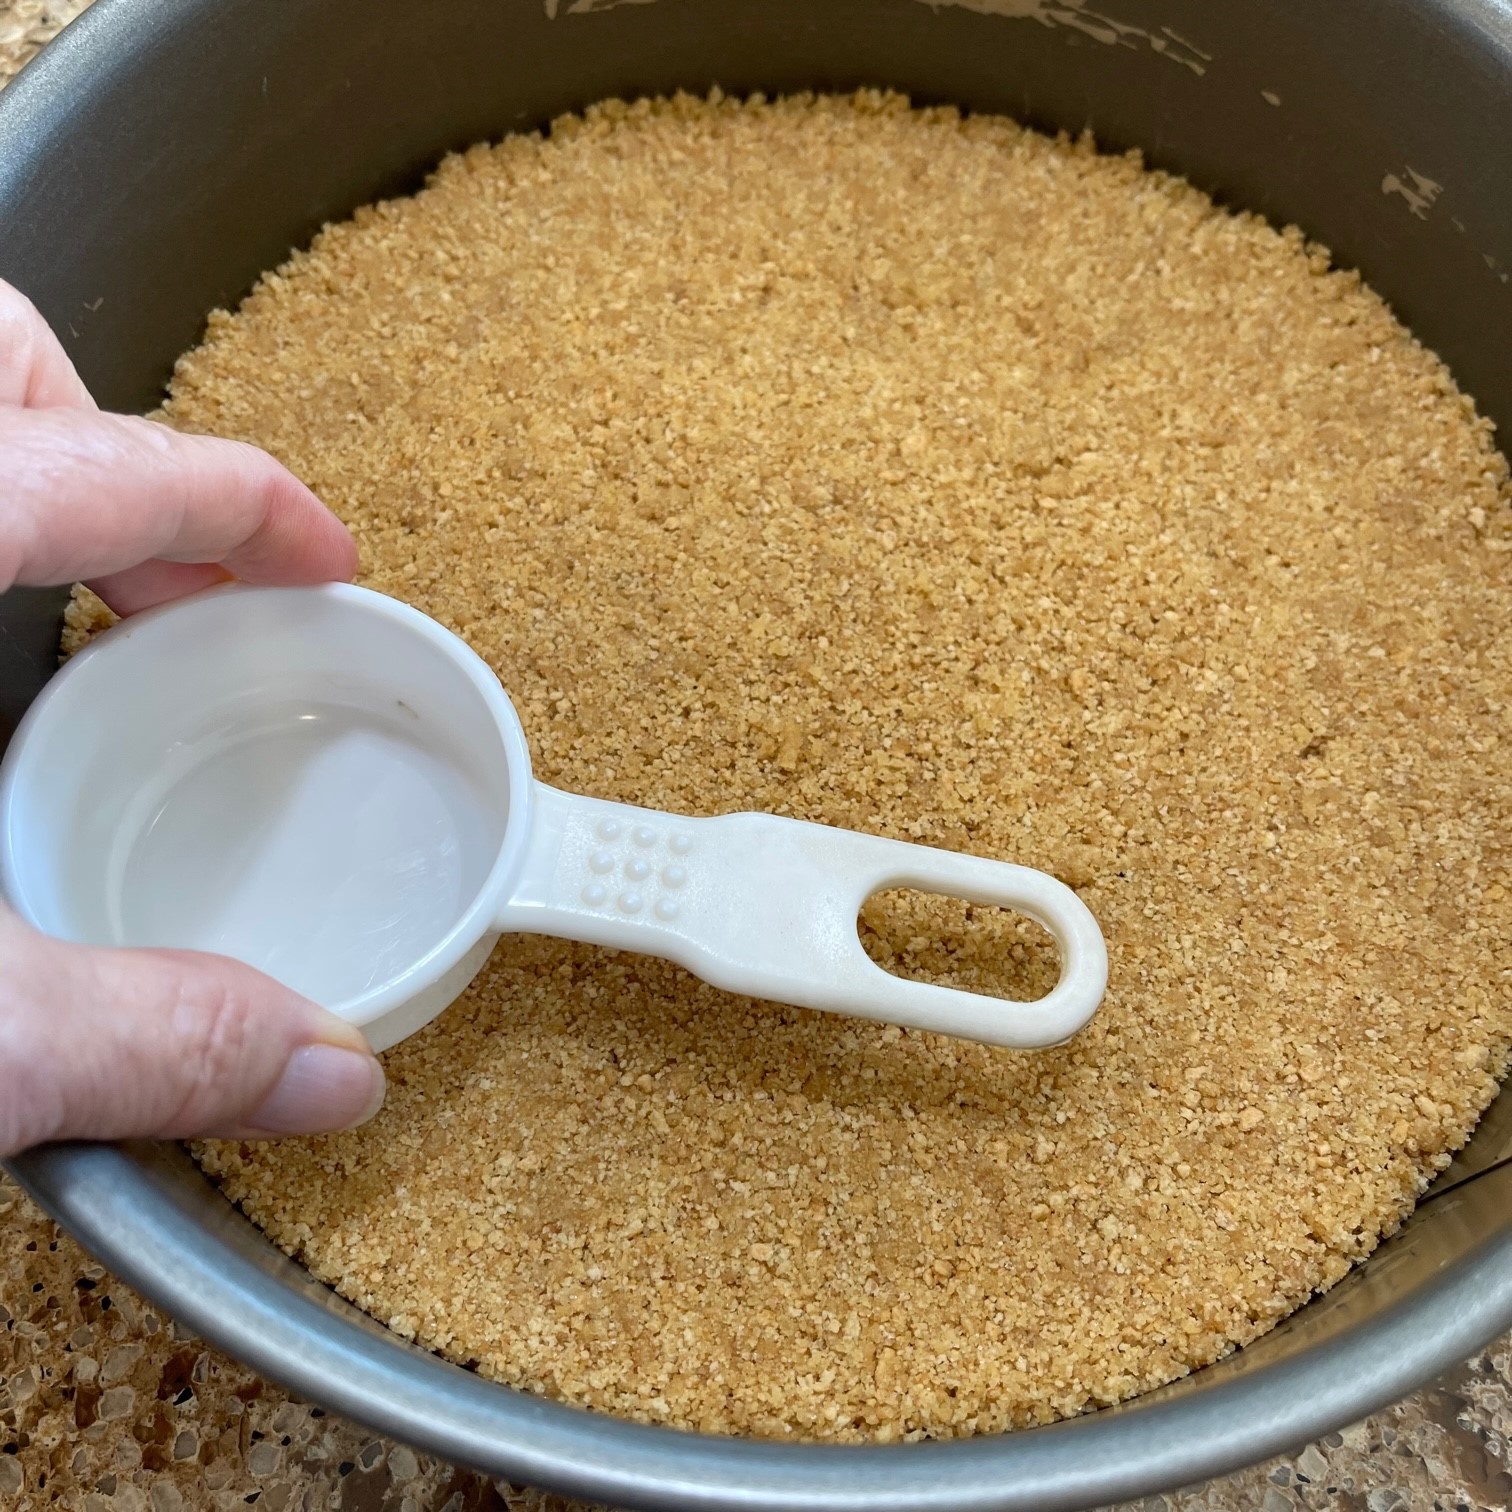
Pour graham cracker mixture into a 9″ (23 cm) springform pan and spread to sides. Pat with finger tips as evenly as possible to the bottom only (not up the sides). Then, go around crumbs with a flat bottomed, circular object such a a glass or measuring cup. Press firmly, but not so much that you make indentations. The goal is a smooth, firm crust.
Bake in preheated 350°F (177°C) oven, until lightly browned around edges – about 13-15 minutes. Remove from oven and let cool while you prepare the filling.

Lower oven temperature to 325°F (163°C).
Filling:
- 96g (1/2 cup) granulated sugar
- 1 T lemon zest, packed (don’t be stingy – this is where the lemon flavor come from)
- 678g (24 oz) (1.5 lb) cream cheese, softened – use the block packaged cream cheese, NOT the whipped cream cheese in a tub
- 5 eggs
- 200g (1 cup) mayonnaise
- 53g (1/4 cup lemon juice
- 1/4 tsp salt
- 2 tsp vanilla extract
Put sugar and the lemon zest in a food processor or blender. Whirl about 30 seconds to break up zest and infuse the sugar, pausing to scrape down the sides and bottom.

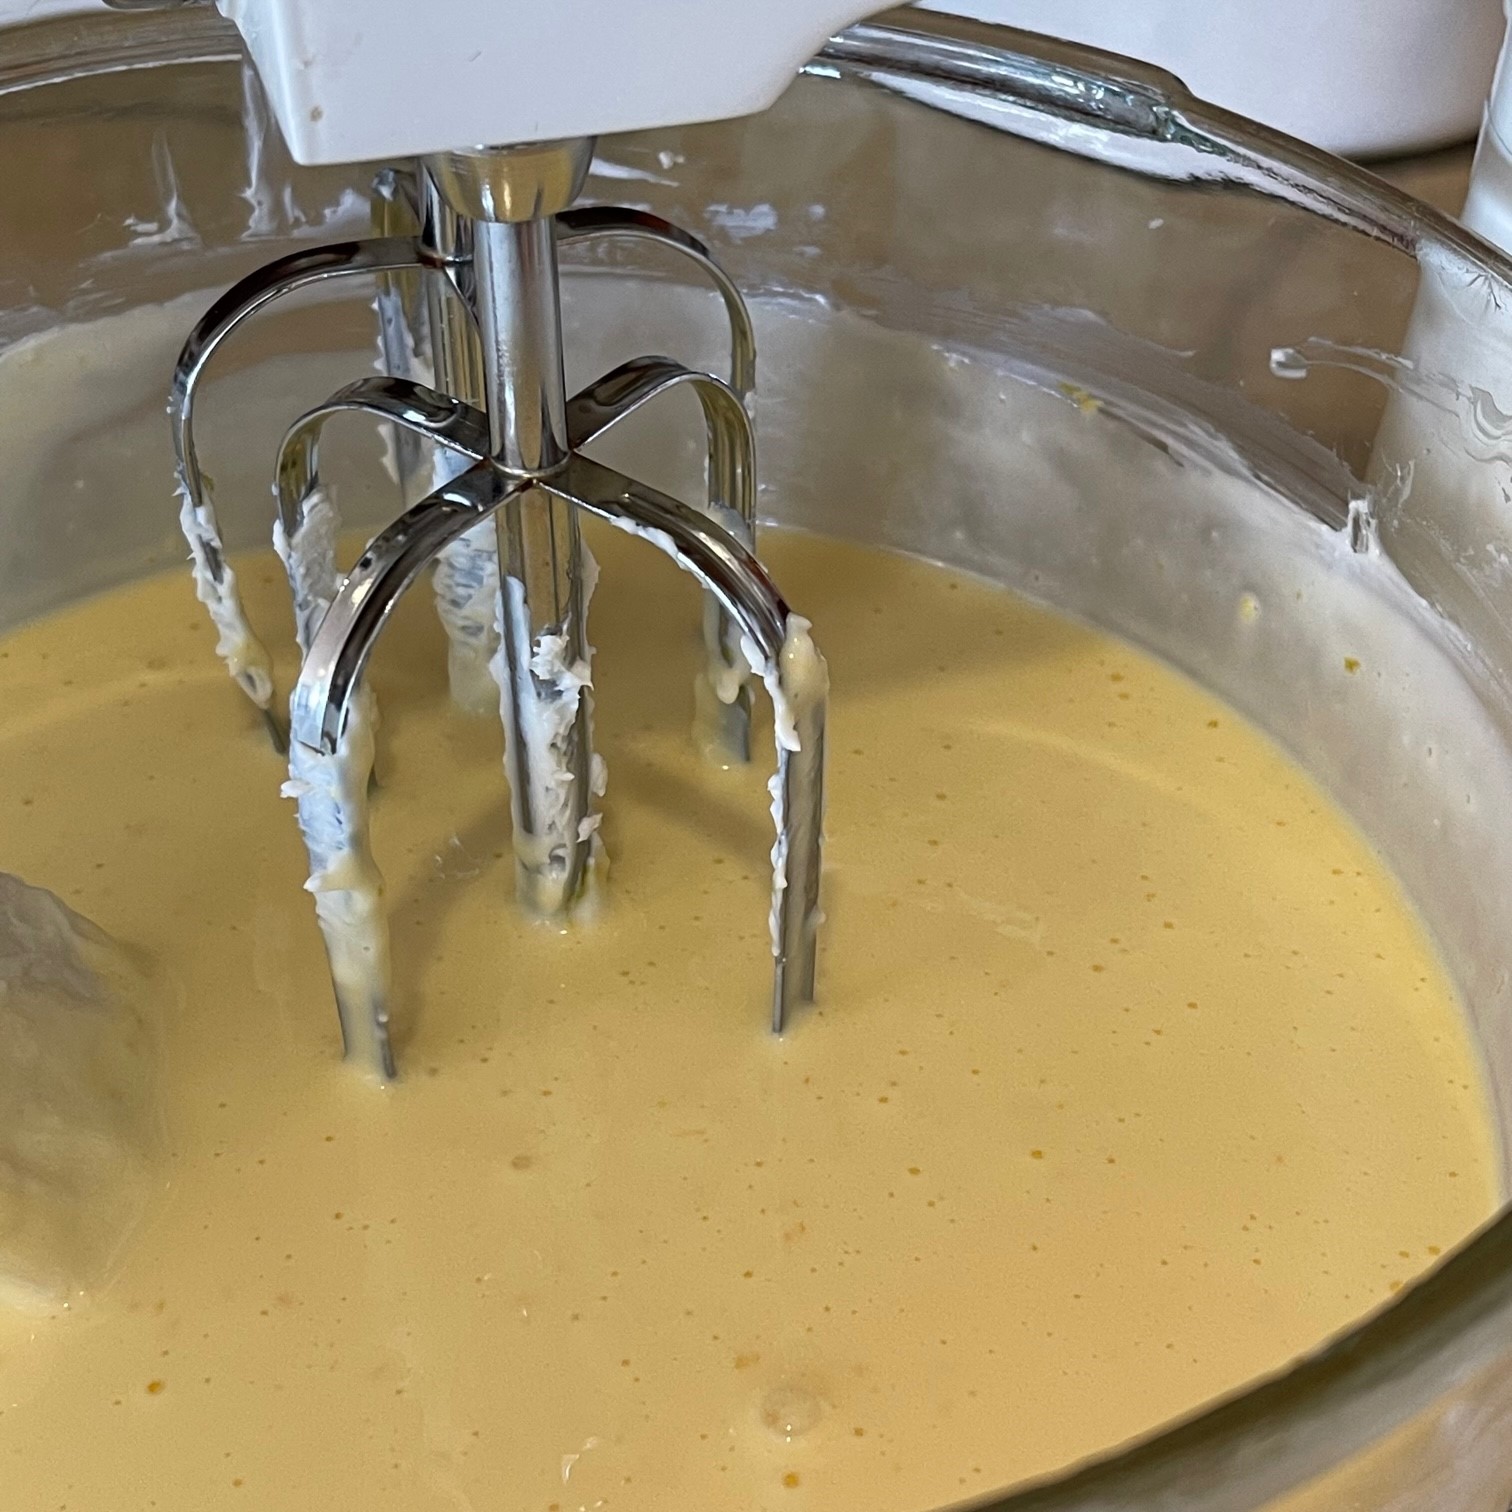
Place the softened cream cheese in an electric mixer and beat on low for about 30 seconds to begin the creaming process. (Yes, I know my spatula has seen better days!)

Add the sugar/zest mixture to the bowl, scraping the sides and bottom of the processor to get every last bit. Beat on medium for 3 minutes – don’t shortchange the time.

Add 2 eggs to the bowl and beat on low just to blend.

Add another 2 eggs and beat on low to blend. Then, add the final egg and the mayonnaise, beating on low just to blend. Finally, add in the 53g (1/4 cup) lemon juice, salt, and 2 tsp vanilla, beating on low just to blend.
Make the bain marie: Place the springform pan with cooled crust either in a slightly larger pan (such as a cake pan that doesn’t have a false bottom) or cover the bottom and sides of the springform pan up to the rim with 1 piece of heavy duty aluminum foil (don’t piece the foil together – the seam would be a port of entry for water). The cake pan or foil will deter water from leaking into the cheesecake.

Place these pans in a large roasting pan, then pour the cheesecake batter into the springform pan. Heat water just before boiling and pour it into the large roasting pan (NOT the cake pan!) about 3/4″ (2 cm) deep. Very carefully place into oven, trying your very best not to slosh the water about. Bake at 325°F (163°C). Set your timer for 45 minutes. The cheesecake is done when the center of the cake registers 150°F (66°C) on your thermometer. It probably won’t be quite done at the 45 minute mark, but better to check early just in case. It takes about 50 minutes in my oven.

When the temperature reaches 150°F (66°C), immediately turn off the oven. Leave the cake in the bain marie in the oven. Crack open the oven door with something like a wooden spoon. Let cheesecake set in oven in the bain marie for 1 hour. Set timer!

After the hour in the oven, remove the springform pan from the bain marie and the cake pan or foil. Don’t unlatch the springform pan – the cheesecake still needs to set. Set springform pan on a wire rack on the counter and run a rounded tipped knife around the sides of the cake just to separate it from the pan. Let set for 2 hours.

Make the lemon curd while the cheesecake is baking.
Lemon Curd:
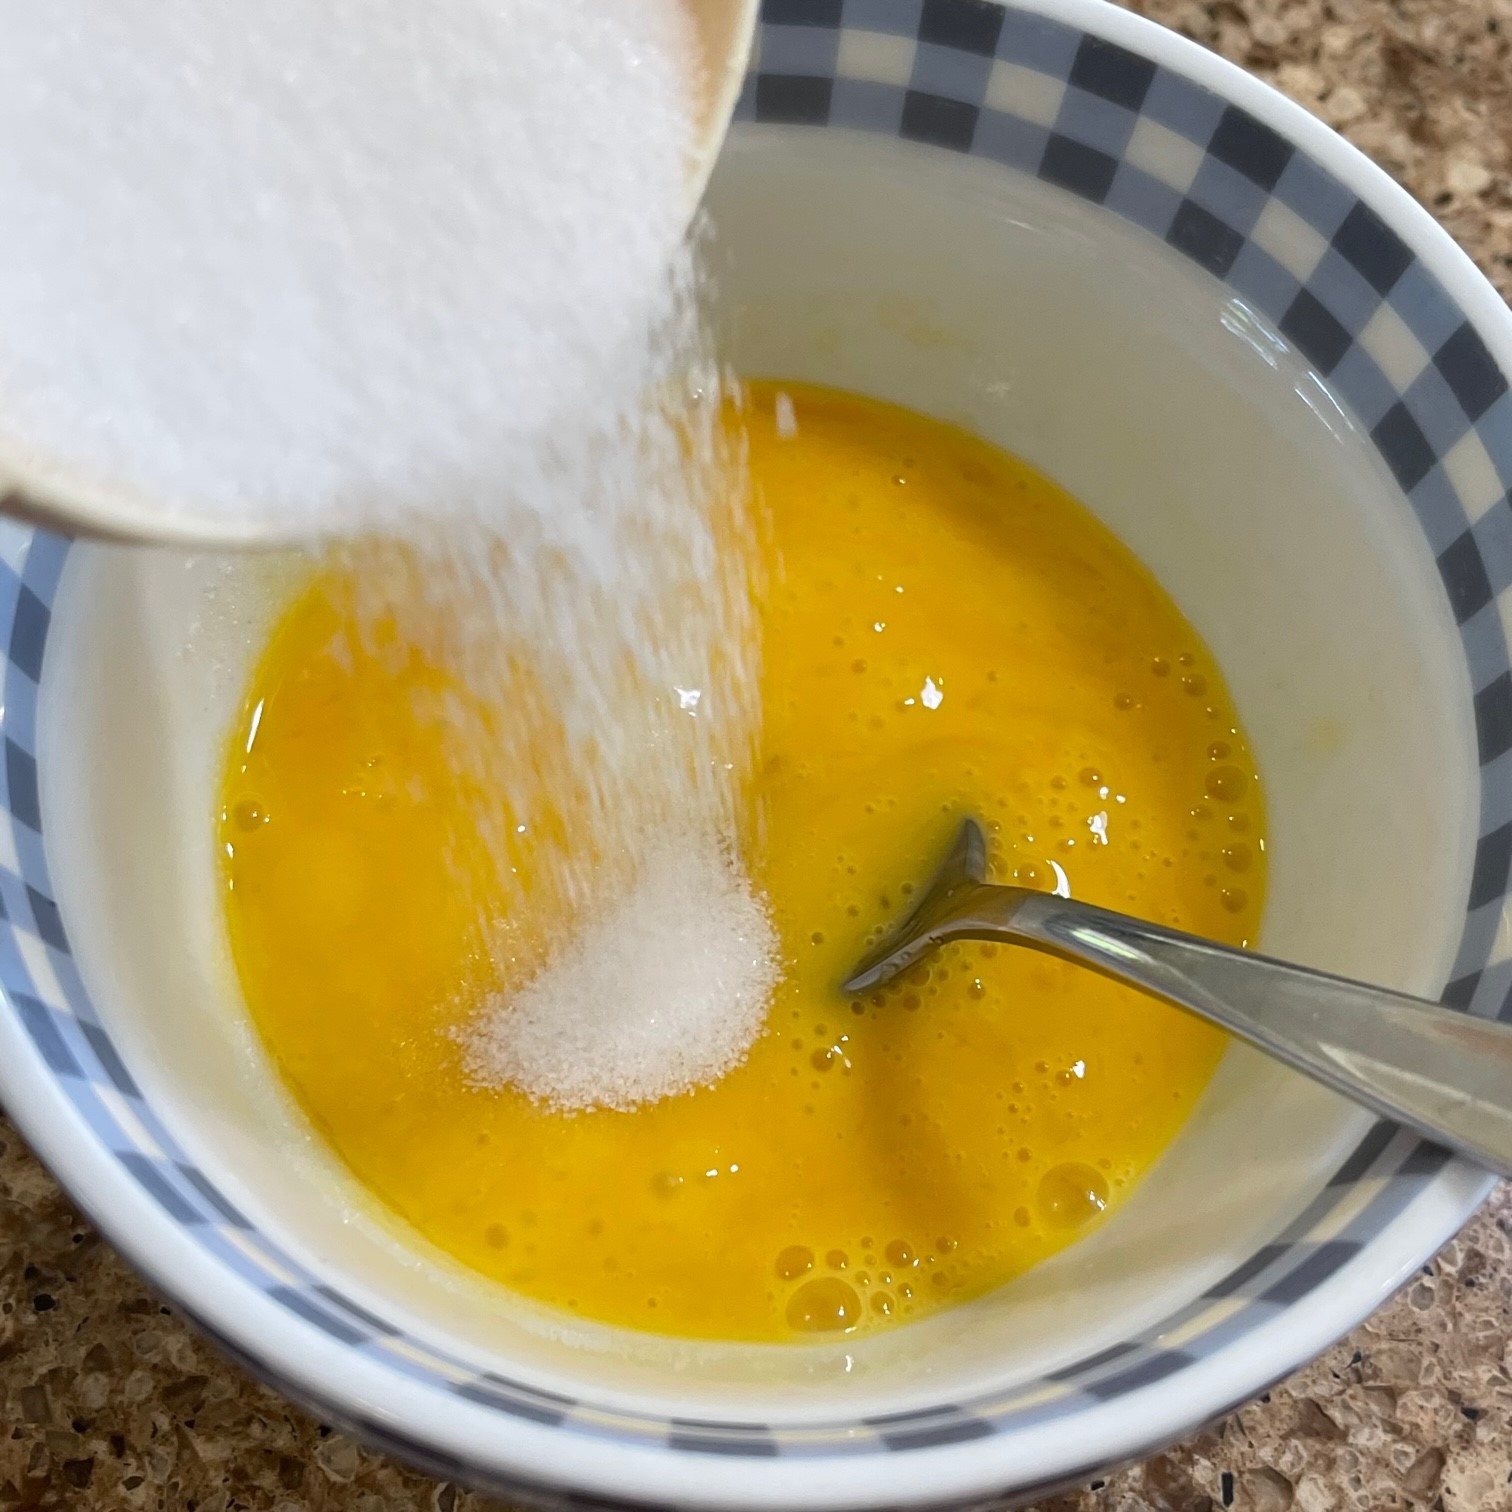
- 2 eggs
- 1 yolk
- 100g (1/2 cup) granulated sugar
- 65g (1/3 cup) lemon juice
- 28g (2 T) butter, cold
- 1 T heavy cream
- 1/4 tsp vanilla extract
- pinch salt
Beat eggs by hand in a bowl. Slowly pour in sugar, as you continuously beat mixture.
In a small pan, heat the lemon juice to a low simmer. Very gradually (you don’t want to cook the eggs) drizzle the lemon juice into eggs, whisking continuously.

Pour the egg mixture into the now-empty saucepan and cook over medium-low, stirring constantly. At around 160°F (70°C) the mixture will begin to thicken. Continue cooking until the temperature reaches 170°F (77°C). Remove from burner.

Immediately add the cold butter, cream, 1/4 tsp vanilla extract, and salt. Stir until butter is melted. Pour the curd into a strainer which is set upon a clean bowl (don’t forget the bowl or your curd will go down the sink!). Stir the curd in the strainer with a spoon to help the mixture flow through. Remember to scrape off the curd clinging to the underside of the strainer into the bowl (waste not, want not!).

Discard the bits remaining in the strainer – yuck!

Cover bowl and chill.
Once cheesecake has rested for 2 hours, pour curd on top, spreading to edges.

With the latch still locked on the springform pan, chill in fridge at least 4 hours. Release the spring on pan and remove the sides.

Run a long knife under the crust to release it. Carefully, slide the cheesecake onto a serving plate.
Finally, it’s ready to eat!!!