It goes without saying that I do a LOT of cooking. And I enjoy it. Really, I DO! (Although, not crazy about the washing up!)
However, there are times when I want a fast and easy, yet healthy dinner for my family. When I’m in that mood, TOFU PASTA SATAY is one of my go-to recipes. Bonus – leftovers make a delicious next-day lunch.
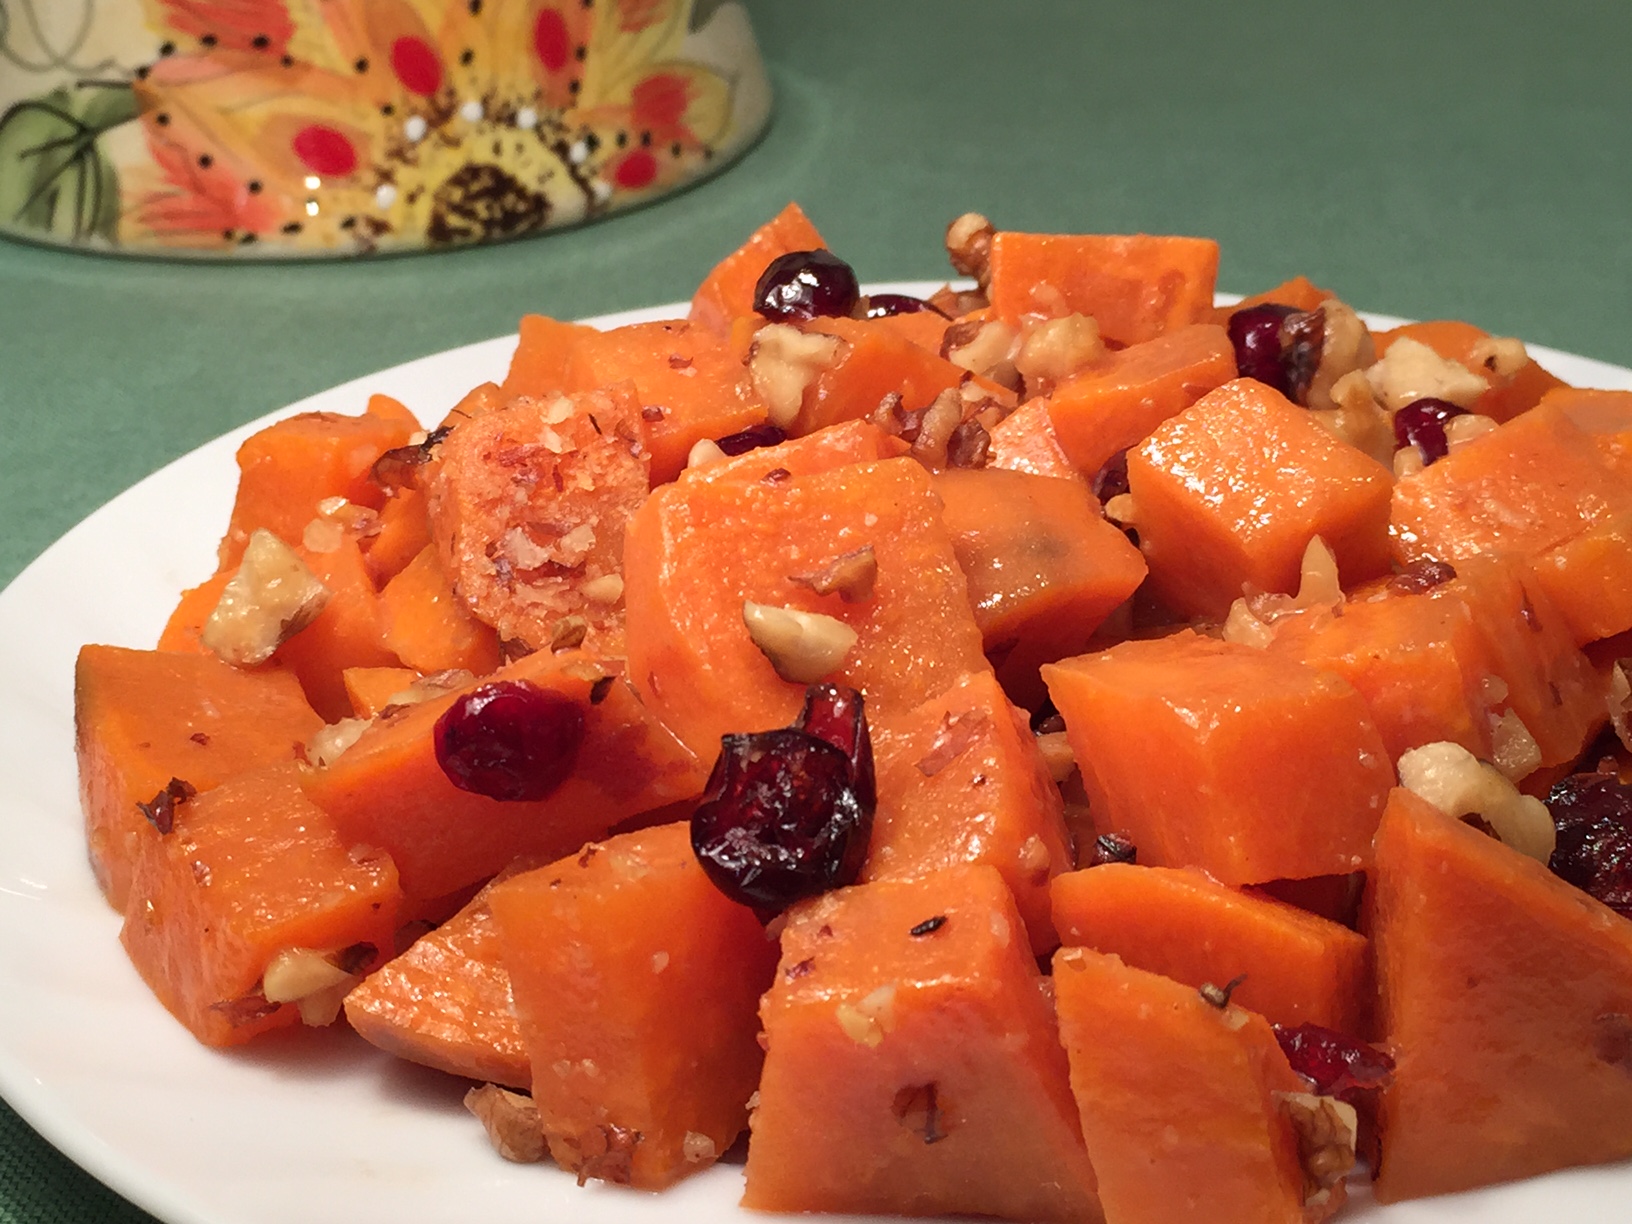
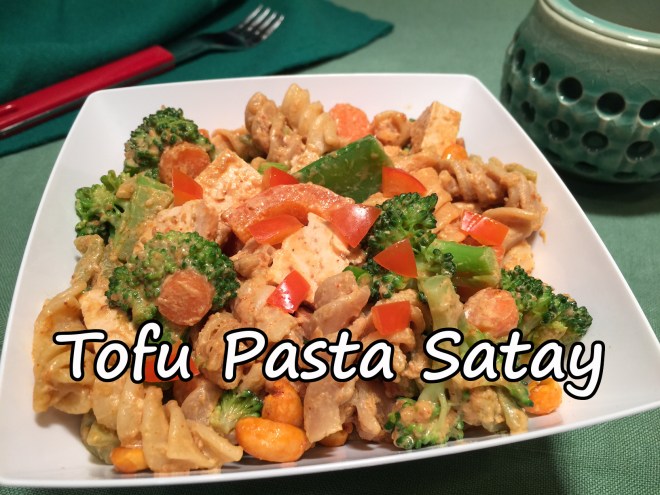
While I chose broccoli, red pepper, carrots, and snow peas for my add-ins, you can play fast and loose with your choices, gearing it to suit your taste.
NOTE: The satay sauce can be frozen so, if you like it, next time make extra and freeze it in portion sized containers for future use.
TOFU PASTA SATAY – makes about 6 cups
- 6 oz (170 grams) tofu
- 2 cups (6 oz / 172 grams) uncooked spiral pasta (I use multi colored)
- 3 scallions, sliced
- 1 red pepper, chopped
- about 10 snow peas, remove threads from sides
- 1 cup broccoli pieces
- 1/3 cup carrots, sliced
- 1 T Sriracha sauce
- 1 T soy sauce
- spicy peanuts (I use Chipotle flavor)
- 3/4 cup (about 190 grams) Satay Sauce (recipe below)
Press out the excess water from the tofu by placing it on a plate and covering it with another plate. Pour off the water from time to time as you prepare the rest of the recipe. When it seems like not much water is draining, cube the tofu into bite sized pieces, then marinate in the Sriracha and soy sauce.
Cook the pasta. Make sure you don’t overcook it – it will absorb liquid from the Satay Sauce. Drain when done.
Steam the red pepper, broccoli, carrots, and snow peas 1 minute, then remove from heat source and refrigerate. You don’t want to cook the veggies – just break down the fibers a wee bit so they’re more palatable.
In large bowl, combine the steamed veggies, pasta, scallions, tofu, and Satay Sauce. Add peanuts just before serving.
SATAY SAUCE – makes about 3/4 cup
- 1/2 (131grams) cup peanut butter (any kind)
- 1 T hot sauce
- 4 tsp soy sauce
- 1/4 tsp curry powder
- 1/4 tsp garlic powder
- 1/4 tsp crushed red pepper flakes
- about 2 – 4 T water
In a saucepan, over low heat, combine the peanut butter, hot sauce, soy sauce, curry powder, garlic powder, and pepper flakes. Begin adding water 1 tablespoon at a time until desired consistency is achieved. You may even need more water, depending on the thickness of your peanut butter. The sauce should be thick enough to stick to the salad, but thin enough to spread throughout the pasta.
 Lemons are one of those ingredients constantly called on to perk up a recipe – from soup to dessert. Sadly, we’re unable to grow a lemon tree on our property. I was bemoaning this fact after coming across a tempting recipe in my Mousewood cookbook for Lemon Rice, when my friend, Julie, brought a bag of lemons from her tree. Serendipity!