
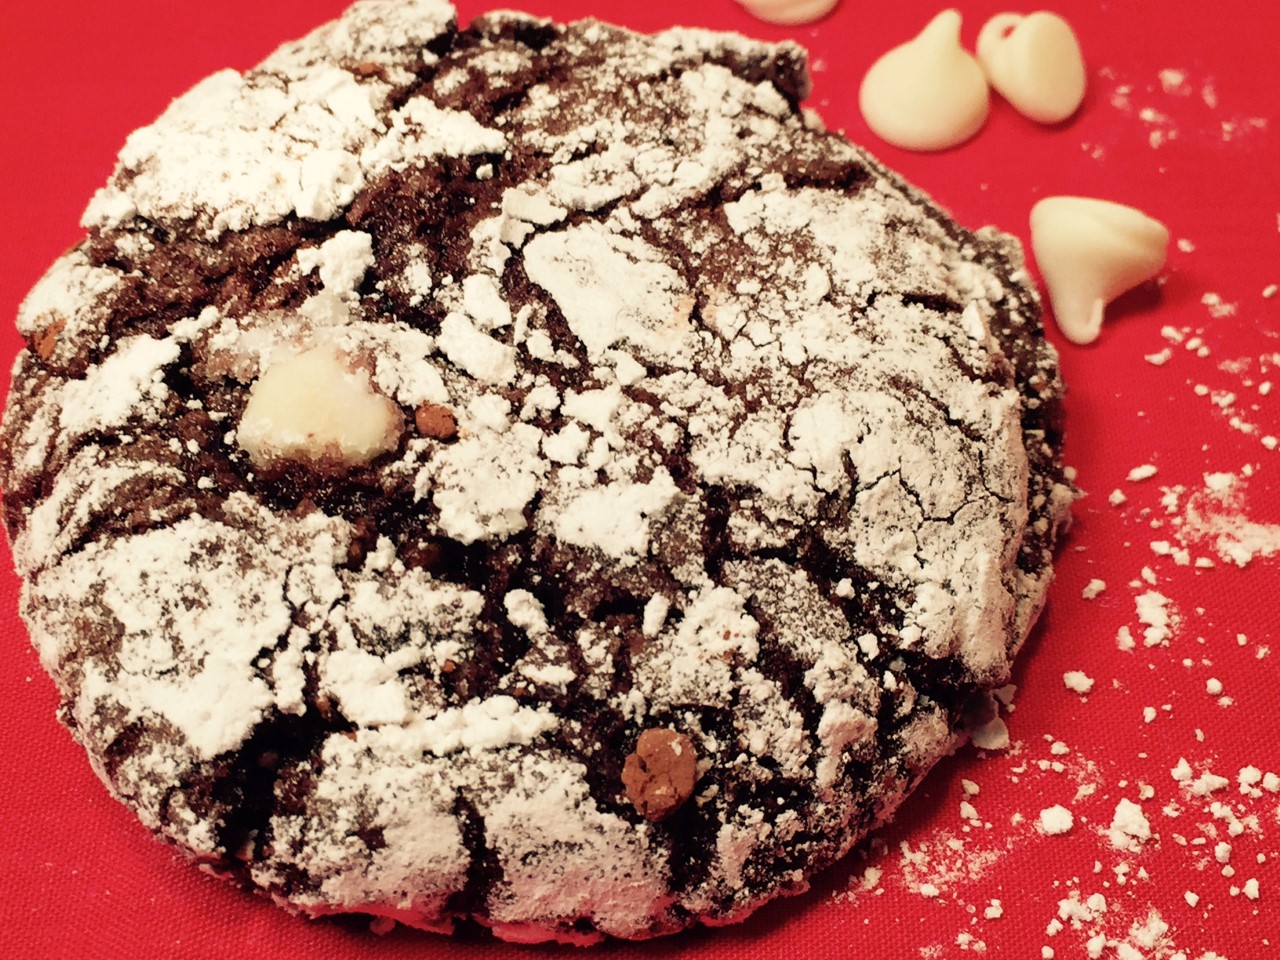
 If you’re craving a rich, chocolate dessert, then look no further. WHITE CHIPS CHOCOLATE CRINKLE COOKIES will satisfy your urge, and then some! Warning: they’re a bit messy from the powdered sugar…so just wear white and you’re good to go.
No need to drag out the electric mixer for this one – these cookies are made by hand. There’s even some rolling in sugar to do, so put the kids to work.
WHITE CHIPS CHOCOLATE CRINKLE COOKIES – makes 18 to 22, depending on size
- 130g (4½ oz) (1 cup) all-purpose flour
- 37g (1¼ oz) (1/2 cup) cocoa – sift to get rid of any lumps
- 1/2 tsp salt
- 1 tsp baking powder
- 1/4 tsp baking soda
- 142g (5 oz) (1 cup) white chocolate chips (I use Nestle’s)
- 4 tsp instant coffee crystals
- 1 tsp vanilla
- 3 eggs
- 234g (8¼ oz) (1½ cups) dark brown sugar, packed
- 114g (4 oz) unsweetened baking chocolate bar (I use Ghirardelli)
- 52g (4 T) butter
- about 2/3 cup granulated sugar
- about 3/4 cup powdered sugar
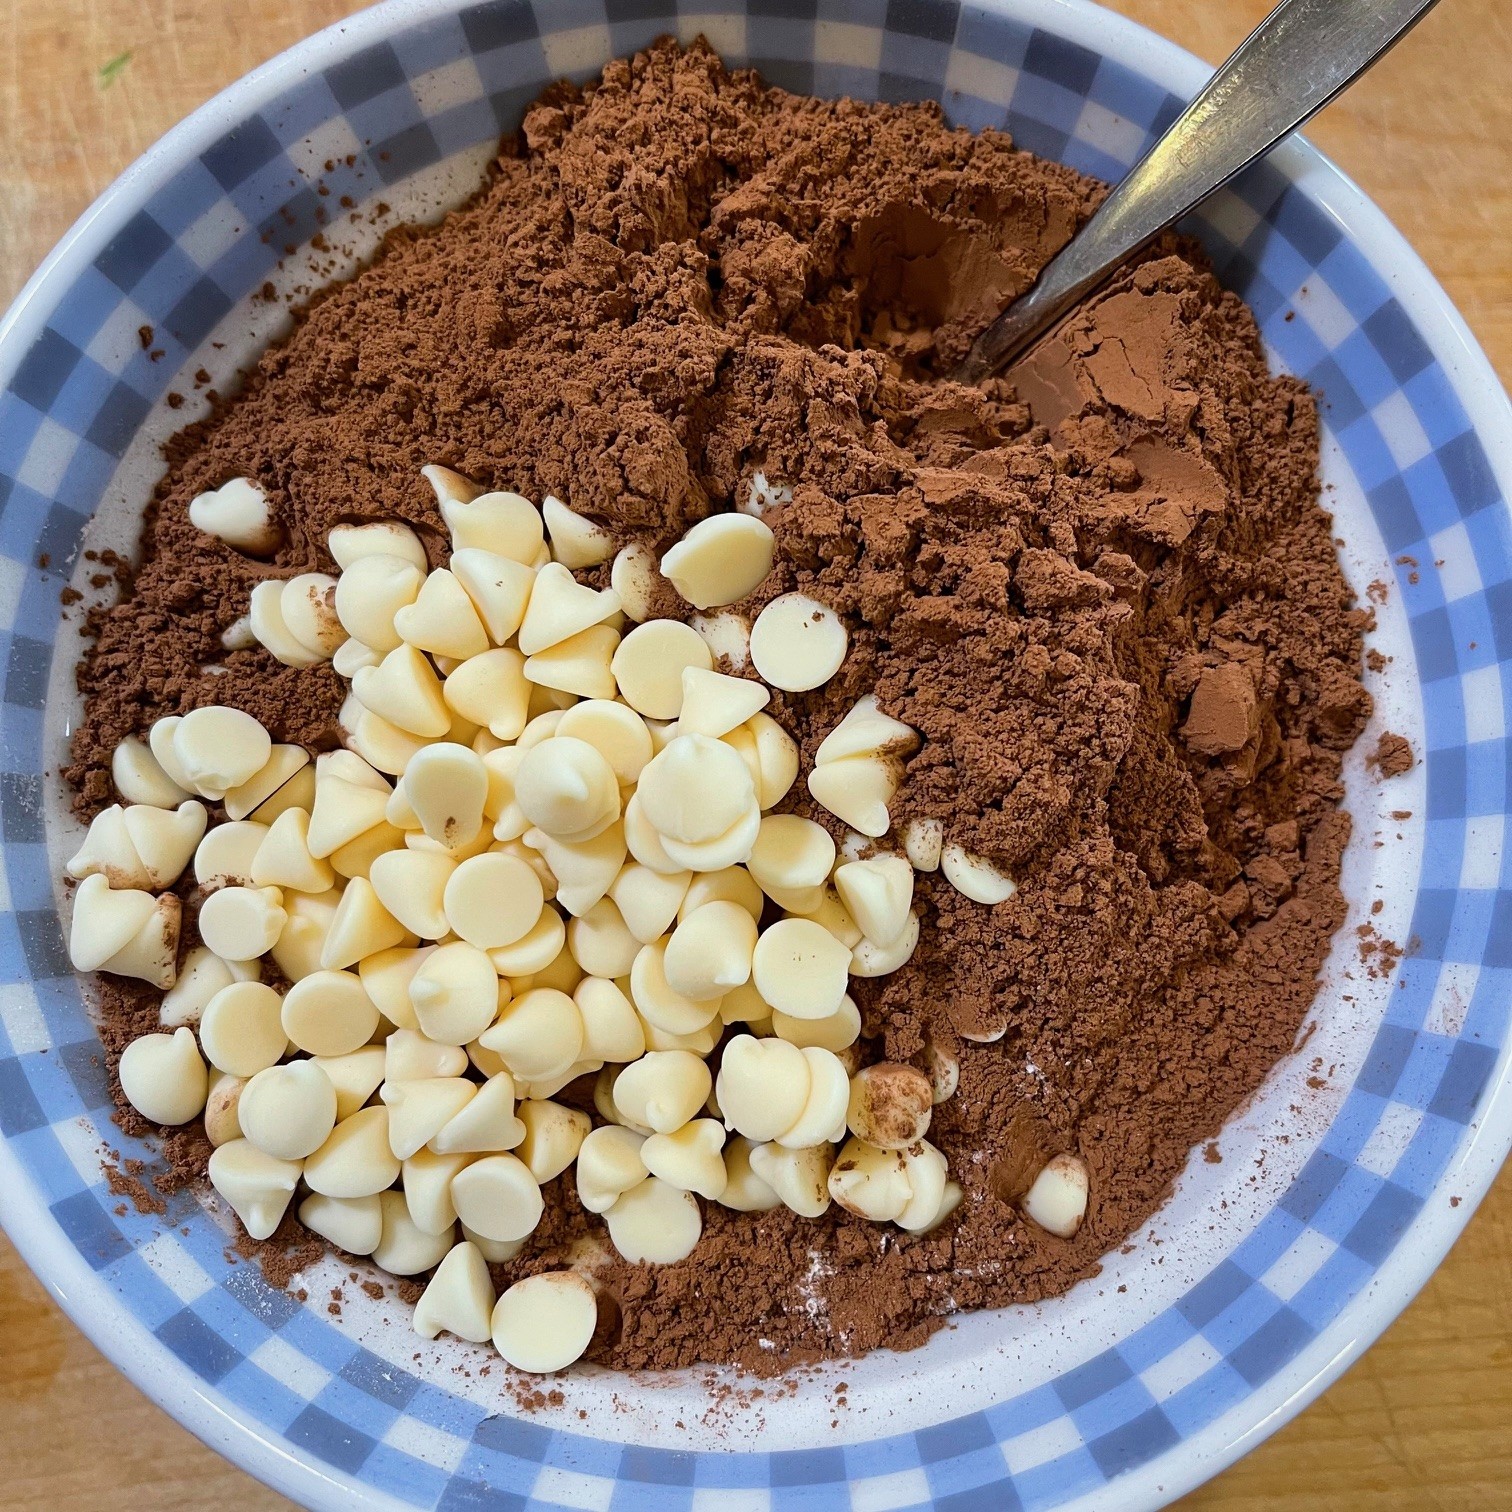
In a bowl, mix together flour, cocoa, salt, baking powder, baking soda, and white chips. Set aside.
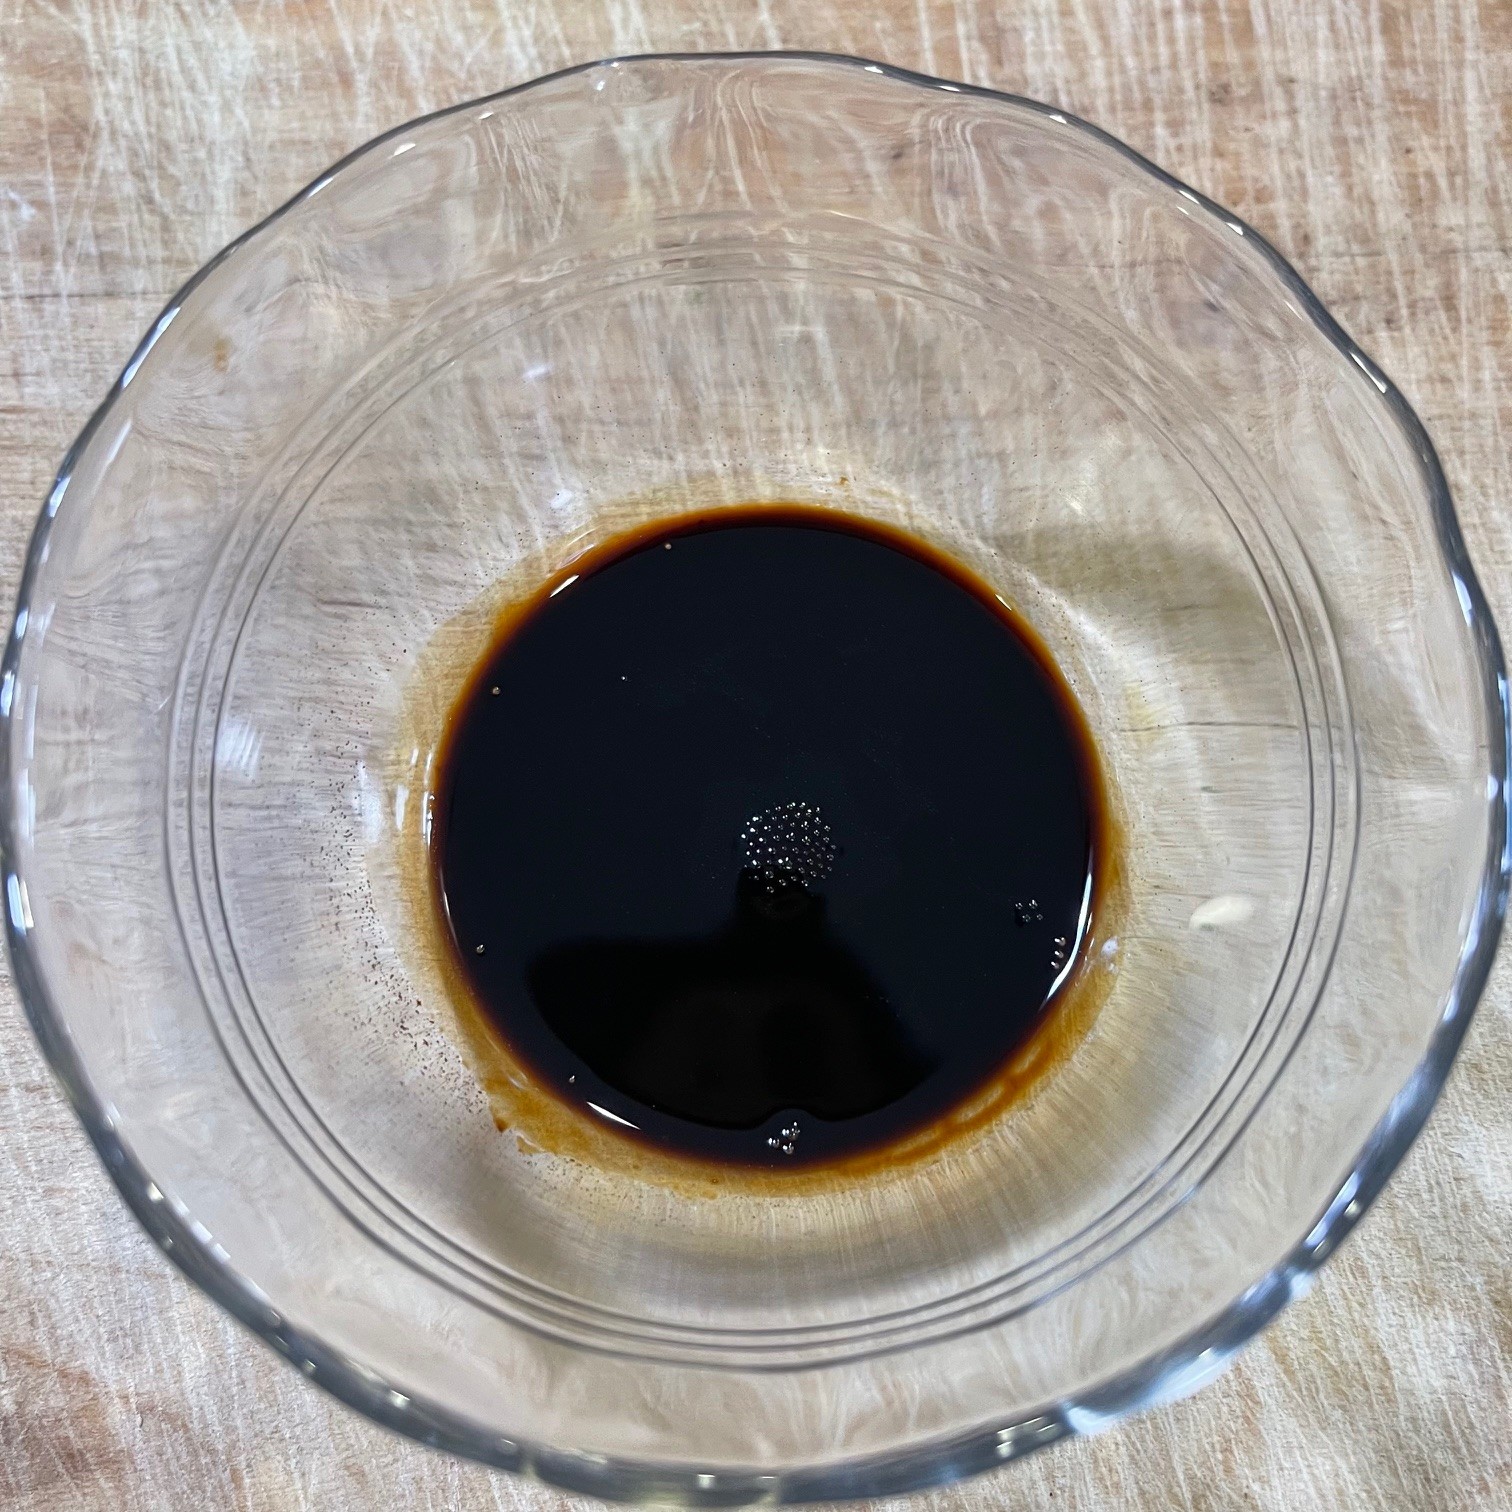
In a small bowl, dissolve coffee crystals in vanilla. Set aside.
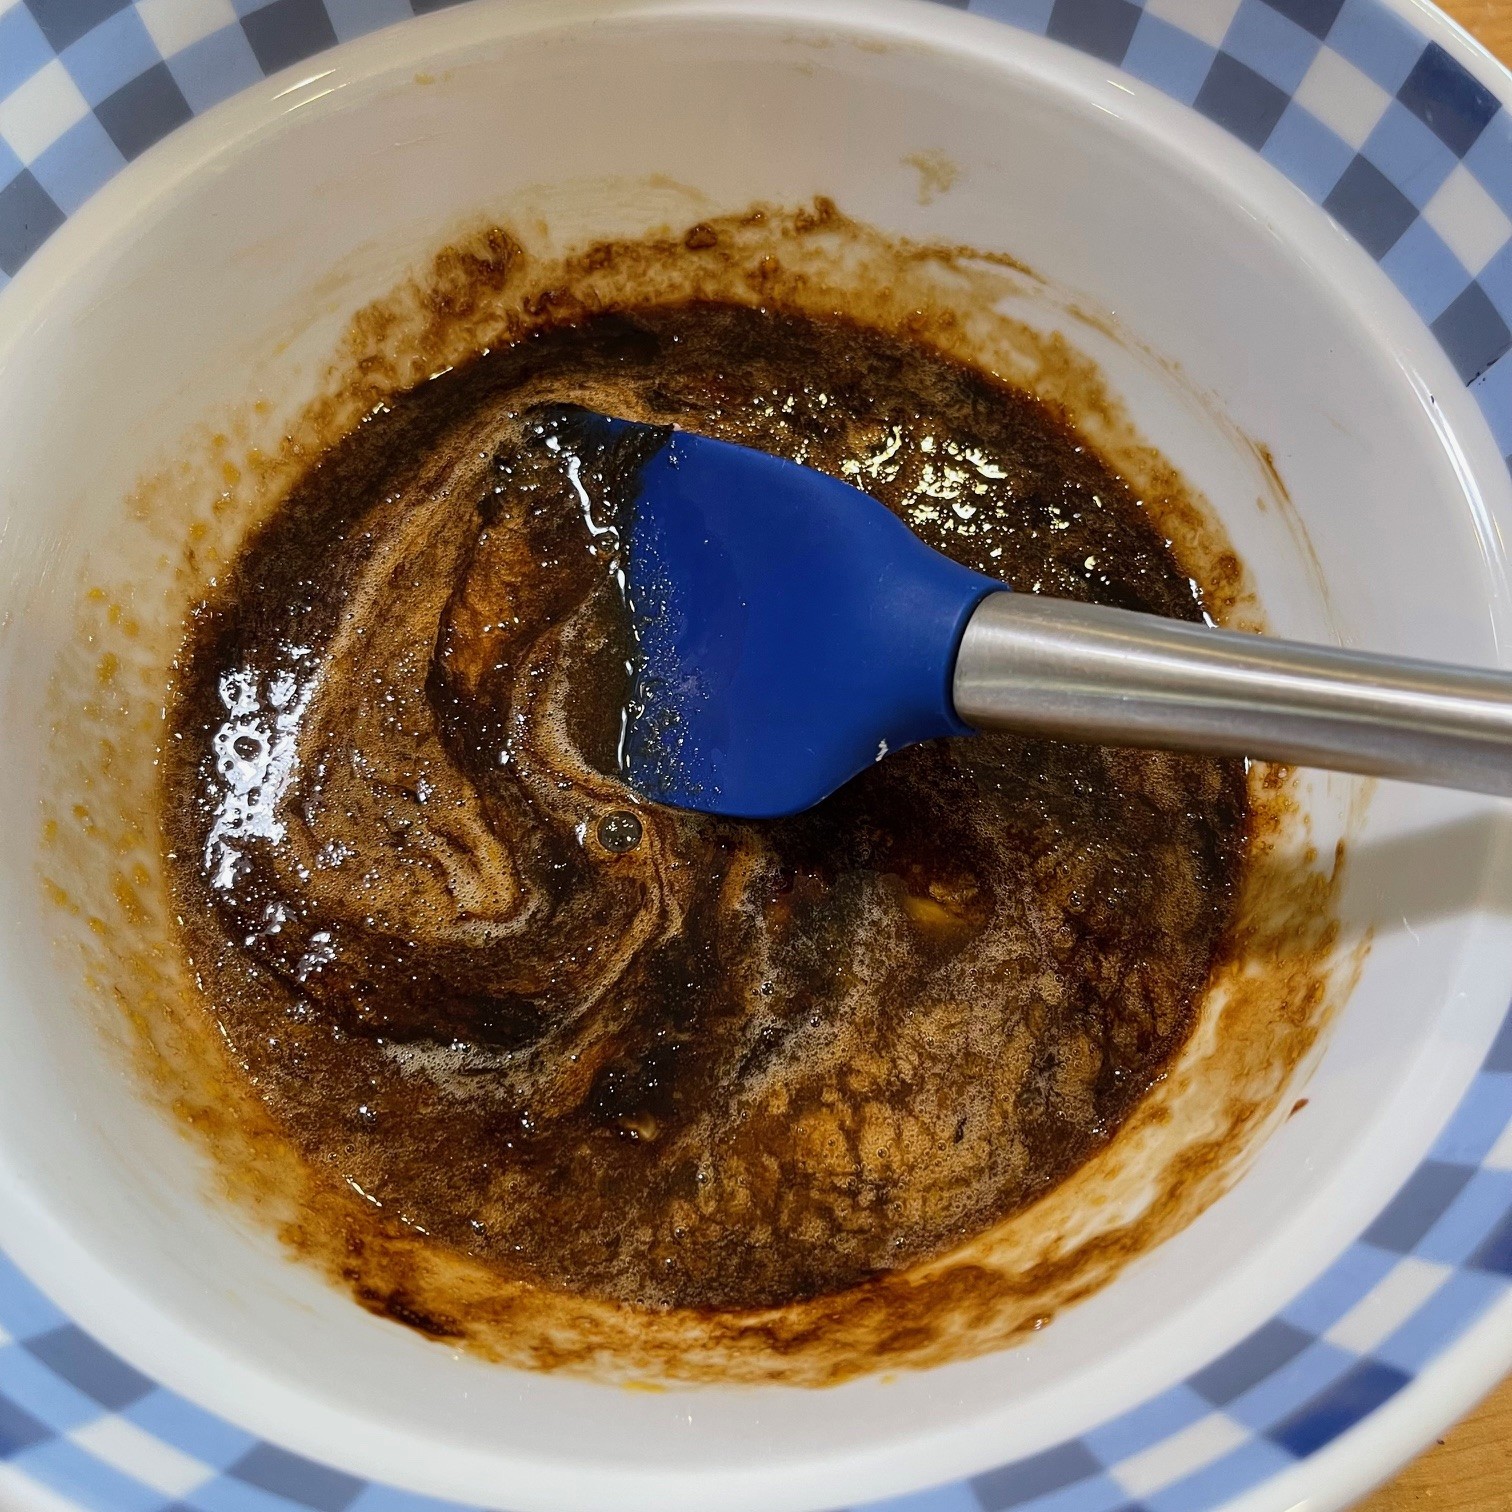
In a large mixing bowl, whisk together the eggs and brown sugar, smashing out any lumps. Add in the coffee/vanilla and mix well.
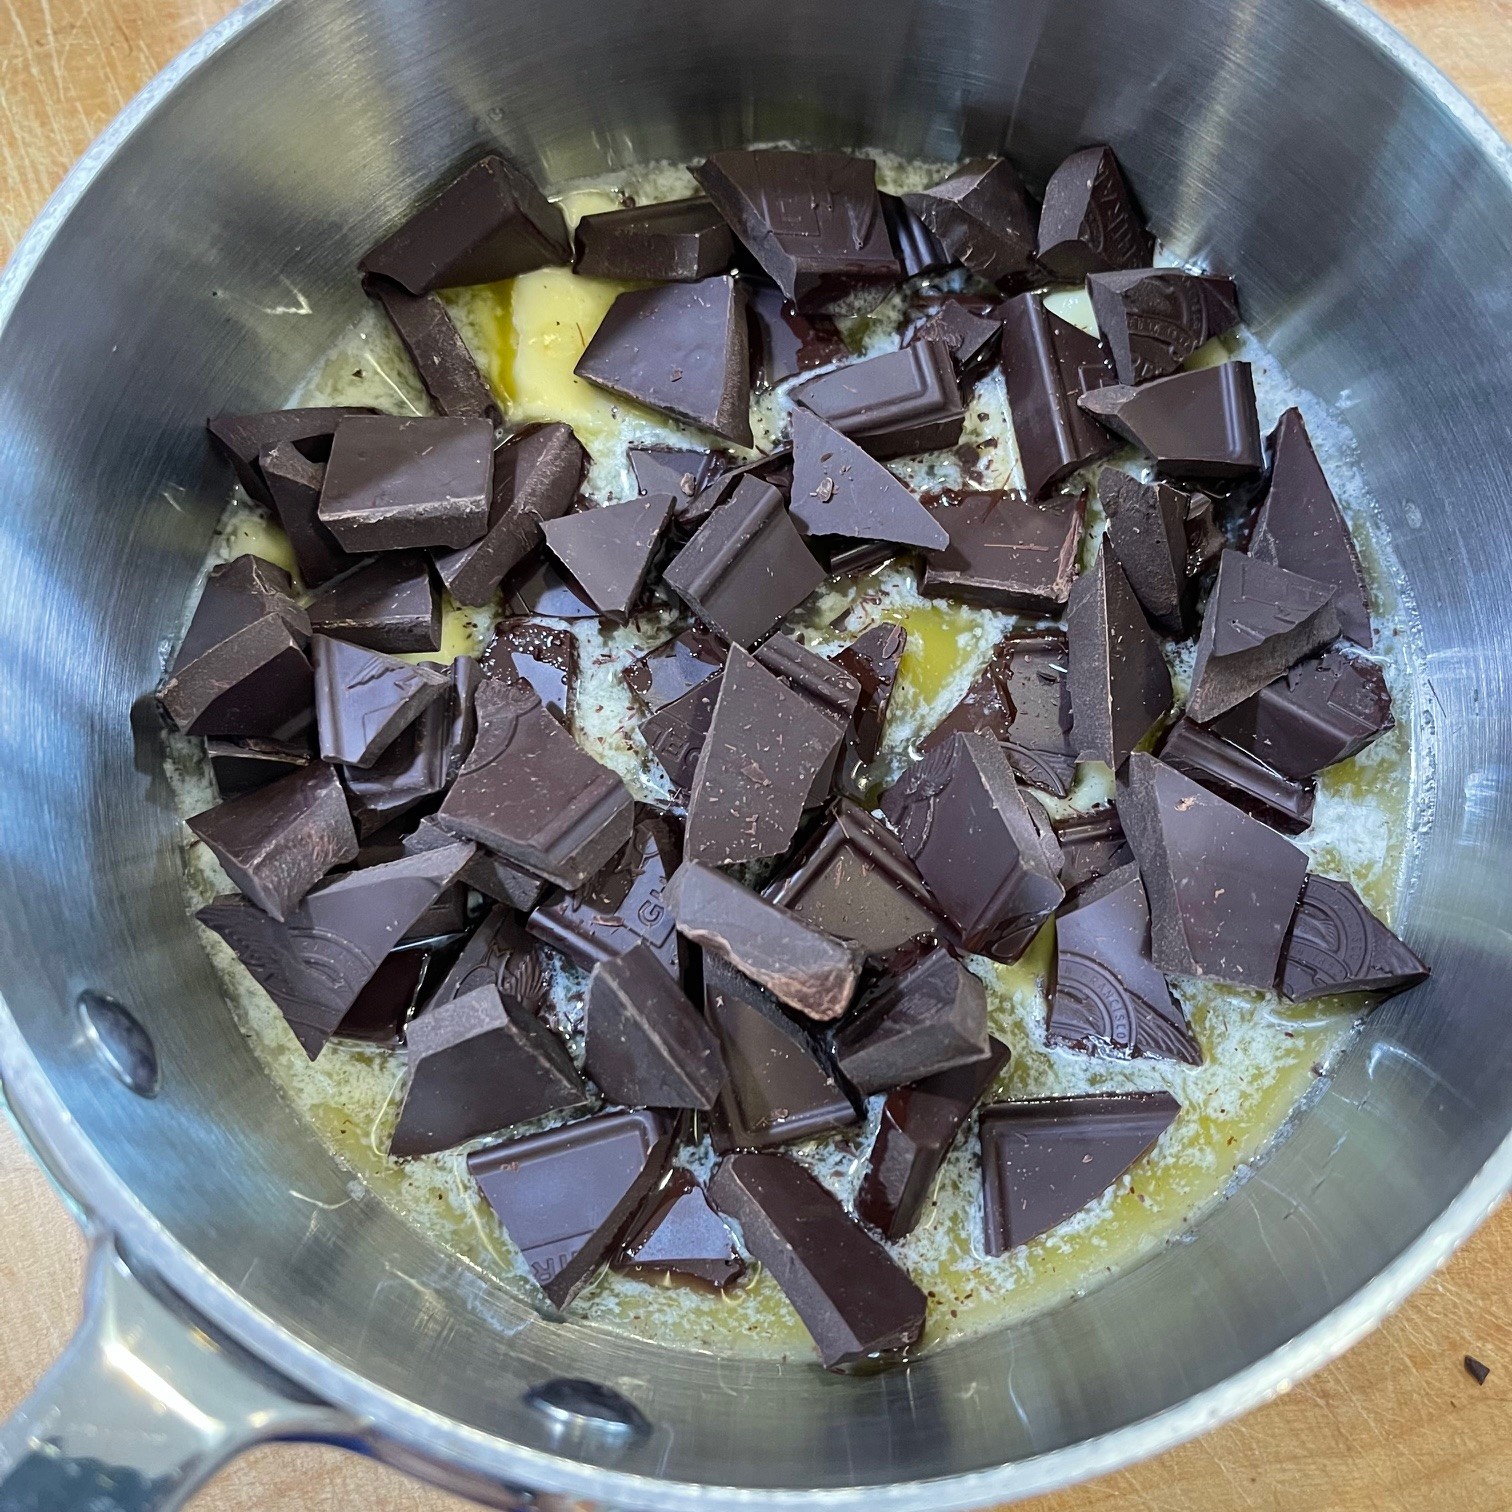
In a small saucepan over very low heat, melt together the butter and baking chocolate.
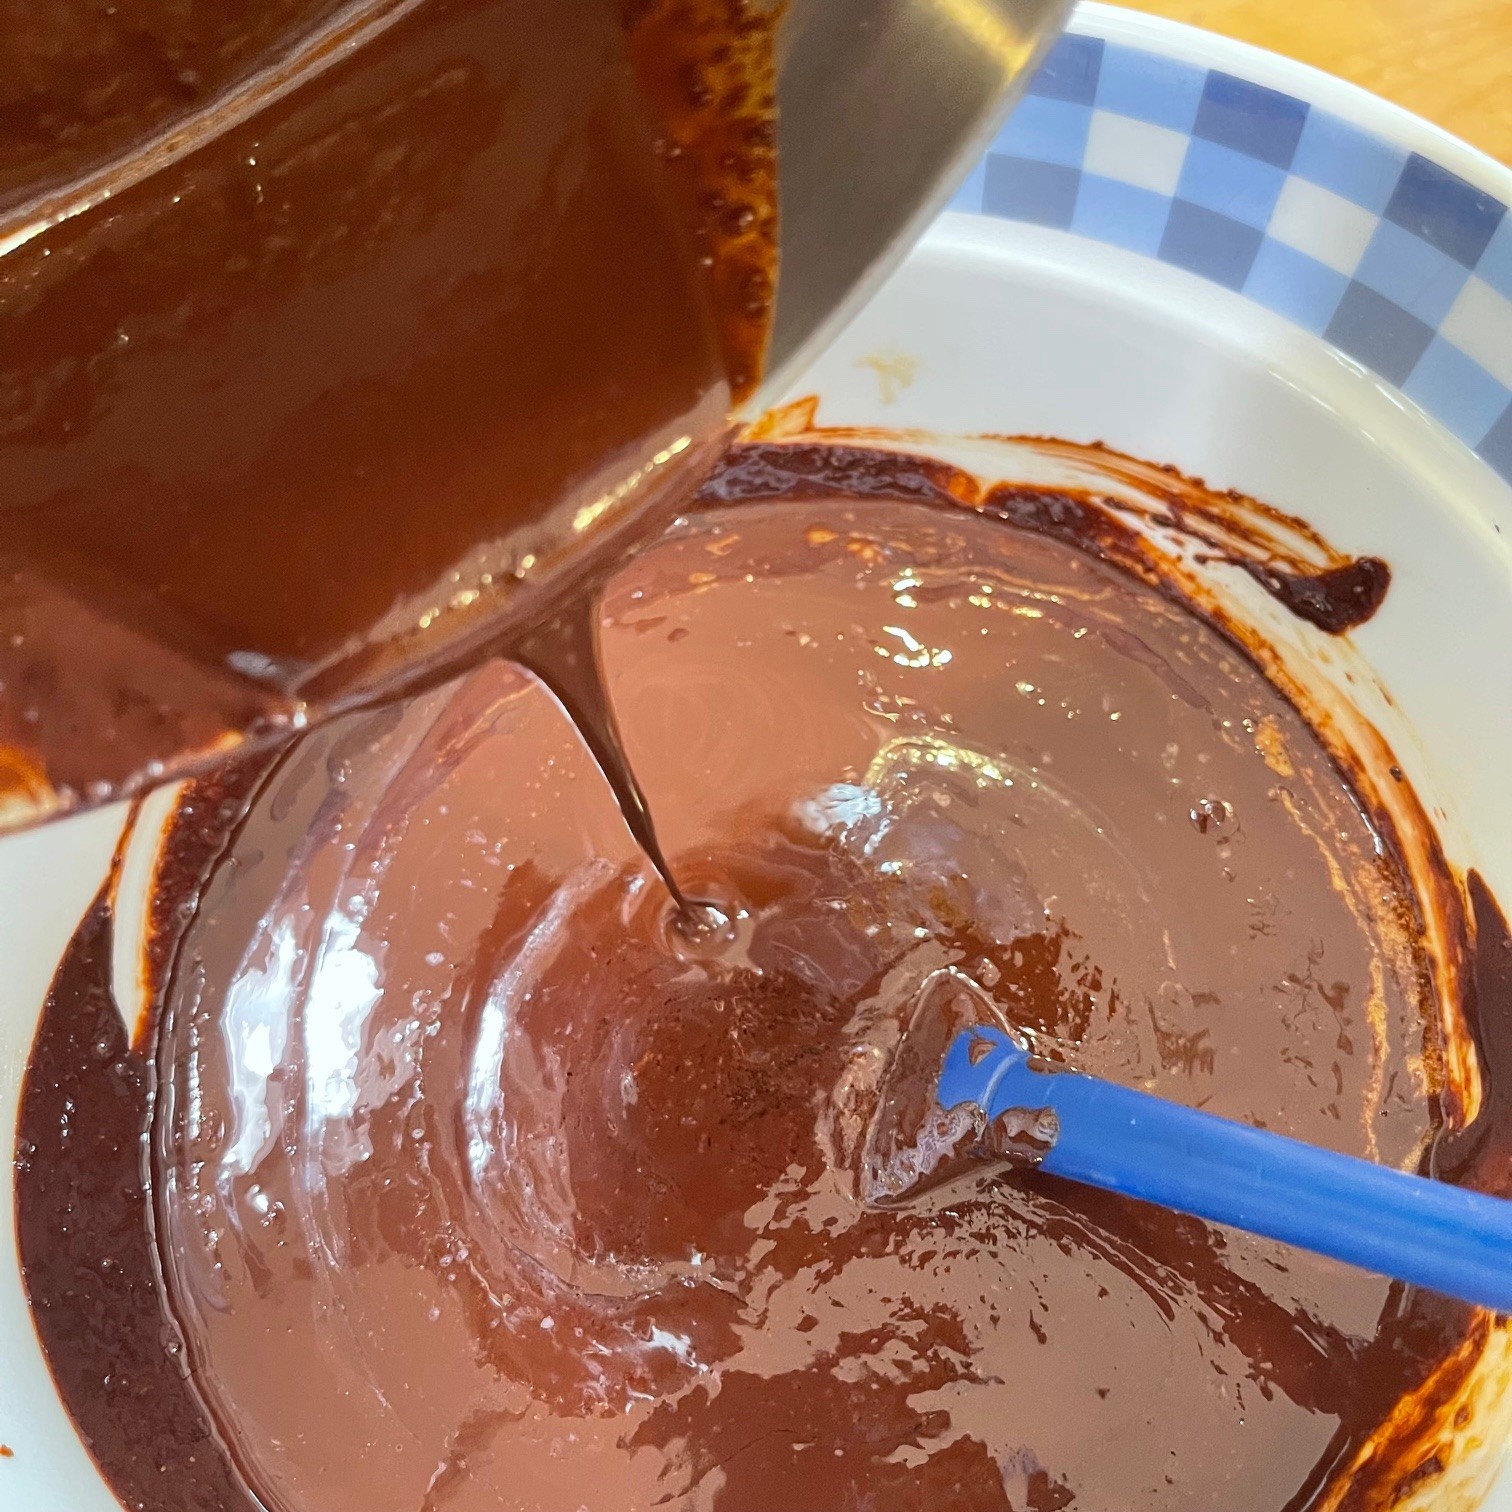
With a spoon, begin stirring the egg mixture. Dribble in a small amount of the melted chocolate, stirring constantly, to temper the eggs. Slowly add more chocolate while stirring, continuing on until all the chocolate is incorporated. (If you add the hot chocolate to the eggs too quickly, you could cook them.)
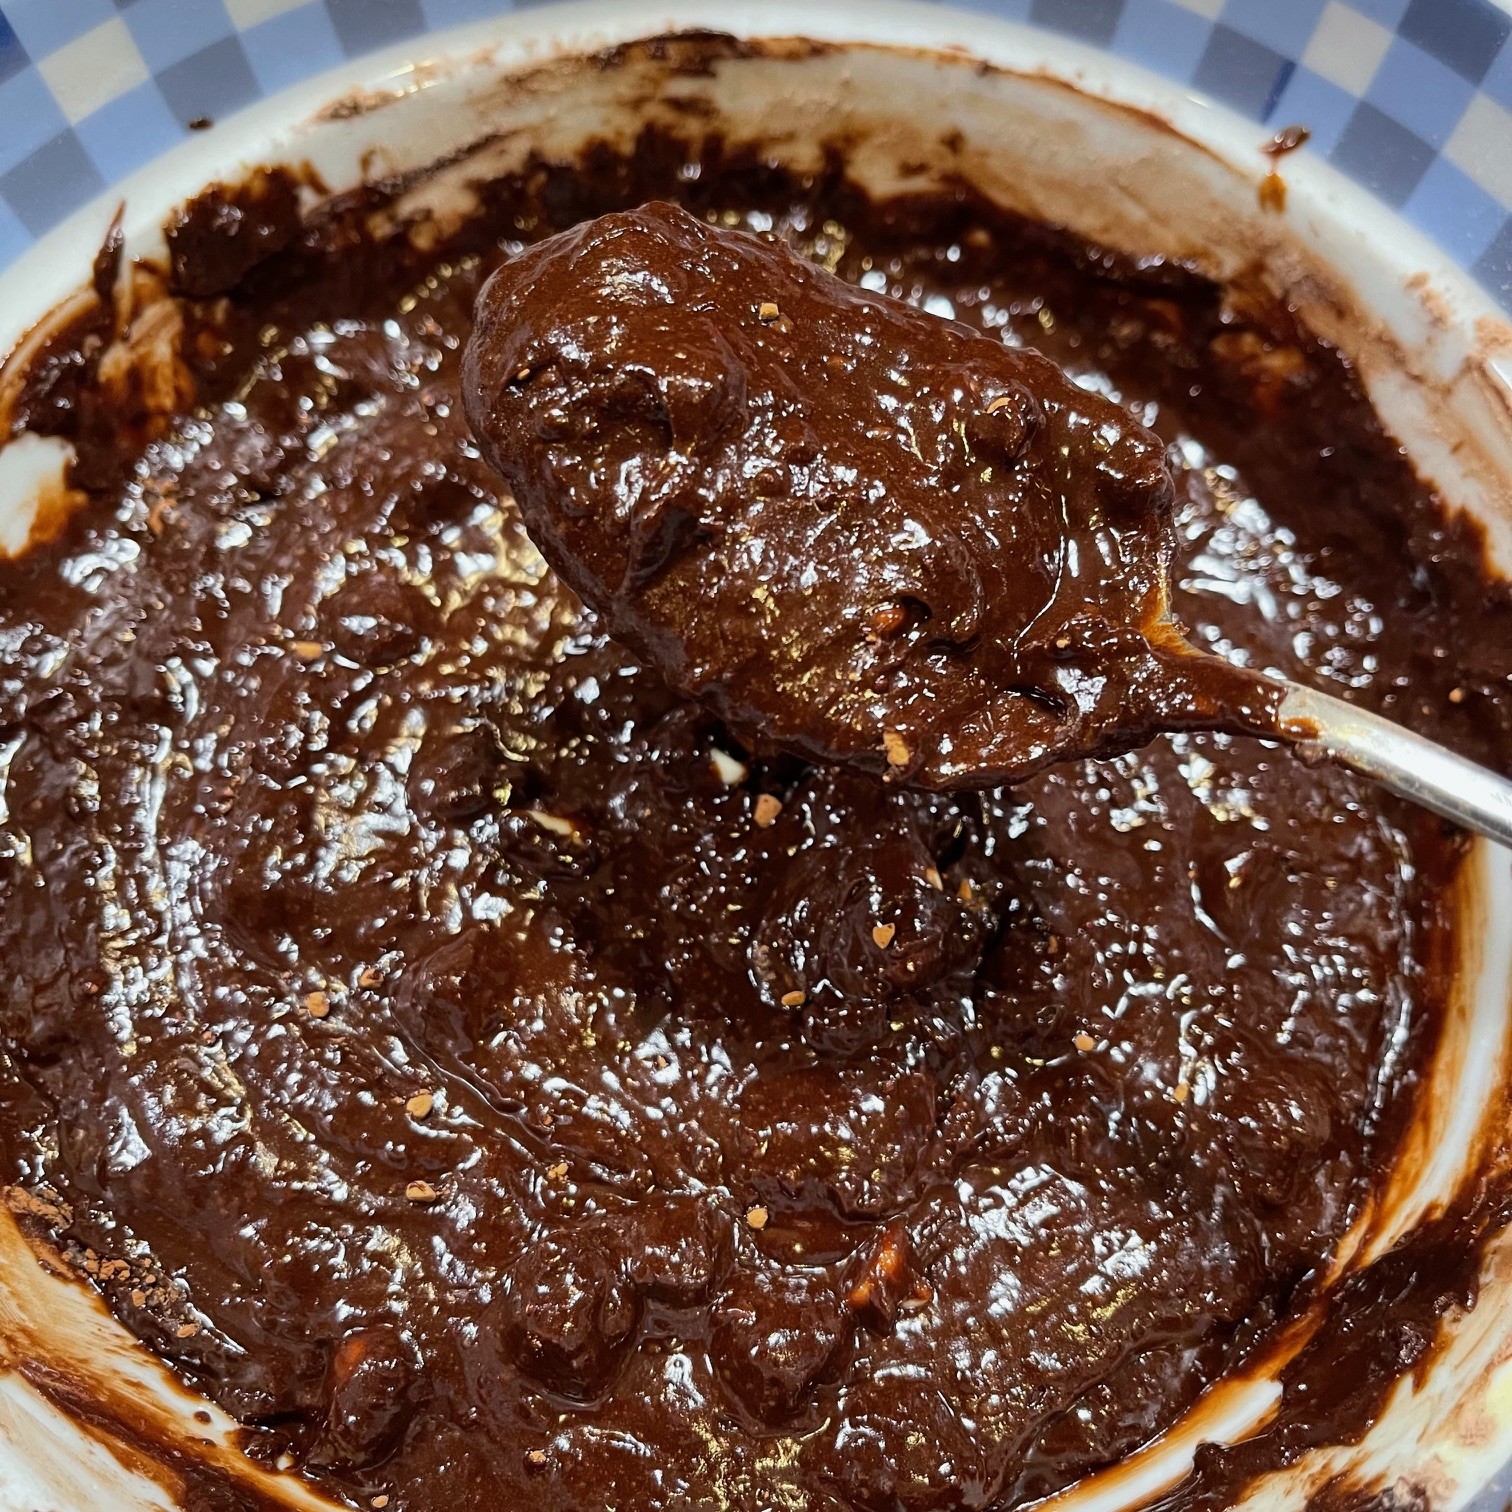
Pour the flour mixture into the chocolate and stir until blended. Set aside for 10 minutes to cool and firm up.
Preheat oven to 325º Fahrenheit.
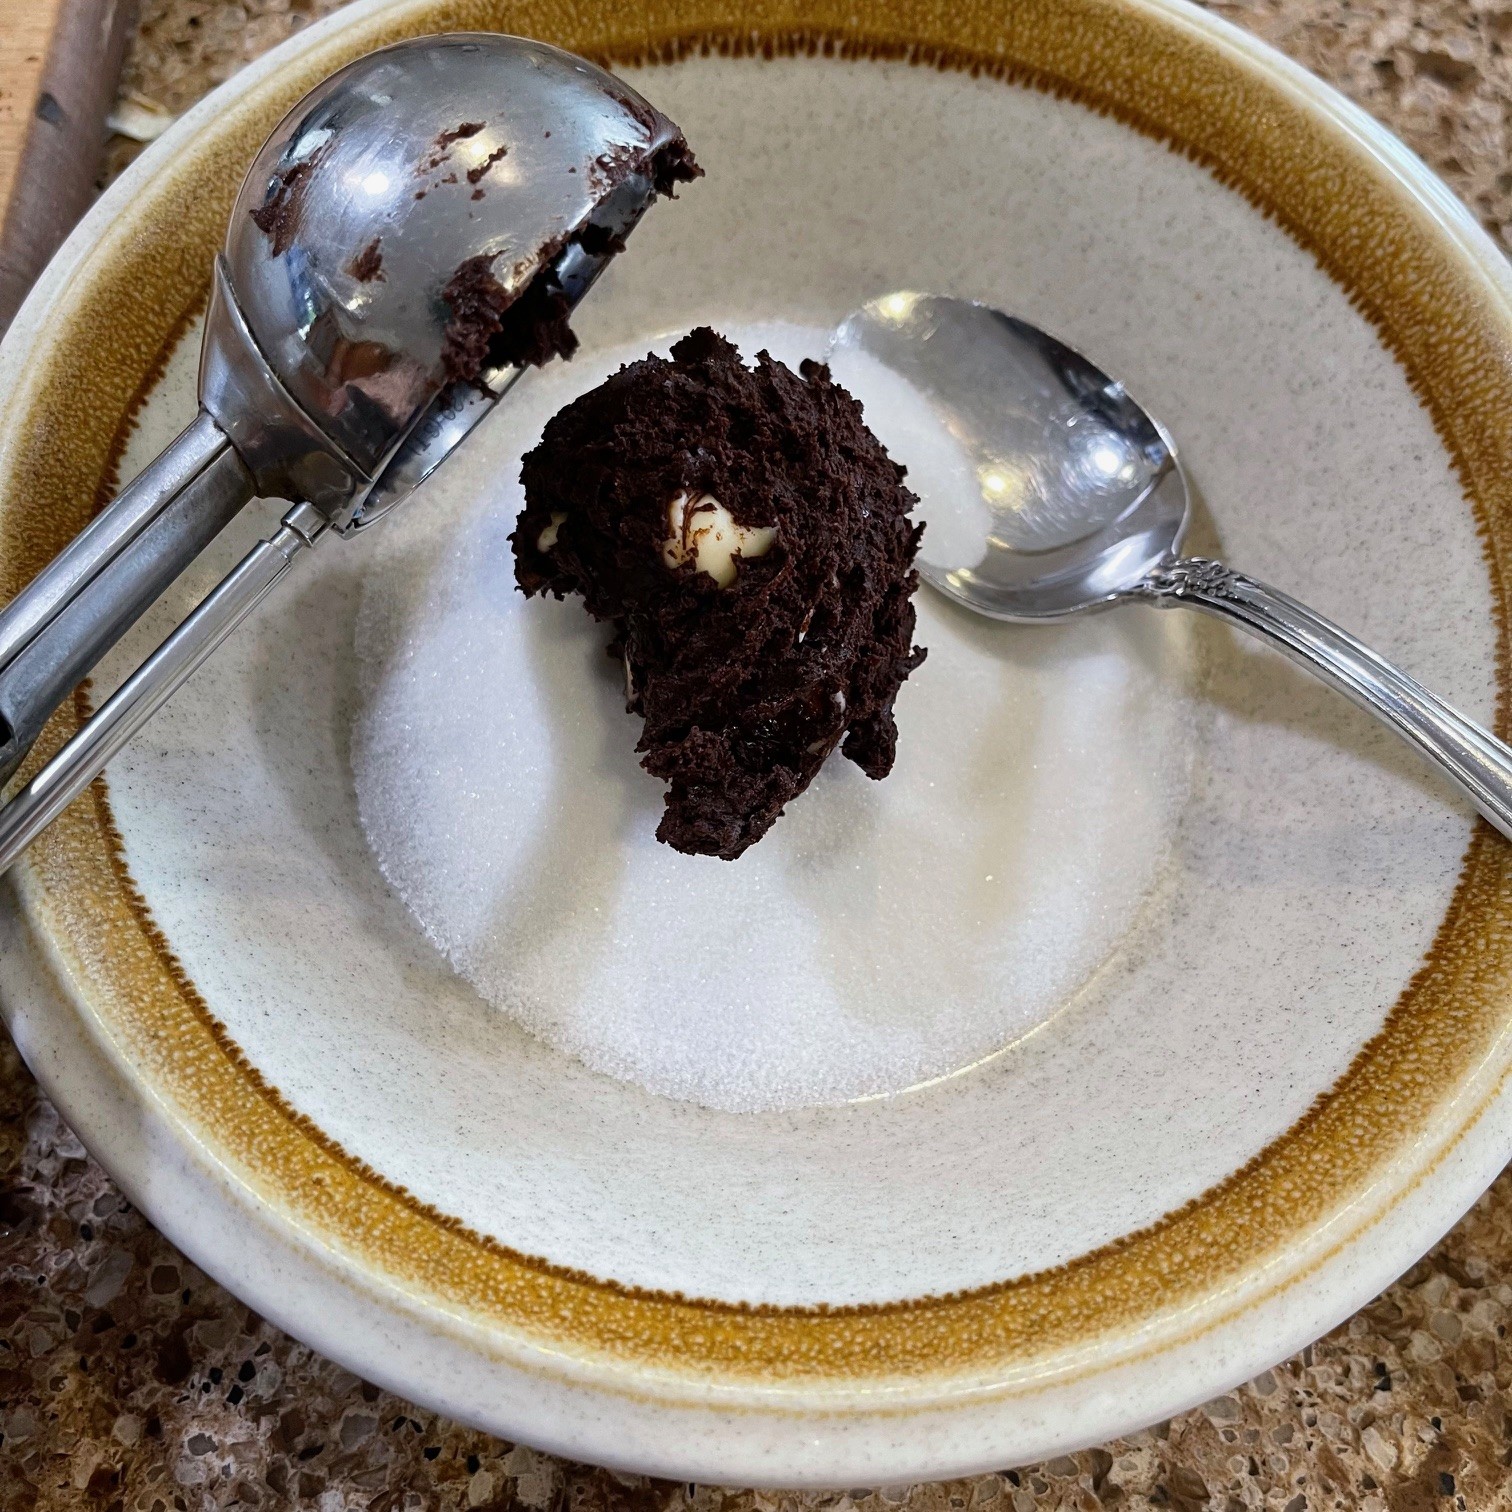
Fill 2 shallow, wide bowls (such as a cereal bowl): 1 with the granulated sugar, and 1 with the powdered sugar.
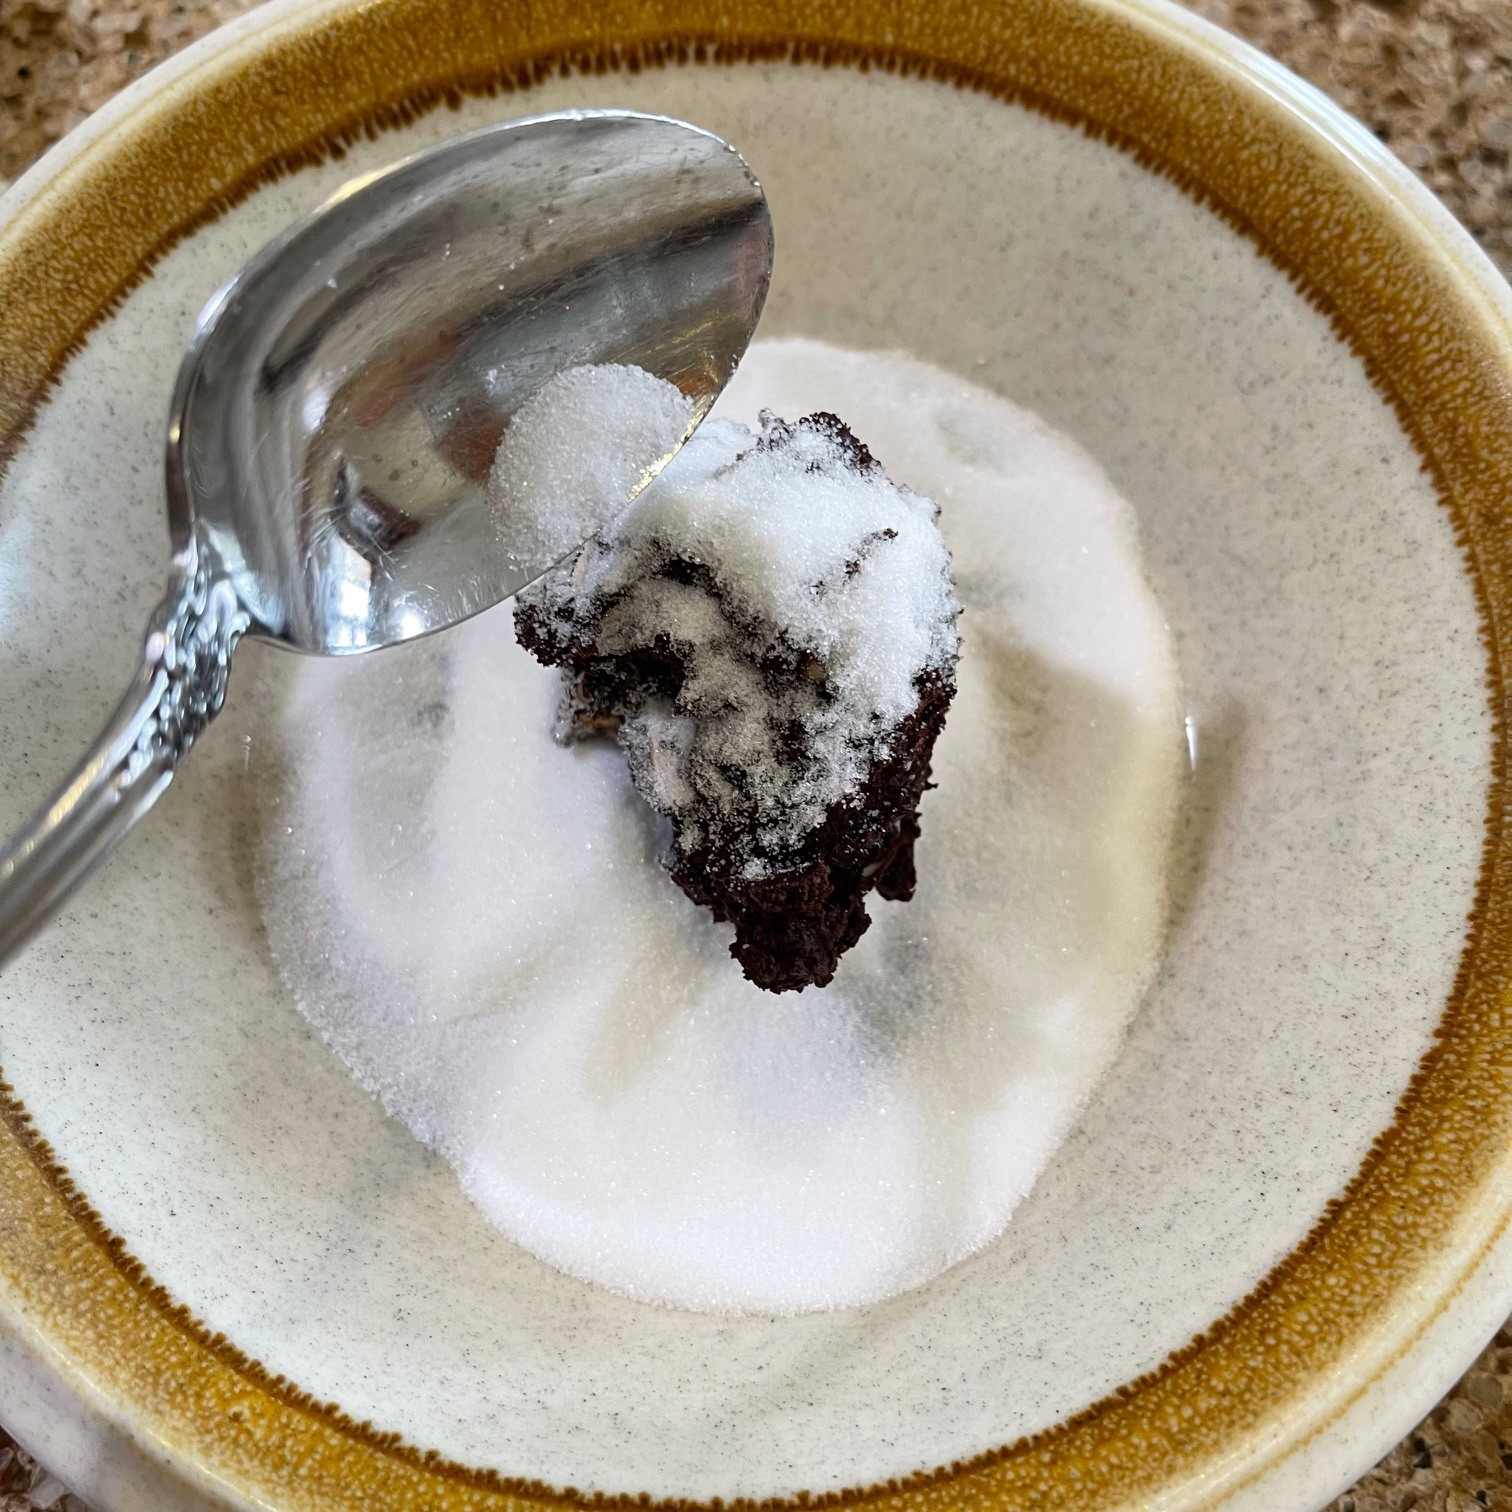
To form cookies, drop about 3 T batter (I like to use an ice cream scoop) into the granulated sugar (you don’t have to roll them first).
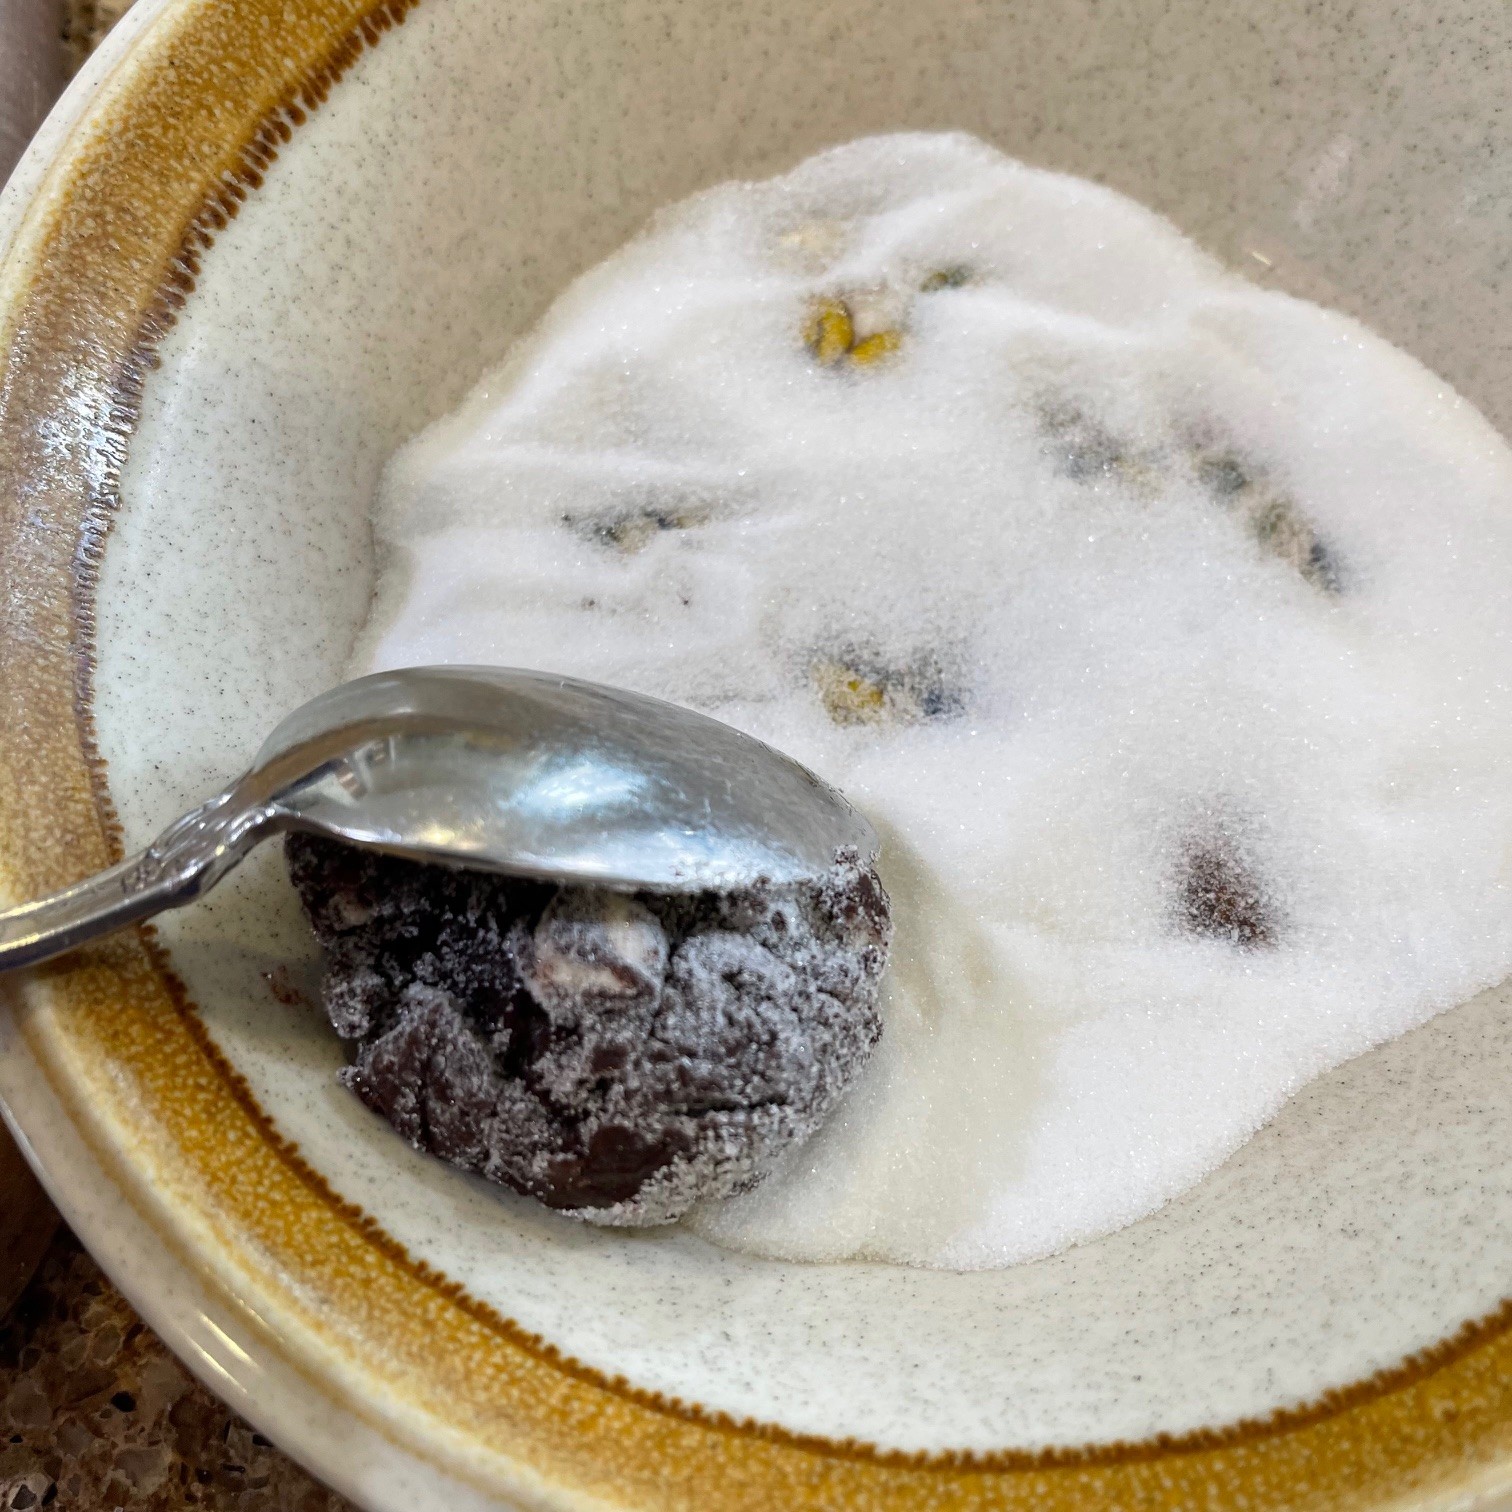
With your fingers or a spoon, start gentle rolling the dough until it’s well-coated with sugar.
Gently press dough into a ball with your fingers or a spoon.
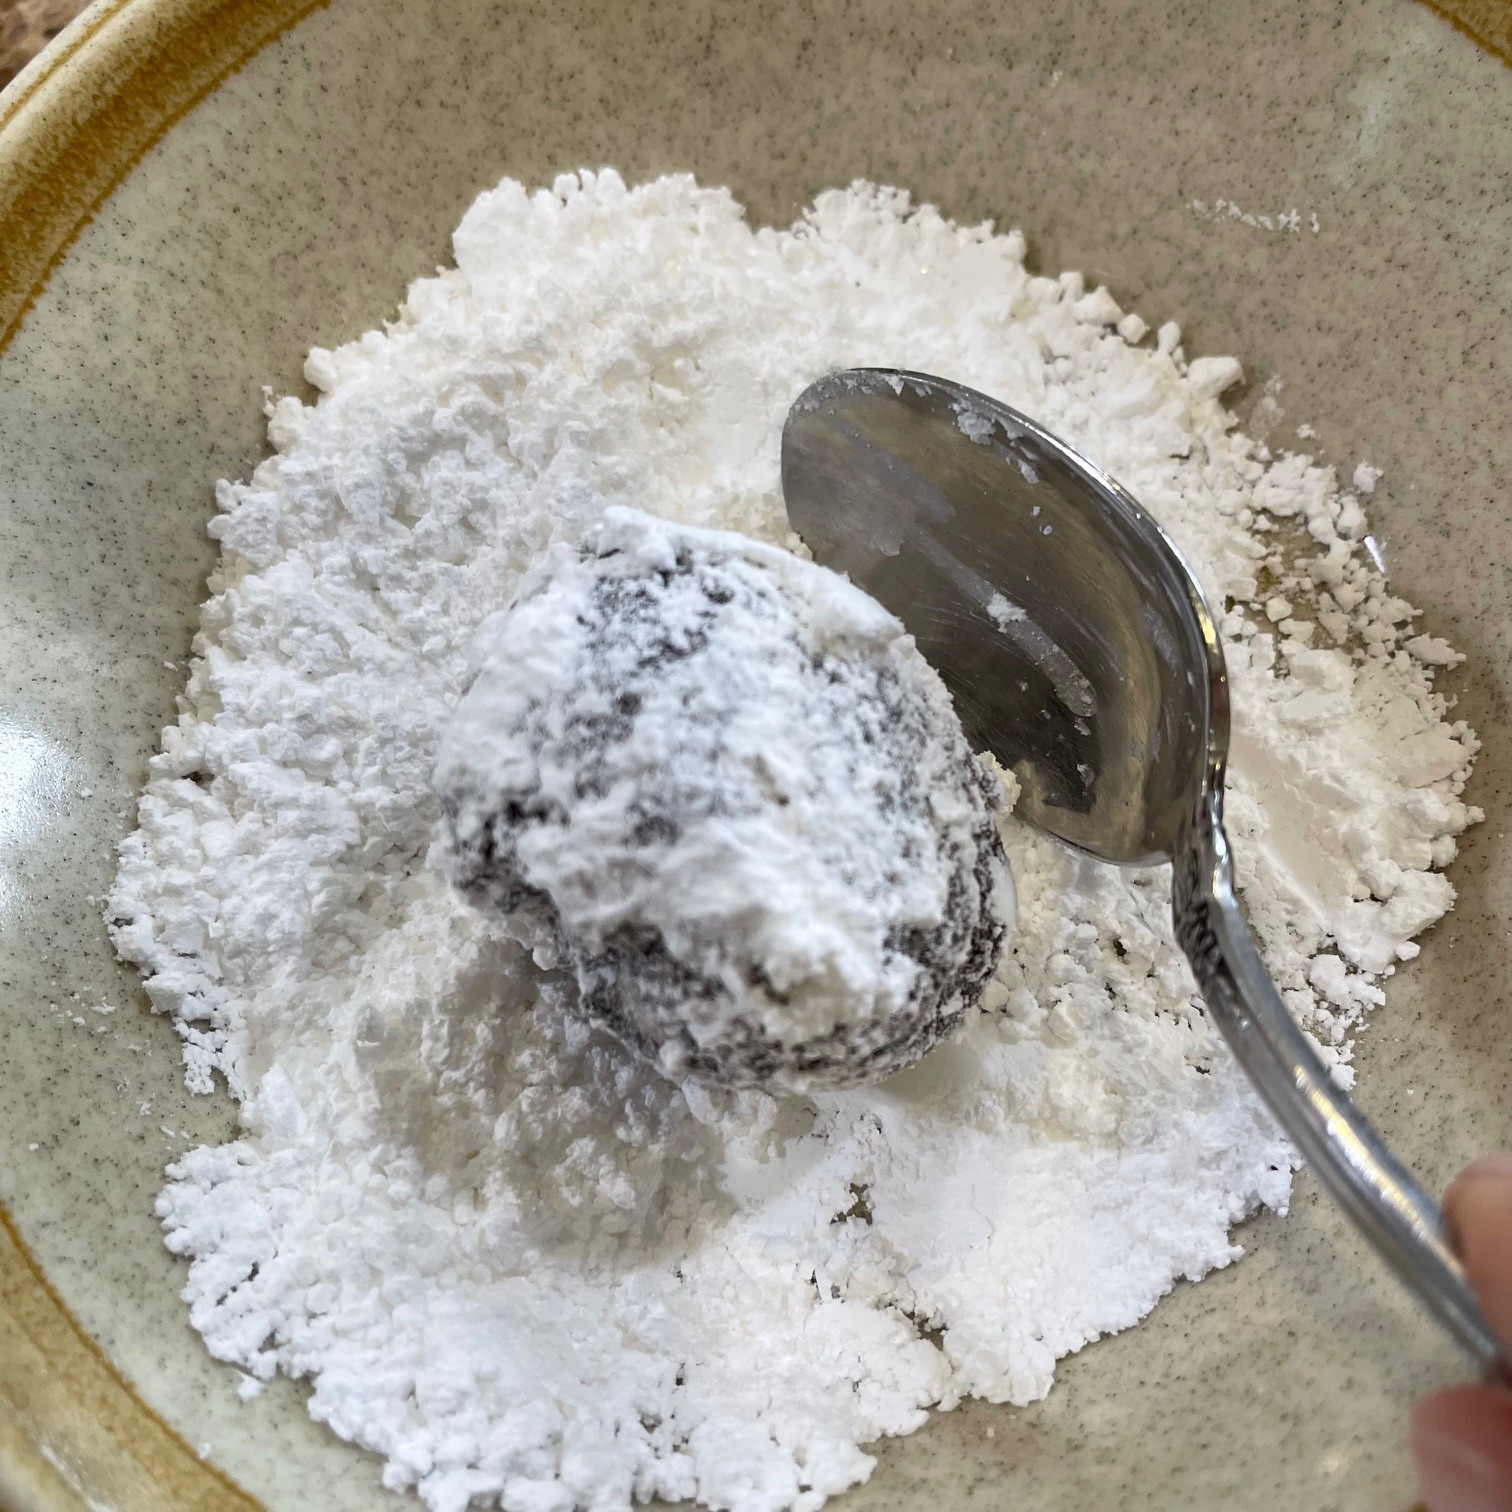
Then drop the dough ball into the powdered sugar. Gently toss until it’s well-covered with powdered sugar.
Place on a cookie sheet that’s greased or lined with parchment paper. Don’t crowd cookies – you can get about 8 or 9 on a large sheet.

Bake for 12 minutes at 325º F. They may not look done, but remove from oven – they will continue to cook on the hot sheet. Let cool completely on cookie sheet before removing to a wire rack.

These cookies taste great for days – if they last that long! Bonus: Chocolate Crinkle Cookies freeze well!
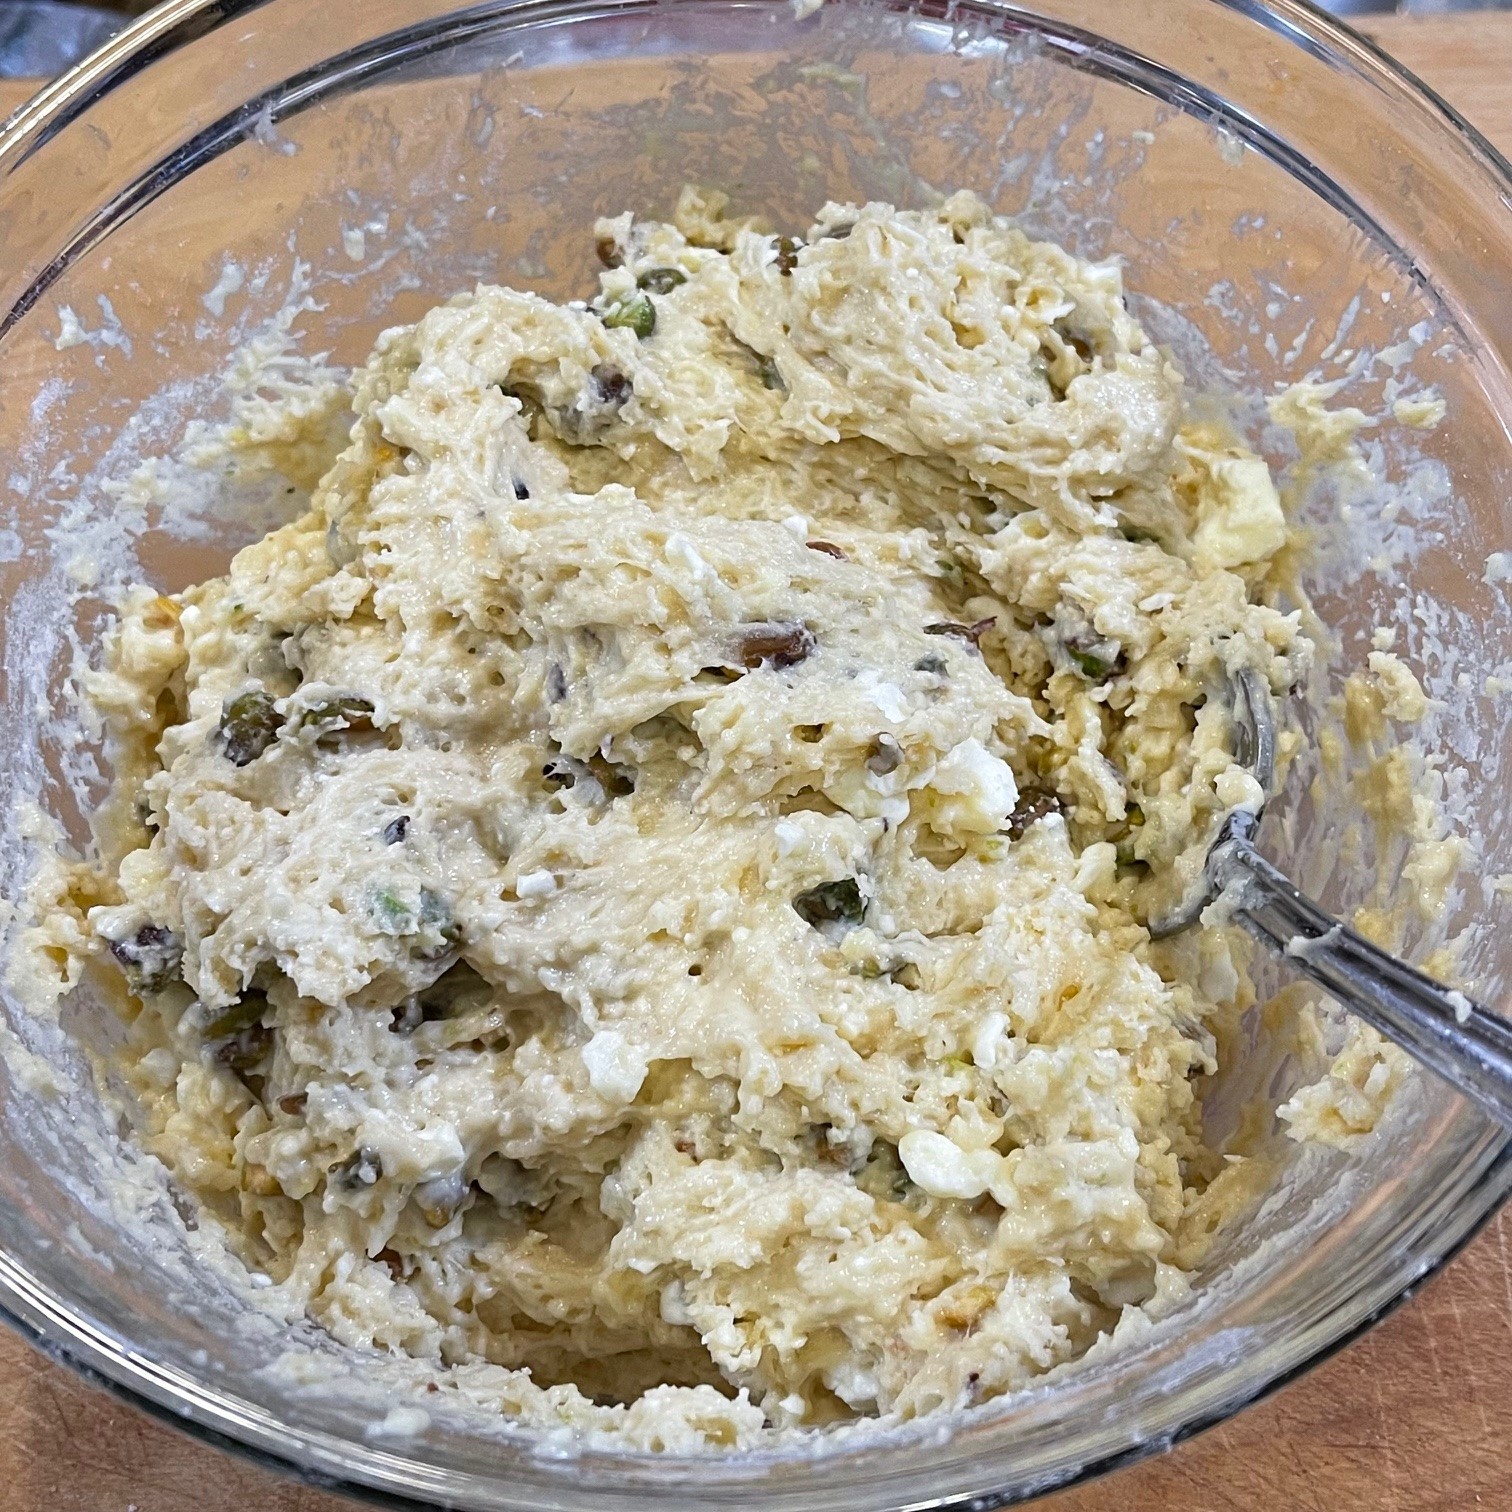
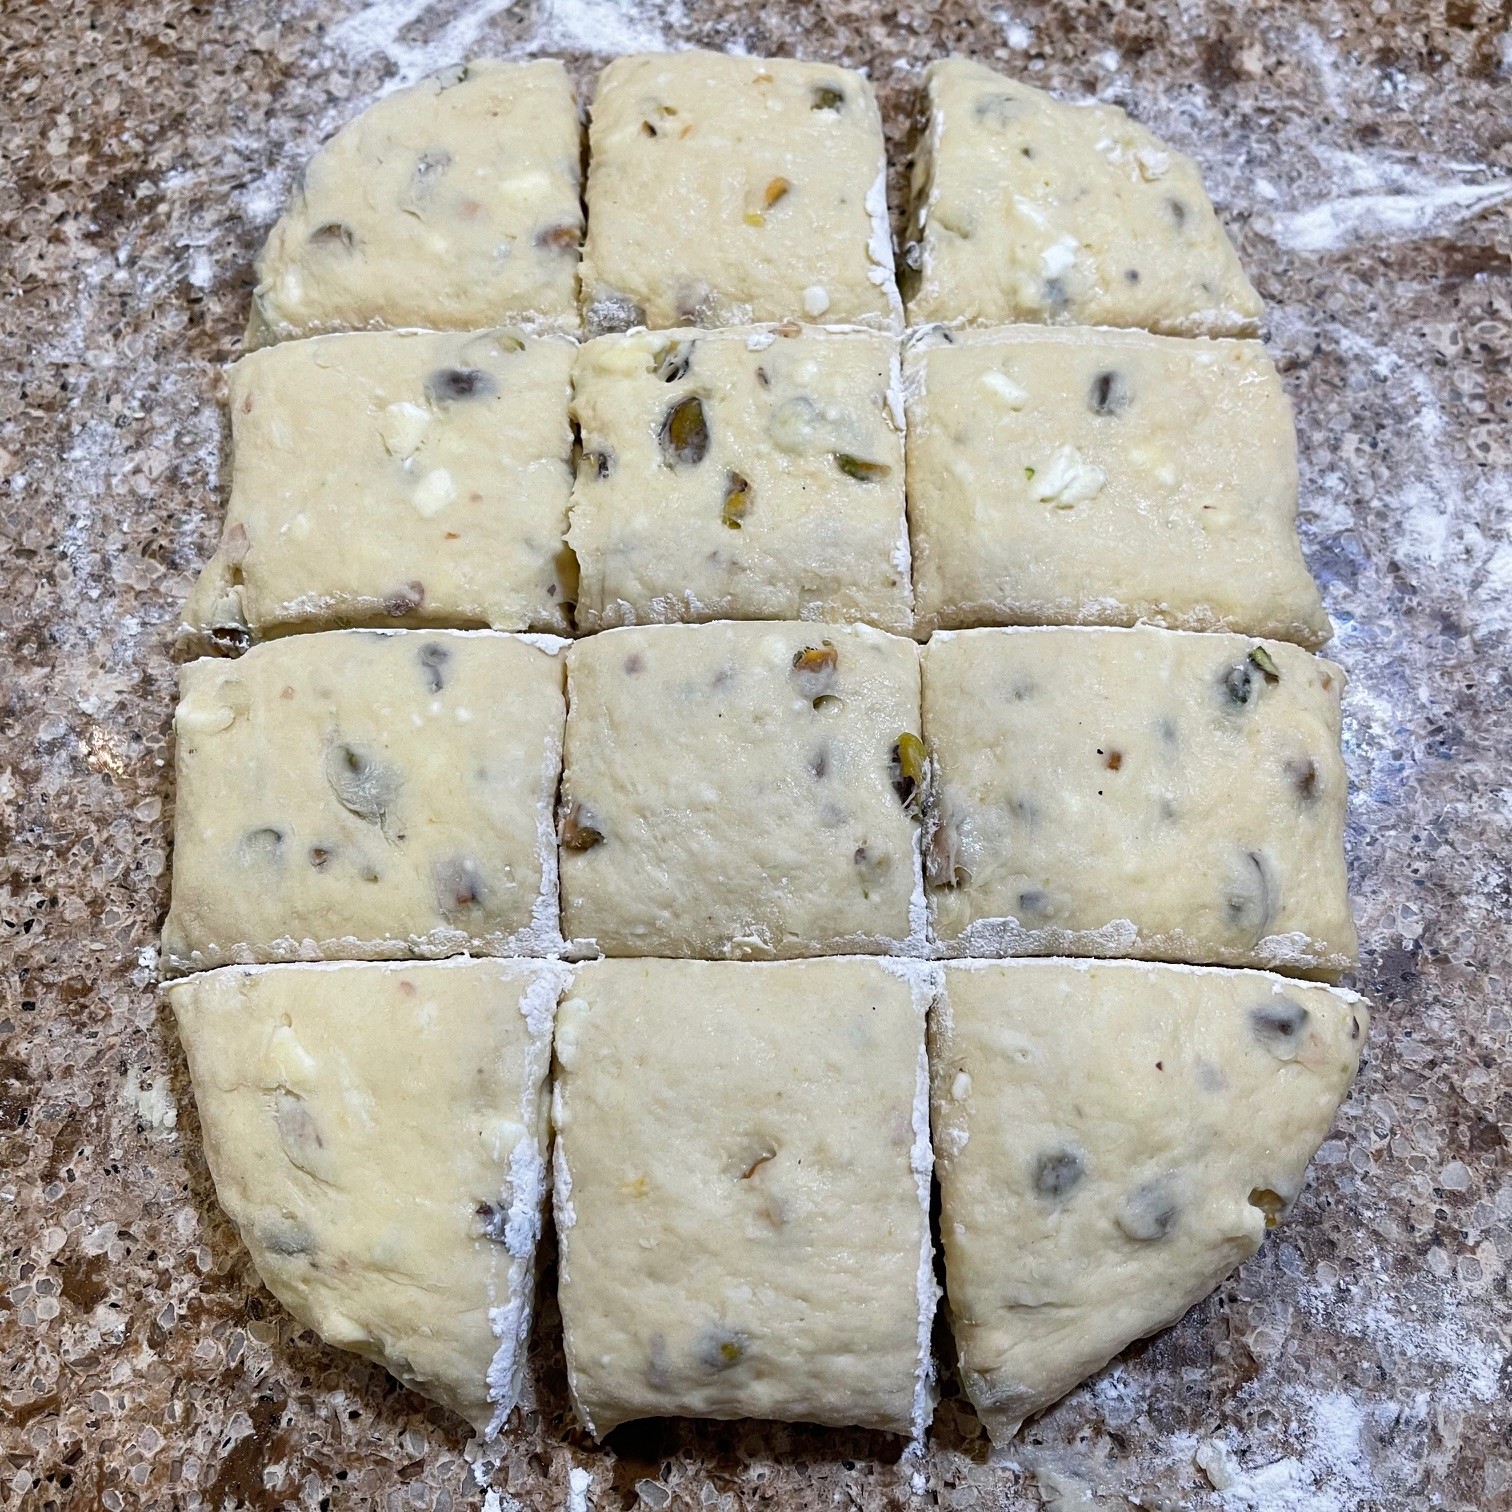
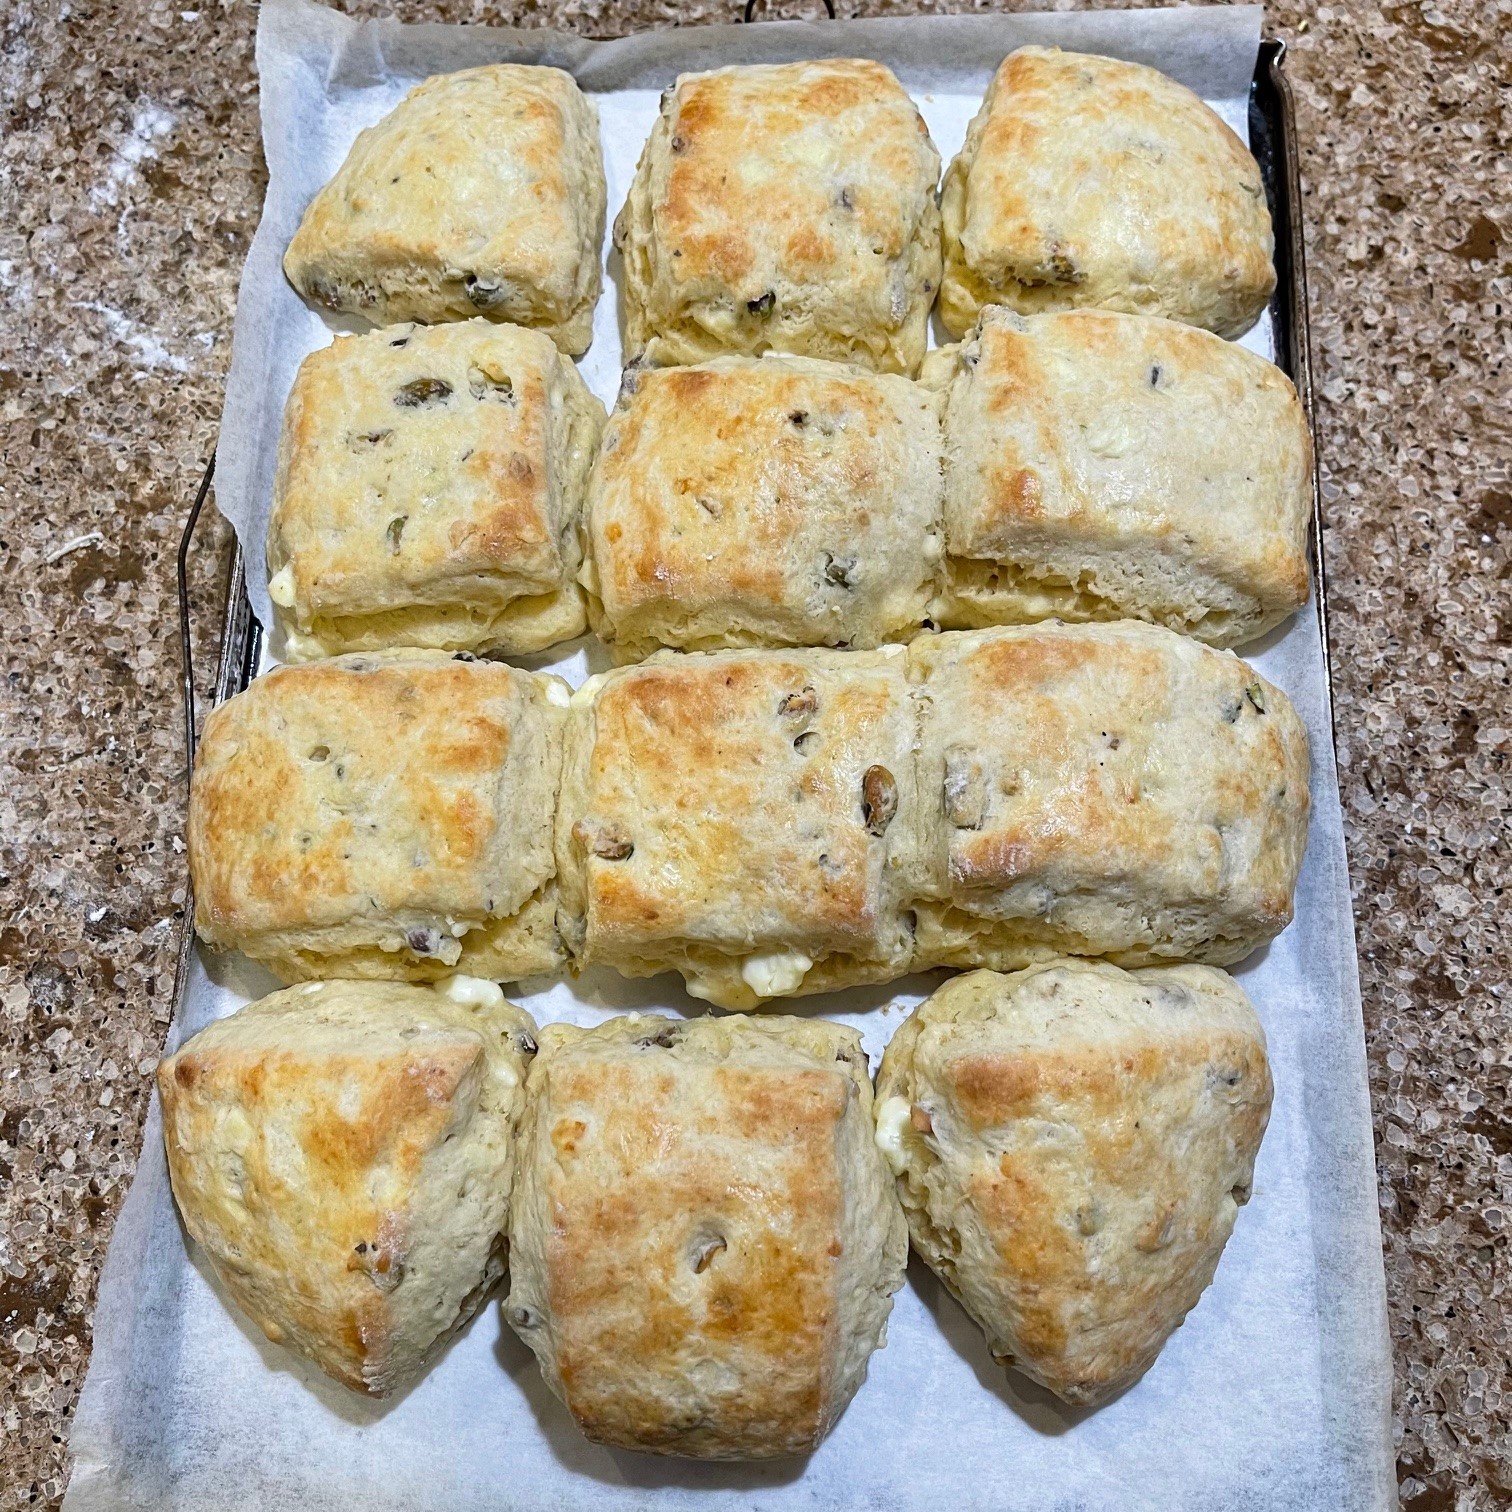
 As a woman who hates waste (yeah – I’m cheap!), I was trying to come up with something to do with leftover feta cheese. True, it can always be a crumbled topping for salad, but I wanted something new. As I was looking for a bread recipe to post, I decided to merge the two. Biscuits! There were also a handful of pistachios lurking about, so I threw them in for crunch.


 Anyone who owns a television, computer, or has been to a store lately knows it’s the holiday season. People will gather for small get-togethers and big galas. And where people celebrate, there’s always food. (It’s a rule!)
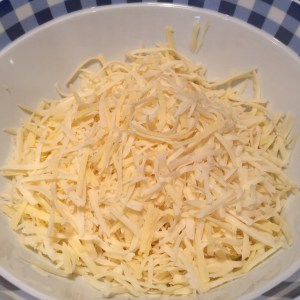 In a small bowl, combine the milk and flour to form a smooth paste.
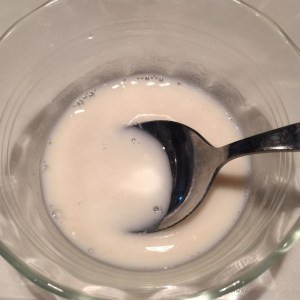 In a larger bowl, beat the eggs. Pour the flour paste into the eggs, beating to combine.
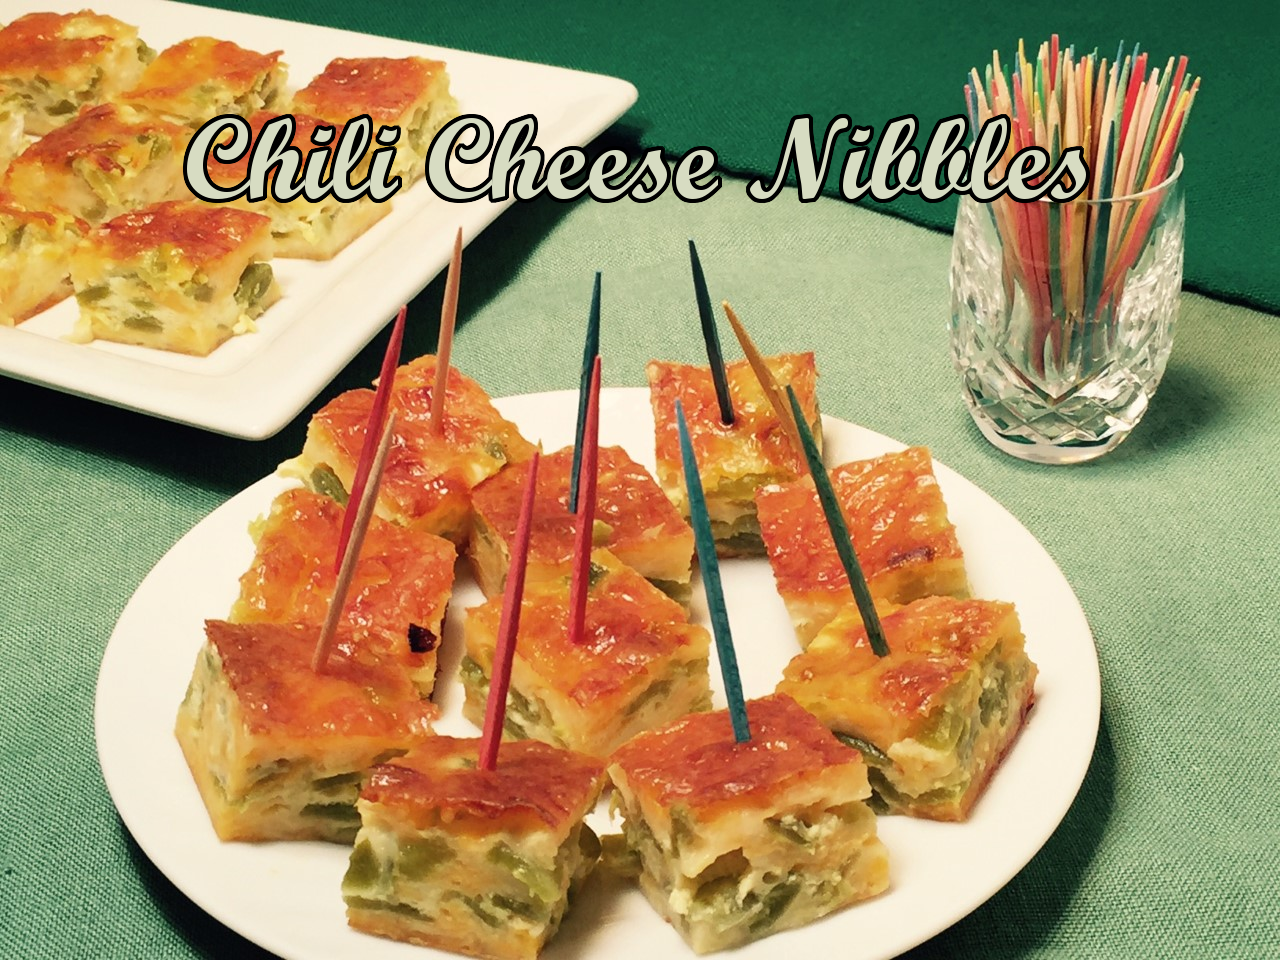
 Sprinkle about one-third of cheese (you don’t have to measure) onto baking pan. Top with one can of chilies, spreading evenly. Add half of the remaining cheese, then the other can of chilies, the rest of the cheeses, and, finally, pour egg mixture over chili-cheese mixture, smoothing top.
 Bake at 375º F, uncovered, for 45 – 50 minutes – until browned. Don’t worry about the edges being too dark – they’ll be discarded into your mouth. Remove from oven and let set for about 15 minutes.
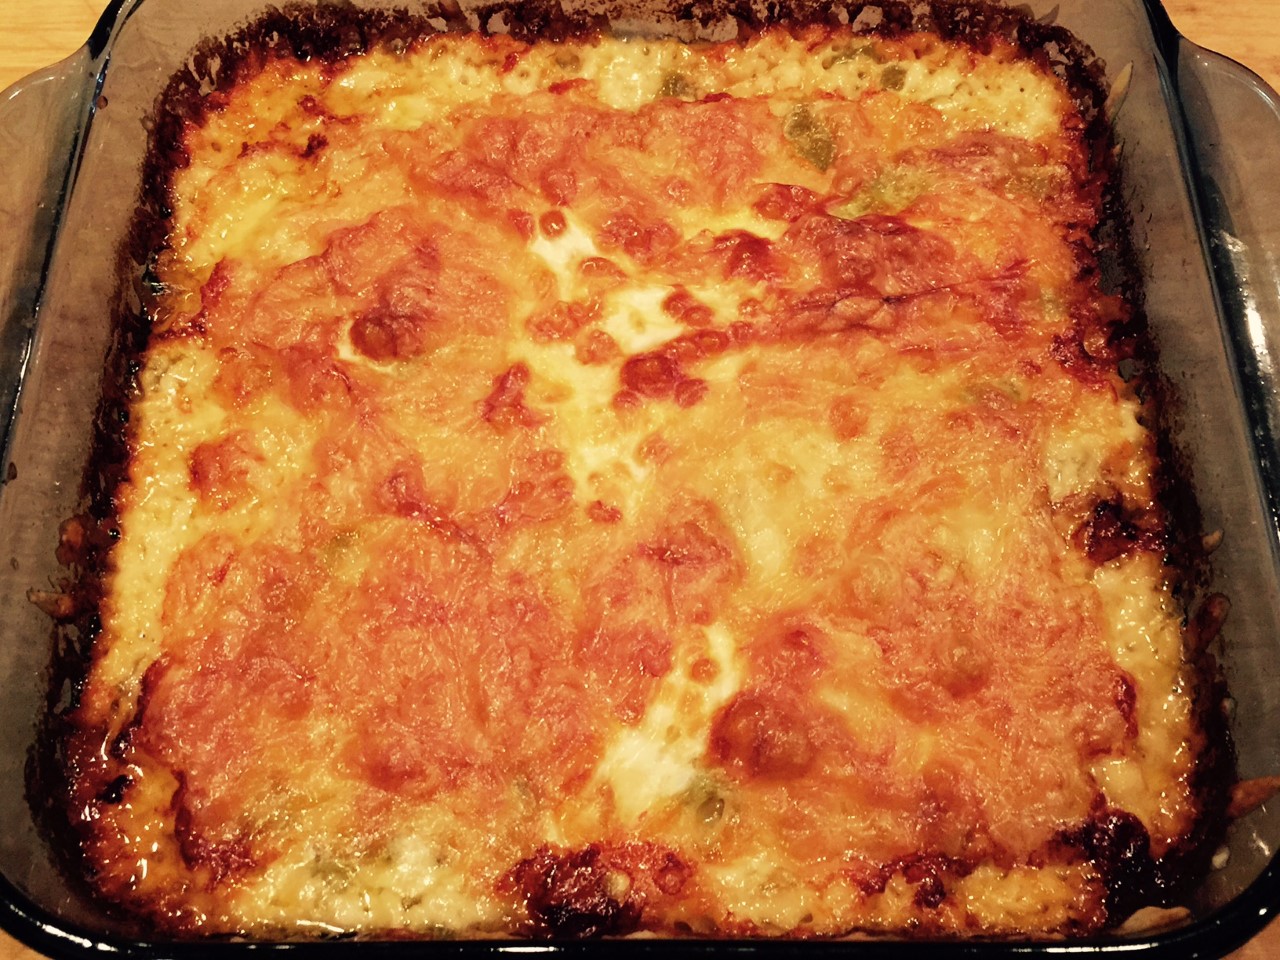 Run a spatula around edges and underneath to loosen.
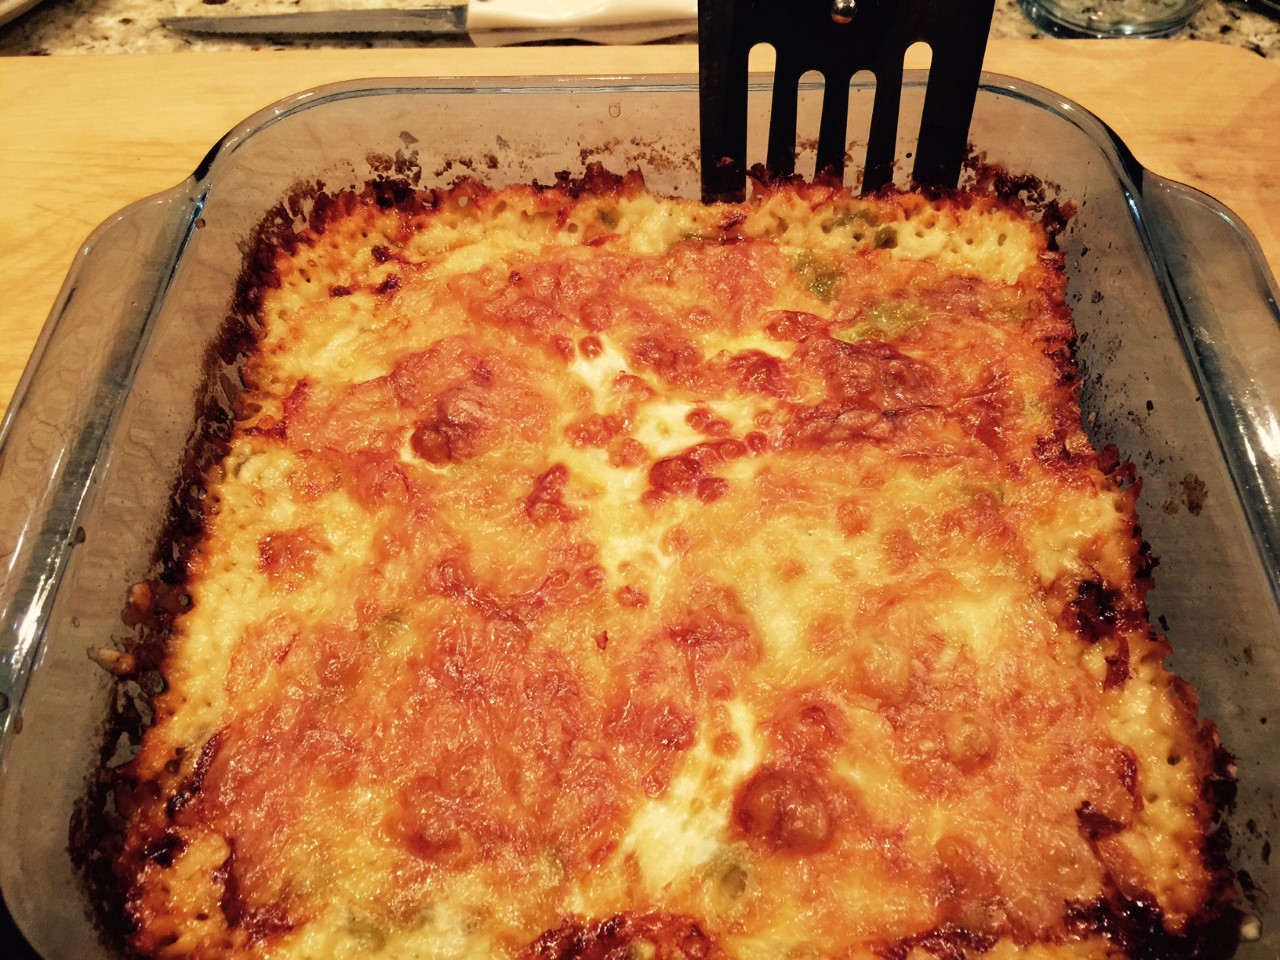 Place a plate on top and flip to remove – it will plop down…hopefully. Then place another plate on top (which is the bottom of the chili-cheese mixture) and flip again. Now, it’s right side up. Here’s the BEST part – cut off the 4 edges and eat them (you won’t be serving them). They are an irresistible crispy, warm, cheesy temptation.
 Let the square rest a few more minutes to make sure it’s firm, then slice into squares. TIP: I used a large pizza wheel.
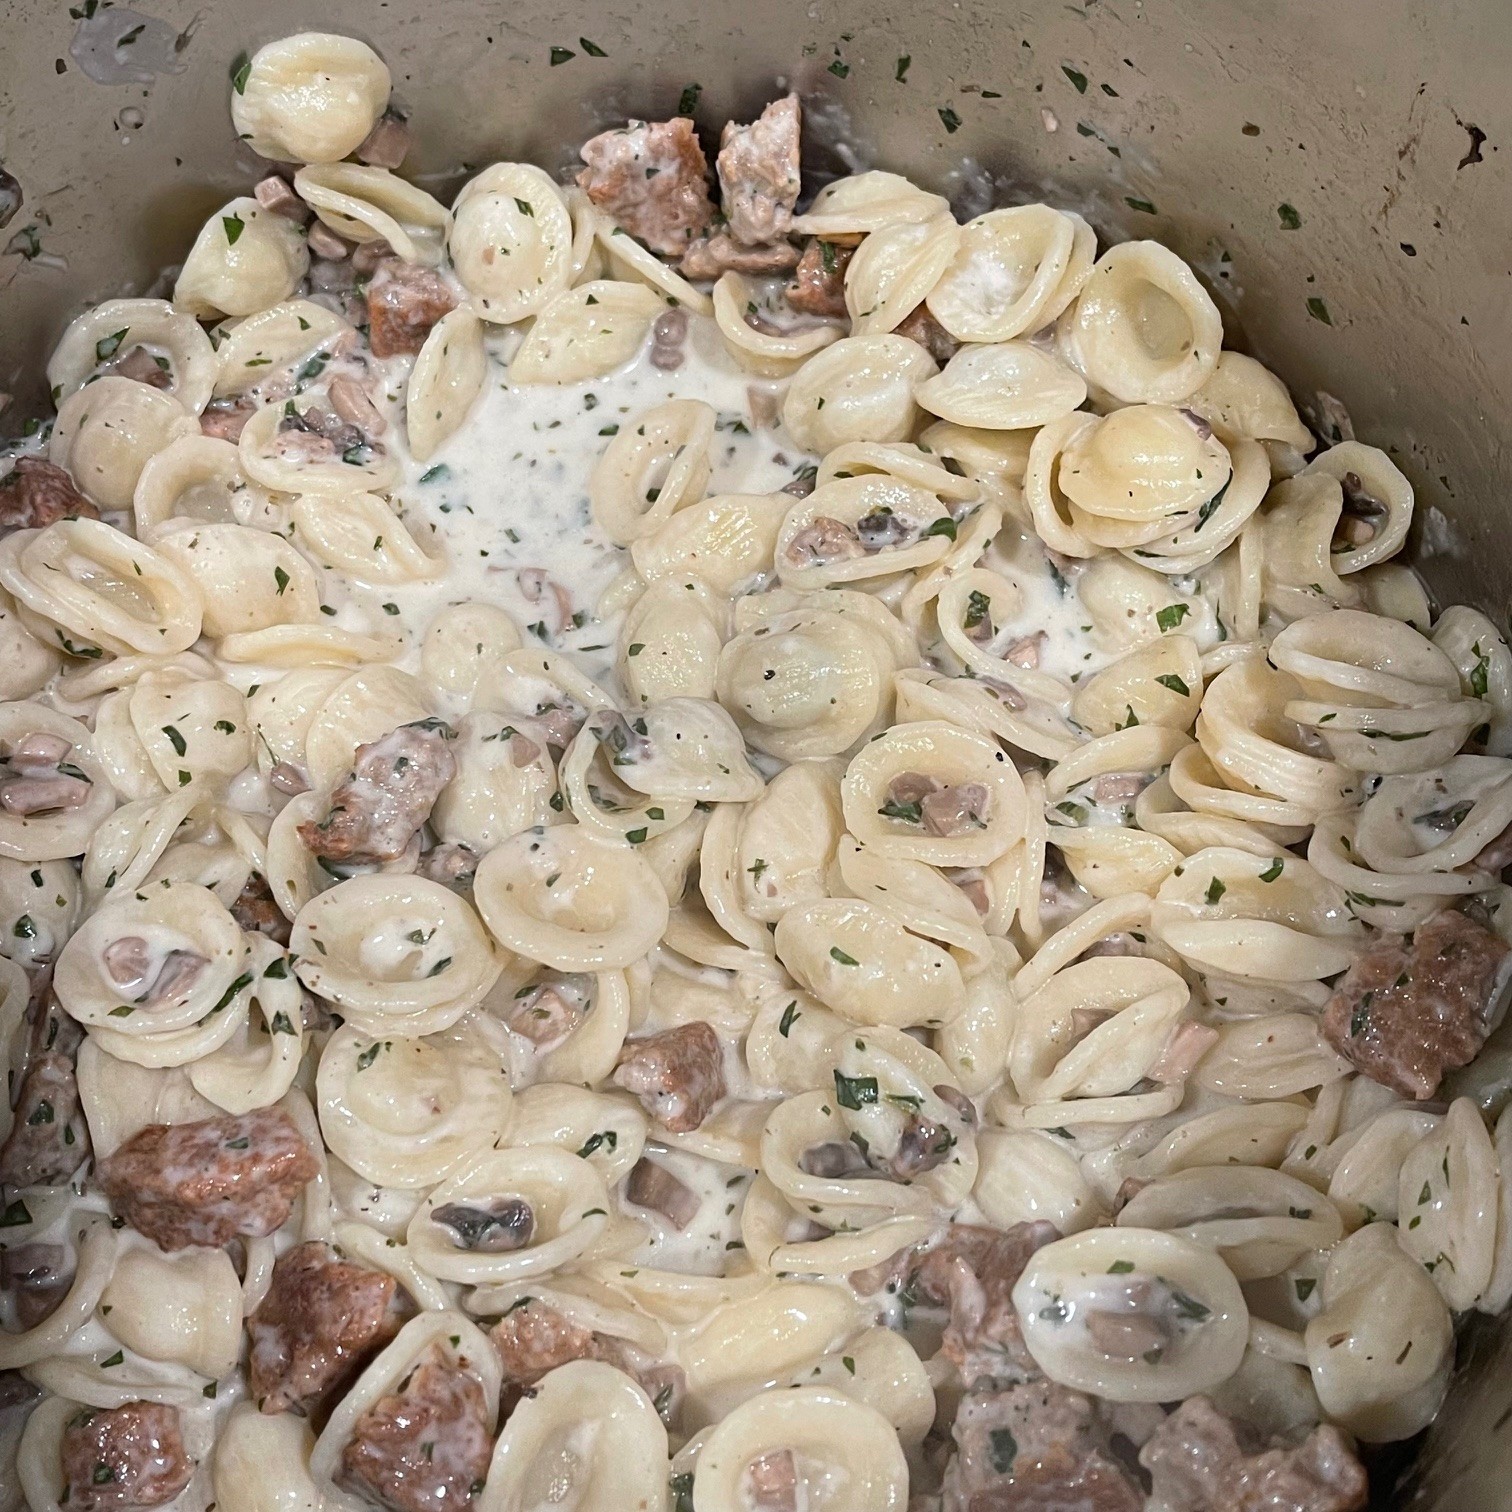
 But let’s be honest. A slice of fake turkey is NOT the same as a slice of the real thing. So I decided to create a layered Thanksgiving pie, incorporating the fake turkey into the bottom layer with the dressing, thus giving the essence of turkey flavor. Layer with other traditional Thanksgiving dishes of mashed potatoes, cranberry sauce, and gravy – and you’ve got yourself a vegetarian Thanksgiving.
 The one imitation meat that really does taste like the real thing is “sausage”. (quotation marks denote fake meat.) My go-to brand is Morningstar Sausage Patties. (I’ve never actually tried any other brand since these are so good!)

 I’ve been known to suggest (some might say ‘nag’) ALWAYS setting a timer when directions call for a specific amount of time. Even if it’s 5 minutes! It’s so easy to get distracted.
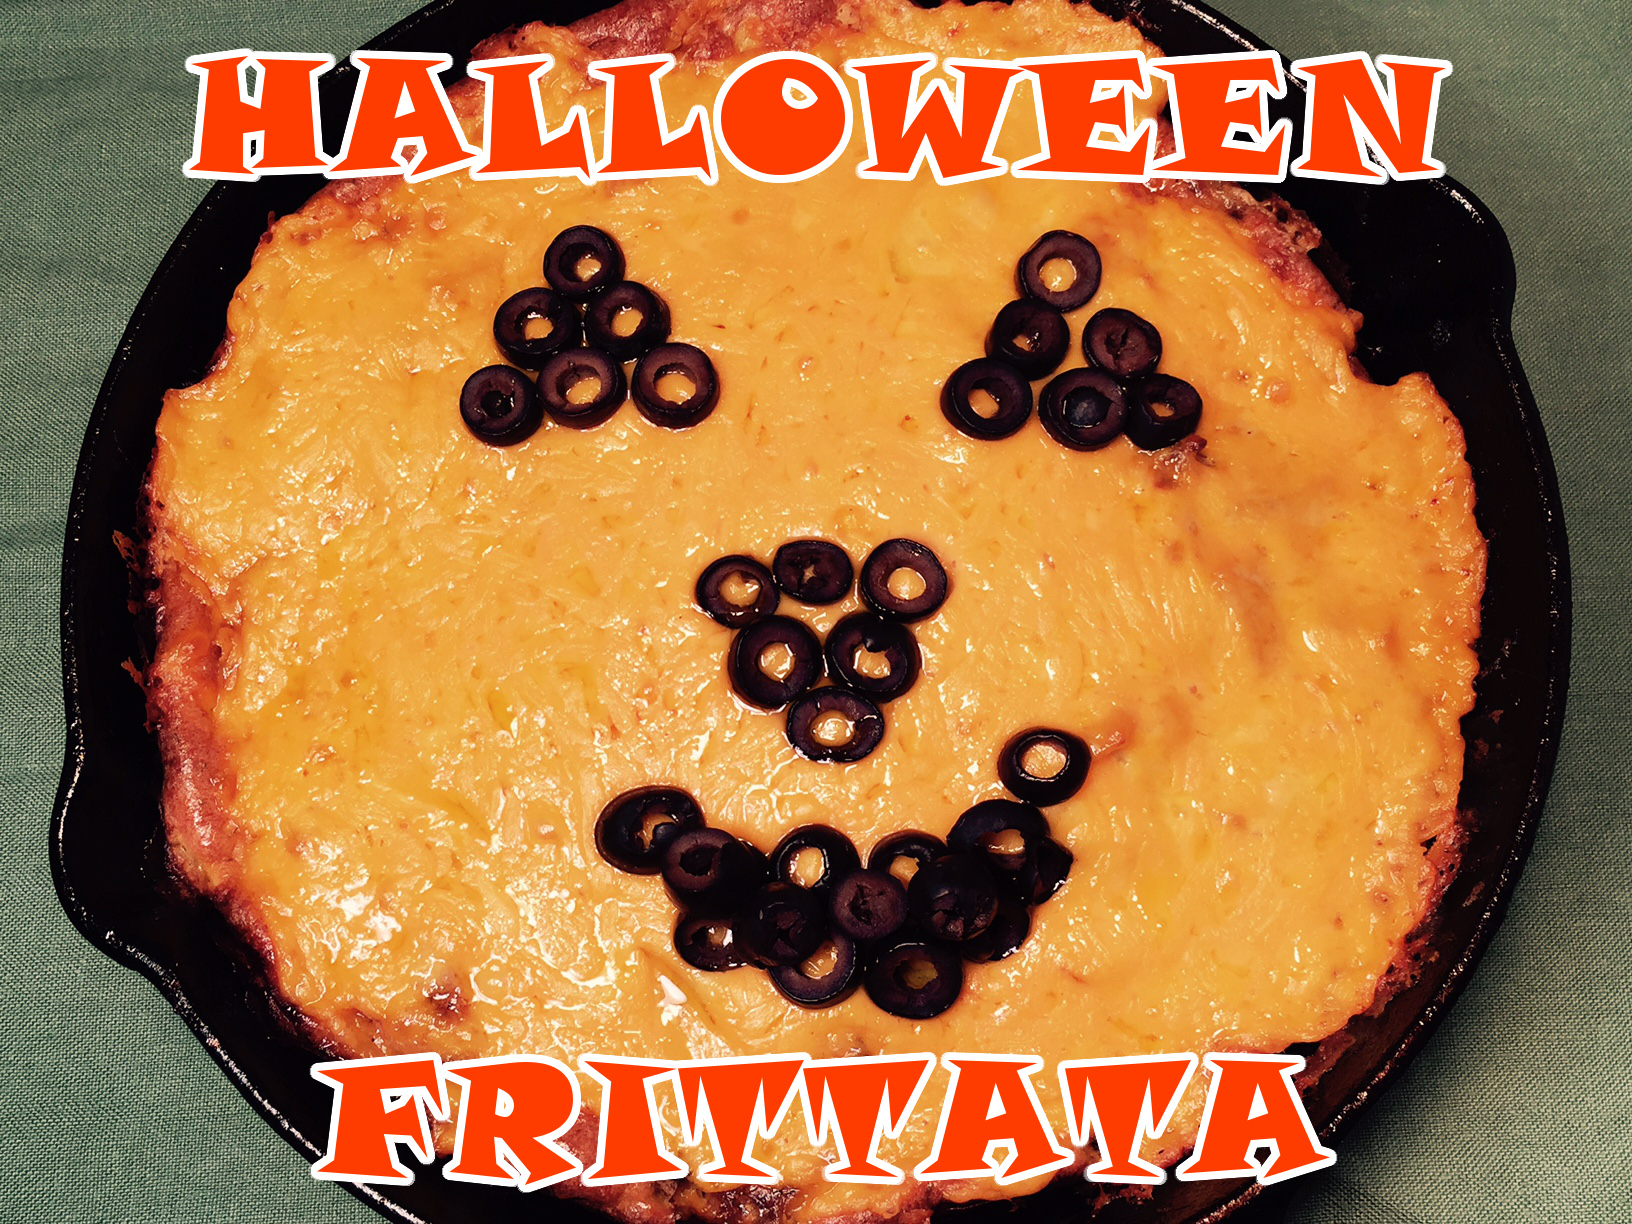 I’ve been struggling with a post topic for Halloween – there’s only so much pumpkin one can eat. Then I came across a wonderful article by Helen Nichols –
  Inspired by my new-found apple information and beautiful photos, I decided to create an apple based recipe. A memory shot out from the deep recesses of my mind of a college friend who told me she made an apple omelette because it was all she had in the fridge. She couldn’t believe how delicious it was. I was skeptical, but obviously intrigued enough to file it away in my memory-bank.
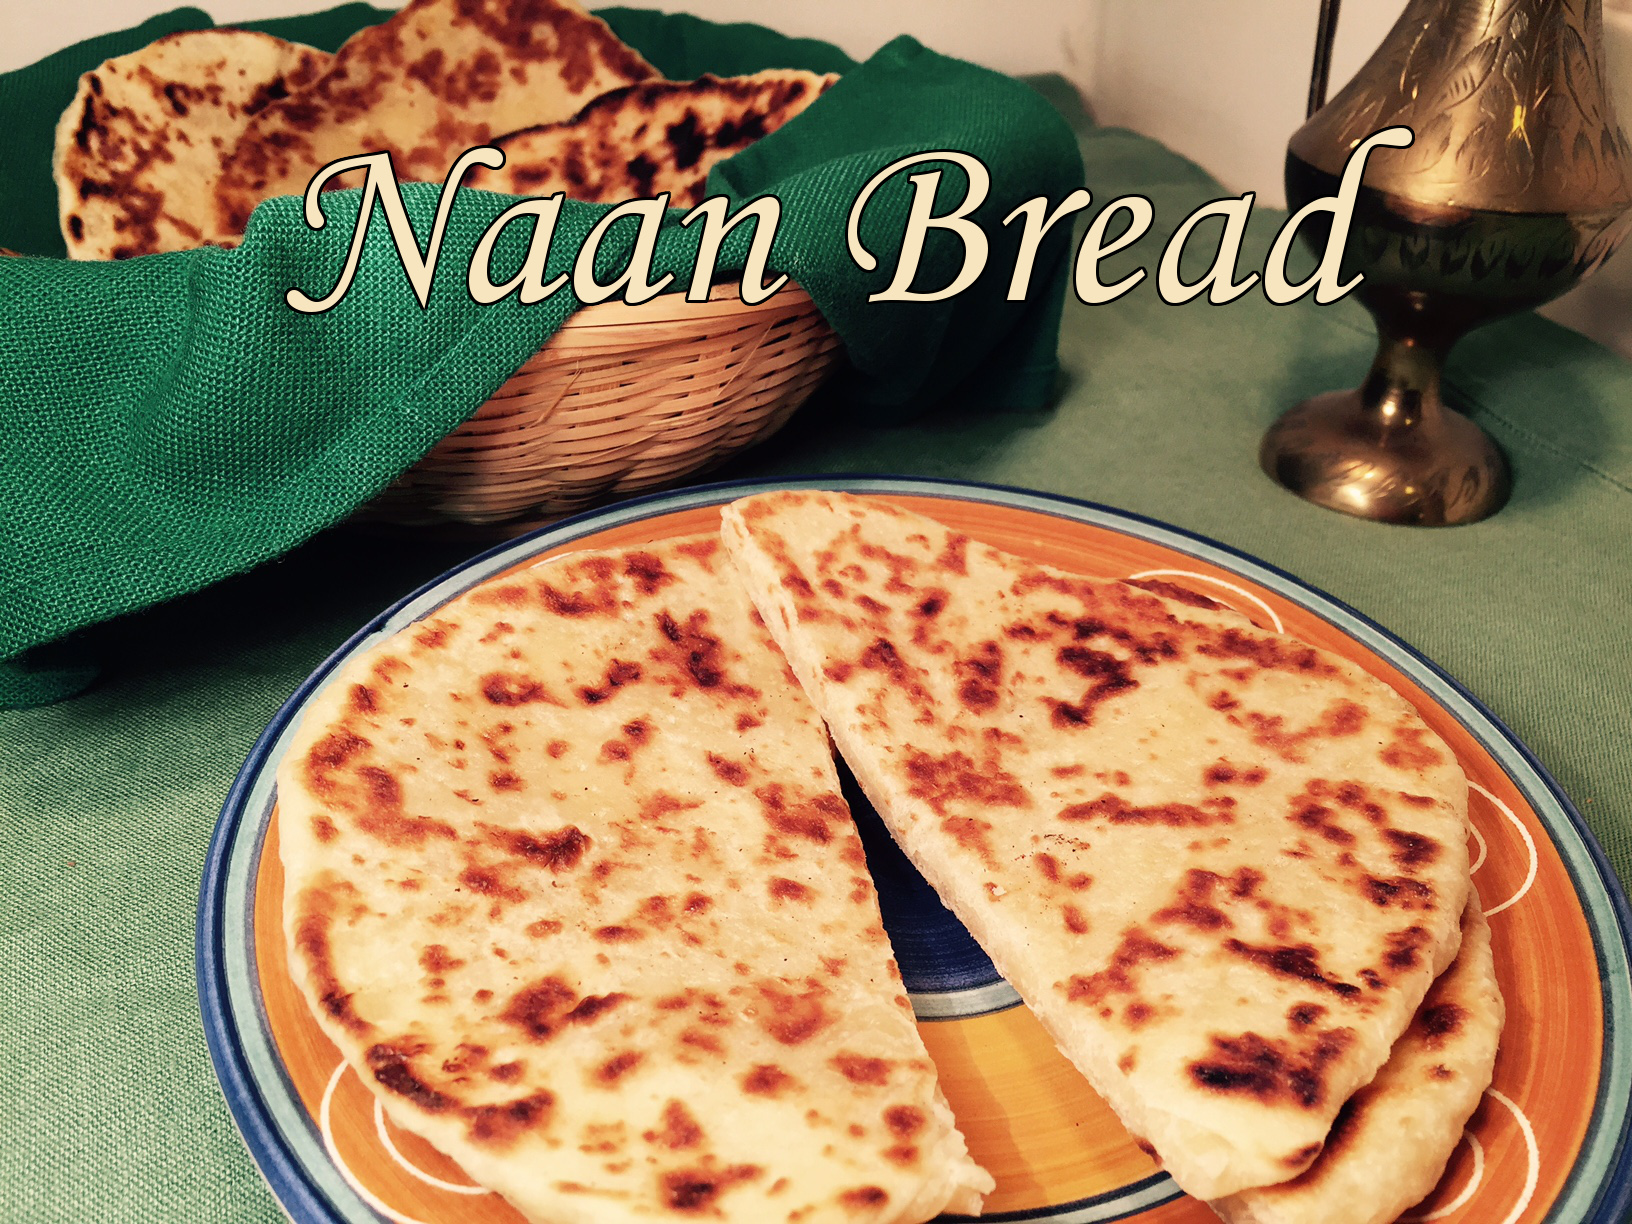 The subject of my previous post was
  SAAG PANEER is one of my favorite dishes to order when we go to Indian restaurants. And, as it turns out, it’s quite easy to make.
 In our house we have broccoli nearly every night. It’s fast, it’s tasty, and it’s healthy. But sometimes one has to shake things up a bit.