
 Needless to say, having a food blog, I cook a lot! Not only do I prepare tried and true favorites, but I’m always on the search for something new. As we all have preferences in tastes, I often tweak other’s recipes to suit myself.
But every now and then, there’s a recipe upon which I write in bold letters: DON’T MAKE AGAIN!!! (yes, I include the exclamation points). That’s what happened when I made the original recipe for Lentil-Chickpea Soup. However, due to my frugal nature and disdain for waste, I thought long and hard about what could be added to make it, at least, palatable. I always have Feta cheese on hand, so I figured, “why not”.
This dish instantly went from 0 to 100! Lesson learnt.
Note: Prepare all the ingredients ahead of time. There’s quite a bit of very short-term cooking before adding the next ingredients. If everything is ready to go, you can zip through a lot faster.
LENTIL-CHICKPEA SOUP – makes about 6 cups
- 2½ T olive oil
- 122g (1 cup) onion, chopped
- 53g (1 stalk) celery rib, chopped
- 1/2 T fresh ginger, grated or minced
- 3 cloves garlic, pressed or minced
- 1 tsp paprika
- 1 tsp coriander
- 1/2 tsp cumin
- 1/4 tsp cinnamon
- 1/4 tsp red pepper flakes
- 14g (1/4 cup + 2 T) cilantro, divided
- 2 T parsley
- 900g (4 cups) vegetable stock (homemade or store-bought)
- 425g (15-oz) can chickpeas (also called garbanzo beans), drained & rinsed
- 87g (1/2 cup) dried brown lentils, rinsed
- 396g (14-oz) canned whole tomatoes, chopped (including liquid)
- 40g (1/4 cup) orzo
- 3 leaves Swiss chard (or other green)
- 1 T lemon juice
- 4 oz Feta cheese, crumbled
Wash the Swiss chard, then remove and discard the spine.  Chop the greens into 1″ (approximately) pieces.
In a large saucepan, heat the oil over medium/high heat and add in the onions and celery. Sauté until the onions start to get a little brown – about 7 minutes.  Add in the ginger, garlic, paprika, coriander, cumin, cinnamon, and red pepper flakes – bloom 1 minute. (Blooming brings out the flavors.)
 Add in the 1/4 cup cilantro – bloom for another 1 minute.
  Add in the vegetable stock, chickpeas, and lentils. Bring to a boil, then reduce heat to maintain a simmer. Cover with the lid slightly askew and let simmer for 20 minutes.
  Add in the tomatoes (plus their juice) and orzo. Partially cover and let simmer for 7 minutes.
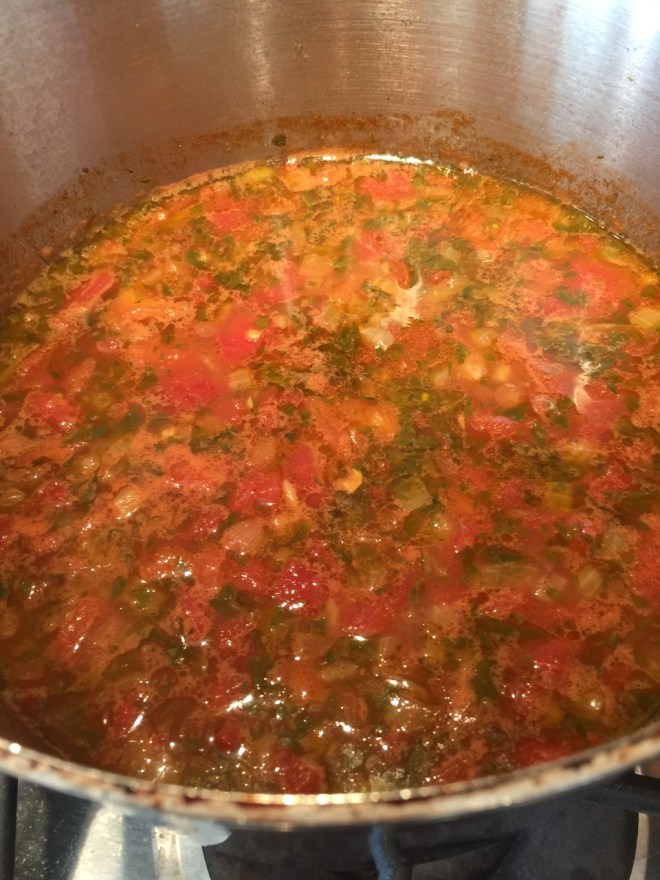 Add in the Swiss chard (or whatever greens you want) and cook for 5 minutes. Remove from heat.
 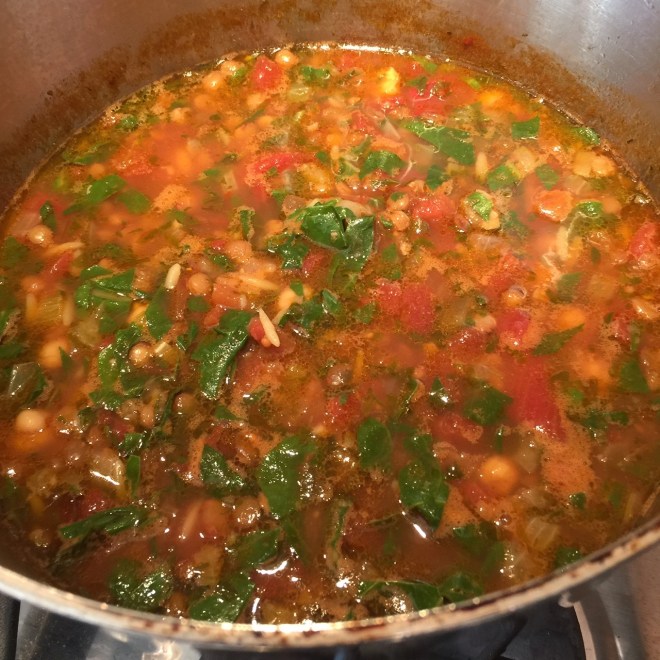 Add in the lemon juice, the parsley, the 2T cilantro, and Feta.
 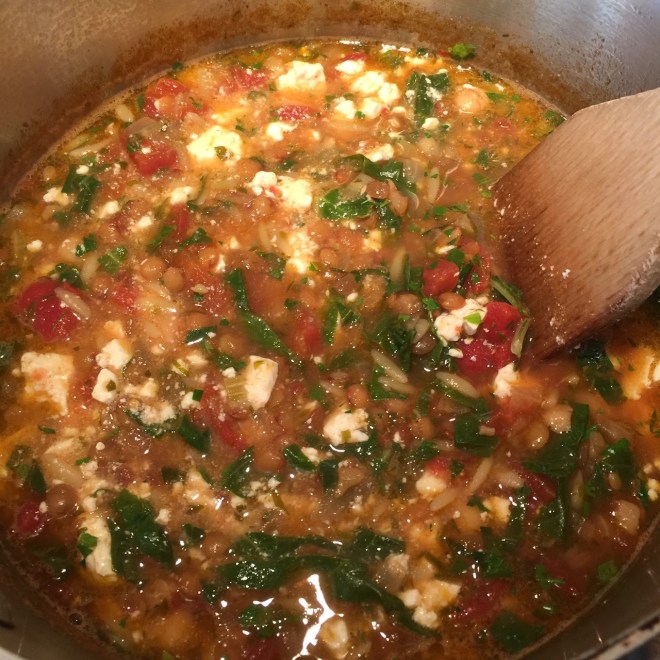 Taste for seasoning. (I added 1/2 tsp salt.)
 Ah, summer! Longer days, sunny weather, and fresh produce. Besides fresh-from-the-vine tomatoes, corn on the cob ranks at the top.
 In a large bowl, whisk the sour cream, lime juice, mayonnaise, 1/4 tsp salt, and the sliced chilis.
  Remove the husk and silk from the corn cobs, then wash and dry the ears. Next (this may sound daunting, but I promise you it’s not), holding each cob at an angle, remove the kernels by running a sharp knife down the sides. It’s easiest to begin a couple of inches from the top and work downwards, away from you. Then flip the cob, and remove the bit that was at the top in the same manner. (You can help cut down on flying kernels by holding the ear in a large bowl.) You’ll get about 3/4 cup of corn from each cob – I found that amazing.
  In a large nonstick skillet, put 1 T of the oil, half (approximately) of the corn, and 1/4 tsp of the salt. Spread corn out evenly in the skillet.
  Turn heat to medium/high, cover and let cook untouched for 3 minutes – this will char the corn. Remove covered skillet from burner and let set for an additional 15 seconds to allow the corn to stop popping before removing the lid. Pour cooked corn into into the sour cream mixture. Repeat the charring process with 1 T oil, the remaining corn, and 1/4 tsp salt. Pour into bowl.
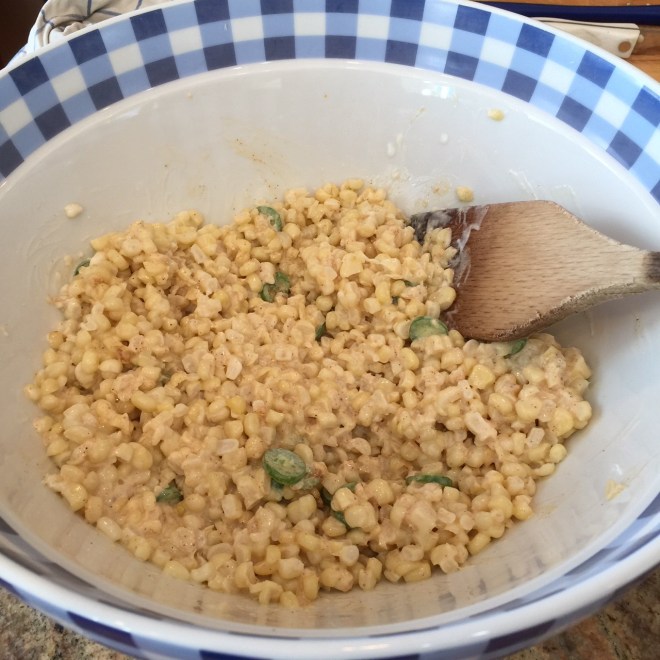 In the now empty skillet, put 1 tsp oil in the center. Top the oil with the garlic and chili powder and cook for about 30 seconds to bloom the flavors. Add to the corn mixture and stir together.
  Let cool for 15 minutes. Add in the Feta, cilantro, and scallions.
 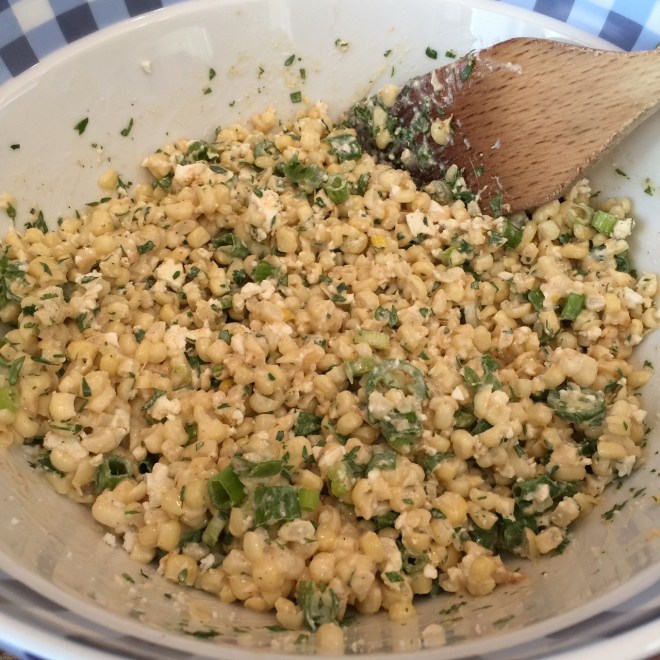 Serve at room temperature or chilled.
 Sometimes you just have to shake things up a little.
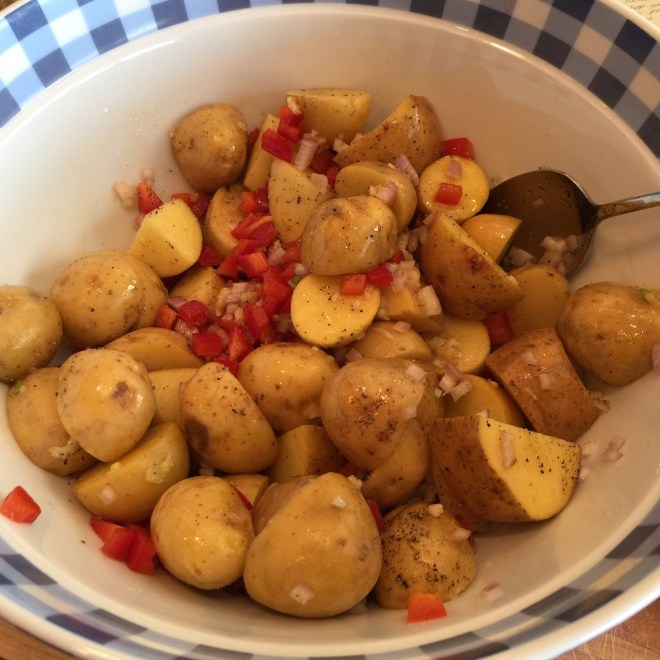 Pour onto a rimmed sheet with the potatoes laying cut side down. Roast undisturbed in the preheated 425º F oven for 25 minutes. Remove from oven and let cool a little while you mix the dressing.
 In the same bowl you used to mix the potatoes (you don’t have to wash it), mix together the mayonnaise, vinegar, Dijon, 3/4 tsp salt, 3/4 tsp ground pepper, and celery. When cool enough to handle, chop the roasted shallot and garlic, and add to the dressing. Mix in the potatoes.
  You can serve it as a warm salad or chilled – it’s up to you. Just before serving, mix in the chopped chives.
 Brazilian Cheese Rolls – where have these been all my life?! Crusty outside, stretchy inside. An added bonus for those of you who have a problem with gluten: they’re gluten-free!
 Put the milk, olive oil, and butter in a small saucepan. Over a low/medium flame, bring just to a boil, stirring constantly. Immediately pour into the flour.
 Turn the mixer on low and beat until all the flour is incorporated – about 1-2 minutes. (It will look rough and crumbly.)
  Add in the eggs and mix on low speed. Once it looks creamy (like frosting), continue to beat another minute.
 Add in the cheeses, and mix just to blend on low.
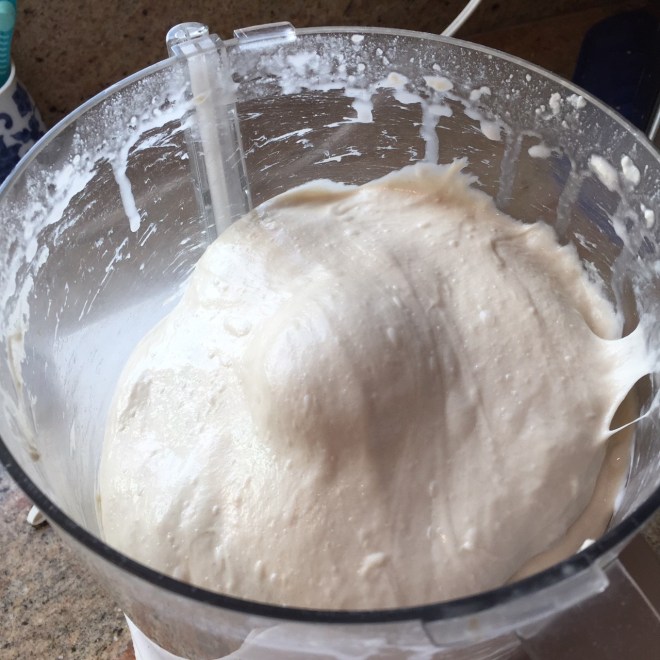
 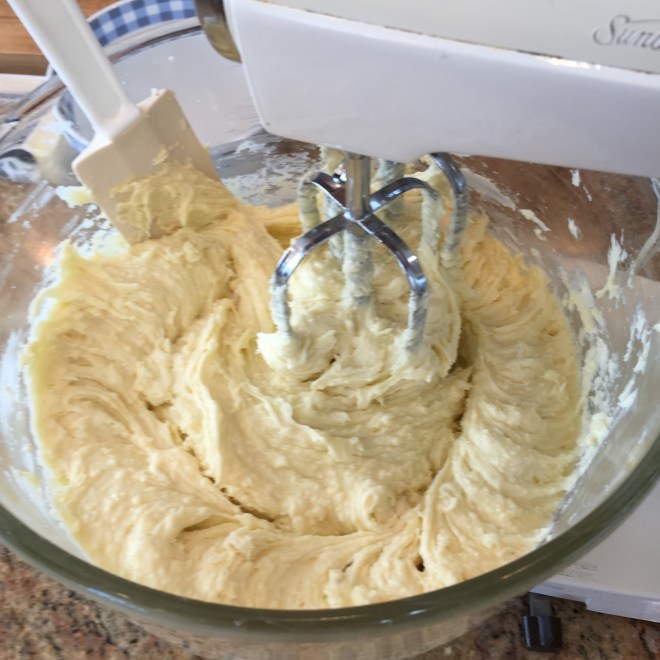 Scrap down the dough and smooth top. Cover bowl and refrigerate at least 2 hours – this will firm up the dough, making it easier to work with.
 Using a large spoon, scrap out each wedge and roll into a smooth ball (it helps to have one of your hands wet so the dough doesn’t stick). Place each ball on a parchment lined baking sheet. They’re going to rise as they bake, so make sure to space them. One large sheet will hold all 8 rolls.
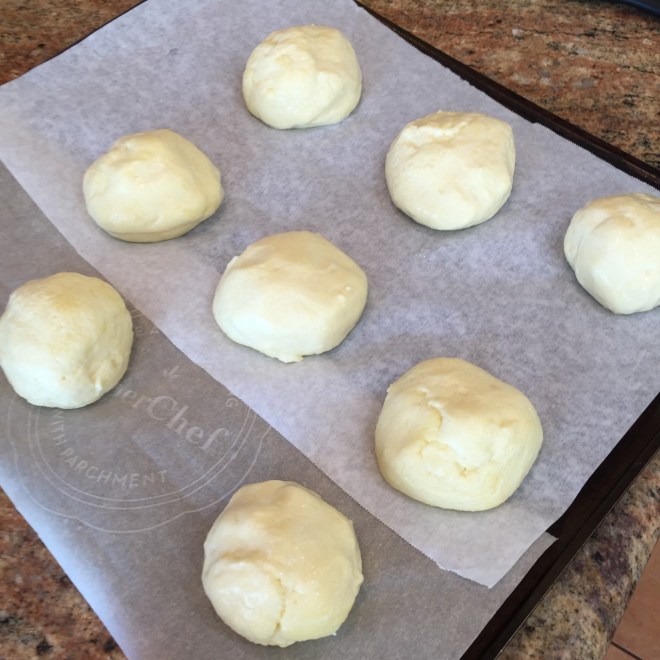 Using a pastry brush, paint the sides and tops of rolls with the egg wash.
  I’m going to use all caps because this is important!: PLACE SHEET IN OVEN, THEN
 I hate waste – particularly of food. Unless it’s gone bad, I find a way to use it or save it (thus my self-proclaimed moniker of Queen of Freeze!) So I often find myself with bits and bobs which need to be eaten.
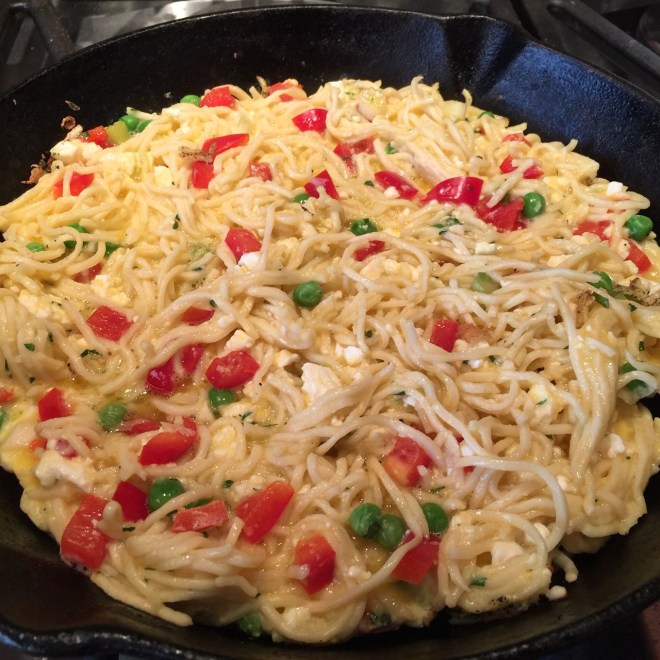 Here comes the tricky part – you’re going to need to flip the frittata to brown the other side. Loosen the bottom using a metal spatula. Once the bottom is no longer stuck, carefully slide the frittata onto a large plate.
 (Or, you can place a plate on top of the skillet and, using oven mitts, flip the skillet letting the frittata drop onto the plate.) Cover with another plate and flip.
  Then, slip the flipped frittata back into the skillet and cook until the bottom is well browned.
  Let set about 5 minutes before slicing.
 Broccoli Garlic Pasta is a new addition to my list of favorite dinners. It’s one of those recipes that I create in order to use up an ingredient that would soon be going bad – in this case, it was mushrooms. I threw in other items I had on hand – the pièce de résistance being the Feta cheese, which made all the difference.
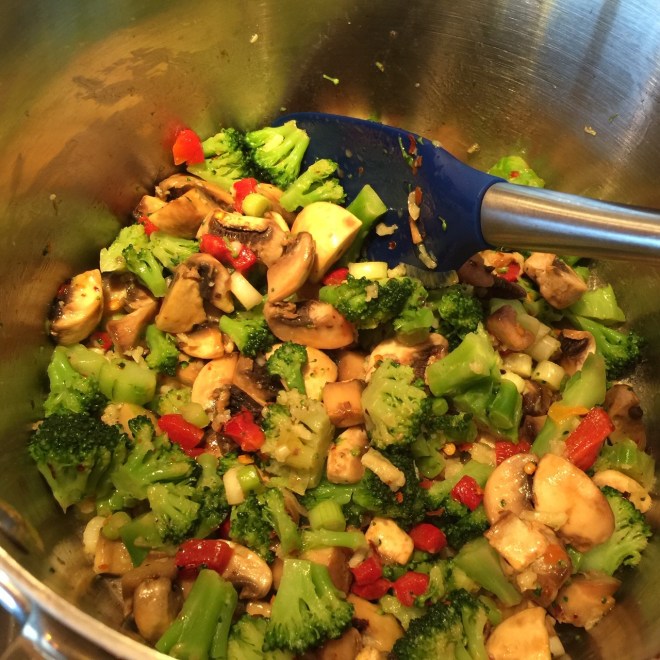 Kill heat and sprinkle on flour. Over low flame, stir 1-2 minutes to slightly thicken the liquid and cook-off the flour taste.
  Add in the wine and cream. Cook over medium heat about 1 minute.
  Stir in the Feta, Pecorino, and parsley. Stir in the pasta and heat through. Pour into serving bowl (or let remain in pot), cover, and let set for about 5 minutes to allow pasta to absorb the liquid and thicken up.
 Due to my frugal nature (some may say, ‘cheap’), I found myself with an abundance of frozen egg whites. It turns out there are many more recipes that call for an extra egg yoke than an extra egg white. Due to my aforementioned frugal nature, I froze the unused whites rather than throw out perfectly good food.
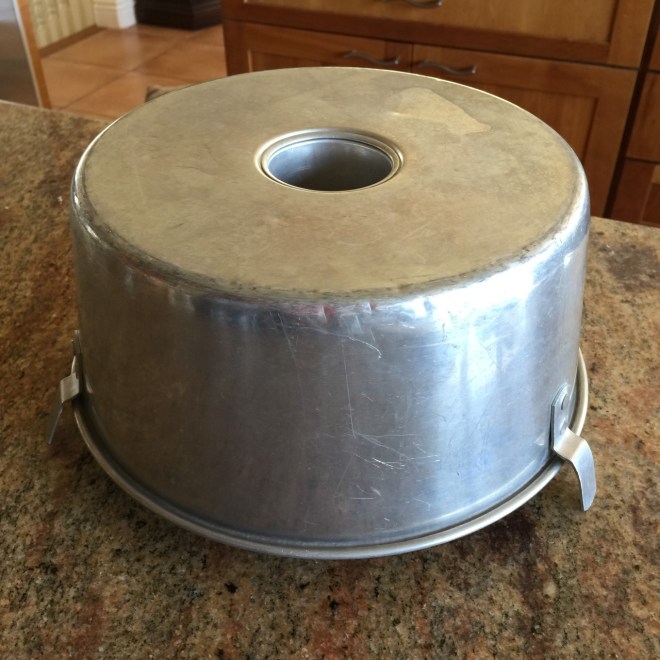
 Into a bowl, sift together the cake flour and 5 oz (3/4 cup) of the sugar. Set aside.
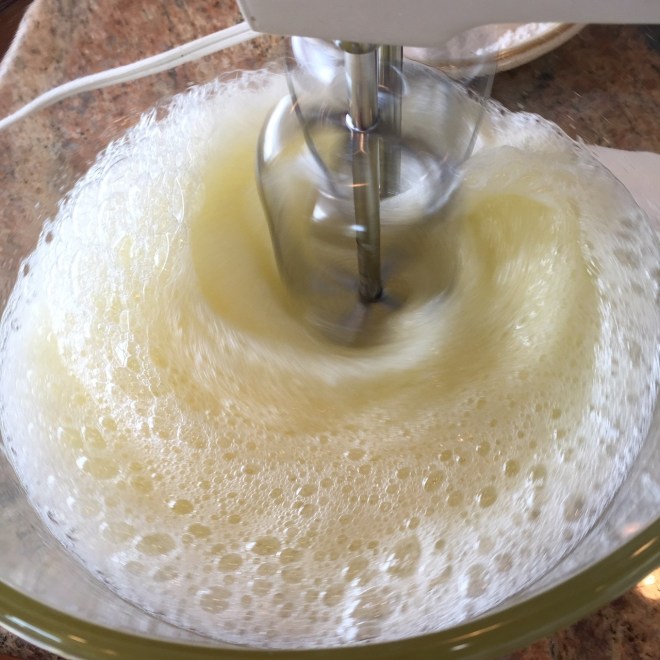 With the mixer still running on medium, start adding the sugar/cream of tartar mixture to the whites 1 tablespoon at a time.
 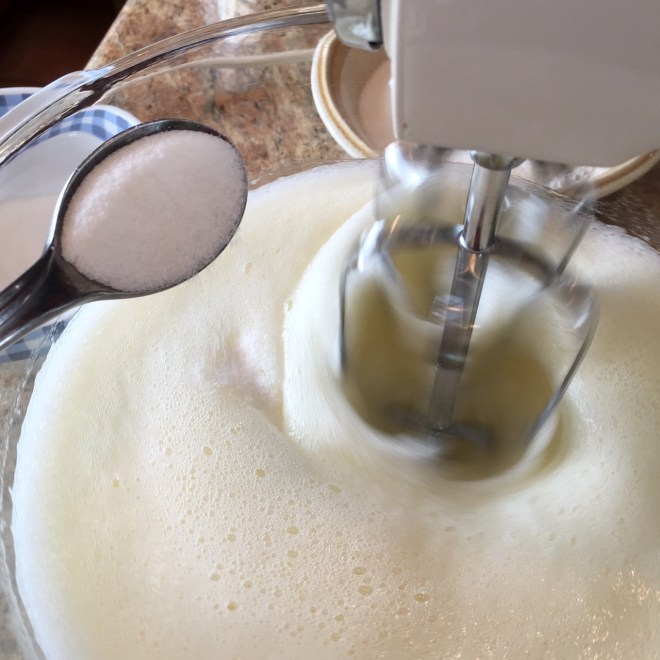 Once all the sugar/tartar has been added, increase mixer speed to high until soft peaks form. Turn off machine, pour in the vanilla mixture, then quickly mix together on low.
 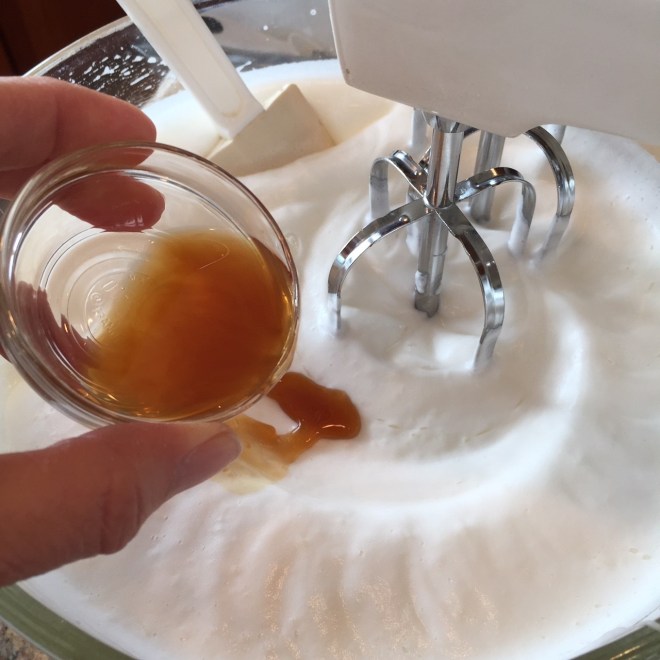 Here’s where your jaw may drop. If you read other angel food cake recipes, they’ll tell you to FOLD in the flour mixture gently in order not to deflate the meringue. I’m here to tell you that you don’t have to bother. Simply add 3 T of the flour mix to the batter through a sieve, then turn your mixer on the lowest speed for a few seconds to incorporate the flour, running a spatula along the sides and bottom of the bowl.
 Turn off the mixer, then add another 3 T flour to the batter, turn on the machine to low and mix to incorporate for a few seconds. Continue until all the flour is added and incorporated.
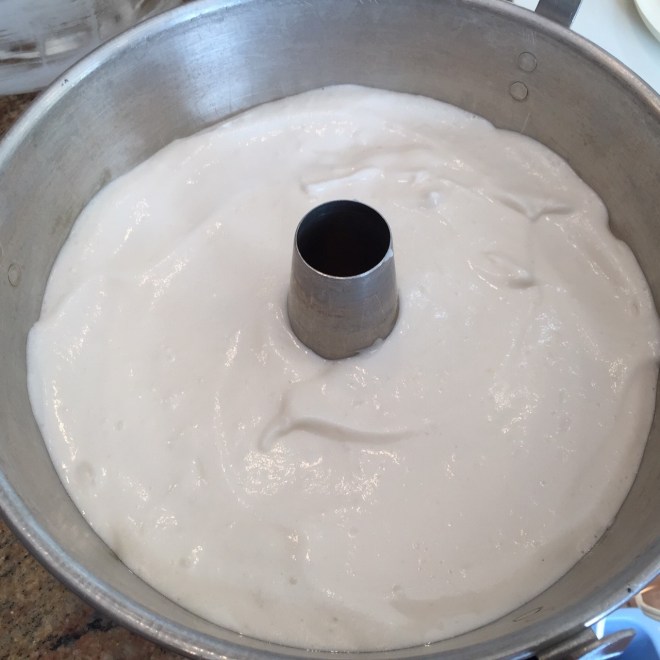 Put into the oven and bake about 45-50 minutes – until golden brown and cake springs back when you press it with your finger.
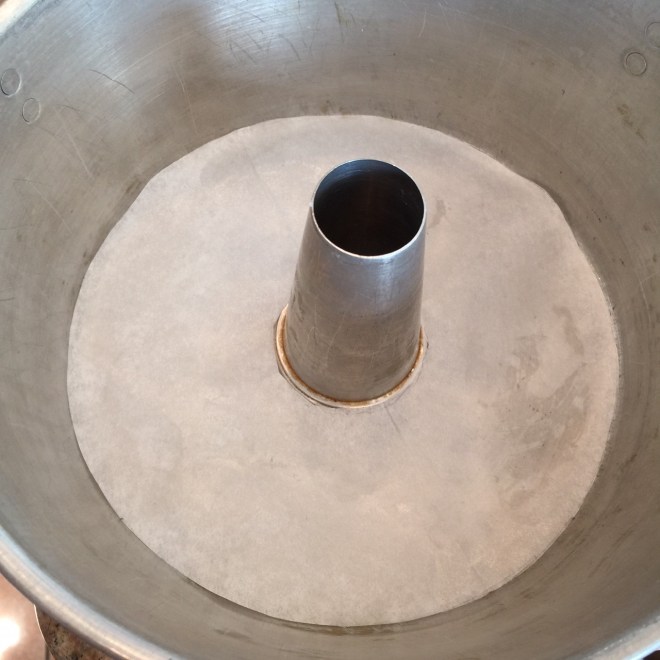
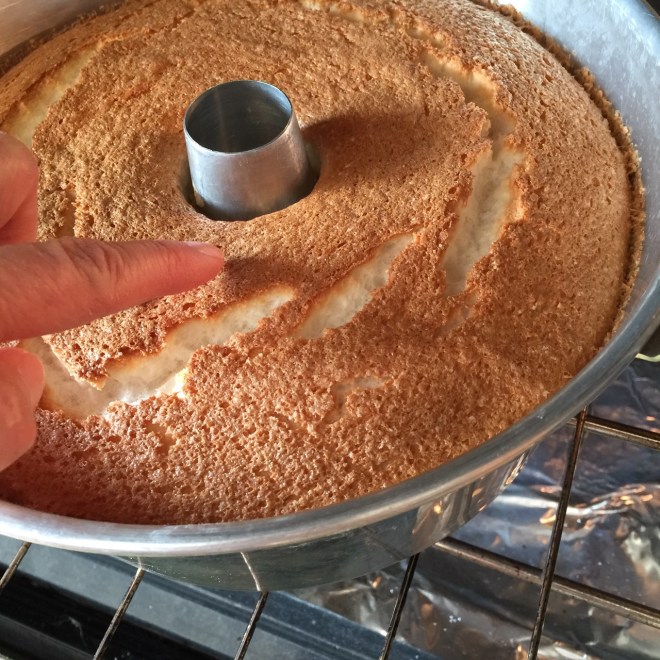 Remove from oven and immediately turn upside-down. Let cake remain like this until completely cooled – about 3 hours.
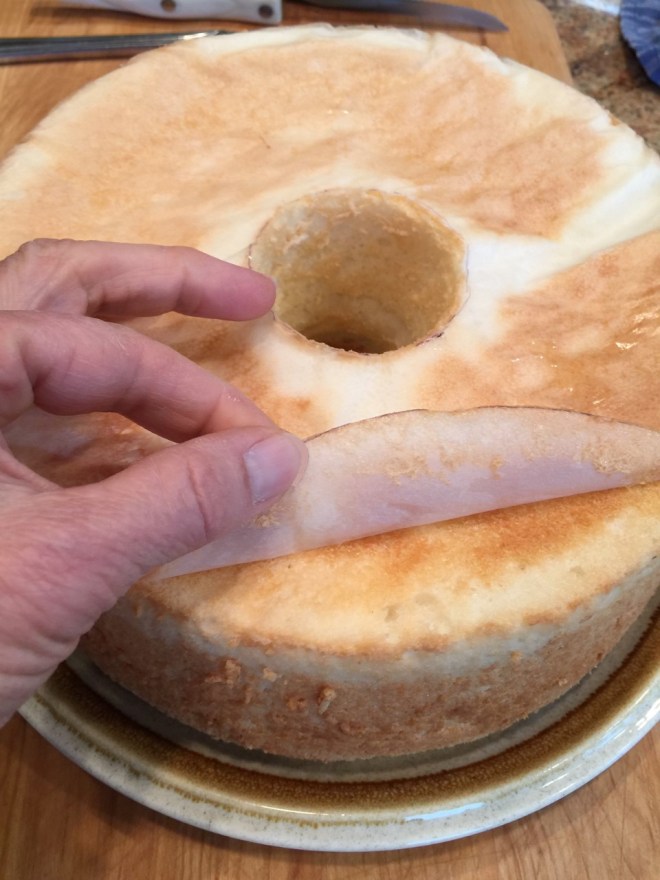

 Pour 2 T olive oil into a rectangular or square container with sides at least 3″ high, covering the bottom and sides. (The square corners train the dough somewhat and help it fill the corners of the baking pan. If you don’t have a container like this, just use an oiled deep bowl.) The dough is going to rise very high, then collapse somewhat. Cover container and let rise 5½ – 6 hours. Note the low height of the dough when I pour it in.
  Here’s after 2½ hours:
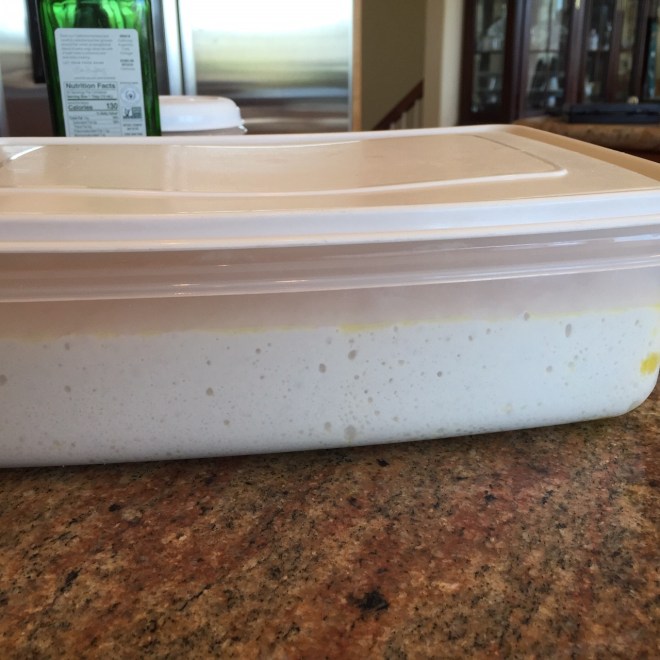 After about 4 hours it starts to collapse a bit – this is normal.
  After dough has been rising for 5 hours, preheat oven to 500º Fahrenheit, rack in the middle position. If you have a baking stone or steel (I use a steel), place it on rack as the oven preheats.
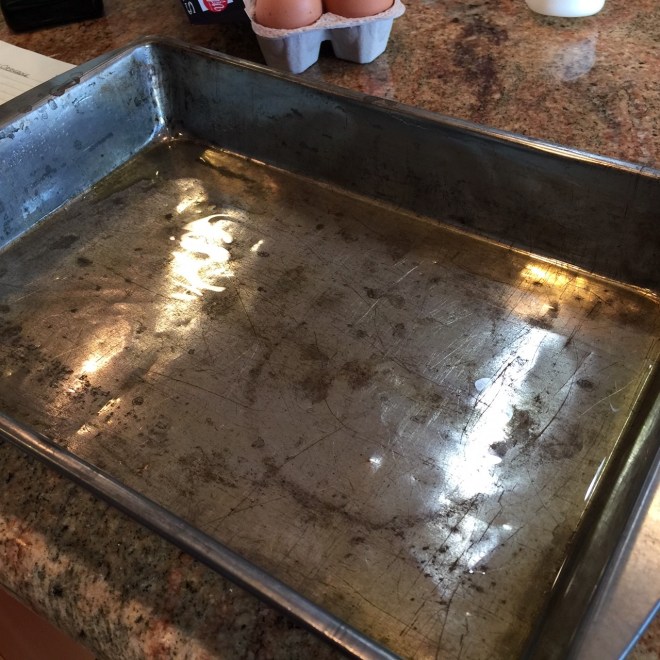 Note how bubbly the dough is:
  Gently pour the dough into the prepared pan, nudging the dough into the corners – try not to deflate the dough.
 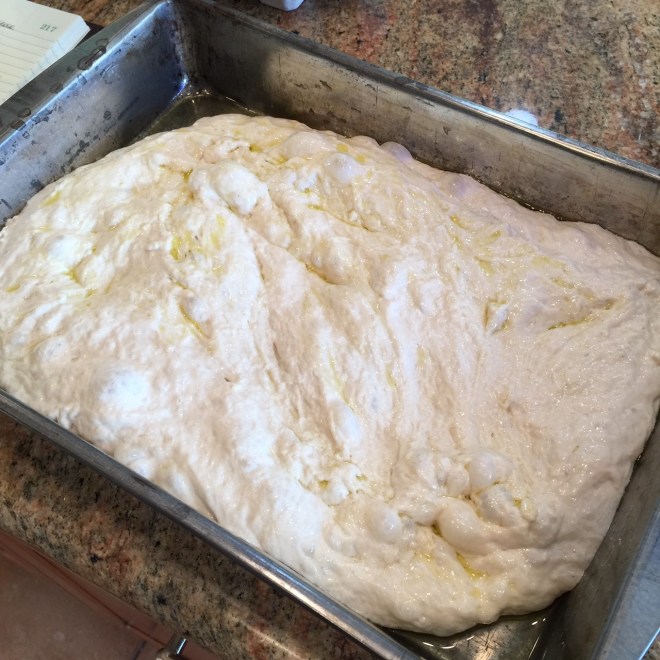 If you’re using toppings such as olives or slices shallots, sprinkle them on, lightly pressing them into the dough. Let dough set uncovered for 20 minutes.
 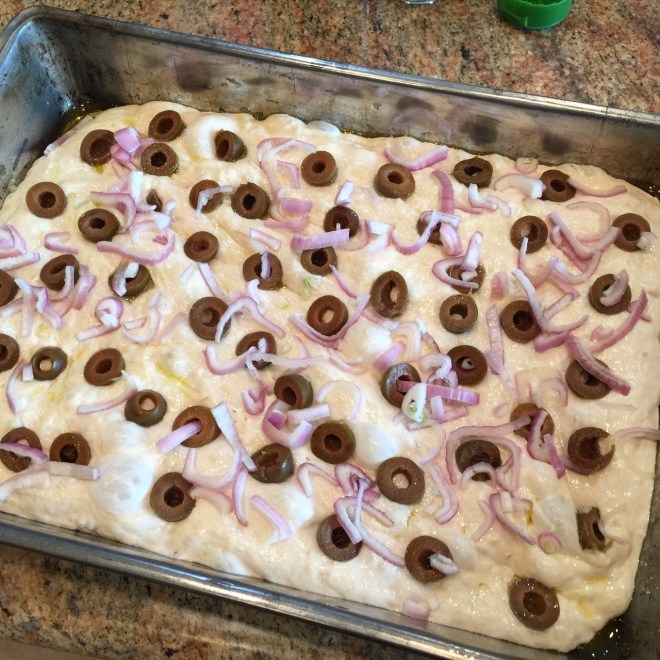 Brush 2 T olive oil over dough, then sprinkle on 1 tsp oregano, pepper, and salt.
  Place in 500º F preheated oven and bake for 20-25 minutes, until well browned on top and sides have pulled away from the edges a bit. Remove from oven and let rest in pan for about 10 minutes before removing to a wire rack.
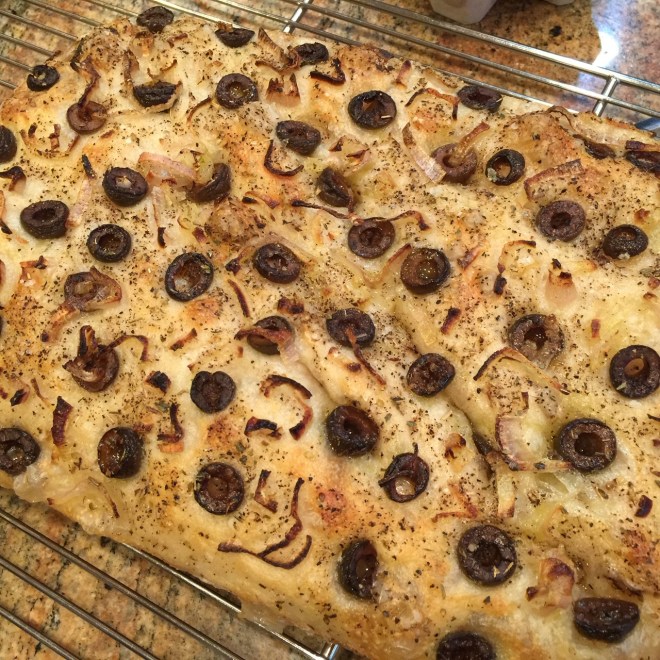 Decrease oven temperature to 350º F, leaving oven door open to expedite the oven temperature drop.
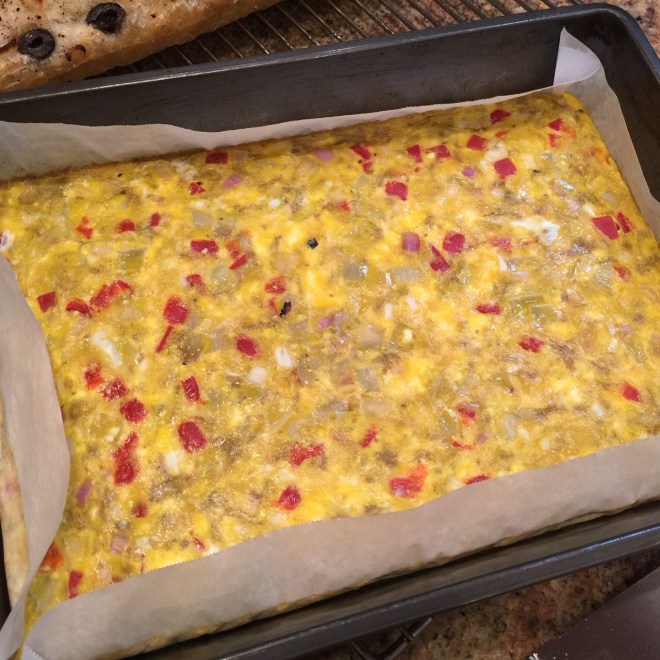 While omelette is baking, remove focaccia to a cutting board. Using a long bread knife, very carefully slice bread in half horizontally. (Take your time – the edges are crispy, making it difficult. I’ve found it best to cut into the bread only – not in and out, which tends to tear the bread.)
 Once the bread is completely sliced through, leave it together to retain its heat.
 This soup started out as a Stuffed Squash recipe I was developing. I had a lot of leftover filling and, as it was on the bland side, knew we weren’t going to eat it. But as regular readers may know – I HATE waste!!! There was no way I was going to throw it out.
 Let cool enough to handle. Scrape out and discard seeds and fibers. Cut into 1/2″ slices, then cut away the peel. Cut flesh into 1/2″ cubes.
 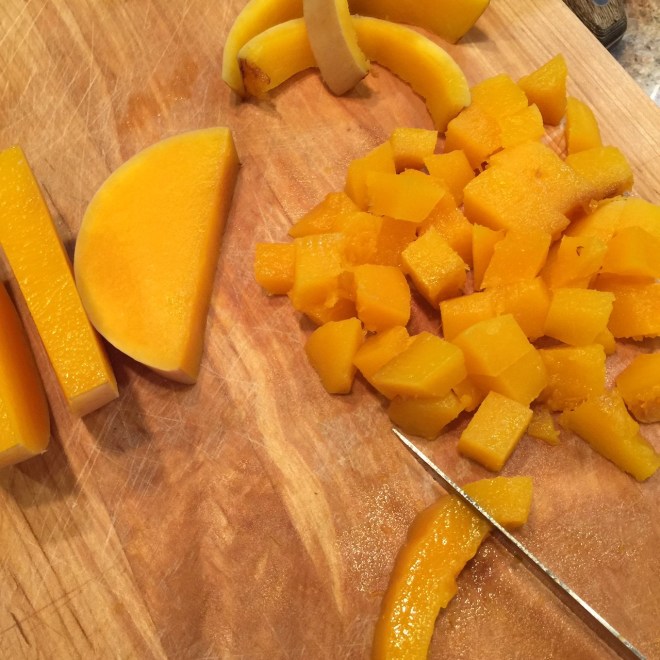 While squash is cooking, cook the rice.
 Add in shallot, garlic, mushrooms, salt, and pepper. Cook for 5 minutes over medium/high flame, stirring often.
  Add in squash, rice, garbanzo beans, cranberries, pecans, thyme, chopped tomatoes and it’s juice, tomato sauce, and water. Bring to boil, then reduce heat to maintain a simmer for 15 minutes, uncovered.
 Stir in cilantro, adjust seasoning if needed, and serve.
 My family has fond memories of the teriyaki noodle bowls from a local restaurant that closed years ago. Not only did they serve meat choices, but they offered perfectly grilled tofu, too. It was crispy on the outside and creamy on the inside. Topping it off was a luscious, thick teriyaki sauce.
 Liberally coat a nonstick skillet with oil. Heat oil over medium/high until shimmering. Add in tofu and leave undisturbed for at least a minute before moving them. (I suggest using a splatter screen to reduce fallout.) When the tofu is browned on the bottom, flip and cook the other side.
 Remove to a baking sheet and leave in the preheated oven to keep warm until the veggies and noodles are cooked.
 Bring 2 quarts of water to a full boil. Add noodles (recipe follows) and cook until done – about 5 minutes for homemade.
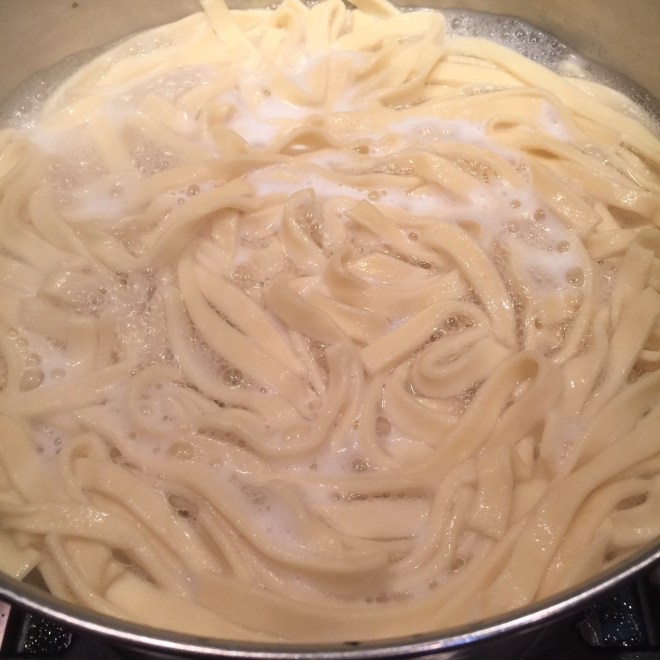 Drain and add noodles to bowl with veggies.
 Form dough into 4 balls and place in the processor with lid. Let rest for at least 30 minutes.
  Using a hand crank pasta machine, roll out dough to one setting thicker than for normal fettuccine (it’s #4 setting on my Atlas machine).
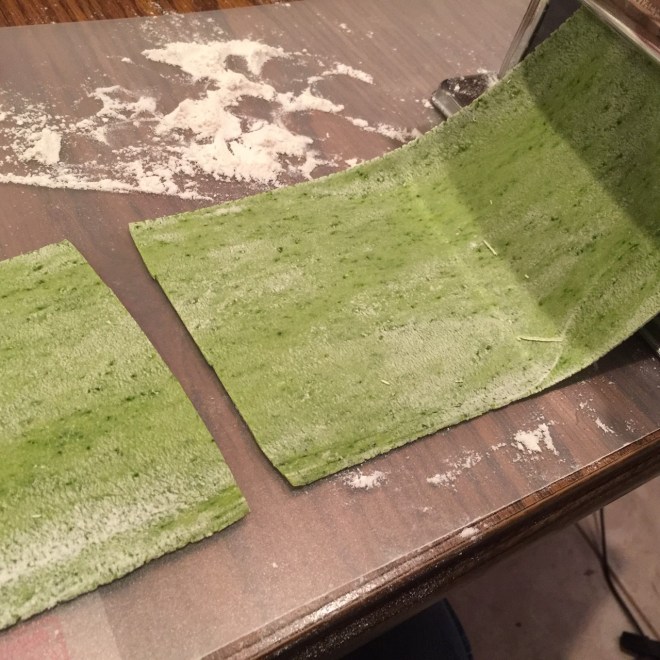 Use the fettuccine blades to cut.
