 Never heard of spoonbread? Neither had I, but I saw it on America’s Test Kitchen and it looked delicious. A popular dish in the southern United States, it’s kind of a cross between cornbread and a soufflé.
As is my usual practice, I followed the recipe the first time I made it. It was good, but I doubted I’d ever make it again (even though it was pretty simple). Then I spied the leftover CHILI CON QUESO from a previous blogpost. Hmmm! I wondered if it could be incorporated into the spoonbread to kick it up a notch.
Oh, yeah! Worked like a charm. Turned out to be a wonderful twofer bonus: improved the spoonbread, AND made use of the Chili Con Queso before I could grab the Doritos and scarf down the lot….uh, just so it wouldn’t go to waste.
NOTE: This recipe calls for 3 whole eggs and 1 egg white. As self-proclaimed Queen Of Freeze, I feel it my duty to suggest you beat the unused yolk with a tablespoon of water and freeze this for future use as an egg wash or to use in a recipe that calls for egg yolks only.
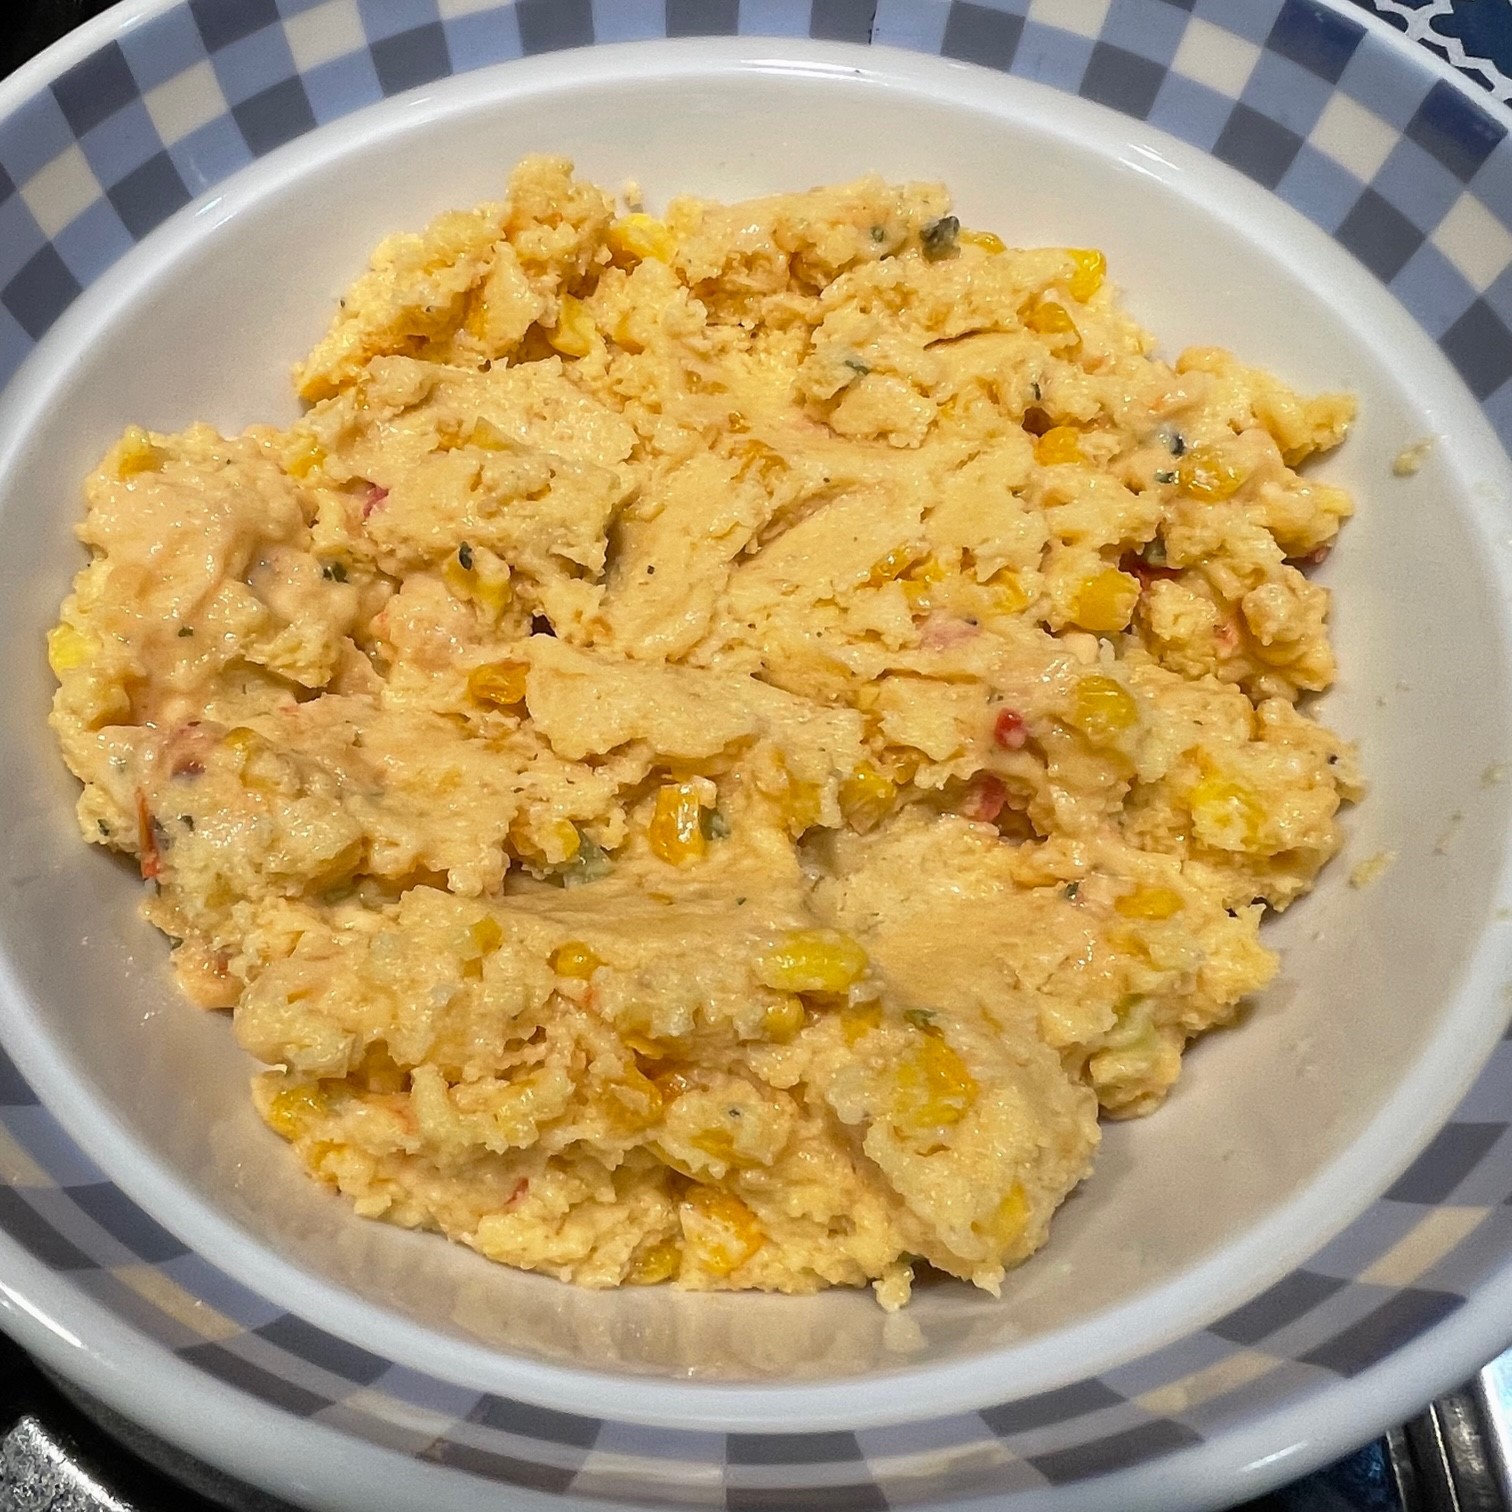
CHILI-CHEESE SPOONBREAD – makes 4 individual servings
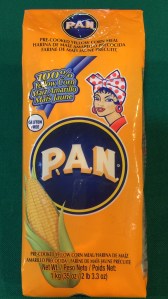
- 157g (1 cup) fine-grind cornmeal (Bob’s Red Mill makes this)
- 561g (2¼ cups) milk (any kind – I use nonfat)
- 2 raw cobs of fresh corn (white or yellow) OR 170g (1.5 cups) frozen or canned corn
- 56g (4 T) butter
- 1 tsp salt
- 1 tsp sugar
- 1 cup chili con queso OR 63g (1/3 cup) red salsa
- 57g (2 oz) Jack cheese, shredded
- 57g (2 oz) med. cheddar cheese, shredded
- 3 eggs, separated
- 1 egg white
- 1/3 tsp cream of tartar
In a bowl, combine the cornmeal and milk. This will soften the cornmeal so it’s not so gritty. Set aside while you prepare the rest of the recipe.

Butter 4 1¼ cup soufflé dishes.

If you don’t happen to have chili con queso, make it by combining the salsa and cheeses in a saucepan over a low flame, until the cheese is melted. Cool. (You can do this ahead of time.)

Remove the husk and silk from the corn cobs, then wash and dry them. Next (this may sound daunting, but I promise you it’s not) holding each cob at an angle, remove the kernels by running a sharp knife down the sides. It’s easiest to begin a couple of inches from the top and work downwards, away from you. Then flip the cob, and remove the bit that was at the top in the same manner. You’ll get about 3/4 cup of corn from each cob – I found that amazing.

In a saucepan, melt the butter and cook corn over medium flame, until it begins to brown – about 15 minutes. Stir often.

Then add in salt, sugar, and cornmeal/milk mixture. Cover and let steep 10 minutes.

Bring corn mixture to a simmer and stir until it thickens – about 5 minutes. Shut off flame and stir in the chili con queso.

Pour mixture into a large bowl and let cool 20 minutes.
Preheat oven to 200°C {400ºF) in middle position.
Stir the yolks together in a small bowl, then mix into the batter once it’s cooled for 20 minutes (you don’t want to cook the egg yolks).

Using an electric mixer on high, beat the egg whites and cream of tartar together until stiff peaks form.

Spoon about 1/3 of beaten whites into the batter and whisk in – you don’t have to be excessively gentle with this just yet.

Once those whites are incorporated, pour the rest of whites into the batter and very gently whisk them in by dipping the whisk into the batter then lifting it out. OR, you can use a rubber spatula and fold the whites in. These whites are going to cause the batter to rise, so you don’t want to deflate them by stirring too vigorously.

Divide batter amongst the 4 soufflé dishes and put in preheated 200°C (400°F) oven. (It’s easier to manage if you place the dishes on a cookie sheet.)

IMMEDIATELY TURN OVEN DOWN TO 180C° / 350º F°
Bake for 20-22 minutes, if you like a creamy center (I do!). If you jiggle the soufflé dish, the center should wobble. But, if you want the center cooked like the sides (more bread-like), then bake another 2 minutes – the center won’t jiggle.


If there are leftovers, store Chili Spoonbread in the soufflé bowls. Then microwave about 1 minute 15 seconds when ready to eat.


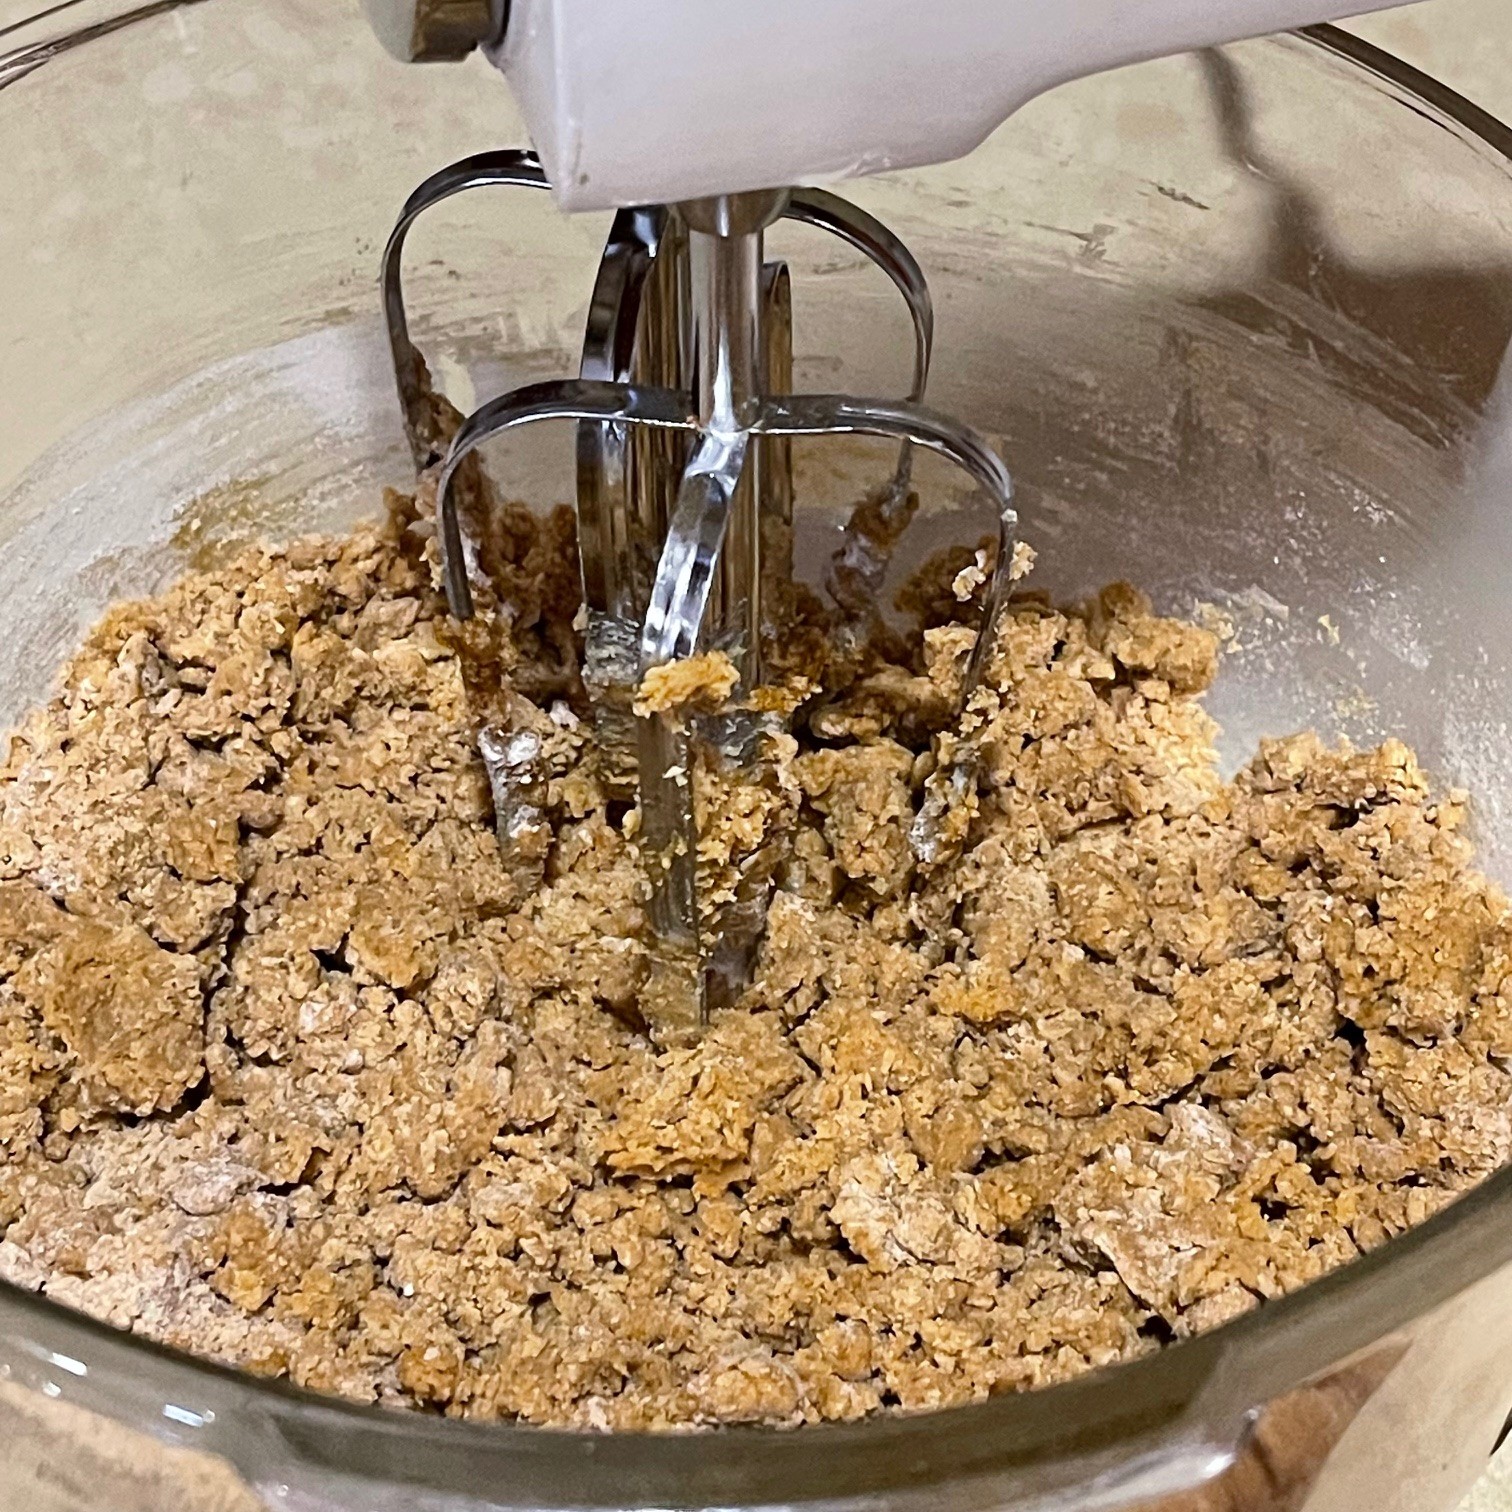
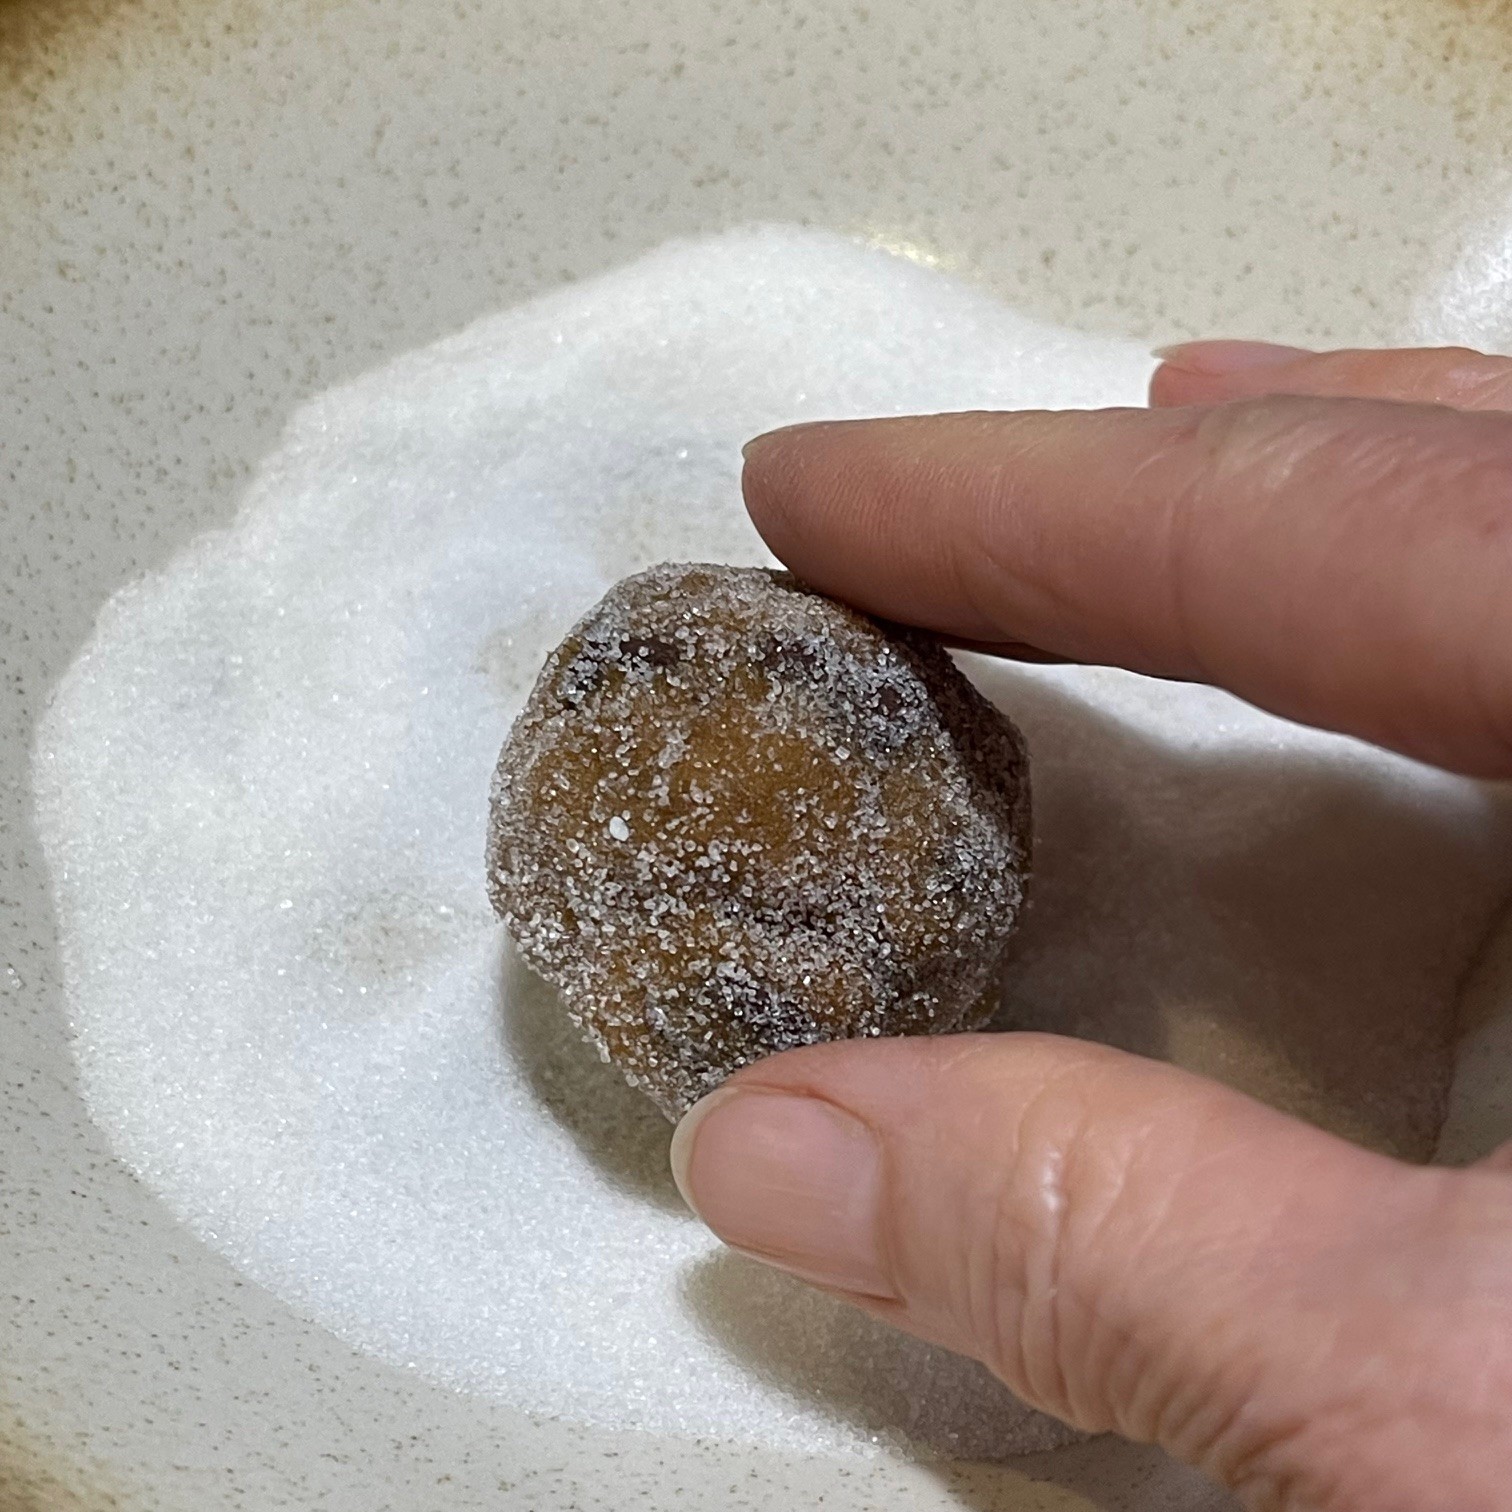
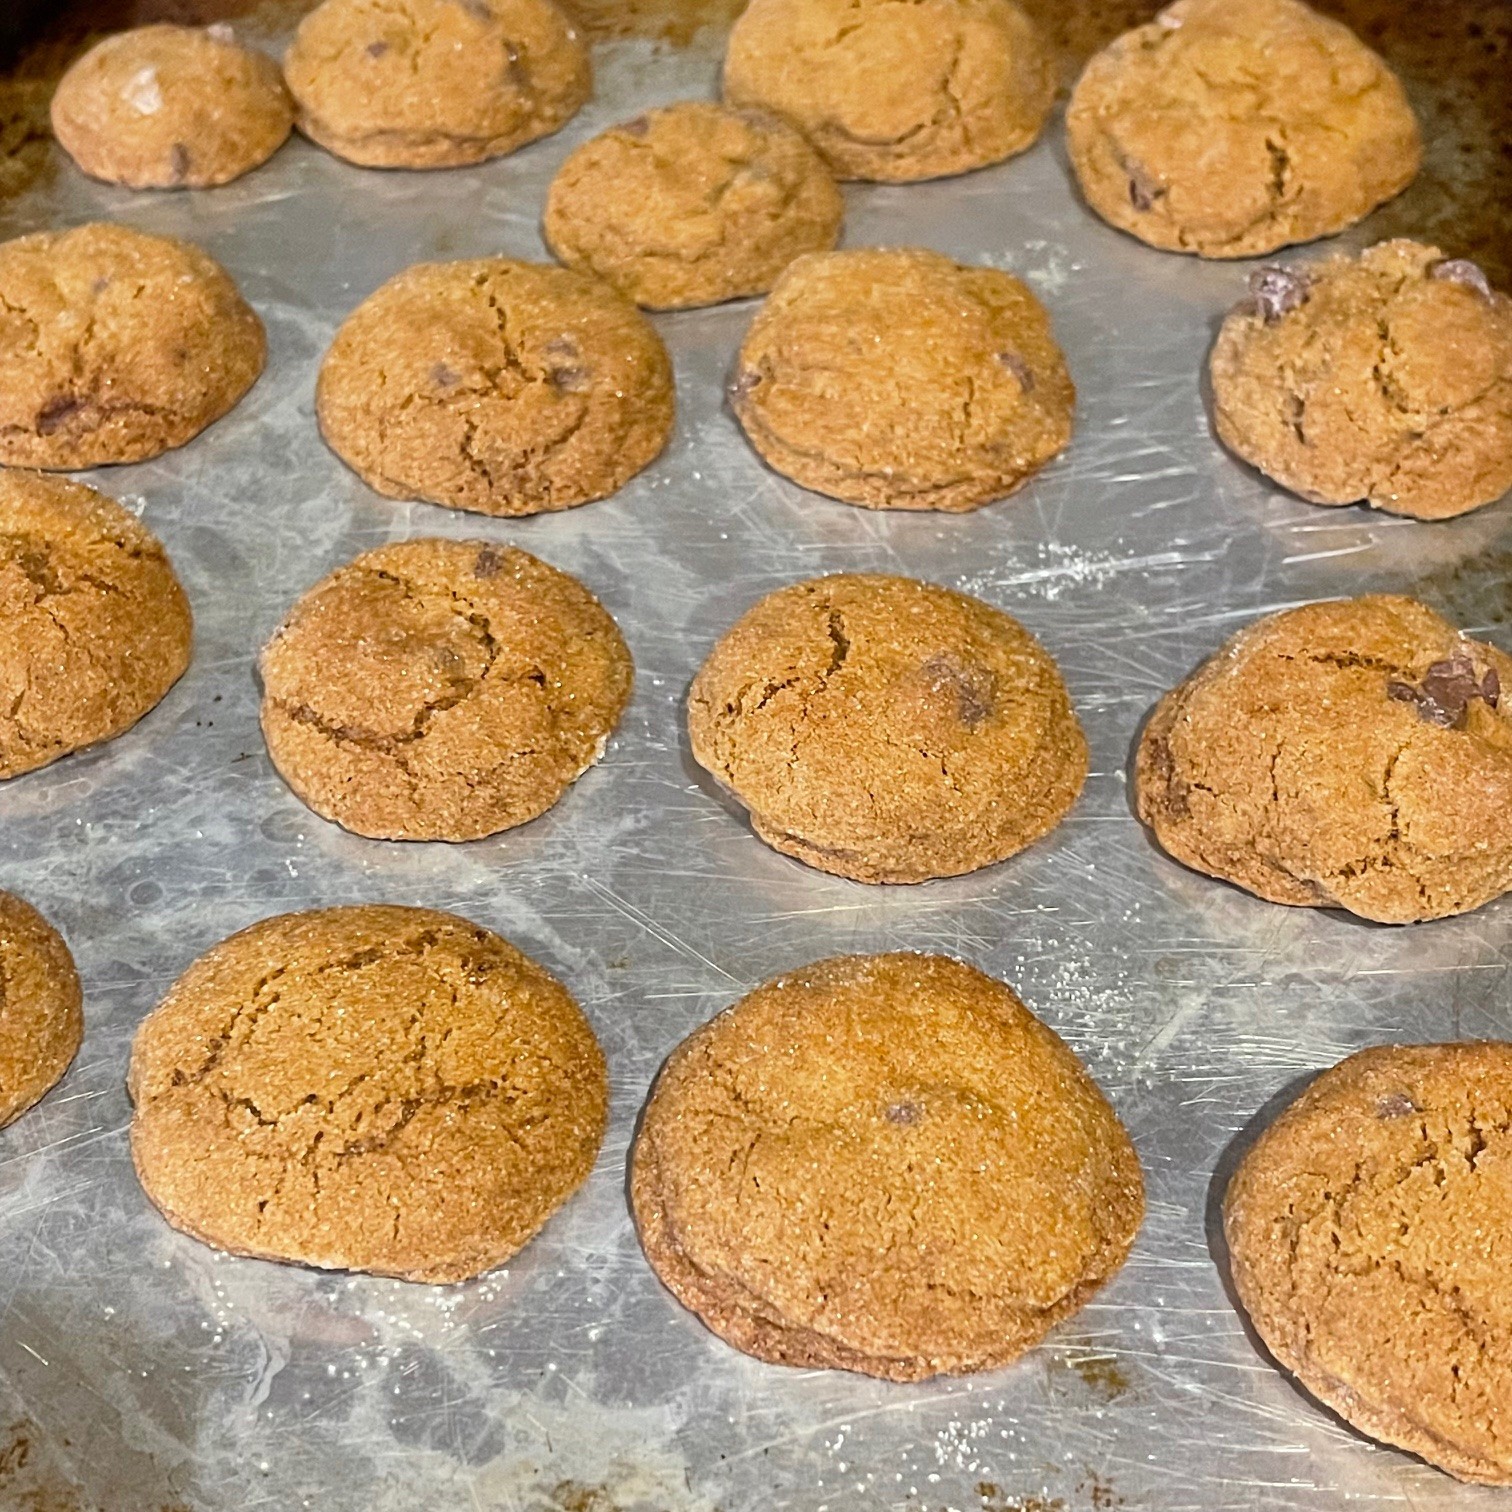
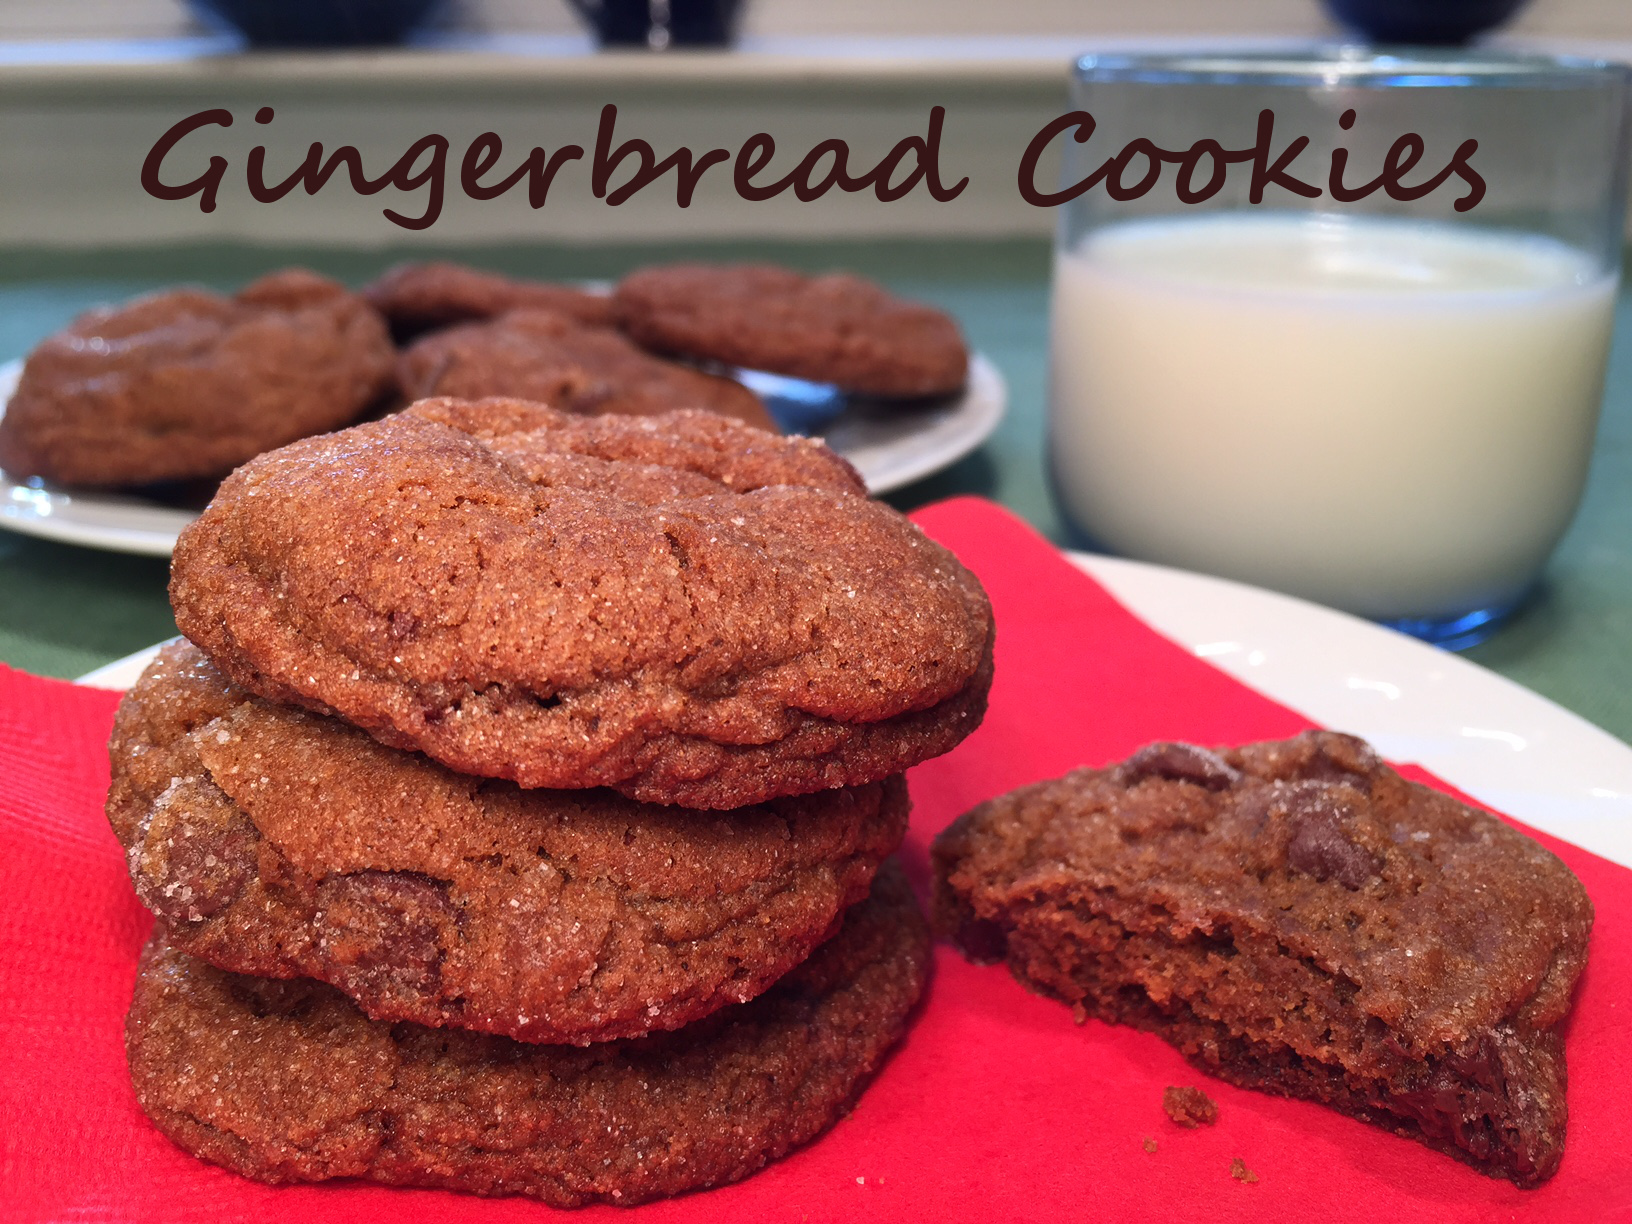 Gingerbread Cookies with chocolate chips are my kids’ favorite. They’re soft cookies with a flavorful bite from ginger, cloves, and cinnamon. The chocolate chips balances them out with with a creamy sweetness.


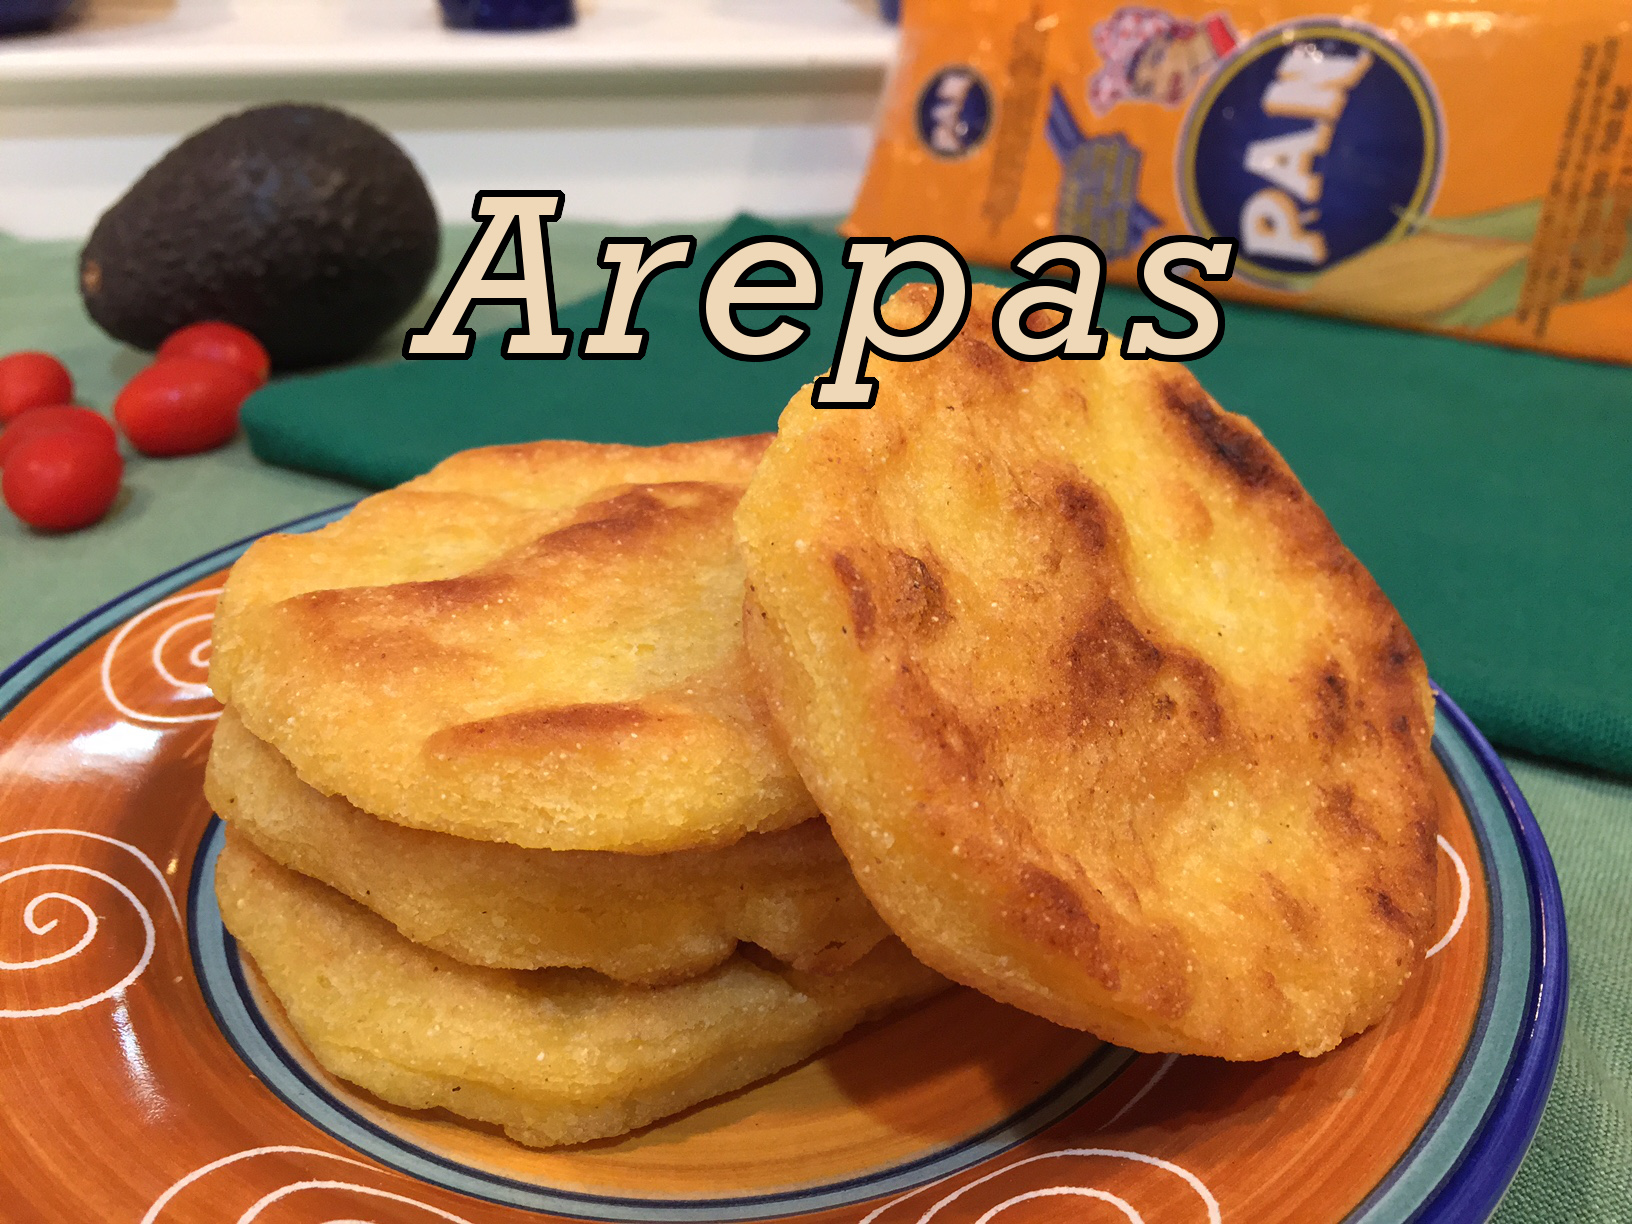 I’ve been on a mission to try making foods from scratch that you would normally never think of, such as tortillas (flour and corn), Italian rustic bread, yogurt, cream cheese, and pasta. I think you get the idea.