
 With the weather heating up and bulky clothes coming off, I’m always looking for ways to appease my hunger but shred the pounds. Soups are generally my go-to diet food since they fill you up without a lot of calories. But hot soup in hot weather doesn’t really appeal to me, so I look to chilled soups.
For some reason I’ve always been leery of beets. It’s not that I didn’t like them – I’d never even eaten one. When they came in a salad, I let these deep red strips remain untouched…until my husband inevitably asked if he could have them.
I’ve been hearing about how nutritious beets are so I finally decided it was time to face my fear and actually try them. Since my husband mentioned recently that he loved borscht (beet soup), I figured I’d start there. Not only was the soup super easy, but superb (I’m in an alliterative mood).
Note: Beets stain, so take care handling them. I got a drop on some fabric, but used OxyClean immediately and it came right out.
BORSCHT – makes 5 cups
- 1½ lbs beets with 1″ of stem remaining
- 4 2/3 cups water
- 1 small onion
- 3 T + 1 tsp sugar
- 3 T + 1 tsp distilled white vinegar
- 1 tsp salt
- 1/2 cup sour cream
- 1/2 cup heavy cream
- 2 tsp lemon juice
- 3/4 tsp dried dill or 2 T fresh
Scrub beets clean and leave unpeeled. Into a saucepan place the whole beets, 4 2/3 cups water, onion, sugar, vinegar, and salt. Bring to boil, cover, lower flame, and let simmer until beets are easily pierced with a skewer (about 45 minutes). Remove beets to a cutting board to cool enough to handle.
Line a strainer with a paper towel and place over a bowl. Remove and discard onion from saucepan, then carefully (so you don’t splatter) pour liquid into strainer (DON’T FORGET THE BOWL UNDERNEATH TO CATCH THE LIQUID!). Set bowl aside.
Using the wet paper towel, rub the beets to remove skin. Remove and discard the top and bottom of beet. Take half the beets and shred them (a food processor makes quick and clean work of this). Place in a small bowl and refrigerate at least 2 hours.
Take the remainder of the beets and cut into 1/2″ chunks (exact size doesn’t matter). Place in a blender and top with some of the saved beet liquid so that they’re submerged about 1″. Blend until pureed – at least 1 minute. Add in remainder of the liquid and refrigerate at least 2 hours.
Into a serving bowl place the shredded beets, pureed beets, lemon juice, and dill. Combine the sour cream and heavy cream. Whisk into the soup. Season as needed. (I added a little more lemon juice.)

 Once I fine-tune a recipe to my liking, I move on. However, I’m not a gal so set in her ways that I’m not willing to be flexible about revisiting a recipe. (This does NOT apply to household activities in which I’m constantly suggesting (okay, nagging) that my husband put his keys and wallet in the same spot so he doesn’t have to spend 15 minutes daily looking for them.)
 In a small bowl, combine flour, salt, and baking soda. Set aside.
 Stir in cinnamon until blended. Then, using a large spoon, add in brown sugar, granulated sugar, oil, and vanilla, mixing until smooth.
 Lightly beat together the whole egg and yolk,
  Stir in the flour mixture until most of flour is incorporated.
 Finally, stir in oats and butterscotch chips.
 Preheat oven to 375º Fahrenheit.
 Bake at 375º F for 9-10 minutes. The key is to look at the edges, not the center. The edge should start to look baked, but the center should not be browned. Because the cookies will continue to cook on the hot sheet out of the oven, if you wait to remove them from the oven until they look baked, they’ll be overcooked.
 Let cookies cool on cookie sheet before removing them to a wire rack.
 I’m always interested in new salads – one can only eat so many lettuce and tomato dinner salads. My ISRAELI COUSCOUS SALAD combines Israeli couscous (aka pearl couscous) with arugula, mint, dried cranberries, pistachio nuts, and feta cheese with a tasty vinaigrette.
 It’s tricky business when you have guests for dinner. I usually gear my meal to be ready half an hour after the designated arrival time. But there’s the rub. Sometimes people are late, or worse, early. They’re hungry, but you don’t want them to fill up on weighty appetizers.
 It’s that time of year again when spring is just beyond the horizon. Soon we’ll be able to leave the house without bulky sweaters and coats. This means, of course, we won’t be able to hide those holiday pounds anymore.


 Company was coming and I needed a bread – fast! I flipped through my America’s Test Kitchen cookbook and found this Kalamata Olive Bread recipe made in a cast iron skillet. (To those under 35, cookbooks are how people used to get recipes!)
 Being the mother of picky eaters, I’ve struggled to find dishes my boys would willingly eat. CHEESY “HAM” CASSEROLE became an instant favorite in our home. A bonus is that it’s loaded with broccoli, so even if they try to pick out the larger pieces, they’re still ingesting the smaller bits. (Hey, I’ll take what I can get!)
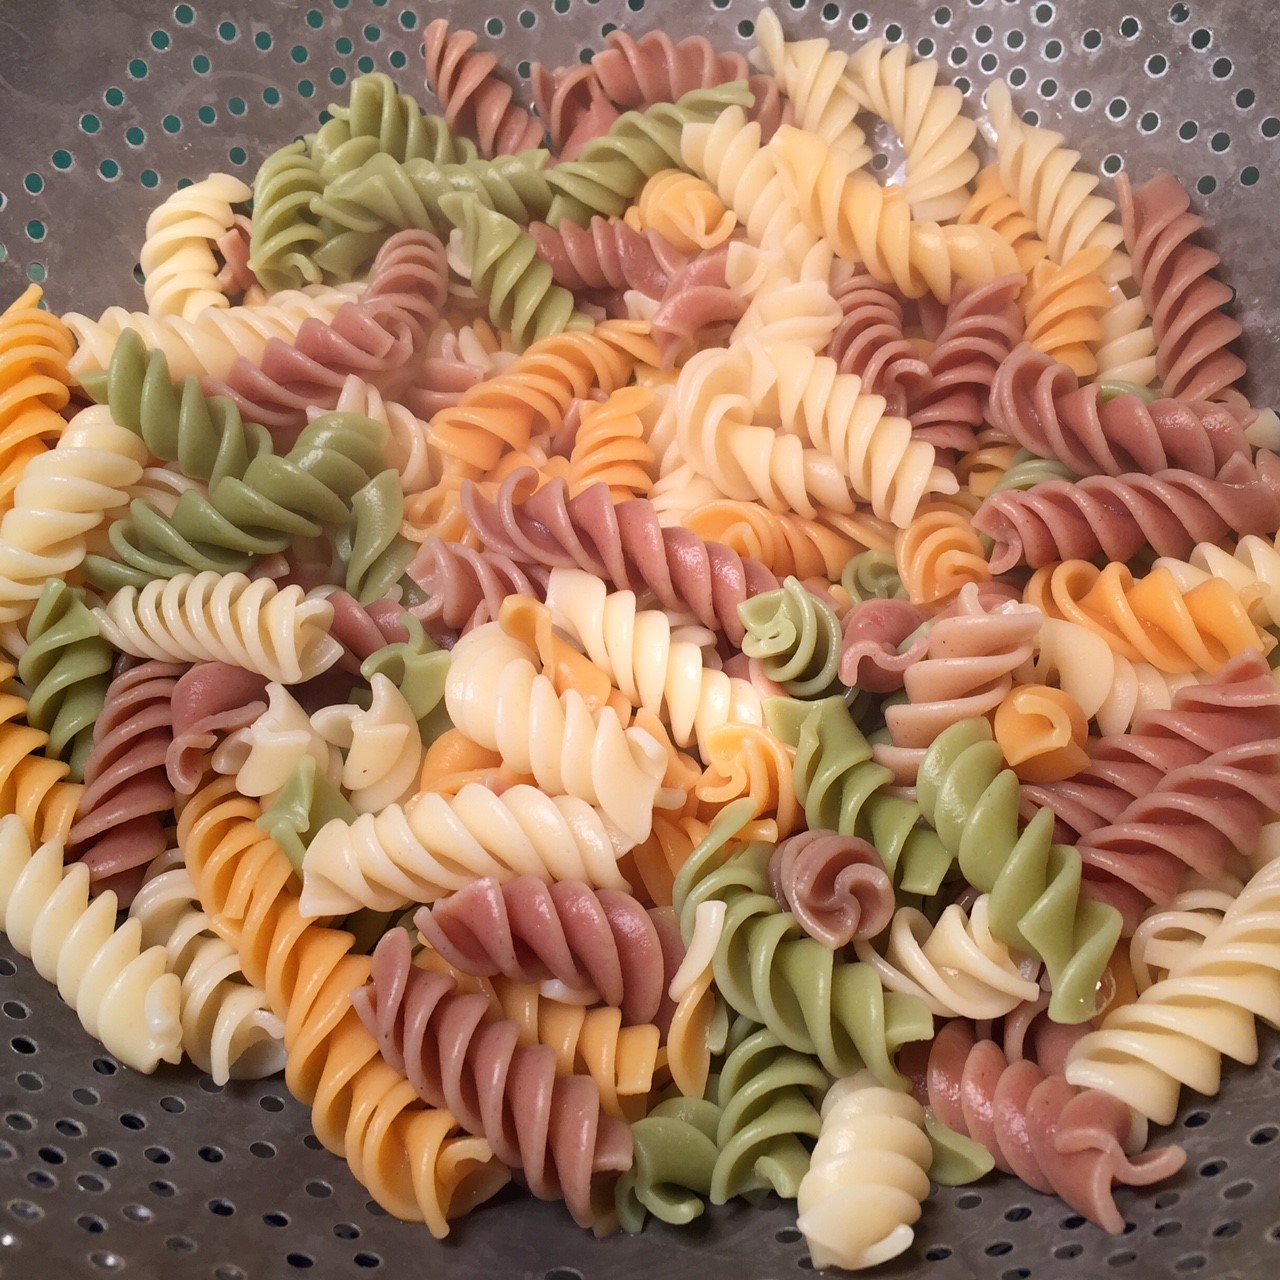 NOTE: If you’re using colored pasta, such as Wacky Mac that I use, you’ll notice that the color, unfortunately, fades with cooking. (See photo below). I don’t think there’s anything that can be done.
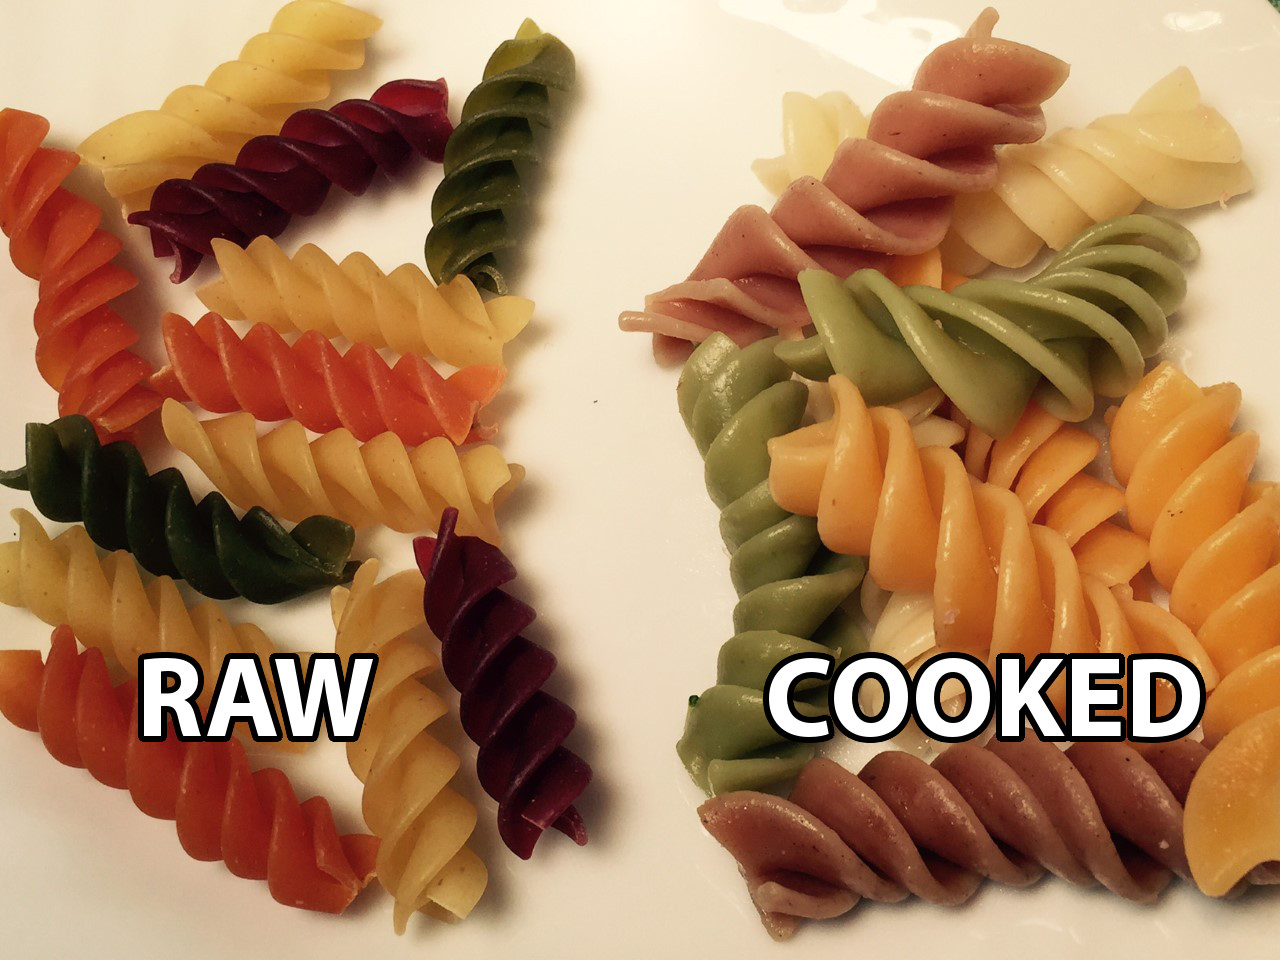 While the pasta is cooking, steam the broccoli. Like the noodles, you don’t want it overcooked or it will be mushy. Just steam it for about 5 minutes.
 While the pasta and broccoli are cooking, cube the “ham” into bite-sized pieces.
 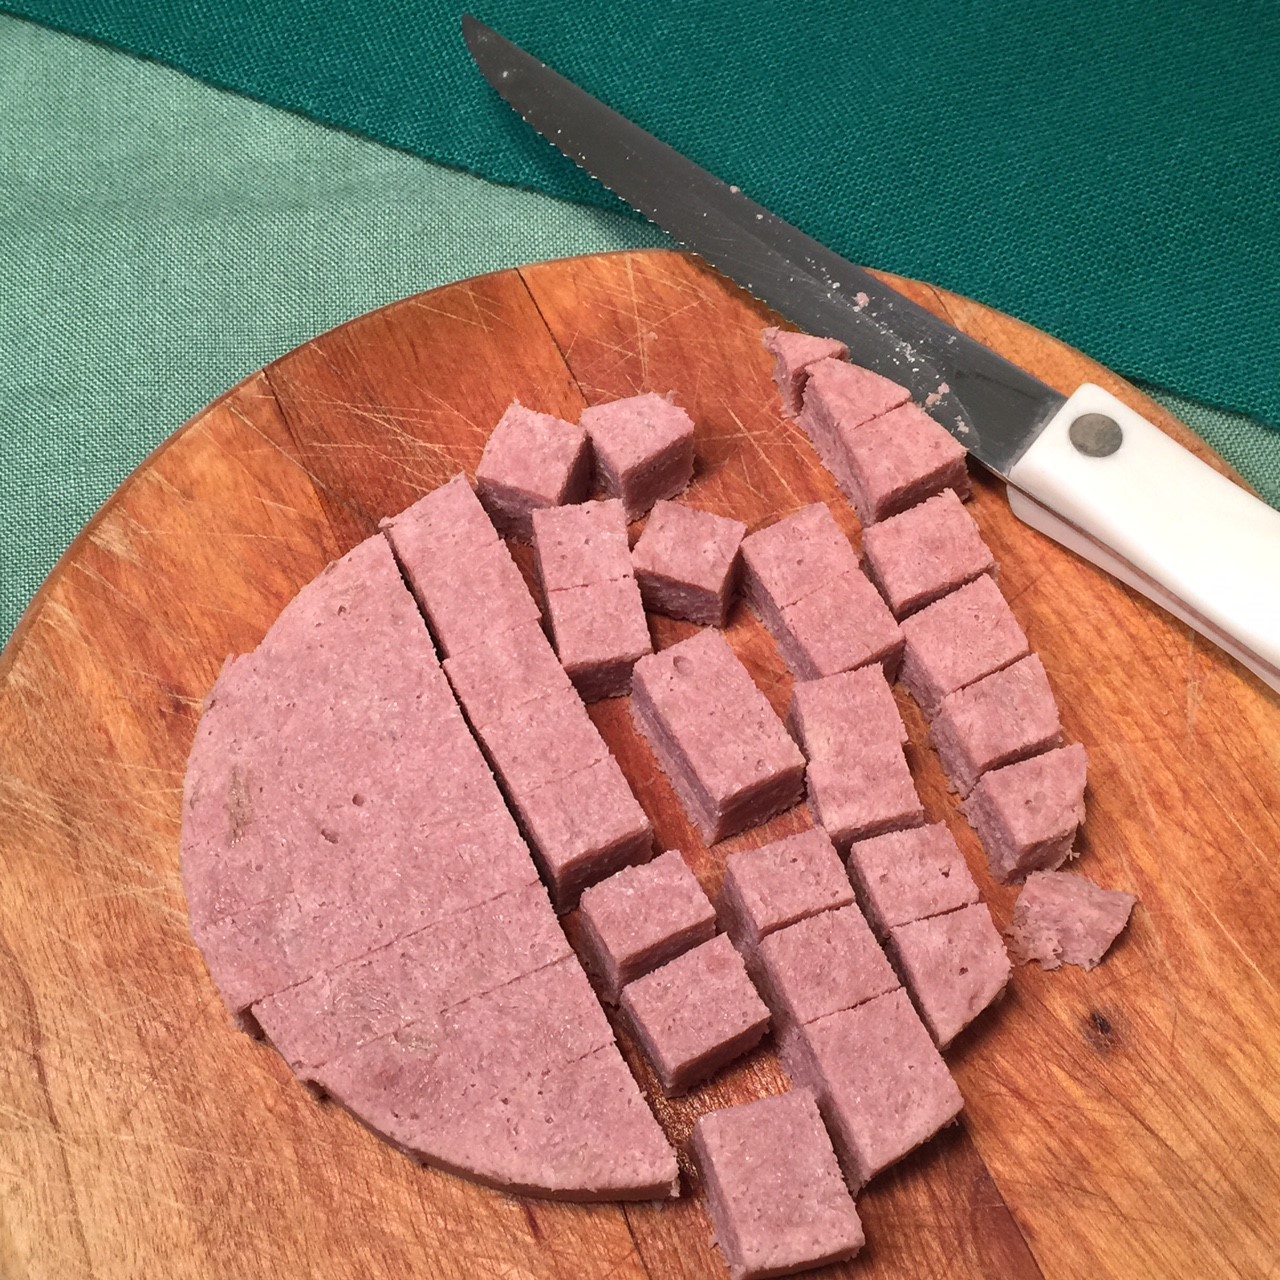 To save dirtying a bowl, use the empty pasta pot to combine the noodles, broccoli, “ham”, mayonnaise, milk, and 2½ cups (139g OR 5 oz) of the cheese. Stir gently, but thoroughly. Pour into a 2.5 quart casserole and sprinkle the remaining 1/2 cup (35g OR 1 oz) cheese on top. Cover and bake at 350º Fahrenheit for 30 minutes.
 It seemed appropriate to post a Tres Leches Cake recipe for Three Kings Day, (aka, the Epiphany). Tres Leches (three milks), three kings. Yeah, okay – it may be a stretch. But it’s still a delicious recipe and you could certainly serve it on the Epiphany…or anytime, for that matter.
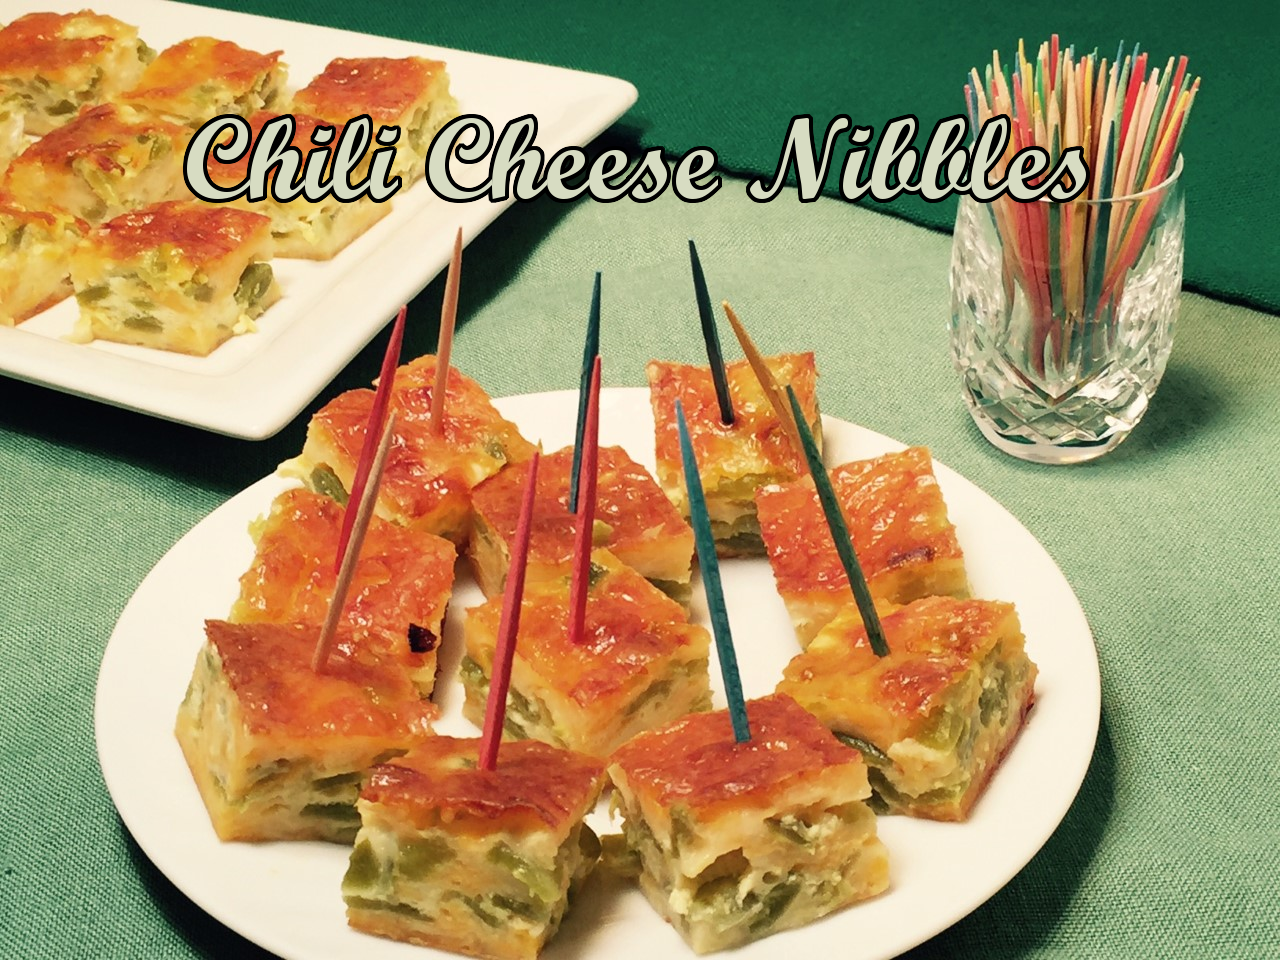 Anyone who owns a television, computer, or has been to a store lately knows it’s the holiday season. People will gather for small get-togethers and big galas. And where people celebrate, there’s always food. (It’s a rule!)
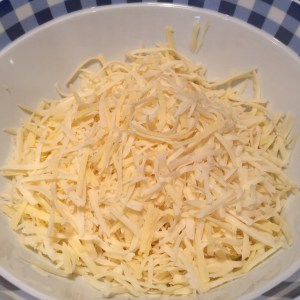 In a small bowl, combine the milk and flour to form a smooth paste.
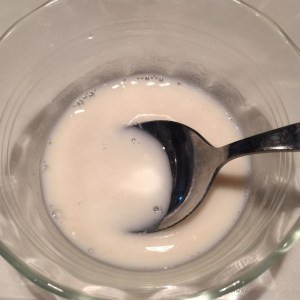 In a larger bowl, beat the eggs. Pour the flour paste into the eggs, beating to combine.
 Sprinkle about one-third of cheese (you don’t have to measure) onto baking pan. Top with one can of chilies, spreading evenly. Add half of the remaining cheese, then the other can of chilies, the rest of the cheeses, and, finally, pour egg mixture over chili-cheese mixture, smoothing top.
 Bake at 375º F, uncovered, for 45 – 50 minutes – until browned. Don’t worry about the edges being too dark – they’ll be discarded into your mouth. Remove from oven and let set for about 15 minutes.
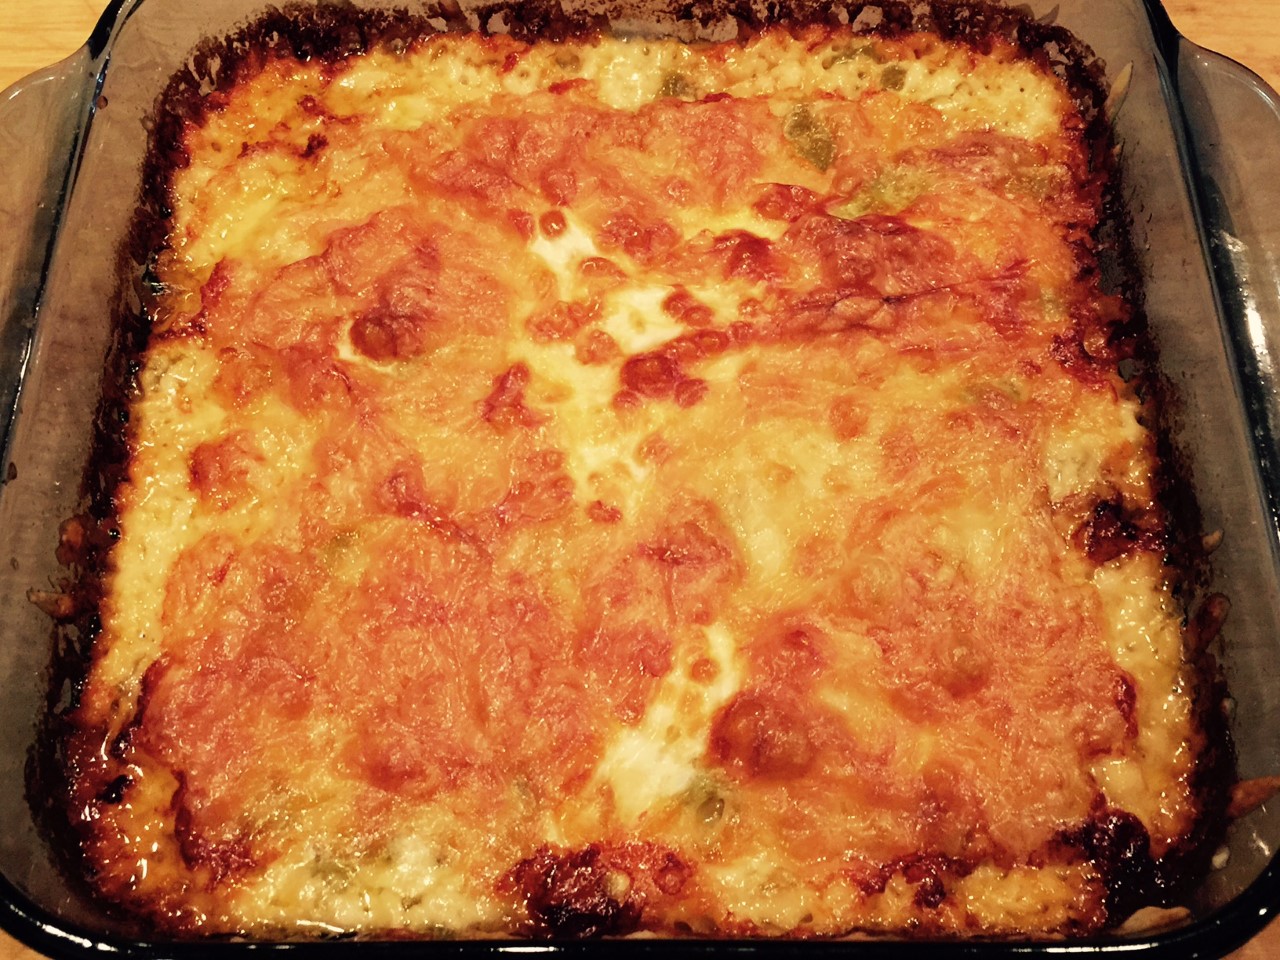 Run a spatula around edges and underneath to loosen.
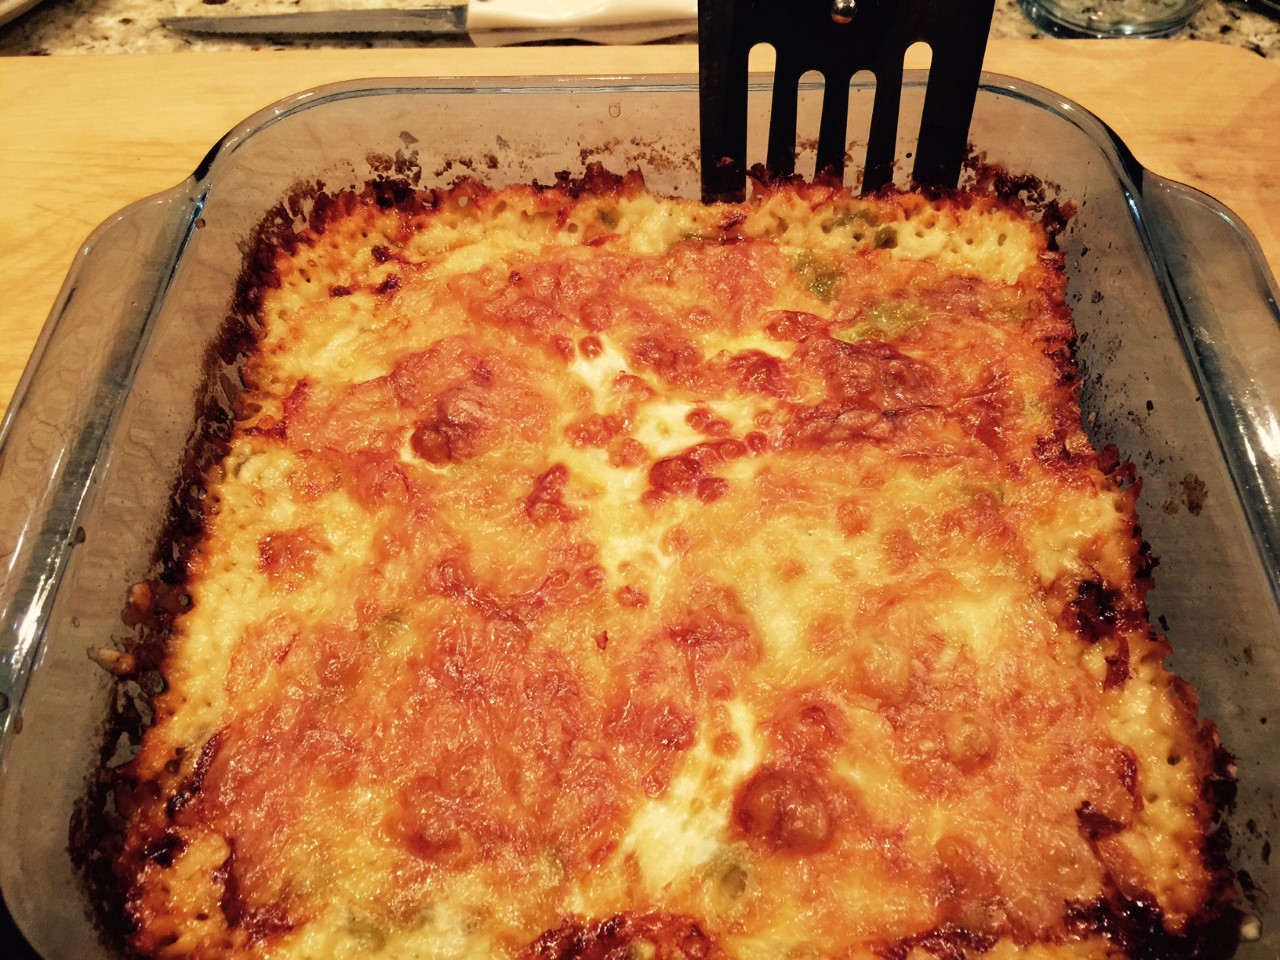 Place a plate on top and flip to remove – it will plop down…hopefully. Then place another plate on top (which is the bottom of the chili-cheese mixture) and flip again. Now, it’s right side up. Here’s the BEST part – cut off the 4 edges and eat them (you won’t be serving them). They are an irresistible crispy, warm, cheesy temptation.
 Let the square rest a few more minutes to make sure it’s firm, then slice into squares. TIP: I used a large pizza wheel.