QUINOA STUFFED EGGPLANT – Get Ready For Summer!

quinoa stuffed eggplant text

Last week I wrote about CHOCOLATE WACKY CAKE after being asked to use and critique a coconut balsamic vinegar. I know vinegar, particularly balsamic, sounds like a crazy ingredient for a chocolate cake, but it’s amazing – try it, and thank me later.

This week I’m posting about about QUINOA STUFFED EGGPLANT, which also calls for vinegar. It’s an easy recipe, and excellent to add to your repertoire for when your friends come calling with bags of eggplant from their garden.

NOTE: You can substitute rice or sorghum for the quinoa.

QUINOA STUFFED EGGPLANT

  • 1 large eggplant, or 2-3 smaller ones
  • 1 T olive oil
  • 1/2 c quinoa, raw
  • 1 cup onions, chopped
  • 3 garlic, pressed
  • 1 T fresh basil, chopped
  • 1/4 tsp cinnamon
  • 1/8 tsp cayenne pepper
  • 1 lb Roma tomatoes, chopped
  • 1 cup hard cheese (such as Parmesan, Romano, or Pecorino-Romano), grated
  • 2 T pine nuts, toasted
  • 2 tsp red wine vinegar
  • 2 T parsley, chopped

Slice eggplant in half lengthwise. Score each half by making slashes diagonally through pulp, half an inch apart. Do the same going the opposite way. MAKE SURE YOU DON’T CUT THROUGH THE SKIN! Brush a liberal amount of olive oil on cut sides, then sprinkle with salt and pepper.

Line a cookie sheet with parchment paper and place the eggplant cut side down. Bake on lowest rack at 400º for 40-50 minutes, until softened. Drain by laying the eggplant cut side down, on a terry cloth towel that’s topped with a couple of layers of paper towels.

Cook quinoa according to package directions.

Sauté onion in the 1 T olive oil. Add garlic, basil, cinnamon, cayenne, and 1/2 tsp salt. Cook 30 seconds only, then stir in cooked quinoa, tomatoes, 3/4 cup cheese, pine nuts, and vinegar.

Turn eggplant cut side up, and smash down pulp with a spoon to make eggplant into a bowl. Divide the quinoa filling between the eggplant halves, compacting and mounding it.

Top with remaining cheese and return eggplant to parchment lined cookie sheet. Bake at 400º in the upper third of oven for 5-10 minutes, until cheese browns.

Sprinkle on fresh basil and serve.
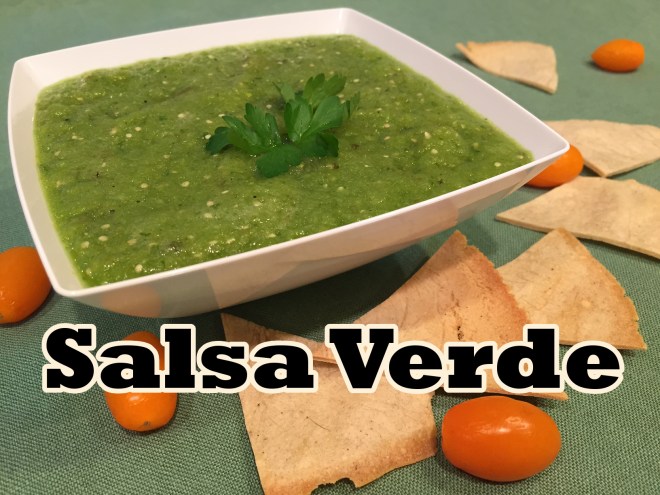
SALSA VERDE – Could NOT Be Easier!

Salsa Verde with text

I finally decided to woman-up and learn to make salsa. This was one of the few food items it never occurred to me to make. For one thing, I don’t use salsa that often.  And, for another, I envisioned lots of ingredients and lots of mincing.

But after washing and storing yet another plastic container that held my favorite store-bought salsa, I made up my mind to make my own. (I was running out of storage space – and, really, how many containers does one need?!)

I did my usual research of various recipes and then came up with my own – fine tuning it after the first attempt. I was surprised at just how easy salsa is to make. Since Salsa Verde was a success, next time:  Salsa Roja!

SALSA VERDE – makes 2 cups

  • 1/2 lb fresh tomatillas
  • 1 jalapeño chili
  • 1 green bell pepper
  • 57g (1/2 cup) white onion, chopped
  • 3 T fresh cilantro
  • 1 T fresh parsley
  • 1/2 tsp salt
  • 1 tsp lemon juice
  • 1 tsp lime juice
  • 1/4 tsp ground cumin
  • 1/4 cup water

In upper third of oven, broil the tomatillas, jalapeño, and bell pepper. When tops start turning black, flip them until that side turns black, too.

Remove stem ends of jalapeño and bell pepper. Slice open and discard seeds.

Place all ingredients into a blender or food processor. Pulse on a high speed until salsa is consistency you like. Adjust seasoning, if needed.

COLCANNON – Magically Delicious!

colcannon text

My Irish mother used to say, “Everyone is Irish on St. Patrick’s Day.” So take advantage of the day by trying a traditional Irish dish.

One of my favorite Irish foods is colcannon, a potato mash and cabbage side dish. Add a protein such as tofu or cheese, and you’ve got a lovely vegetarian main course. It’s really quite easy – not much more trouble than making plain old mashed potatoes.

Be sure to wear green as you prepare this!

COLCANNON – makes 6 cups

  • 1½ lbs russet potatoes, skinned
  • 3½ T butter, divided
  • 3/4 cup onions, chopped
  • 2 cups green cabbage, sliced thin
  • 1 tsp salt, divided

Bring a pot of salted water to the boil. Cut peeled potatoes into pieces so they cook faster. Add to boiling water and cook until easily pierced with a fork. Reserve 1 cup of the potato water, then drain potatoes. Return potatoes to the empty pot.

While potatoes are boiling, melt 1½ T of the butter in a saucepan. Add in onions and cabbage, and sauté until softened – about 5 minutes. Stir in 1/2 tsp salt and set aside.

Melt the remaining 2 T butter and add to the hot, drained potatoes. Mash, using a potato masher or food mill. Pour in the cabbage mixture (heat, if it’s gone cold) and remaining 1/2 tsp salt. Add the reserved potato water, as needed, to achieve a creamy texture.

NOTE:  Much as I love my food processor, DON’T use it to mash the potatoes – you’ll end up with paste!

To bring leftover colcannon back to life as leftovers, add a bit of the reserved potato water (or, just plain water or milk if you threw it out) and microwave.


ROASTED GARLIC BRUSSELS SPROUTS – Dracula Approved!

ROASTED GARLIC BRUSSEL SPROUTS

ROASTED GARLIC BRUSSELS SPROUTS

I’m a big fan of garlic – and not because I have an irrational fear of vampires. (Although, it doesn’t hurt to play it safe.) It turns a “meh” food (like plain Brussels sprouts) into a “YES!” food (like Roasted Garlic Brussels Sprouts). Adding a splash of balsamic vinegar to this easy-to-prepare dish is the cherry on top.

ROASTED GARLIC BRUSSELS SPROUTS

  • 12 Brussels sprouts
  • 3 T olive oil
  • 2 tsp garlic, pressed
  • 1/2 tsp salt (I use kosher)
  • 1/2 T balsamic vinegar

Wash Brussels sprouts well, removing loose outer leaves. Cut in half, top to bottom.

Mix olive oil, garlic, and salt together in a bowl. Add in sprouts and blend well.

Preheat oven to 400° F.

Lay sprouts on cookie sheet face down. Bake at 400° F for 8 minutes. Turn over and bake another 4 minutes.

Pour  sprouts into previously used bowl (no point in dirtying another bowl), and stir in the balsamic vinegar. Serve immediately.


LEMON RICE – A Tangy Addition To Boring Brown Rice!

lemon rice with textLemons are one of those ingredients constantly called on to perk up a recipe – from soup to dessert.  Sadly, we’re unable to grow a lemon tree on our property. I was bemoaning this fact after coming across a tempting recipe in my Mousewood cookbook for Lemon Rice, when my friend, Julie, brought a bag of lemons from her tree. Serendipity!
The recipe calls for brown rice. I was a little leery that the lemony taste would be lost using brown rice, and considered switching to white, which would certainly lend itself to a prominent lemon flavor. Of course, brown is a healthier choice, so I decided to follow the recipe. Then, I figured, in for a pound, in for a penny, and went with Brown Rice Medley (a blend of long grain brown rice, black barley, and daikon radish seeds) from Trader Joe’s.

Fabulous! The lemon performed perfectly, and the rice blend offered a nice bite.

LEMON RICE is very easy to make, but do bear in mind the cooking time of the rice – about 35-40 minutes – and plan accordingly.

NOTE: Continuing my duties as Queen of Freeze, since this recipe only calls for egg yolks, I must remind you that the whites freeze well. Be sure to label the container!

LEMON RICE – makes about 2 cups

  • 1 cup uncooked brown rice (I used Brown Rice Medley from Trader Joe’s)
  • 1 T butter
  • 2¼ cups water
  • 3/4 tsp salt (I used kosher)
  • 2 egg yolks
  • 3 T lemon juice (I used Meyers lemons)
  • 2 T fresh parsley, chopped
  • 1/2 cup Parmesan cheese, grated

Melt butter in saucepan and sauté rice 3 minutes. Add in water and salt, and bring to a boil. Cover with lid, leaving it slightly askew to allow steam to escape, and lower flame to keep water at a simmer. When water is nearly all absorbed (about 30 minutes or so), turn off flame, fit lid completely on saucepan, and let sit for about 10 minutes to finish cooking. (This helps prevent burning the rice – been there, done that!)

In a small bowl, stir together the yolks, lemon juice, parsley, and cheese. Pour into rice and blend well. Serve immediately.


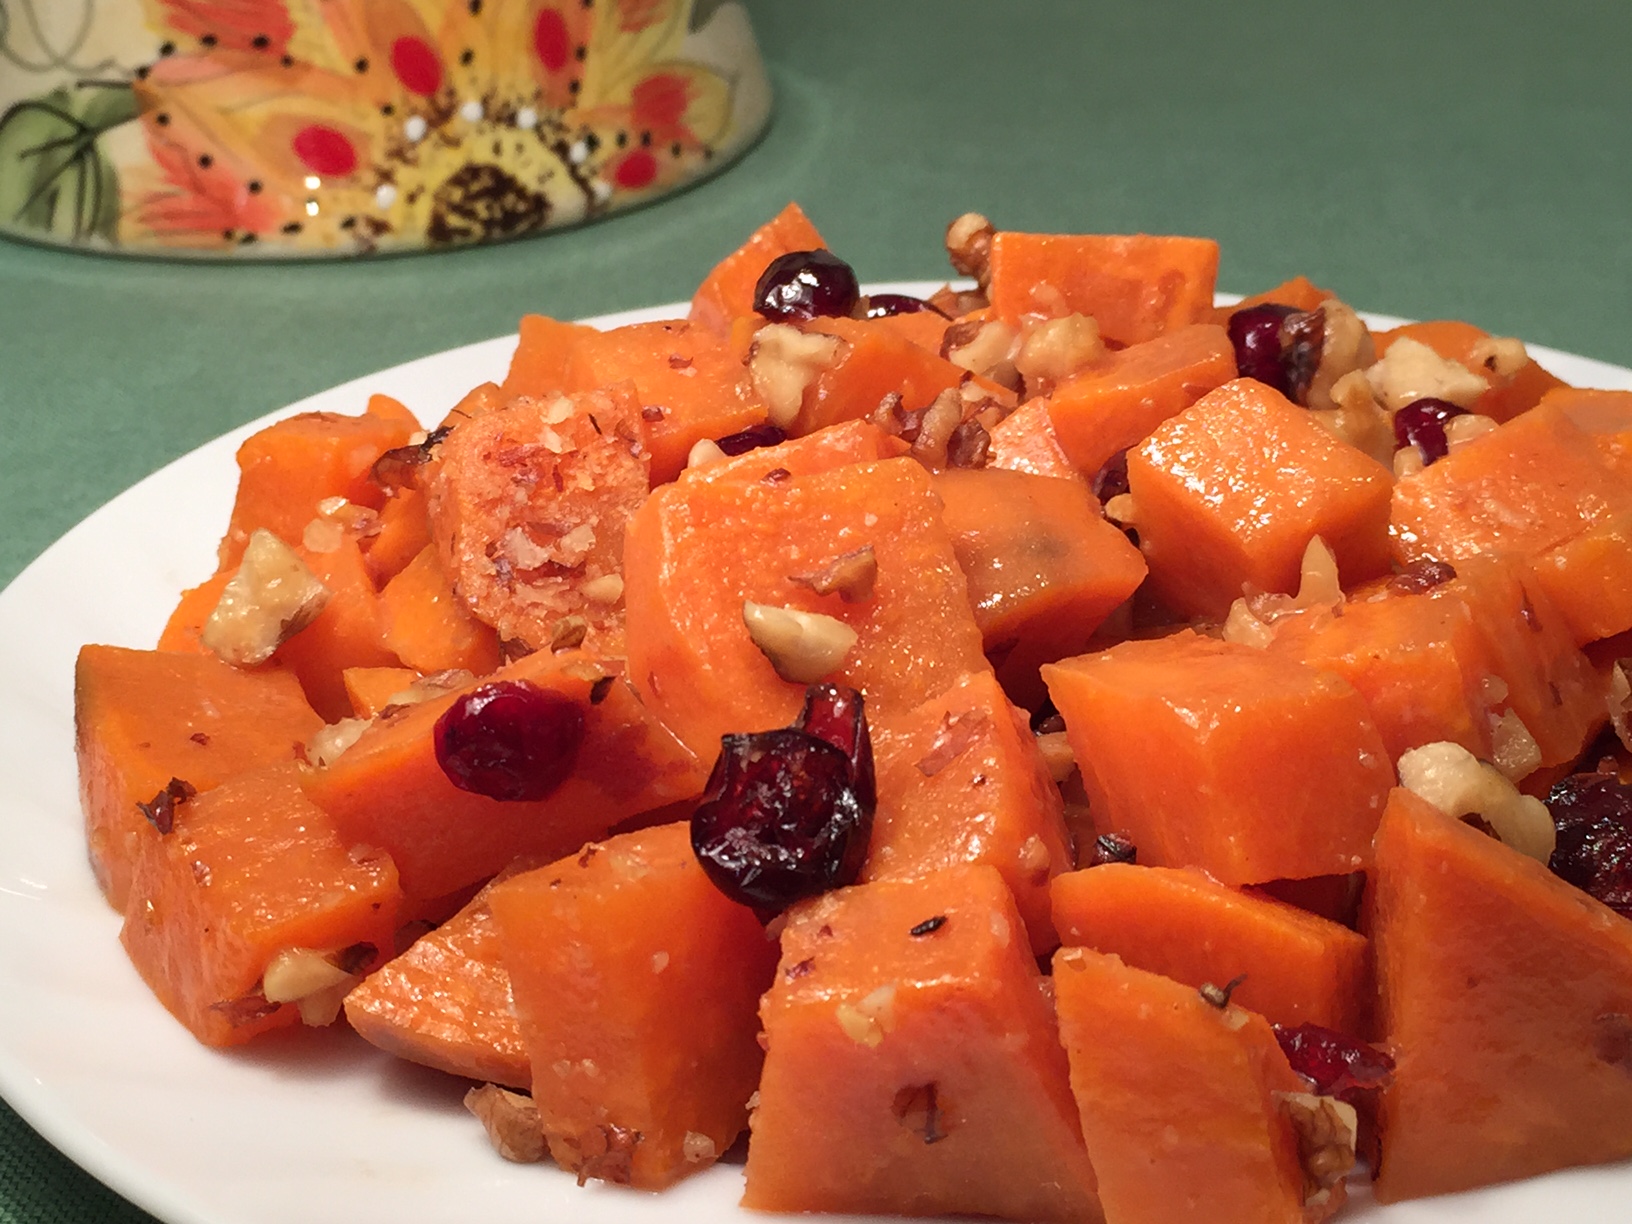
YAM-CRAN SALAD – Pretty, Fast, & Easy!

IMG_7200

YAM-CRAN SALAD

Sometimes I want just one more side dish for my holiday meal. The problem is time management. Everything needs to be done at the same time, but there is only so much time and oven availability to get things prepped and cooked.

That’s why I often turn to YAM-CRAN SALAD. It’s fast to prepare, no oven is involved, and, with the exception of tossing in the walnuts, can be prepared the day before. Bonus:  it’s very festive looking!

BTW, I make this salad throughout the year – often as a last minute thought when I have a bag of yams I need to use up. I always have walnuts, dried cranberries, and dressing on hand.

YAM-CRAN SALAD – makes 2½ cups

  • 1 lb yam or sweet potato, cubed (I use garnet yams)
  • 1/3 cup walnuts, chopped and lightly toasted
  • 3 T dried cranberries
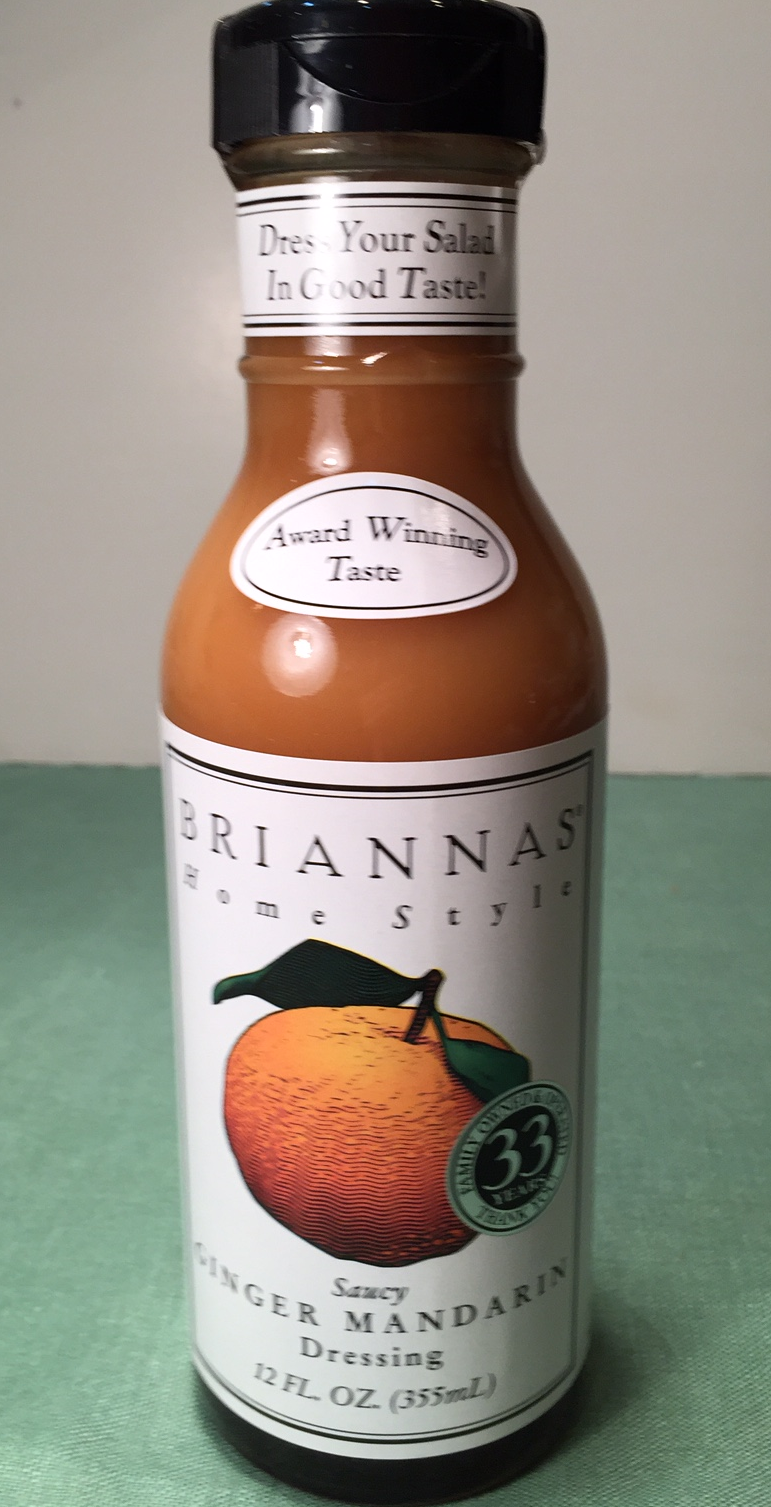
  • Ginger Mandarin dressing

GINGER MANDARIN DRSG


Boil yam cubes until you can pierce them with a fork.  Be careful not to overcook! It takes about 5 minutes. Drain in a sieve and rinse with cold water to stop the cooking process. You want them bite-able (is that a word?), but not crunchy nor mushy.

Mix together the yams, cranberries, and dressing. Refrigerate at least an hour.

At serving time, stir in the walnuts.

CRANBERRY SAUCE: Don’t buy – MAKE!

HOMEMADE CRANBERRY SAUCE - Easy!

HOMEMADE CRANBERRY SAUCE – Easy!

Thanksgiving is coming up in the United States and grocery lists are being compiled for the big feast.

Is cranberry sauce on your list? The jarred kind, or – yikes! – that jellied canned stuff? Cross it off RIGHT NOW! Instead, write down bagged whole cranberries (they’re in the produce section).

If you can boil water, you can make cranberry sauce because all you have to do is boil water, cranberries, and sugar together for 5 minutes. Done!

IMG_0218 (1)

Even non-cooks can make this. Remember, every time you buy prepared food, you give power over what goes inside your body to someone else. It’s time to take control!

CRANBERRY SAUCE – makes about 2 cups

  • 8 oz whole cranberries, rinsed
  • 1/2 cup water
  • 1/2 cup dark brown sugar, packed (or, white sugar, if you prefer)
  • optional: zest from one orange (I never do this)

Put all the ingredients into a saucepan and bring to a boil. Cook for 5 minutes, stirring often. When cranberries begin to pop, remove from heat. Refrigerate until serving time.

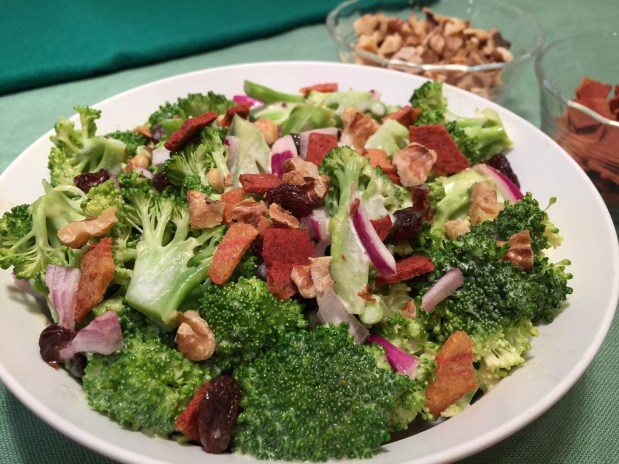
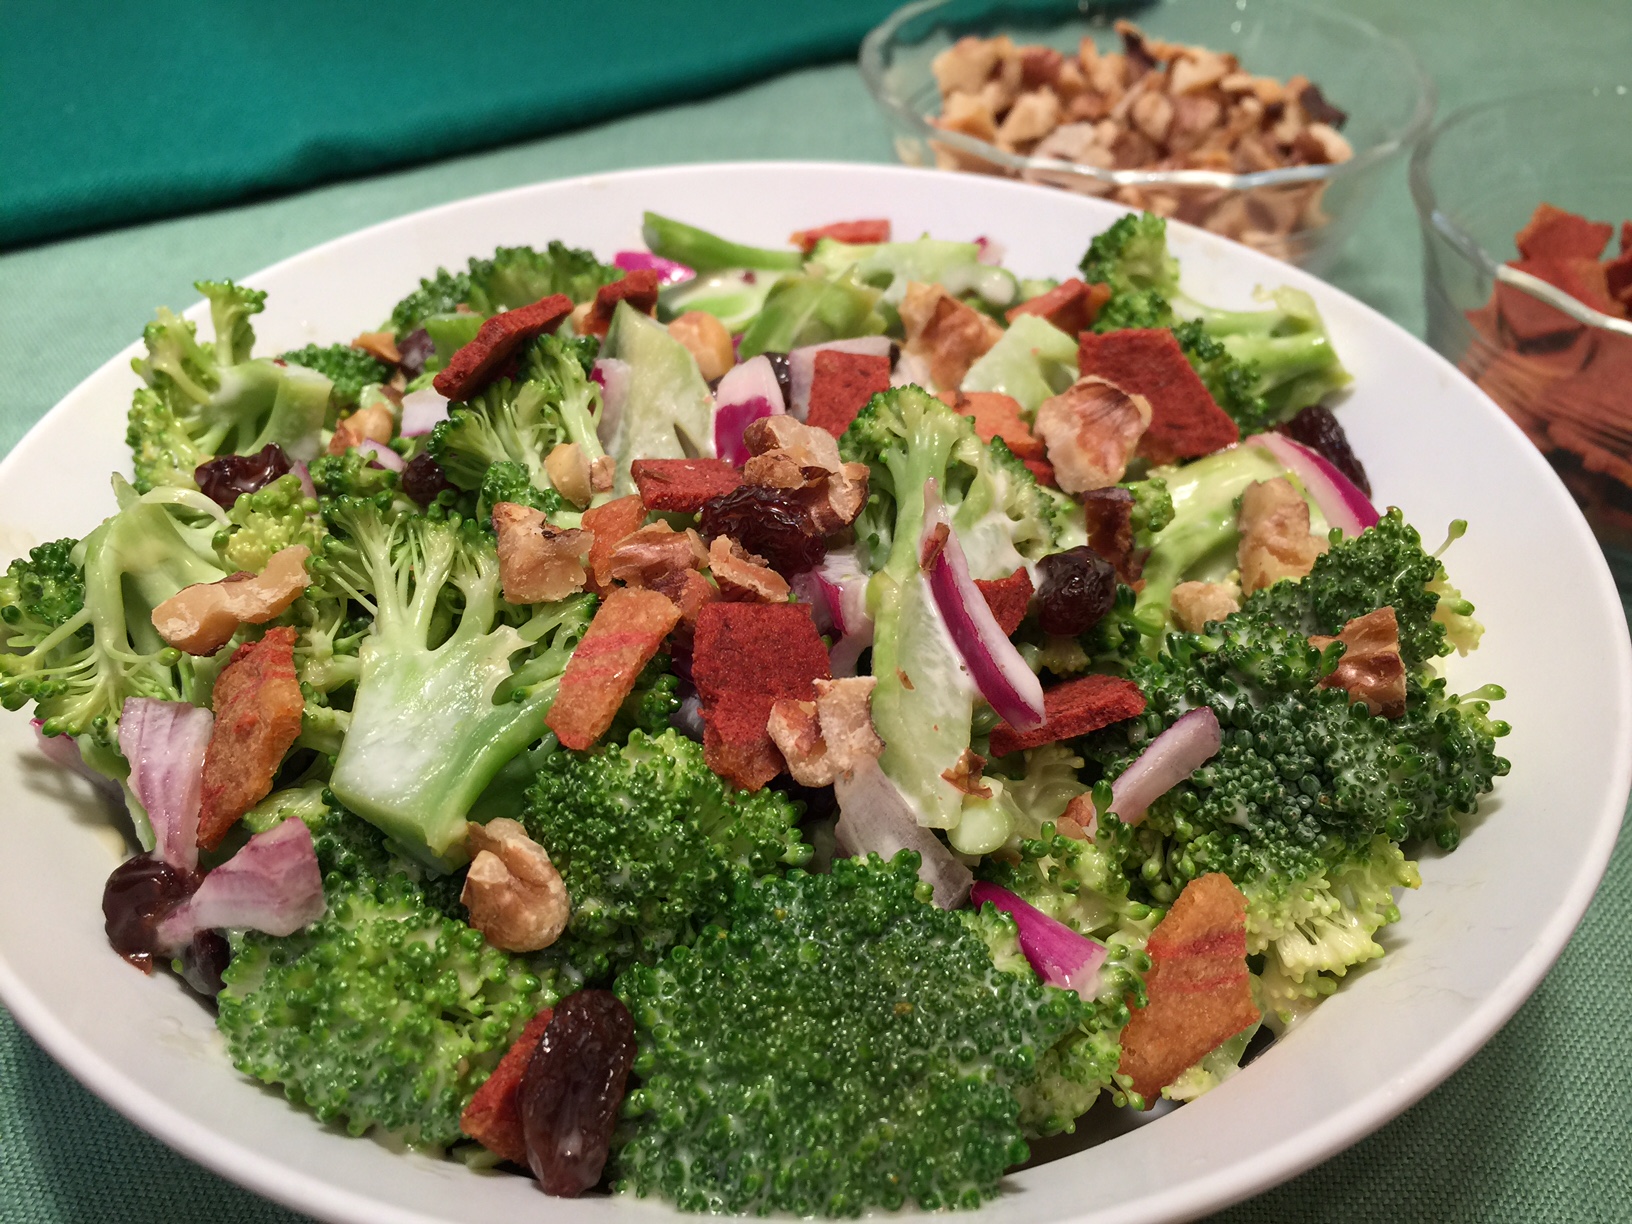
BROCCOLI & RAISIN SALAD: Addictive!

BROCCOLI & RAISIN SALAD: Addictive!

BROCCOLI SALAD

BROCCOLI SALAD

Broccoli is a staple in our home – we have it nearly every night with dinner. I put very little thought into it – at some point during meal prep I wash a liberal amount of broccoli, place it in a steam basket (attempting to put enough water underneath), and 14 minutes before meal time, I turn on the burner. It’s fast, easy, and healthy.

But every now and then I kick it up a notch and do something special with this green member of the cabbage family… just to show my family my wild side. One of our favorites is Broccoli & Raisin Salad. Even though it’s a little more work than just tossing it in a steamer, there is the advantage that I can make it ahead of time. I love those foods!

Broccoli & Raisin Salad keeps well, so go ahead and make extra. It’s good for packing in your lunch the next day, or to snack on during that late afternoon tummy growling time.

BROCCOLI & RAISIN SALAD – makes about 4½ cups

  • about 380g (4 cups) bite-size pieces of broccoli, measure after chopping
  • 1/2 cup red onion, chopped
  • 50g (1/2 cup) raisins
  • 114g (1/2 cup) mayonnaise
  • 1½ tsp apple cider vinegar
  • 21g (2 T) dark brown sugar, packed
  • 1 tsp Dijon mustard
  • 48g (1/2 cup) walnuts, chopped and lightly toasted
  • optional:  3 strips of fake bacon (I use Morningstar brand), baked crispy & crumbled

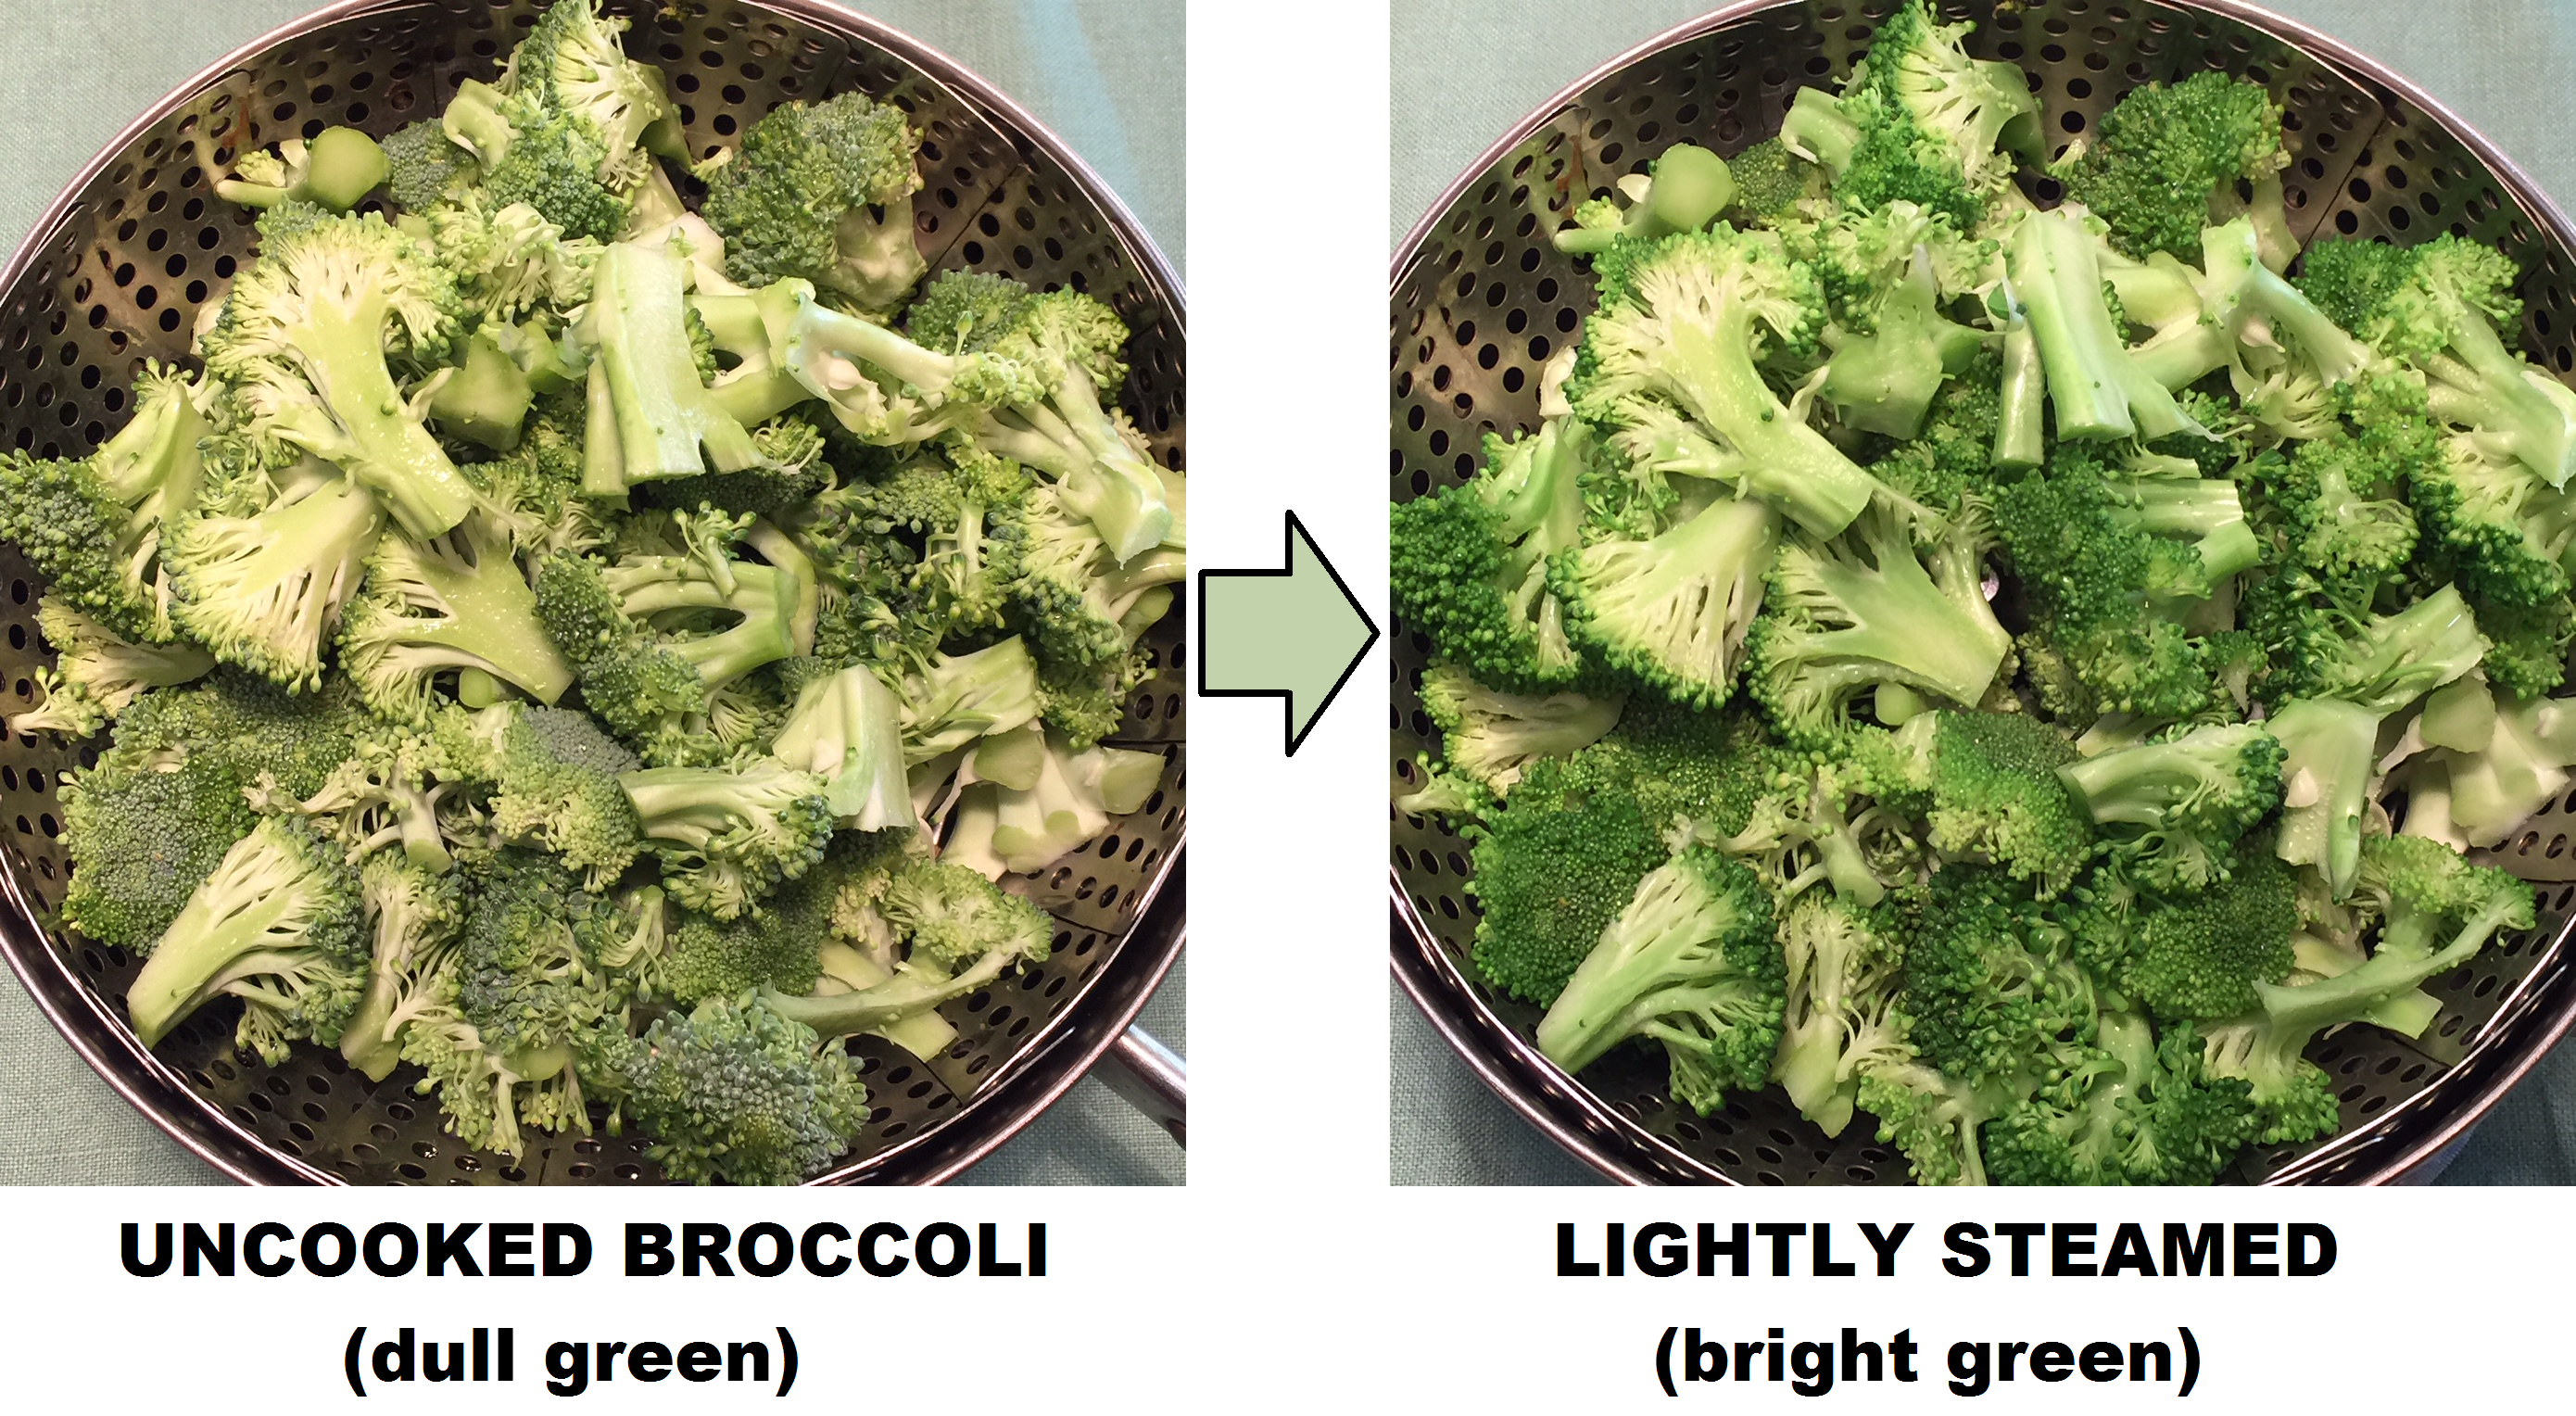
Put broccoli in a steamer basket fit inside a saucepan (don’t forget the water). Turn on burner to medium high and immediately set timer for 3 minutes. When timer goes off, check to see if broccoli has turned vibrant green (See photo).

steam broccoli

Once it achieves this color, remove broccoli from the steam basket, place in a bowl, and refrigerate. Otherwise, it will continue to cook – you don’t want mushy broccoli! Add in the raisins and red onions.

Whisk together the mayonnaise, vinegar, brown sugar, and Dijon. Pour over broccoli and mix. Refrigerate until serving time.

Add in the walnuts and fake bacon (if using) at the last minute to keep them crisp.

CURRIED SORGHUM SALAD – An Ancient Grain Revisited

CURRIED SORGHUM & CARROT SALAD

CURRIED SORGHUM SALAD

On a recent trip to Los Angeles, I was perusing a dinner menu the size of a short novel. As I skimmed through the titles and descriptions of various items, I noticed ‘sorghum’ was repeatedly listed. Sorghum? Not only was sorghum listed as an ingredient in wraps, salads, and soups, it was also made into breads.

We whispered between us (embarrassed by our ignorance) as to what this ingredient might be. A vegetable? A cheese? Some kind of soy product?

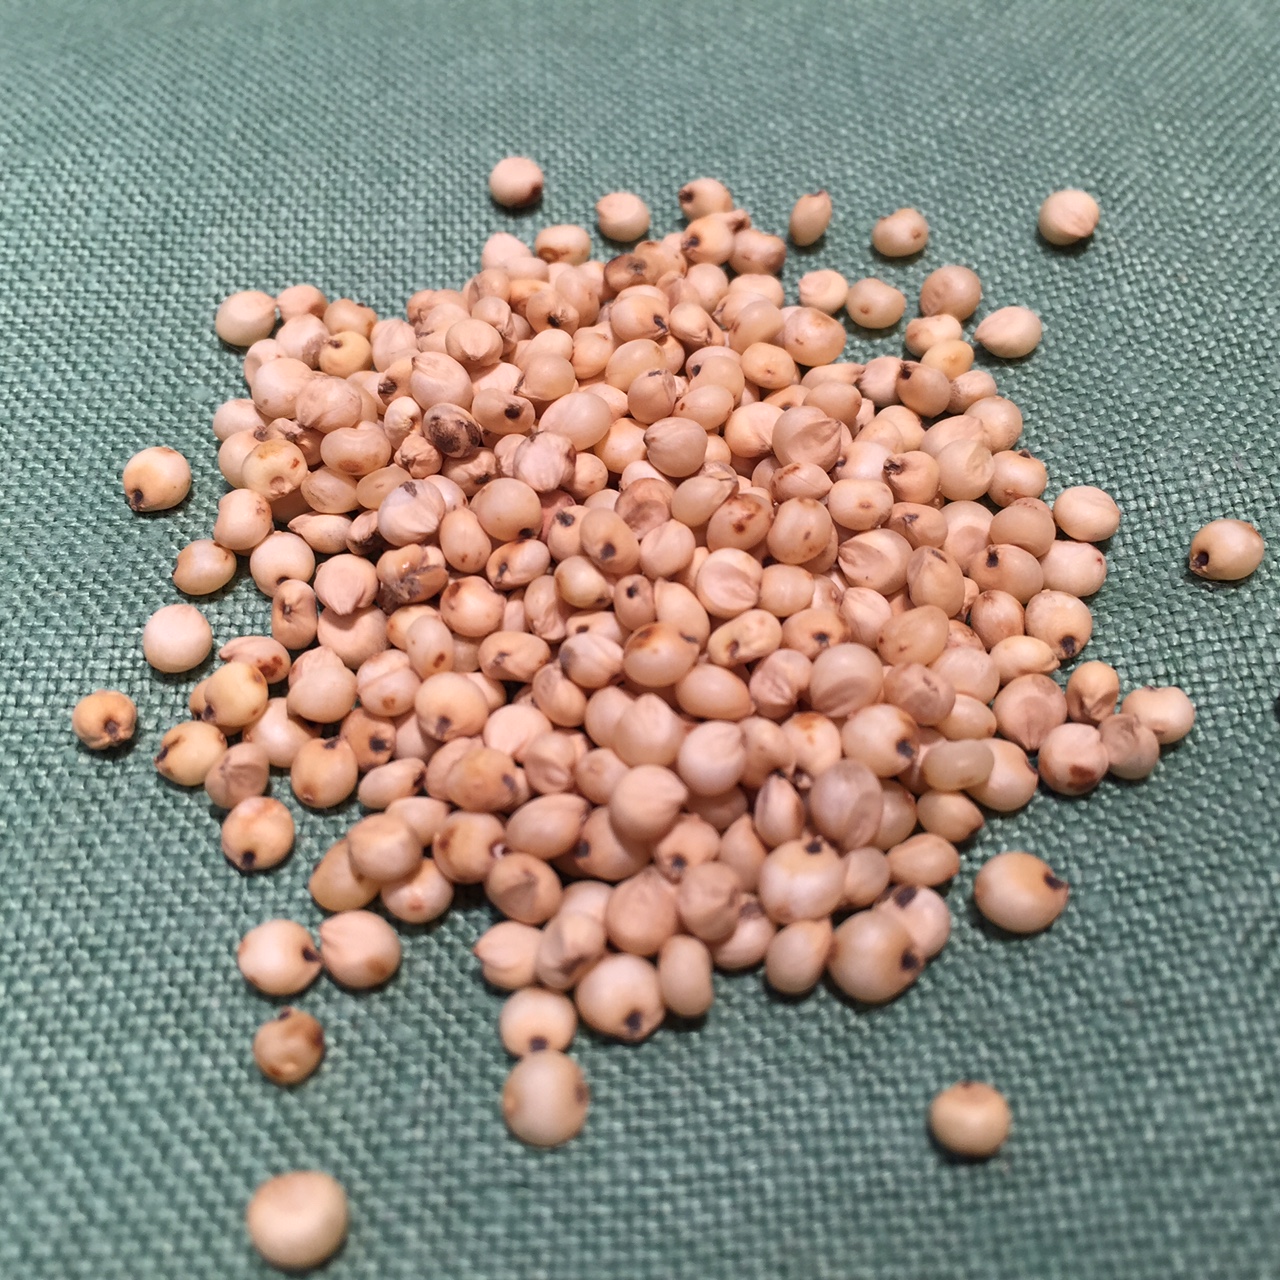
It turns out sorghum is an ancient grain, popular in Africa. It can be used like rice, but requires far less water to grow – an important fact in drought ridden California. It’s round, like barley, and has a pleasing chew to it. Also, for those concerned with gluten, it’s gluten-free.

RAW SORGHUM

RAW SORGHUM

Being a gal who treads on the cutting edge (or, at least, nearby), I decided to prepare a sorghum dish and see for myself what LA folks already know. It took 3 tries to find a store in my area that carried this grain – even Whole Foods was a bust. I ended up locating it at a local natural food store, purchasing their one and only bag.

I found a curried sorghum and carrot salad recipe, then promptly adjusted it to suit myself (because that’s what we cooks do). Very tasty!

NOTE:  I prefer to use powdered coconut milk so I can make exactly what I need.That way I don’t have to find a way to use up the leftover milk from the canned coconut milk. I order it online.

CURRIED SORGHUM SALAD – makes about 3 cups

  • 1 cup raw sorghum
  • 4½ cups water
  • 1 tsp sea salt, divided
  • 2/3 cup coconut milk (if using powdered, put 3 T powder in measuring cup and add water to the 2/3 cup mark)
  • 2 T red wine vinegar (or apple cider vinegar)
  • 2 tsp curry powder (either purchased in the spice dept or your own blend)
  • 1/3 tsp chili powder
  • 1½ tsp sugar
  • 2 cups carrots, shredded
  • 1/2 cup dried cranberries
  • 1/4 cup scallions, sliced
  • 1/4 cup pumpkin seeds, toasted

Bring sorghum, 1/2 tsp salt, and water to a boil. Turn burner down, keeping water at a simmer. Cover with lid slightly askew to allow steam to escape until most of the water has been absorbed – then you can put the lid completely on. Start taste testing after about 50 minutes. Once the sorghum is chewy, but not crunchy, it’s done. It can take as much as an hour or more to cook. Pour through a sieve to remove excess water.

While sorghum is cooking, prepare the dressing. Combine the coconut milk, vinegar, curry, chili, 1/2 tsp salt, and sugar.

Blend together the cooked sorghum, dressing, carrots, cranberries, scallions, and pumpkin seeds. Refrigerate. Can be served room temperature, but I think it’s best chilled.


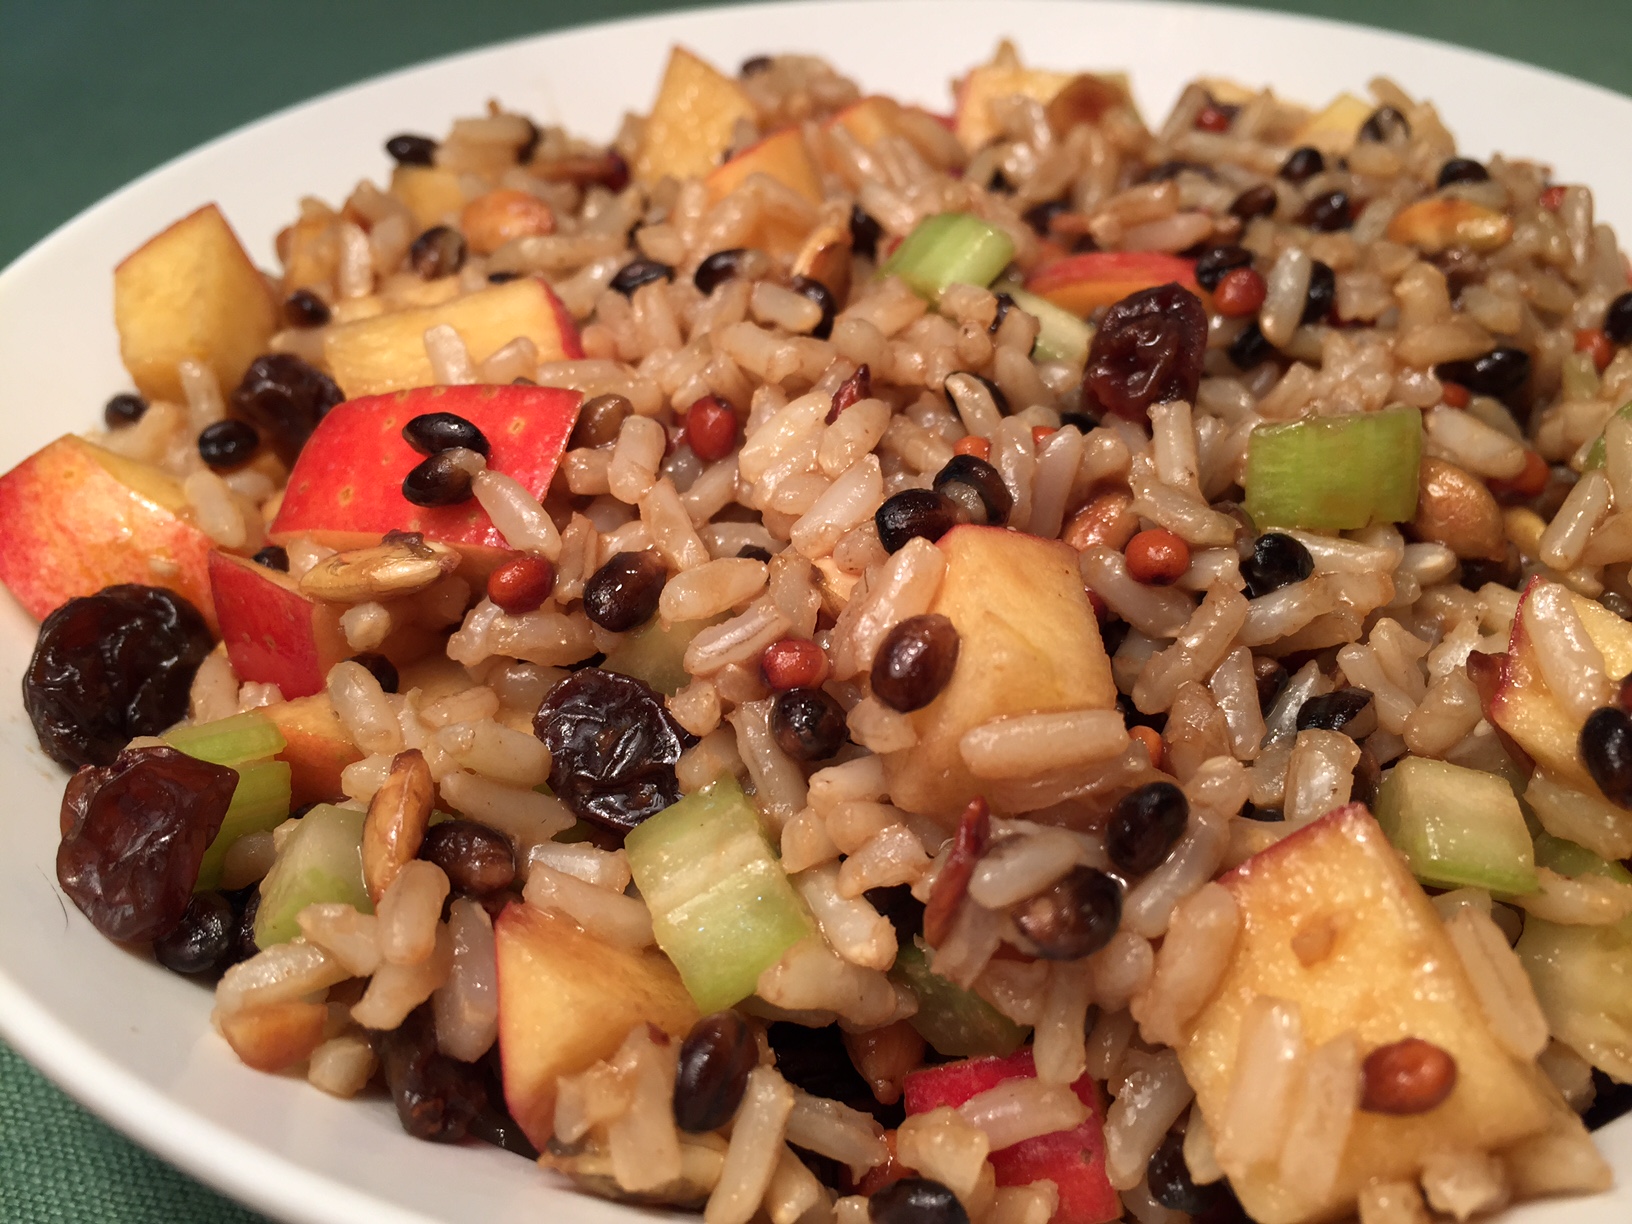
APPLE RICE SALAD – The Perfect Side Dish!

IMG_8046


With the approach of Autumn, we bid farewell to one red fruit (the tomato) and hello to another (the apple).

There are a large number of apple orchards in my neck of the woods, and it’s been a long tradition in my family to trek to the foothills for the annual apple festival. I like to take advantage of locally grown produce – not only does it taste fresher and more flavorful,  but I believe in supporting farmers in my area.

Note: There’s a fabulous article about apples by Helen Nichols, 34 Science-Backed Health Benefits of Apples, that will inspire you to try not only my Apple Rice Salad, but many others as well. Of special interest is a description of the various types of apples, and the dishes in which they work well.

Besides the usual apple pie, apple fritters, apple sauce, and apple juice, one of my favorite uses for these red beauties is Apple Rice Salad. It’s a great company dish because it’s best made ahead of time (I love those recipes! Who needs more tasks to do as company’s arriving?!)

Be sure you make plenty, because this is a crowd pleaser!

APPLE RICE SALAD – makes 2½ cups

  • 66g (1/2 cup) uncooked brown rice blend
  • 15g (1 T) balsamic vinegar
  • 6g (1/2 T) olive oil
  • 7g (1 tsp) honey
  • 6g (1 tsp) Dijon mustard
  • 1 clove garlic, pressed or minced
  • 1/8 tsp salt
  • 1 tart red apple (I use Fuji) chopped into bite sized pieces
  • 50g (1/2 cup) 1 stalk celery,  chopped
  • 35g (3 T) raisins
  • 2 T sunflower seeds, lightly toasted (optional)

Cook rice in water. Let cool when done.

As the rice is cooking, mix the dressing. In a small bowl blend the balsamic vinegar, olive oil, honey, Dijon, garlic, and salt.

Mix together the cooled cooked rice, apple, celery, raisins, and dressing. Refrigerate.

At serving time, stir in the sunflower seeds, if using.