 I can’t deny it – I’m a huge potato lover. Mashed, French fried, hash browned, scalloped, and baked: I love them all! (It must be a trait inherited from my Irish mother.)
But, as a product of the microwave generation, preparing the perfect baked potato has always eluded me. Although many have claimed excellent results from the zapper, mine seem to continuously sport an underdone center (yuk!), with a flabby skin.
The answer seems to be in returning to my roots and, like my mama before me, bake these beauties in the oven. To ensure a tender center, I skewered the potatoes with a metal rod to promote even baking. Yes, they take an hour to cook, but it’s worth it.
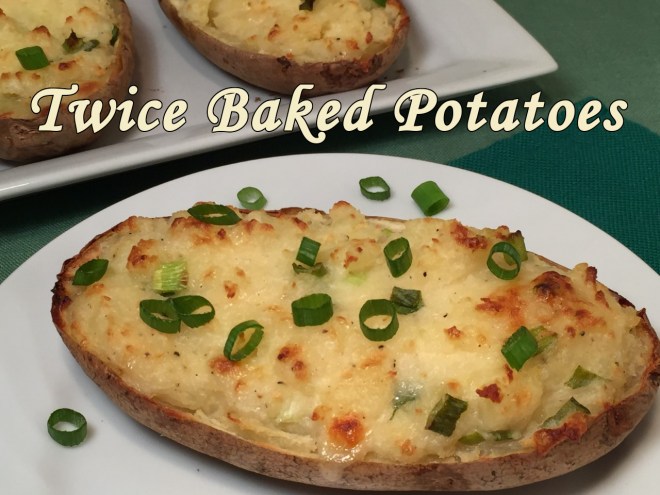
As a fan of make-ahead recipes, I love STUFFED POTATOES because these can be prepared earlier in the day and then broiled during the last 10 minutes of meal-prep. Also, pototes retain their heat for quite some time afterward. Thus, a perfect side dish for company when the goal is to have all dishes on the table at their peak of flavor at the same time. (In my family, there’s the added challenge of getting everyone seated at that moment.)
NOTE: Unless I have buttermilk on hand (almost never), I always make my own, especially for the small amount called for in this recipe. Just combine milk and apple cider vinegar (see amounts below).
STUFFED POTATOES – serves 4
- 2 large russet potatoes
- 1T butter, preferably room temperature
- 1/4 cup buttermilk (OR, 1 tsp apple cider vinegar mixed with 1/4 cup milk or cream)
- 1/4 cup sour cream
- 1/2 tsp salt
- 1/4 tsp black pepper
- 2 oz cheddar cheese, shredded
- 2 scallions, sliced – both green & white parts
Preheat oven to 400º Fahrenheit.
Wash potato, then poke a metal skewer through the center, lengthwise. This adds heat to the middle of the potato so it cooks from the inside, too. (If you don’t have a metal skewer, don’t worry – they’ll still cook through without it.) Bake in preheated oven for 1 hour, until easily pierced with a fork all the way to the center (center should be 106º Fahrenheit).  Remove skewer and slice in half, lengthwise, along narrow side of potato so they lay flat.
 Carefully, scrap out insides, leaving 1/8″ border to support the skin. (If you scrap a bit too much in a section, just take some of the potato and smash it down to form a patch.) Place potato pulp in a bowl.
 With a fork, mash the potato, breaking down lumps – you don’t need to make it as creamy as you would with mashed potatoes…unless, you want.
  Add in the butter and stir until melted. Then add the buttermilk, sour cream, salt, pepper, cheese, and scallions. Mix gently, but thoroughly.
 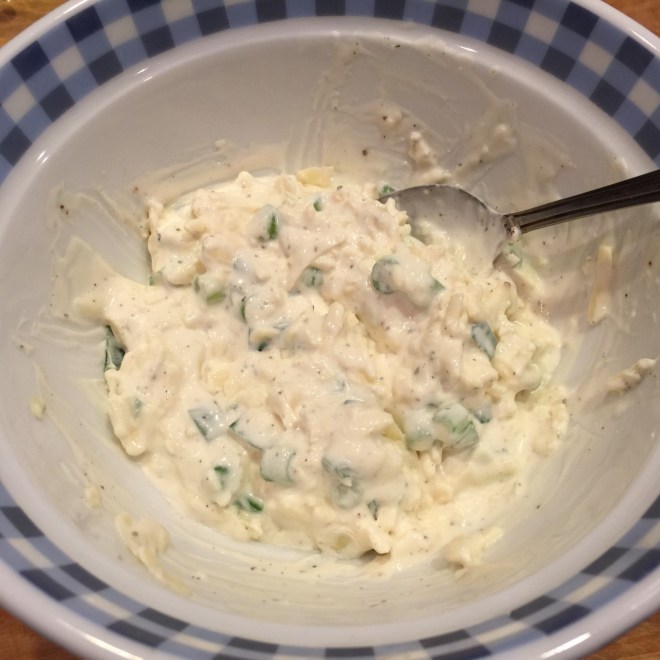 Divide equally and fill potato skins. At this point, you can cover them and complete preparation later.
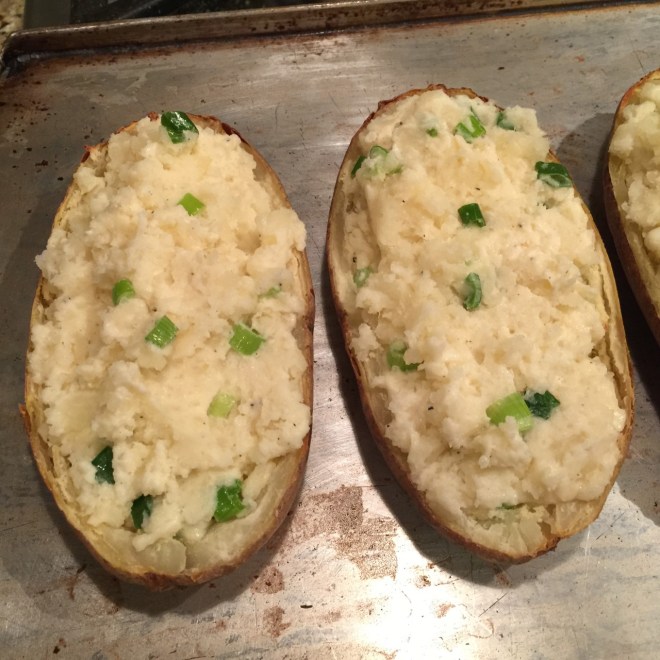 Just before serving time, broil potatoes about 4″ from heating element 10-15 minutes, until spotty brown on top. Serve hot.
 Good old mashed potatoes. Straight forward. Easy to prepare. And, most of all, filling. This last one is important if you have picky eater children (I speak from experience).
 Bring to simmer and cook until easily pierced with fork – about 35 minutes.
 Sauté 5 minutes – until they start to lose volume and become a little browned. Decrease heat to medium and continue cooking until well browned (about 20 minutes or so).
 Add in the port and letter simmer for 5 minutes to evaporate the liquid.
  Set aside.
 Gently fold in melted butter. Add in half & half, bleu cheese, remaining salt, and pepper. Very gently blend together. Taste for seasoning and adjust as necessary.
 Corn on the cob is great, but sometimes one wants to enjoy fresh corn without having to floss our teeth before smiling afterwards.
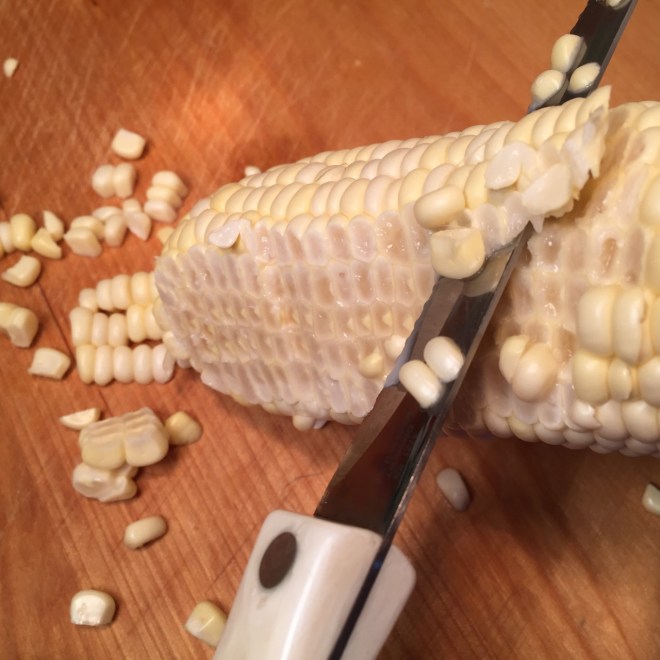 Flip the cob and repeat. Boil kernels in a little unsalted water for about 2 minutes, until done (adding salt at the beginning of cooking can lead to tough corn). Drain.
 Apparently, there’s yet another new-to-me ancient wheat grain called farro. It’s kind of similar to brown rice, but heartier with a nutty taste. As a gal who gets around (well, at least, is nearby) I figured I’d give it a try. After all, I’ve jumped on board the couscous, quinoa, barley, sorghum, and Israeli couscous bandwagons. May as well sample this.
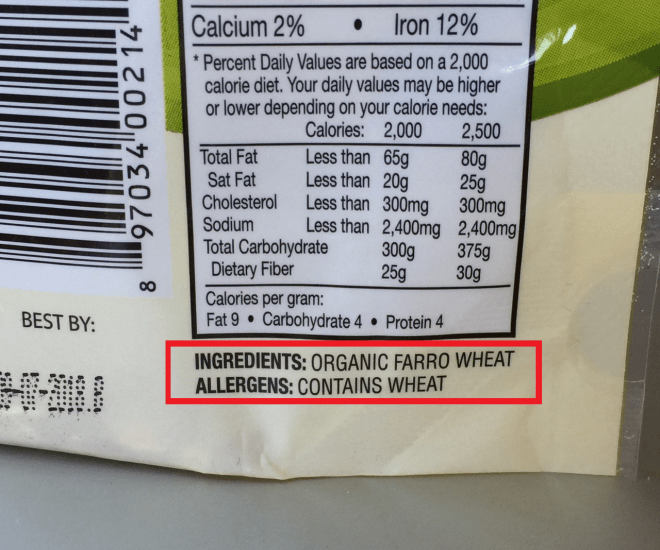 Don’t follow the package directions for cooking. A better way is to cook it in a large pot of water, then drain it (like pasta). This alleviates the possibility (and, for me, the almost certainty) of burning when the water runs out.
 While the farro is cooking, in another pot, bring 2 cups of water to boil. Add in
  Once the farro is done, drain in a sieve and then pour onto a rimmed cookie sheet. Spread out evenly in order to cool and dry the farro. This should take 15-20 minutes.
 To assemble the salad, place the tomatoes, asparagus, snap peas, and Feta in a large bowl. Add the farro on top (this way the dressing will be absorbed into the farro). Whisk the vinaigrette briefly and drizzle on. Stir the ingredients to blend. Let set about 20 minutes to allow the flavors to mix.
 I’m a fan of potatoes – dressed up or dressed down, they’re pretty much always good. I’m, also, a fan of brunch….only for dinner. So CHEESY BRUNCH POTATOES is an Antonini family favorite evening meal.
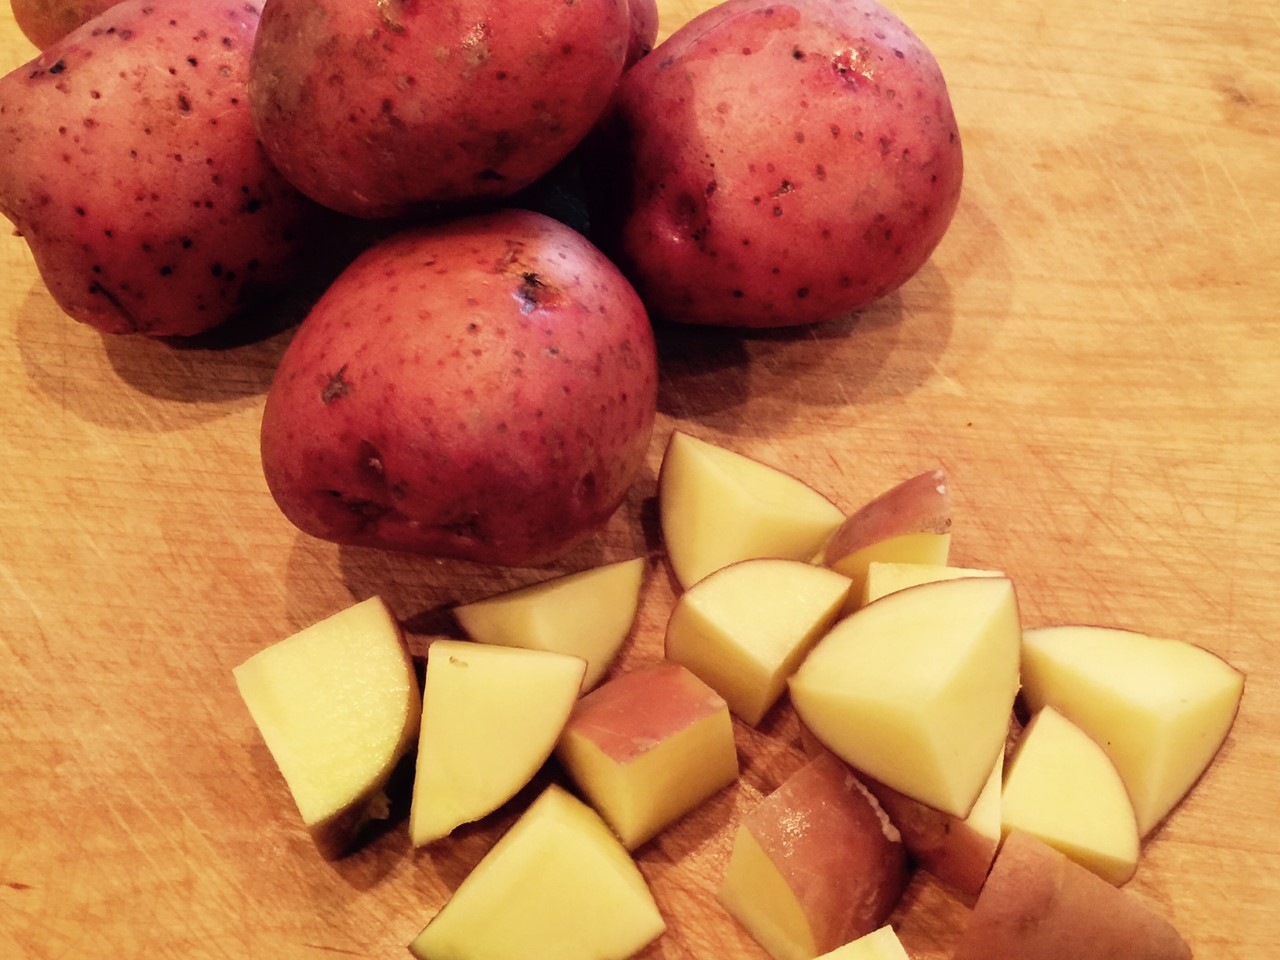 When water reaches boil, drop in potatoes and cook about 5 minutes – just to par-cook them.
 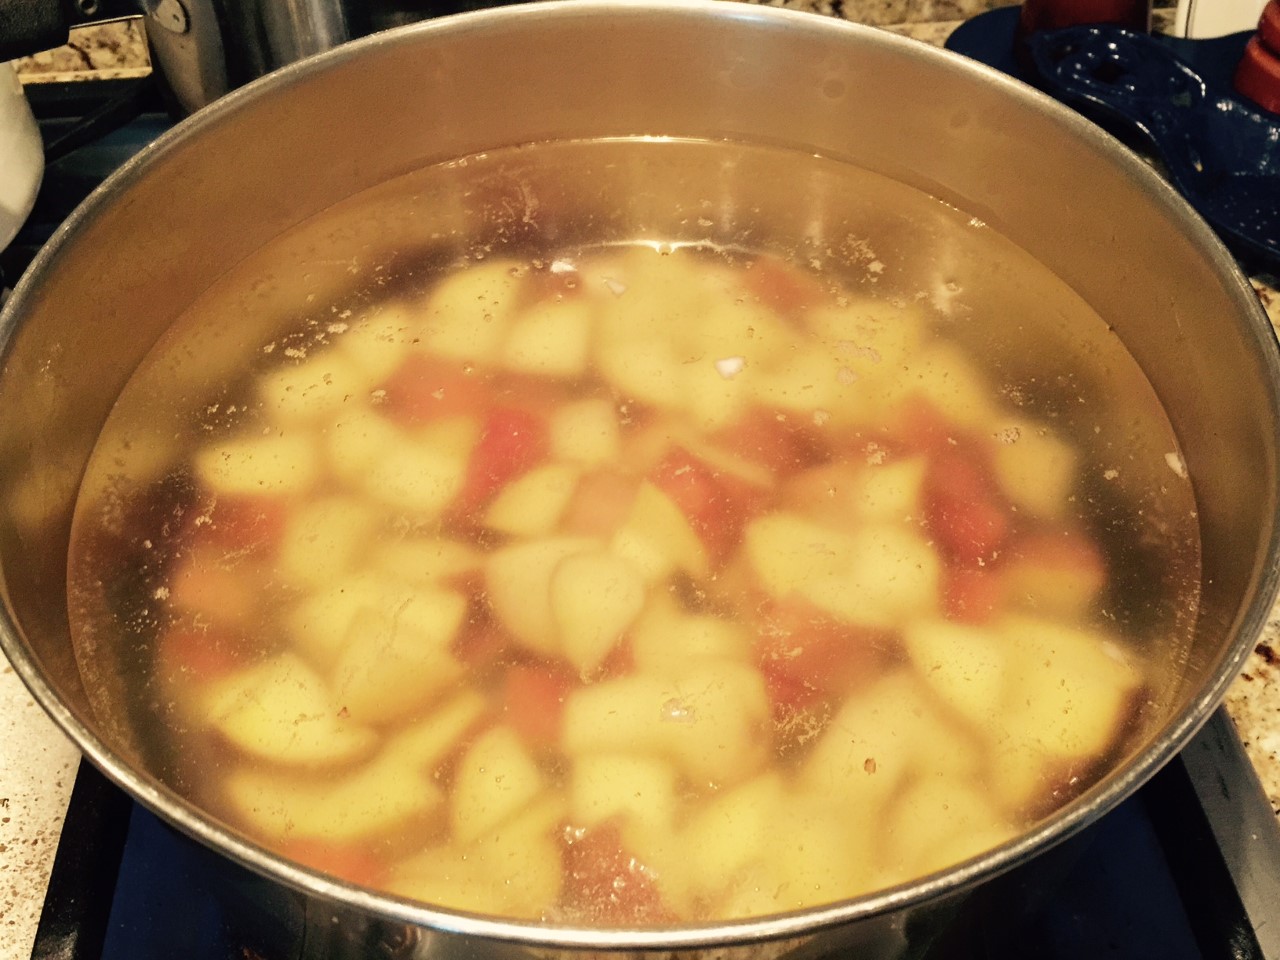 (You don’t want them completely cooked or they’ll start to mash when fried.) Pour into sieve to drain.
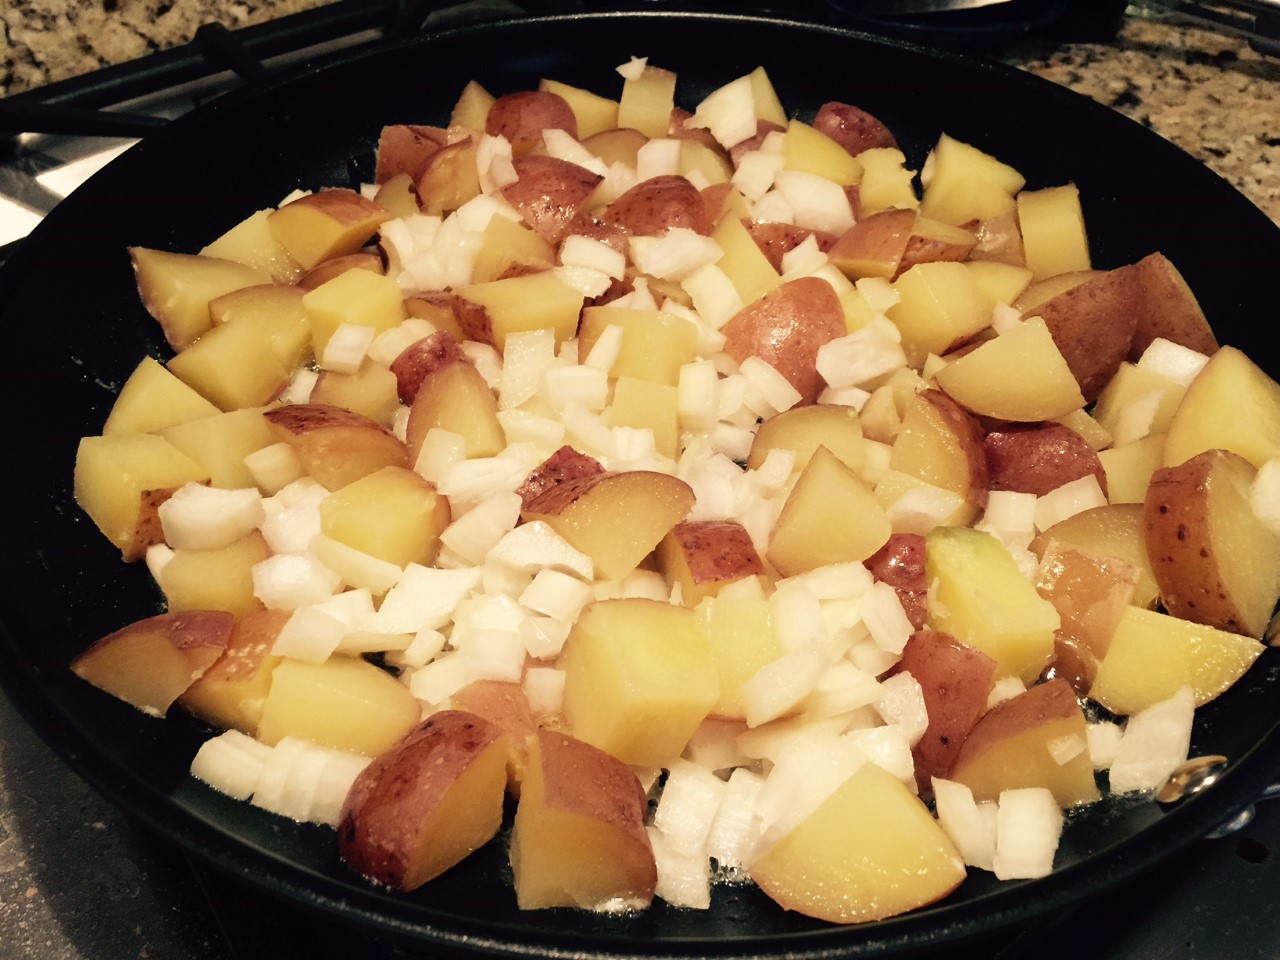 Continue flipping until the potatoes are browned.
 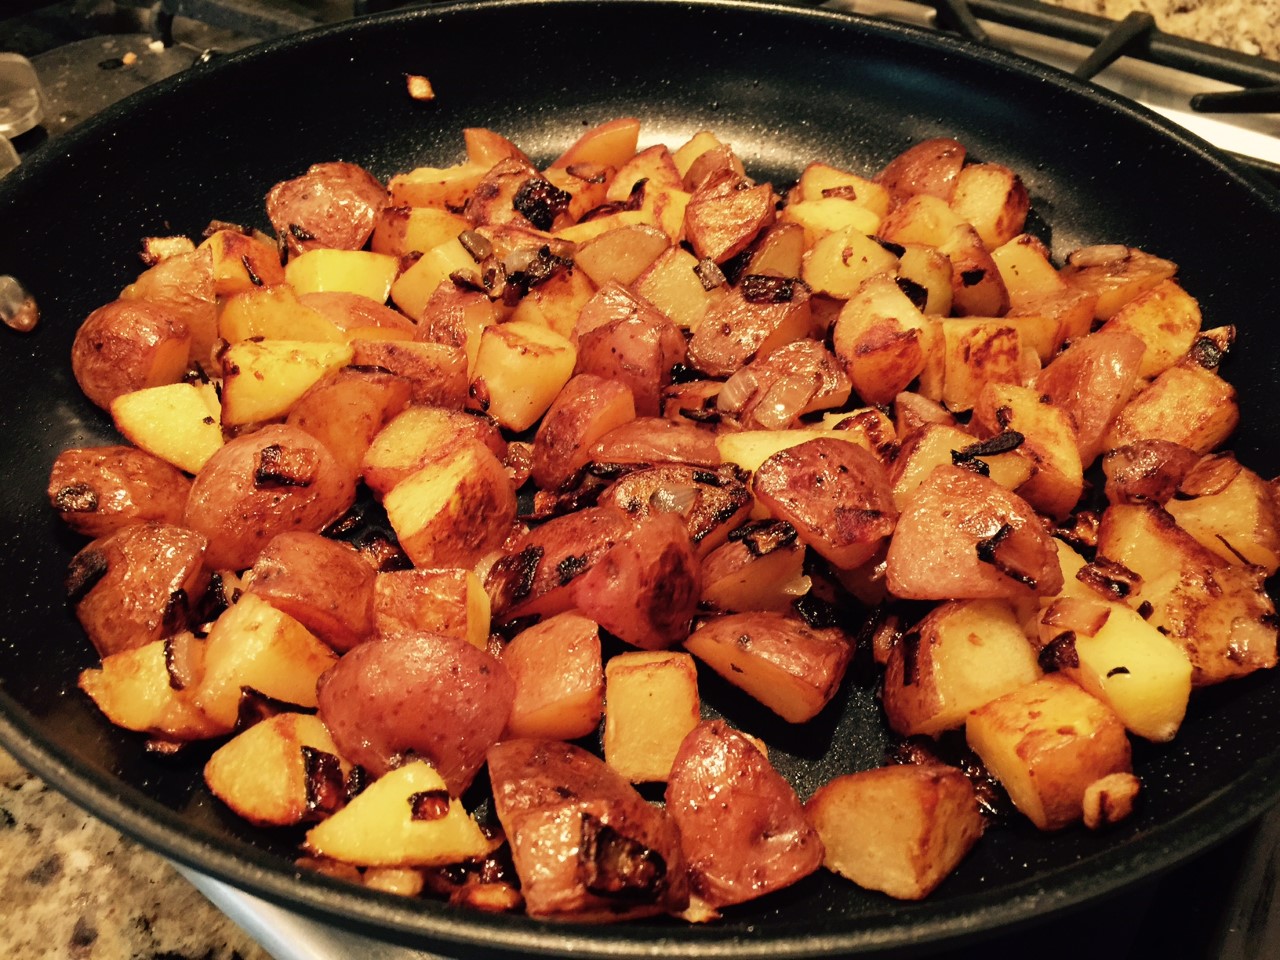 Turn off flame.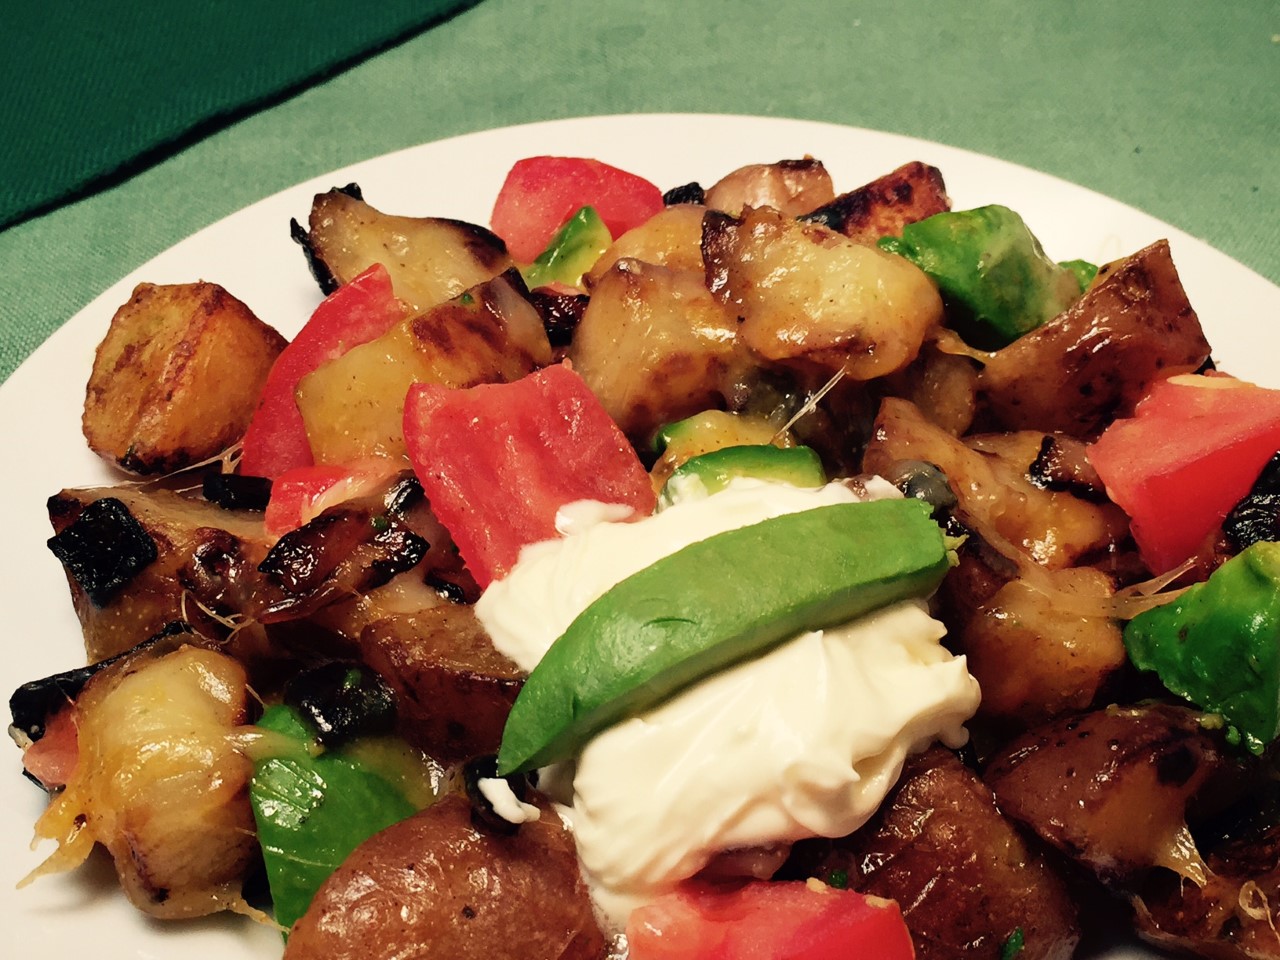
 One generally associates fruit salads with summer. But sometimes a heavy winter meal needs the fresh sweetness that fruit provides.
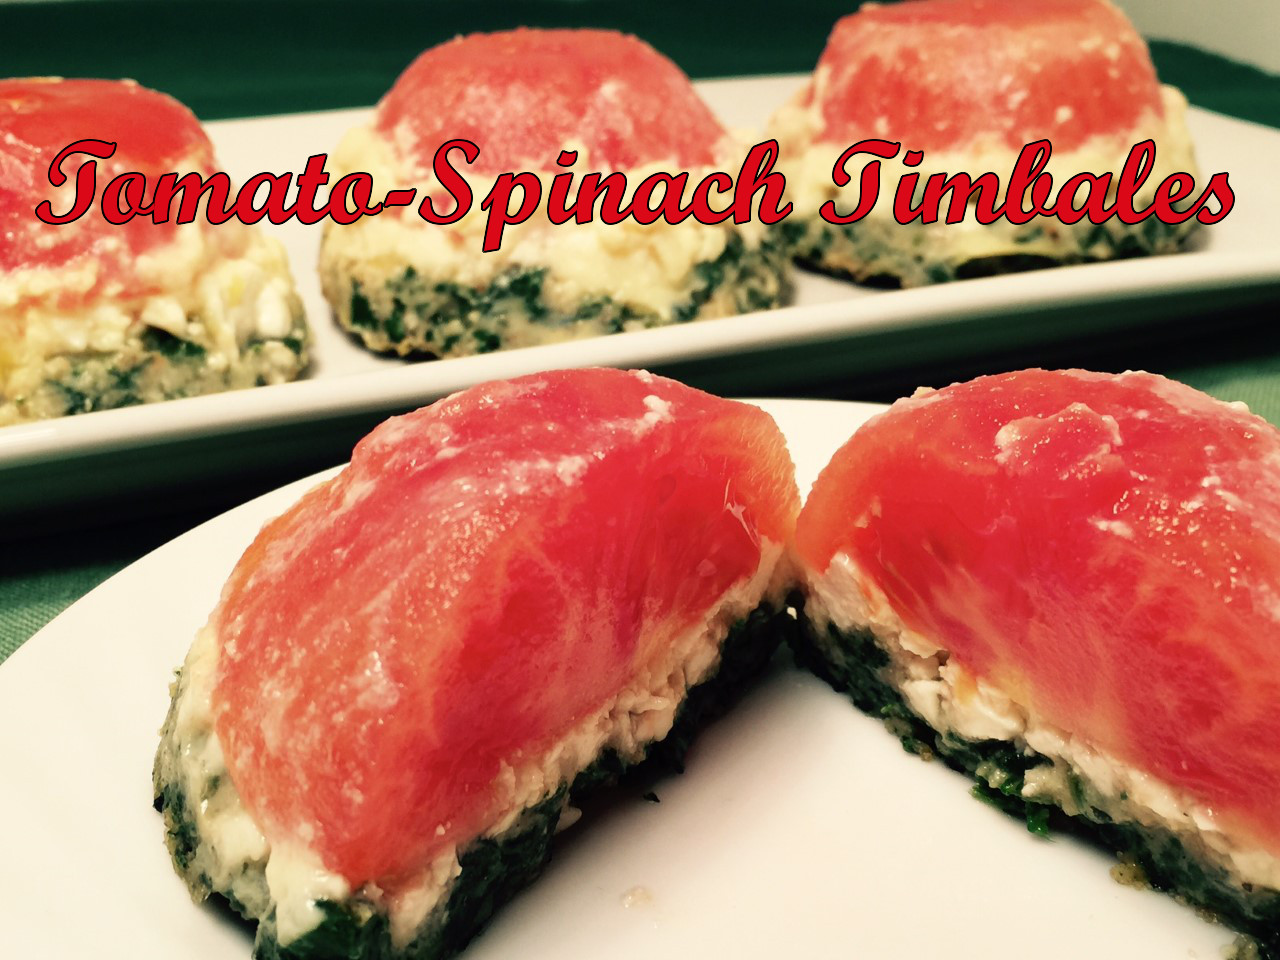 During the holiday season it’s always fun to make festive foods. I created TOMATO-SPINACH TIMBALE with a little trepidation since December is NOT tomato season. While supermarket tomatoes generally lack flavor, even during peak times, my worry was for nothing, since the cooking process plus the flavors of the other ingredients brought out the best in these red beauties.
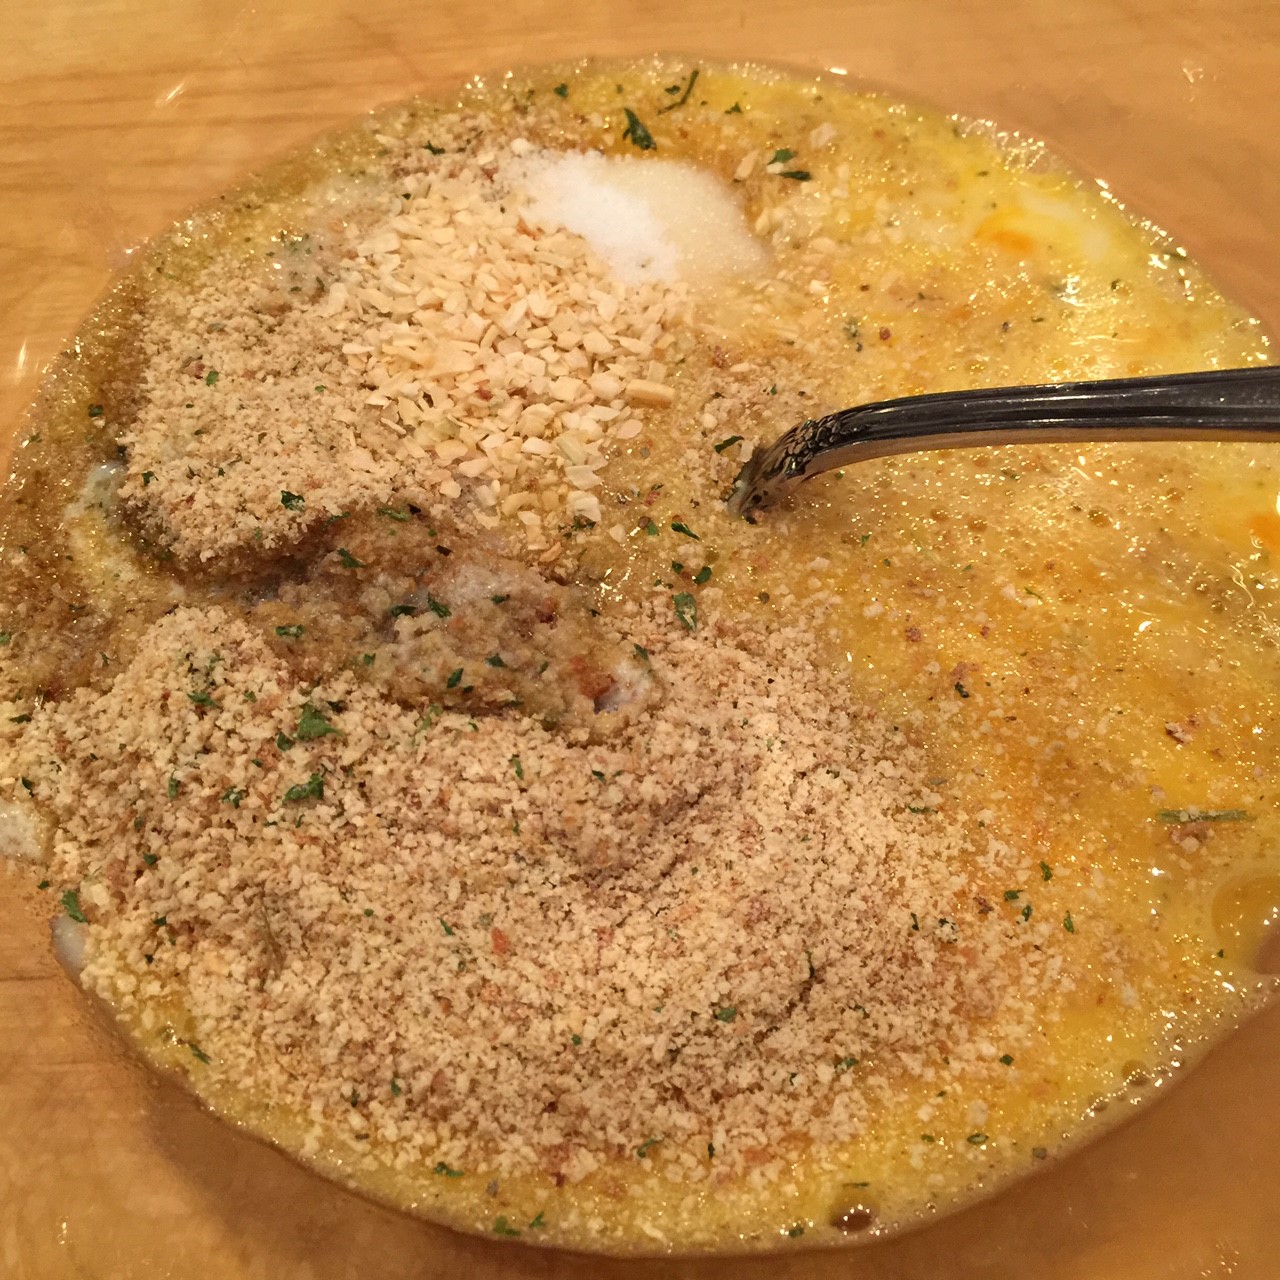
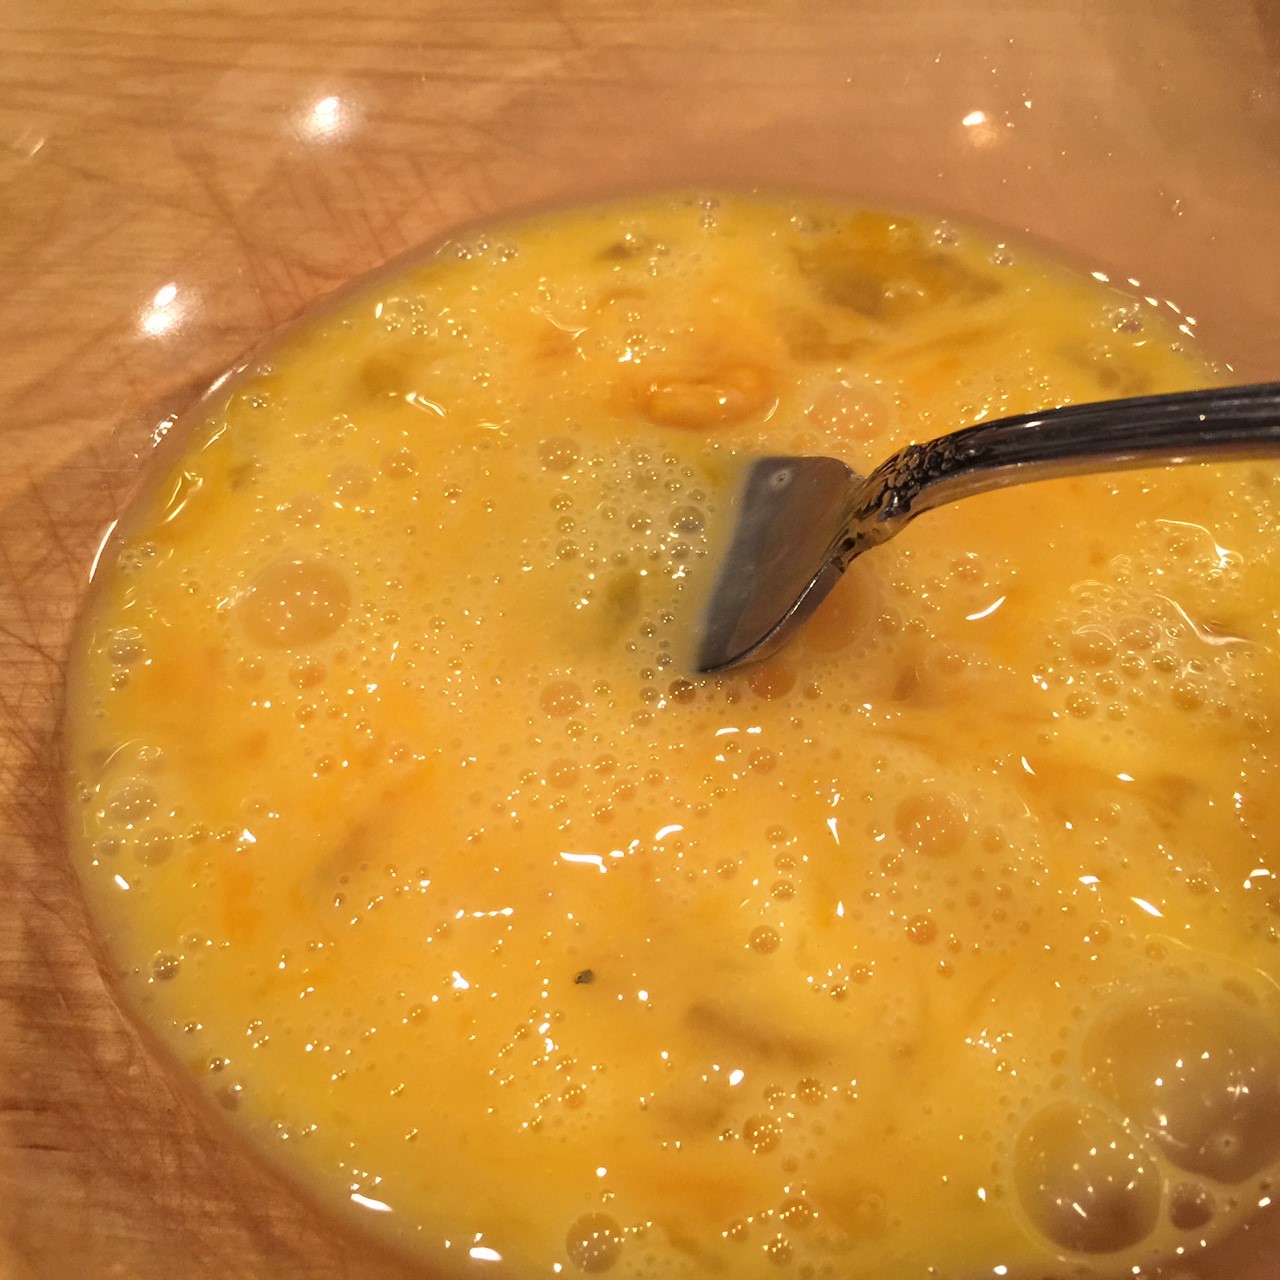 Add butter, milk, bread crumbs, salt, and dried minced onion.
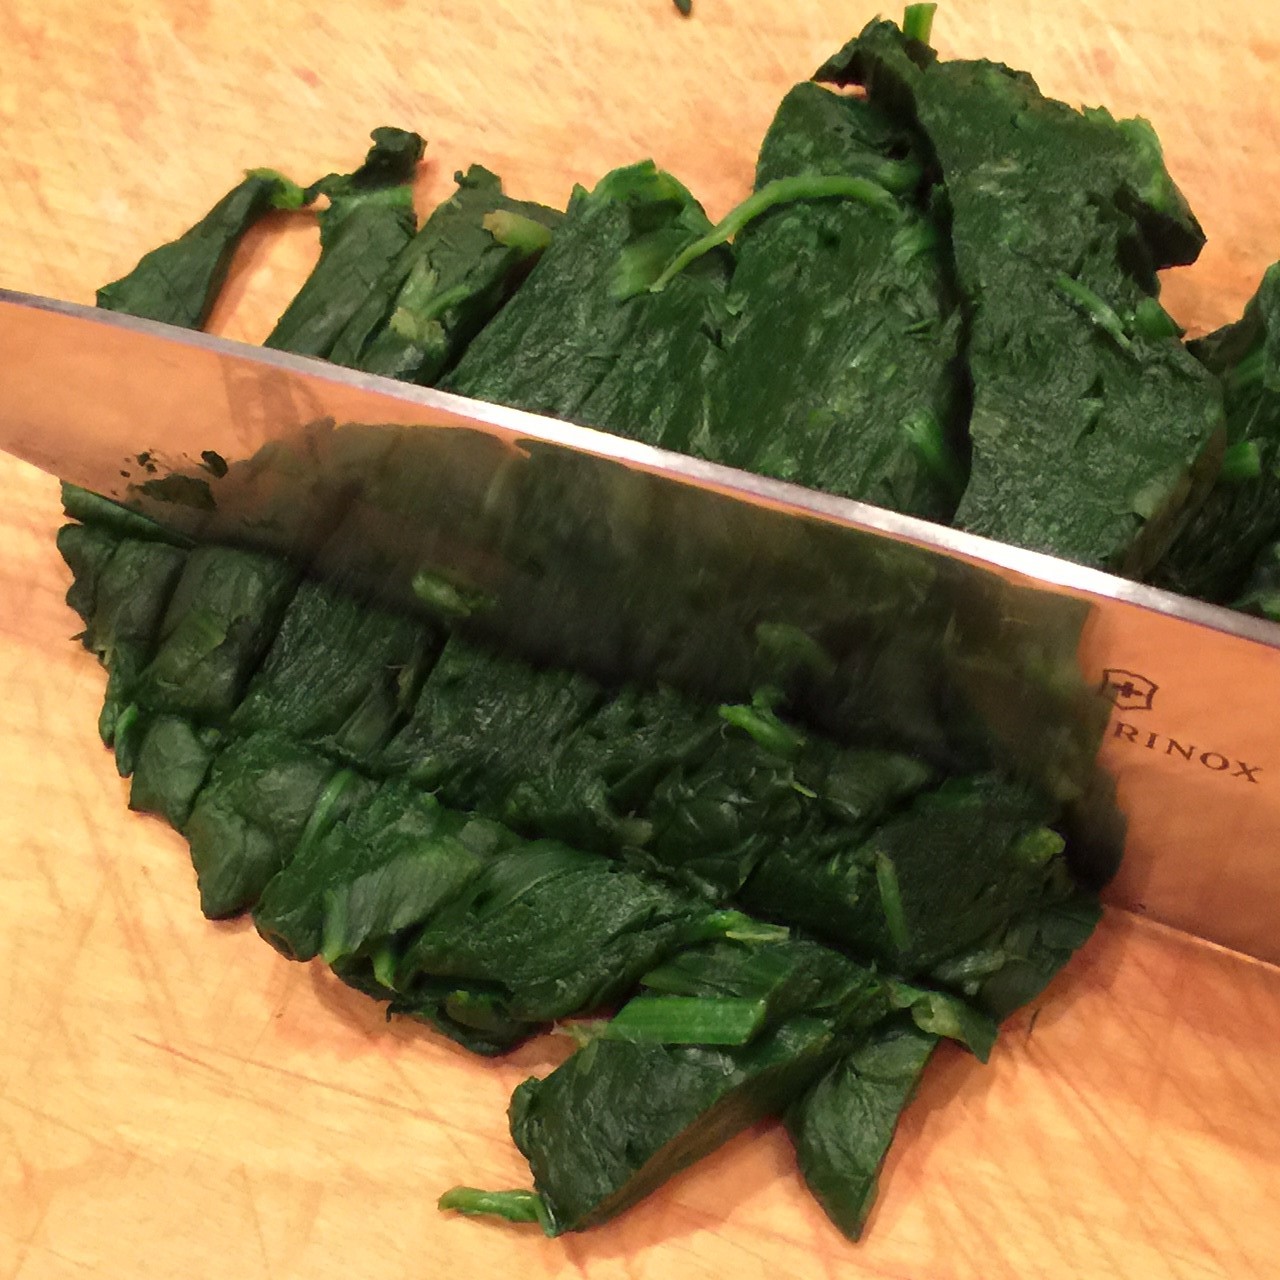
 Remove spinach from paper towel and chop.
 Stir into egg mixture.
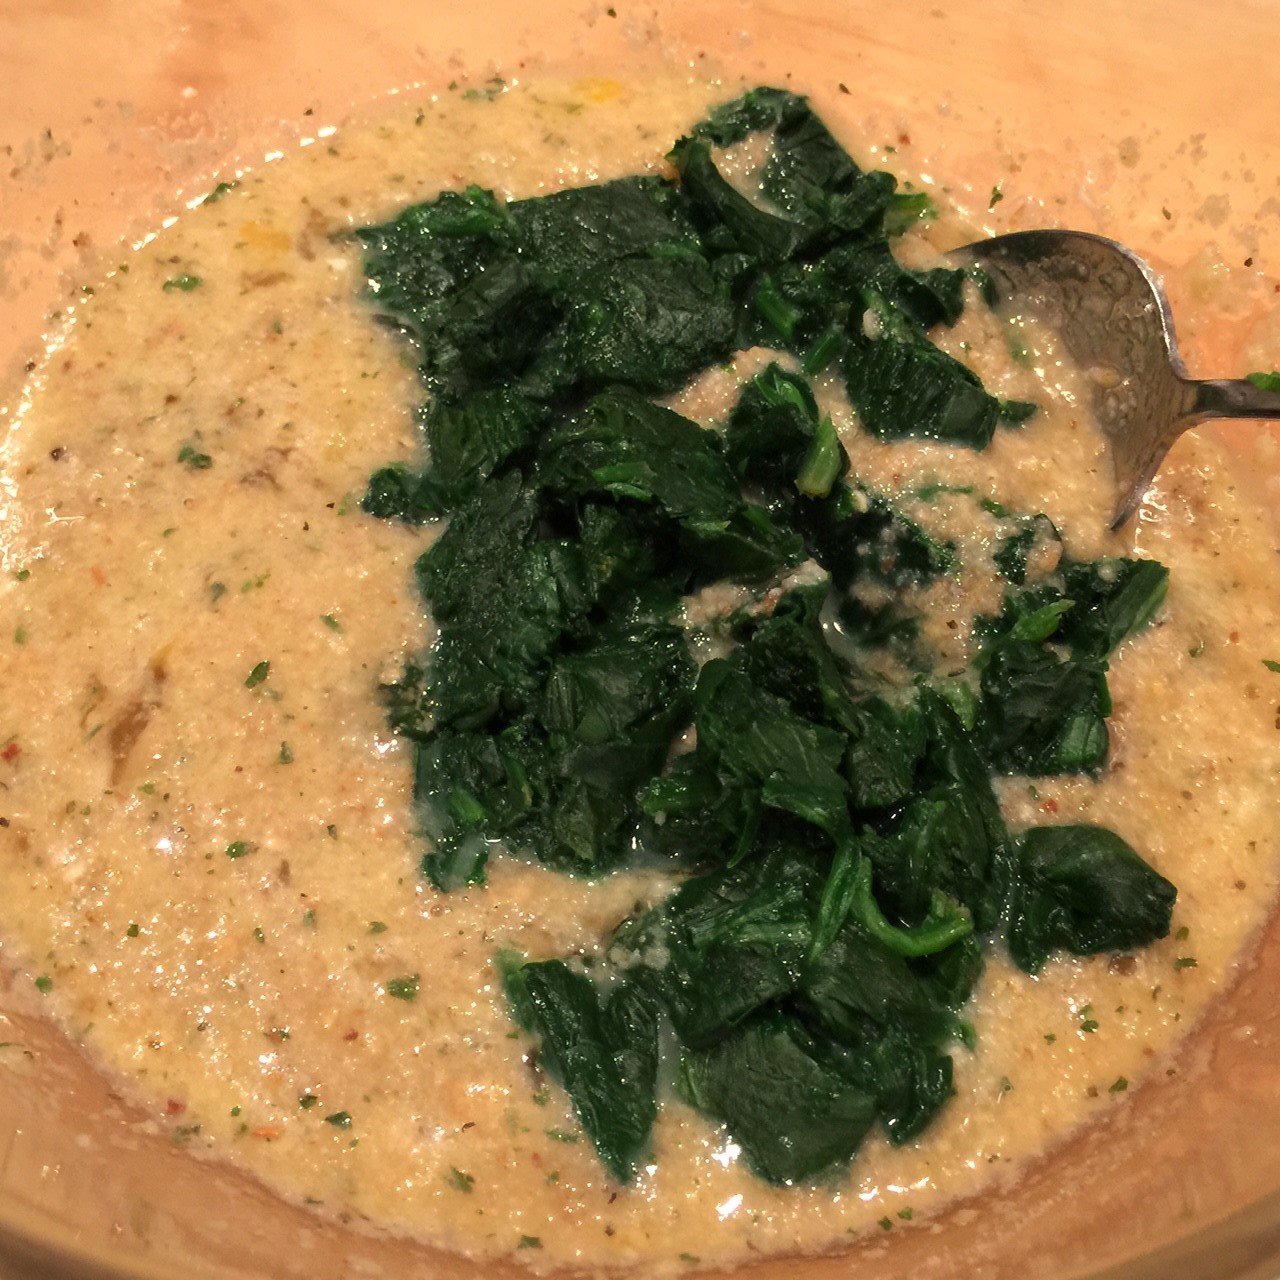 Preheat oven to 350º Fahrenheit.
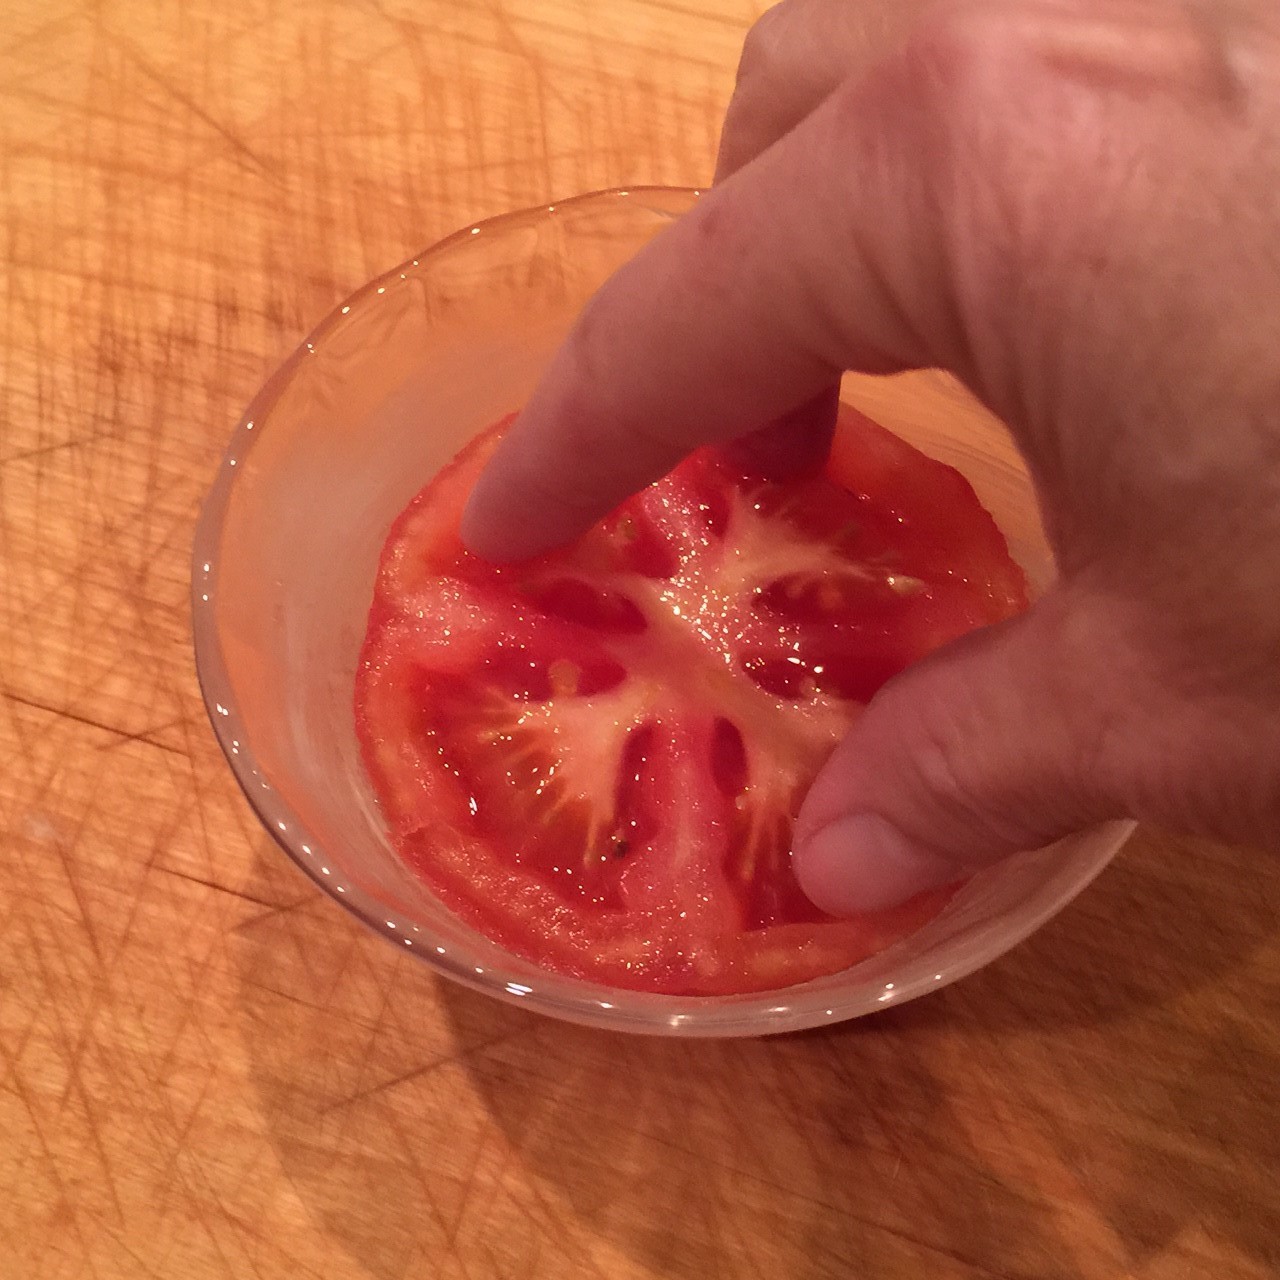
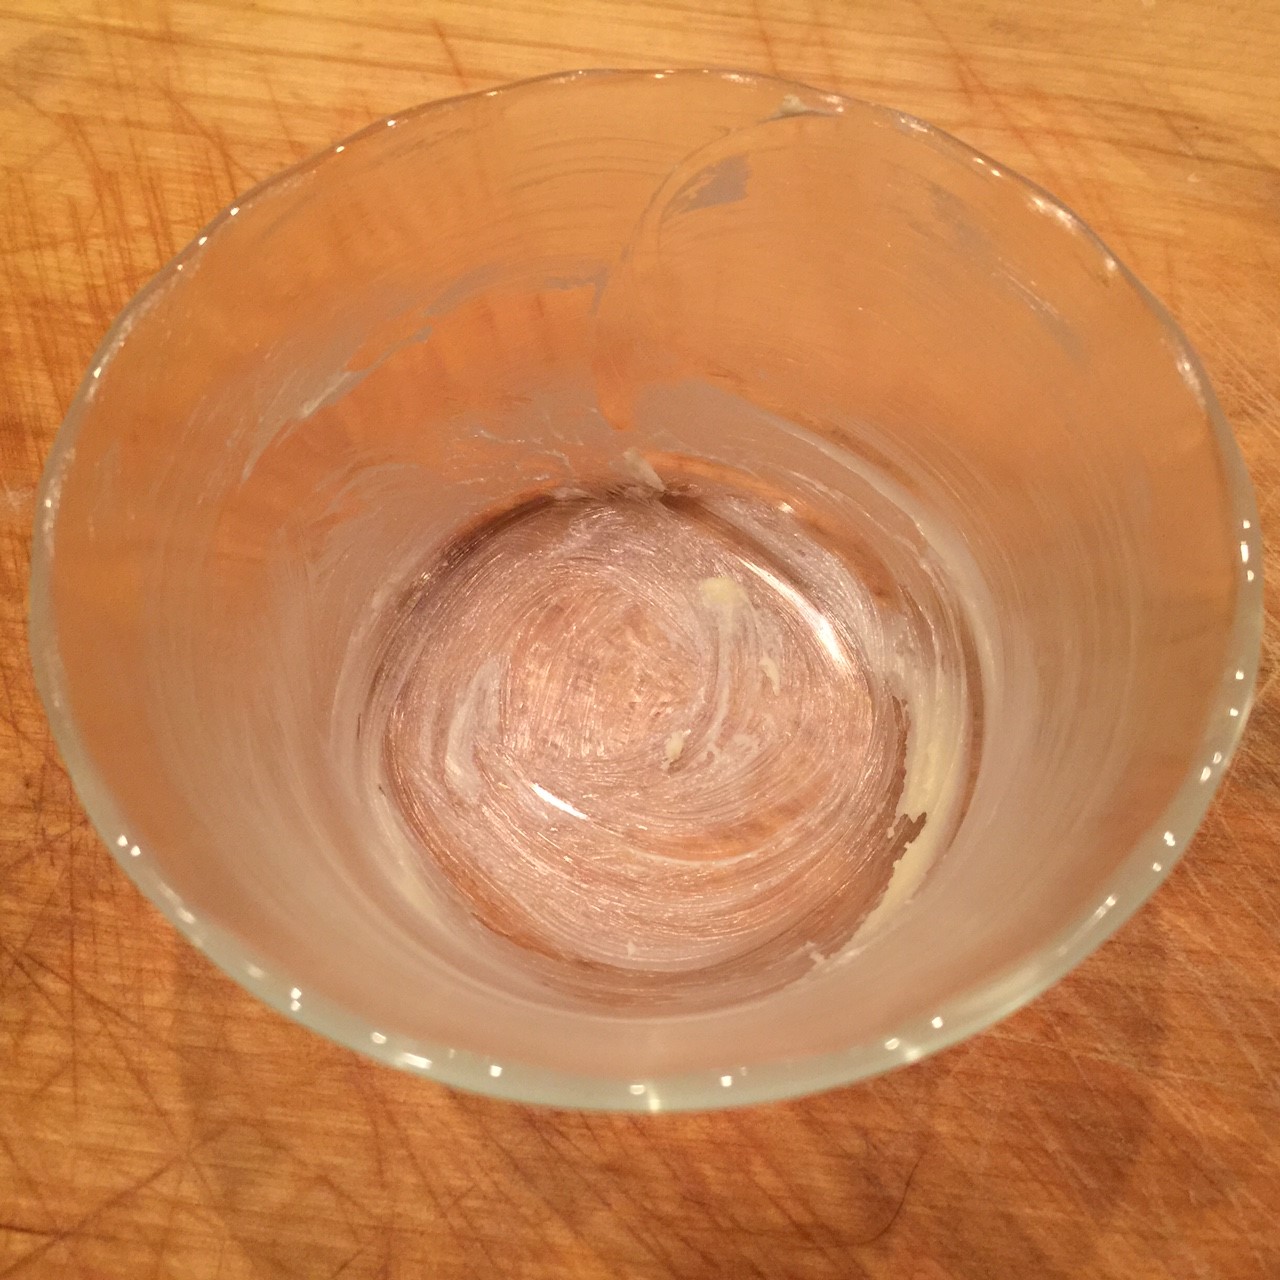 Place a tomato half, cut side up, in each. Using your fingers, spread open the tomato so it touches the cup sides.
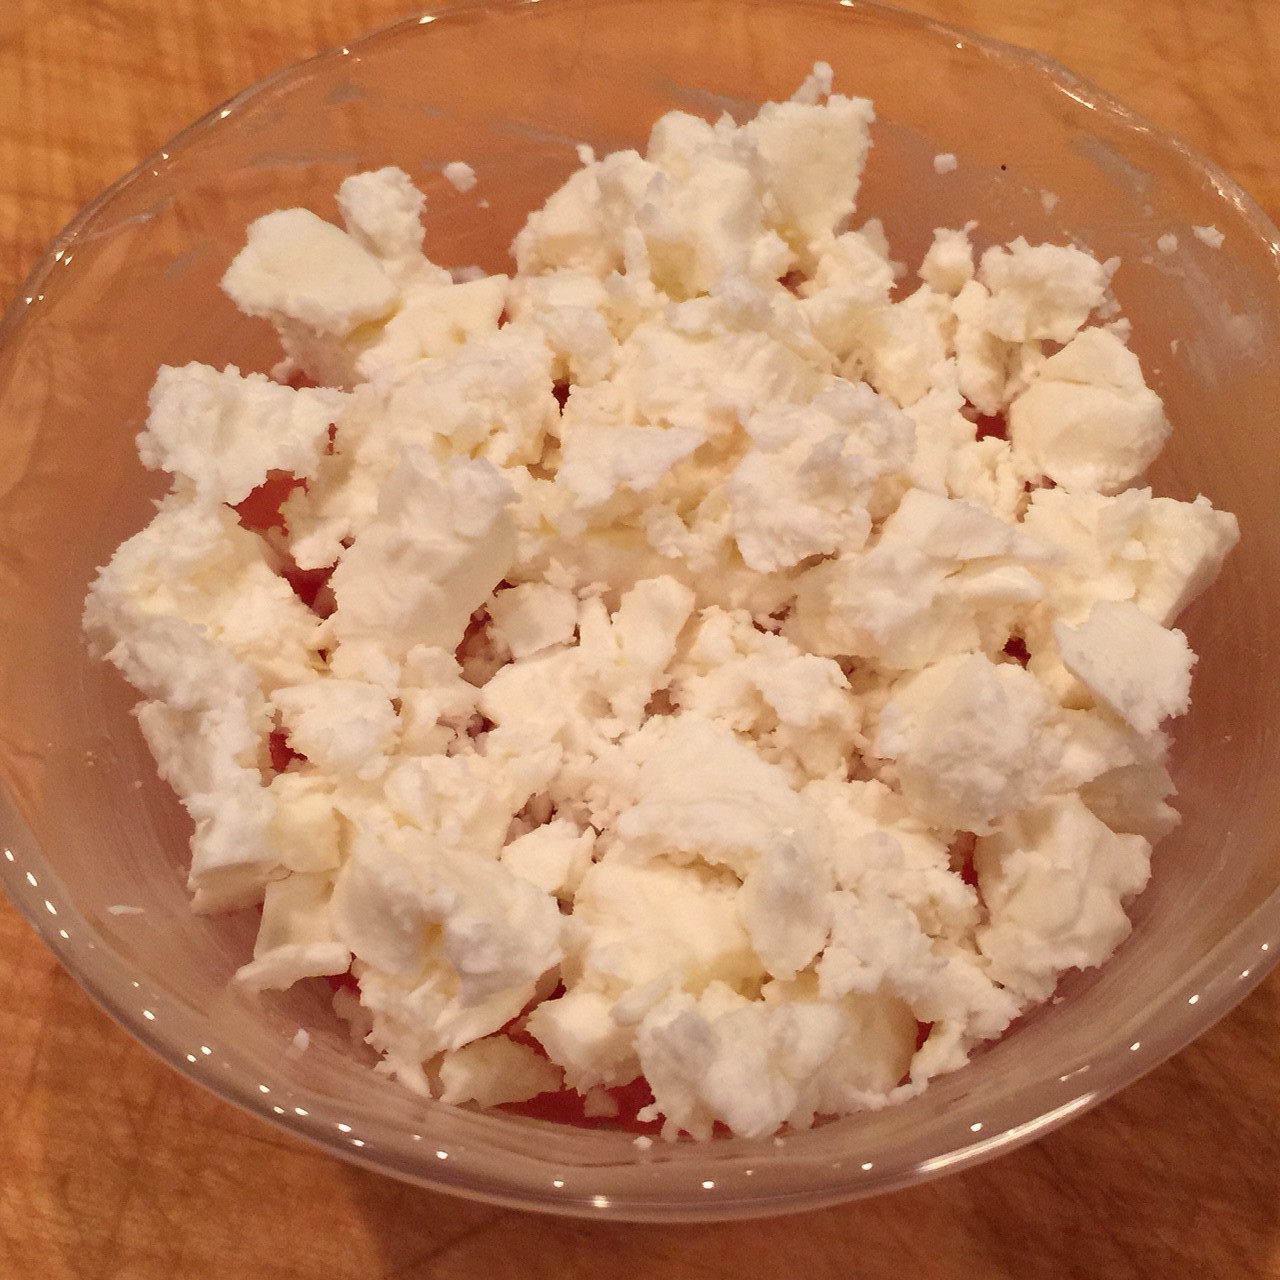
 Sprinkle on feta cheese.
 Top with spinach mixture to the brim, patting down to get rid of air pockets.
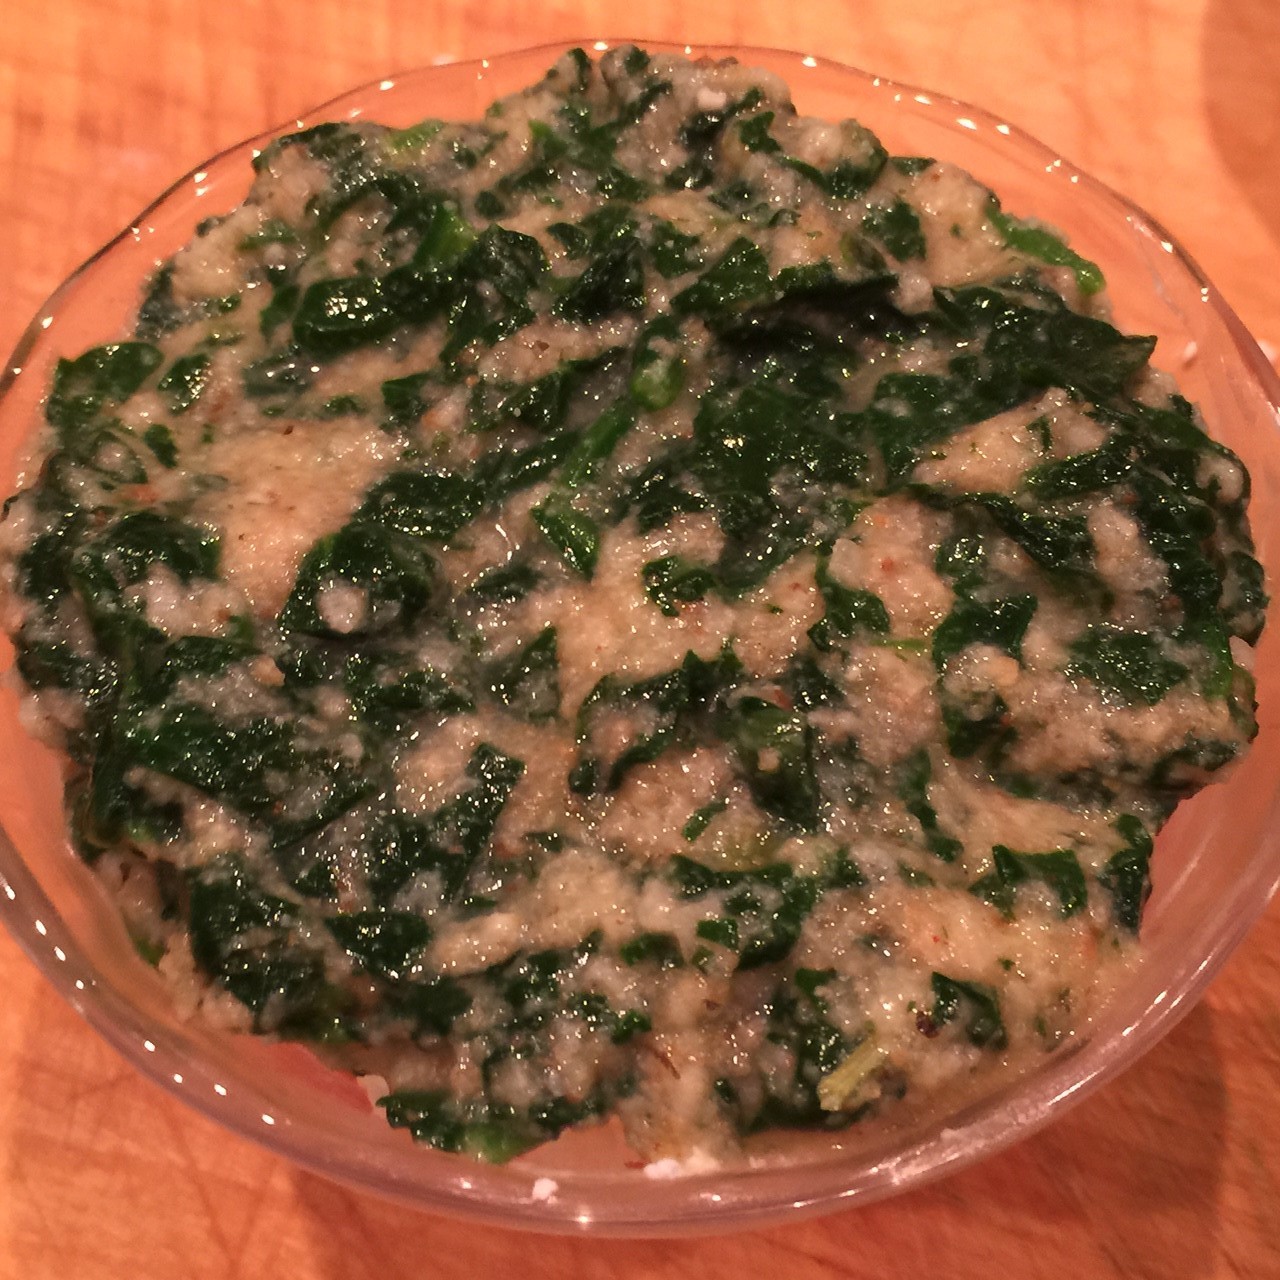 Place cups in a baking dish and fill halfway with boiling water.
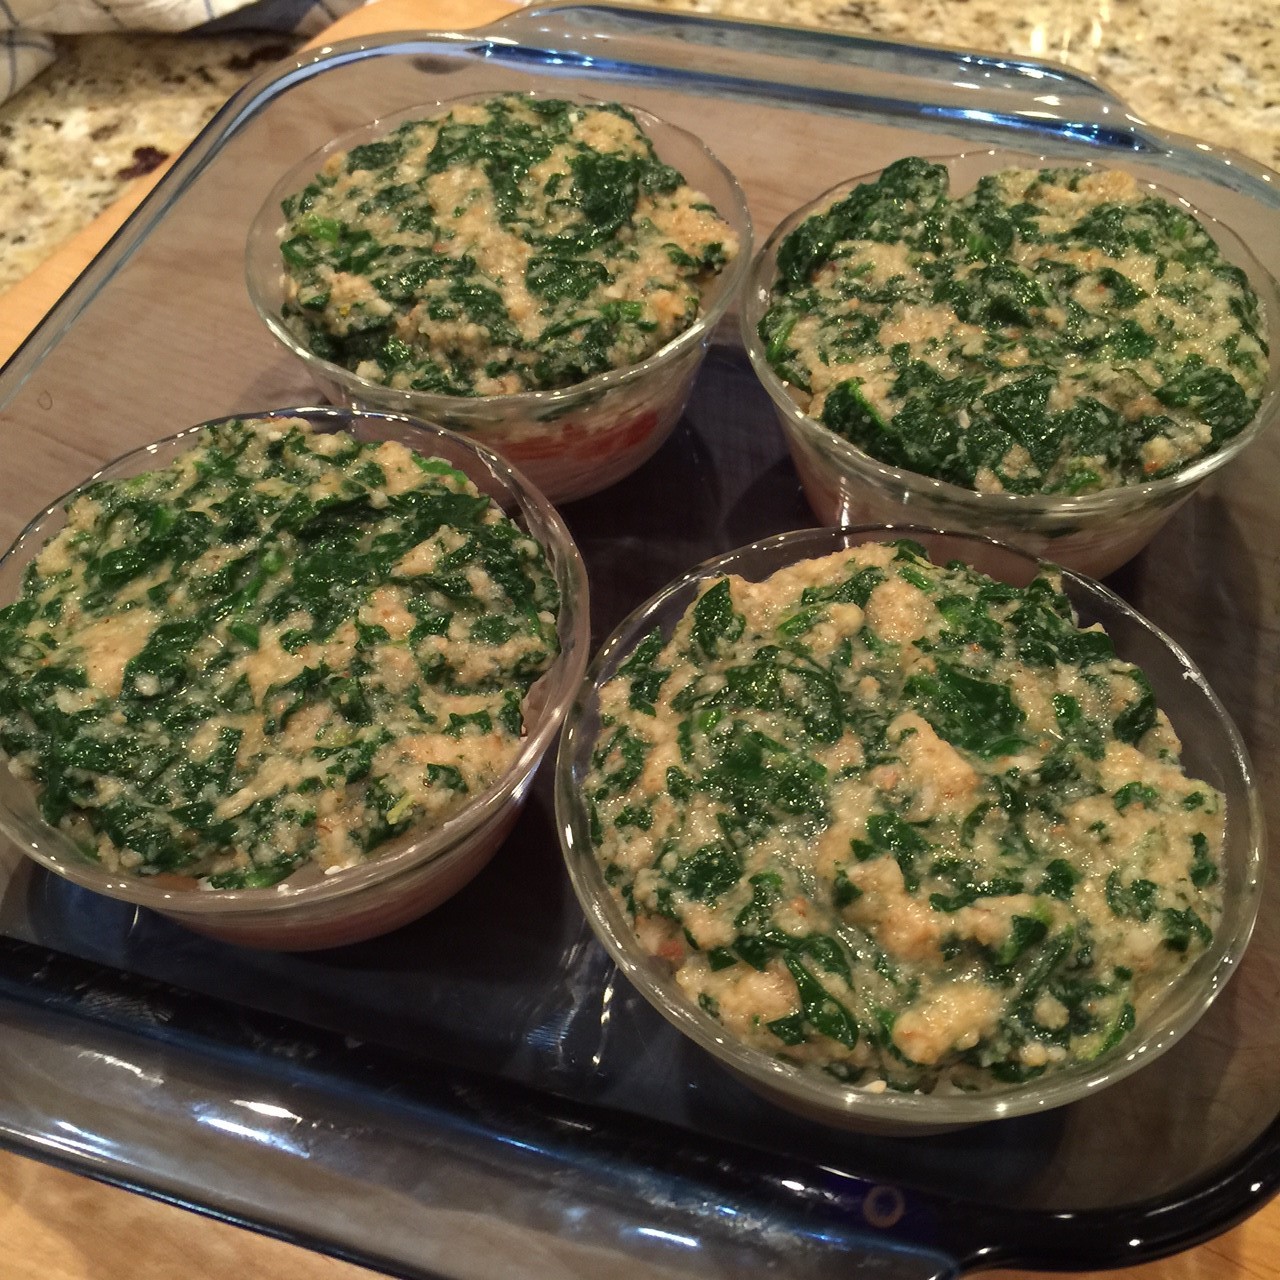 Bake at 350º F for 25-30 minutes, until spinach layer starts to brown. Remove from oven. Take cups out of the water bath and place on a rack to set for 15 minutes. To remove the TOMATO-SPINACH TIMBALES, run a rounded knife around edges, then invert, removing cup.
 In our house we have broccoli nearly every night. It’s fast, it’s tasty, and it’s healthy. But sometimes one has to shake things up a bit.