
 What could be better when that late afternoon hunger hits than a nice cup of tea and a freshly baked scone?
You might think scones are time consuming and difficult, but nothing could be further from the truth. If you have a food processor, then they’re even faster.
My favorite is a cheese scone. Traditionally, they’re circle-shaped, but you can also cut them into large wedges, if you prefer.
Note: Due to my frugal nature (yes, I’m cheap), I use a 2½” diameter diced chilies can with the top and bottom removed, rather than buy a cutter. 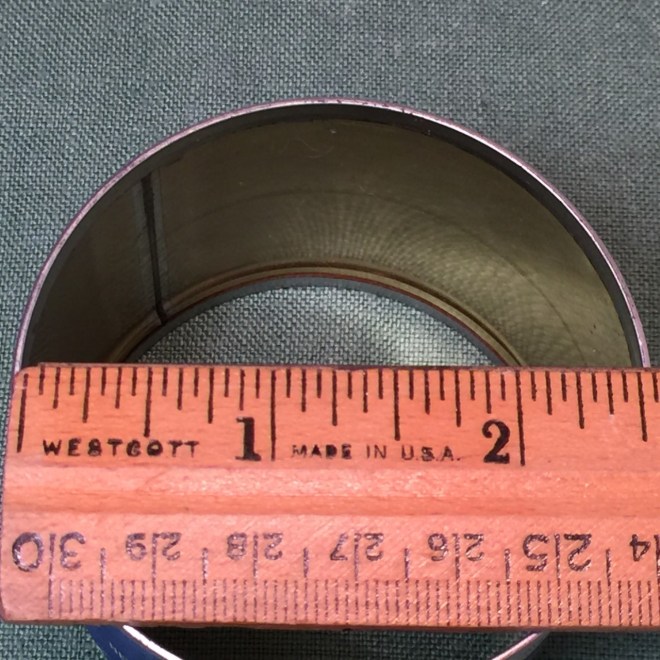 CHEESE SCONES – makes 10 circles or 6 large wedges
- 1¾ cups (8 1/8 oz) all-purpose flour
- 2 tsp sugar
- 1/2 tsp salt
- 2½ tsp baking powder
- 4 T butter, cold
- 1/2 cup medium cheddar cheese, shredded
- 2 eggs
- 1/3 cup cream or milk (the richer the milk, the richer the scone)
Preheat oven to 450º Fahrenheit, rack in center position.
Place metal blade in food processor. Add in flour sugar, salt, and baking powder. Pulse a couple of times to mix.
Cut butter (make sure it’s cold) into 1/2″ cubes (you don’t have to be exact) and add to work bowl.  Pulse 10 times to form a coarse texture.
  (If you don’t have a food processor, then crosscut the butter into small bits using 2 knives.)
Into a measuring cup (use a 2 cup size so you don’t splatter), crack eggs. Beat with a fork to break them up. Add in cream to the 3/4 cup mark (you’ll need about 1/3 cup). Beat well with a fork to blend. 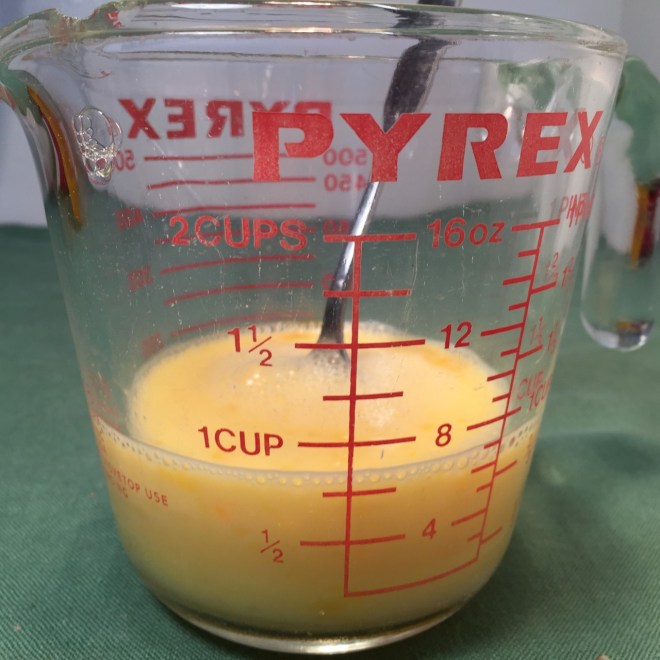 Empty flour mixture into a mixing bowl. Pour in all but 1 T egg mixture (you’re going to use the reserved liquid as a wash) and stir gently to blend. (You don’t want to overmix or the scone will be tough.)
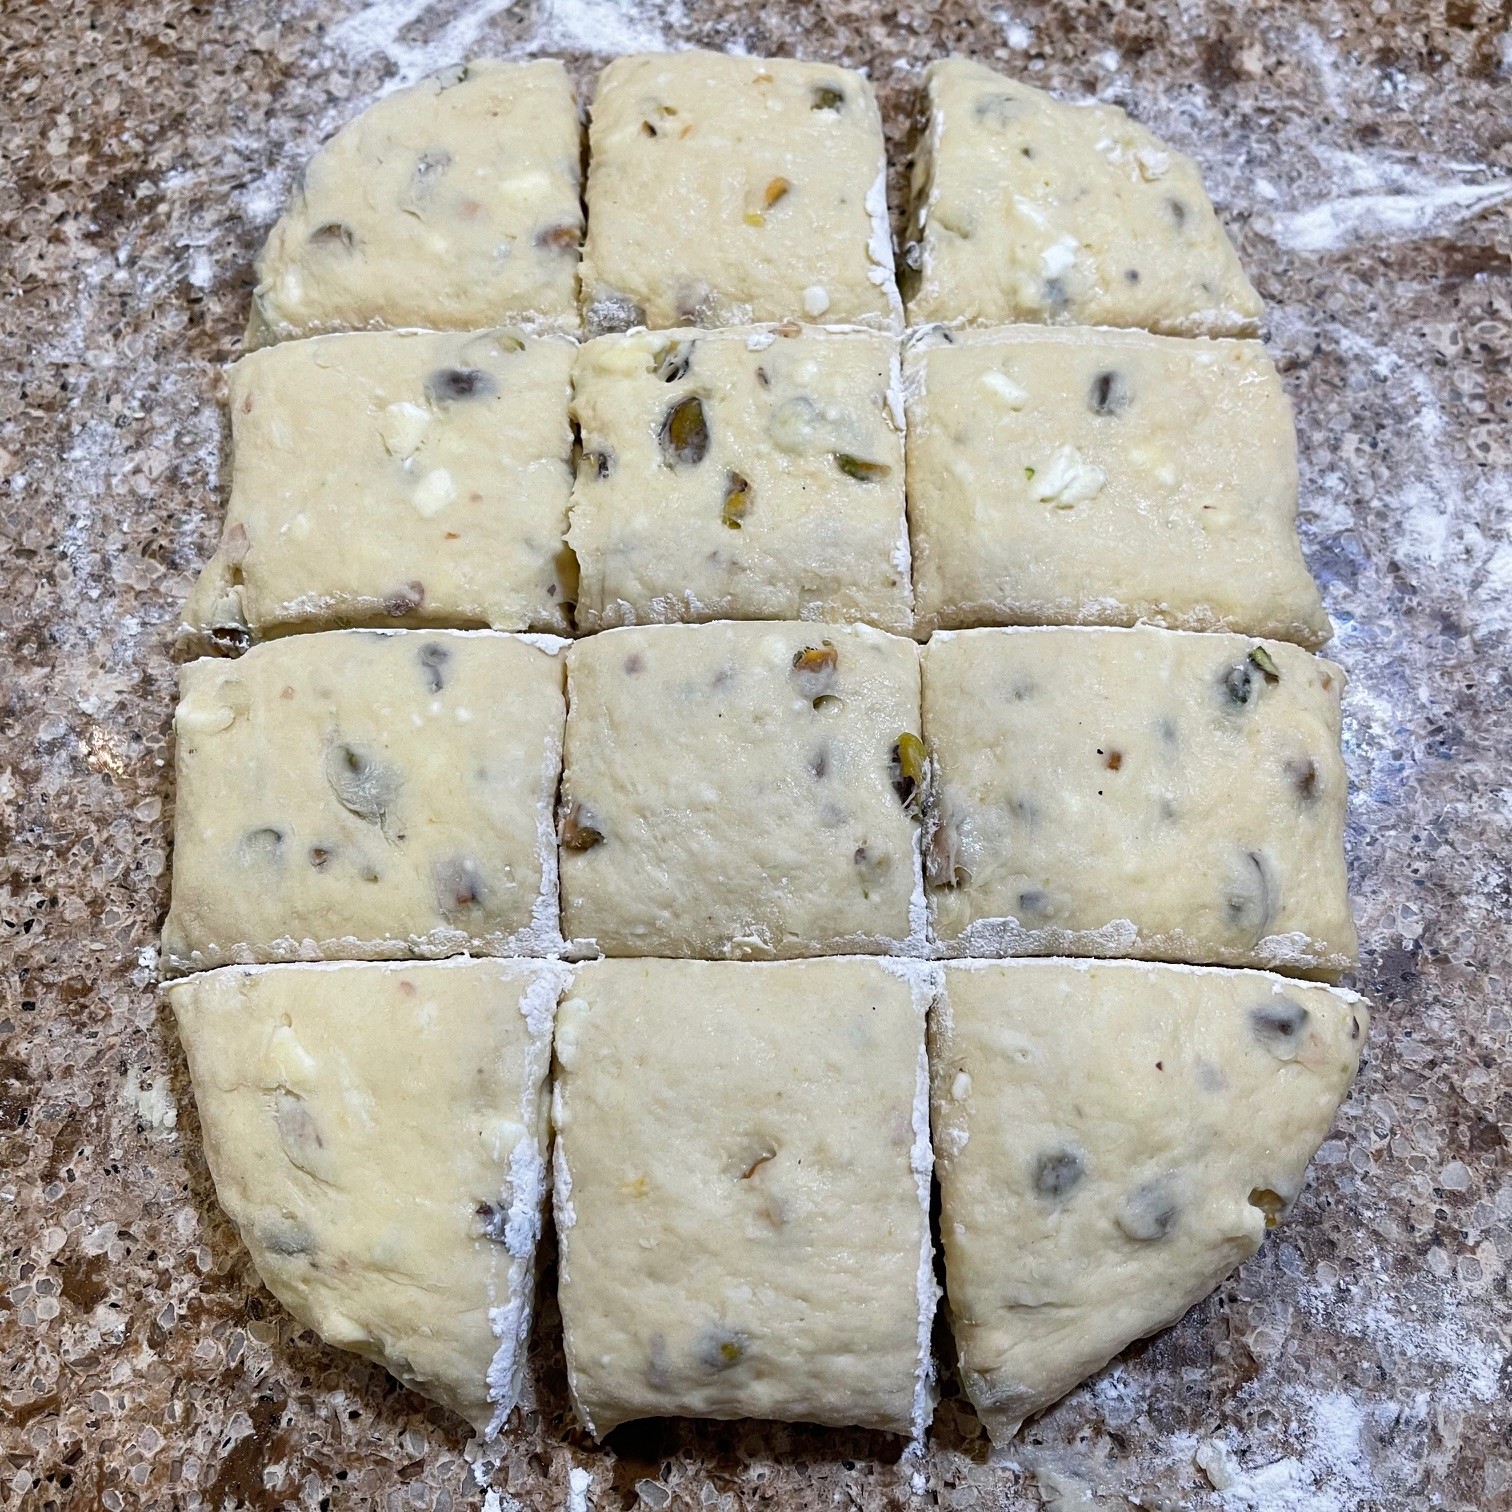
  Lightly flour a flat surface and dump dough onto it. With floured hands, pat the dough into an 8″x5″ rectangle if cutting circles, or a 6″ diameter circle if cutting wedges.
  If you’re making circles, dip circle-mold in flour then press straight down into dough. Don’t twist. Dip into flour each time before cutting a circle. If making wedges, slice 3 lines, intersecting in middle to form 6 equal wedges.
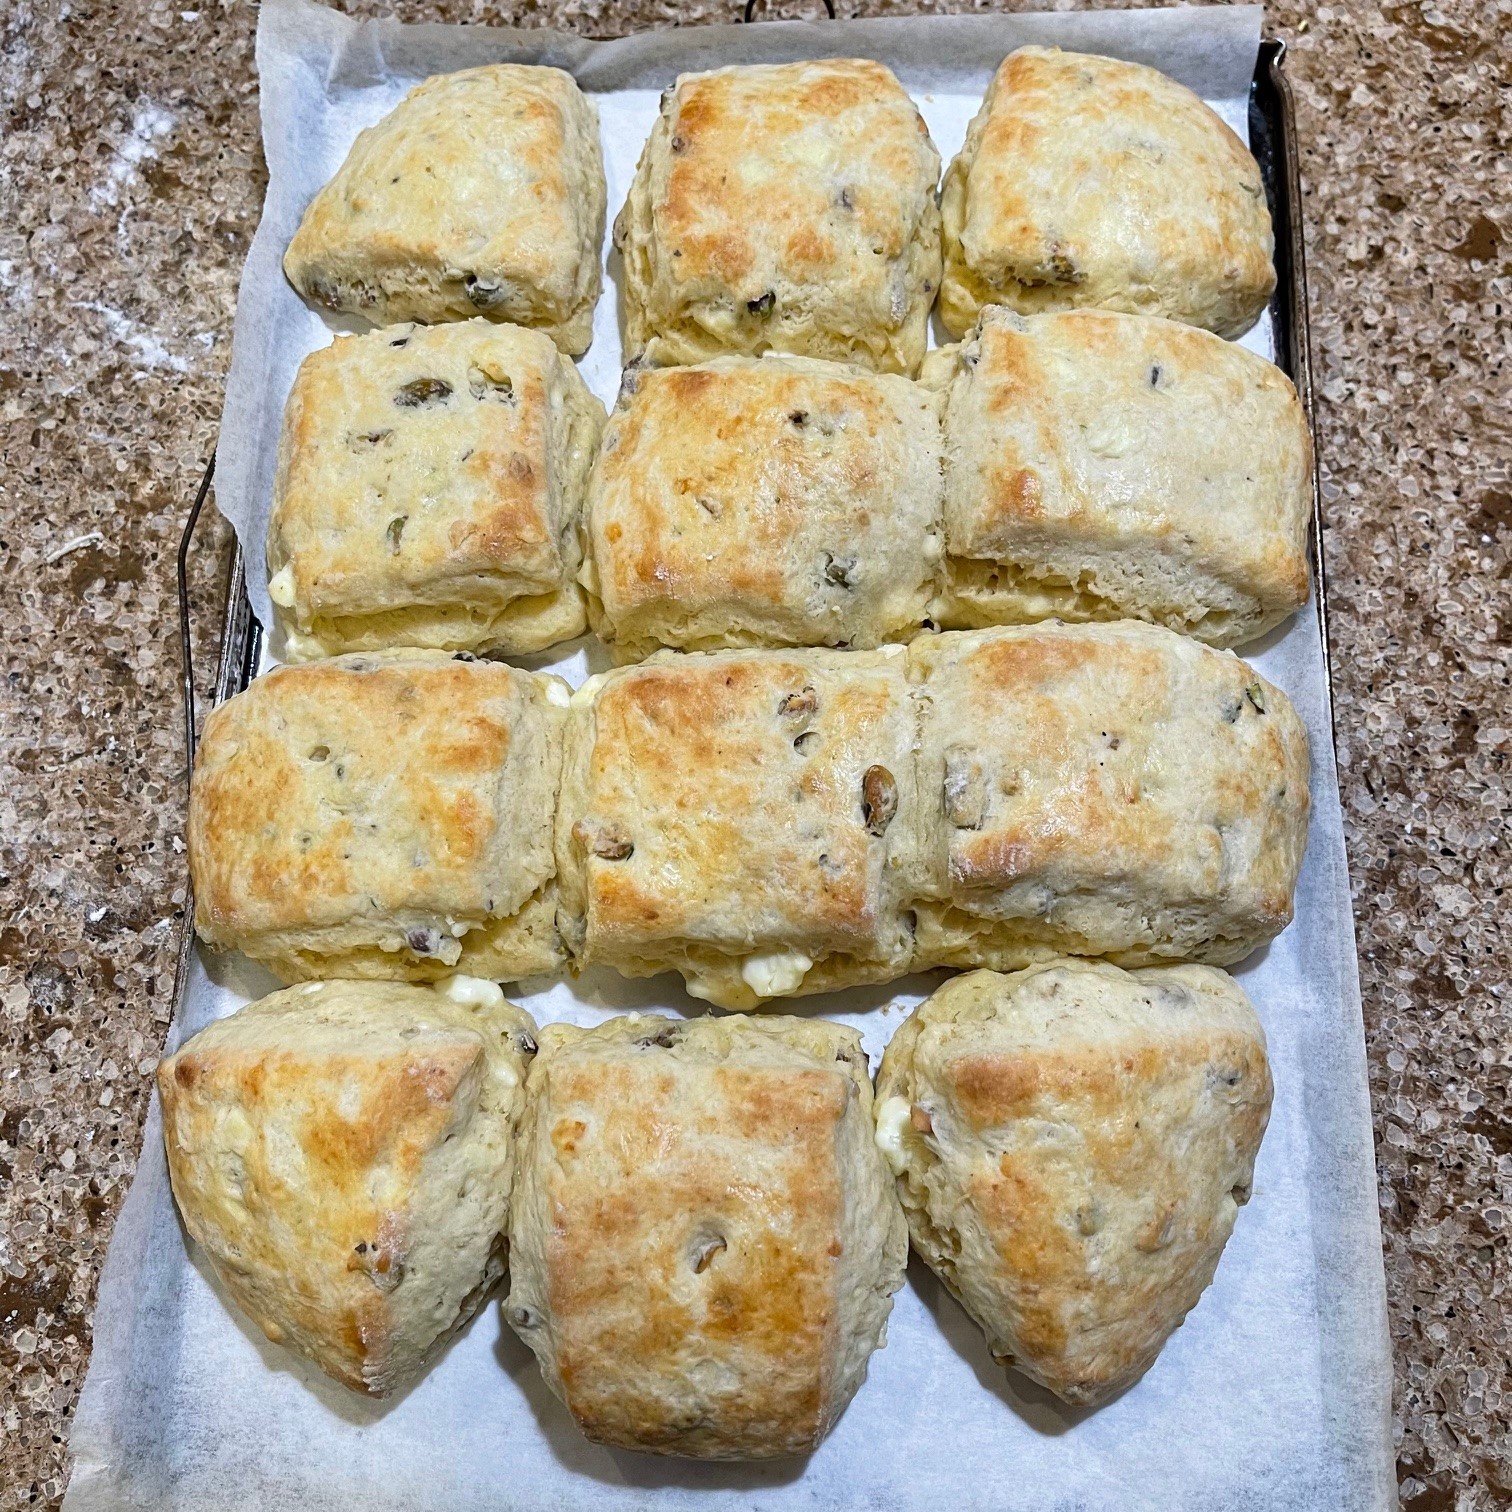
Grease a cookie sheet or line it with parchment paper. Place cut-outs, spacing them apart as much as possible. Brush on reserved egg wash. (If you forgot to save some of the egg mixture, then just use a little milk.) 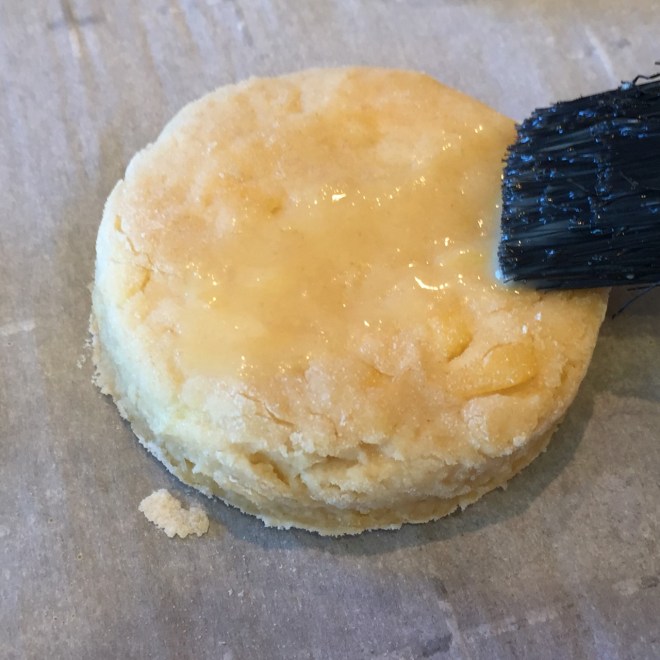 Sprinkle on a few strands of cheese, if you like.
  Place in preheated oven and bake until golden brown – about 12 minutes for circles, 13-15 minutes for wedges. Remove to a wire rack to cool a bit, then serve.
 Mardi Gras is filled with a number of traditions. A yummy one is King Cake – a rolled cake decorated with purple, gold, and green. Often a plastic Baby Jesus or treat is hidden in the cake for some lucky person to be served.
 Company was coming and I needed a bread – fast! I flipped through my America’s Test Kitchen cookbook and found this Kalamata Olive Bread recipe made in a cast iron skillet. (To those under 35, cookbooks are how people used to get recipes!)
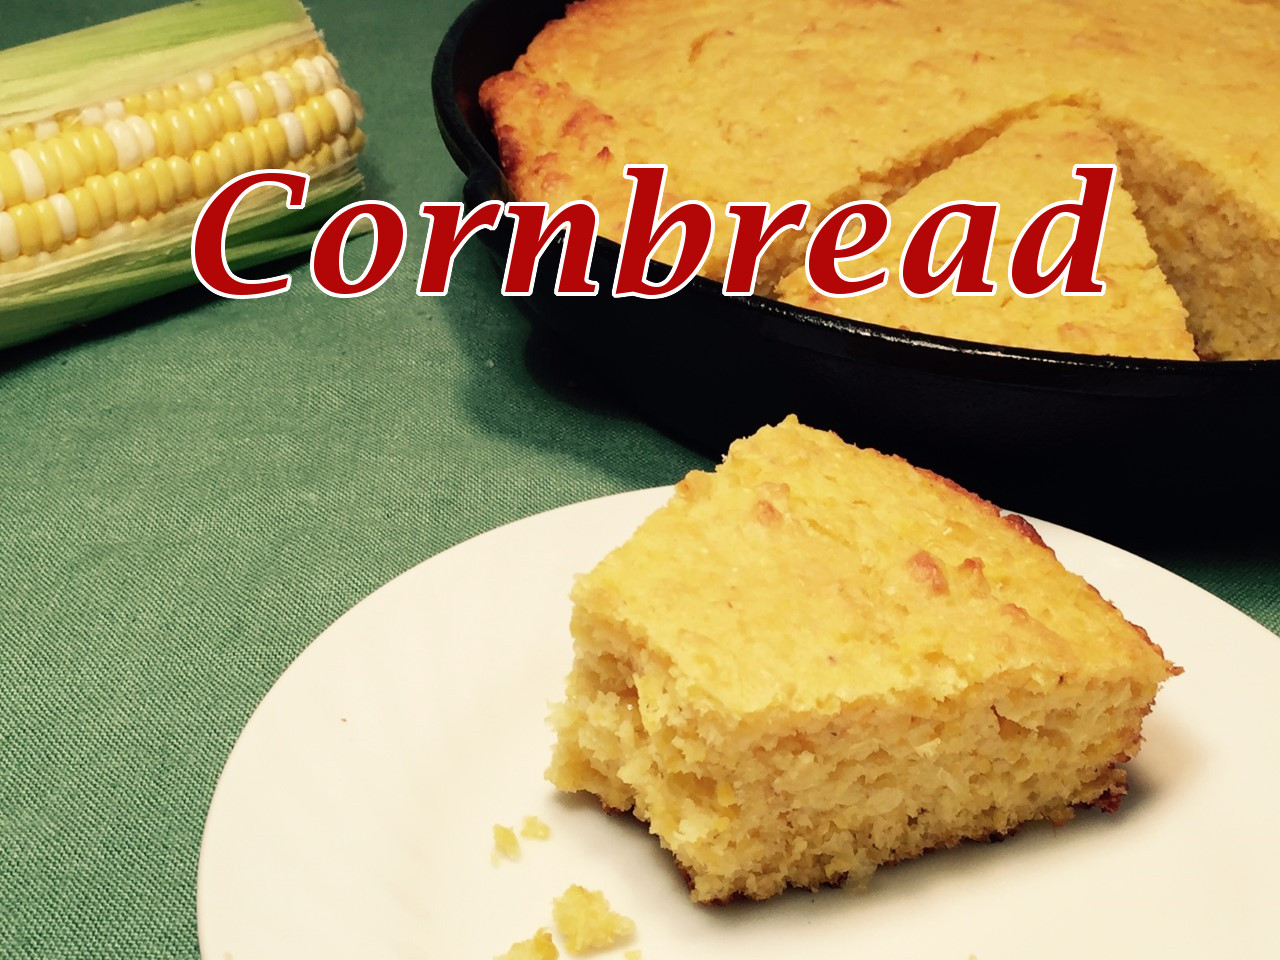 Several months ago I jumped onboard the cast iron craze and bought a 10″ skillet that I found at a thrift store. I absolutely love it, and my fear of keeping it seasoned was for nothing. It’s quite easy, really. After washing, all one has to do is rub a bit of vegetable oil over the surface, then place on the stove using a medium/high flame, letting it dry for 1 minute.
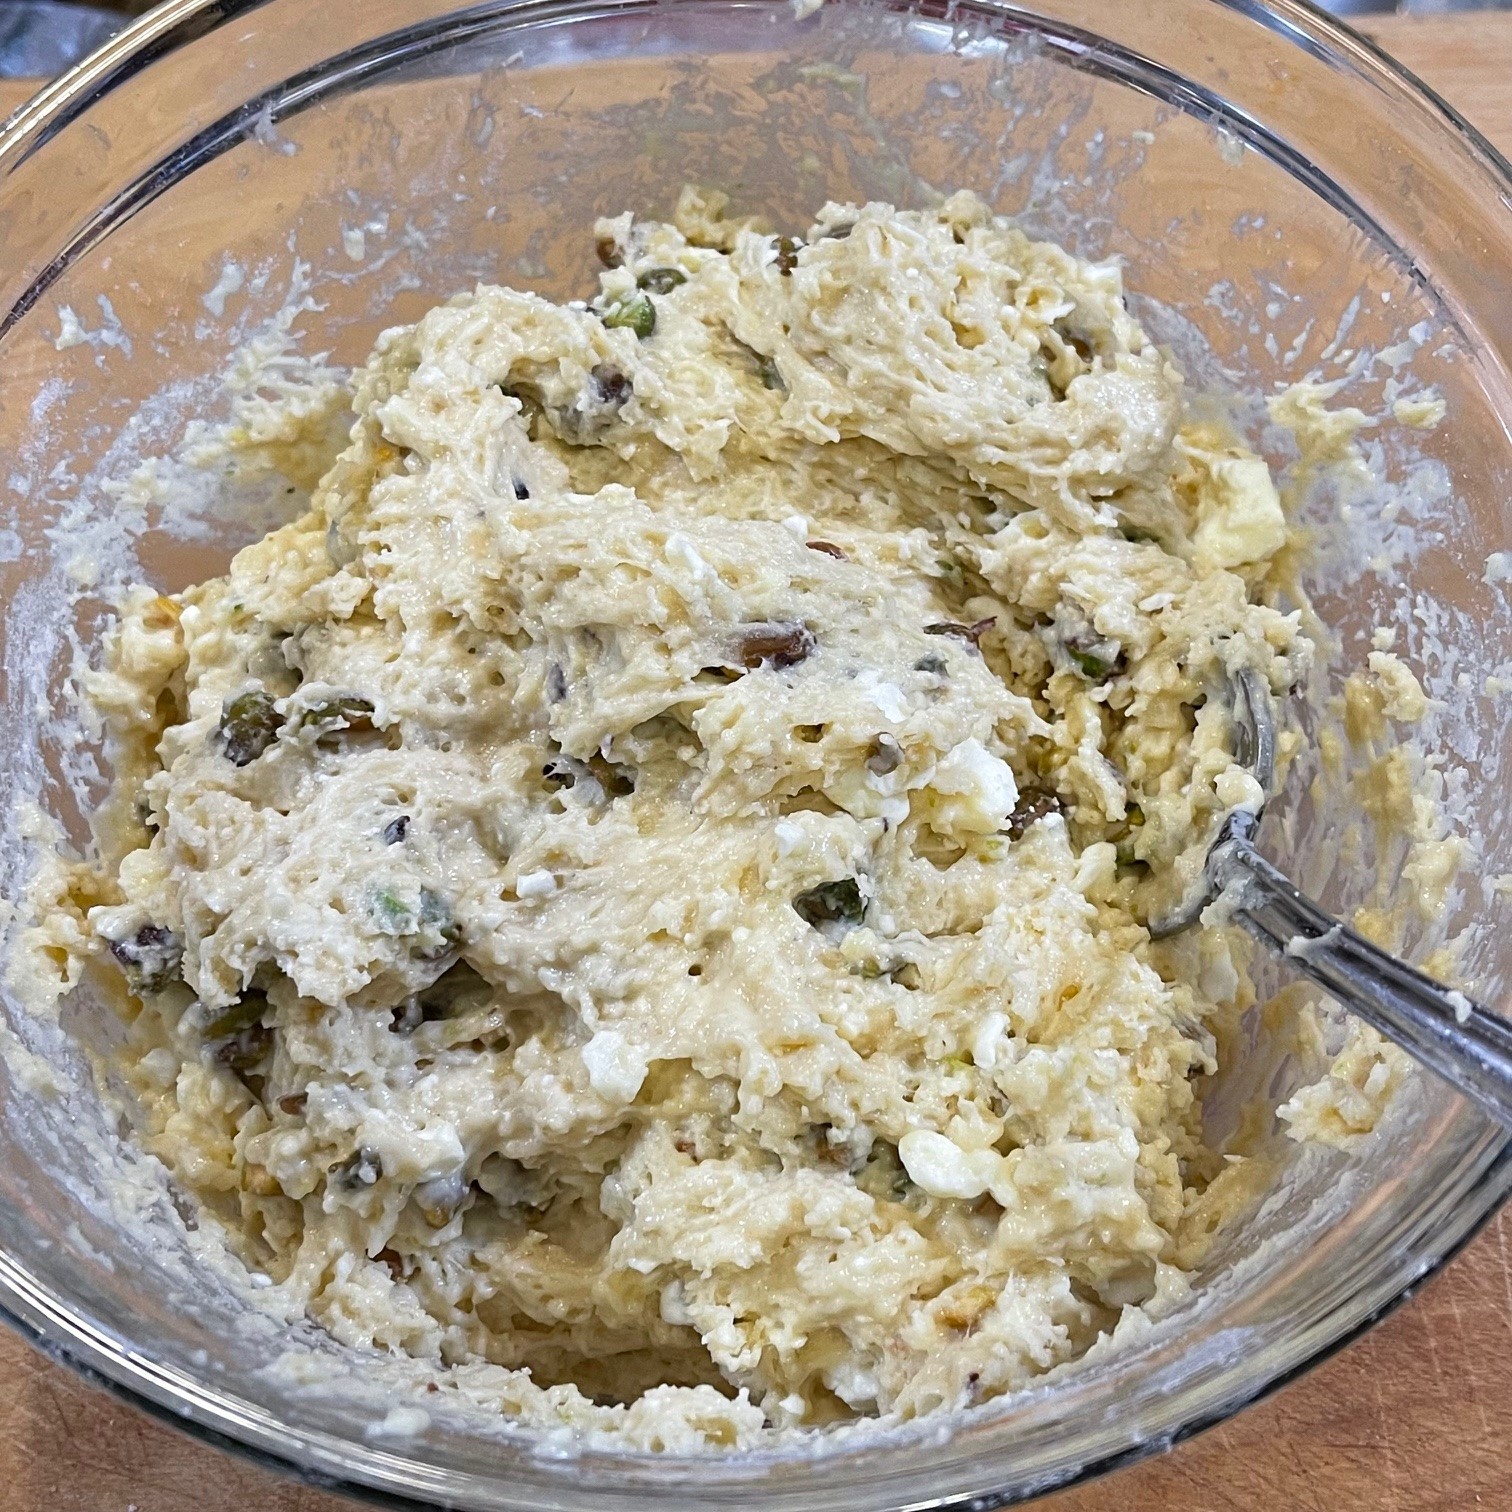
 As a woman who hates waste (yeah – I’m cheap!), I was trying to come up with something to do with leftover feta cheese. True, it can always be a crumbled topping for salad, but I wanted something new. As I was looking for a bread recipe to post, I decided to merge the two. Biscuits! There were also a handful of pistachios lurking about, so I threw them in for crunch.


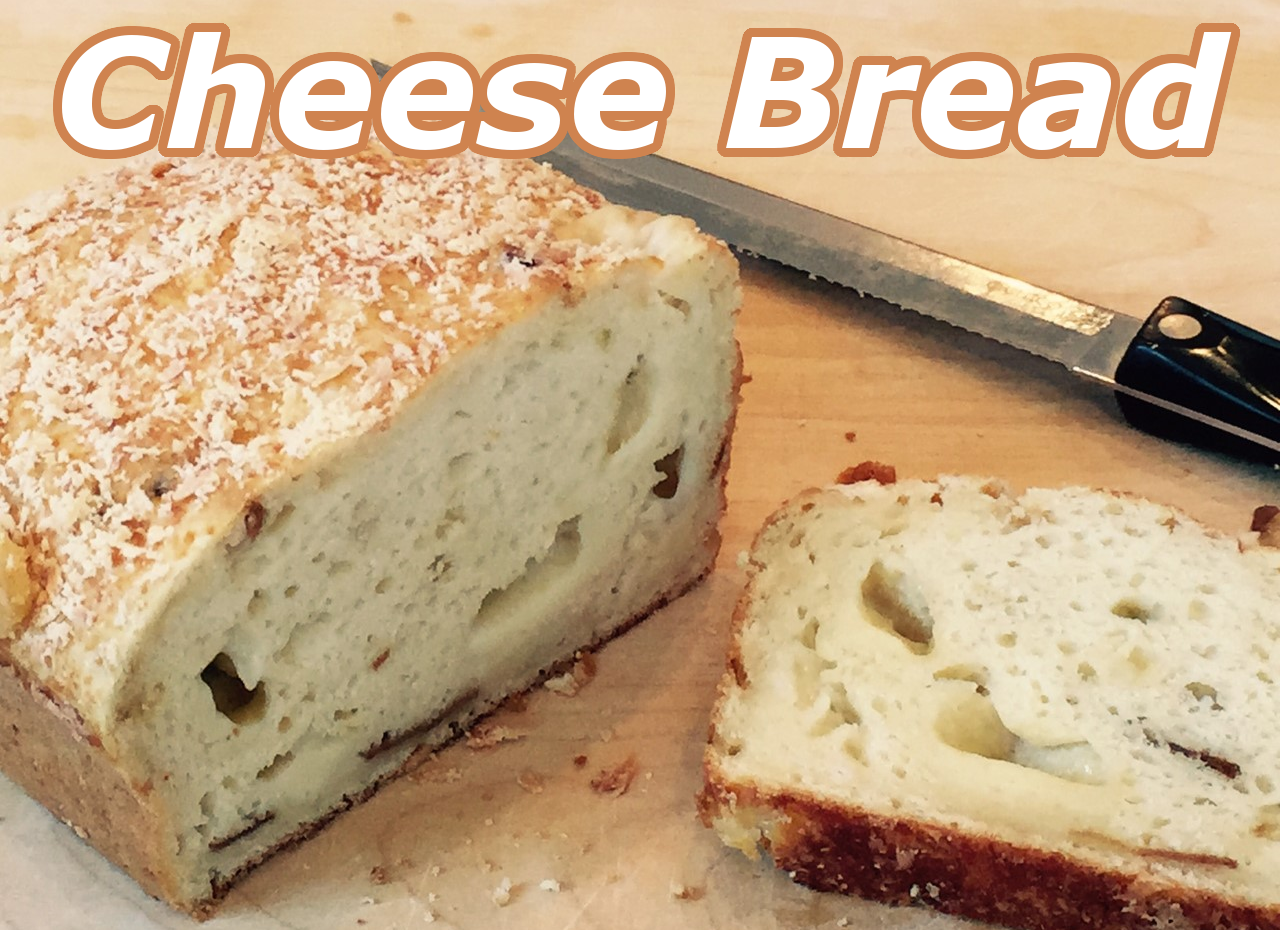 It’s hard to beat bread and cheese. Add onion and bacon (fake, of course!) and – wow!
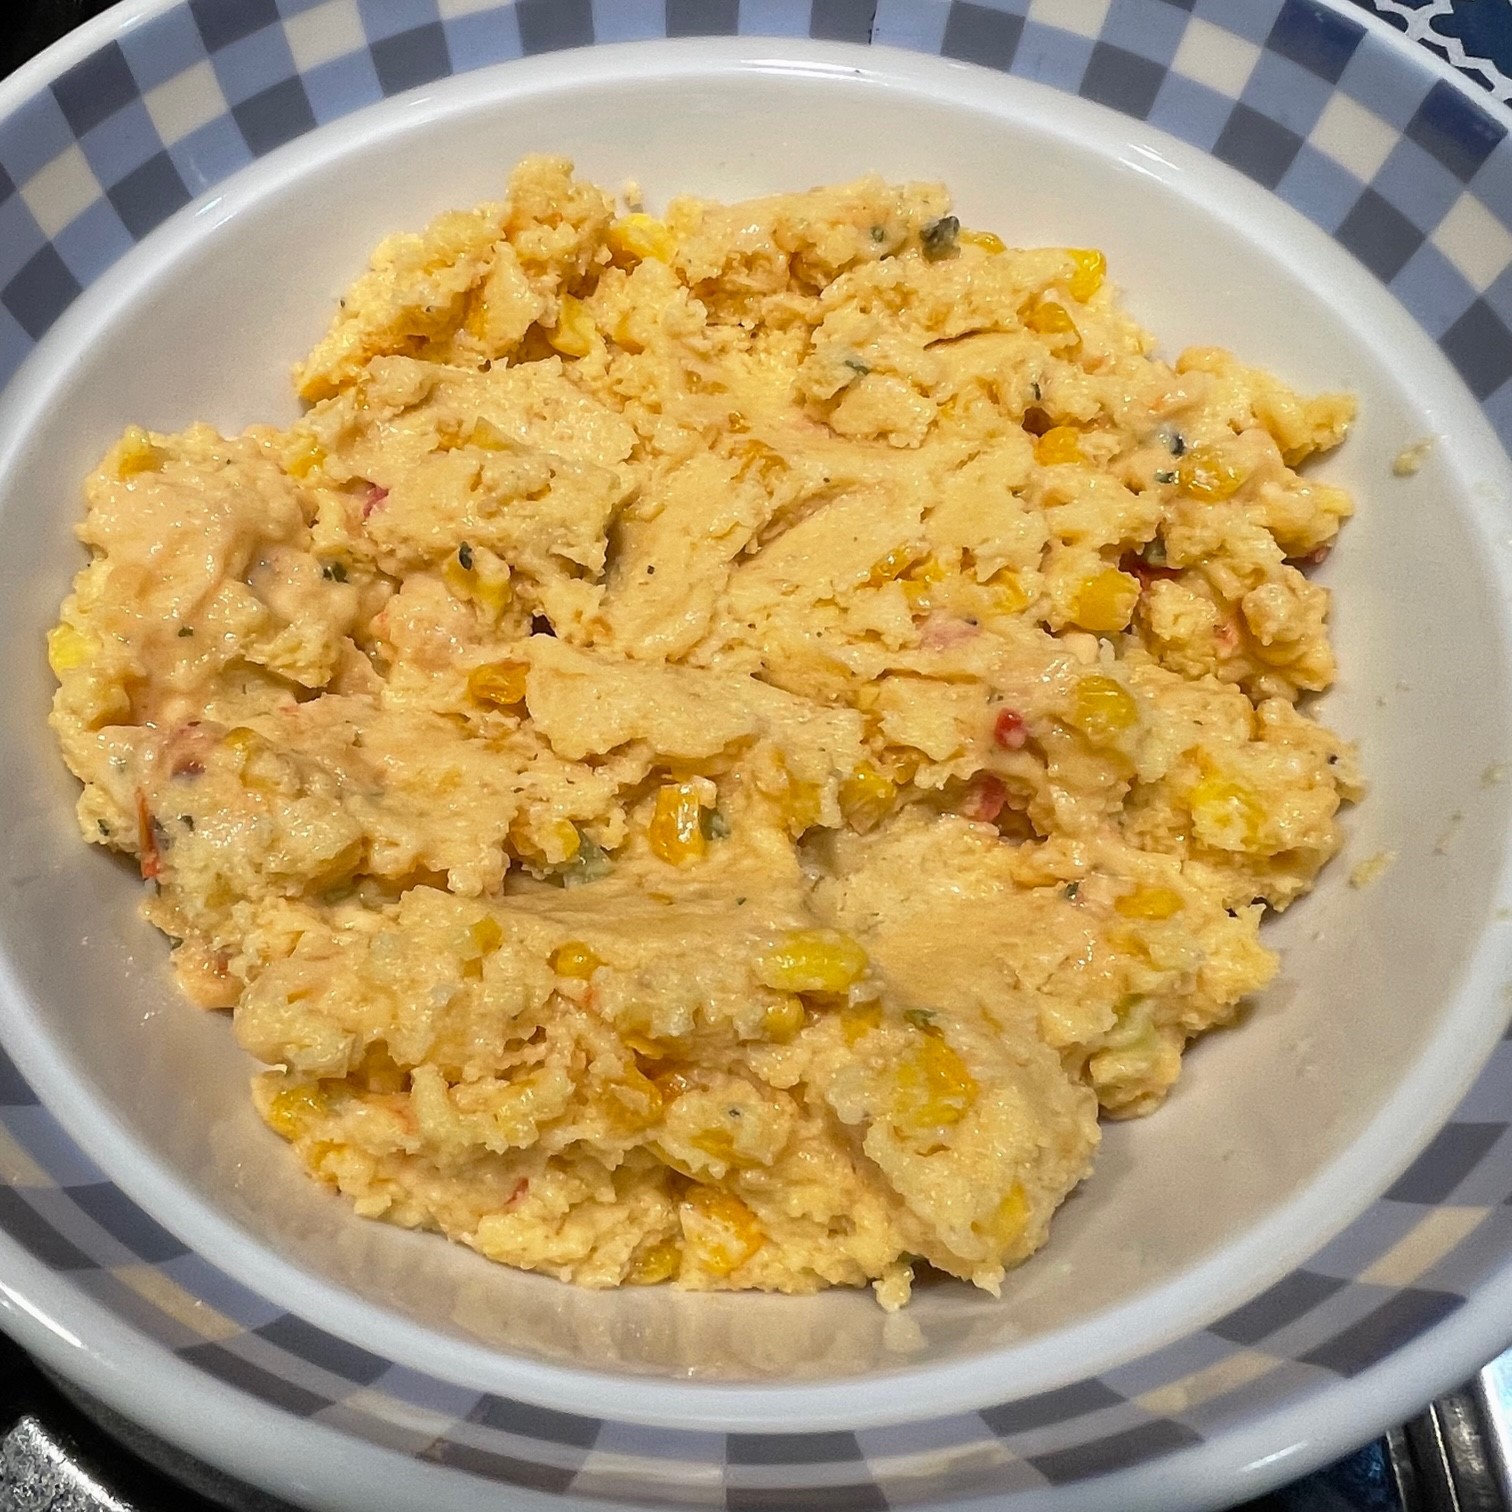
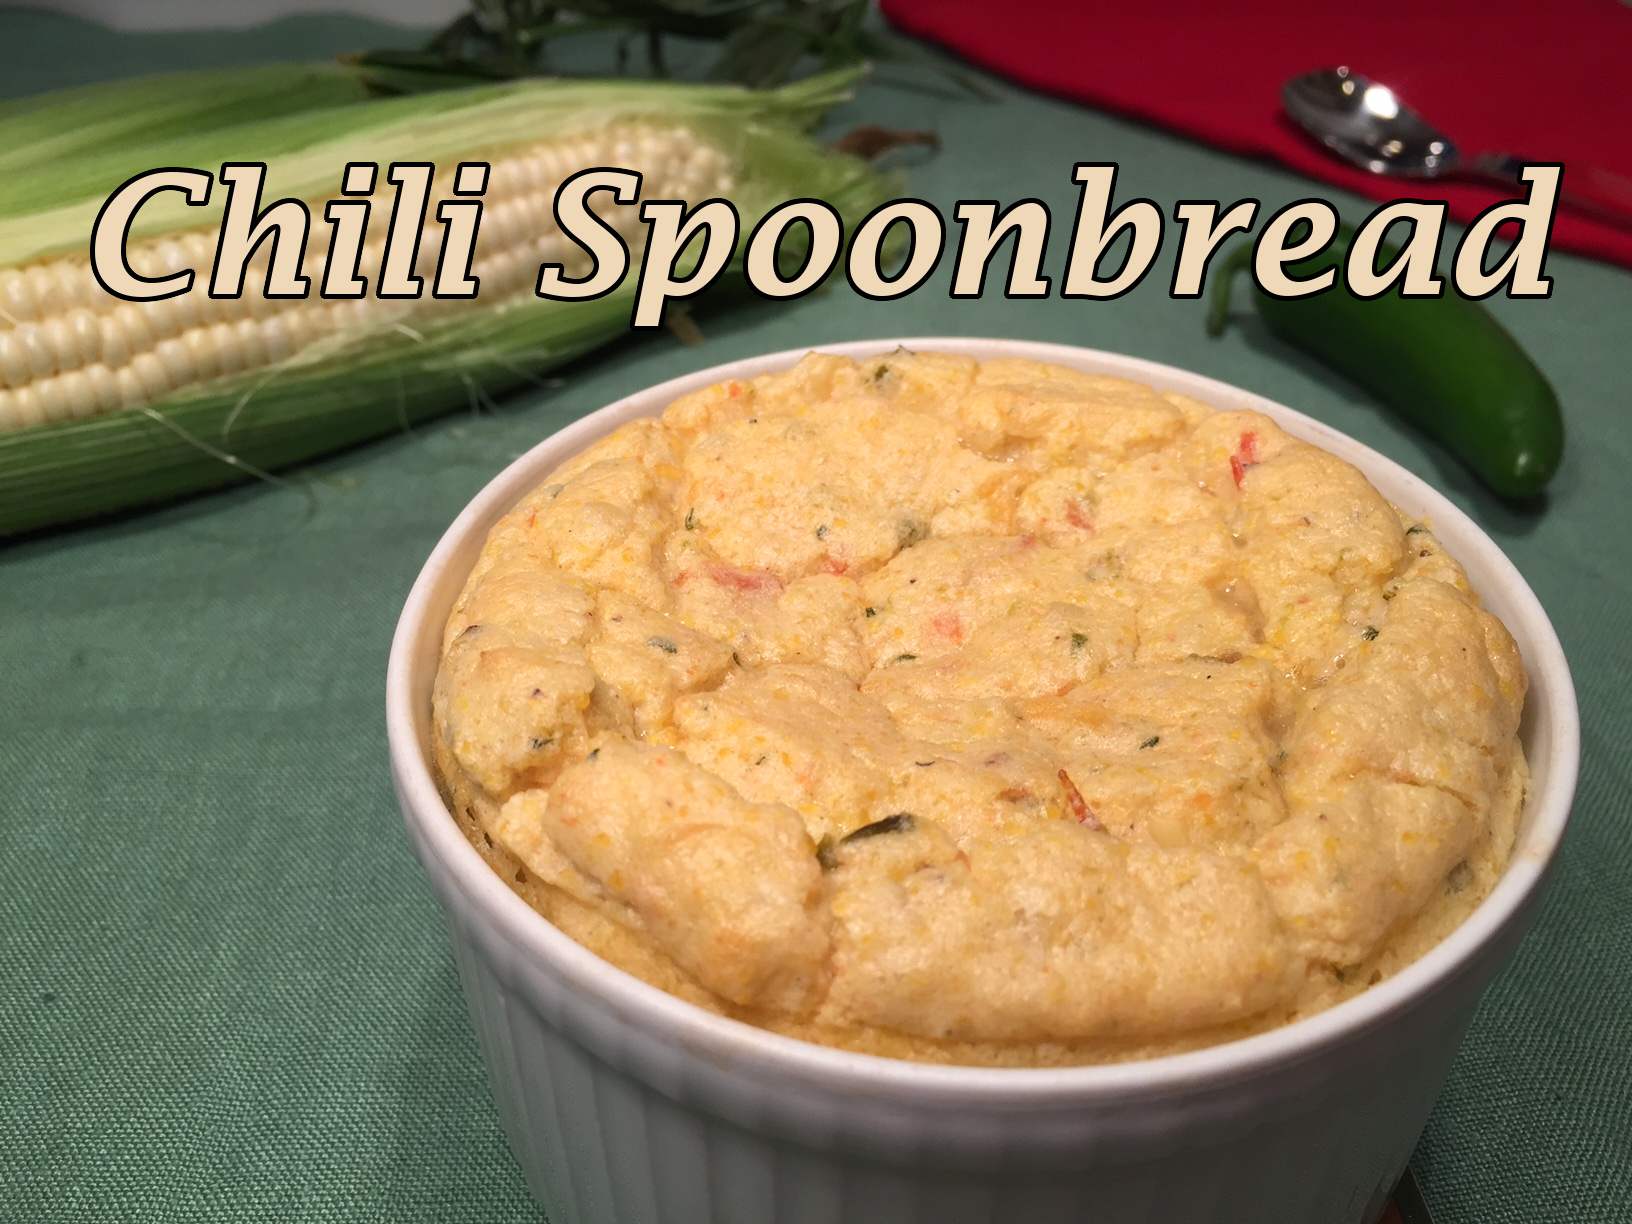 Never heard of spoonbread? Neither had I, but I saw it on America’s Test Kitchen and it looked delicious. A popular dish in the southern United States, it’s kind of a cross between cornbread and a soufflé.


 I’ve been on a mission to try making foods from scratch that you would normally never think of, such as tortillas (flour and corn), Italian rustic bread, yogurt, cream cheese, and pasta. I think you get the idea.
 People are often astounded that I bake my own pita bread. I’m not sure if it’s because they don’t understand why I bother, or because they believe it’s difficult to make.