PASTA ALLA NORCINA FLORENTINE: Molto Buona!

pasta-alla-norcina-florentine-textThe one imitation meat that really does taste like the real thing is “sausage”. (quotation marks denote fake meat.) My go-to brand is Morningstar Sausage Patties. (I’ve never actually tried any other brand since these are so good!)

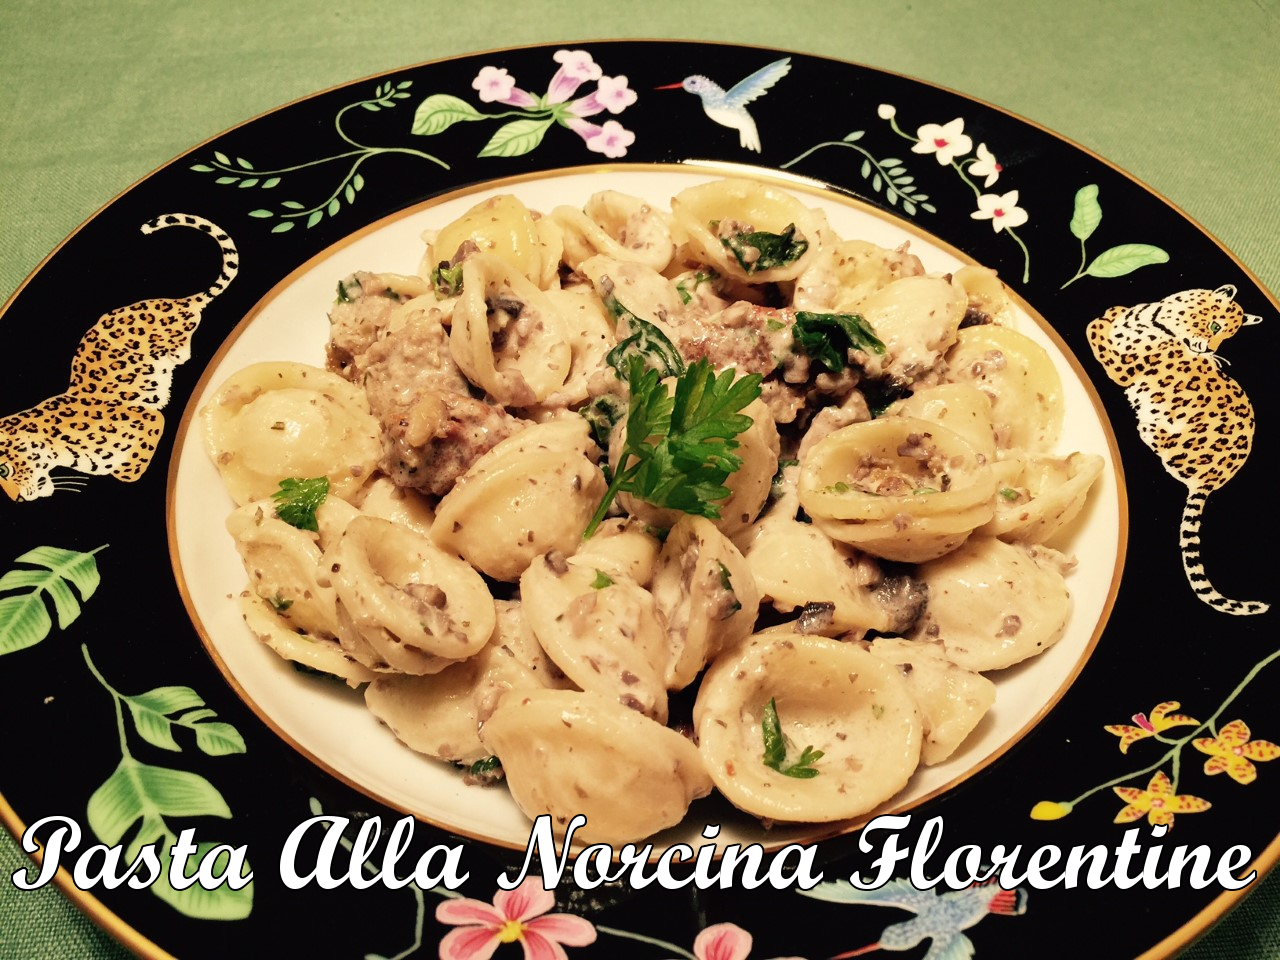
So when I saw an episode of America’s Test Kitchen featuring Pasta Alla Norcina, I was pretty confident their recipe could be adapted quite well for vegetarians. And, was I right! I went one step further and added spinach – I happened to have some extra in the fridge. (Waste not, want not.)

Not only is my PASTA ALLA NORCINA FLORENTINE a tasty delight, but it can be made in about half an hour – great for busy schedules.

Note: Try and use the orecchiette pasta. The name means ‘little ears’, since that’s what they look like. They’re perfect for capturing the other ingredients in the dish, so you get everything in one bite.

PASTA ALLA NORCINA FLORENTINE – makes about 5 cups

  • 343g (12 oz) orecchiette pasta
  • 4 “sausage” patties (I use Morningstar original patties, but their spicy ones add a nice kick)
  • 227g (8 oz) mushrooms (I prefer the common white mushrooms)
  • 1 tsp salt + more for pasta water
  • 166g (3/4 cup) cream
  • 2 T olive oil
  • 2 tsp garlic, pressed
  • 1/2 tsp crushed dried rosemary
  • 1/2 tsp pepper
  • 98g (1/2 cup) white wine
  • 18g (1½ oz) (about 1 cup) fresh spinach, chopped
  • 57g 2 oz) Pecorino-Romano cheese, grated
  • 18g (1/2 cup) parsley, chopped (tip: put parsley in a cup and use kitchen shears to chop)
  • 1 T lemon juice

Cook the pasta in a large pot of boiling salted water.

As the pasta is cooking, bake the “sausage” patties per package instructions (about 15 minutes). Set aside to cool when done.

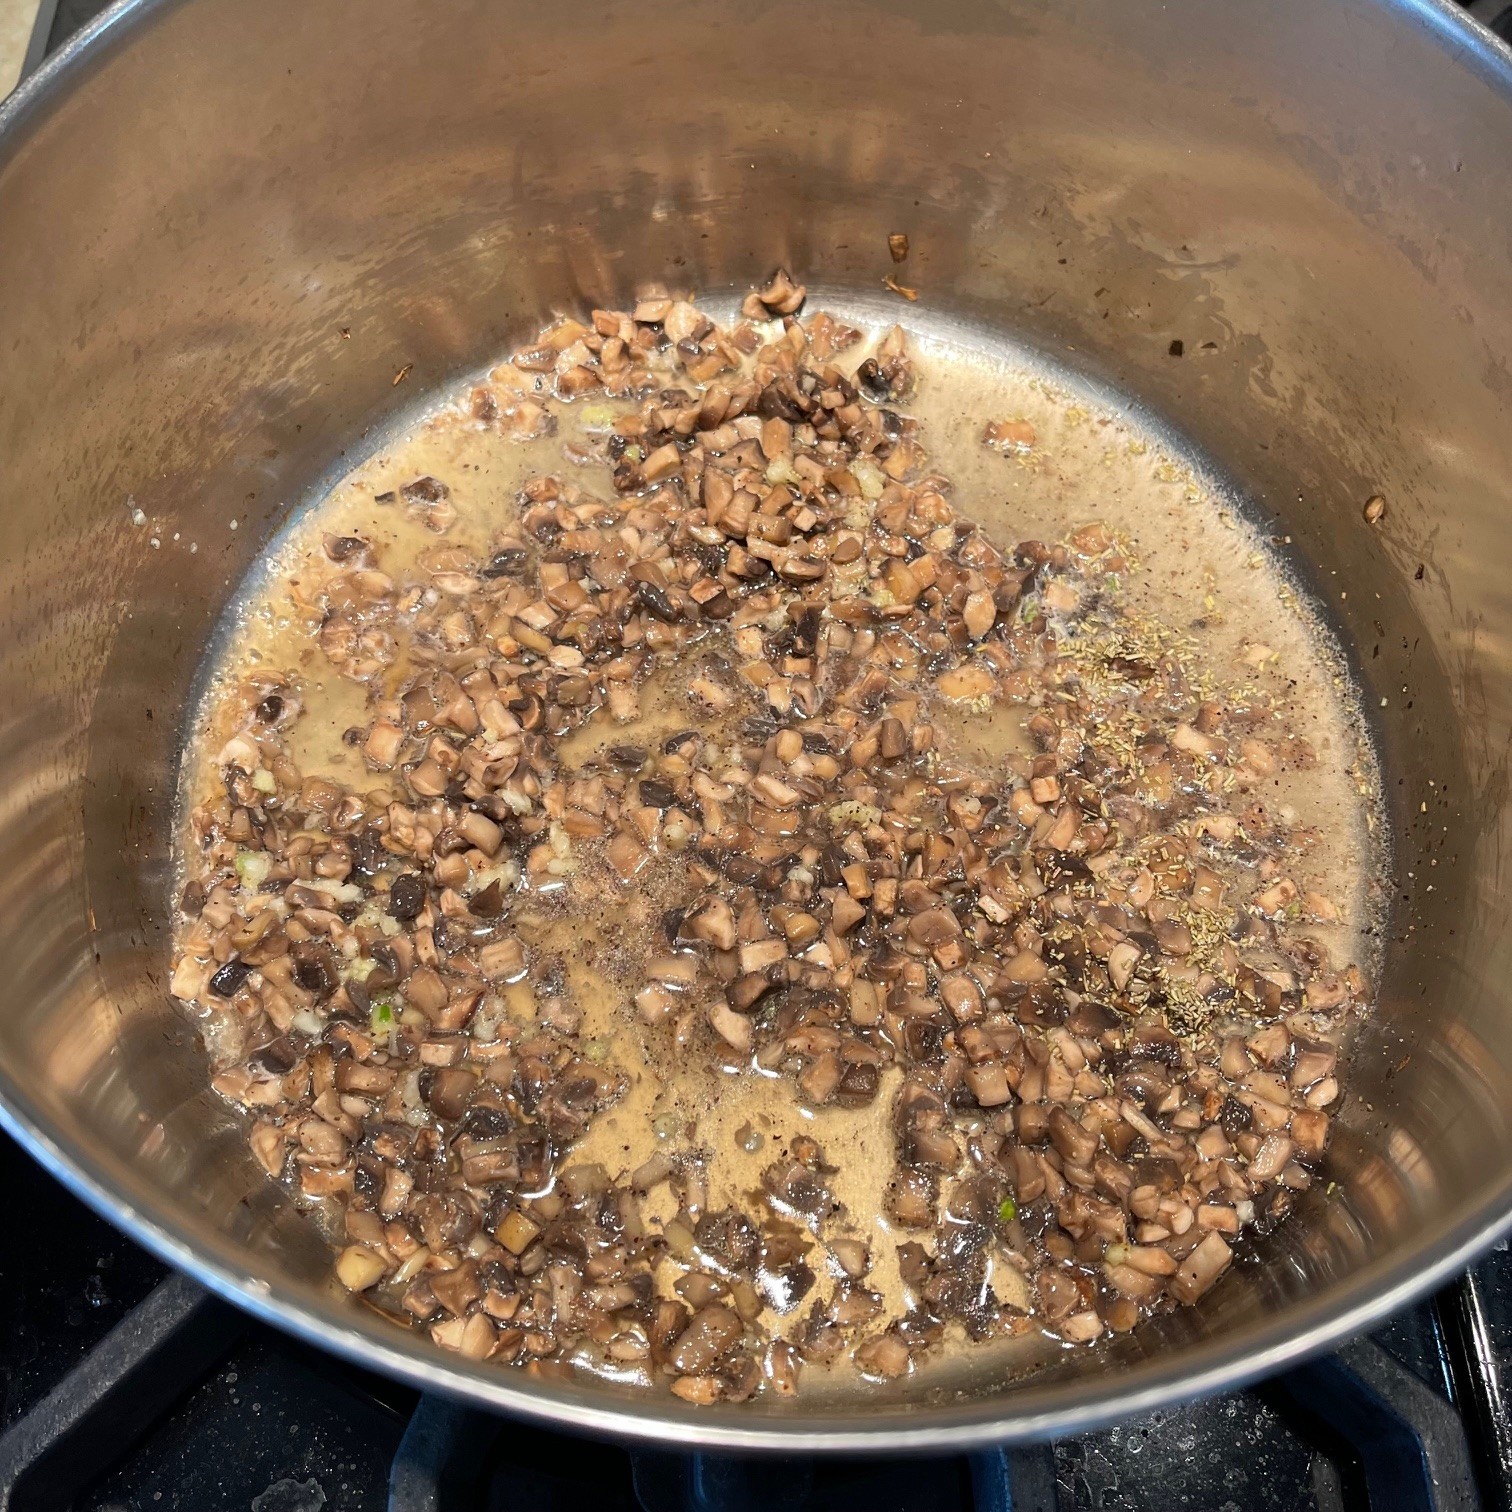
Pulse the mushrooms 10 times in the food processor. If you don’t have one, chop them very small. (Then, add “food processor” to your gift list for the holidays!)


In a skillet, heat oil over medium/high flame and sauté mushrooms for 7 minutes. Add in salt, garlic, rosemary, pepper, and wine. Cook until wine has evaporated. Keep an eye on it – it doesn’t take long (about 3-5 minutes).

As the mushrooms are cooking, break up the cooled sausage patties into bite-sized pieces and mix with cream in a bowl. Set aside.

When pasta is cooked, save 1½ cups of the pasta water, then drain. (FYI, pasta water is a great thickener.)

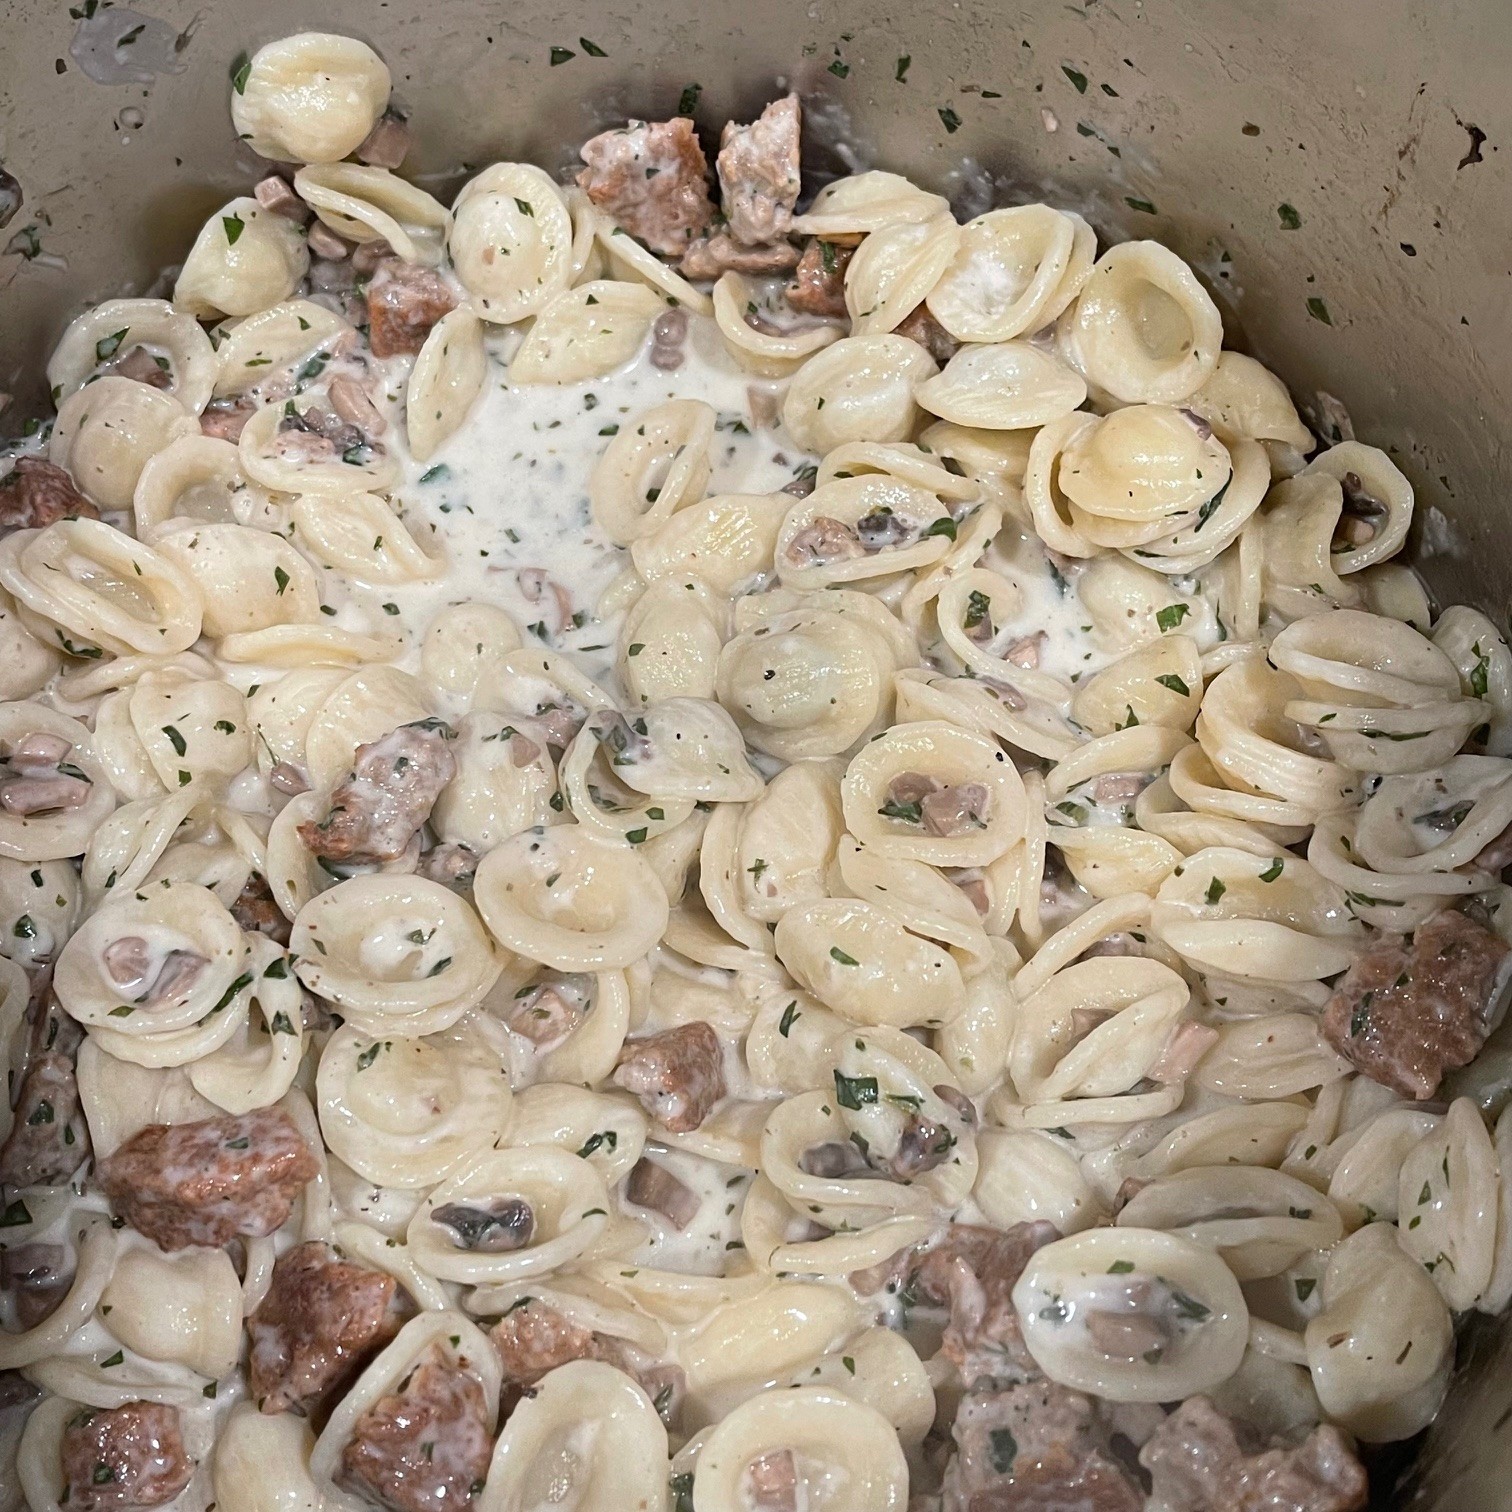
Into the mushrooms pour 3/4 cup of the pasta water, the “sausage” and cream, and spinach. Simmer 3 minutes.

Into the now empty pasta pot, combine the pasta, mushroom mixture, Pecorino-Romano, parsley, and lemon juice. Add in extra pasta water, if needed (I never need to).


FLAN -There’s Always Room For This Silky Dessert!

flan-textI’ve been known to suggest (some might say ‘nag’) ALWAYS setting a timer when directions call for a specific amount of time. Even if it’s 5 minutes! It’s so easy to get distracted.

I, now, need to expand on this edict. Set a timer AND make sure it’s the kind that keeps beeping until you shut it off.

Lesson learnt last night when I ended up having to cook 2 batches of FLAN because I became so engrossed working on my computer that I didn’t hear the timer – even though I was in the same room. By the time I remembered I was baking something, my FLAN had overcooked by 20 degrees, transforming my creamy dessert into rubber. Sigh!

Fortunately, Batch #2 came out perfectly: silky smooth that melts in your mouth.

Note #1:  FLAN is a very easy dessert to make, but needs to be prepared the day before to set properly and chill.

Note #2:  As Queen of Freeze, I feel obliged to encourage you to freeze the unused egg whites for future use.

FLAN

  • 1/4 cup + 2 T water, divided
  • 2/3 cup sugar
  • 2 whole eggs
  • 5 egg yolks
  • 1 can sweetened condensed milk (14 oz)
  • 1 can evaporated milk (12 oz)
  • 1/2 cup whole milk
  • 1 T vanilla
  • 1/2 tsp salt

The first thing to do is make the caramel. For those of you multi-taskers, try and restrain yourself to this task – caramel goes from nearly done to burnt in an instant!

In a sturdy saucepan (I use my All-Clad for this – it conducts heat evenly), pour in 1/4 cup water. Add sugar in the center of the pan, not letting the sugar touch the sides. Very carefully stir water into the sugar so it’s completely moistened but still not touching the sides of the pan or it could crystallize.

Turn the burner to medium/high and let sugar-water boil – without stirring – until it begins to turn golden – about 5 minutes. You’ll notice it becoming thicker as the water evaporates. Once it’s golden in a few spots, slowly swirl the pan to even out the caramelization. It will continue to darken in color. When it’s light brown throughout, lower the heat to very low, continuing to swirl. Once it becomes reddish color (and you may see steam puff up), swirl in 2 T water. Immediately pour caramel into a loaf pan. (You can use either a metal or glass loaf pan, but cooking time will vary accordingly.)

At this time, preheat oven to 300º Fahrenheit and boil about 4 cups of water.

In a large mixing bowl, whisk the whole eggs and yolks together, just until blended. Add in the condensed milk, evaporated milk, whole milk, vanilla, and salt. Whisk together gently – you don’t want air pockets. (I’ve found sliding my whisk down the sides and lifting it up in the center, letting the liquids run back into the bowl, works well.)

Hold a strainer over the loaf pan and pour egg mixture through it onto the caramel – the strainer will catch unwanted tiny bits. Cover with foil. Put loaf pan in a larger pan (such as a casserole dish), and pour the boiling water around the loaf pan to about halfway up the side of the casserole dish.

Place in oven and bake at 300º F for about 75 minutes (1 hour, 15 minutes). SET TIMER! The goal is for the flan to reach 180º F – you need to use a thermometer for this. If you’re using a metal pan, it will probably be done. The glass Pyrex loaf pans are not as wide, and taller so, if you’re using glass, plan on another 20 minutes.

Once the flan reaches 180º F, remove from oven, leaving it in the water bath for 90 minutes, UNcovered. Then, remove pan from water bath, cover with the foil, and refrigerate for at least 8 hours.

To serve, run a round tipped knife (so it doesn’t scratch the metal pan) along the sides, place serving platter on top, and invert. The flan will plop down. Carefully lift off loaf pan. You can scrape any caramel remaining in the loaf pan over the top of the FLAN – one can never have too much caramel!


APPLE-POTATO FRITTATA: A Spooktacular Recipe All Year ‘Round!

halloween-frittata-text-horizontal
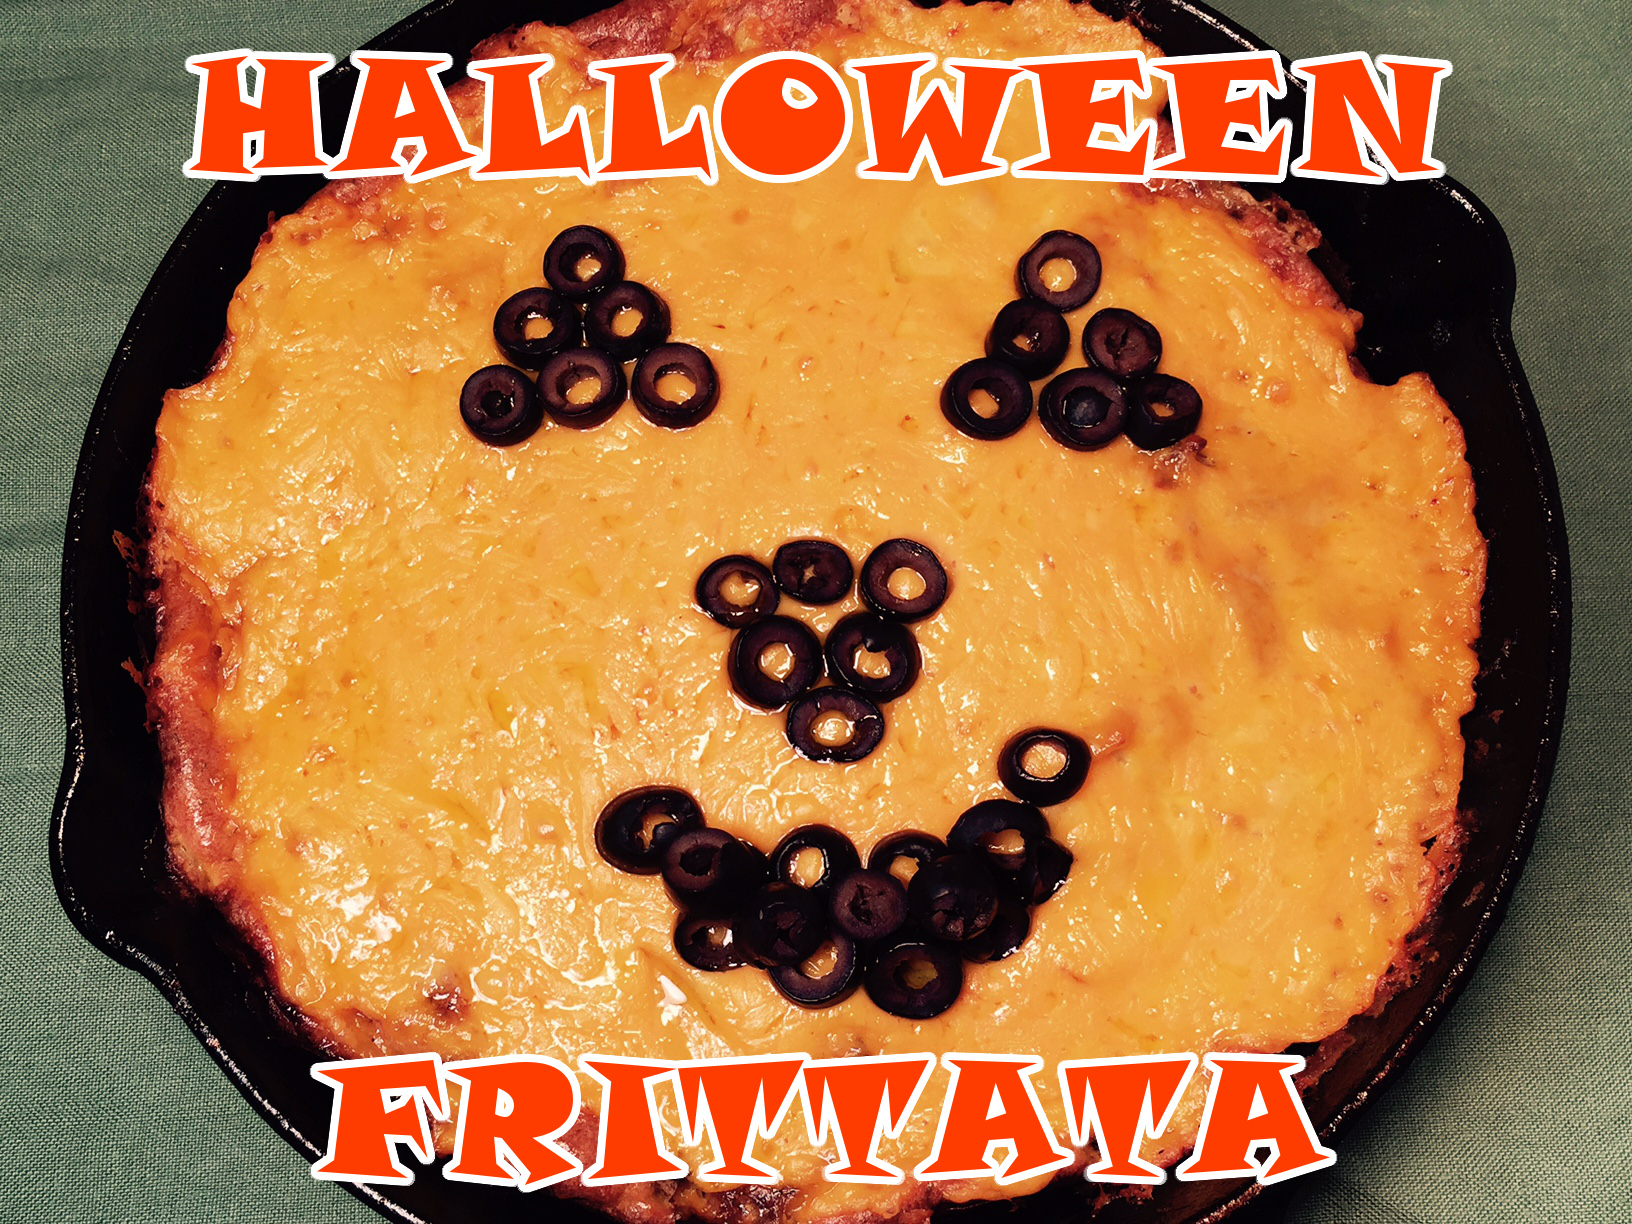
I’ve been struggling with a post topic for Halloween – there’s only so much pumpkin one can eat. Then I came across a wonderful article by Helen Nichols – 34 Science-Backed Health Benefits Of Apples. A lightbulb went off!lightbulb-moment-croppedInspired by my new-found apple information and beautiful photos, I decided to create an apple based recipe. A memory shot out from the deep recesses of my mind of a college friend who told me she made an apple omelette because it was all she had in the fridge. She couldn’t believe how delicious it was. I was skeptical, but obviously intrigued enough to file it away in my memory-bank.

Ideas began floating around me: apples… potatoes… onion… Halloween. Finally it hit me – a frittata filled with apples, potatoes, and onions, topped with melted orange colored cheese to resemble a pumpkin.

Like most egg dishes, APPLE-POTATO FRITTATA needs to set before eating so it’s firm enough to retain its shape. This is perfect for a Halloween dinner – you can make it before the trick-or-treaters come knocking at your door, then eat it during lulls in between visits. It doesn’t need to be piping hot to enjoy.

Note:  Make sure your skillet is oven-proof. The ideal pan for this recipe is cast-iron.

Additional Note:  I leave the apples and potato unpeeled for added nutrients and fibre.

APPLE-POTATO FRITTATA – makes 4-5 servings

  • 1 cup onions, chopped
  • 1 lb Yukon potato, UNpeeled
  • 1 lb apples (I prefer Golden Delicious), UNpeeled
  • 6 T olive oil, divided
  • 1½ tsp salt, divided
  • 1/4 tsp pepper
  • 1 tsp dried dill
  • 8 eggs
  • 1/4 cup sour cream
  • 8 oz orange colored cheese (I used Colby Longhorn), shredded

Into a medium sized mixing bowl put 4 T olive oil, 1 tsp salt, and the pepper. Add in onions. Slice the potato in half, then cut each half in half in the same direction. Thinly slice each quarter in the opposite direction. Stir into onions, mixing well.

Heat 1 T olive oil in cast iron 10″ skillet over medium/high flame. Pour in onion mixture. Press down with a spatula, making an even layer. Cover pan with lid. Set timer for 15 minutes. Stir, pack down, and cover again every 5 minutes until 15 minutes is up.

Note:  Trust me on this:  set your timer, when indicated!  I realize it’s for a short period of time and you’re sure you’ll remember. Been there, done that. These short periods of time are just long enough to think you can squeeze in a small chore, which always takes longer than expected. SET YOUR TIMER!

While onions/potatoes are cooking, cut the apples: with apples sitting upright, cut down along edge of core. Turn apple 45 degrees and cut again. Do this 2 more times. Discard core. Take the 4 pieces and half them horizontally. Then make thin slices vertically. When timer goes off, stir apples into onions/potatoes. Pack down and continue cooking, covered, for 5 minutes more.

While apples are cooking, break eggs into the same mixing bowl you used for the onions and potatoes – no point in dirtying another bowl. Add in sour cream and remaining 1/2 tsp salt. Lightly whisk together.

When apple/onion/potato mixture is finished cooking, stir into eggs. Heat 1 T olive oil in skillet over medium/high and pour in egg mixture. Run a heat-proof spatula along edge of skillet for 15 seconds to stir up the eggs a bit. Smooth top, cover, and cook 5 minutes.

Preheat oven to 350º fahrenheit.

Uncover skillet and place in oven. Set timer for 20 minutes. Remove from oven and sprinkle on cheese, covering entire top. Put back in oven and bake 5 more minutes to melt cheese.

Remove from oven and decorate, if desired. I used black olive slices. Let set for, at least, 20 minutes before slicing. (If you’re feeling decadent, you can slather extra sour cream on top!)

Thank you, Helen Nichols, for the motivation to create this delicious recipe!

NAAN BREAD – A Super Scooper

naan-bread-text
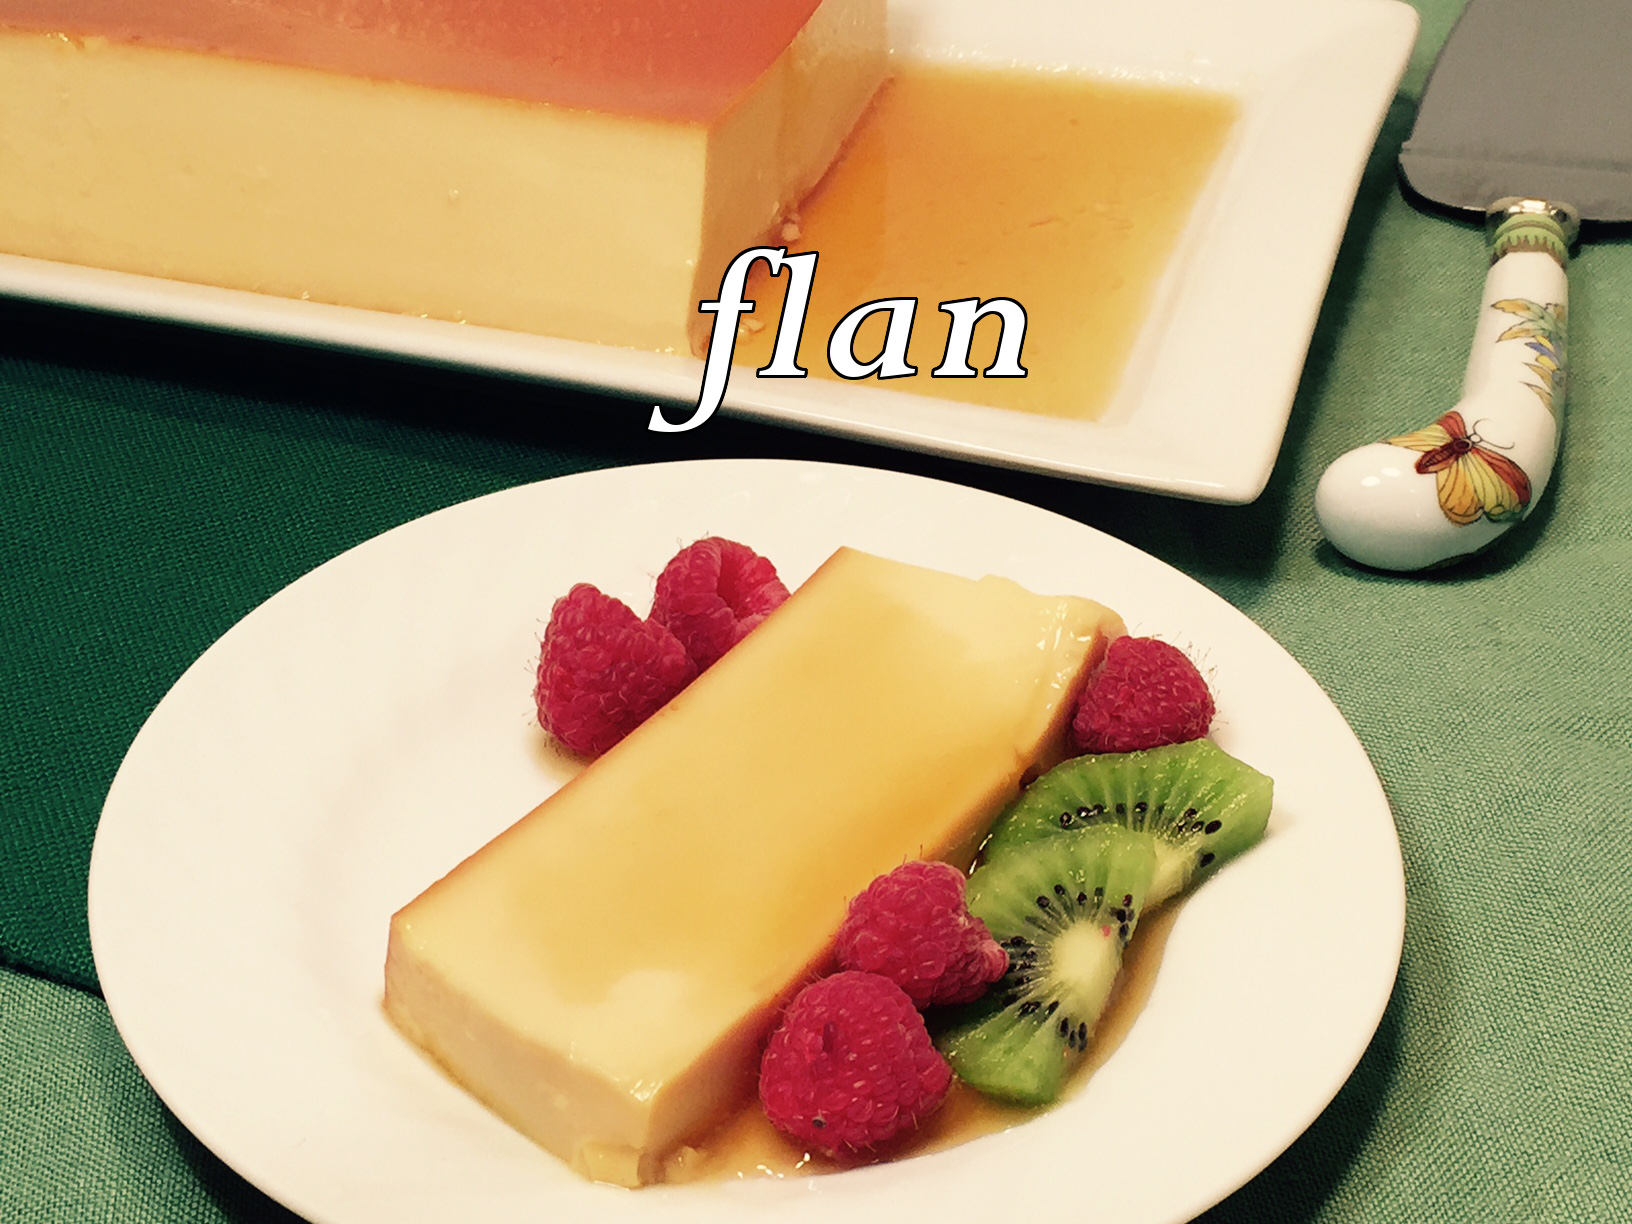
The subject of my previous post was Saag Paneer,  a delicious spinach/paneer cheese Indian dish. The best way to enjoy Saag Paneer is by scooping it up with Naan Bread. So, naturally, I decided to try my hand at this soft, chewy flatbread.

Traditionally, Naan Bread is cooked by throwing it on the sides of a tandoori oven. While I do like to do things the right way, there are limits. Fortunately, a cast iron or nonstick skillet does the trick.

While it’s not difficult to make Naan Bread, one does have to plan ahead – after making the dough, it needs to rest in the refrigerator for, at least, 16 hours.

Note:  Obviously, historically, bread was made by hand. But I’m a gal who likes to save time and energy when I can, so I HIGHLY recommend using a food processor. If you don’t own one, look into buying one – I often see them at thrift stores, if a new one is beyond your means.

NAAN BREAD – makes 8

  • 2 cups all-purpose flour
  • 1¾ cups bread flour
  • 1 tsp dry yeast
  • 2½ tsp sugar
  • 1 cup ice water
  • 1/4 cup plain yogurt
  • 6 T vegetable oil
  • 2 egg yolks
  • 2½ tsp salt
  • 1½ T butter

Into the work bowl of your food processor, pulse together the flours, yeast, and sugar. Add in the ice water, yogurt, oil, and yolks. Blend for 10 seconds, then let rest for 10 minutes. Add in the salt and process until dough forms a ball and pulls away from the sides.

Empty dough onto lightly floured surface and knead for about 1 minute. Place in an oiled bowl, pressing down, then flipping dough to coat other side. Cover with a plate or plastic wrap. (I use the free shower caps they give you in hotels. The elastic holds tight to the bowl, and you can use them over and over.) Place in refrigerator for, at least, 16 hours.

Divide dough into 8 equal pieces and roll each into a ball. Lay them on a board or greased cookie sheet, not touching. Cover and let rest 20 minutes.

Cooking the 8 dough pieces can be done by one person, as long as you keep at it and don’t get distracted. But if you have an assistant – so much the better.

In small pan, melt butter. Set aside.

Heat a small amount of vegetable oil in a 10″ skillet (I use cast iron) over a medium flame. While it’s heating, roll out one ball on a very lightly floured surface to about 6″ in diameter. Stab (it’s called docking) rolled out dough all over with a fork to prevent it puffing up. Hold dough splayed out in one hand away from other balls and spritz it with water with the other hand. Then place dough circle wet side down onto heated skillet. (Make sure you lay the dough down carefully rather than tossing it, which will cause the heated oil to splash.) Spritz dry side with water and cover.

While first side of dough is cooking, roll out the next circle and dock with fork. When the first piece is browned on bottom (about 2 minutes), flip, cover, and cook until browned. Remove to large tea towel. Brush with a little melted butter.

Add a small amount of oil to empty skillet, pick up prepared dough, spritz with water, and place wet side down. Spritz top with water, cover, and begin on next piece. Continue as before until all pieces are cooked.


SAAG PANEER -Surprisingly Simple!

fullsizerender-20SAAG PANEER is one of my favorite dishes to order when we go to Indian restaurants. And, as it turns out, it’s quite easy to make.

One thing to bear in mind when shopping for the spinach is to buy the amount specified in the recipe – 20 ounces. It may look like enough to feed an army, but spinach wilts down tremendously when cooked.

I recommend making the paneer cheese ahead of time – even a day or two – before serving. This gives the cheese plenty of time to drain.

NOTE: In reading through the directions, you may be tempted to skip the separate cooking steps and just throw everything into the pot at once. Don’t! The onions take longer to cook than the jalapeño and garlic, which takes longer than the tomato. Cooking things in stages allows the ingredients to end up at their peak of flavor.

SAAG PANEER – makes about 1 quart

  • 1½ quarts whole milk
  • 2½ cups buttermilk, divided
  • 1/2 T salt
  • 20 oz fresh spinach leaves
  • 3 T butter
  • 1 tsp cumin
  • 1 tsp coriander
  • 1 tsp paprika
  • 1/2 tsp cardamon
  • 1/4 tsp cinnamon
  • 1 tsp ginger
  • 1/2 tsp cayenne pepper
  • 1 onion, chopped
  • 3/4 tsp salt
  • 1 jalapeño, finely minced (remove seeds and ribs)
  • 3 garlic cloves, pressed
  • 14 oz tomatoes, chopped (fresh or canned)
  • 1/2 cup cashews, toasted, divided

To make the paneer cheese, heat whole milk just to a boil. Stir in 1½ cups buttermilk and 1/2 T salt. Remove from heat. Let sit 10 minutes to coagulate. Line a colander with 3 layers of cheesecloth and set in sink. Pour in milk and let drain 15 minutes. Bring the 4 corners of the cheesecloth together to form a sack. Gently twist to expel more liquid. Finally, hang the bag for several hours to complete the draining process. To do this, tie corners together, insert some sort of stick (such as a long wooden spoon), and rest the ends on something tall enough to allow the sack to hang freely. Be sure to place a container underneath to catch the liquid unless you’re doing this over the sink.

Thoroughly wash spinach – it can be very muddy. Place in a large bowl (you may need to do this in batches), cover with a plate, and microwave for 3 minutes. Discard liquid.

In a large skillet or saucepan, melt butter. Add in cumin, coriander, paprika, cardamon, cinnamon, ginger, and cayenne. Stir over medium heat for 30 seconds to bloom spices. Add in onions and 3/4 tsp salt. Cook for 5 minutes.

Add in the jalapeño and garlic, and cook for 2 more minutes. Add in tomatoes and cook 3 more minutes.

Chop 2/3 cup of the cooked spinach – I use my kitchen shears for this. Set aside.

Into a food processor or blender put the unchopped spinach, half of the cooked tomato mixture, 1 cup water, and 1/4 cup of the cashews. Pulse several times to purée. Pour back into saucepan with the other half of the tomato mixture. Add in the chopped spinach and remaining 1 cup of buttermilk. Bring to simmer, cover, and cook 5 minutes to heat through.

Cube the paneer cheese into 1/2″ pieces. Stir into the spinach mixture.

Serve over rice, topped with cashews.


CASHEW CRISPS -The Forgotten Nut!

cashew-crisps-text
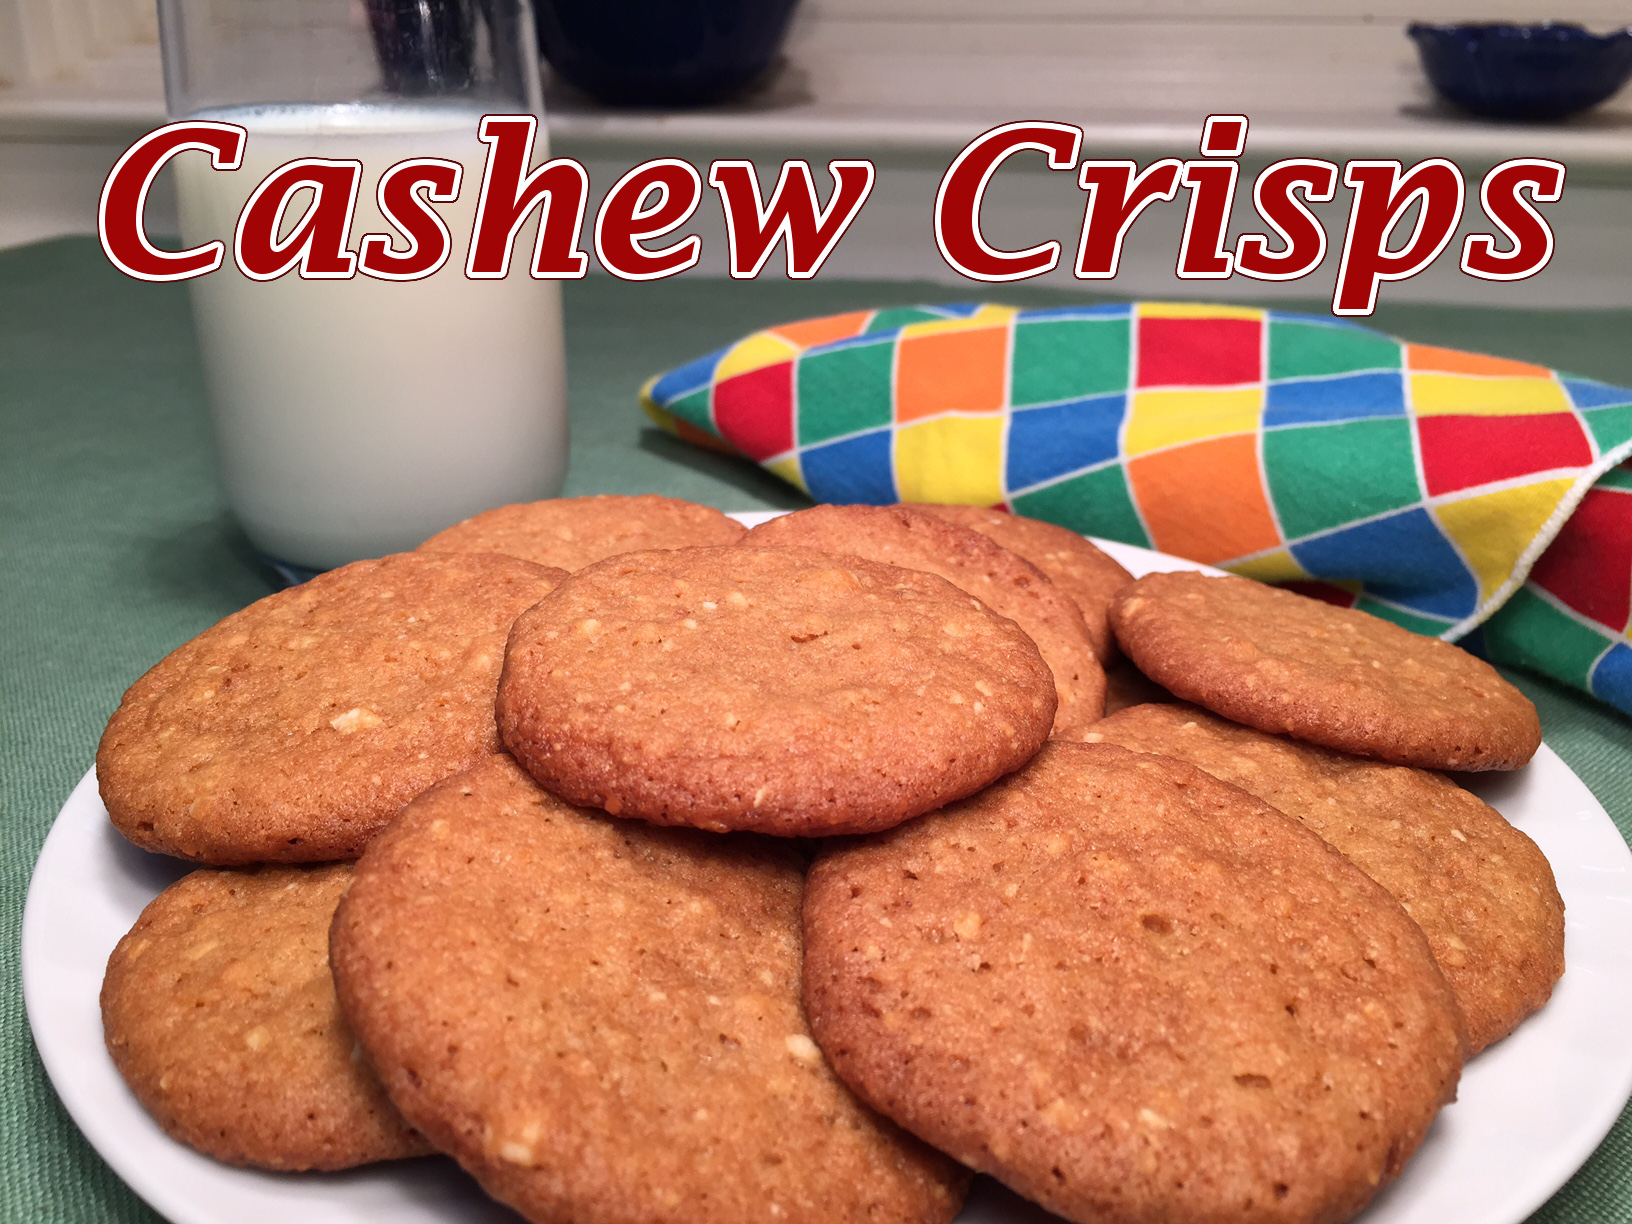
Believe it or not, sometimes I crave a chocolate-free cookie. That’s a pretty bold statement from a certified chocoholic – but, there it is.

CASHEW CRISPS are a simple little cookie that go well with a cup of tea, coffee, or a big glass of cold milk. They’re easy to make and perfect for kids who want to help. This recipe makes about 4½ dozen cookies – the more hands to roll dough-balls, the better!

NOTE: If you like these cookies, next time make extra and freeze the uncooked dough balls for future use. I always like to have extra baked goods at the ready!

CASHEW CRISPS – makes about 4½ dozen

  • 3/4 cup salted cashews
  • 3/4 cup butter
  • 1 cup sugar
  • 1 tsp vanilla
  • 1 T molasses
  • 1 egg
  • 1½ cups all-purpose flour
  • 3/4 tsp baking soda
  • 1/2 tsp baking powder
  • 1/2 tsp salt

Toast cashews. Put in blender or food processor, then pulse until finely ground.

Melt butter and combine with sugar, vanilla, and molasses using an electric mixer. (If you don’t have an electric mixer, hand mix vigorously.)  Beat in cashews, then beat in the egg.

Add in flour, baking soda, baking powder, and salt, blending just until flour is incorporated. Let dough rest half an hour.

Roll into 1″ balls. Place on greased cookie sheet (unless using non-stick).

Bake at 350º for 10-11 minutes. (Cookies bake faster on a dark sheet.)

CHEESE BREAD – A Slice Of Goodness!

cheese-bread-text
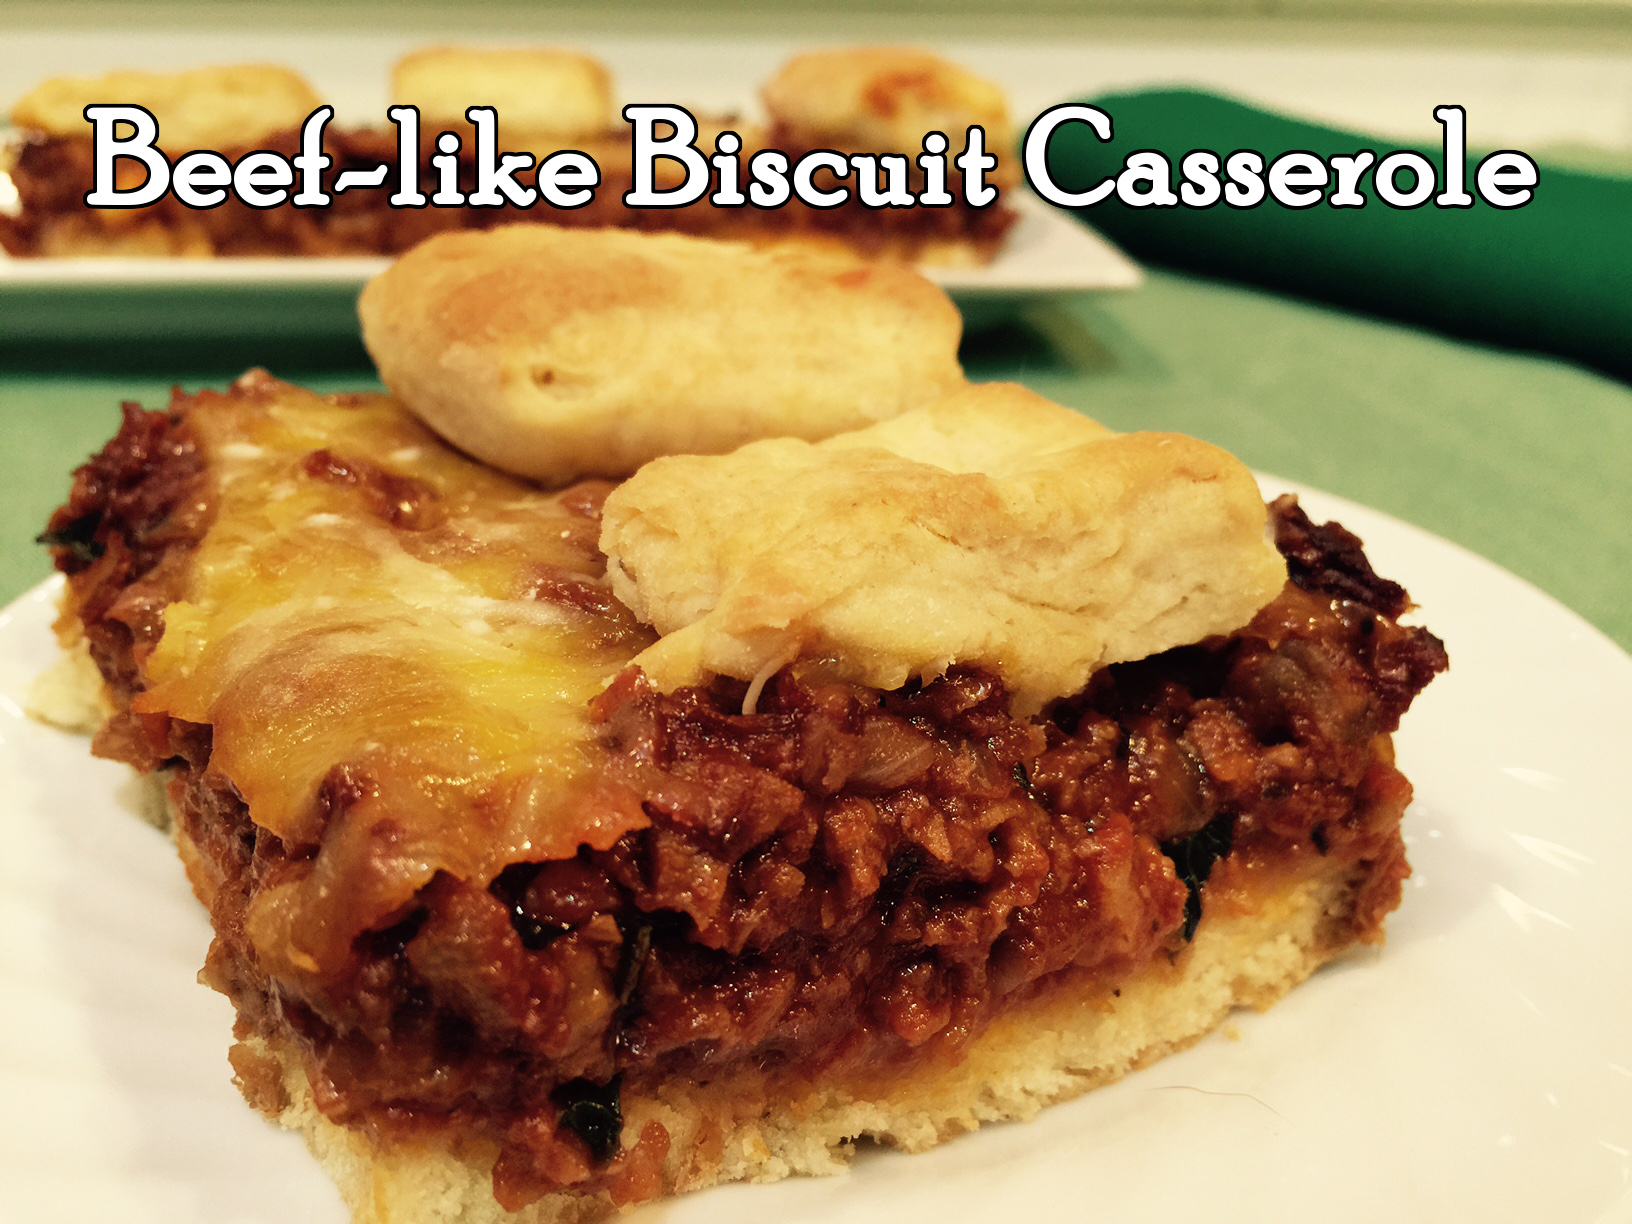
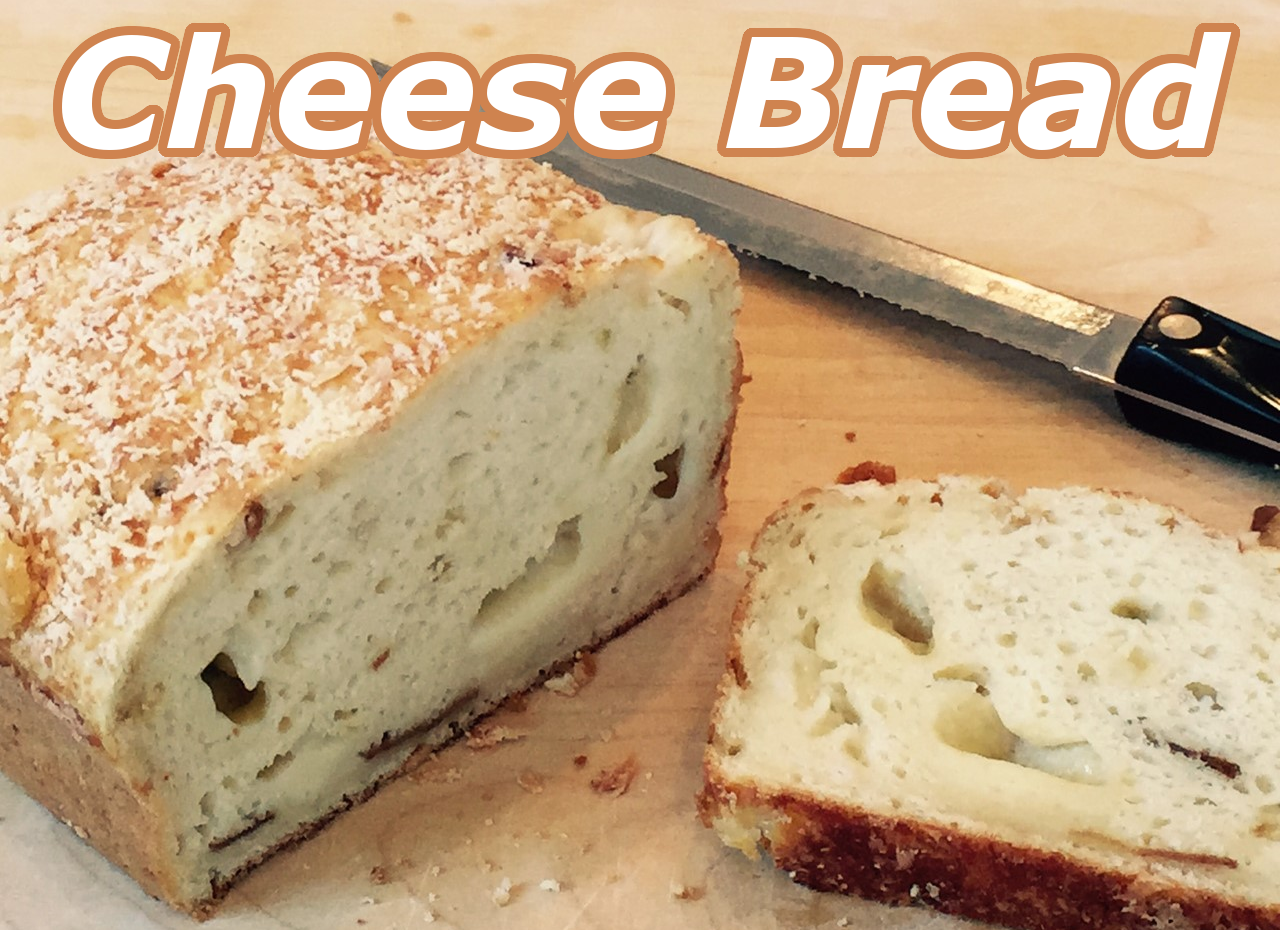
It’s hard to beat bread and cheese. Add onion and bacon (fake, of course!) and – wow!

Cheese Bread is a quick bread, meaning there’s no yeast, kneading, or rising to deal with. However, there is a little bit of cooking (the onions and fake bacon), 45 minutes of baking, and 40 minutes of setting before slicing. So, while “quick” is a technically correct term, it does take some time.

However, don’t let that stop you – Cheese Bread is very easy to make and definitely worth the wait.

CHEESE BREAD – 1 loaf

  • 2 slices fake bacon (I use Morningstar)
  • 1/2 cup onions, chopped
  • 3 T oil (I use vegetable oil)
  • 1/2 cup Parmesan cheese, grated
  • 3 cups all-purpose flour
  • 1/8 tsp cayenne pepper
  • 1/2 tsp salt
  • 1/8 tsp pepper
  • 1 T baking powder
  • 1 egg
  • 1¼ cup milk (I use nonfat)
  • 1/2 cup sour cream
  • 4 oz Gruyère cheese, cubed in 1/2″ pieces

Note: You can make your own sour cream by whisking together 1/2 cup heavy cream and 1/2 T fresh lemon juice until thickened, then adding 1/8 tsp salt.

Slice the bacon in half lengthwise, then crosswise into 1/4″ pieces. Heat oil in skillet and fry the bacon until browned. Keep your eye on it – it burns quickly! With slotted spoon, remove bacon to plate, leaving oil.

Fry onions in same skillet as above, until golden.

Grease a loaf pan (I prefer a dark metal one to ensure a crispy crust) and sprinkle half of the Parmesan evenly on bottom.

In large mixing bowl, combine flour, cayenne, salt, pepper, and baking powder. Stir in the bacon, onions (with the oil), and Gruyere.

In a medium bowl, beat the egg. Whisk in the milk and sour cream. Add this to flour mixture and gently combine.

Pour batter into prepared loaf pan, spreading so it’s of uniform thickness. Sprinkle on remaining Parmesan cheese.

Bake in preheated 350º fahrenheit oven for 45-50 minutes, until golden brown.

Remove from oven and let set in pan for 5 minutes. Run a dull knife along the sides and invert onto a wire rack. Then right the loaf and let cool 40 minutes before slicing – otherwise, it falls apart. The bread looks and tastes so good that waiting is very difficult – but try to restrain yourself.


BEEF-LIKE BISCUIT CASSEROLE – Better Than The Real Thing!

beef-like biscuit cass text

Fake meats (or “faux” for you fancy people) have not only expanded my cooking repertoire dramatically, but they also help keep me from falling off the vegetarian wagon.  When you grow up eating meat, AND really like the taste, it’s sometimes hard to resist. Fake meats have talked me off the ledge many times when I was tempted by a burger commercial.

There are quite a few really good imitation products out there now. Yes, there are some real duds, but search around and you probably can find ones that you like. They’re so common now that even the average supermarket carries, at least, a brand or two.

All that being said, I limit my use of these foods to once or twice a week – they are a processed food, after all.

Beef-like Biscuit Casserole is a kid favorite. It’s, also, one of mine. The recipe calls for making a biscuit dough. If this idea fills you with fear, then buy a tube of biscuit dough in the refrigerated section. But, honestly, it’s really very simple and I recommend giving it a go.

BEEF-LIKE BISCUIT CASSEROLE

  • 1 tsp olive oil
  • 50g (1/2 cup) onion, chopped
  • 1 clove garlic, pressed
  • 12 oz fake ground beef (I use Morningstar Grillers Crumbles)

FullSizeRender 4

  • 425g (15 oz) tomato sauce
  • 1 T fresh basil, chopped  (or 1 tsp dried)
  • 1/2 tsp dried oregano
  • 223g (1¾ cup) all-purpose flour
  • 1 tsp salt, divided
  • 1 T baking powder
  • 1/4 tsp black pepper
  • 56g (4 T) butter, cold
  • 1 egg
  • 125g (1/2 cup) milk (any kind – I use nonfat)
  • 120g (4 oz) medium cheddar, shredded
  • 17g (1/4 cup) Parmesan cheese, shredded

Early in the day I try to remember to remove the Crumbles from the freezer to thaw so it cooks faster. Don’t worry if you don’t – it’ll still cook if it’s frozen.

Heat oil in a 10″ skillet and sauté the onions and garlic for about 5 minutes. Add the fake ground meat, 1/2 tsp salt, oregano, dried basil (if using fresh, don’t put this in yet), and tomato sauce. Bring to simmer, cover, and let cook 10 minutes. Stir now and then, particularly if fake meat is frozen. If using fresh basil, stir it in after the 10 minutes cooking time, to retain its flavor.

Remove lid from skillet, and skillet from heat. Let cool while you prepare the biscuits. (Deep breath!)

If you have a food processor, place flour, 1/2 tsp salt, baking powder, and pepper in the workbowl. Pulse a couple of times to mix. Cut butter into 4 or 5 pieces and add to workbowl. Pulse about 7 times to break up the butter so the mixture becomes cornmeal-like.

If you don’t have a food processor, put flour, salt, pepper, and cut-up butter in a bowl. Using 2 knives, cross-cut until mixture resembles cornmeal (a pastry cutter won’t work – the cold butter will just bend the tines…been there, done that!).

In medium sized bowl, beat egg and milk together. Add in flour mixture and gently stir until blended. Empty dough onto floured surface and, with floured hands, knead dough 10 times. Don’t over-knead or the dough will toughen.

Preheat oven to 400º F / 200°C

Divide dough in half. Take one half and cut it into 1/4″ slices. Lay them out on the bottom of an 8″ x 8″ glass baking dish. With fingers, press the dough pieces together so they cover the entire bottom of dish.

FullSizeRender 6

Sprinkle on half the cheddar cheese.

FullSizeRender 7

Spread “meat” sauce evenly on top.

FullSizeRender 8

Sprinkle on remaining cheddar and the Parmesan.

FullSizeRender 9

Flatten the remaining biscuit dough with your hands or a rolling pin to about 1/4″. Cut dough into several pieces – the number and shape is up to you. Lay them out on top of casserole.

FullSizeRender 10

Bake at 400º F / 200°C, uncovered, for 20 minutes – until biscuits are golden.

FullSizeRender 5

Let set for about 10 minutes before serving.

EGGPLANT POLENTA – Super Easy!

eggplant polenta text3

My boys grew up watching me cook up a storm on a daily basis. I baked whole wheat bread (sadly, quite often the slices kind of fell apart as you ate it – this was before I understood about gluten), juiced 400 lbs of organic apples every fall, and made pasta and baked goods from scratch.

To my chagrin, they showed no interest in learning how to cook. Until now. Yay! Both my sons have finally grasped the benefit to health and pocketbook by cooking from scratch. Last night my oldest made a delicious, fast, and easy polenta topped with eggplant and Parmesan.

Thus, the student becomes the teacher.

Of course, like all cooks, I made a couple of changes. As it’s zucchini overload season, I decided to incorporate this prolific squash into the recipe (one can only eat so much zucchini bread!). Also, I exchanged Fontina cheese for most of the Parmesan. It has a nice melty property.

NOTE: With a little forethought, you can shave half an hour off the cooking time for the polenta. All you need to do is combine the cornmeal and water the night before (or even the morning of) and let it soak (just soak – no cooking yet) until you’re ready to make dinner. This step takes seconds and you save half an hour!

EGGPLANT POLENTA – makes about 4-6 servings

  • 1 cup medium grind cornmeal
  • 4 cups water
  • 1¼ tsp salt, divided
  • 28 oz can whole tomatoes, chopped
  • 1/4 cup extra virgin olive oil
  • 1 lb eggplant, unpeeled & cut into 3/4″ cubes
  • 1 zucchini, sliced into quarter moons
  • 3 garlic cloves, pressed
  • 1/2 cup fresh basil, chopped
  • 3/4 cup Fontina cheese, shredded
  • 1/4 cup Parmesan cheese, grated

Soak cornmeal and water the night before or the morning of preparing this dish. This will expedite cooking dramatically. If you don’t do this, you’ll just have to allow more cooking time – it could take an hour to absorb the water and be soft enough to eat.

Either way, cook the cornmeal, its water, and 1/2 tsp of the salt uncovered over a medium flame, bringing it to a boil. Then decrease heat to medium/low. Stir often, but not continuously (unless you have nothing better to do).

While the polenta is cooking, heat olive oil over medium flame in large skillet. When it shimmers (the sign for when it’s hot enough), add in the eggplant, zucchini, and 1/4 tsp salt. Sauté for about 7 minutes, stirring often, until browned. Turn off heat.

Add in garlic and cook for 30 seconds with the heat off (this prevents scorching the garlic). Turn the heat back to medium, and stir in the tomatoes (with its juice) and 1/2 tsp salt. Cook another 2 minutes to thicken a bit.

To serve: On either individual plates or a large platter, layer the polenta, topped with Fontina, the eggplant mixture, fresh basil, and then sprinkle with Parmesan. Let set a few minutes so the Fontina gets nice and gooey!

ORZO ASPARAGUS AMANDINE – A Creamy Delight!

orzo asparagus text

Orzo is a pasta (yes, a pasta!) that I love, but rarely use – mostly because I forget about it. When I want a rice-like ingredient, my mind goes to…rice.

Orzo has the same chew as white rice, and is only slightly bigger. The benefit is it cooks much faster – about 9 minutes. So if you want to make a risotto – which takes a lot of time and attention – consider using orzo. It will be found in the pasta section of the market, of course.

ORZO ASPARAGUS AMANDINE, like many dishes, can be tweaked to your desires and what you have in the house. Switch the asparagus for red pepper, peas, or mushrooms. Cashews can be exchanged for the almonds. And the orzo can be traded for barley, sorghum, or…rice. The possibilities are endless.

NOTE: If you decide to use mushrooms, cook them until most of the liquid evaporates. This will be longer than the 3 minutes for asparagus.

ORZO ASPARAGUS AMANDINE – makes about 2½ cups

  • 3/4 cup uncooked orzo
  • 1 T butter
  • 6 stalks asparagus, sliced into 1/2″ pieces
  • 1 clove garlic, pressed
  • 1 tsp cornstarch
  • 1/4 tsp salt
  • 1/8 tsp black pepper
  • 3/4 cup evaporated milk (see NOTE below)
  • 1/2 cup fontina cheese, shredded
  • 1/4 cup slivered almonds, lightly toasted

NOTE: 3/4 cup evaporated milk is half of a 12 oz can. You can freeze the unused half, double the recipe and use the whole can, OR use a 5 oz can and add 3 oz of milk to it (even nonfat).

Boil about 2½ water (it doesn’t need to be exact) and pour in the orzo. Cook until it’s slightly underdone (check after 7 minutes) – it will continue to absorb liquid when mixed with the evaporated milk, so it doesn’t need to be completely cooked. Strain out the excess water using a colander or hand strainer.

While the orzo is cooking, wash and slice the asparagus. Melt butter in a skillet and sauté asparagus for about 3 minutes over medium flame. Add in garlic and cook another 30 seconds. Remove from heat to prevent scorching the garlic.

Add the cornstarch, salt, and pepper to the asparagus, blending well. Pour in the evaporated milk and return to medium flame. Stir until thickened – about 3 minutes. Add in cheese.

When cheese is melted, stir in the cooked orzo. Taste for seasoning, correcting, as needed.

When ready to serve, mix in the almonds. Don’t do this ahead of time or they won’t be as crispy.