PARMESAN BISCUIT SLICES
I can’t tell you how many recipes I’ve created due to my frugality (aka, cheapness!). For last week’s blogpost, Parmesan Pasta Salad, I needed Parmesan cheese (duh!). Normally, I would never buy grated or shredded cheese (once again – cheap). I would purchase a block and do it myself.
However, when I went to select the Parmesan wedge, there – beckoning me like a siren, RIGHT AT EYE LEVEL! – was a bag of powdery, grated cheese. It would take some doing on my part to get cheese this fine. So, in a Thelma & Louise moment, I grabbed the bag and didn’t look back.
Once the Parmesan Pasta Salad was bagged, tagged, and logged (I watch a lot of Law & Order, SVU), I found there was quite a bit of leftover cheese. Which is where my frugality came into play. I had to use up the stuff.
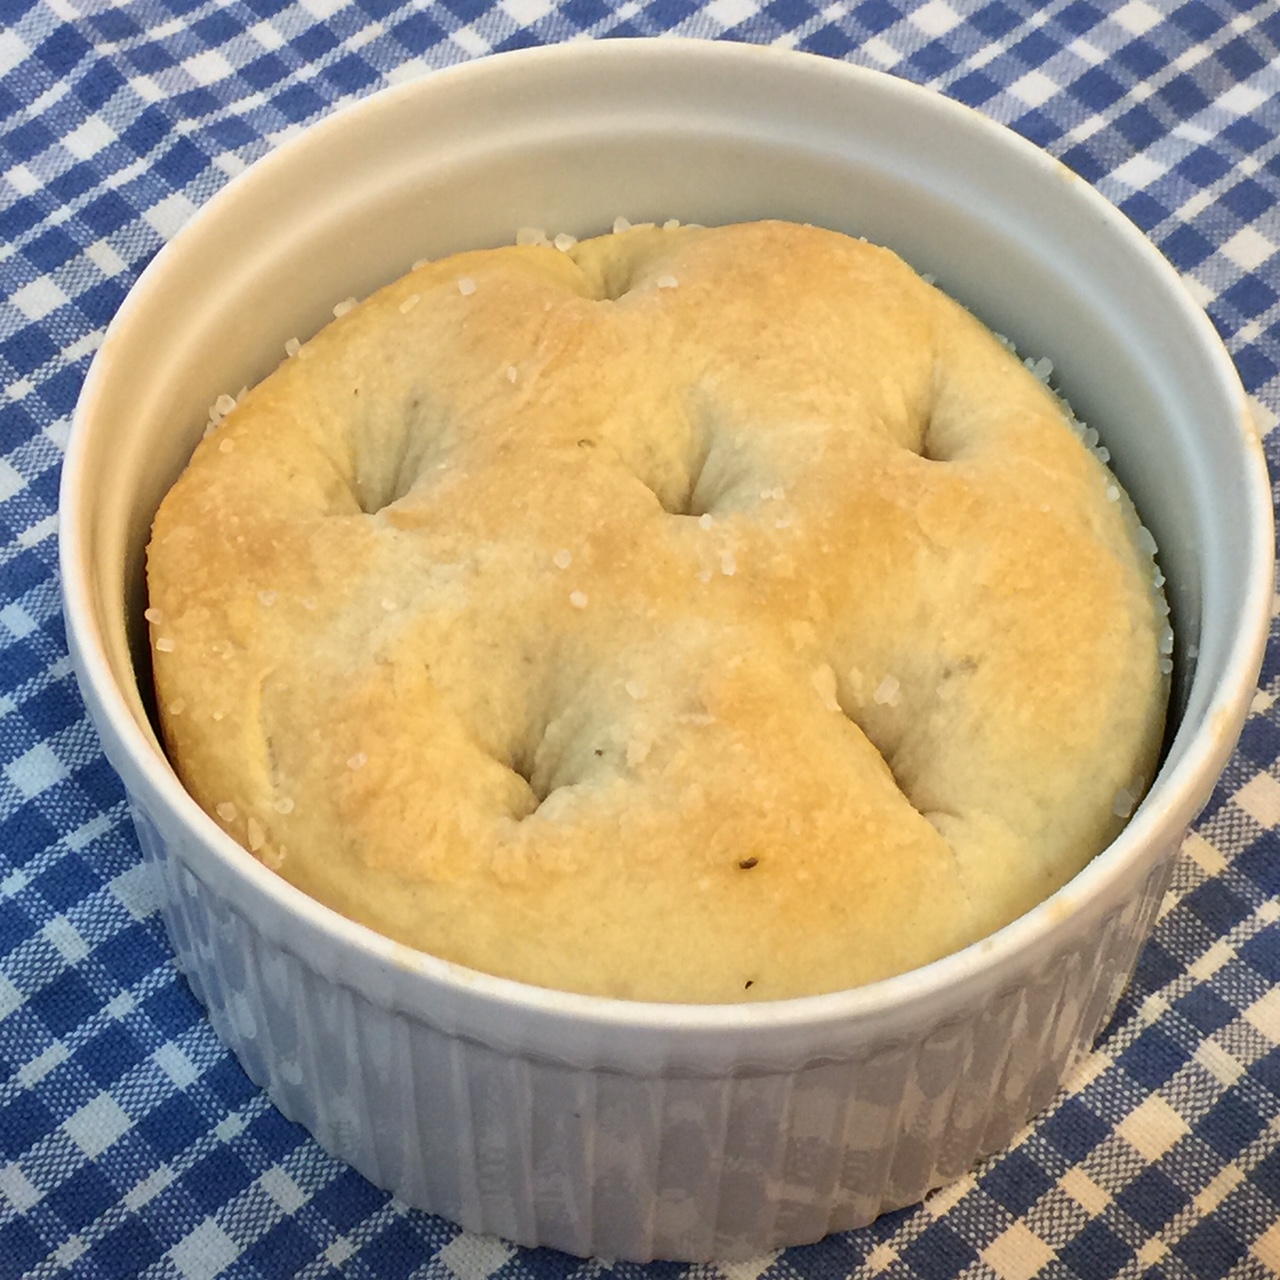
I decided to make biscuit sticks (like bread sticks, without the yeast), incorporating Parm into the dough AND sprinkled on top. Well, as you can see from the photo above, they didn’t come out at all like I envisioned, but I actually like these ‘slices’ better.
Being a biscuit rather than a bread, there’s no need to wait for rising dough, so they’re fairly quick to put together. Including baking time, start to finish is around half an hour. Not bad!
Note: I chose to use grated Parm, but you could also use shredded.
PARMESAN BISCUIT SLICES – makes about 20, depending how you cut them
- 1¾ cups all-purpose flour
- 1/2 tsp salt
- 1 T baking powder
- 1/4 cup chilled butter (salted) – you can use more if you’re feeling decadent
- 1/4 cup grated Parmesan cheese
- 3/4 cup milk (I used nonfat)
- about 1/2 T butter, melted for brushing
- extra grated Parmesan for dusting
In a large mixing bowl, mix together the flour, salt, baking powder, and Parmesan.
Add in chilled butter, crosscutting with 2 knives until the texture becomes pea-like.
Pour in milk and mix with a fork until most of the flour is incorporated.
Knead the dough 10 times. Count! You don’t want to overmix. You can either empty the dough onto a well-floured surface and knead, or knead directly in the bowl by pushing the dough down with your well-floured knuckles, folding the far half on top of the close half, turning the bowl 90º, and repeating process. TIP: I always count aloud so I don’t lose track.
Pat the dough into a rectangle using well-floured hands. Then, using a well-floured rolling pin (are you getting the idea the dough is sticky?), roll the dough to 1/2″ thick.
Cut the dough into 1/2″ wide strips using a pizza cutter or knife.
Preheat oven to 450º Fahrenheit.
Generously grease a cookie sheet (even nonstick). Place the strips cut side down (and up) at least 1½” apart. Brush sides and top with melted butter, then sprinkle on the dusting Parmesan. Gently pat cheese into dough.
Bake at 450º F for about 10 minutes, until golden brown. Remove from oven and let rest 1 minute. Remove to wire rack or directly to serving basket.