
 Previously, I posted an Eggplant Parmesan recipe made in the traditional manner: coated fried eggplant, slathered with marinara sauce, and topped with mozzarella. This was baked to fully cook the eggplant and melt the cheese. What I ended up with was mushy eggplant, soggy crust, bland marinara, and rubbery mozzarella. I knew no different.
Until I watched an America’s Test Kitchen episode where they made Chicken Parmesan. Significant changes were made, thus producing a crispy crust, fresh-tasting marinara, and melty cheese. Of course, I substituted eggplant for the chicken.
What changes, you ask? They used panko crumbs in lieu of bread crumbs for a crunchy coat. They cut the mozzarella with Italian Fontina to achieve a nice melt without being rubbery. They added the marinara sauce at the end to retain the fresh tomato taste and crispy crust. And, finally, they didn’t bake the heck out of it – in fact, they merely broiled it enough to melt the cheese. Brilliant!!!
NOTE: A Queen Of Freeze time-saving tip is to double or triple the marinara recipe. Then freeze it in portions for future use. Don’t add the basil before freezing, though – it will lose it’s potency.
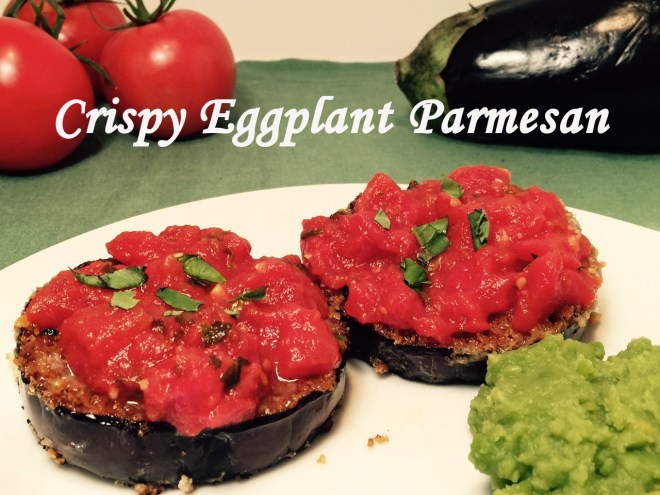
CRISPY EGGPLANT PARMESAN
- 2 eggplants (about 1½ pounds total)
- kosher salt
- 2 T extra virgin olive oil, divided
- 2 cloves garlic, pressed
- 1/4 tsp table salt
- 1/2 tsp dried oregano, divided
- 1/8 tsp dried red pepper flakes
- 28 oz can whole peeled tomatoes, chopped (discard stem ends & peels)
- 1/4 tsp sugar
- 2 T fresh basil, chopped
- 1/2 c panko crumbs
- 3/4 c Parmesan cheese, grated
- 1/2 tsp garlic powder
- 1/4 tsp black pepper
- 1 T flour
- 1 egg
- 1 cup mozzarella cheese, shredded
- 1 cup Italian Fontina cheese
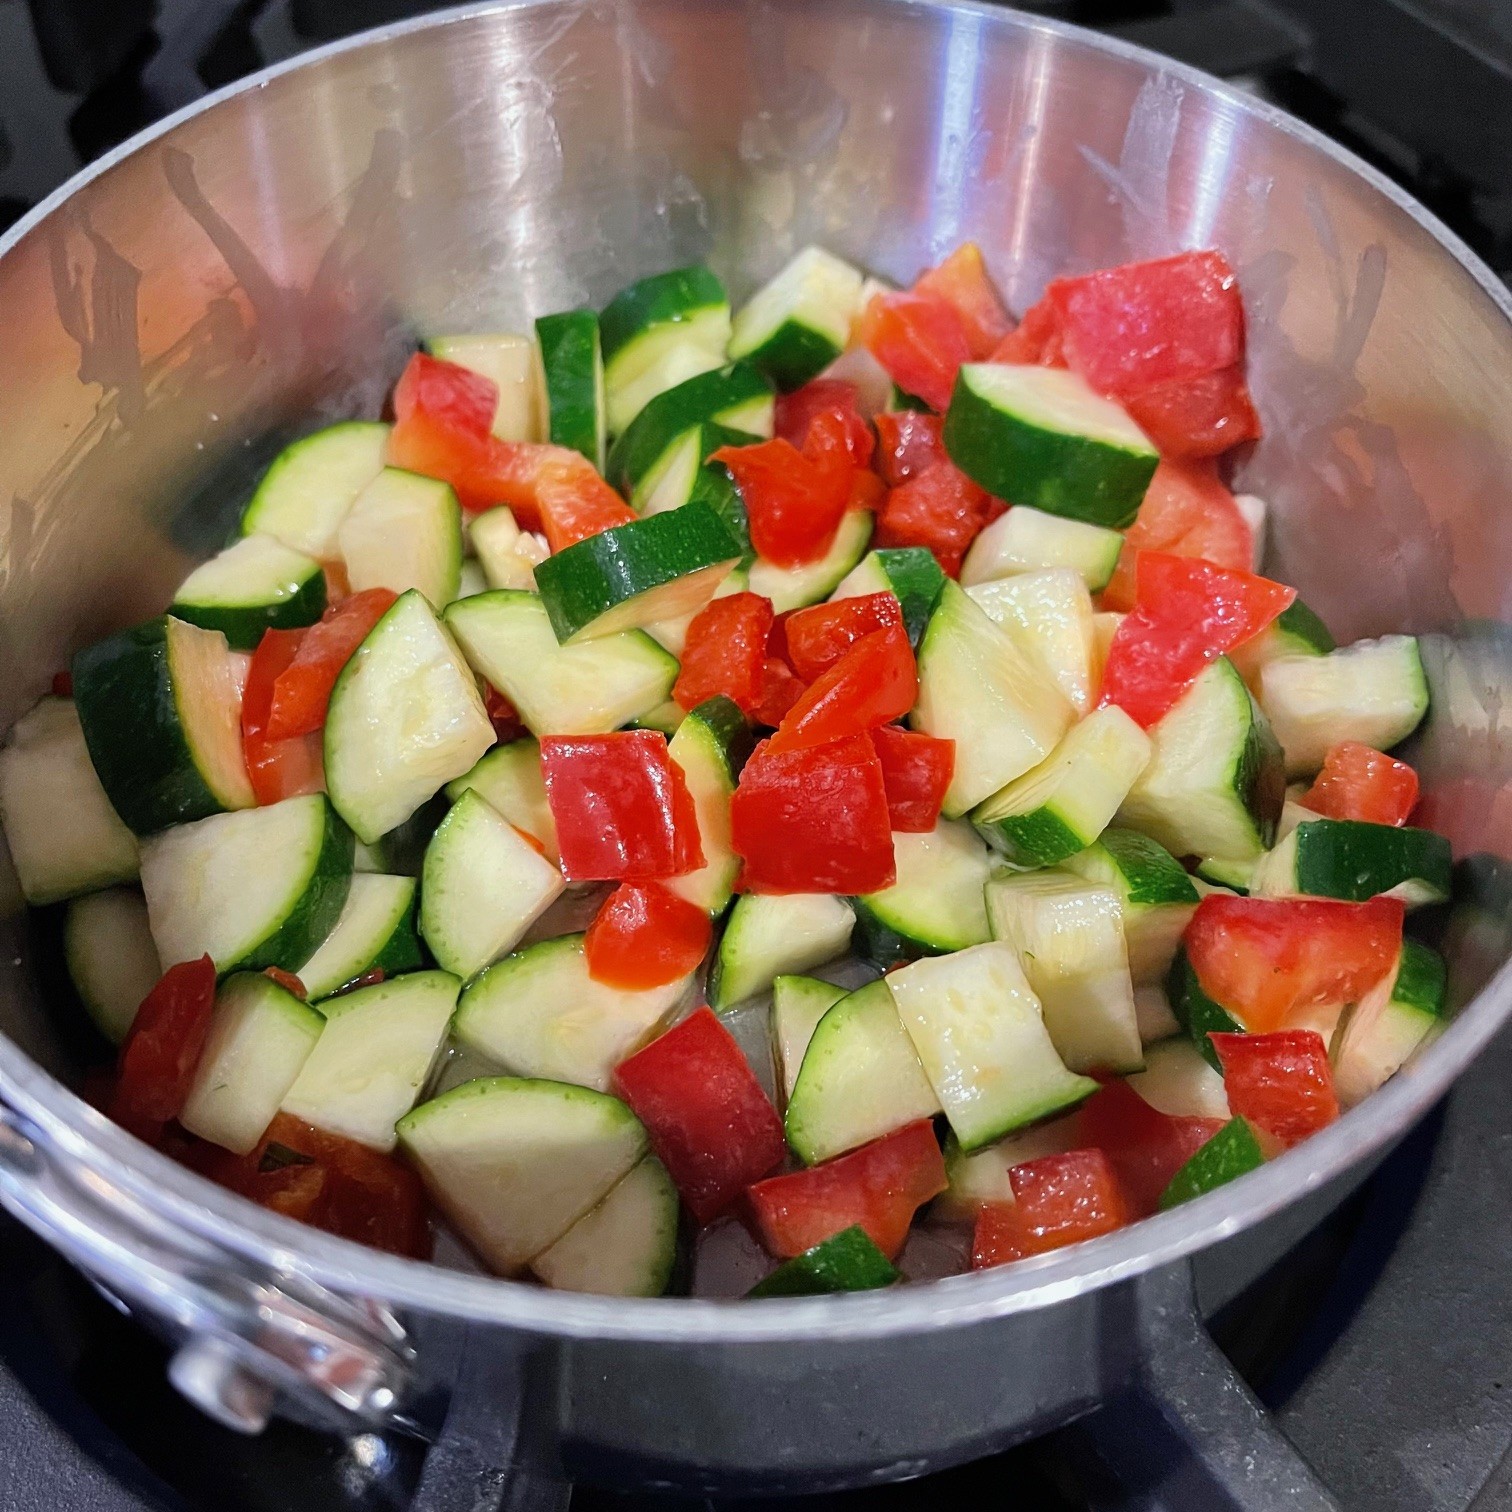
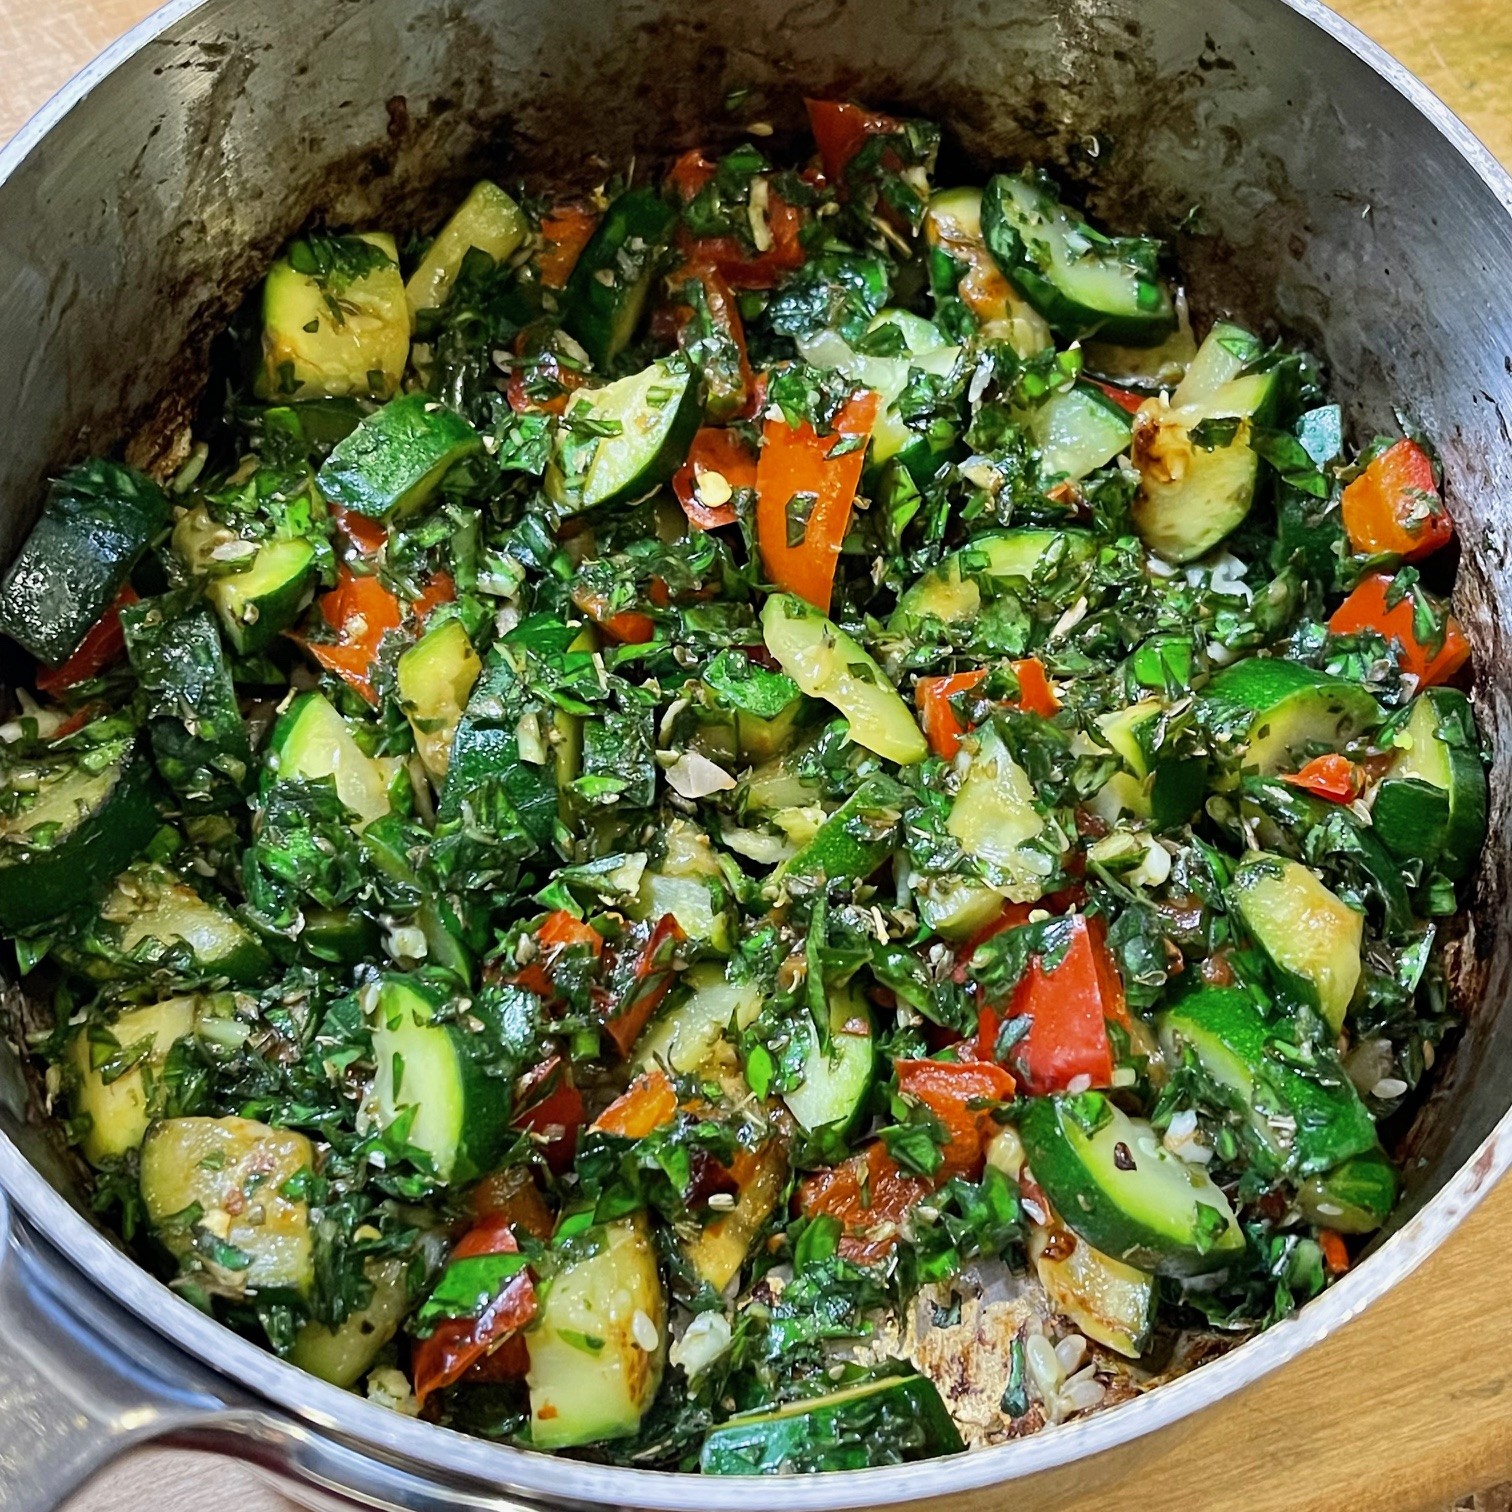
Remove ends of unpeeled eggplants and discard. Cut into 3/4″ pieces. Lay rounds on a wire rack and sprinkle 1/8 tsp of kosher salt on each side of slices. Set aside for 20 minutes to allow the salt to draw out water from the eggplant.  Prepare the marinara: In a saucepan, heat 1 T olive oil. Add in the garlic, 1/4 tsp table salt, 1/4 tsp oregano, and red pepper flakes. Cook for about 30 seconds to bloom. Add the canned tomatoes and sugar. Bring to simmer and cook 20 minutes, uncovered. Stir now and then. After 20 minutes, remove from heat and stir in the basil and remaining 1 T olive oil. Set aside.
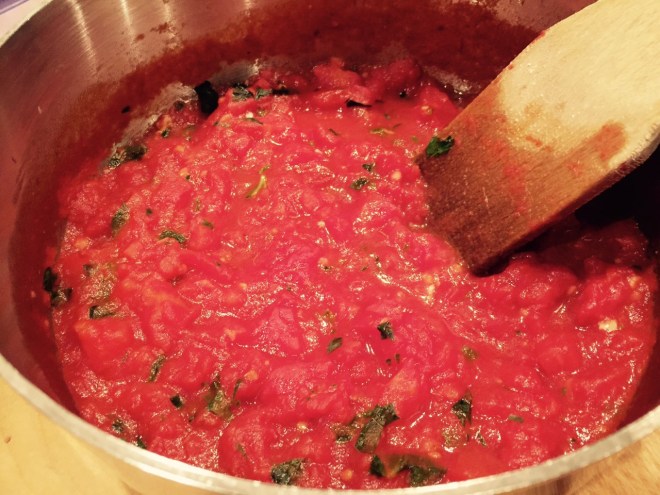 In a bowl, mix together panko, Parmesan, garlic powder, 1/4 tsp oregano, and pepper. Pour onto a large plate.
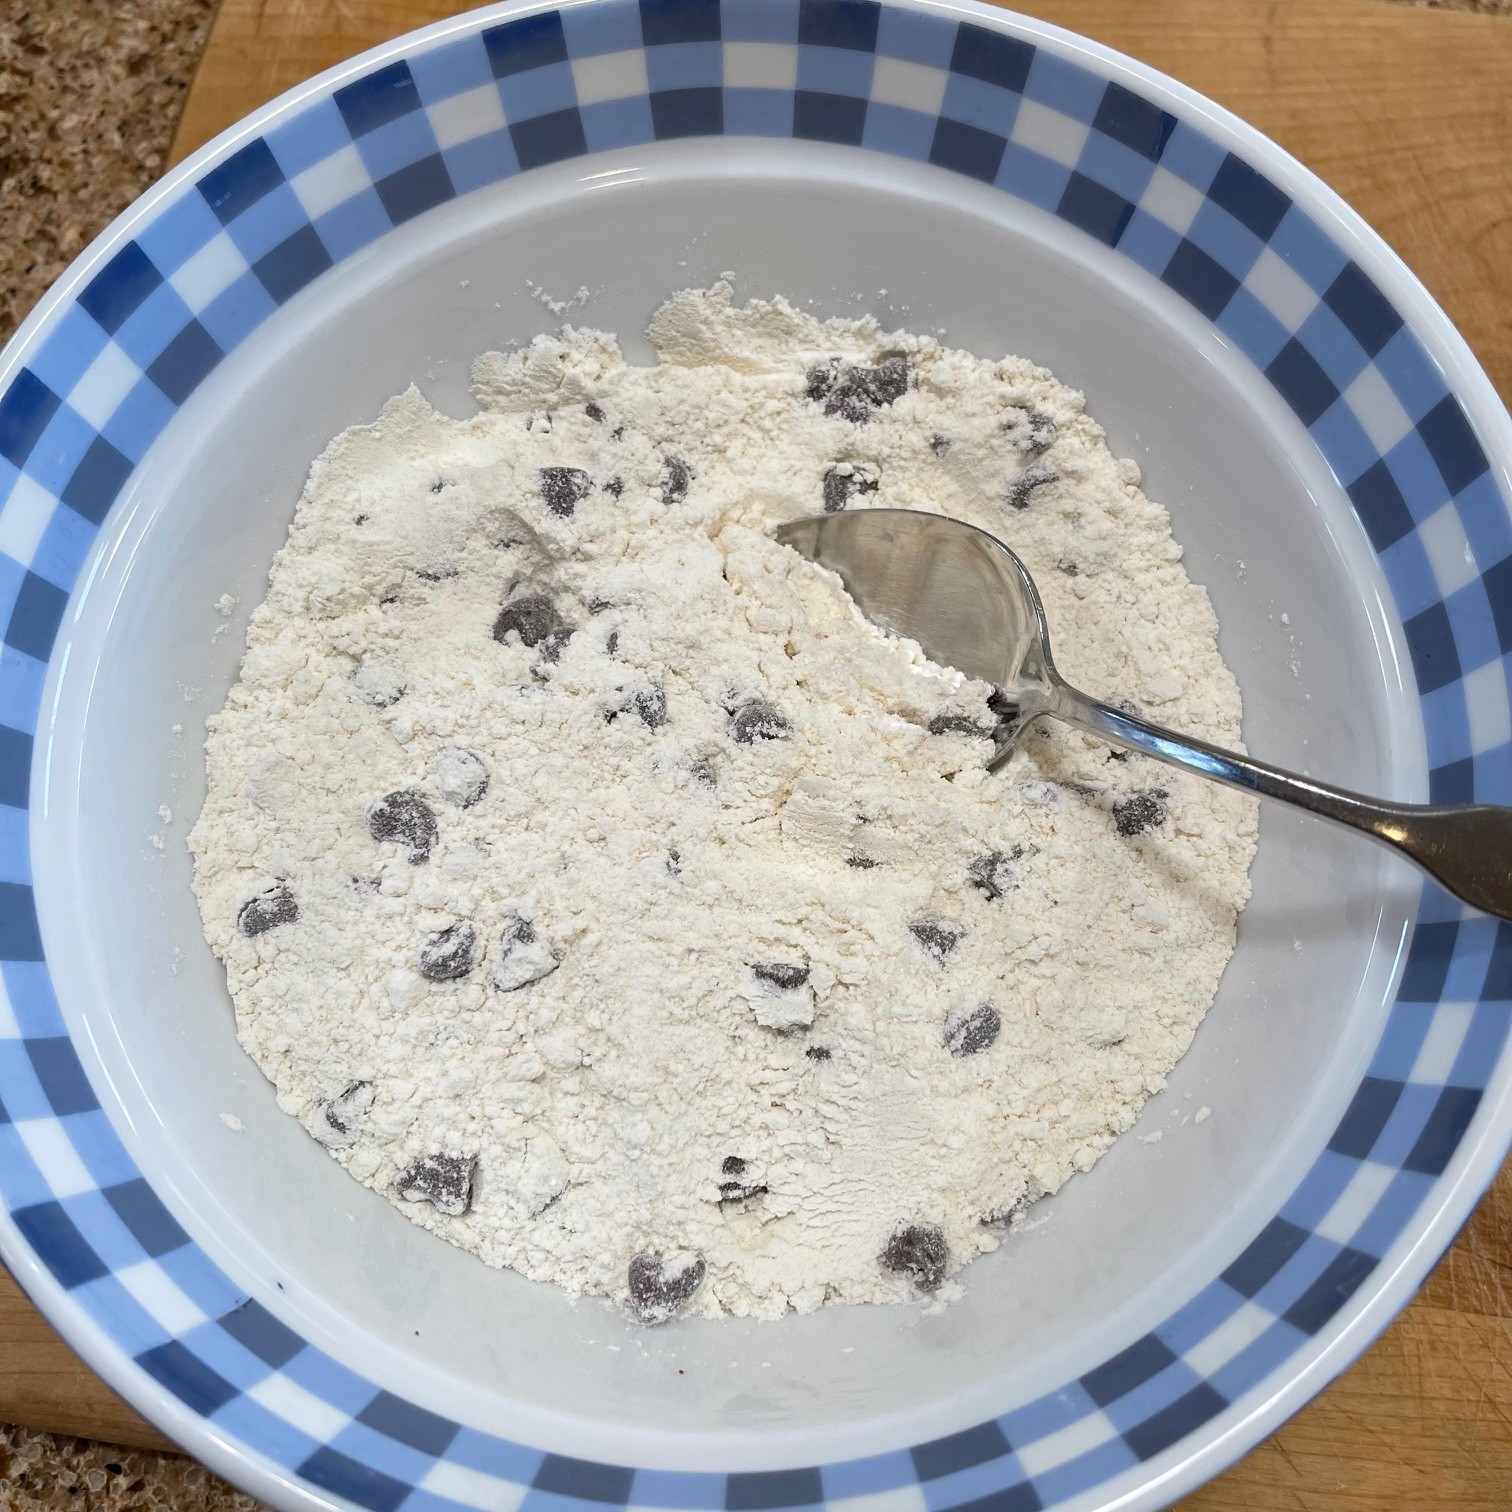
Using a spoon, mix together the flour and egg, smashing out the flour lumps as best you can. Pour onto a large plate.
Wipe down both sides of eggplant slices with paper towel to remove excess salt. Heat several tablespoons of vegetable oil in a large skillet over medium/high heat. Dredge eggplant slices first into egg (both sides),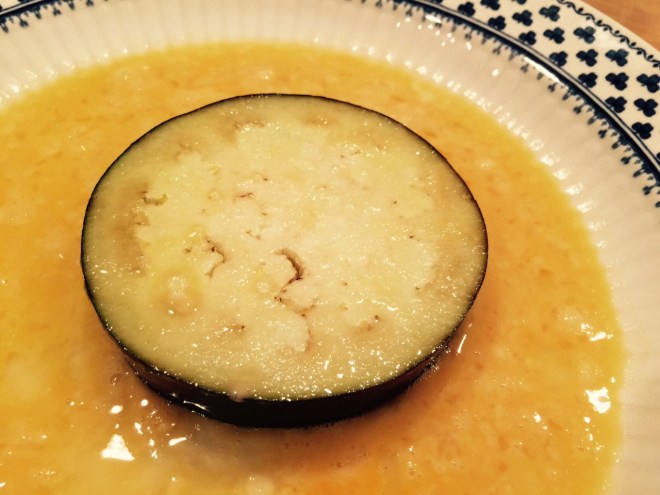 and then into panko mix (both sides)
 Place into skillet, frying both sides to golden brown.
 Place eggplant on a broiler pan and preheat broiler with rack in upper third of oven.
Combine Fontina and mozzarella. Sprinkle cheese on eggplant. Broil about 3 minutes, until cheese is melted. To serve, top with marinara. Sprinkle on additional basil, if desired.
 Mardi Gras is filled with a number of traditions. A yummy one is King Cake – a rolled cake decorated with purple, gold, and green. Often a plastic Baby Jesus or treat is hidden in the cake for some lucky person to be served.
 It’s that time of year again when spring is just beyond the horizon. Soon we’ll be able to leave the house without bulky sweaters and coats. This means, of course, we won’t be able to hide those holiday pounds anymore.


 Company was coming and I needed a bread – fast! I flipped through my America’s Test Kitchen cookbook and found this Kalamata Olive Bread recipe made in a cast iron skillet. (To those under 35, cookbooks are how people used to get recipes!)
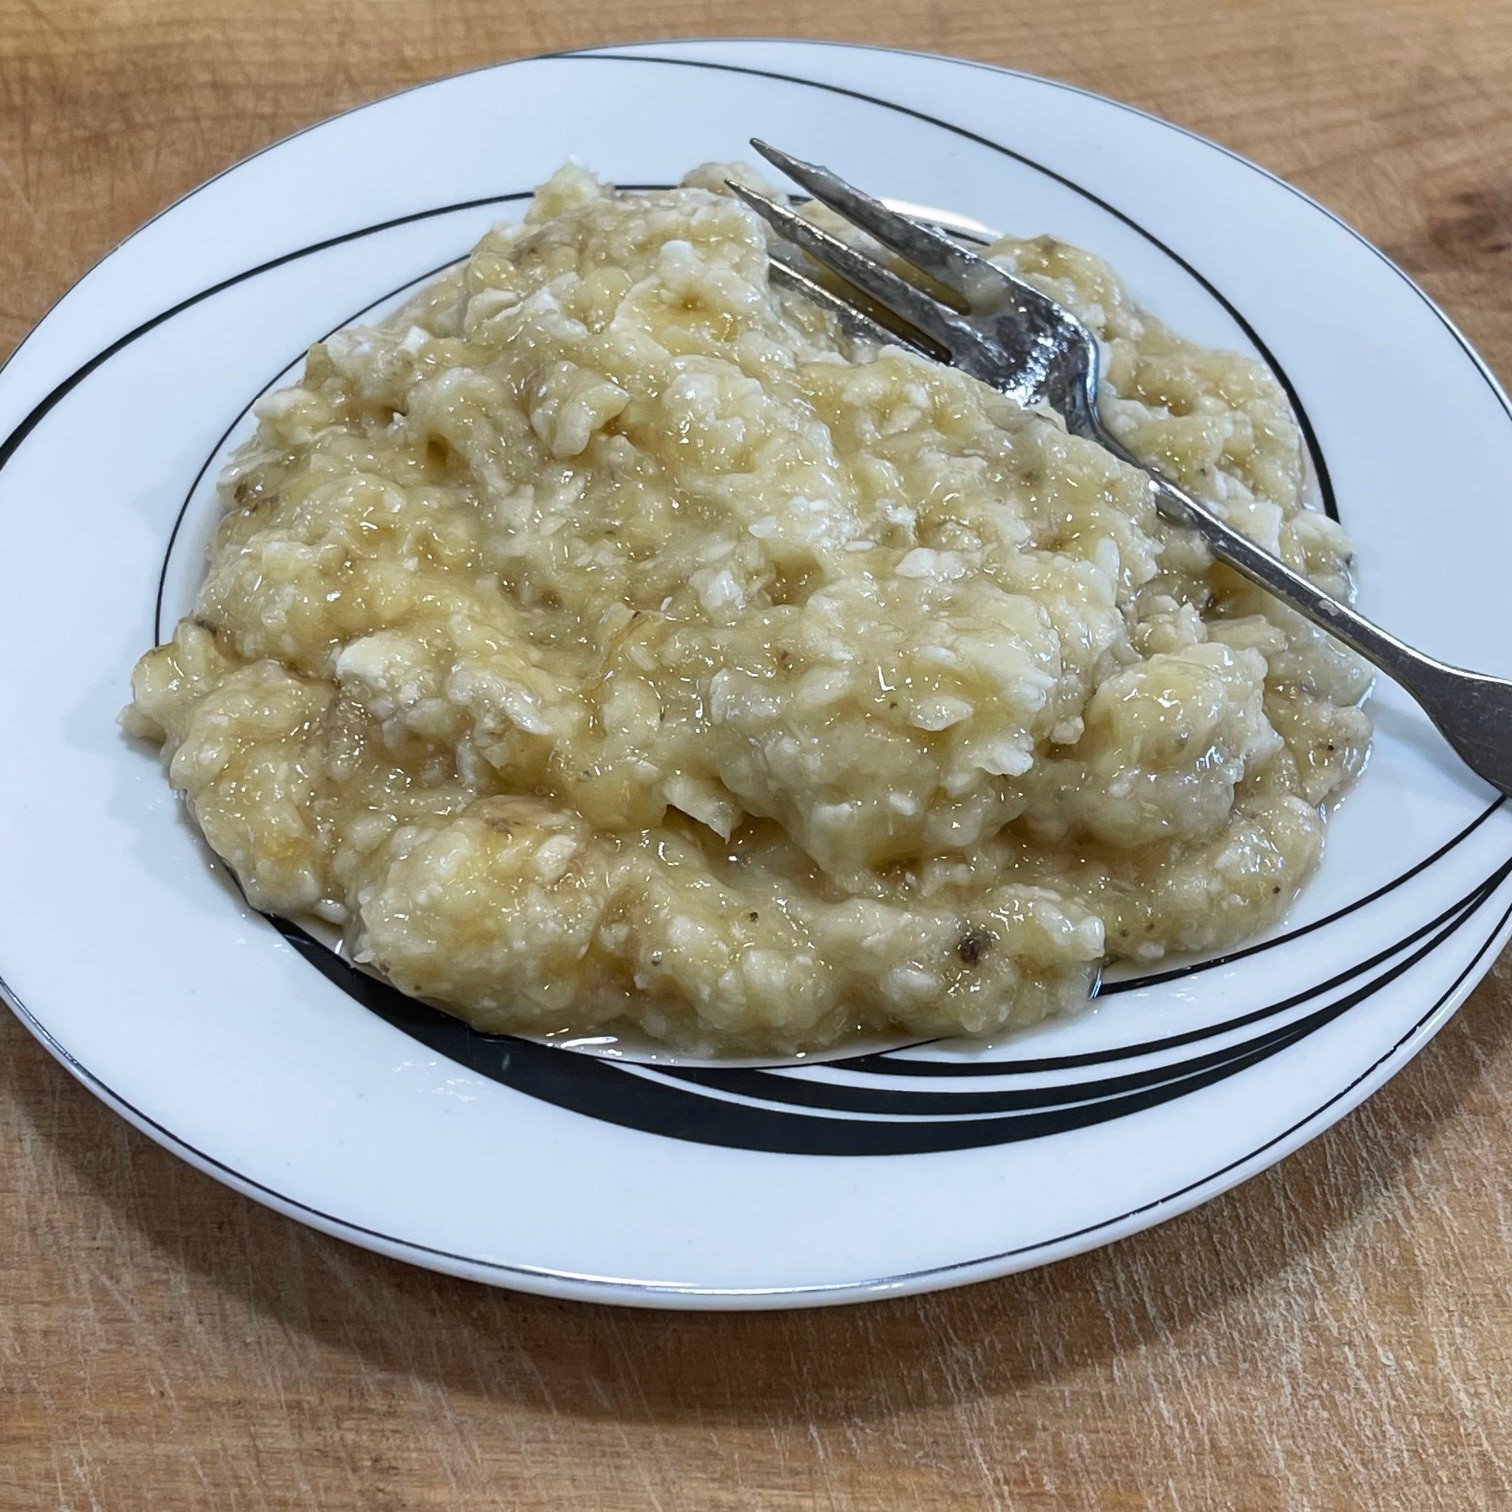
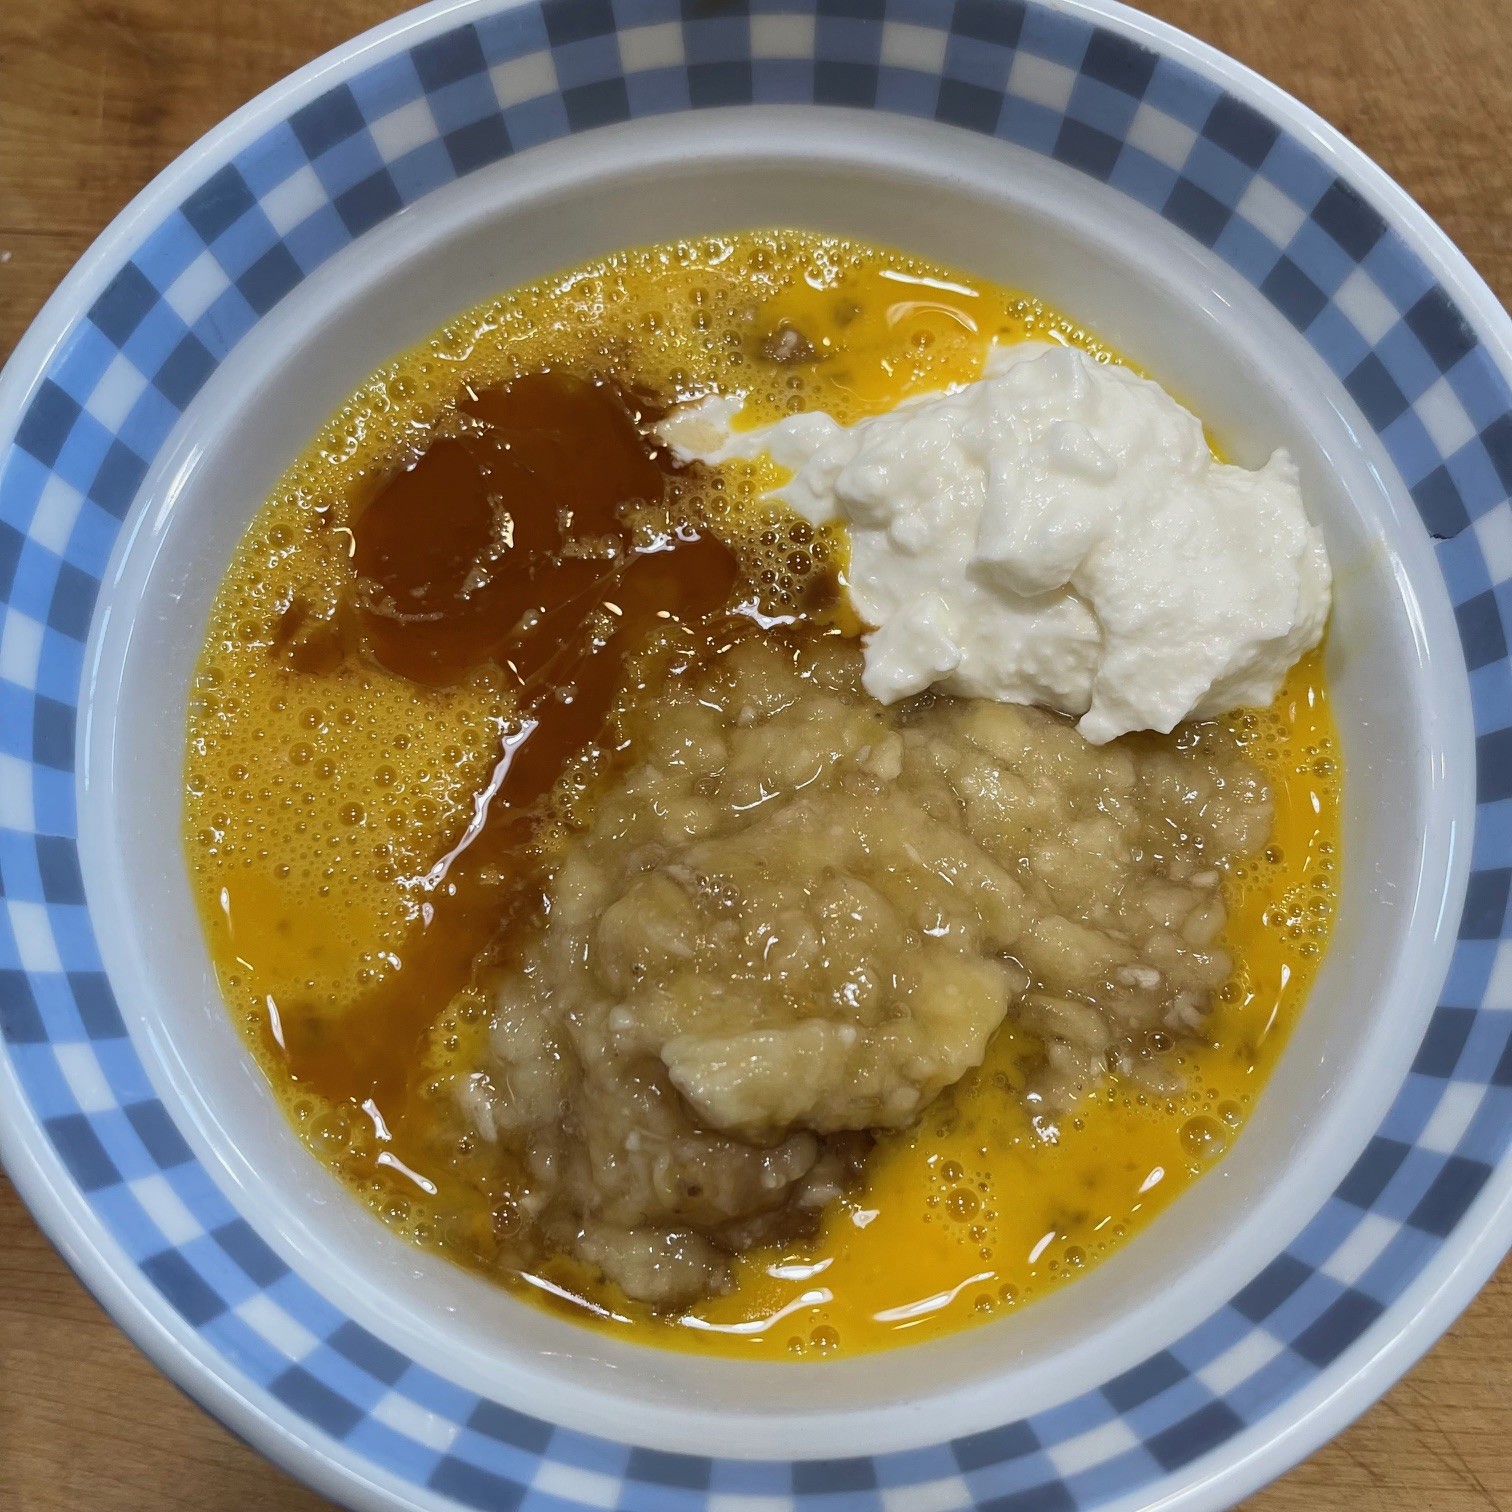
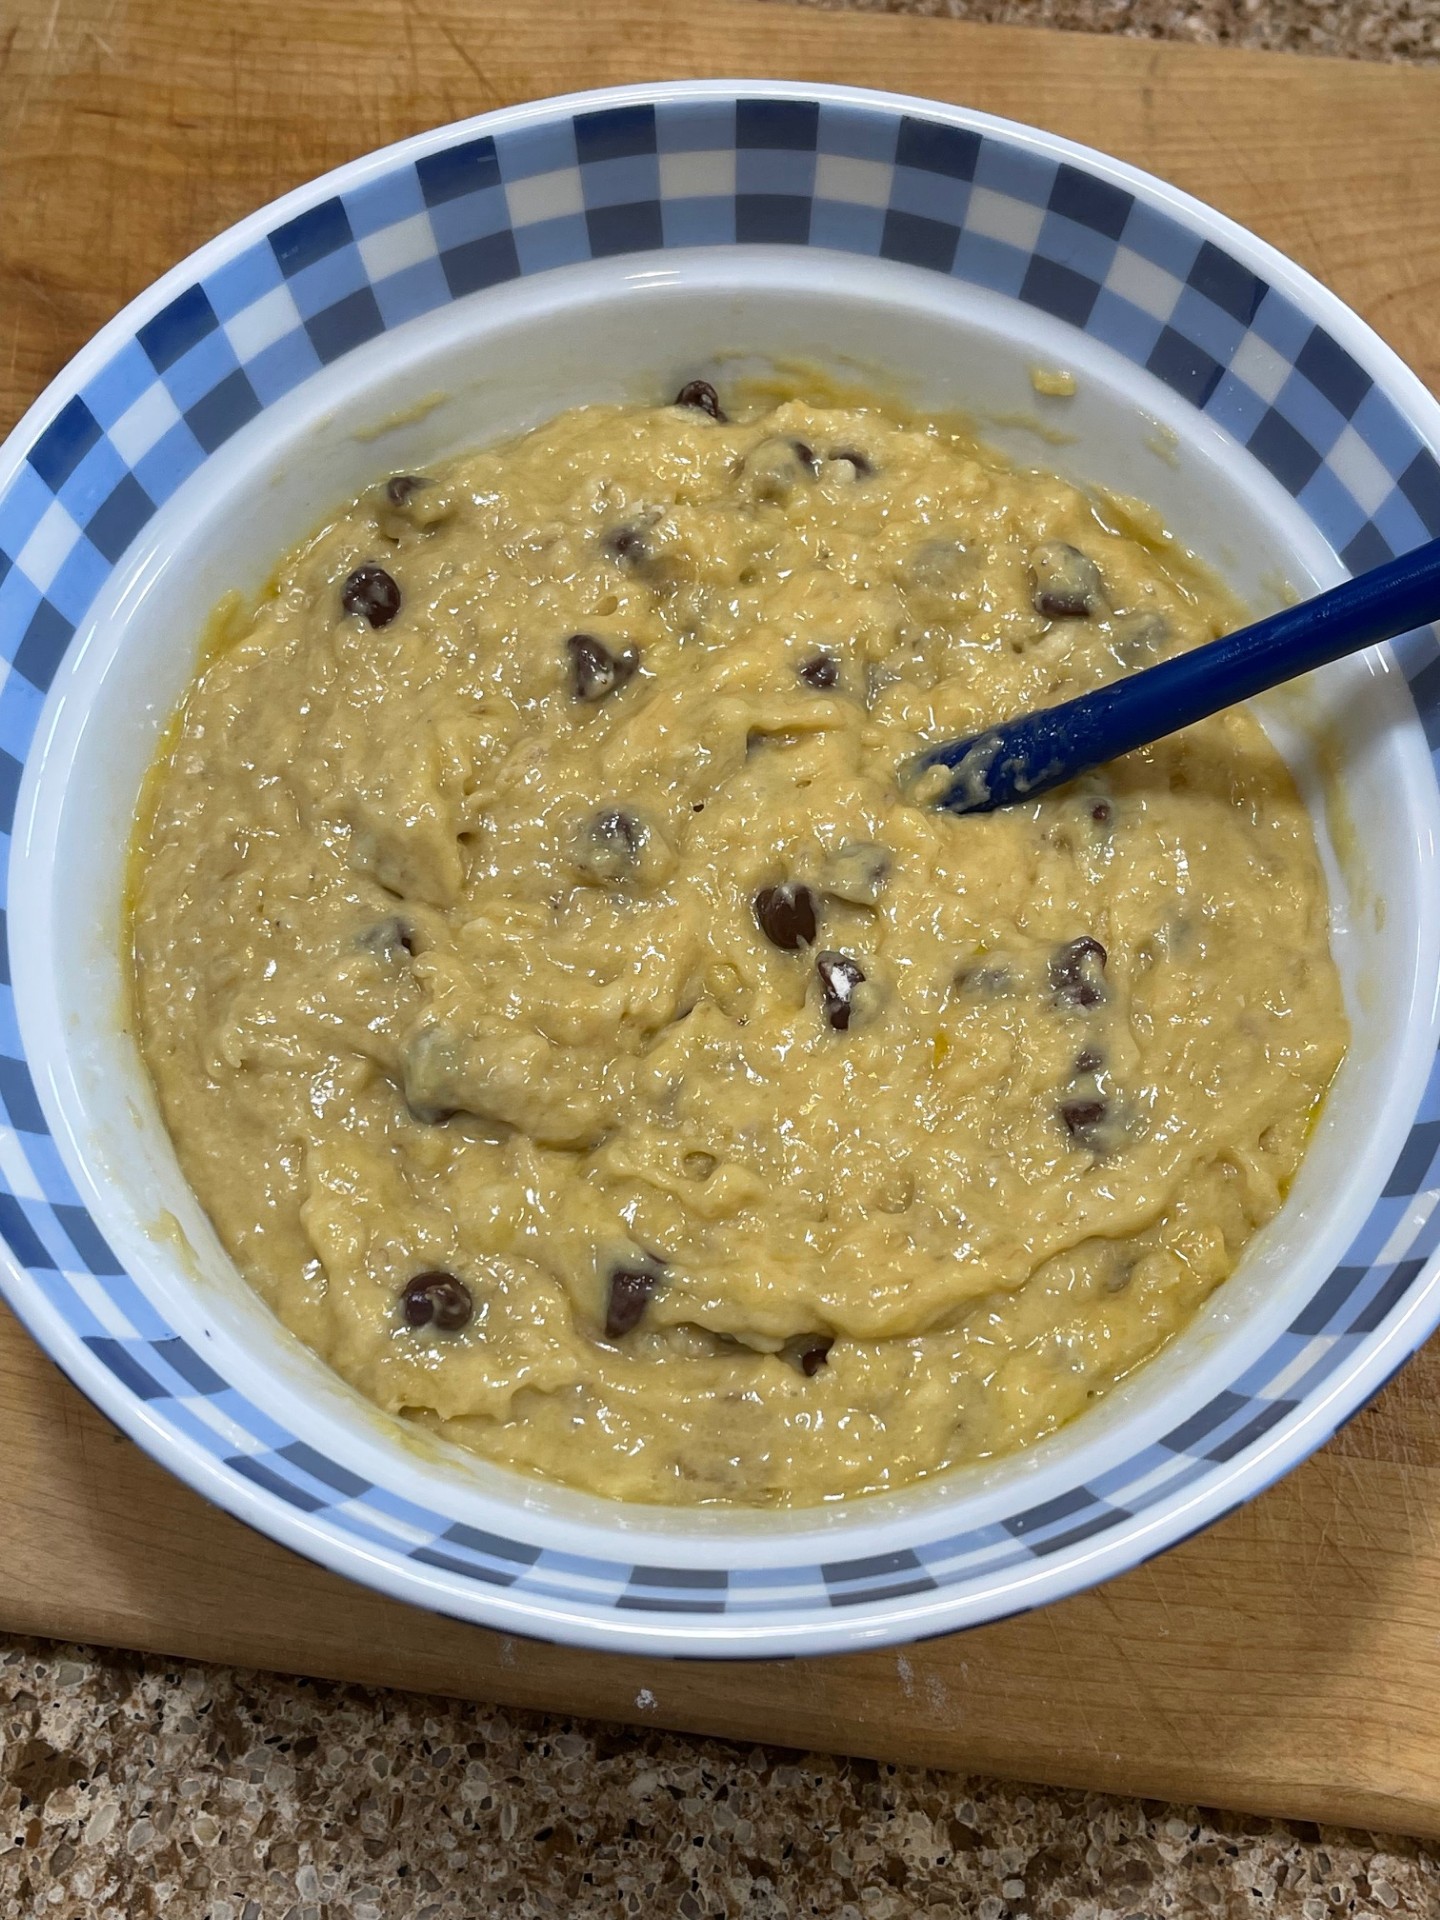
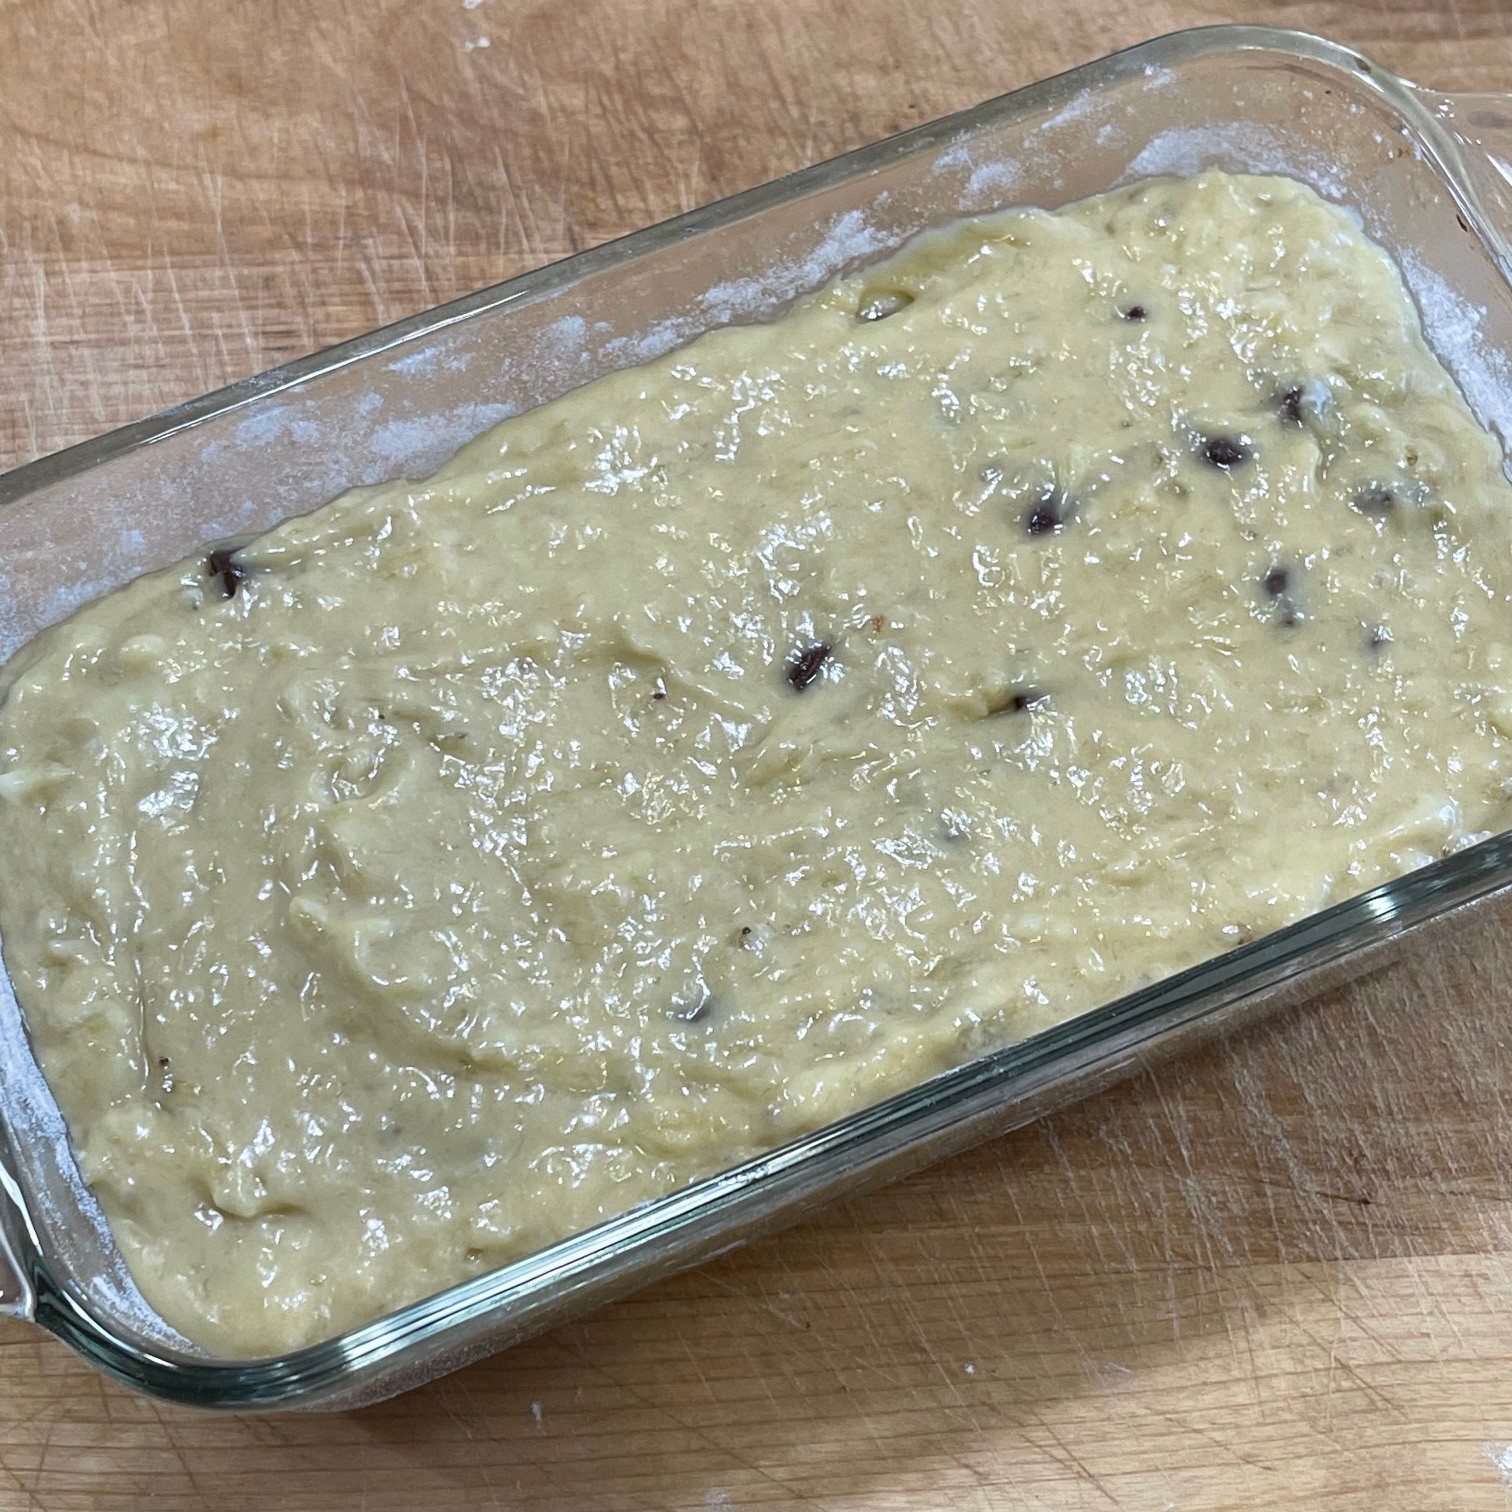
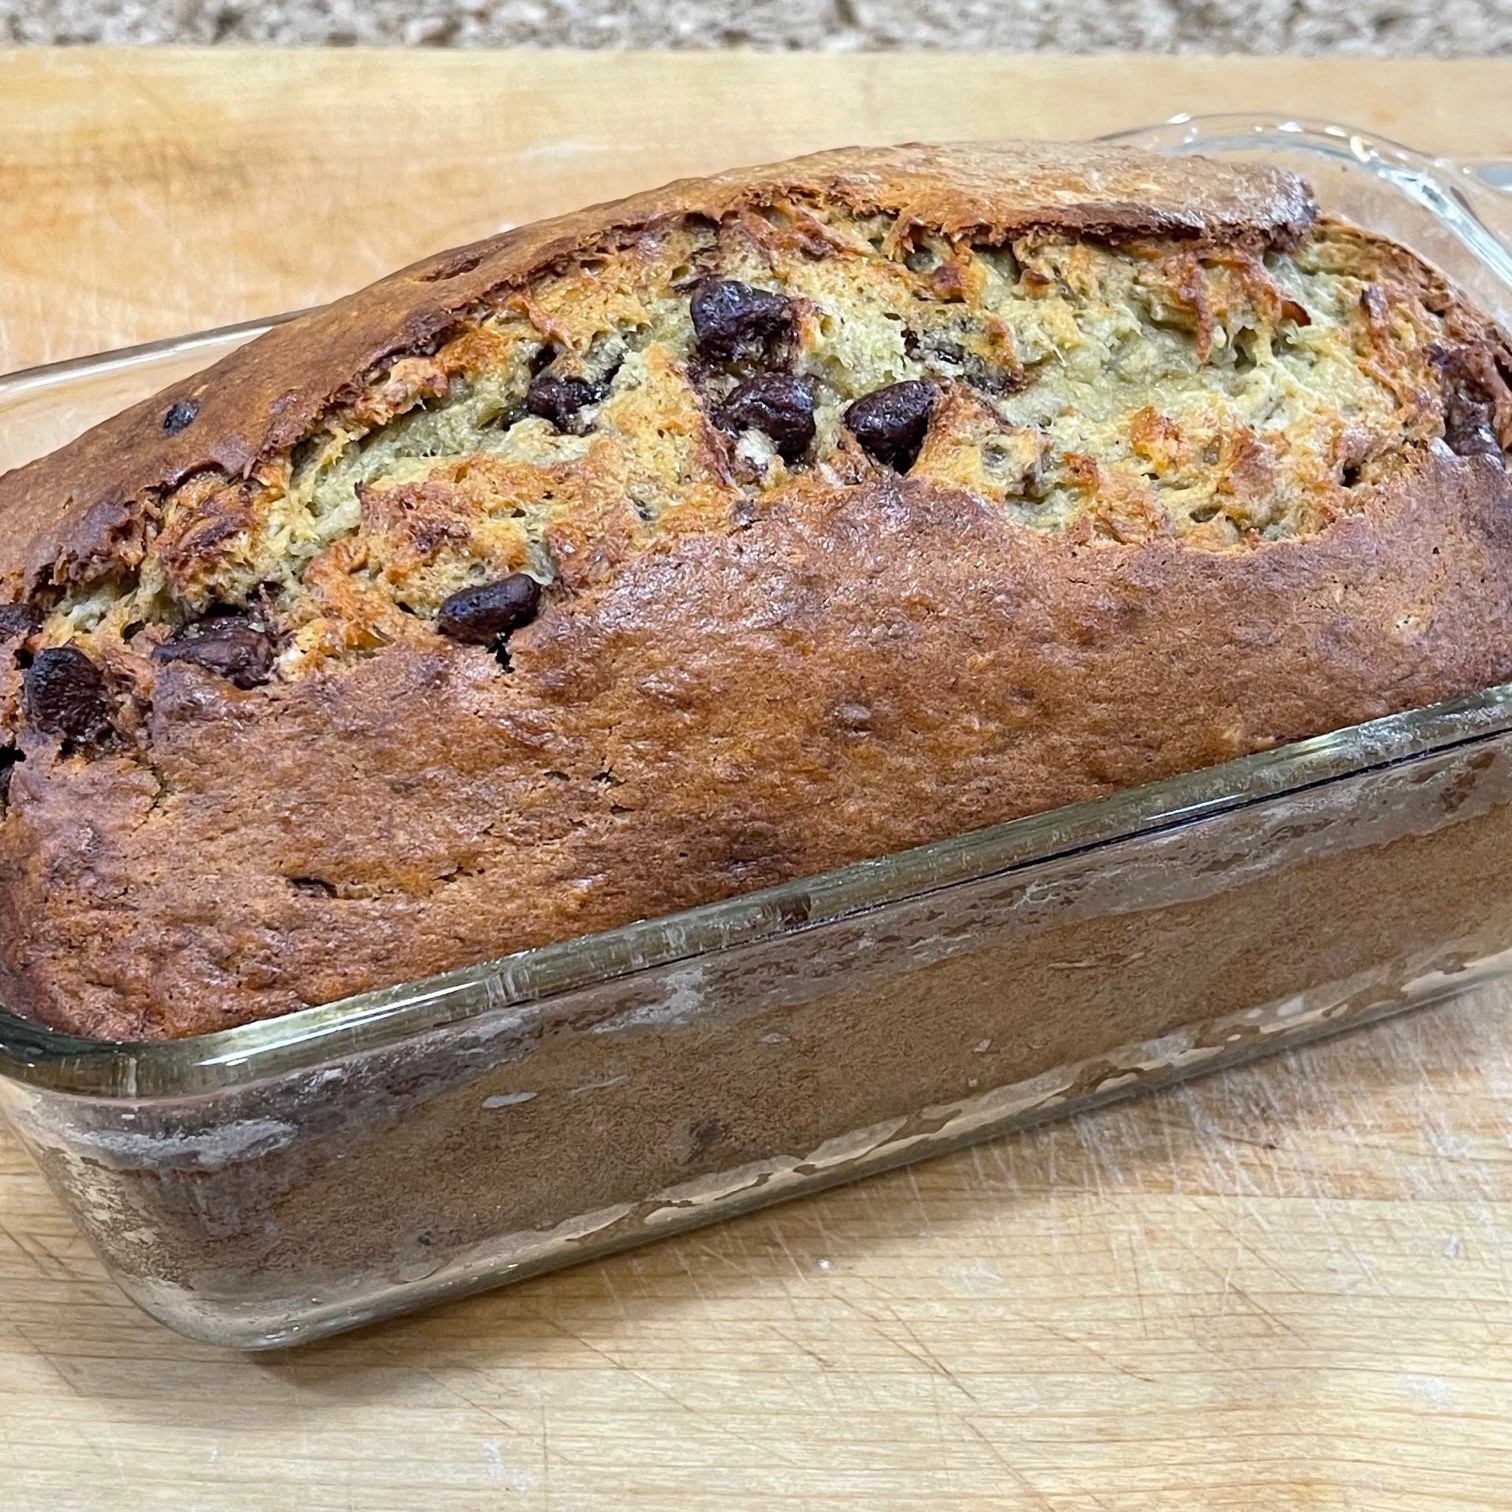
 On its own, banana bread is delicious. Add in chocolate chips and you really up your game.
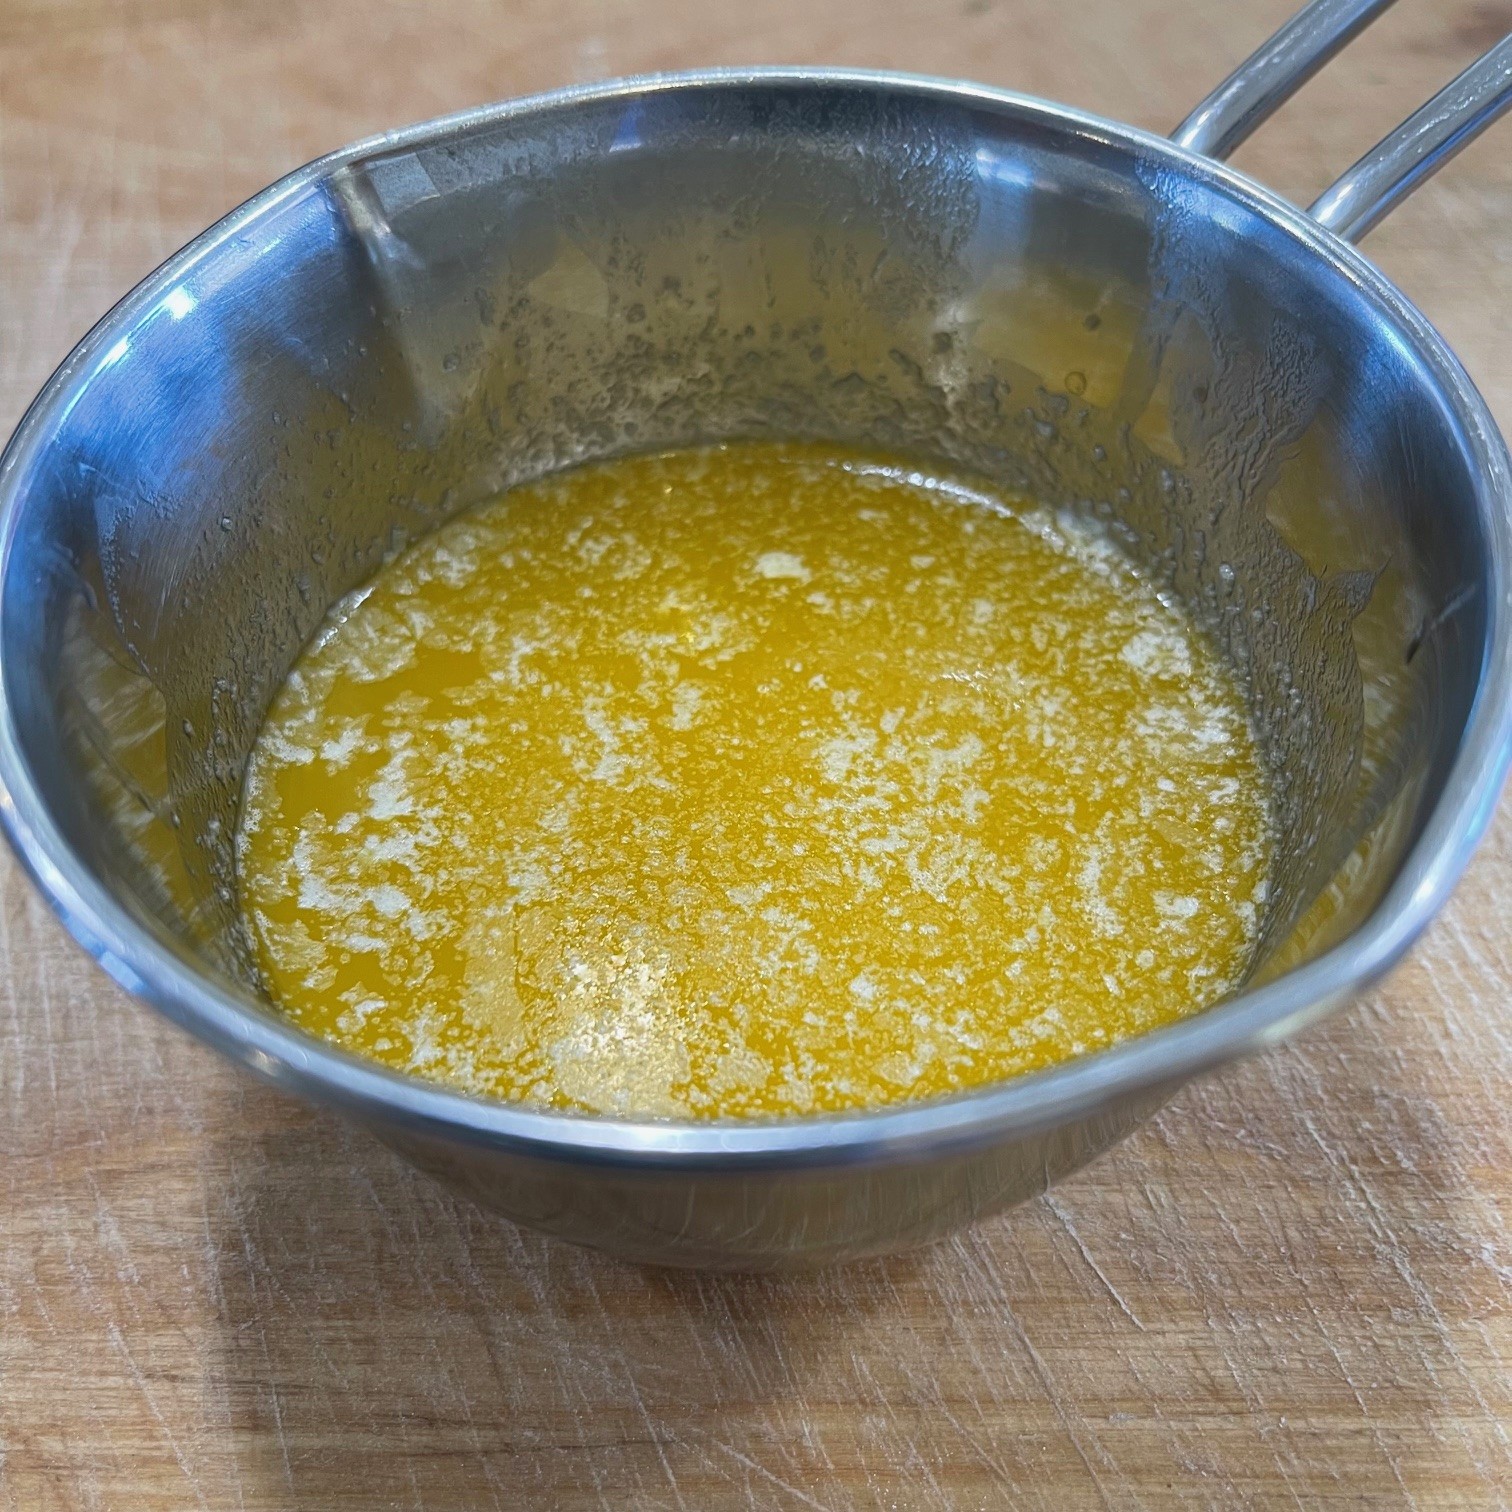


 One generally associates fruit salads with summer. But sometimes a heavy winter meal needs the fresh sweetness that fruit provides.
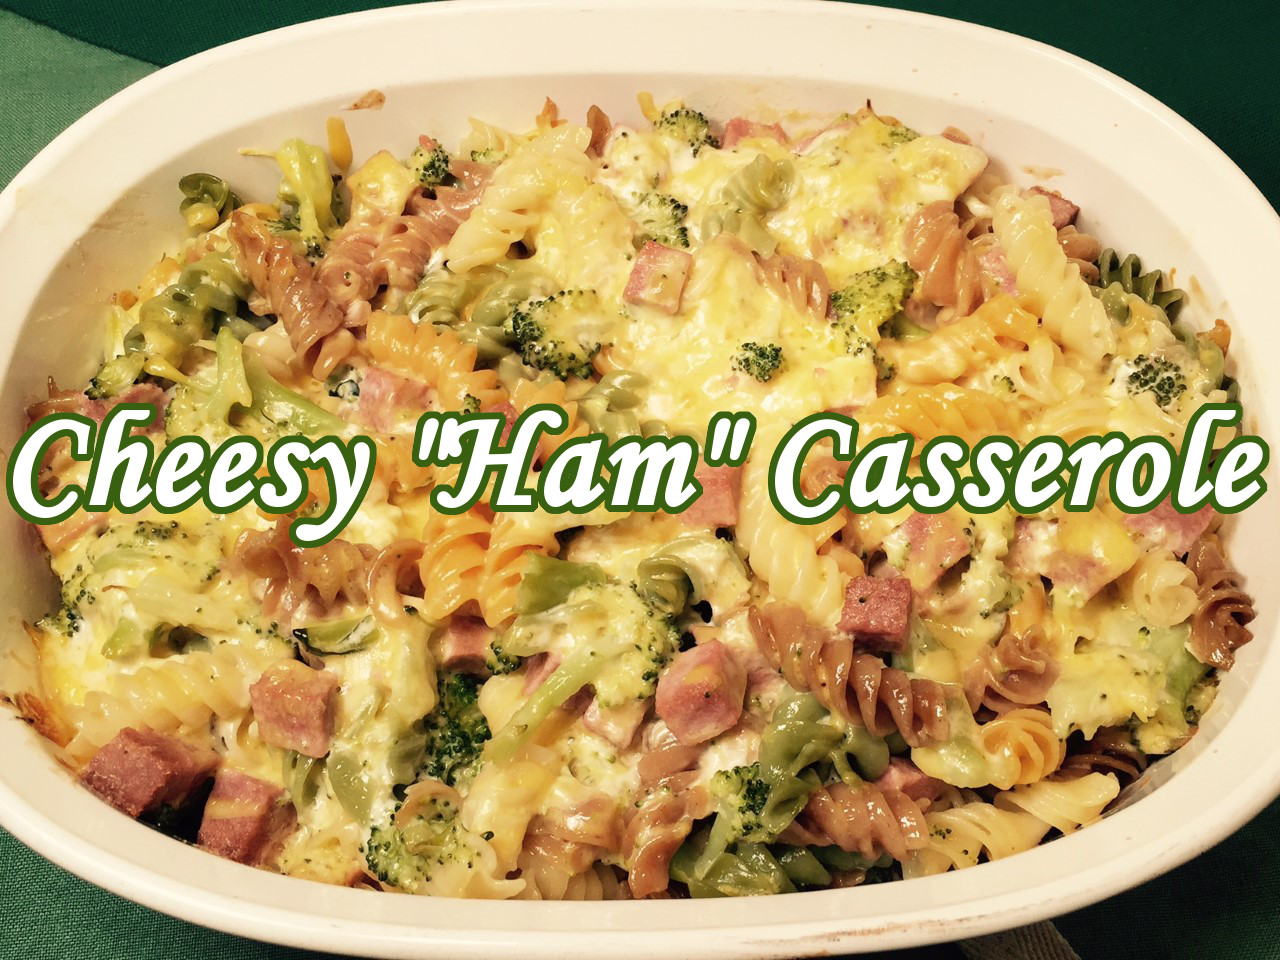 Being the mother of picky eaters, I’ve struggled to find dishes my boys would willingly eat. CHEESY “HAM” CASSEROLE became an instant favorite in our home. A bonus is that it’s loaded with broccoli, so even if they try to pick out the larger pieces, they’re still ingesting the smaller bits. (Hey, I’ll take what I can get!)
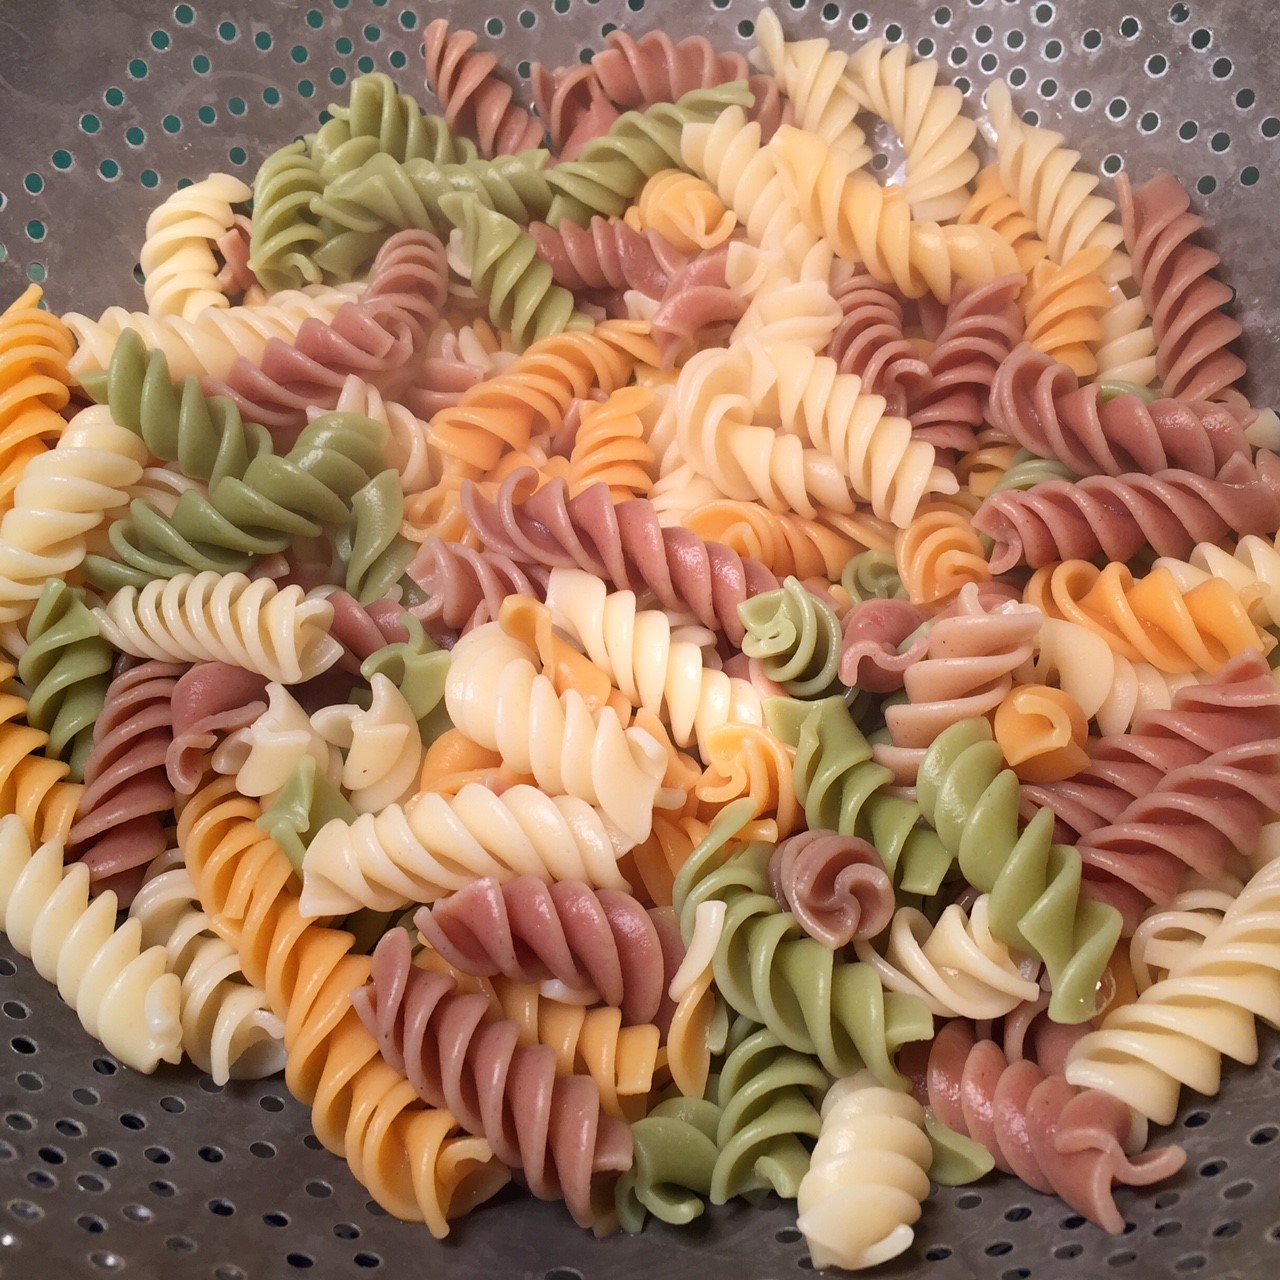 NOTE: If you’re using colored pasta, such as Wacky Mac that I use, you’ll notice that the color, unfortunately, fades with cooking. (See photo below). I don’t think there’s anything that can be done.
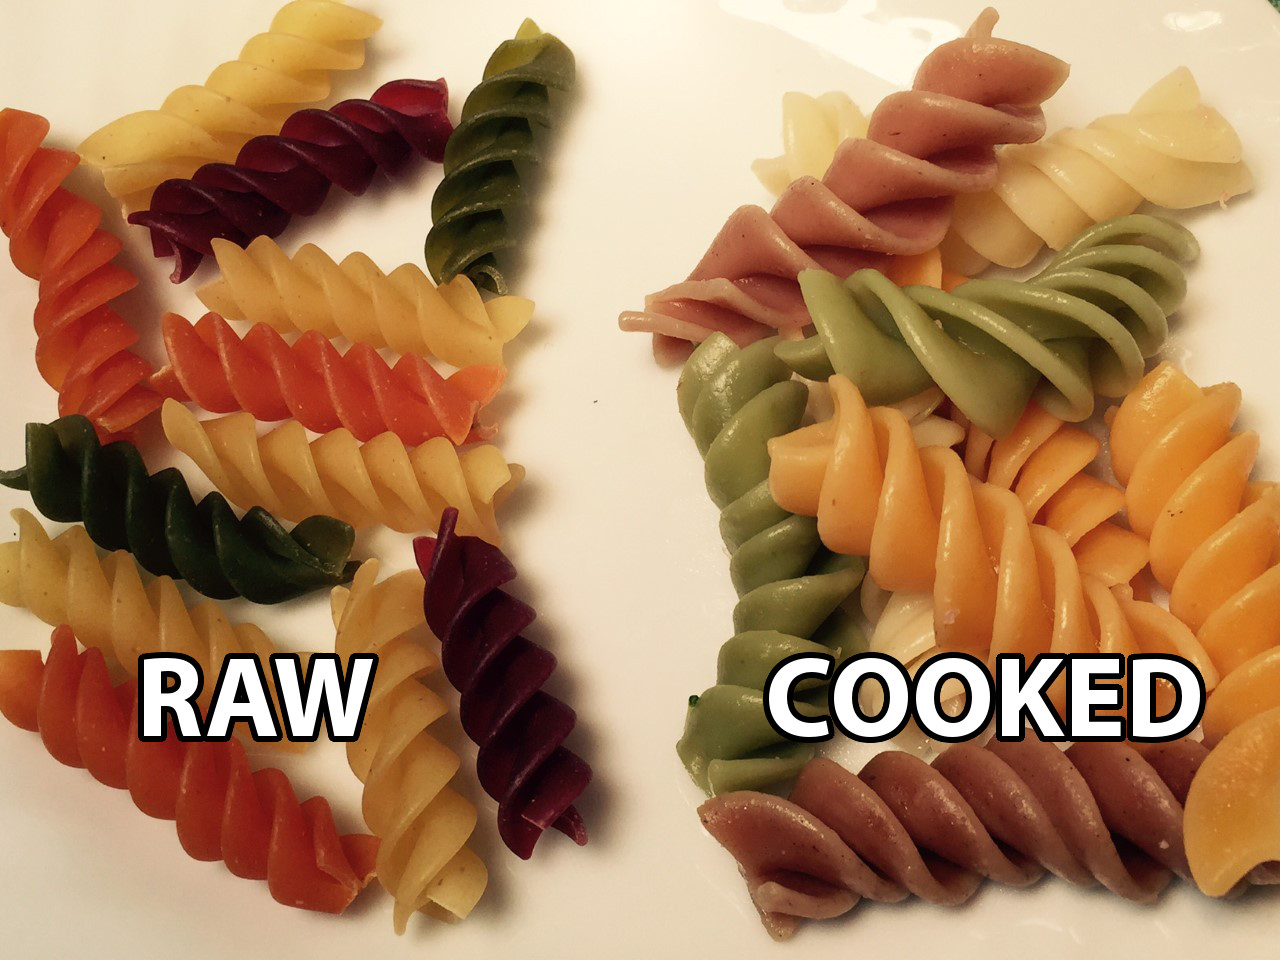 While the pasta is cooking, steam the broccoli. Like the noodles, you don’t want it overcooked or it will be mushy. Just steam it for about 5 minutes.
 While the pasta and broccoli are cooking, cube the “ham” into bite-sized pieces.
 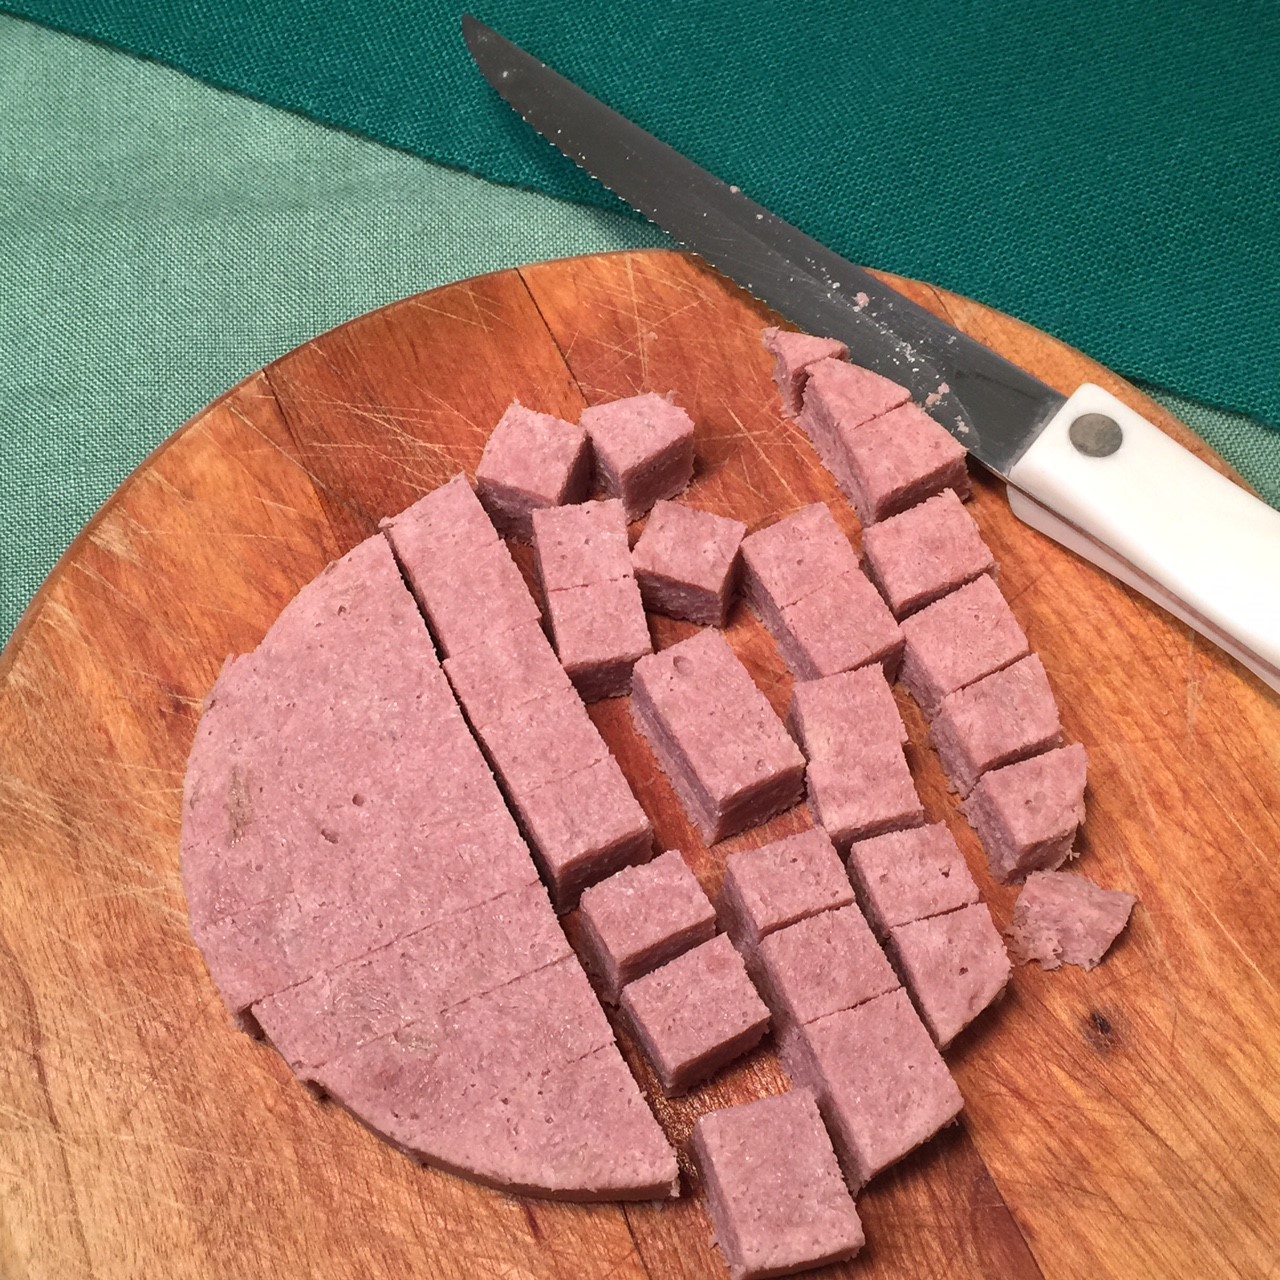 To save dirtying a bowl, use the empty pasta pot to combine the noodles, broccoli, “ham”, mayonnaise, milk, and 2½ cups (139g OR 5 oz) of the cheese. Stir gently, but thoroughly. Pour into a 2.5 quart casserole and sprinkle the remaining 1/2 cup (35g OR 1 oz) cheese on top. Cover and bake at 350º Fahrenheit for 30 minutes.
 Several months ago I jumped onboard the cast iron craze and bought a 10″ skillet that I found at a thrift store. I absolutely love it, and my fear of keeping it seasoned was for nothing. It’s quite easy, really. After washing, all one has to do is rub a bit of vegetable oil over the surface, then place on the stove using a medium/high flame, letting it dry for 1 minute.
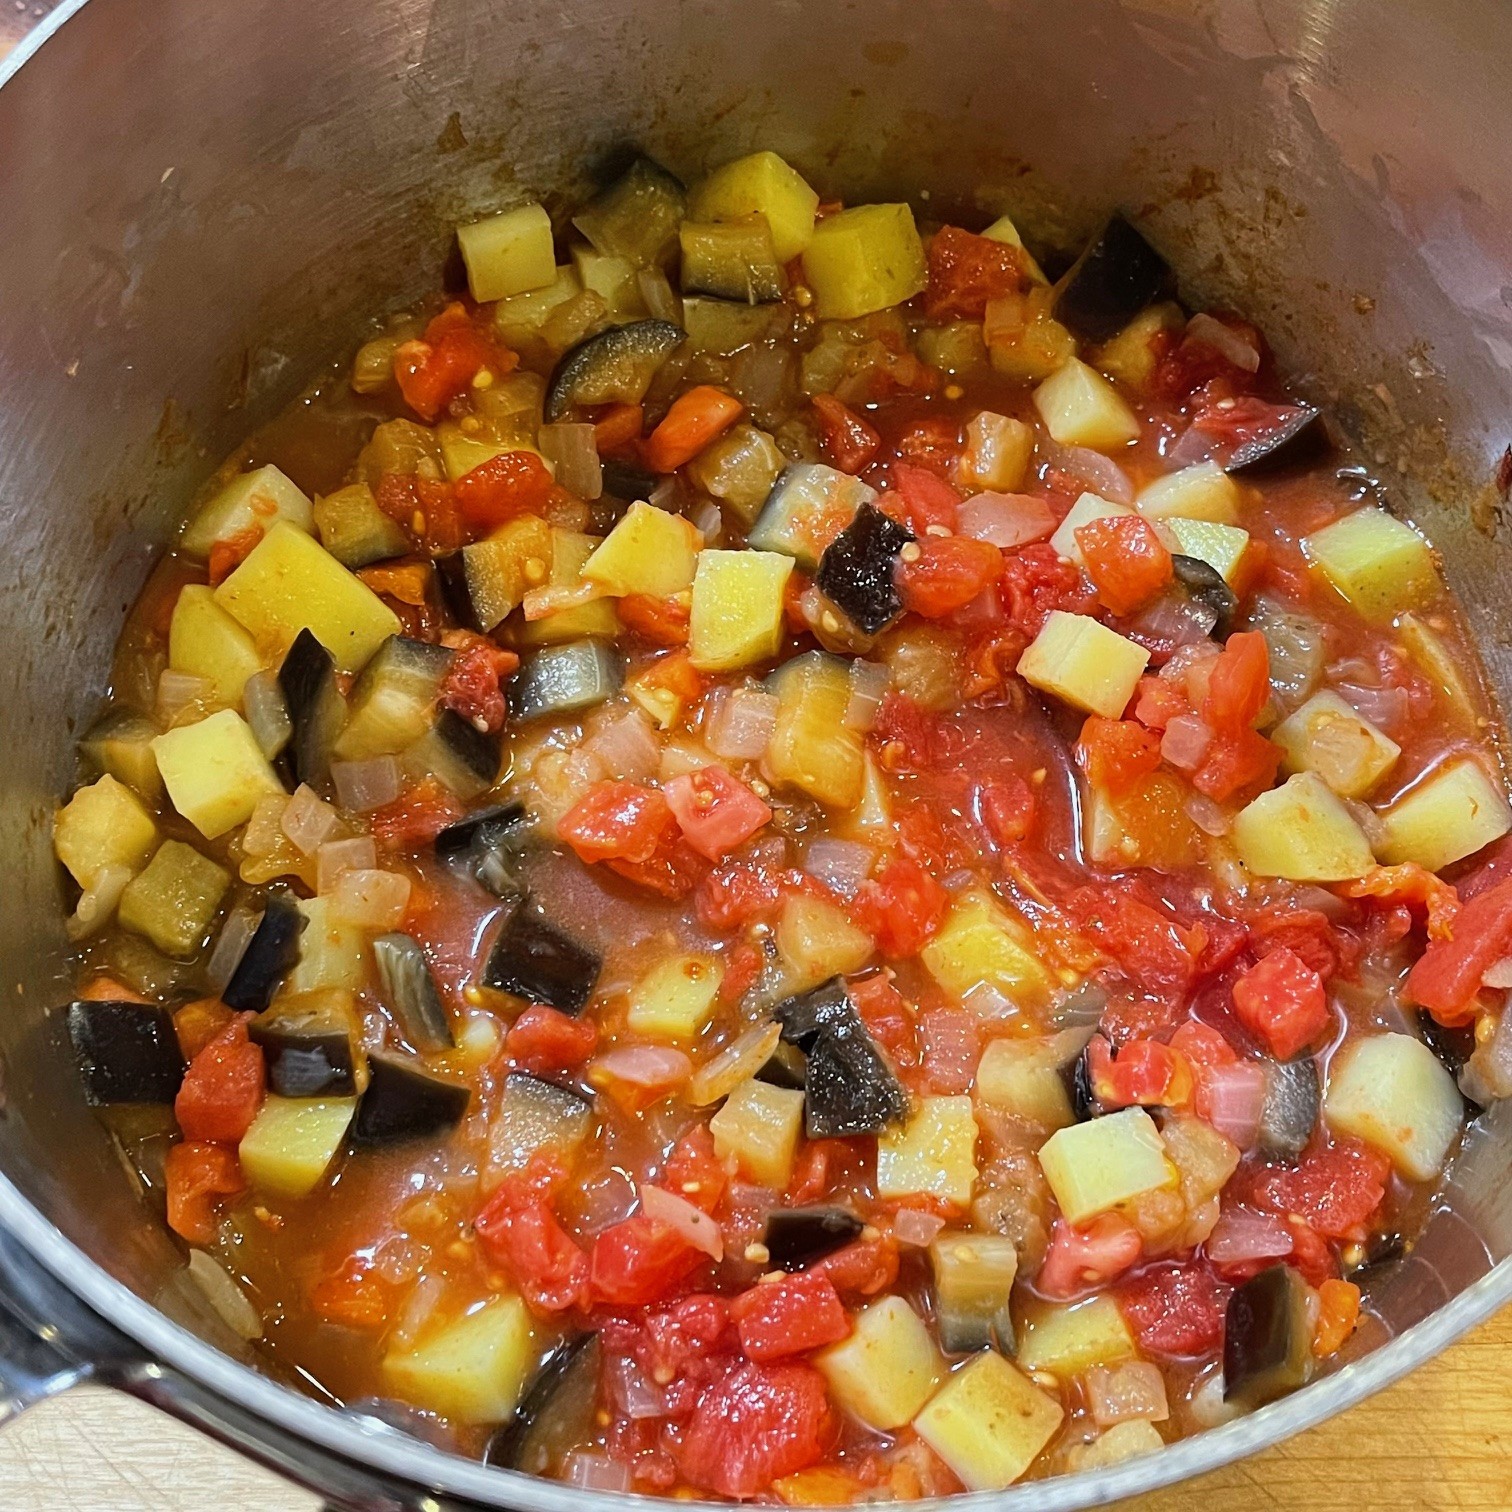
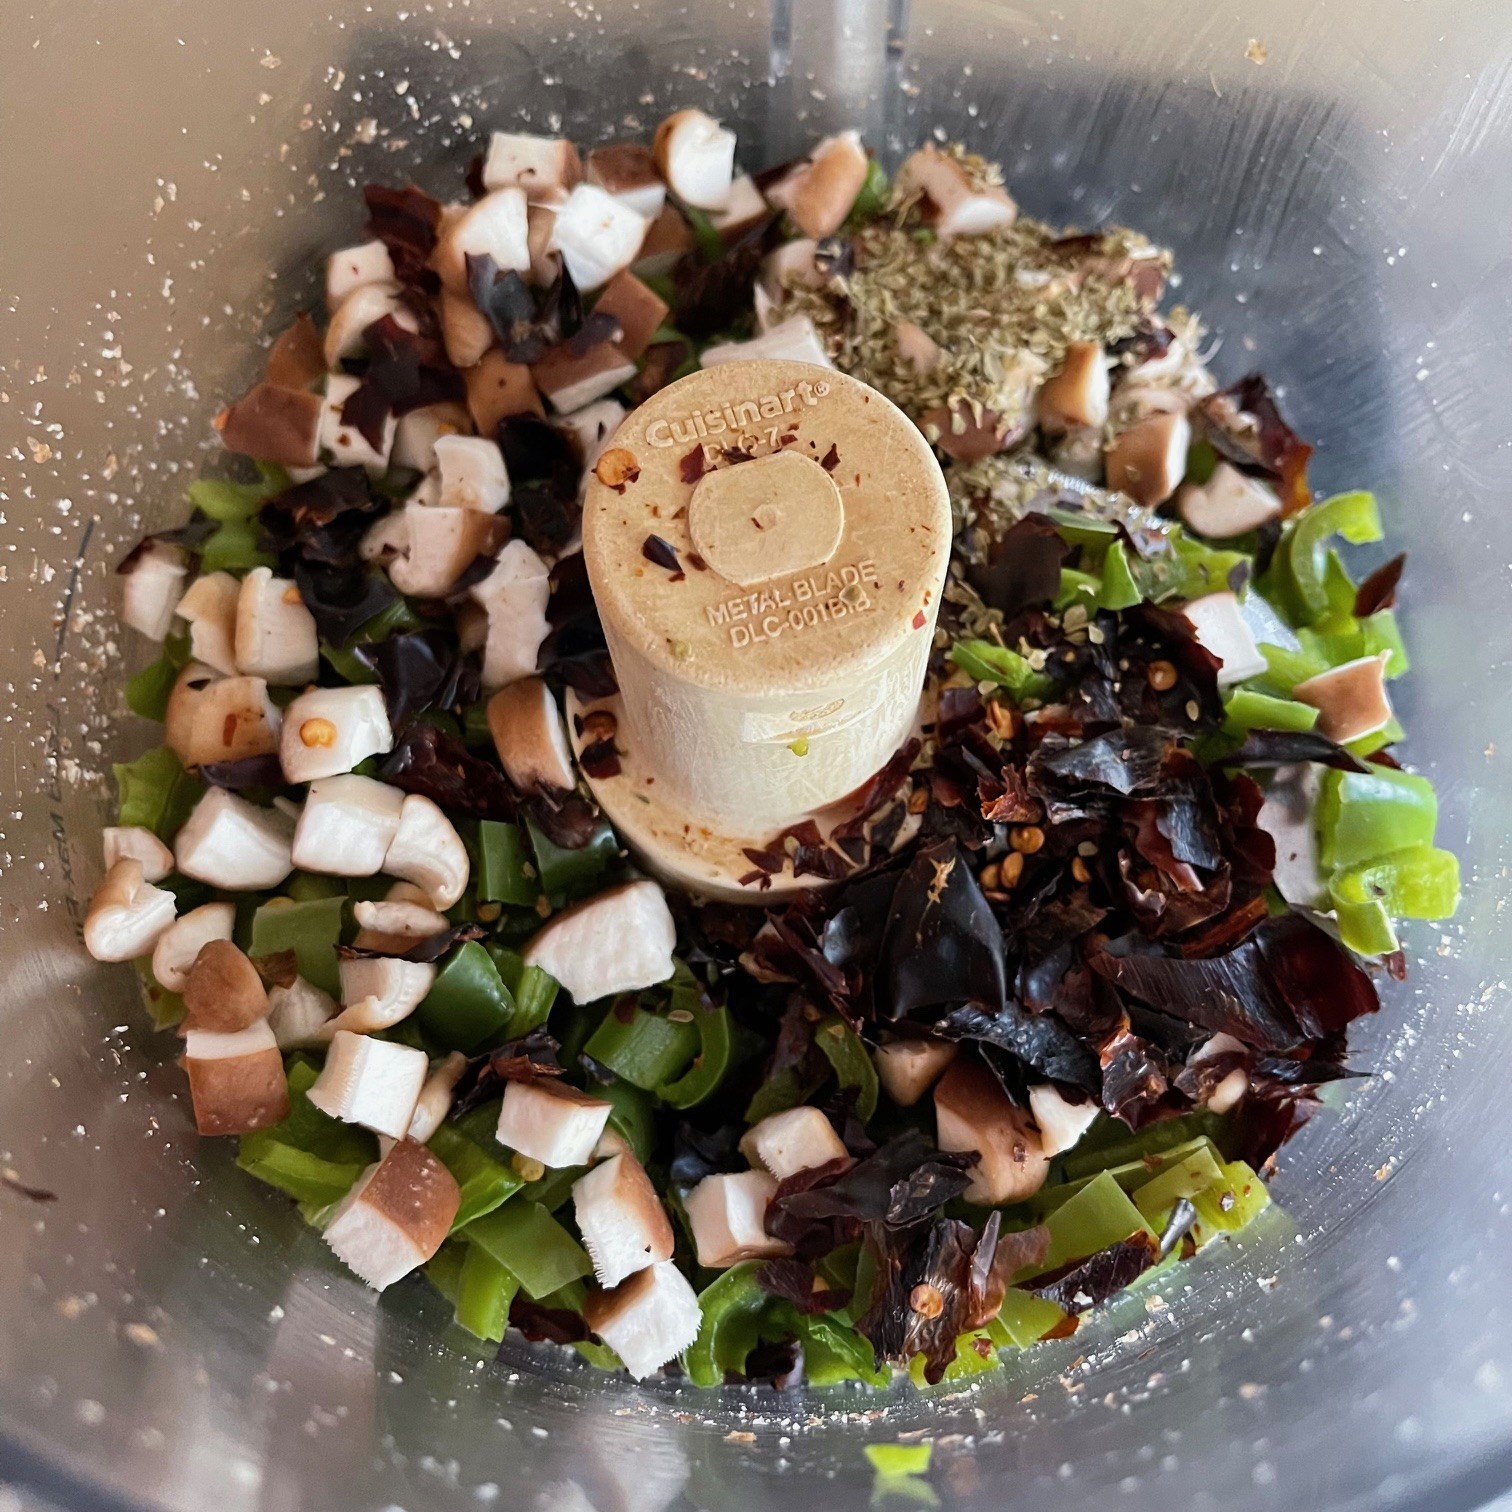
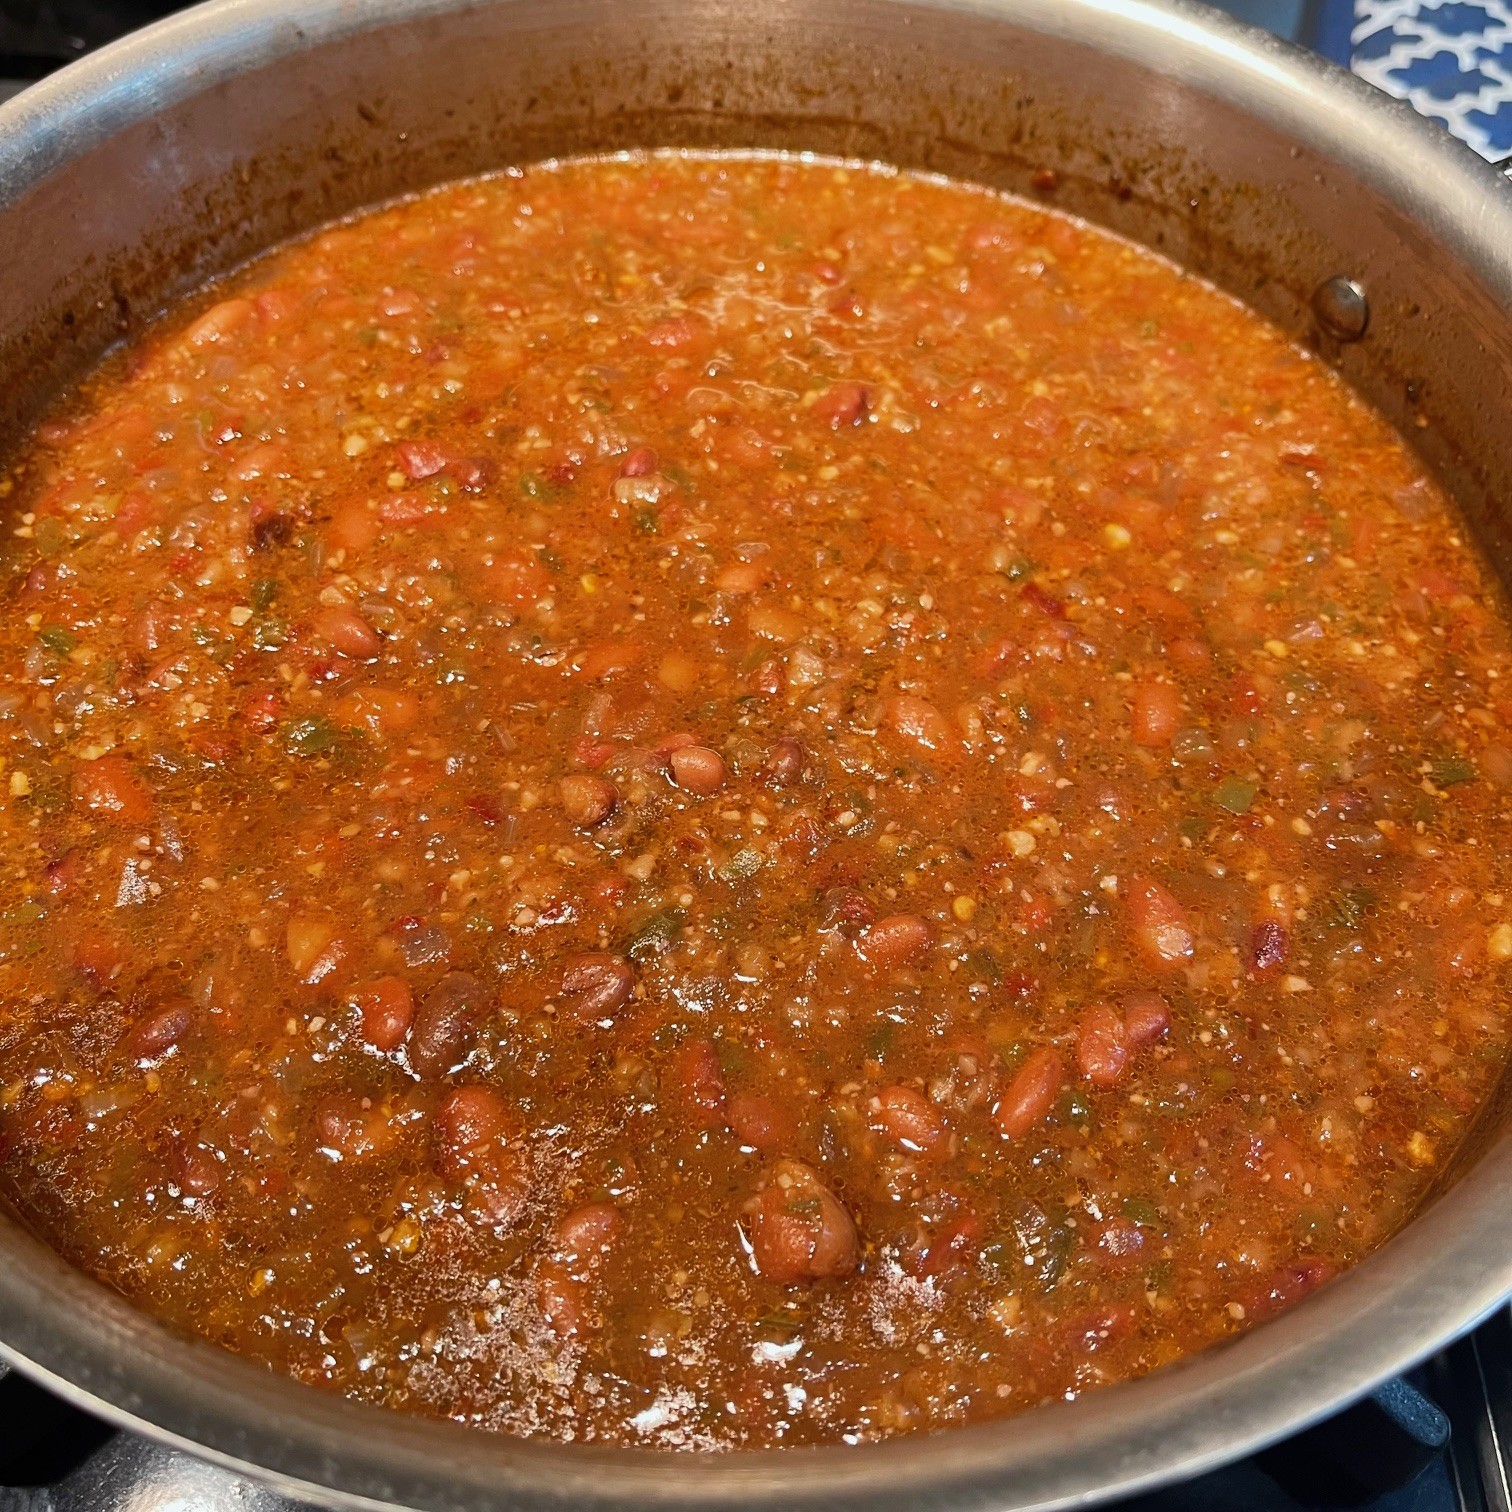
 I recently watched an America’s Test Kitchen episode which featured a vegetarian chili recipe. Years ago, I developed my own
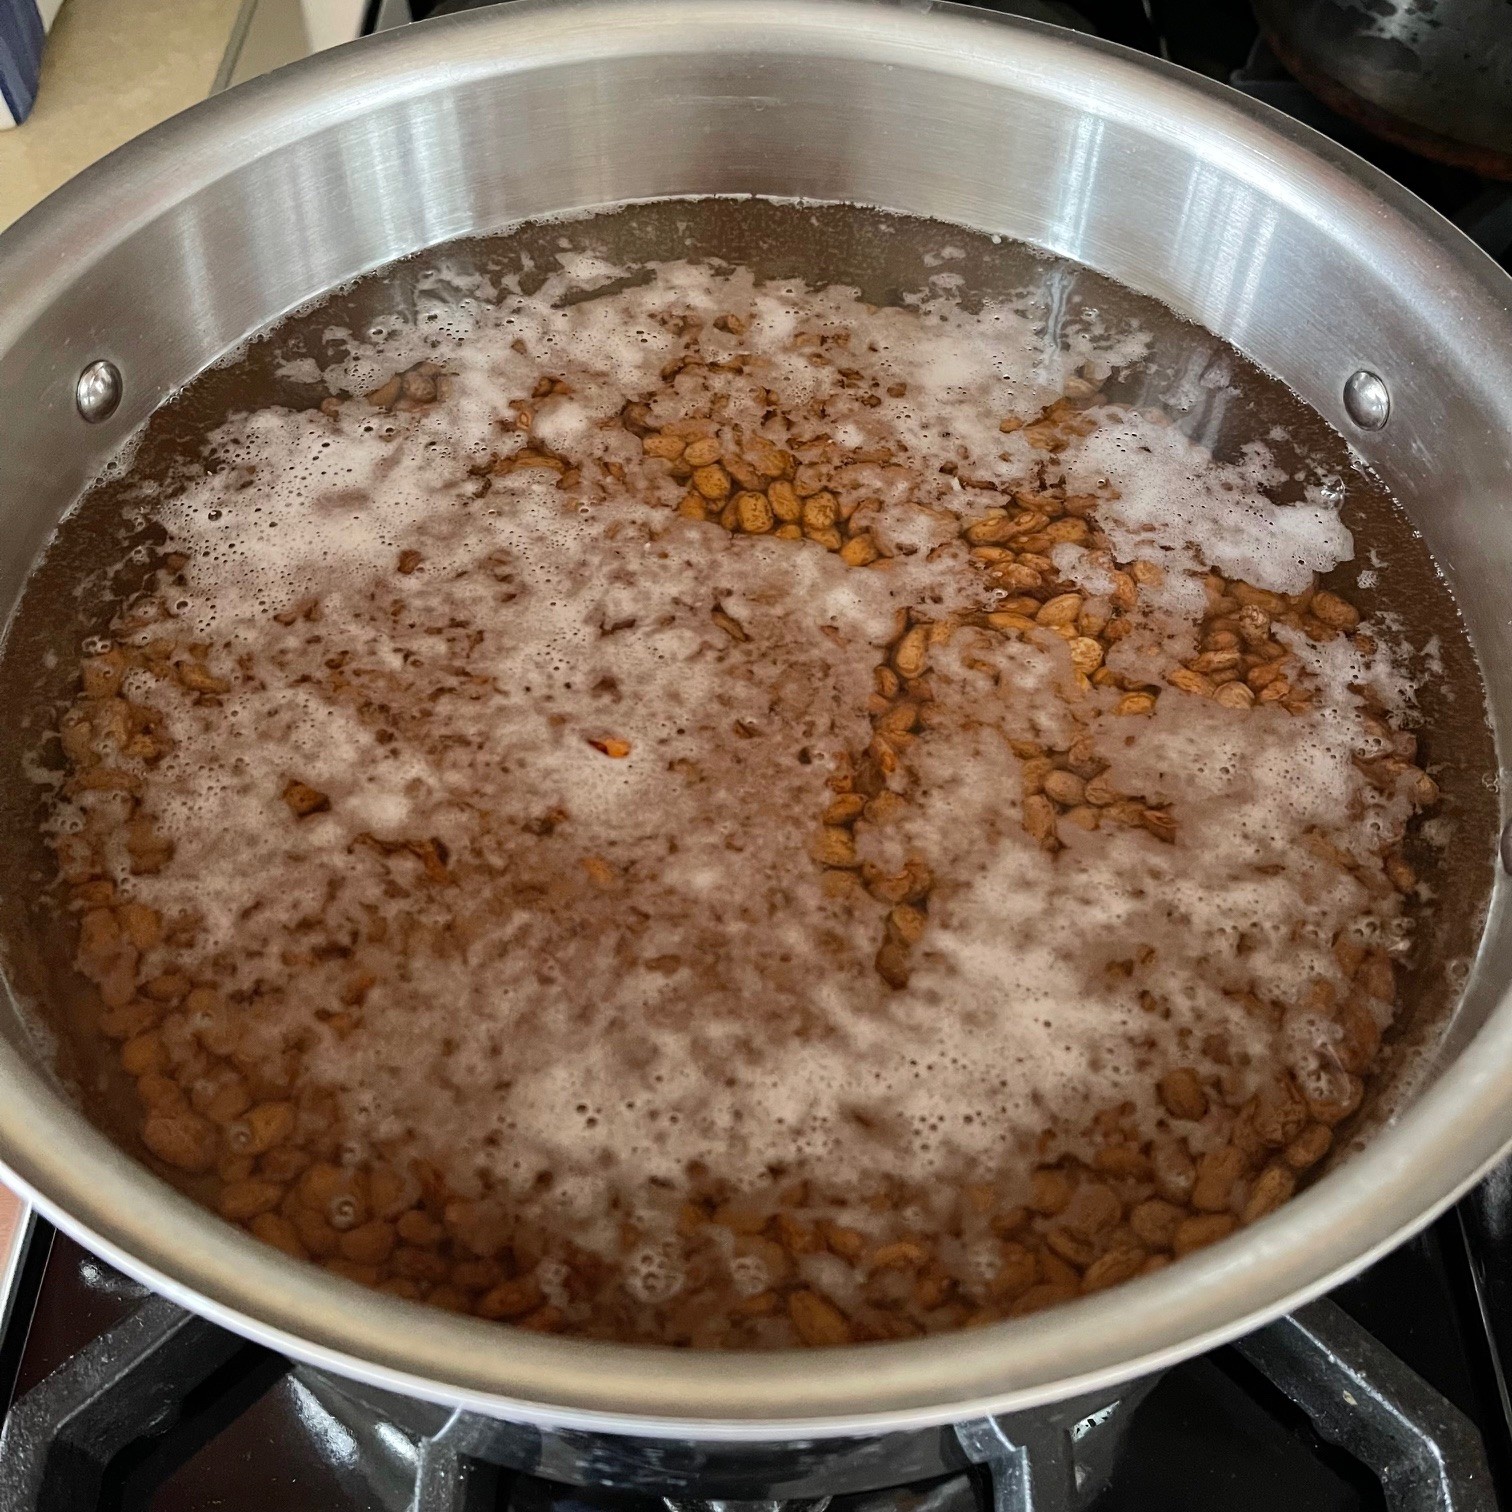


 It seemed appropriate to post a Tres Leches Cake recipe for Three Kings Day, (aka, the Epiphany). Tres Leches (three milks), three kings. Yeah, okay – it may be a stretch. But it’s still a delicious recipe and you could certainly serve it on the Epiphany…or anytime, for that matter.