 It seemed appropriate to post a Tres Leches Cake recipe for Three Kings Day, (aka, the Epiphany). Tres Leches (three milks), three kings. Yeah, okay – it may be a stretch. But it’s still a delicious recipe and you could certainly serve it on the Epiphany…or anytime, for that matter.
It needs to be made a day in advance of serving so that the three milks (evaporated, sweetened condensed, and cream), which get poured over the hot cake, can be fully absorbed. But other than that bit of planning, it’s a very easy cake to make.
TRES LECHES CAKE
- 2 cups all-purpose flour
- 2 tsp baking powder
- 1 tsp salt
- 3/4 tsp cinnamon
- 1 cup milk (any kind – I use nonfat)
- 8 T butter
- 4 eggs
- 2 cups sugar
- 4 tsp vanilla, divided
- 14 oz can sweetened condensed milk
- 12 oz can evaporated milk
- 2 cups heavy cream, divided
- 3 T light corn syrup
Preheat oven to 325º Fahrenheit.
In a bowl, mix together the flour, baking powder, salt, and cinnamon. Set aside.
In a small saucepan, heat together the milk and butter, just until the butter melts. Remove from heat.
Into the large bowl of your electric mixer, beat the eggs for 30 seconds on low speed. After 30 seconds, slowly start pouring in the sugar (still on low speed). Once all the sugar is added, increase the mixer speed to medium/high and beat until mixture is pale and glossy – about 5-7 minutes. On low speed, slowly add in the milk/butter and 2 tsp vanilla. Mix in the flour a third at a time.
Pour batter into a greased and floured 13″x 9″ pan. Spread the batter so the center dips down lower than the sides. As the cake bakes, the center will naturally rise. By scooping down the center, this will help ensure you get a flat-topped cake. Bake at 325º F for 30-35 minutes.
While cake is baking, mix together the sweetened condensed milk, the evaporated milk, 1 cup of cream, and 1 tsp vanilla. I suggest you use a container with a spout for easy pouring.
When cake is done, remove from oven. Prick the hot cake every 1/2″ with a skewer or fat toothpick. Very slowly pour the milk mixture over the hot cake. (You’ll have to stop for awhile now and then to allow the milks to absorb into the cake.) There will probably be some pooling on top in spots. That’s okay. Let cake set for 15 minutes after you pour on the milks, then put in refrigerator UNcovered overnight, up to 24 hours.
Before serving, make frosting by combining 1 cup cream, the corn syrup, and 1 tsp vanilla together in the small bowl of your electric mixer. Beat on high until soft peaks form. Spread over cold cake.
 Anyone who owns a television, computer, or has been to a store lately knows it’s the holiday season. People will gather for small get-togethers and big galas. And where people celebrate, there’s always food. (It’s a rule!)
 In a small bowl, combine the milk and flour to form a smooth paste.
 In a larger bowl, beat the eggs. Pour the flour paste into the eggs, beating to combine.
 Sprinkle about one-third of cheese (you don’t have to measure) onto baking pan. Top with one can of chilies, spreading evenly. Add half of the remaining cheese, then the other can of chilies, the rest of the cheeses, and, finally, pour egg mixture over chili-cheese mixture, smoothing top.
 Bake at 375º F, uncovered, for 45 – 50 minutes – until browned. Don’t worry about the edges being too dark – they’ll be discarded into your mouth. Remove from oven and let set for about 15 minutes.
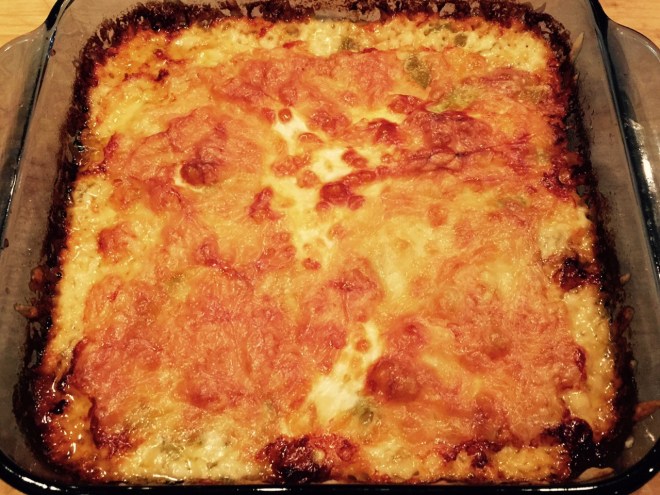 Run a spatula around edges and underneath to loosen.
 Place a plate on top and flip to remove – it will plop down…hopefully. Then place another plate on top (which is the bottom of the chili-cheese mixture) and flip again. Now, it’s right side up. Here’s the BEST part – cut off the 4 edges and eat them (you won’t be serving them). They are an irresistible crispy, warm, cheesy temptation.
 Let the square rest a few more minutes to make sure it’s firm, then slice into squares. TIP: I used a large pizza wheel.
 The one imitation meat that really does taste like the real thing is “sausage”. (quotation marks denote fake meat.) My go-to brand is Morningstar Sausage Patties. (I’ve never actually tried any other brand since these are so good!)

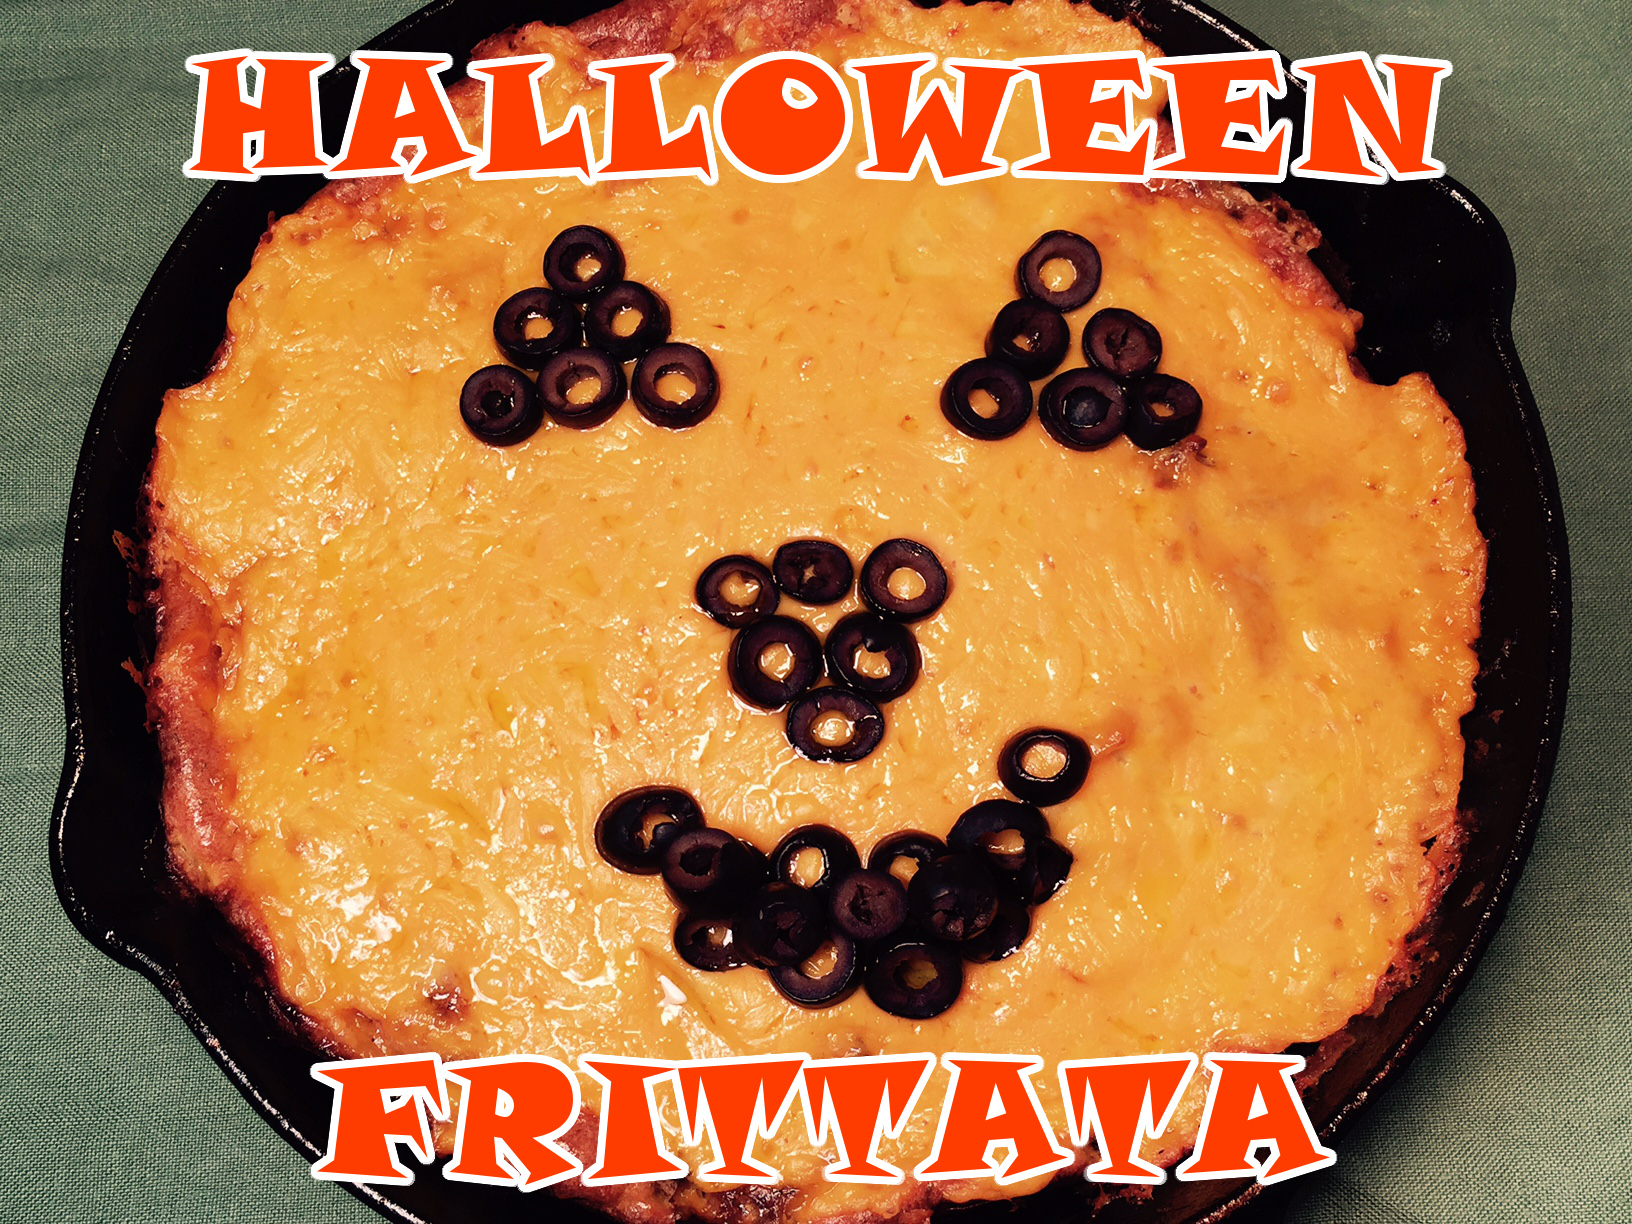 I’ve been struggling with a post topic for Halloween – there’s only so much pumpkin one can eat. Then I came across a wonderful article by Helen Nichols –
  Inspired by my new-found apple information and beautiful photos, I decided to create an apple based recipe. A memory shot out from the deep recesses of my mind of a college friend who told me she made an apple omelette because it was all she had in the fridge. She couldn’t believe how delicious it was. I was skeptical, but obviously intrigued enough to file it away in my memory-bank.
 The subject of my previous post was
 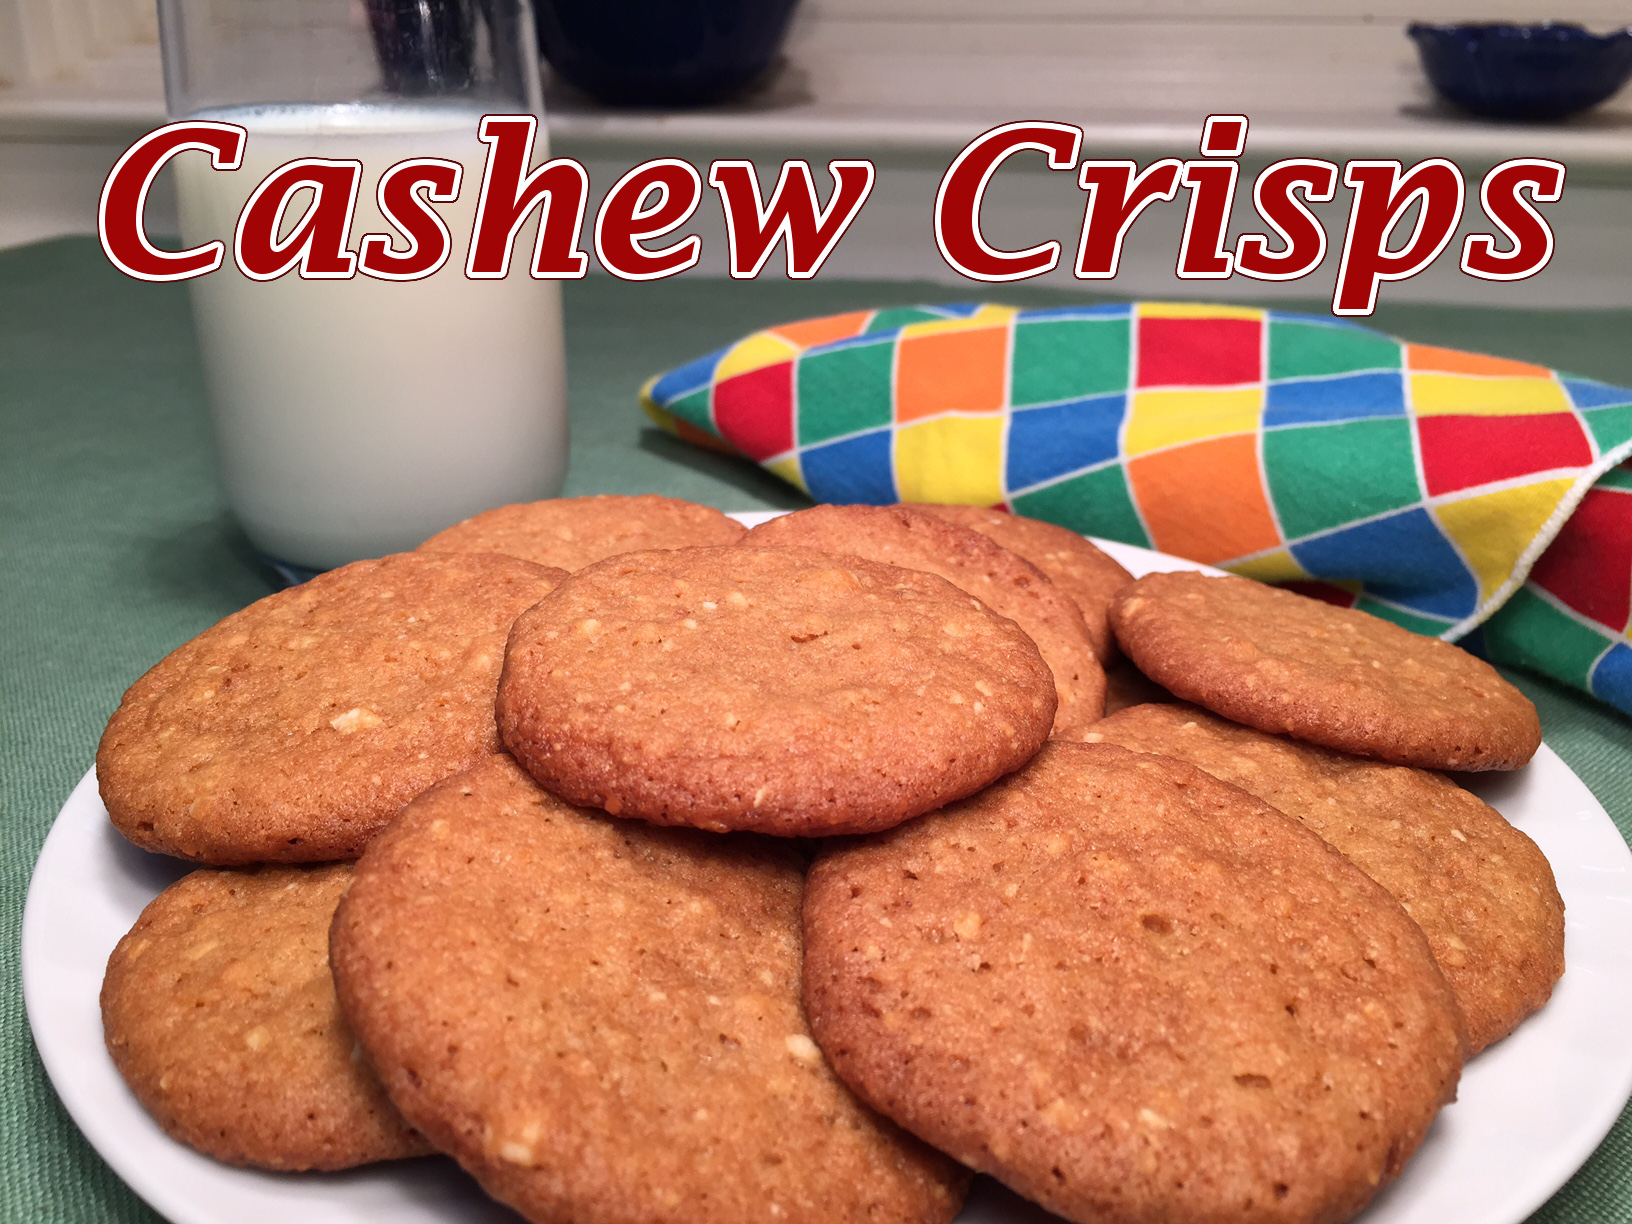 Believe it or not, sometimes I crave a chocolate-free cookie. That’s a pretty bold statement from a certified chocoholic – but, there it is.