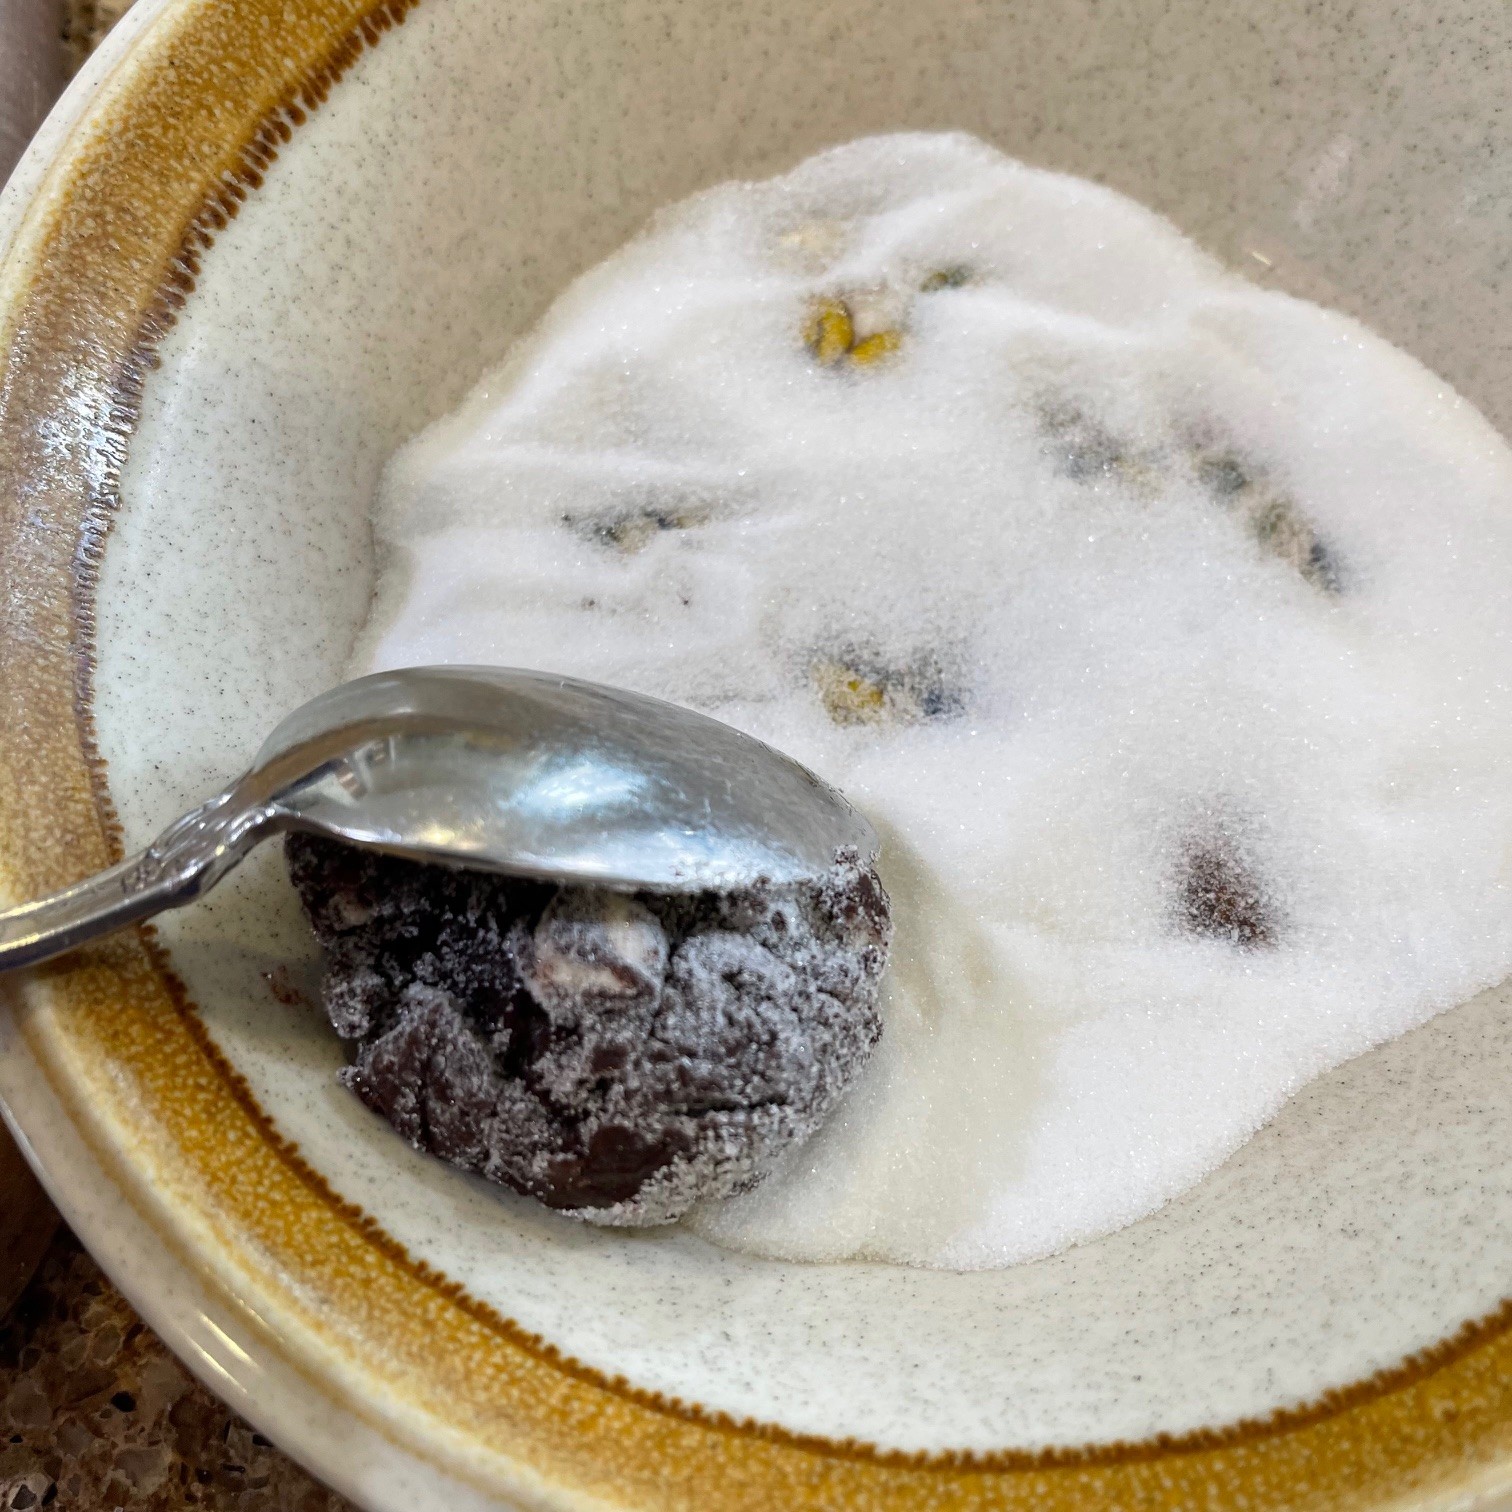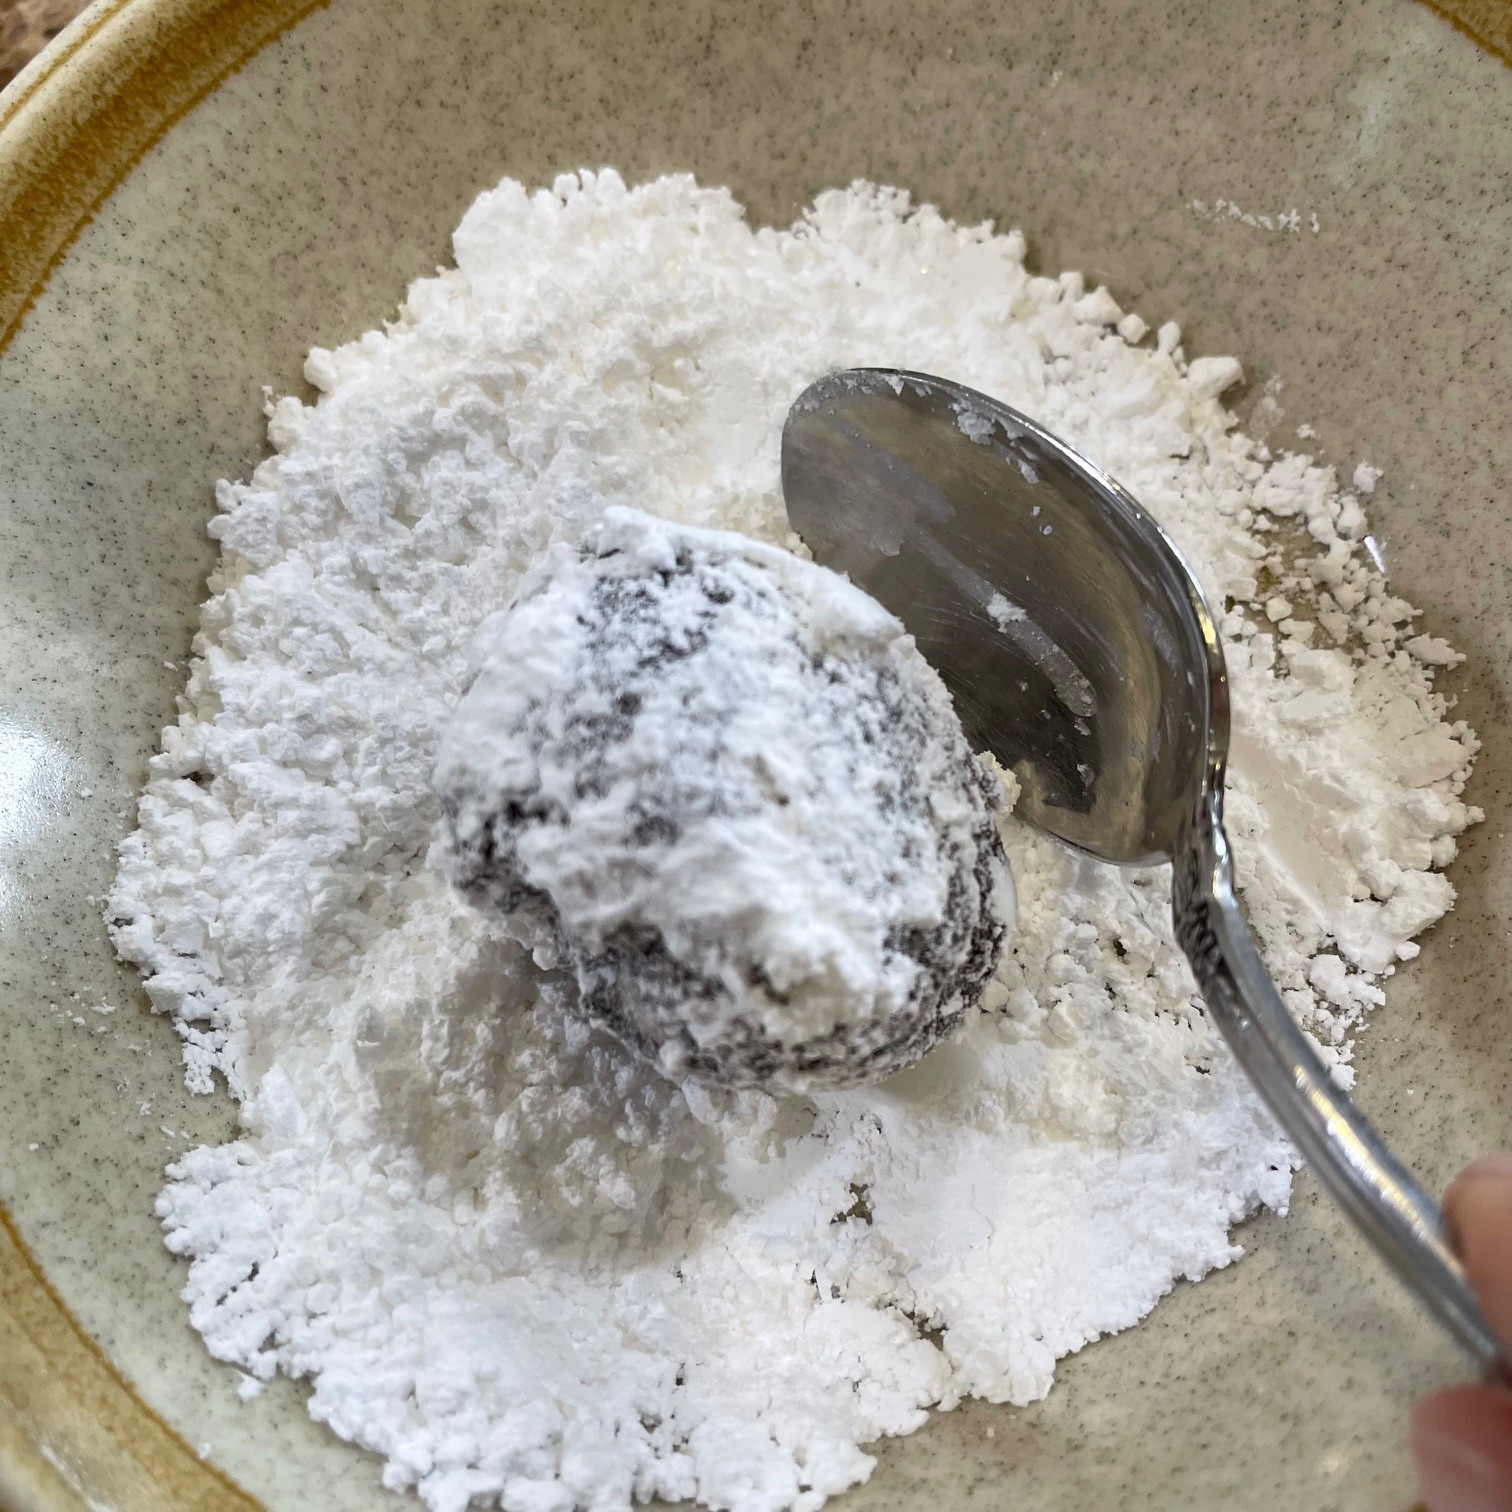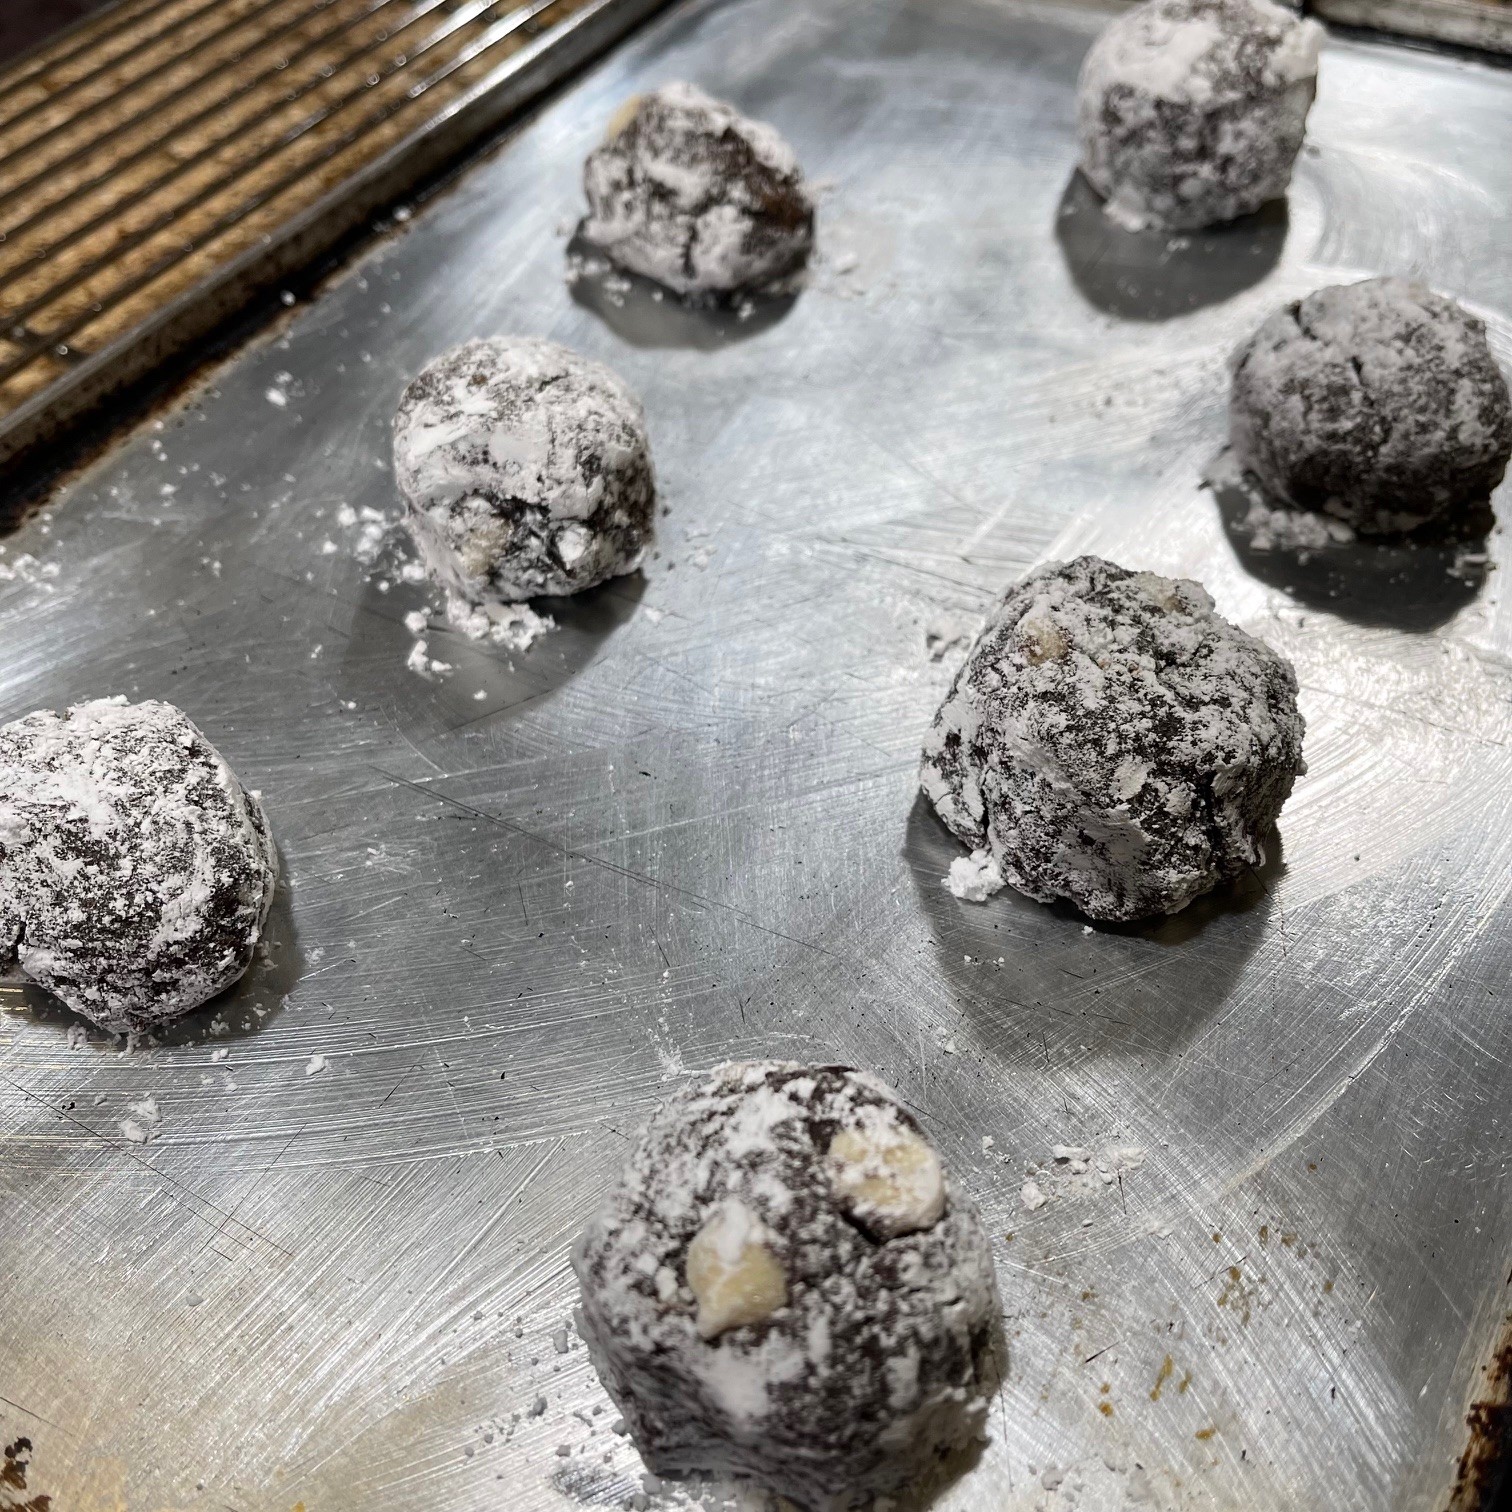
 Cranberry Tart is a beautiful dessert that can be served year-round. But I thought it particularly appropriate for Valentine’s Day…even though the only chocolate in it is the white chocolate I sprinkled on top (which doesn’t really count).
Making this tart was my excuse to finally purchase a tart pan. It’s not absolutely necessary, but it does make a pretty presentation with the fluted edges. However, a 9″ regular pie dish (like Pyrex) will work fine. By the way, I didn’t grease the pan and the tart still released perfectly.
CRANBERRY TART
Crust:
- 79g (2/3 cup) slivered almonds
- 33g (3 T) granulated sugar
- 1/8 tsp salt
- 152g (1¼ cup or 5¼ oz) all-purpose flour (it’s always better to weigh, if you can)
- 140g (10 T) butter, soft
- 1/2 tsp almond extract
Preheat oven to 375º Fahrenheit.
Toast almonds either in the oven or a dry skillet until lightly browned. Let cool.
Place almonds, sugar, flour, and salt in the food processor with the steel blade. (You can use the blender, but you’ll have to mix the rest by hand or with an electric mixer.) Pulse until the almonds are a fine crumb – about 8 pulses.  Add in softened butter and almond extract. Pulse until mixture clumps together.
  Place a 9″ tart pan on a cookie sheet – this is important since tart pans have a removable bottom and you don’t want to accidentally push it up when you lift the filled tart. (You don’t need the cookie sheet if you’re using a regular pie plate.) Scatter pieces of the dough around the tart pan (or regular 9″ pie pan), putting more near the edges.
  With fingers, press down the dough starting with the sides so it evenly covers the sides all the way up the top, and the bottom of the pan. Pay special attention to the corners – push them in so you have a nice sharp inside edge with more room for the filling.
 Place a piece of waxed paper over crust and fill with pie weights, uncooked beans, or rice. Bake in preheated 375º F for 12 minutes. Remove waxed paper and weights by bringing corners together and carefully rocking it out – you don’t want the crust to stick to the paper. (If some of it does stick to the waxed paper, scrape it off and replace it in crust.)
Continue to bake the now-uncovered crust for another 5 minutes or so until lightly browned. Carry the cookie sheet with the tart pan on top to a rack and completely cool.
Filling:
NOTE: As Queen of Freeze, I encourage you to freeze the unused egg whites from the required egg yolks in the filling for future use. Waste not, want not!!!
SECOND NOTE: I wanted a deeper red color but don’t like to use commercial food colorings. So I made my own red coloring using a red beet. It’s quick to do and doesn’t affect the flavor of the curd. But, you don’t need to color the filling – it’s a pretty pink on its own – or you can use purchased coloring, if you want.
- optional for deeper red color: 1 red beet
- 12 oz cranberries (either fresh or frozen), rinsed
- 1 cup granulated sugar
- 1/8 tsp salt
- 1/4 cup pomegranate juice (I use Pom)
- 2 T lemon zest
- optional: 2 tsp beet juice extracted from the beet
- 8 T butter, cold and cut into pieces
- 2 eggs, whole
- 2 yolks
Preheat oven to 350º Fahrenheit.
If you want to make a deeper red colored tart: wash, peel, and roughly chop beet. Place in a small saucepan with about 1/2 cup of water. Bring to boil and cook, uncovered, until water (which is now red) boils down to about 2 teaspoons. Let cool. In another saucepan, combine the cranberries, sugar, salt, pomegranate juice, and lemon zest. Bring to a boil and cook until the cranberries start to pop – about 5 minutes. Remove from heat.
 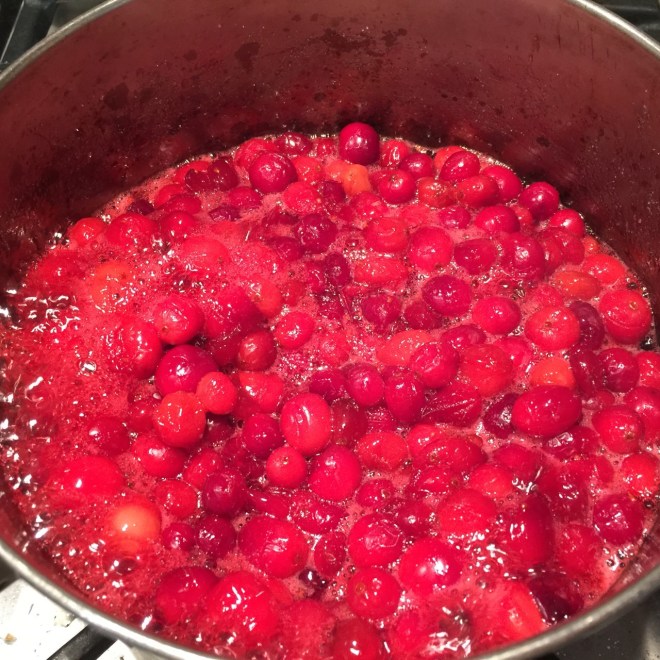 Note: Possible suggestion (although I haven’t tried this): To eliminate the above step of separately boiling the beet, try quartering the peeled beet (so you can find them easier), and add them to the cranberries before boiling. Then remove the 4 beet pieces before running the cranberries through the food mill.
Place butter in a medium sized bowl. Set food mill or strainer on top of bowl and pour cranberry mixture through the food mill or strainer. Extract as much liquid as you can. The hot liquid will melt the butter and cool down the liquid. 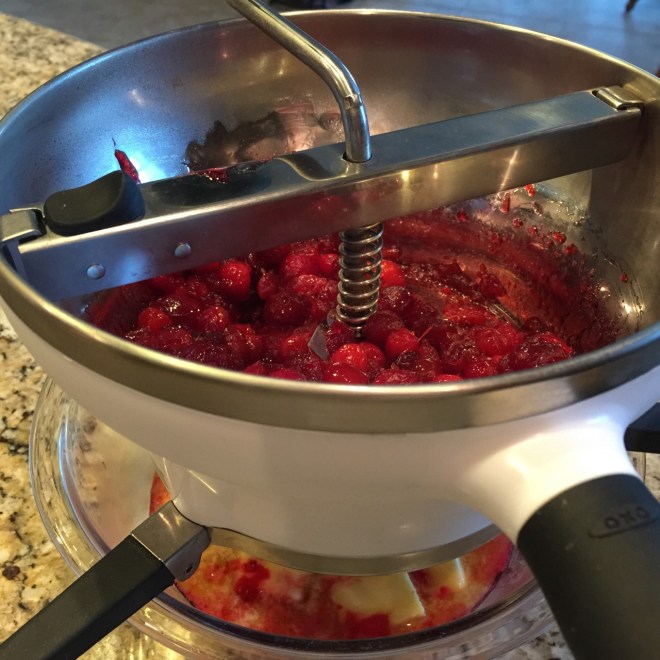 Beat the whole eggs and yolks together in a small bowl, then slowly whisk into the cranberry mixture. Add beet juice (if using).
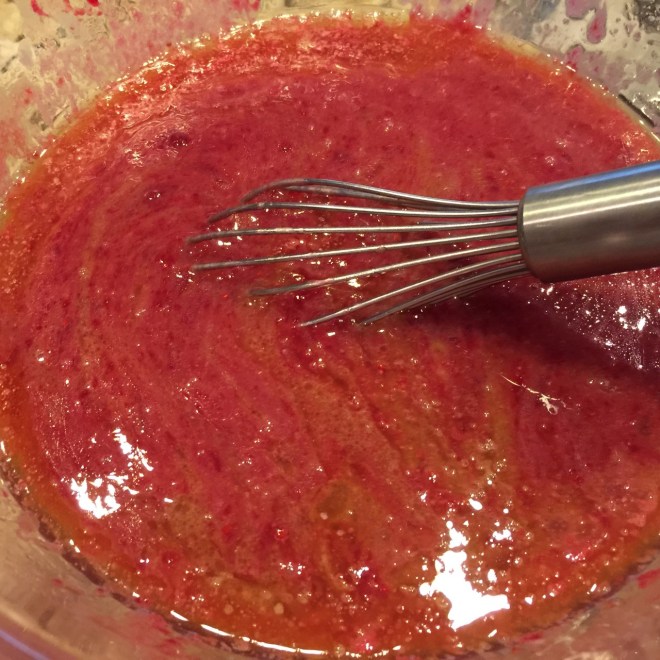 Clean out the saucepan you used for cooking the cranberries. Pour the filling through a strainer (to remove any bits from the egg and/or cranberries) into the empty saucepan. This takes some time since it’s thick! You don’t HAVE to do this step, but the curd is silkier if you remove the bits. You can see what would have been left in the curd if I hadn’t strained.
 Over medium heat, cook until thickened, stirring often – about 5 minutes.
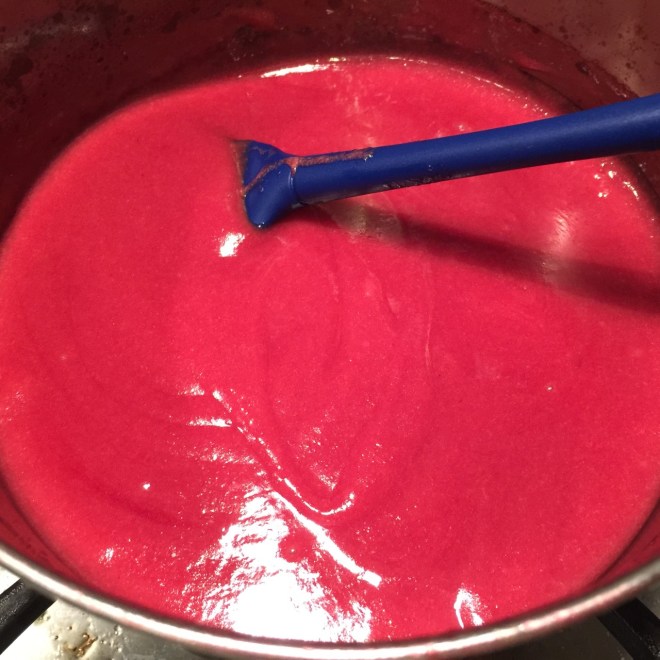 When oven is preheated, pour filling into cooled crust. (Make sure tart pan is still sitting on a cookie sheet – you really don’t want to chance pushing up on the bottom!)
Bake at 350º F about 8 minutes, until center 3″ is still jiggly but sides are firm. Don’t wait until center is firm or it’ll be overcooked. Remove from oven. 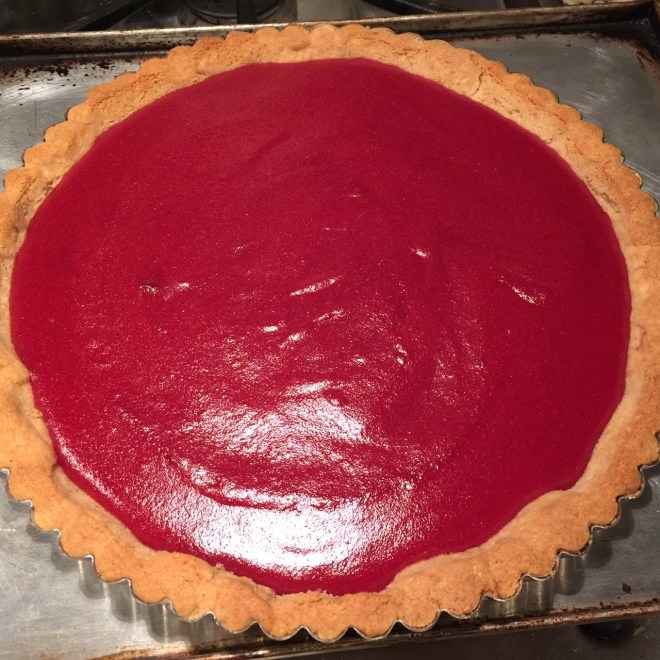 While tart is still hot, remove tart pan side by very carefully scooting the tart pan from the cookie sheet onto a wide can or bowl. (Make sure the diameter of the bowl is smaller than the tart pan opening.) Gently press down on tart pan edge and it should fall right down. Don’t move the tart yet – let it completely cool before moving it.
 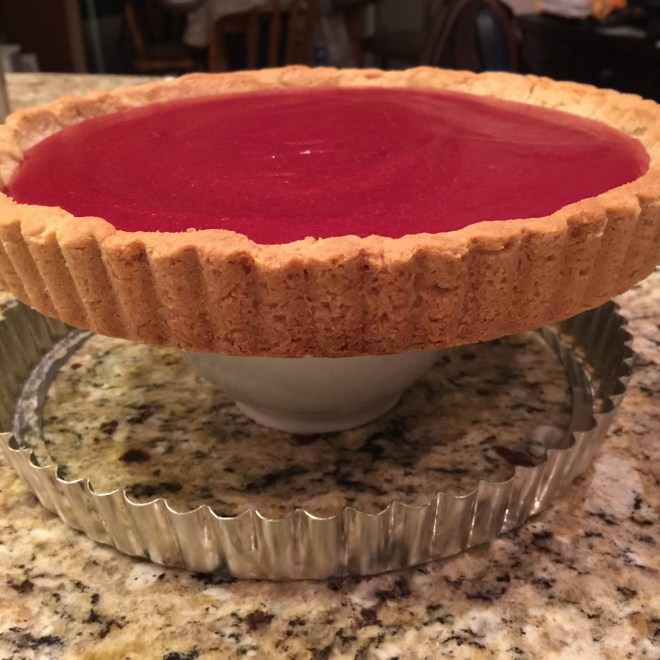 Once tart is completely cooled, remove tart pan base – it may crack if it’s still warm. To remove base, run a thin, long implement (or maybe unflavored dental floss – I haven’t tried that, though) between crust and tart pan bottom. Carefully, nudge tart onto a serving plate.
Chill at least 6 hours. Making it the day ahead is best.
 When I harken back to Christmases past, one thing that stands out is the English Toffee Bars my best friend’s mother made every year. Besides my mom’s fudge, English Toffee Bars were a favorite.
 Add the yolk, vanilla, and salt. Beat 1 minute.
 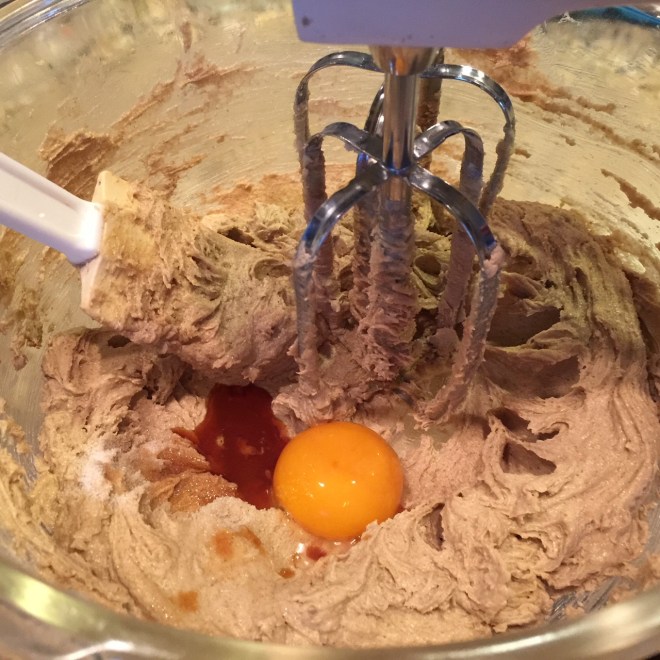 Add the flour and mix on low speed, just until flour is incorporated.
  Place dough on a piece of parchment paper, and pat it out to 11.5″ x 11.5″, trying your best to keep it of even height.
 Slide parchment on onto a rimless cookie sheet. Place in preheated 375º F oven. Bake 11-14 minutes, rotating once, until browned. Remove from oven.
 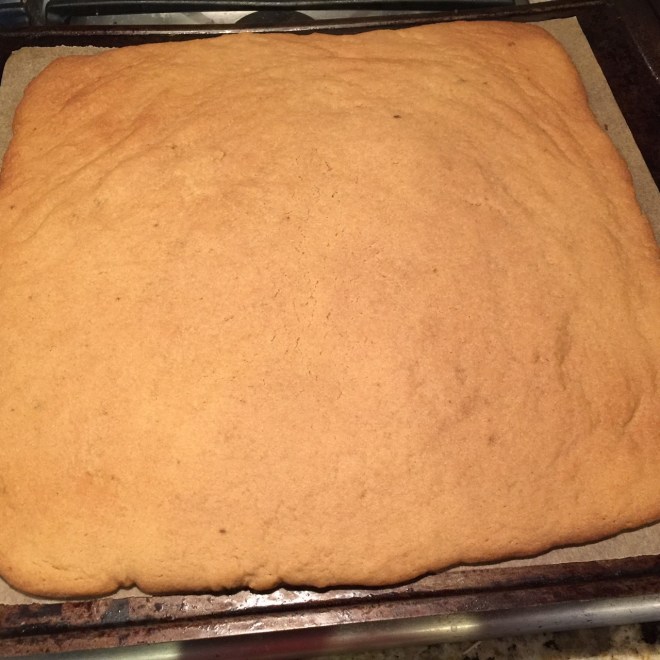 Immediately, top hot dough with chocolate bar pieces and let sit for 2-3 minutes , until chocolate softens.
 Spread chocolate.
  Sprinkle with toasted nuts, pressing very lightly so nuts adhere to chocolate.
 Cool bar on cookie sheet about 20 minutes so it sets. Slide parchment onto counter. Slice off uncoated edges, then cut slab into squares while still soft (if you wait until they’re hard, they’ll break when cut). Once bars are completely cool, refrigerate to firm up.
 Every now and then I get an idea for a recipe that I think will be a piece of cake (pun intended!) to develop. It never is.
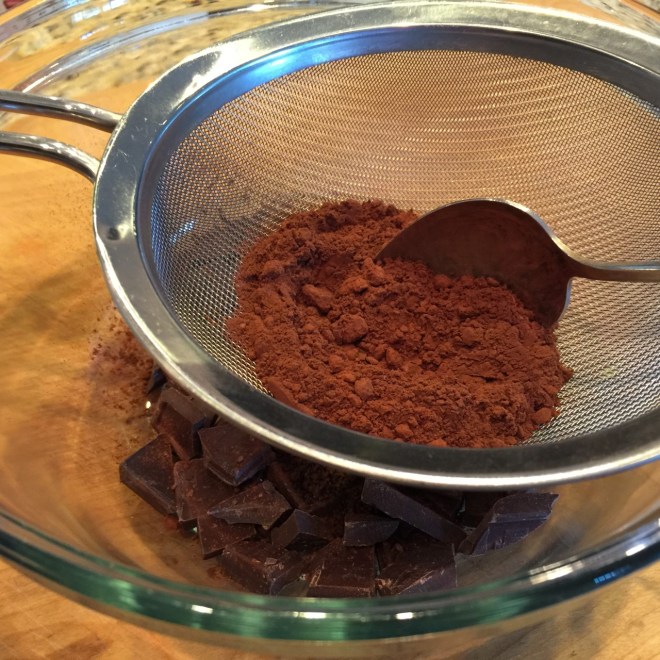 Pour in the HOT coffee. Immediately cover bowl with a plate to retain heat in order to melt the chocolate. Let sit for 5 minutes to soften, then stir until all chocolate is melted and mixture is well blended. Set aside to cool for 10 minutes.
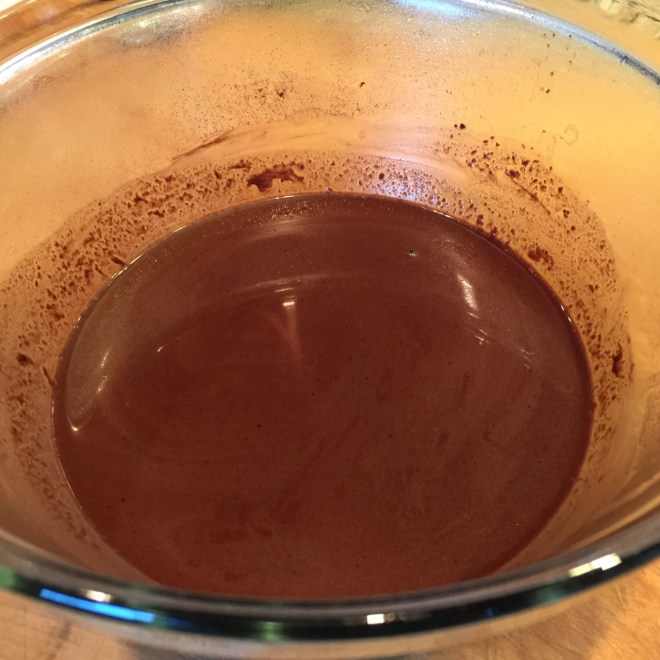 Into another bowl combine the flour, sugar, salt, and baking soda. Set aside.
 Line your muffin tins with 18 regular-sized cupcake papers.
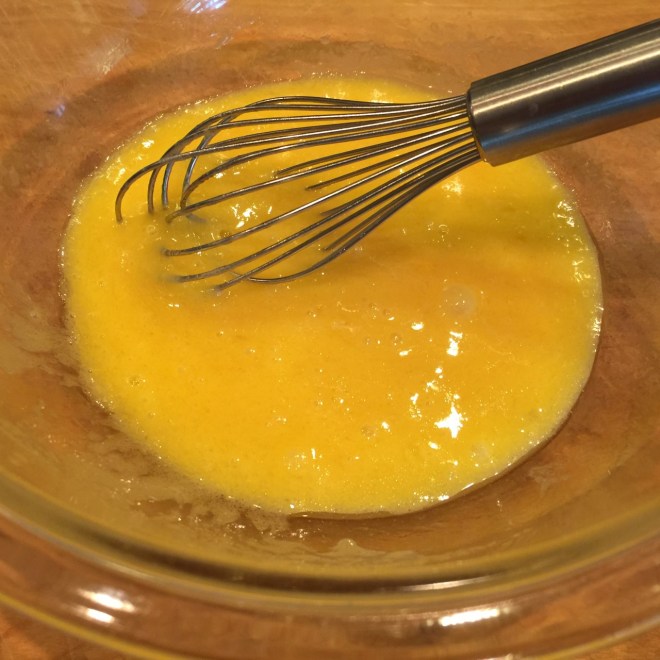 Pour egg mixture into cooled melted chocolate and stir. (You don’t want the chocolate to be too hot or it could cook the eggs.)
 Add in flour mixture and mix well – this is one instance where you want a little toughness to the cake so it holds up to the caramel.
 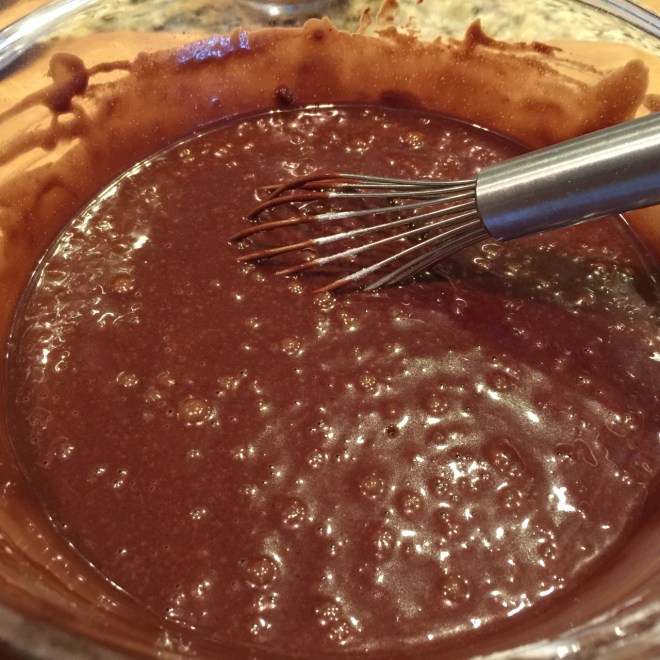 Pour
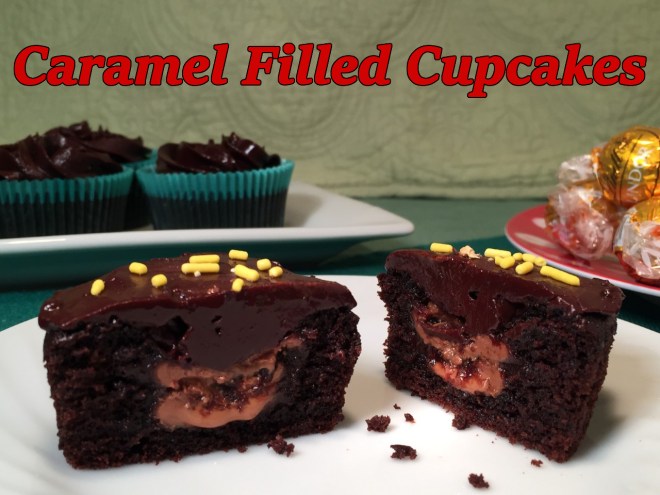
Pour 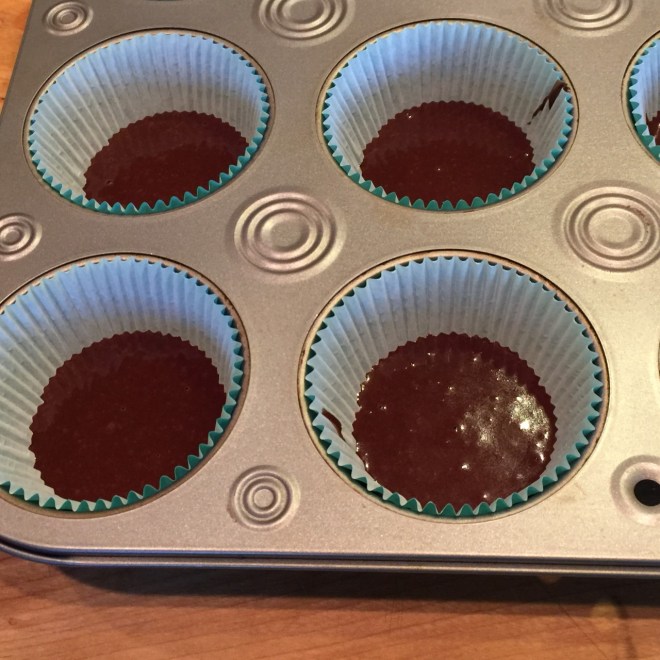 Bake for 6 minutes (SET A TIMER!!!) in the preheated 350º F oven. Remove from oven. Set a frozen caramel ball on top of each baked cake bit, dead center (do your best).
 Then pour batter around and on top of ball, 1/3″ from top of paper. (This is where a spouted measuring cup comes in handy! Use a spoon to catch the drips.)
  Return to oven and bake at 350º F for another 11 minutes. Remove from oven and keep cupcakes in hot muffin tin 10 minutes to set. Remove cupcakes – with papers – to a wire rack to completely cool.
 To make ganache frosting, place chocolate chips, vanilla, and salt in a bowl.
  Heat cream until bubbles form along sides – don’t let it boil.
 Immediately pour over chips, cover with a plate, and let melt for 5 minutes. Stir until smooth. If the chips don’t completely melt, pour mixture into a small saucepan and, over a very low heat, stir until melted. Allow to cool completely so it thickens, stirring now and then. Pipe ganache on cupcakes, or just frost with a knife.
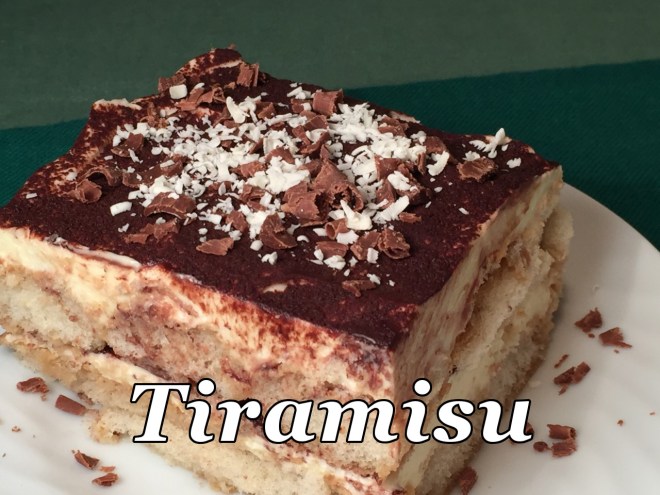 You know that feeling at the end of a filling meal when you want just a little something sweet? TIRAMISU is the perfect solution. Although it looks rich and creamy, it’s actually very light. In fact, give me a fork and I could easily ingest the entire pan. (Thank goodness for will power.)
 In the small bowl of your electric mixer, put the egg yolks. Beat on low speed about 5 seconds, just to break them up.
  Add in the sugar and salt. Turn mixer to medium speed and beat 1 minute. The yolks will turn pale and thick.
 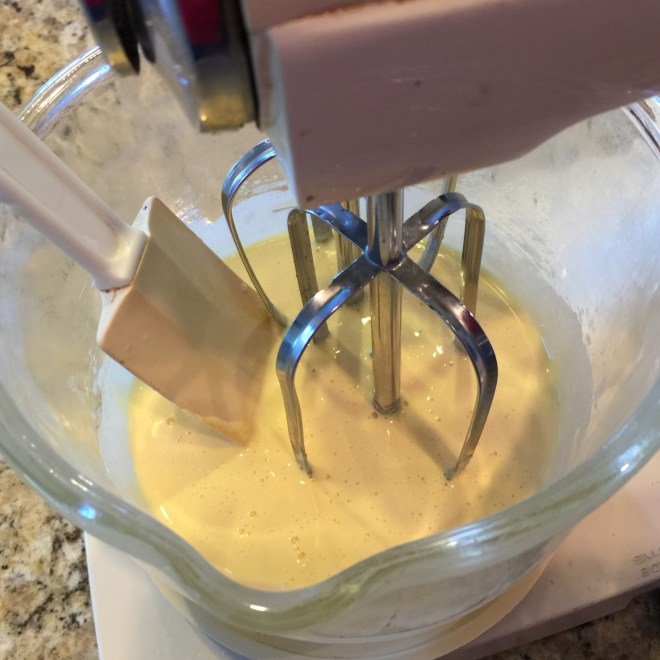 Pour in the remaining 2 T rum and beat on medium 30 seconds. Add in the cold mascarpone and beat on medium for about 30 seconds, until there are no lumps.
 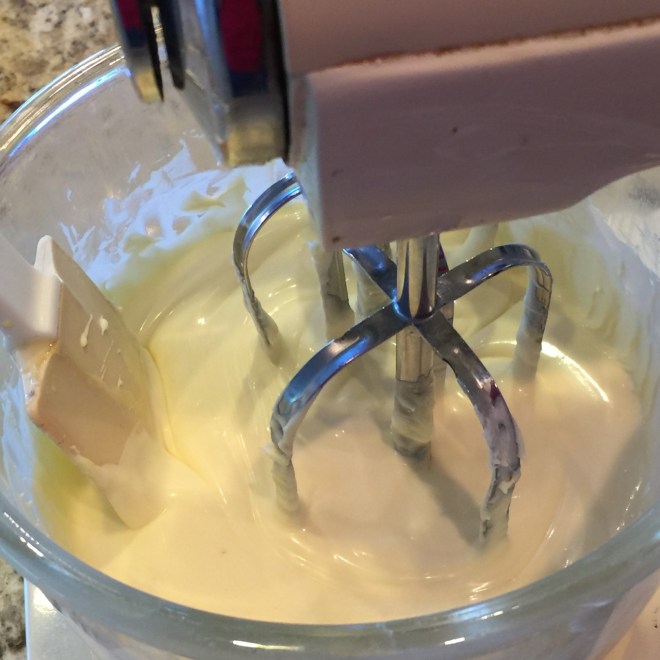 Empty mixture into a large bowl.
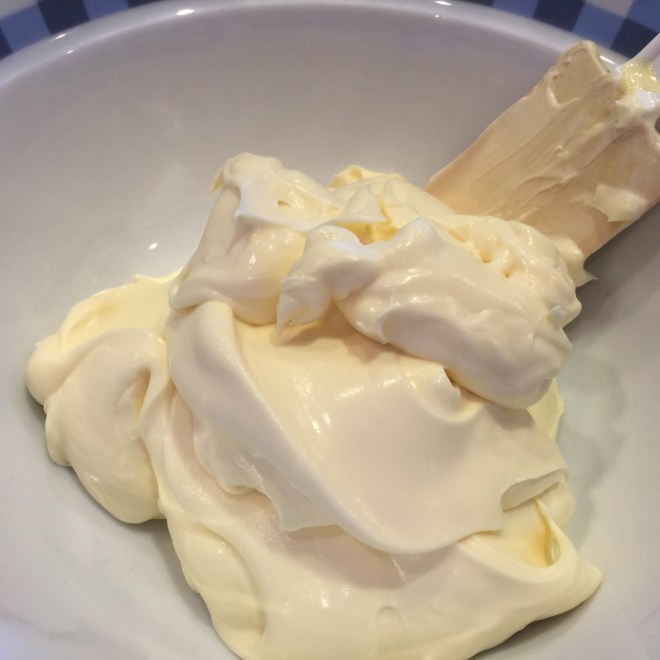 In the now-empty mixing bowl (you don’t have to clean it), pour the cream. Beat on high until soft peaks form.
  Stir 1/3 of whipped cream into mascarpone mixture to loosen texture. Fold in remaining whipped cream.
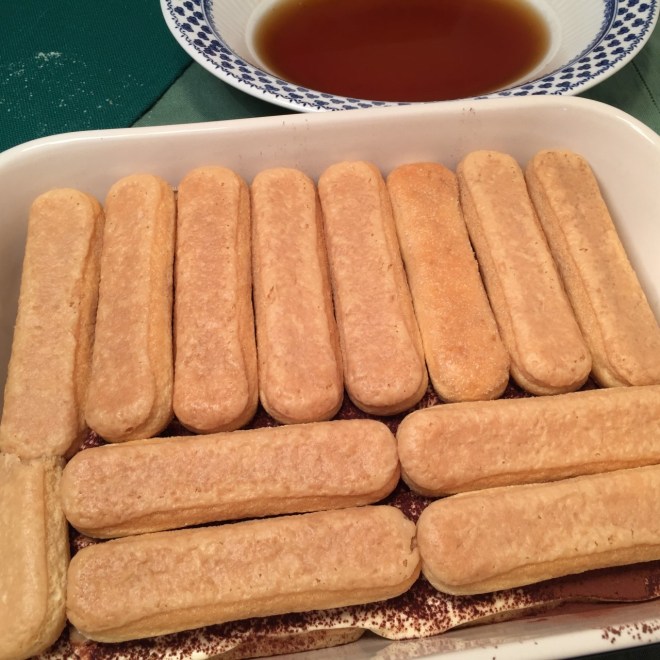
  Have ready an 8″x8″ pan (or it’s equivalent), the ladyfingers, and the coffee mixture. Holding a ladyfinger at the midsection, quickly dip one long, flat side into the coffee (submerge less than 1/4″ – don’t go midway), turn it over and dip the other side. Shake off any excess liquid. (The goal is to get just the outside portion of the cookie wet so it will remain crispy in the center – you want the coffee flavor, but not the mush.)
  Then place the dipped ladyfinger in the pan. Continue on, lining up the ladyfingers in the same direction, until the bottom is covered. By the time you get to the last one, they will have become somewhat softer. You can probably shove them together to make room for one more in each row.
  Cover ladyfingers with half of the mascarpone, smoothing evenly.
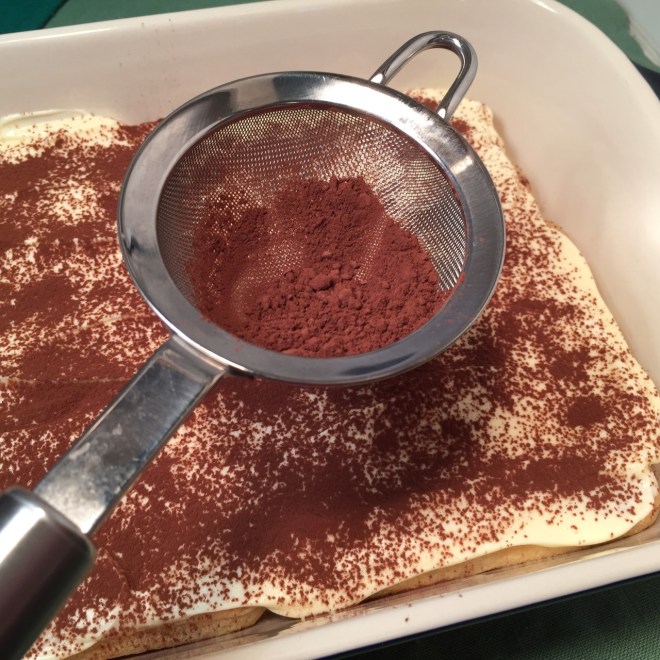
 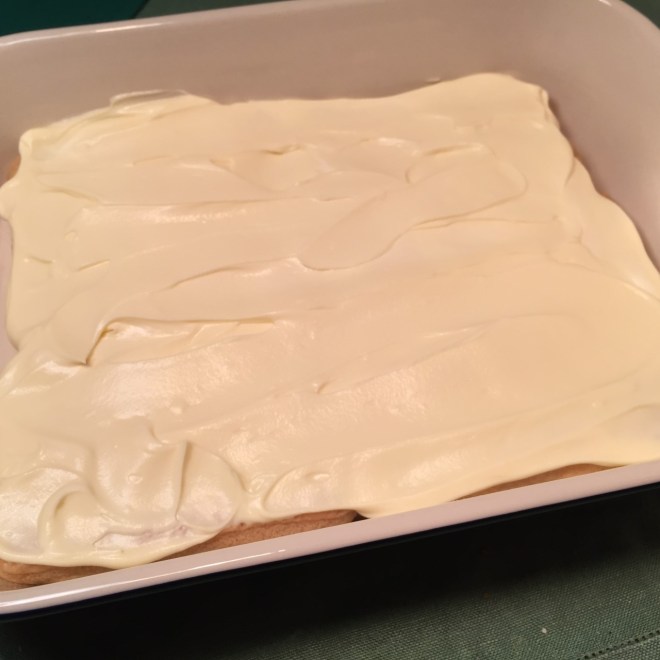 Place 1 T cocoa powder in a small sieve. Stir the cocoa with a spoon to sprinkle cocoa evenly over mascarpone. (Cocoa tends to clump – the spoon breaks them up.)
 Add the second layer of ladyfingers, dipping as above, laying them in the opposite direction of the first layer. Fit as many cookies as you can, although you may not need them all. Save the undipped ones for future use.
  Spread on remaining mascarpone evenly, then sprinkle on the remaining 1 T cocoa.
  Cover with plastic film and refrigerate at least 6 hours. (I make it the night before.) You’ll notice the cocoa will turn a deeper chocolate color due to condensation.
 Keep TIRAMISU in refrigerator until ready to serve.
 Is it possible to have too much chocolate cake? I ask this because in the last 2 weeks I’ve baked 4 chocolate bundt cakes.
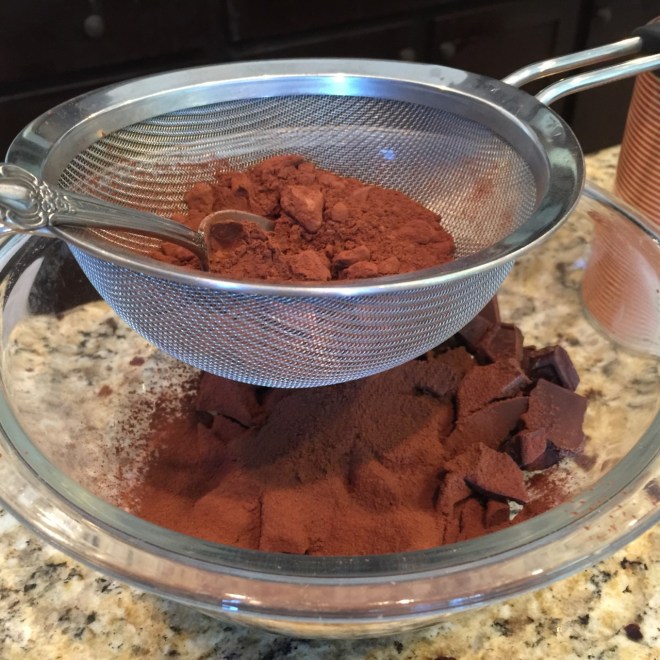 Add in the coffee crystals and pour in the boiling water. Cover with a plate and let sit for 5 minutes to begin the melting process. After 5 minutes, stir. It probably won’t be completely melted yet. Cover with plate and let sit another couple of minutes. Stir again and let sit uncovered to cool. Stir in sour cream.
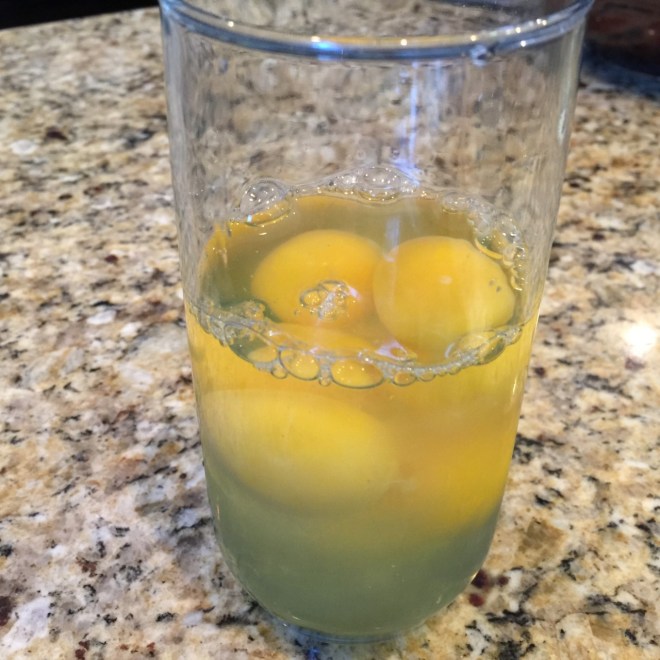
 Into another bowl stir together the flour, baking soda, and salt. Set aside. (In the picture I’ve not stirred yet.)
 Into the large bowl of your electric stand mixer put the brown sugar and oil.
 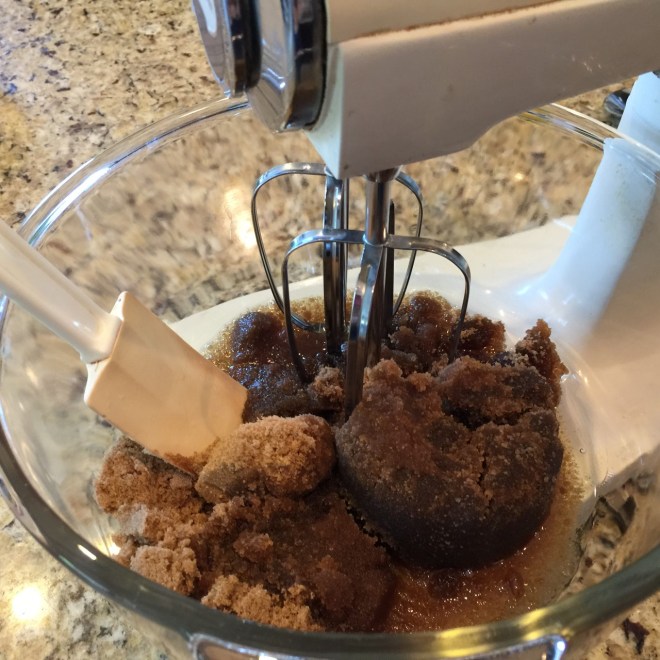 Turn on low to start (so the sugar doesn’t fly out), increasing to medium speed. Beat for 1 minute on medium.
  Add in vanilla and 1 egg. Beat for 20 seconds. Continue adding eggs one at a time, beating 20 seconds after each.
 Dump in about 1/3 of the flour mixture (you can just estimate) and beat on low to blend.
 Add in 1/2 of chocolate mixture and beat on low to blend.
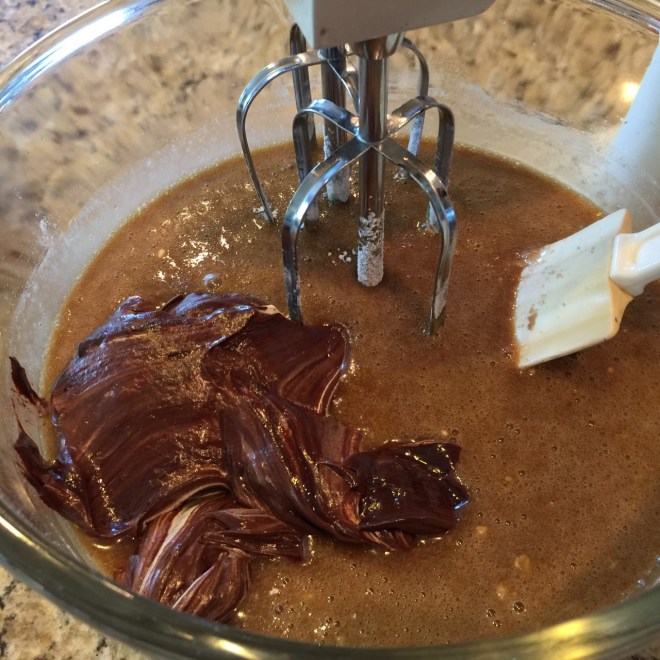 Add in half of remaining flour mixture and beat on low. Add in remaining chocolate mixture and beat on low. Finally, add in remaining flour mixture, beating until there’s still a little flour showing. Add in chocolate chips and beat on low, blending until all of flour is incorporated.
 Into a small bowl put the extra
 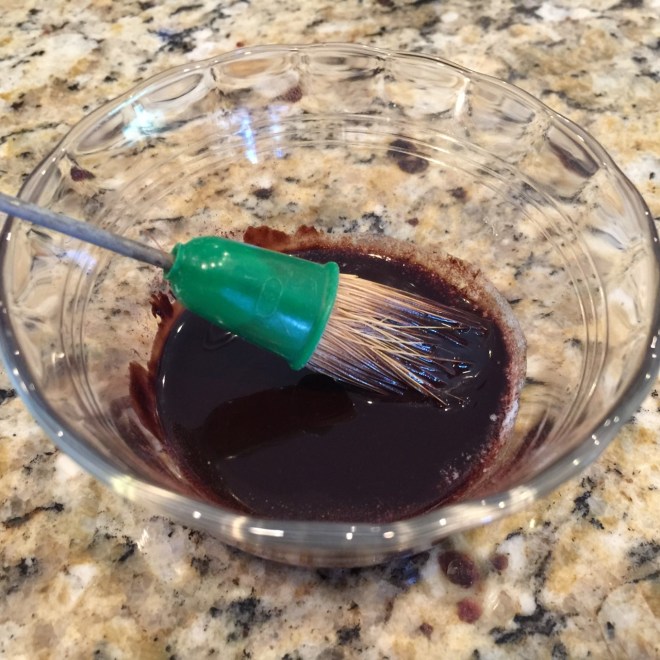 Using a pastry brush, coat the entire interior of bundt pan (even if it’s nonstick!). Use all of it – your cake will slide right out when done.
 Pour batter into prepared bundt pan. TIP: Cover hole in bundt pan to prevent batter accidentally spilling into hole. The lid from a spice bottle works perfectly. So does a Dixie cup. REMEMBER TO REMOVE IT BEFORE PLACING PAN IN OVEN!!! (If you look carefully, you can see an indentation in my lid caused by me forgetting to remove it. I remembered after about 10 minutes in the oven. It melted a little, but is still usable for this purpose. And, more importantly, the cake was fine.
  Bake at 350º F for 45 – 55 minutes, gently rotating after 30 minutes. (Mine is done at 45 minutes, but your oven may not be as hot as mine.) Check for doneness with a toothpick.
  Because of the chocolate chips, there may be a little chocolate on the toothpick. Try another area to be sure it’s not raw batter (crumbs are okay). Let set 20 minutes in pan.
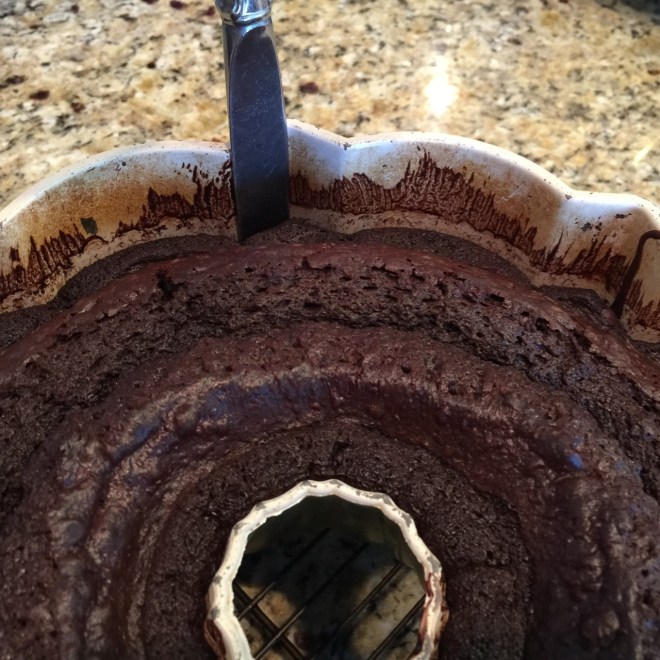 Place a rack on top and flip.
 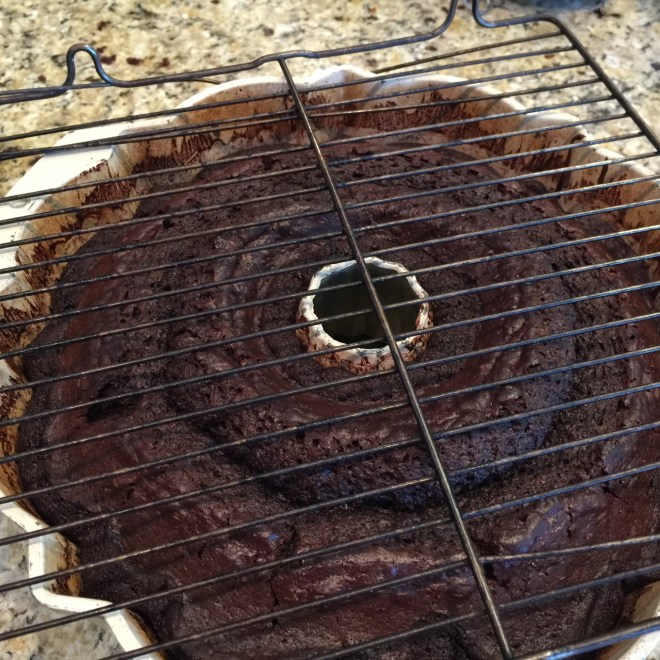 Remove bundt pan – the cake will have dropped to rack.
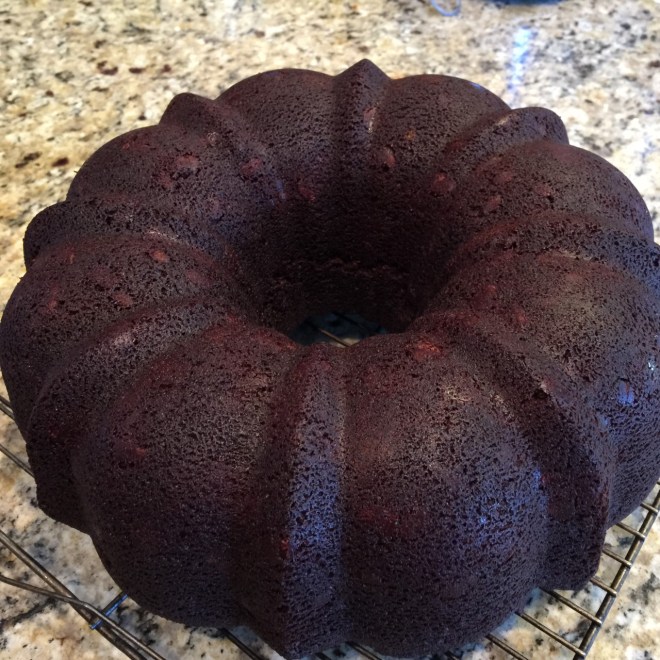 Let cool at least 4 hours.
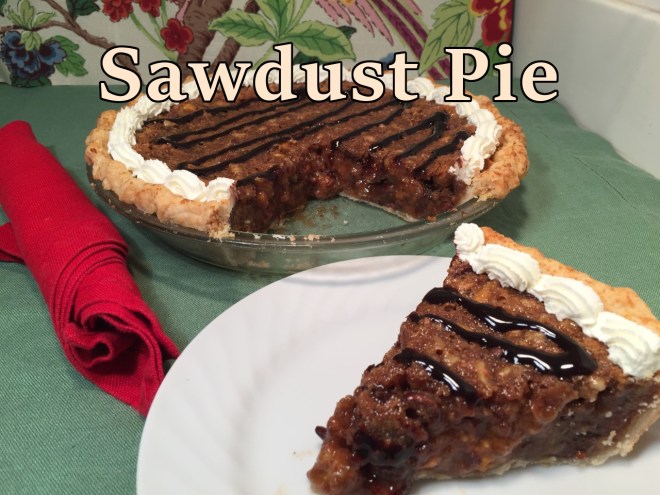 I hate wasting food! So, as the self-proclaimed Queen Of Freeze, I’m constantly freezing little bits of leftover this or that for future use. And it’s paid off many times.
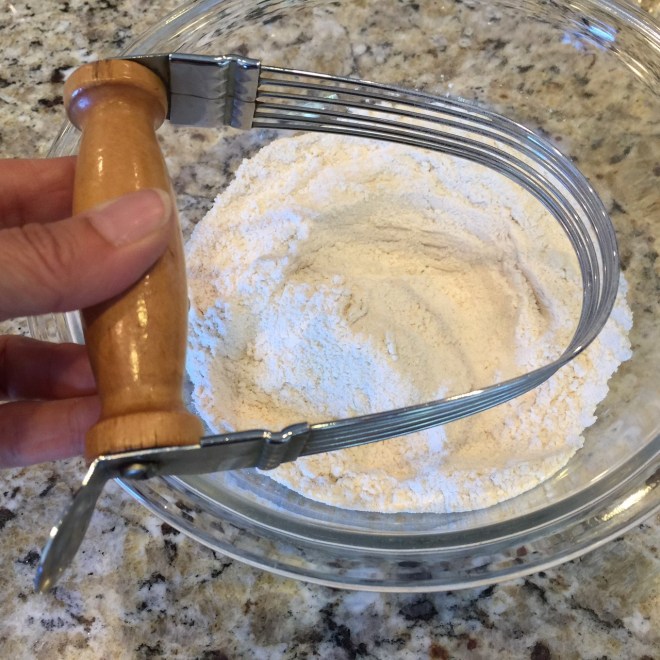 Add in the Crisco and use the cutter to combine the flour and Crisco.
  Work until it resembles a coarse meal.
 For the food processor method, put the flour, salt, and sugar in work bowl and pulse a couple of times. Add in the Crisco and pulse several times, until mixture forms a coarse meal. Empty into a mixing bowl. You are NOT adding the water in the food processor – your dough will be tough!!!
 Form the dough into a tight ball and chill at least 30 minutes to make it easier to roll.
  Sprinkle flour, then 2 T graham crackers on a flat surface to prevent the dough from sticking.
  Place the dough ball in the center. With floured hands, push down the dough with one hand while pressing in the sides with the other. This will help keep the edges from fraying.
  Sprinkle some flour on the flattened dough and spread it around so the rolling pin doesn’t stick.
 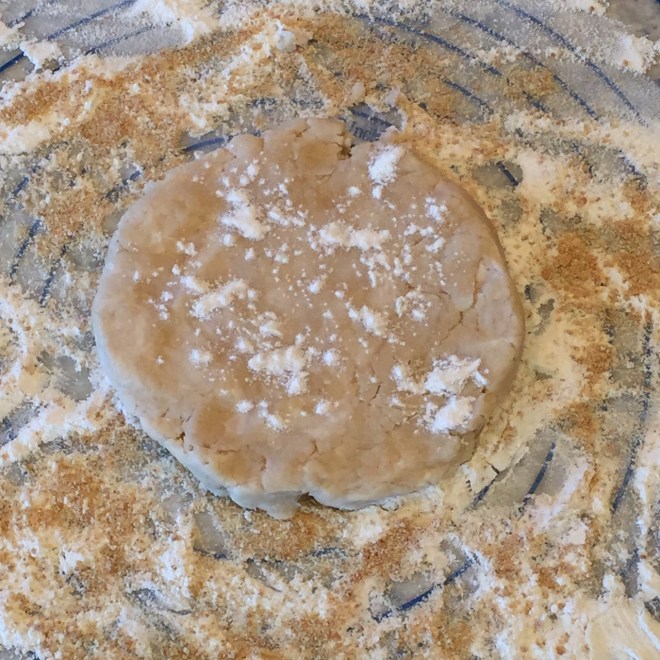 Using a floured rolling pin, begin rolling the dough from the center out in all directions. When it gets to be about 8″ in diameter, push in the edges again – they’ll probably be fraying again. Lift up the edges and brush the graham cracker crumbs underneath.
  Roll until the diameter is about 12½”. Sprinkle 2T graham cracker crumbs over the top of the pastry and lightly press them in with your fingertips. (Don’t use the rolling pin – the crumbs tend to stick to it.)
 Place the pie pan next to the circle. Fold dough in half towards you, then carefully lift it to pan. Unfold and center it, gently adjusting pastry so it fits into the corners. If the dough splits, just overlap it and press it together. Leaving a 1/2″ overhang border from the pie pan edge, cut away excess dough with kitchen scissors. Crimps edges by rolling this 1/2″ border in on itself, then pinching with thumbs and forefingers.
  Cut a piece of waxed or parchment paper about 2″ longer than diameter of pie pan. Place on top of pastry and fill with pie weights or raw beans (that’s what I use). Very gently work the paper and beans into corners so the beans weigh down the entire bottom.
 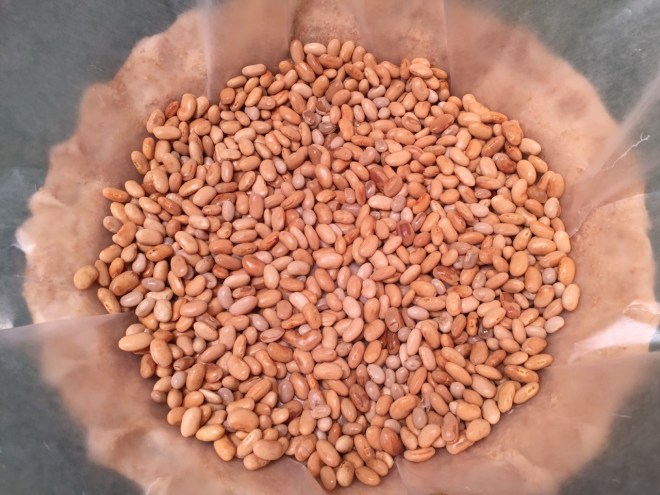 Parbake at 425º F for 7 minutes. Remove the paper and weights by pulling one corner of the paper slowly towards the center, then the opposite corner towards the center, then one of the other corners, and the final one. Grab all 4 and lift it out in a rolling motion – don’t pull straight up or the center may still be stuck. Bake another 5 minutes, then remove and cool.
 Using an electric mixer or rotary egg beater, beat egg whites until frothy on medium/low speed about 30 seconds – just to break them up.
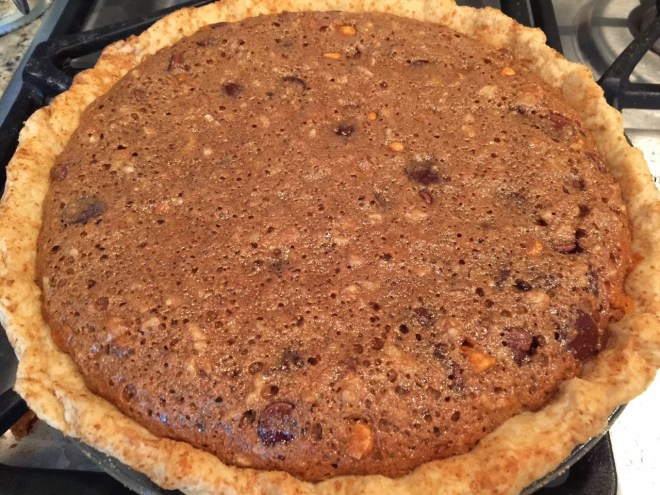 Cool on rack completely, then refrigerate at least 8 hours.
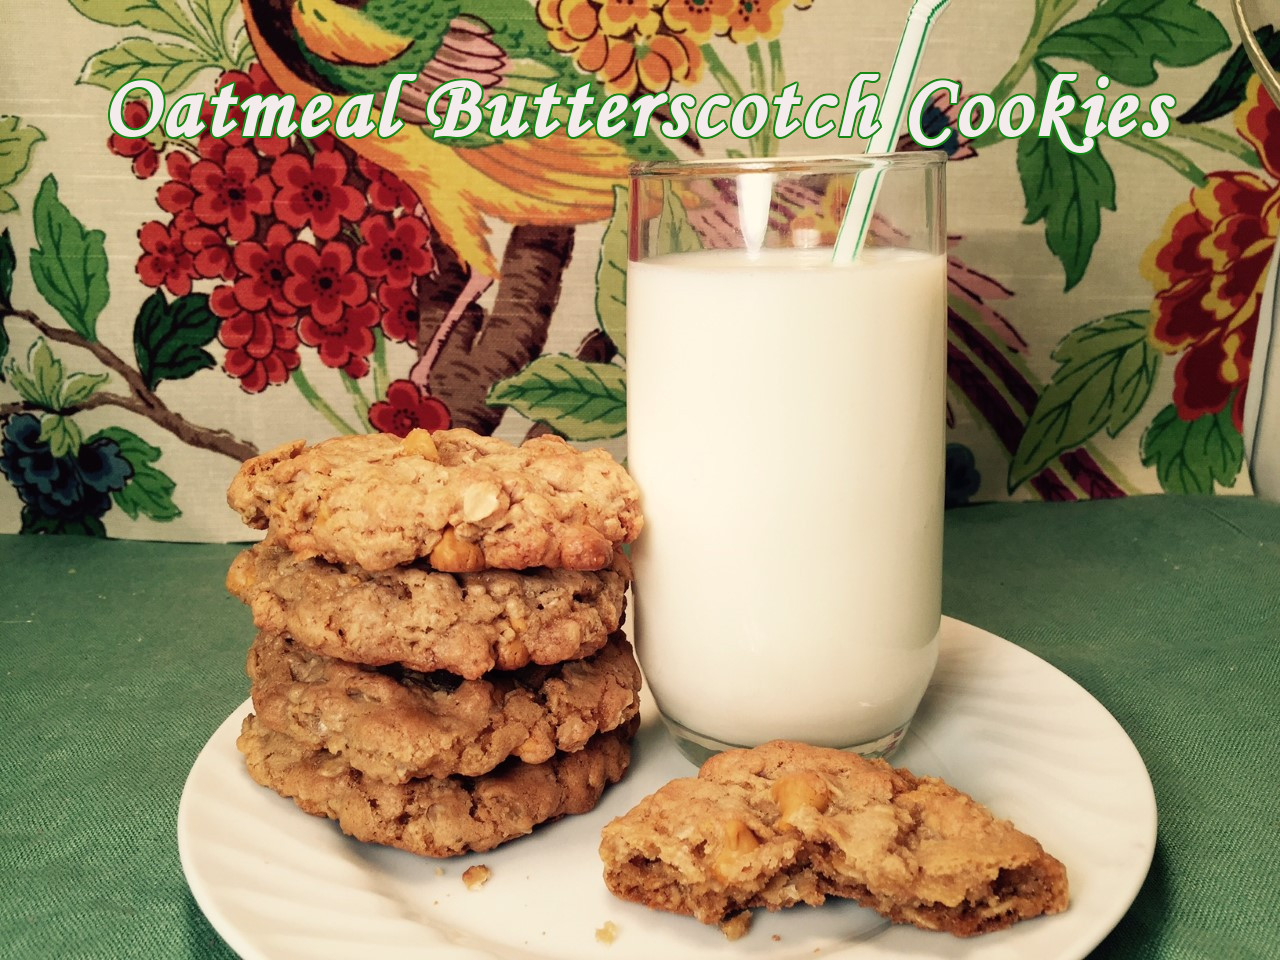 Once I fine-tune a recipe to my liking, I move on. However, I’m not a gal so set in her ways that I’m not willing to be flexible about revisiting a recipe. (This does NOT apply to household activities in which I’m constantly suggesting (okay, nagging) that my husband put his keys and wallet in the same spot so he doesn’t have to spend 15 minutes daily looking for them.)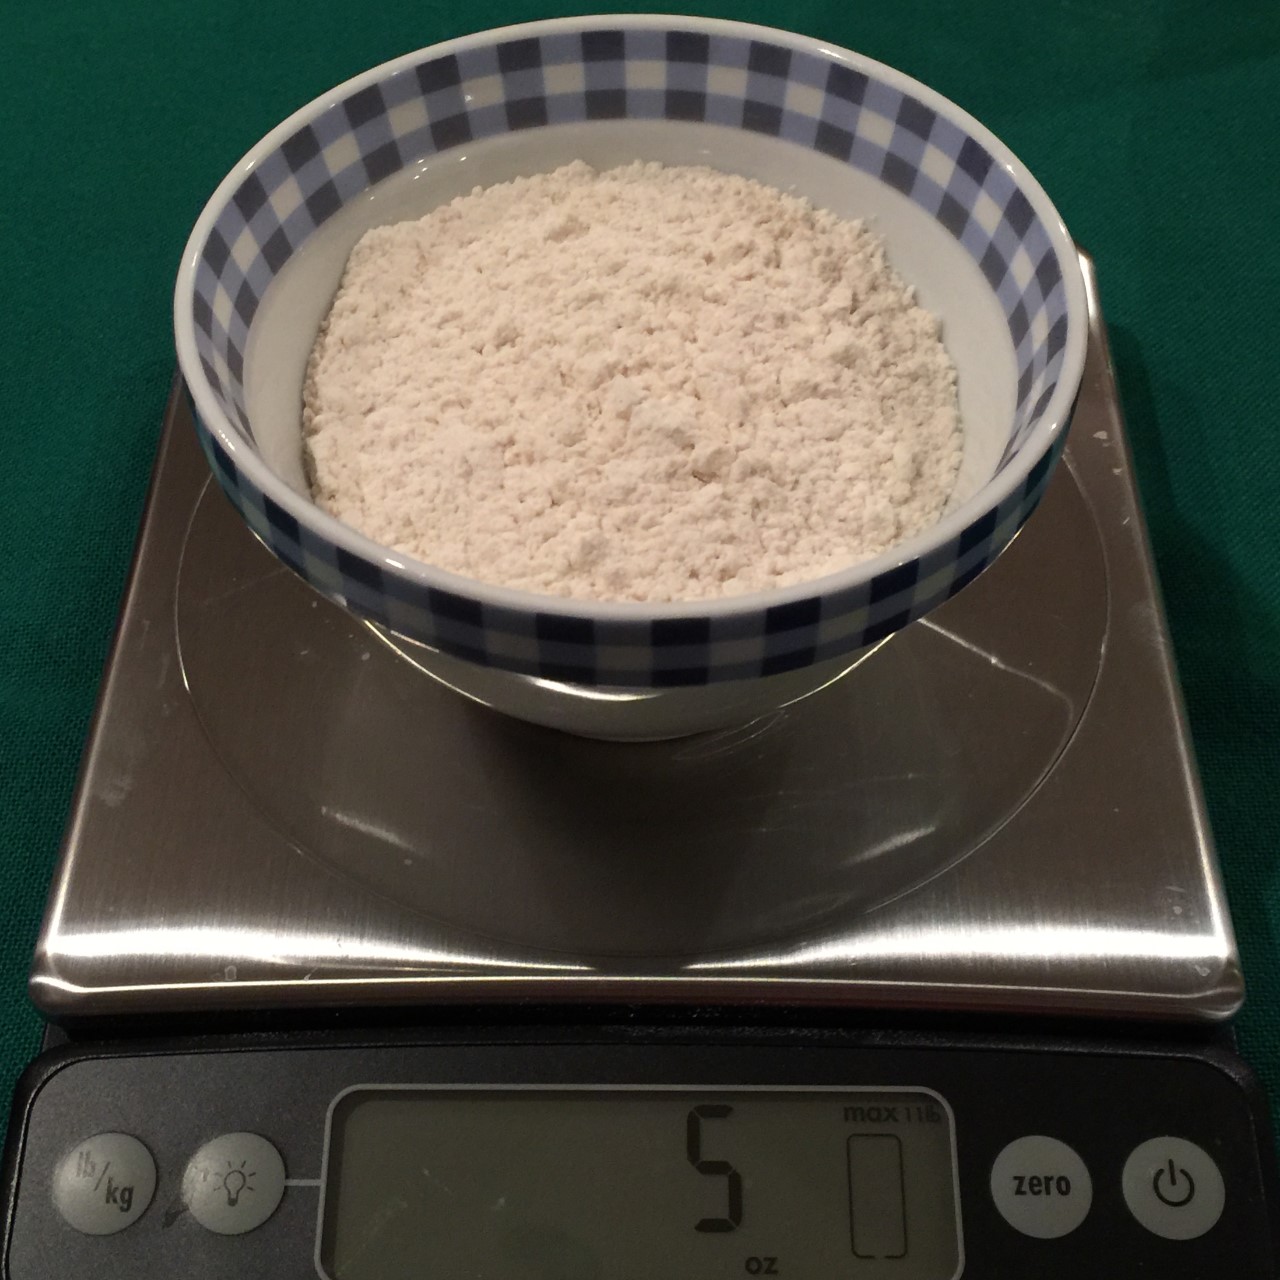
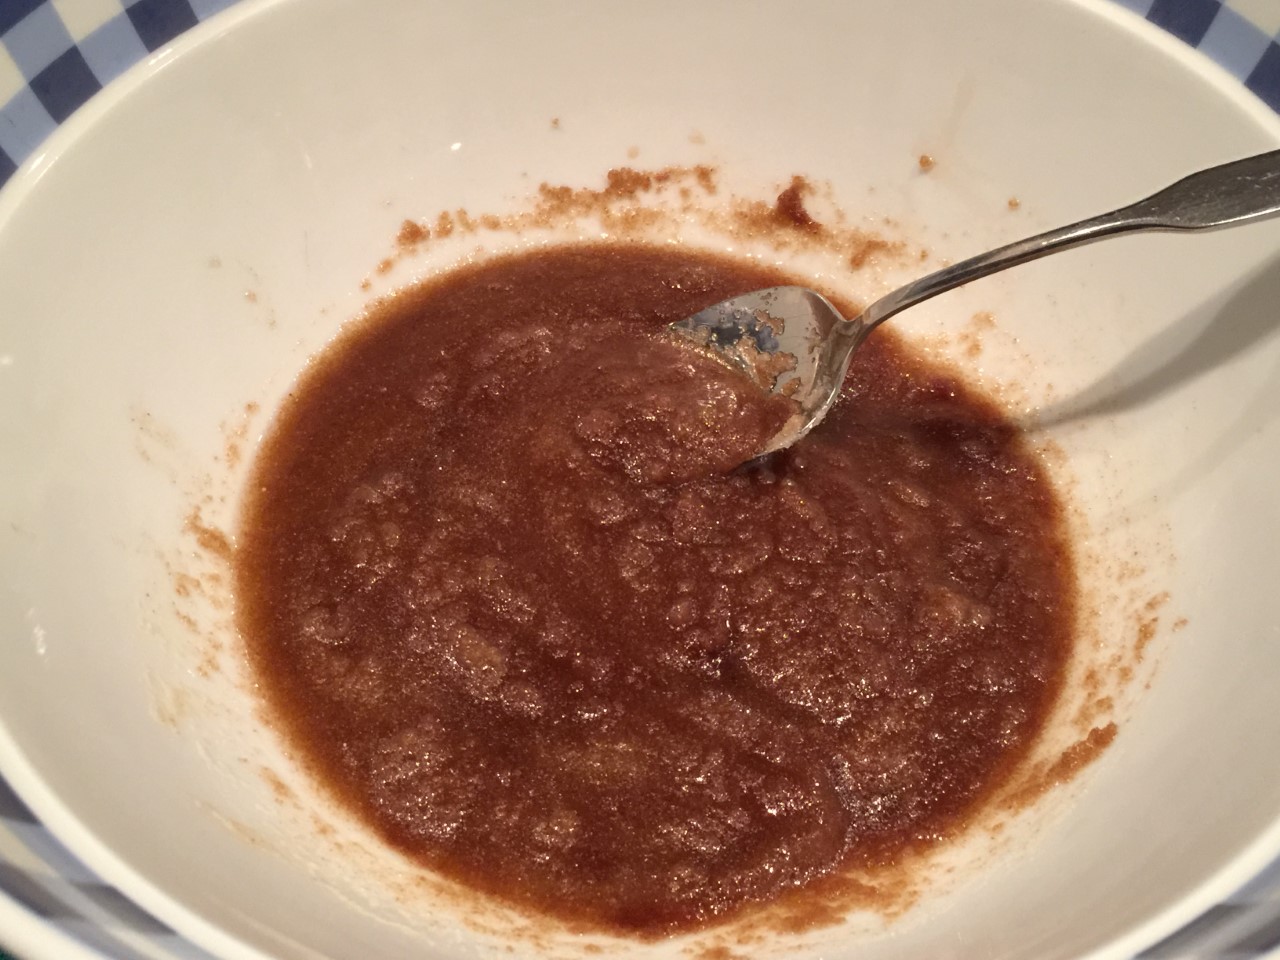
 Stir in cinnamon until blended. Then, using a large spoon, add in brown sugar, granulated sugar, oil, and vanilla, mixing until smooth.
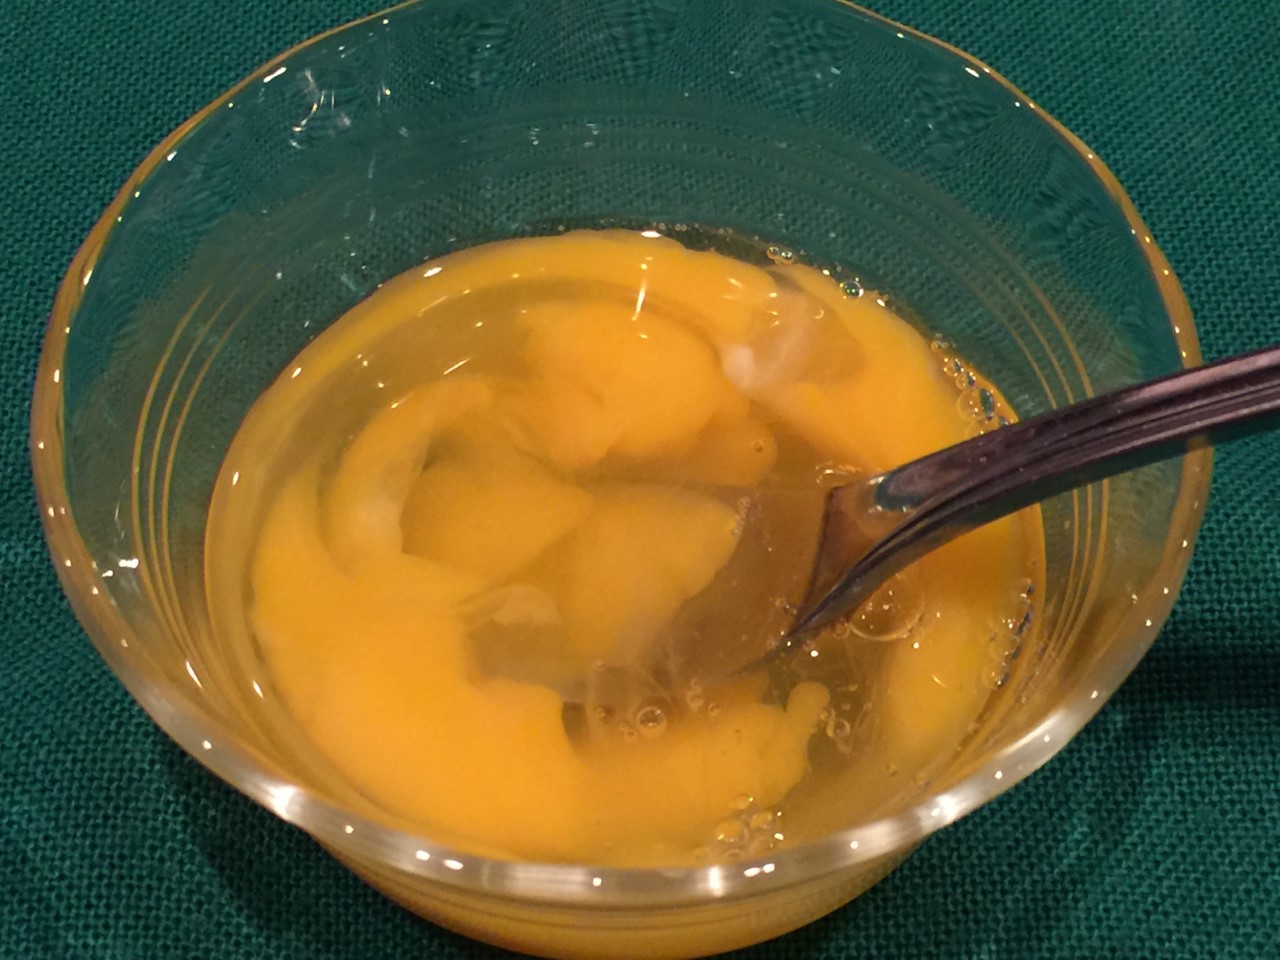
 Lightly beat together the whole egg and yolk,
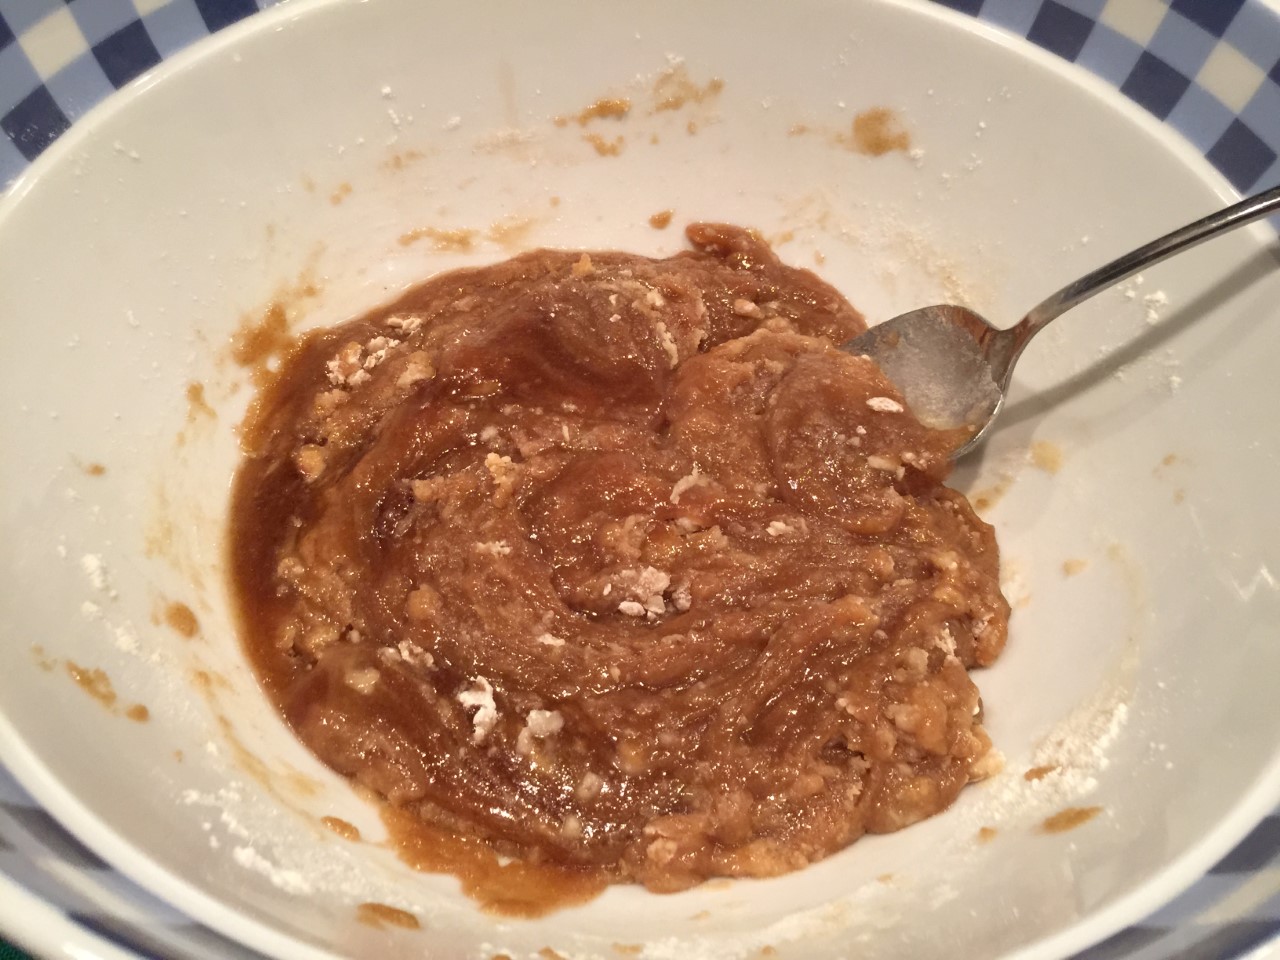
  Stir in the flour mixture until most of flour is incorporated.
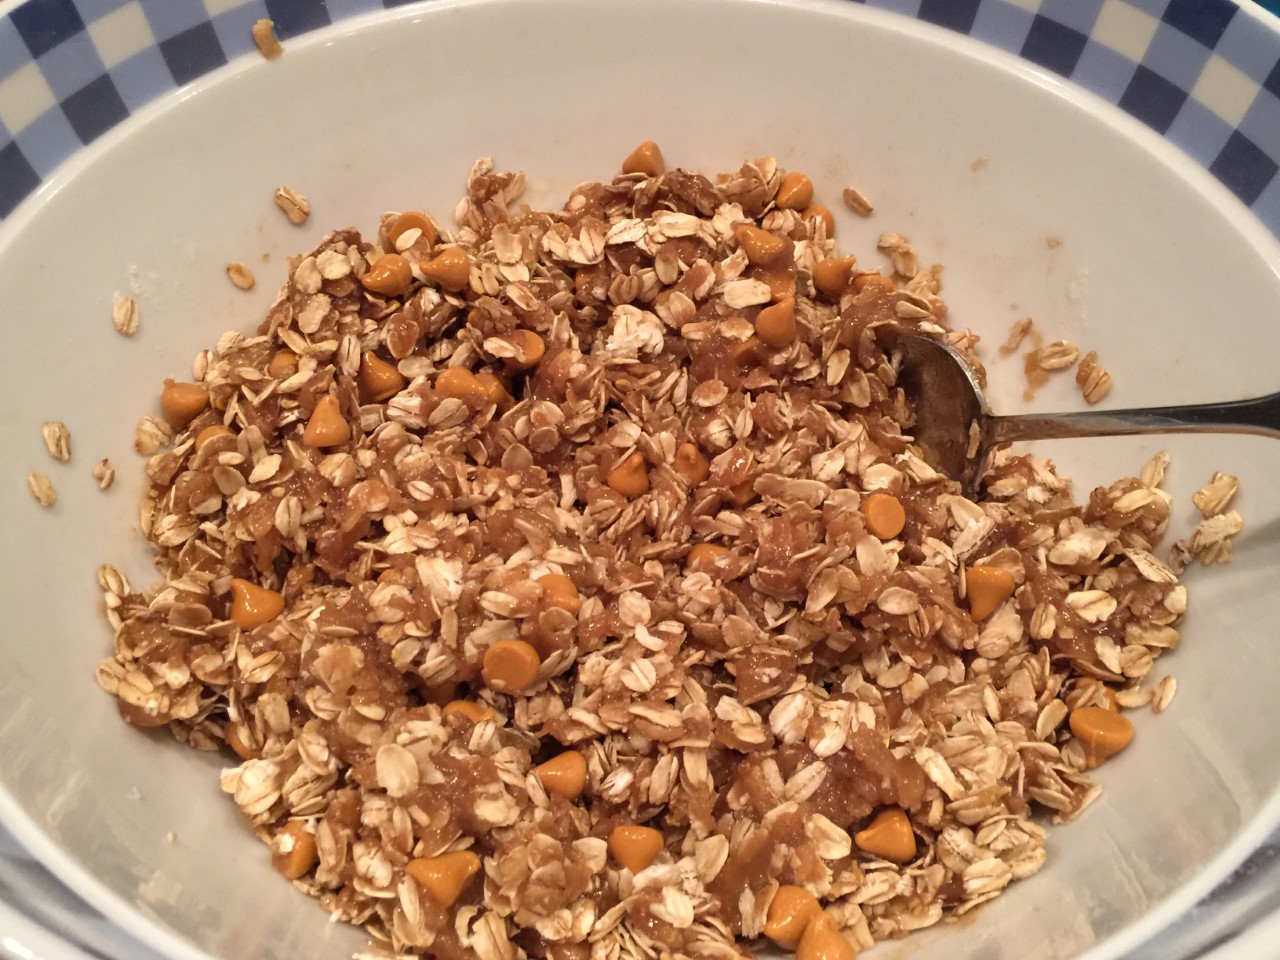
 Finally, stir in oats and butterscotch chips.
 Preheat oven to 375º Fahrenheit.
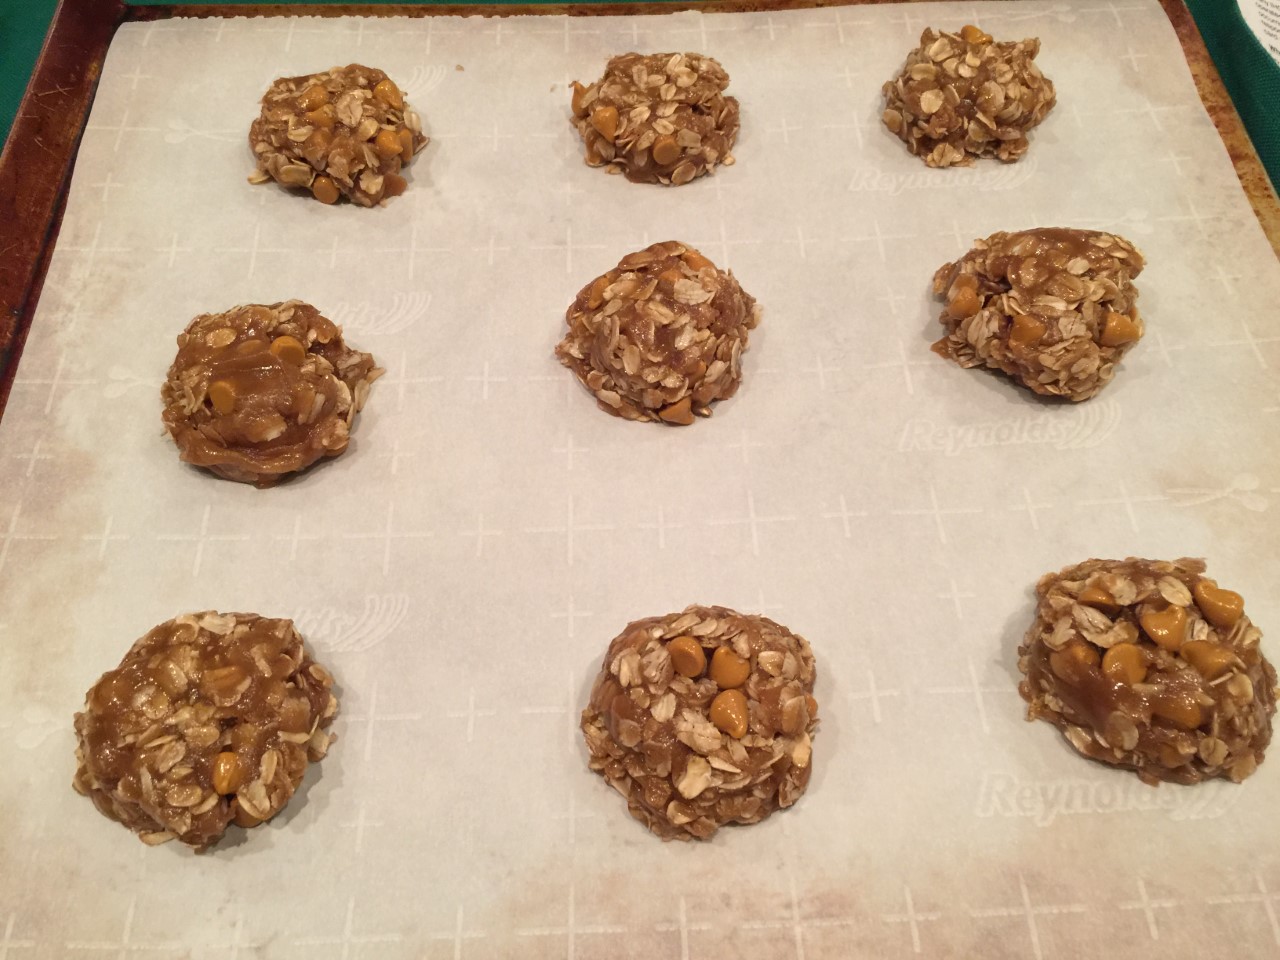 Bake at 375º F for 9-10 minutes. The key is to look at the edges, not the center. The edge should start to look baked, but the center should not be browned. Because the cookies will continue to cook on the hot sheet out of the oven, if you wait to remove them from the oven until they look baked, they’ll be overcooked.
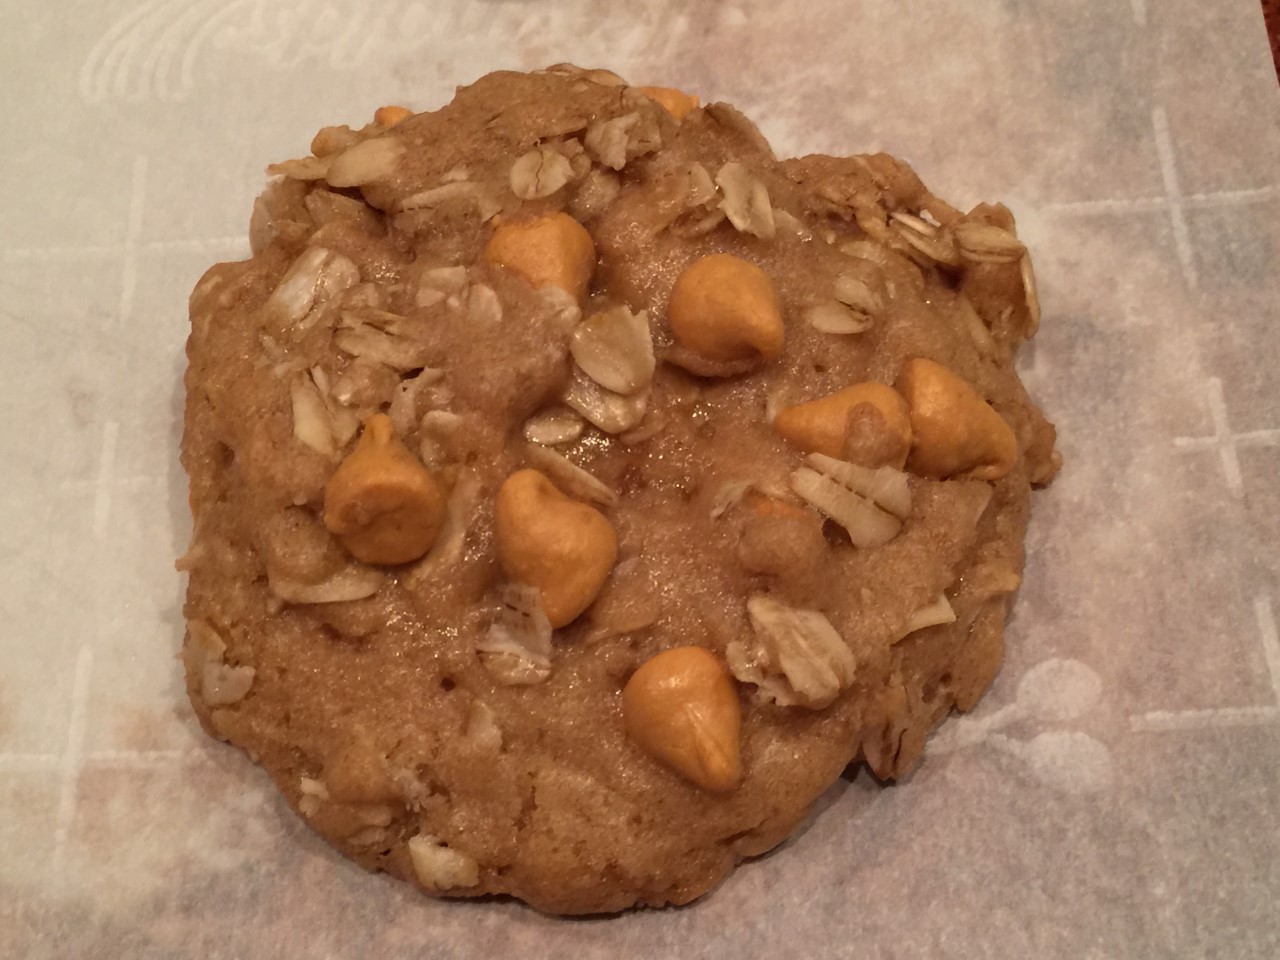 Let cookies cool on cookie sheet before removing them to a wire rack.
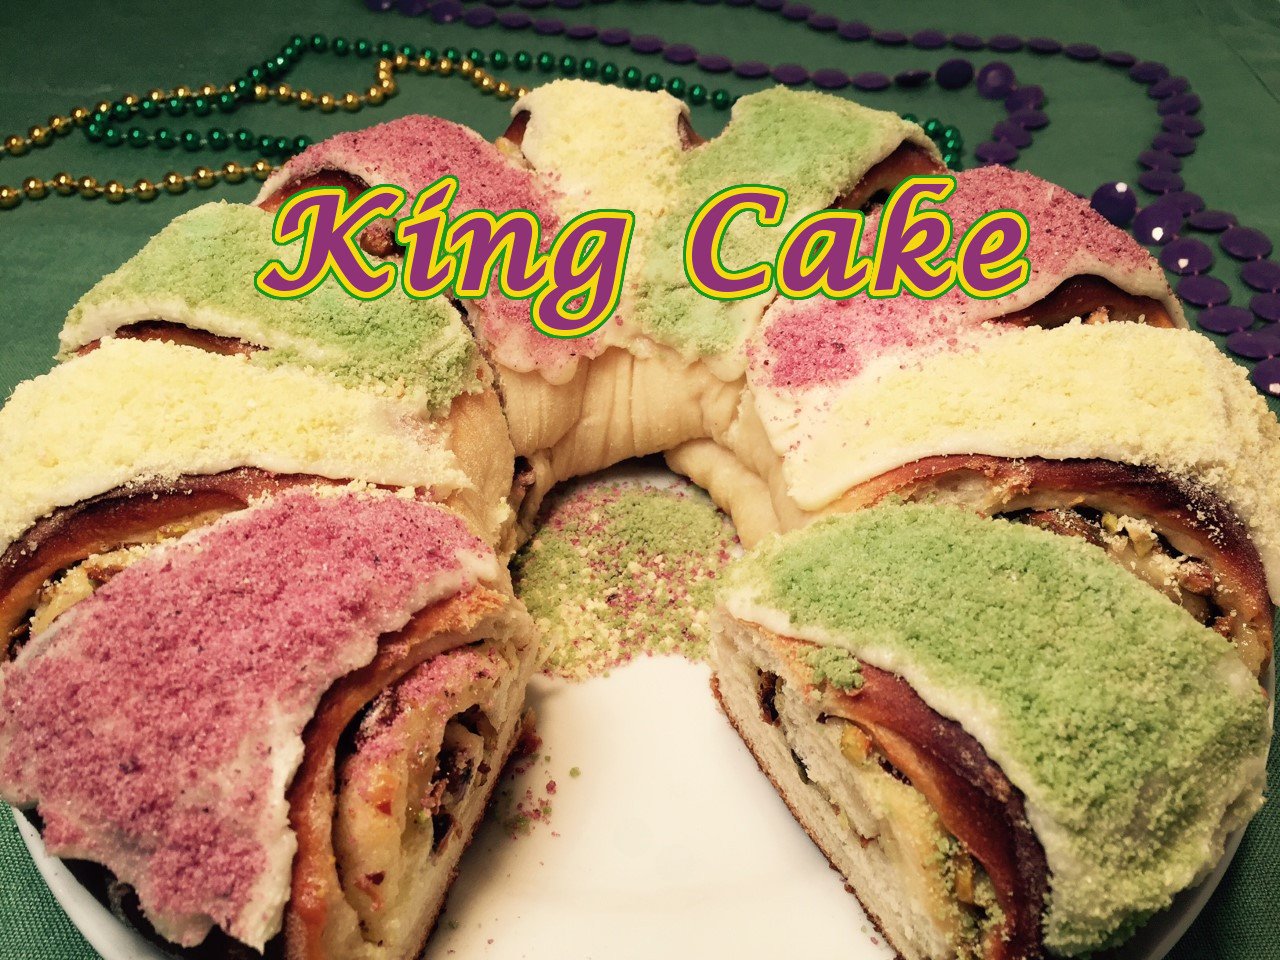 Mardi Gras is filled with a number of traditions. A yummy one is King Cake – a rolled cake decorated with purple, gold, and green. Often a plastic Baby Jesus or treat is hidden in the cake for some lucky person to be served.
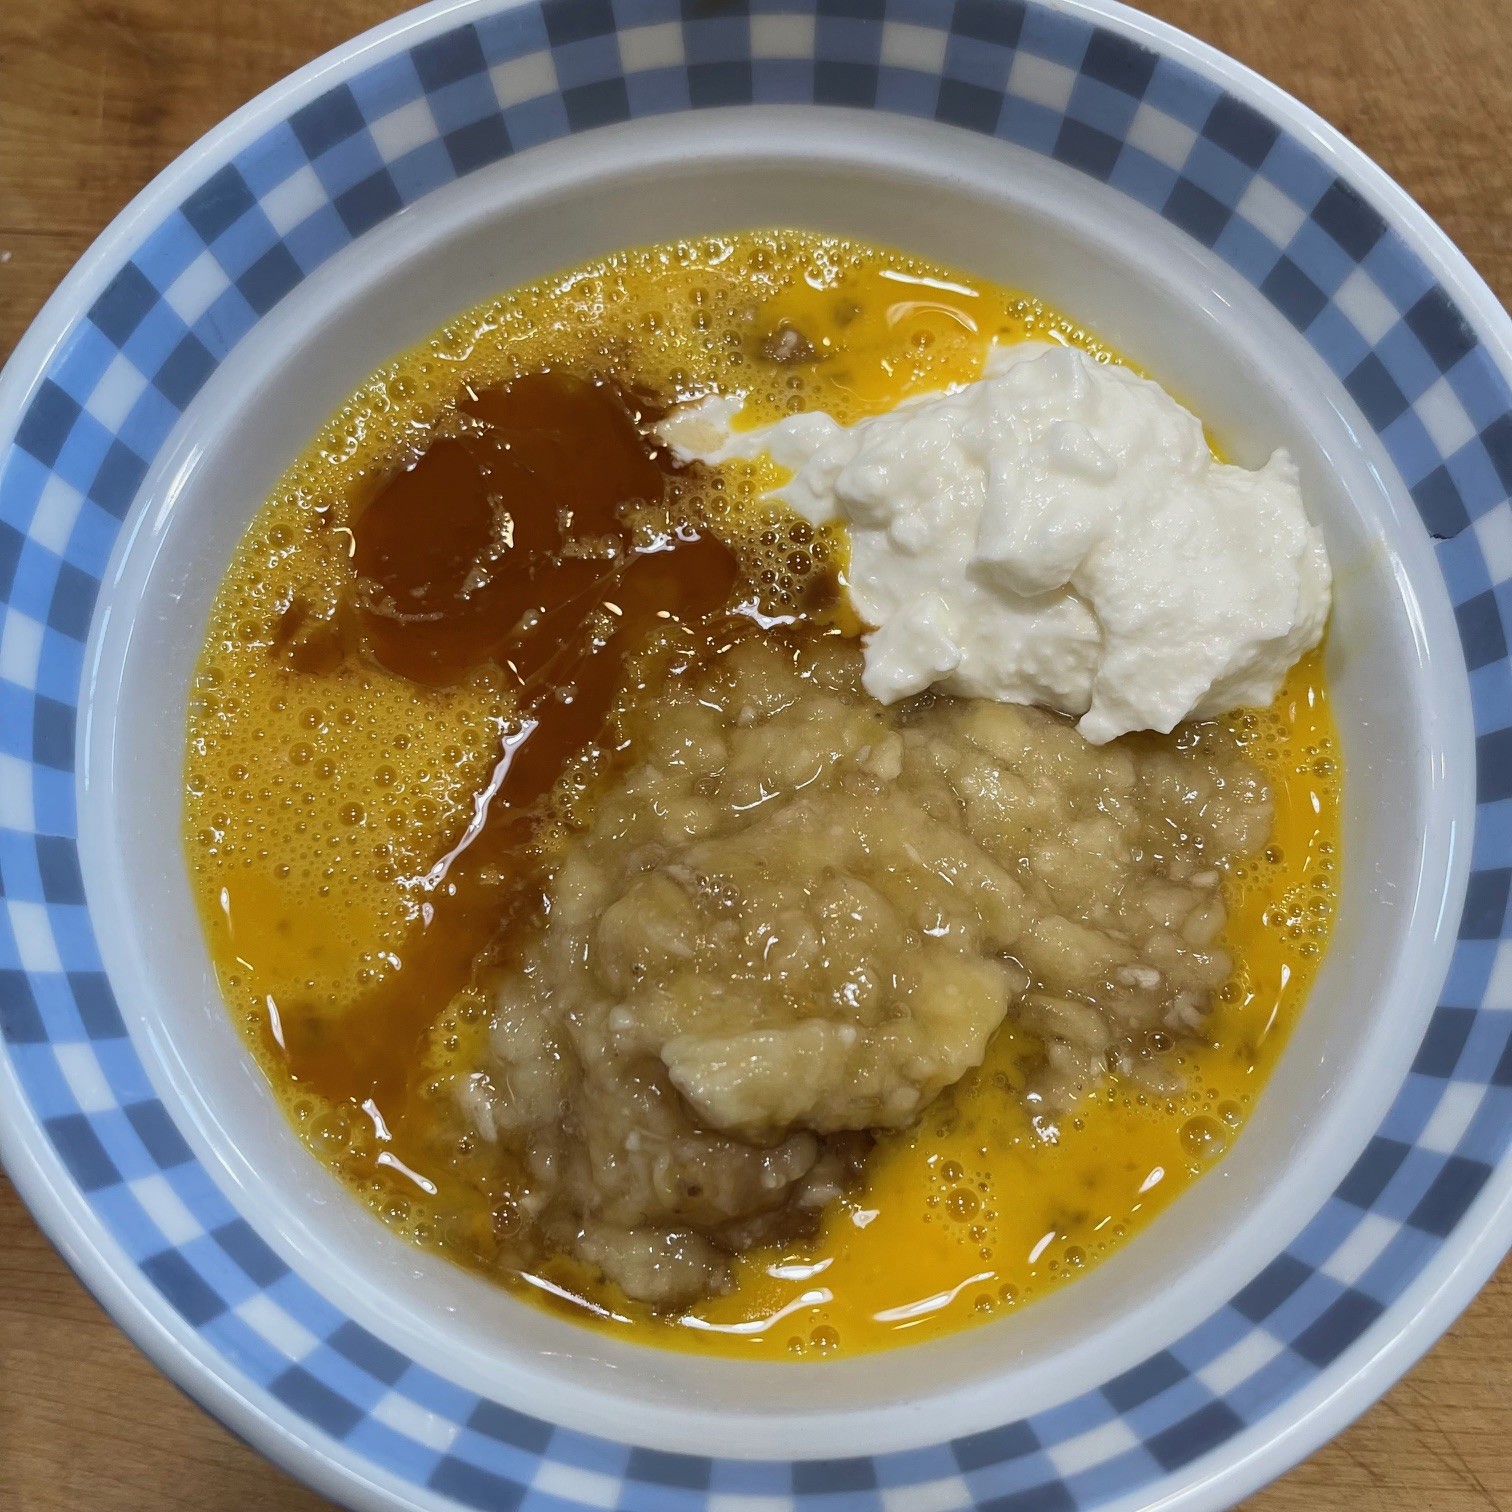
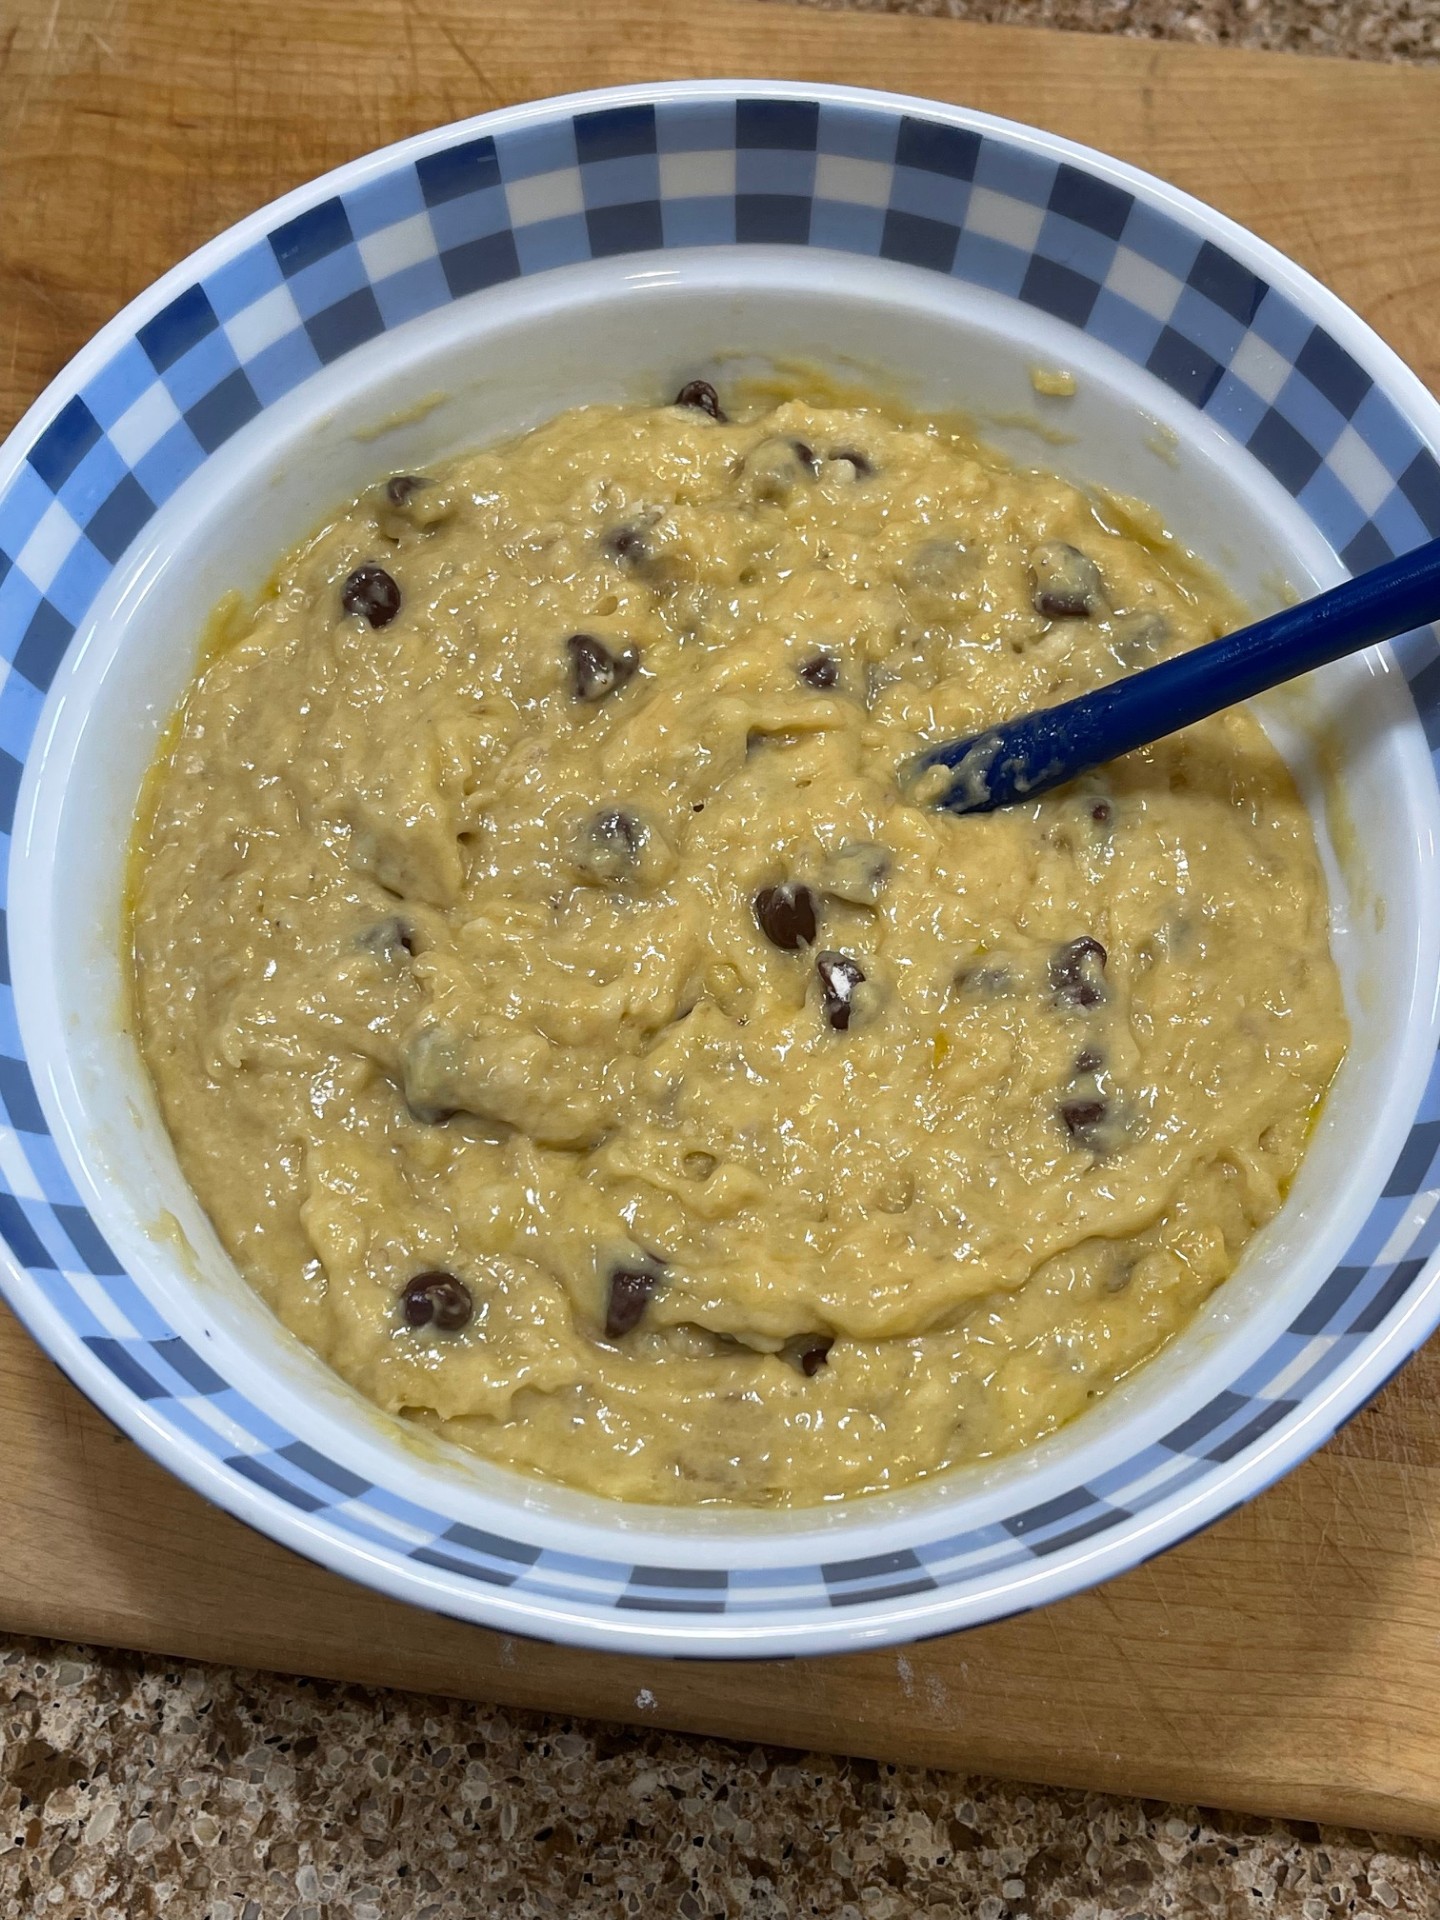
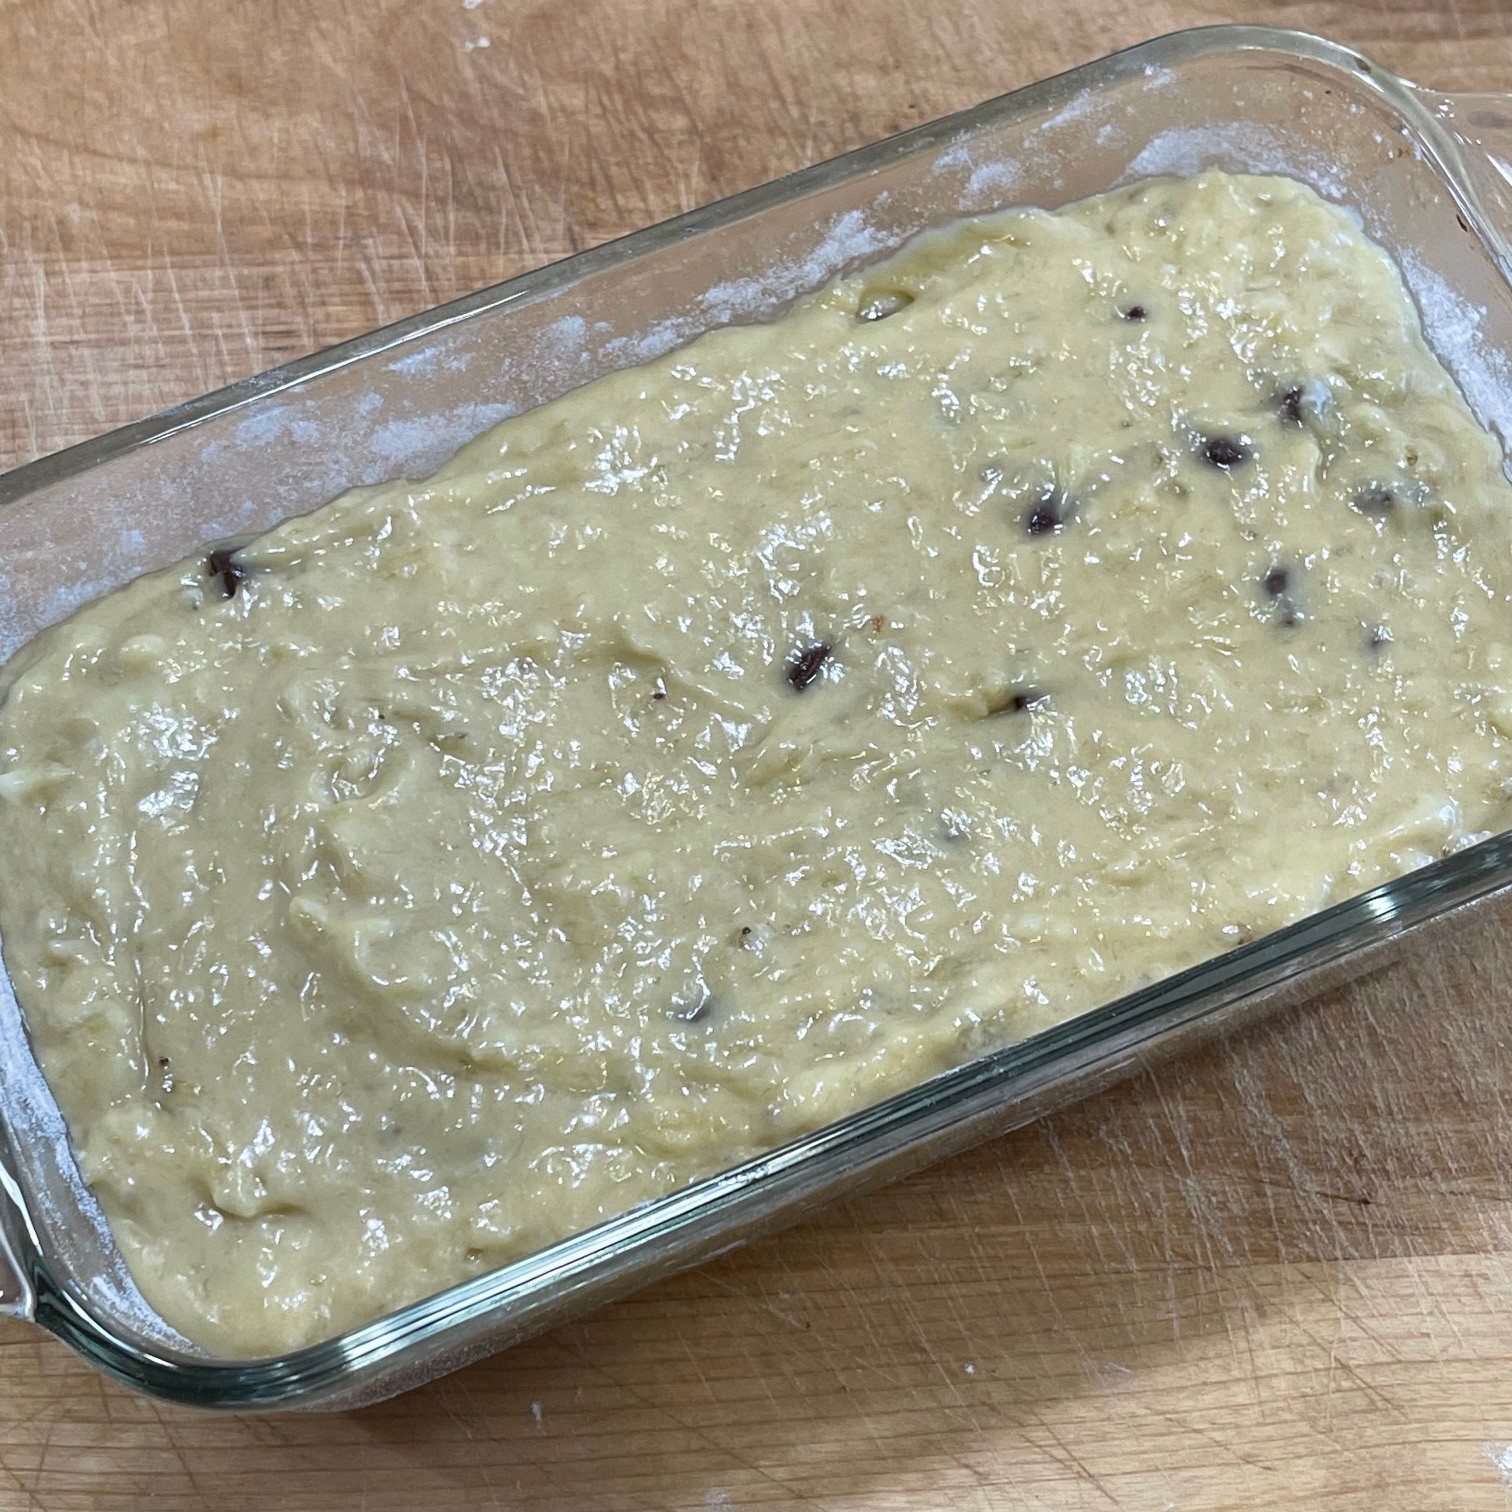
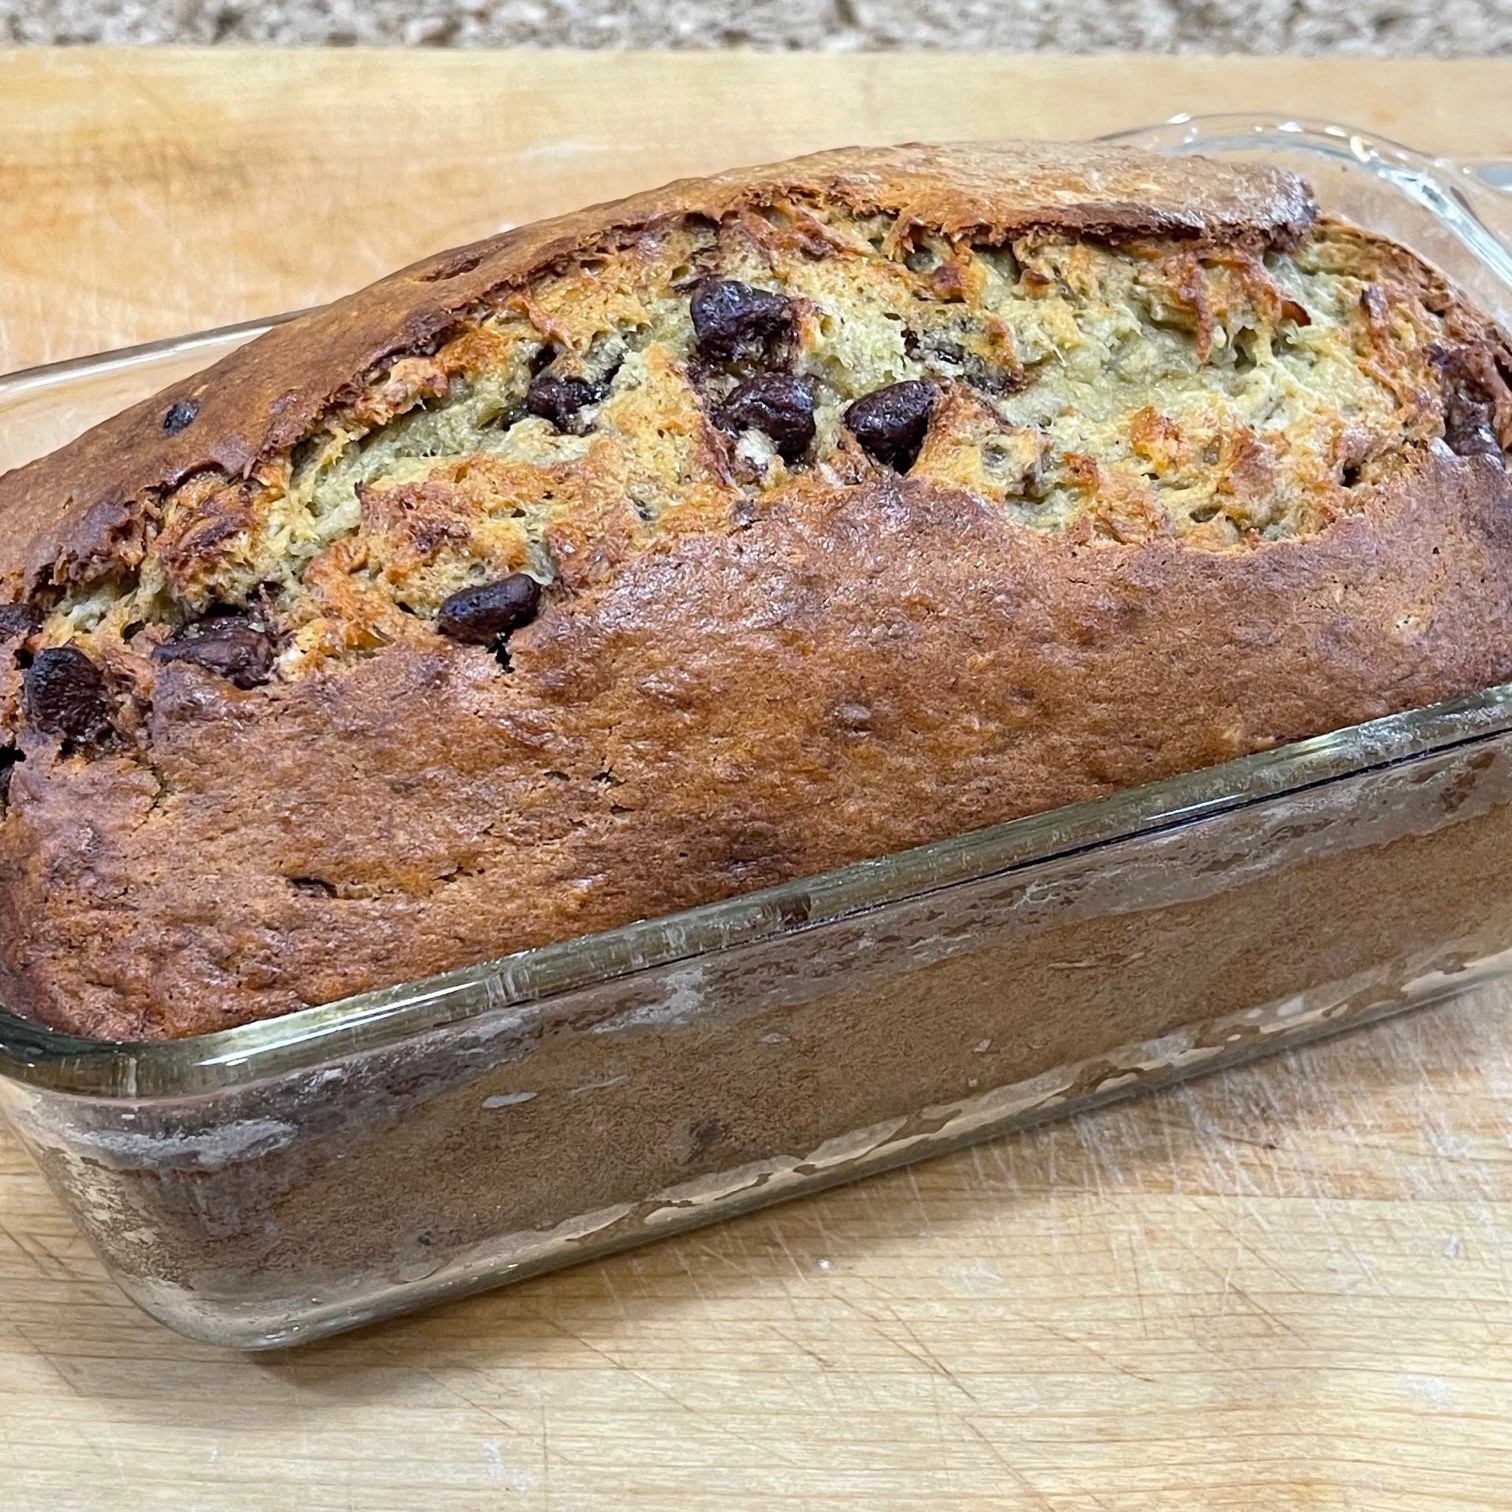
 On its own, banana bread is delicious. Add in chocolate chips and you really up your game.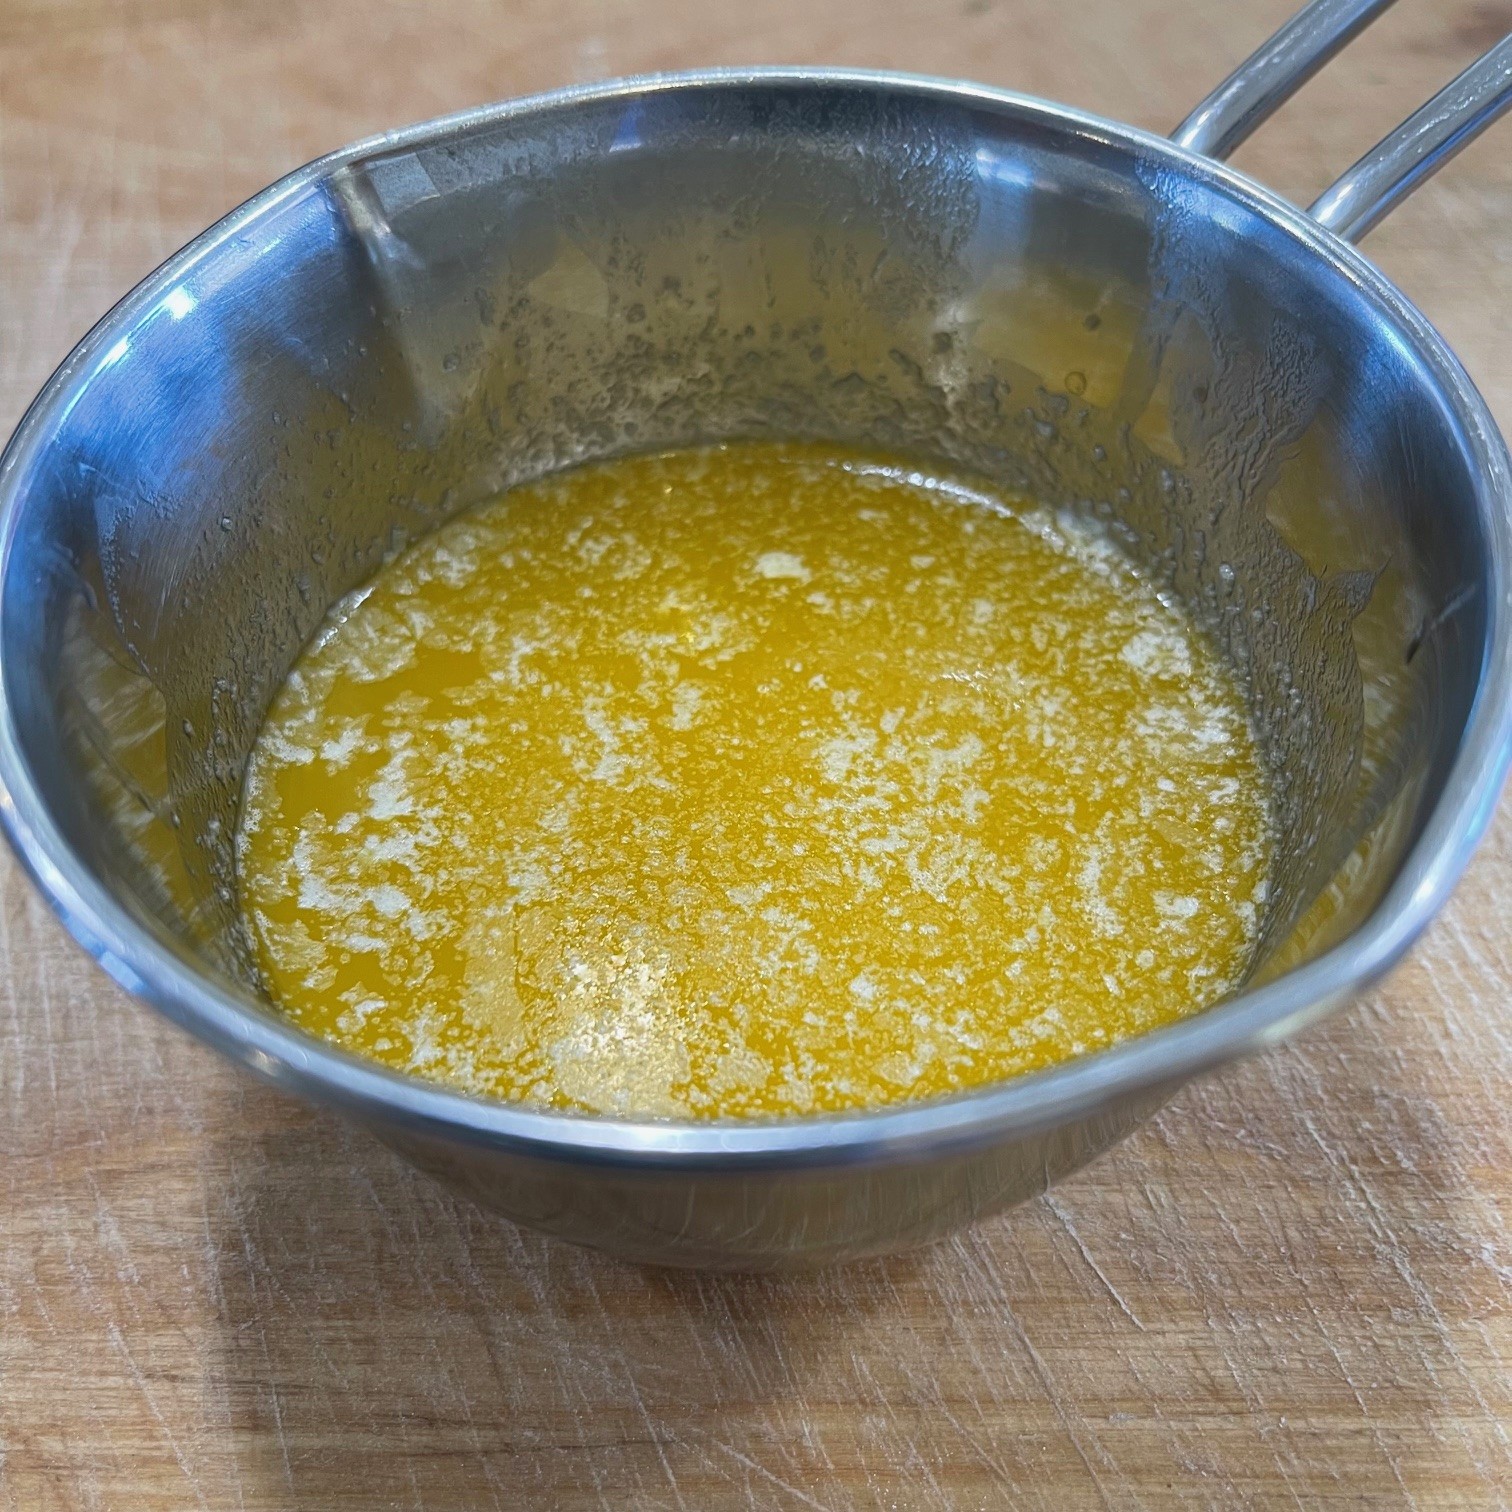
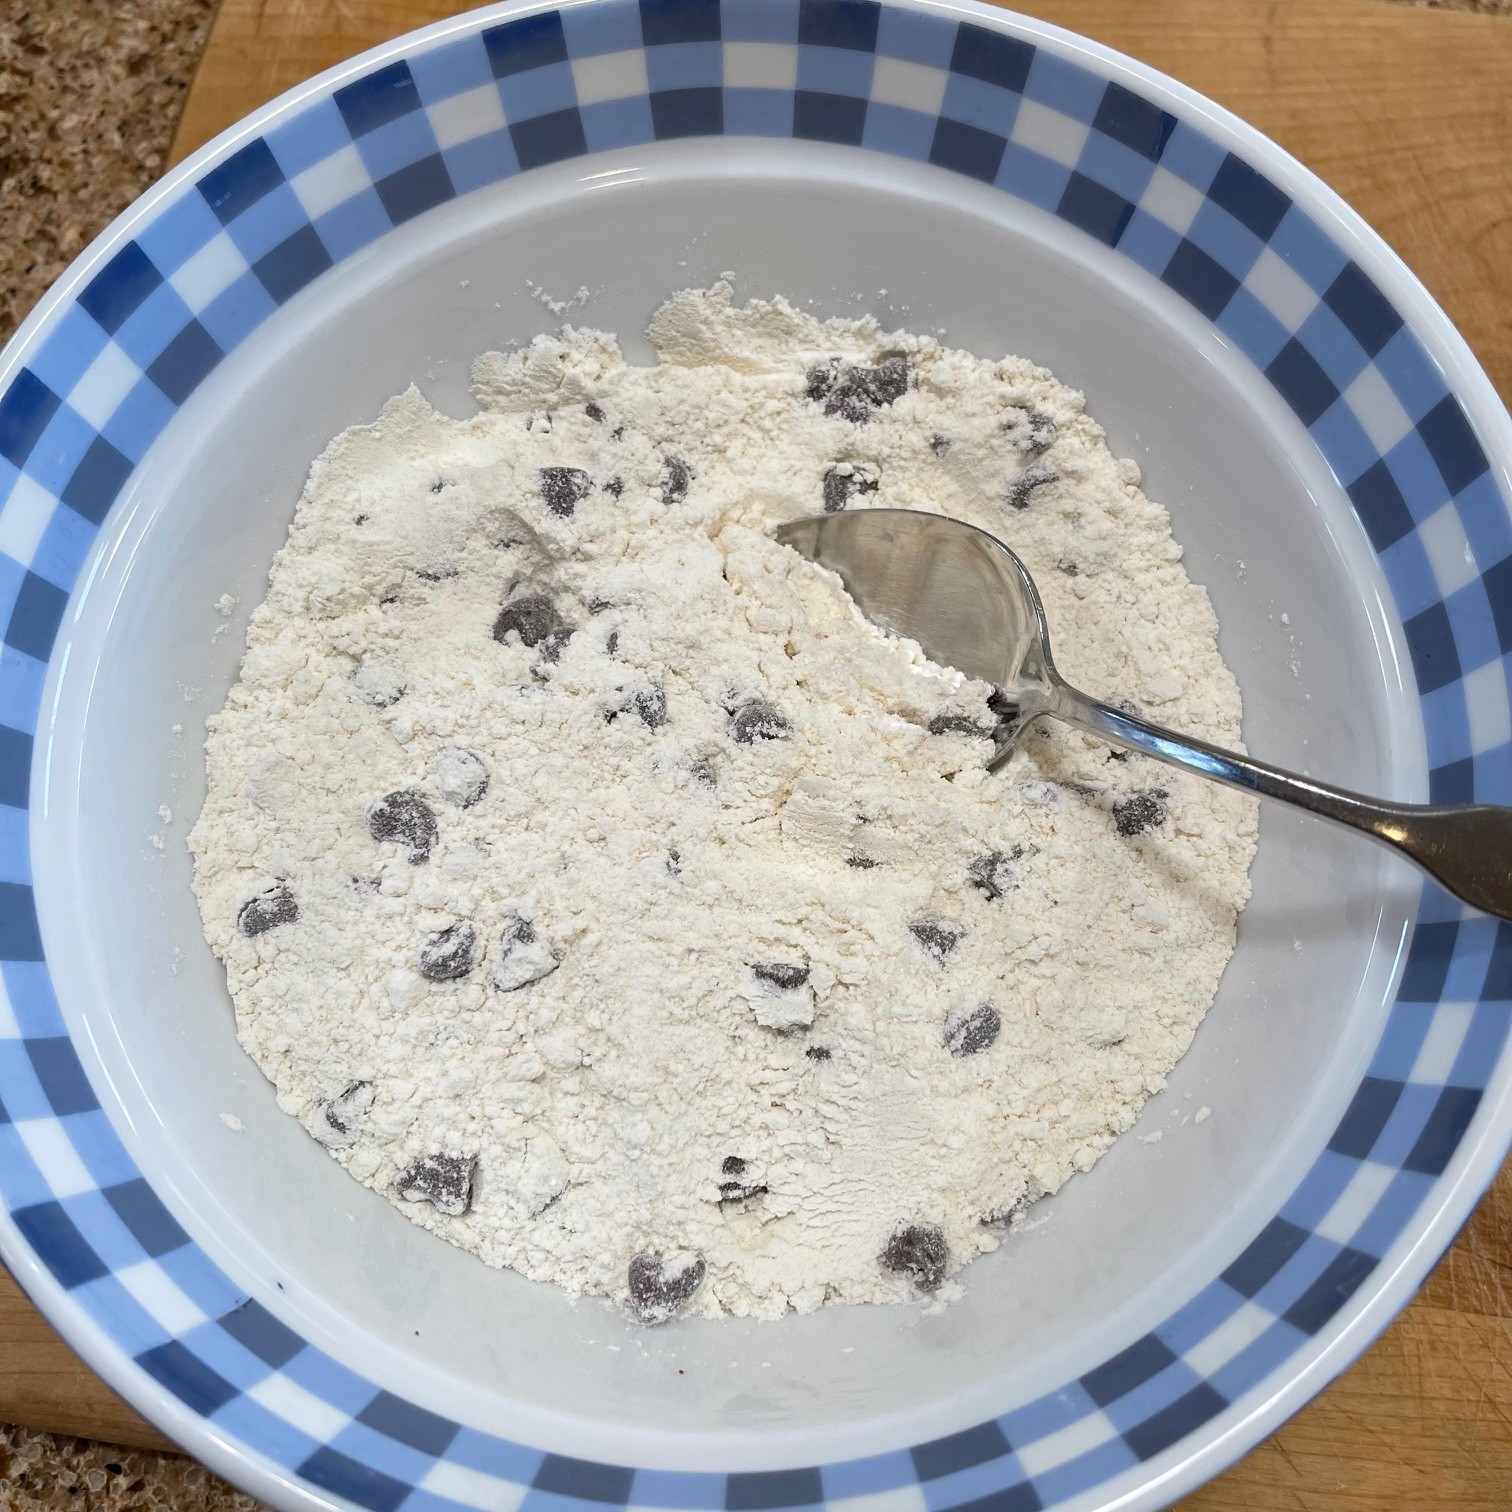
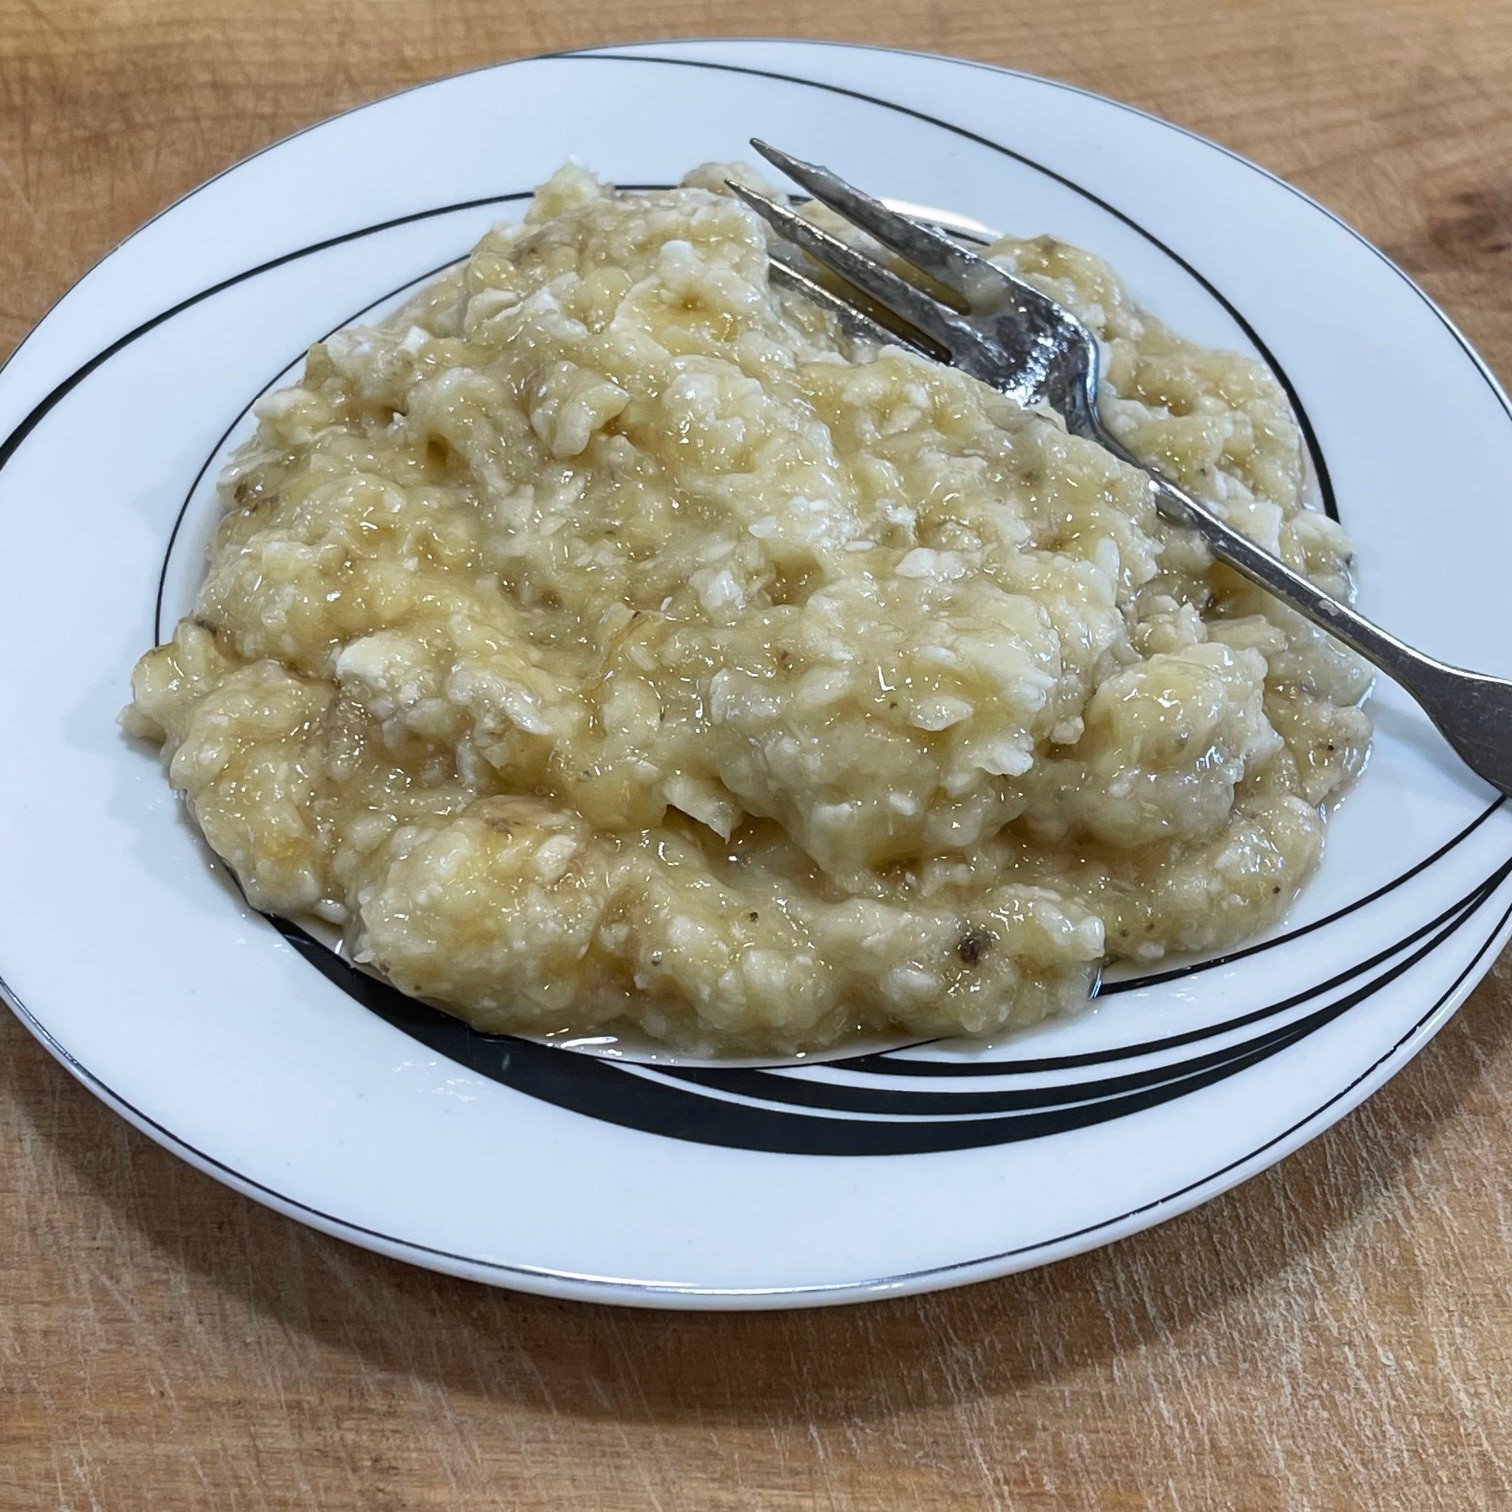
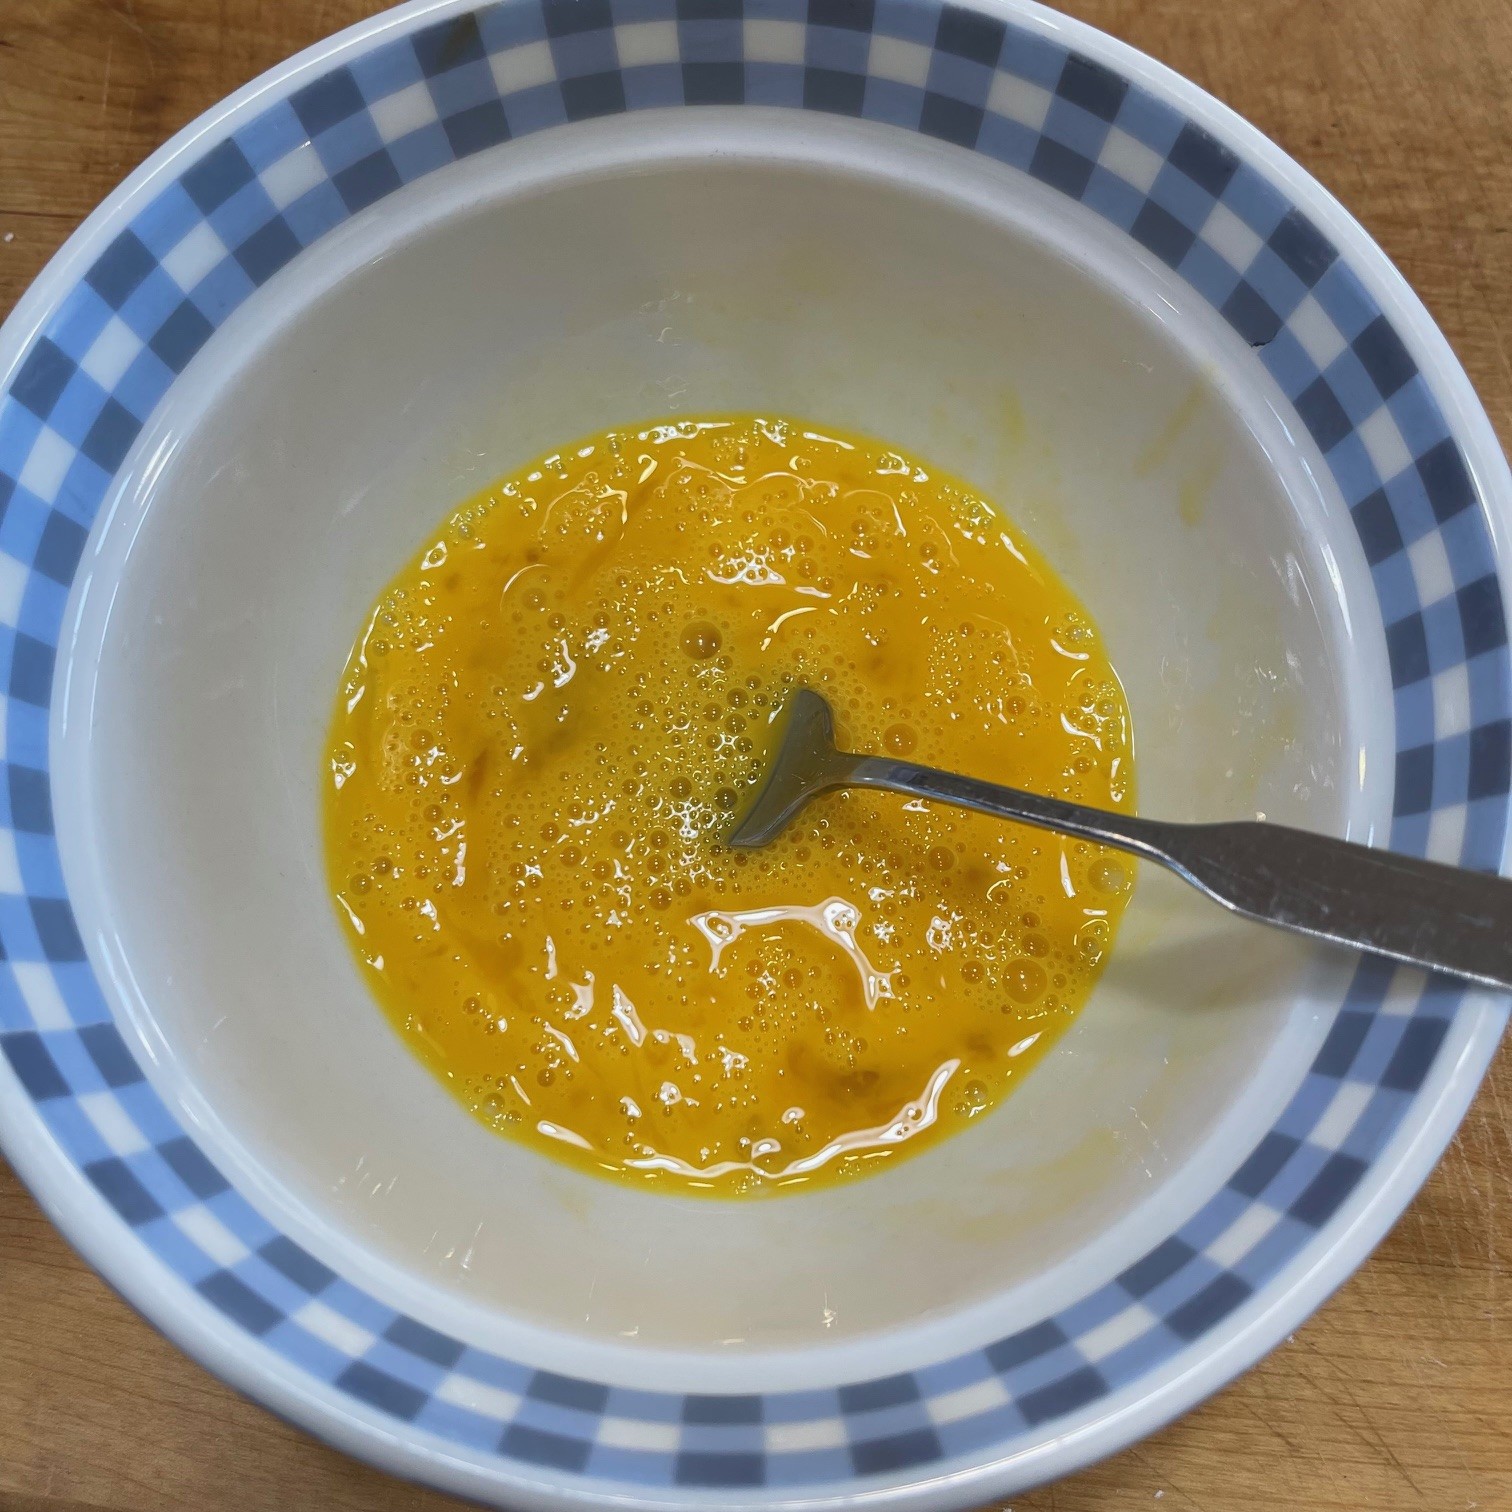

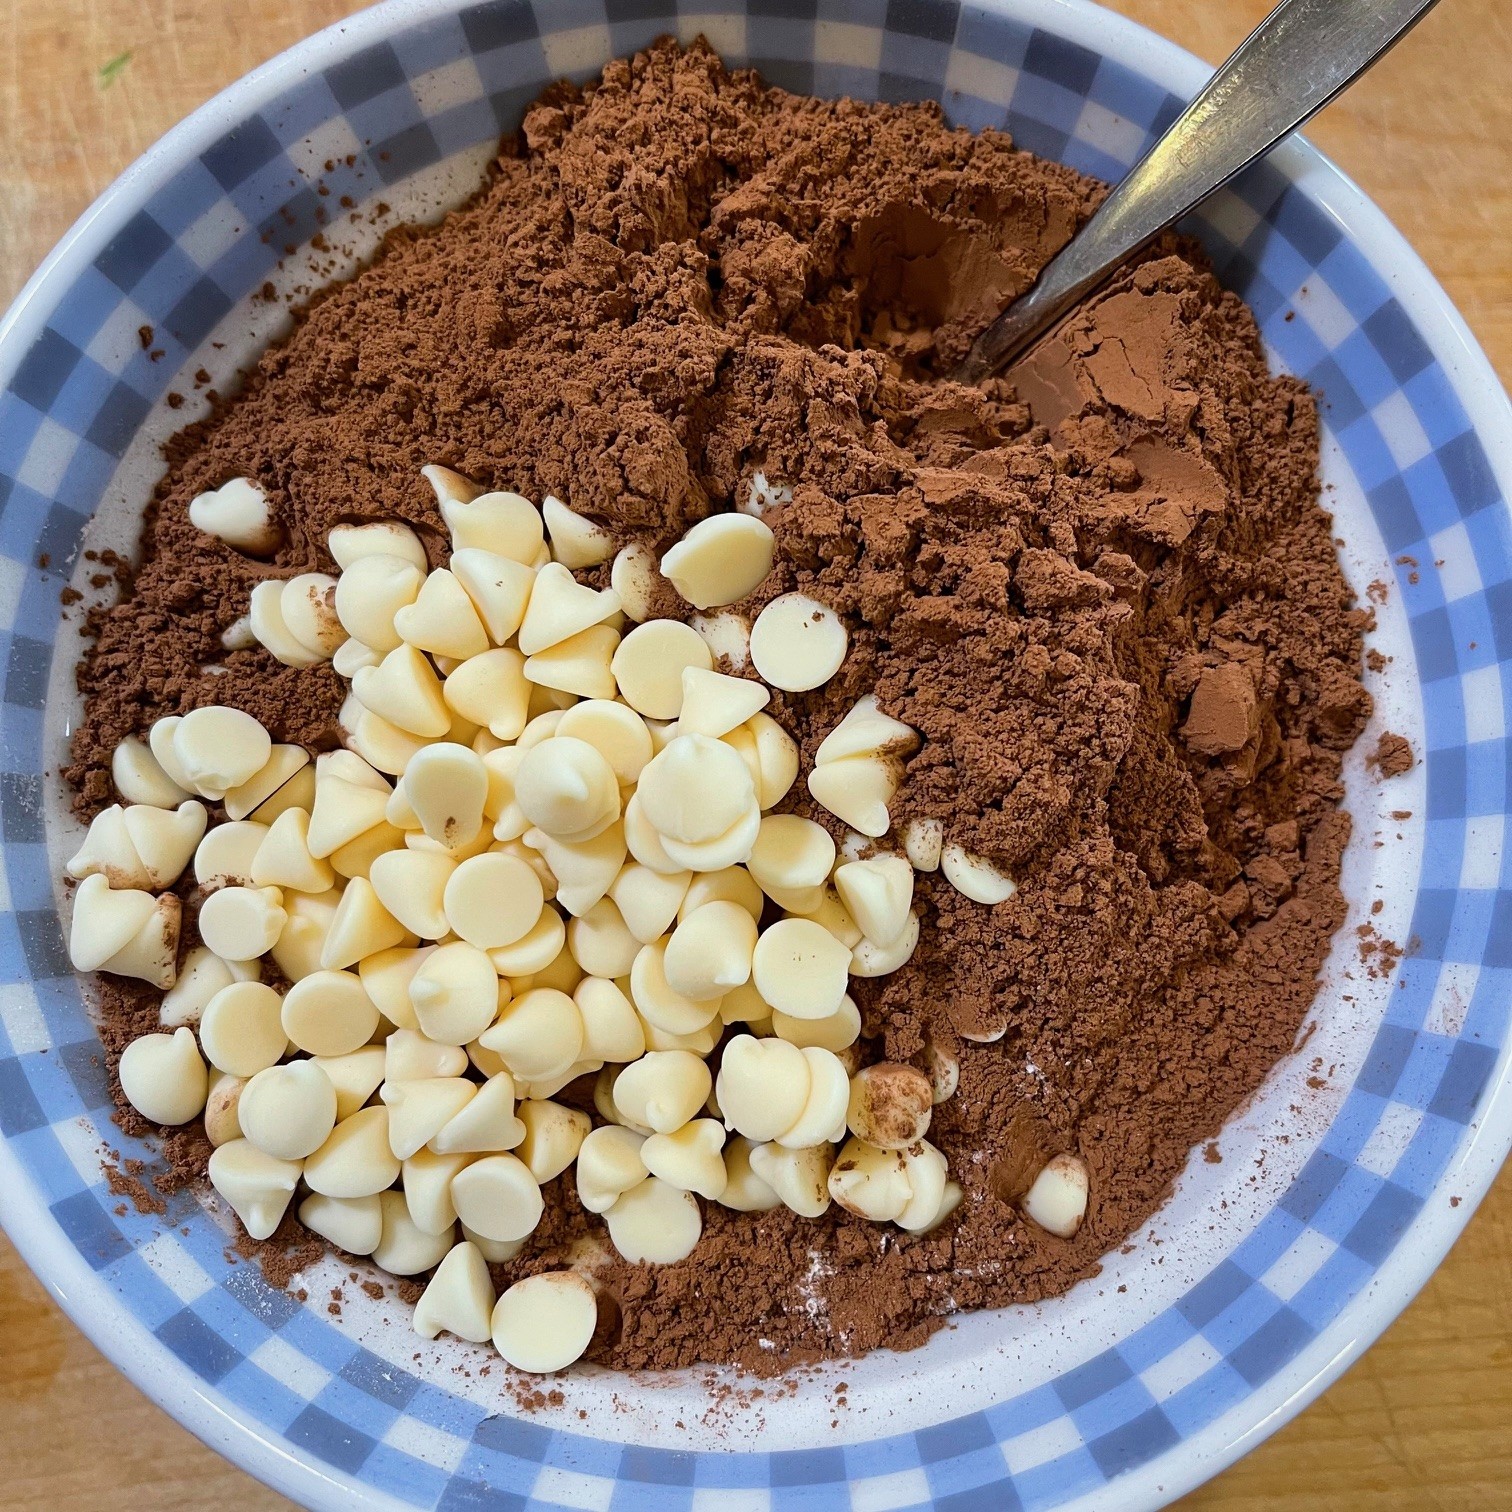
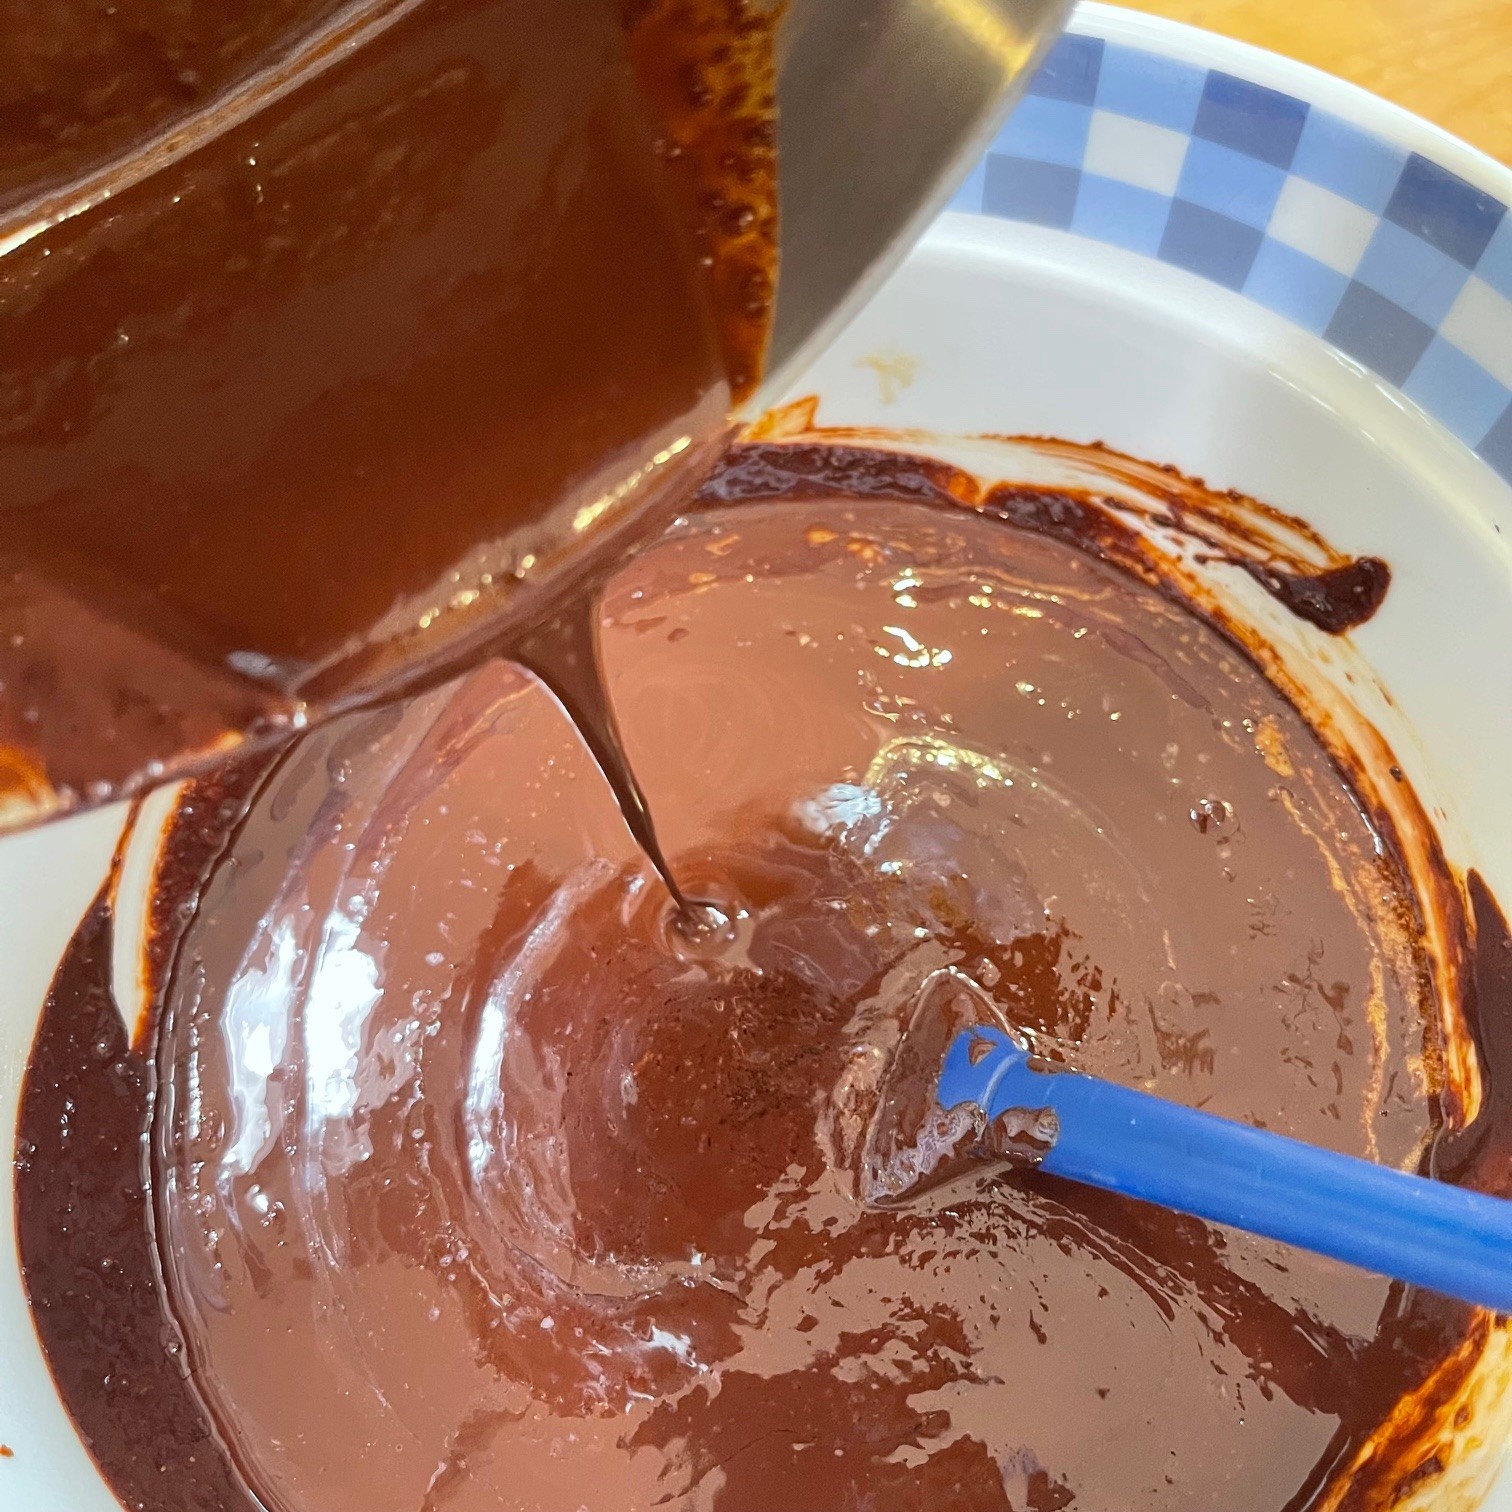
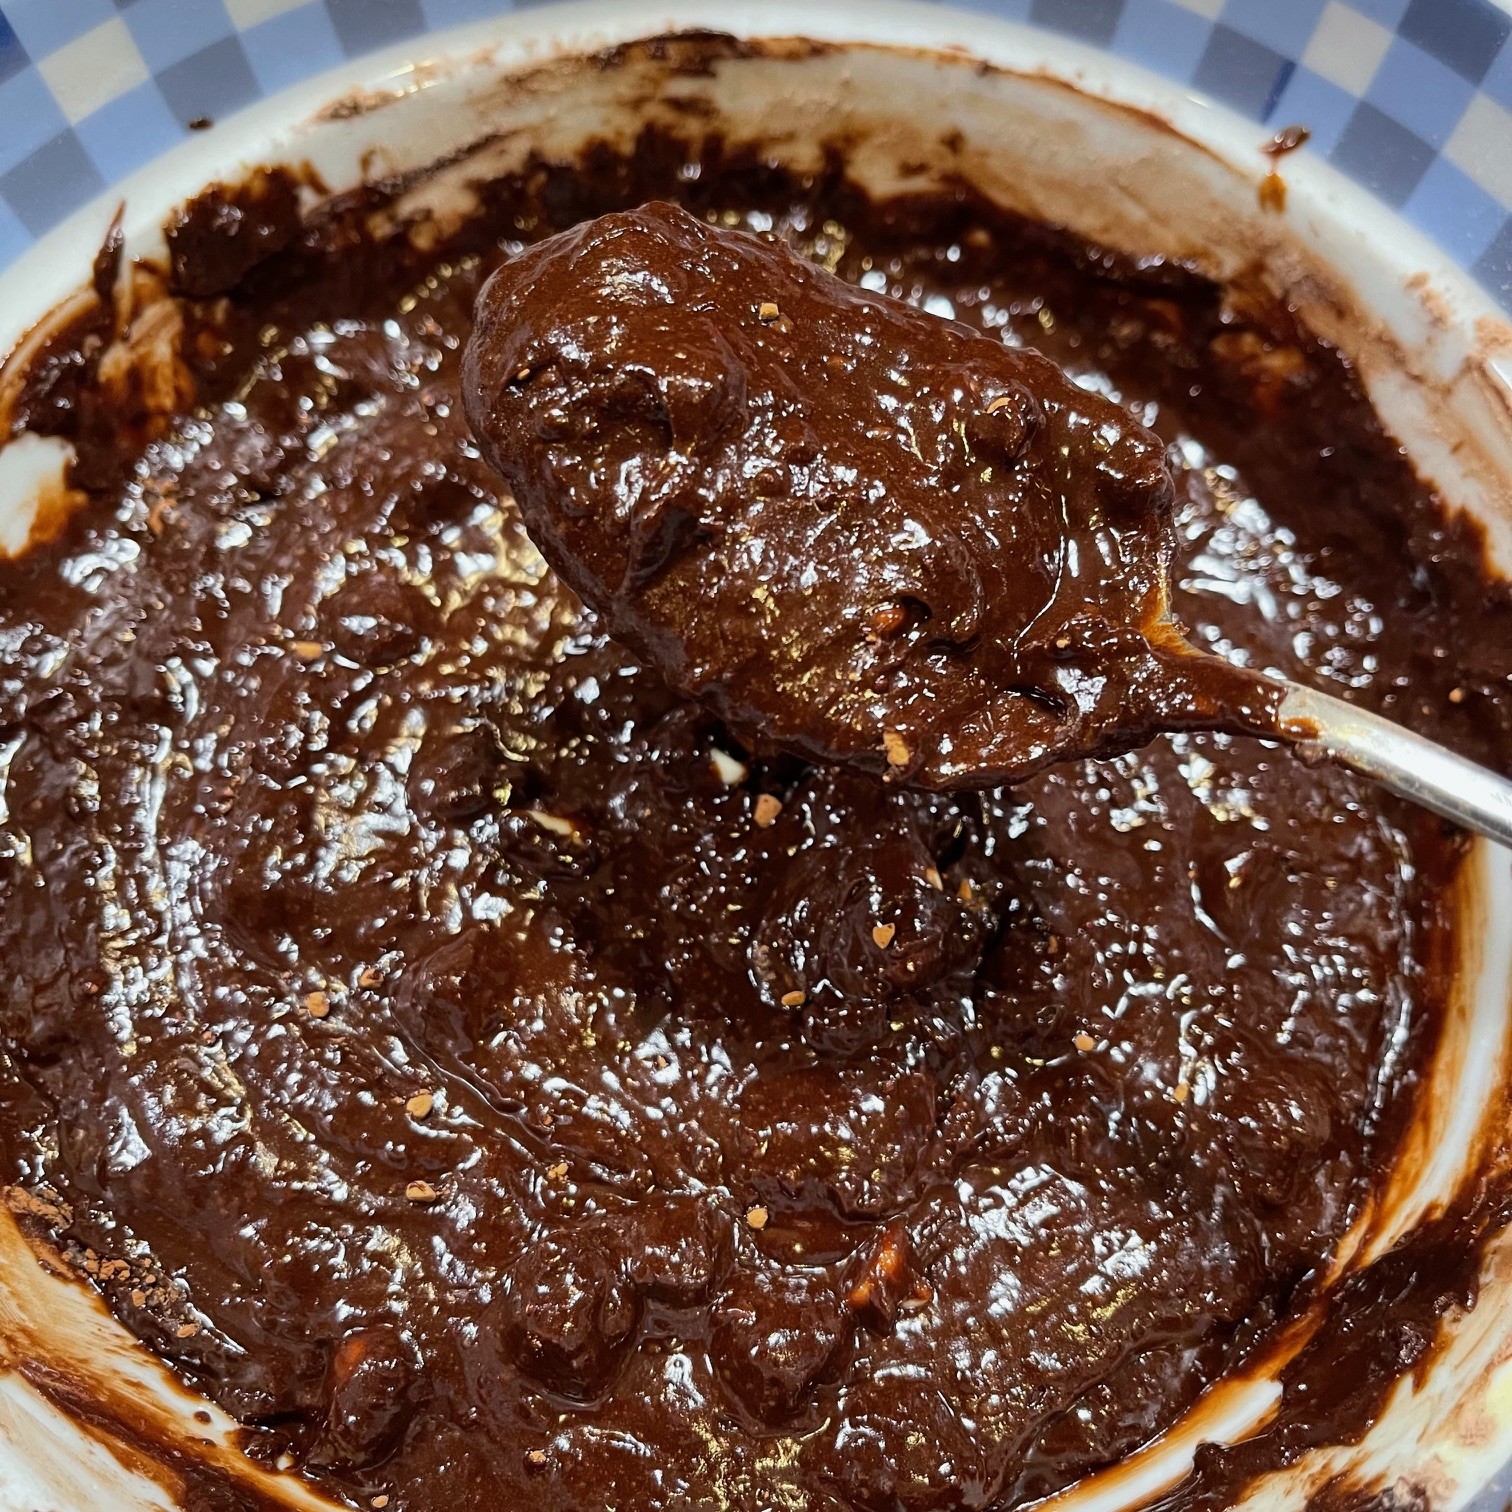
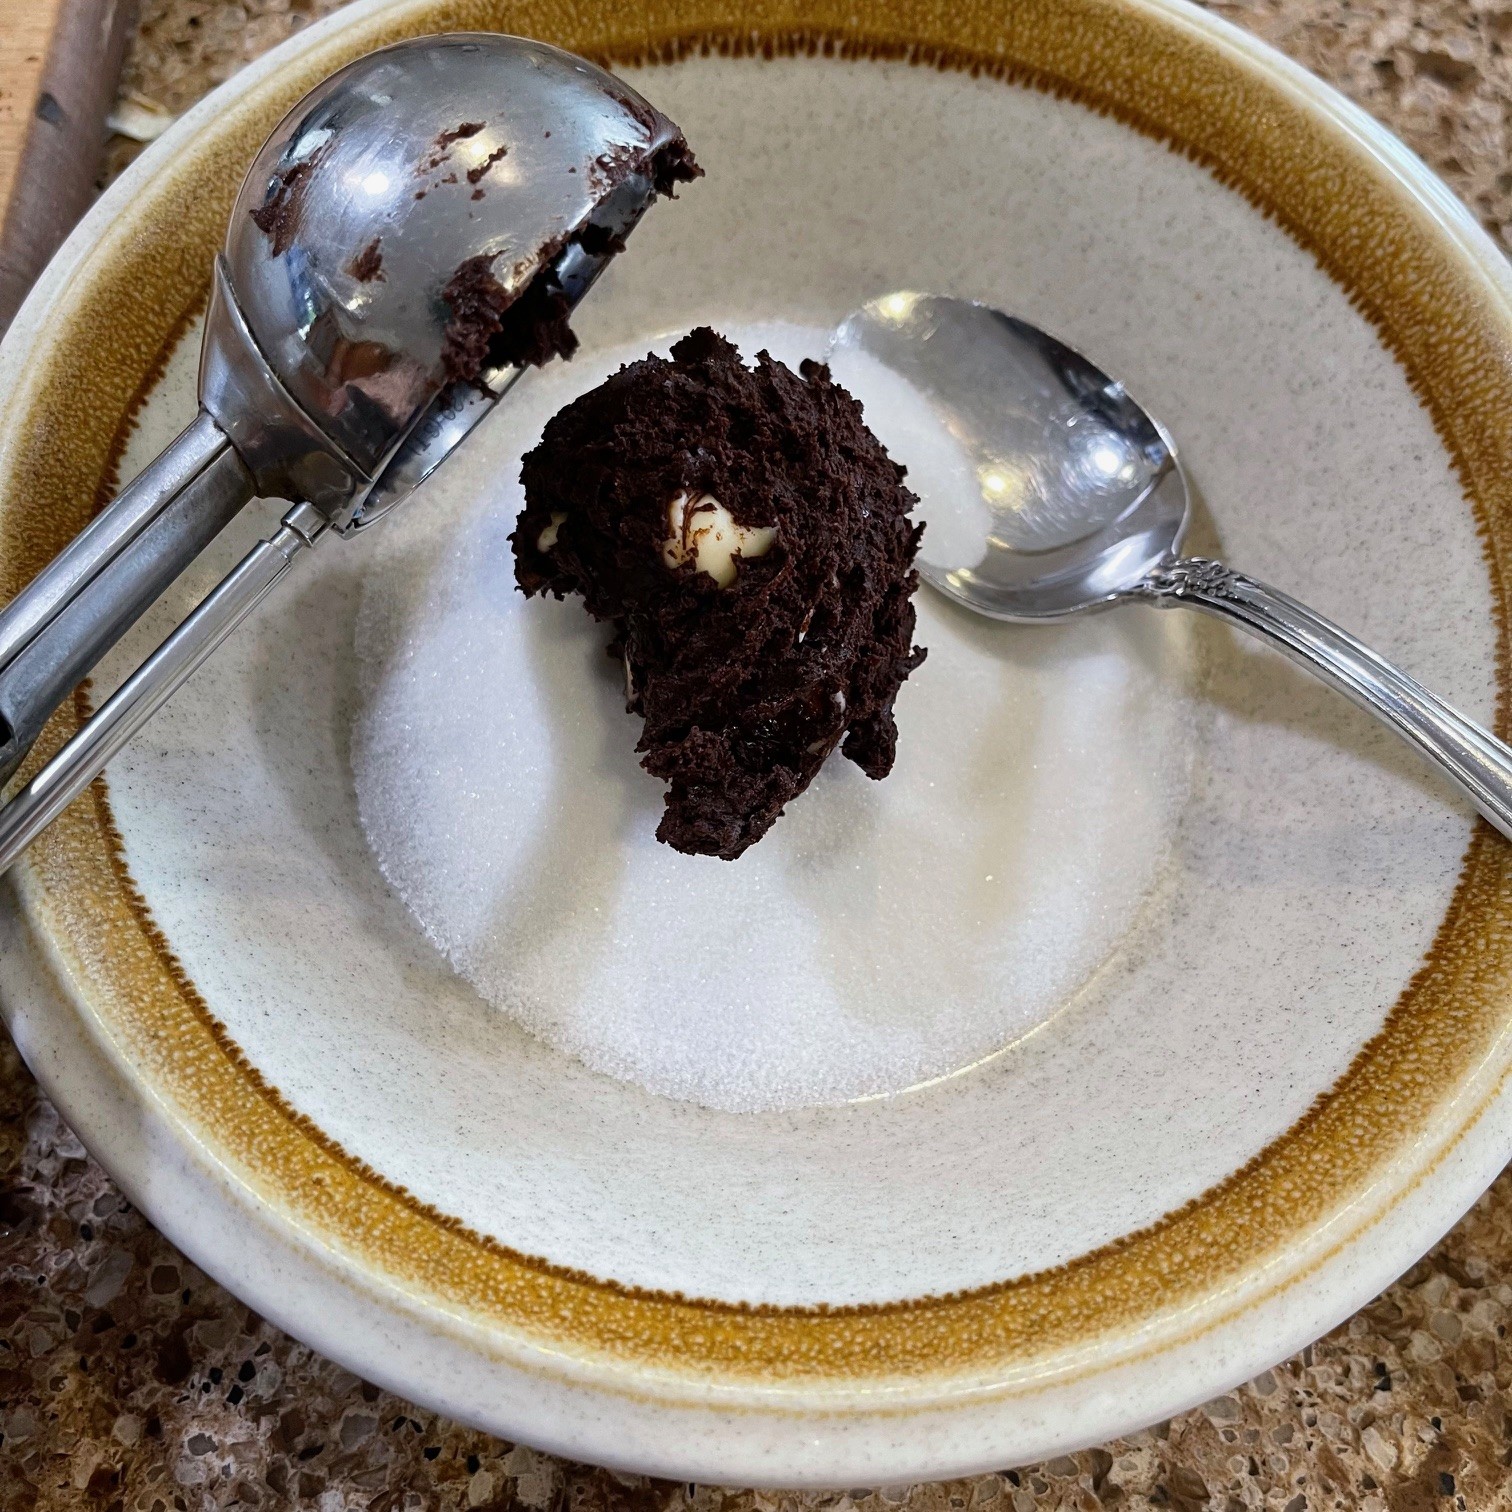
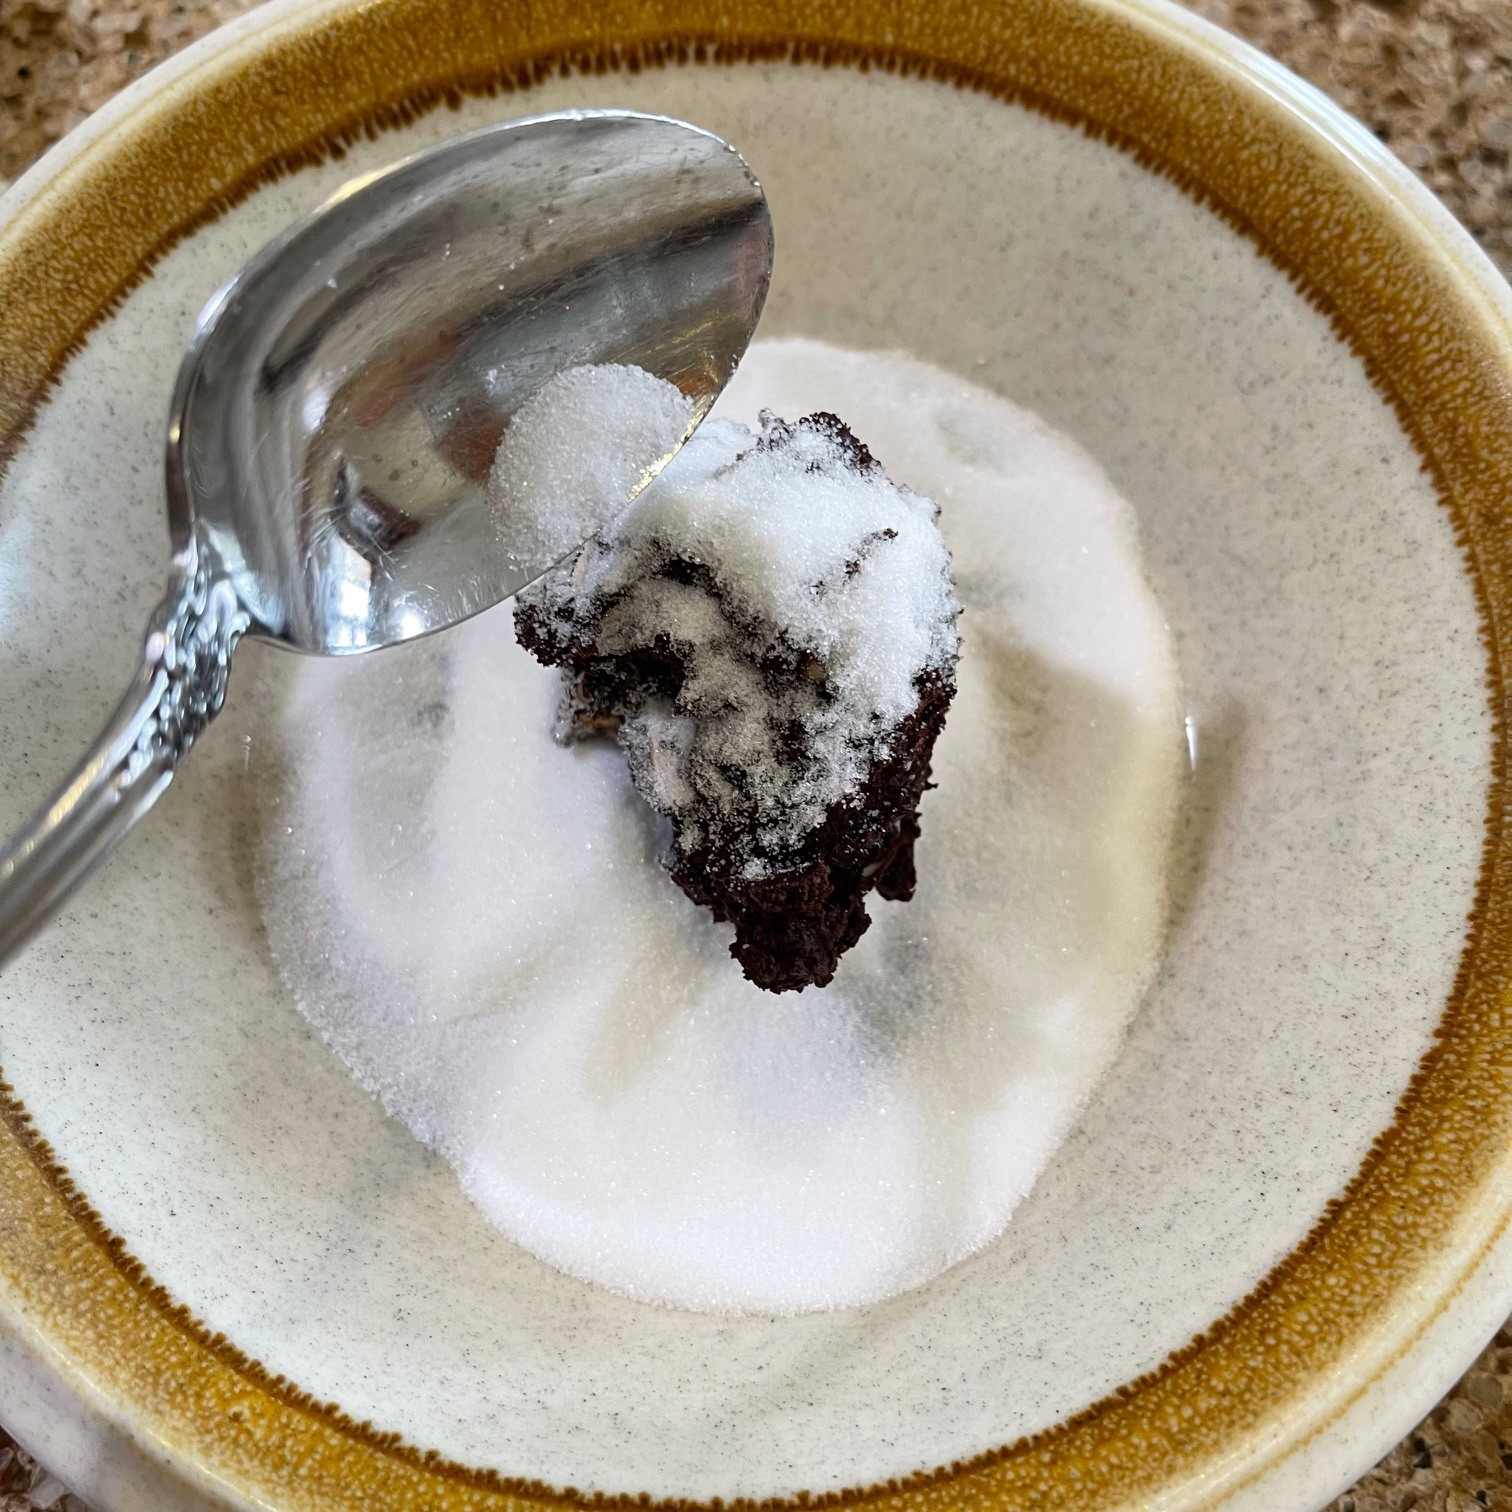
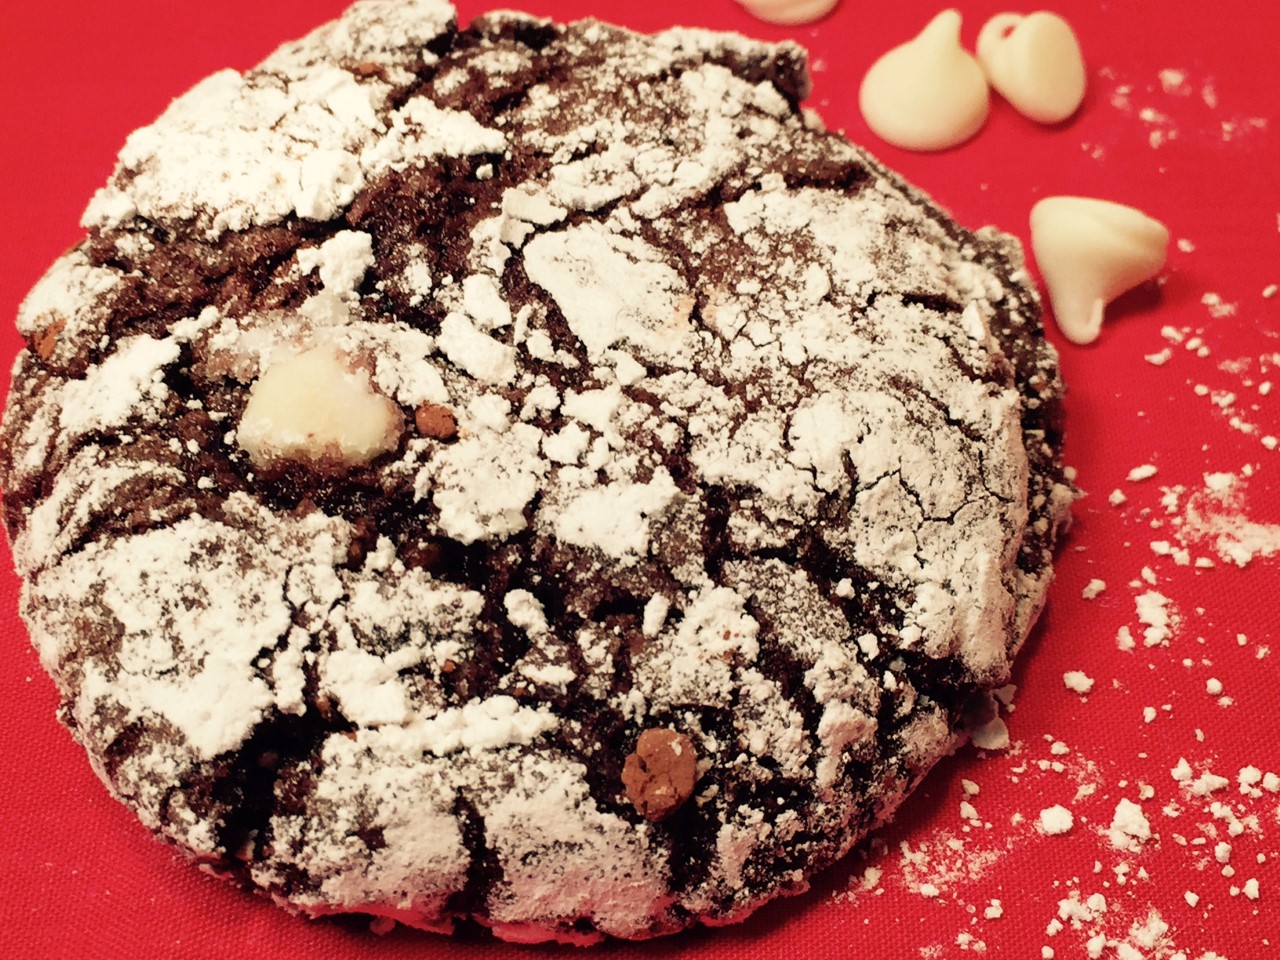 If you’re craving a rich, chocolate dessert, then look no further. WHITE CHIPS CHOCOLATE CRINKLE COOKIES will satisfy your urge, and then some! Warning: they’re a bit messy from the powdered sugar…so just wear white and you’re good to go.