
 Due to my frugal nature (some may say, ‘cheap’), I found myself with an abundance of frozen egg whites. It turns out there are many more recipes that call for an extra egg yoke than an extra egg white. Due to my aforementioned frugal nature, I froze the unused whites rather than throw out perfectly good food.
I’d always scoffed at the humble angel food cake – it just seemed so blah. However, I had an America’s Test Kitchen recipe that called for 12 egg whites in their angel food cake. This would make a significant dent in my frozen egg white stockpile, so I made it.
I was stunned at how good it was. A bonus being there are a lot less calories in an angel food cake compared to an equal sized slice of an iced butter cake.
Note: Ideally, you should use an angel food cake pan because it’s tubular, thus providing more surface area for the batter to climb and attach to. Also, it has little legs to allow air to flow underneath as the cake cools. (Angel food cakes are cooled upside down so they don’t collapse.) Use a bundt pan, if you don’t have the proper pan and elevate it.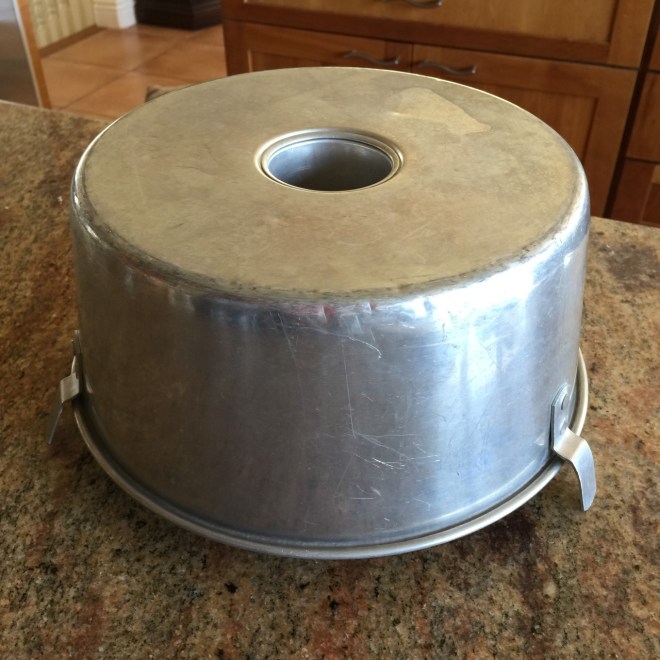 ANGEL FOOD CAKE
- 3 oz (1 cup) cake flour
- 10 oz (1½ cups) granulated sugar, divided
- 1 tsp cream of tartar
- 1/4 tsp salt
- 12 egg whites
- 1½ tsp vanilla
- 1½ tsp lemon juice
- 1/2 tsp almond extract
Preheat oven to 325º Fahrenheit.
Make a liner for the cake pan bottom by placing the pan on parchment paper open side up. Run a pencil around the outside of the pan bottom and cut out the circle. Flip the pan so the bottom of the pan is up, and place the cut-out circle on top. Firmly hold the parchment in place and trace the center tube outline with a pencil. Cut out and discard this inner circle. Very lightly grease the BOTTOM ONLY of the cake pan. (Don’t grease the sides – the batter needs to be able to grip it in order to rise.) Line the bottom of the cake pan with the parchment and press it down. The parchment will help the cake release.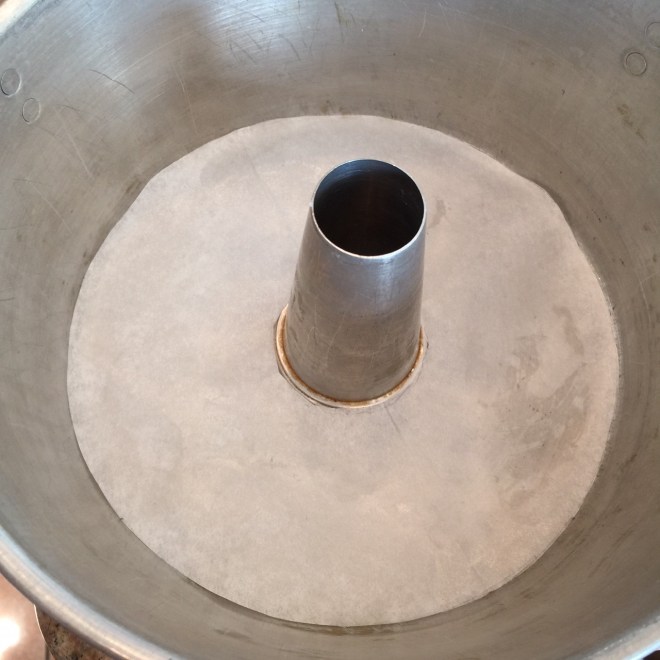 Into a bowl, sift together the cake flour and 5 oz (3/4 cup) of the sugar. Set aside.
Into another bowl mix together the remaining 5 oz (3/4 cup) sugar, the cream of tartar, and the salt. Set aside.
Into a small bowl, mix together the vanilla, lemon juice, and almond extract. Set aside.
Pour the egg whites into the large bowl of your standing electric mixer. Beat on medium. Large bubbles will form at first, then they’ll decrease in size after about a minute. 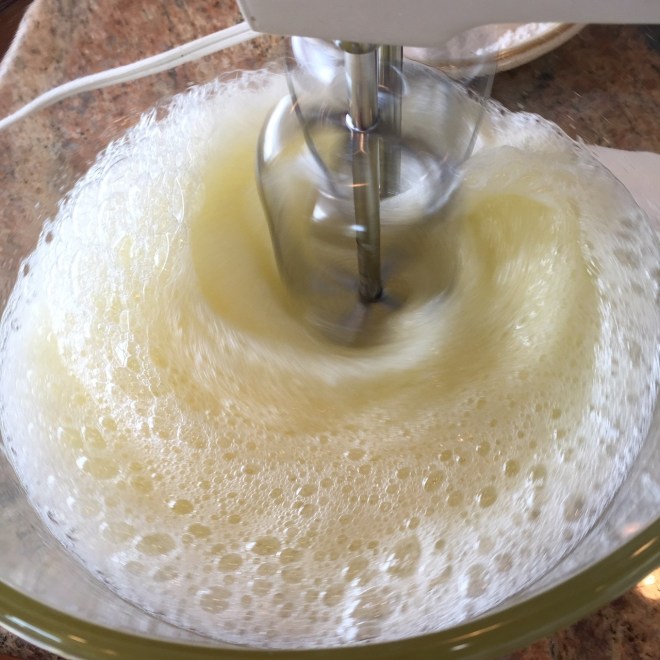 With the mixer still running on medium, start adding the sugar/cream of tartar mixture to the whites 1 tablespoon at a time.
 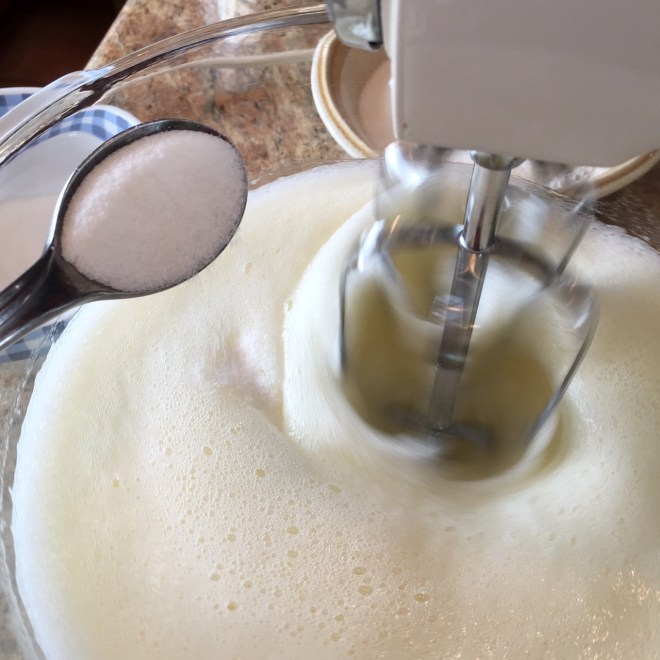 Once all the sugar/tartar has been added, increase mixer speed to high until soft peaks form. Turn off machine, pour in the vanilla mixture, then quickly mix together on low.
 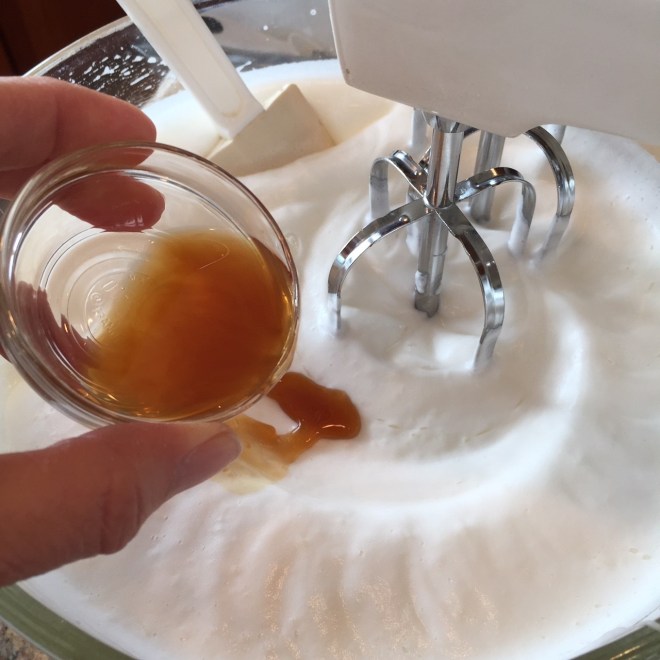 Here’s where your jaw may drop. If you read other angel food cake recipes, they’ll tell you to FOLD in the flour mixture gently in order not to deflate the meringue. I’m here to tell you that you don’t have to bother. Simply add 3 T of the flour mix to the batter through a sieve, then turn your mixer on the lowest speed for a few seconds to incorporate the flour, running a spatula along the sides and bottom of the bowl.
 Turn off the mixer, then add another 3 T flour to the batter, turn on the machine to low and mix to incorporate for a few seconds. Continue until all the flour is added and incorporated.
Once all the flour is incorporated, gently pour batter into the cake pan, smoothing top. Rap pan a couple of times on the counter to dislodge any air bubbles (I’m not sure if this is a myth, but it can’t hurt.)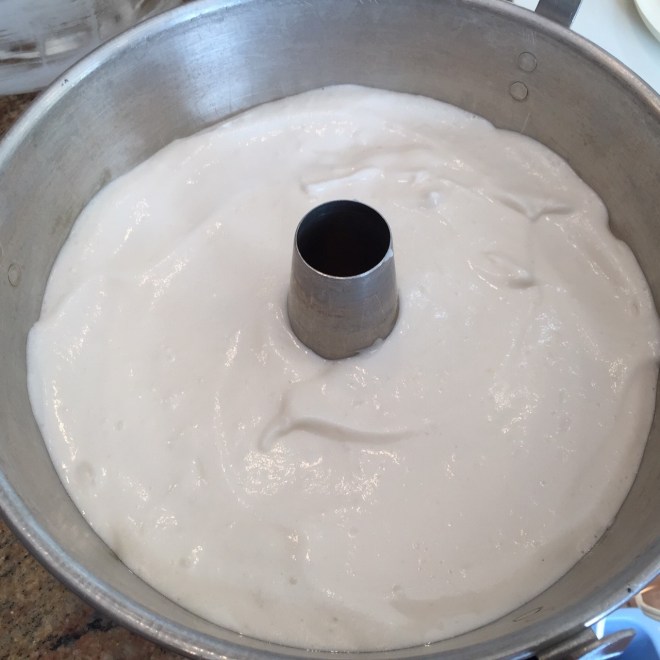 Put into the oven and bake about 45-50 minutes – until golden brown and cake springs back when you press it with your finger.
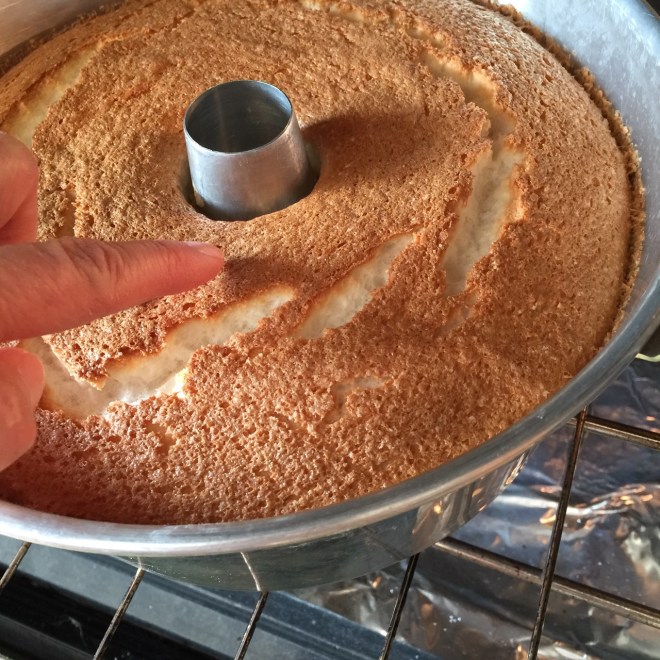 Remove from oven and immediately turn upside-down. Let cake remain like this until completely cooled – about 3 hours. When cool, run a dull knife around the sides of the cake (including the tube), making sure you get all the way to the bottom. Flip the cake onto a plate – hopefully, the cake will fall out. (If not, run the knife around again.) Carefully, remove the parchment and let cake sit to completely cool before serving.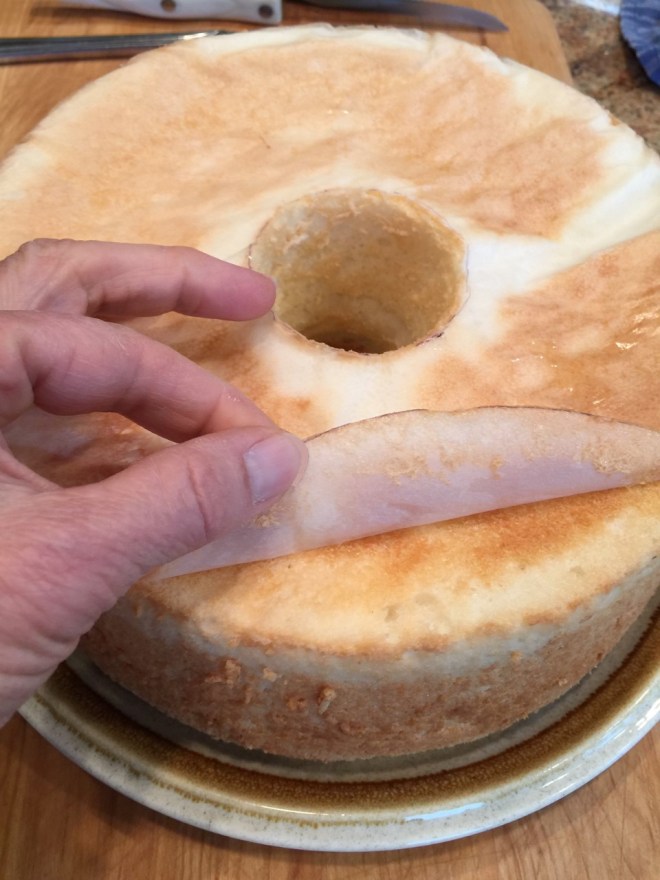
 I’ve been on another quest. (For some reason, my quests usually involve chocolate.) This time I was on a search for the perfect brownie recipe.
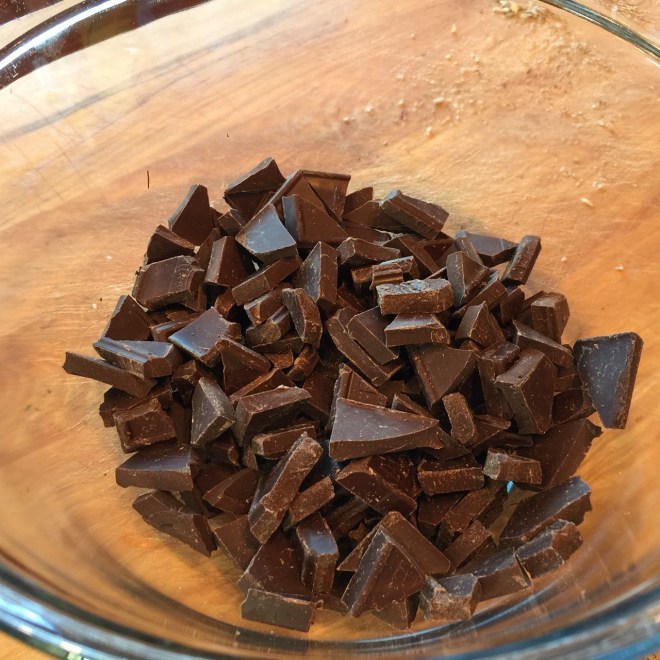
 Immediately pour hot liquid into bowl with chocolate, stirring to melt chocolate completely. Allow to cool 10 minutes, stirring now and then. (You’re going to be adding eggs, and don’t want to cook them.)
 Beat the eggs in a small bowl. Once the chocolate mixture has cooled, stir in approximately half of the eggs and mix in completely. Pour and mix in the remaining egg. Stir in the vanilla.
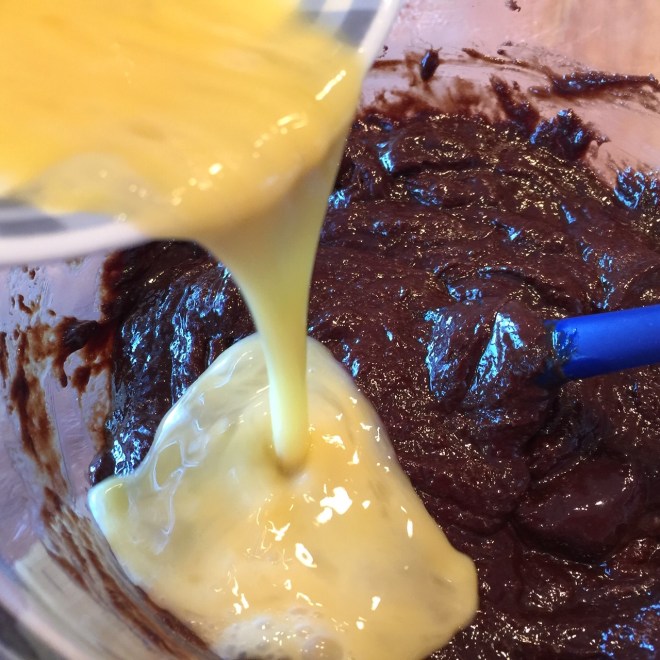 Add in the flour mixture, pecans, and mini chocolate chips. Mix just until all the flour has been incorporated.
  Pour into prepared baking pan, smoothing batter flat. If desired, sprinkle on fleur-de-sel.
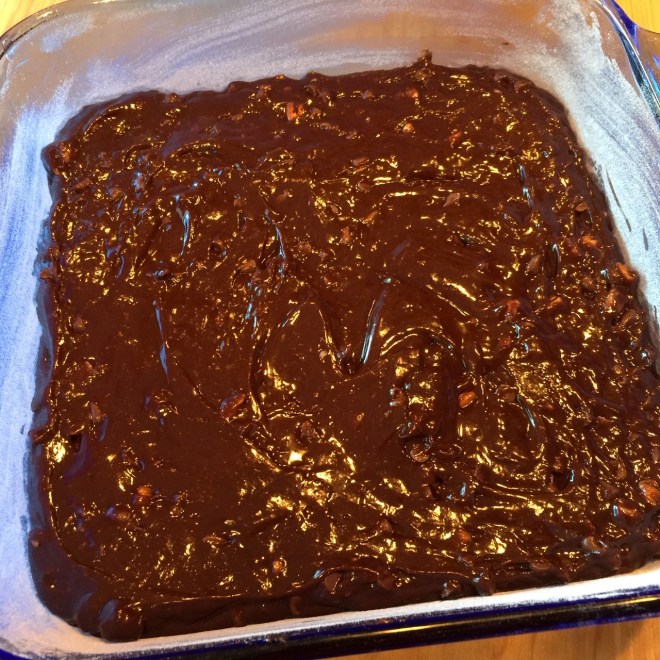 Bake at 325º F for about 28 minutes. (They start to look done at around 25 minutes in my oven, but I let them go a few minutes more – otherwise they’ll sink too much as they cool and be a little too gooey for my taste.)
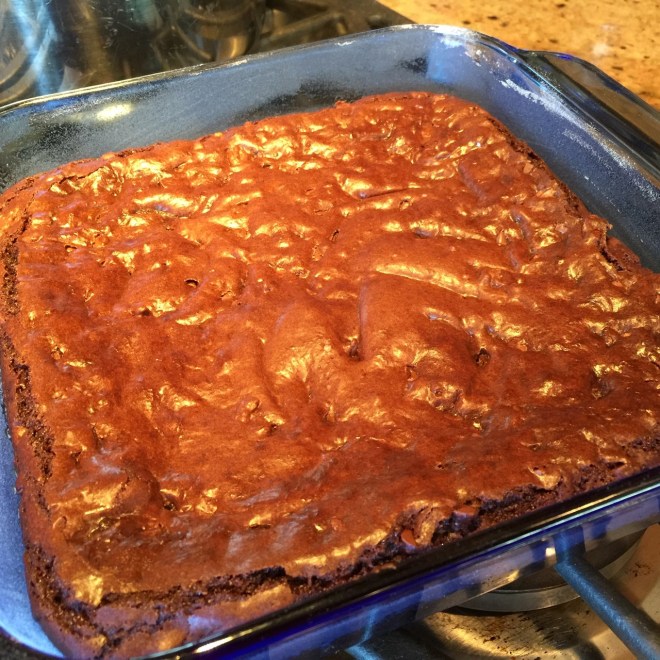 Remove from oven and let brownies completely cool several hours before cutting. (This takes a LOT of self-control!!) Note: They’ll still sink a little at 28 minutes, but not as much as they would at 25 minutes.
 I’m not sure when it happened but, for better or worse, every year new foods become pumpkin flavored during Autumn.
 In a small bowl, whisk together the egg, pumpkin, milk, and vanilla. Pour the wet ingredients into the dry and gently fold to mix.
 Empty onto a well-floured counter and knead about 5 or 6 times. (I use a bench scraper to help since the dough is sticky.)
  With floured fingers, pat dough into an 8″ circle (try to keep the dough to an even thickness) and cut into 8 wedges.
 Place on a greased or parchment lined cookie sheet (I prefer a dark sheet that’s greased.)
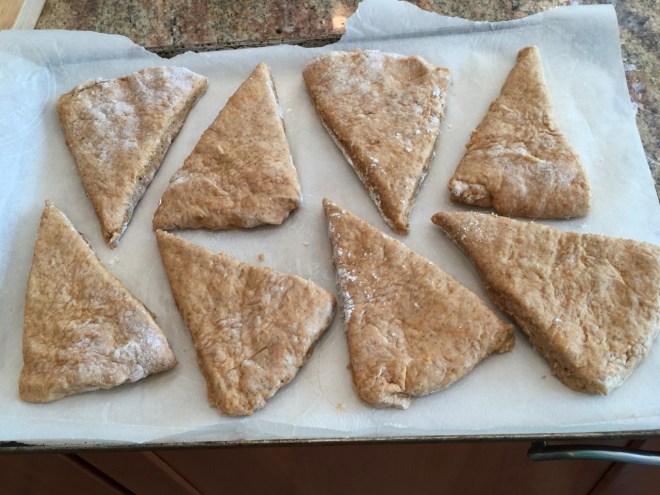 Bake at 400º F with the rack in the middle position for about 16 minutes. They’re at their best when they’re slightly dark on the bottom.
 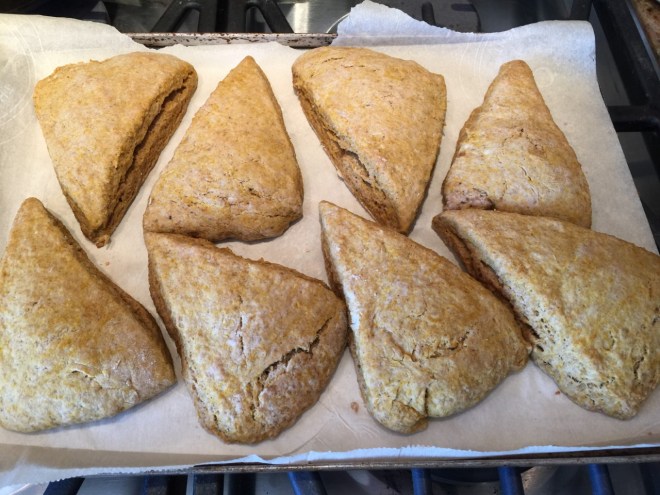 The last time I baked them, I thought I overcooked them (see photo), but they were amazing – a slight crunch on the outside and perfect chew inside. So when you check them for doneness, look for slightly dark sides.
  Then remove from oven onto wire rack to completely cool before icing.
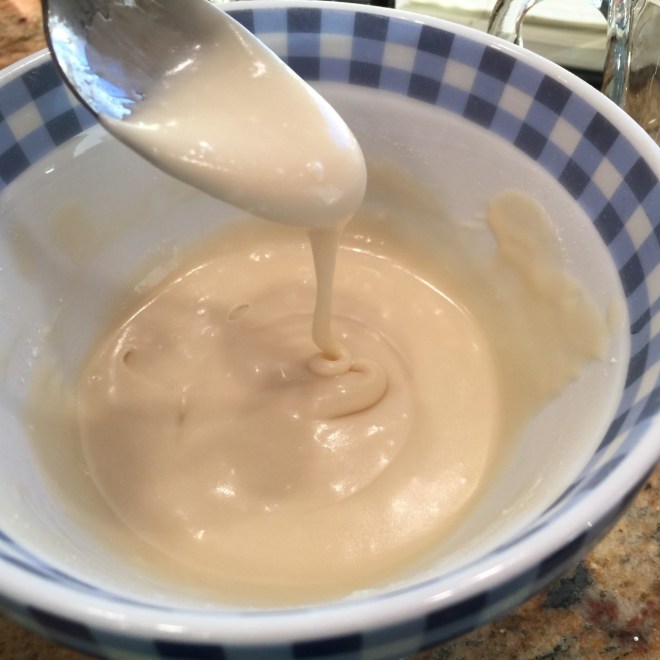 For easier control over the drizzle, pour icing into a spouted cup or a pastry bag with a small circle tip. Design as you wish.
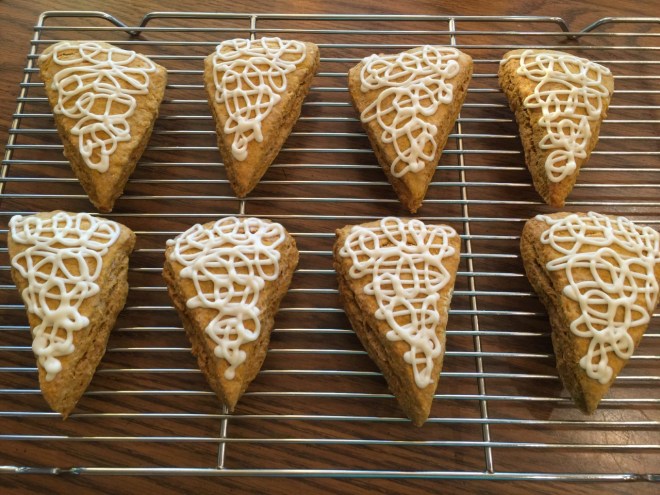 Allow icing to harden before serving.
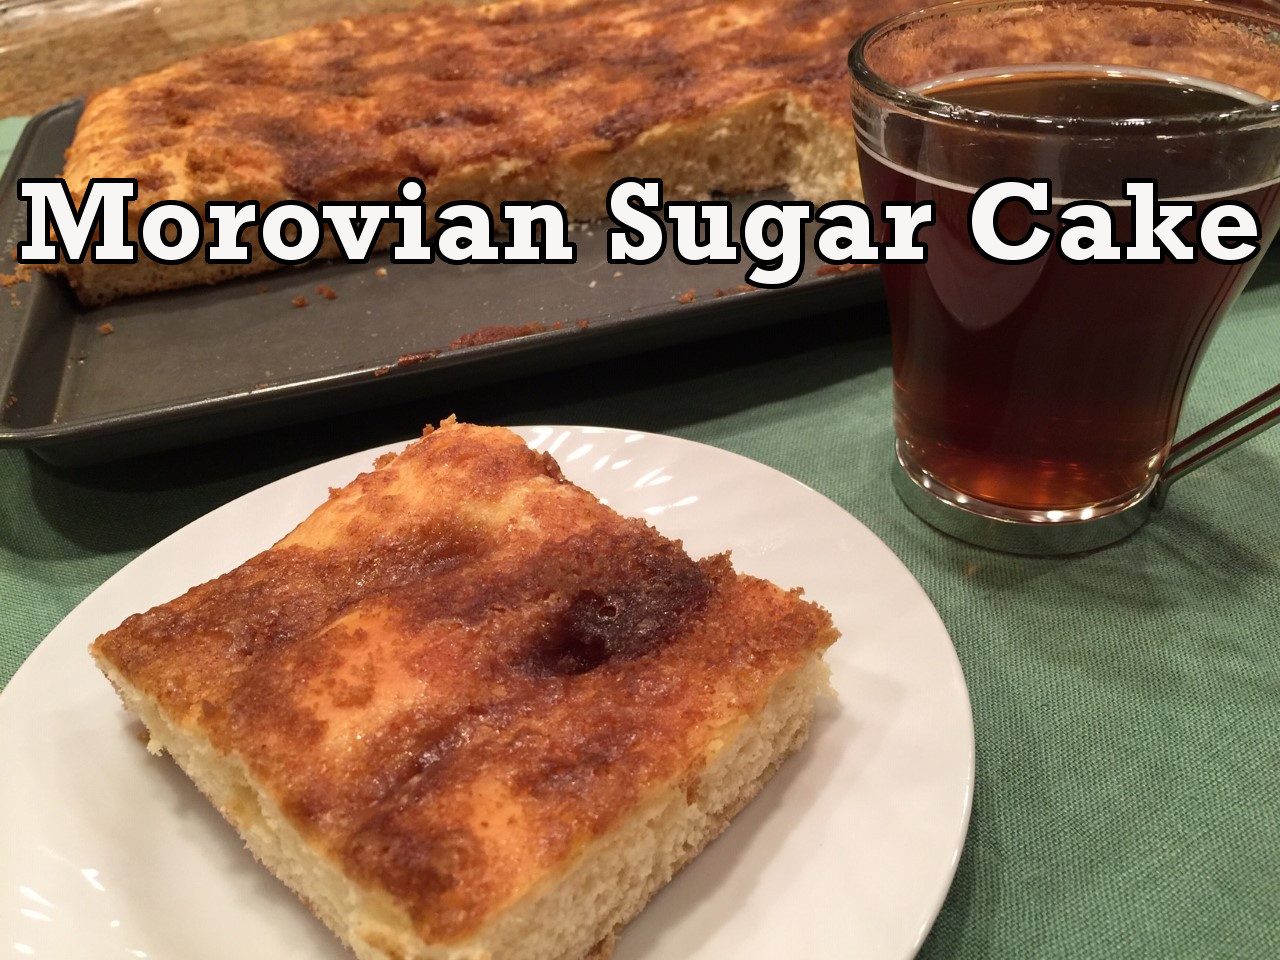 My introduction to Morovian Sugar Cake was a little bittersweet.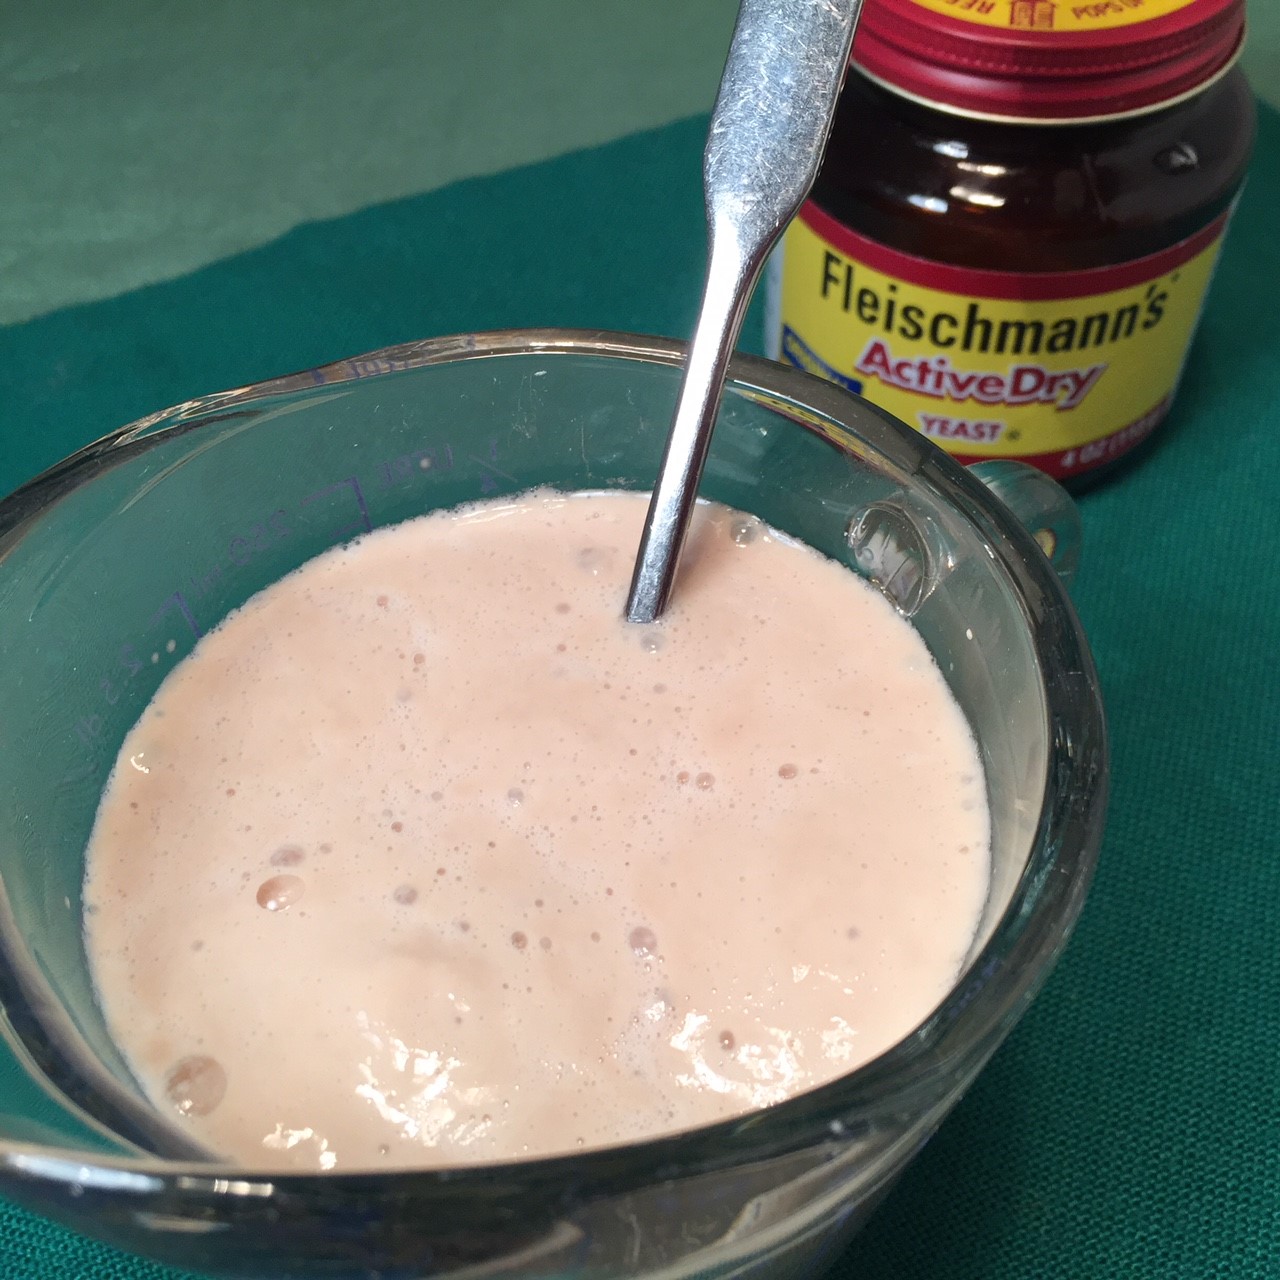
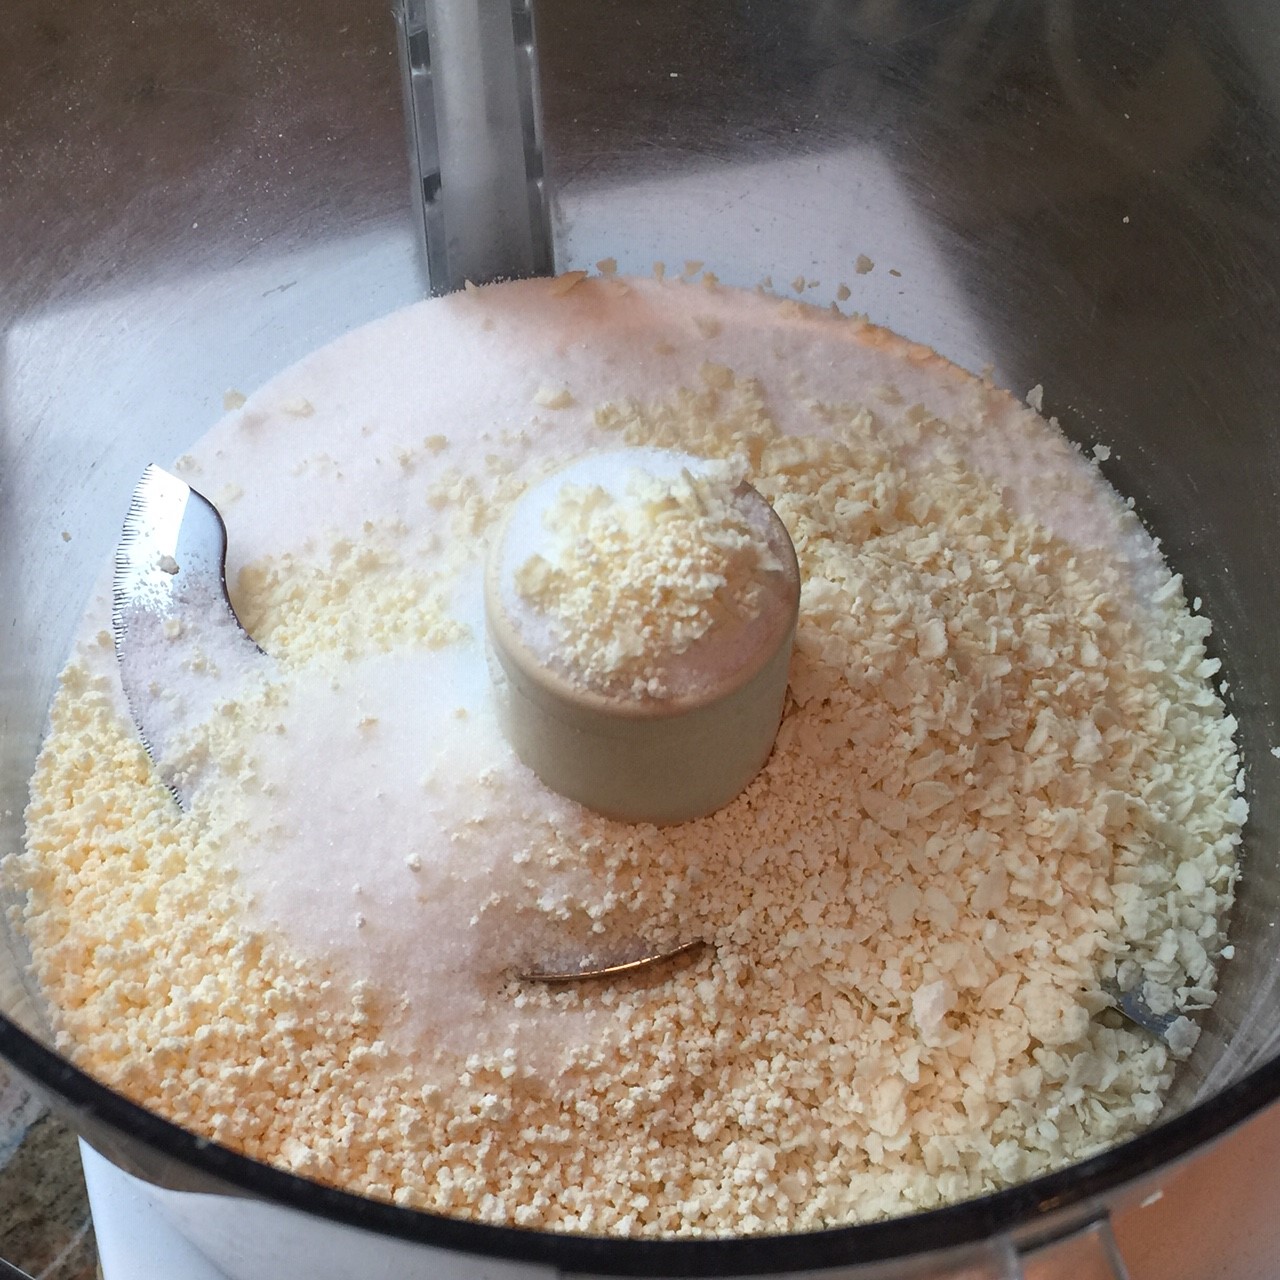 Add in 84g (6 T) butter and eggs. Process to blend.
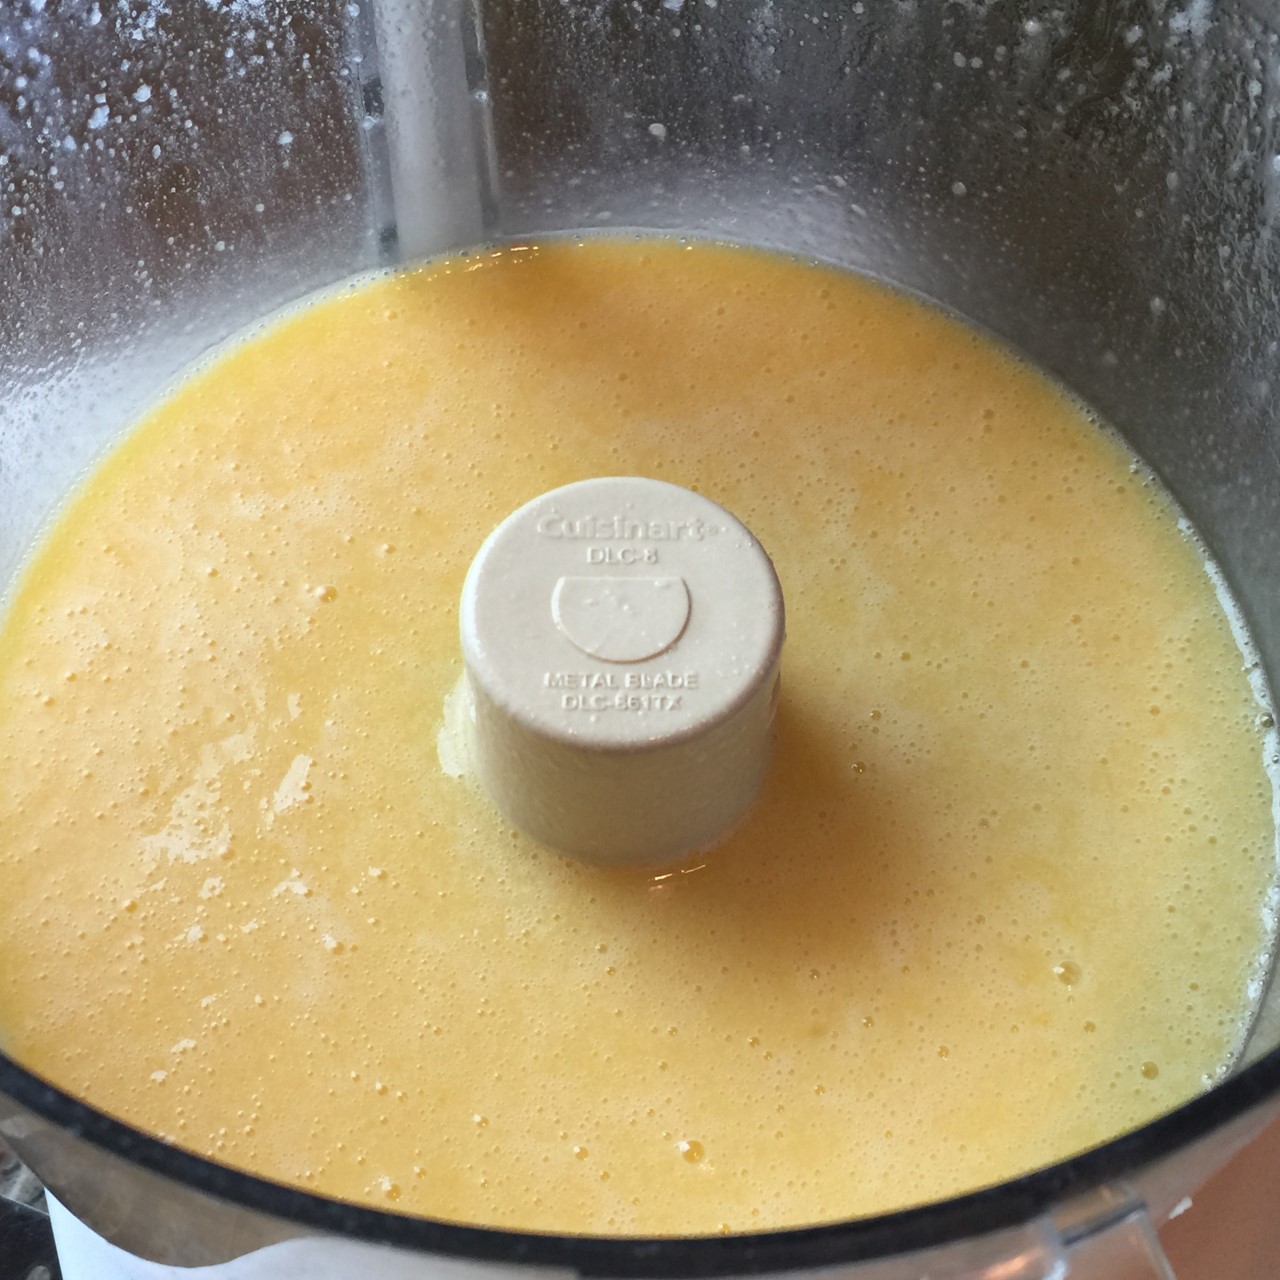 With machine running, pour in the proofed yeast water.
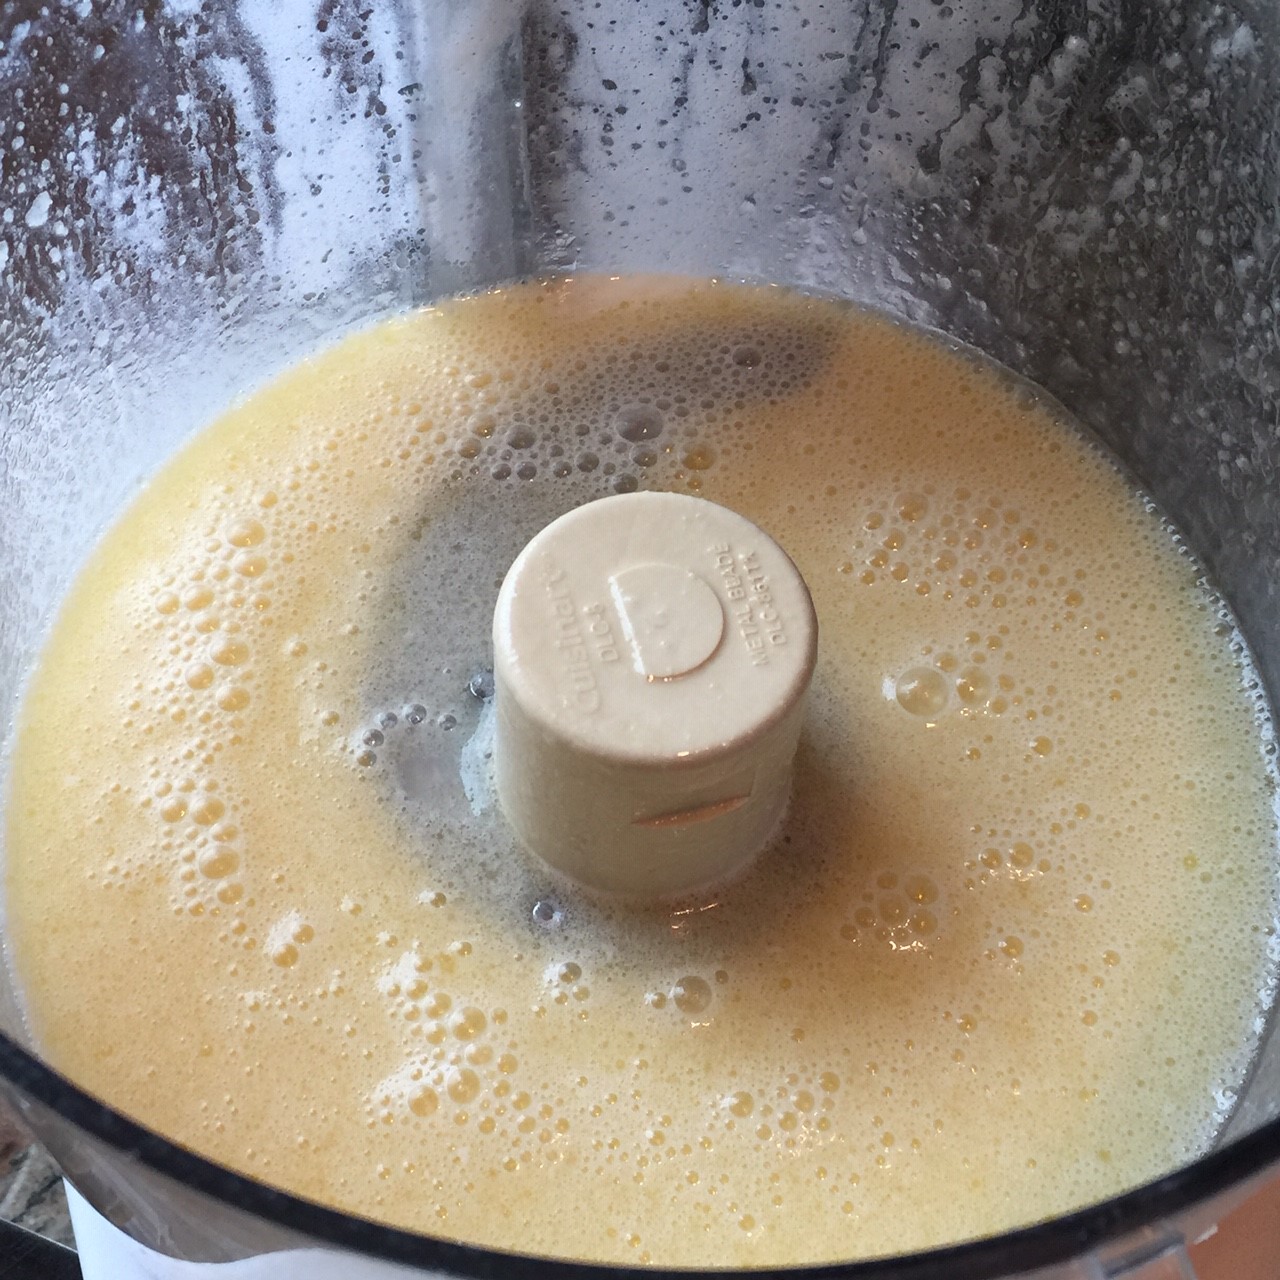 Add 400g (3½ cups) of the AP flour to processor and blend. Then add flour 25g (¼ cup) at a time, processing after each, until dough starts pulling away from sides of the work bowl. Stop adding flour, and run machine another 30 seconds to knead the dough. Empty dough onto a floured surface and knead a few times to bring together.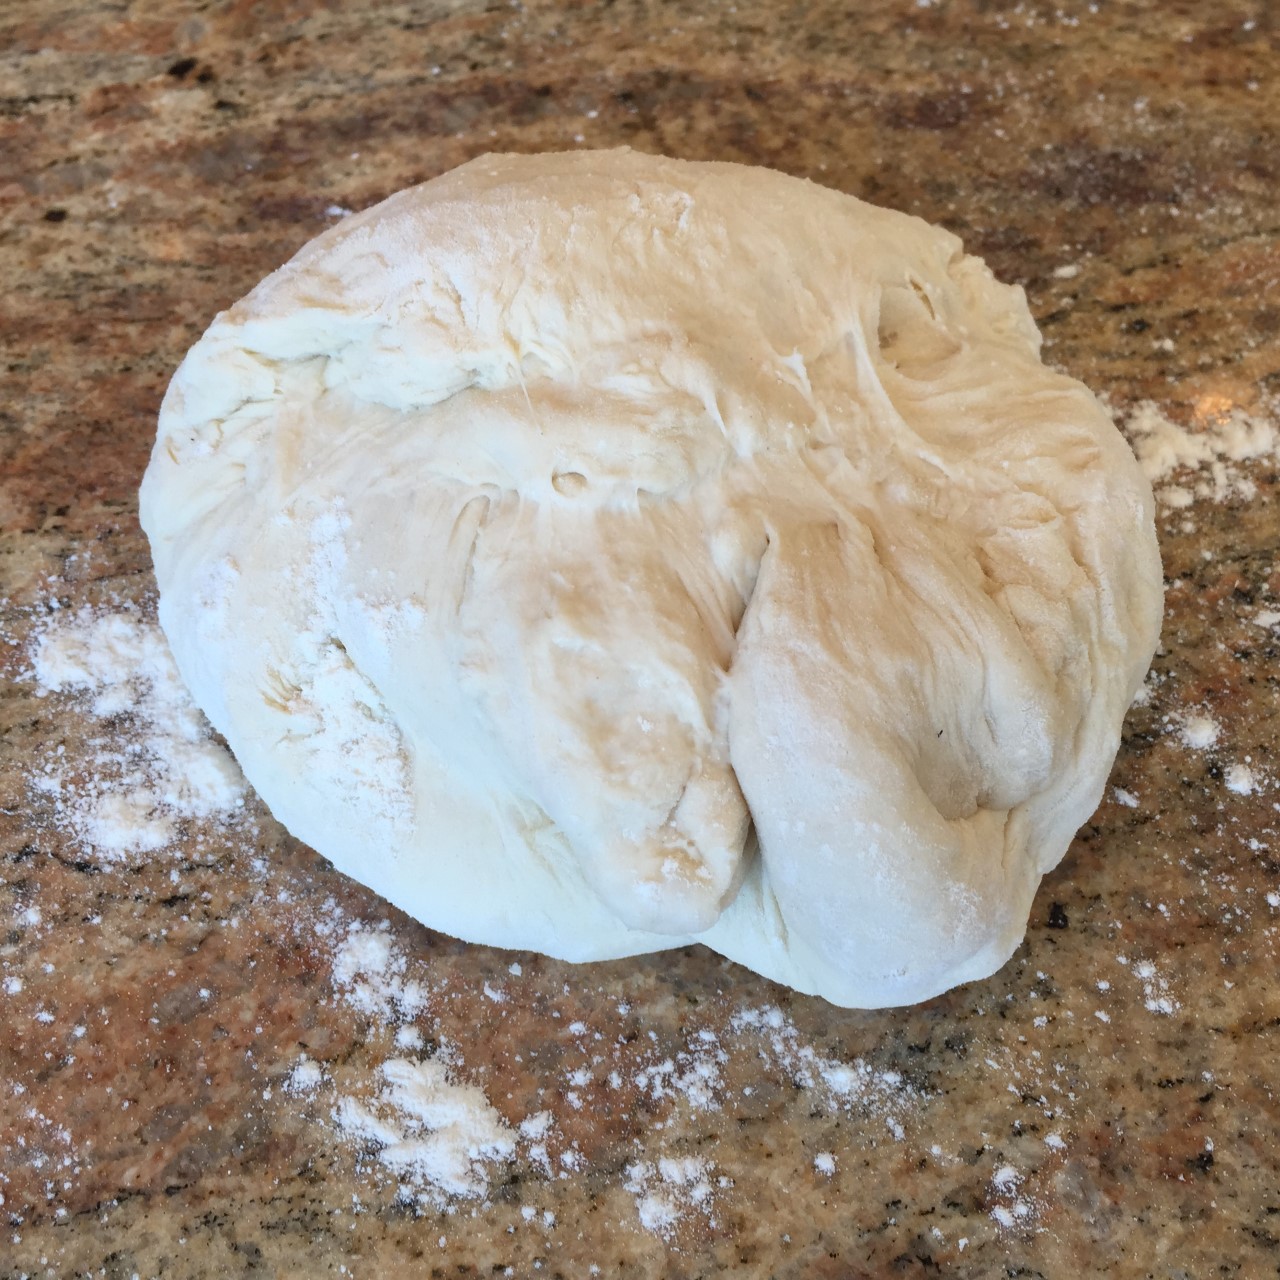


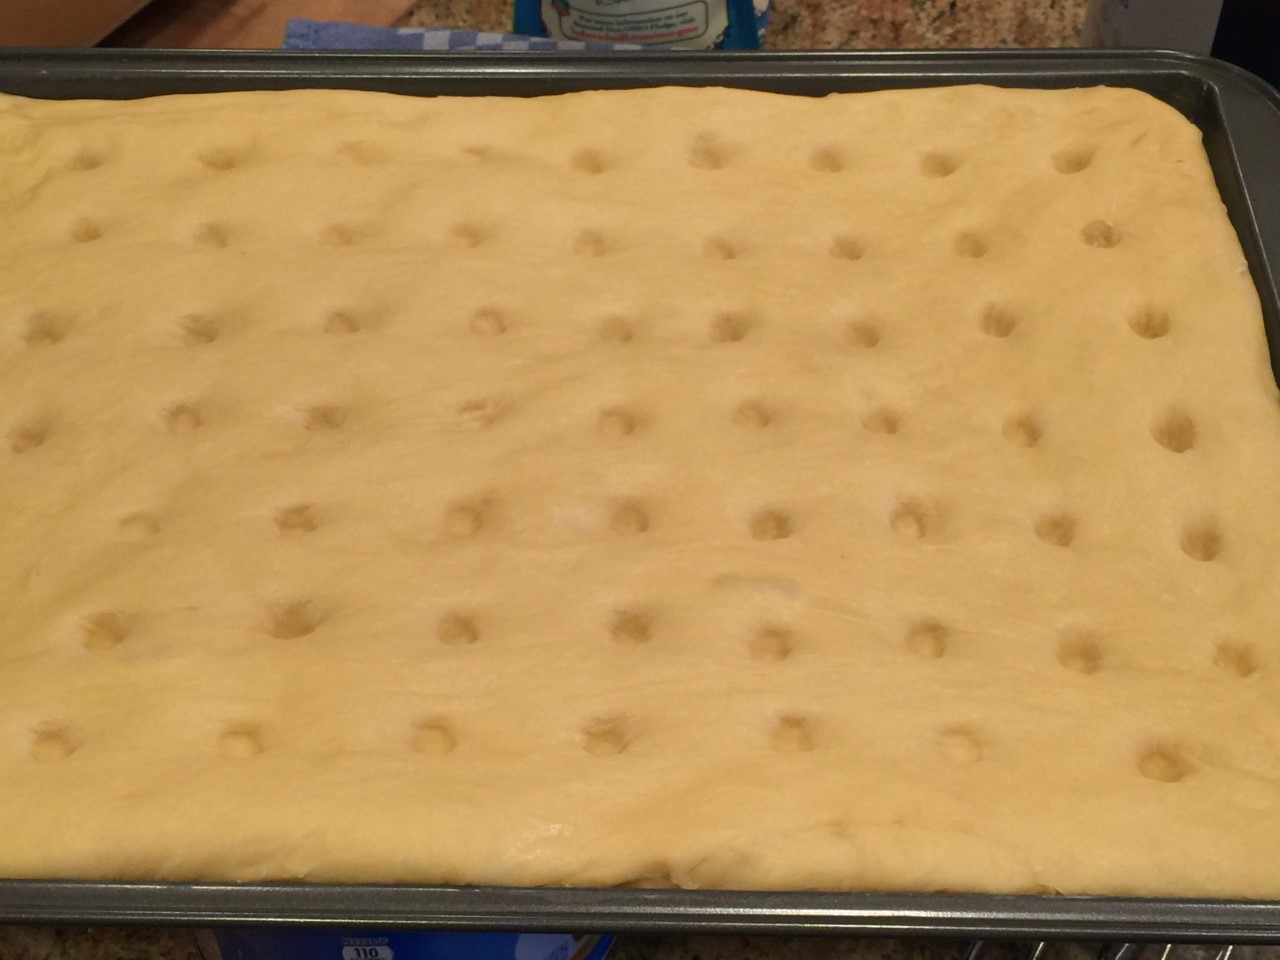
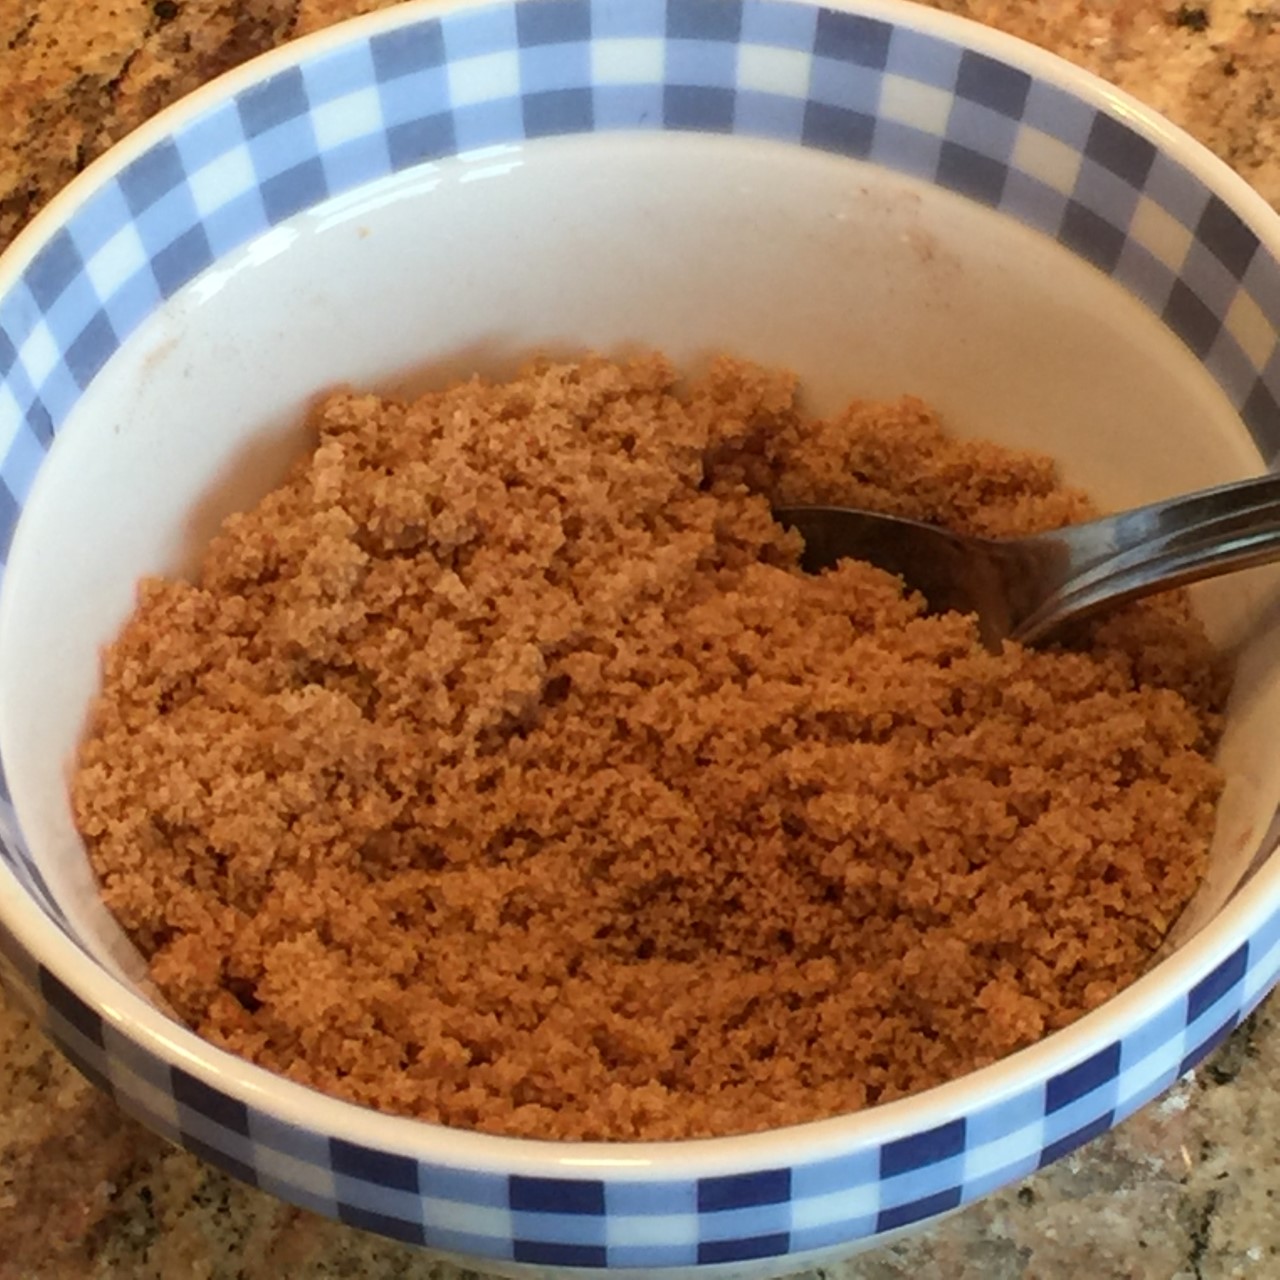 After dough has risen, create pockets with your fingertip, the handle of a wooden spoon, or something else that’s about 1/2″ diameter.
 Sprinkle the sugar topping over the entire cake. Drizzle the remaining 84g (6 T) melted butter over all.
  Bake at 350º F for about 20 minutes, until golden brown.
  Cool at least 5 minutes before serving.
 My mother used to love to buy lady’s club cookbooks. You know the ones – they’re made up of the members favorite recipes. Once I left home, she would buy them for me, too. This was years before the internet. Back then, we had to rely on cookbooks, magazines, and recipes passed on from friends and family.
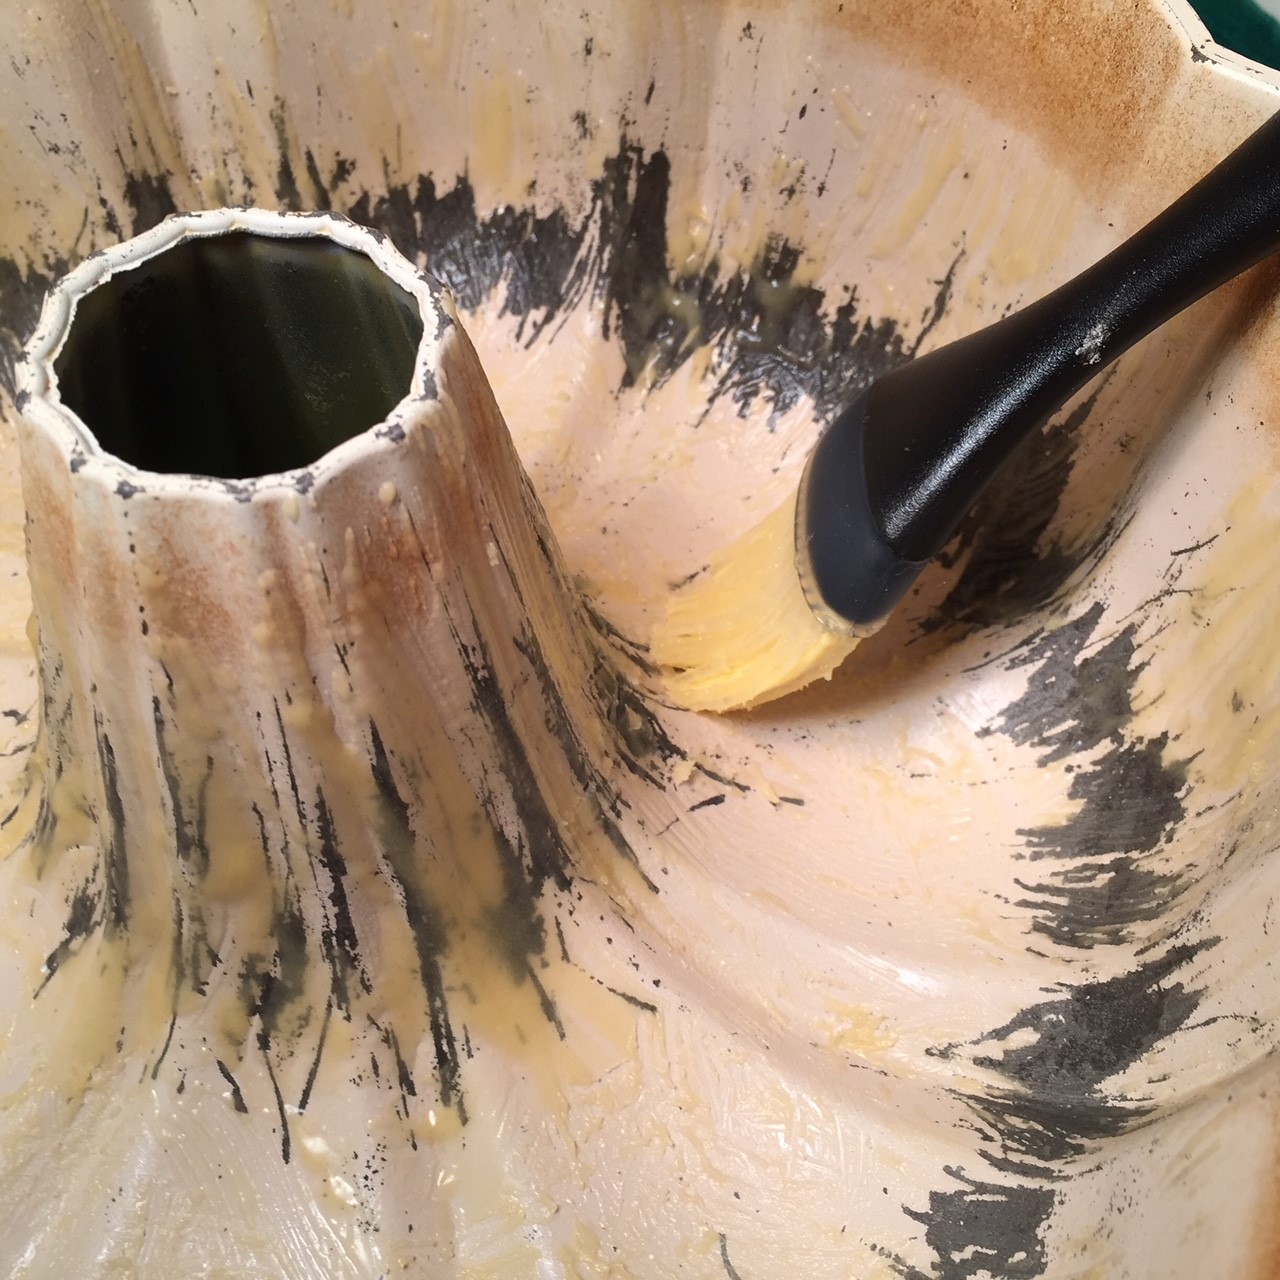
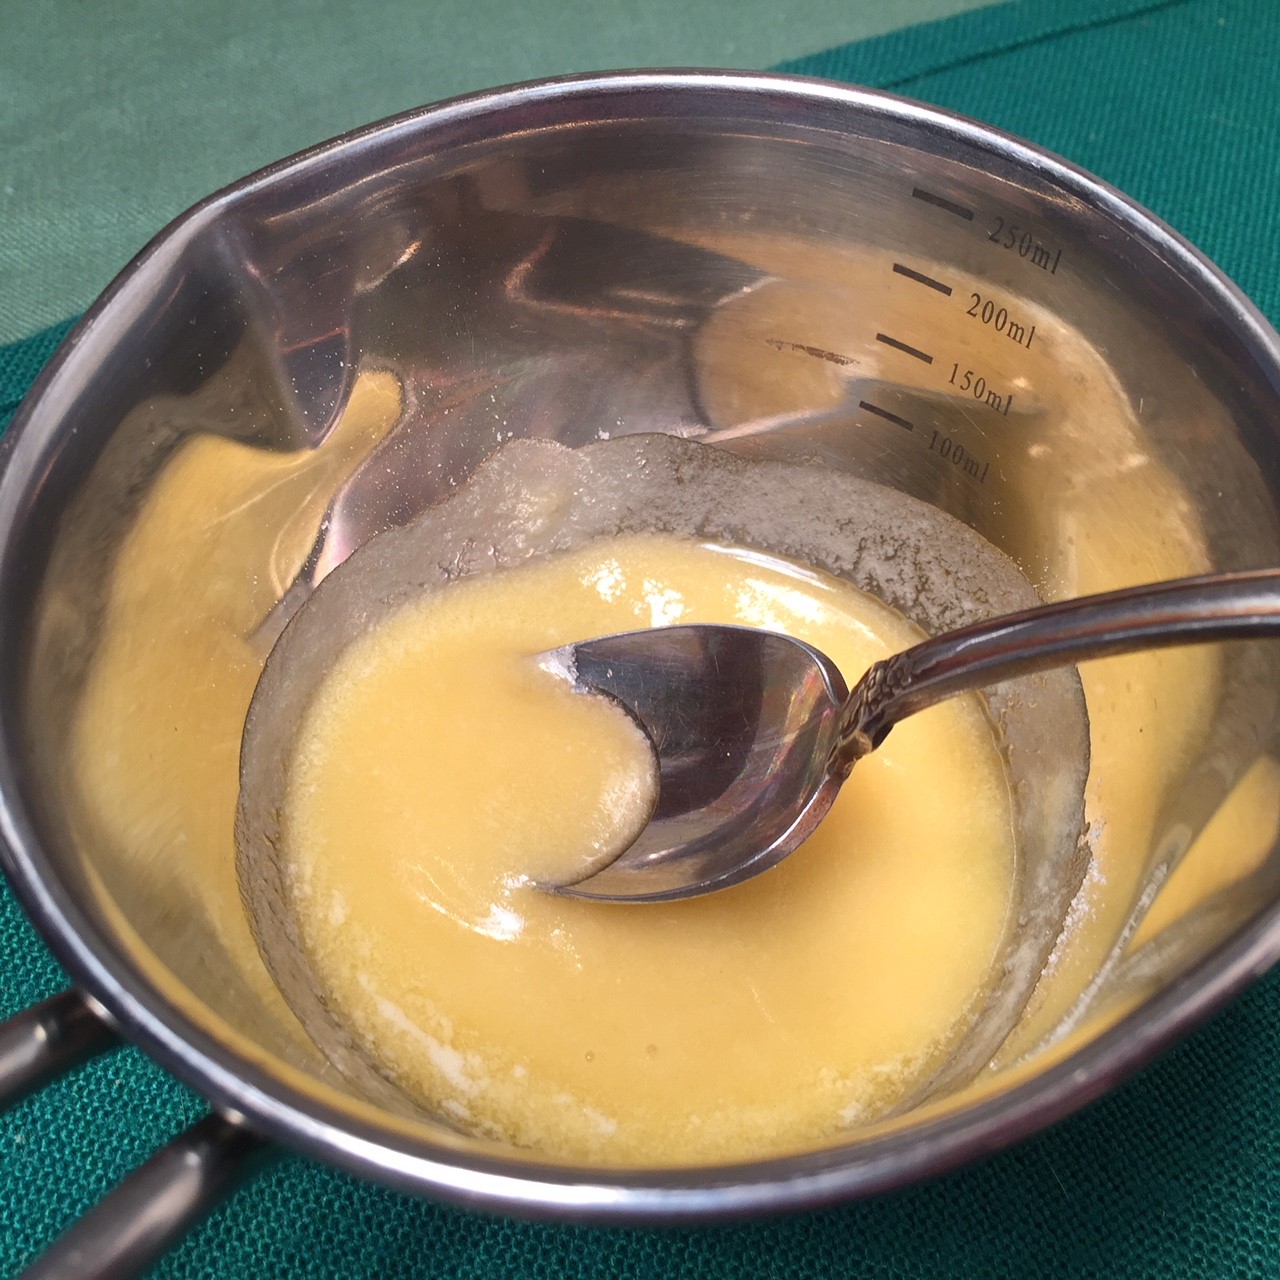 Using a pastry brush, paint flour/butter thoroughly on bundt pan – getting into all the crevices.
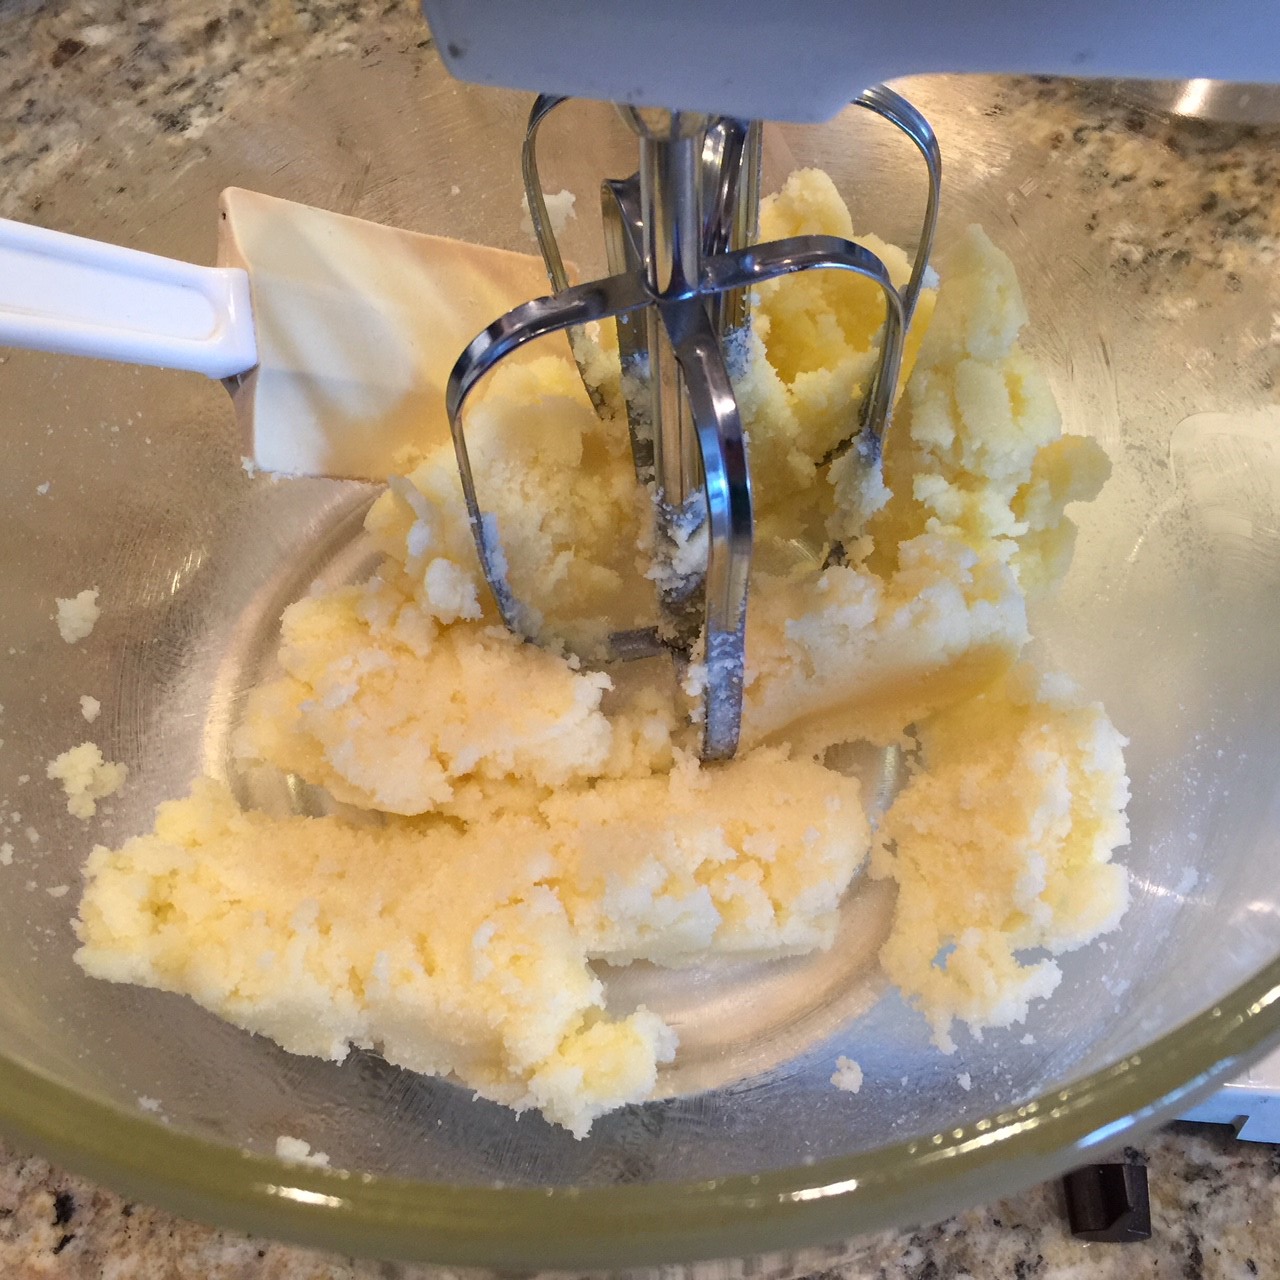
  In an electric mixer, cream together 1/2 cup butter and granulated sugar for 3 minutes (don’t cut this time short).
 Beat in eggs and vanilla.
  In a separate bowl, combine the 2 cups of flour, baking soda, baking powder, and salt.
 On low speed of mixer, beat in 1/2 of sour cream (don’t worry about being exact).
  Beat in 1/2 of flour mixture, then beat in remaining sour cream, followed by remaining flour. Stir in chocolate chips. (The picture below shows vanilla being added now – I forgot to add it earlier with the eggs.)
 In a separate bowl, combine brown sugar, powdered sugar, walnuts, and cinnamon.
  Spoon half of batter on bottom of bundt pan, gently spreading it out evenly. I find it easiest to scoop the batter into the bundt pan using a 3 T ice cream scoop, then gently spread the batter evenly around.
  Sprinkle on half of brown sugar mixture, then spoon on remaining batter, spreading it evenly. Finally, sprinkle on remaining brown sugar mixture.
  Bake at 350º F for 45-60 minutes, until toothpick comes out clean (it’s okay for there to be chocolate from the chips).
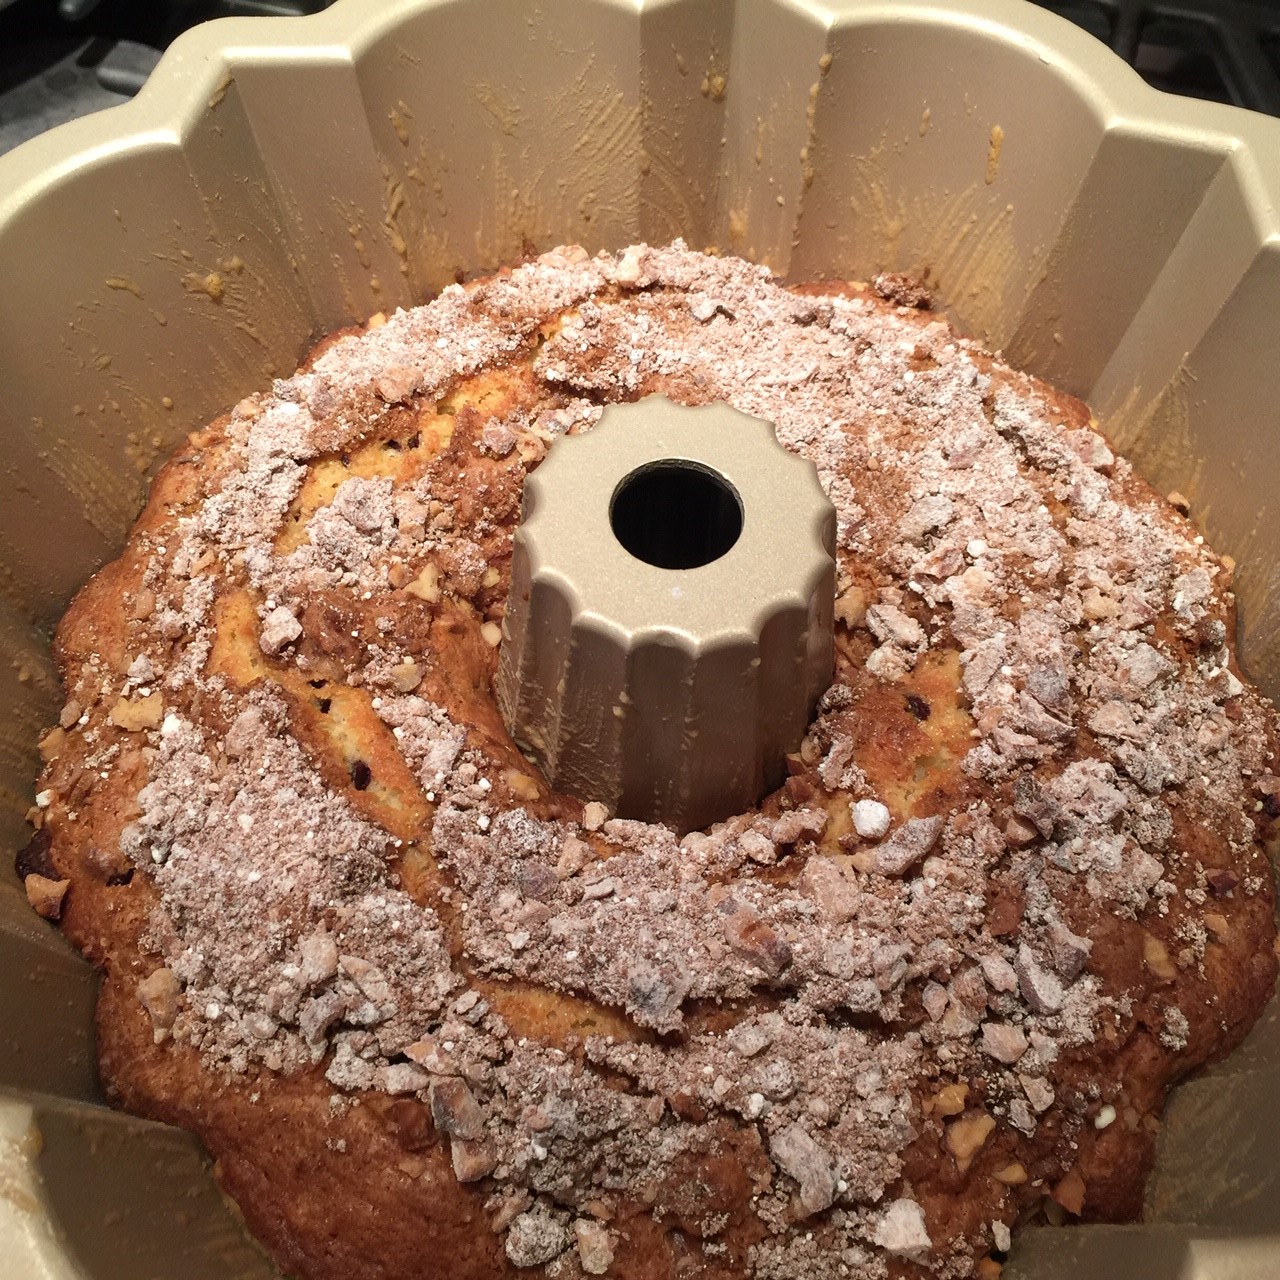 When done, remove from oven and let cake sit in pan for 20 minutes before removing to a wire rack to completely cool.
  Sprinkle on powdered sugar, if desired.
 Start swirling pan until butter is browned (turns reddish/amber) – it happens fast, so don’t leave unattended! (You may need to turn down the heat a bit or raise the pan off the flame.)
 Immediately pour into large mixing bowl of your electric mixer. Add in the remaining
  Let melted butter cool at least 15 minutes. (You don’t want to melt the shortening.)
 Add in the brown sugar, granulated sugar, salt, and vanilla. Beat on medium 2 minutes. Don’t shortchange the 2 minutes – it aerates the batter.
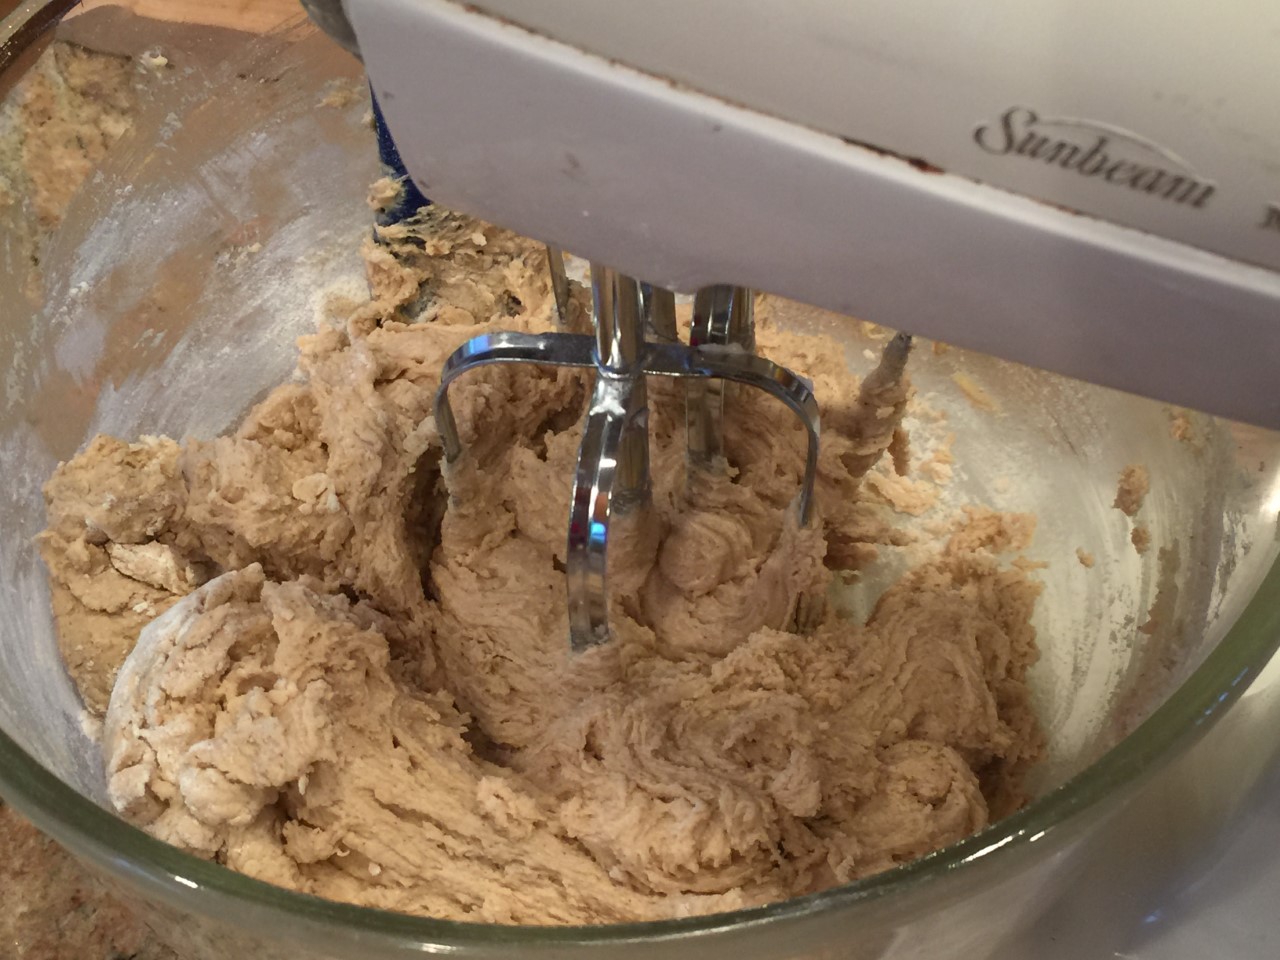 Add in the chips and pecans, and mix on low until they are evenly disbursed and all the flour is incorporated.
 Line cookie sheets with parchment or grease. Use a 3 T ice cream scoop or a 1/4 cup measuring cup filling it 3/4 full. Drop dough onto cookie sheet, spacing them far apart – you should get no more than 9 per sheet.
 Bake in a preheated 375º F oven 8-11 minutes. (Check at the 8 minute mark – they cook faster on a dark sheet.) You want the edges to look done, but not the center (unless you like crispier cookies). The cookies will continue to bake on the hot sheet.
 Remove from oven and let set on the hot cookie sheet for 10 minutes. Slide onto a wire rack to finish cooling.
 It’s tempting to eat them right away, but try and resist. The flavor improves as they cool and firm up.
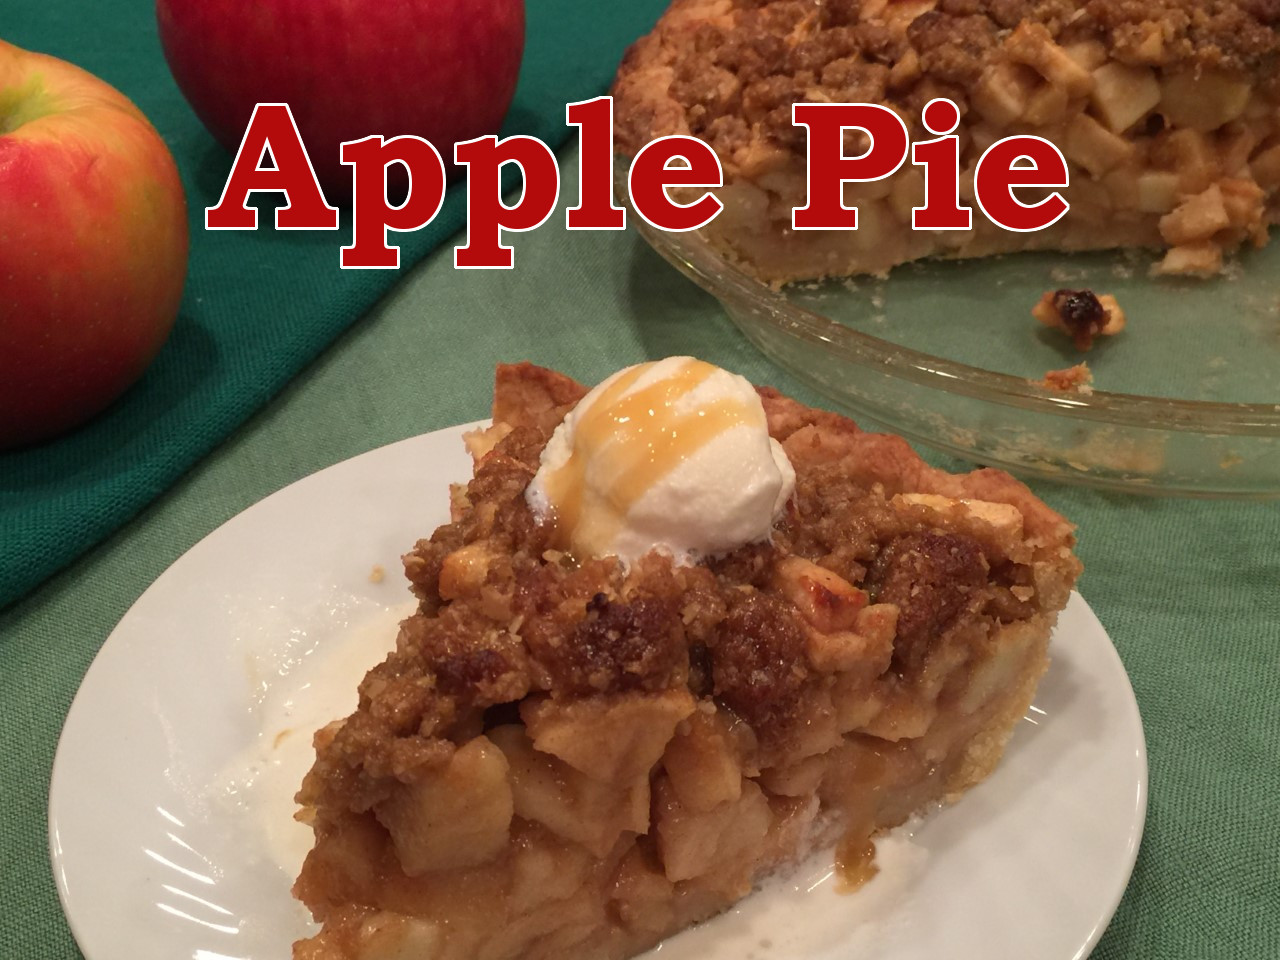 There is a reason people say, “easy as pie”. Making a pie IS easy. Of course, making a great pie is as easy as making a bad one, so it’s important to have a great recipe.
 Working quickly, peel and core the apples. Cut 3 of the apples into 1/8″ thick slices, and the other 3 a little thicker. Make sure they’re bite-sized for ease of eating – you don’t want long strips of apple.
  Add apples into the flour mixture and blend well.
  Pour into the cooled pie crust – there’s a lot of filling, so you’ll have to pile it high towards the middle. Make sure none of the apple pieces sit on the crust edge.
 To prevent over-browning, cover the pie edge with foil or purchased pie edge protectors (see photo of what I use).
 Bake at 375º for 25 minutes.
 When the pie has cooked for 25 minutes, remove from oven. Evenly sprinkle on streusel and remove the edge protectors. Return pie to 375º F oven and bake another 20-25 minutes. Don’t let the top get too brown or it will make slicing difficult to cut through.
  Place pie on a rack or stovetop and drizzle on the caramel topping. Let set at least 1 hour, preferably longer, or you’ll have a lava flow when you slice it.
 Being the loving husband his is, my friend, George, was whipping up a batch of fat-free blueberry muffins for his wife, Kathy, while we were visiting. I was curious about his recipe and what was used instead of the fat.
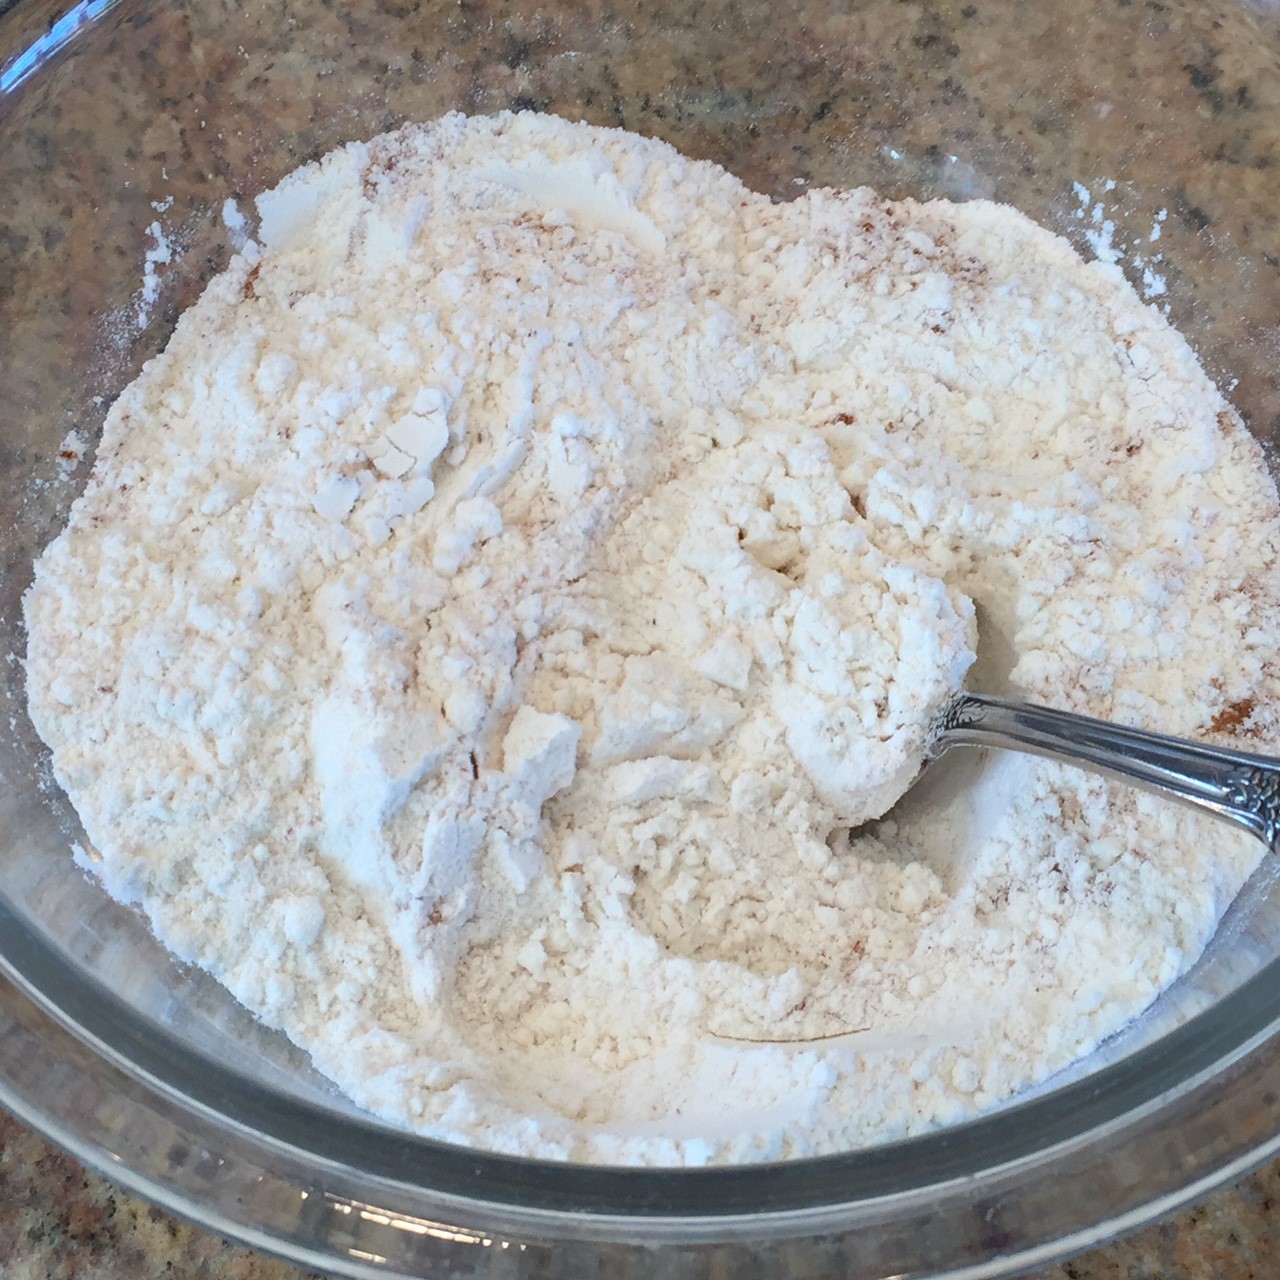 In a larger bowl combine whites, milk, zest, 1/2 cup sugar, and vanilla. Beat with an electric mixer on low, a hand-crank egg beater, or whisk until bubbles form on top – it takes about 30 seconds.
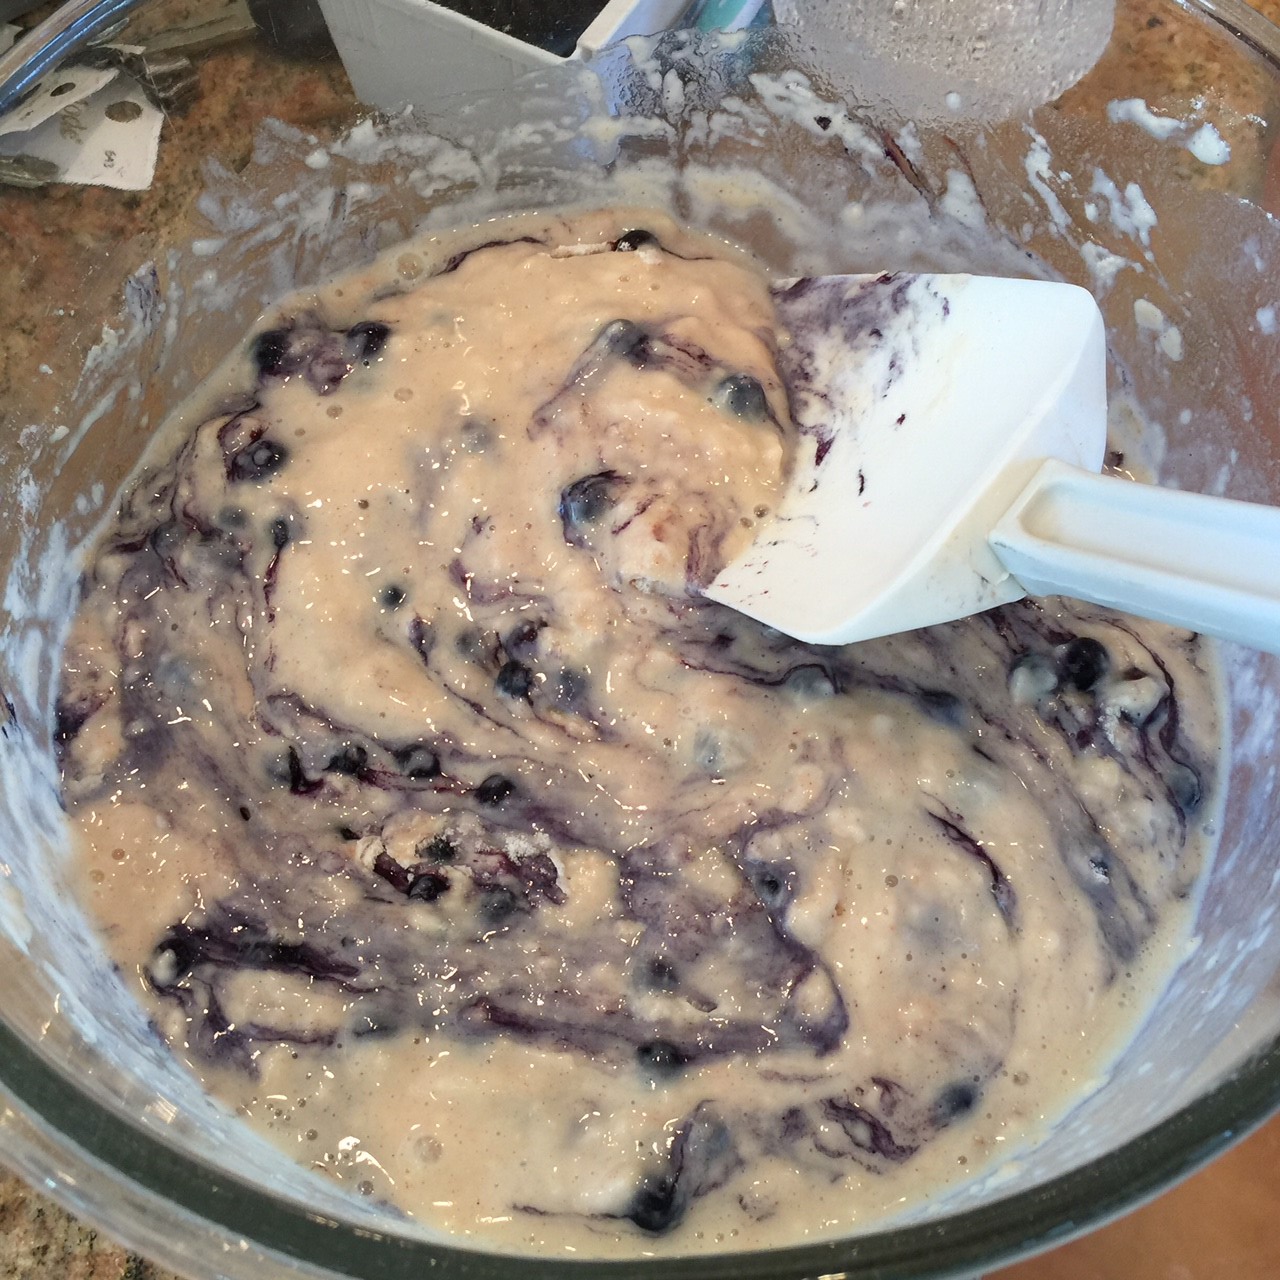
  Pour the dry ingredients into the wet and gently combine, until most of the flour is incorporated. Don’t overmix or you’ll get tough muffins.
  Add in the blueberries and fold in, just to combine. (Frozen blueberries – which I use – tend to bleed.)
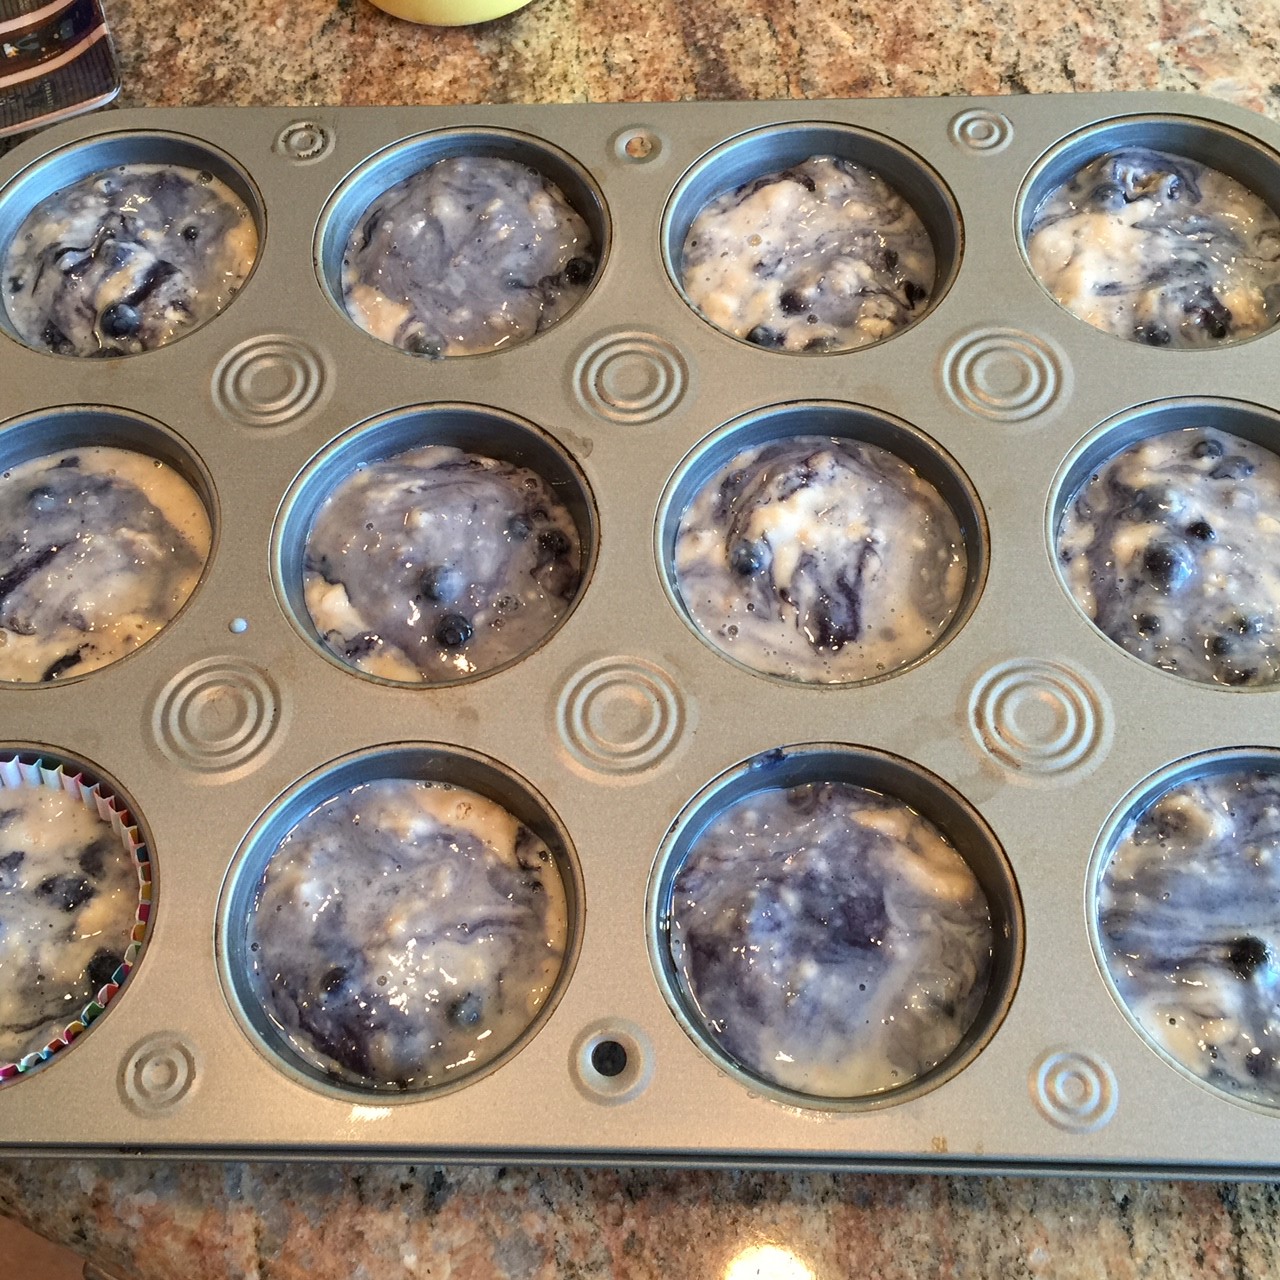
 Pour the batter into the prepared muffin tin, dividing batter equally. (An ice cream scooper is perfect for this.) Sprinkle about 1 tsp of sugar onto each.
  Bake in preheated 400º F oven for about 16 minutes, rotating them halfway through to cook evenly. They should be firm with slightly browned edges.
 Remove from oven and let set in tin about 2 minutes. To remove, run a rounded knife around sides, then start pushing in around the bottom with the knife to help release the muffin.
 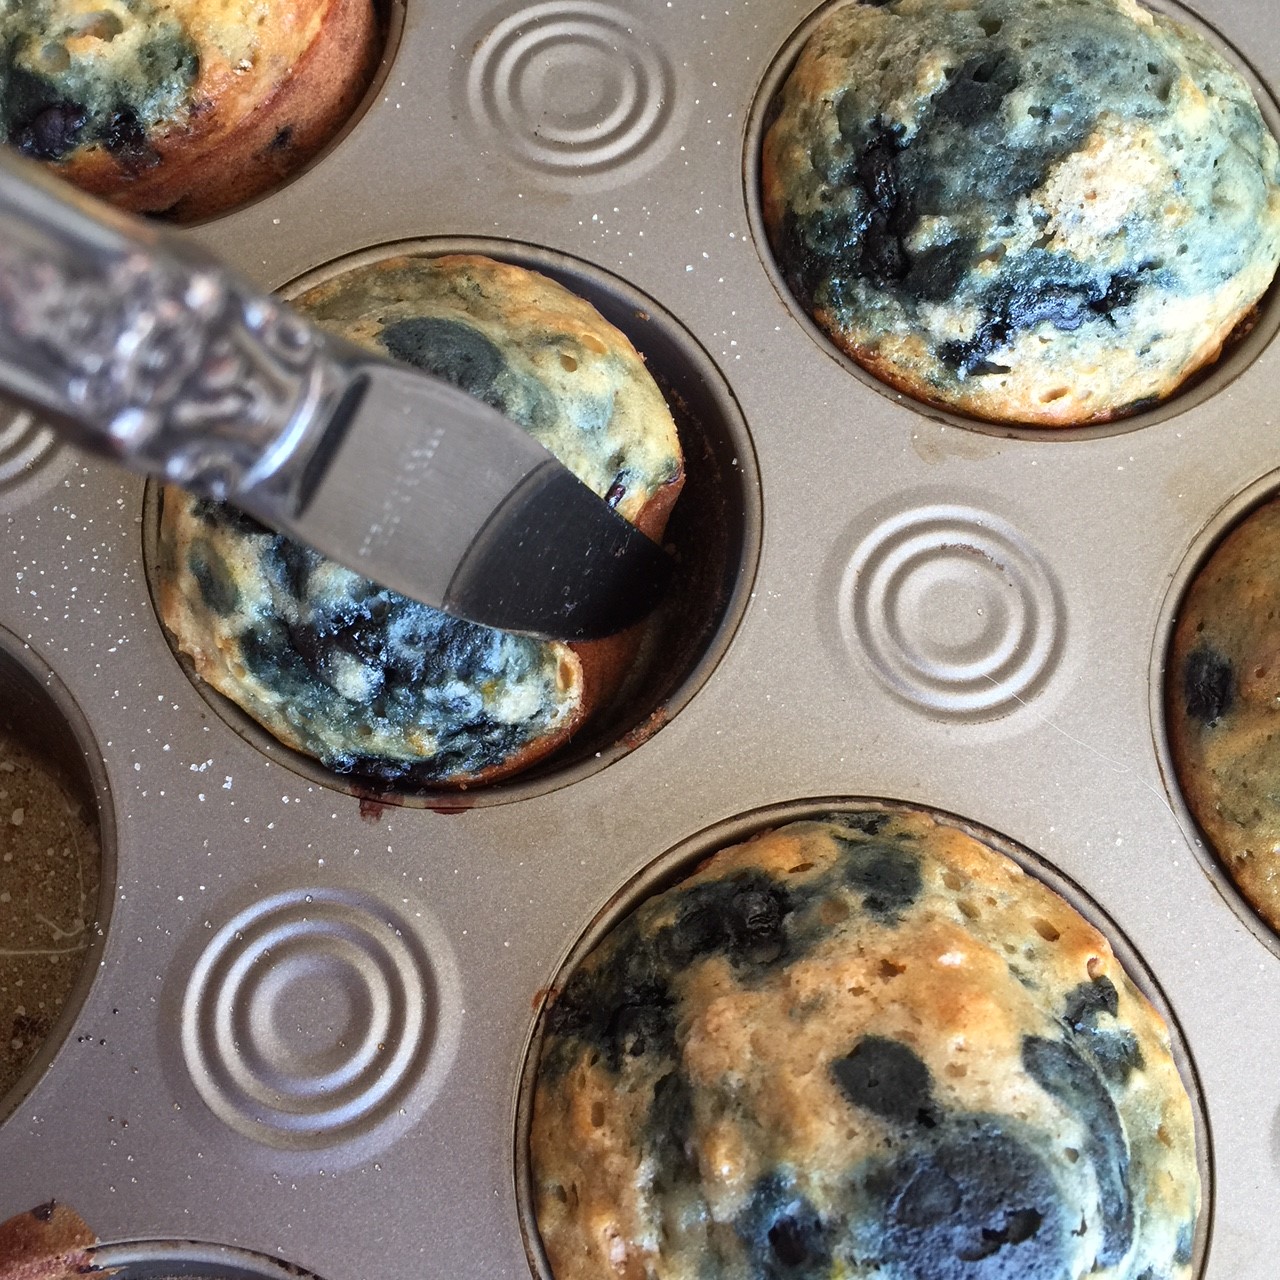 Set muffins on a wire rack to cool a bit before eating.
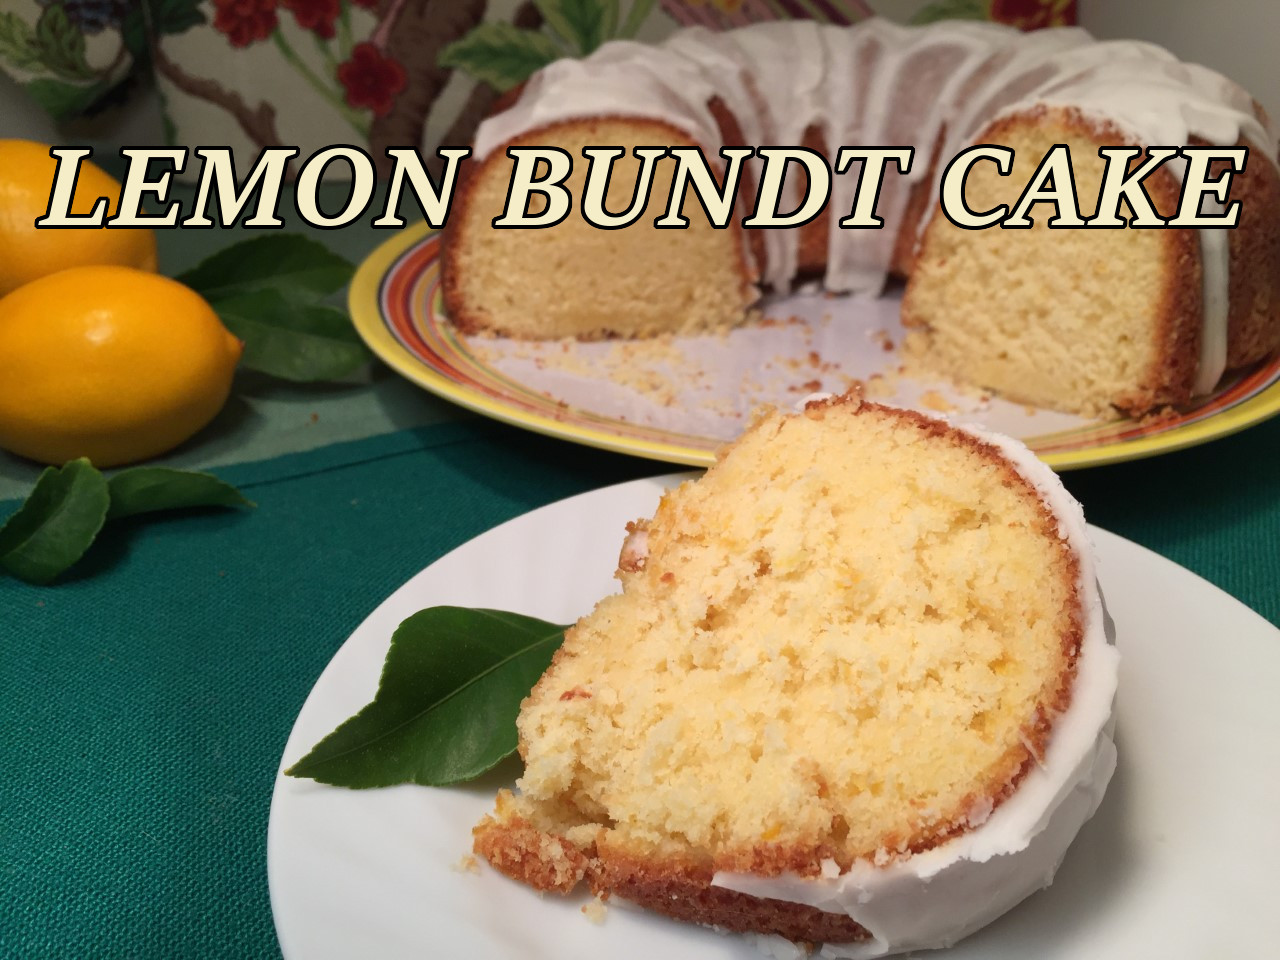 When it comes to lemon desserts, I want to know I’m eating lemon! No faint hint of flavor for me – bring it on!!!
 In a small bowl, combine the zest with 3 T lemon juice. Let set 15 minutes.
 Combine the 3 cups flour, baking powder, baking soda, and salt. Set aside.
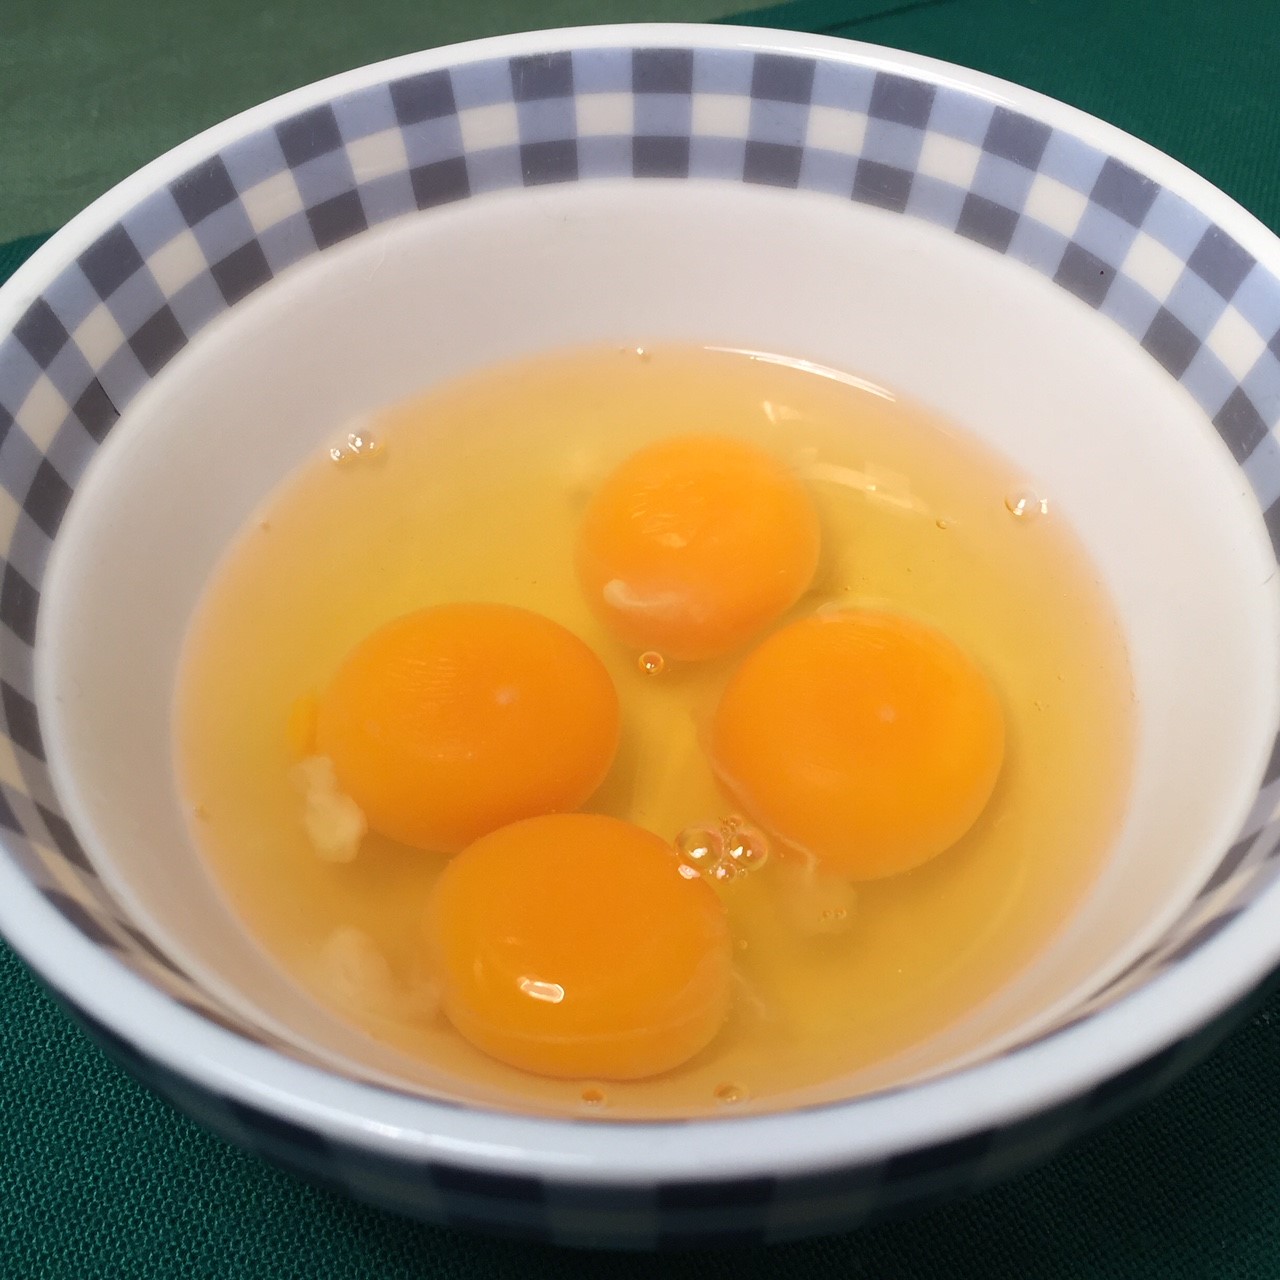
  In a small bowl, lightly beat together the eggs and yolk.
 Pour approximately half of the eggs into the butter/sugar, and beat until just incorporated. Pour in the rest of the eggs and beat in.
  Combine the buttermilk, vanilla, and lemon zest/lemon juice.
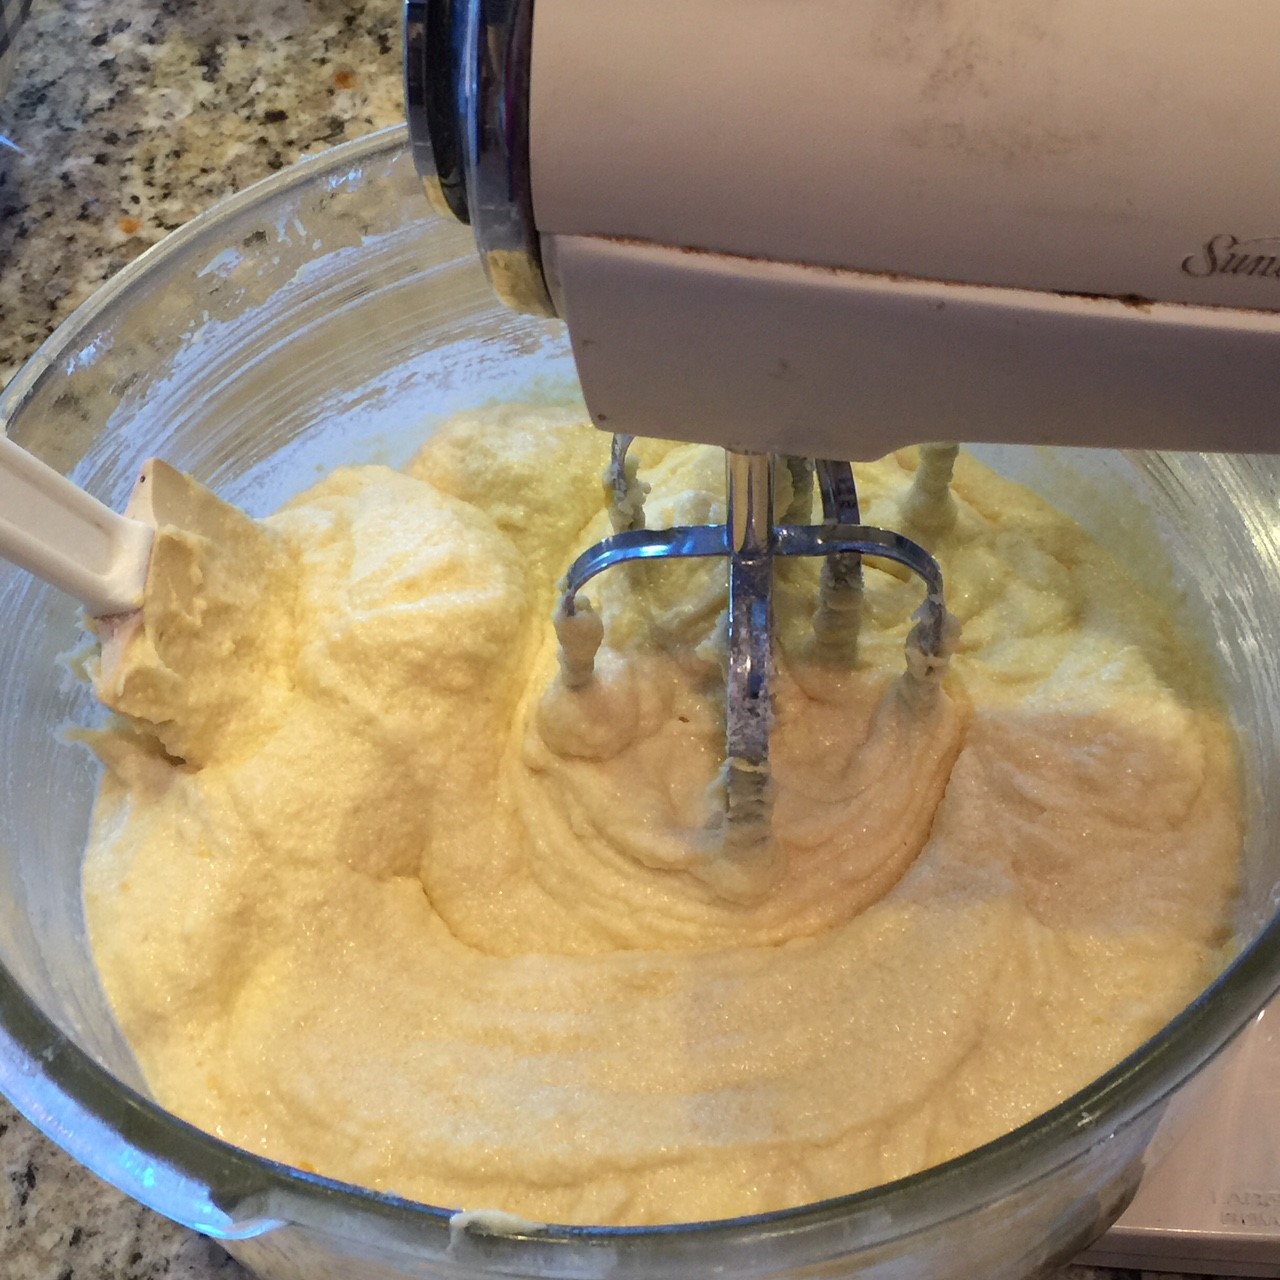
  On low speed, beat approximately 1/3 of the flour mixture into the batter just until incorporated. Add in 1/2 of the liquid mixture and beat in. Beat in 1/2 of the flour mixture, then the remaining liquid. Finally, beat in the last of the flour mix. Don’t overmix – beat until flour has been incorporated and no loose flour shows.
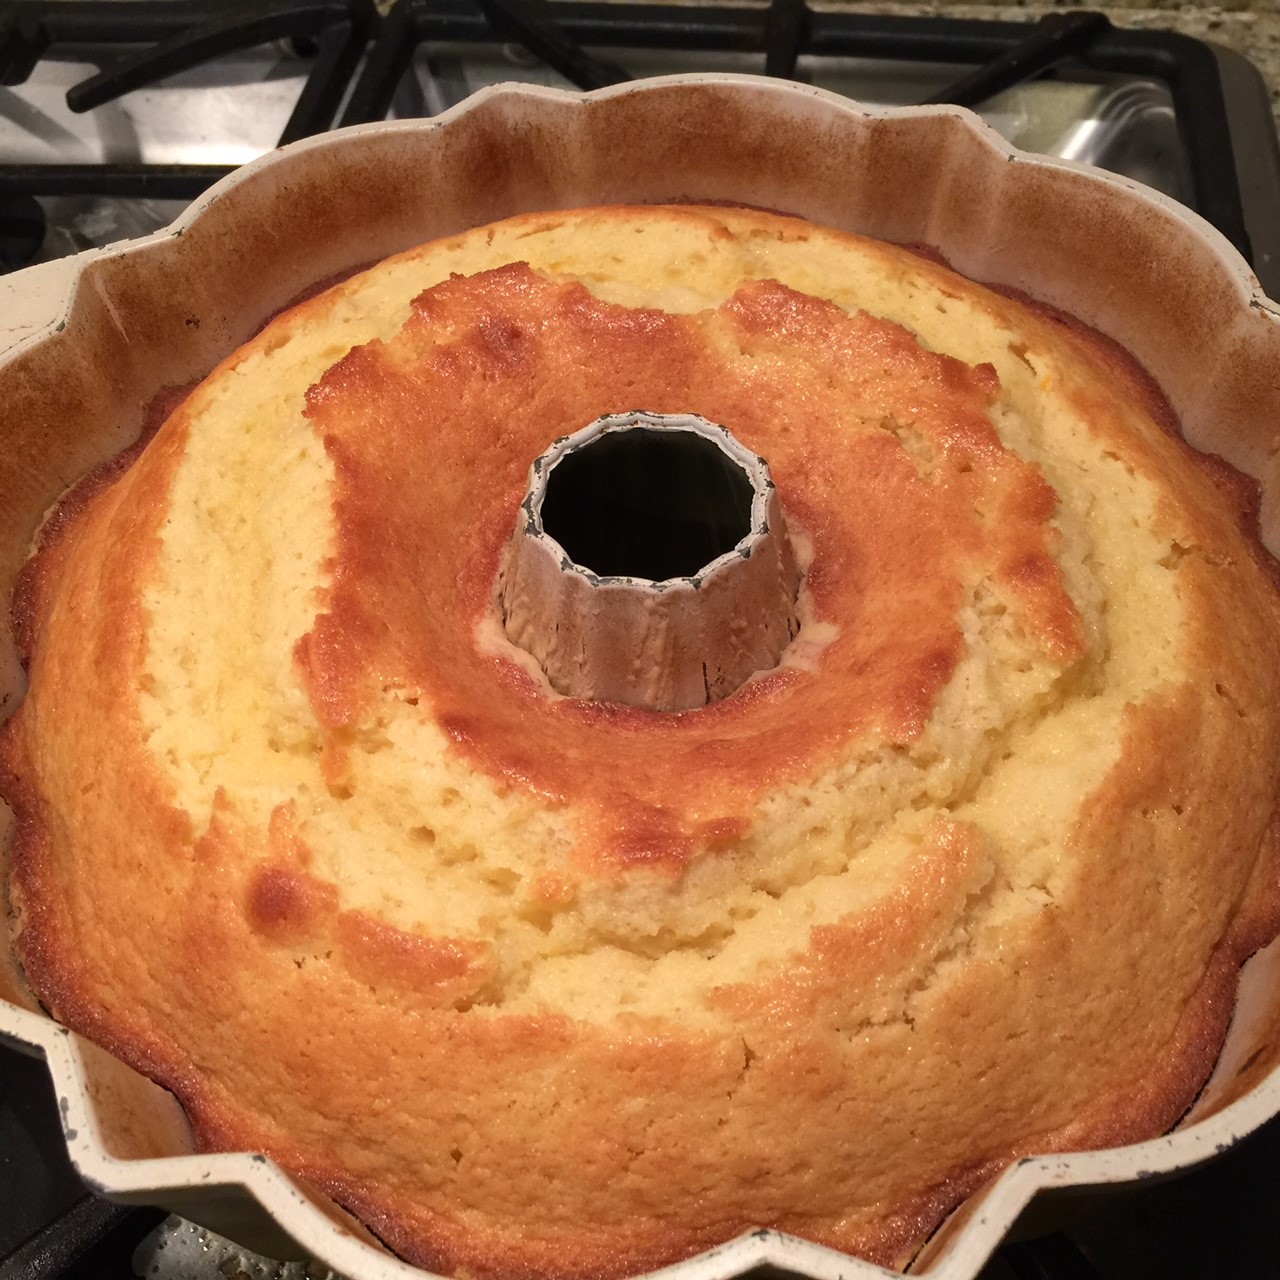
  Pour batter into prepared bundt pan. (I cover the hole to prevent spillage – just be sure to remove it before baking – I speak from experience.) Smooth batter.
 Bake about 45 minutes at 350º F. Check for doneness with a toothpick. Remove from oven and let set in pan for 10 minutes before removing to a wire rack.
  While cake is still in the pan, make the glaze. To make glaze, sift powdered sugar to remove lumps. Stir the sugar with 1 T milk or buttermilk, and 2 T lemon juice. You want the glaze to pour, but not so thin it runs off the cake. Adjust thickness of glaze by adding more sugar to thicken or more lemon juice to thin out.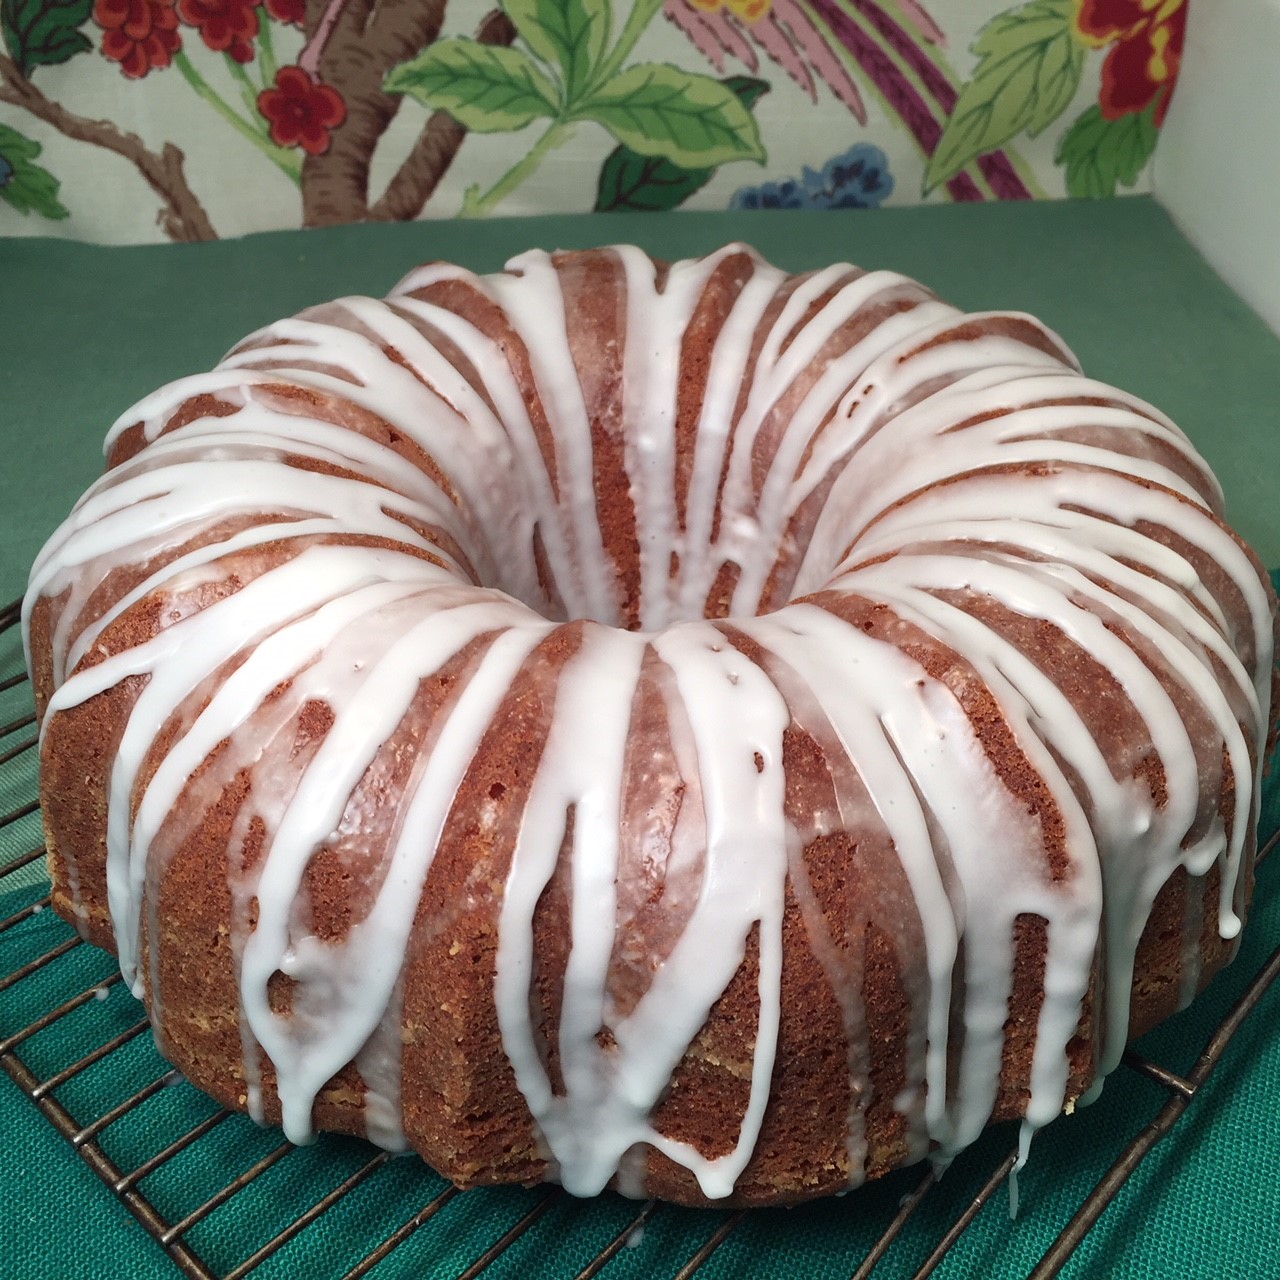
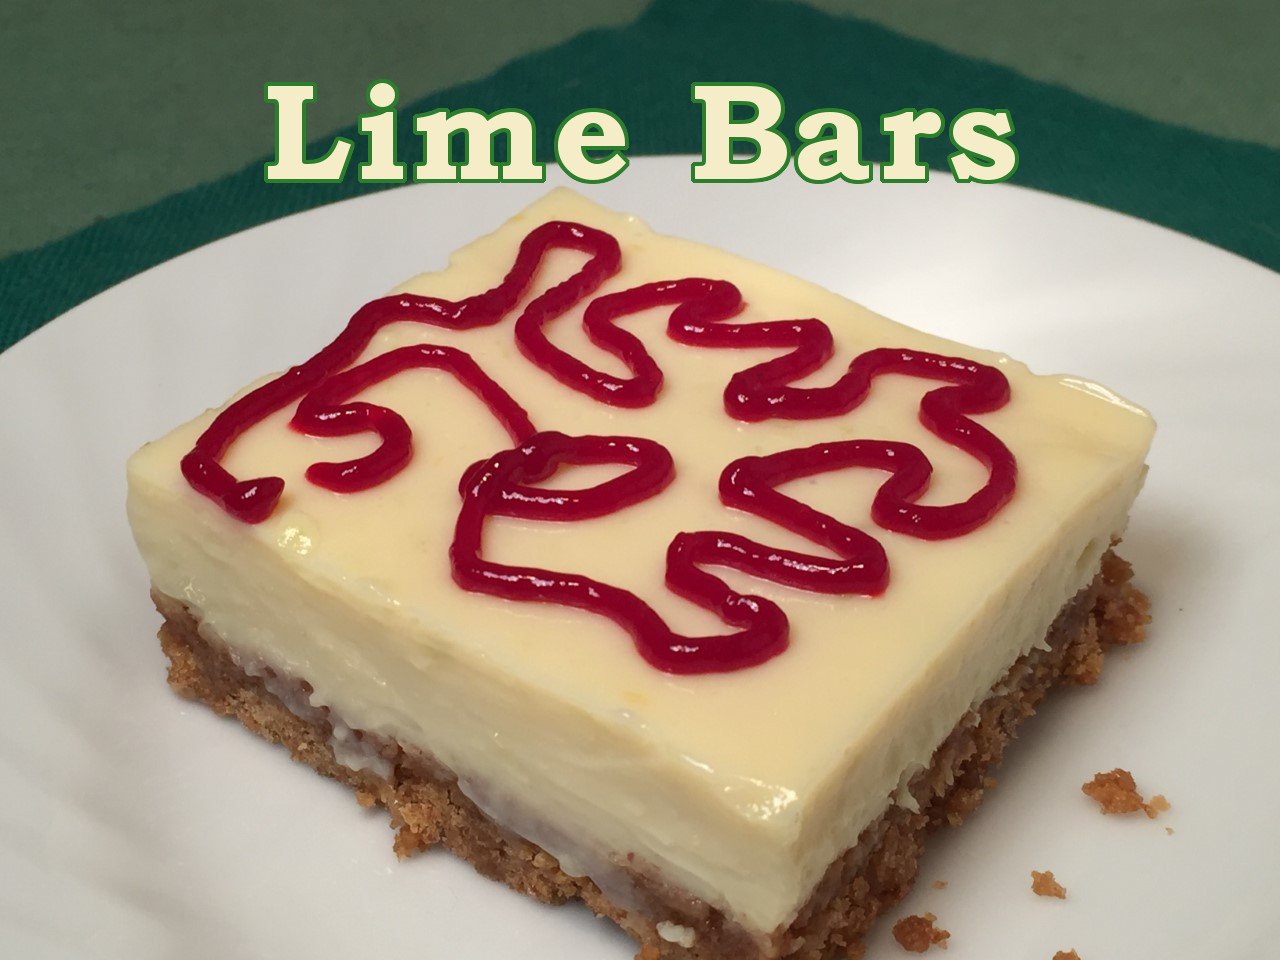 Every now and then, even a die-hard chocoholic such as myself craves a little tang.
 Grease an 8″ x 8″ pan (I use Pyrex) and pour in the crumbs. Pat firmly down on pan bottom only, as evenly as possible. To make the edges nice and compact, use a spoon to press down along sides.
  Bake in 325º F oven until lightly browned – 18-20 minutes. Remove from oven and allow crust to cool about 15 minutes.
 Whisk in the condensed milk and yolk.
  Pour mixture into cooled crust and bake in 325º oven for 15 minutes.
 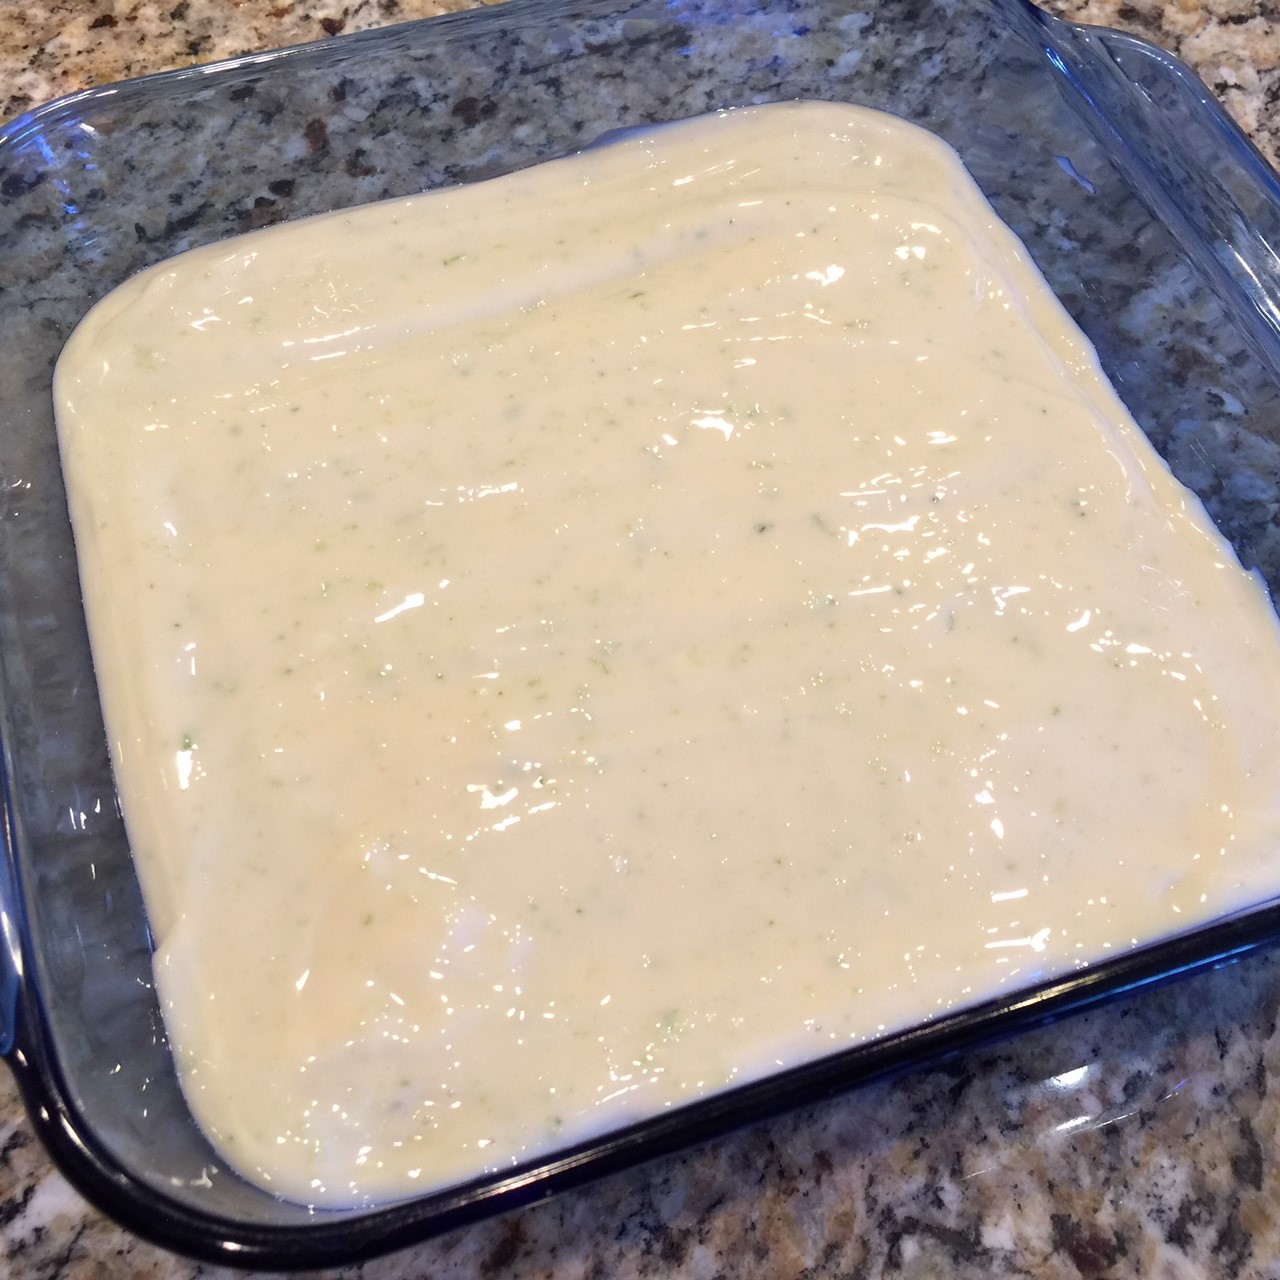 Remove from oven and let cool on stovetop at least an hour. Then place in refrigerator a minimum of 2 hours before serving.
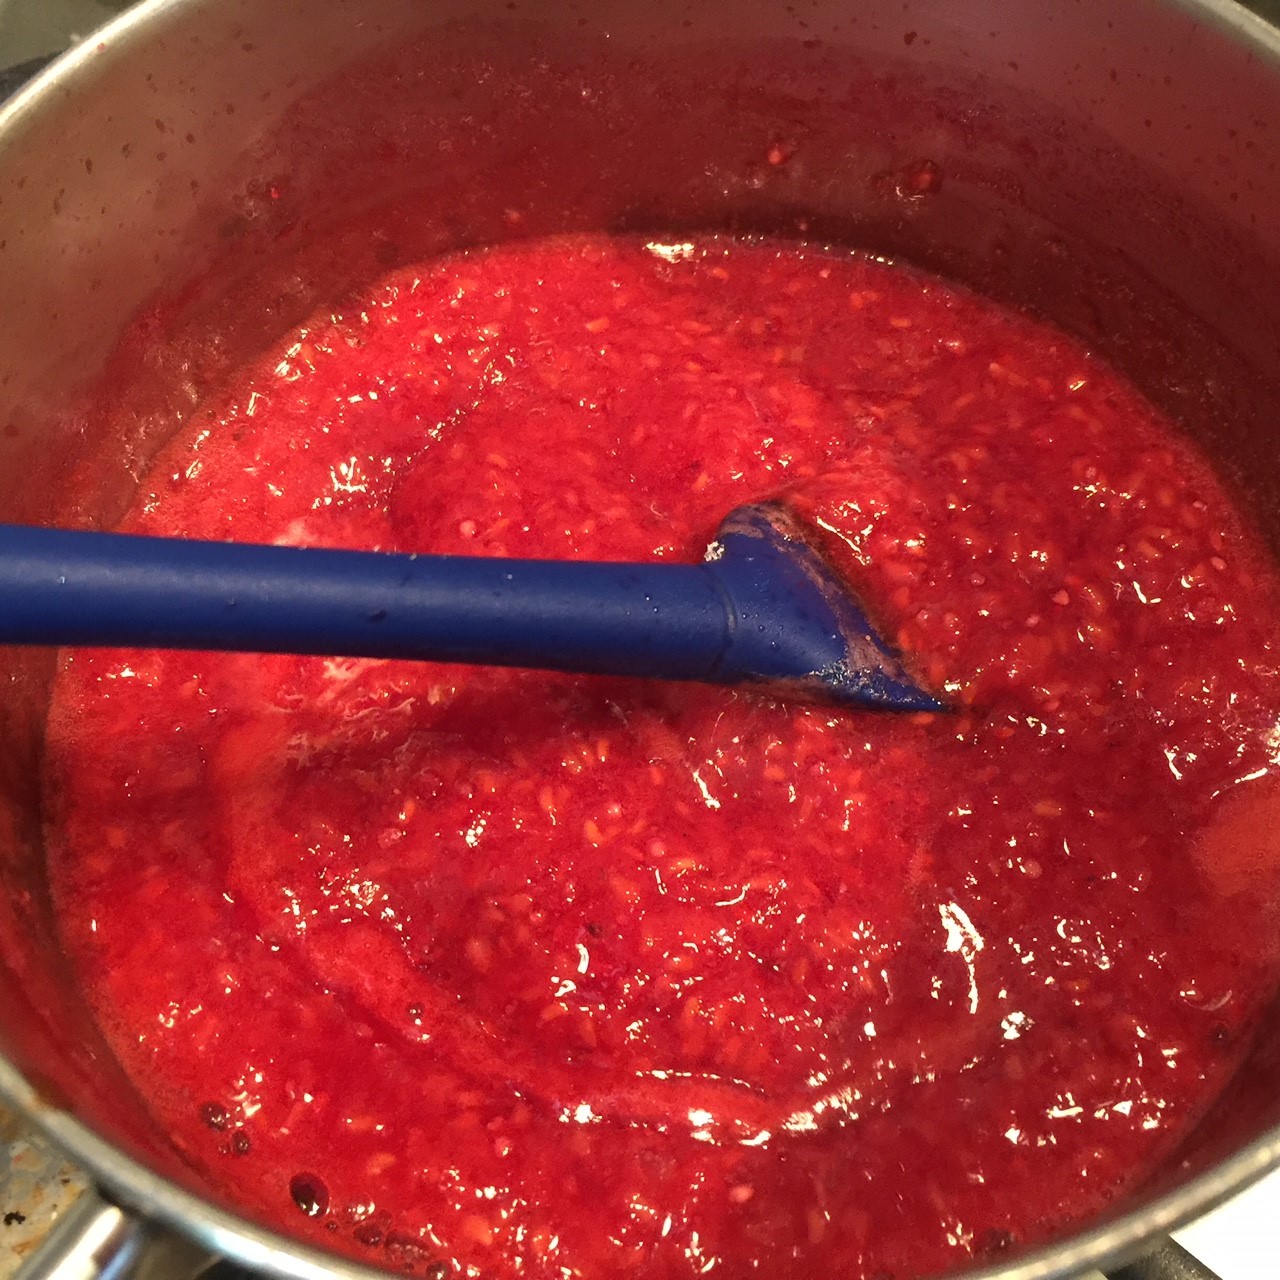
 Over medium heat, bring to simmer. Cook until raspberries break down – about 10-15 minutes, stirring often.
  Strain out the solids by placing a sieve over a bowl and pouring in the raspberry mixture. Use a spoon to press out all of the juice.
 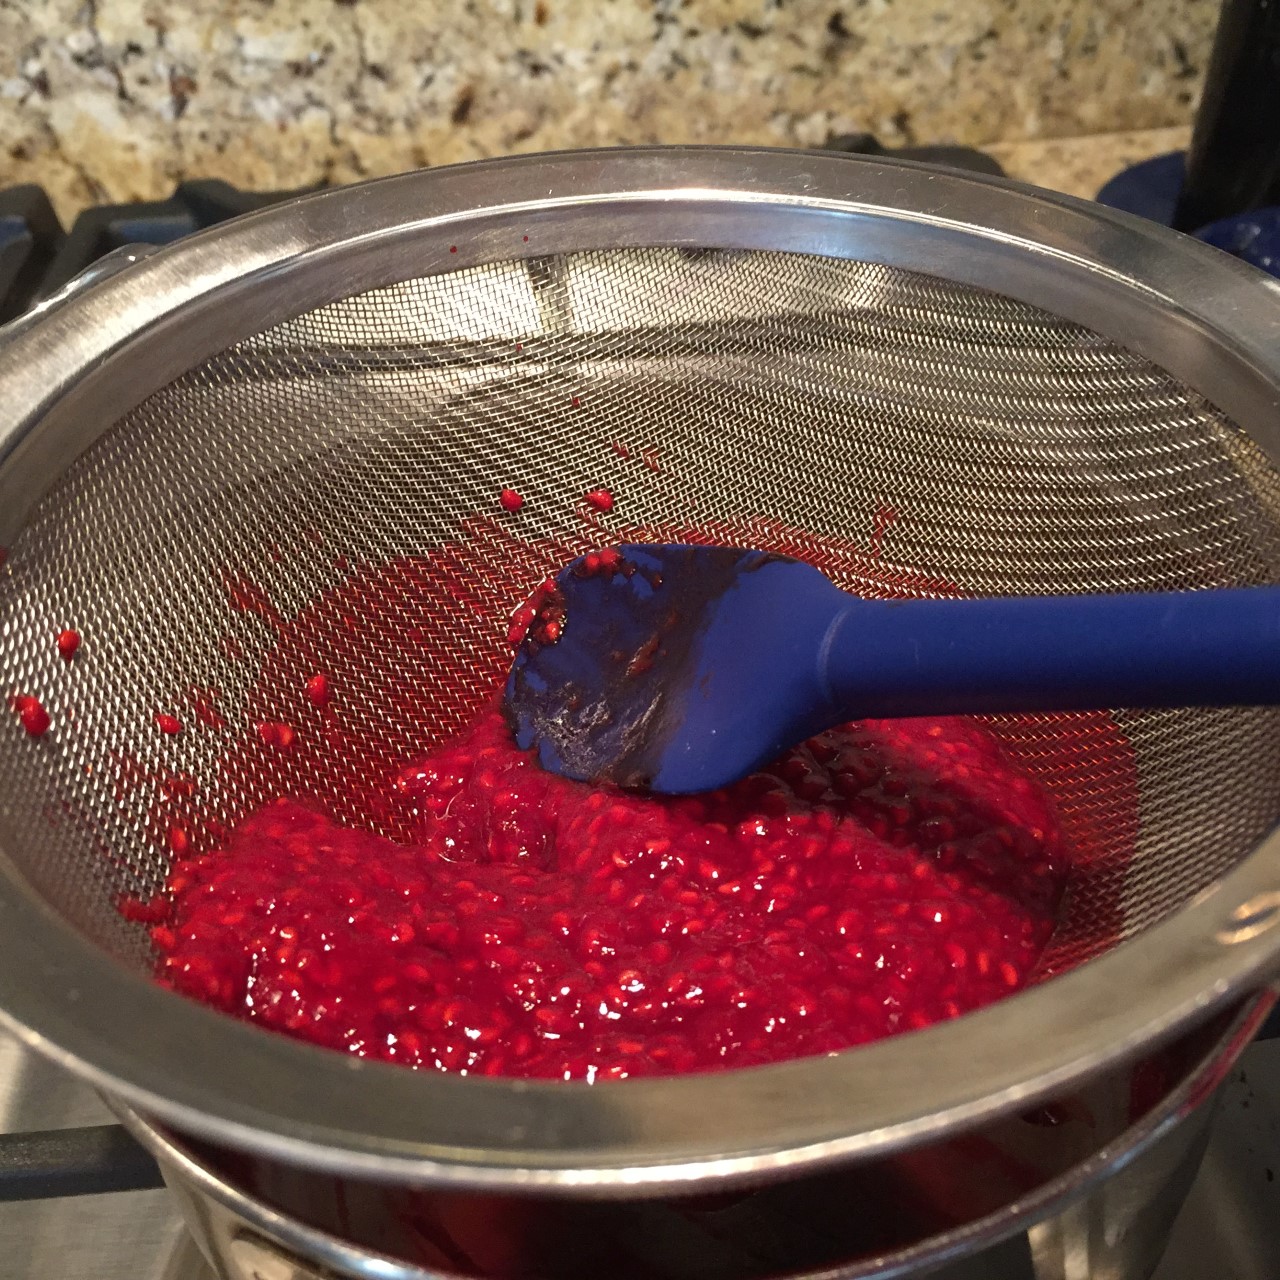 Chill the juice in the refrigerator to thicken. (You can use the remaining solids in yogurt or cereal.) Place the thickened sauce in a piping bag and drizzle onto the chilled Lime Bars.
