Lemon Quick Bread

While looking through my manilla file folder of recipes (yes, I still have one from days of yore), I came across a magazine clipping for lemon quick bread. Through the years I’d been tempted to try it but, as a fierce chocoholic, I’d always set it aside in favor of….well, chocolate.

Now that we live in a house with a lemon tree, I decided the time had come and made the Lemon Quick Bread. Like most quick breads, it’s fast and easy to prepare. But, more than that, it was absolutely delicious. So tender, yet firm!

NOTE: The recipe called for brushing a syrup made with a lemon juice and sugar onto the baked bread. But, for those who prefer a more powerful lemony punch, I’m adding an alternate choice of a pucker-inducing lemon icing that can be either piped or smoothed on top of the syrup.

ADDITIONAL NOTE: You can use either a glass or metal loaf pan. I’ve found the metal pan cooks the loaf faster and produces less of a crack on top.

LEMON QUICK BREAD – makes 1 standard loaf

  • 195g (1.5 cups) plain or all-purpose flour
  • 1 tsp baking powder
  • 3/4 tsp salt
  • 99g (1/2 cup) vegetable oil
  • 212g (1 cup) granulated sugar
  • 2 eggs
  • 3g (1 tbsp, packed) lemon zest
  • 125g (1/2 cup) milk (any kind – I use 2%)
  • 45g (1/2 cup) walnuts, chopped and lightly toasted
  • 36g (3 tbsp) lemon juice
  • 25g (2 tbsp) granulated sugar

Optional lemon icing:

  • 125g (1 cup) icing or powdered super – no need to sift
  • 22g (1.5 tbsp) lemon juice

Preheat oven to 180°C / 350°F

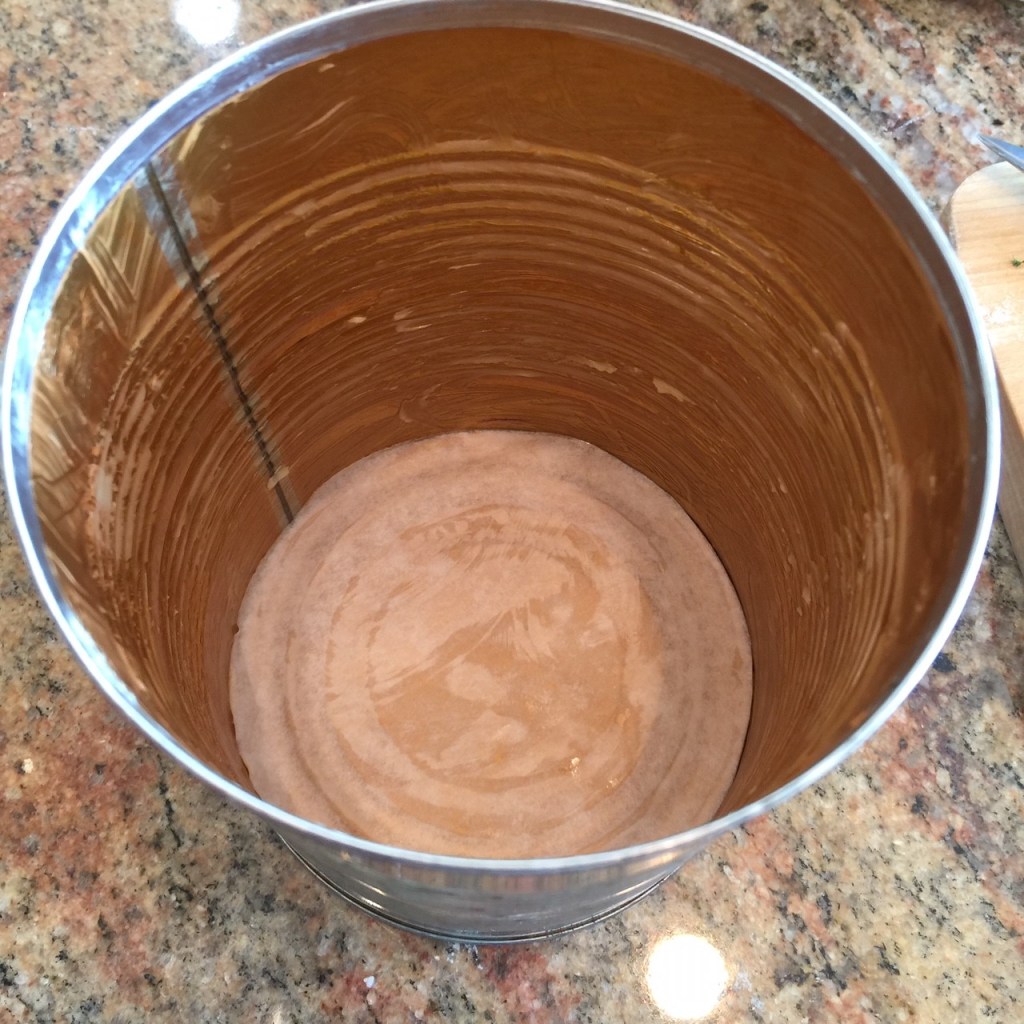
Grease sides and bottom of a standard loaf pan. Line the bottom with baking paper – this will make removal of the loaf easier. If you don’t have baking paper, make sure to grease the bottom well.

In a small bowl, mix together the flour, baking powder, and salt. Set aside.

In the bowl of an electric mixer, beat the vegetable oil and 212g (1 cup) sugar on high for 2 minutes.

Add in the eggs and lemon zest. Beat on medium speed to blend well – about a minutes or so.

Add in the flour mix and beat on low until flour is almost all incorporated. Then add in milk on low speed until milk is just incorporated – you don’t want to overmix, Finally, stir in nuts.

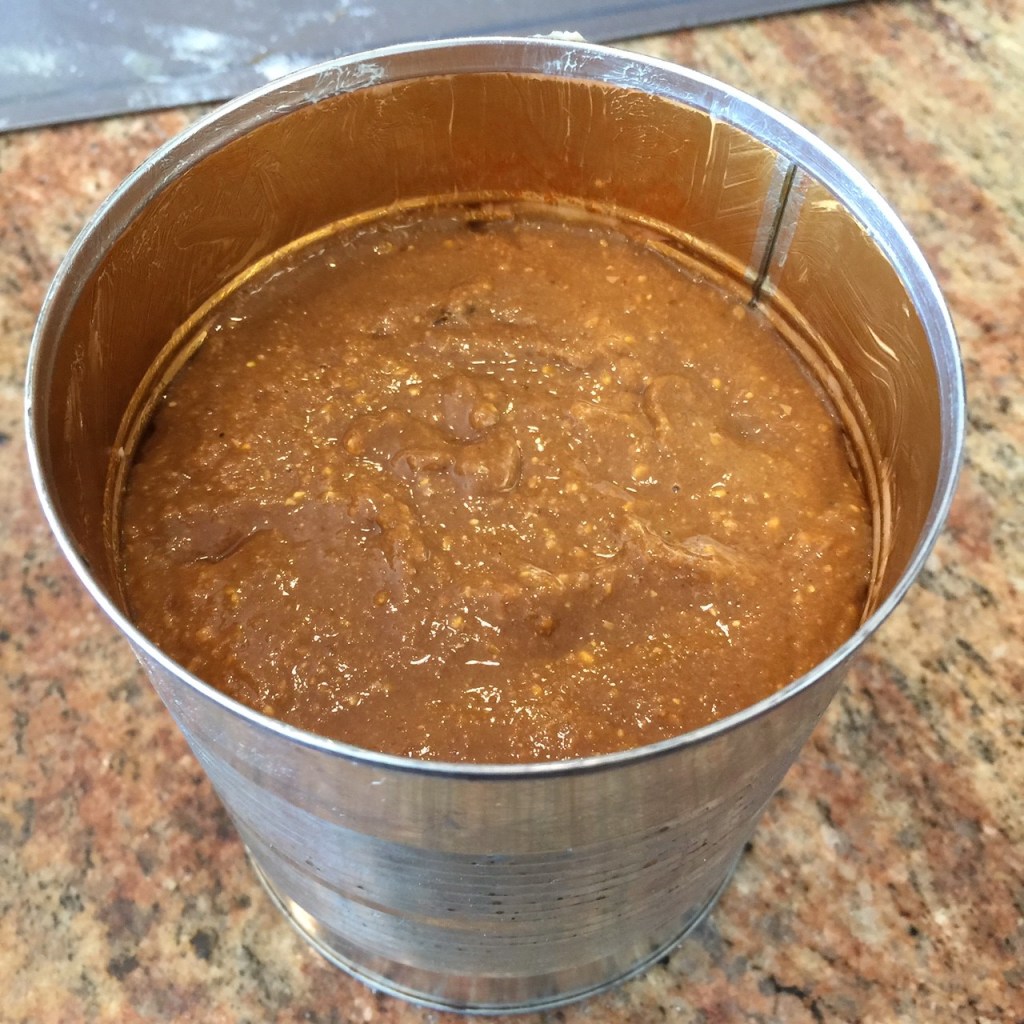
Pour into prepared loaf pan.

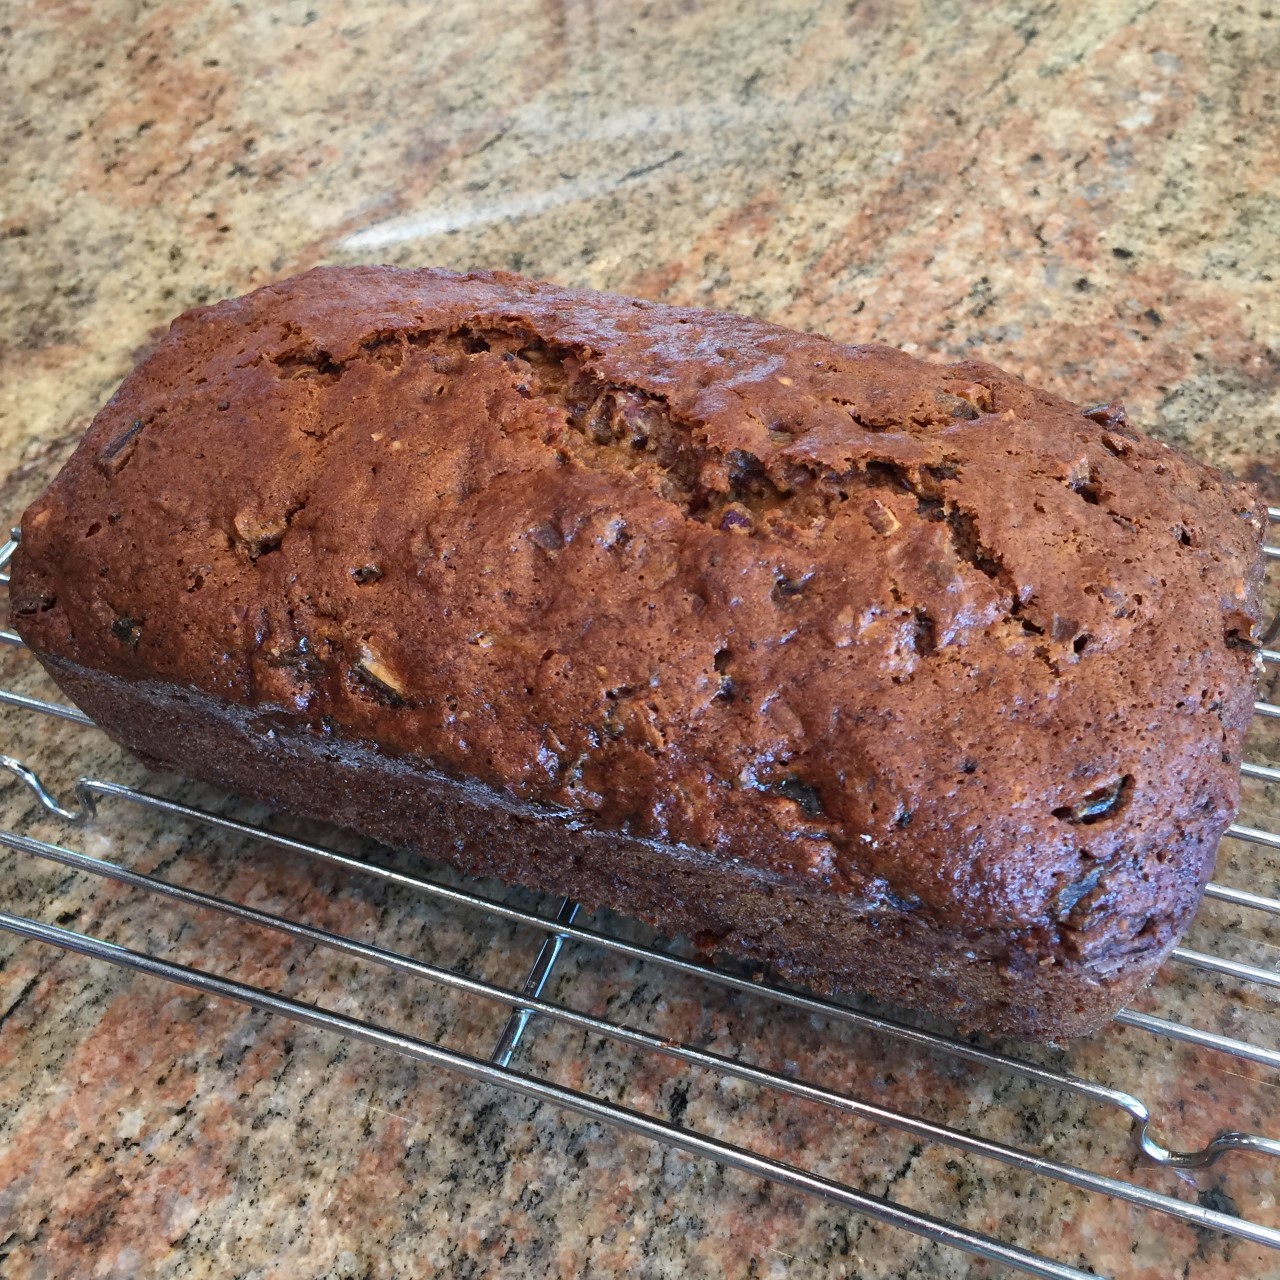
Bake at 180°C / 350°F for about 50-60 minutes. The crack along the top, which always forms on my loaves, should NOT be liquidy – bake until it firms up (54 minutes in my oven).

Prepare the syrup while loaf is baking: in a small pot, add the 36g (3 tbsp) lemon juice and 25g (2 tbsp) sugar. Over medium heat, bring to boil to melt the sugar. Remove from heat and set aside.

When loaf is done, remove from oven. Remember to touch the crack – if it’s still wet, cook a bit longer.

While still in the tin, poke the top all over with a skewer, going down about halfway. Brush on (or drizzle) the lemon syrup – use it all. Let set 10 minutes.

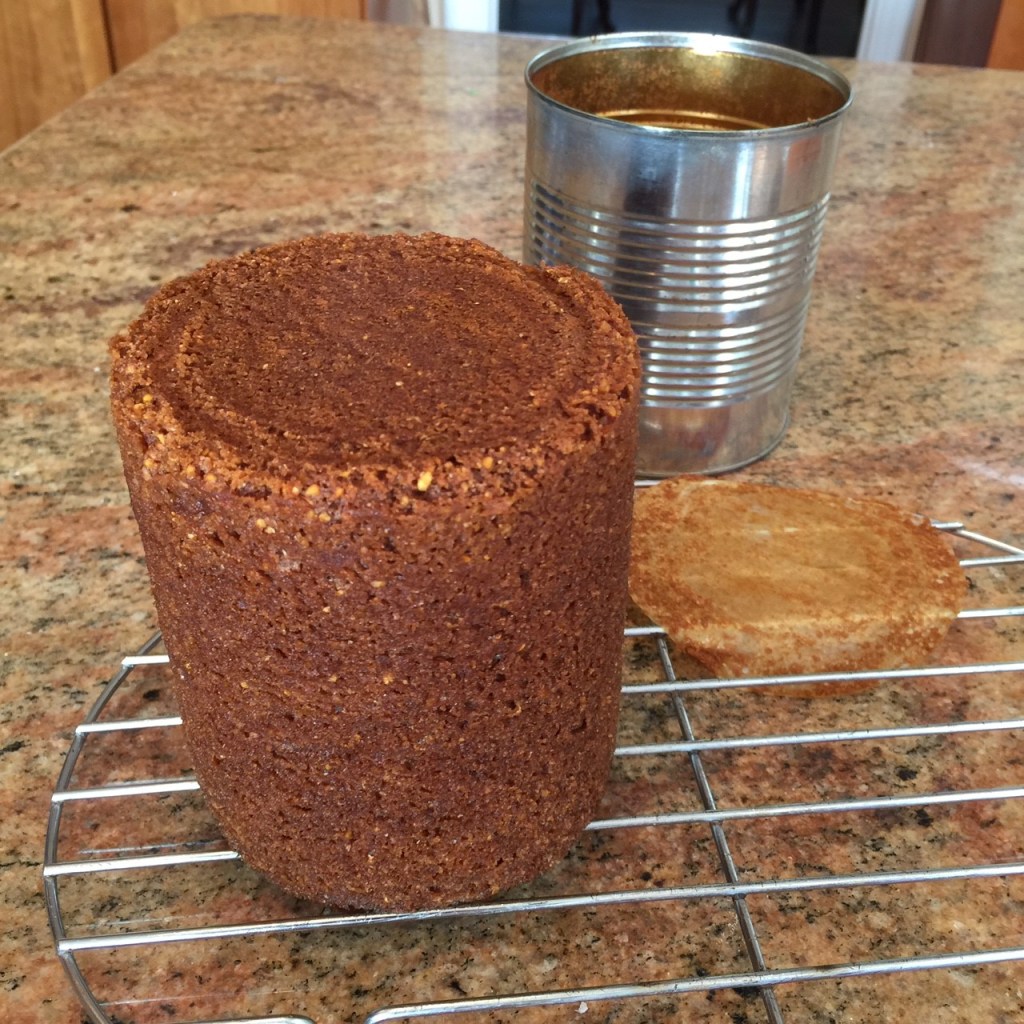
Run a rounded tipped (so as not to scratch your tin) knife around the edges, then flip to remove from tin. Remove the baking paper.

Set right-side up on a wire rack to cool completely.

OPTIONAL LEMON ICING

When ready to ice loaf, prepare the icing.

Into a small bowl combine the 125g (1 cup) icing (powdered) sugar and 22g (1.5 tbsp) lemon juice. Smash all the lumps from the sugar.

You can either ice the top entirely or pipe. If too thick to pipe easily, add a tiny more lemon juice, if too thin, add more sugar.

DATE BREAD: Grandma Knows Best!

My wonderful sister-in-law, Terry, sent me a picture of her grandmother’s recipe card for Date Bread so I could make it for my husband (her brother). My husband remembered the bread with fondness so, of course, I decided to make it. I have to admit I was skeptical – dates in desserts were NOT something I grew up with. My mother was a sworn chocoholic, and I was following in her footsteps.

But when I took my first bite of Grandma’s Date Bread, I felt like a whole new world opened up. It was absolutely, and unexpectedly, delicious! How could this these dried, brown fruit create such a tender and flavorful bread?

GRANDMA’S DATE BREAD – 1 loaf

  • 1 T butter, softened
  • 8 oz (230g / 1.75 cups) pitted dried dates
  • 1 cup (250 ml) boiling water
  • 1 egg
  • 1.5 cups (190g / 6+5/8 oz) all-purpose flour
  • 3/4 cup (140g / 5 oz) granulated sugar
  • 1 tsp vanilla
  • 1 tsp baking soda
  • 1 cup (95g / 3.75 oz) pecans, lightly toasted

Set out butter to soften.

Preheat oven to 300°F (150°C).

Chop dates – I use my kitchen shears.

Place chopped dates in a bowl and pour in the boiling water. Cover with a plate to retain the heat. Let set for 30 minutes so the dates can soften.

Into a mixing bowl, beat the egg. Add in the softened butter, dates (WITH liquid), flour, sugar, vanilla, baking soda, and pecans. Blend together until the flour is just incorporated – don’t overmix or the bread can toughen.

Pour batter into a greased and floured loaf pan – I use a Pyrex glass pan.

Bake until a toothpick comes out clean and the top bounces back when lightly pushed – about 60-75 minutes. (Mine take 74 minutes.) Make sure to gently press down on the cracked portion – if it’s still mushy, keep baking. The bread will LOOK done before it IS done.

Let set in pan 20 minutes before removing to a wire rack to cool.

Try to resist slicing the hot loaf – it needs to firm up a bit. Give it, at least, 45 minutes if you can.

BOSTON STEAMED BROWN BREAD: An Oldie But Goodie!

Every now and then I come across a long-forgotten recipe. Such was the case the other day while thumbing through my old Joy of Cooking cookbook. Boston Steamed Brown Bread!  

For those of you unfamiliar with Boston Steamed Brown Bread, it’s a flavorful quick bread that’s cooked in a can and steamed in a water bath. It’s sliced into discs and can be eaten plain, smeared with cream cheese, paired with egg salad – really, the ideas are endless!

This bread takes minutes to prepare, but 3 hours to steam (which is hands off, of course), so make sure you get your timing worked out.

Traditionally, Boston Steamed Brown Bread was cooked in a coffee can, but I found that a 28-oz can – such as the can from whole tomatoes – is the perfect size to contain the entire recipe. You can, also, divvy up the batter between tomato paste cans or the slightly larger soup can, if you’re looking to make canapes. I would suggest making sure the can is BPA free (it will say it on the label).

BOSTON STEAMED BROWN BREAD – makes 1 loaf

  • 1 cup (250 ml) buttermilk
  • 3/8 cup (114g / 4 oz) dark molasses or treacle
  • 1/2 cup (63 g) raisins
  • 1/2 cup (76 g, 2+5/8 oz) cornmeal – I’ve used medium & coarse grind
  • 1/2 cup (56 g, 2 oz) rye flour
  • 1/2 cup (76 g, 2+5/8 oz) graham flour
  • 1/2 tsp salt
  • 1 tsp baking soda

Combine the buttermilk, molasses, and raisins in a bowl.

In a larger bowl, combine the cornmeal, rye, graham, salt, and baking soda.

Prepare your can by buttering the bottom and sides thoroughly. Cut out a parchment circle to fit the can bottom and lay it flat on the can floor – you don’t have to butter it.

Put about 1½” of water into a pot that’s taller than the can.

Pour the wet ingredients into the dry and gently stir to combine.

Pour into prepared can so it’s no more than 3/4 full. (This recipe is the perfect amount for a 28 oz (794 g) can. Cover top tightly with foil with an overhang of about 1″ (2 cm).

Place in water bath, turning flame on high to bring a slow boil. Turn down flame to maintain a simmer, cover pot with lid, and steam for 3 hours.  SET A TIMER – 3 HOURS IS LONG ENOUGH YOU MAY FORGET WHEN YOU STARTED! (Uh, this may have happened to someone I know.)

After 3 hours, remove can from water bath and discard foil.

Let set 20 minutes then flip can and let bread slowly drop out. Discard parchment. Let loaf cool, at least, an hour before slicing. (A proper bread knife will give you nice clean slices!)