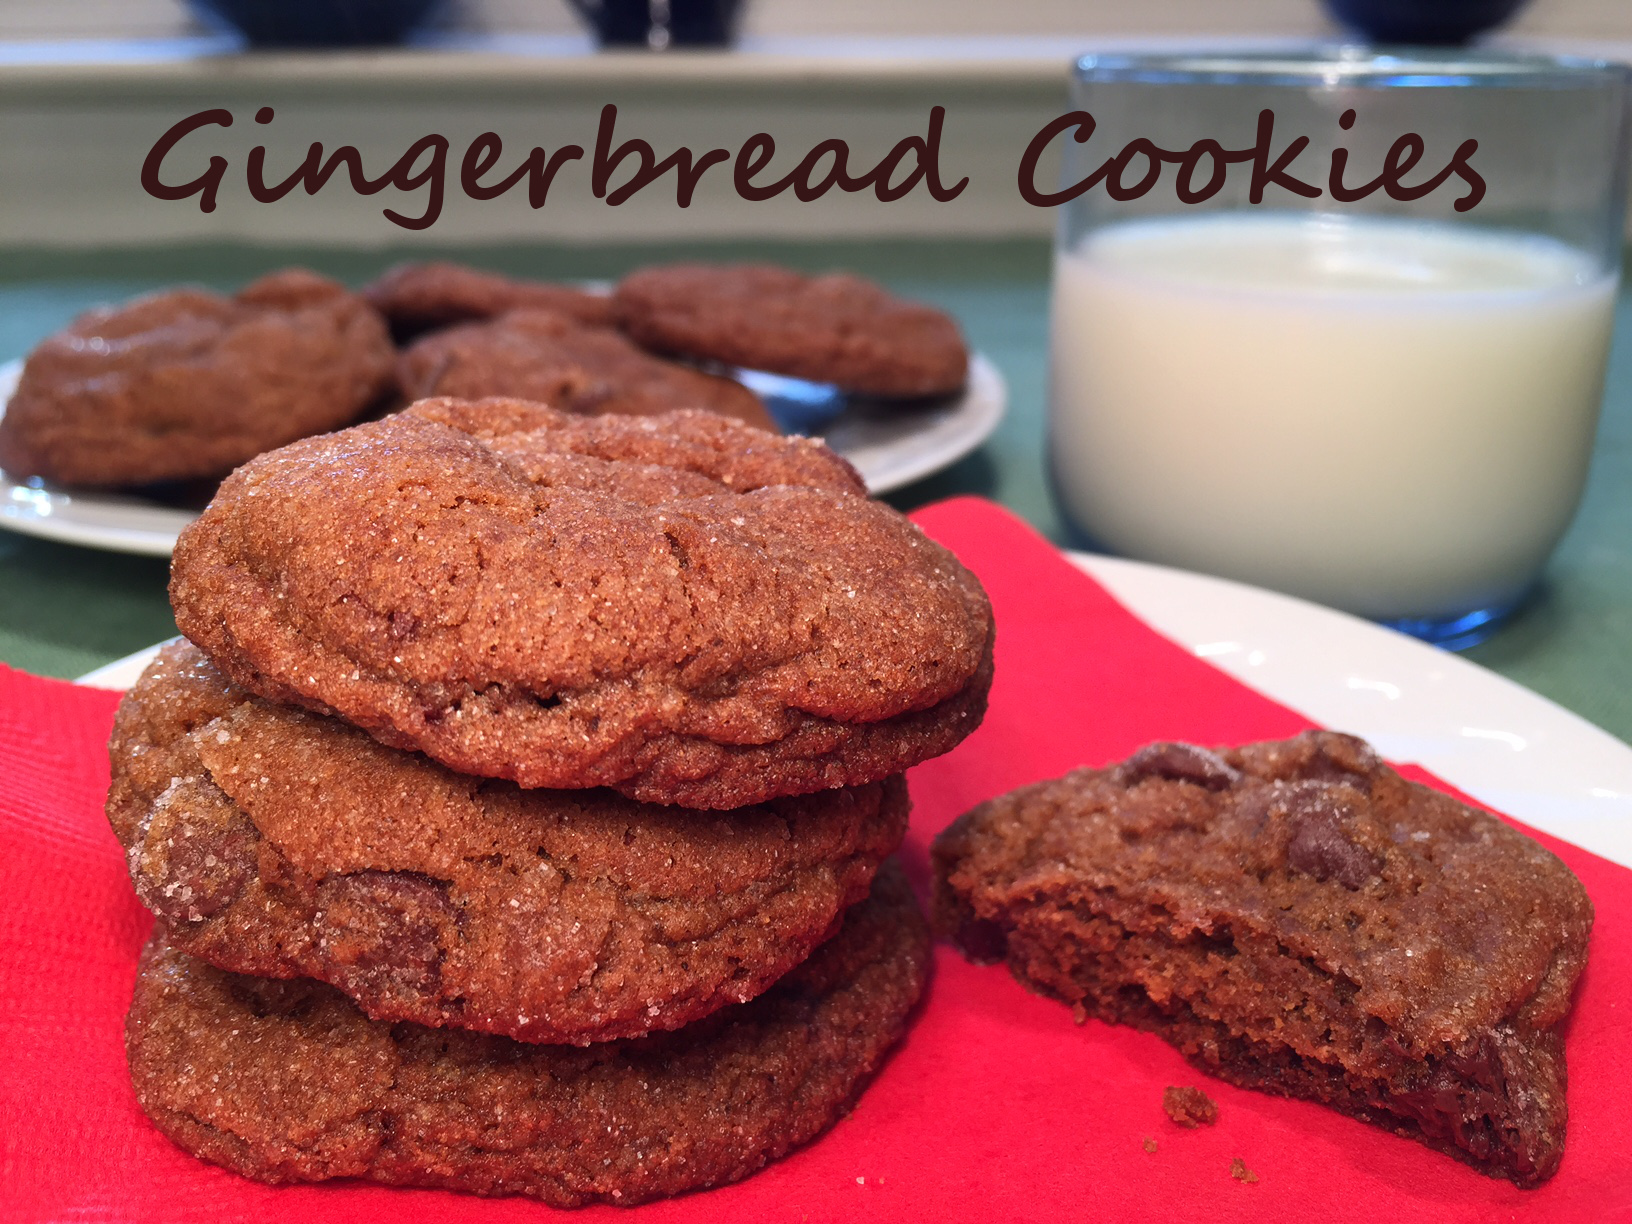
 Gingerbread Cookies with chocolate chips are my kids’ favorite. They’re soft cookies with a flavorful bite from ginger, cloves, and cinnamon. The chocolate chips balances them out with with a creamy sweetness.
Once the dough is made, it needs to be refrigerated and then rolled into balls – a great task for little ones (with very clean hands) who want to help. At this point, the dough can be frozen, ready and waiting to be popped in the oven for a last minute dessert.
GINGERBREAD COOKIES WITH CHOCOLATE CHIPS – makes about 3 dozen
- 2¼ cup (265g / 9.25 oz) all-purpose flour
- 2 tsp baking soda
- 1½ tsp dried ginger powder
- 1¼ tsp cinnamon
- 1/2 tsp ground cloves
- 1/2 tsp salt
- 3/4 cup (168g) butter, softened
- 1 cup (168g / 6 oz) dark brown sugar, packed
- 1 egg
- 1/4 cup (75g by weight / 2.5oz) molasses
- 1 cup (155g / 5.4 oz) semi-sweet chocolate chips
- about 1/3 cup granulated sugar for rolling dough into
In a small bowl combine the flour, baking soda, ginger, cinnamon, cloves, and salt. Set aside.

Using a standing mixer, cream butter and brown sugar for 3 minutes at medium-high. Don’t short-change this – you want the batter to blend together.

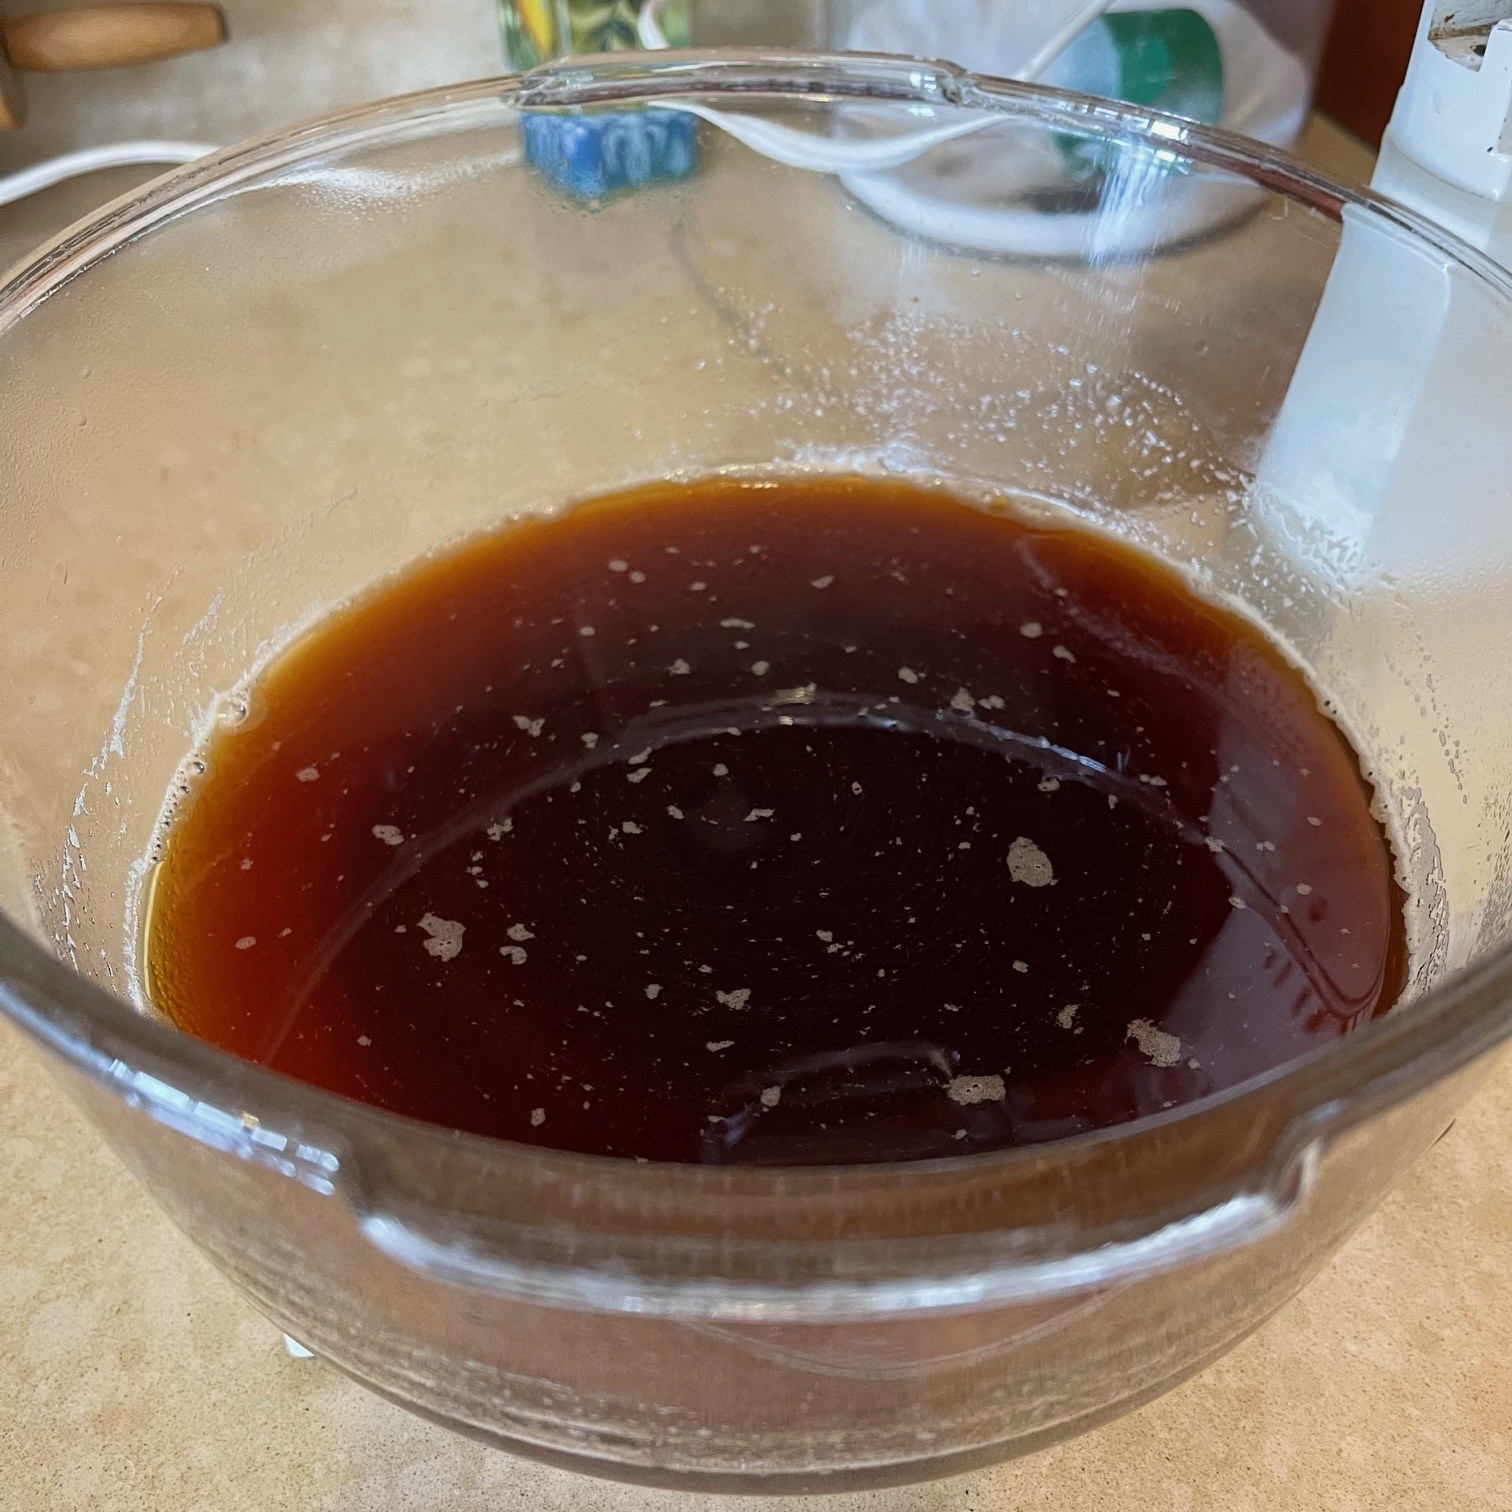
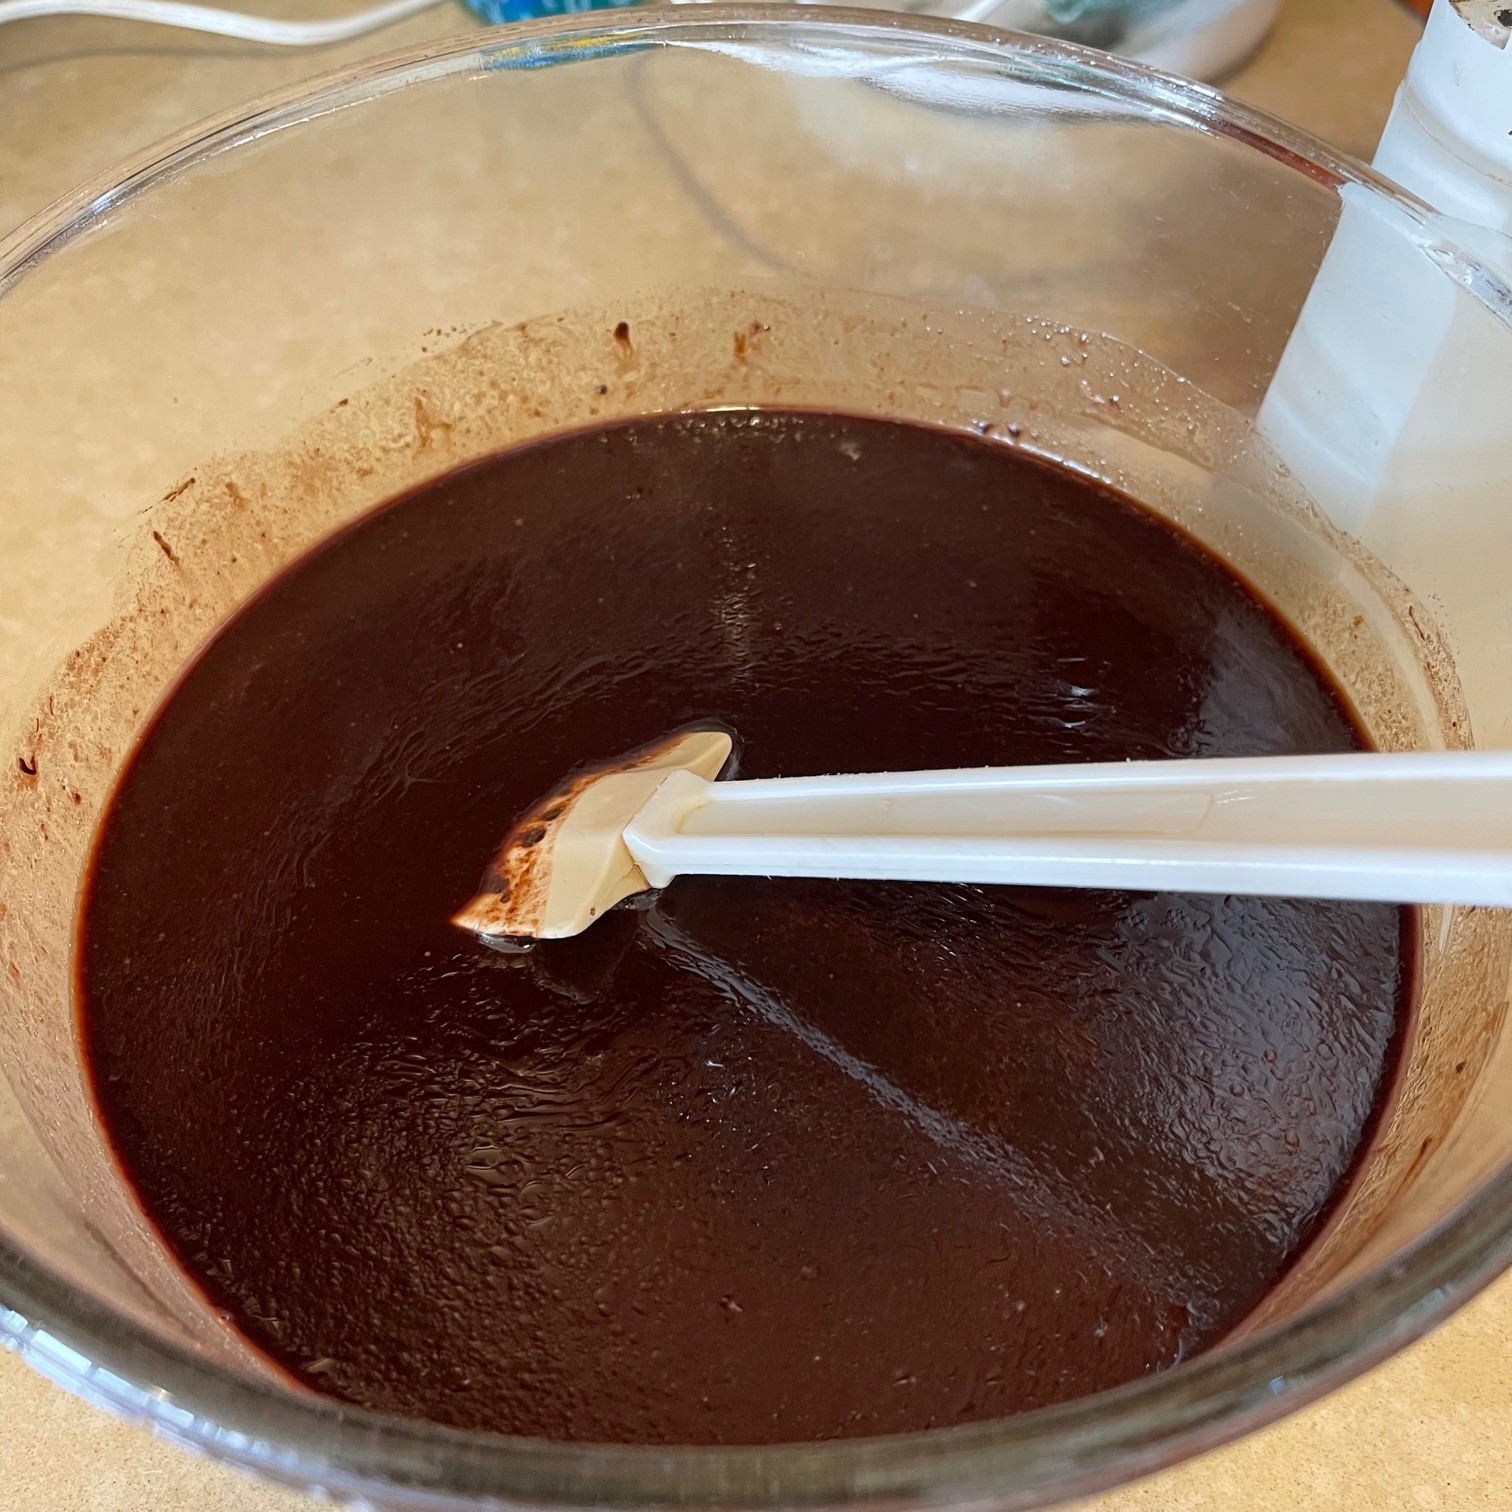
Mix in egg and molasses. This will take 1-2 minutes to get to a creamy texture.

I
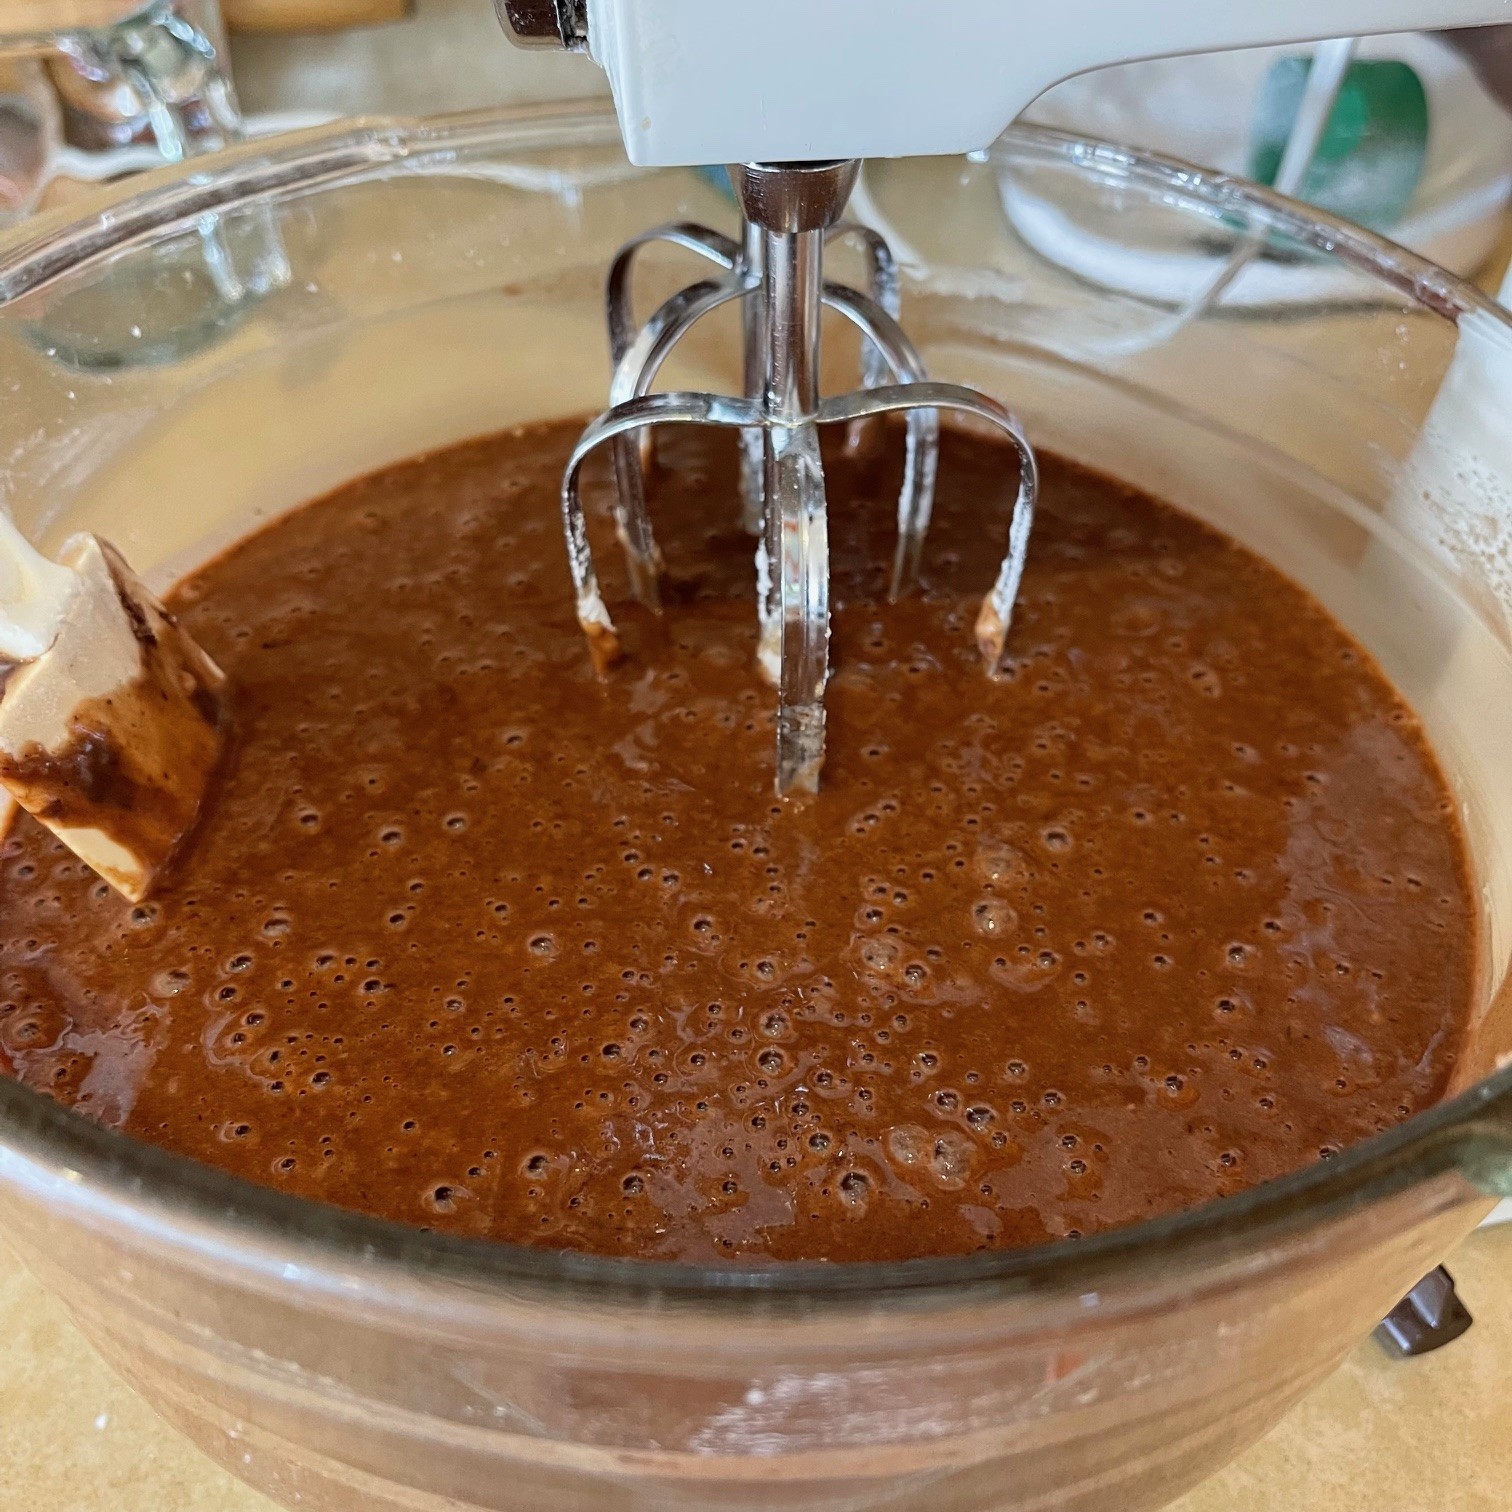
Add the flour mixture to the batter on low speed until the flour is almost completely incorporated. It will be clumpy – this is normal.
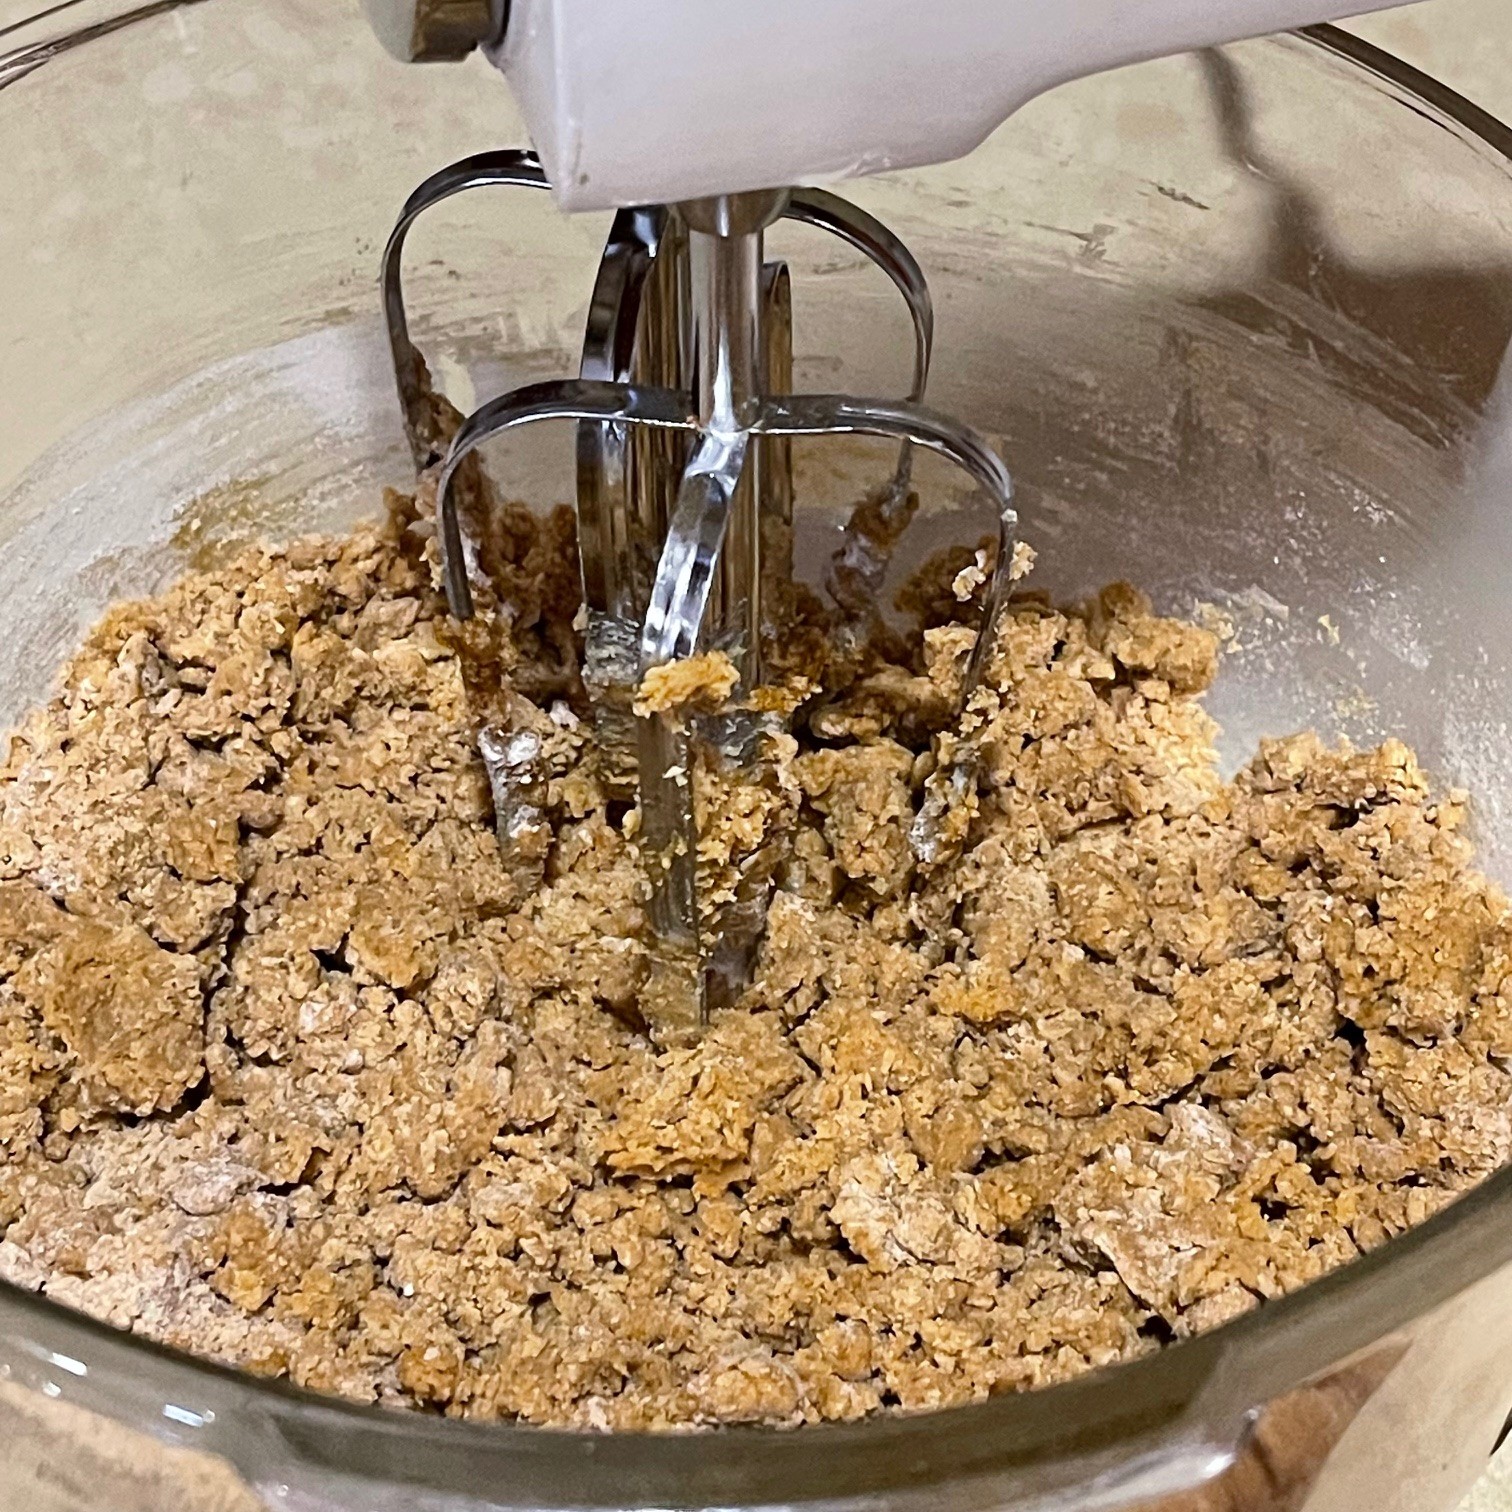
Stir in chocolate chips on low speed, just until all the flour is incorporated and dough starts holding together.

Cover bowl (I use a plate) and refrigerate dough for 1 hour to make it easier to handle.
After the chill time is up, PREHEAT OVEN TO 375°F.
Remove chilled dough from fridge. If dough is too solid to work with, let it sit for a bit. You want it firm, but not rock-hard. Put the 1/3 cup sugar in a cereal bowl. Roll the dough into 1″ balls, then roll each ball in the sugar, coating it completely.
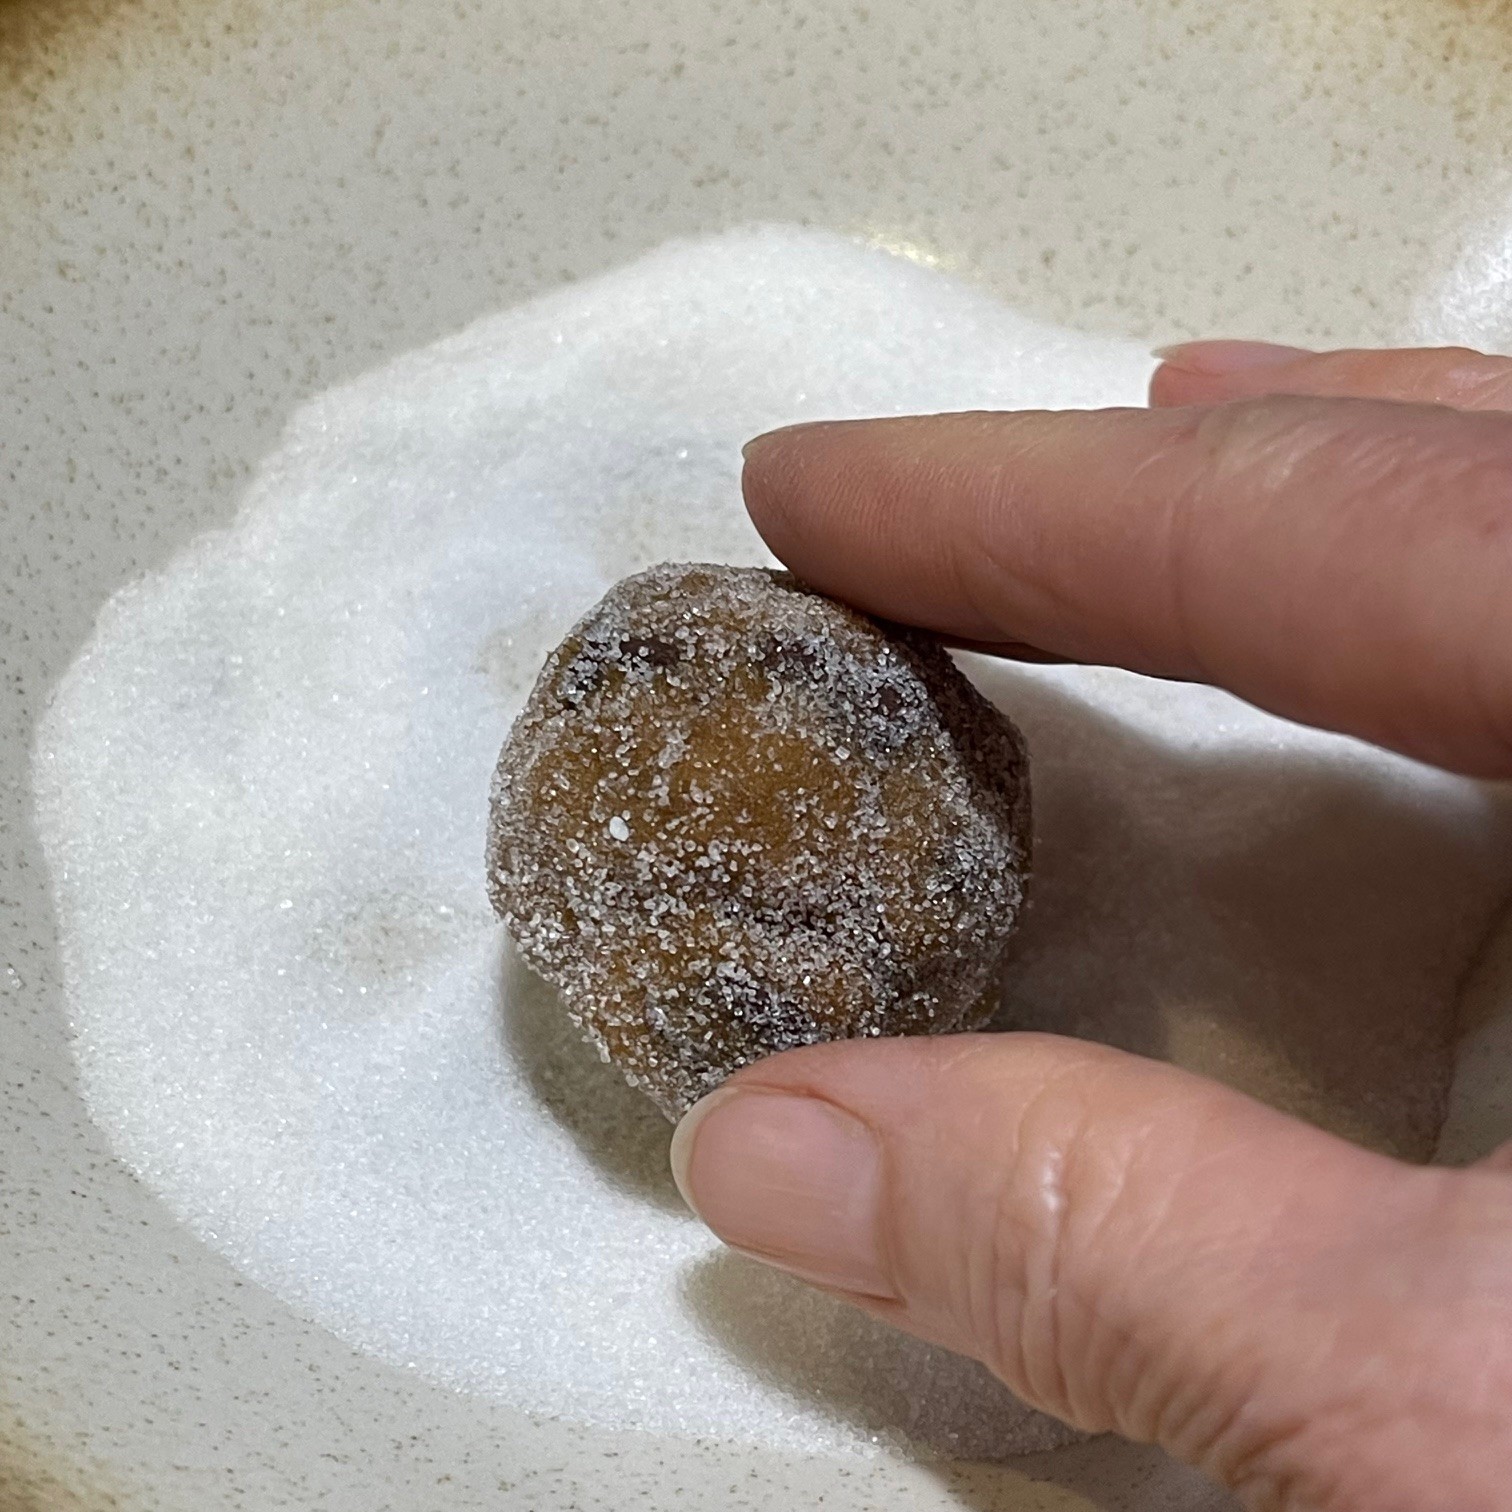
Place coated balls on a greased or parchment lined baking sheet as you go.

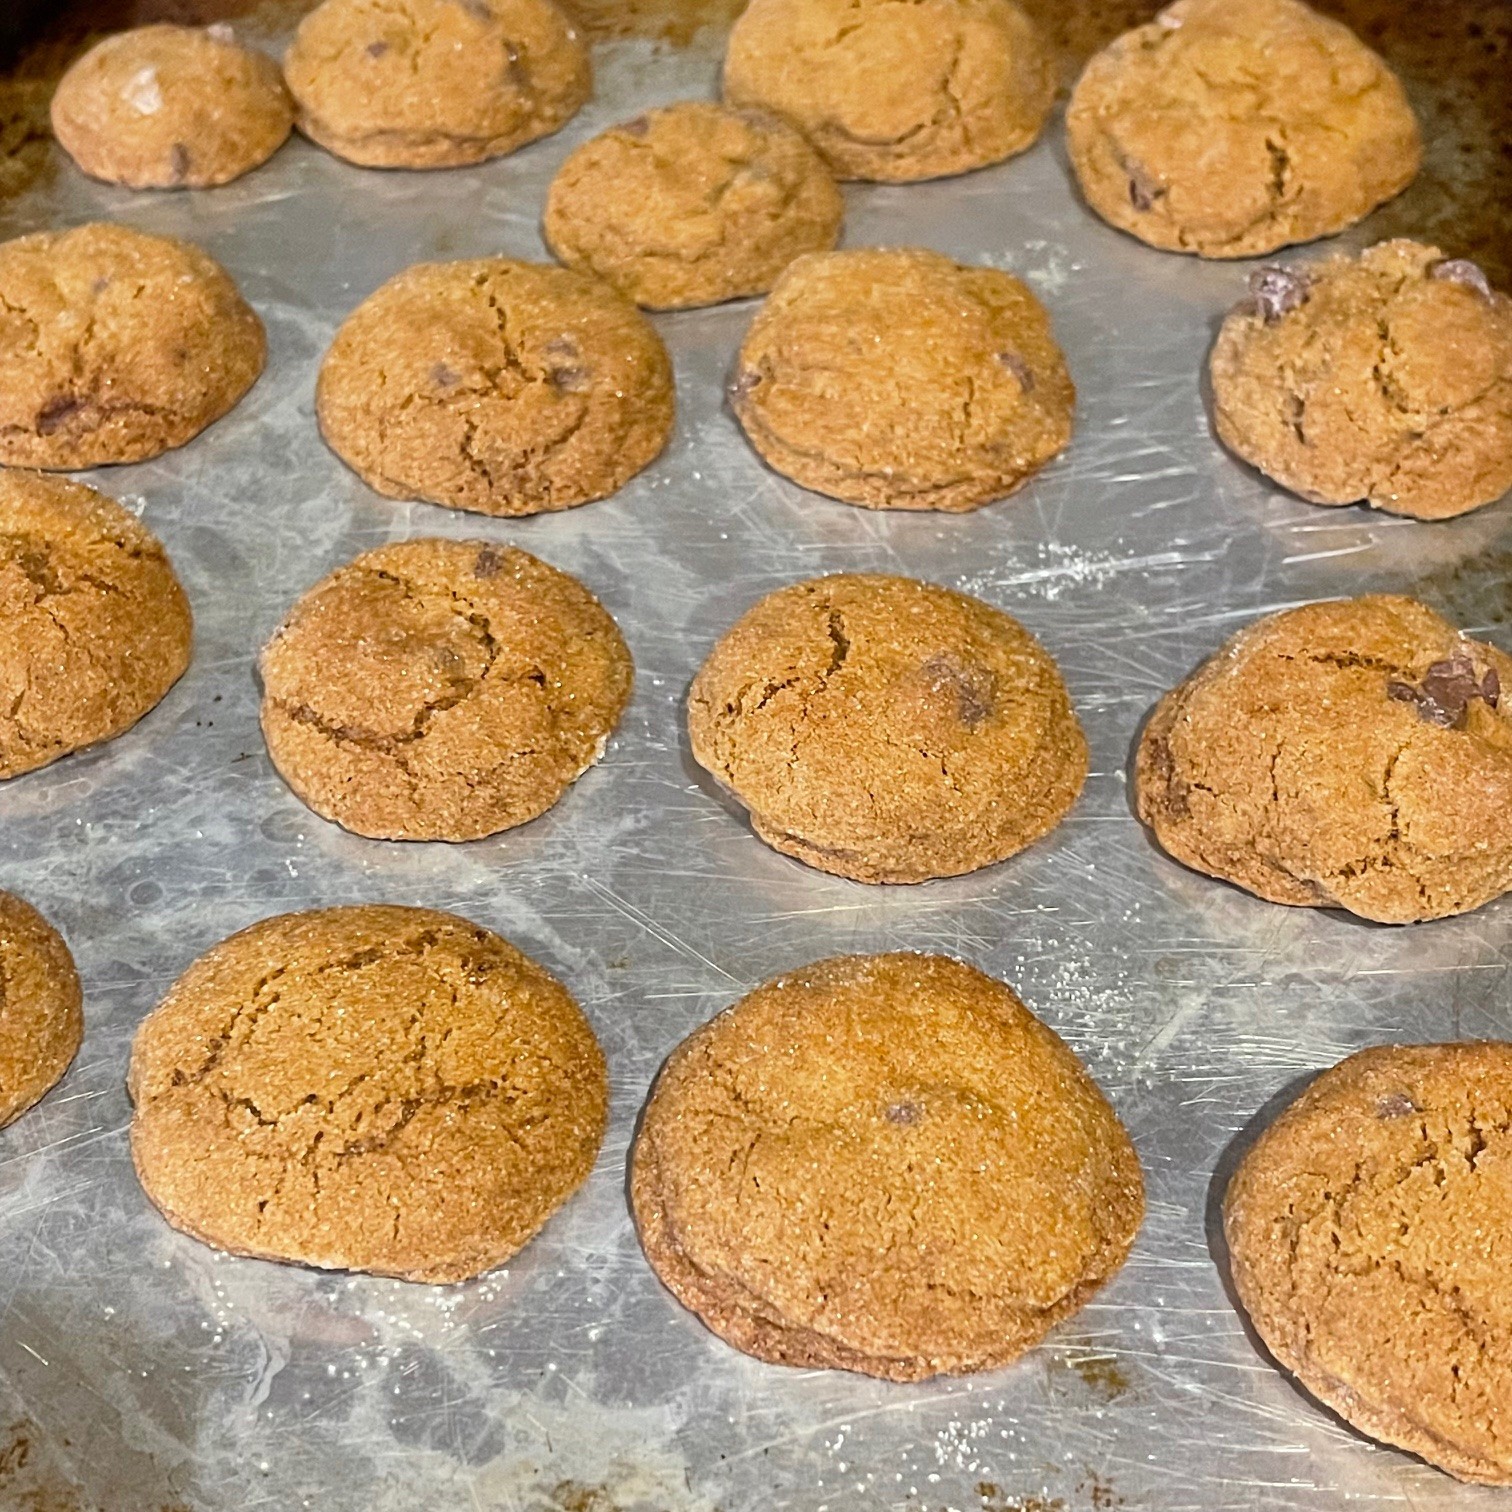
Bake at 375º Fahrenheit 10-12 minutes. Don’t overbake or you’ll get a dry cookie. Remember, they’ll continue to cook on the hot cookie sheet out of the oven. The edges should look done, but the center should look slightly underdone.

Let cookies set for 5 minutes before removing them to a wire rack to completely cool.
TIP: If you want to freeze the uncooked dough balls for future use (I’m AM the self-proclaimed Queen of Freeze, after all), put the dough balls (without rolling in sugar) on a non-greased cookie sheet and place in freezer until solid. Gather them into a container for storage. When ready to bake, roll them firmly into granulated sugar and place them on prepared cookie sheets, letting them thaw about 20 minutes. Bake as directed.