Omelettes: Not Just For Breakfast!

photo (26)

Breakfast for dinner is always a fun treat.  Not only are breakfast foods pretty easy to fix, but in the evening you have time to enjoy them.  Mornings are often hectic, and if you’re anything like my family, you scarf down your food because no matter how early you get up, you’re always running late.

This past week I’ve made a lot of flour-y foods:  burritos, fettuccine, quesadillas, and lasagne.  I was trying to figure out what to make for dinner last night that didn’t use flour.  It had to be fairly quick and something I wouldn’t have to run to the store for.  (Oooo – sentence ending with a preposition.  Sorry!)   Omelettes are often my go-to food to meet that criteria.  Fine with me (and my husband) –  eggs actually sounded really good.

There are all kinds of tips floating around out there to make fluffy omelettes – use water, use milk, separate the yolks and white, put a little baking soda in them.  Fugedaboudet! (that’s ‘forget about it’ for those of you whose name doesn’t end in a vowel).  I’m going to tell you how to make a fluffy omelette that’s easy as pie. (And, pie really is very easy to make, btw.)

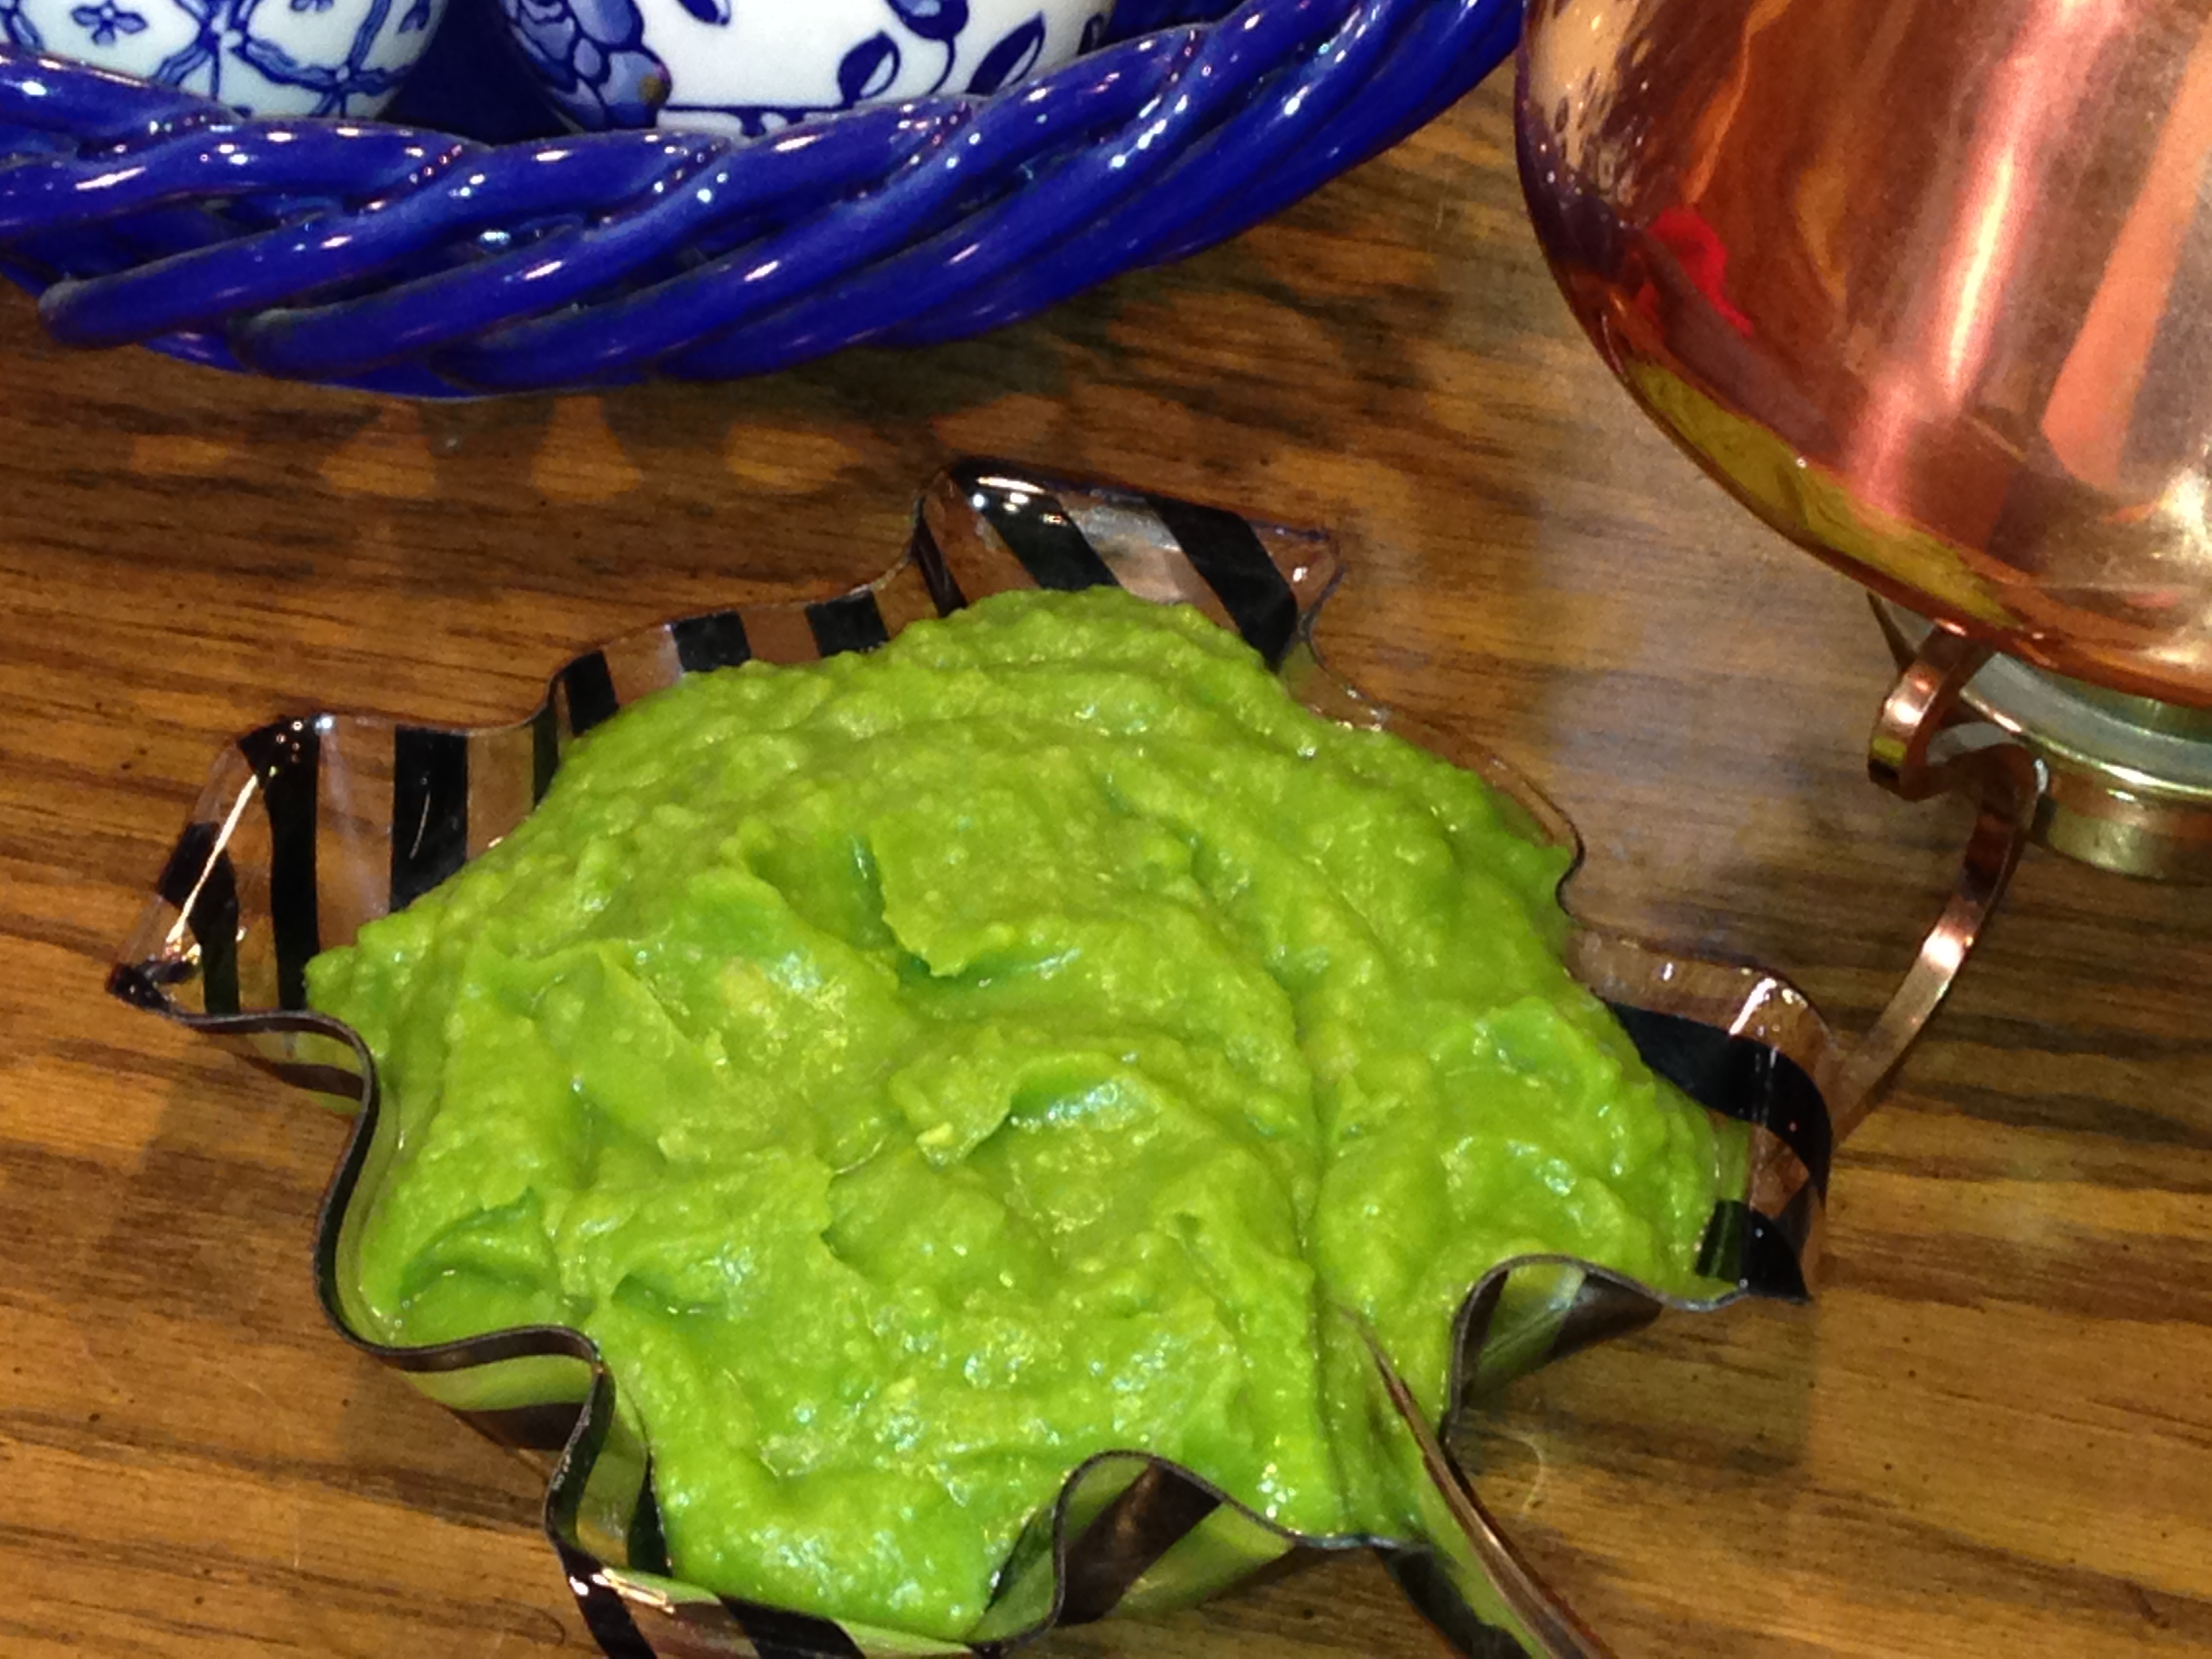
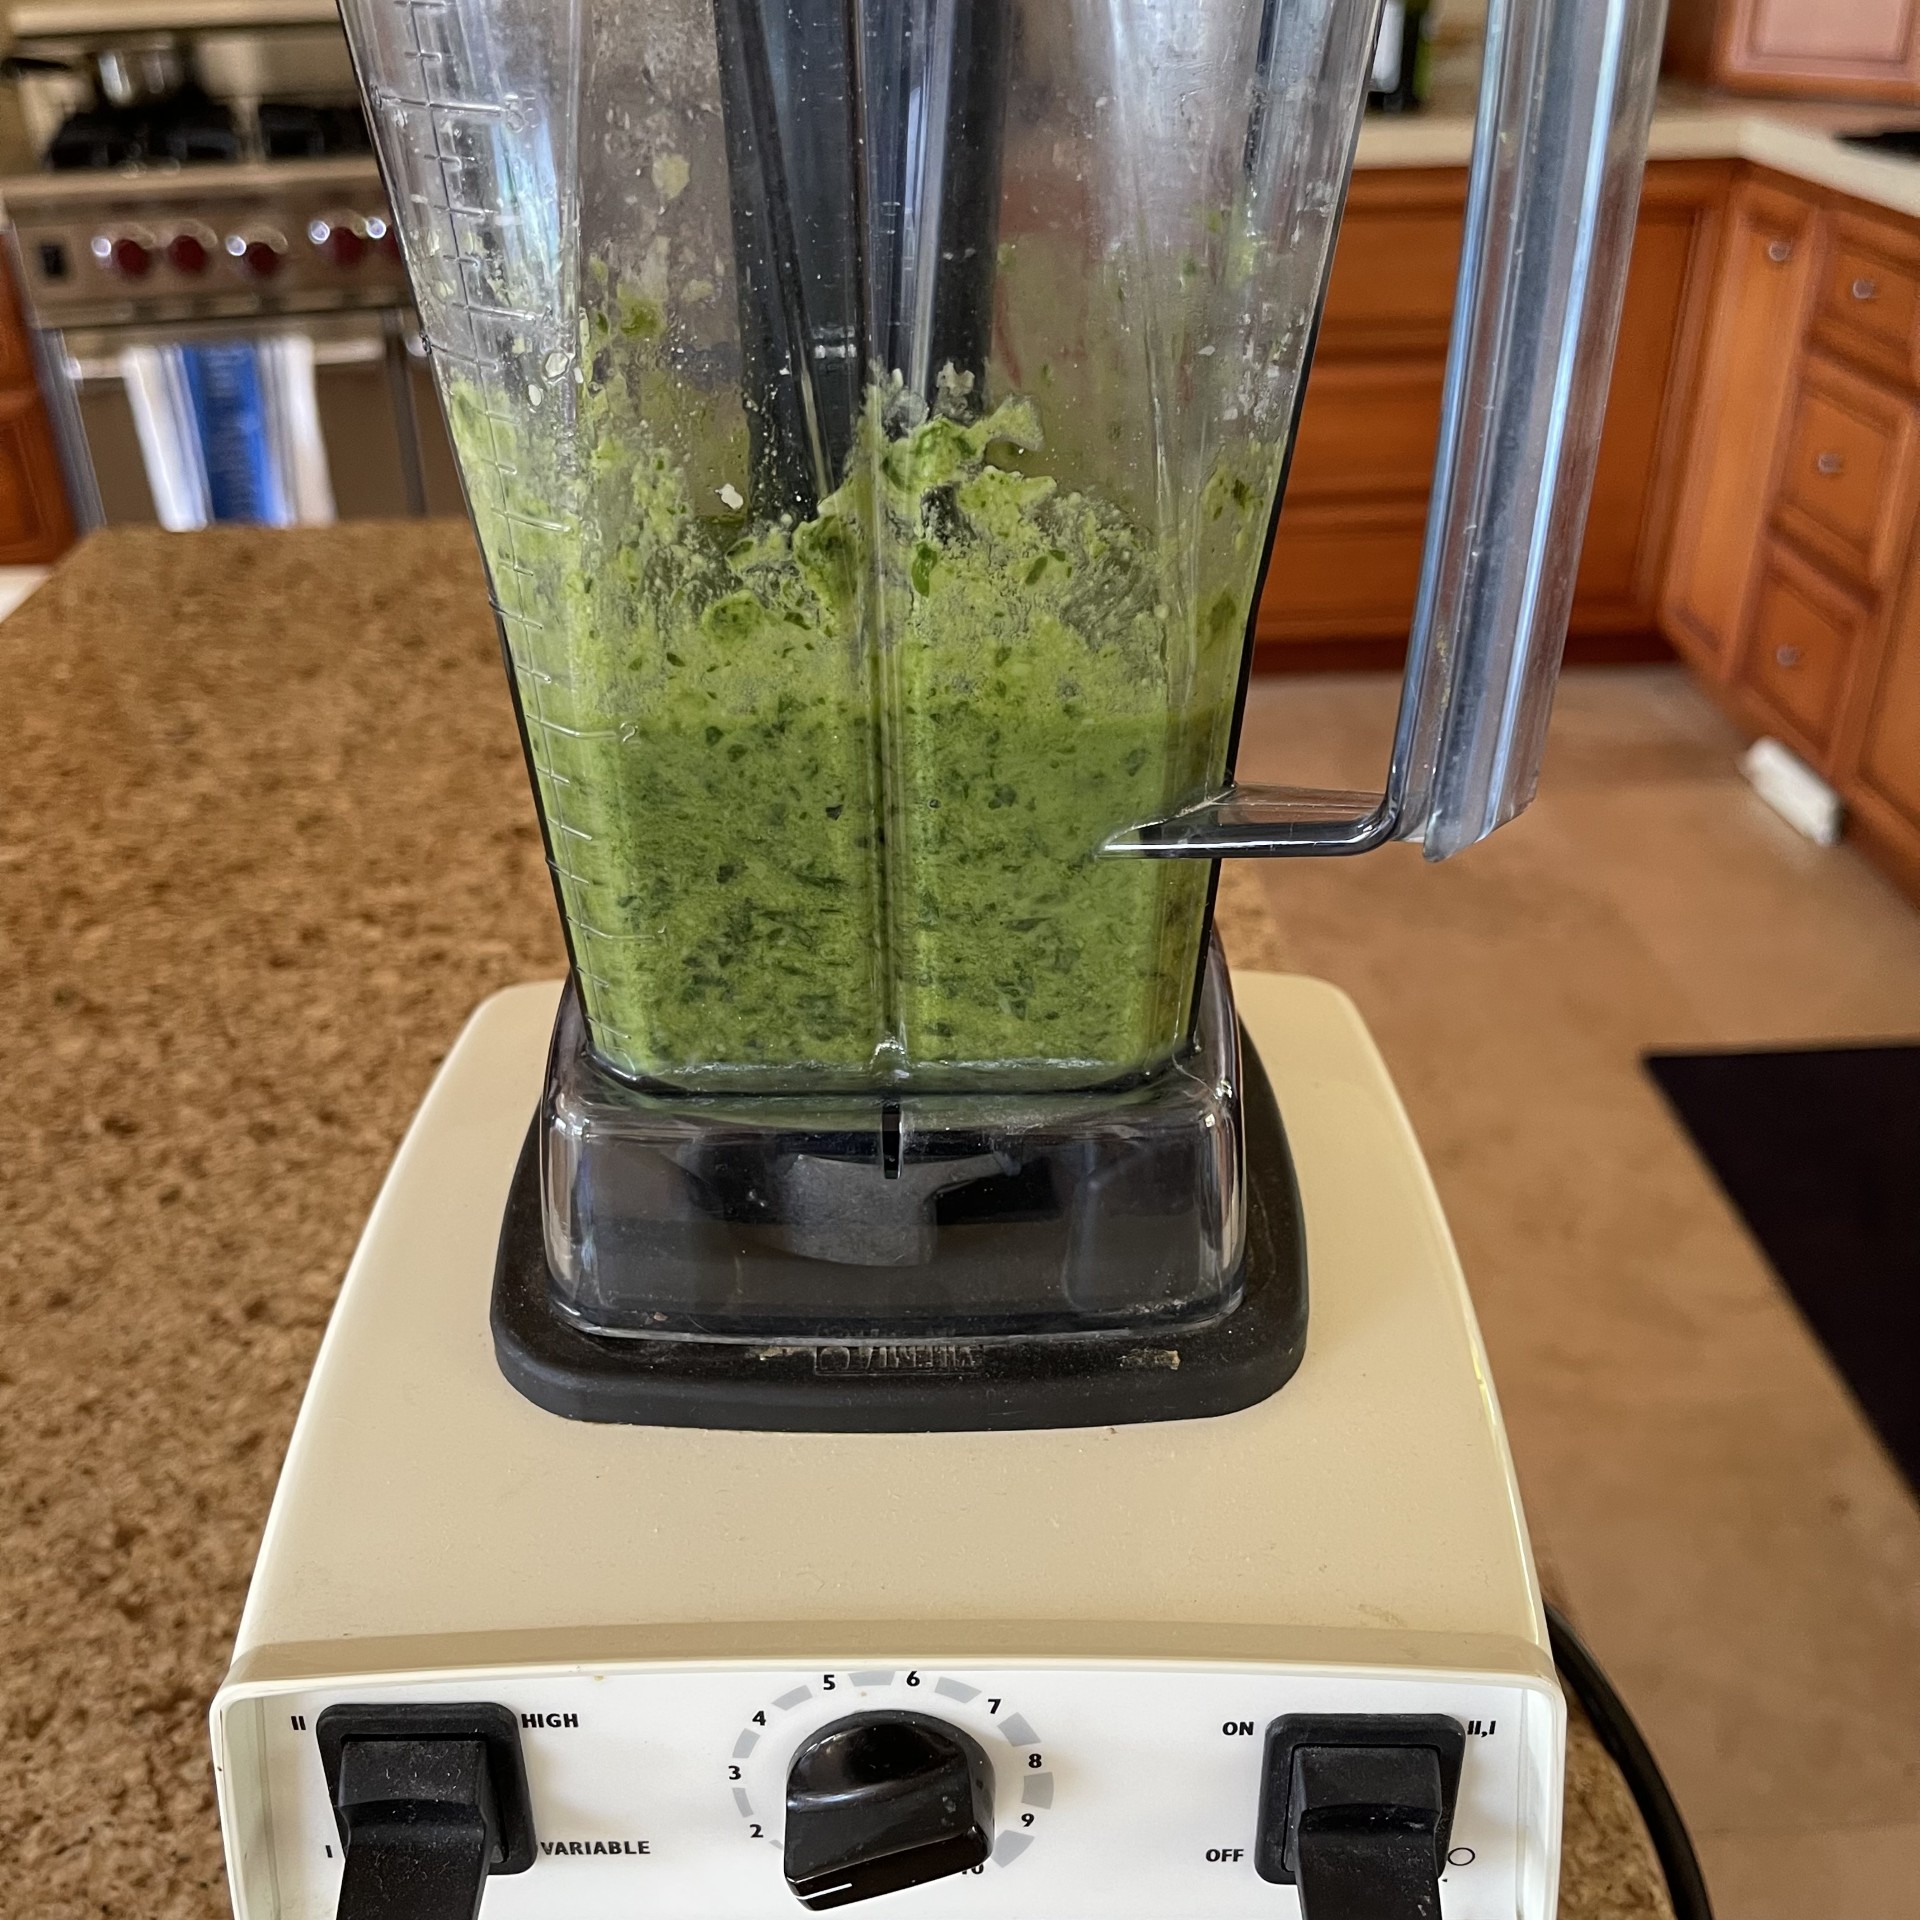
When I make an omelette for just my husband and myself, I make one large one and split it (actually, my husband gets 2/3 and I get 1/3 – that’s how we roll!)  Gather up your fillings – I always use some kind of cheese, then a few other things that sound good.  Last night I used feta cheese (I needed to use it up), kalamata olives, capers, and mashed avocado.  Omelettes are great for finishing up those bits and pieces you saved because you just couldn’t bear to throw them out.

FETA/OLIVE/AVOCADO/CAPERS OMELETTE – serves 2 (unless you’re training for the NHL)

  • 5 eggs
  • 1/2 T butter (or more, but NOT less)
  • fillings:  anything you fancy (cheese is a nice ‘glue’ so I always include it)

Break the eggs into a bowl and beat them well with a fork.  All the yolks should be broken up.  Now prepare all your fillings and have them ready to go.  You’ll need a 10″ skillet with a lid.  Melt the butter in the skillet using a medium flame.  Spread it evenly around the bottom.  When it’s completely melted and just starting to brown, pour in the eggs.  Let them cook undisturbed for about a minute.  Lower the flame just a little.  Add your fillings to one half of the eggs.  Cover and let cook maybe a couple of minutes.  The goal is to get the uncooked eggs on top to cook.  Once most of the eggs on top are cooked, take a spatula and gently lift an edge on the half where there is no filling.  Tilt the skillet so the uncooked egg runs underneath the lifted part.  Remove the spatula – the eggs that just ran down there will now cook. Turn down the heat, cover, and cook maybe 30 more seconds.  Remove the lid and check – if the eggs are mostly cooked, fold the unfilled half onto the filled half.  Turn off flame.  Cover again and let sit for another minute or so to finish cooking and set.

This isn’t rocket science.  I think the key to a fluffy omelette is to pour the beaten eggs on a hot, buttered skillet and let it cook undisturbed until it begins puffing up. And leave the bottom alone (except when you lift up the edge to let the uncooked egg run down there).  Don’t run the spatula along the bottom to check what it looks like – it’s fine.   I’ve tried all the experts’ methods.  Then one day I was in a hurry (or maybe just lazy) so I just threw the eggs onto the hot skillet and left it pretty much alone.  Sometimes, simplicity is best.

From the picture above you’ll see I also made ‘bacon’.  Remember, the quotation marks mean what’s in the quote marks is fake.  I LOVE Morningstar fake bacon.  I actually prefer it to the real thing – it’s got the crispiness and bacon flavor without the greasy fat.  I always used to pick off the fat on real bacon when I was a kid.  There wasn’t much left after that.  With the fake stuff, you can eat the whole thing.  Even my husband (a die-hard carnivore) loves the Morningstar bacon.  He even made extra last night because the 2 I served him wasn’t enough.  I haven’t tried any other brands so I don’t know if there’s something as good or better.  Let me know what you’ve found!

You Say Lasagne, I Say LasAAAHHgne!

photo (25)

It’s official.  I’m now a convert from purchased pasta to homemade.  What a difference!  So delicate. So exquisite! (Imagine me doing that Italian kissing thing with my fingertips to my lips.)

I embarked on my maiden homemade pasta voyage a few days ago when I attempted fettuccine with pesto sauce.  Total success.  Even leftover and nuked, the fettuccine noodles were as good as hot-out-of-the-pot.  So last night I was looking forward to making Spinach Lasagne using homemade pasta.  I must admit, I was a little bit worried that the fettuccine victory might have been beginner’s luck and the lasagne noodles would not be as good.  Not so!  One bite of the Spinach Lasagne and I knew I could never go back to store-bought pasta again – even the so-called packaged ‘fresh’.

I’m not gonna lie – this meal took about 3 1/2 hours (don’t freak out – I’ve figured out how to cut down the time) from start to finish (including cooking time).  Next time I will definitely start cooking earlier.  I ended up having to prepare for a commercial audition so I didn’t start dinner until 5:00.  Yikes!  And, naturally, everything took longer than expected.  There are 4 parts to making the lasagne (5 if you count the baking):  the bechamel sauce, tomato sauce, spinach filling, and the pasta.  This recipe fits into an 8″ X 11″ casserole dish – not very big since I made this just for my husband and myself for dinner and some leftovers.  Double the recipe and use a larger pan if you need more lasagne.

1)  First thing to do is make the pasta dough, but don’t roll it out yet – it needs to rest.

PASTA

  • 1 cup flour (I used organic all-purpose)
  • 1 egg
  • 1/4 tsp salt
  • 1/2 T olive oil
  • water, as needed

In a food processor beat the egg.  Add in the flour, salt, and olive oil.  Mix.  Add in trickles of water until the flour is incorporated into the egg.  Let sit in the food processor to rest until you’re ready to roll out the dough.

2)  The next thing to do is get the tomato sauce cooking.  If you’re short on time, you can buy canned tomato sauce – but it won’t be as flavorful.  A 15 oz can should be enough.  For the tomatoes I used cherry tomatoes just because I had them on hand.  I didn’t even remove the skins since once the sauce is cooked you have to puree it – so why go to the trouble to skin them?  Plus, I’ll bet there are nutrients in the skin.  I just cut them in half.

TOMATO SAUCE

  • 1 1/2 pounds of tomatoes (any kind – I used cherry)
  • 1/2 an onion, chopped
  • 1 clove garlic, pressed
  • 1/4 tsp dried oregano
  • 1/4 cup red wine
  • 1/2 tsp salt
  • 1/4 tsp pepper
  • 1 1/2 T olive oil

In a 10″ skillet heat the oil.  Add in the onion, garlic, and oregano, sauteing until the onion is translucent – a few minutes.  Mix in the salt, pepper, and tomatoes and cook slowly until the tomatoes are cooked and the sauce is thick.  Puree sauce in a blender.

3)  While the tomato sauce is cooking, prepare the spinach filling.  Where I went horribly wrong time-wise was I washed each spinach leaf individually.  That was obsessive behavior gone too far!  Spinach is incredibly dirty and I wanted to make sure it was clean.  Next time, however, I’m going to remove the leaves from the stems, put all the dirty leaves in a large bowl of water, swish them around, dump the spinach into a colander, rinse, and repeat process.  Then maybe run water over the leaves in the colander one last time.  It probably took me 20 minutes to do wash the spinach leaves individually.  Live and learn!

SPINACH FILLING

  • 1 bunch of spinach, leaves only, chopped (I used scissors, grabbing several leaves at once & hacking away)
  • 1/2 an onion
  • 1 clove garlic, pressed
  • 1 T olive oil
  • 1/8 tsp ground nutmeg
  • 1/4 tsp salt
  • 1/8 tsp pepper
  • 1 cup cottage cheese (or ricotta cheese)
  • 1 egg
  • 1/2 cup Romano cheese, shredded

Heat oil in skillet or saucepan.  Saute onion for a few minutes, then add garlic, salt, and spinach.  Saute until the spinach is wilted.  In a bowl beat the egg.  Add in the pepper, nutmeg, cottage cheese, Romano cheese, and spinach mixture.

4)  Make the bechamel sauce when you get a chance.  It only takes a few minutes.

BECHAMEL SAUCE

  • 1/2 T butter
  • 1/2 T flour
  • 1/2 cup milk (any kind – I used nonfat)
  • 1/8 tsp each of salt, pepper, ground nutmeg  (you really don’t have to measure – just sprinkle)

In a small saucepan melt butter over low heat.  Sprinkle in flour and smoosh flour and butter together, making sure there are no lumps.  Add milk and seasonings.  Stir until thickened.

5) Shred 8 oz mozzarella cheese

Now it’s time to roll out the pasta.  Mine turned out pretty ugly – they were all sorts of sizes – even a couple of holes here and there.  The beauty of lasagne is you never see the faults since everything is layered.  Yay!  So don’t sweat it if your pasta comes out odd looking.  It’s a learning process.  I’m sure next time mine will come out better looking.  You’ll need (depending on their width) about 3 pasta sheets for the bottom and each layer.  The bottom ones need to be extra long since they’re going to go up the sides of the casserole and a little beyond.  They’ll be folded over the top at the end.  I chose to make 2 layers of filling, thus I needed 3 layers of pasta.  But you can have more, if you want, dividing up the fillings.  This pasta recipe will yield enough dough to have 4 layers.

When the dough is rolled out and cut to size, boil it for about 1-2 minutes.  Then immediately transfer the pasta into a bowl of cold water.  You might even want to add ice cubes to keep the water cold.  This will stop the cooking process.

To build your lasagne, lightly oil your casserole dish.  Pour half of the bechamel sauce on the bottom.  Layer on the longest pasta sheets, covering all sides.  On the narrow sides of the casserole the pasta should be long enough to drape over the edge.  Pour on the tomato sauce, then sprinkle on half the mozzarella.  Layer on more pasta sheets (these don’t have to go up the sides – just lay on top).  Pour on the spinach filling.  Sprinkle on the rest of the mozzarella.  Layer on the rest of the pasta sheets.  Fold the bottom layers that are hanging over the sides over the top so the lasagne is now a nice package.  Pour on the rest on the bechamel sauce.  Cover with foil.

Bake at 350 degrees Fahrenheit for 20 minutes.  Remove foil and bake another 15 minutes.  The top should start to brown.  It was taking too long (and I was starving) so I increased the temperature to 375 degrees after the 15 minutes – that worked out fine.  It took another 5 minutes – you don’t want it golden brown, just starting to brown.  Let the lasagne rest for about 10 minutes before slicing.

Next time I make Spinach Lasagne (and there WILL be a next), I’m going to make extra tomato sauce and freeze it for future use.  That will cut down on cooking time.  I always like to make extra when something freezes well.  The spinach filling wouldn’t freeze well, sadly.

This was definitely a time consuming recipe, but well worth the effort.  I promise!


Leftover Burritos Reappear As Newborn Quesadillas!

Hot on the heels of the success of my homemade fettuccine the other day, I had big plans to make Spinach Lasagne last night.  Well, you know the old joke:  Want to make God laugh?  Make plans!  Late in the afternoon I went to get started with the tomato sauce and spinach filling for the lasagne.  Much to my dismay, I had no onions.  Now, I pride myself on keeping a well stocked kitchen – when I’m running low on something I write it on my grocery list before I put it back.  In my head I could see 2 large onions in the vegetable bin.  Sadly, that’s the only place they were because they sure weren’t in the drawer.  So I had to decide – run to the store for the onions or make something else.  As you get to know me you’ll learn laziness generally wins out.

So now I had to figure out what to make for dinner.  Last night – along with the Mushy Peas – we had black bean and quinoa burritos.  Even though there was leftover everything, I hate to serve the same meal two days in a row.  I put on my thinking cap and came up with taking the leftover homemade flour tortillas and making cheese/black bean/quinoa with salsa quesadillas.

I also had the makings for a nice green salad and leftover yam/coconut milk/coriander soup, along with some pumpkin seeds I toasted to sprinkle on top.  It actually turned out to be a really tasty, filling dinner.  AND I got use up my leftovers in a fresh way.  I kind of think of it as a free meal since I already had the ingredients and if I hang on to them too long, they’ll end up in the bin.  I’m a firm believer in ‘waste not, want not’.  Plus, I’m cheap.

One little tip I’d like to pass on when you’re making a green salad:  First of all, DON’T BUY BAGGED SALAD – it’s a total waste of money and since you still have to wash it, it really doesn’t save you work (that’s not my tip, btw, just a rant).   My tip is to tear up the lettuce (honestly, it’s no big deal), wash it, dry it in a spinner (or with a tea towel) then put it in the fridge for at least half an hour.  The lettuce will be crisp and cold when you serve it.

So here’s how I made my quesadillas:  (you don’t have to actually measure – just eyeball it)

CHEESE/BLACK BEAN/QUINOA WITH SALSA QUESADILLAS

  • flour tortillas (homemade is best)
  • medium cheddar cheese (or whatever you like – Jack would be good)
  • cooked black beans, mashed with a fork so they don’t roll around
  • cooked quinoa,  with salsa mixed in

In a 10″ skillet melt about a tsp of butter (maybe a little more) and spread it around to cover the entire bottom.  Take a tortilla and lay it on the skillet, then rub it around to cover the entire tortilla with the butter.  You’re only going to lay the ingredients on half of the tortilla – the other half is going to fold over (like an omelette).  First put on the cheese, then the beans, then the quinoa.  Add a little avocado, if you like.  Then fold over the empty side and fry until the bottom is browned.  Gently roll quesadilla over and fry the other side.

That’s it – super easy.  You can top it with more salsa, if you like.  A really inexpensive meal.  And quinoa (like Mushy Peas) is an extremely healthy food!  Bonus!

Cheese/Black Bean/Quinoa Quesadilla

Cheese/Black Bean/Quinoa Quesadilla with green salad and Yam/Coconut Milk Soup

Note to my sister-in-law, Donna:  I promise I’m going to work on my photography!!!

Mushy Peas: A Super-Food Disguised As A Side Dish!

Mushy Peas
Mushy Peas

Mushy Peas.  Could this sound any more disgusting?  Mushy anything is usually not a good thing.  Mushy apples, mushy lettuce, mushy sandwich.  No thanks, I think I’ll give that a miss. But Mushy Peas?  Well, that’s something else.

It’s very common in the UK, served along side fish and chips, or a nice pie.  Not only are Mushy Peas tasty, pretty (vivid green), easy, and cheap, they’re also amazingly good for you.  When I googled ‘Mushy Peas’ recently I was astounded – they’re full of protein, fibre, and all kinds of nutrients.  Who knew something so delicious could be so good for you?  They make a wonderful side dish to many foods, plus they add that lovely green to the plate.

Now I’m sure I’m going to get some flak for this, but I use split peas to make my Mushy Peas. In the UK they use marrowfat peas.  But I live in the US and can’t find them here.  I can find tinned mushy peas, but what a waste of money!  Also, the green food coloring they put in the tinned ones is becoming a health concern.  Who needs the grief!   Making them yourself is MUCH cheaper.  And split peas make delicious Mushy Peas – I don’t care what anyone says!

Even though they only take about 15 minutes to cook – you do have to plan ahead because the peas need to soak at least 8 hours.  Usually I just get the soaking started before I go to bed. But if I forget, I can still get them soaking in the morning before 9AM and they’re fine.

IMPORTANT:  don’t skip the baking soda!  You might not think it makes a difference, but it does.  I didn’t think it would be any big deal to leave it out so I did a couple of times.  The first time I’d forgotten I left out the baking soda and couldn’t figure out why the peas took so much water to cook and the peas just didn’t come out right.  Plus they were a khaki brown color instead of the pretty bright green from before.  Next time, I left out the soda again – it still had’t occurred to me how important the soda was (duh!) – and the same thing happened.  THEN it hit me – ‘Oh, yeah!  I guess I should have followed EVERYONE’S instructions – use baking soda.’ Since then, the peas have come out perfectly.

MUSHY PEAS – makes about 1 cup

  • 1/2 cup dried marrowfat or split peas
  • 1 tsp baking soda
  • optional:  salt, sugar, Tabasco Sauce, or any other flavoring you fancy

At least 8 hours before cooking time soak the peas in plenty of water and the baking soda.  Stir it up to dissolve the soda.

About 20 minutes before serving time rinse the soaked peas in a sieve, then put them in a small saucepan (or larger depending on how many dried peas you’re using).  Cover the peas with about ¼” of water and turn on the burner to a medium low heat.  Keep a close eye on them because they’re going to start foaming once they start boiling.  When that happens, turn down the heat and keep them simmering until the water is ALMOST absorbed. Then turn off the burner and let them finish cooking from the remaining heat. (If you cook them to the point where the water is gone – even if they look perfect – they will get really dry really fast.) You don’t have to mash them – it just happens on it’s own.  Add in salt (a little goes a long way – I use just under 1/4 tsp salt for this amount) and any other flavoring. In the UK, sugar is often added.

We have Mushy Peas nearly every night with our dinner.  Easy peasy!  (lame joke, I know – don’t judge!)


Homemade Pasta: Crazy Obsessive? Or Just Crazy?

Yes, I may be a little bit crazy.  And, okay, I am a whole lot of obsessive.  But making pasta from scratch is totally (in your head, say ‘totally’ with a Valley Girl accent) sane!

Let me explain my reasoning for making anything from scratch.  First of all, it’s less expensive.  I’m always looking to save money (aka: CHEAP!). Second of all, homemade tastes better, fresher, and has what you want or don’t want in it.  Finally, (and here is the reason that might make me look a wee bit nutty…..OR, does it make me look completely rational, hmmm?) the more foods you’ve made yourself, the fewer strangers have handled your food.  Even if you make a stew or salad yourself, if you’ve bought packaged cut-up veggies or lettuce, someone has touched that food.  Of course, there’s a point where we have to accept someone handling our food – unless you want to grow your own wheat, grind your own flour, and grow all your own vegetables.

I like to limit the number of people whose disease ridden fingers have spread their filth over my family’s dinner.  Is that crazy?  Paranoid?  Uh, yeah – maybe just a bit.  BUT, that being said, homemade pasta is a treat you have to give to yourself at least once.  As the old commercial goes:  try it, you like it!  It’s not hard – I promise.

One thing:  use a food processor to make the dough.  If you don’t have one:  GET ONE!!!  A food processor is a must-have for any kitchen.  If you’re on a tight budget, check out the thrift stores.  A food processor will save you so much time and energy!!!  Without one,  you’re more likely to not make certain food because it’s too much work.  Ever tried making bread or pizza just using your hands to knead?  The dough is sticky & gets in between your fingers.  Flour is everywhere.  It’s takes about 15 minutes to mix & knead.  With a food processor, throw everything in the work bowl,  turn it on for 45 SECONDS, and it’s done!  And your hands are clean.  GET ONE!  Then USE IT!!!

So last night I decided to make fetticine with pesto sauce.  I pulled out a hand-crank pasta maker I bought years ago and never used, watched a youtube how-to video (http://www.youtube.com/watch?v=-lMmUf2nqYA), then plunged in.  If you have an electric pasta maker, you can use that –  I’ve actually used one in the past, but it was noisy, the lid kept popping off, I had to make a lot of pasta at once, and cleaning was a pain.  This time I did what the guy in the video did:  put the ingredients in the food processor to knead, then used the hand crank pasta maker.  I have to say, the fettucine was the BEST pasta I’ve ever had….if I do say so myself.  Fresh.  Delicate.

FETTUCCINE – for about 3 people

  • 1 cup flour (I used organic, all-purpose)
  • 1 egg
  • 1/4 tsp salt
  • water, if needed

Put the flour, egg, and salt in a food processor.  Mix.  The goal is to get all the flour incorporated, but not be too wet.  Add a little water at a time, if needed.  If it gets too sticky, add a little more flour.  Let the dough rest in the covered food processor for awhile (at least 15 minutes).  Divide the dough into 3 portions.  Make sure you keep the dough lightly coated with flour so it doesn’t stick.  Run it through the pasta maker again and again, decreasing the width until you get to the width you want.  I got it to #6 on my pasta maker. Then run the strips of dough through the cutting blades, if you have them.  Or, fold up the dough to a small bundle and slice with a sharp knife.  Watch the video I linked – he shows you how to do this.  Toss the pasta in rapidly boiling, salted water, gently stirring.  It only takes about 2 minutes – the pasta will float to the top when done.  Immediately pour into a colander and rinse with cold water to stop the cooking.

——————————————————————————————-

I also made homemade pesto to go on the fettucine.  Again, make your own!  And make a lot!  This is something that freezes well. I usually triple the recipe, then freeze it in dinner sized portions for future use.  Why make more work for yourself – as long as you’re preparing ingredients, might as well do extra.  That way you only have to dirty things once.  PLUS, one those days when you can’t (or don’t want to) cook, your family has something homemade, healthy, and delicious to eat.  Use a blender rather than a food processor for pesto – the funnel action sucks everything (like the garlic) down to the blades so you get a nice pureed pesto.  Tweak the recipe to your taste.

PESTO – makes 1 cup

  • 2 cups packed fresh basil
  • 4 cloves of garlic (you don’t have to mince them, although I cut each one in half)
  • 21g (1+ 1/2 T) lemon juice (I used bottled, but fresh is better)
  • 44g (1/2 cup) Romano cheese, shredded
  • 22g (1/4 cup) pine nuts, toasted
  • 57g (1/3 cup) extra virgin olive oil
  • 1/2 tsp salt
Place all ingredients in a blender.
IMPORTANT NOTE: Don’t have the blender running when you’re scraping down the ingredients.  I’ve done that with a wooden spoon.  More than once I’ve had the spoon get pushed down to the blades yielding wood chips in my pesto which, of course, I had to throw out.  So please take my advice – just turn the machine off each time you smoosh down!  Throwing out food is heart breaking….and a waste of time and money. Pulse several times to get desired consistency scraping down sides as needed. If your machine doesn’t have a pulse button, turn the machine on a low speed.  Turn it off and smoosh the ingredients around.  Turn it on again for a few seconds, then stop. Smoosh it around again.  Keep doing this until it finally starts cycling on it’s own.

By the way, pesto makes a great pizza topping!  Try it for a change of pace instead of tomato sauce.

Fettucine with Pesto

Fettucine with Pesto

The Orange Chicken Dilemma

ORANGE "CHICKEN"

ORANGE “CHICKEN”

Welcome to my first blog post!  I also have an online vegetarian cooking show – Vegetarian Cooking For Carnivores (Hey, if a title works, don’t mess with it!), which can be found at VegetarianCookingForCarnivores.wordpress.com.  But the videos take a lot of time to produce so I decided to start a blog to chronicle the ins and outs of daily vegetarian living. Questions, comments, and suggestions are always welcome!!!

So yesterday I was at the mall and passed Panda Express (a Chinese food chain restaurant). They have the best Orange Chicken (yes, I’m not perfect – I’ve fallen off the vegetarian wagon now & then).  And there it was:  a bin of piping hot Orange Chicken.  You’ll be proud of me – I kept walking.  But that Orange Chicken was on my mind.  Now those of you out there may or may not know, but there are a multitude of imitation meats (aka ‘faux’ meats for those of you posh people; ‘fake’ meat for the rest of us).  Some are better than others – they range from amazing to cardboard.  The key is to find the right product for the right recipe.

Well, I’ve found a fake (yes, I’m going to use the word ‘fake’) chicken that’s pretty darn good and I decided to make my own Orange ‘Chicken’.  It was pretty easy to put together – the longest part was the deep frying.  Okay, so it’s not the healthiest meal, but sometimes ya just gotta indulge.  And I used the fake stuff so nothing had to die! (I’m really good at rationalizing!)  I served it with Mushy Peas, broccoli, and a green salad – kind of a green theme going on.  You can also make sticky rice to serve with it, but I was cutting down on the calories, what with the deep frying and all.

Here’s how to make it:

INGREDIENTS:

  • 1 1/3 lb fake chicken – (I used Worthington Chicken Style loaf – 1/3 of the whole loaf)
  • 1 1/2 cups flour
  • 1/4 tsp salt
  • 1/4 tsp pepper
  • 2 eggs
  • 1 1/2 cups water
  • 2 T orange juice
  • 1/3 cup rice wine vinegar
  • 1/4 cup lemon juice
  • 2 1/2 T soy sauce
  • 1 T orange zest (don’t skip this or it won’t be as tangy!)
  • 1 cup brown sugar, packed
  • 1/2 tsp ground ginger
  • 1/2 tsp garlic powder
  • 3 T cornstarch
  • 2 T water
  • oil for deep frying

First thing to do is to get your deep frying oil heated to 375 degrees Fahrenheit.  I use canola oil, but suit yourself.  Use a wok, if you have one.  Otherwise, use a large, deep saucepan.  While the oil is heating, cut the ‘chicken’ into 1/2″ slices, and then cut those slices into 6 pieces.  In a large bowl put the flour, salt, and pepper.  I threw in 1/2 tsp of cayenne, just for kicks.  With all the orange flavors, I couldn’t taste it.  In another large bowl beat the eggs.  Put the ‘chicken’ pieces in the egg and stir it up so the pieces are completely covered with egg.  Then one by one put about half of the eggy ‘chicken’ in the bowl with the flour.  Gently mix it with your hands to get the pieces completely covered with the flour. When the oil is at 375 degrees, drop the coated pieces in carefully.  Drop each new piece in a different part of the wok so they stay separate.  They’ll take about 15 minutes to get golden brown.  Have paper towels ready for draining the cooked pieces.  When the first batch is done, cook the remaining pieces.

While the ‘chicken’ is frying, prepare the sauce.  In a small bowl mix the cornstarch and the 2 T water together so it forms a paste – stir it slowly with the bottom of a spoon to make sure there are no lumps.  In a saucepan bring the 1 1/2 cups of water, orange juice, lemon juice, rice vinegar, and soy sauce to a boil.  Add in the brown sugar, zest, ginger, and garlic powder.  Boil for 1 minute.  Slowly pour in the cornstarch mixture, stirring constantly. Continue cooking until thick and it turns a dark brown – about 5 minutes.

When all the ‘chicken’ is deep fried, put them in a large bowl and pour the orange sauce on top.  You can eat it like that, or do what I do:  pour this mixture into a jelly roll pan and place under the broiler for about 3 minutes (about 3″ from the element).

This makes a lot!  It’s enough for 2 nights of dinner for my husband and me, plus lunch for one (me!).  To heat it up I put it in my toaster oven on the little cookie sheet and pushed the toaster lever to the highest setting.  It was FABULOUS!