Homemade Pasta: Crazy Obsessive? Or Just Crazy?

Yes, I may be a little bit crazy.  And, okay, I am a whole lot of obsessive.  But making pasta from scratch is totally (in your head, say ‘totally’ with a Valley Girl accent) sane!

Let me explain my reasoning for making anything from scratch.  First of all, it’s less expensive.  I’m always looking to save money (aka: CHEAP!). Second of all, homemade tastes better, fresher, and has what you want or don’t want in it.  Finally, (and here is the reason that might make me look a wee bit nutty…..OR, does it make me look completely rational, hmmm?) the more foods you’ve made yourself, the fewer strangers have handled your food.  Even if you make a stew or salad yourself, if you’ve bought packaged cut-up veggies or lettuce, someone has touched that food.  Of course, there’s a point where we have to accept someone handling our food – unless you want to grow your own wheat, grind your own flour, and grow all your own vegetables.

I like to limit the number of people whose disease ridden fingers have spread their filth over my family’s dinner.  Is that crazy?  Paranoid?  Uh, yeah – maybe just a bit.  BUT, that being said, homemade pasta is a treat you have to give to yourself at least once.  As the old commercial goes:  try it, you like it!  It’s not hard – I promise.

One thing:  use a food processor to make the dough.  If you don’t have one:  GET ONE!!!  A food processor is a must-have for any kitchen.  If you’re on a tight budget, check out the thrift stores.  A food processor will save you so much time and energy!!!  Without one,  you’re more likely to not make certain food because it’s too much work.  Ever tried making bread or pizza just using your hands to knead?  The dough is sticky & gets in between your fingers.  Flour is everywhere.  It’s takes about 15 minutes to mix & knead.  With a food processor, throw everything in the work bowl,  turn it on for 45 SECONDS, and it’s done!  And your hands are clean.  GET ONE!  Then USE IT!!!

So last night I decided to make fetticine with pesto sauce.  I pulled out a hand-crank pasta maker I bought years ago and never used, watched a youtube how-to video (http://www.youtube.com/watch?v=-lMmUf2nqYA), then plunged in.  If you have an electric pasta maker, you can use that –  I’ve actually used one in the past, but it was noisy, the lid kept popping off, I had to make a lot of pasta at once, and cleaning was a pain.  This time I did what the guy in the video did:  put the ingredients in the food processor to knead, then used the hand crank pasta maker.  I have to say, the fettucine was the BEST pasta I’ve ever had….if I do say so myself.  Fresh.  Delicate.

FETTUCCINE – for about 3 people

  • 1 cup flour (I used organic, all-purpose)
  • 1 egg
  • 1/4 tsp salt
  • water, if needed

Put the flour, egg, and salt in a food processor.  Mix.  The goal is to get all the flour incorporated, but not be too wet.  Add a little water at a time, if needed.  If it gets too sticky, add a little more flour.  Let the dough rest in the covered food processor for awhile (at least 15 minutes).  Divide the dough into 3 portions.  Make sure you keep the dough lightly coated with flour so it doesn’t stick.  Run it through the pasta maker again and again, decreasing the width until you get to the width you want.  I got it to #6 on my pasta maker. Then run the strips of dough through the cutting blades, if you have them.  Or, fold up the dough to a small bundle and slice with a sharp knife.  Watch the video I linked – he shows you how to do this.  Toss the pasta in rapidly boiling, salted water, gently stirring.  It only takes about 2 minutes – the pasta will float to the top when done.  Immediately pour into a colander and rinse with cold water to stop the cooking.

——————————————————————————————-

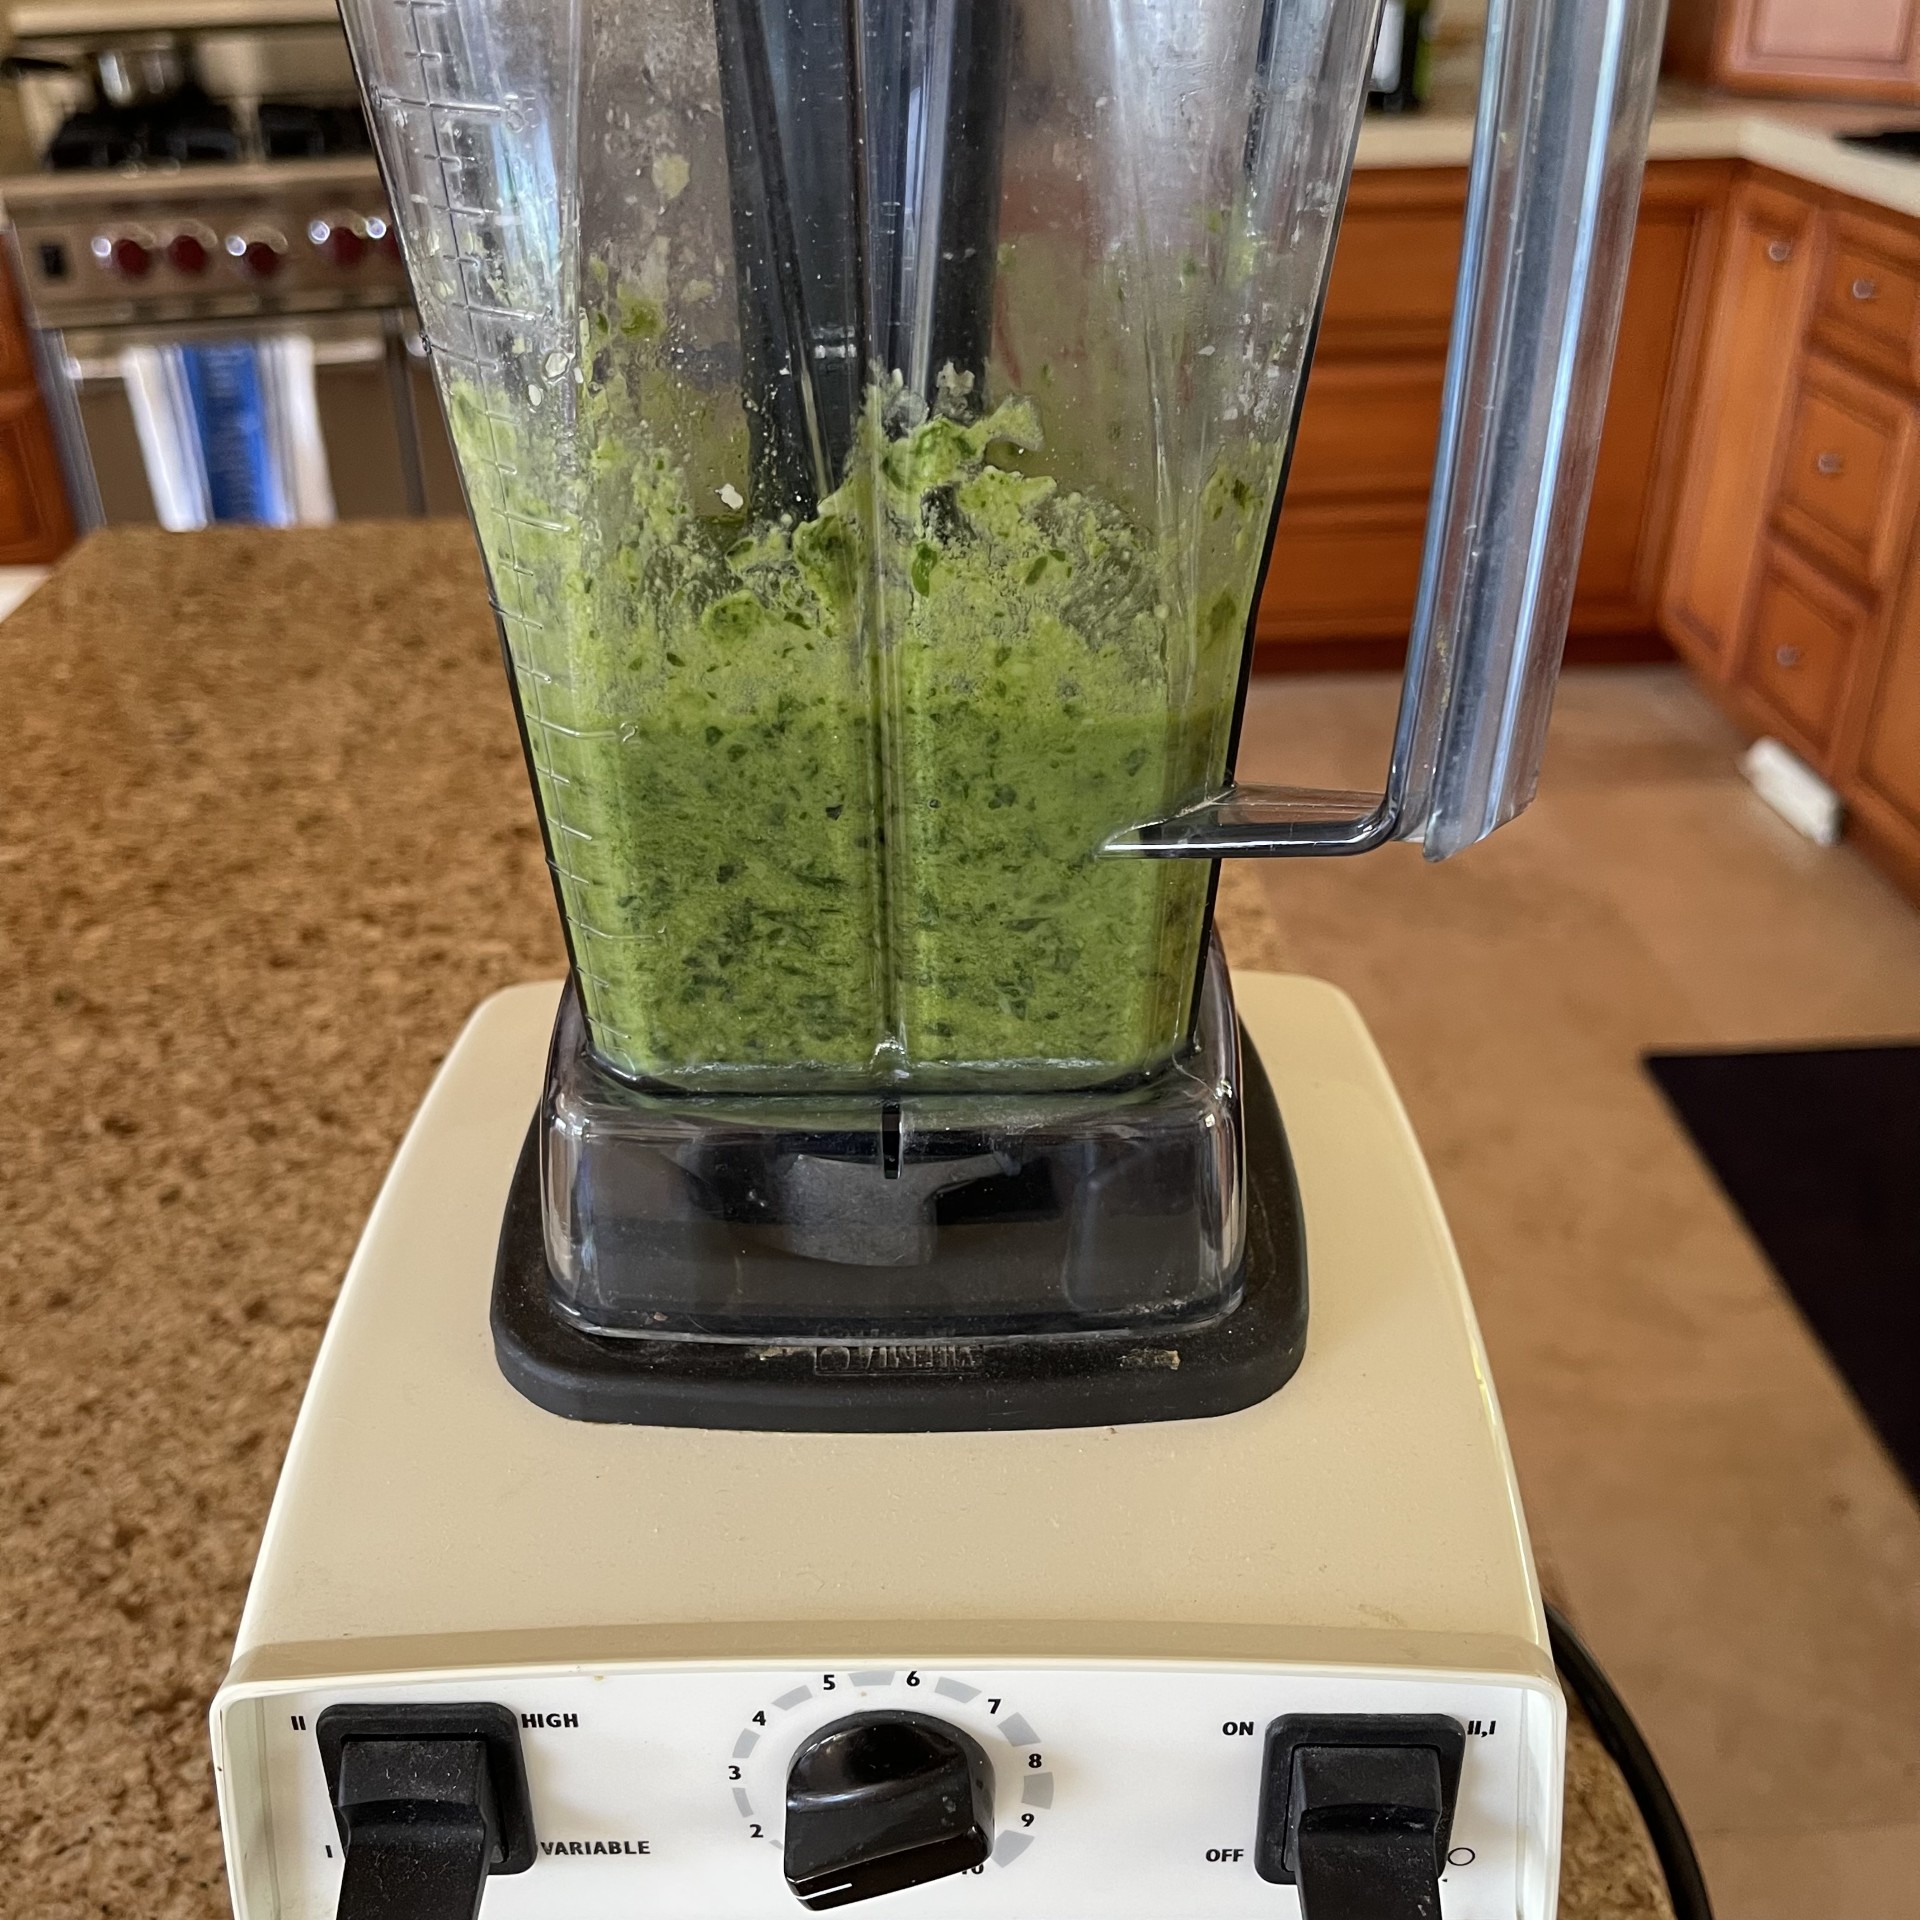
I also made homemade pesto to go on the fettucine.  Again, make your own!  And make a lot!  This is something that freezes well. I usually triple the recipe, then freeze it in dinner sized portions for future use.  Why make more work for yourself – as long as you’re preparing ingredients, might as well do extra.  That way you only have to dirty things once.  PLUS, one those days when you can’t (or don’t want to) cook, your family has something homemade, healthy, and delicious to eat.  Use a blender rather than a food processor for pesto – the funnel action sucks everything (like the garlic) down to the blades so you get a nice pureed pesto.  Tweak the recipe to your taste.

PESTO – makes 1 cup

  • 2 cups packed fresh basil
  • 4 cloves of garlic (you don’t have to mince them, although I cut each one in half)
  • 21g (1+ 1/2 T) lemon juice (I used bottled, but fresh is better)
  • 44g (1/2 cup) Romano cheese, shredded
  • 22g (1/4 cup) pine nuts, toasted
  • 57g (1/3 cup) extra virgin olive oil
  • 1/2 tsp salt
Place all ingredients in a blender.
IMPORTANT NOTE: Don’t have the blender running when you’re scraping down the ingredients.  I’ve done that with a wooden spoon.  More than once I’ve had the spoon get pushed down to the blades yielding wood chips in my pesto which, of course, I had to throw out.  So please take my advice – just turn the machine off each time you smoosh down!  Throwing out food is heart breaking….and a waste of time and money. Pulse several times to get desired consistency scraping down sides as needed. If your machine doesn’t have a pulse button, turn the machine on a low speed.  Turn it off and smoosh the ingredients around.  Turn it on again for a few seconds, then stop. Smoosh it around again.  Keep doing this until it finally starts cycling on it’s own.

By the way, pesto makes a great pizza topping!  Try it for a change of pace instead of tomato sauce.

Fettucine with Pesto

Fettucine with Pesto

The Orange Chicken Dilemma

ORANGE "CHICKEN"

ORANGE “CHICKEN”

Welcome to my first blog post!  I also have an online vegetarian cooking show – Vegetarian Cooking For Carnivores (Hey, if a title works, don’t mess with it!), which can be found at VegetarianCookingForCarnivores.wordpress.com.  But the videos take a lot of time to produce so I decided to start a blog to chronicle the ins and outs of daily vegetarian living. Questions, comments, and suggestions are always welcome!!!

So yesterday I was at the mall and passed Panda Express (a Chinese food chain restaurant). They have the best Orange Chicken (yes, I’m not perfect – I’ve fallen off the vegetarian wagon now & then).  And there it was:  a bin of piping hot Orange Chicken.  You’ll be proud of me – I kept walking.  But that Orange Chicken was on my mind.  Now those of you out there may or may not know, but there are a multitude of imitation meats (aka ‘faux’ meats for those of you posh people; ‘fake’ meat for the rest of us).  Some are better than others – they range from amazing to cardboard.  The key is to find the right product for the right recipe.

Well, I’ve found a fake (yes, I’m going to use the word ‘fake’) chicken that’s pretty darn good and I decided to make my own Orange ‘Chicken’.  It was pretty easy to put together – the longest part was the deep frying.  Okay, so it’s not the healthiest meal, but sometimes ya just gotta indulge.  And I used the fake stuff so nothing had to die! (I’m really good at rationalizing!)  I served it with Mushy Peas, broccoli, and a green salad – kind of a green theme going on.  You can also make sticky rice to serve with it, but I was cutting down on the calories, what with the deep frying and all.

Here’s how to make it:

INGREDIENTS:

  • 1 1/3 lb fake chicken – (I used Worthington Chicken Style loaf – 1/3 of the whole loaf)
  • 1 1/2 cups flour
  • 1/4 tsp salt
  • 1/4 tsp pepper
  • 2 eggs
  • 1 1/2 cups water
  • 2 T orange juice
  • 1/3 cup rice wine vinegar
  • 1/4 cup lemon juice
  • 2 1/2 T soy sauce
  • 1 T orange zest (don’t skip this or it won’t be as tangy!)
  • 1 cup brown sugar, packed
  • 1/2 tsp ground ginger
  • 1/2 tsp garlic powder
  • 3 T cornstarch
  • 2 T water
  • oil for deep frying

First thing to do is to get your deep frying oil heated to 375 degrees Fahrenheit.  I use canola oil, but suit yourself.  Use a wok, if you have one.  Otherwise, use a large, deep saucepan.  While the oil is heating, cut the ‘chicken’ into 1/2″ slices, and then cut those slices into 6 pieces.  In a large bowl put the flour, salt, and pepper.  I threw in 1/2 tsp of cayenne, just for kicks.  With all the orange flavors, I couldn’t taste it.  In another large bowl beat the eggs.  Put the ‘chicken’ pieces in the egg and stir it up so the pieces are completely covered with egg.  Then one by one put about half of the eggy ‘chicken’ in the bowl with the flour.  Gently mix it with your hands to get the pieces completely covered with the flour. When the oil is at 375 degrees, drop the coated pieces in carefully.  Drop each new piece in a different part of the wok so they stay separate.  They’ll take about 15 minutes to get golden brown.  Have paper towels ready for draining the cooked pieces.  When the first batch is done, cook the remaining pieces.

While the ‘chicken’ is frying, prepare the sauce.  In a small bowl mix the cornstarch and the 2 T water together so it forms a paste – stir it slowly with the bottom of a spoon to make sure there are no lumps.  In a saucepan bring the 1 1/2 cups of water, orange juice, lemon juice, rice vinegar, and soy sauce to a boil.  Add in the brown sugar, zest, ginger, and garlic powder.  Boil for 1 minute.  Slowly pour in the cornstarch mixture, stirring constantly. Continue cooking until thick and it turns a dark brown – about 5 minutes.

When all the ‘chicken’ is deep fried, put them in a large bowl and pour the orange sauce on top.  You can eat it like that, or do what I do:  pour this mixture into a jelly roll pan and place under the broiler for about 3 minutes (about 3″ from the element).

This makes a lot!  It’s enough for 2 nights of dinner for my husband and me, plus lunch for one (me!).  To heat it up I put it in my toaster oven on the little cookie sheet and pushed the toaster lever to the highest setting.  It was FABULOUS!