You know what the problem with butternut squash is? It’s so darned big! Several days ago I made Squash Stew (check out my post: Squash Stew: Or, How I Learned The Importance Of Carefully Reading A Recipe). I only needed 1½ cups of cubed butternut squash. Now, I’m no squash expert. In fact, before making this stew, I’d only given the various winter squashes a fleeting, curious glance as I wheeled my shopping cart past them on the way to the potatoes. So I don’t know if these 10″ winter squash wonders are typically sized butternut squash, or if my market just has a penchant for purchasing mega produce. (How’s THAT for alliteration?) I used the ‘neck’ of the squash for my stew (I read it was the sweeter part), which yielded the needed 1½ cups. I was then left with the bulbous ‘head’. What to do with it? (Neck? Head? This vegetable is taking on a decided carnivorous undertone. Isn’t this supposed to be a vegetarian cooking blog?)
As you may have gleaned by now, I HATE waste. Okay, I’m cheap! But, honestly, it really does wound me to throw out food. Surely, there must be another tasty vegetarian recipe out there in which I could use the leftover squash. So I googled ‘butternut squash recipes’ and scanned through the various choices. EUREKA! There it was: pizza topped with pesto and grilled butternut squash. Perfect! I realized the leftover feta and mozzarella cheeses I had, plus some kalamata olives would would go nicely with the pesto – although, I wasn’t sure if it would work with the squash. I also decided to add some mashed squash to the pizza dough. What the heck – in for a penny, in for a pound!
The result: Mmmmwwwwwaaaaa! (the Italian fingertips to lips thing) Fabulous!!!!
NOTE: Next time I think I’ll use a little more mashed squash in the dough – I couldn’t really taste it that much.
If you’re short on time (or desire), you can use pre-made pizza dough that you buy. But, honestly, making dough is a snap. The cost of making dough is almost nothing, and the labor is minimal. Just pull out that food processor you have stored in the back of the cupboard, and start using it. If you don’t have one, I strongly suggest you to buy one – I use mine constantly! And don’t be afraid of using yeast – there’s nothing to it.
BUTTERNUT PESTO PIZZA – makes 3 personal pizzas (about 7″ in diameter)
- 3 cups flour (I used organic all-purpose)
- 1 cup + 2 T water
- 3 T olive oil
- 1½ T milk
- ¾ tsp salt
- 1 T active dry yeast
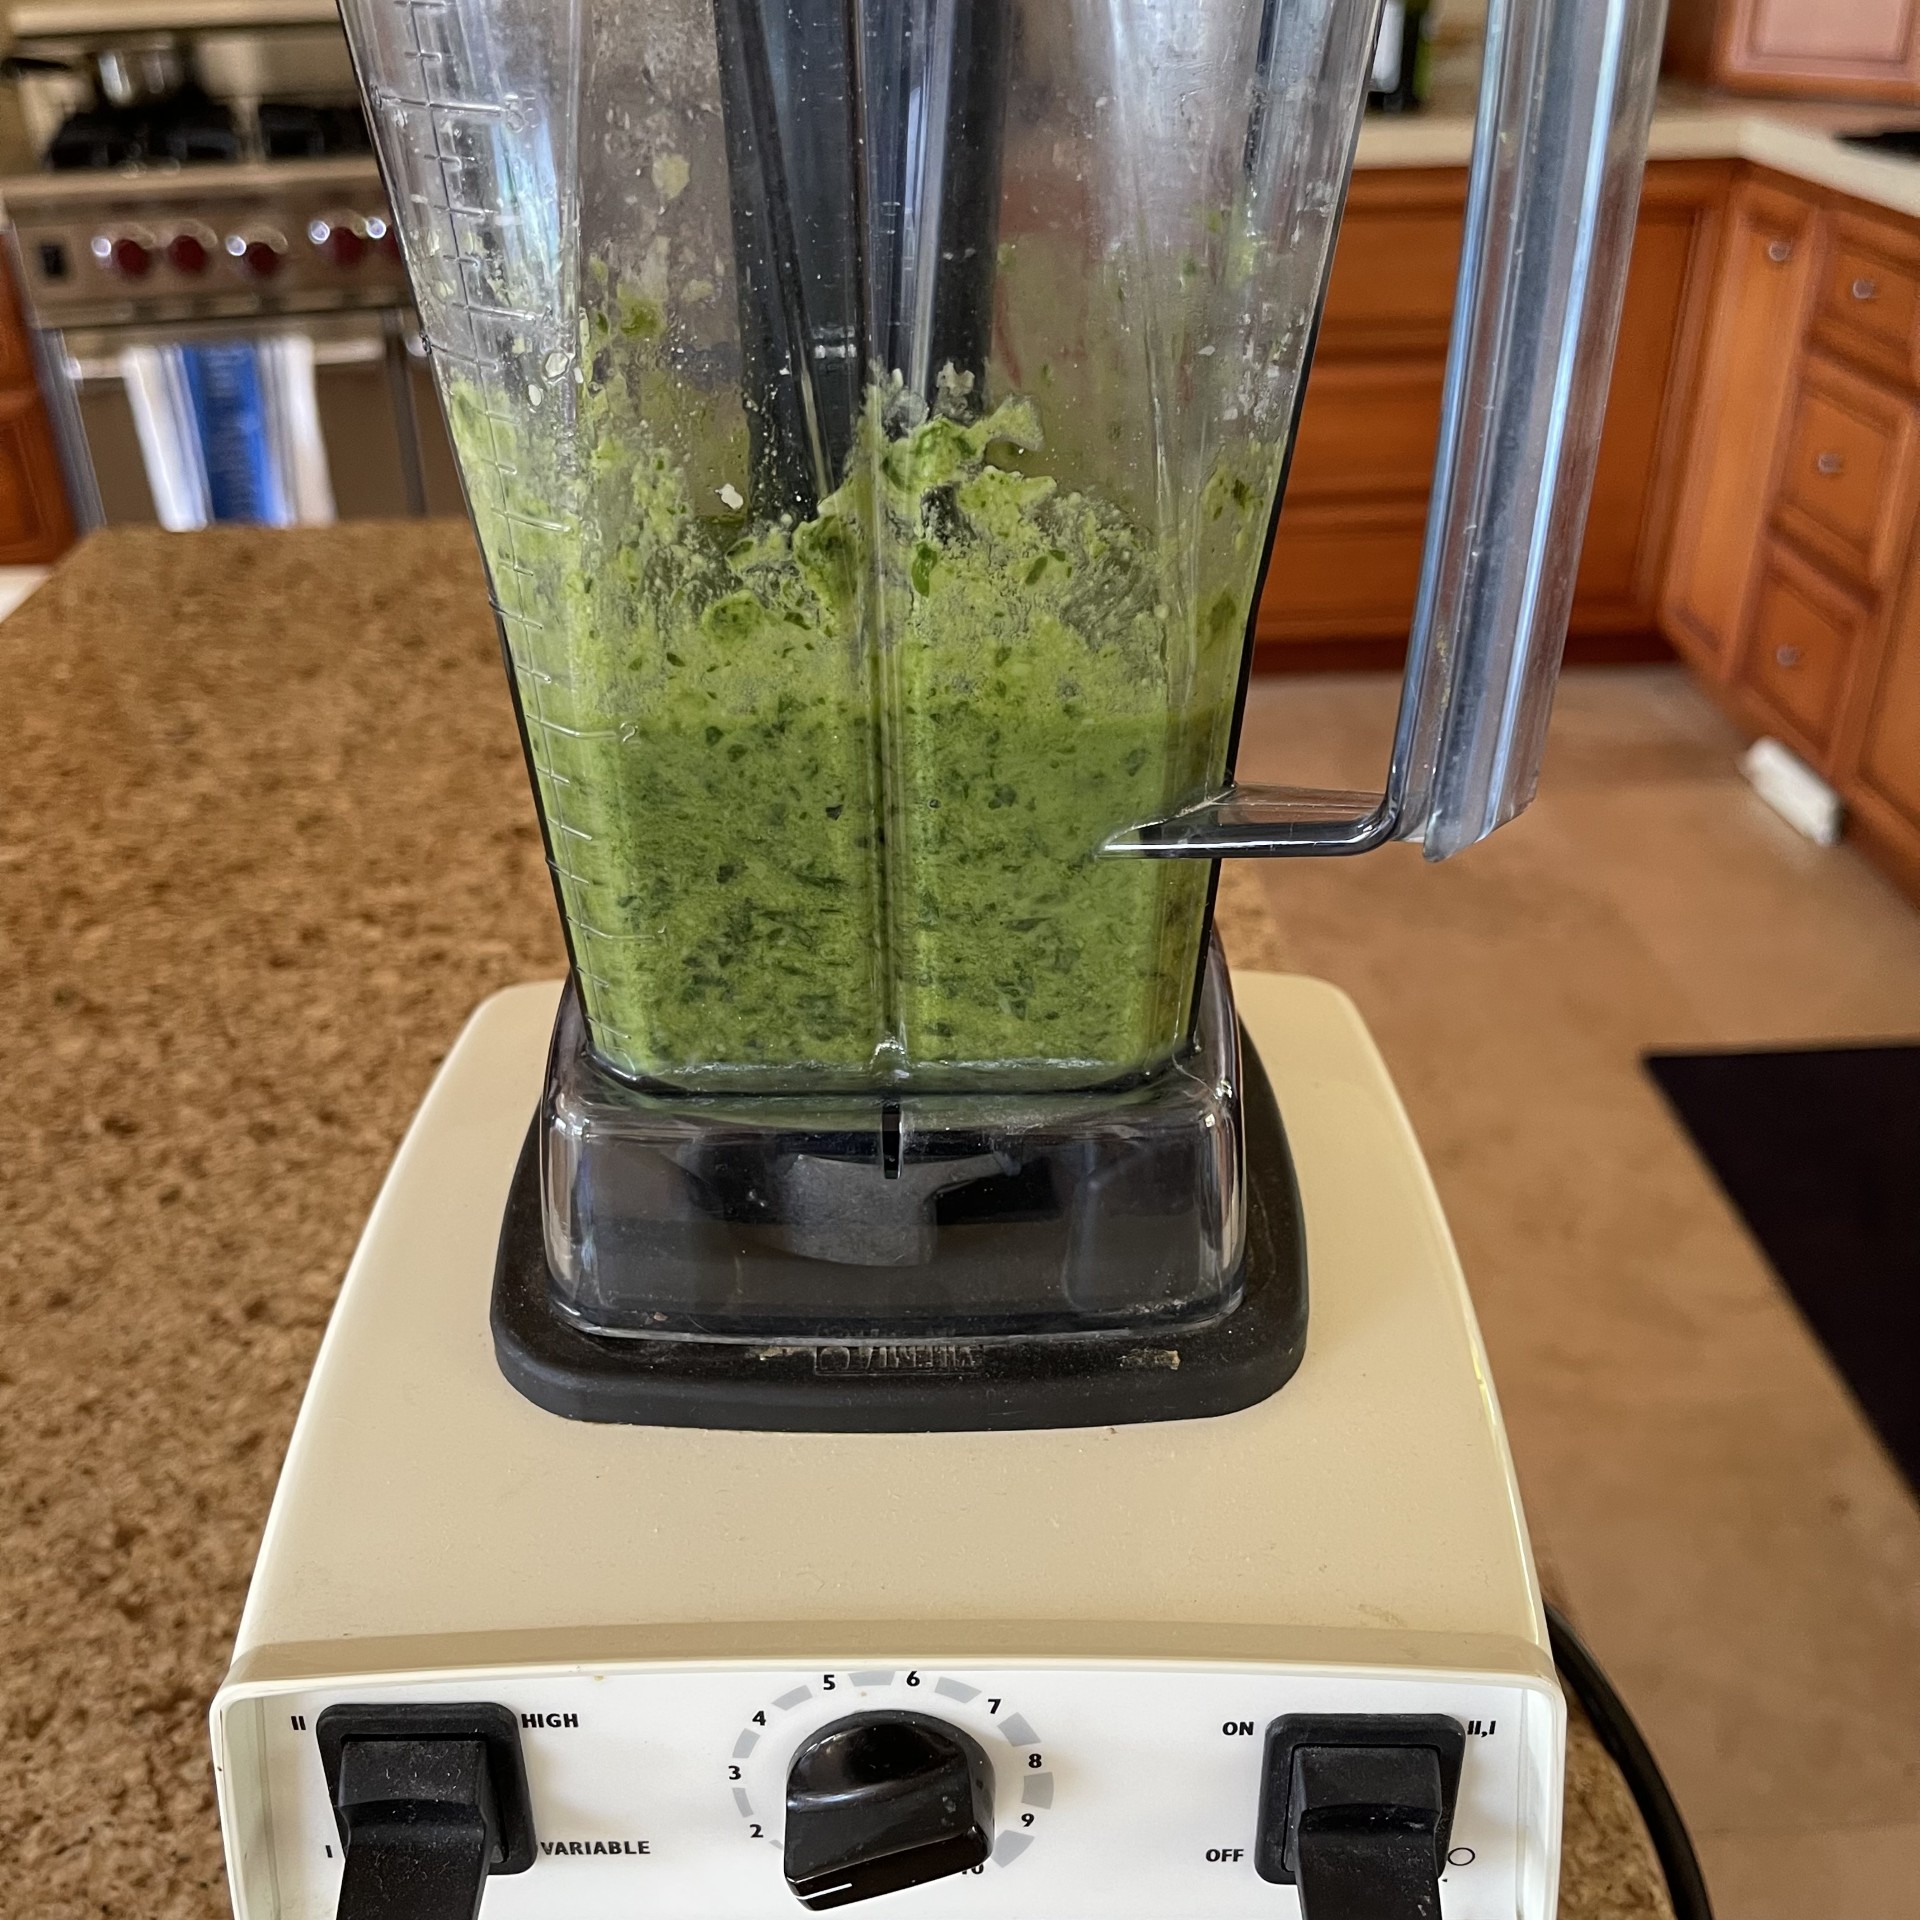
- ¾ cup pesto (see recipe in post ‘Homemade Pasta: Crazy Obsessive? Or Just Crazy?’)
- ½ a butternut squash
- 2/3 cup kalamata olives
- 3 oz mozzarella cheese
- 3 oz feta cheese
- a couple T additional olive oil for brushing
Peel the squash. I used leftover butternut squash, so I’d already softened the squash before. But if you’re using an unused squash, you’re going to want to soften it before peeling. The easiest way to do this is to first wash and dry the squash (so you don’t contaminate the inner part with the dirty skin when you slice it), then pop it in the microwave for 1½ minutes on high, flip it and nuke it again for another 1½ minutes. Then off with her head! (Remove the head from the neck). You’ll only need half the squash for this recipe – you choose which half. To remove the skin, simply take a sharp knife and slice off the skin – easy as pie. Cut off about ½ cup’s worth and cut it into ¾” cubes. This will be used IN the dough. Steam the cubes in a steamer basket until they pierce easily with a fork (about 15 minutes).
Deep breath. Now you’re going to make the pizza dough. Heat the water to 104º F and stir in the yeast. It’s going to begin to get kind of frothy – that’s what it’s supposed to do. While that’s happening, put the flour, oil, milk, salt, and steamed squash cubes in the work bowl of your food processor. Turn it on and as it’s whirling around, CAREFULLY and SLOWLY pour the yeast water in from the port on top. You may need to stop the machine if the flour around the perimeter doesn’t start to blend in. If that happens (and it always does for me), just remove the lid and run a dull knife along the edge to loosen the flour. Then start the machine again. A dough ball will form after about 45 seconds. That’s what you want. If the dough is still all over the place, you need more flour. Add about a tablespoon more. Turn on the machine and see what happens. Once the ball forms, continue running the processor for another 15 seconds. Whew! Now that wasn’t so hard, was it? You’ve just kneaded dough – the easy way! Lightly oil a bowl with olive oil and press the dough ball into it. Then flip the ball and set it back down – now the dough is coated with oil and won’t dry out. Cover with a tea towel and let rise for 1 hour.
Sometime during the hour that the dough is rising, get your toppings ready. Shred the mozzarella, break up the feta, dish out the olives, and fry the squash. To do this, cut the remainder of the squash half you’re using into 1/3″ slices. Fry both sides in oil (I used canola) until they’re well browned. Drain on a paper towel and cut into smaller pieces.
Punch the dough with your fist. Your goal is to deflate it. Try NOT to imagine the guy who wouldn’t let you merge in front of him yesterday when they were doing road mending (he obviously couldn’t spare that half second he would have been delayed) – you don’t want to send the bowl sailing! Take a dull knife, slice the dough in thirds. With floured hands, grab one of the thirds and form it into a ball. Preheat the oven now to 500º F, moving the rack to 4″ below the heating element. Place pizza tiles in the oven to heat. I’ve never made pizza without them, so if you don’t have the tiles I guess you’ll have to use a cookie sheet. But it has to be sturdy so it doesn’t warp under the high heat. The tiles have to be HOT when you slide the uncooked pizza onto them.
The best place to prepare the pizza is on a well floured pizza peel. If you don’t have one you’ll have to use a wooden cutting board or a really REALLY well floured cookie sheet. The idea is to slide the pizza easily into the oven. Take the dough ball and flatten it with your palm. So I don’t have to keep repeating myself – everything that comes in contact with the dough needs to be WELL FLOURED. Pick it up and start stretching it a bit. Lay it over the back of your fists and then start tossing and spinning it several times- this is to get it bigger and thinner. Now, unless you’re a trained professional, DON’T get crazy with the tossing and spinning. You eventually want the dough on your dinner plate, not the floor (or ceiling). Lay the dough on the peel, stretching out thicker parts, if needed.
With a pastry brush, paint the border of the dough with olive oil – about 1″ wide. Spread 1/3 of the pesto to about ¾” from the edge. Sprinkle on cheeses, place the squash, then fill in with the kalamata olives. By now the oven should be heated. With a wide spatula, gently guide the pizza into the oven. Set the timer for 5 minutes. Turn the pizza 180º and continue baking until browned – about another 3 minutes.
While one pizza is in the oven baking, prepare the next. My family starts eating when the first one comes out of the oven – that’s when it’s at its best. Sometimes I just wait for the last one – otherwise I’m up and down. I like to relax and enjoyed the fruits (or should I say ‘pizza’) of my labor.
As long as you have the right tools (food processor, pizza peel, pizza tiles), making pizza is easy! And by making it yourself, you control the amount of grease. So, go ahead – give Butternut Pesto Pizza a try. You’ll be glad you did. Now, go scrape that dough off the ceiling – I warned you!